

Looking for tips on how to paint wooden furniture? A far better option than filling your home with flat-pack everything, throwing some love at old or secondhand pieces will give your space more personality and style. So shop around your home to see if there are any neglected pieces hanging about that could do with some TLC, or if you don't conveniently have a stash of Mid-century furniture just waiting to be upcycled, keep an eye out in charity shops for some secondhand pieces. Look out for shapes you like rather than colours or finishes because you are going to be painting over all that, and remember you can always upgrade the hardware and even the legs too.
Use our guide to painting furniture for more hints and tips. Want more creative DIY ideas? Head over to our crafts hub page for loads more projects.
Here we show you how, with the help of Rust-Oleum furniture paint, you can give a Mid-century sideboard a new lease of life in just five simple steps...
You will need:
- Furniture paint (check out our pick of the best paint for furniture)
- Self-adhesive wallpaper
- Paint brush
- Masking tape
- Tape measure
- Paint roller and tray
- Scissors
- Screwdriver
BEFORE

Step 1: clean up the furniture you're painting
Clean the the furniture you are upcycling thoroughly, remove handles and mask any areas you do not wish to paint with masking tape.

Step one: clean
Step 2: begin painting the furniture
Take your can of furniture paint and stir thoroughly. Most furniture paint requires no sanding or priming on most surfaces, so you can get cracking straightaway, but do just check the instructions on the can.
Using a roller for large areas and a brush for harder to reach nooks and crannies, paint the unit and leave to fully dry. You may need up to three coats.

Step two: paint
Step 3: get ready to line with wallpaper
Measure the area you wish to cover with self-adhesive wallpaper and cut to size. We think the back of the sideboard looks great covered in a funky pattern, but you could also cover the shelves or even the top of the cabinet. Find inspiration for wallpapers on our dedicated hub page.

Step three: measure
Step 4: Apply wallpaper
Apply your wallpaper, smoothing any bumps or bubbles with your hand or a wallpaper brush as you go.

Step four: apply paper
Step 5: add finishing touches
Step five: Remove any masking tape, put back any hardware you removed and you are done.
AFTER

Looking for more craft ideas?

-
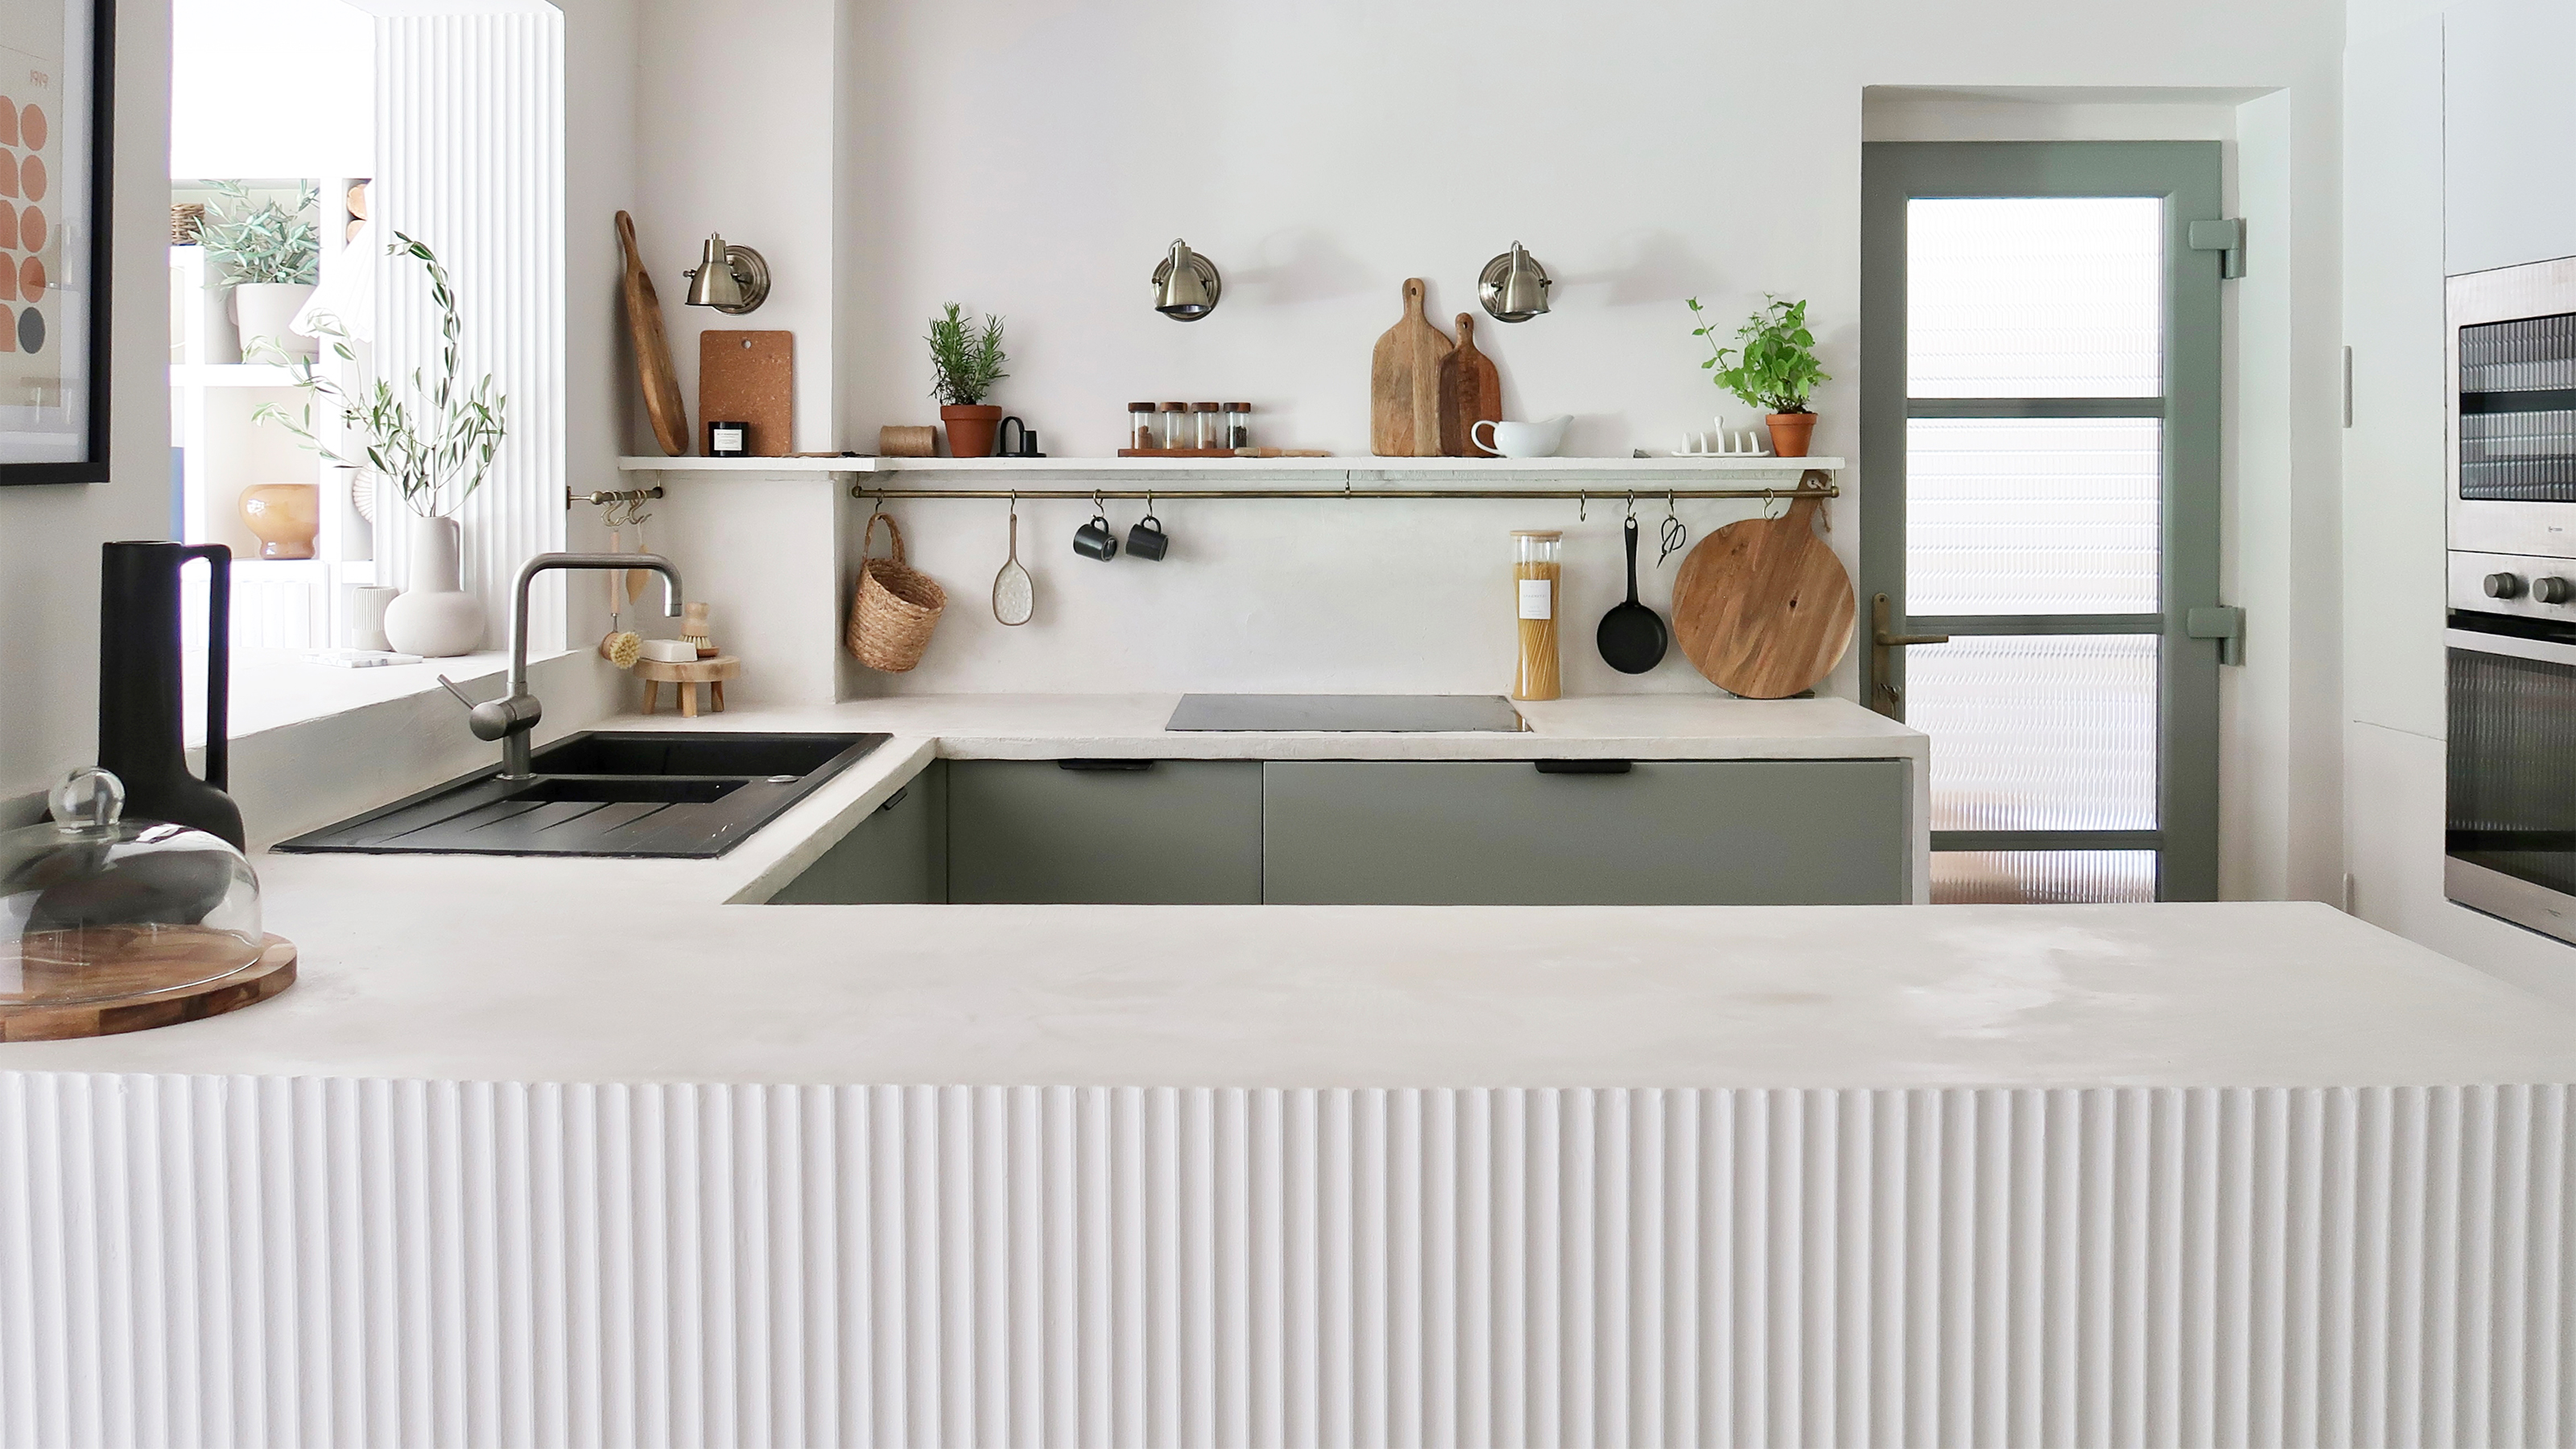 A $200 fluted panel transformed my drab kitchen in just one weekend
How to install a fluted kitchen panel: A speedy and achievable DIY tutorial even for DIY novices
-
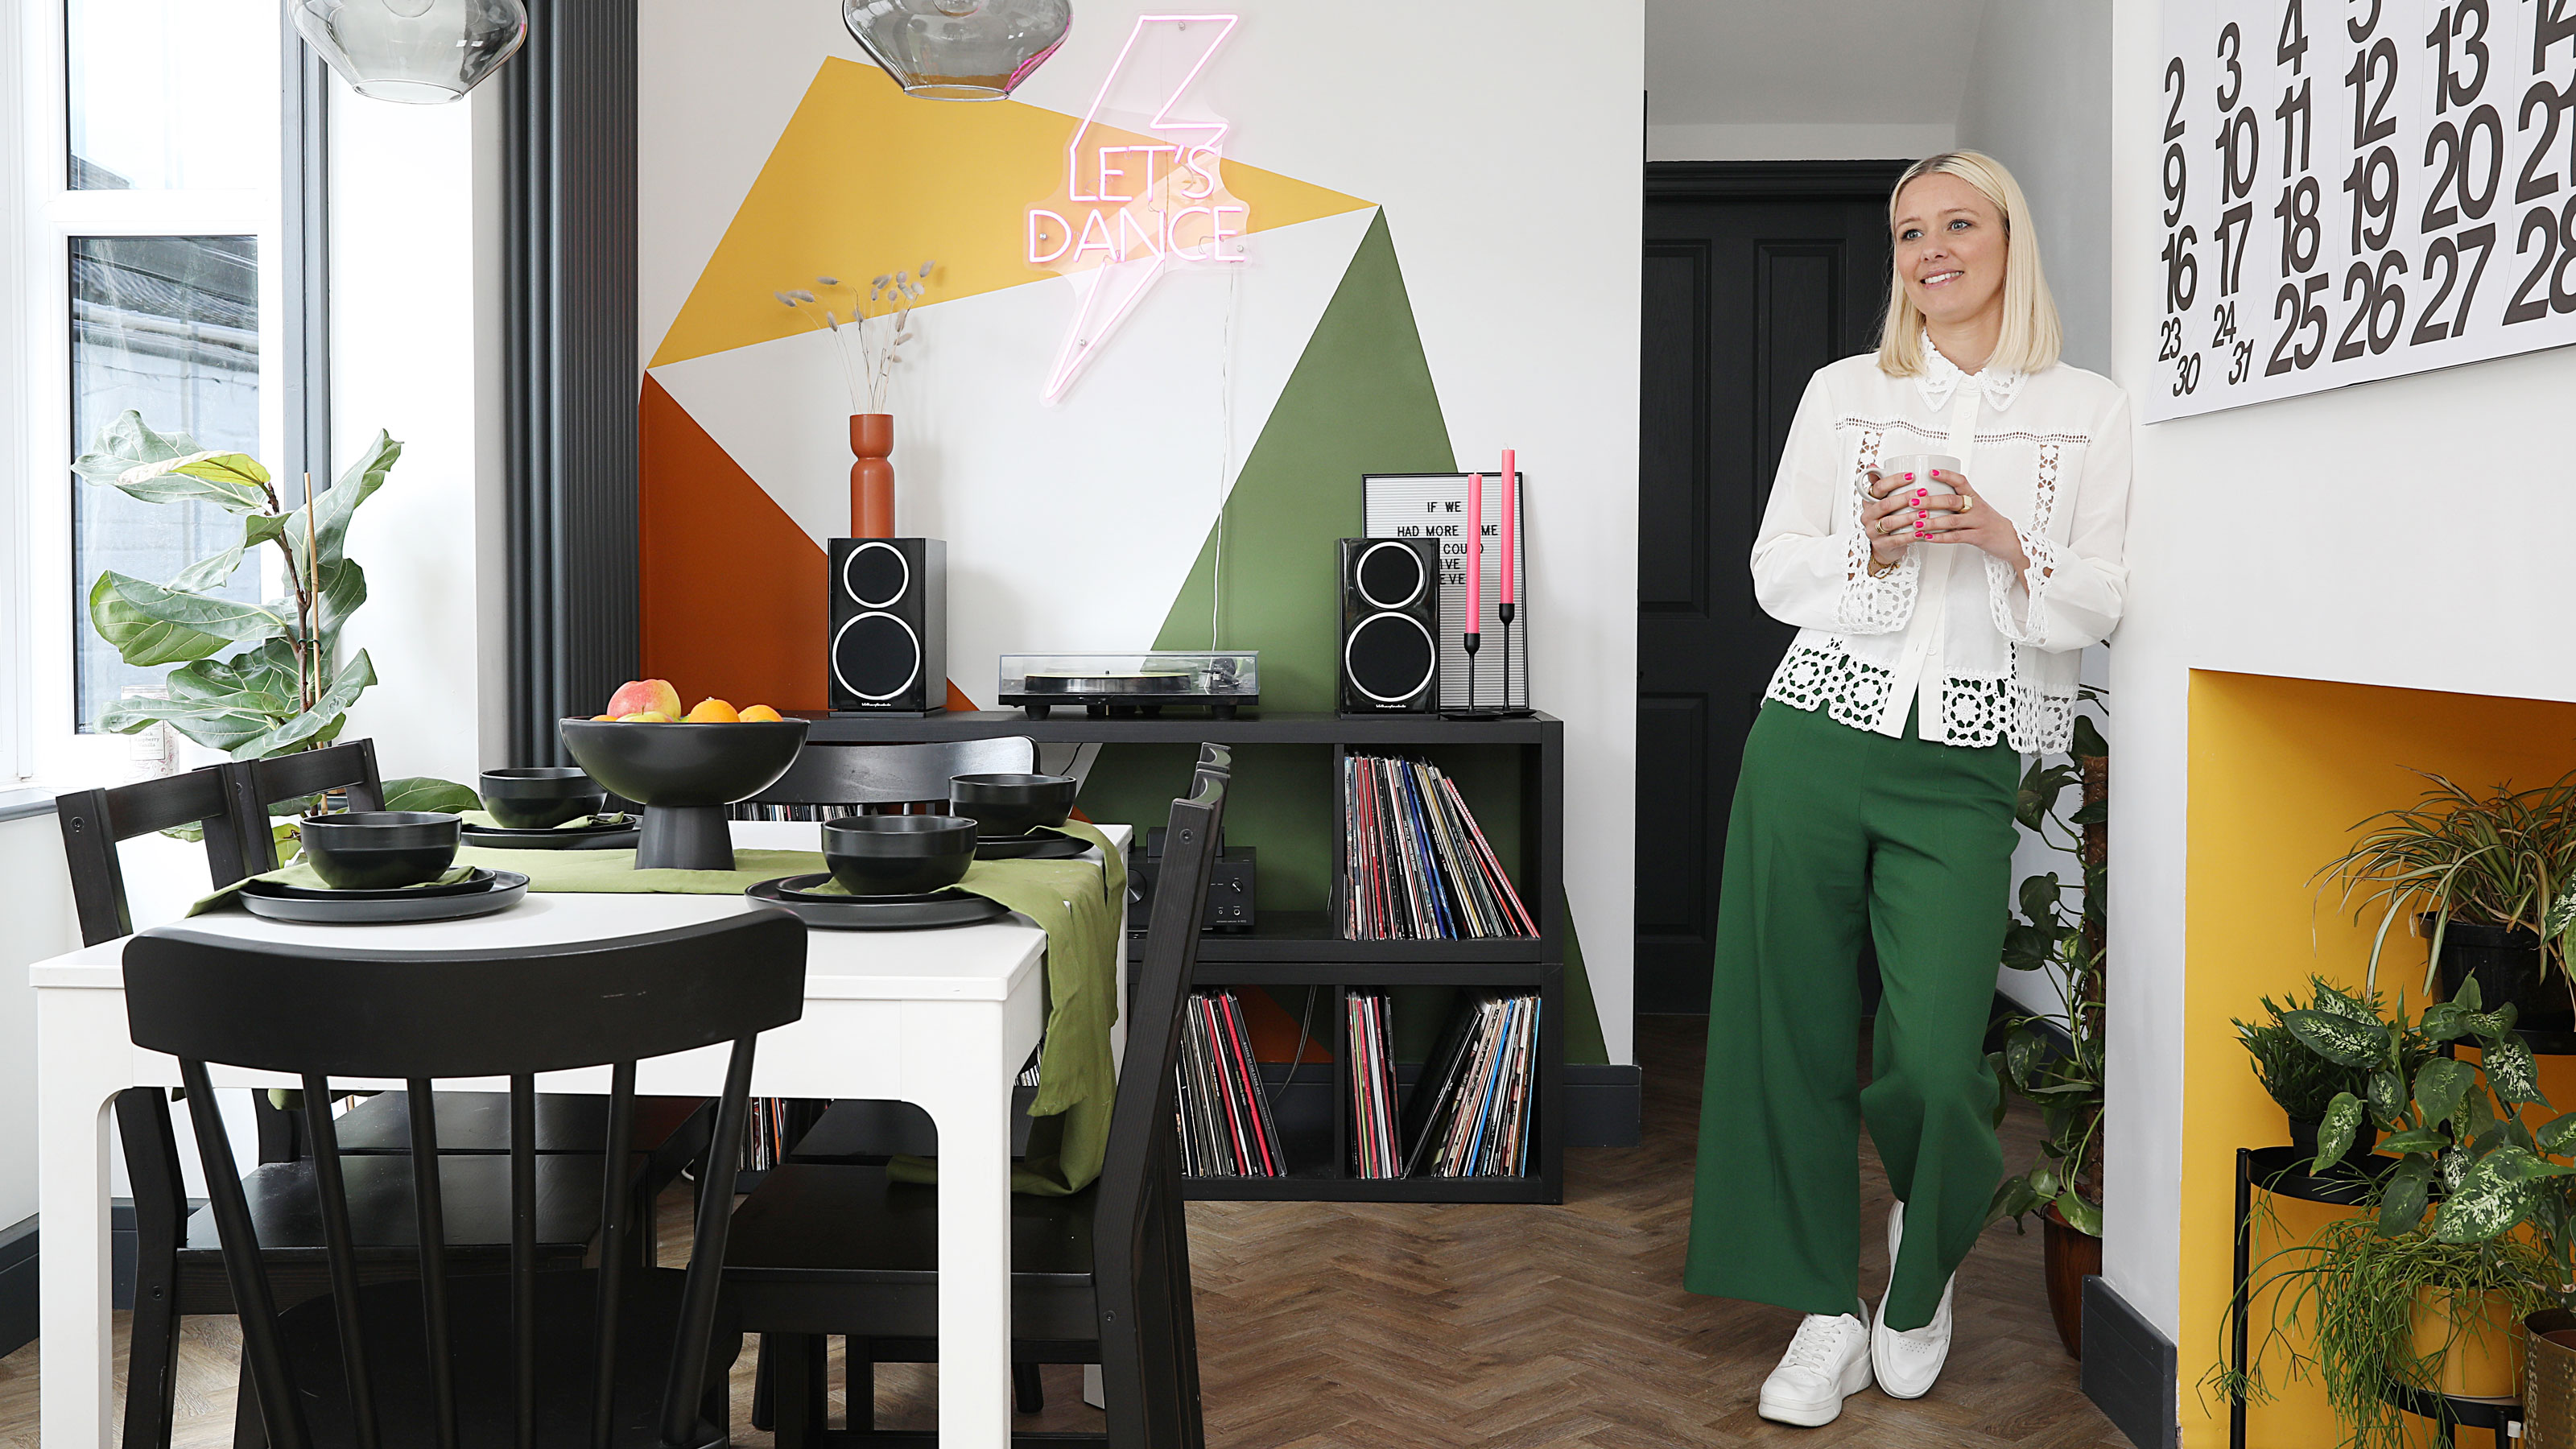 This colourful home makeover has space for kitchen discos
While the front of Leila and Joe's home features dark and moody chill-out spaces, the rest is light and bright and made for socialising
-
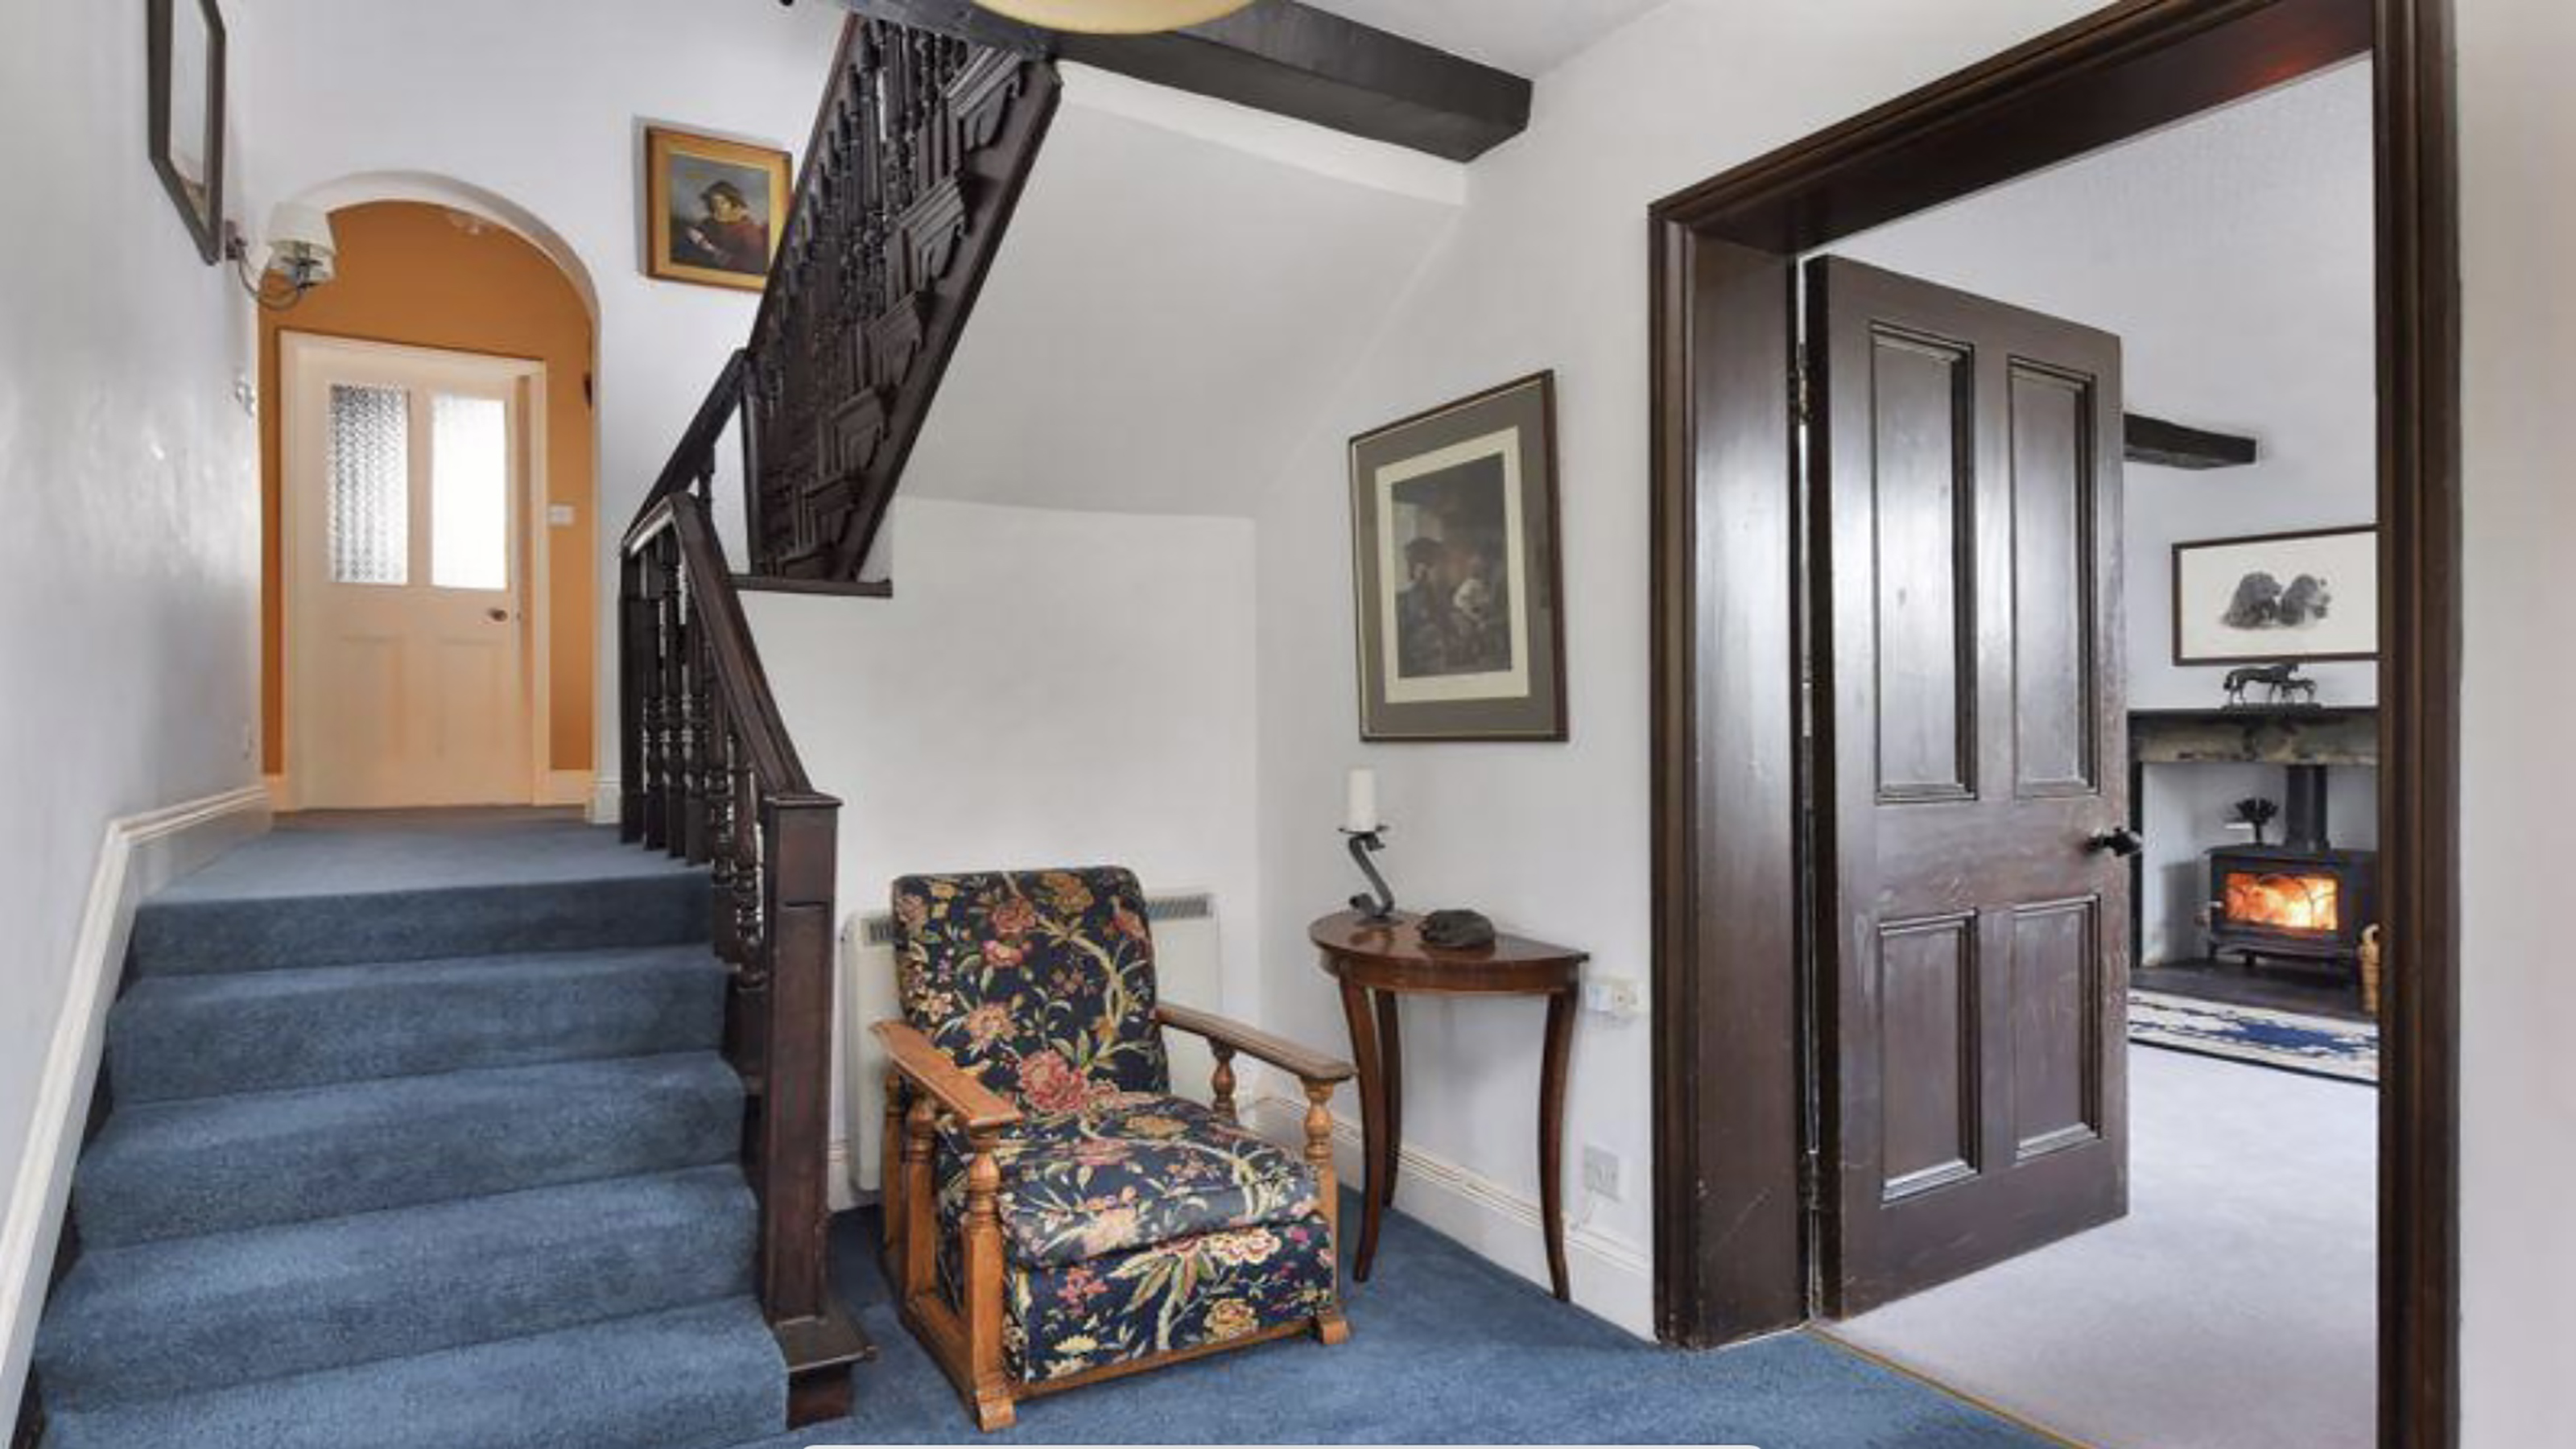 How to replace a broken staircase spindle in 30 minutes flat
A missing or broken spindle on a staircase is not only unsightly, but it can be a real hazard. This is how to fix it in a few quick steps.
-
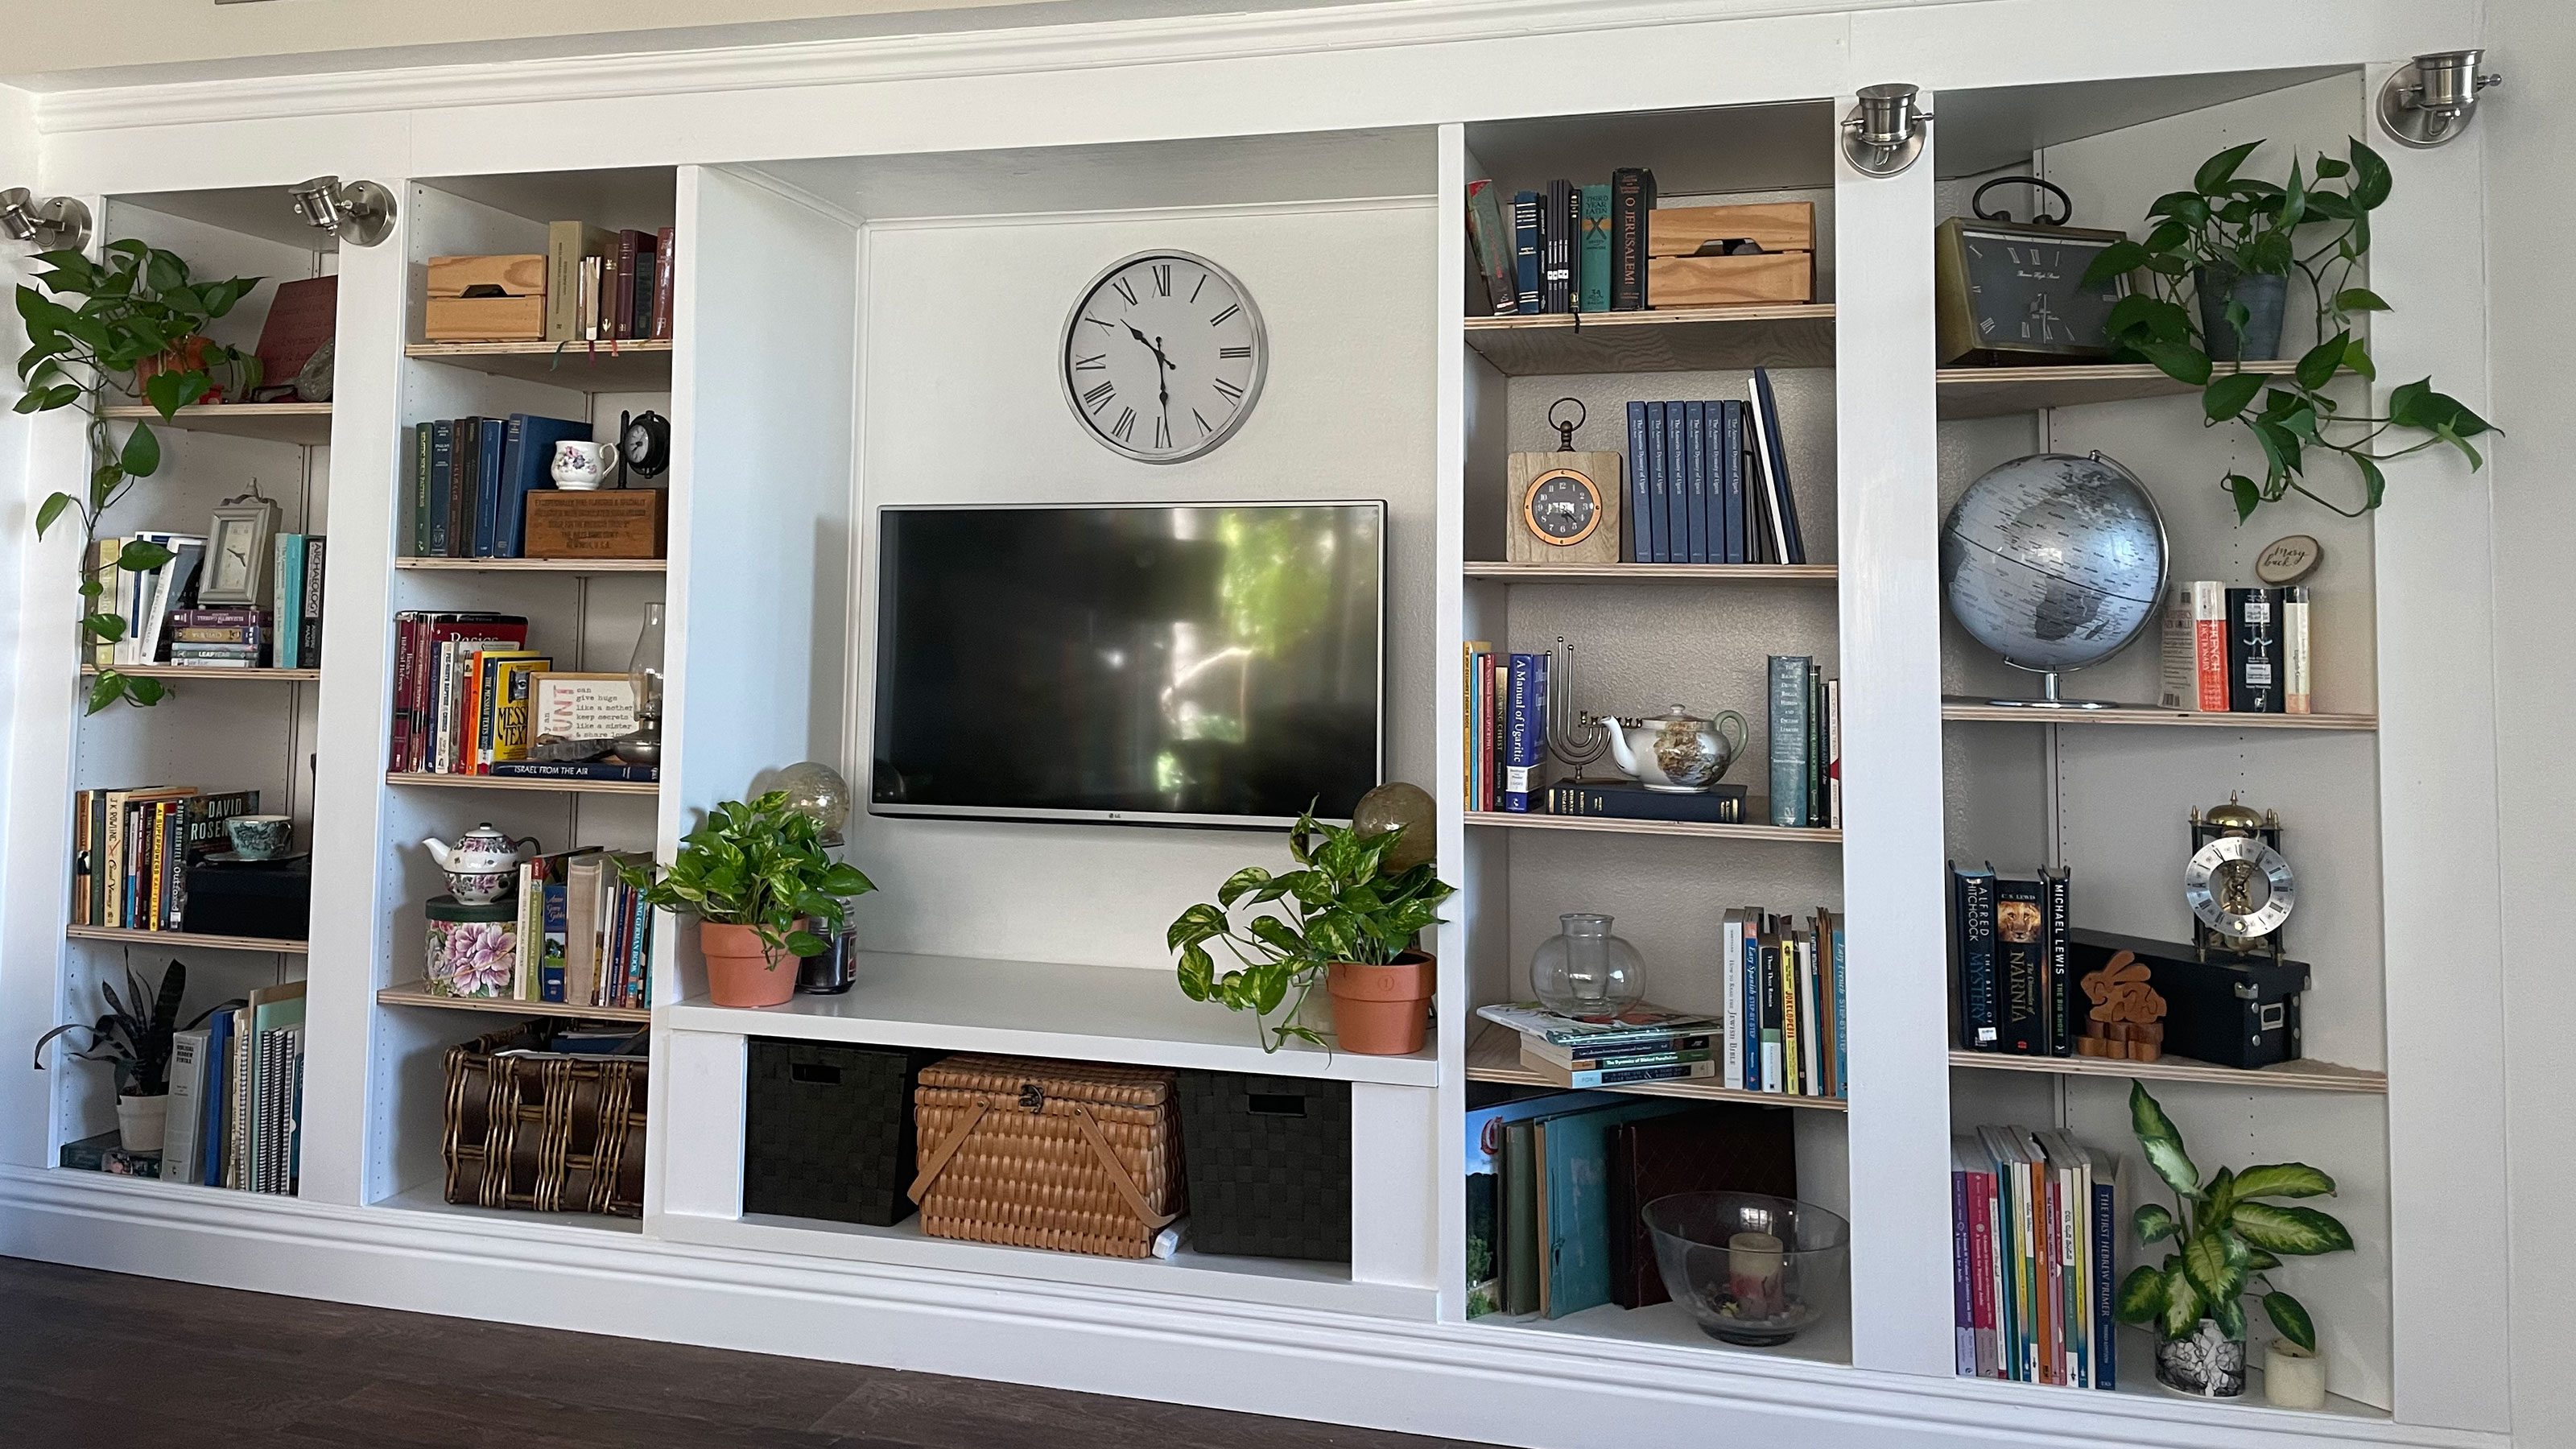 An IKEA Billy bookcase hack inspired this cute media wall DIY
This cute DIY was inspired by an IKEA Billy bookcase hack and brought a ton of symmetry to an otherwise basic media wall space.
-
 Share your small space glow up to win $150 in the Real Homes competition
Show off your creativity and DIY skills to win $150 and for the chance to be featured exclusively in Real Homes magazine
-
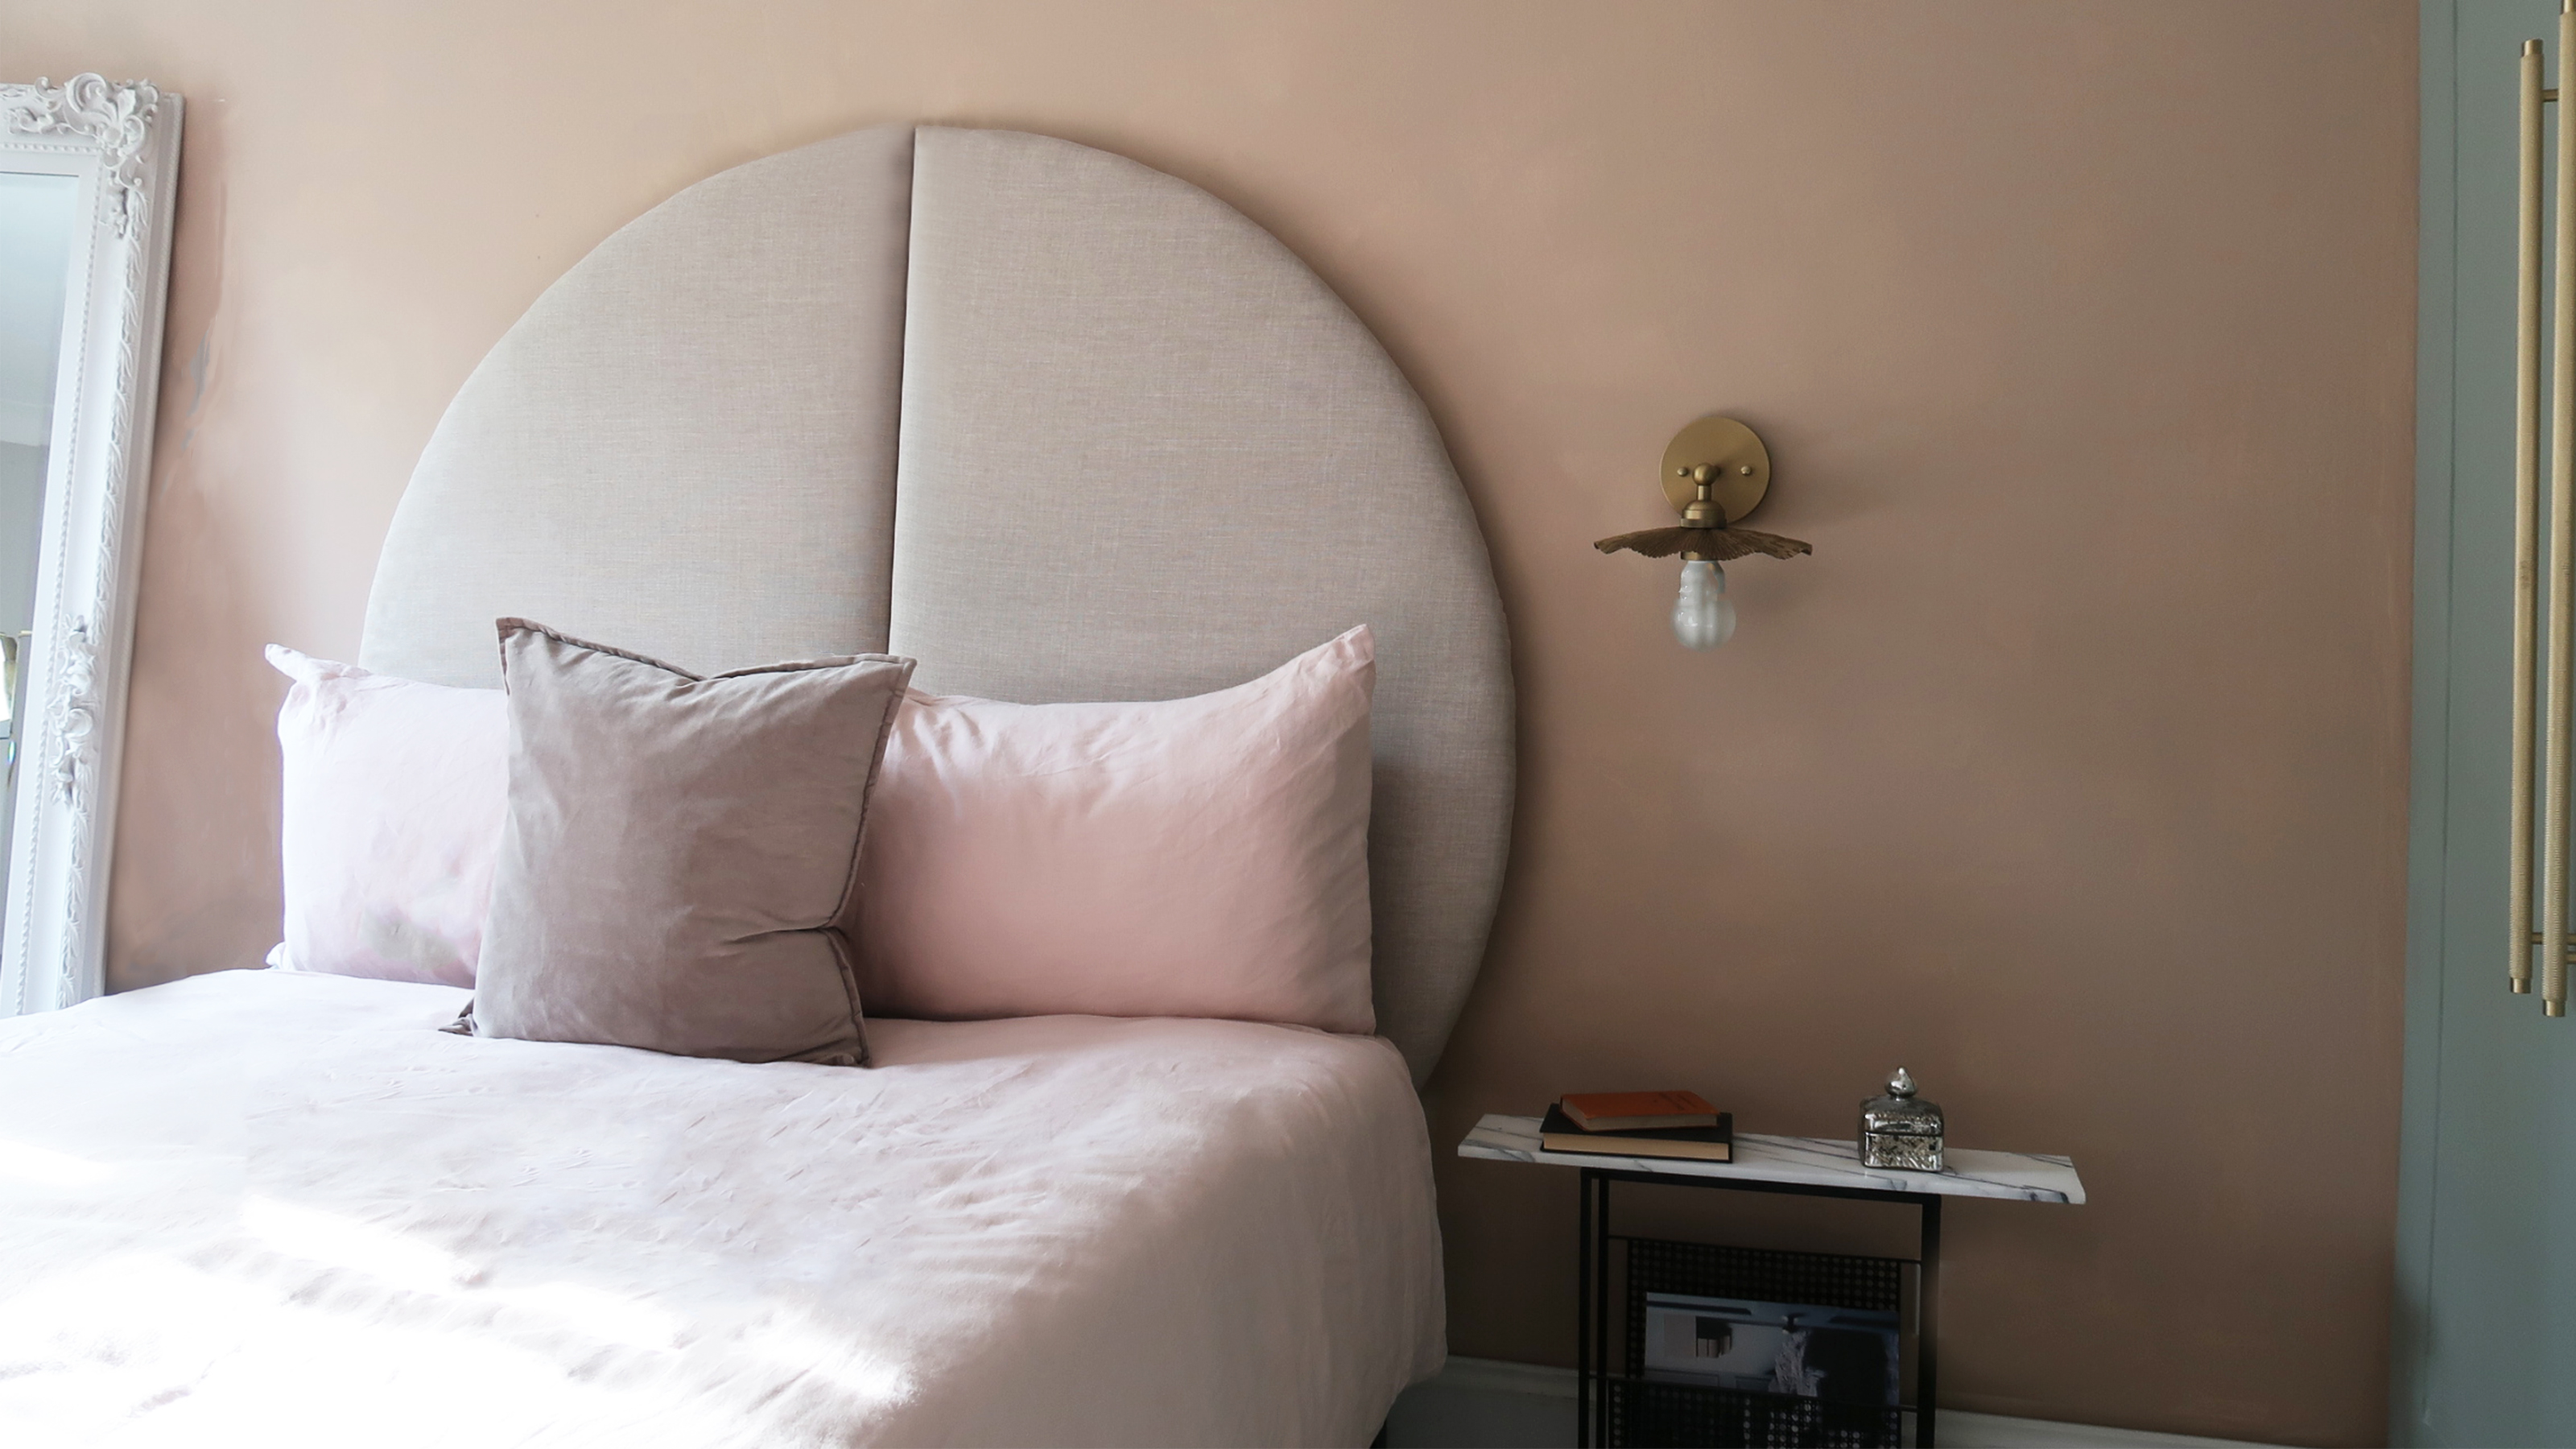 This oversized headboard looks designer, and takes 5 steps to DIY
Super simple to DIY, this oversized headboard will give your bedroom space all the designer vibes you could dream of.
-
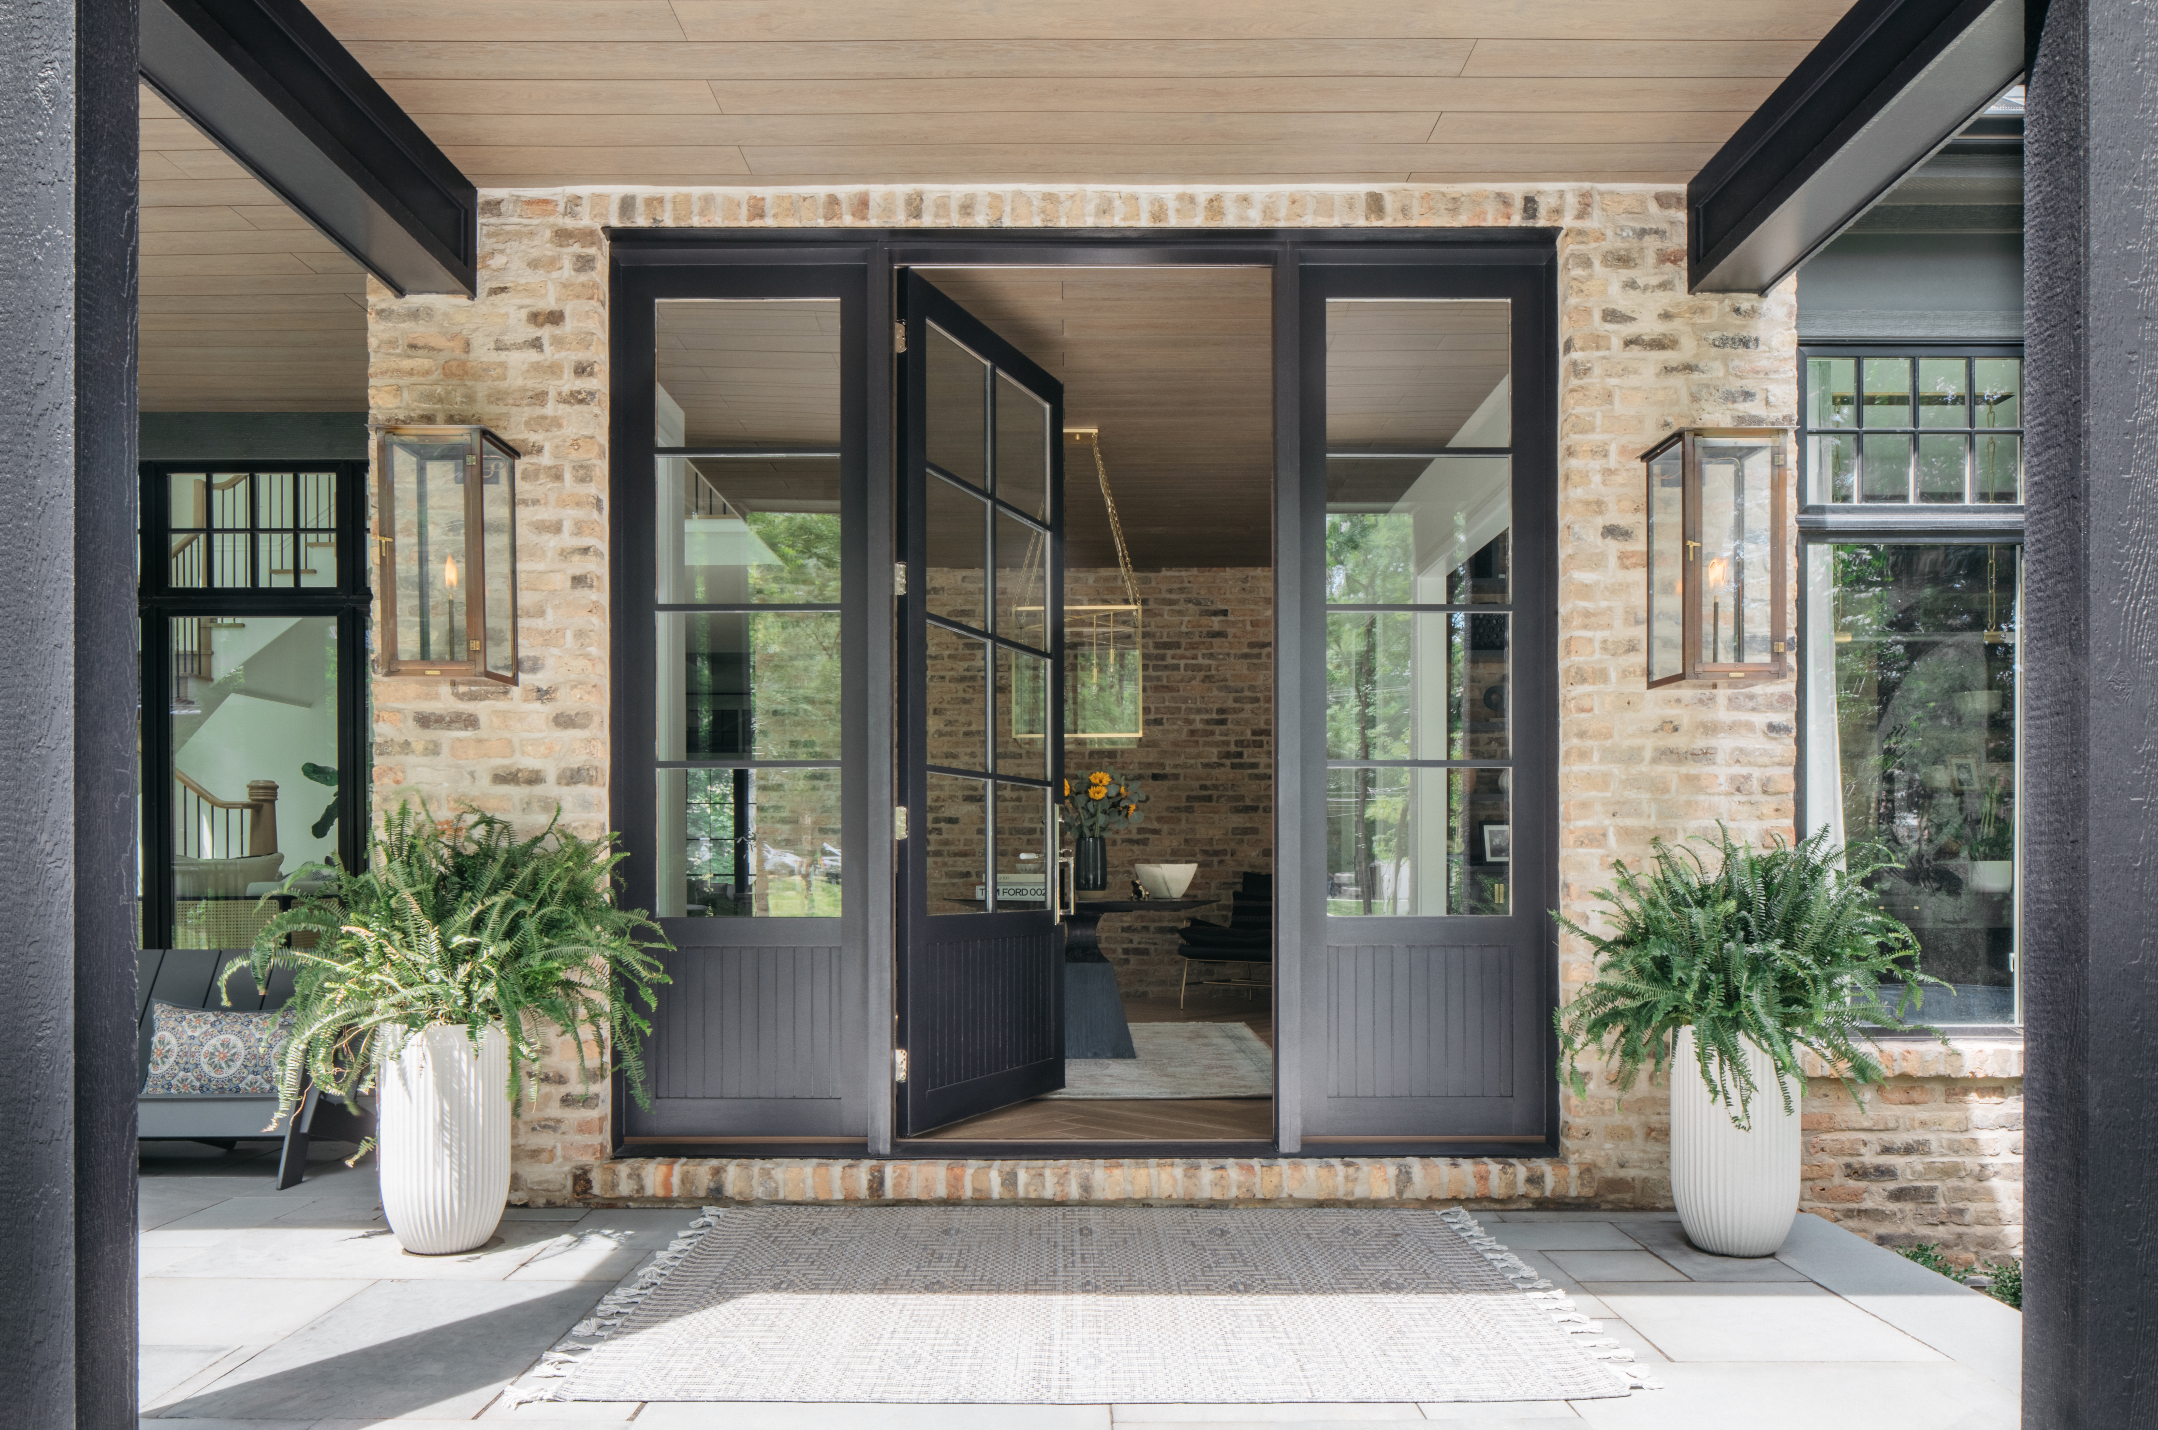 How to paint a door and refresh your home instantly
Painting doors is easy with our expert advice. This is how to get professional results on front and internal doors.
-
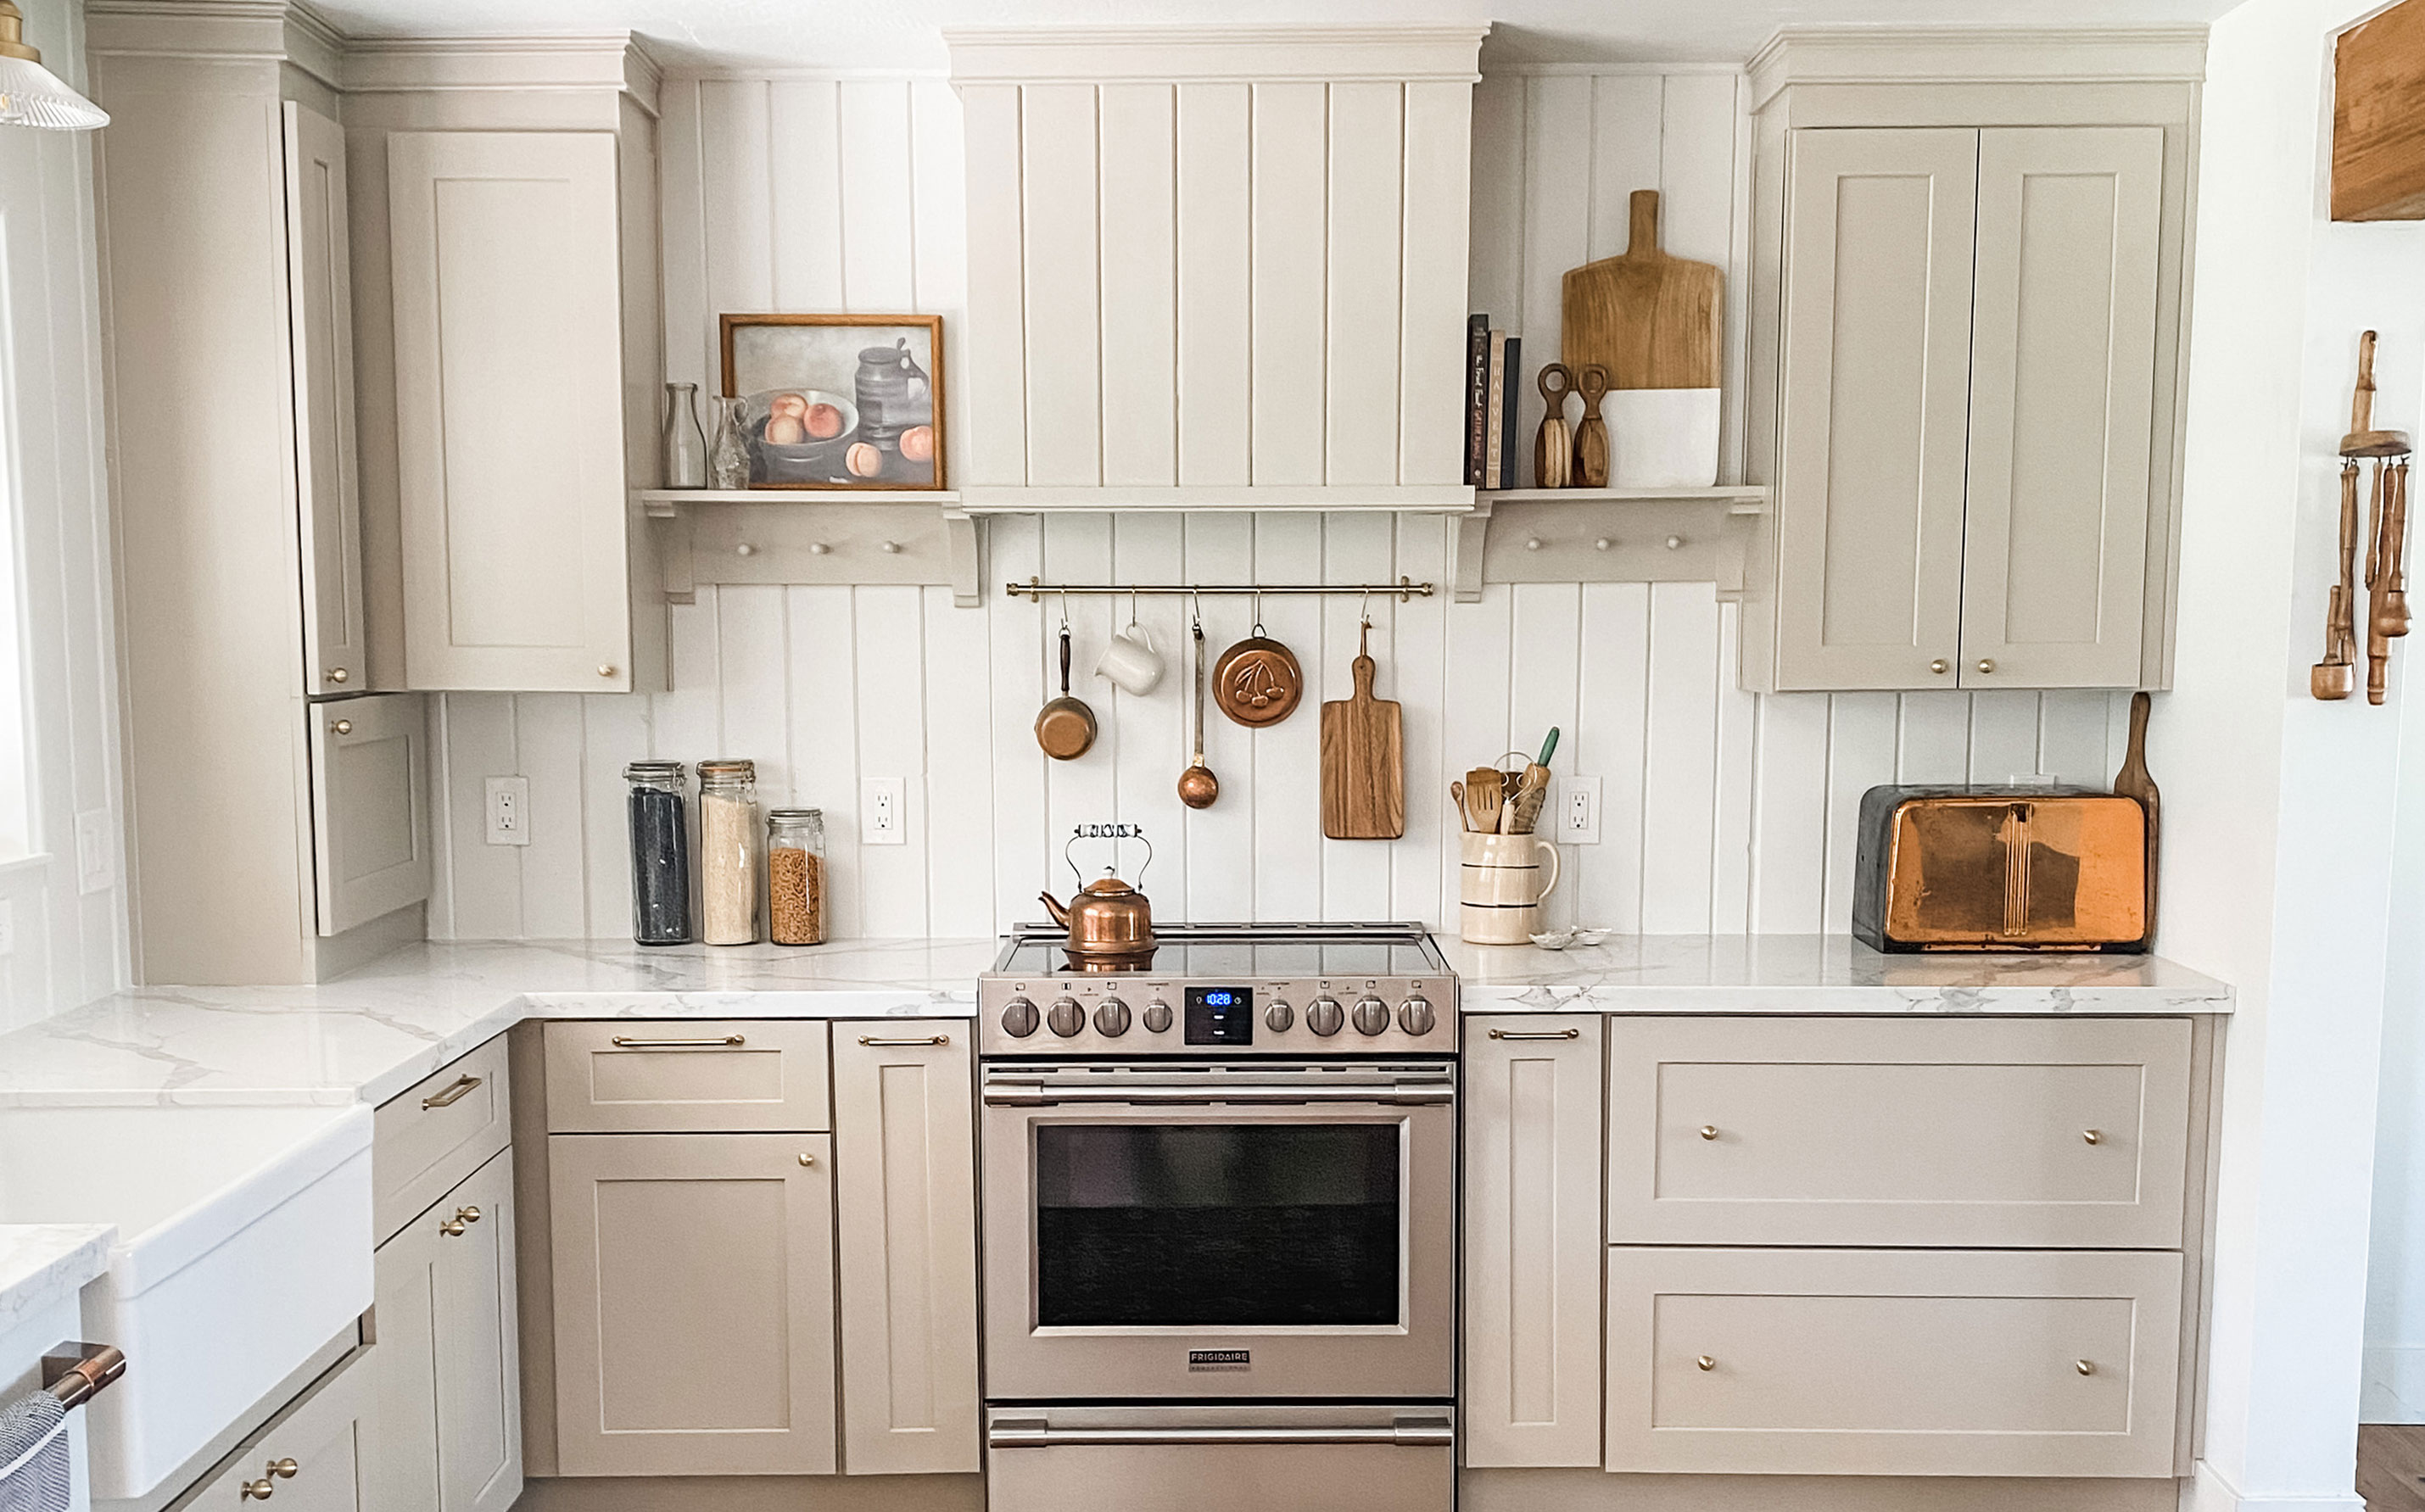 My DIY range hood and backsplash build gave my kitchen the perfect farmhouse finish
I craved charm in my kitchen space and adding a custom range hood and shelving was the best move.


