
Planting out hydrangeas, whether in containers or in flowerbeds, is a great way to create a colorful garden. These impressive blooms offer up a lengthy summer display and they're pretty simple to get started with.
We asked gardening and landscaping experts to break down the process, step-by-step. This easy five-step planting method ensures your hydrangeas are getting the best light, soil, and watering schedule.
Getting these plants in the ground is the first step in caring for hydrangeas, resulting in pink, blue, and purple flowers all season long.
When is the best time to plant hydrangeas?
The best planting time for hydrangeas is in late spring, after the last frost, or early fall before the first frost. However, you can plant out small plants anytime over summer if the weather isn't too dry or too hot.
If you've purchased a new plant or have recently propagated a hydrangea then you're best to get the hydrangeas planted out as soon as possible. If you're not planting directly into the ground, you can also grow hydrangeas in pots — a great solution for small gardens or patios. Plant your new hydrangeas last thing in the evening and water the new plants well once in to ensure they don't suffer in the next day's heat too badly if you're planting outside of traditional planting season.
Follow these steps below correctly and you can ensure your hydrangeas can bloom every year.

1. Choose the right location
Planting hydrangeas all starts with that classic rule — location, location, location. Knowing where to plant hydrangeas is an essential first step before you get started. Your hydrangeas may not bloom if planted somewhere without the needed light, soil, and water requirements.
"When it comes to hydrangeas, location is everything. These plants thrive with morning sun and afternoon shade. They need about 4-6 hours of sunlight each day, but too much direct afternoon sun can burn their leaves. So, find a spot where they get a bit of a reprieve in the hottest part of the day," says David Miller, CEO of Austin Tree Services.
2. Prepare the soil
Once your spot is picked out, it's time to prepare the soil you'll be using for the hydrangeas. The environmental factors of the soil are important because the pH balance can actually change the color of your hydrangeas.
"Any well-draining soil that is rich in organic matter will work fine. Hydrangeas prefer their soil slightly acidic, about pH 5.5-6.5. In case your soil is alkaline, add peat moss or compost to achieve the correct pH. Plant in a mix that incorporates compost or aged manure. This will enrich the soil with much-needed plant nutrients," says Matthew Wilson, gardening expert and CEO of handygardeners.com.
Try mixing in this organic compost available on Amazon, made with 100% dairy cow manure. With 4.6 stars and over 200 ratings, it's well-loved by shoppers. One reviewer says, "Used it on my indoor and outdoor plants and could see an immediate improvement."
3. Dig a hole
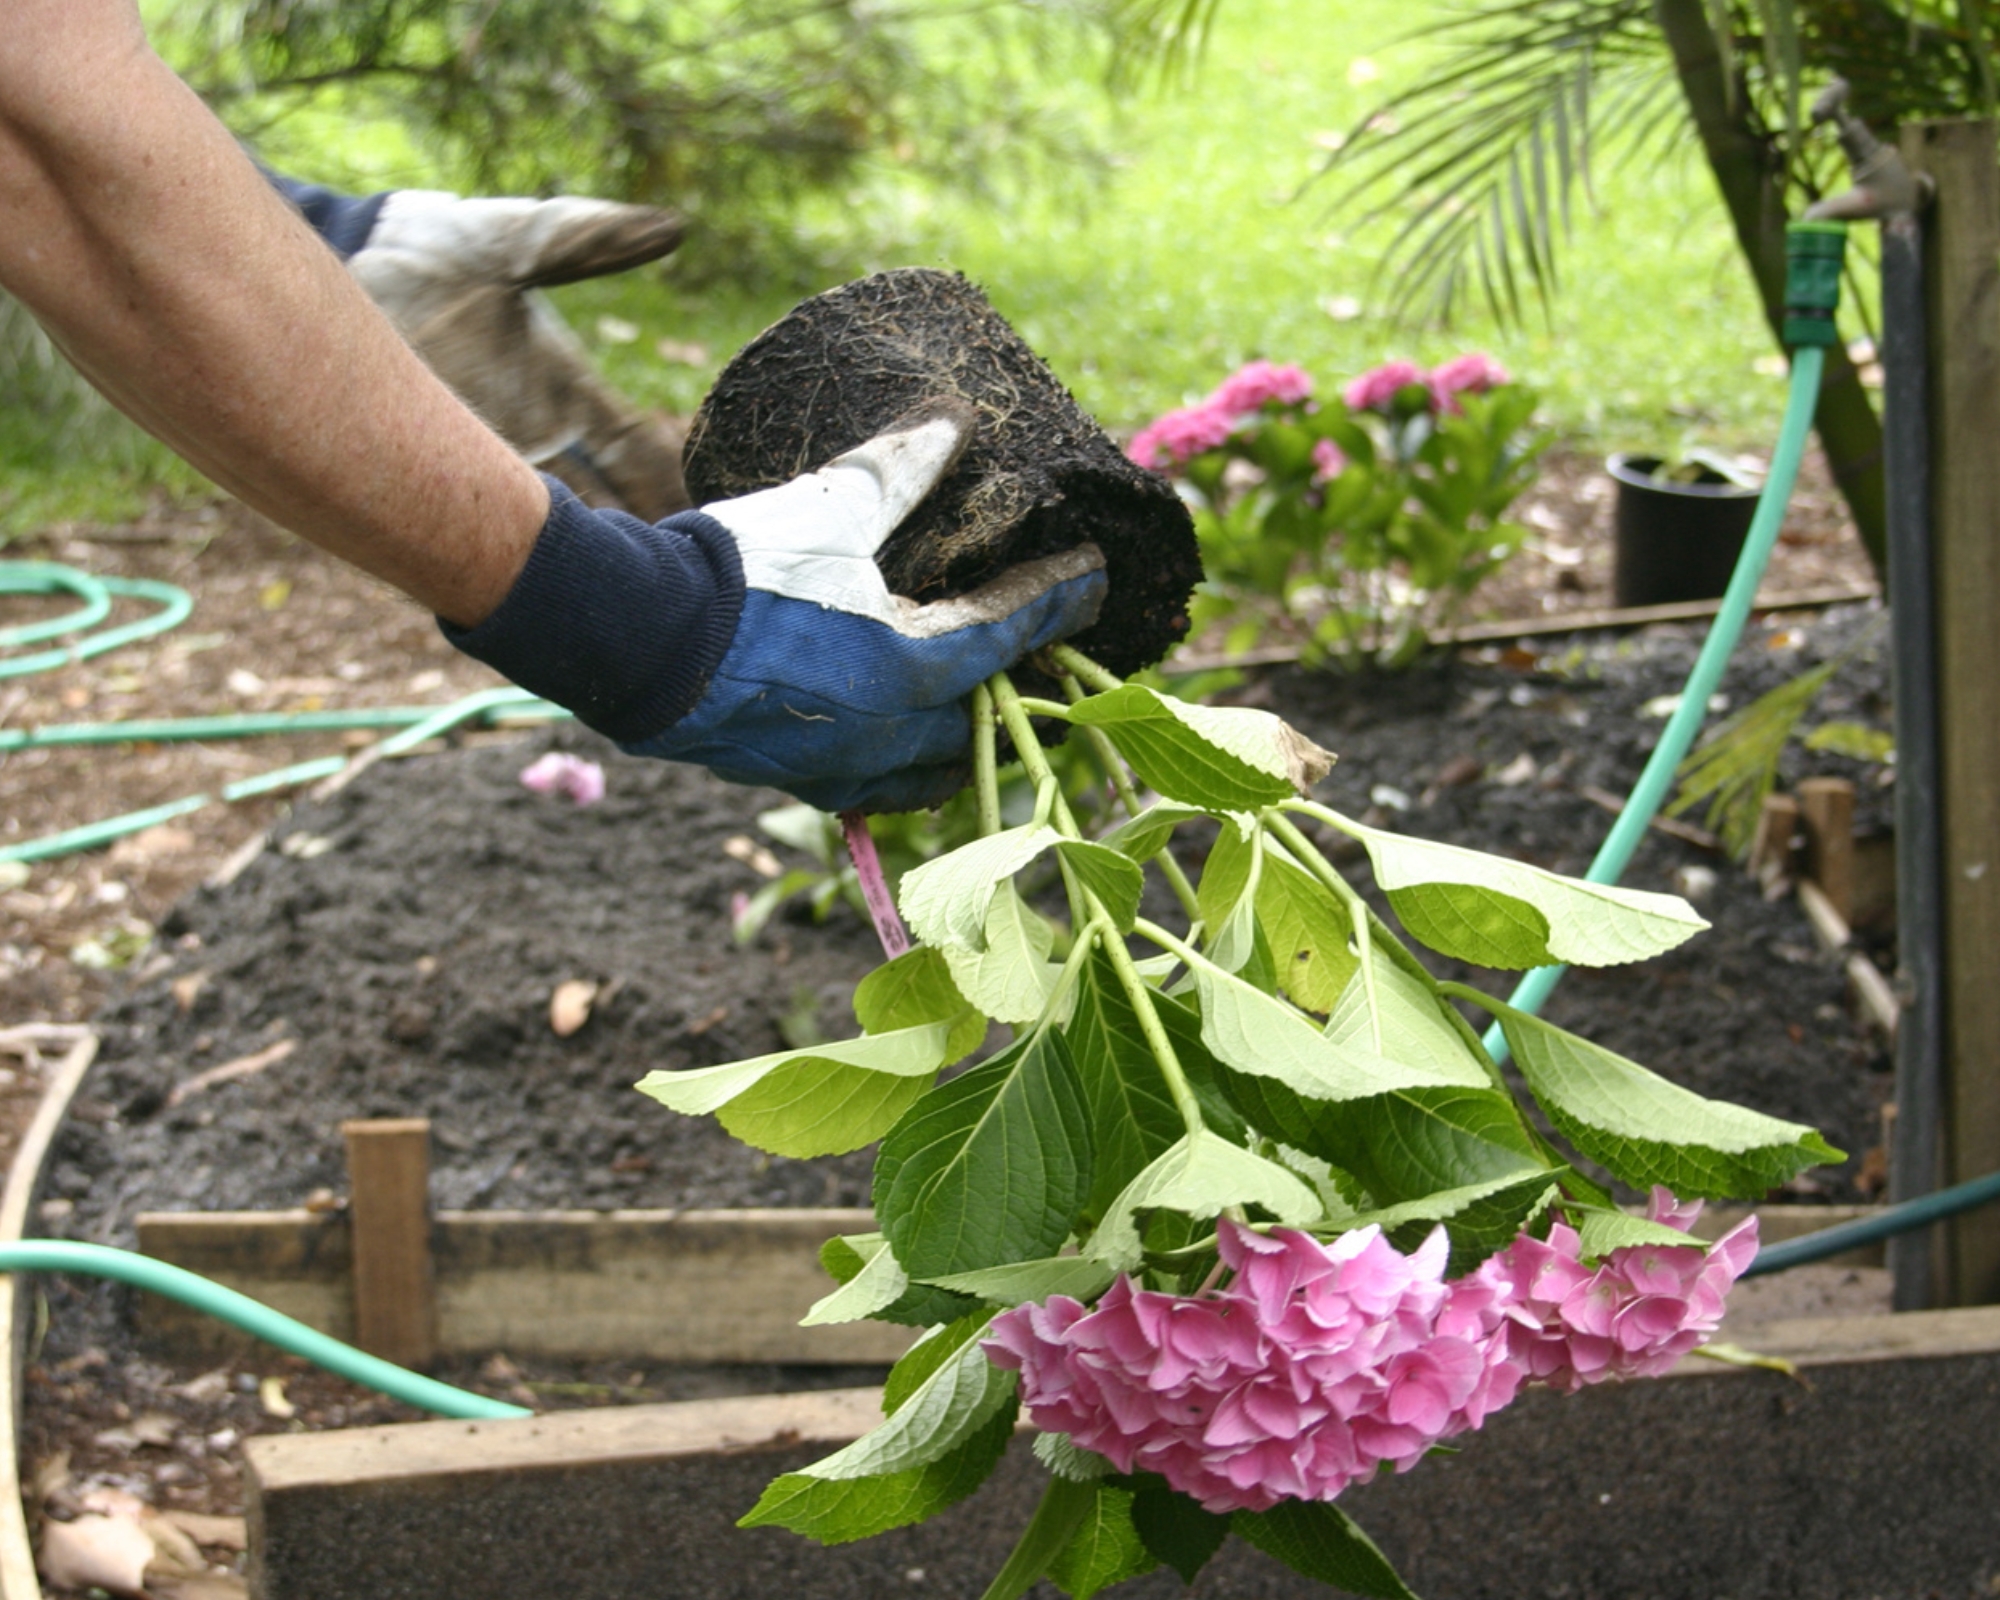
Now it's time to get planting. To ensure your hydrangeas won't start dropping, dig a hole the right size for your plant. "Dig a hole twice as wide and just as deep as the root ball of your hydrangea. This gives the roots plenty of room to spread their wings. Loosen the soil at the bottom of the hole to help the roots establish more easily," says David.
4. Plant the hydrangeas
Now you're ready to plant the hydrangea into the hole in the ground or pot. "Place it in the hole so the top of the root ball is level with the surrounding soil. Backfill the hole with soil, gently firming it around the base of the plant. Give it a good drink to settle the soil and get rid of any air pockets," says David.
It's important to note hydrangeas can be toxic to dogs and other pets, so take care if you have pets around the house.
5. Water
Once your hydrangea is safe and sound in the soil, you'll need to give it a good soak and maintain a watering schedule throughout the season. "Hydrangeas require frequent watering, especially during dry periods. At the time of planting, water sufficiently to settle the soil around the roots. In years to come, deliver about 1 inch of water per week, considering both rainfall and evapotranspiration," says Matthew.
Hydrangea planting essentials
You're going to need a few supplies to successfully plant your hydrangeas. See our top-rated picks to use in your garden, all loved by shoppers with over 4 stars and hundreds of ratings.
Prices were correct at the time of publishing.

Price: $8.95
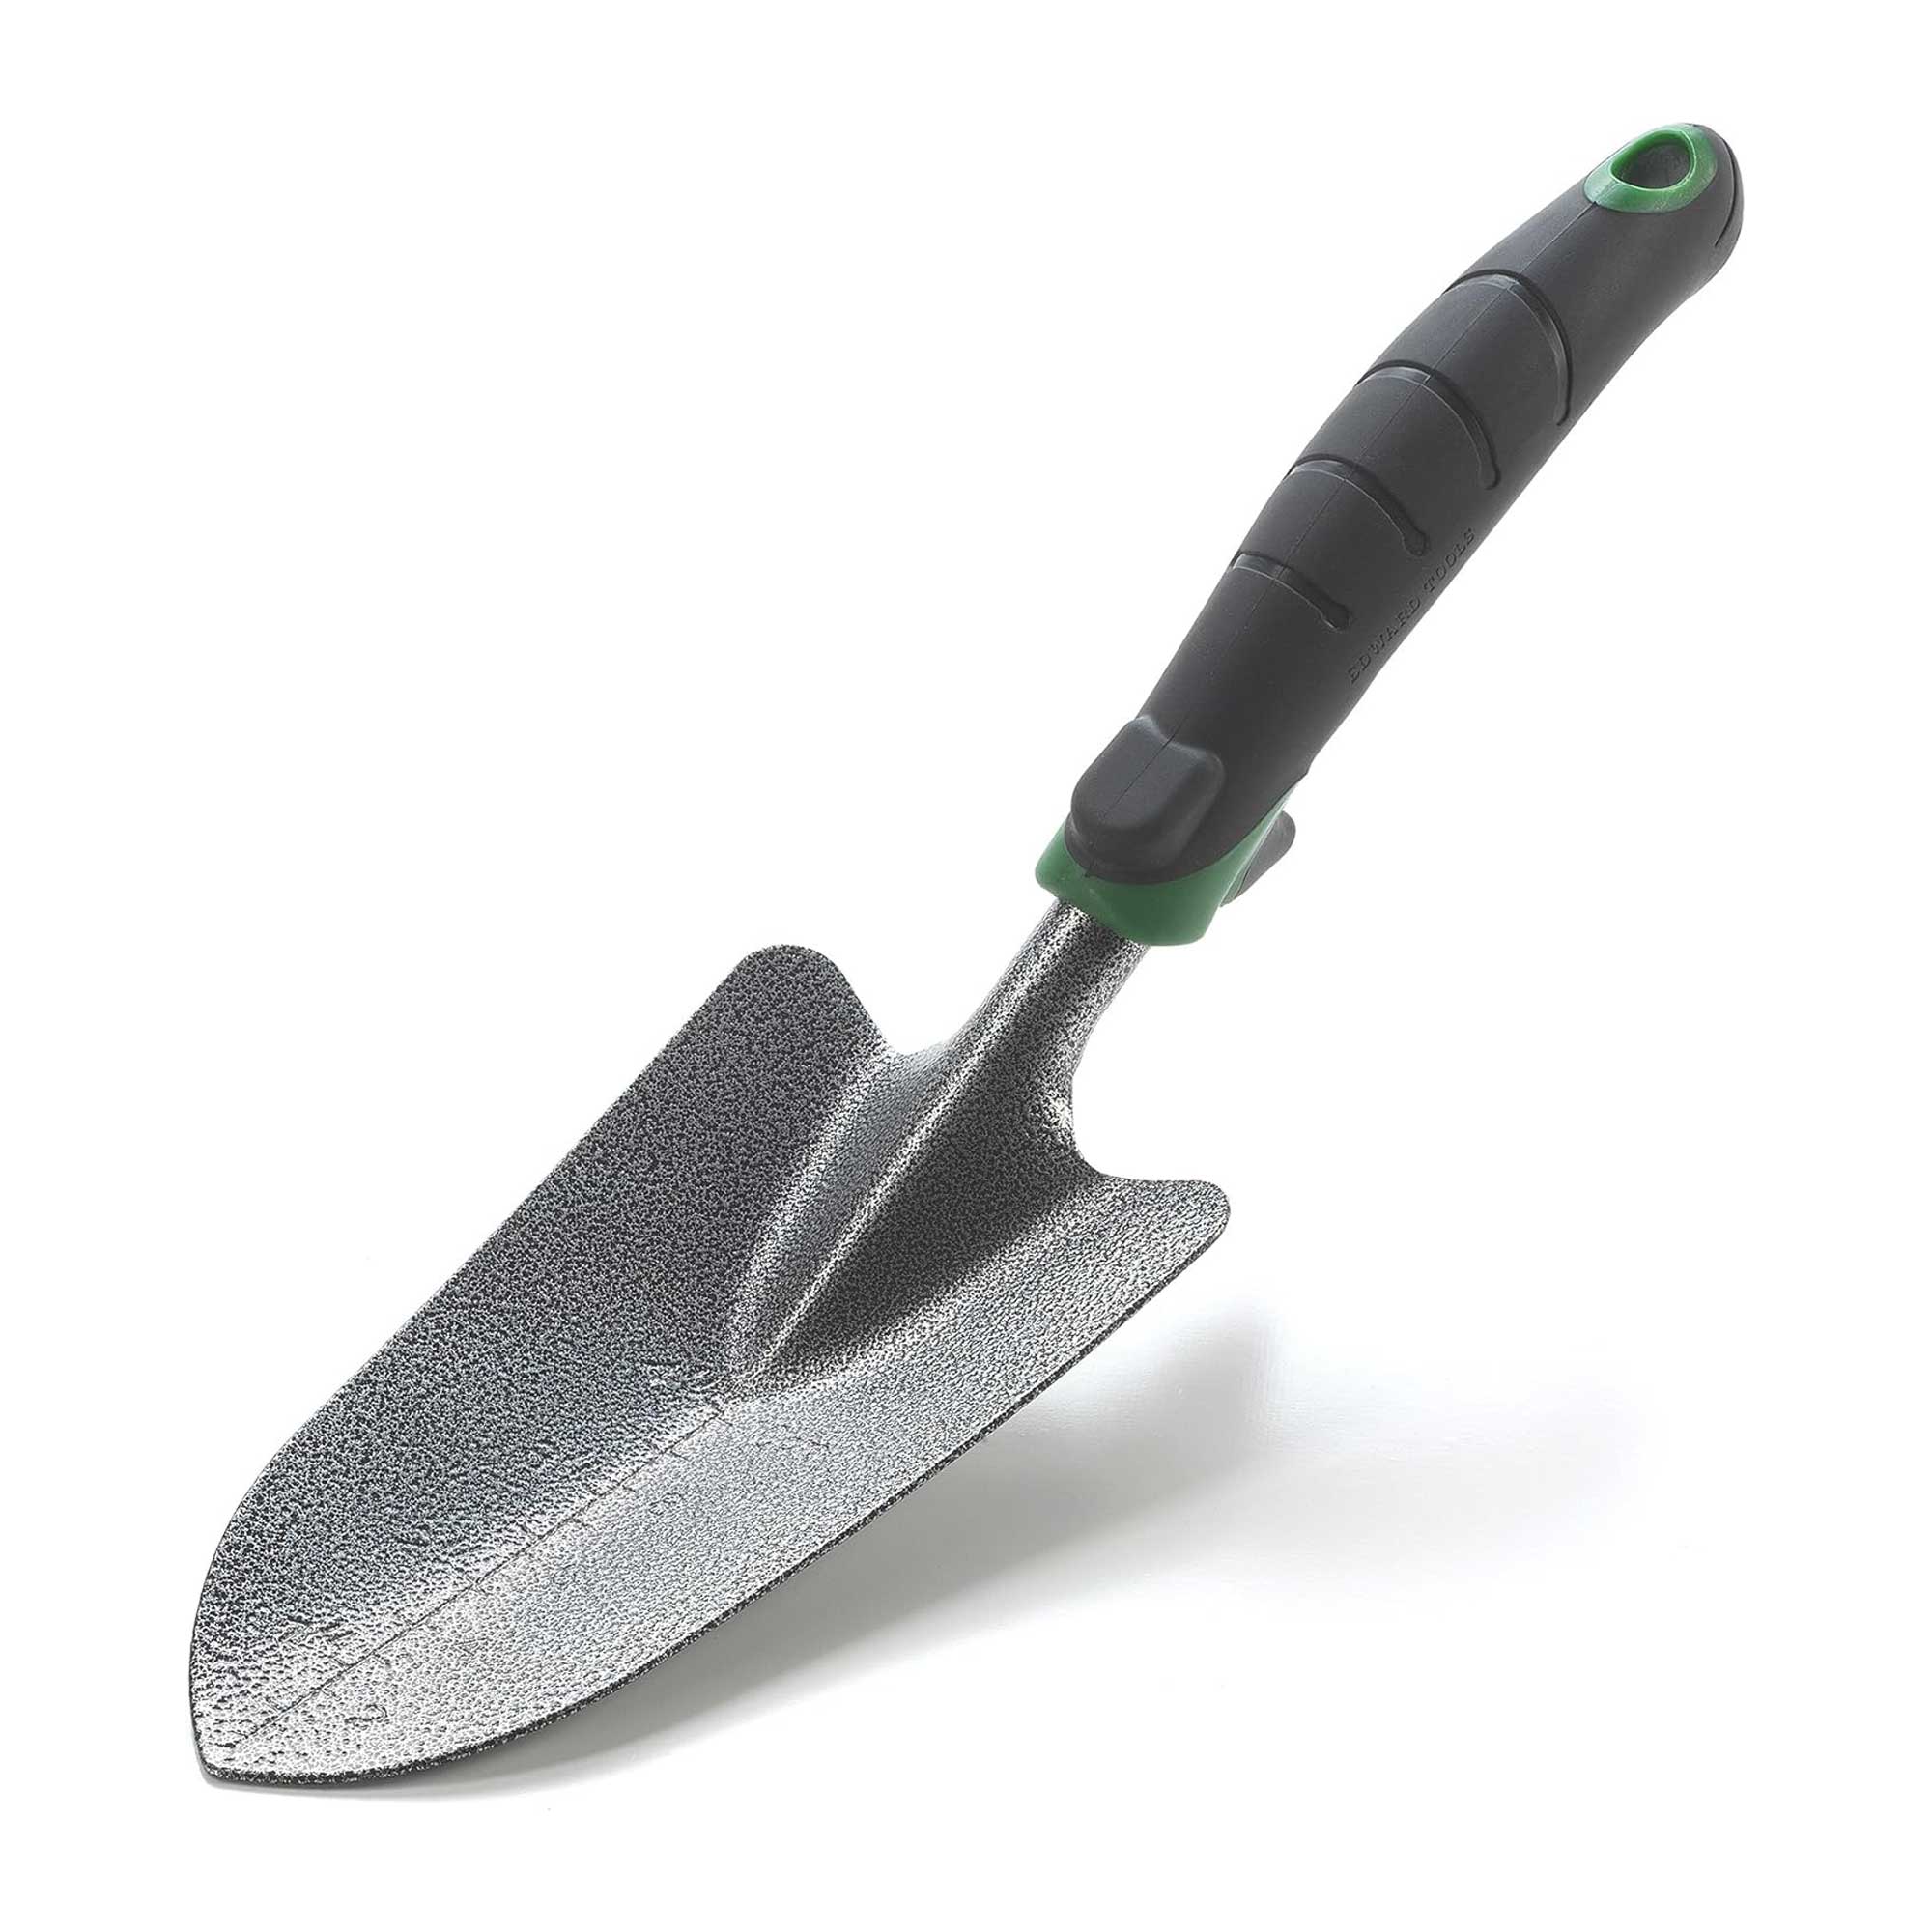
A hand trowel is essential for planting hydrangeas. This sturdy design with its carbon steel blade and ergonomic grip is a great option, plus it's budget-friendly coming in under $10. It's Amazon's Choice, with one shopper saying, "It's sturdy, has a nicely sized scoop, comfortable to hold, not too heavy, and pointed tip works well for digging."

Price: $9.99
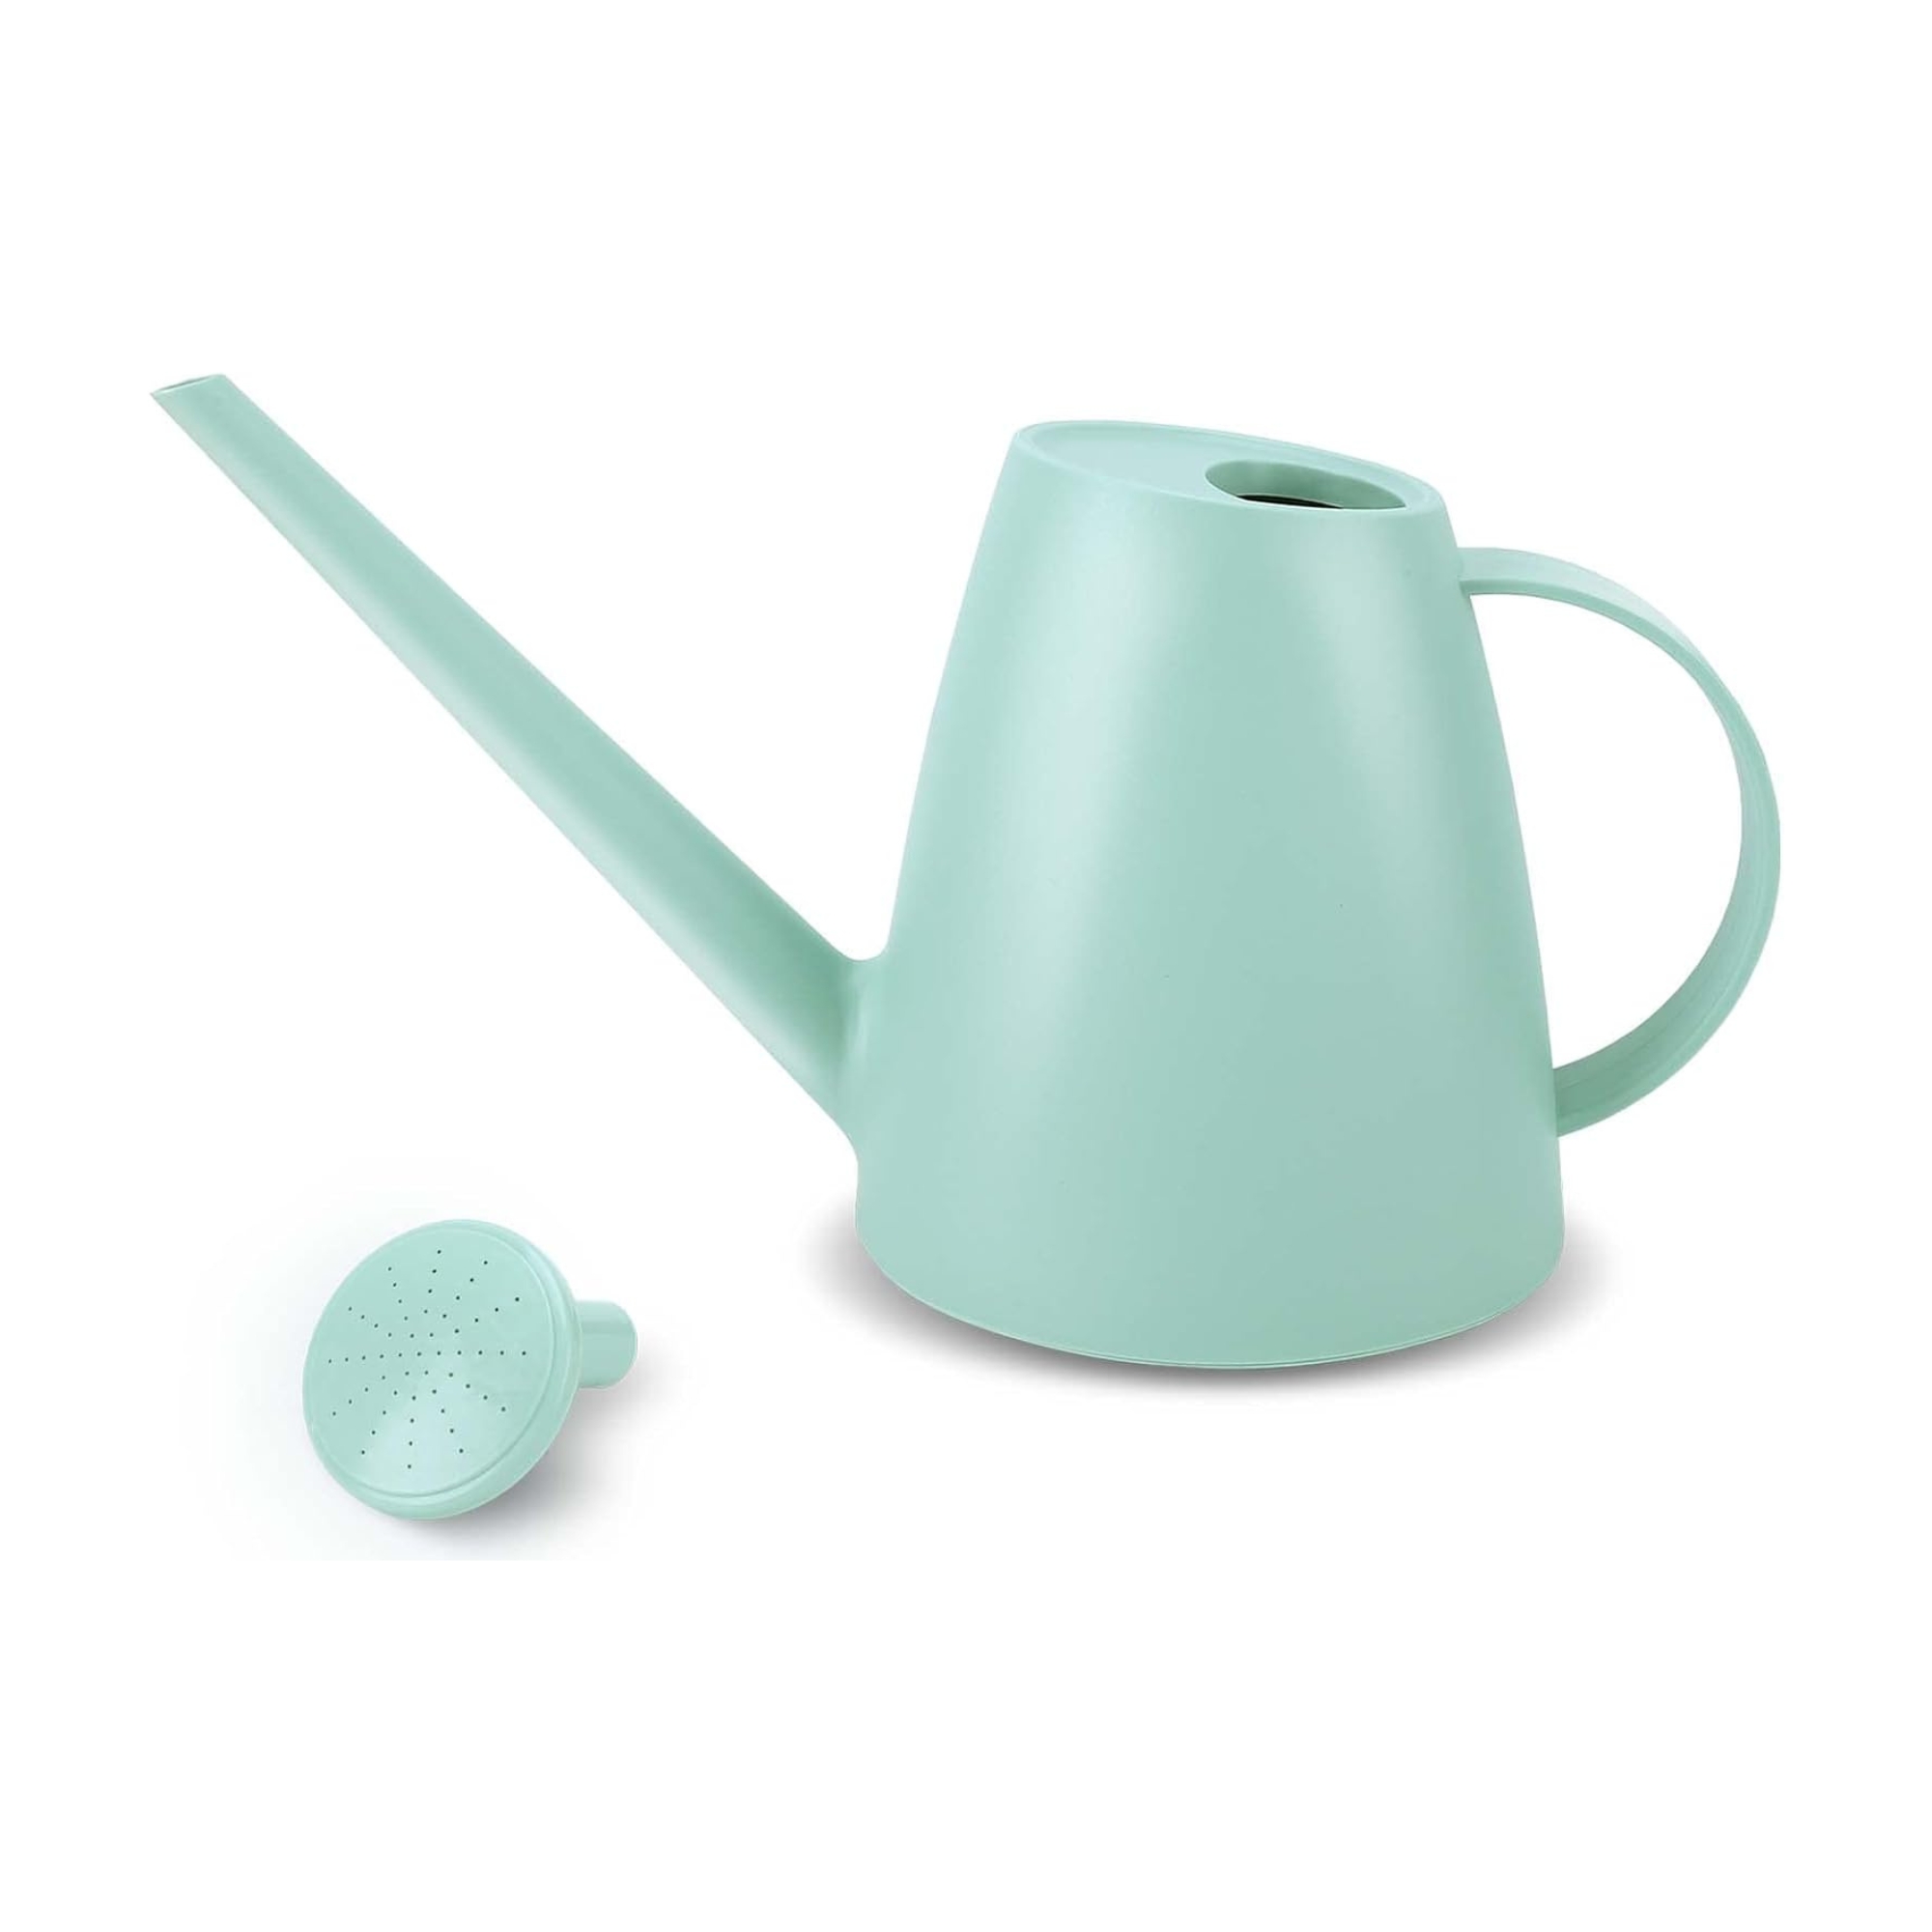
Your hydrangeas are going to need regular watering, so it's worth it to invest in a handy watering can. With over 8,000 ratings, this budget-friendly watering can is loved by customers. It comes with a detachable nozzle so you can choose a direct stream or a gentle shower. It's available in seven colors including pastel pink and neon yellow. Shoppers compliment how easy it is to use and the large capacity to hold water.

Price: $22.68
Size: 4 pounds
Use this organic plant food to add nutrients to the soil for your hydrangeas. It's made with beneficial microbes that assist in breaking down organic matter into nutrients. This stimulates root development and water efficiency, resulting in an overall healthier plant. The best part? No nasty manure smell. One reviewer says, "We used this on fruit trees as well as other fruits and veggies and the plants are all strong and healthy."
It's important to avoid making any landscaping mistakes so you don't damage your plants in the garden. "Too much direct sunlight can cause leaf scorch, so ensure your hydrangeas get some afternoon shade. Hydrangeas don’t like wet feet. Make sure your soil drains well to prevent root rot. Pruning at the wrong time can throw a wrench in the works, reducing blooms. Know your hydrangea type and prune accordingly," says David.
Join our newsletter
Get small space home decor ideas, celeb inspiration, DIY tips and more, straight to your inbox!

Hey! I’m Emily and I’m the deputy digital editor at Real Homes. I’m here to bring you the latest decor trends, inspirational ideas, informative how tos, the latest celeb homes style and the best budget-friendly buys. I live in a rented apartment, making the most of small spaces and using accent pieces to make things pop. When I’m not writing, I’m usually doing yoga, eating chocolate or working on my skincare routine.