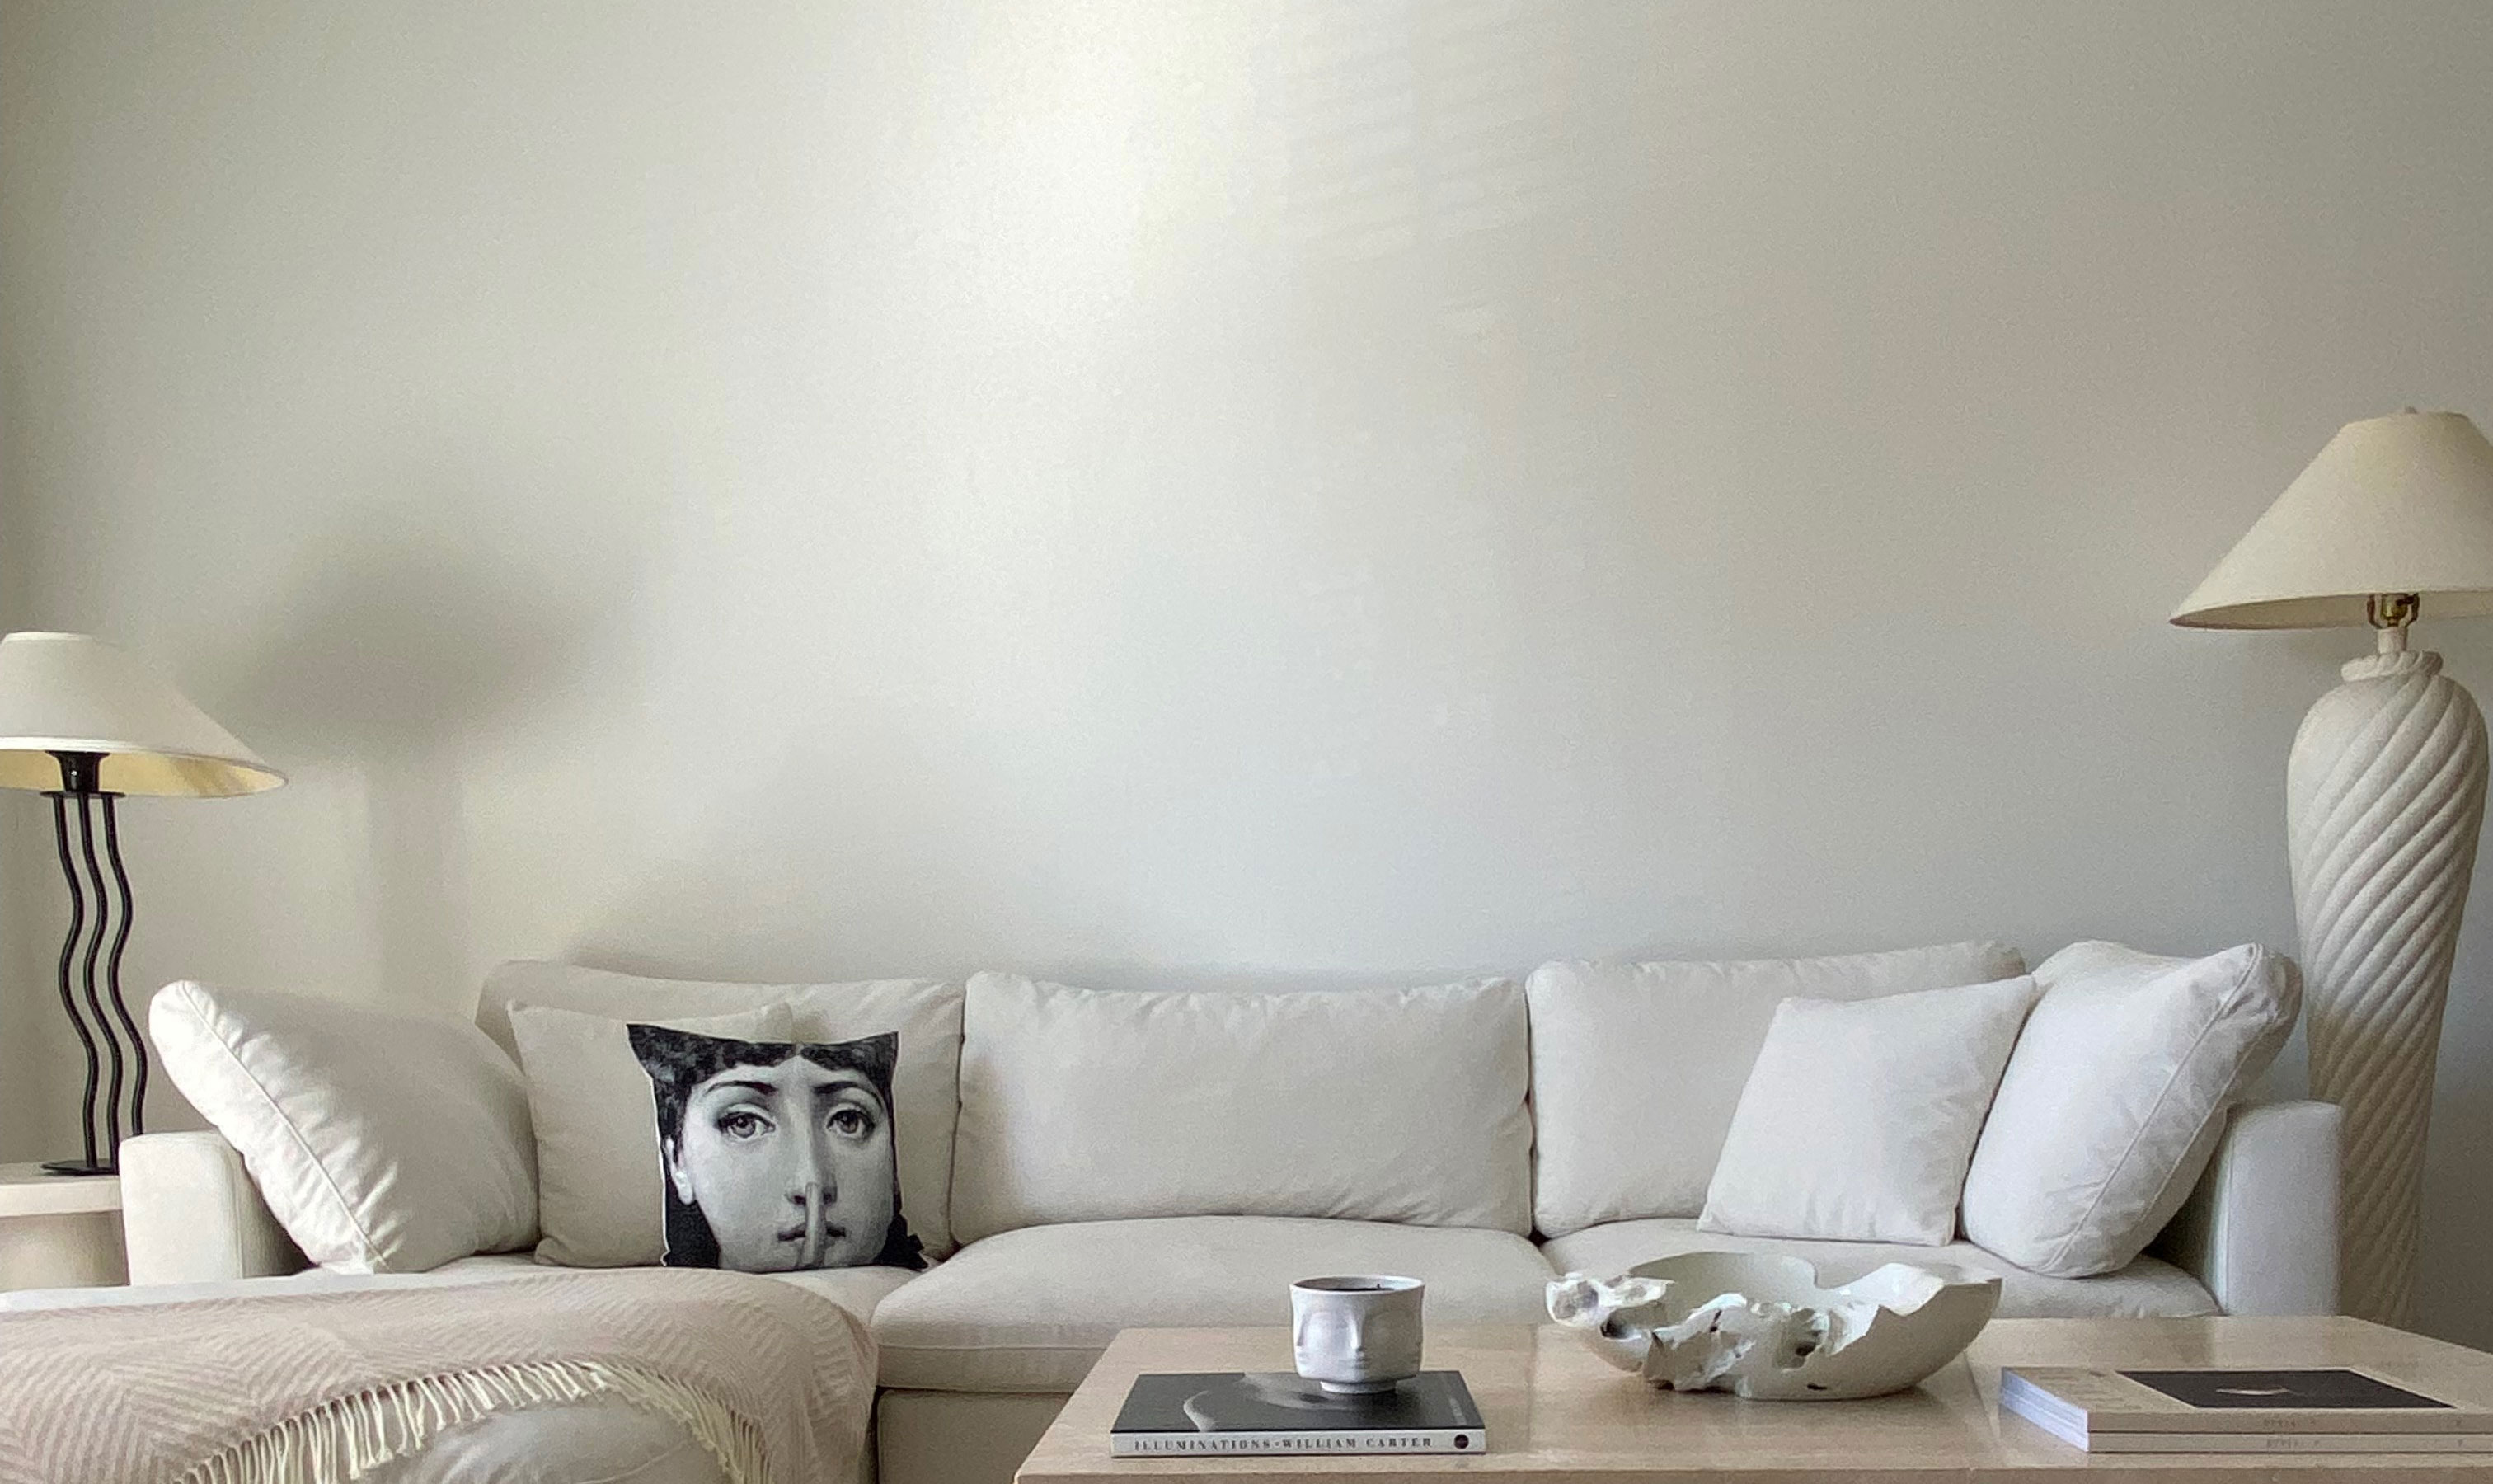
Failing to prepare is preparing to fail. This saying is most true in the case when painting walls and decorating. Not preparing your surface adequately can mean peeling paint, uneven finish, cracks, or holes showing through, wasted paint, or a very patchy wall. Prepping a wall includes knowing how to clean walls, and then filling, sanding, cleaning, taping, and priming – in that order. Each step is vital to ensure you get a long-lasting, smooth, professional finish.
Step 1 – Filling
If you’ve got any holes, dents, or cracks in your wall or around the edges, your first point of call is to fill them. To do this, you’ll need some hole and crack filler, or caulk/silicone.
Any gaps where there’s woodwork, for example, between the baseboards and wall, you’ll need something a bit longer-lasting like expanding foam and wood filler, rather than something flexible like caulk that can crack. If you’re in a new build and have settlement cracks along the plasterboard seams, standard filler will do the job. For loose or lifting seals around windows, you’ll need to remove the existing peeling mastic with a Stanley knife and reapply it with a sealant gun and window sealant. For slight gaps between architrave or molding, caulk’s the one to go for.
For simple nail or screw holes or something slightly bigger, you’ll need some filler and a filler knife. Layer it on thick so that when you sand it smooth, the hole will be nowhere in sight.
Step 2 – Sanding
Next up, making sure the wall is completely smooth and free of bumps, rough patches, any paint samples you’ve painted, and any recently filled holes.
Grab a sanding block or 120 grit sandpaper wrapped around a bit of wood and use one hand to feel the wall and the other to sand. Run your hand over the wall starting from top to bottom. Make sure you protect any nearby furniture with a drop cloth, open a window to ensure there is adequate ventilation, and wear a mask. Sand the whole wall lightly, focusing on areas your feel needs it until the whole wall is smooth
Step 3 – Clean Up
With this step, you’ll need some sugar soap, just basic stuff from Amazon, a bucket, a sponge, and some gloves. You can get sugar soap wipes, but for more bang for your buck, the concentrated solutions are much more economical. Simply mix with water as per the instructions on the bottle and start wiping down the wall. Ensure you wring out the sponge so that it’s not dripping wet. Wipe from top to bottom to ensure it is clean and free from dust and dirt, grime, grease, or any smoke deposits. Give it a real good once over, concentrating on anywhere that collects dust, like skirting boards and anywhere you sanded down.
Step 4 – Taping
Painter’s tape is another crucial step in getting you a professional finish. If you don’t trust your steady hand and a good cutting-in brush, tape will be a great tool to get clean lines along your ceilings and baseboards when creating a design.
For your sockets, however, turn your mains power off and remove the face plates. Sand behind them and leave them pulled away from the wall. This gives you a more professional finish later over taping.
Which tape do you need to use? Easily mixed up, the colored painters tape all do a different job, so here’s a quick breakdown.
Cream – Basic masking tape. It is usually either such low tack it doesn’t stick down, or high tack and leaves reside on any surface or it doesn’t lift cleanly, tearing into strips. I tend to avoid this tape.
Yellow/Purple – Low Tack, designed for delicate surfaces, for example, new build walls, recently painted (within 3 days) surfaces, wallpapered walls, and other fragile surfaces.
Blue – Medium Tack, designed for surfaces such as glass, window frames, plastic, wood, metal, tile, flooring, and kitchen cabinetry.
Green – High Tack, designed for surfaces that haven’t been painted in the last three days, untreated wood, metal, glass, carpet, and stone.
Orange – Extra High Tack, designed for cured surfaces that haven’t been painted in the last 3 days, gloss work and satin painted surfaces, untreated wood, metal, glass, masonry, rough surfaces, and carpet.
To use it, ensure the surfaces are clean and dry. Apply in 30-60cm strips, overlapping slightly for easy removal and neat application. Use a slightly damp cloth or credit card over the edge you’re painting to really stick it down and trim any corners neatly with a Stanley knife.
For block painting or super crisp lines, paint across the line with the original wall color first and allow to dry completely before going in with the new color paint. Once you’ve painted both coats, peel the tape off while the last coat is still wet, pulling away from the line diagonally.
Step 5 – Prime Time
The most important step! You wouldn’t apply foundation without first applying a primer right? So why would you skip it when painting and decorating? Especially when you want a long-lasting, flawless finish, particularly in the case of new builds, where the walls usually only have a mist coat on top of the plaster. Rushed final stage painting and decorating in their construction also means there can be lots of rouge gloss paint on walls near gloss work too.
A good primer will prepare different surfaces for paint, so you get the smoothest, most even, cleanest finish possible. It not only can block out any bold color that was previously on the wall, but it can also eradicate evidence of water damage, cover cooking, smoking or candle stains and any marks from kids or pets...
It also neutralises any old paint finishes, for example if you plan on painting with matt paint over a previous satin finish. Without primer, the sheen would show through. This is certainly the case if you’ve put a few tester swatches on the wall. If you don’t sand them down and prime, they may show through. And if for example, you’ve installed wall paneling, a primer will allow you to paint both the wood and the wall with emulsion.
My favorite brand of primers to use are by Zinsser that is actually available on Amazon. It is acrylic based, so can go on any surface and be painted over with any type of paint. Apply this the same way you would normally paint and do 1-2 coats.
Once you’ve gone through all these steps, you can go ahead and paint in your chosen color and finish. Cut in with paint around the edges and sockets with a paintbrush and mini roller to eradicate brush lines and fill in the wall with a matching larger roller. Wait the full recommended dry time as on the paint can and go in with your second coat. Remember to peel off your tape while it’s still wet too!
Join our newsletter
Get small space home decor ideas, celeb inspiration, DIY tips and more, straight to your inbox!
Jasmine Gurney is a DIY pro, inspiring women with power tools via her home improvement blog Oh Abode and on Realhomes.com.
-
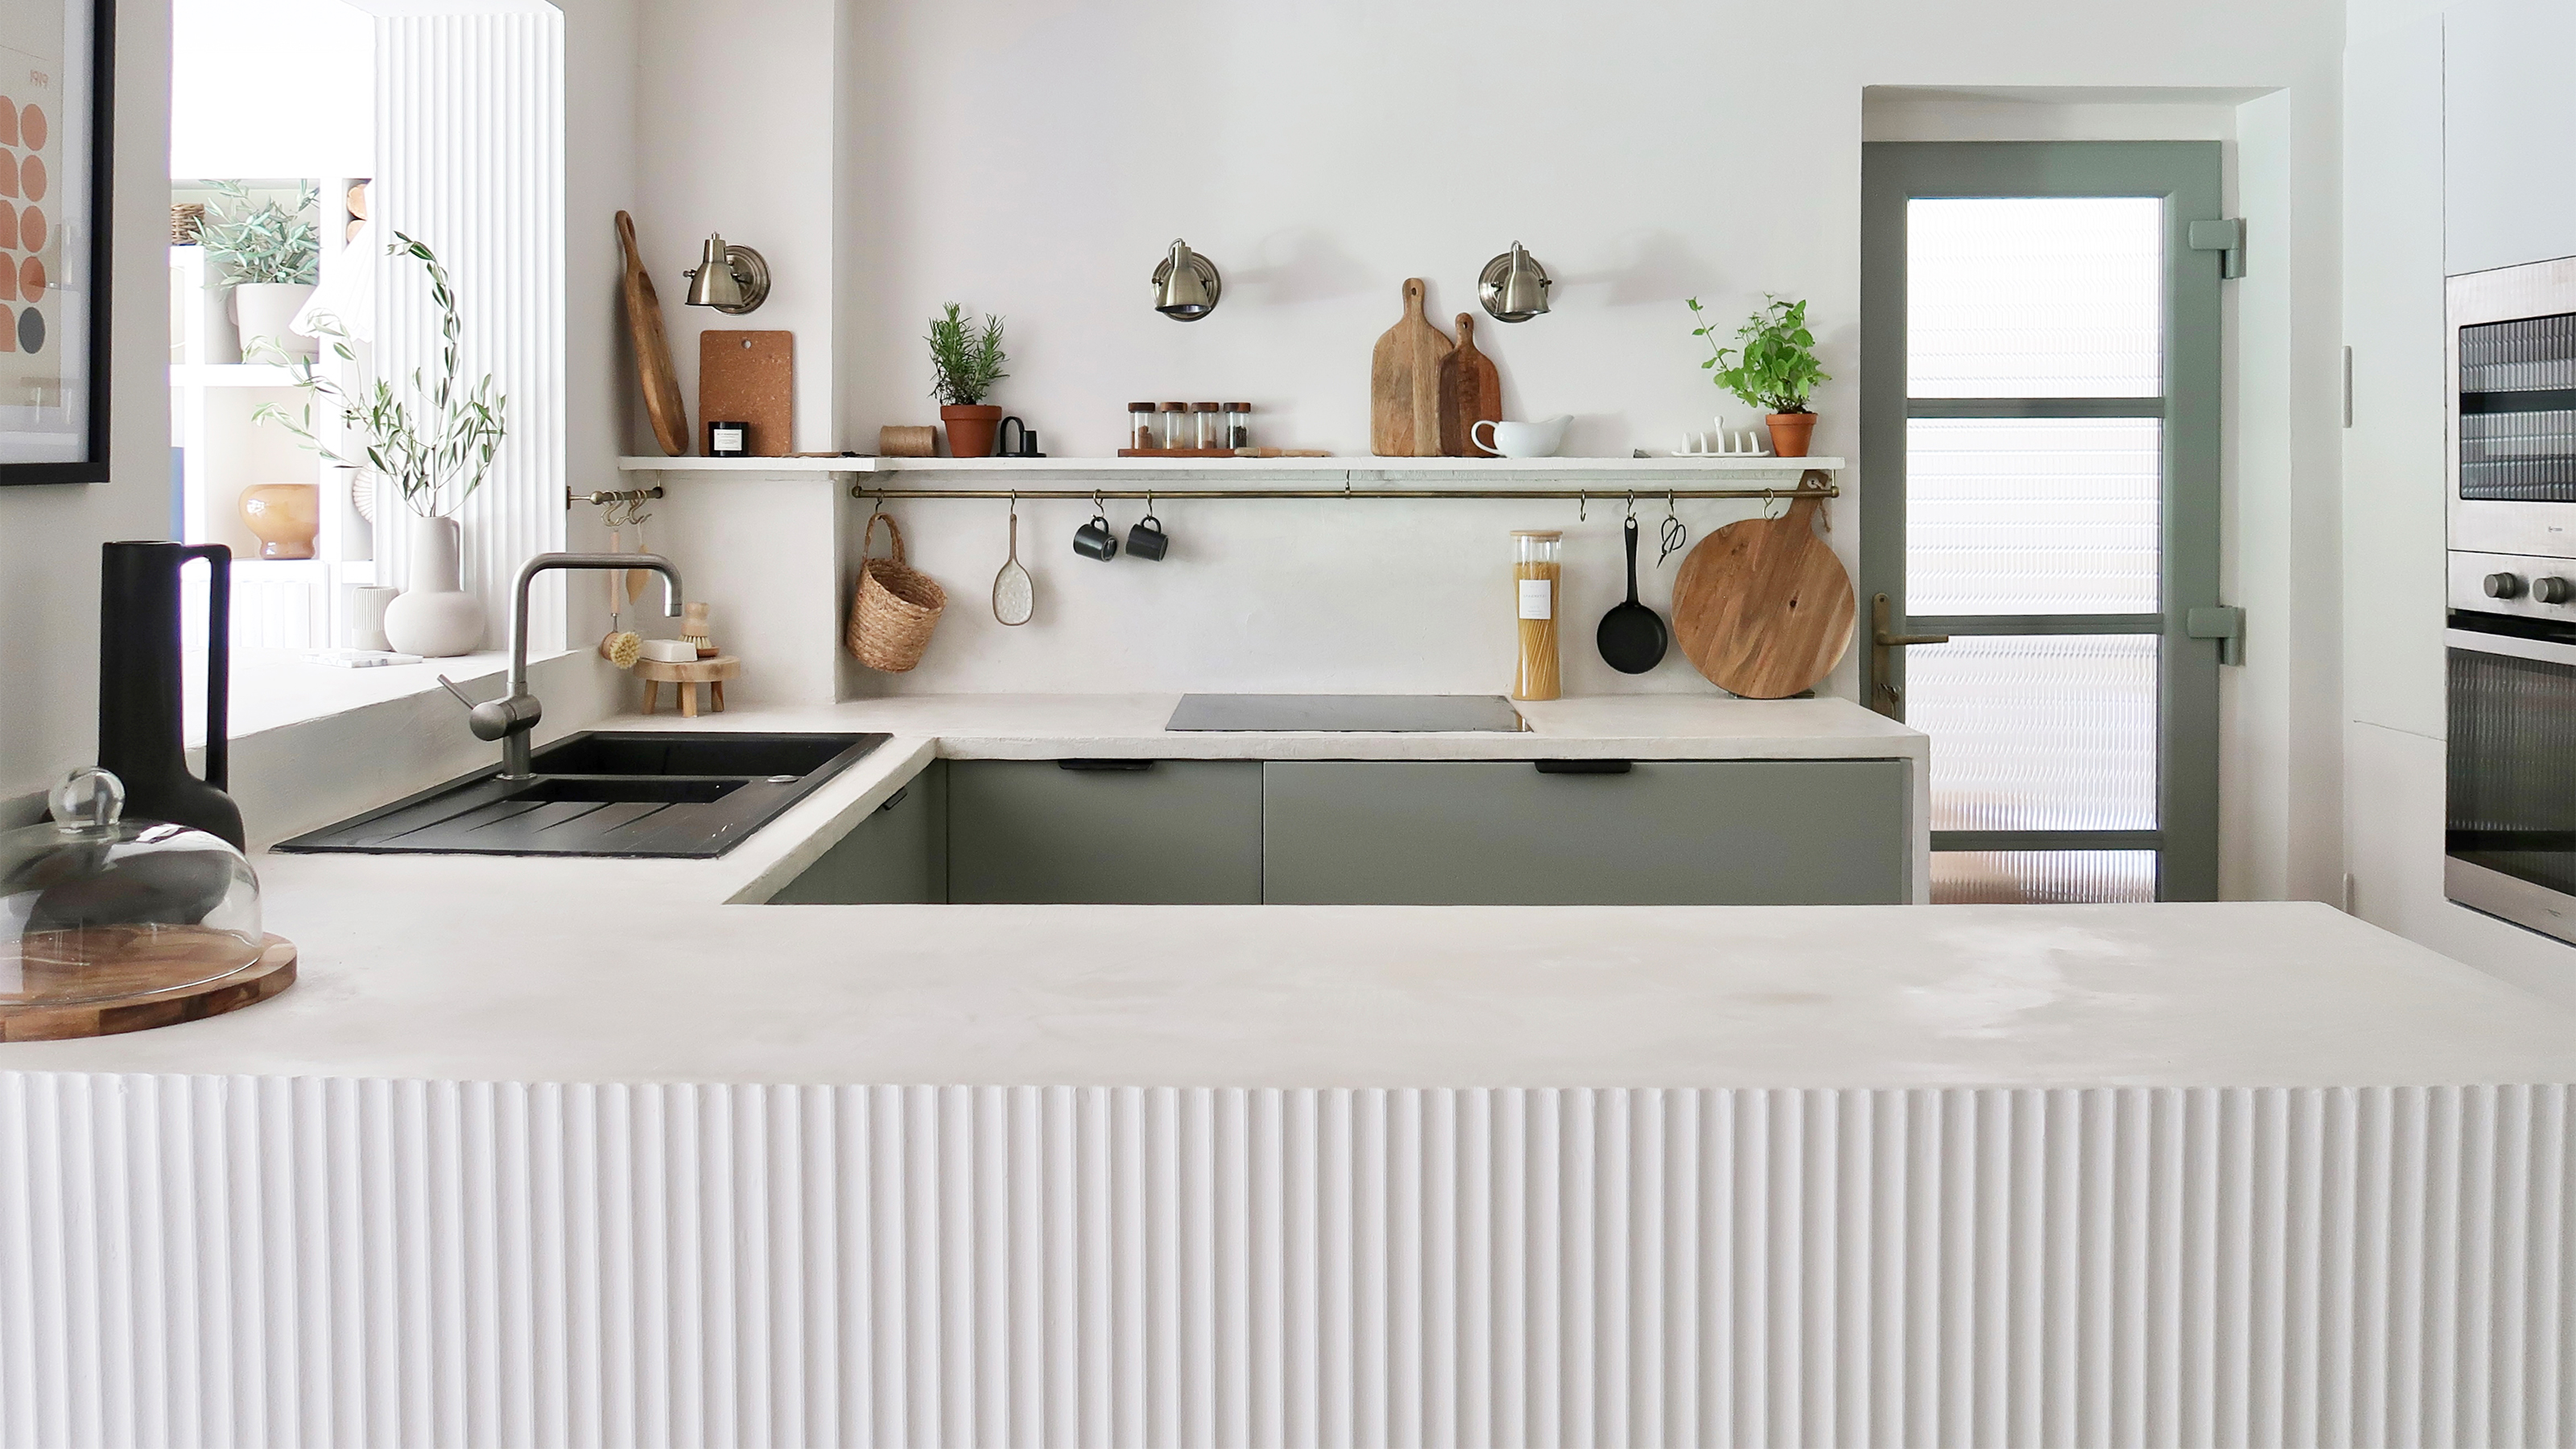 A $200 fluted panel transformed my drab kitchen in just one weekend
How to install a fluted kitchen panel: A speedy and achievable DIY tutorial even for DIY novices
By Claire Douglas
-
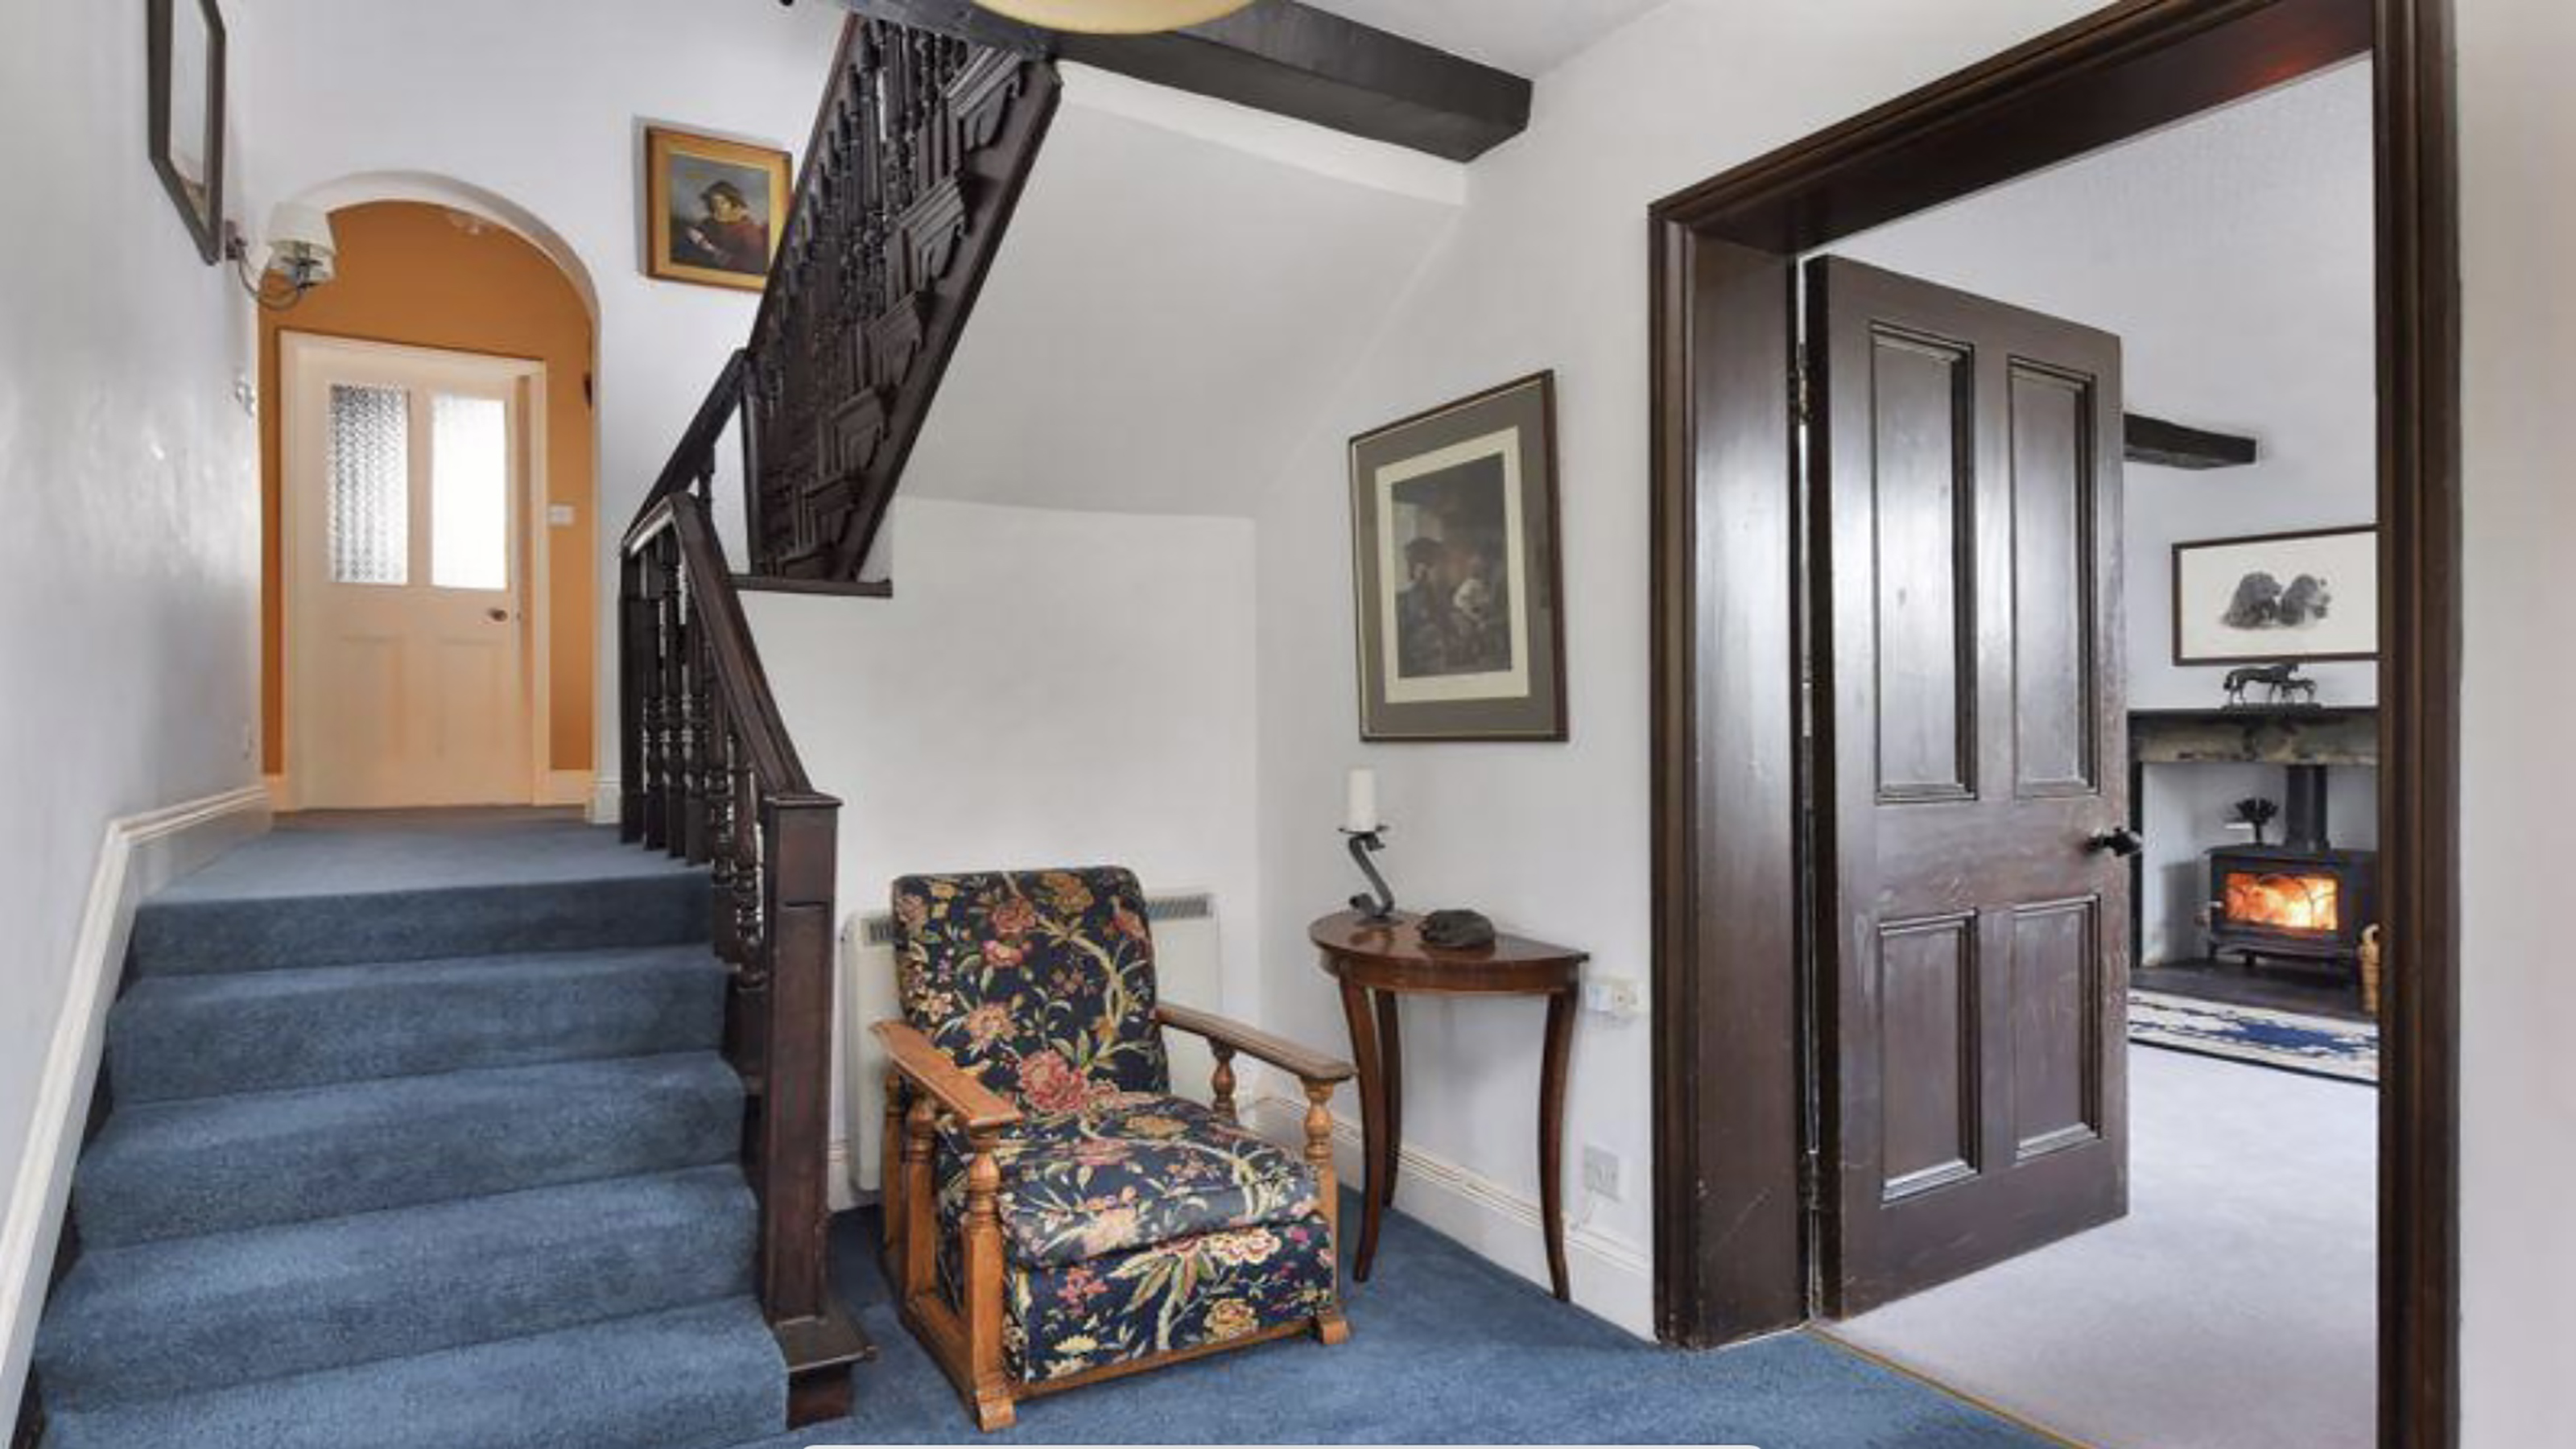 How to replace a broken staircase spindle in 30 minutes flat
A missing or broken spindle on a staircase is not only unsightly, but it can be a real hazard. This is how to fix it in a few quick steps.
By Kate Sandhu
-
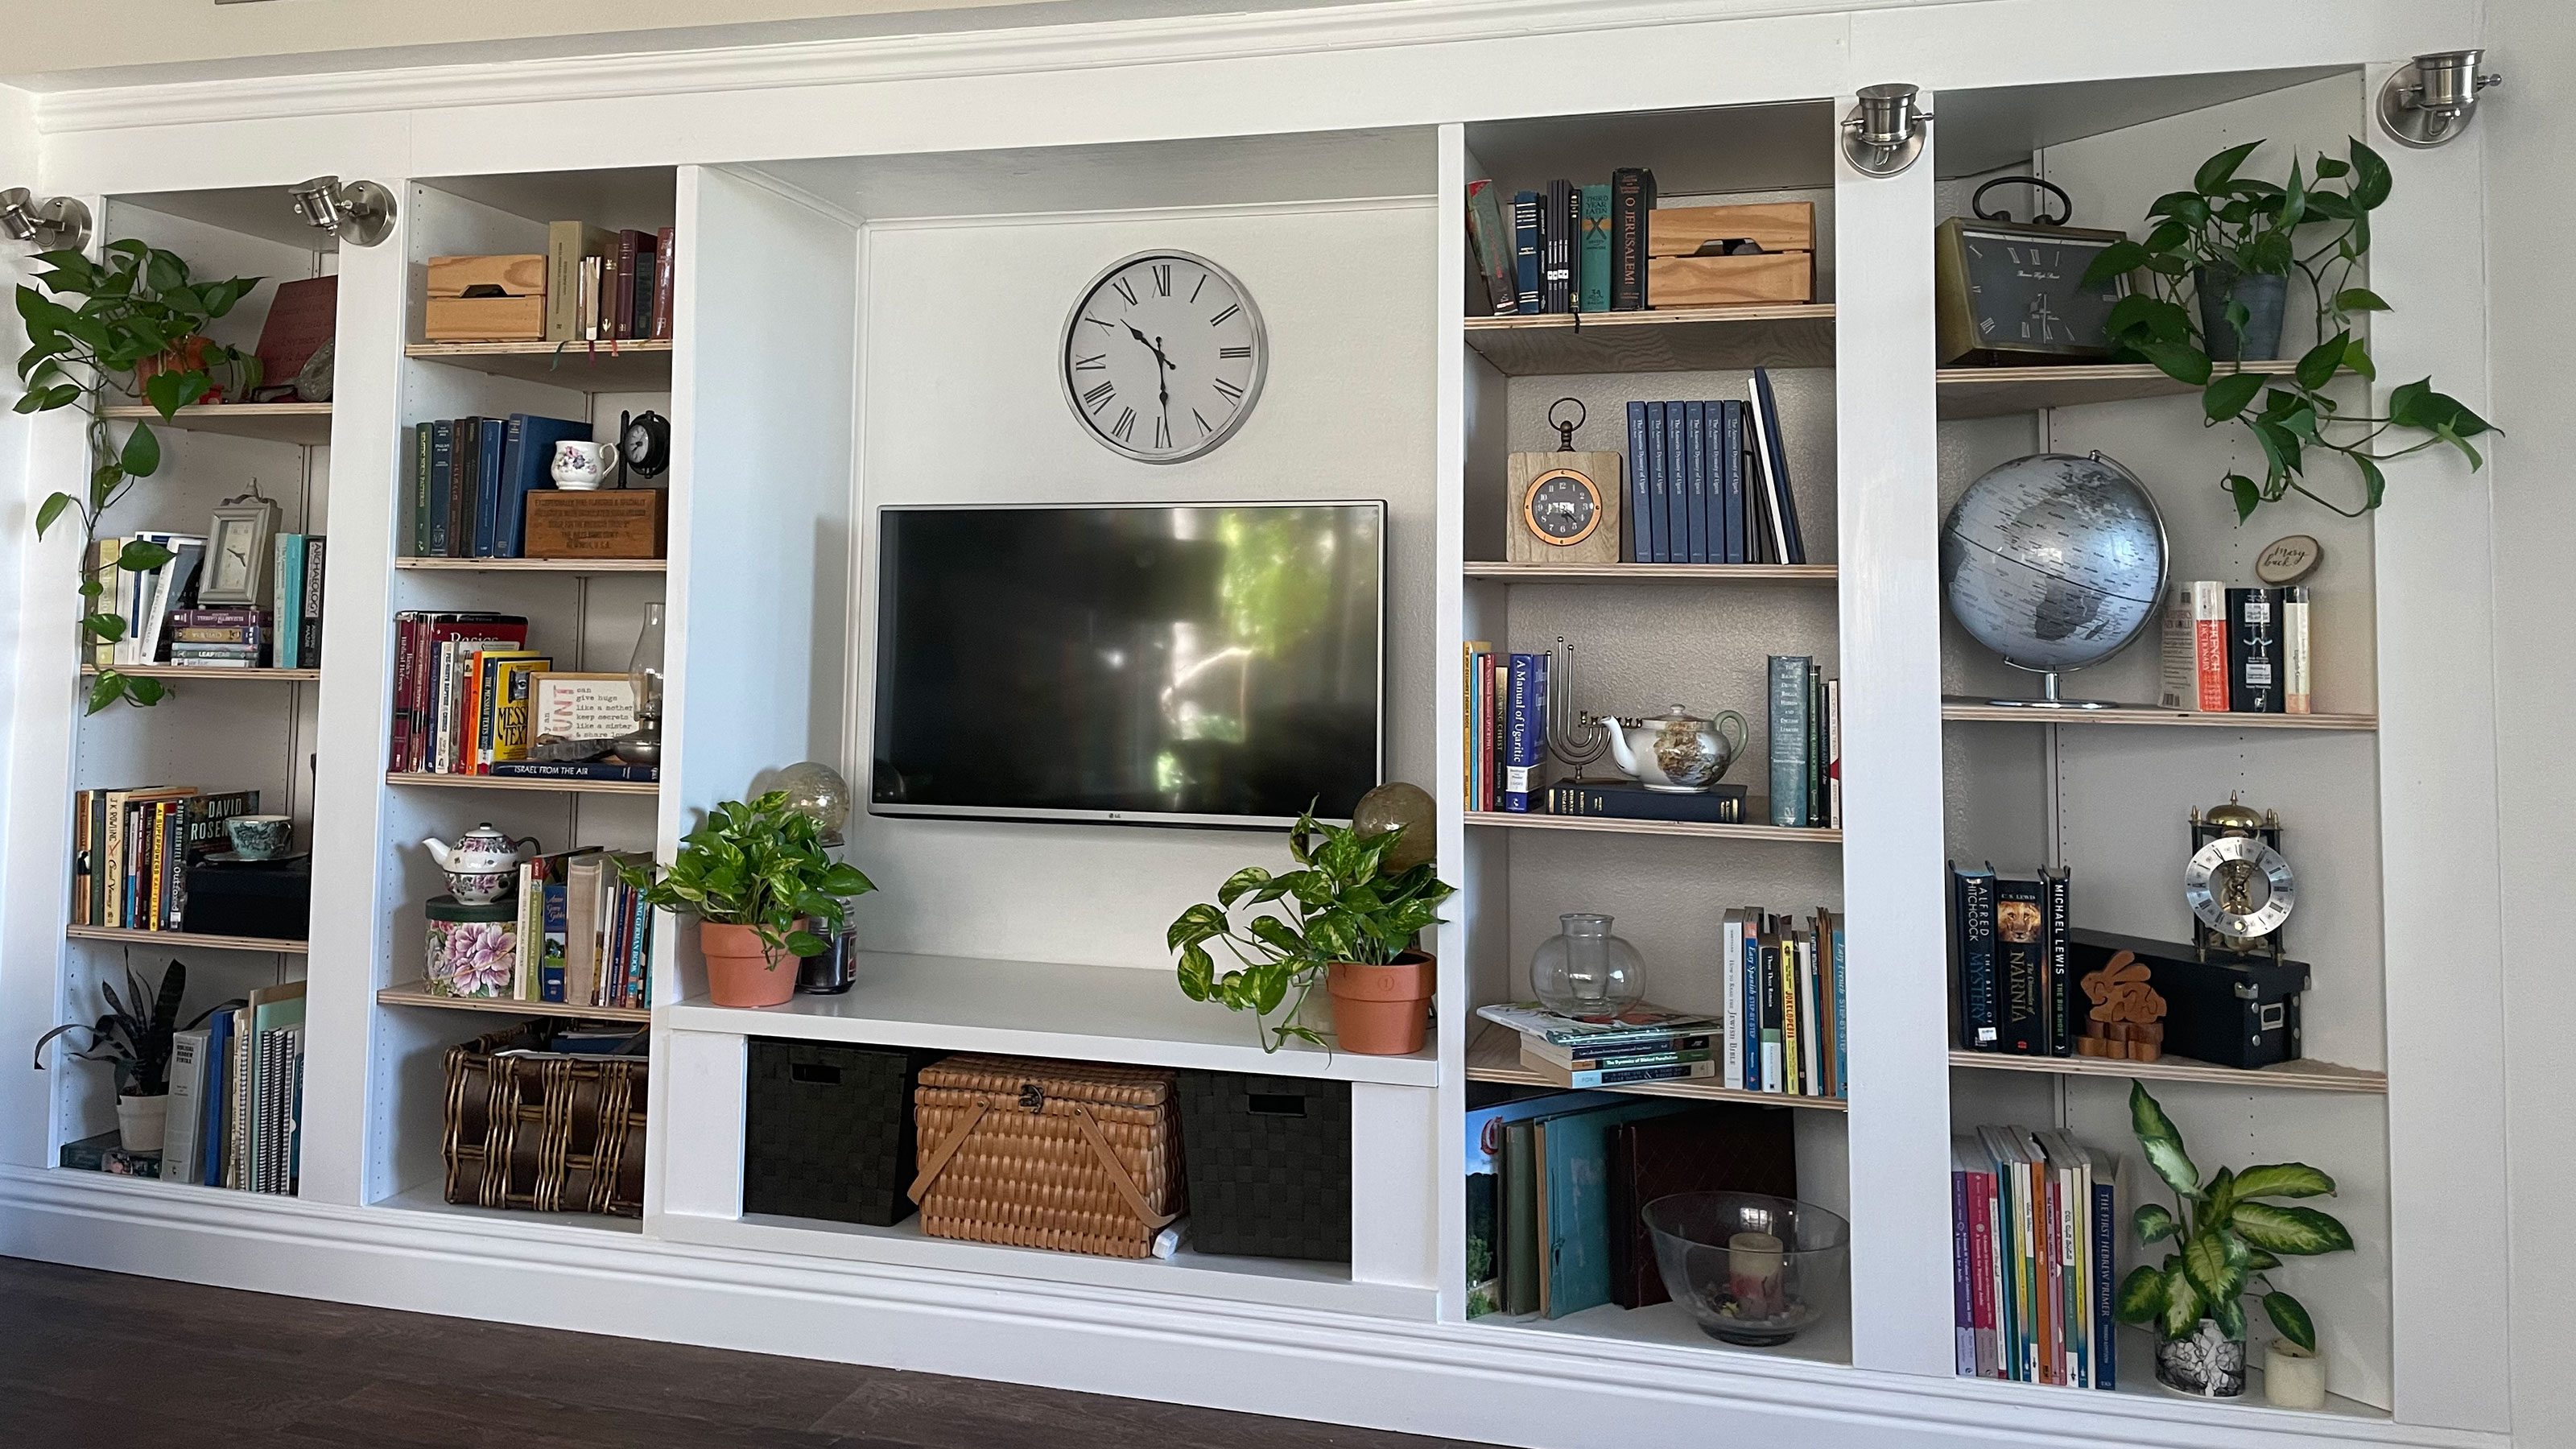 An IKEA Billy bookcase hack inspired this cute media wall DIY
This cute DIY was inspired by an IKEA Billy bookcase hack and brought a ton of symmetry to an otherwise basic media wall space.
By Camille Dubuis-Welch
-
 Share your small space glow up to win $150 in the Real Homes competition
Show off your creativity and DIY skills to win $150 and for the chance to be featured exclusively in Real Homes magazine
By Camille Dubuis-Welch
-
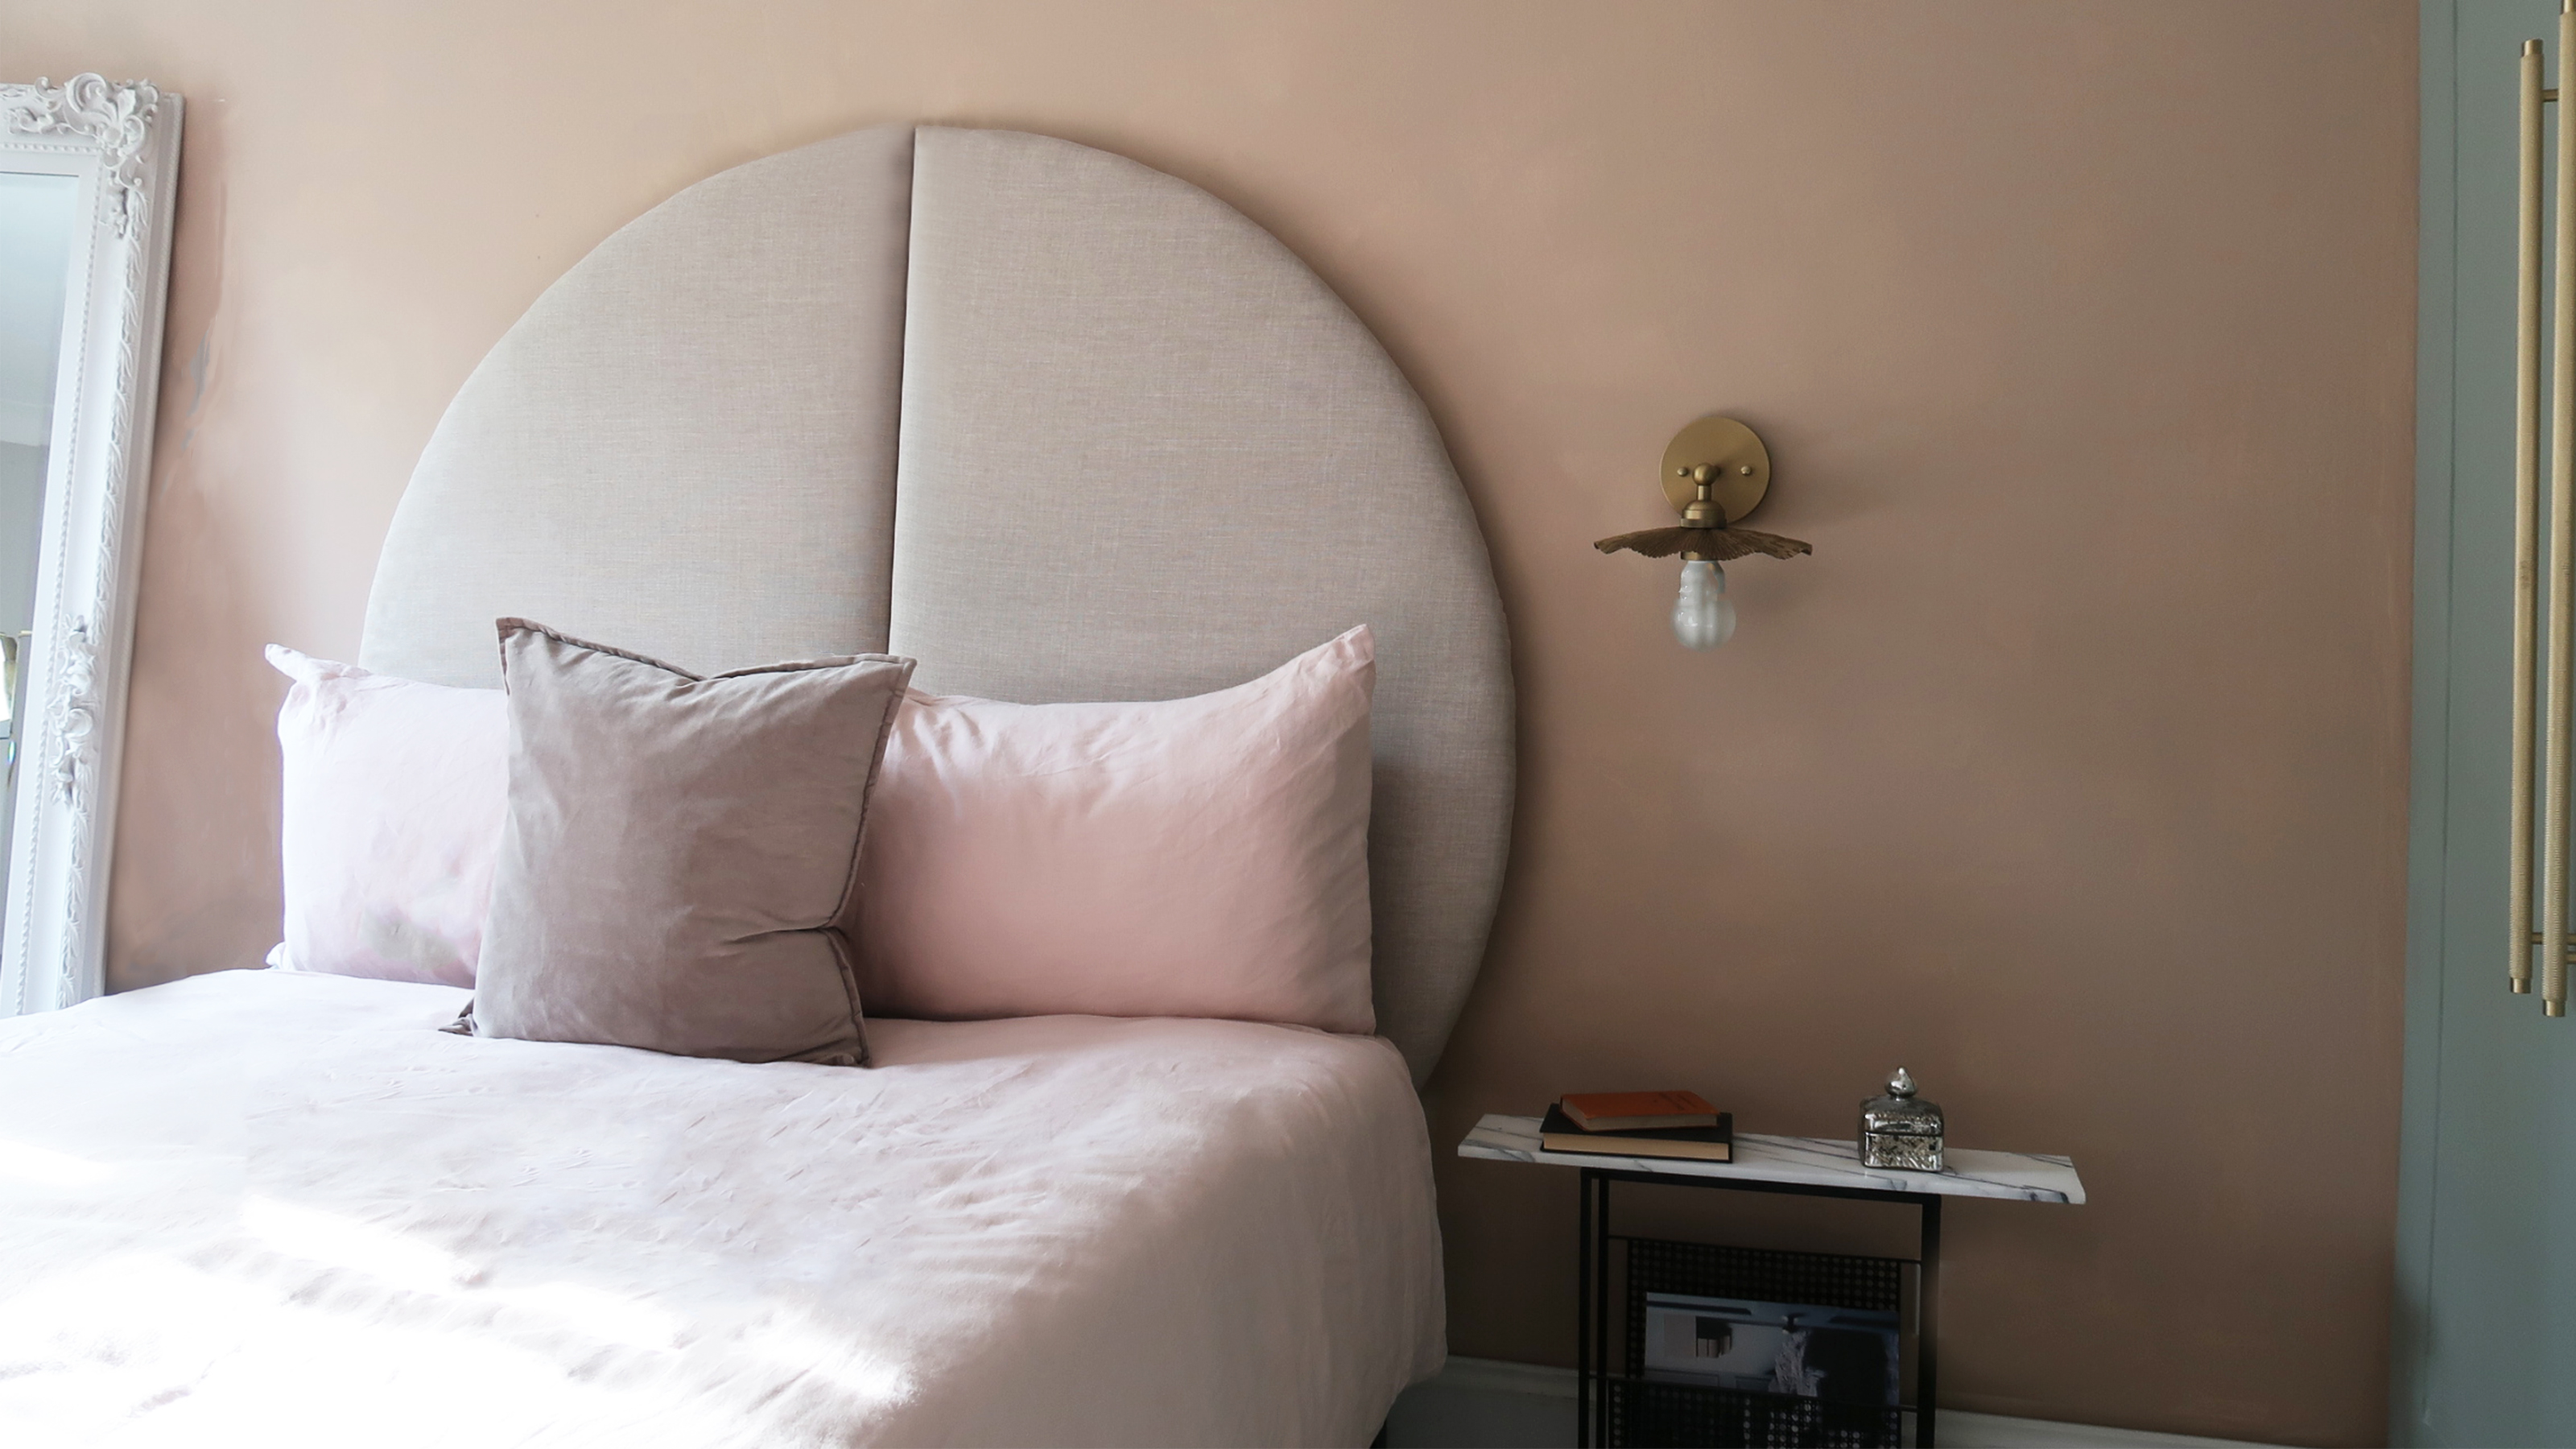 This oversized headboard looks designer, and takes 5 steps to DIY
Super simple to DIY, this oversized headboard will give your bedroom space all the designer vibes you could dream of.
By Claire Douglas
-
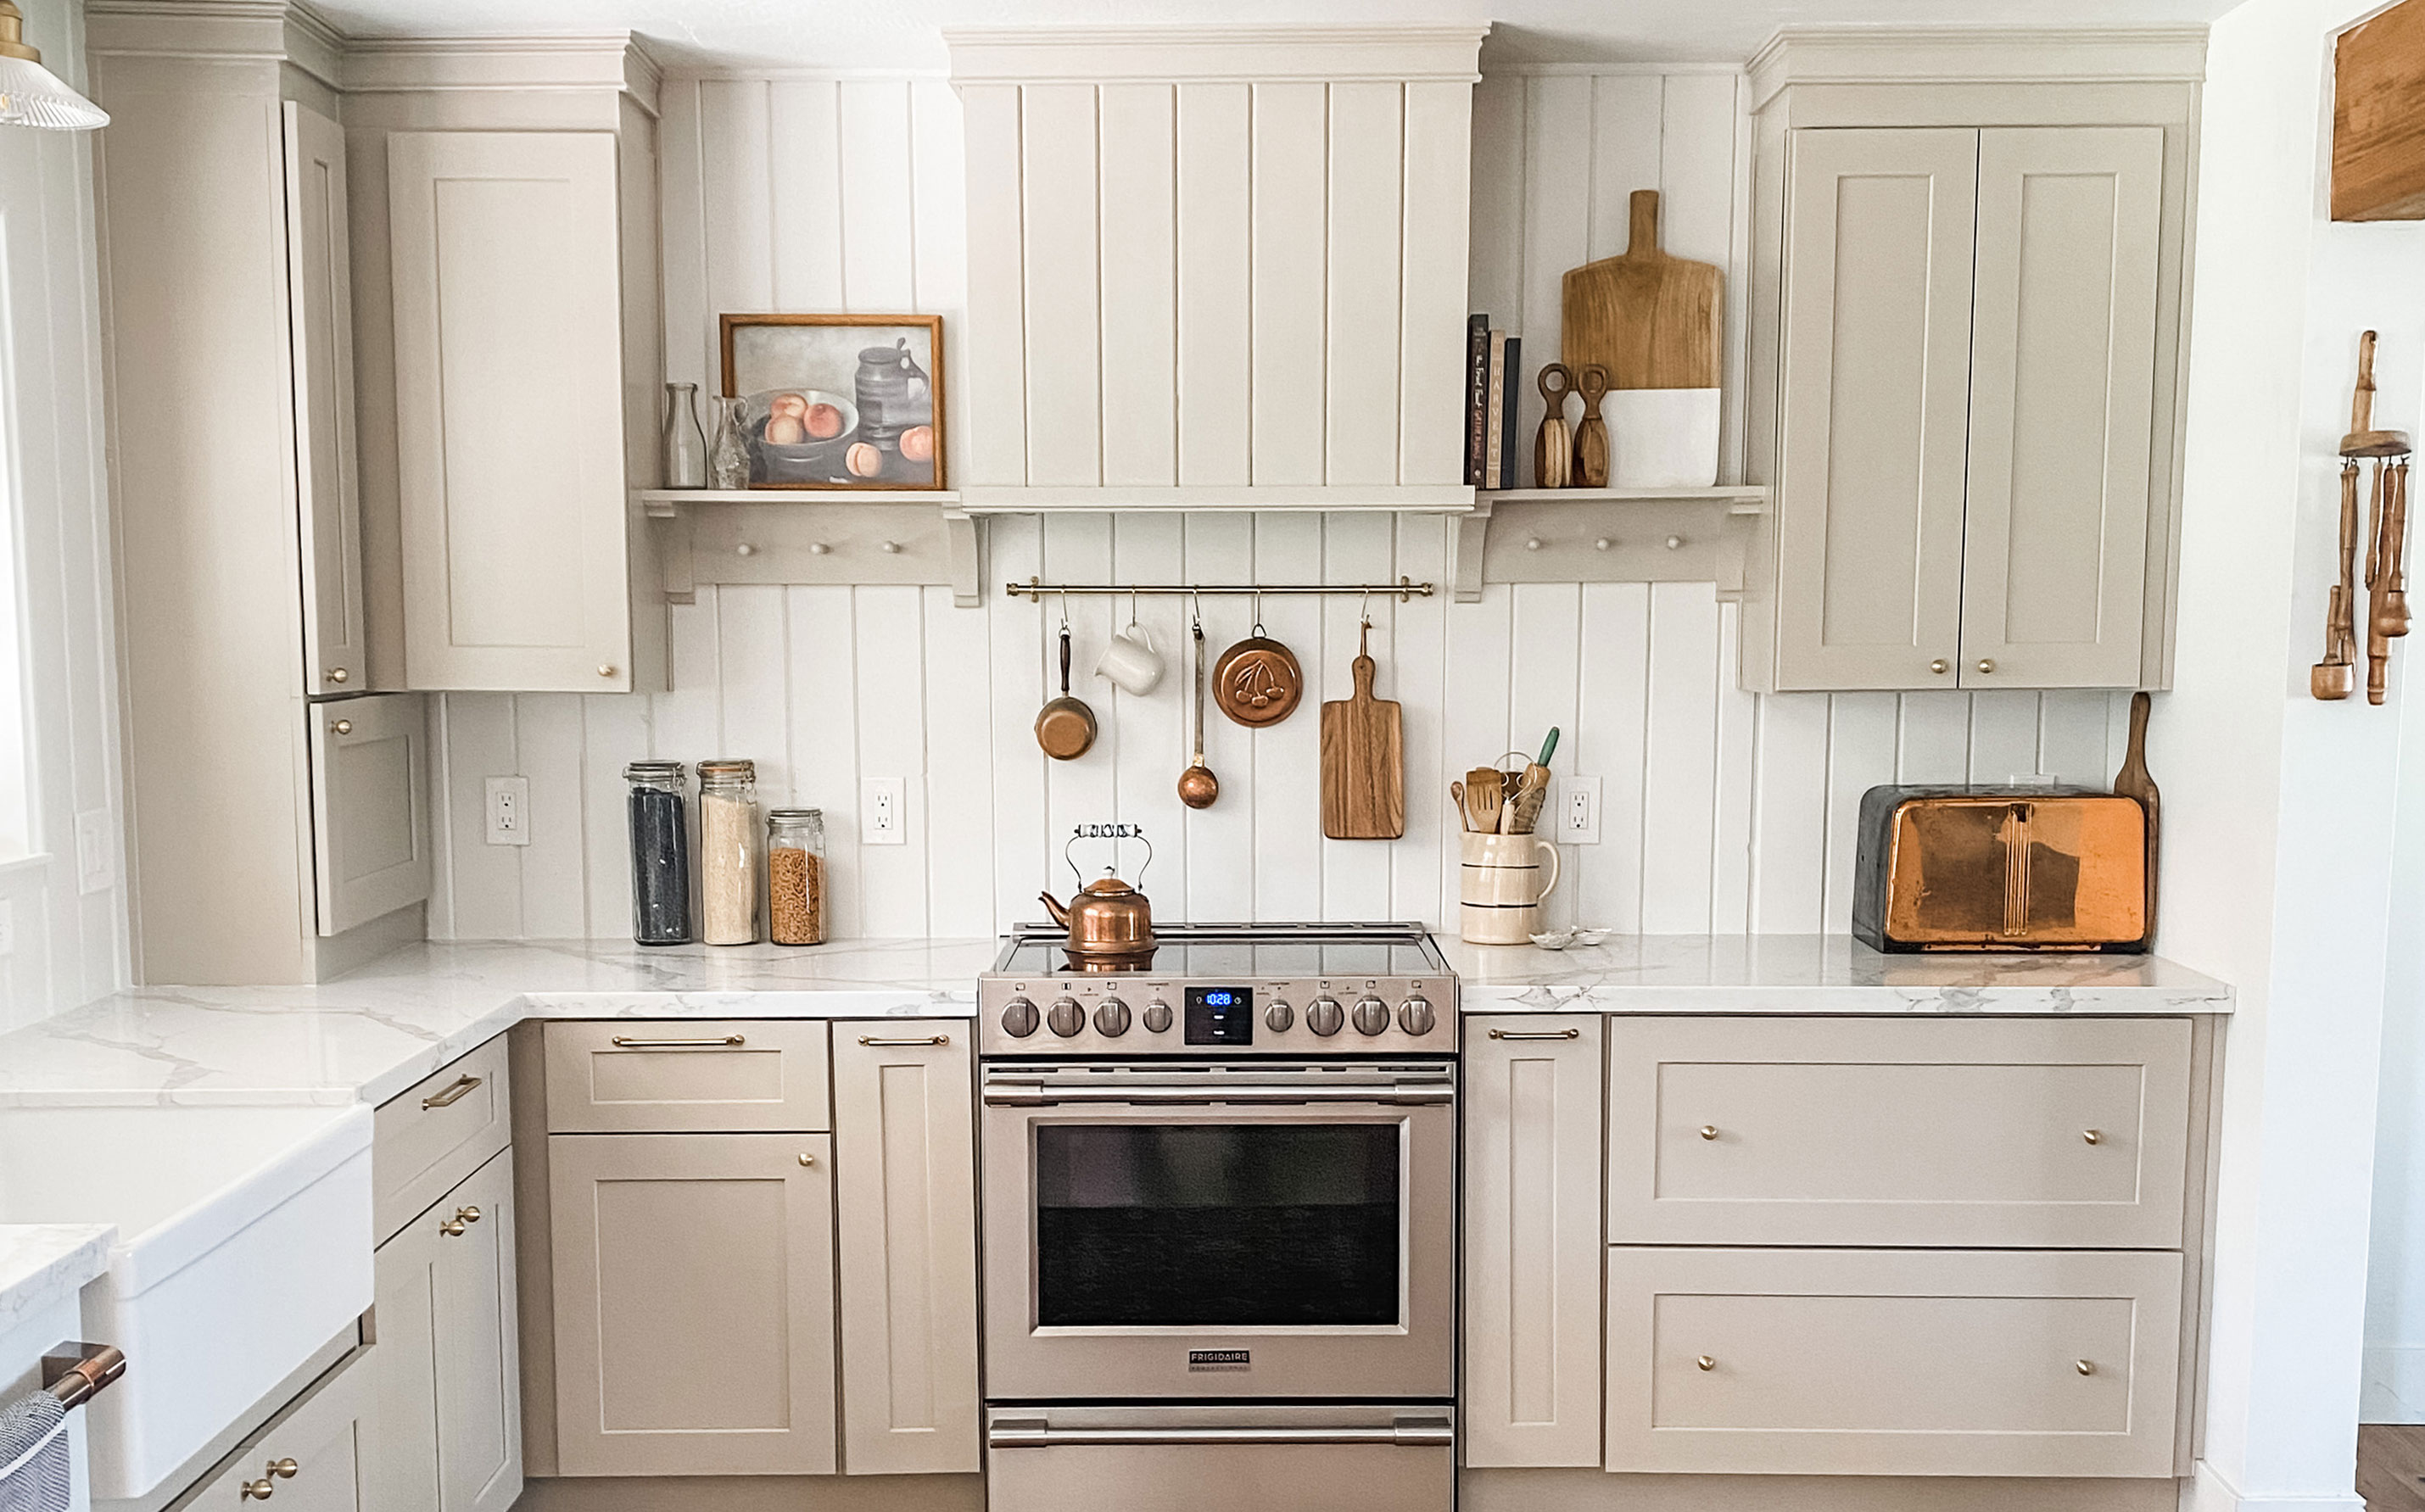 My DIY range hood and backsplash build gave my kitchen the perfect farmhouse finish
I craved charm in my kitchen space and adding a custom range hood and shelving was the best move.
By Brooke Waite
-
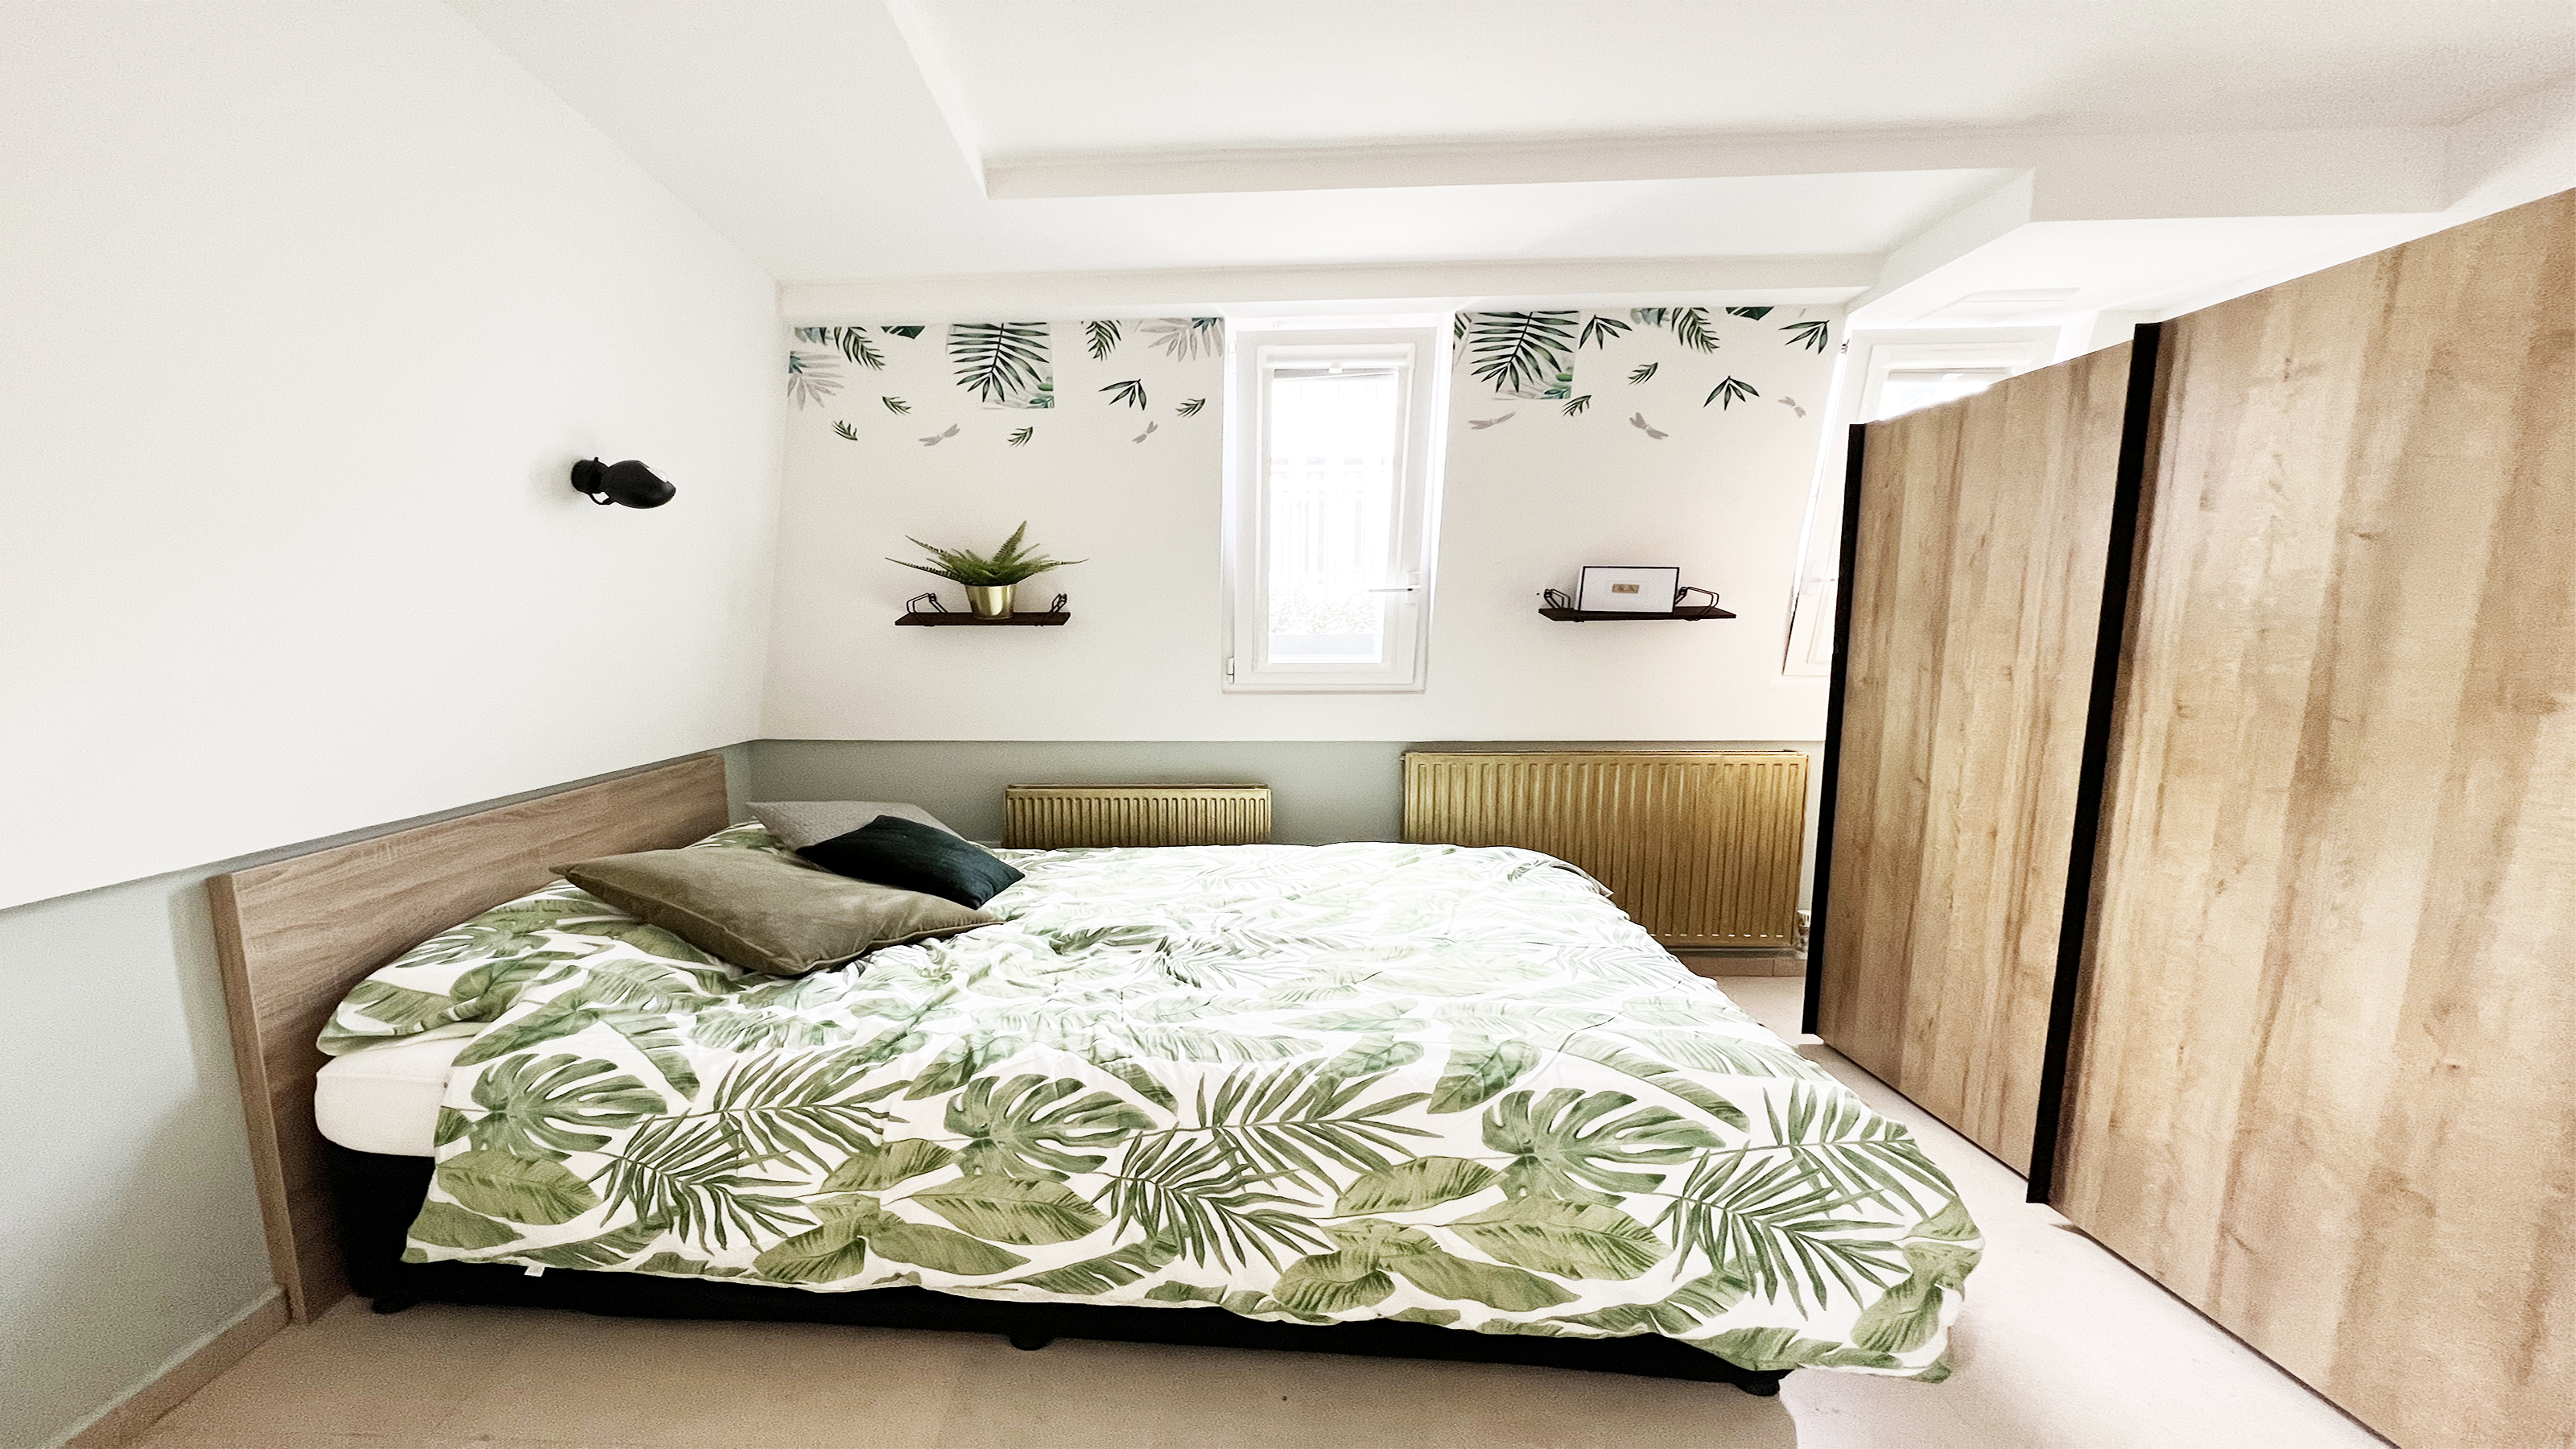 How to paint a radiator in 7 steps
Painting radiators properly is all about choosing the right paint and the best process. Get interior designer-worthy results with our how-to.
By Kate Sandhu
-
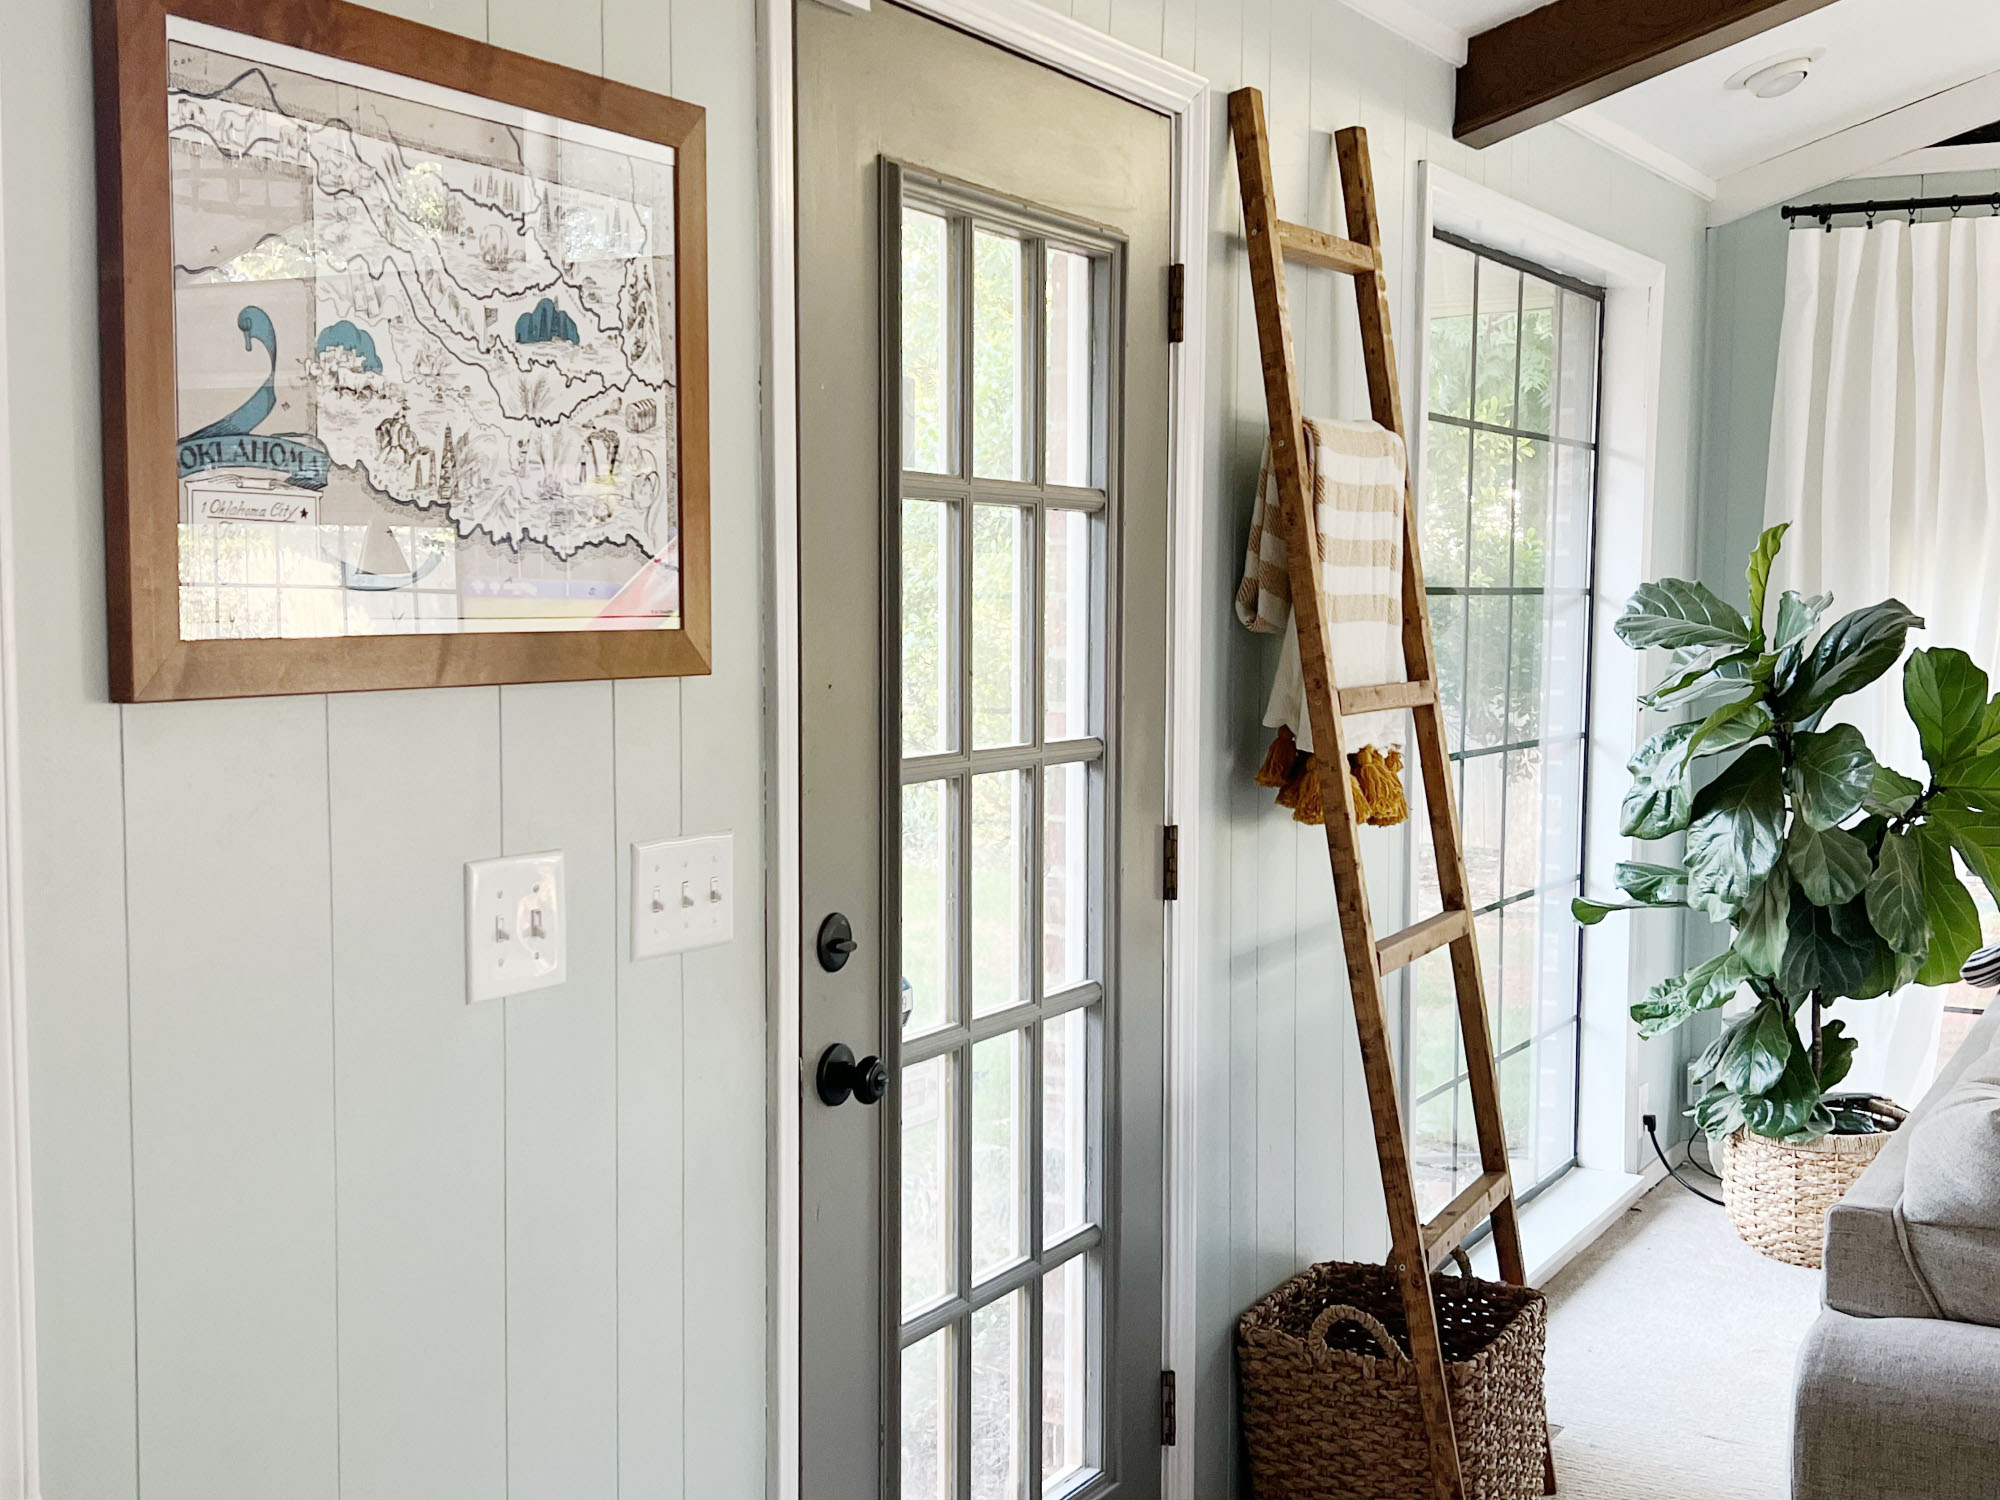 How to install a door knob
Updating your interior and exterior doors can be as easy as changing out the hardware! The best part is that installing a door knob is very DIY friendly. Follow these simple steps and enjoy a fresh look on your doors!
By Dori Turner