
A footstool is top of the list when it comes to versatility in the living room and can be used as extra seating, or even as an impromptu occasional table. If yours is looking a little run-down, consider reupholstering with a gorgeous fabric and the help of our guide to how to re-cover a footstool.
For more inspiration and tips on how to choose upholstery, take a look at our guide.
- Footstool (above), The Dormy House
Everything you will need to re-cover a footstool
Use our checklist below to ensure you've got everything you need to re-cover a footstool.
- Ripping chisel
or tack lifter
- Staple remover
- Pliers
- Measuring tape
- Staple gun
- Tack hammer and tacks
- Hot glue gun and glue sticks
- Scissors
- Fabric
- Piping cord
- Hessian
- Foam for extra stuffing, if required
- Fire-retardant spray
1. Remove the unwanted fabric
Begin by ‘ripping down’ or stripping off the old fabric covering and trimmings. This can be hard work and time-consuming if the previous upholsterer was over-zealous and has used an excessive number of tacks or staples to secure the fabric. Tacks are best removed with a ripping chisel or tack lifter.
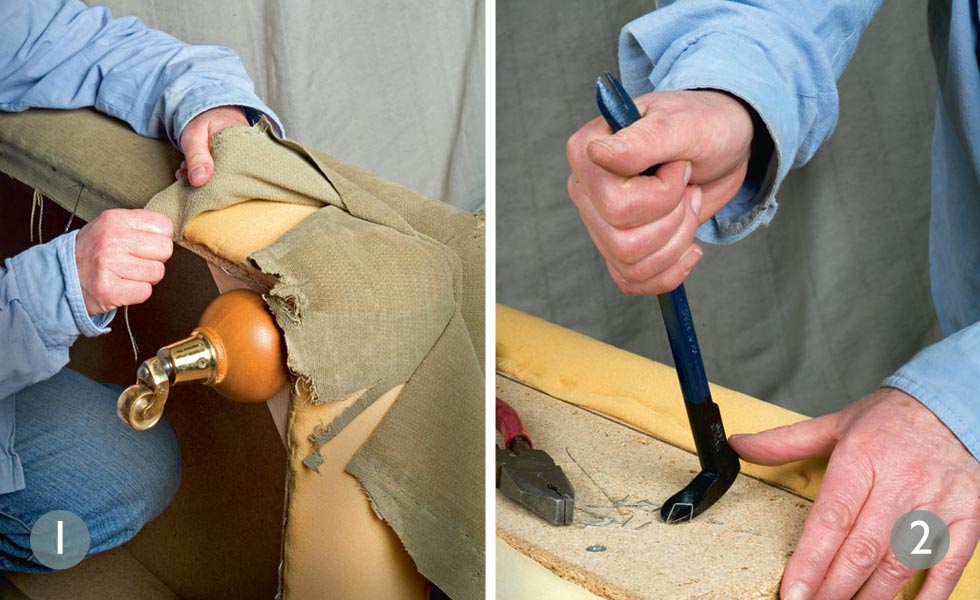
2. Prise out old staples
Take out all tacks and staples. Use pincers to pull out nails and tacks that have been knocked hard into the frame. A staple remover lifts out unwanted staples. Long-nose pliers can prise out those that are difficult to reach. Now inspect the padding: add more, depending on whether a firm or soft finish is required.
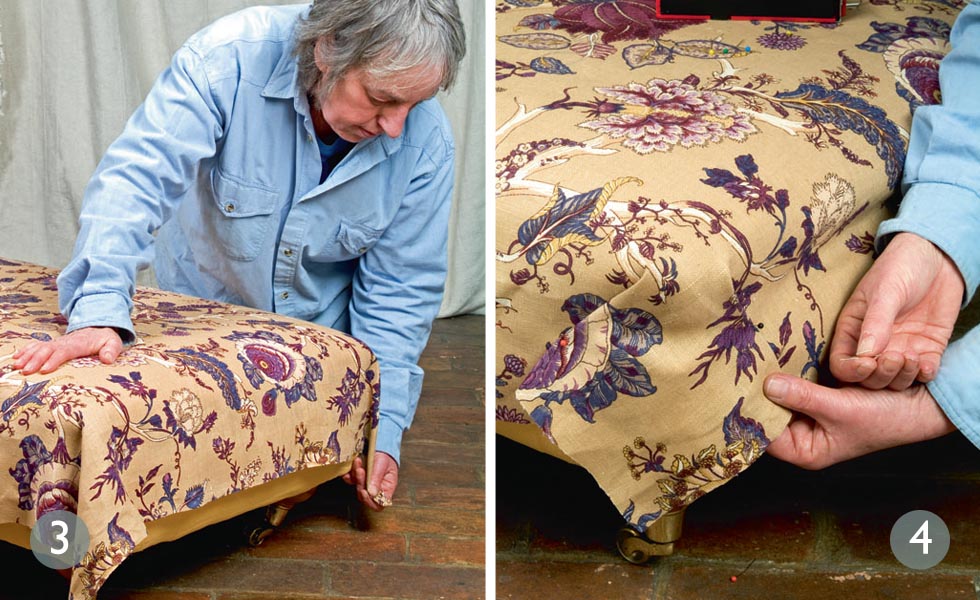
3. Measure up new fabric
Use the discarded fabric to measure for the new upholstery. If you have added more padding then allow extra fabric to accommodate the increased depth. Lay your chosen fabric over the stool making sure it is positioned centrally and smooth out wrinkles. Secure in place with upholsterer’s skewers or pins.
4. Staple fabric to frame
Start in the middle of a long side and staple the fabric to the frame. Continue stapling from the middle but leave the corners. Do the opposite side keeping the fabric pulled tight. Pull fabric over corner to create a pleat and staple. Fix the opposite corner. Continue working from the corner towards the middle.
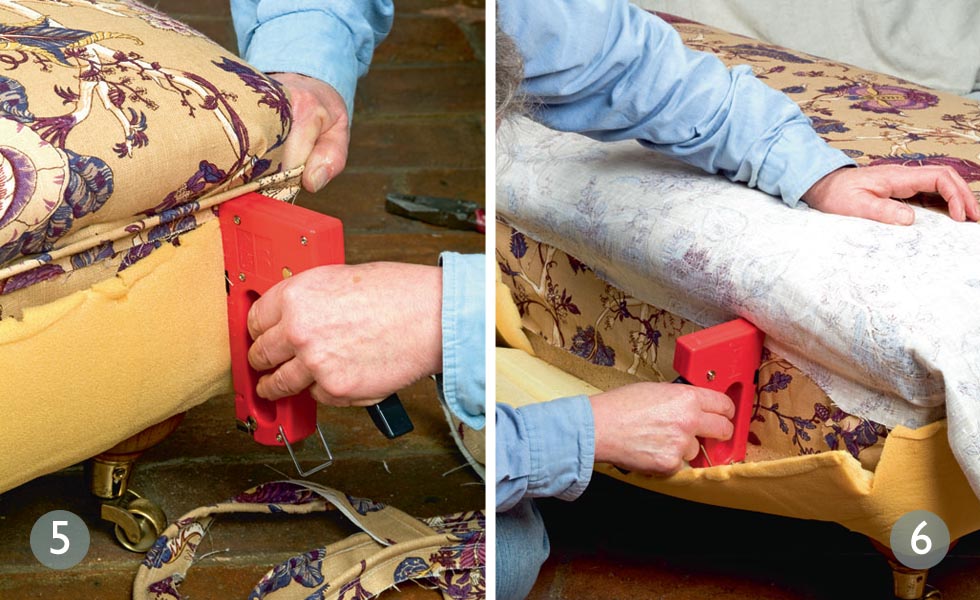
5. Add a decorative piping
Piping can be used to conceal fixings. Cover a piece of piping cord in fabric of your choice – a complementary colour will create a contrast. Cut lengths of fabric about 4cm wide. Strips can be joined together at an angle to create a tidy join. Pull the finished piping tight as you staple it in place.
6. Cover the bottom half
Measure and cut fabric to cover the lower part adding a 10cm turning allowance. Turn over 5cm and make a hem. Place right sides together so concealing the fixing. Staple in place against the piping. Keep the fabric pulled taut. Use pieces long enough to cover each side. Avoid bulky corners by pleating the fabric neatly.
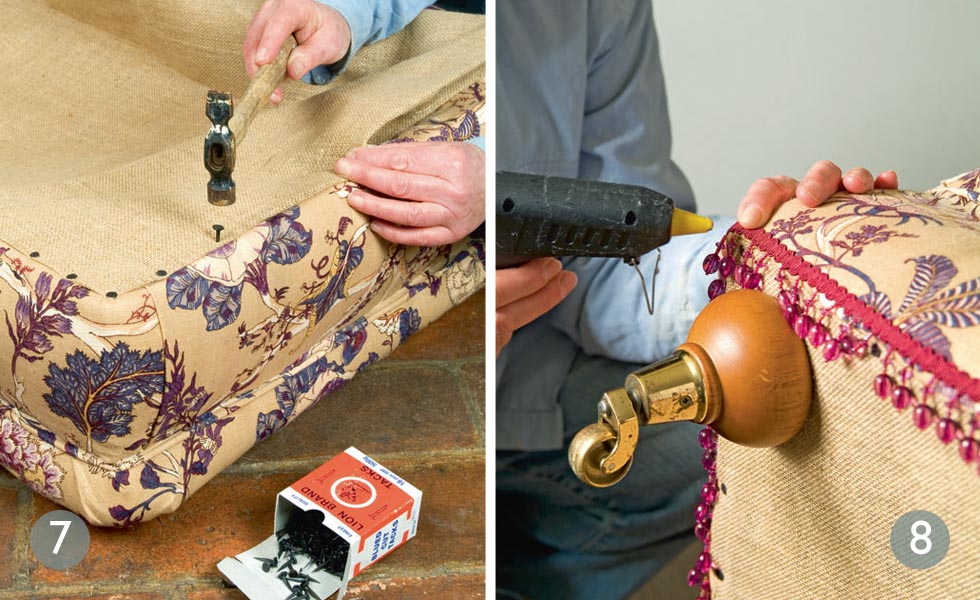
7. Secure the underside
Turn the footstool over to fix the fabric to the underside. If you can unscrew the legs this will make the job easier. Use a piece of hessian to cover the bottom. Tack cloth to the middle of one side then pull firmly as the opposite side is secured. Repeat on other sides. Fold hessian to form corners and tack in place.
8. Add and fix some trims
For a finishing touch attach beaded trim or fringing with a glue gun. If you’ve never used a glue gun before, practise first. If in doubt attach trimmings with needle and thread or secure with gimp pins (tiny painted pins which come in a range of colours to fasten trimmings inconspicuously).
Looking for more up-cycling ideas and inspiration?
- How to paint kitchen cabinets
- How to restore old wooden furniture: clean, repair and refinish
- How to use a colour wheel for interior design and colour scheming
Join our newsletter
Get small space home decor ideas, celeb inspiration, DIY tips and more, straight to your inbox!
-
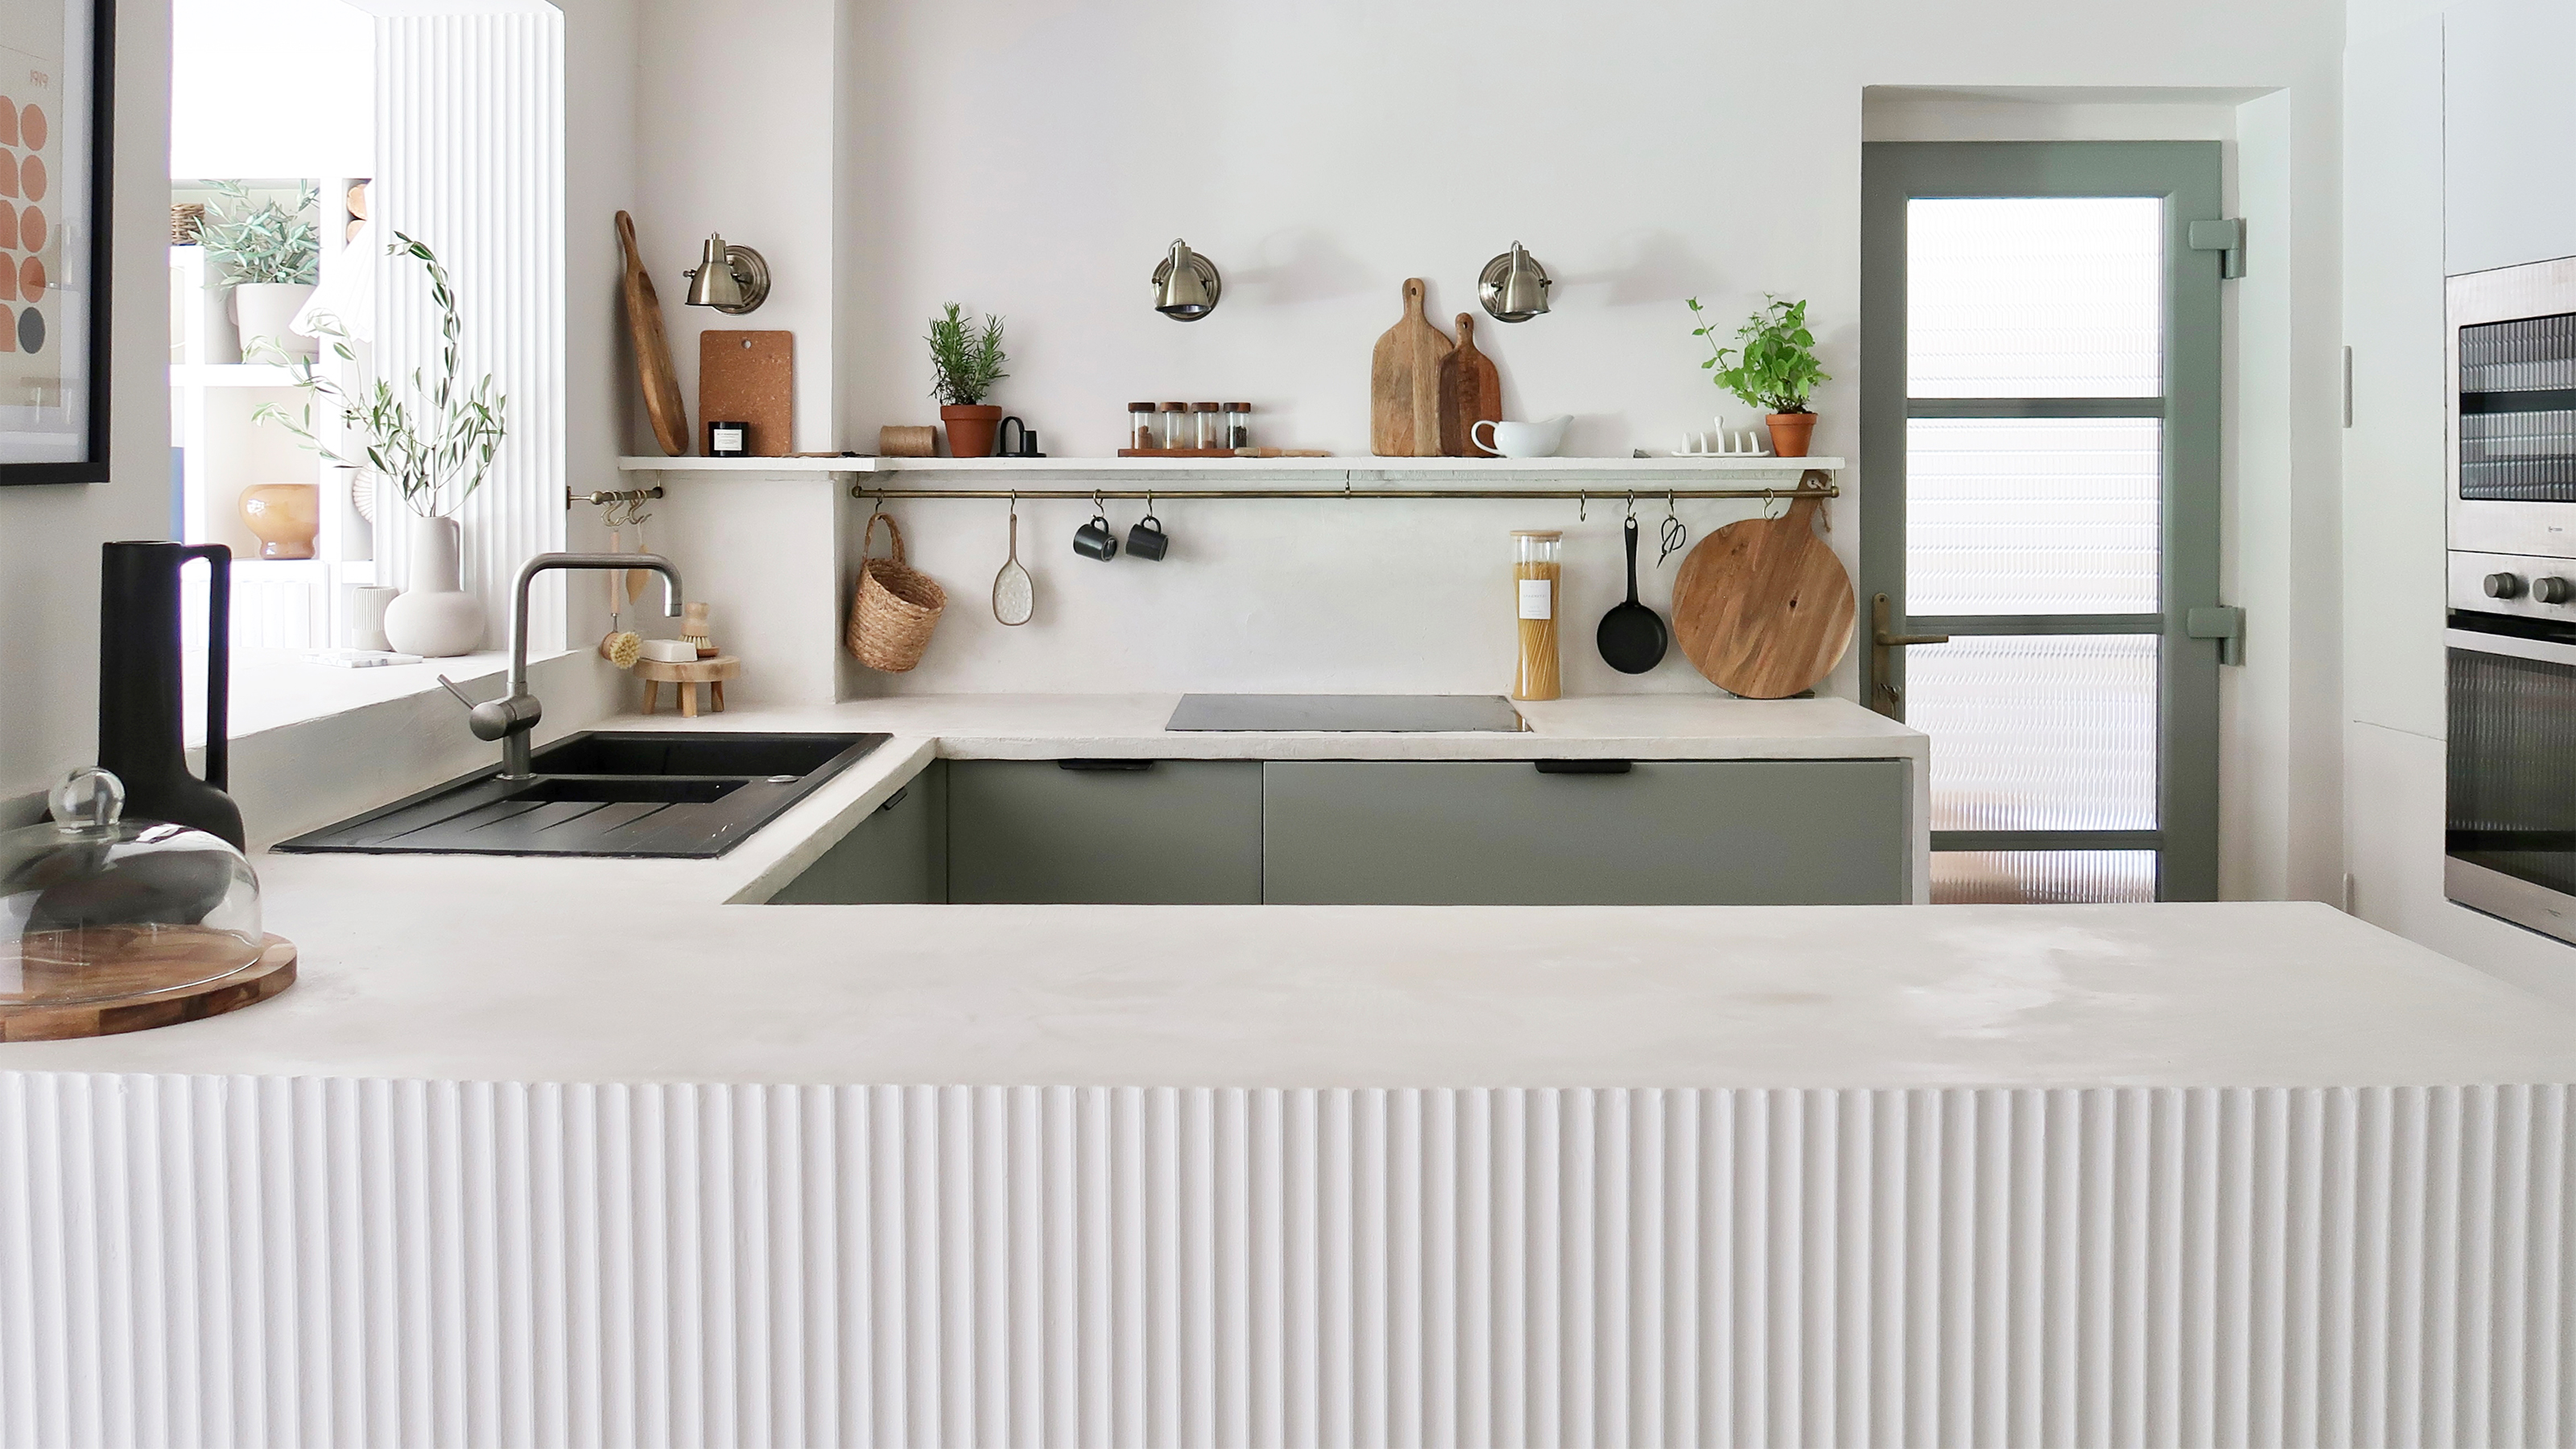 A $200 fluted panel transformed my drab kitchen in just one weekend
How to install a fluted kitchen panel: A speedy and achievable DIY tutorial even for DIY novices
By Claire Douglas
-
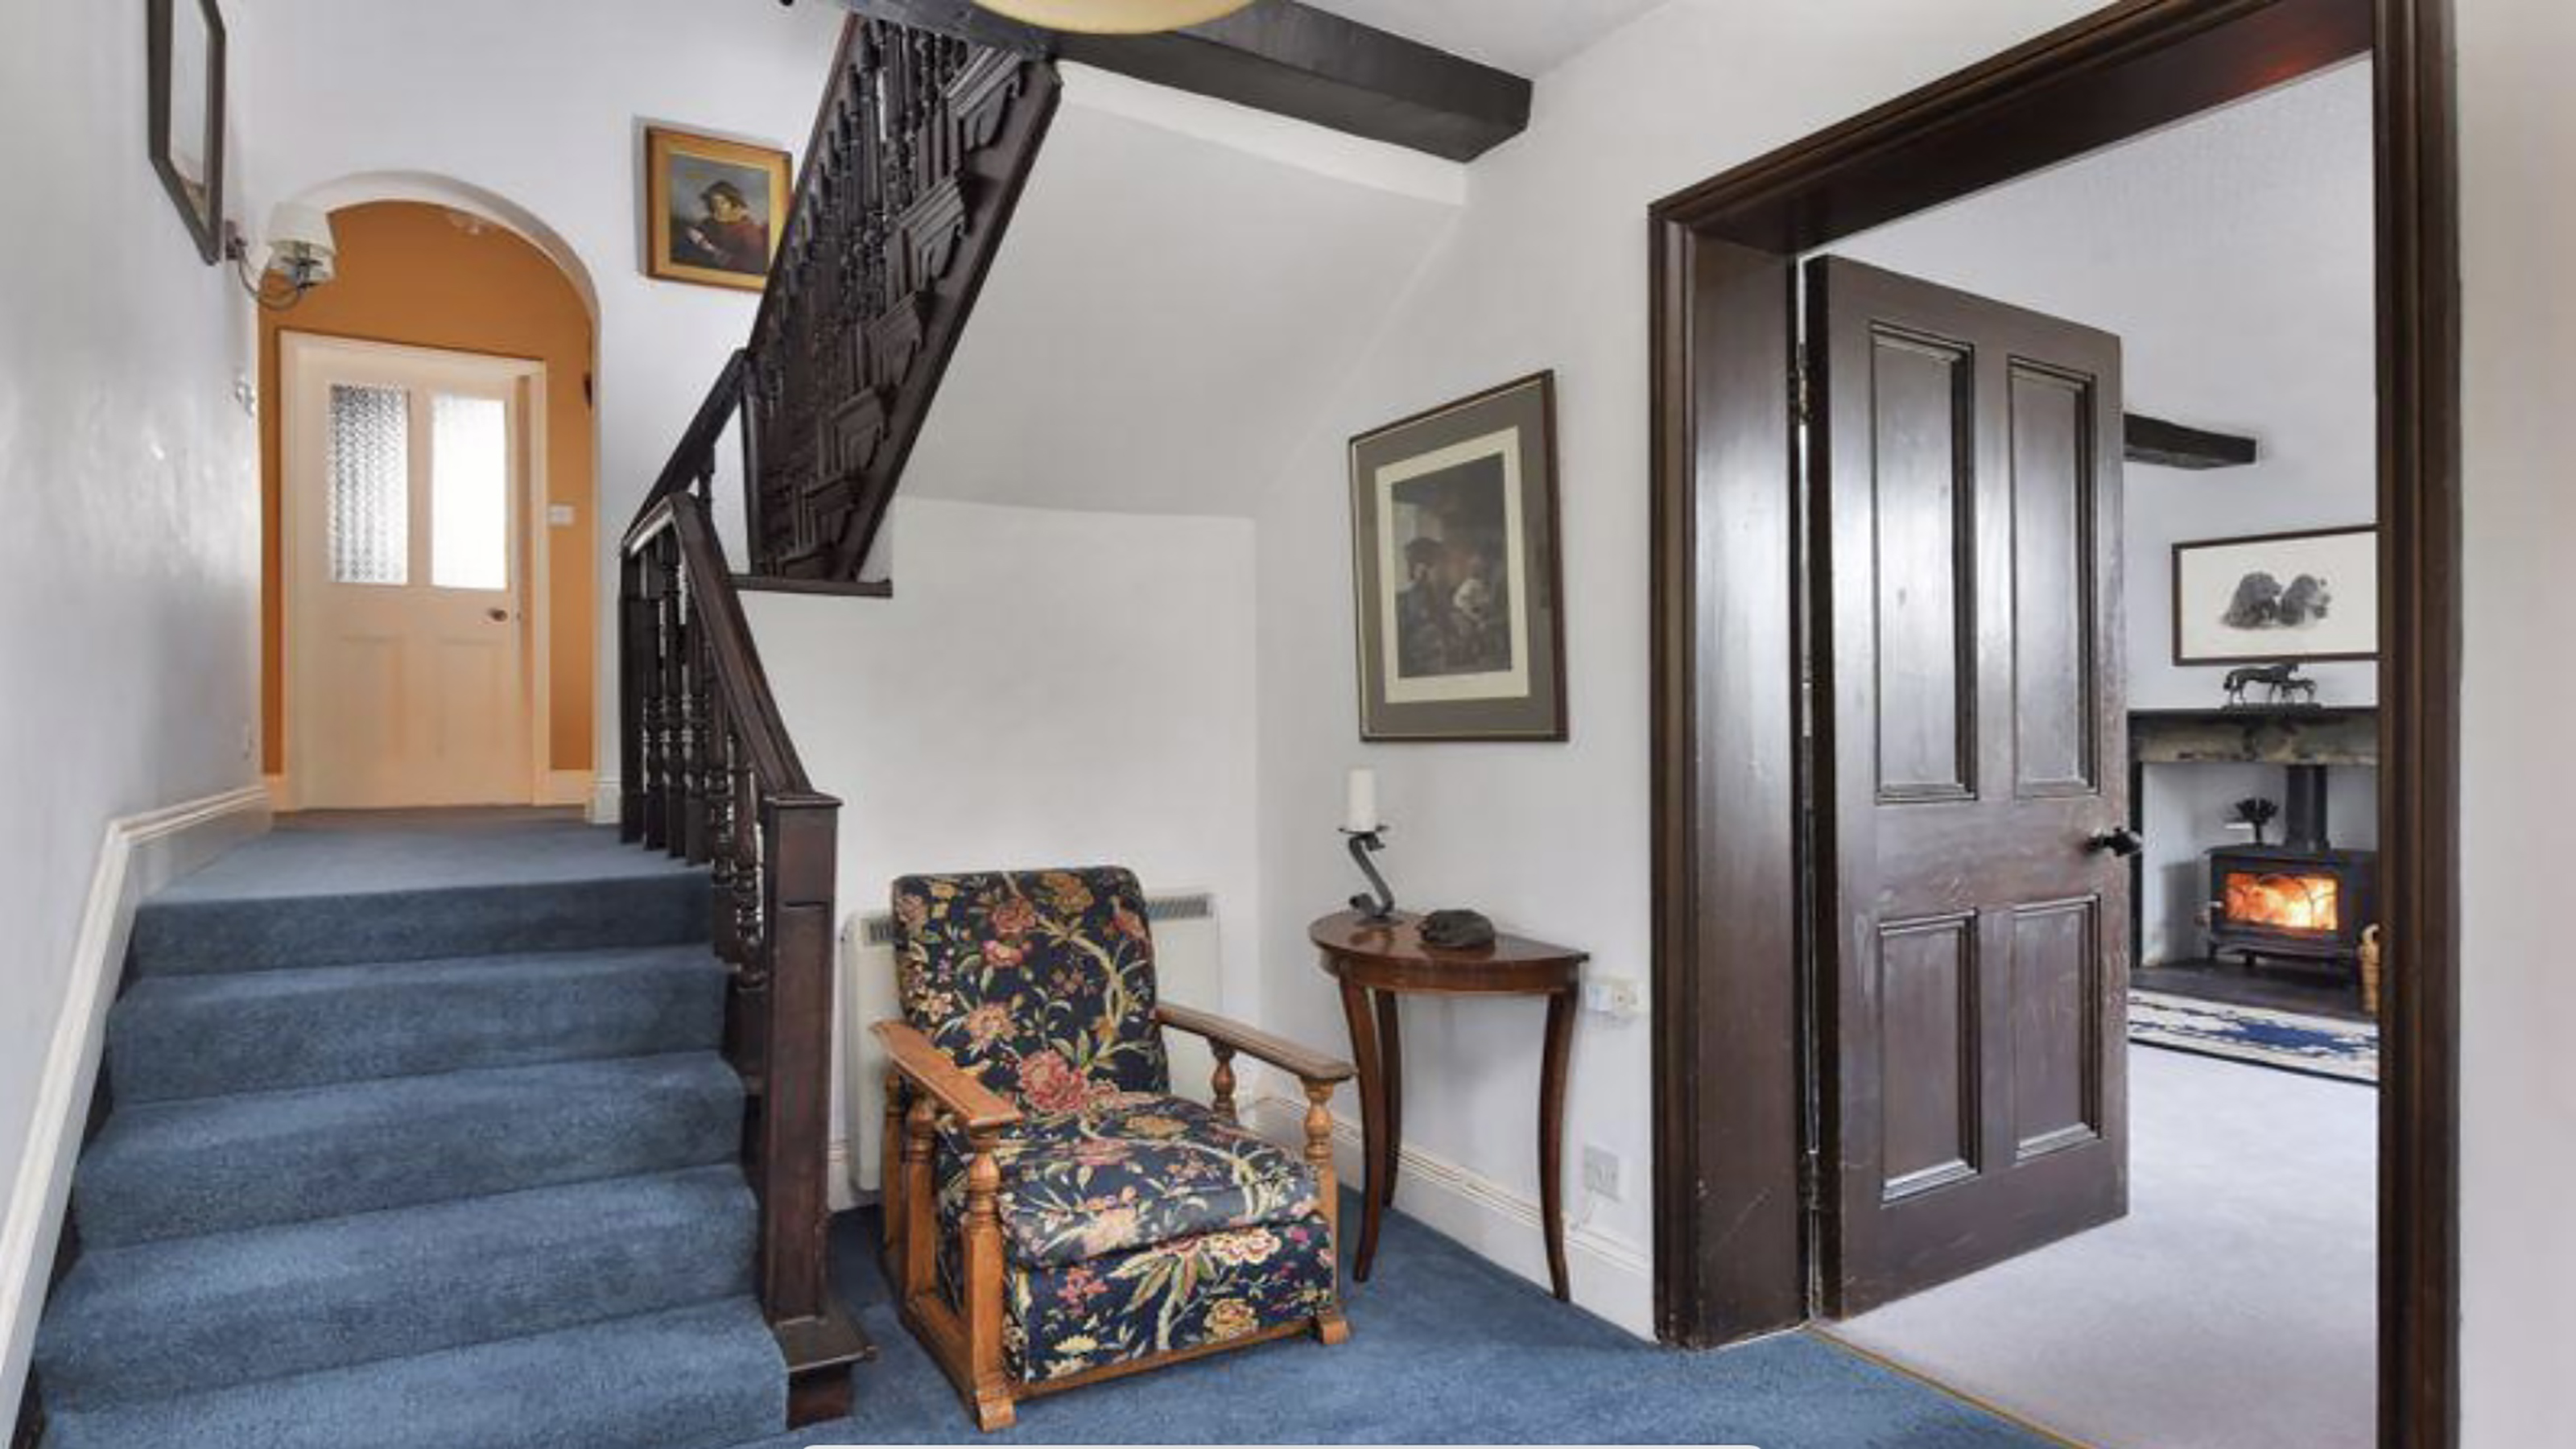 How to replace a broken staircase spindle in 30 minutes flat
A missing or broken spindle on a staircase is not only unsightly, but it can be a real hazard. This is how to fix it in a few quick steps.
By Kate Sandhu
-
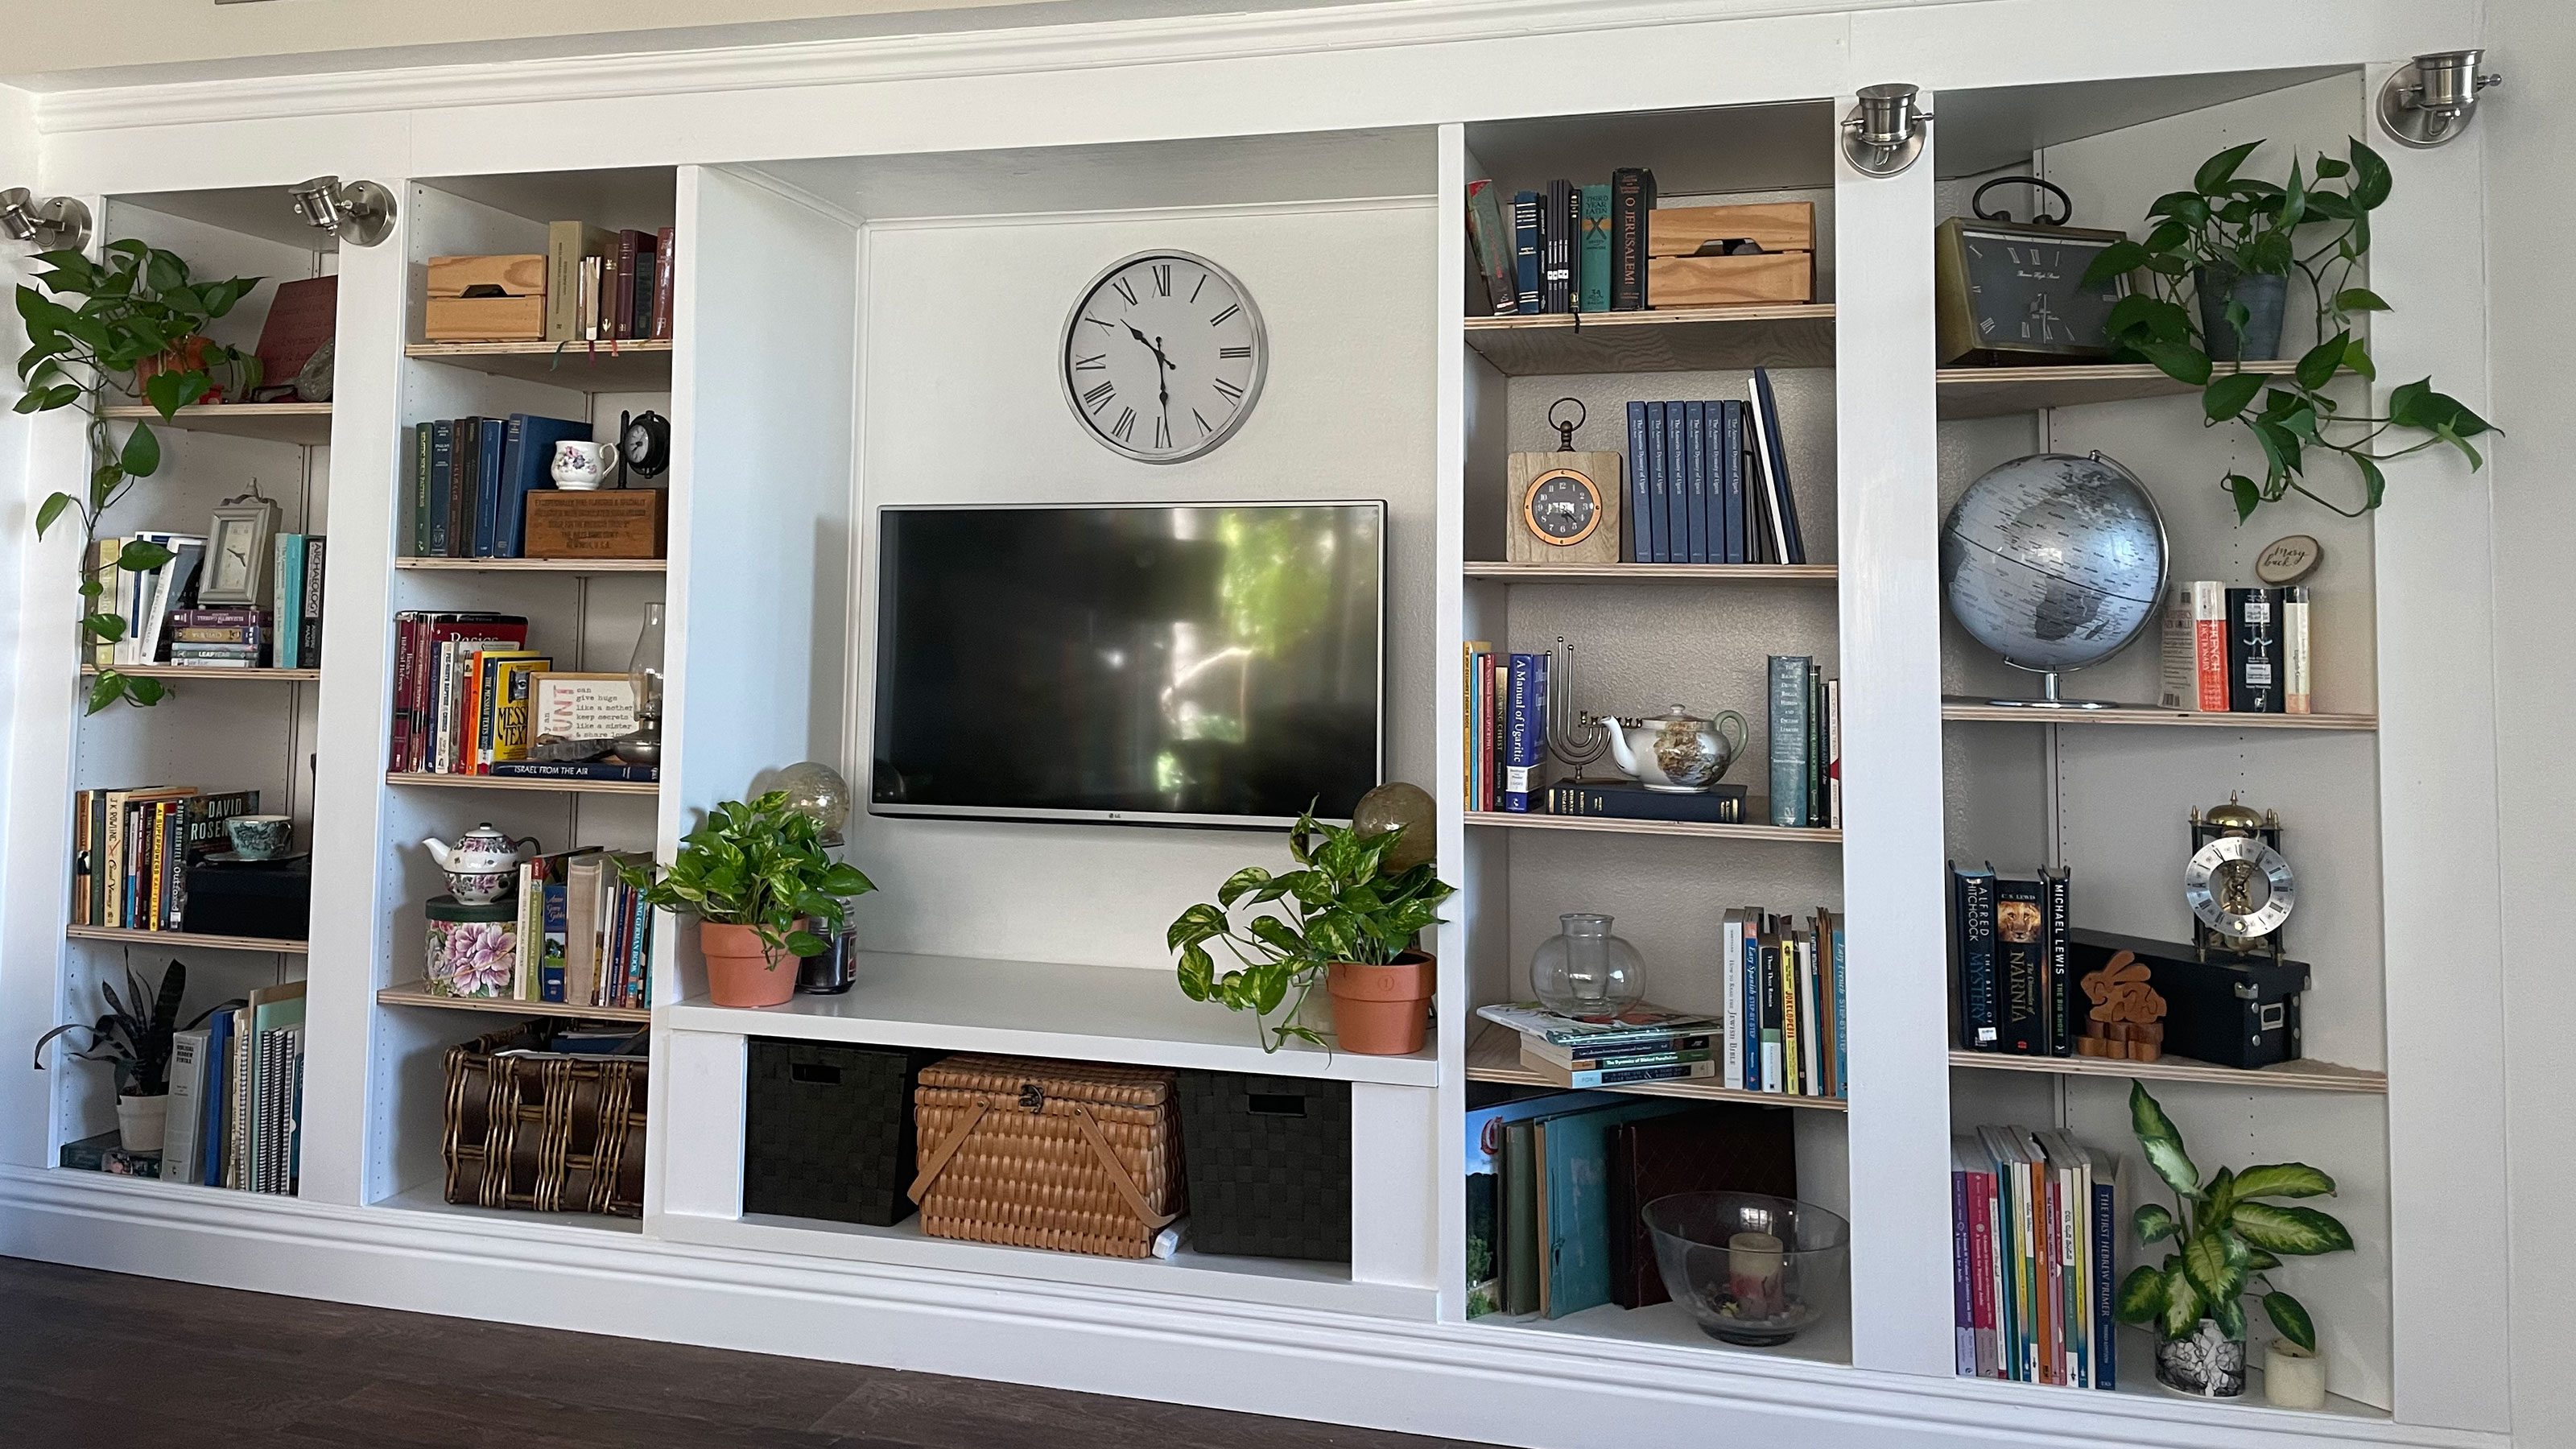 An IKEA Billy bookcase hack inspired this cute media wall DIY
This cute DIY was inspired by an IKEA Billy bookcase hack and brought a ton of symmetry to an otherwise basic media wall space.
By Camille Dubuis-Welch
-
 Share your small space glow up to win $150 in the Real Homes competition
Show off your creativity and DIY skills to win $150 and for the chance to be featured exclusively in Real Homes magazine
By Camille Dubuis-Welch
-
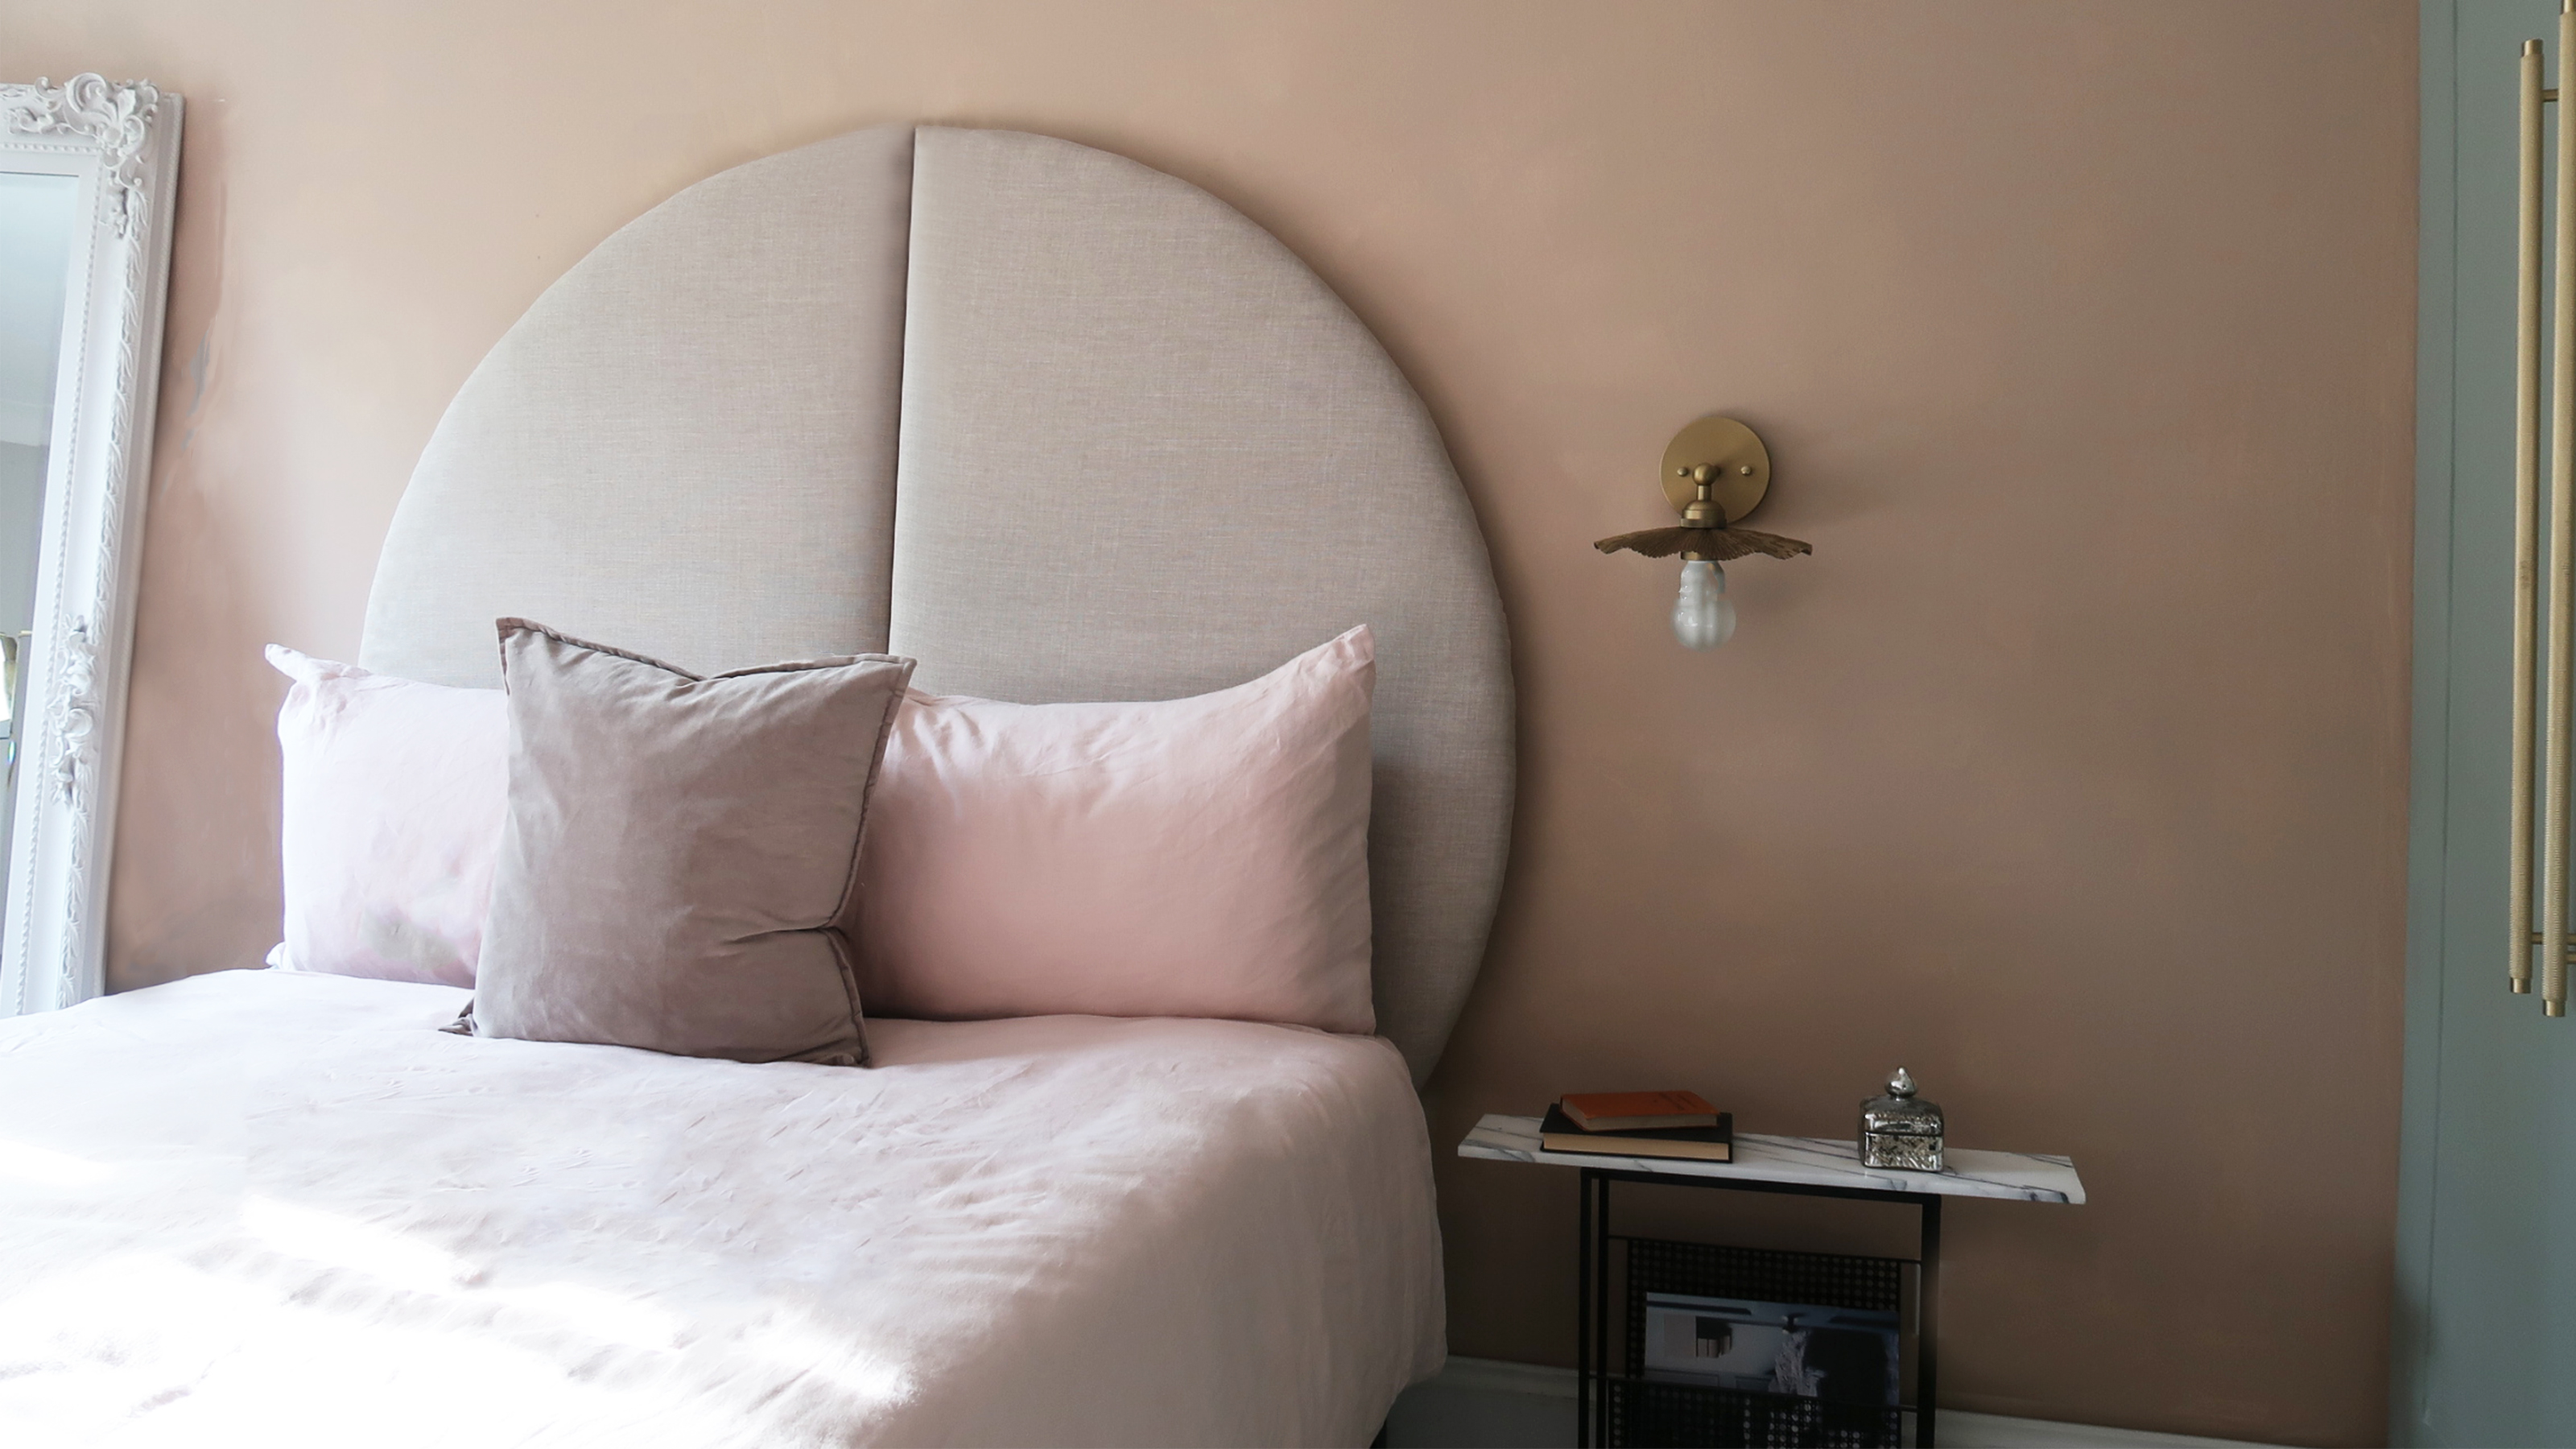 This oversized headboard looks designer, and takes 5 steps to DIY
Super simple to DIY, this oversized headboard will give your bedroom space all the designer vibes you could dream of.
By Claire Douglas
-
 How to paint a door and refresh your home instantly
Painting doors is easy with our expert advice. This is how to get professional results on front and internal doors.
By Claire Douglas
-
 My DIY range hood and backsplash build gave my kitchen the perfect farmhouse finish
I craved charm in my kitchen space and adding a custom range hood and shelving was the best move.
By Brooke Waite
-
 How to paint a radiator in 7 steps
Painting radiators properly is all about choosing the right paint and the best process. Get interior designer-worthy results with our how-to.
By Kate Sandhu