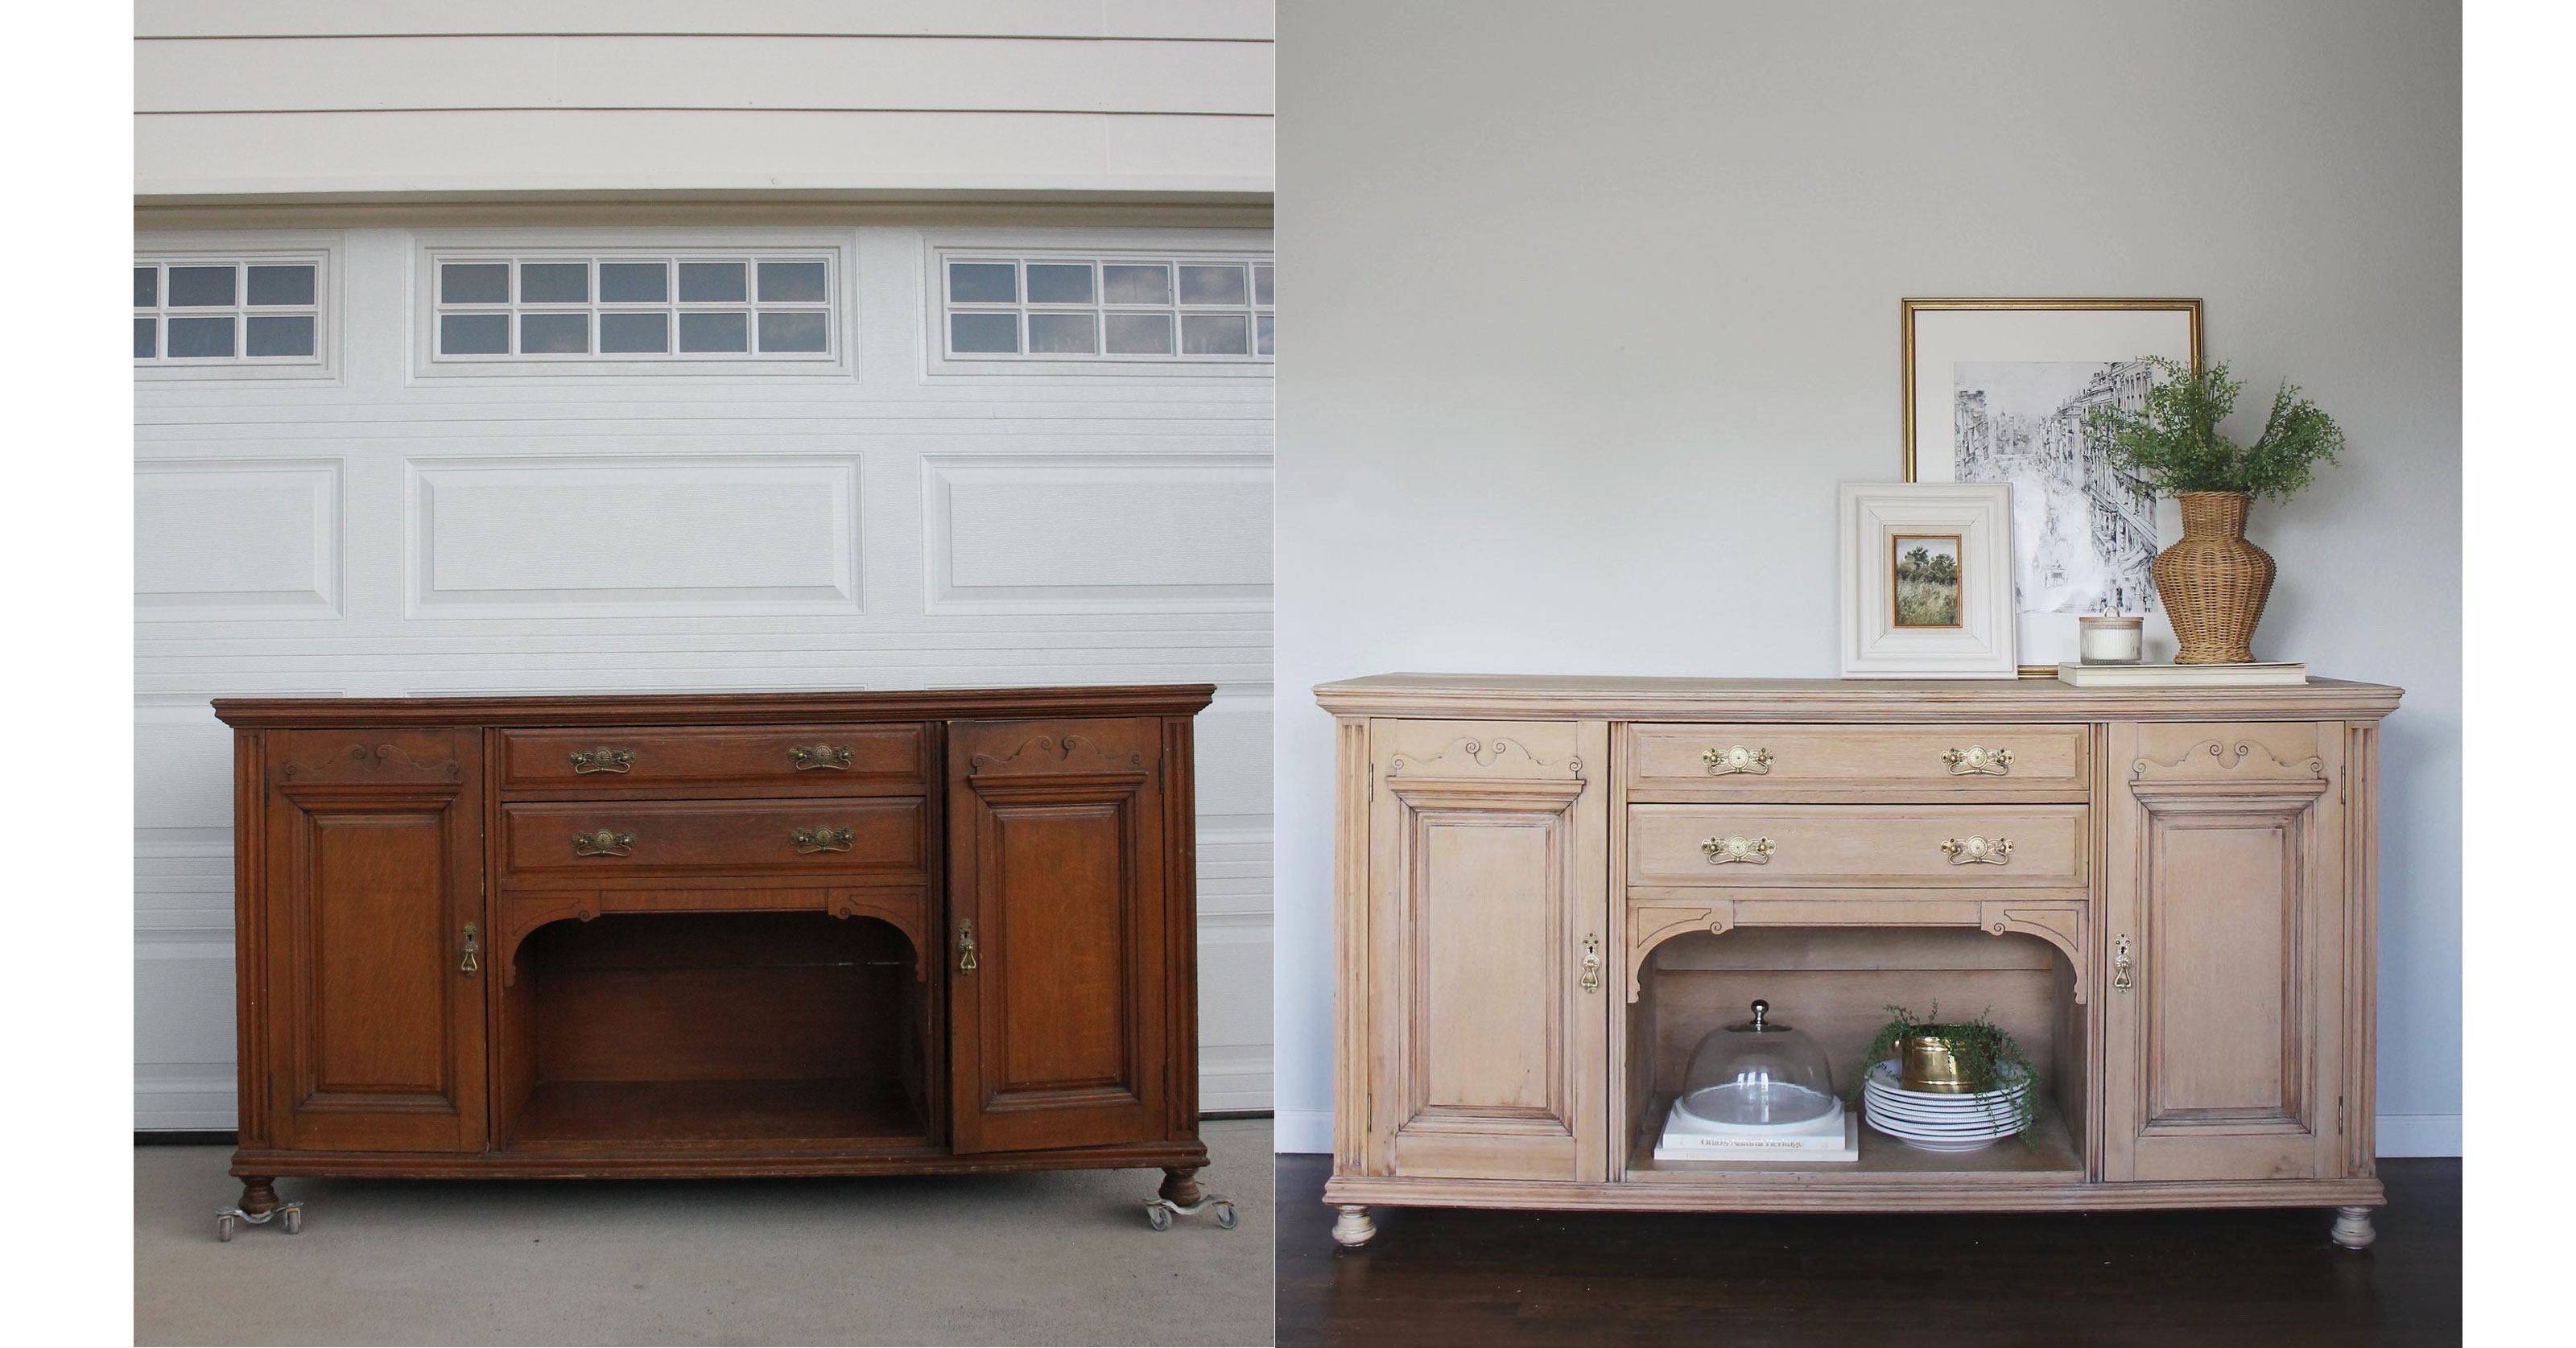

If you're an avid upcycler, it's easy to see the potential in everything you set your eyes on. When Leslie Jarrett spotted this cool antique piece of furniture online, suddenly, refinishing a buffet was next on her list of DIYs, and a very exciting prospect at that.
You may have guessed, Jarrett is an avid DIYer.
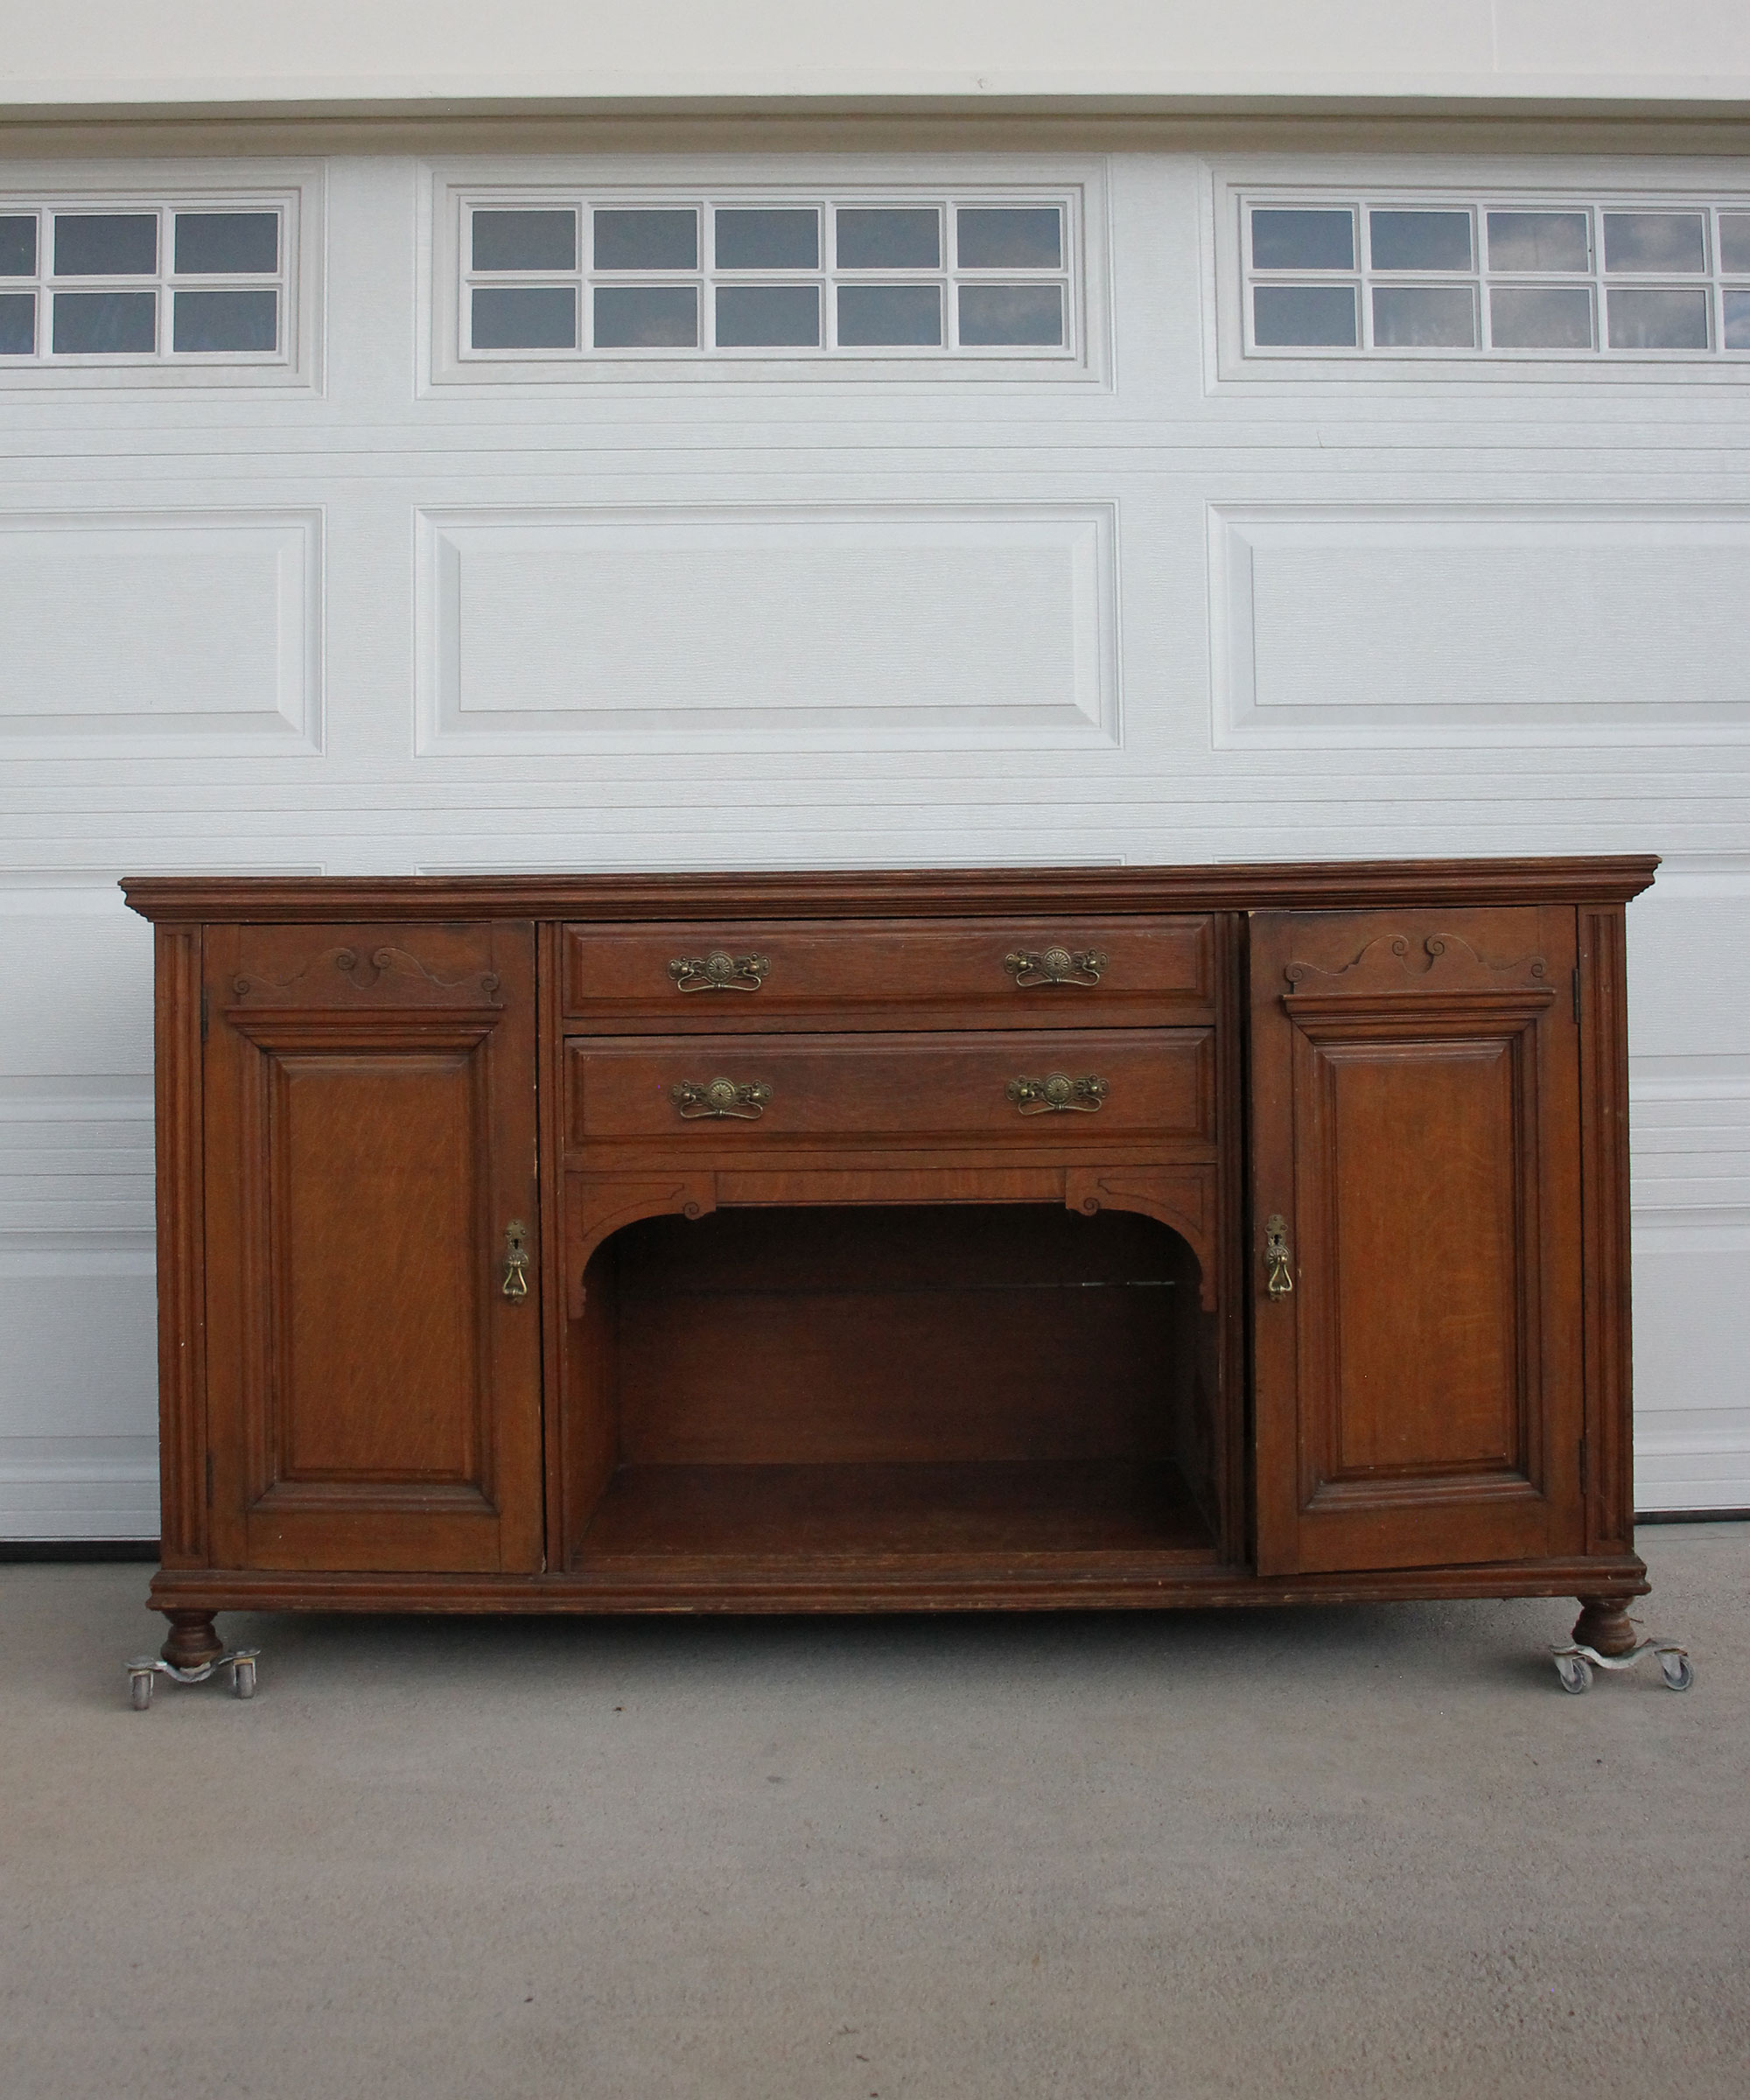
Based in Denver, CO, she has a furniture flipping business @wonderfullymadebyleslie and picked up this solid wood antique buffet for just $60 on Facebook Marketplace before setting out to refinish it, lightening the wood to give it an updated farmhouse look.
Finding your inspiration
It always helps to have a vision in mind when you start even looking for furniture to flip. 'I knew I wanted a lighter wood piece but I wasn’t sure if that was possible until I removed the old stain and topcoat. I tried using bleach for the first time to cut out some of the yellow in the wood and it worked like a charm!' Making this an ideal piece for a farmhouse kitchen or dining space.
How to refinish an antique wood buffet
Before you consider a piece to upcycle, you do need to asses that it's in good enough condition to work on. Jarrett highlights that 'The piece had a lot of cosmetic issues but it was in solid condition.'
Tools and supplies:
1.Orbital Sander: This DIY uses a BLACK+DECKER Random Orbit Sander, 5-Inch (BDERO100)
2. Sandpaper: Orbital rounds are available on Amazon
3. Grippers: This contour and angling pack is ideal
4. Good furniture paint: Jarrett used Cathedral Taupe by Fusion Mineral
5. Topcoat: Jarrett used Varathan Clear Matte Water-Based Interior Polyurethane from The Home Depot
7. Bar Keepers Friend and an old toothbrush!
8. Regular household bleach
Note that refinishing furniture is an achievable project even for newbies to the DIY world but, it will take a little more time and patience, so block out a weekend and don't give up!
'Refinishing this massive antique buffet has been one of my hardest projects thus far and the hardware was in serious need of a good cleaning…but you know what? I always love my restored pieces a little more because the amount of work that goes into them.'
Here's how to tackle this upcycle.
1. Clean and strip the piece
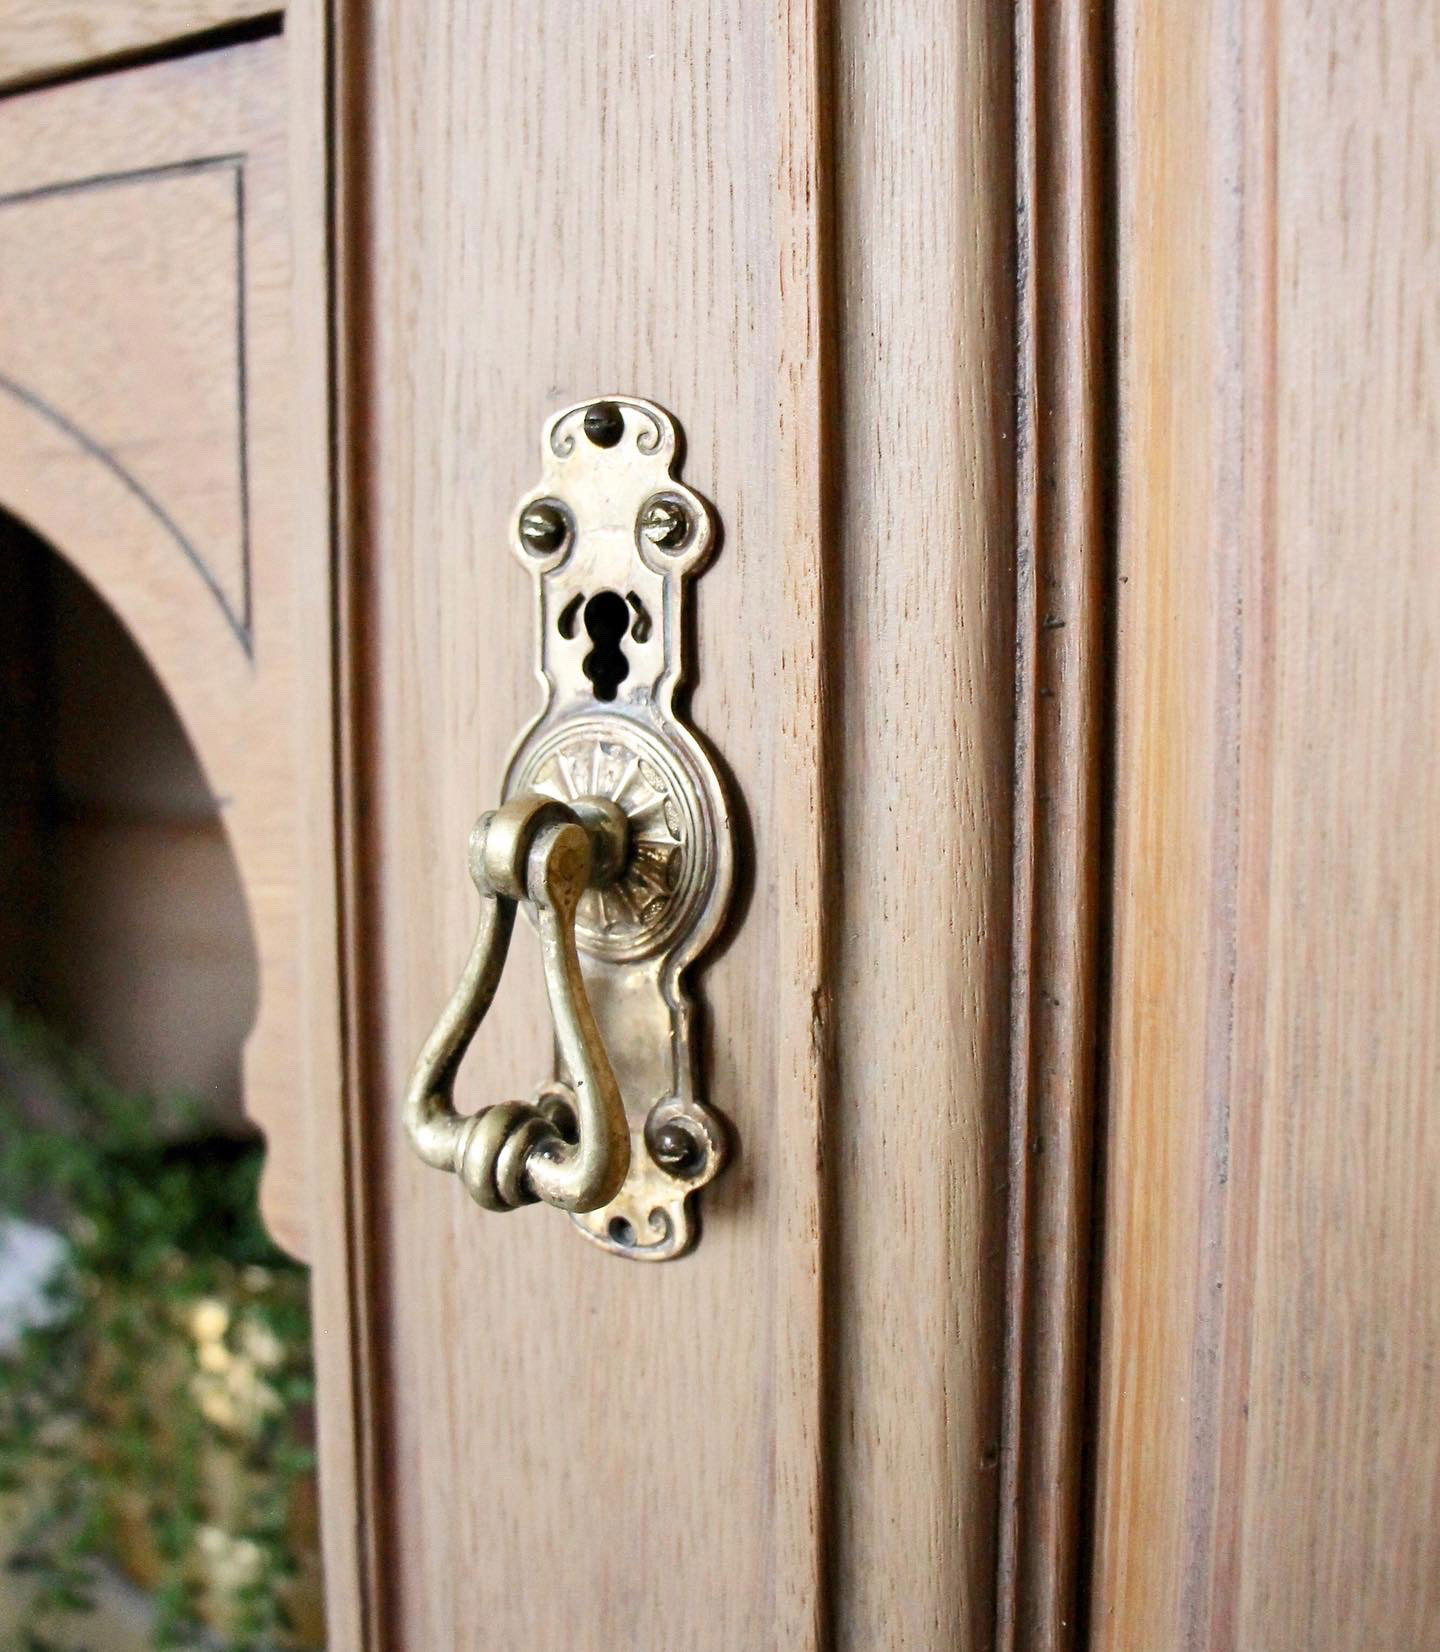
'First clean your piece with Krud Kutter then apply a paint stripper.' Jarrett said she also cleaned up the hardware using trusty Bar Keepers Friend along with the toothbrush.
There are good eco-friendly products you can use when stripping varnish from wood furniture like Back to Nature's Hi-Speed-Ready-Strip which you can find on The Home Depot usually for less than $10.
It is best to work in sections, and Jarrett used an old toothbrush on the trim pieces.
2. Sand thoroughly
Sanding furniture is key as it will give a good finish and better grip for repainting.
'After scraping the stripper off (per directions on the bottle), sand the entire piece starting with 80 then 150 then 220 grit sandpaper.'
For this, Jarrett bought Orbital rounds on Amazon but depending on your piece, it's worth investing in an assortment of sandpaper, and being thorough will always give the best results so don't skip this step. 'Sanding grippers helped get in all the detail spots.'
3. Treat and refinish
Next, Jarrett actually applied bleach to the entire piece, allowing it to dry completely.
Make sure you wear gloves, protective eyewear and a mask. And while bleach is useful to lighten wood, when it comes to cleaning products, we like to keep more eco-friendly cleaning products to hand!
Jarrett then chose a paint wash over a stain, 'I applied a paint wash instead of a stain because I was wanting to blend the grain stripes on the piece. A stain would have made them stand out more. I used a 4:1 ratio of water to paint.'
Both staining and painting furniture always makes a huge difference.
'I immediately wiped the paint wash off with a towel to get the perfect amount of product on the piece. This technique takes some practice!'
4. Apply a topcoat
For a more uniform finish, Jarrett sanded some more areas before applying the topcoat – a water-based polyurethane. She used Varathan Clear Matte Water-Based Interior Polyurethane from The Home Depot.
'I applied a paint wash instead of a stain because I was wanting to blend the grain stripes on the piece.'
Miniwax's Clear Water-Based Protective Finish in Satin is water-based and another good option to seal wooden furniture against scratches and spills.
5. Style
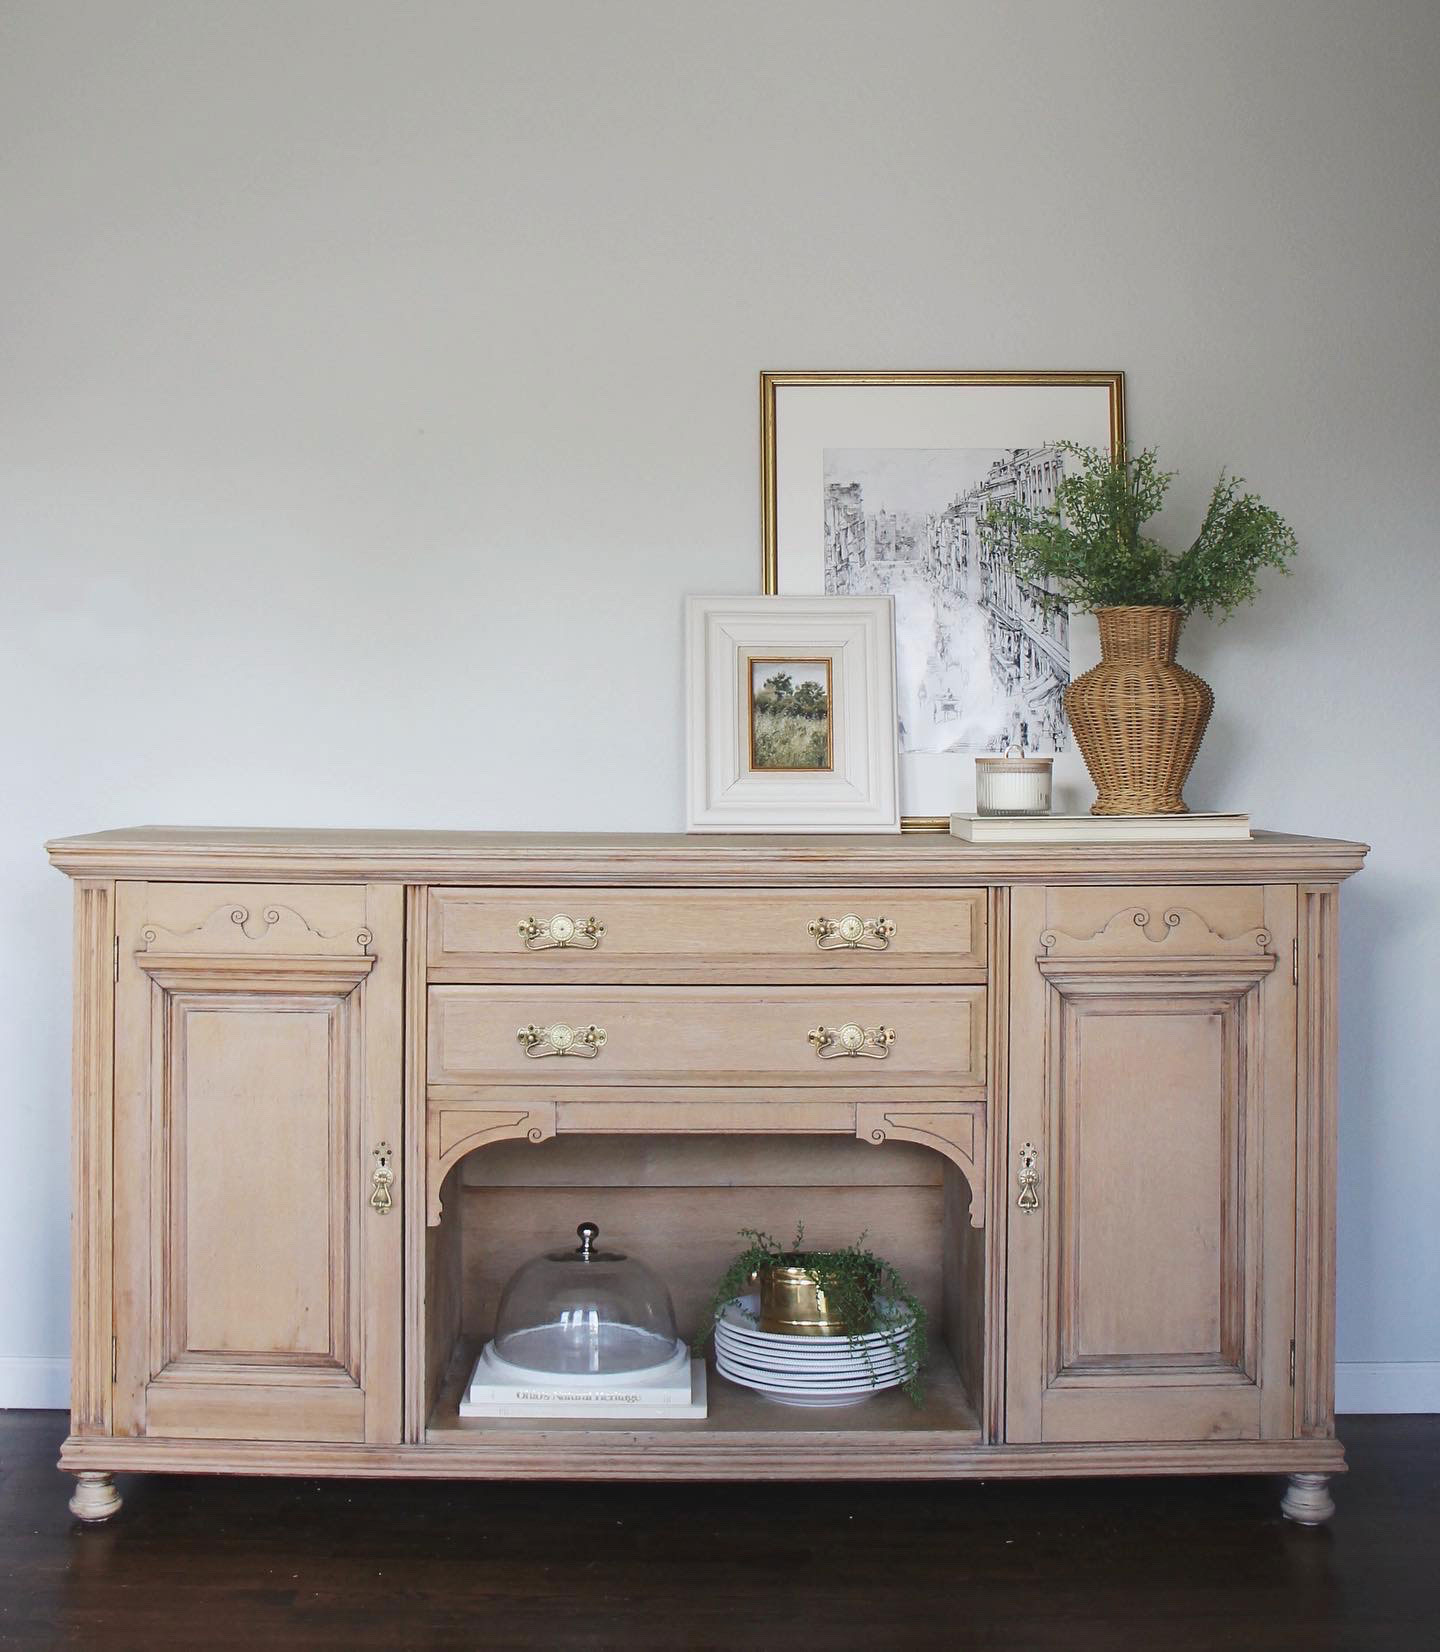
Jarrett's modern buffet is styled to modern farmhouse perfection. Uncomplicated with a simple rattan vase, some layered frames, greenery and tableware, of course. It's unfussy which works as the buffet honestly speaks for itself.
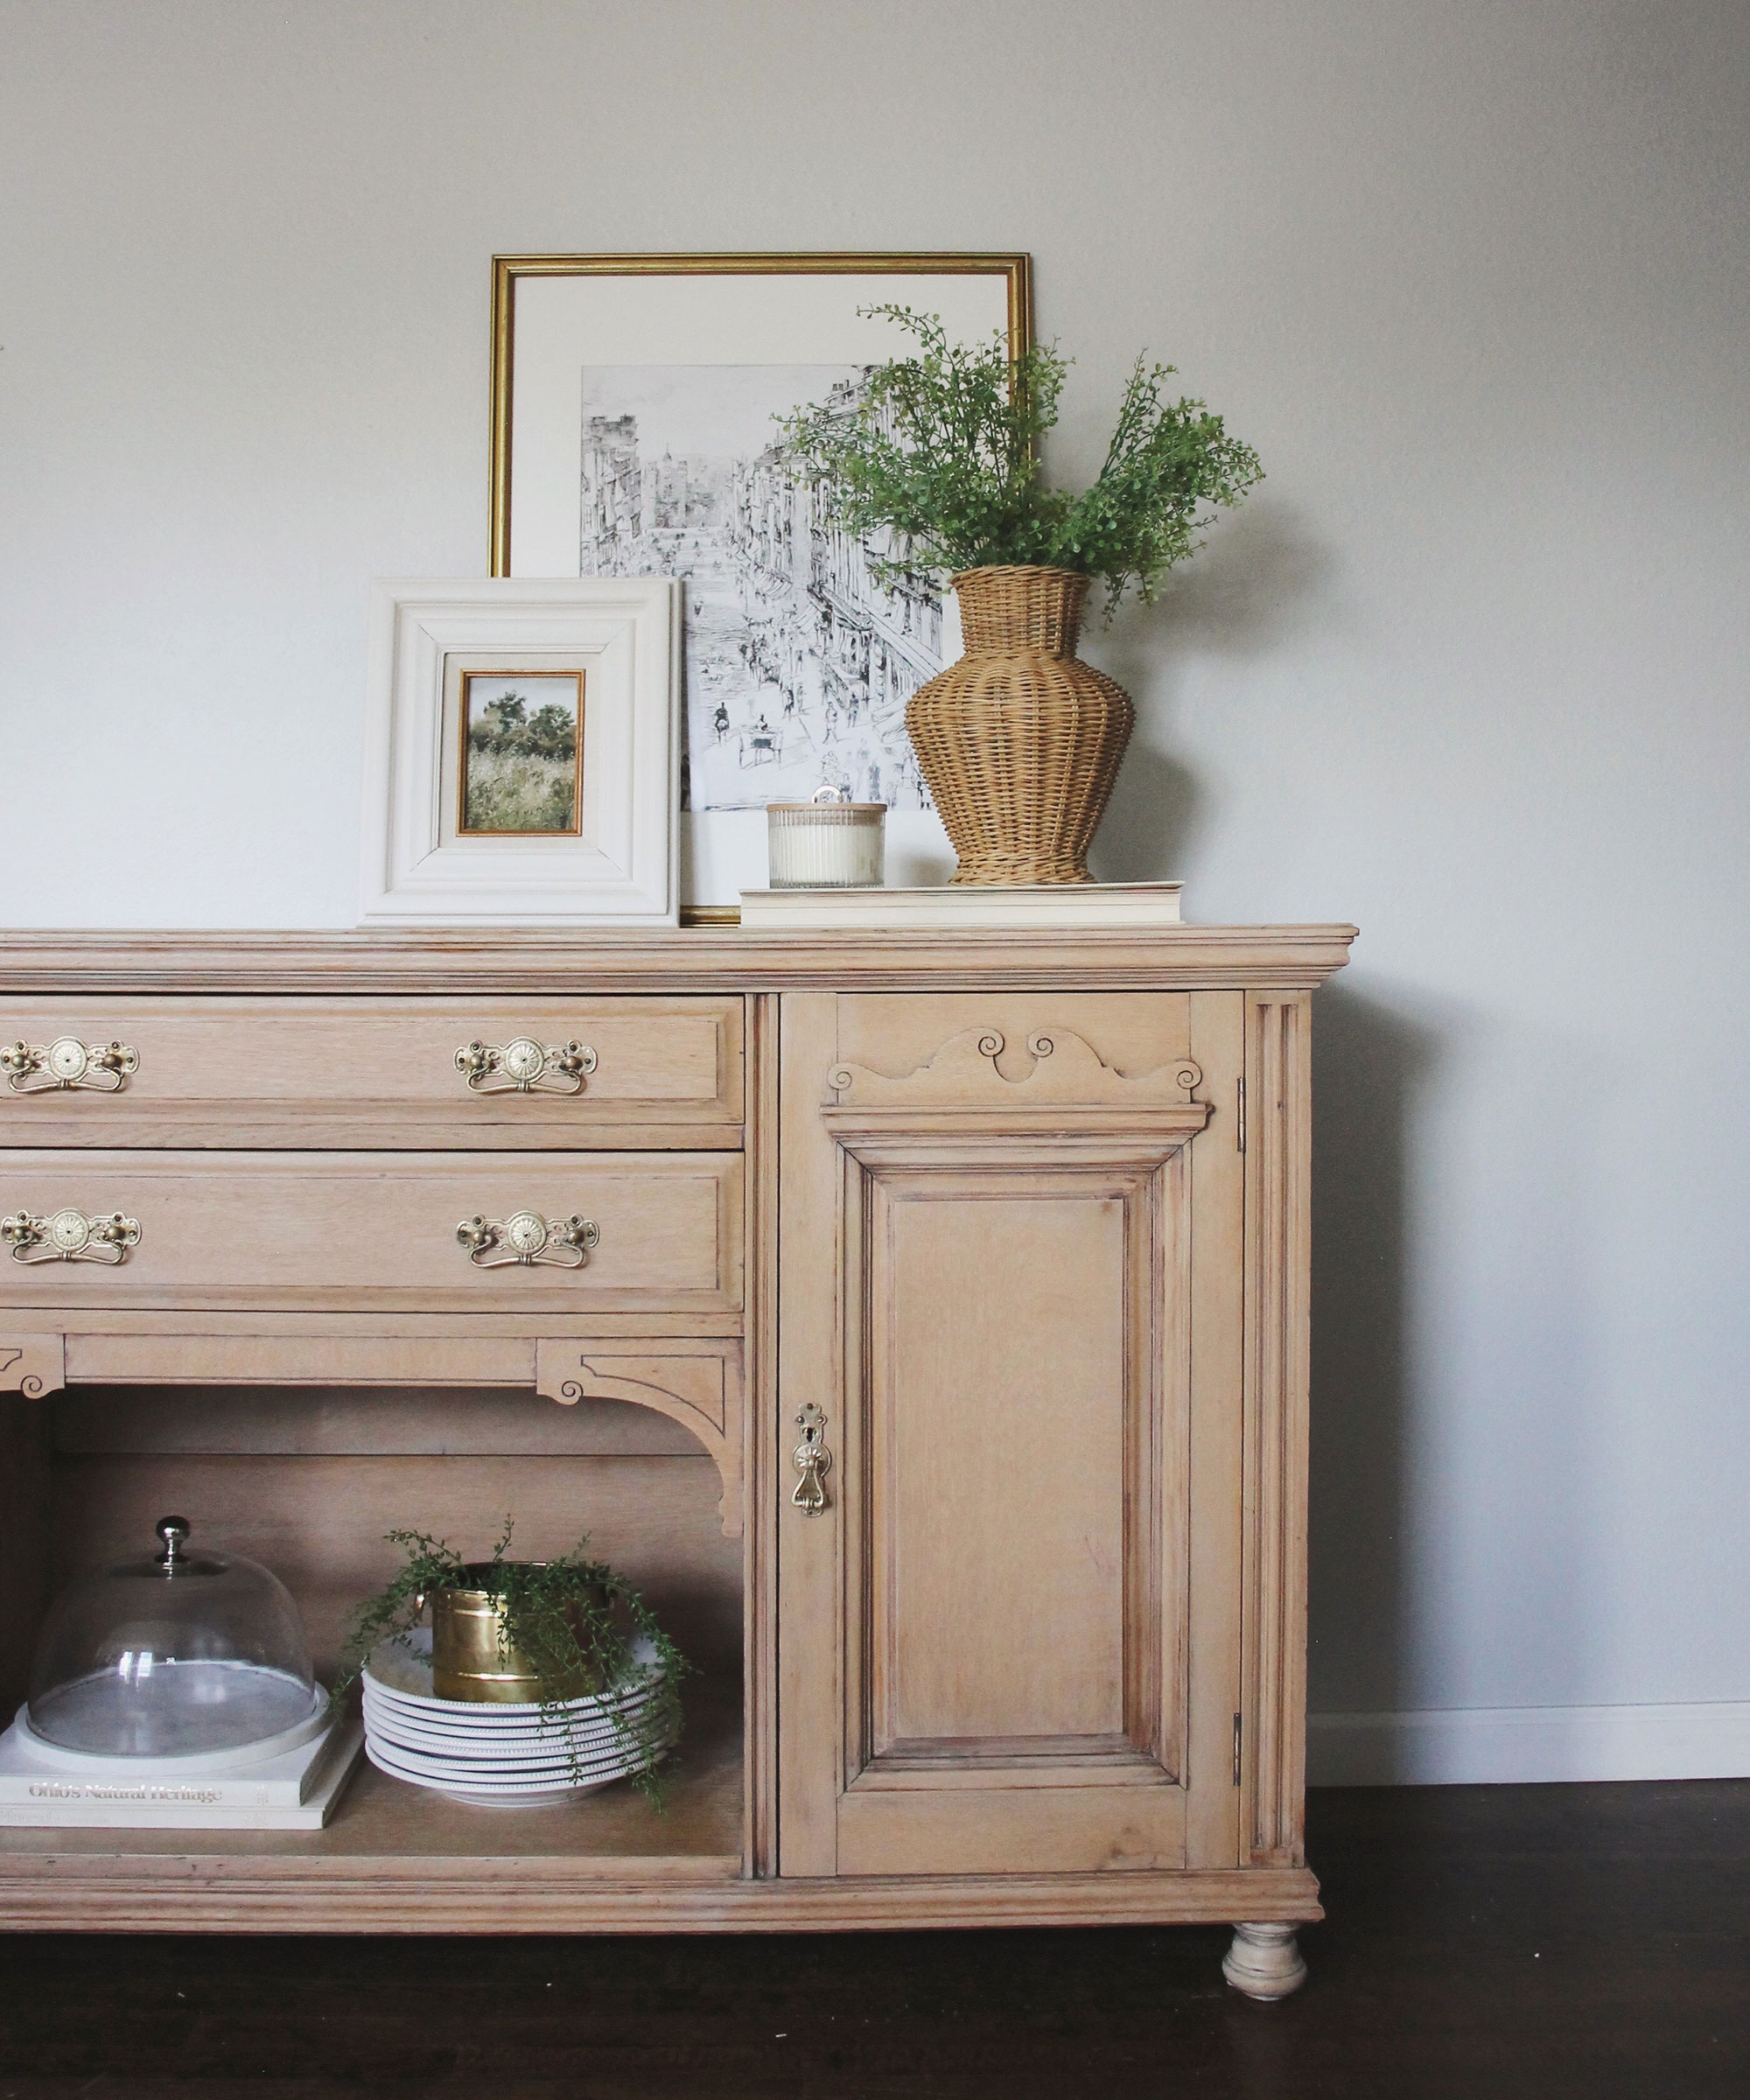
There's no doubt about it, the result on this antique buffet is gorgeous and will bring a lot of modern charm to a home, without a big spend.
Jarrett shared her total budget for this project:
'I believe a solid wood light finish buffet in great condition would go for $2k.' Shared Jarrett, which isn't far off! 'I spent $60 on the piece, $40 on paint stripper, $25 on carbide scraper, $10 grippers, $15 sandpaper, $25 paint, and $15 on the topcoat!'
Not bad for $190.
Why not do the same on your thrifted finds to save a ton on what will feel like a totally new addition to your space? A refinished buffet would look great as a dining room addition or in a hallway.
Join our newsletter
Get small space home decor ideas, celeb inspiration, DIY tips and more, straight to your inbox!

I'm Cam, the former deputy editor of Real Homes who worked on the site from 2020 to 2023. As a renter myself, sharing a home with two friends (and my cat) in London, I know all too well the challenges that this can pose when it comes to creating your perfect setup. As someone who has always loved everything interior design-related, I cannot rest until a home feels right and I am really passionate about helping others get there too, no matter what their living situation, style, or budget may be. It’s not always the easiest to figure out, but the journey is fun and the results are so worth it.
After interior design, travel, art, and photography are my next big passions. When I’m not writing or editing homes content, I’m usually tapping into other creative outlets, exploring galleries in London or further afield, taking photos, scribbling, or drawing!
-
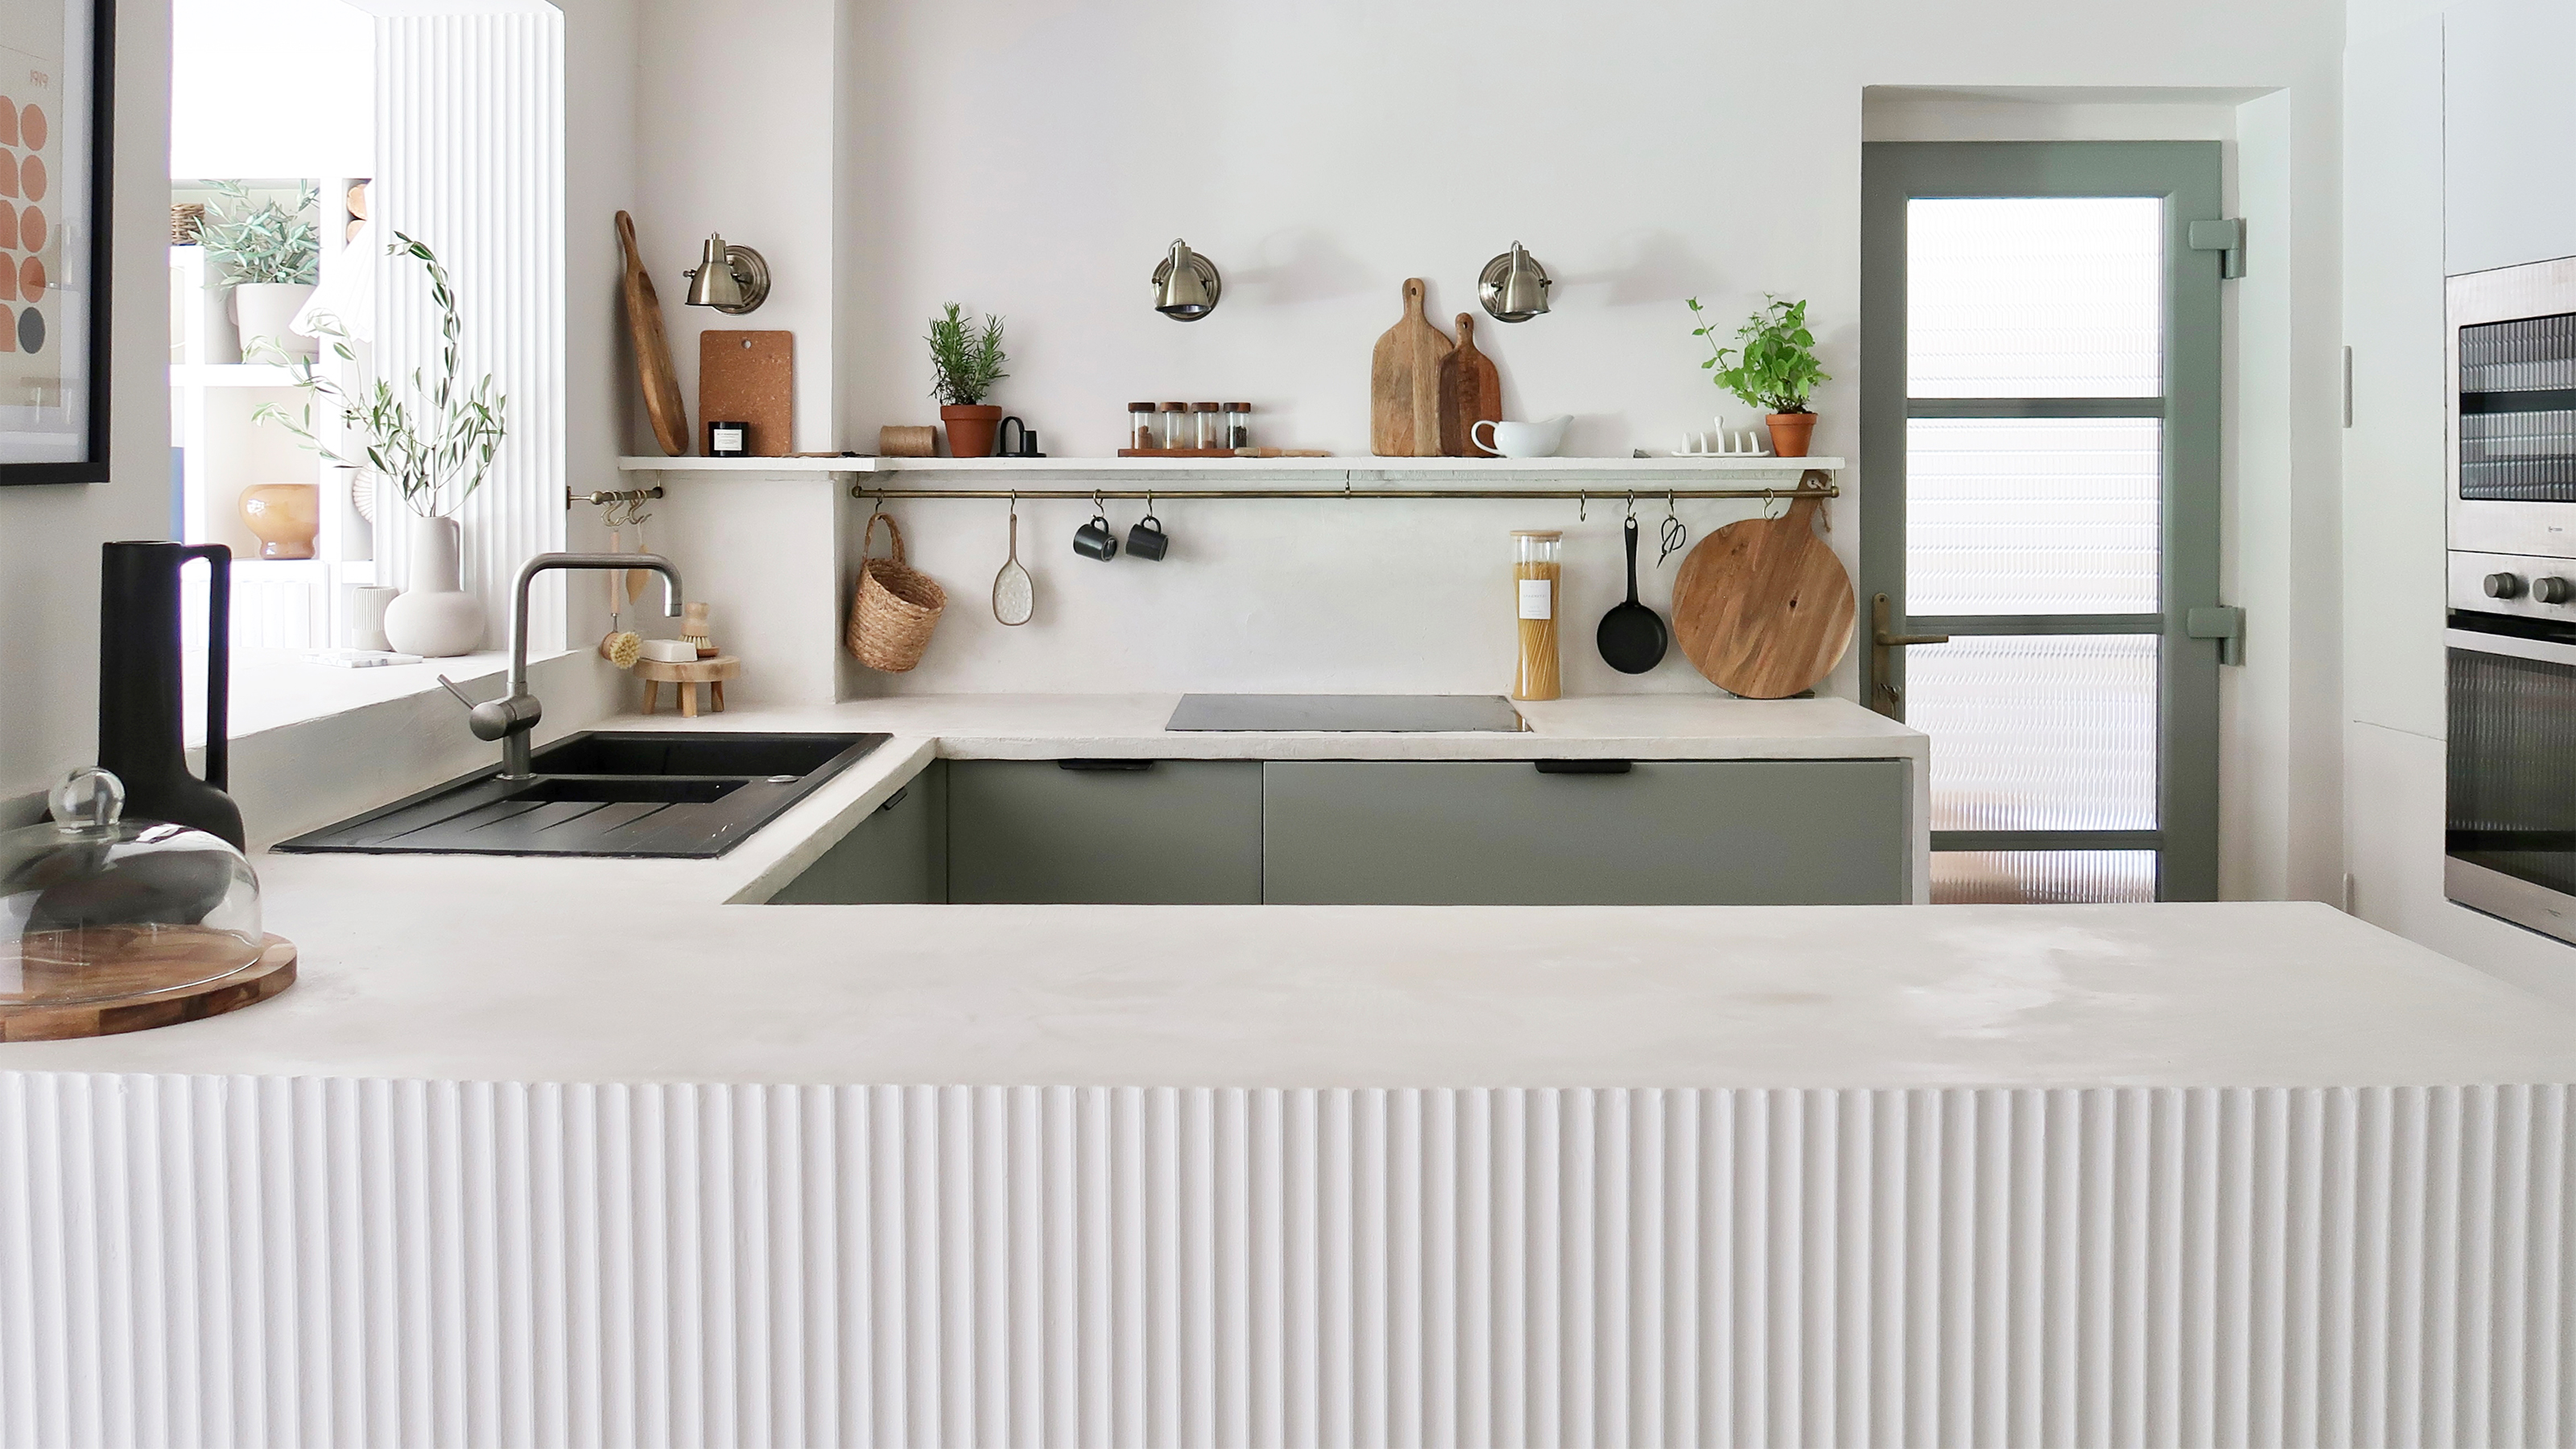 A $200 fluted panel transformed my drab kitchen in just one weekend
How to install a fluted kitchen panel: A speedy and achievable DIY tutorial even for DIY novices
By Claire Douglas
-
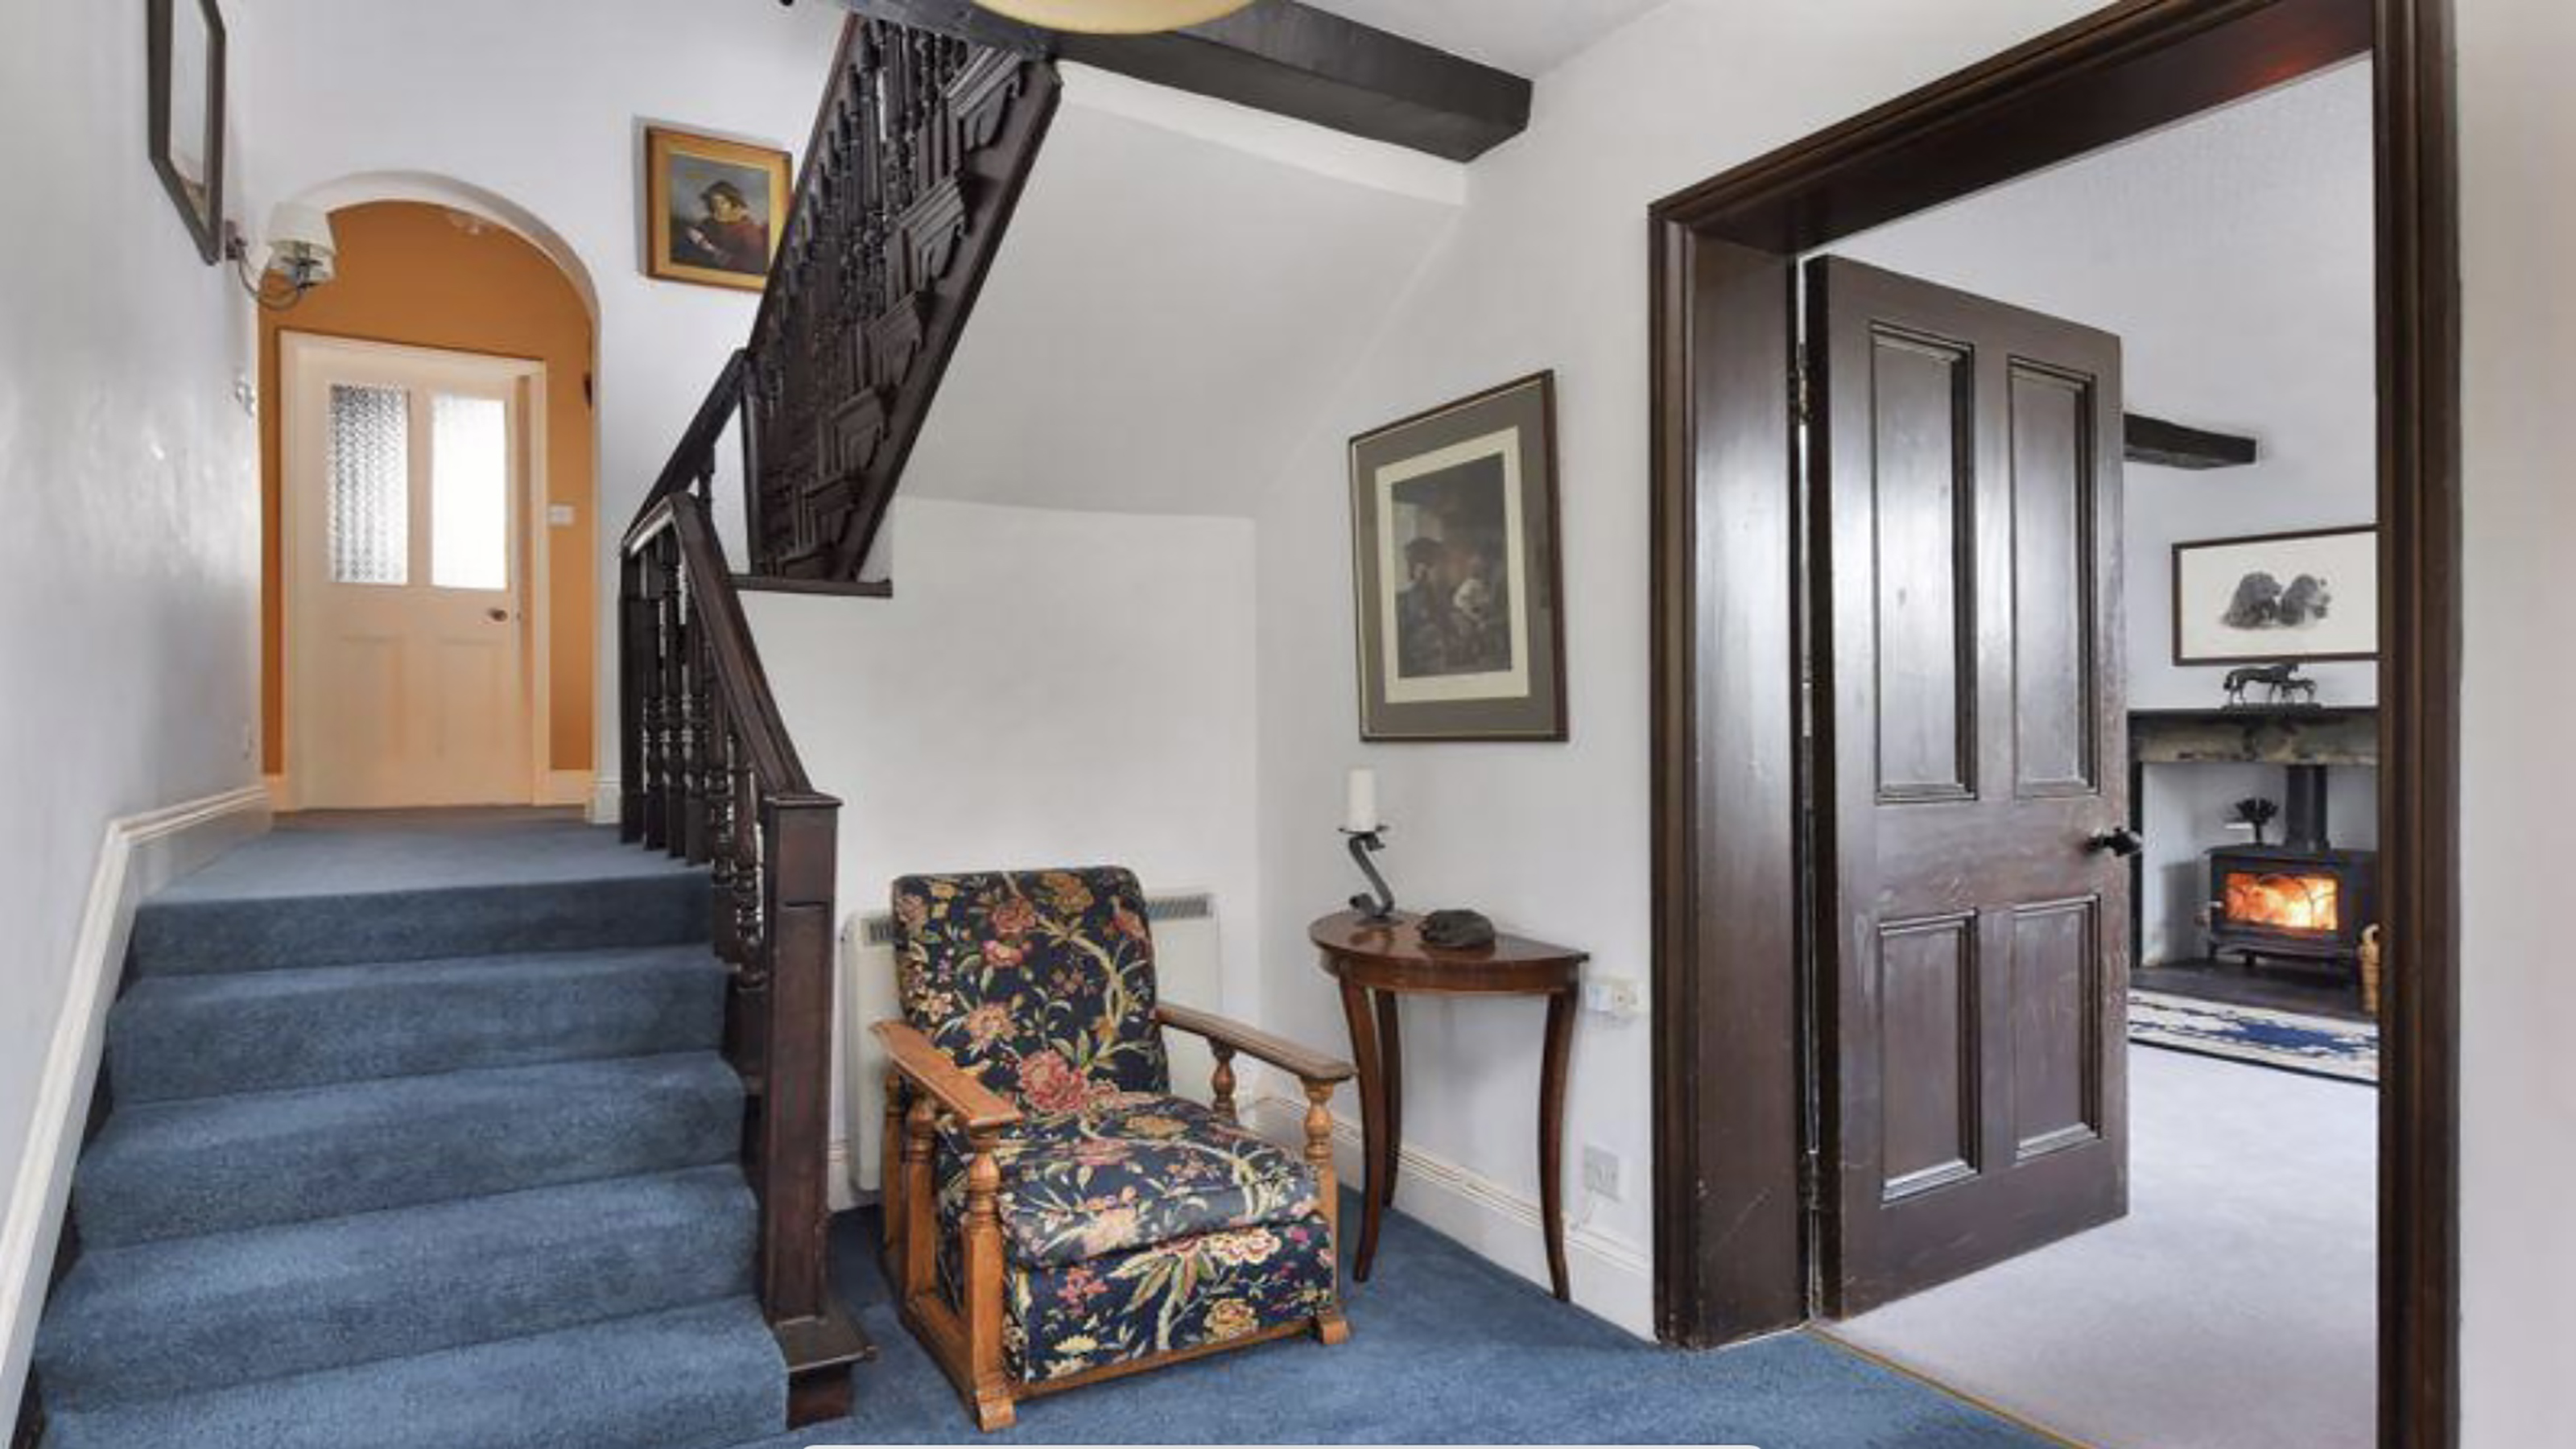 How to replace a broken staircase spindle in 30 minutes flat
A missing or broken spindle on a staircase is not only unsightly, but it can be a real hazard. This is how to fix it in a few quick steps.
By Kate Sandhu
-
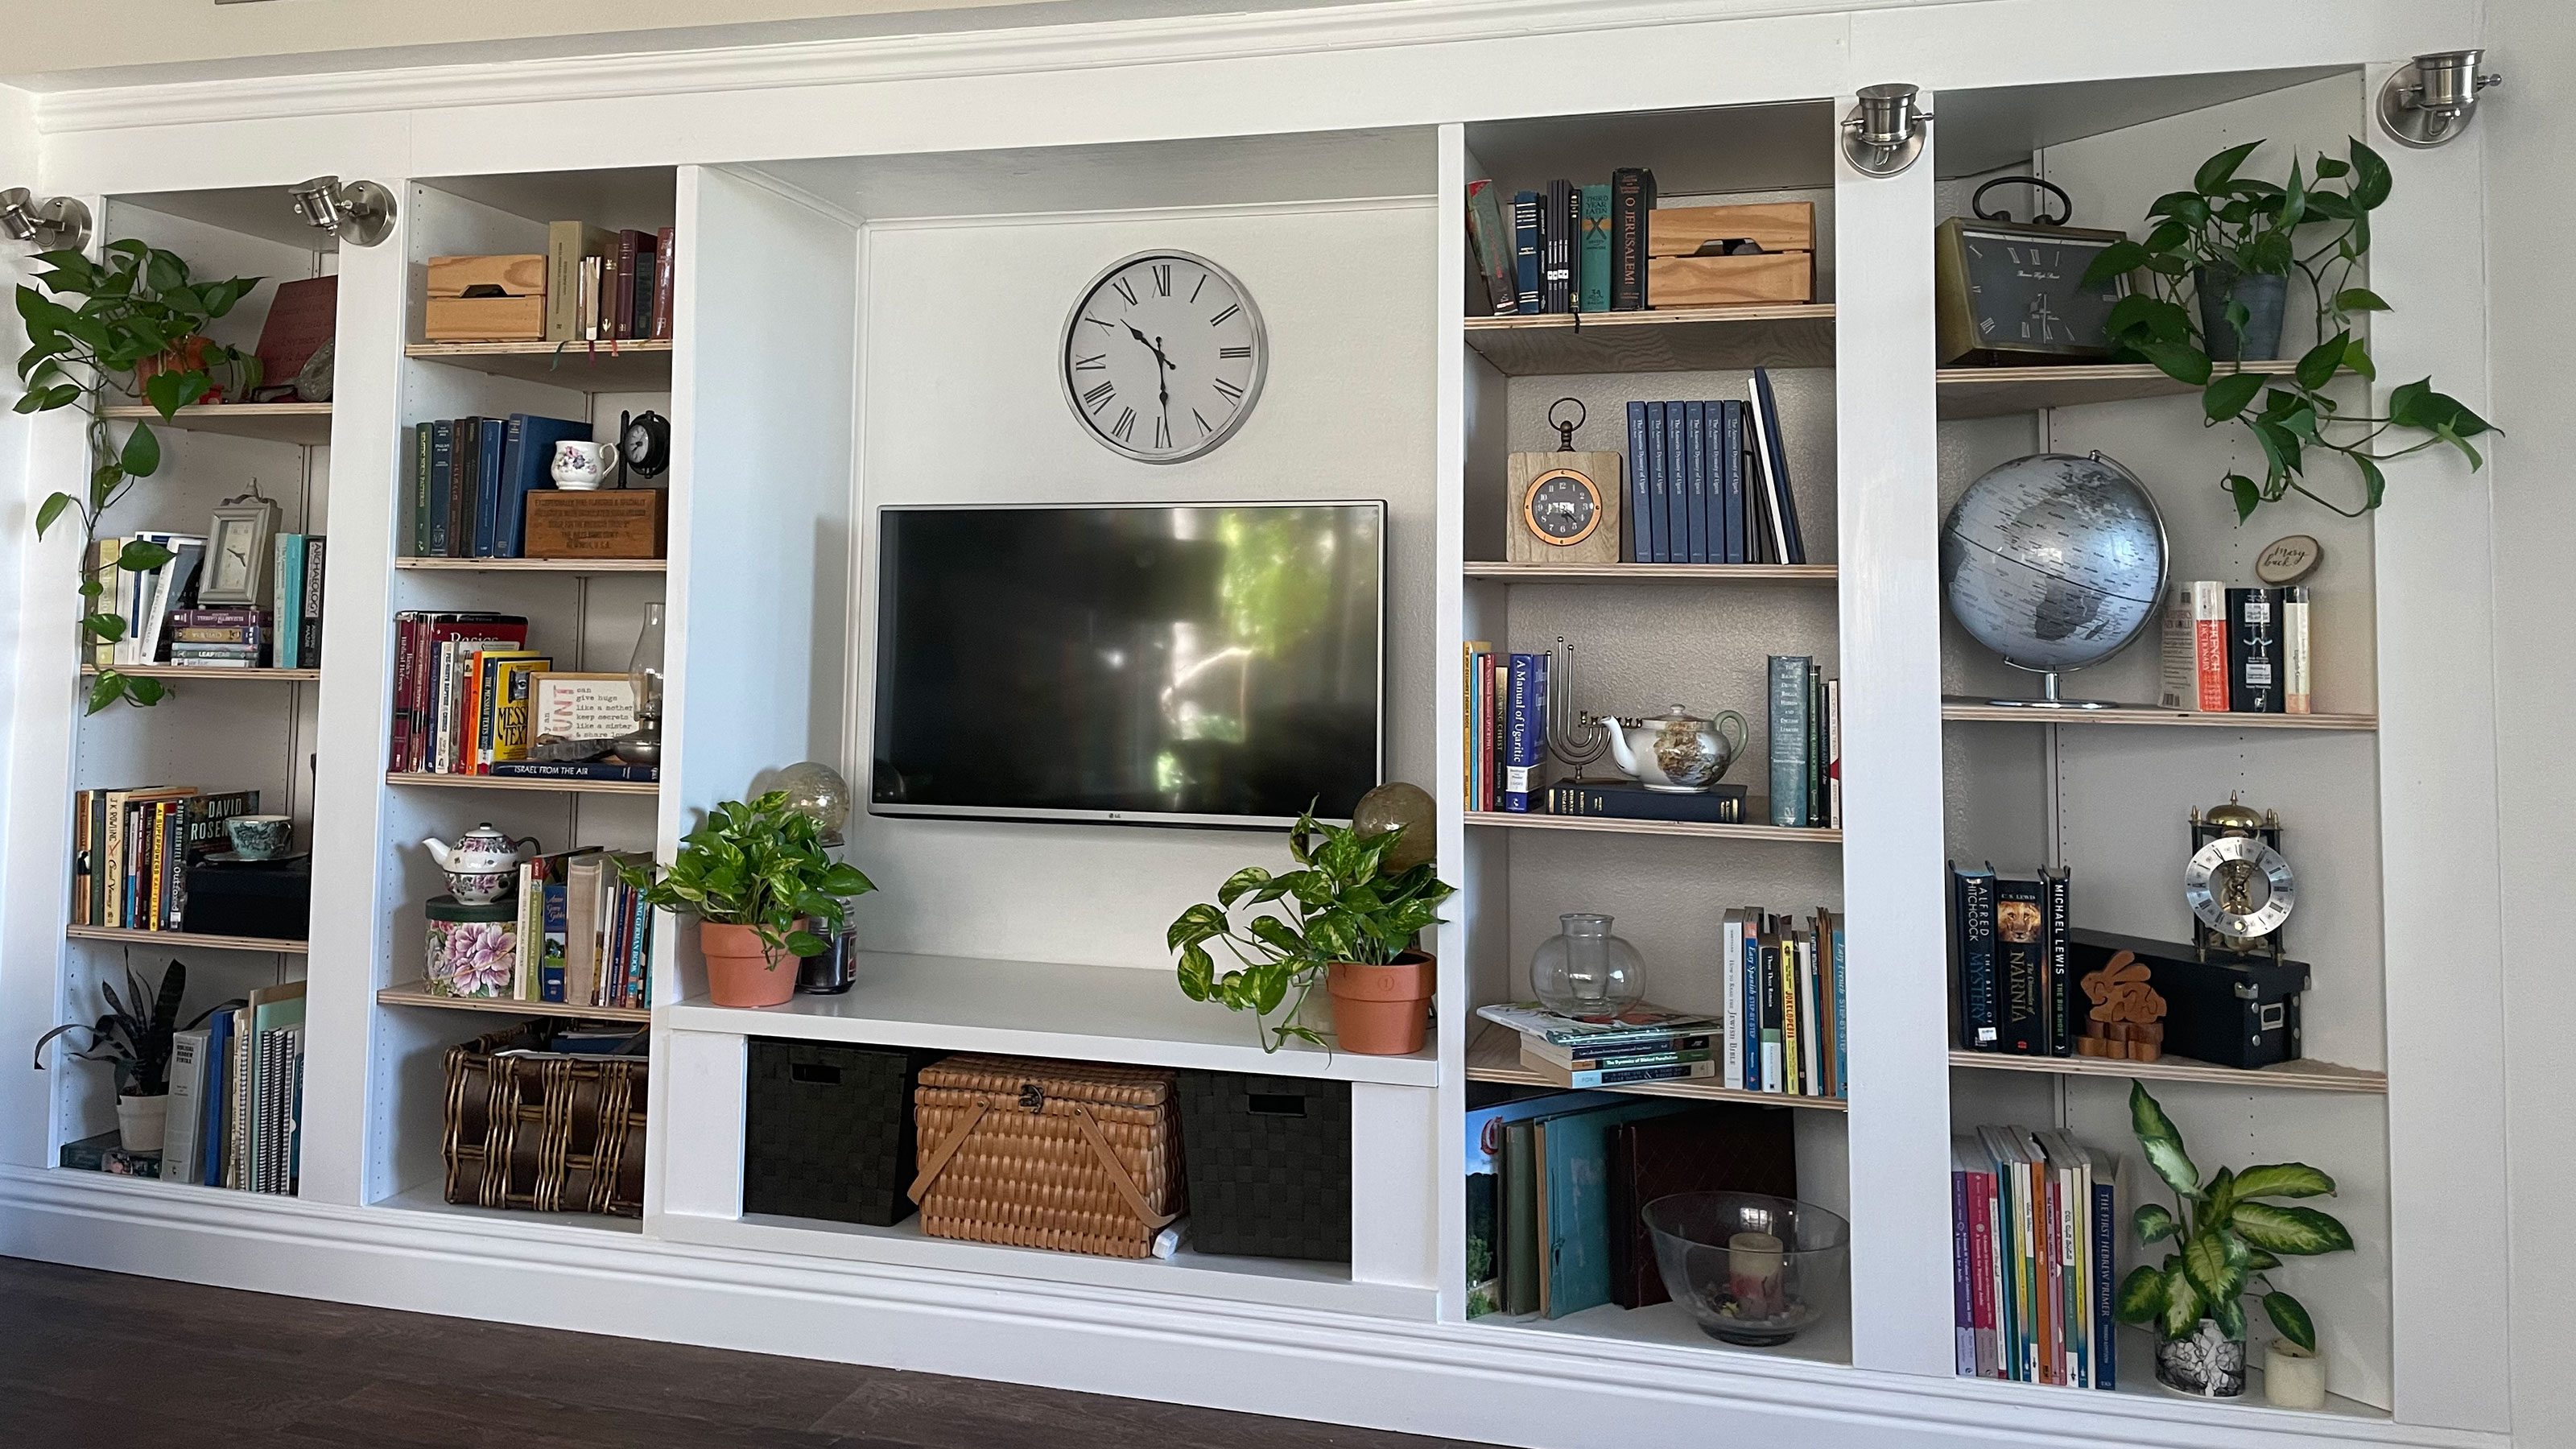 An IKEA Billy bookcase hack inspired this cute media wall DIY
This cute DIY was inspired by an IKEA Billy bookcase hack and brought a ton of symmetry to an otherwise basic media wall space.
By Camille Dubuis-Welch
-
 Share your small space glow up to win $150 in the Real Homes competition
Show off your creativity and DIY skills to win $150 and for the chance to be featured exclusively in Real Homes magazine
By Camille Dubuis-Welch
-
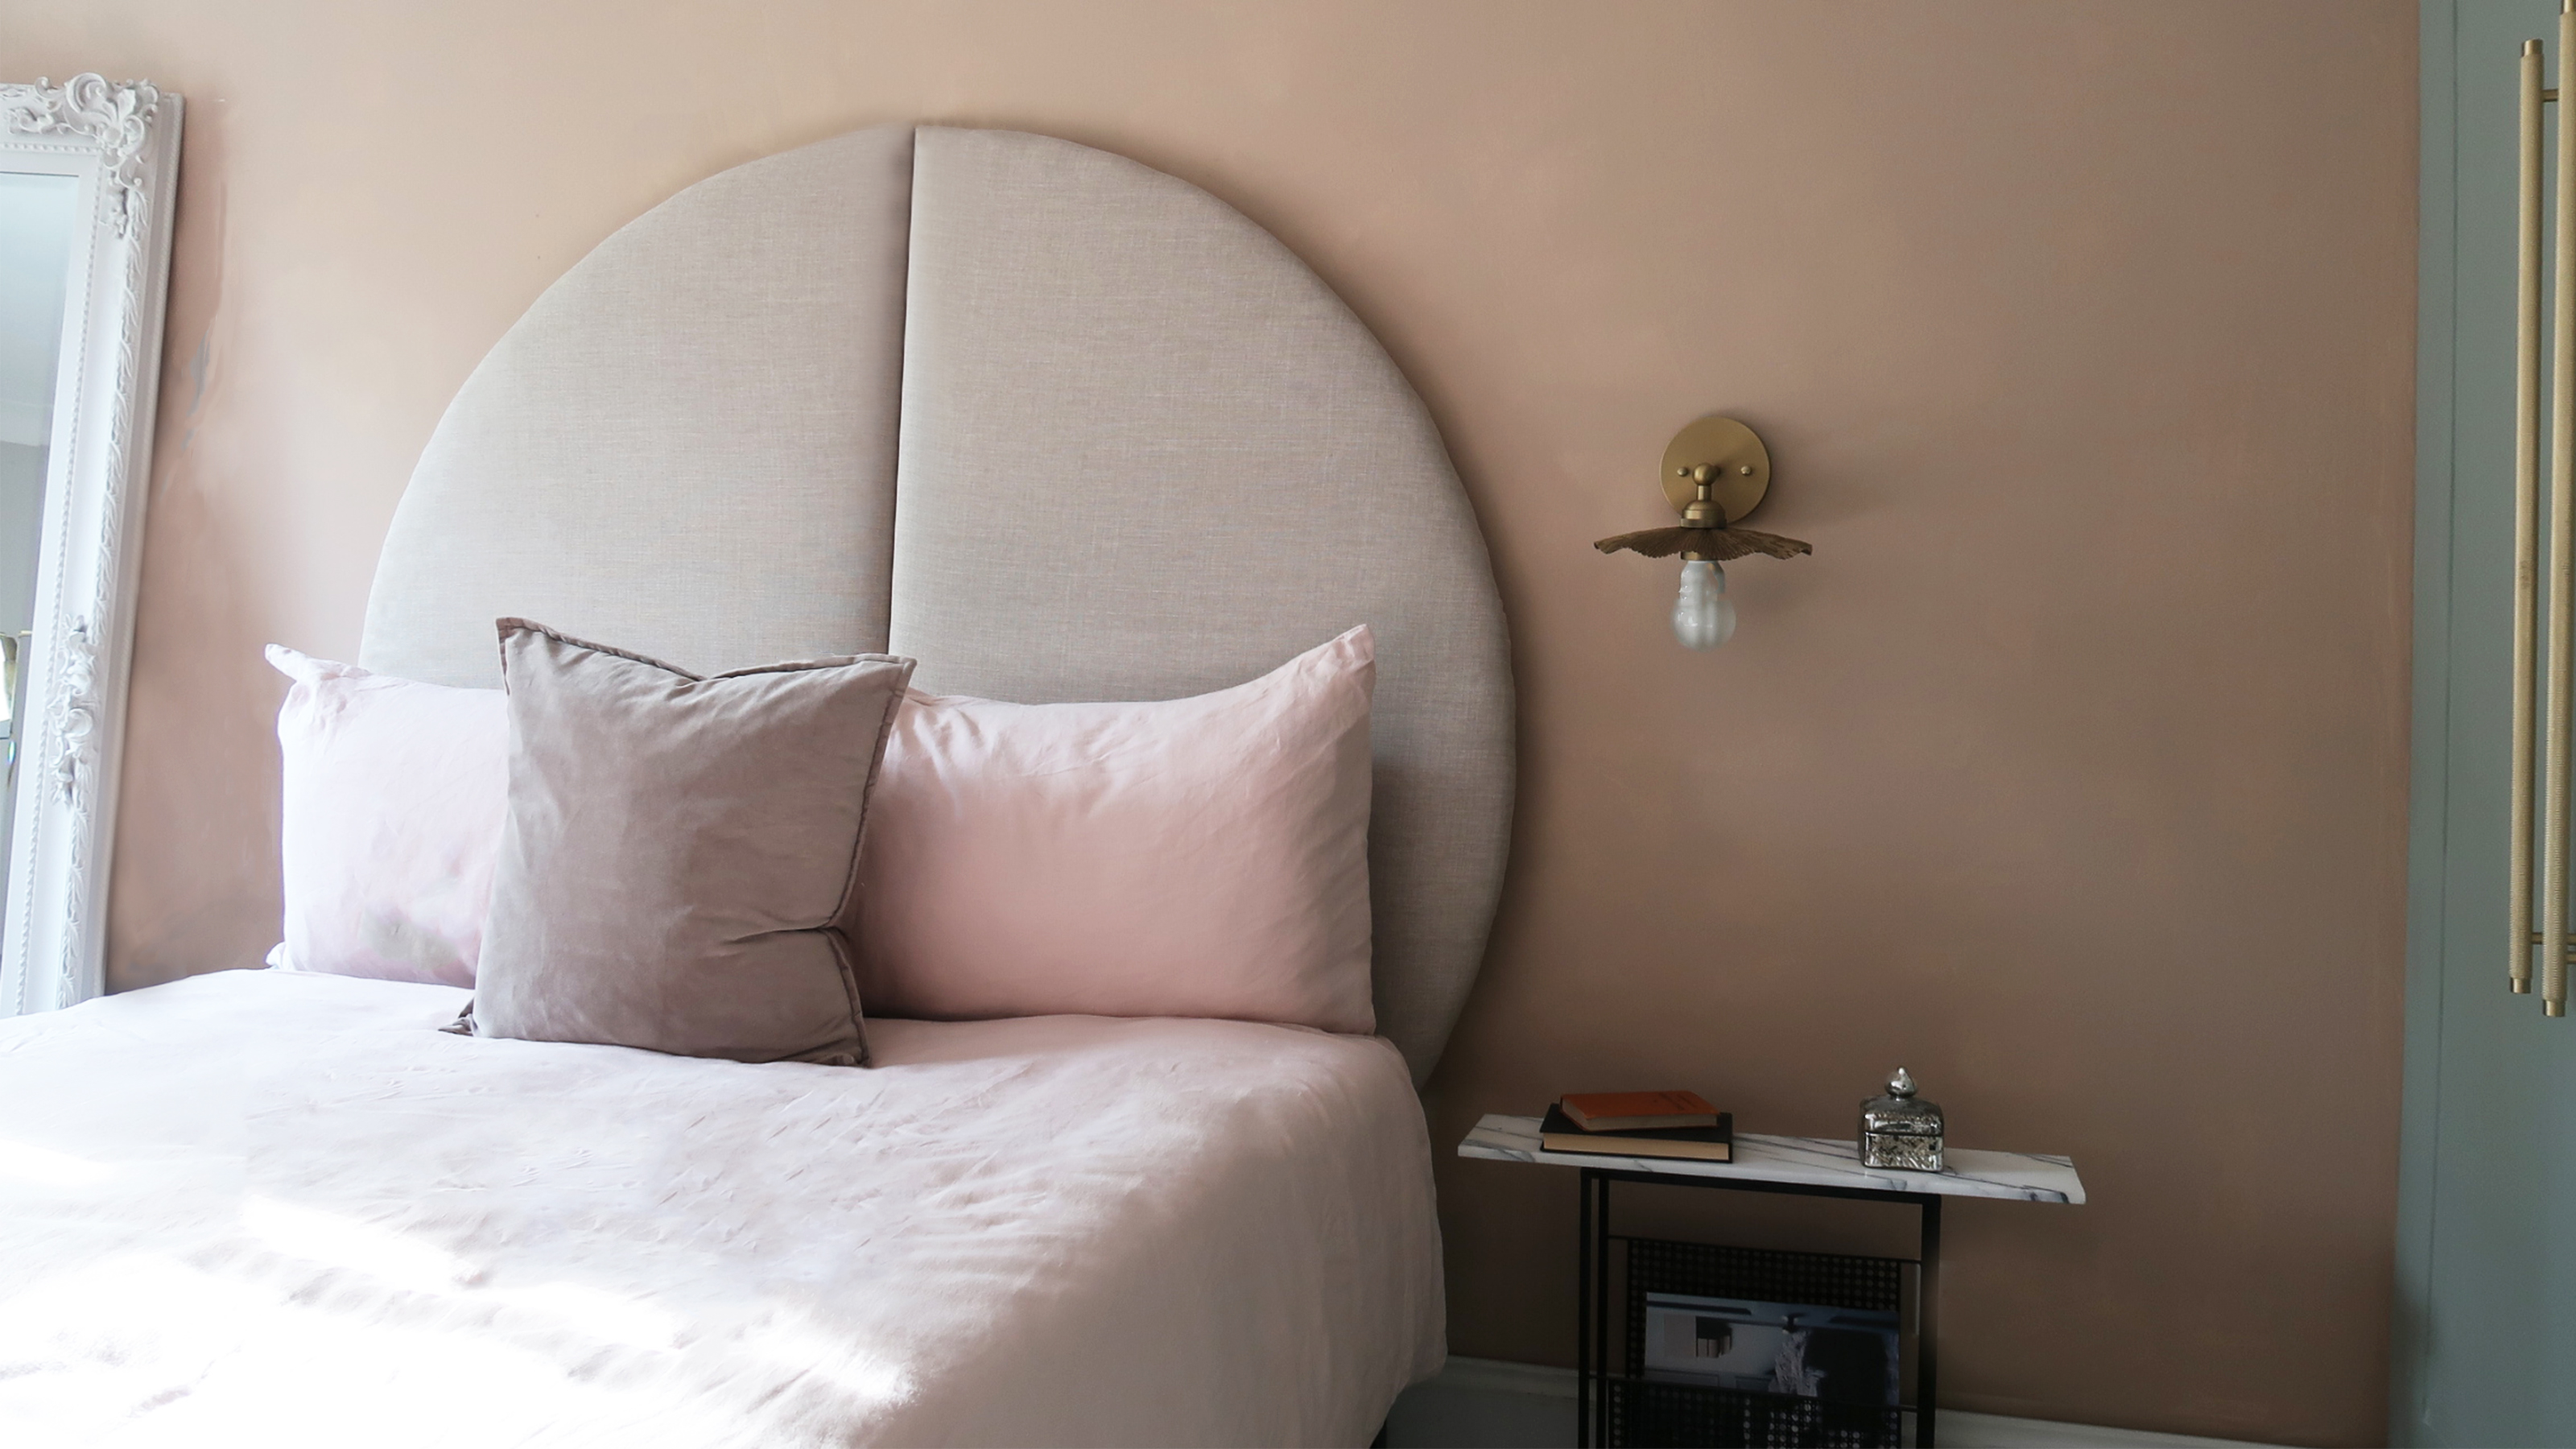 This oversized headboard looks designer, and takes 5 steps to DIY
Super simple to DIY, this oversized headboard will give your bedroom space all the designer vibes you could dream of.
By Claire Douglas
-
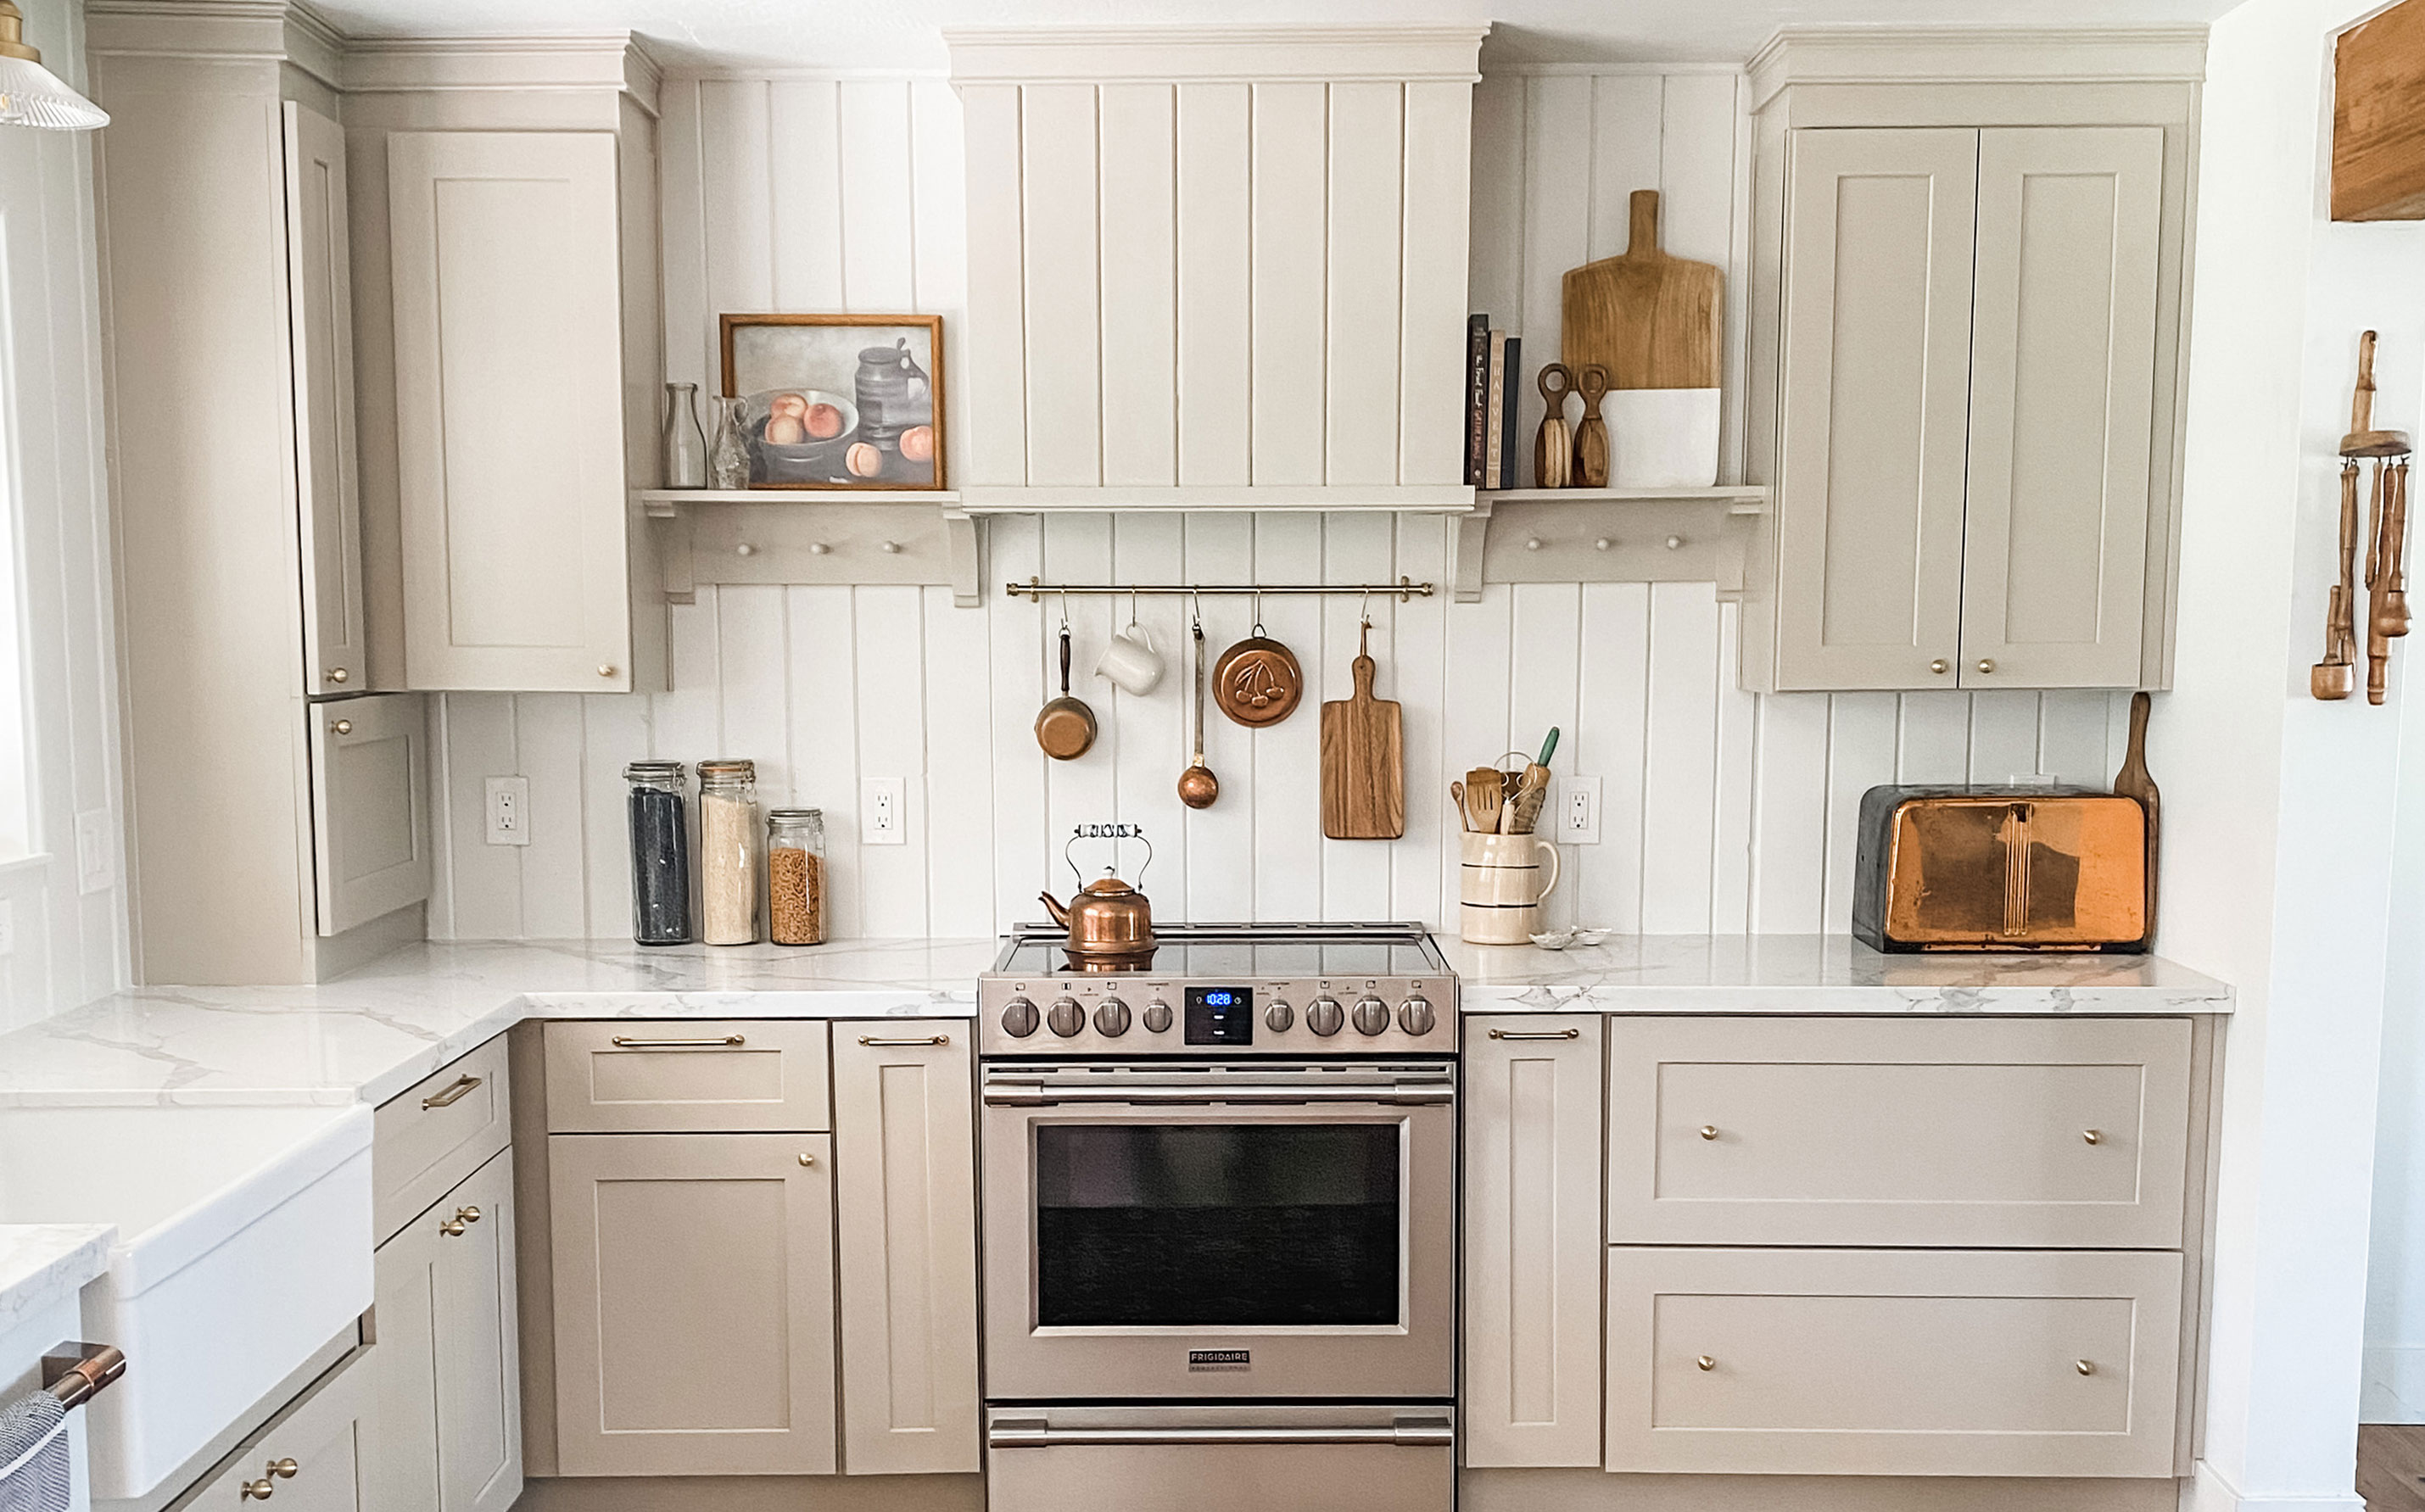 My DIY range hood and backsplash build gave my kitchen the perfect farmhouse finish
I craved charm in my kitchen space and adding a custom range hood and shelving was the best move.
By Brooke Waite
-
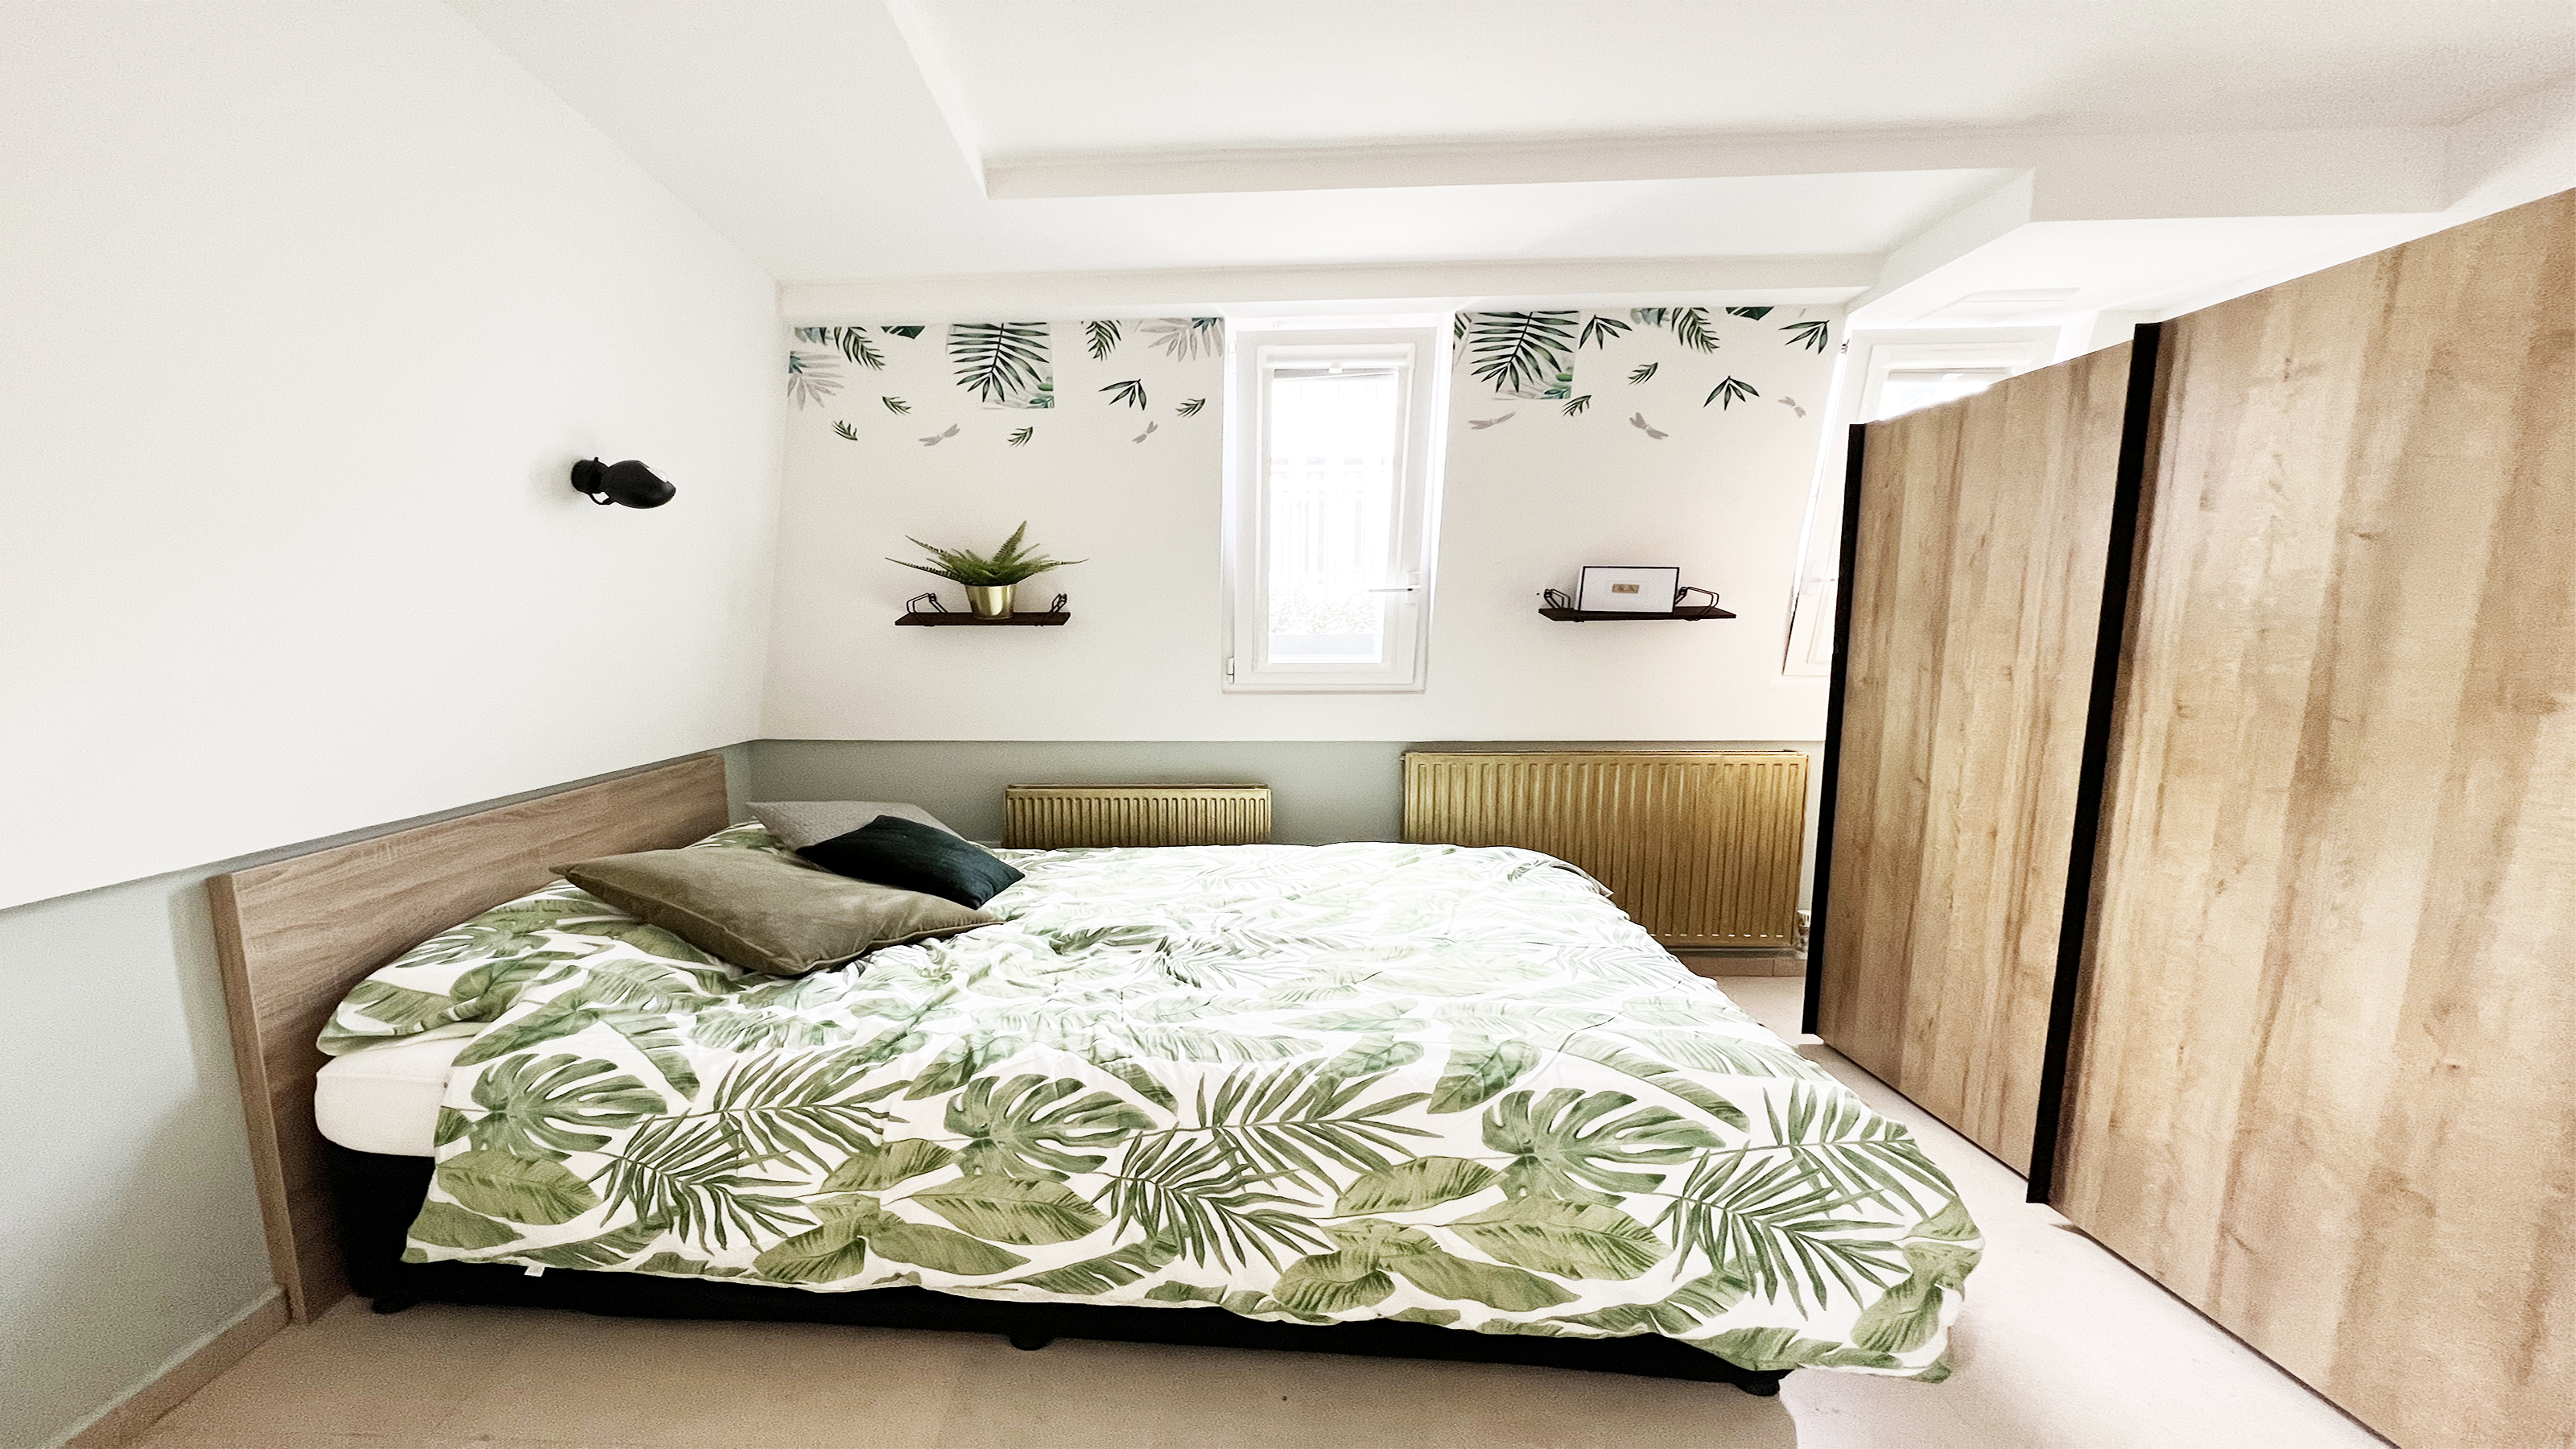 How to paint a radiator in 7 steps
Painting radiators properly is all about choosing the right paint and the best process. Get interior designer-worthy results with our how-to.
By Kate Sandhu
-
 How to install a door knob
Updating your interior and exterior doors can be as easy as changing out the hardware! The best part is that installing a door knob is very DIY friendly. Follow these simple steps and enjoy a fresh look on your doors!
By Dori Turner