How to refinish a table in 8 steps
If you've found a unique antique piece that you want to restore, learn how to refinish a table for a simple but super effective upcycle that won't take longer than a weekend
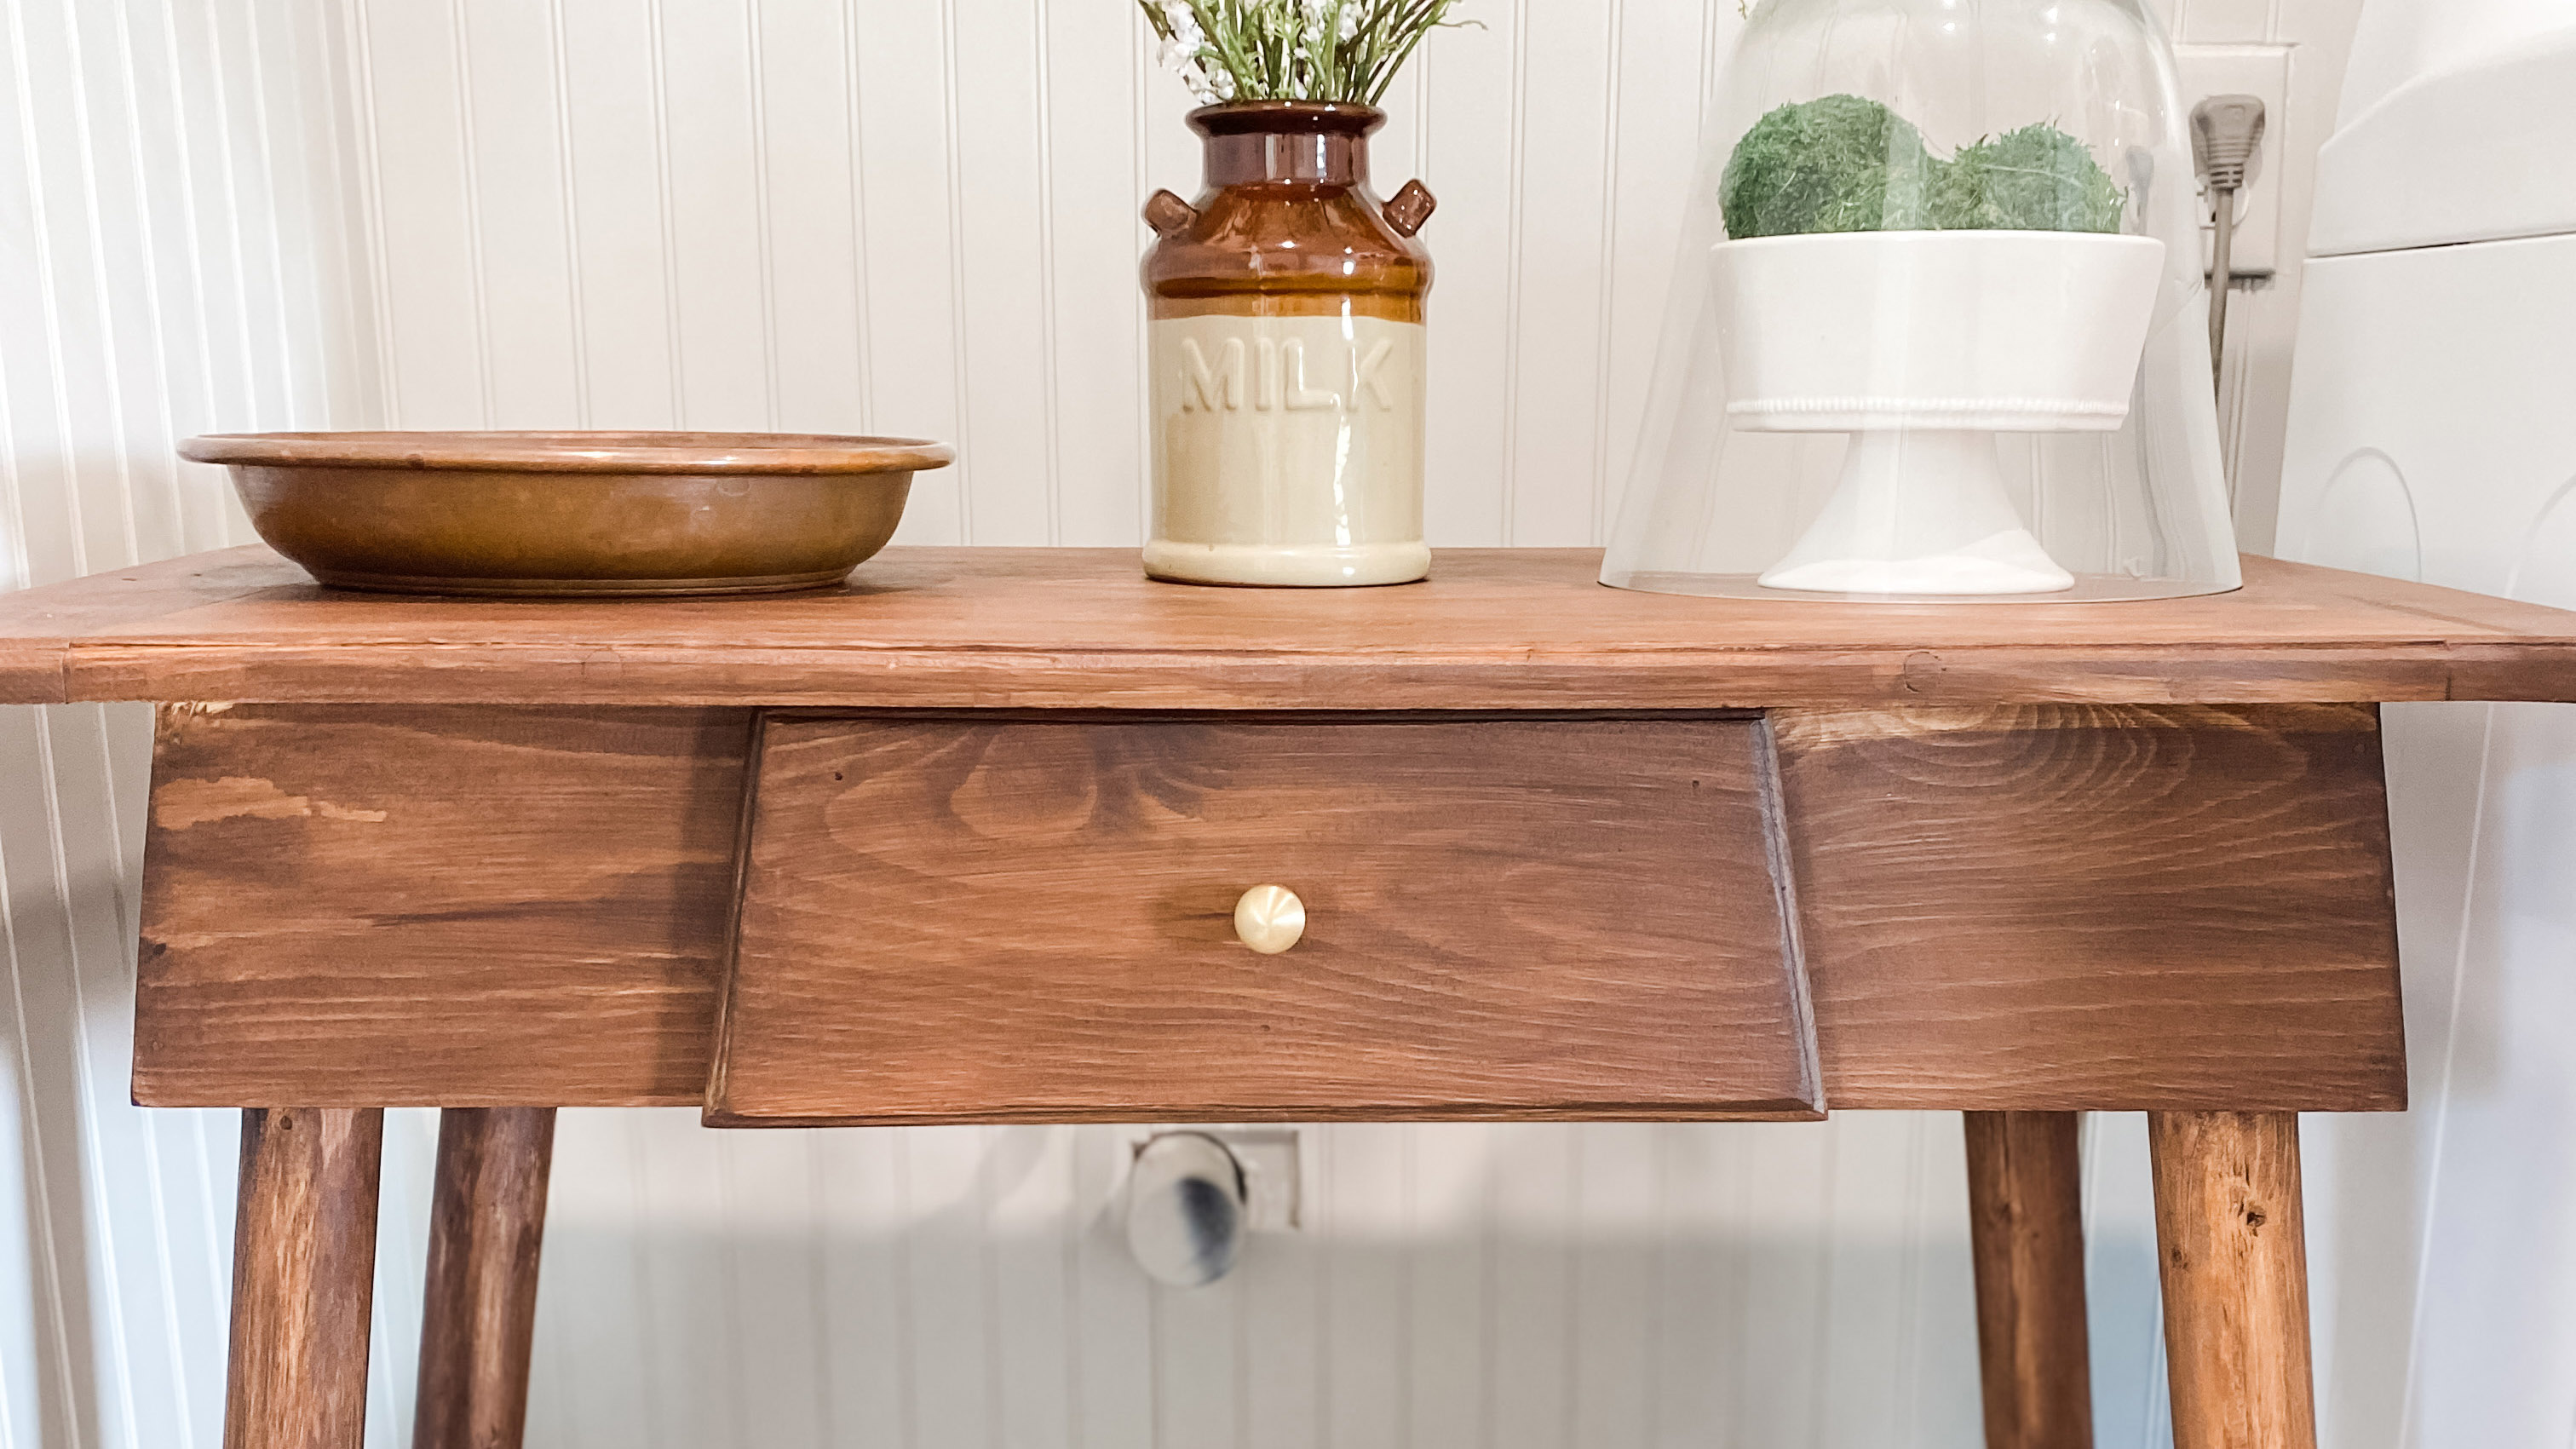

With a little elbow grease and a free weekend you can learn how to refinish a table to literally turn someone’s discarded piece, into a treasure!
With furniture prices skyrocketing and lead times ever-expanding, many are looking for more readily available and cost-effective options to furnish their homes. In addition, second-hand, vintage, and antique pieces are becoming more and more popular as a way to add a unique and one-of-a-kind touch to your home.
Many are turning to online marketplaces such as FB Marketplace, Offerup, and Craigslist to find tables and other pieces of furniture to salvage in what is a super achievable DIY project.
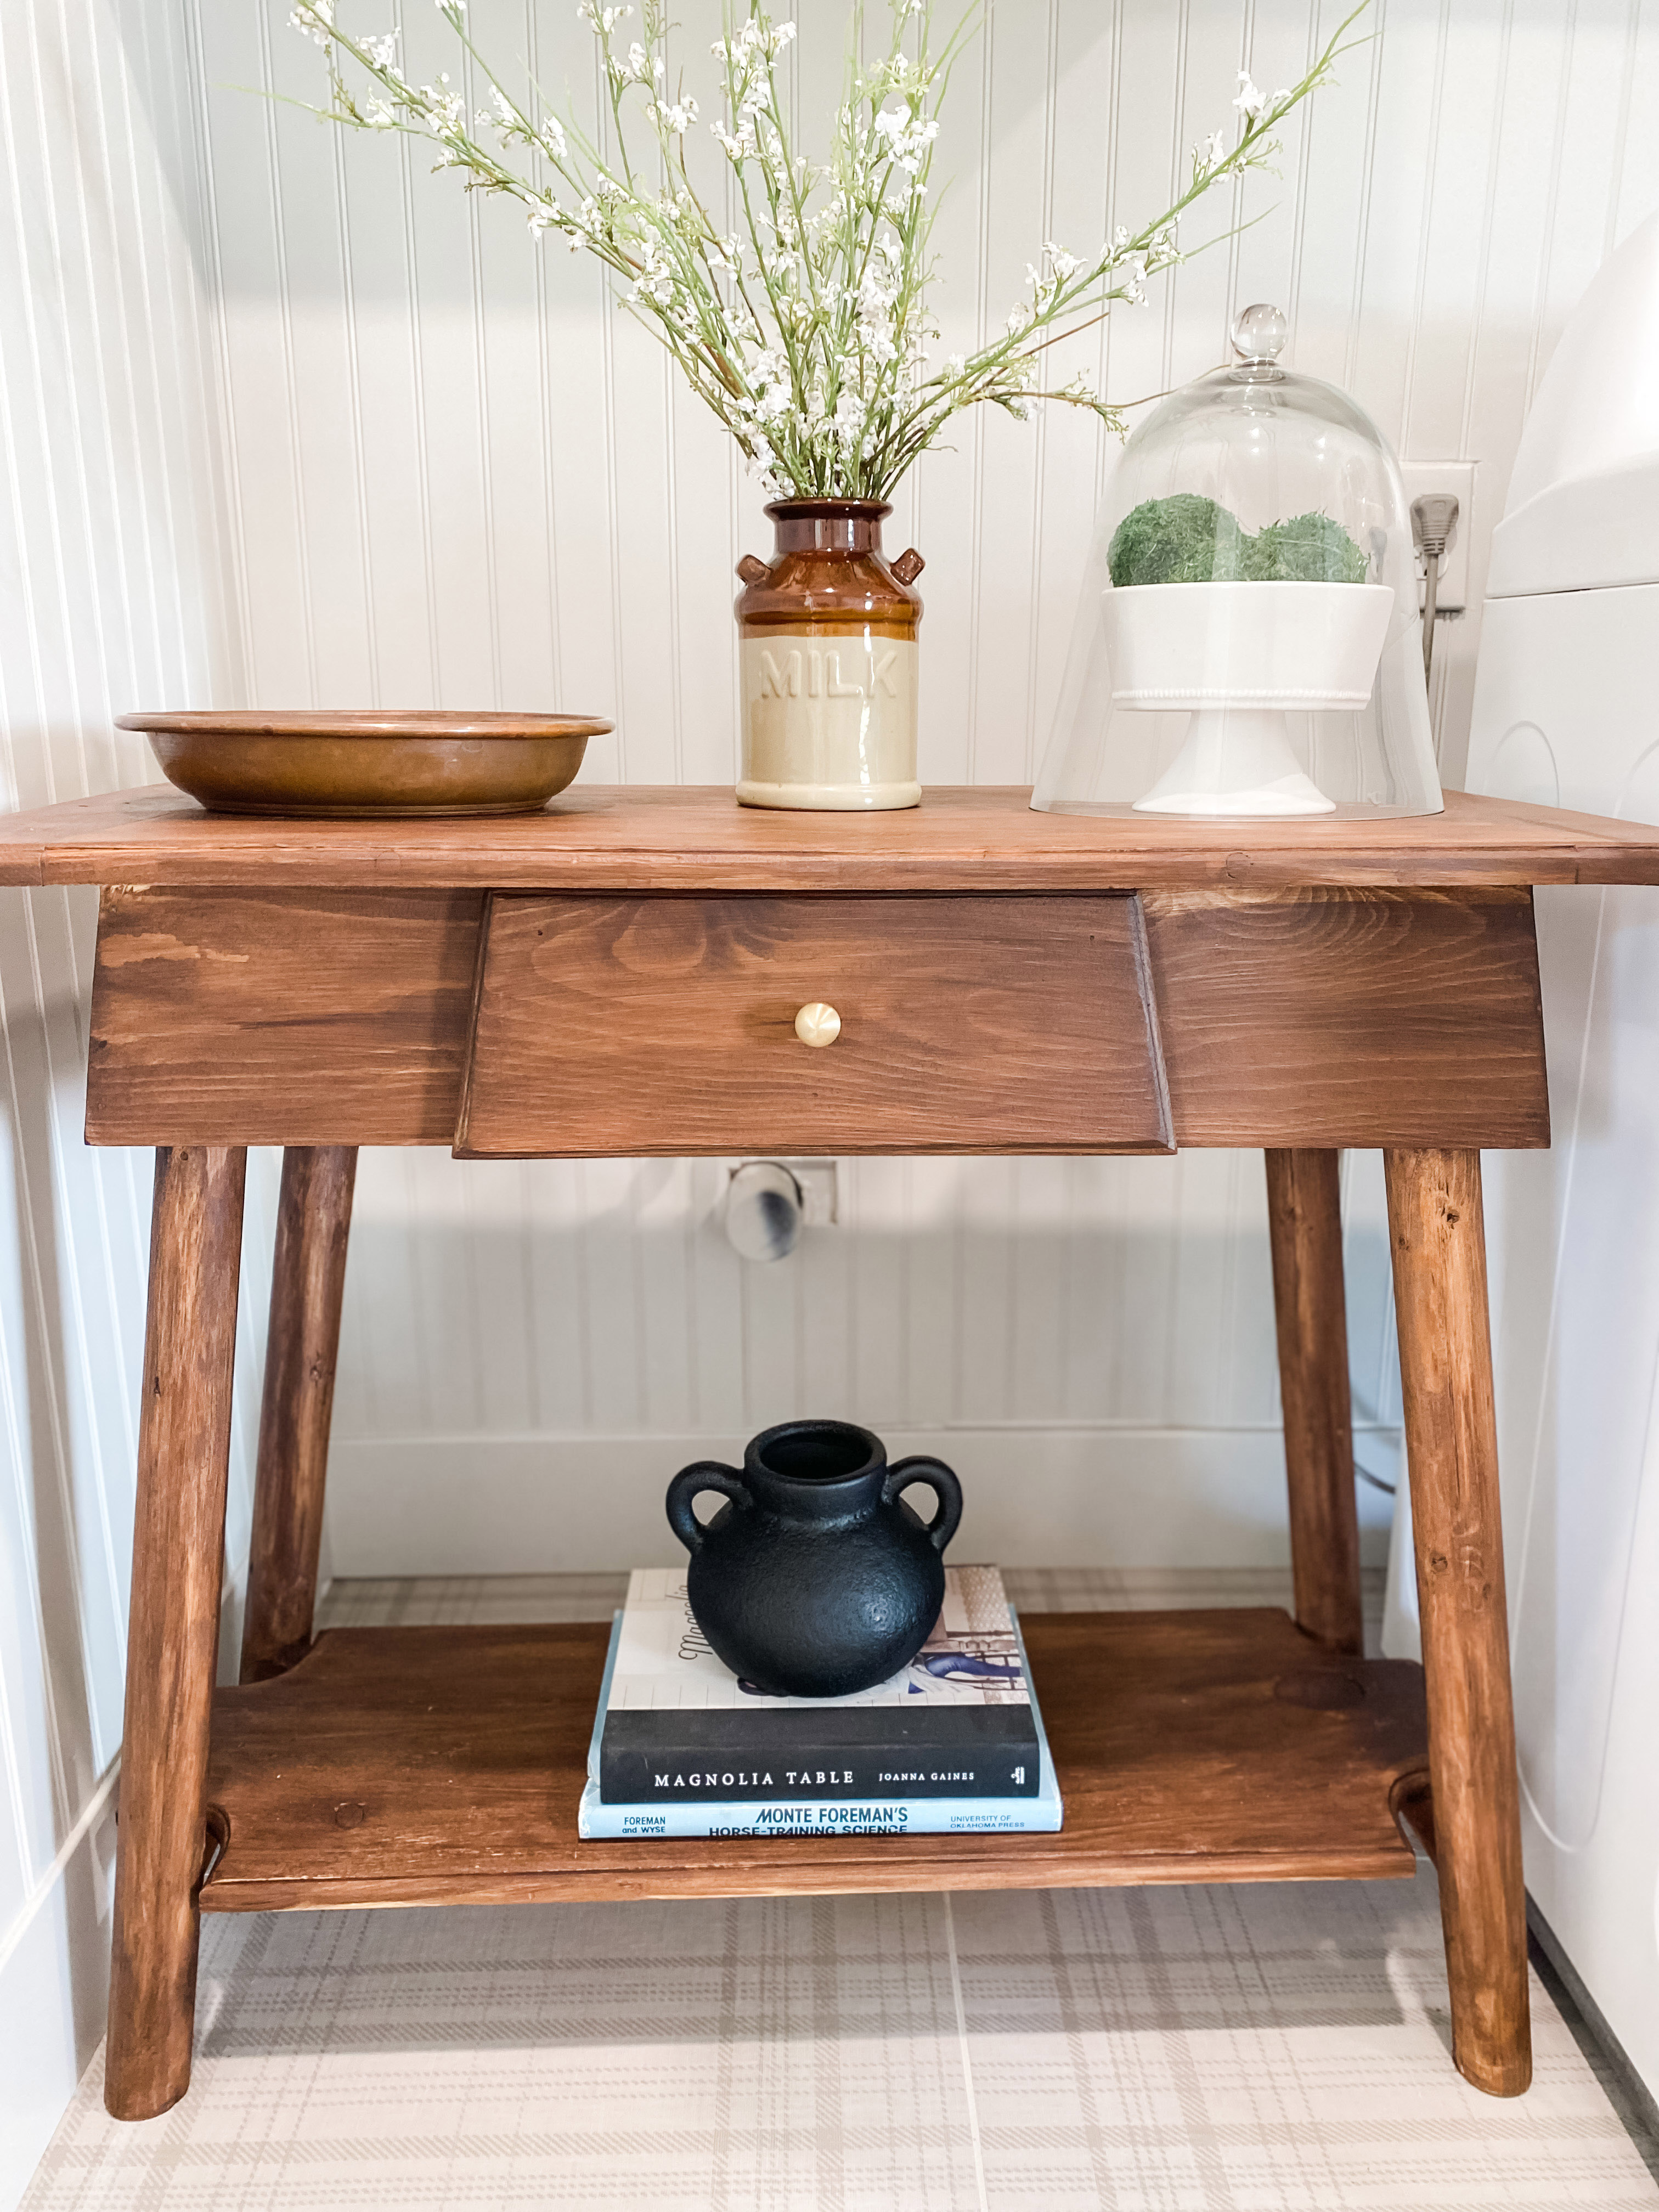
Such was the case for this very unique piece I found online. It needed some work to restore its beauty but the bones were good…..very sturdy and a good shape. It also happened to fit the exact dimensions I needed for an area in my laundry room I was trying to fill!
How to refinish a table step-by-step
Honestly, it's amazing what a little TLC, a great furniture paint or in my case, stain, can do!
Total cost: $49 for additional materials, making this a pretty cheap DIY project
DIY level: novice/intermediate
Get small space home decor ideas, celeb inspiration, DIY tips and more, straight to your inbox!
Time: A weekend should suffice depending on your piece
Gather your materials and get started.
You'll need:
- Wood filler – $8
- Sandpaper – $6
- Orbital sander
- Detail sander (optional)
- Wood conditioner – $10
- Stain – $7-15
- Polycrylic – $10
What to do:
1. Assess your piece of furniture
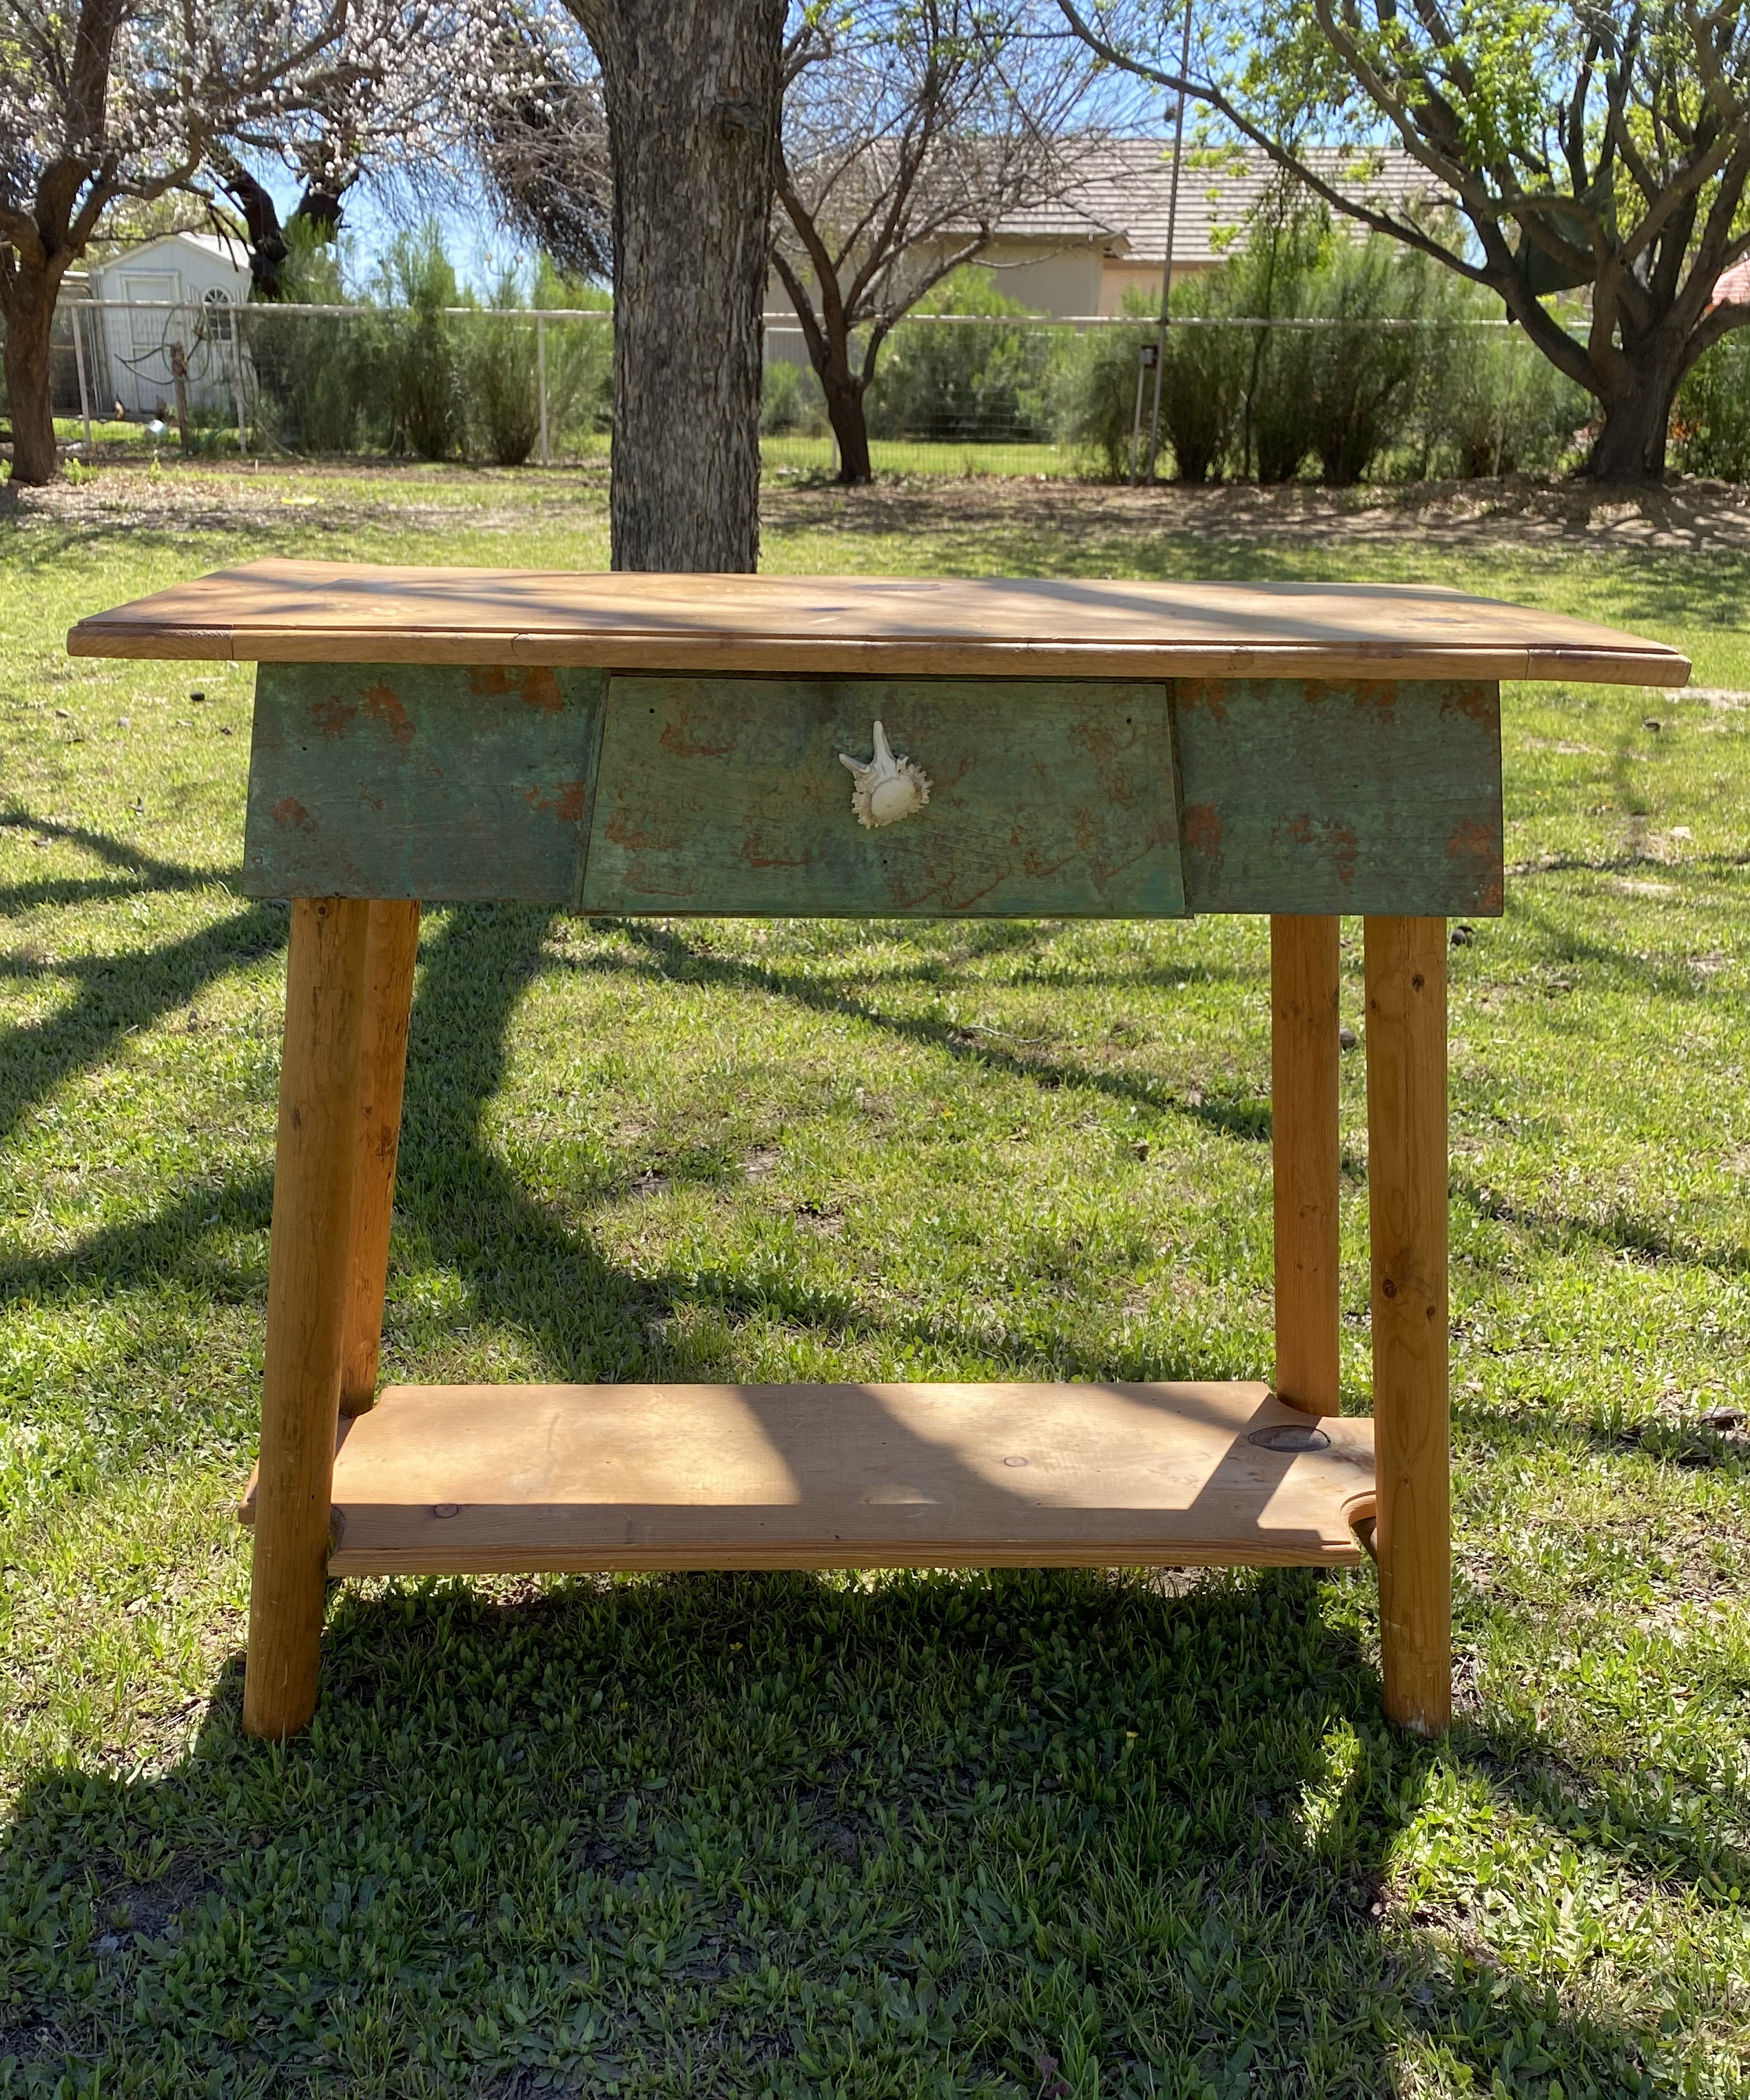
First, you’ll want to assess the piece for knicks, scratches, and imperfections. This will determine what products you’ll use to make the surface seamless. A stainable, paintable wood filler is a great choice for filling in any unwanted holes or scratches on the surface. You can find the ProBond Wood Filler I used at The Home Depot.
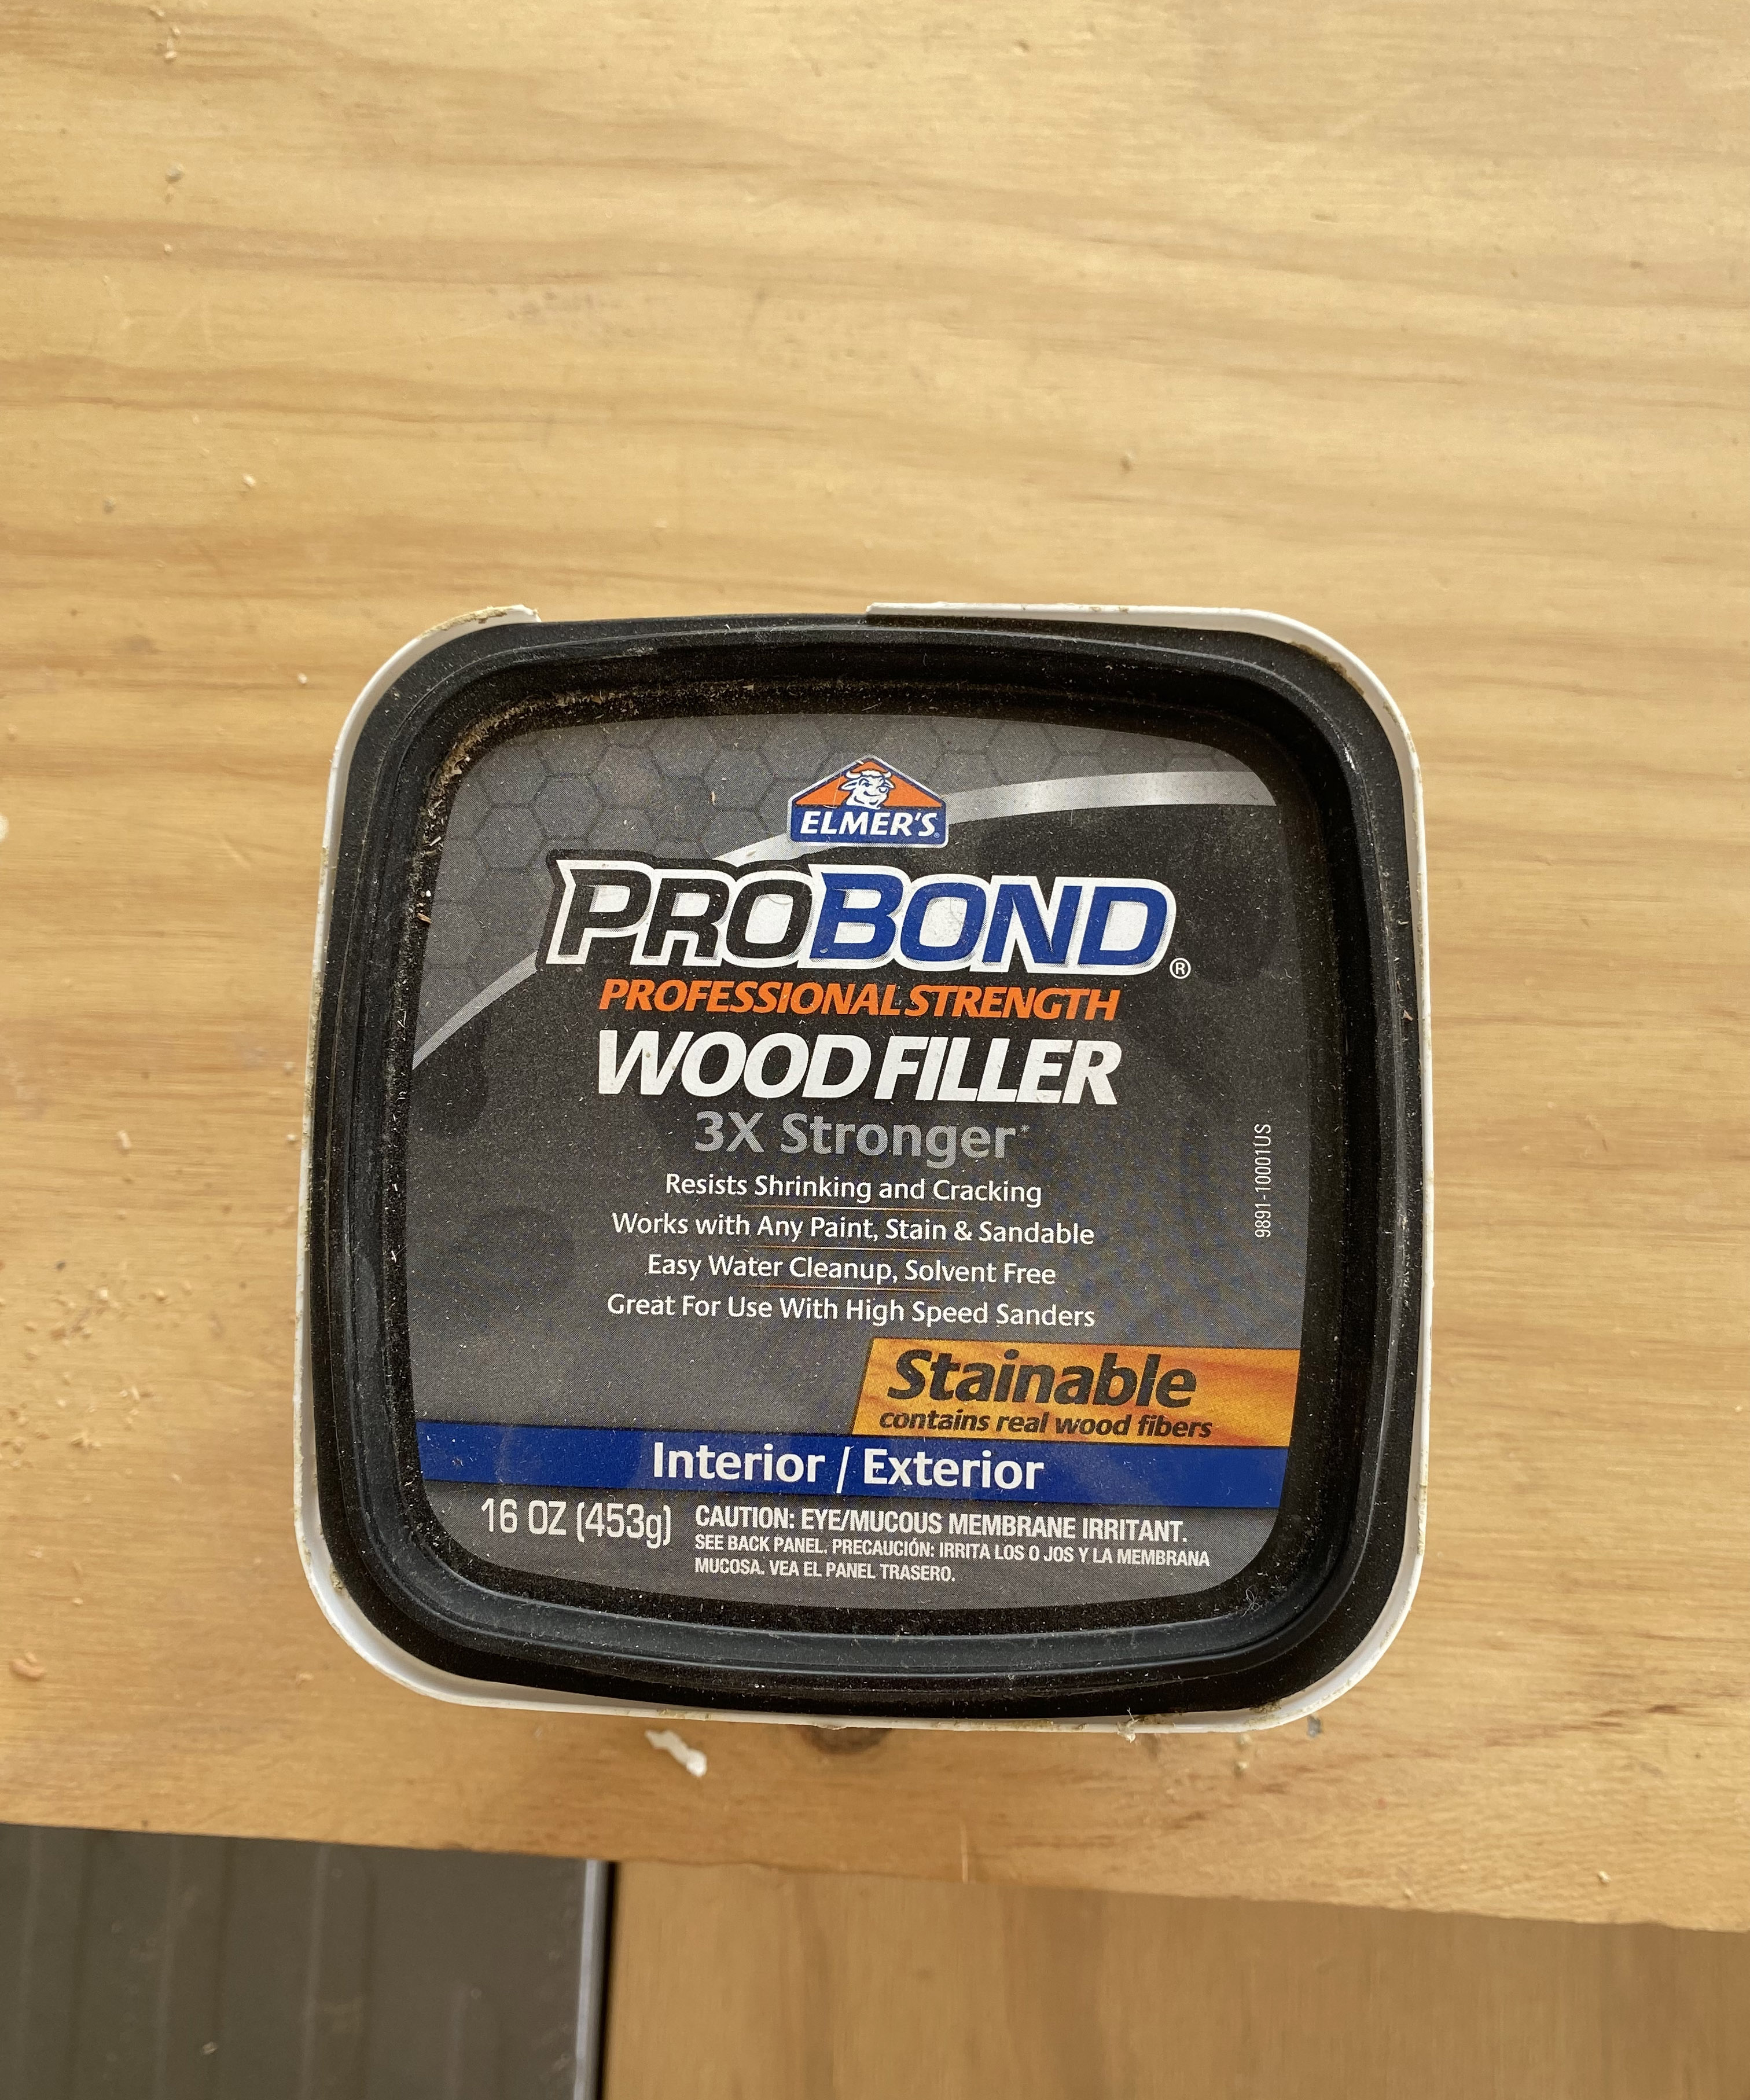
Also determine if you want to replace the existing hardware. If you plan to add a knob or handle with a different set of screw holes, you’ll need to fill in the old screw hole with wood filler as well.
2. Decide on whether to stain, or to paint?
Next, determine if you will be staining or painting the furniture you've got. With both options, sanding will most likely be necessary. If you plan to paint, oftentimes, you can give the piece a light sanding, apply a primer, and paint with a high-quality paint. If you are staining, however, you need to prepare the surface a little differently in order to achieve a quality finish.
3. Sand down your piece of furniture
Since I am re-staining this piece I want to take off all of the old paint and remove the varnish or stain applied previously. Start with a 60 grit sandpaper to remove all deep scratches and imperfections. The lower the grit, the more course the sandpaper.
Follow up with a medium grit sandpaper such as 120, and then finish with a 220 fine grit sandpaper. The fine grit sandpaper gives the most beautifully smooth finish and prepares the surface to apply stain.
Be sure to wear a mask or respirator with sanding to avoid inhaling small sawdust particles.
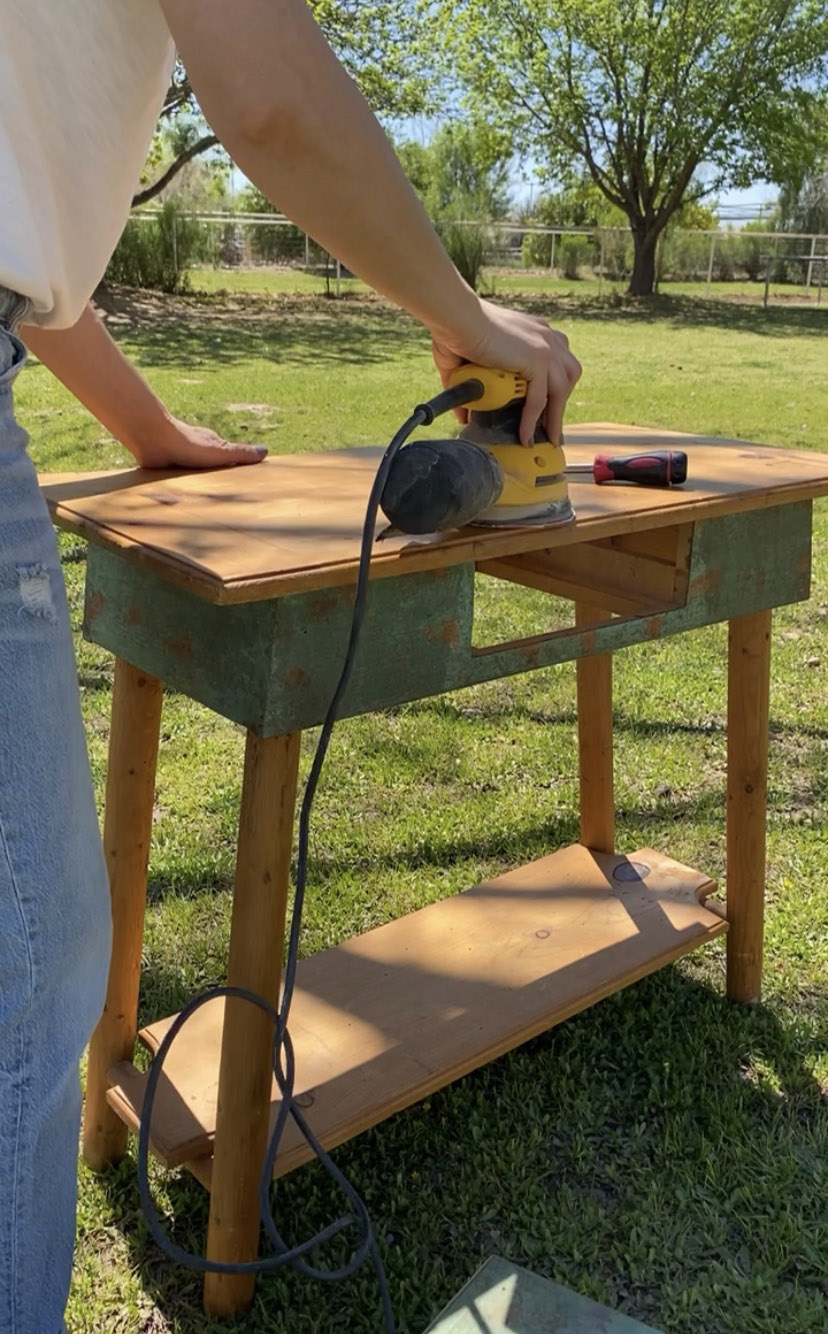
4. ...including those more hard to reach areas
I also found a small detail sander very helpful to get into small grooves and hard-to-reach areas. These mouse sanders go for cheap on Amazon, and they are worth the investment if you like this kind of project!
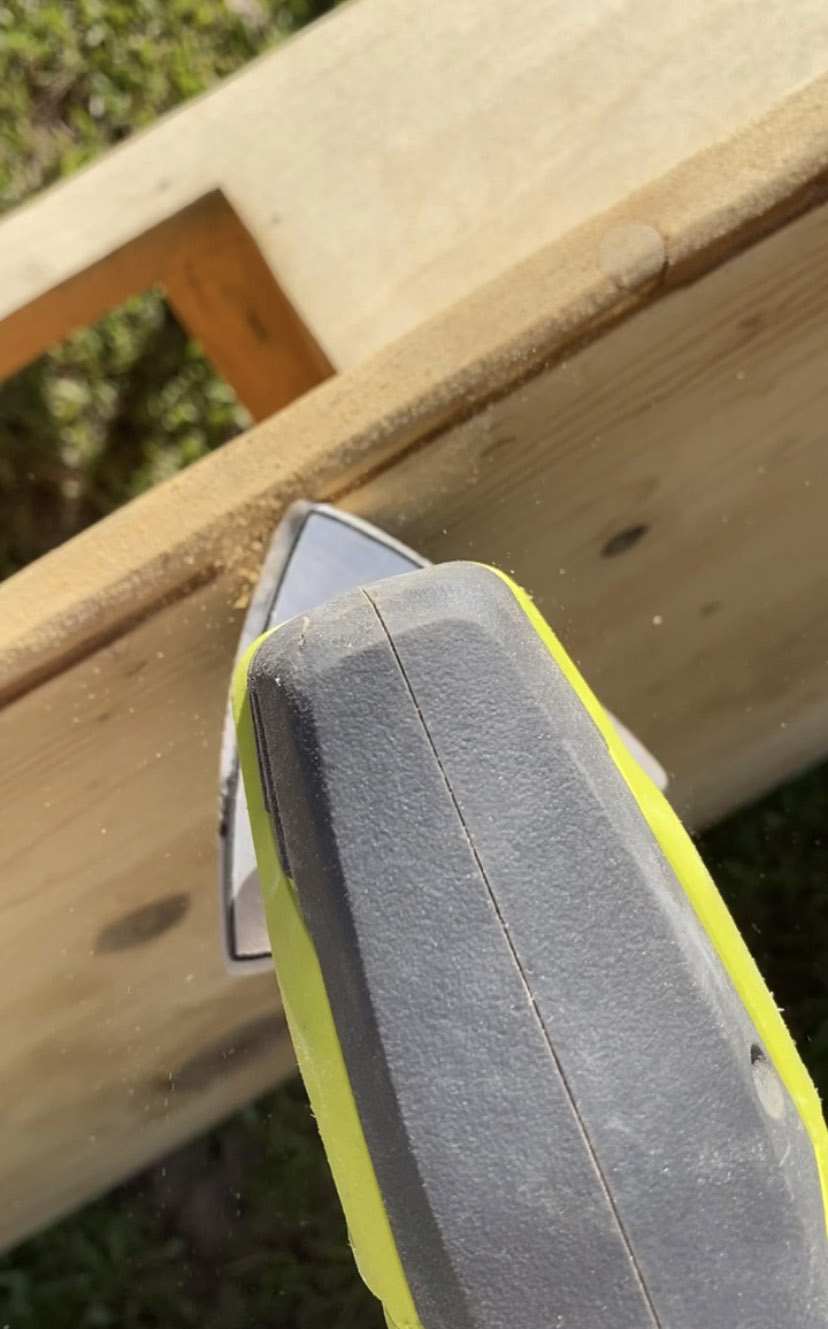
If your piece has a thick layer of paint or varnish you may need to apply a chemical stripper to remove old stain, paint, or layers of varnish, until it is stripped back perfectly as shown below.
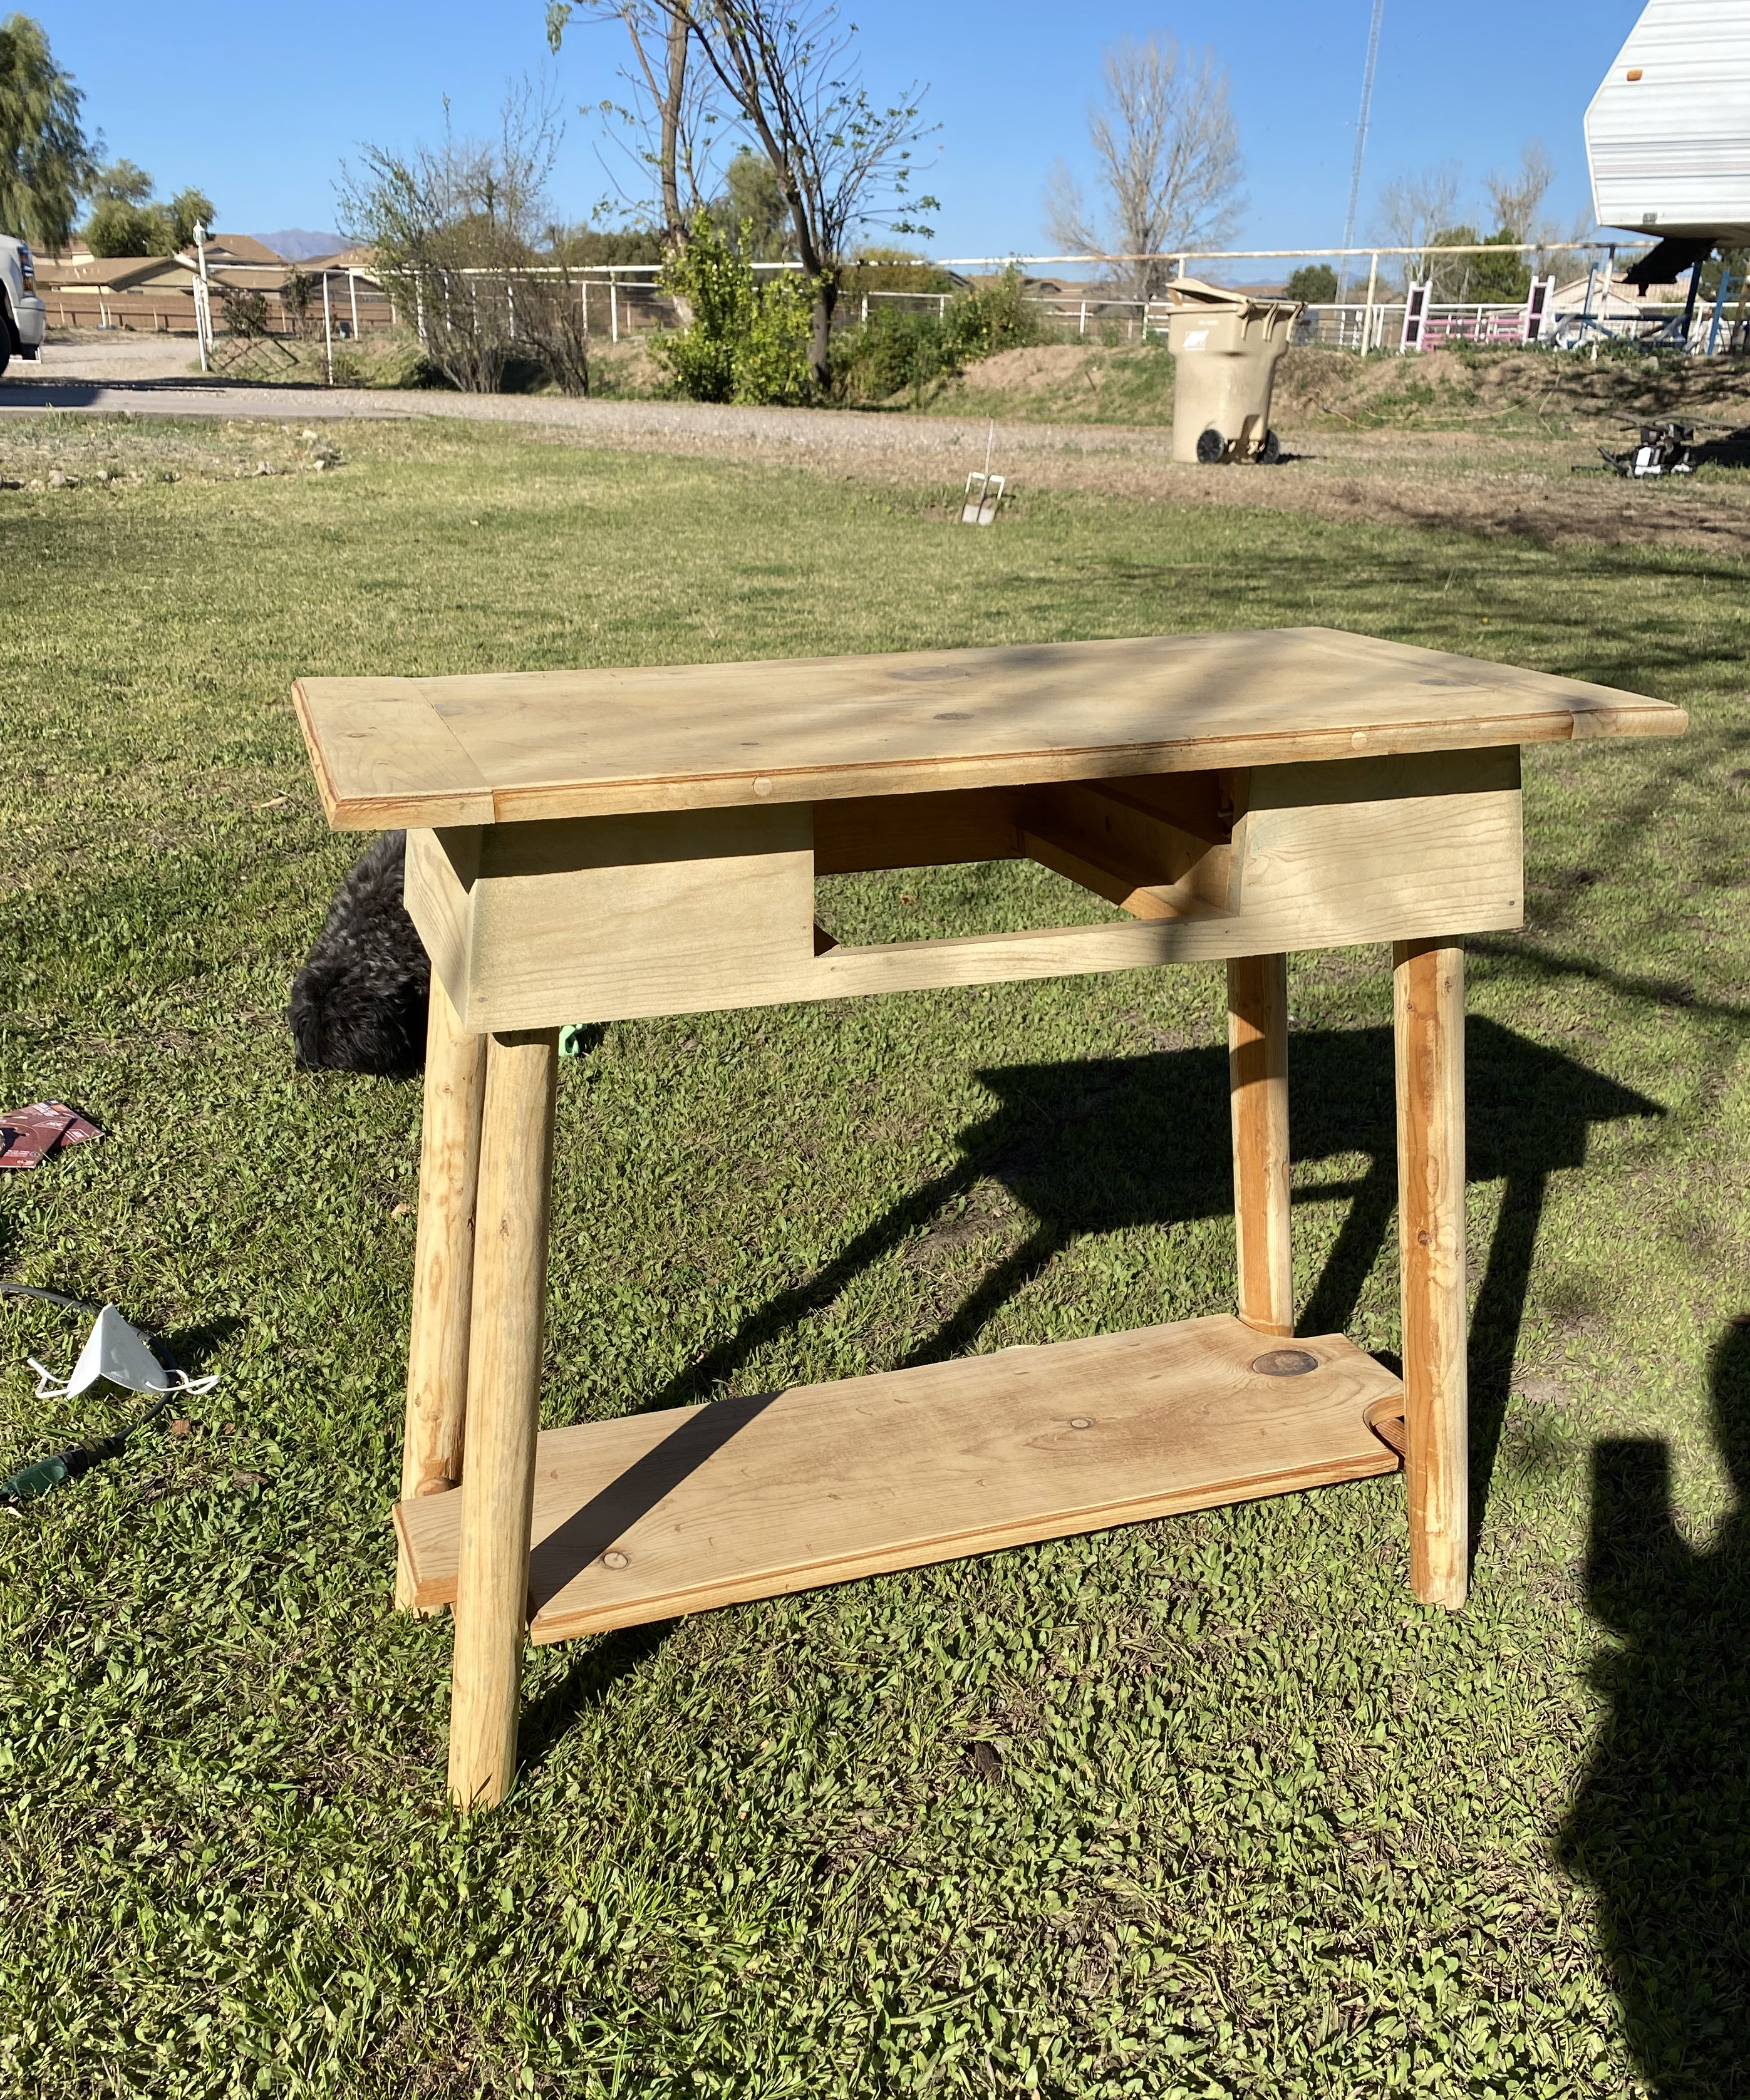
5. Apply your wood conditioner
Wipe down your sanded piece with a tack cloth to remove all sawdust. Next, apply a thin layer of pre-stain wood conditioner with a clean cloth. Let this dry for 5-10 minutes before applying the stain.
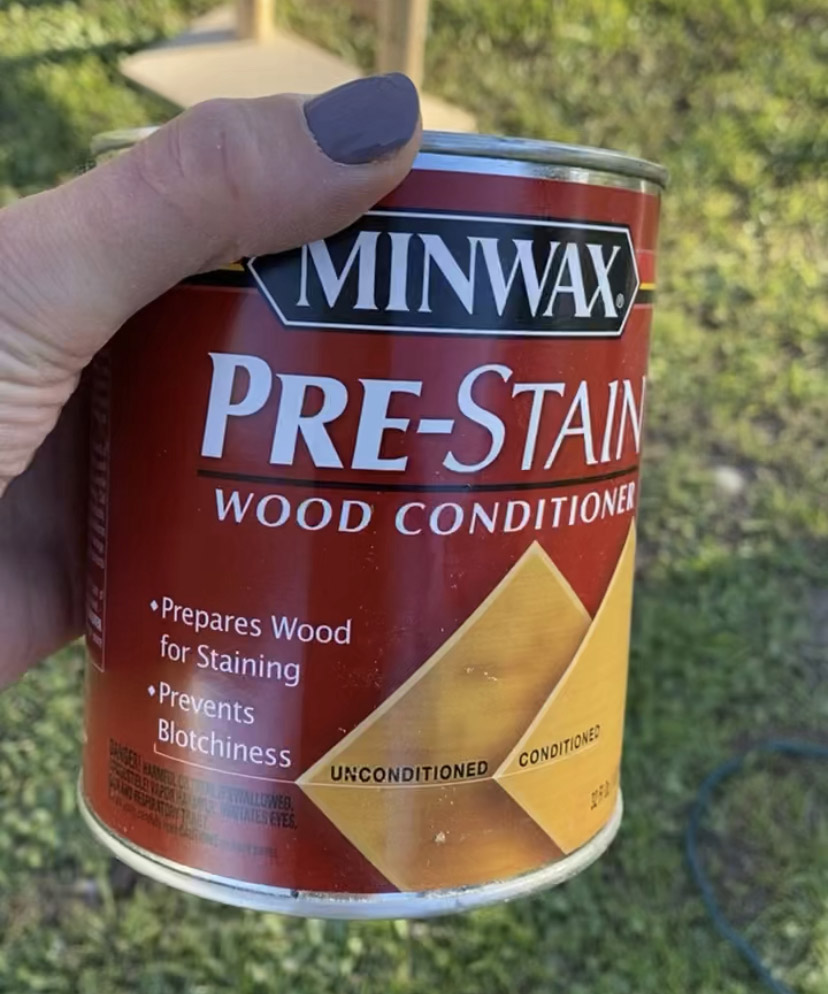
I used Minwax Pre-Stain wood conditioner bought off Amazon which gave my piece a healthy finish.
6. Mix up your wood stain and sealer
In the past, I have had success using a 1:1 ratio of stain to polycrylic (sealer.) I went with Minwax again on Amazon.
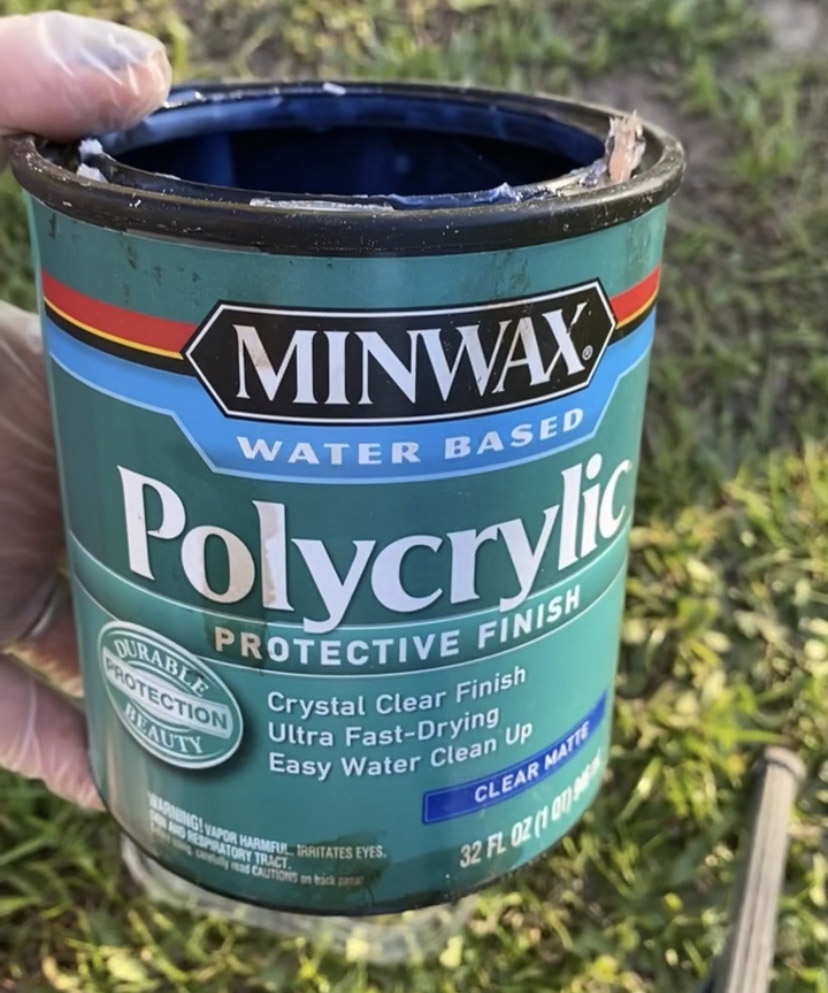
Mix this in a disposable bowl or tray until it has a thick chocolate milk consistency.
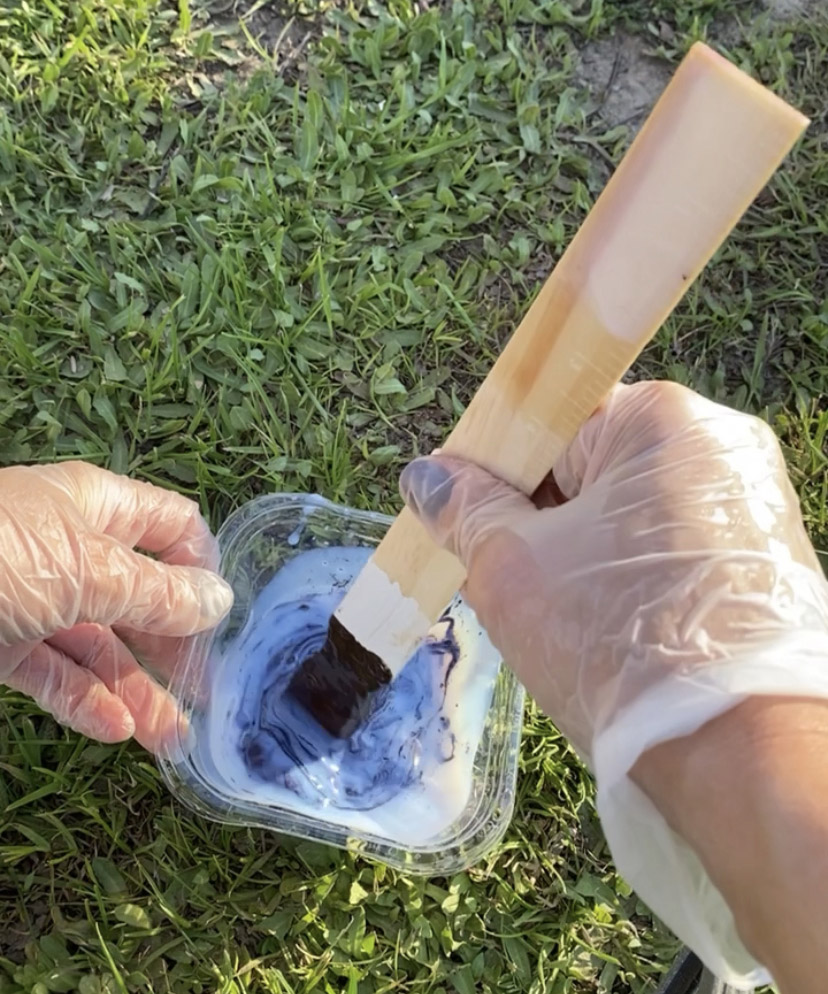
You don’t have to apply the stain this way, but I found that it goes on so much more smoothly and I get to skip a step of waiting for the stain to dry and applying another coat of sealer to my project. It’s a one-and-done!
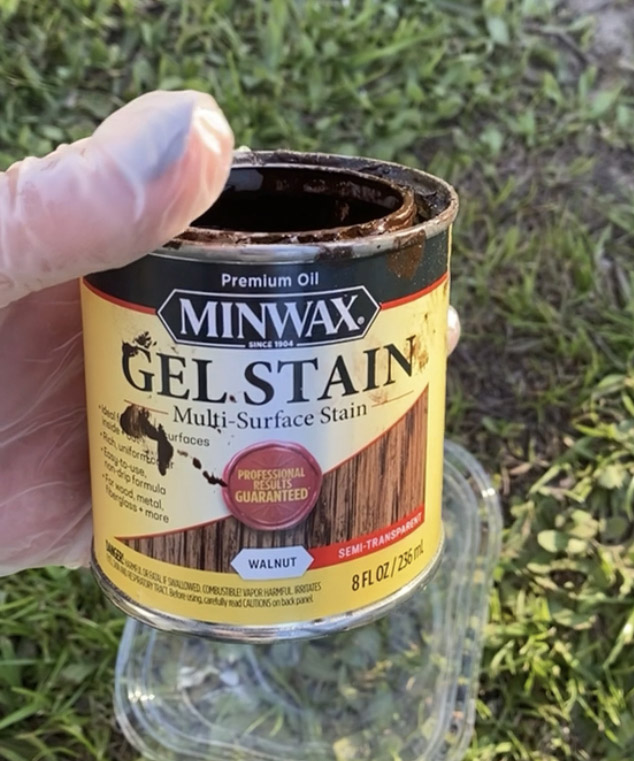
You can also find, Minwax's gel stain online.
7. ...and apply
To apply the stain, use a clean cloth or staining sponge. Go with the grain of the wood when applying stain. You can choose to wipe your stain off immediately for a lighter application. Leaving the stain on the surface longer will let it develop a richer, darker color.
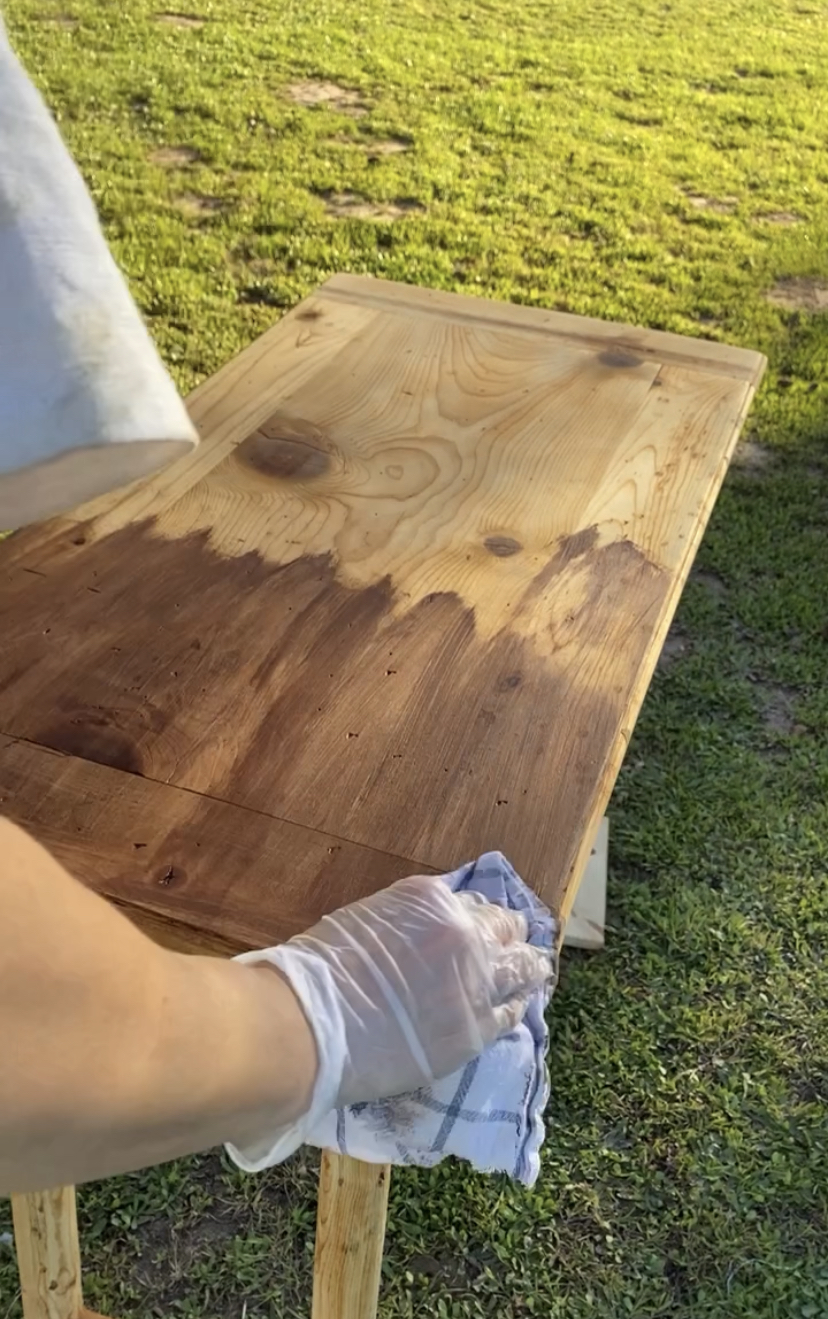
8. Allow to dry and admire your handiwork
There is no need to apply a sealer or protectant since it was combined with the stain so simply let your piece dry for 24-48 hours before bringing it into your home. Install new hardware and it’s ready to enjoy!
Can you re-stain a table without sanding or stripping it?
Not all furniture will need a chemical stripper. That is reserved for pieces that have heavy coats of stain, paint, or varnish. Most often, a piece can be sanded down to its original wood in order to re-stain. This may take several hours and passes with an orbital sander.
How long does it take to refinish a table?
This depends on how large or small the piece is and what material you are removing from it. Most small to medium-sized pieces can be finished in a weekend.
I'm a mom of three with a passion for interior design and DIY! I am currently renovating a farmhouse along with my husband and running an Airbnb in our hometown. I would define my style as loving clean lines with a good mixture of old and new. I love a modern cottage look and have been very interested in vintage pieces as of late. When I’m not spending time with my family or dreaming up another home project, I love to read, eat good food, and binge-watch crime shows on Netflix!
