

Is there anything more annoying than a stripped screw? Whether you’re in the process of using your screwdriver to secure it in place, or attempting (in vain) to remove it, the annoyance is real and so knowing how to remove a stripped screw ASAP is essential.
The screwdriver turns, but the screw doesn’t and what often makes the situation worse is the initial stage of denial that we go through upon identifying the issue and I’ve definitely been guilty of this in the past. The, ‘I’m sure it’s fine I’ll just have another go at it with the drill… oh damn! That’s really done it now!’, stage.
If you need help with a stripped screw then you’ve come to the right place as I have six tips and tricks which will hopefully get you out of a bind.
What causes a stripped screw?
There are lots of reasons that a screw head could become damaged, here are a few…
- Using an old, worn screwdriver bit
- Using poor quality screws
- Working too fast or without due care and attention
- Using the wrong (usually too small) screwdriver bit
- Engaging the screw head at the wrong angle
Can you prevent a screw from stripping?
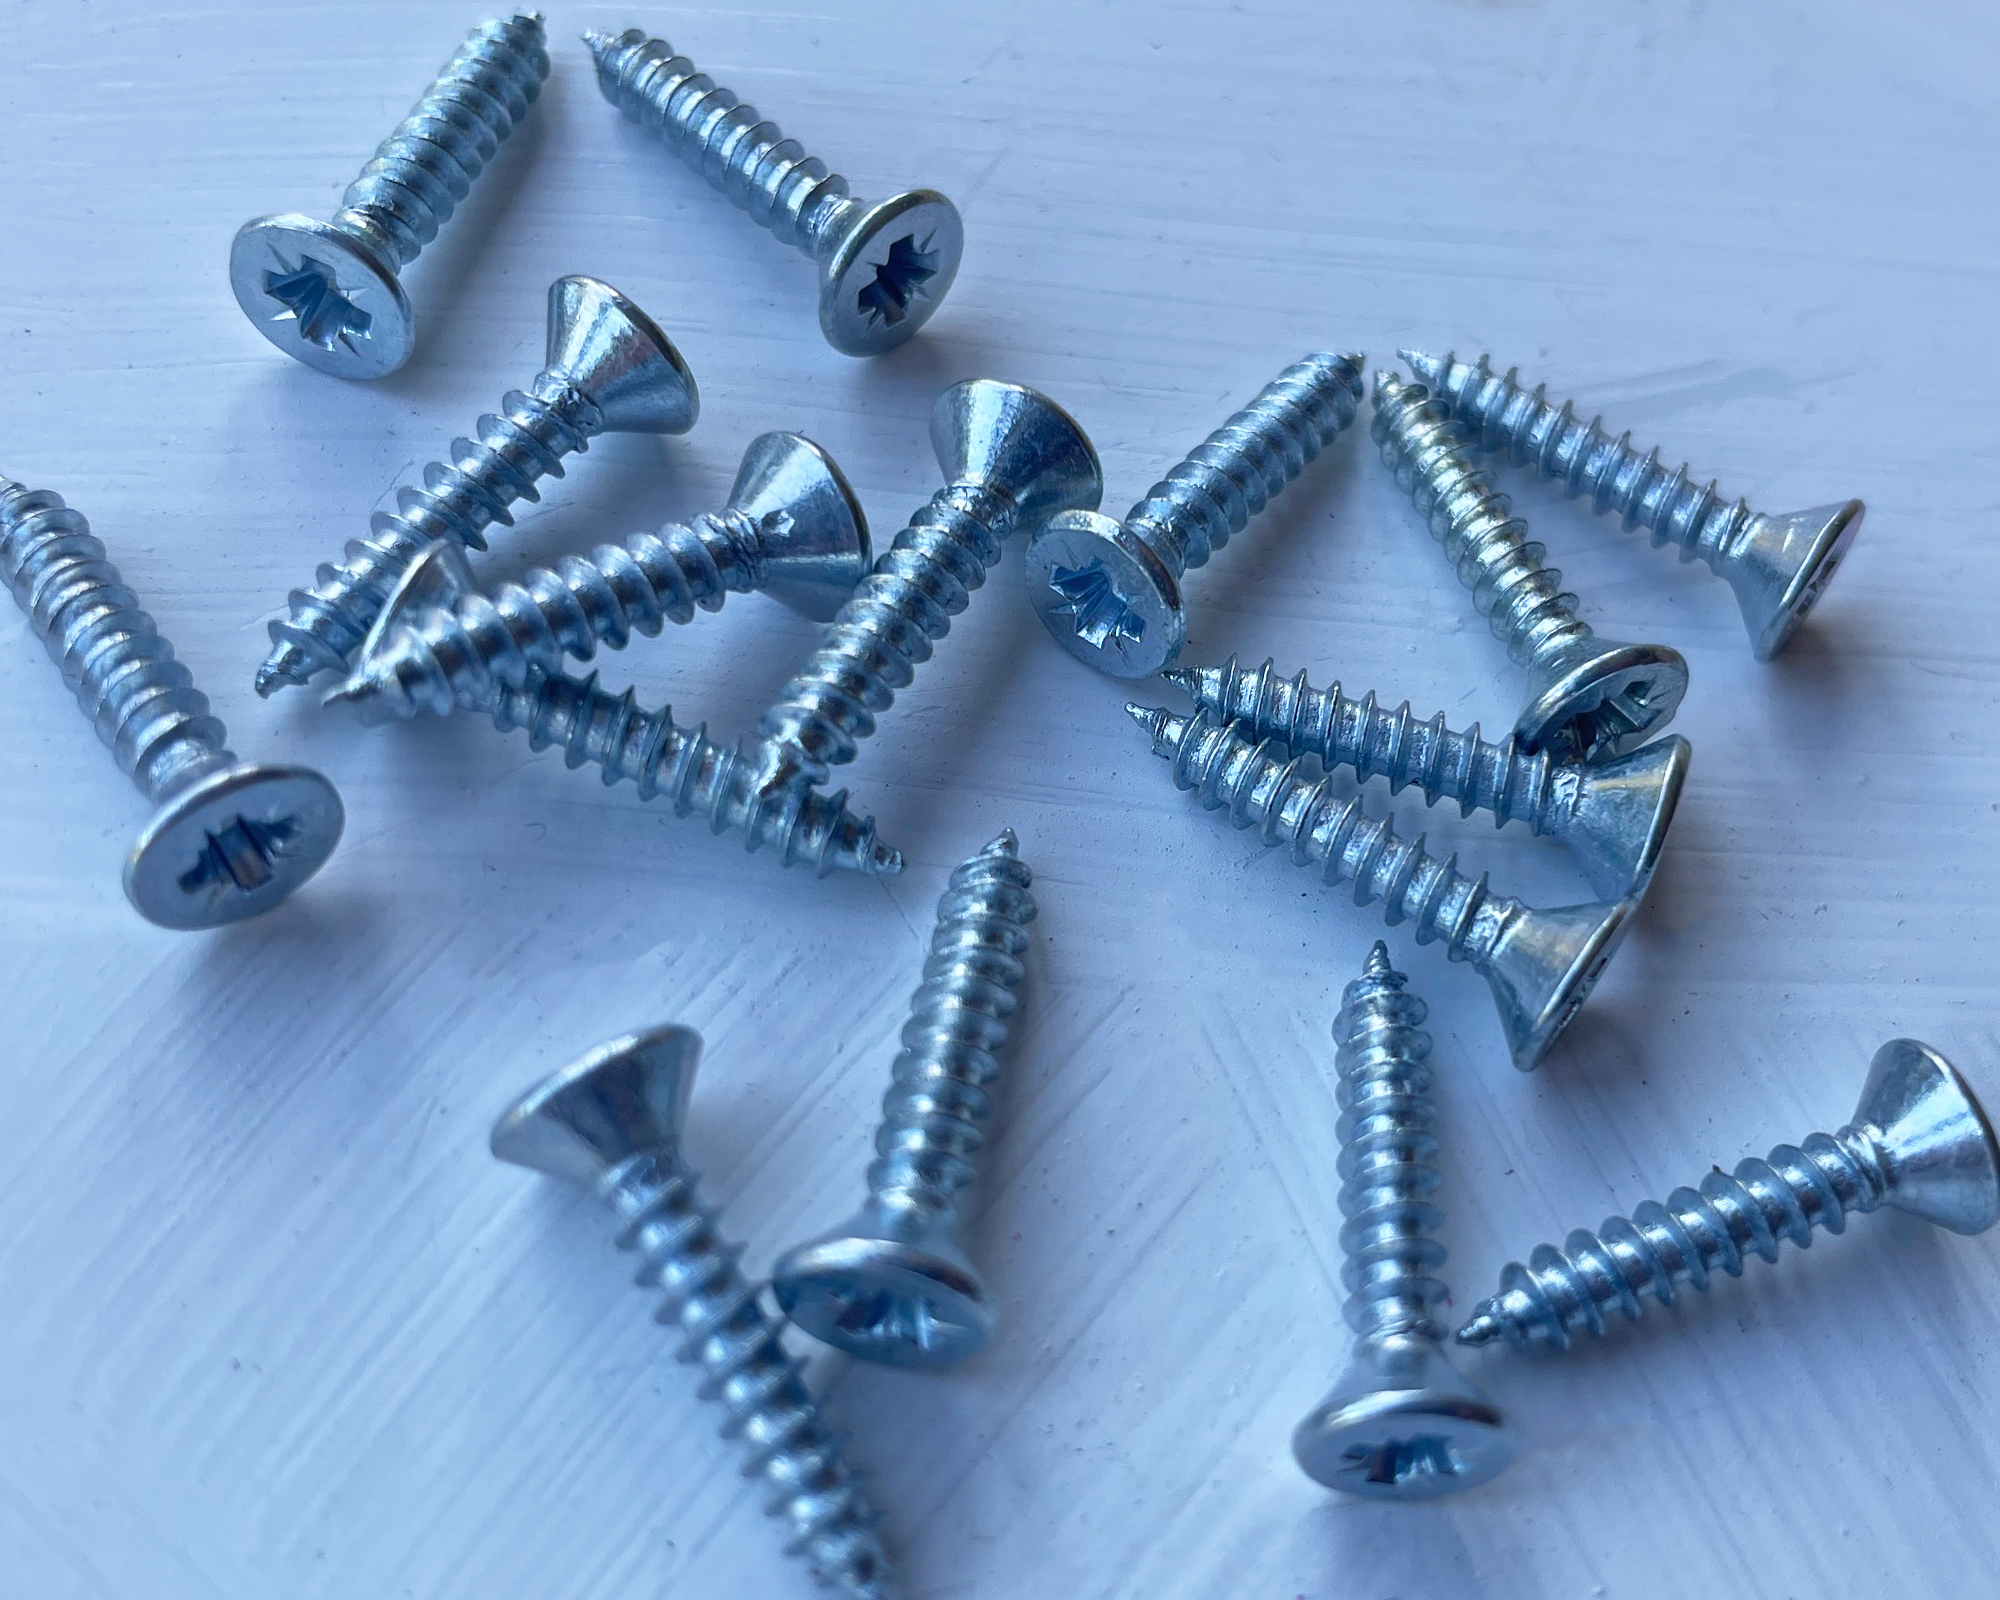
Now we know the causes, it’s not hard to see how this unfortunate situation could be avoided so that it doesn't impact on your next DIY project. In a nutshell, buy the best quality screws and screwdriver bits you can afford (or at least don’t buy cheap and cruddy ones!) Take care to correctly identify the correct screwdriver bit for the screw you are dealing with, take your time to line up the screwdriver bit with the screw head and don’t go hell for leather if you’re using a drill. It all sounds pretty straightforward, right? But as the old saying goes…hindsight is a wonderful thing! I haven’t forgotten the reason you’re here, let’s get that screw sorted…
1. A quick elastic band hack
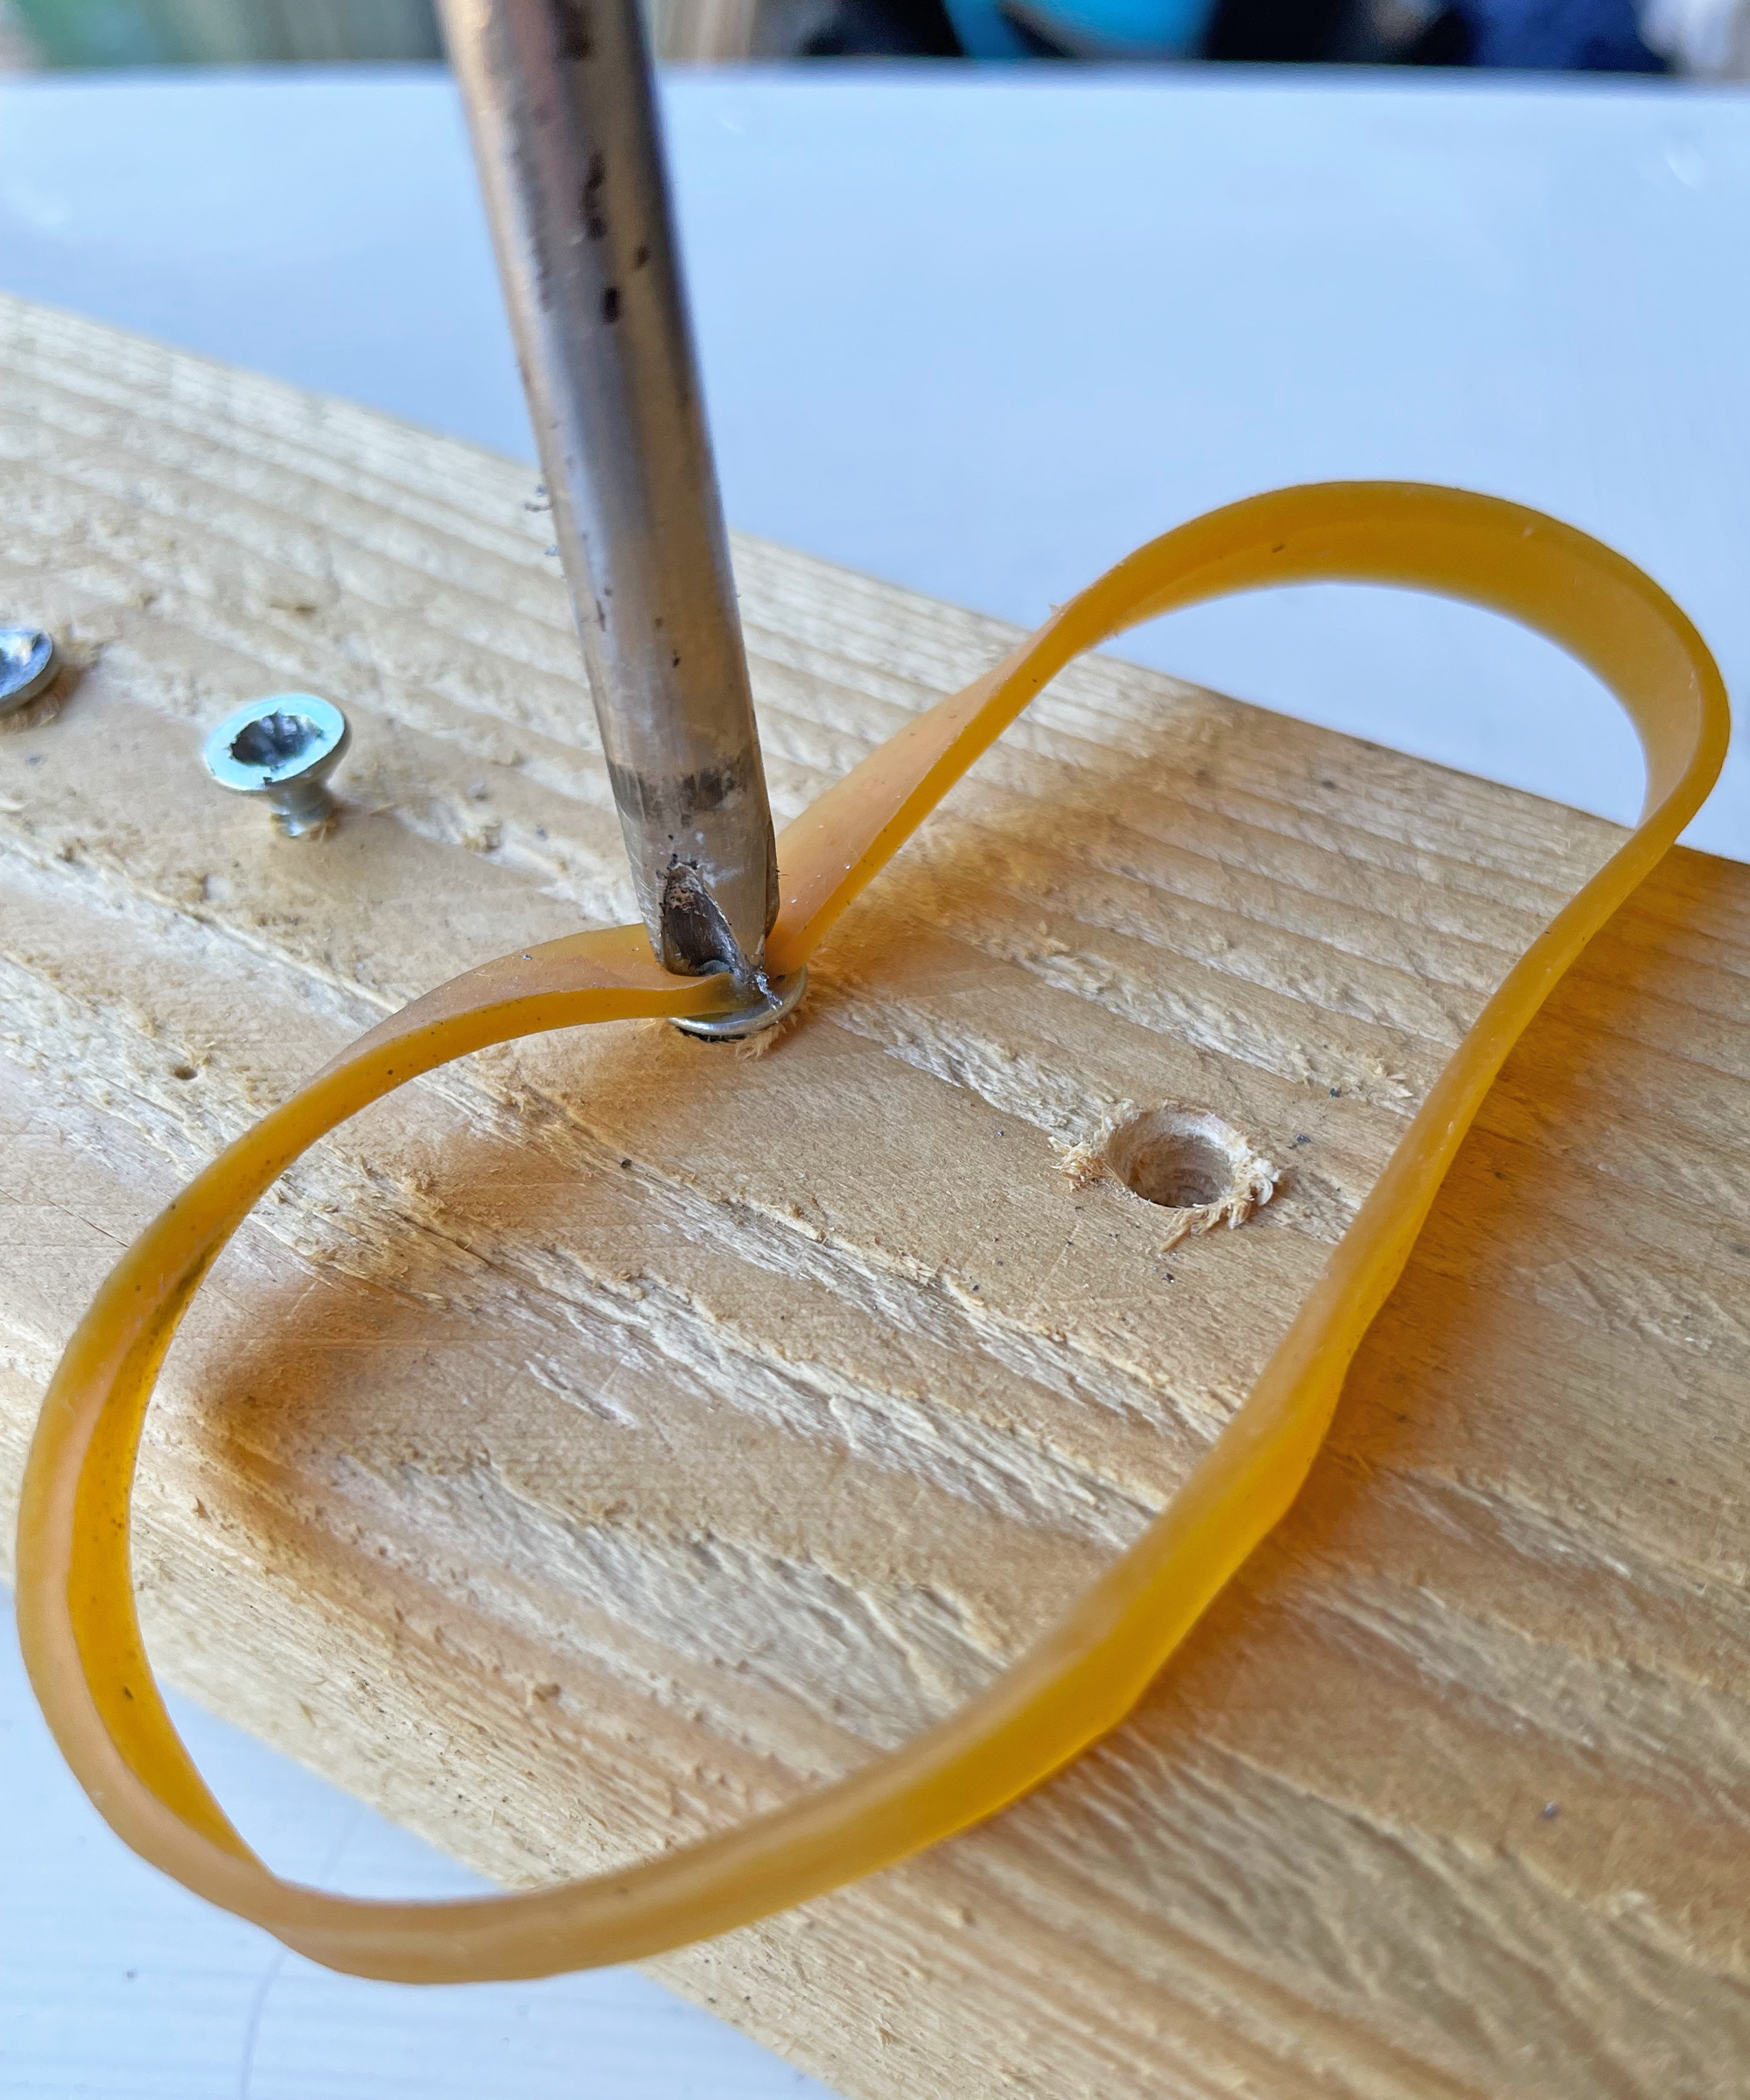
Before you rush off and buy tools or special drill bits to deal with the offending screw, grab yourself a rubber band (yes really!) and place this over the damaged screw head before gently engaging the screwdriver. Once in place, slowly and firmly turn the screwdriver as you would with a fresh screw and if you’re lucky, the band might give you enough traction to remove the stripped screw.
If that worked, you’re welcome! If you weren’t so lucky, don’t panic I’ve got five more ideas where that came from, read on…
2. Use a larger screwdriver
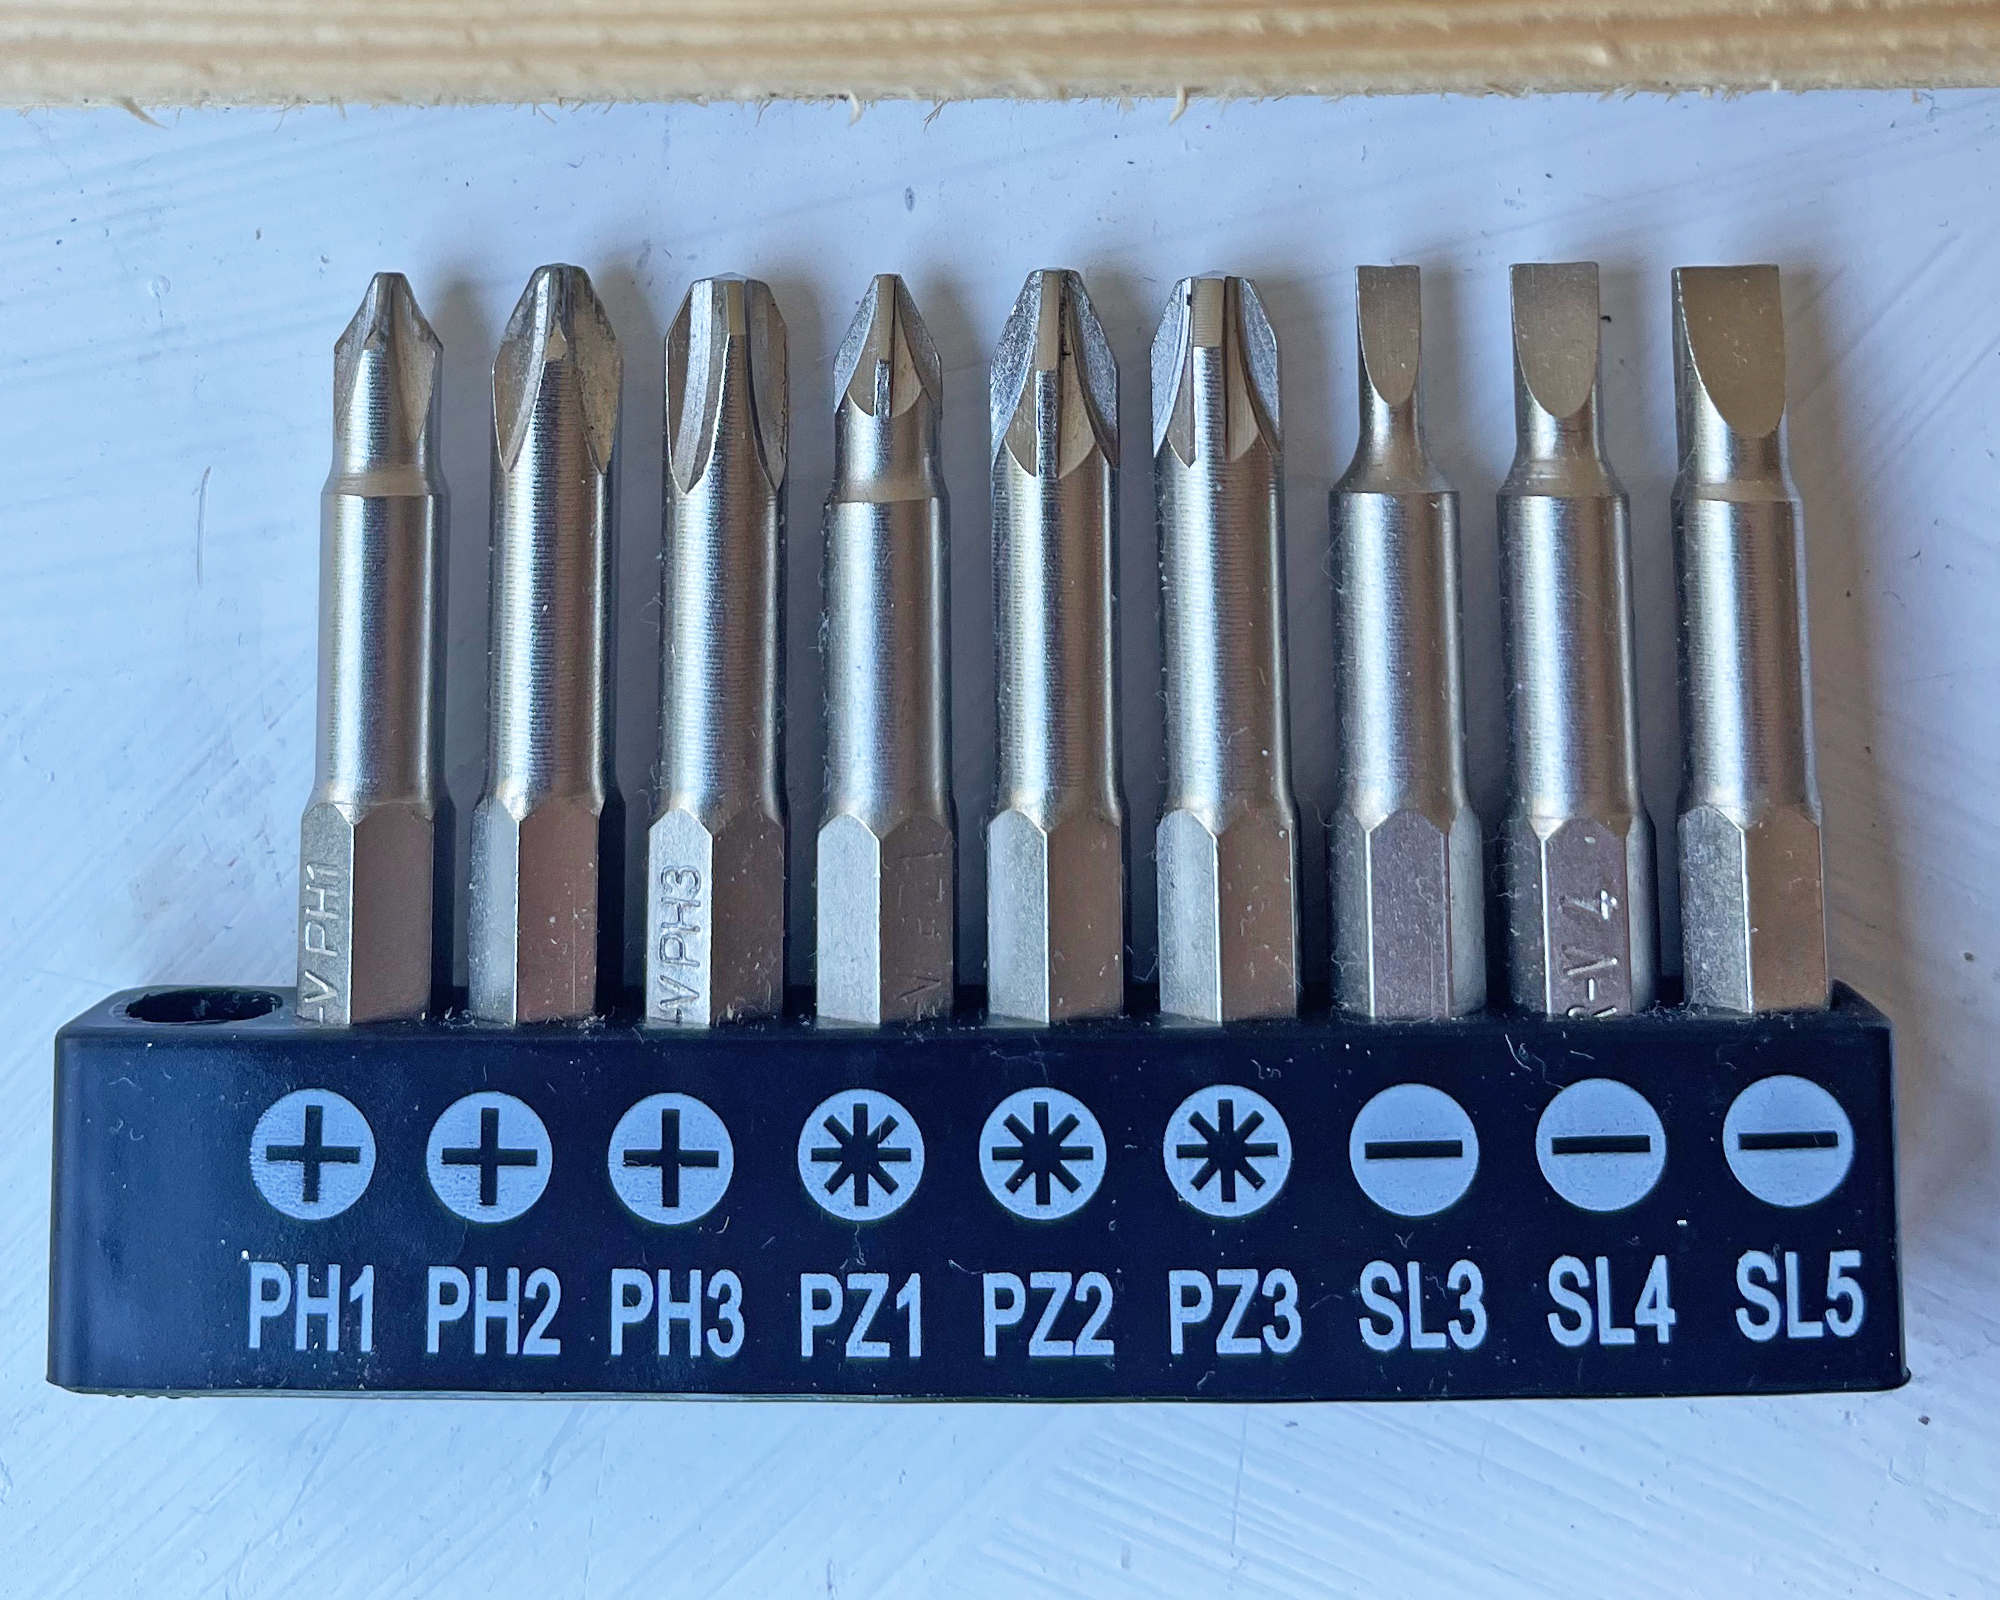
This one only really works if the screw isn’t too badly stripped, so it’s worth trying straight away when the issue occurs. The idea is to grab a screwdriver that is the next size up (but the same type) and try that because the larger tip might be able to get enough traction with the stripped screw to get it moving, at which point you start to win.
3. Grab your hammer
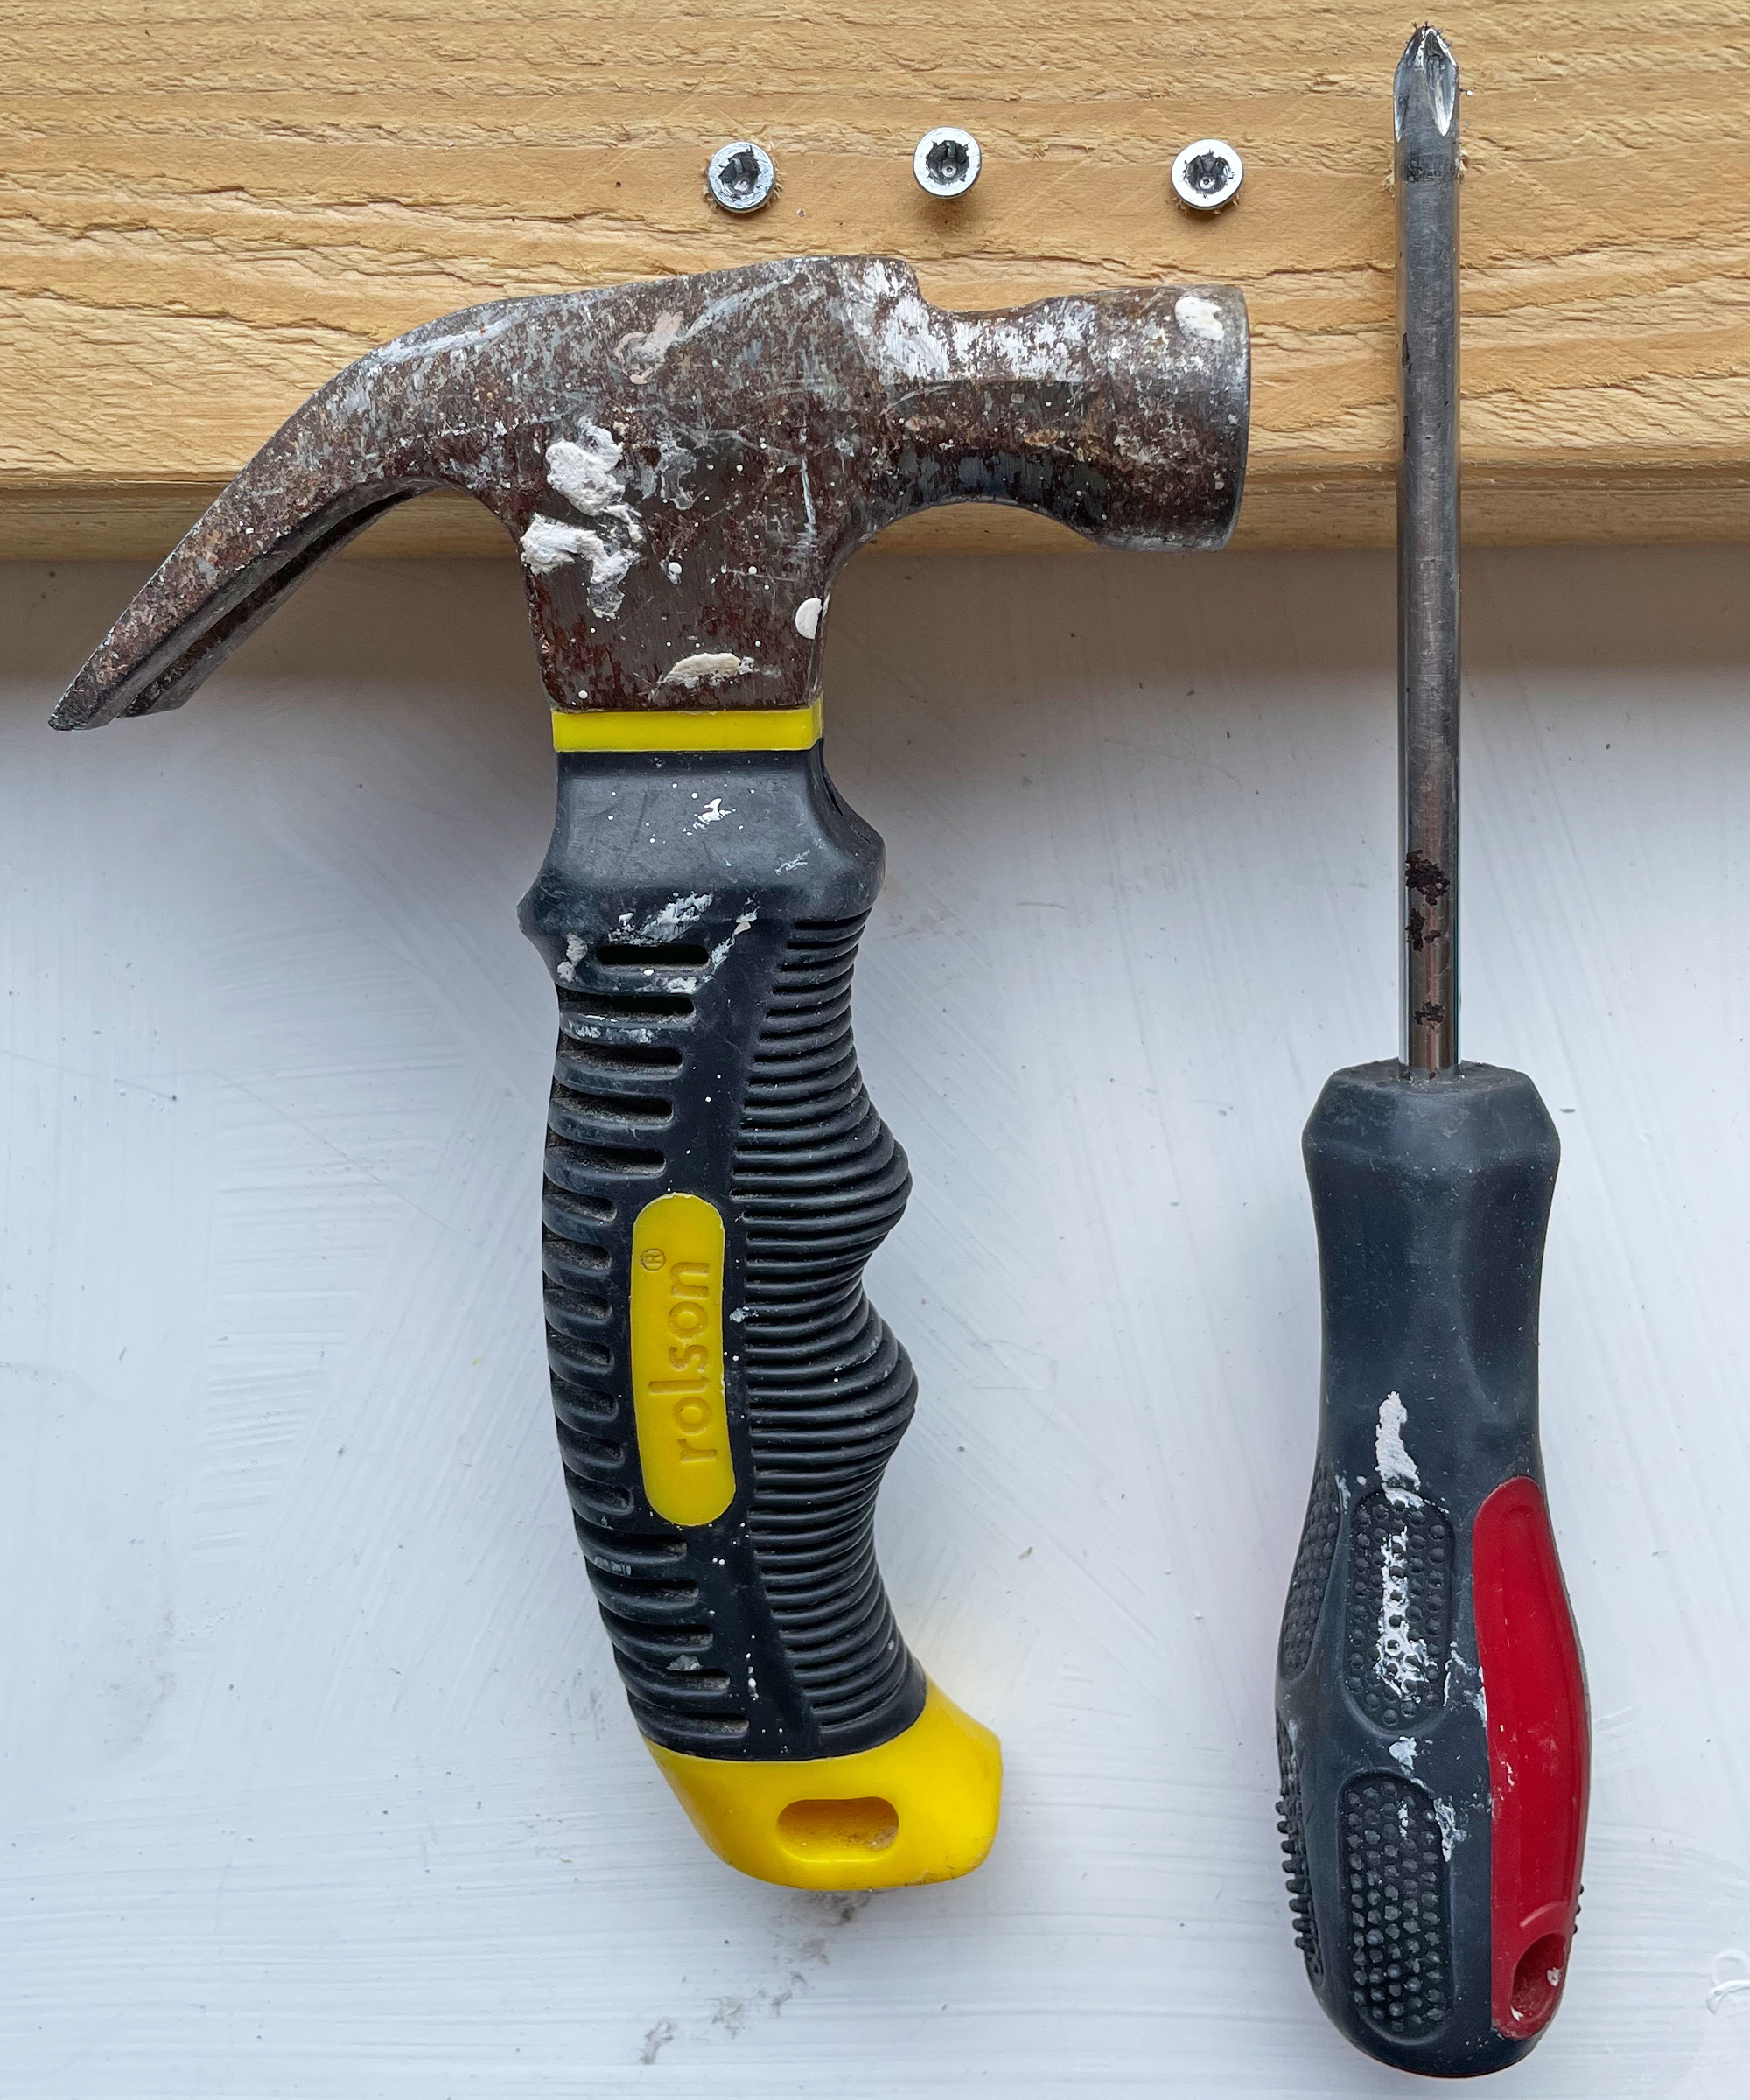
Depending on the severity of the damage to the screw head, you might be able to remove the screw by engaging the correct size screwdriver and hammering the handle end in order to push it into a slightly more engaged position. This might be enough to allow you to remove the screw.
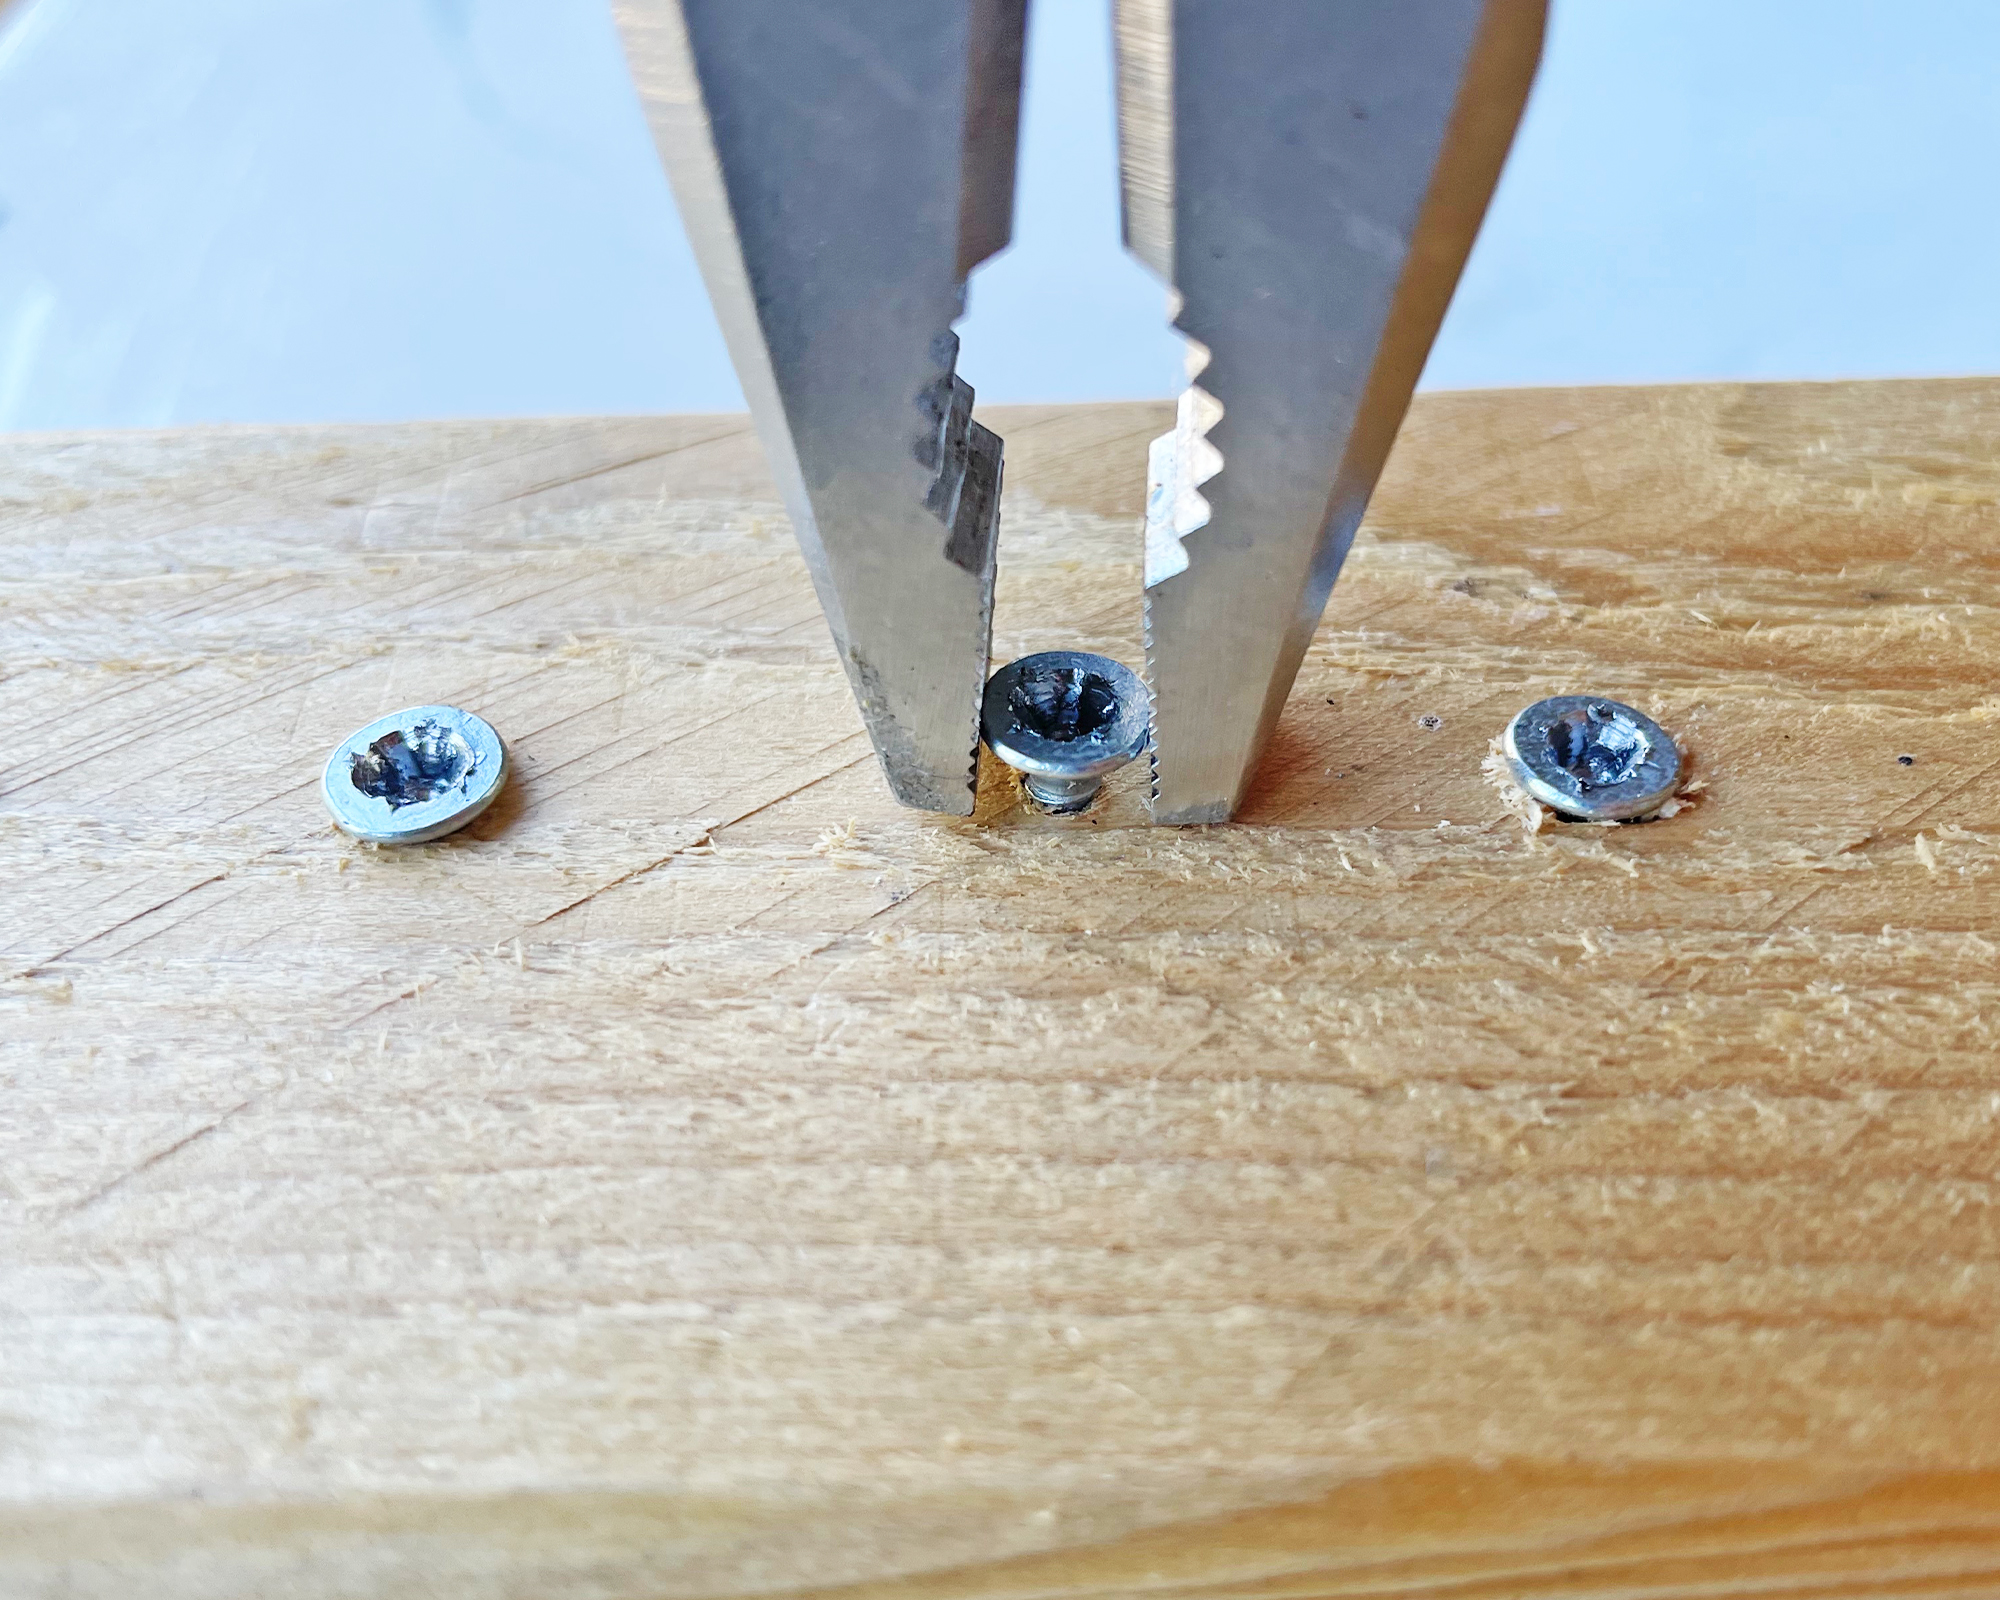
4. Pull it out with pliers
If the screw in question isn’t fully screwed in, then you might be able to grab the end of it with a pair of pliers and ease it round in an anti-clockwise motion to loosen it until it eventually comes right out.
5. The nut and wrench trick
To be honest, this option requires more time and effort than I think is reasonable to spend on a stripped screw and certainly wouldn’t be my first choice, but in the interests of balance and because some of you might be keen to try anything by now, here’s what you would do.
Ideally, the stripped screw would have a large flattish head, if it’s rounded then you might opt to file it down a little first. Then you should apply super glue to the head and stick a nut onto it. Check that you have the correct size wrench (spanner in the UK) for the nut beforehand. Allow the glue to set and then use your wrench to turn the nut anticlockwise, keep turning until the screw is out.
6. ‘Speed out’ drill bits
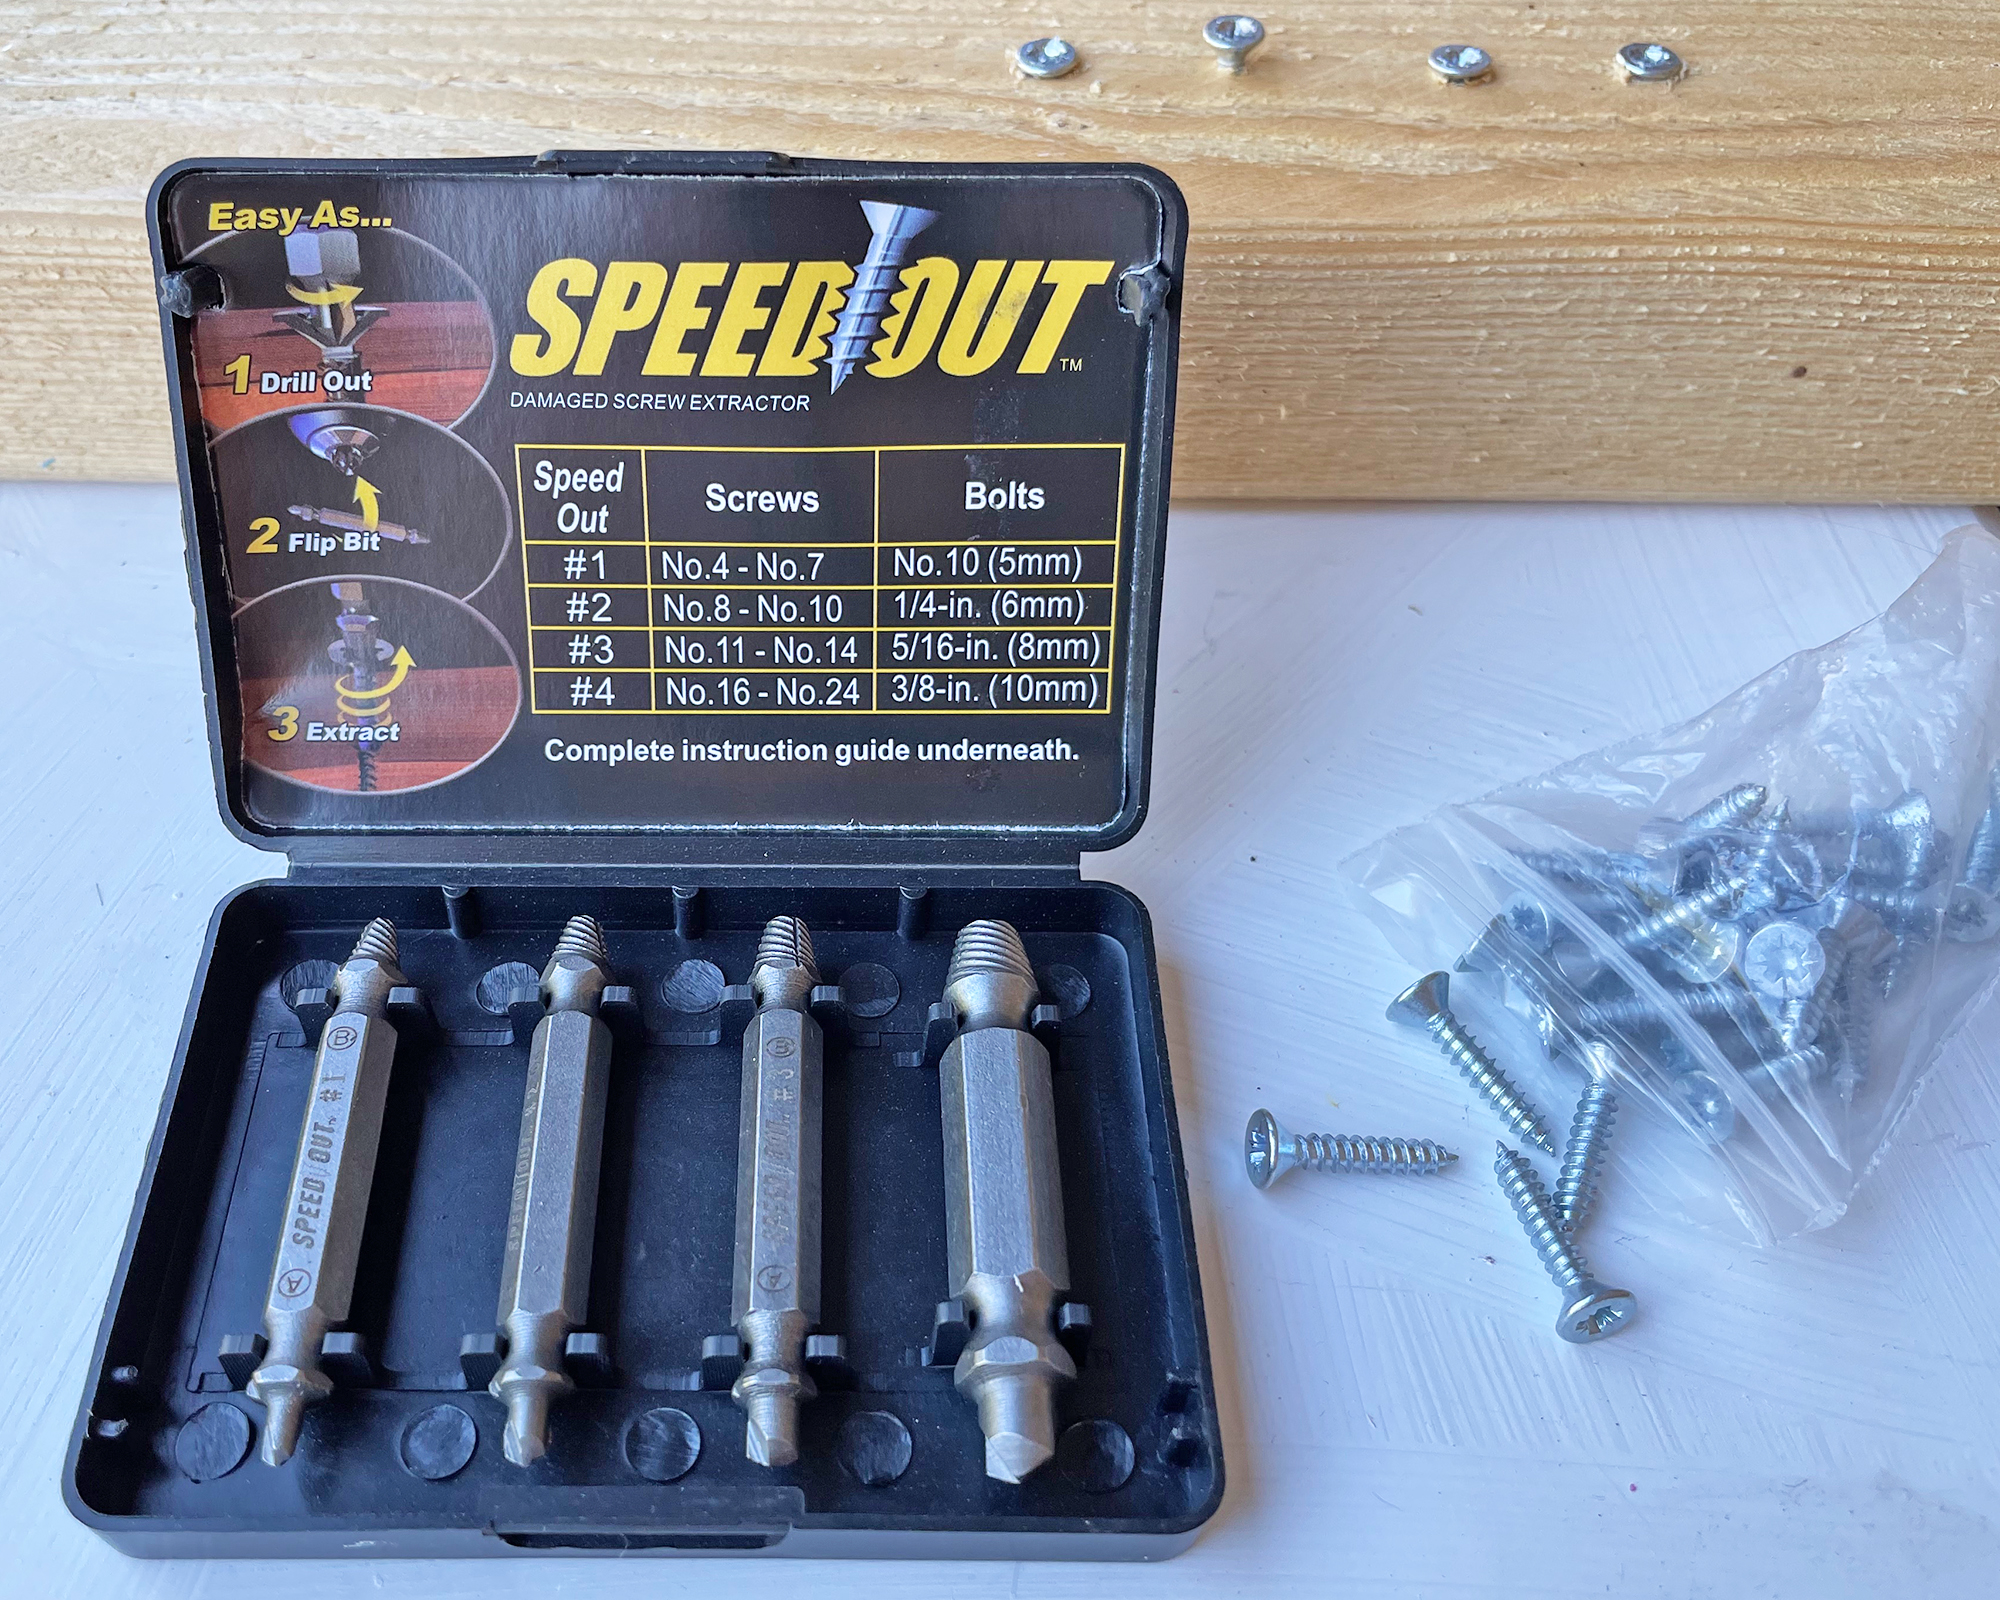
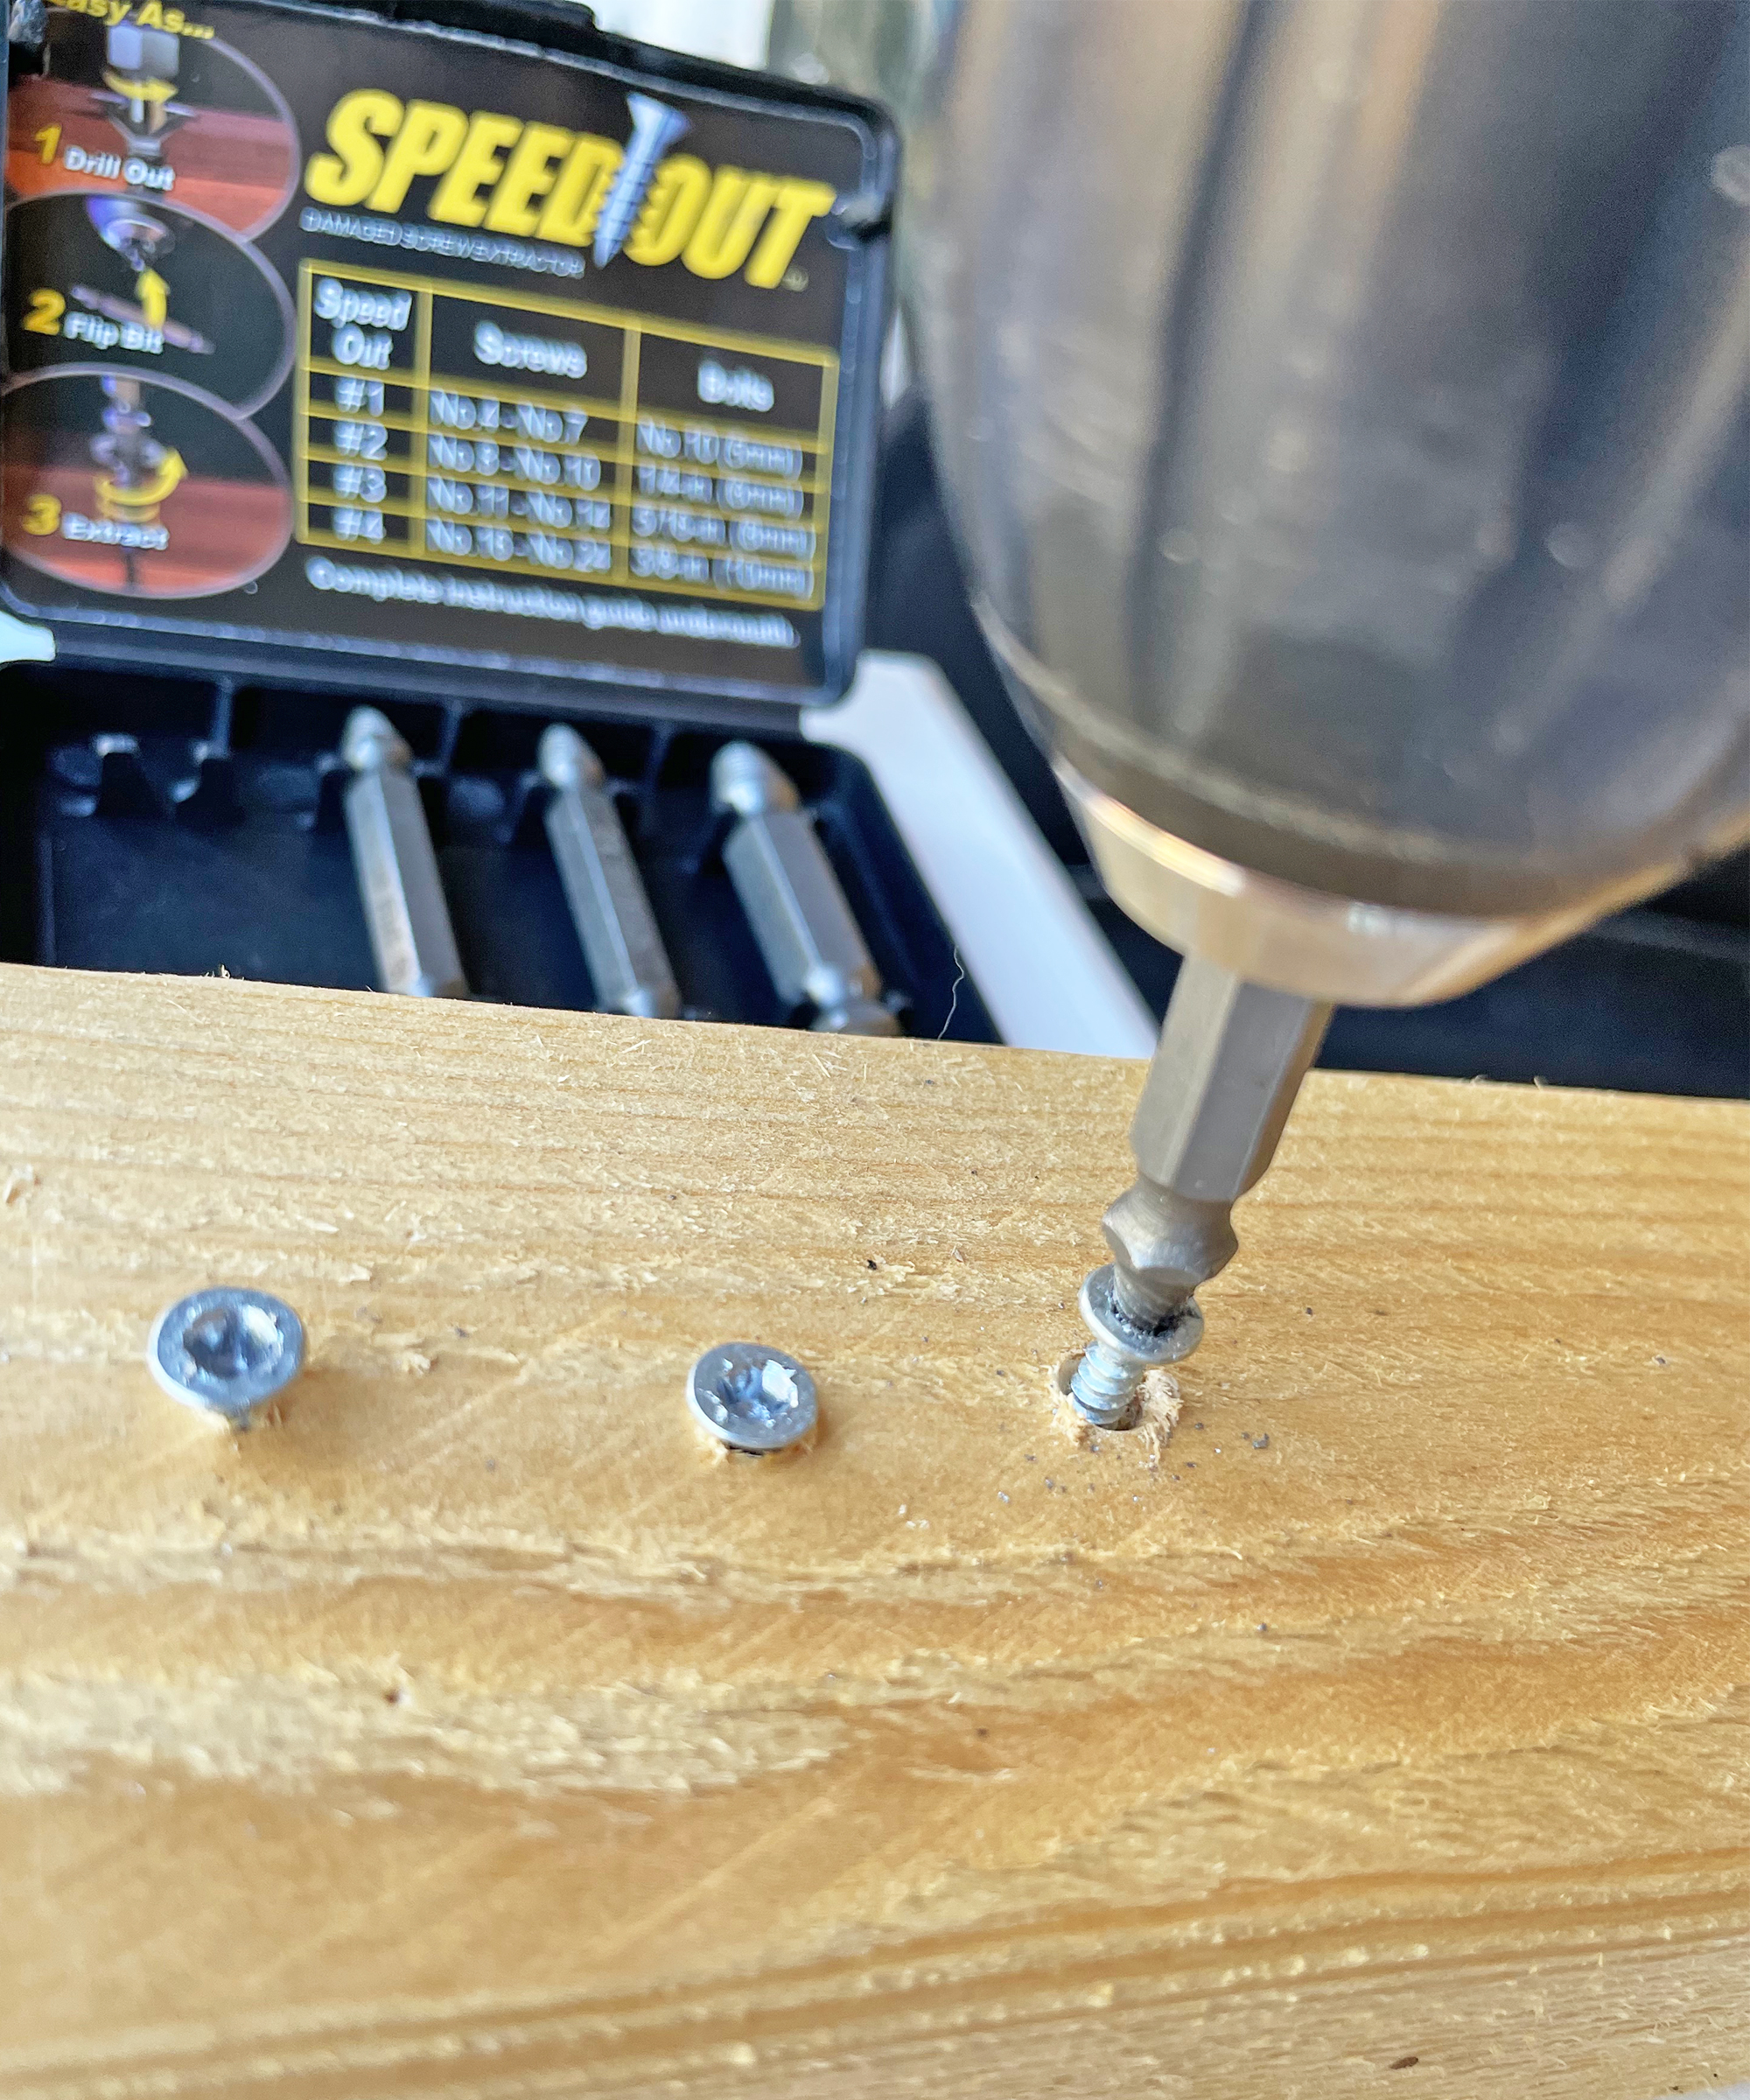
Dear Diary…jackpot! Ok, so these were a complete revelation and are now a permanent fixture in my toolkit. First, you select the correct drill bit for the offending screw (there’s guidance in the instructions) then you use the cut-out end to drill into the stripped screw head (clockwise). Then, you flip the drill bit up the other way and use the extraction end to remove the screw (drilling anticlockwise) and it really is that simple. I bought this little set from Amazon and it’s definitely going on my best buys list.
Remove stripped screws quickly and you'll be able to ace all of your best home improvement projects in no time!
Join our newsletter
Get small space home decor ideas, celeb inspiration, DIY tips and more, straight to your inbox!

I'm happiest when I have either a drill or paintbrush in my hand! I specialise in room transformations on a budget and love experimenting with different styles and techniques which I share on my Instagram. I believe that your imagination, not your budget, should be the limiting factor when transforming a room and I love thinking of creative ways to build custom and bespoke-looking furniture using flatpacks or upcycle finds.
I also love writing and my home improvement blog (ClaireDouglasStyling.co.uk) is my passion project where I share creative ideas for interior styling and DIY tips and tutorials.
-
 A $200 fluted panel transformed my drab kitchen in just one weekend
How to install a fluted kitchen panel: A speedy and achievable DIY tutorial even for DIY novices
By Claire Douglas
-
 How to replace a broken staircase spindle in 30 minutes flat
A missing or broken spindle on a staircase is not only unsightly, but it can be a real hazard. This is how to fix it in a few quick steps.
By Kate Sandhu
-
 An IKEA Billy bookcase hack inspired this cute media wall DIY
This cute DIY was inspired by an IKEA Billy bookcase hack and brought a ton of symmetry to an otherwise basic media wall space.
By Camille Dubuis-Welch
-
 Share your small space glow up to win $150 in the Real Homes competition
Show off your creativity and DIY skills to win $150 and for the chance to be featured exclusively in Real Homes magazine
By Camille Dubuis-Welch
-
 This oversized headboard looks designer, and takes 5 steps to DIY
Super simple to DIY, this oversized headboard will give your bedroom space all the designer vibes you could dream of.
By Claire Douglas
-
 My DIY range hood and backsplash build gave my kitchen the perfect farmhouse finish
I craved charm in my kitchen space and adding a custom range hood and shelving was the best move.
By Brooke Waite
-
 How to paint a radiator in 7 steps
Painting radiators properly is all about choosing the right paint and the best process. Get interior designer-worthy results with our how-to.
By Kate Sandhu
-
 How to install a door knob
Updating your interior and exterior doors can be as easy as changing out the hardware! The best part is that installing a door knob is very DIY friendly. Follow these simple steps and enjoy a fresh look on your doors!
By Dori Turner