How to remove baseboards in 6 basic steps
With this handy guide you'll have those baseboards removed in a flash
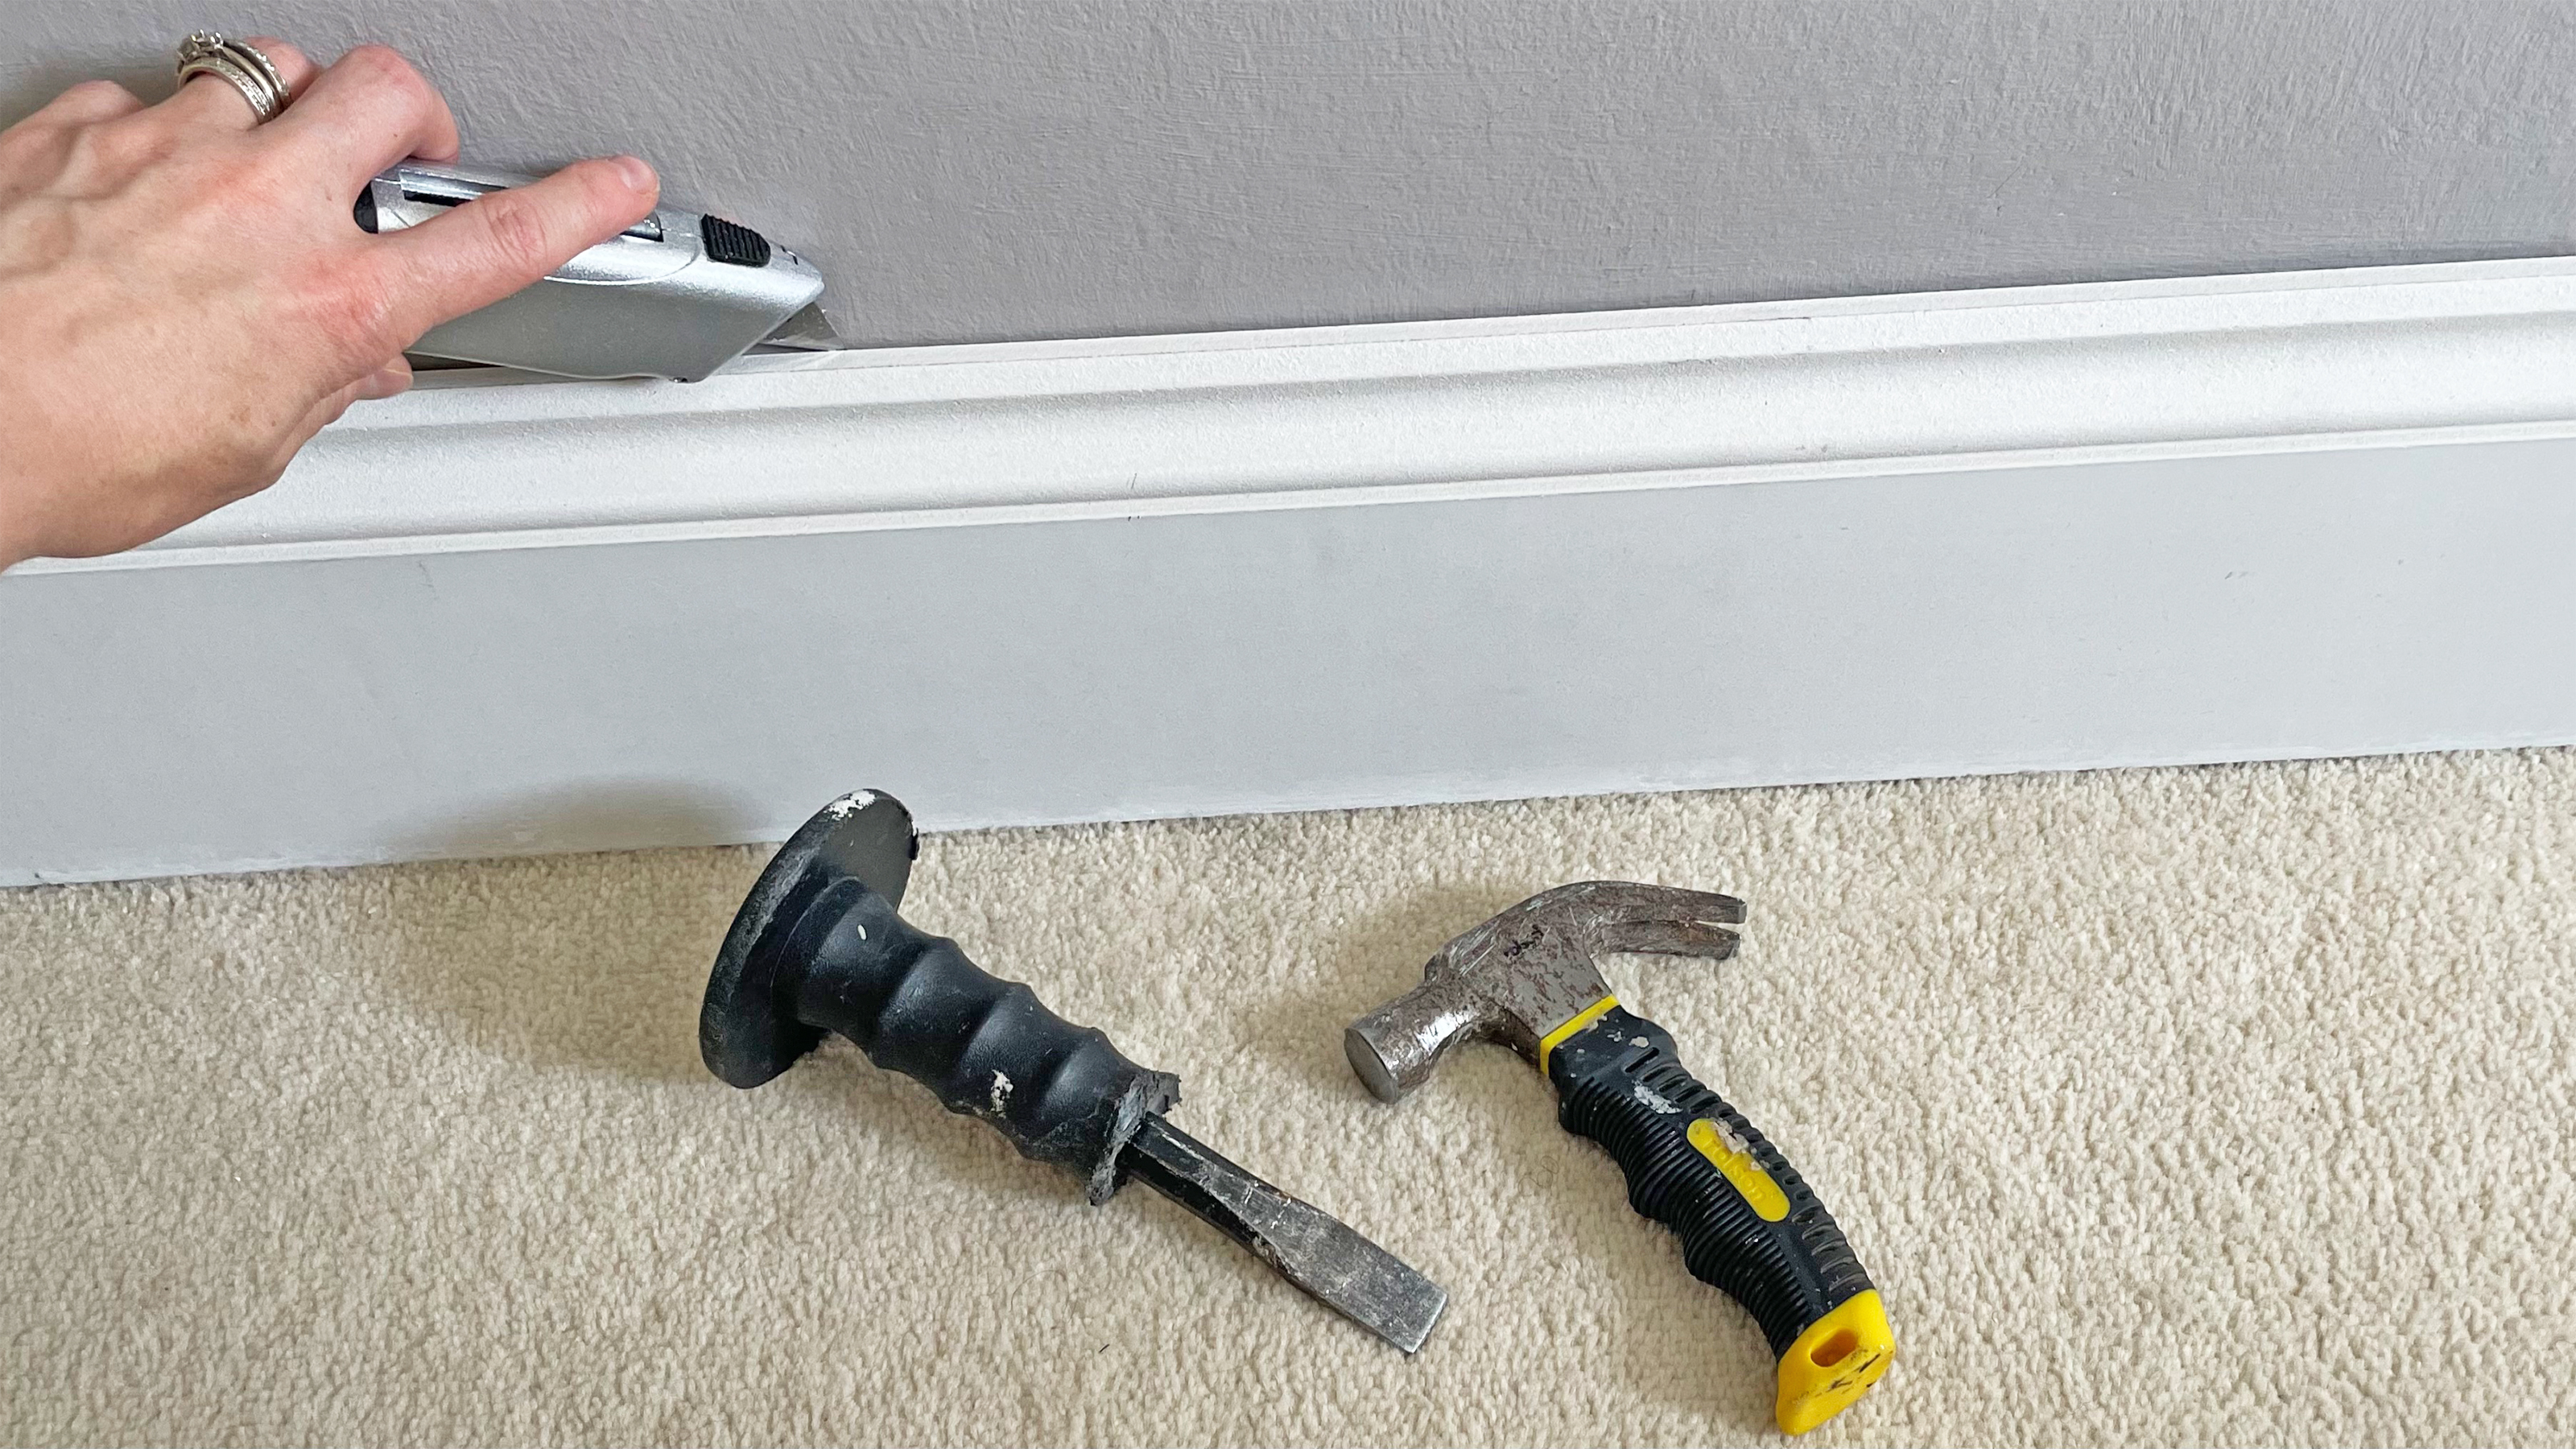

Baseboards (or skirting boards as they are known in the UK) are primarily there to protect the base of the wall from wear and tear, but they can also form part of your room’s interior design. Although it might seem tricky, removing baseboards is easily done and these days you can actually buy baseboards in a variety of different materials, usually MDF, pine, or hardwood. For my taste, installing baseboards that are bigger is better, and I love a super tall baseboard and the feature it adds to the room.
How to remove baseboards step-by-step
You can also buy baseboard covers that go over the top of your old boards to save the hassle of removing them. Baseboard covers are handy to use over pipes as well, but these are more expensive and you need to increase the height if covering old baseboards which is not everyone’s choice. But like I said, replacing them will give a better finish. And, you can choose different shapes and styles of baseboard too, ranging from modern and minimalist squared boards to more decorative ogee-shaped detailing.
You will need
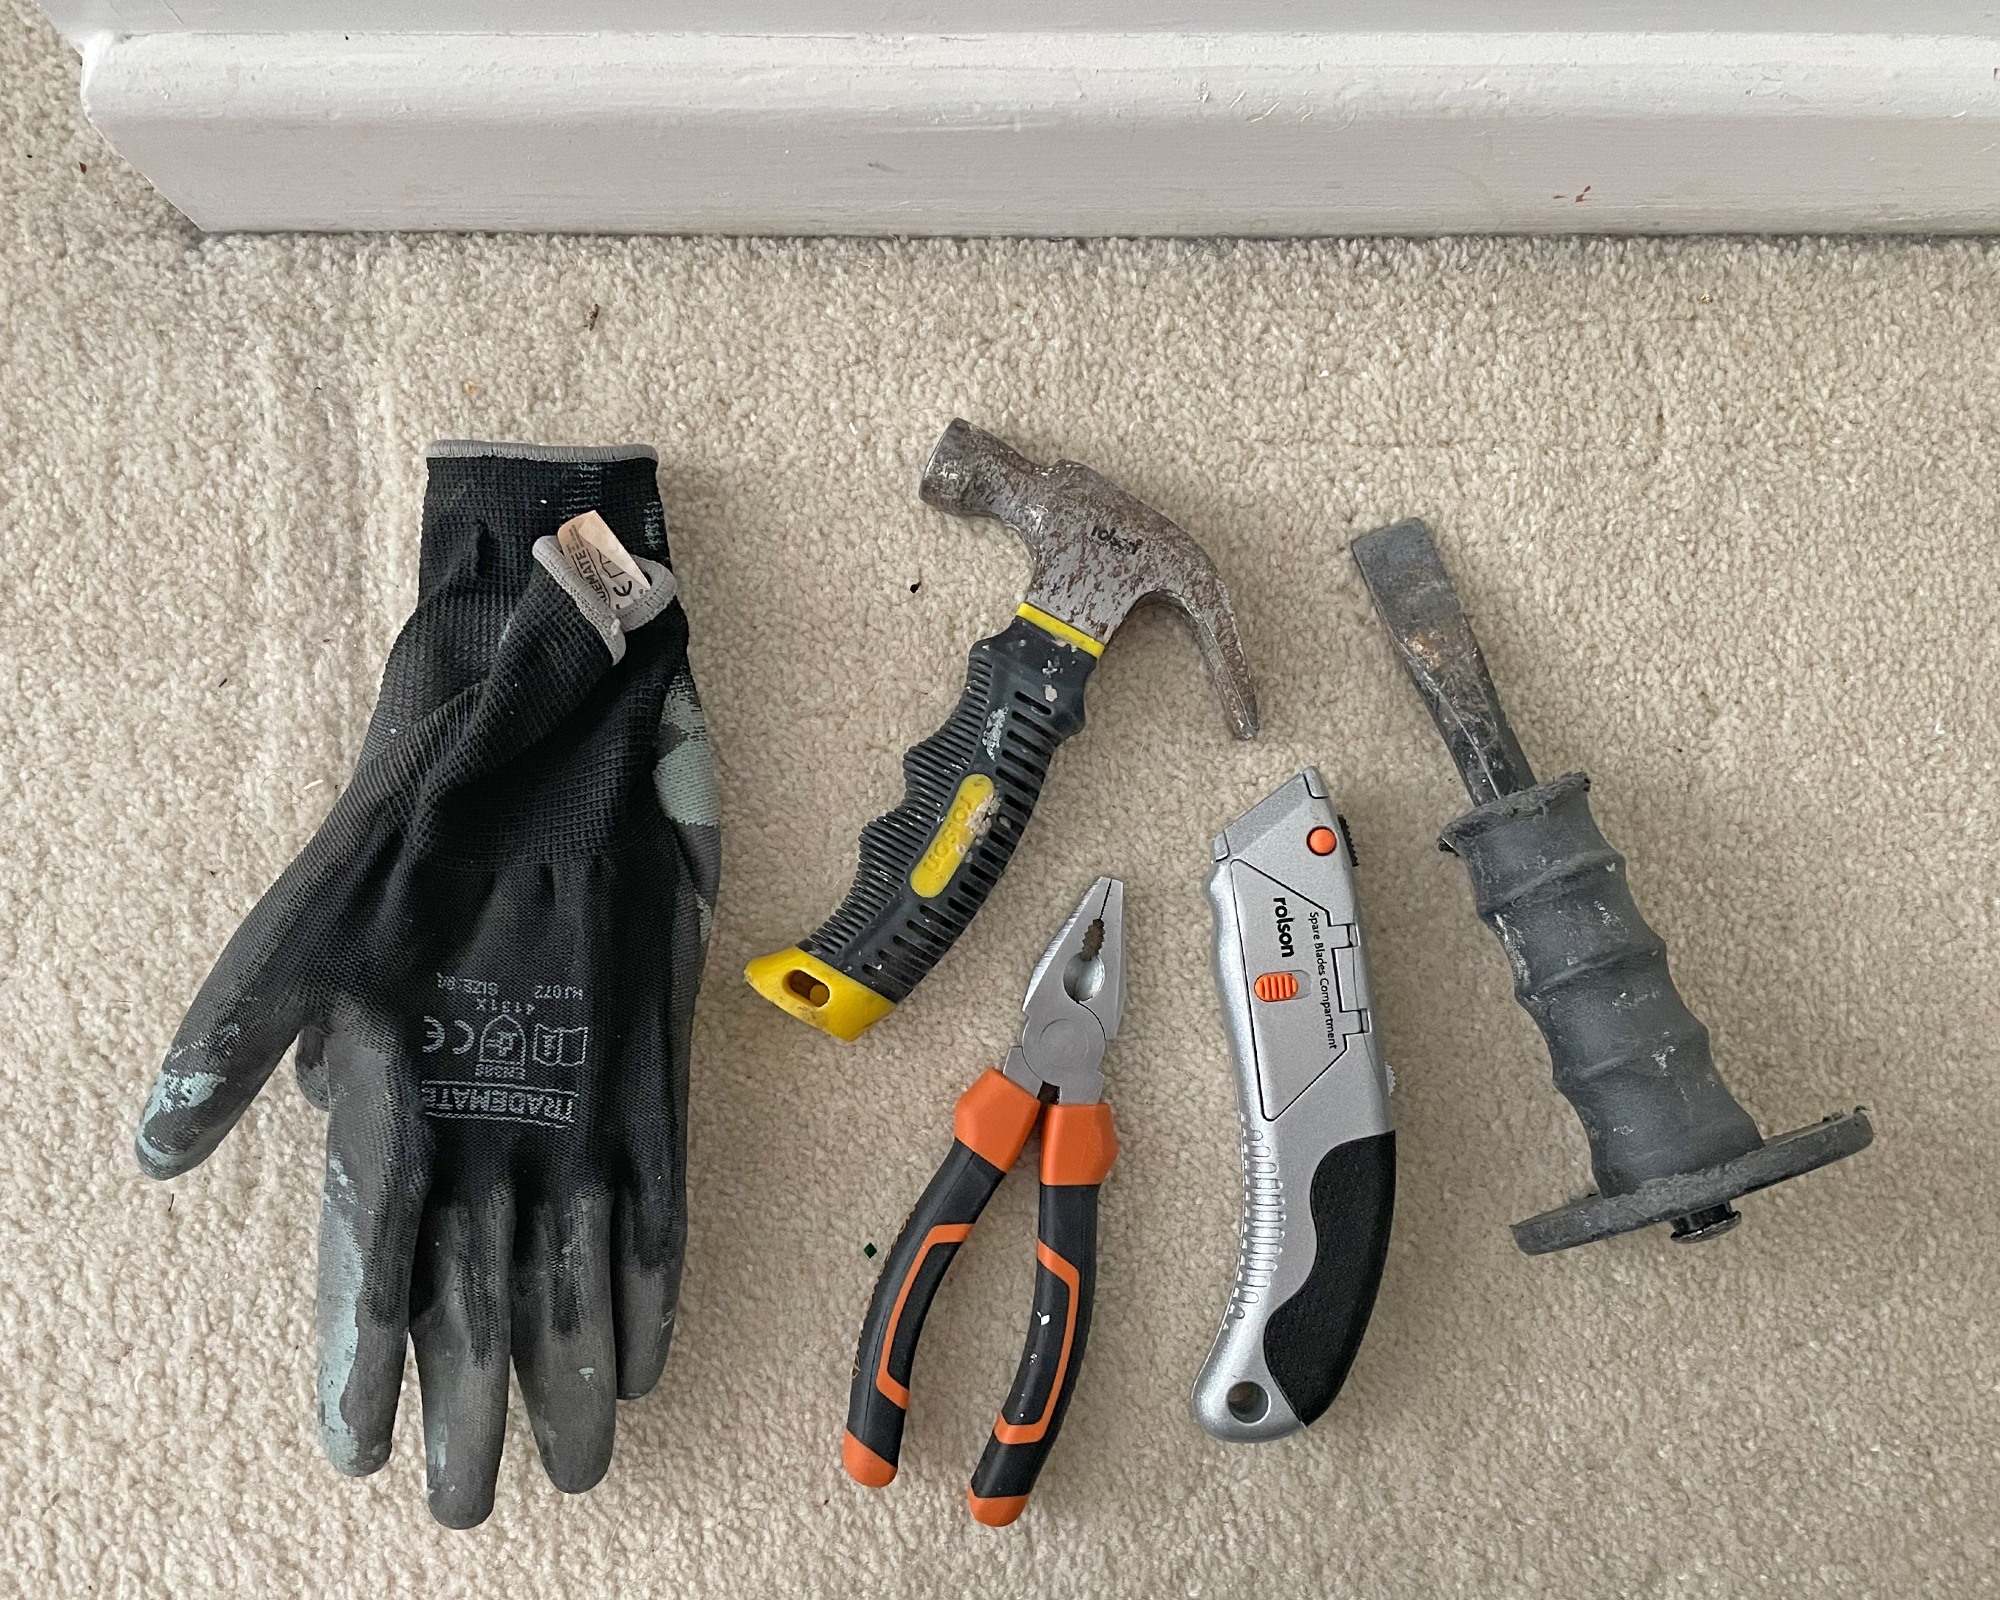
1. A claw hammer - like this one from Amazon
2. Chisel
3. Utility knife - you can pick up a sturdy one like this from Amazon
4. A Crowbar is handy but not essential
5. Pliers are useful if you have lots of nails to remove
6. A vacuum or dustpan and brush
7. Gloves to protect your hands
1. Check for cables
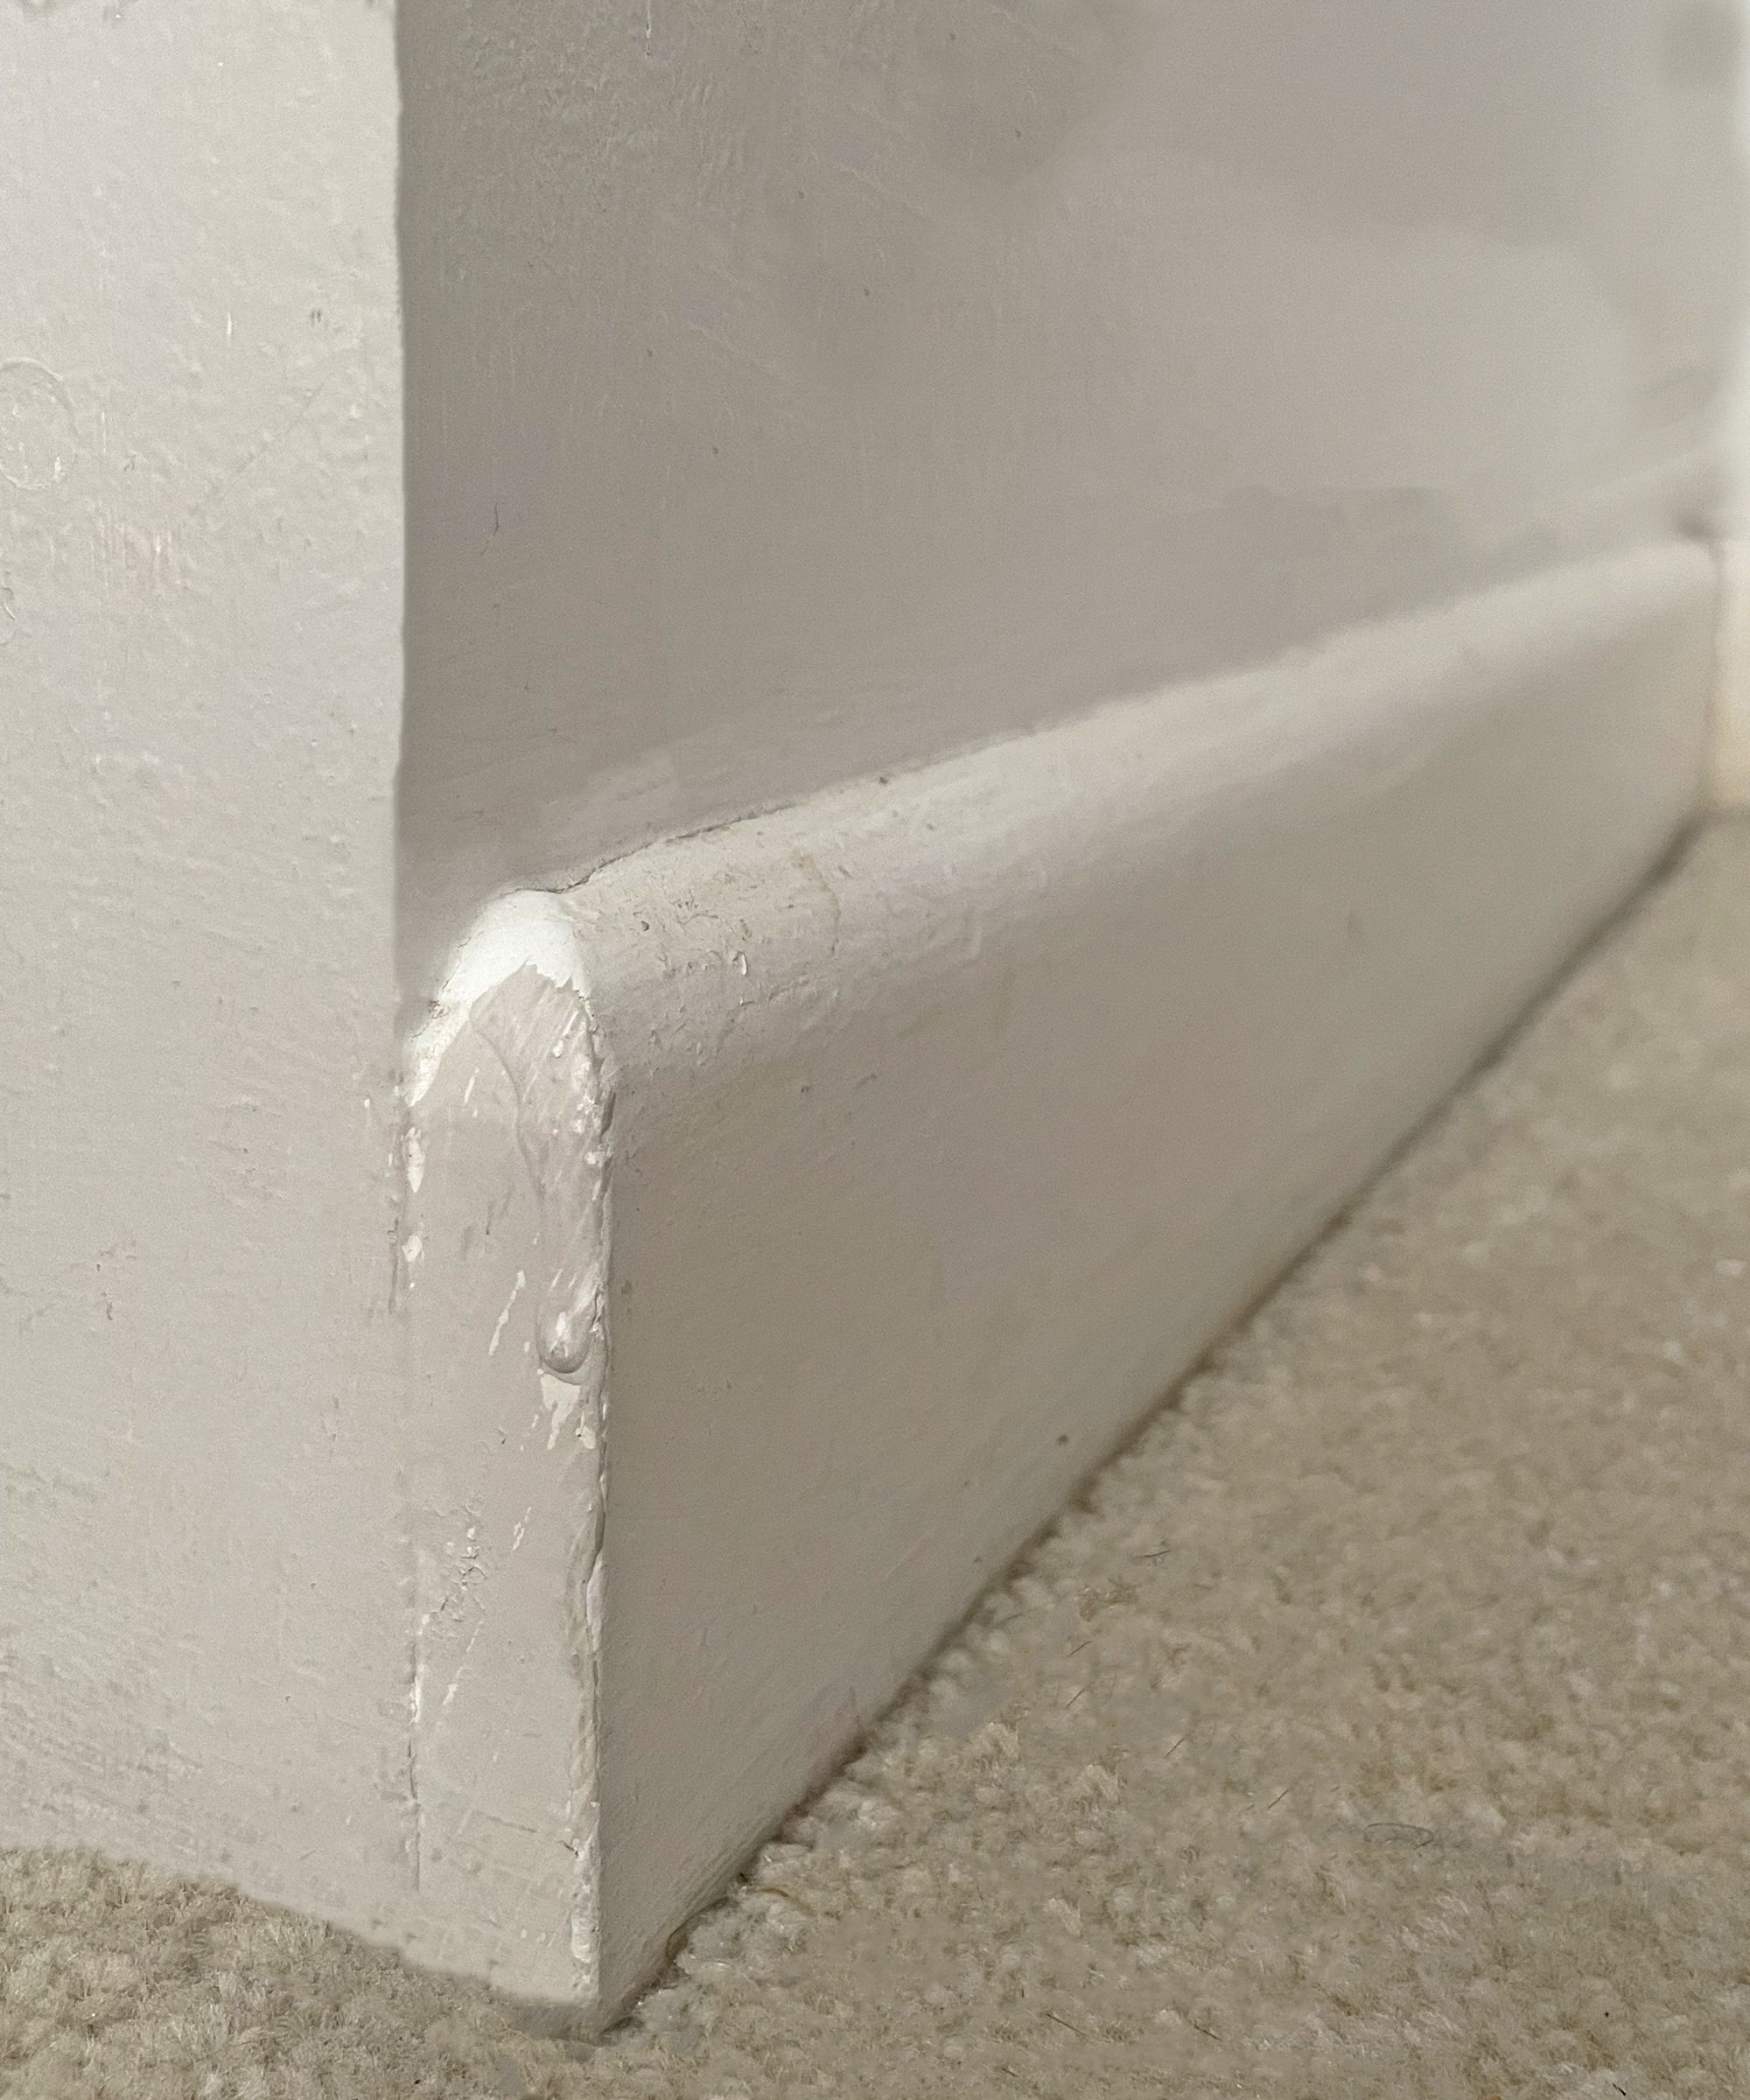
Before you start, make sure that you carefully detach any cables that might be running along the top of your baseboards. Sometimes phone lines can be tacked along the top.
2. Clear the area
Removing baseboards can be messy and dusty work and you need room to work as the boards can be large and bulky. Put dust sheets down to protect the floor and it is a good idea to plan your exit route out of the house beforehand.
3. Cut the caulk
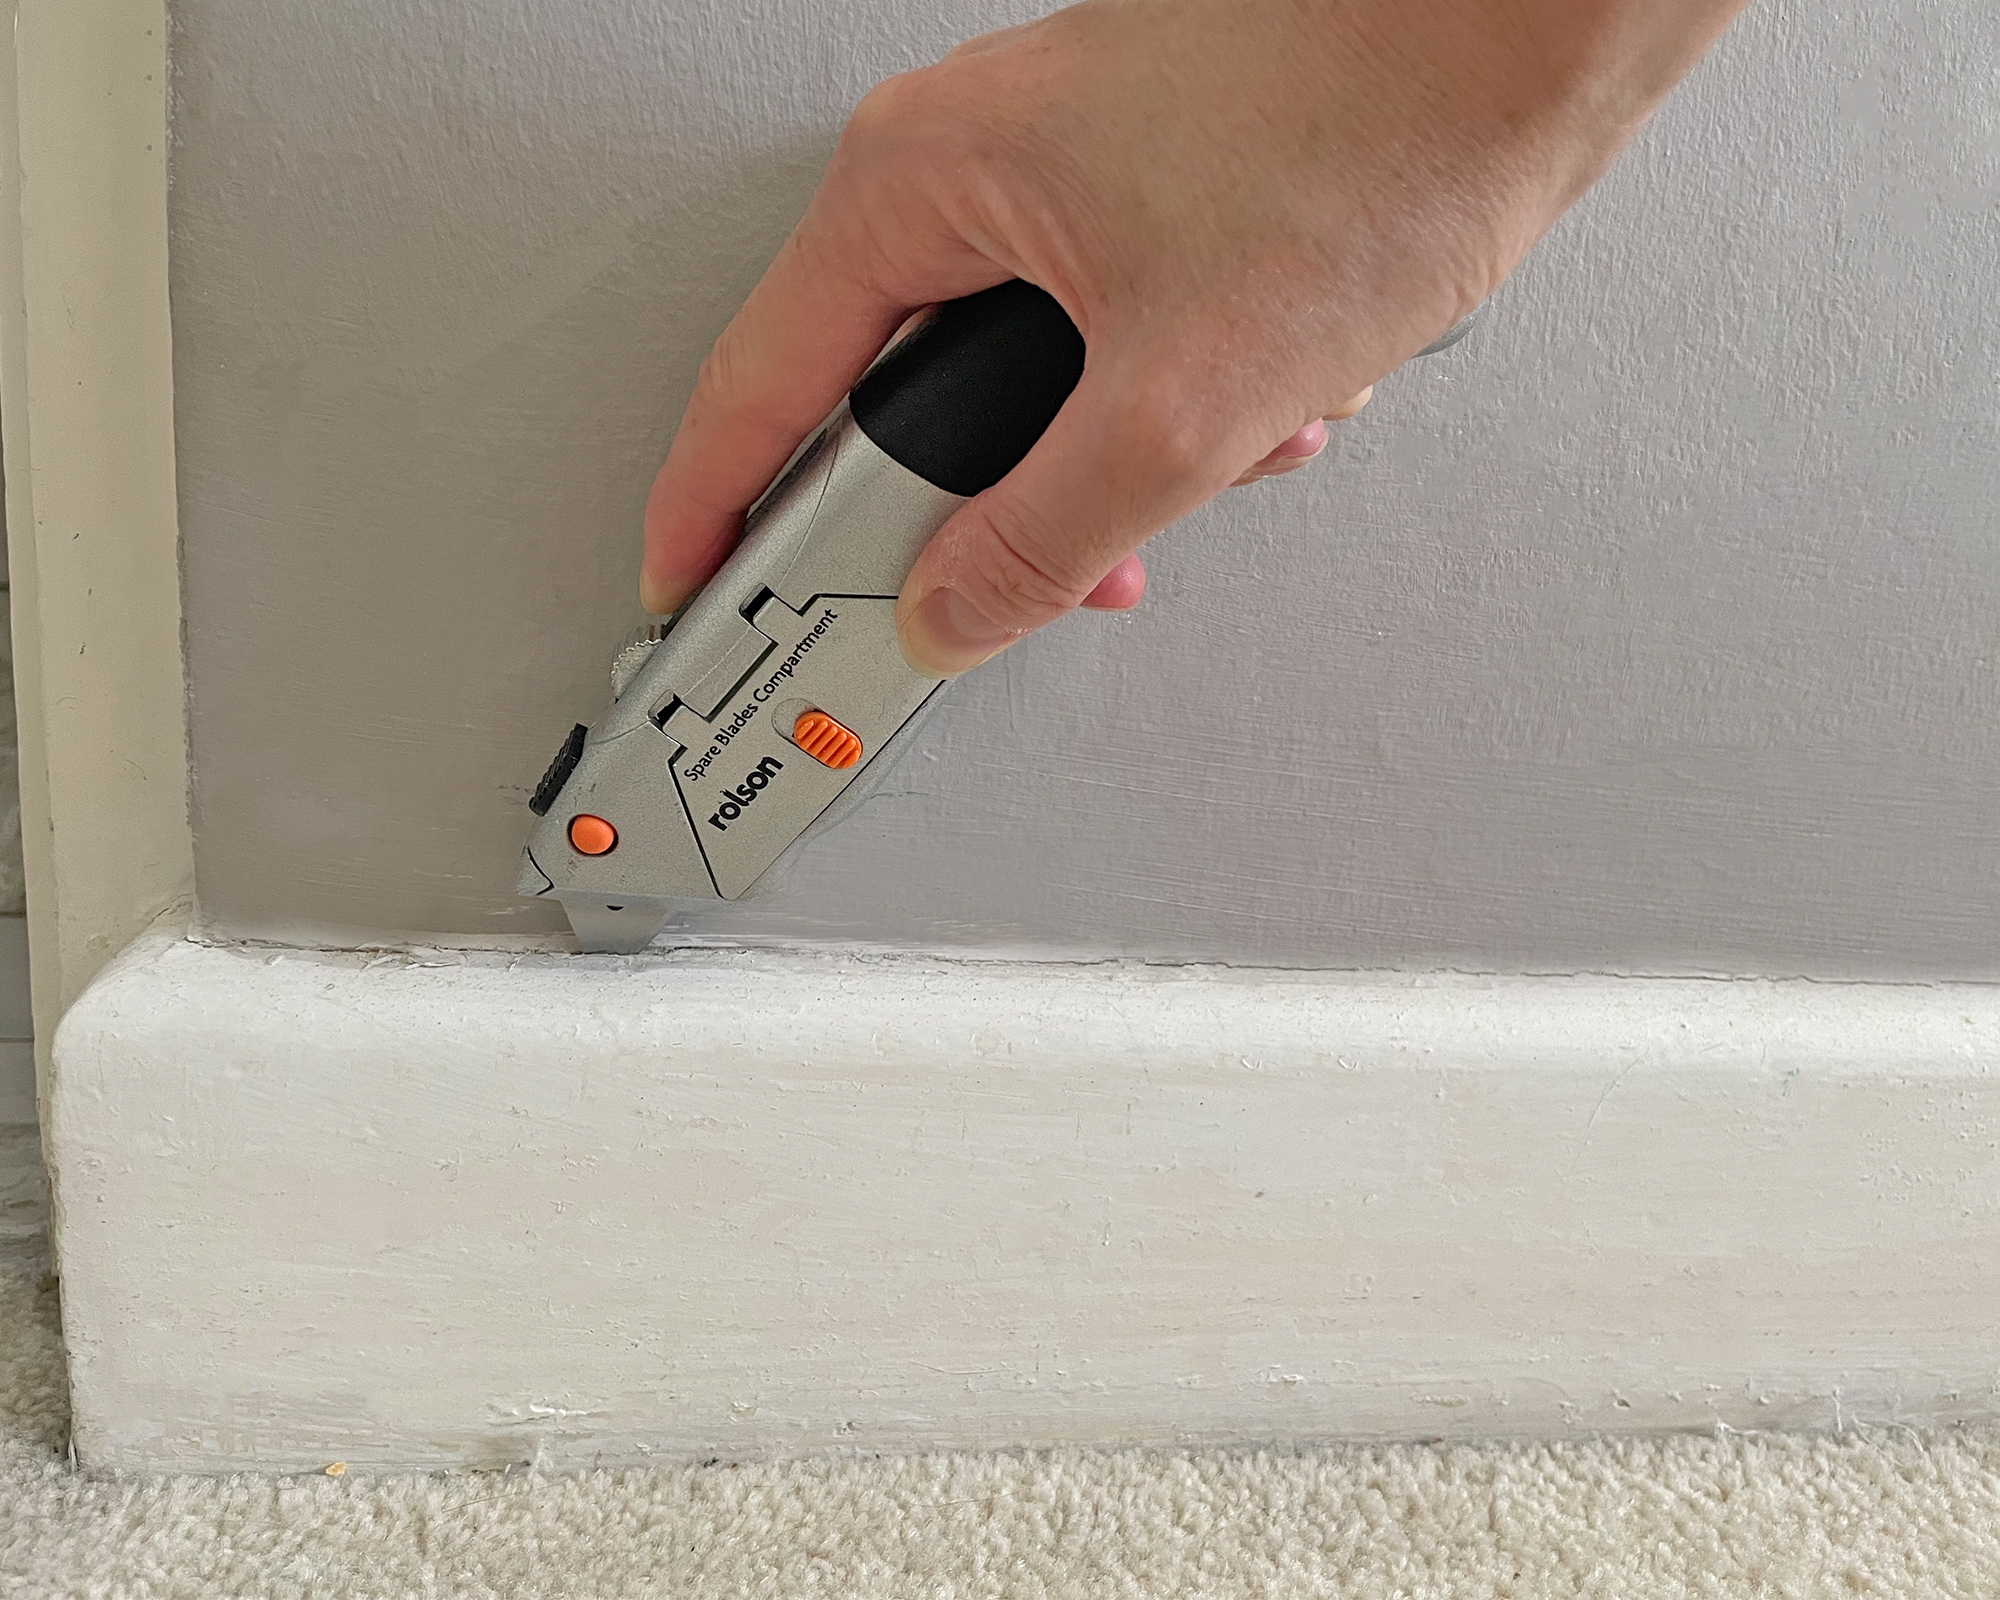
Decorators caulk like Polycell is often used to fill gaps between the baseboards and the wall and then paint is applied over the top. You need to break this seal in order to remove the boards and the best way to do this without pulling chunks of plaster away from the wall is to cut carefully along the line of the wall with a utility knife. If you are not planning to repair or redecorate the walls after the baseboards have been removed then take care not to cut into the surface of the wall by accident with the utility knife.
4. Detach the baseboard from the wall
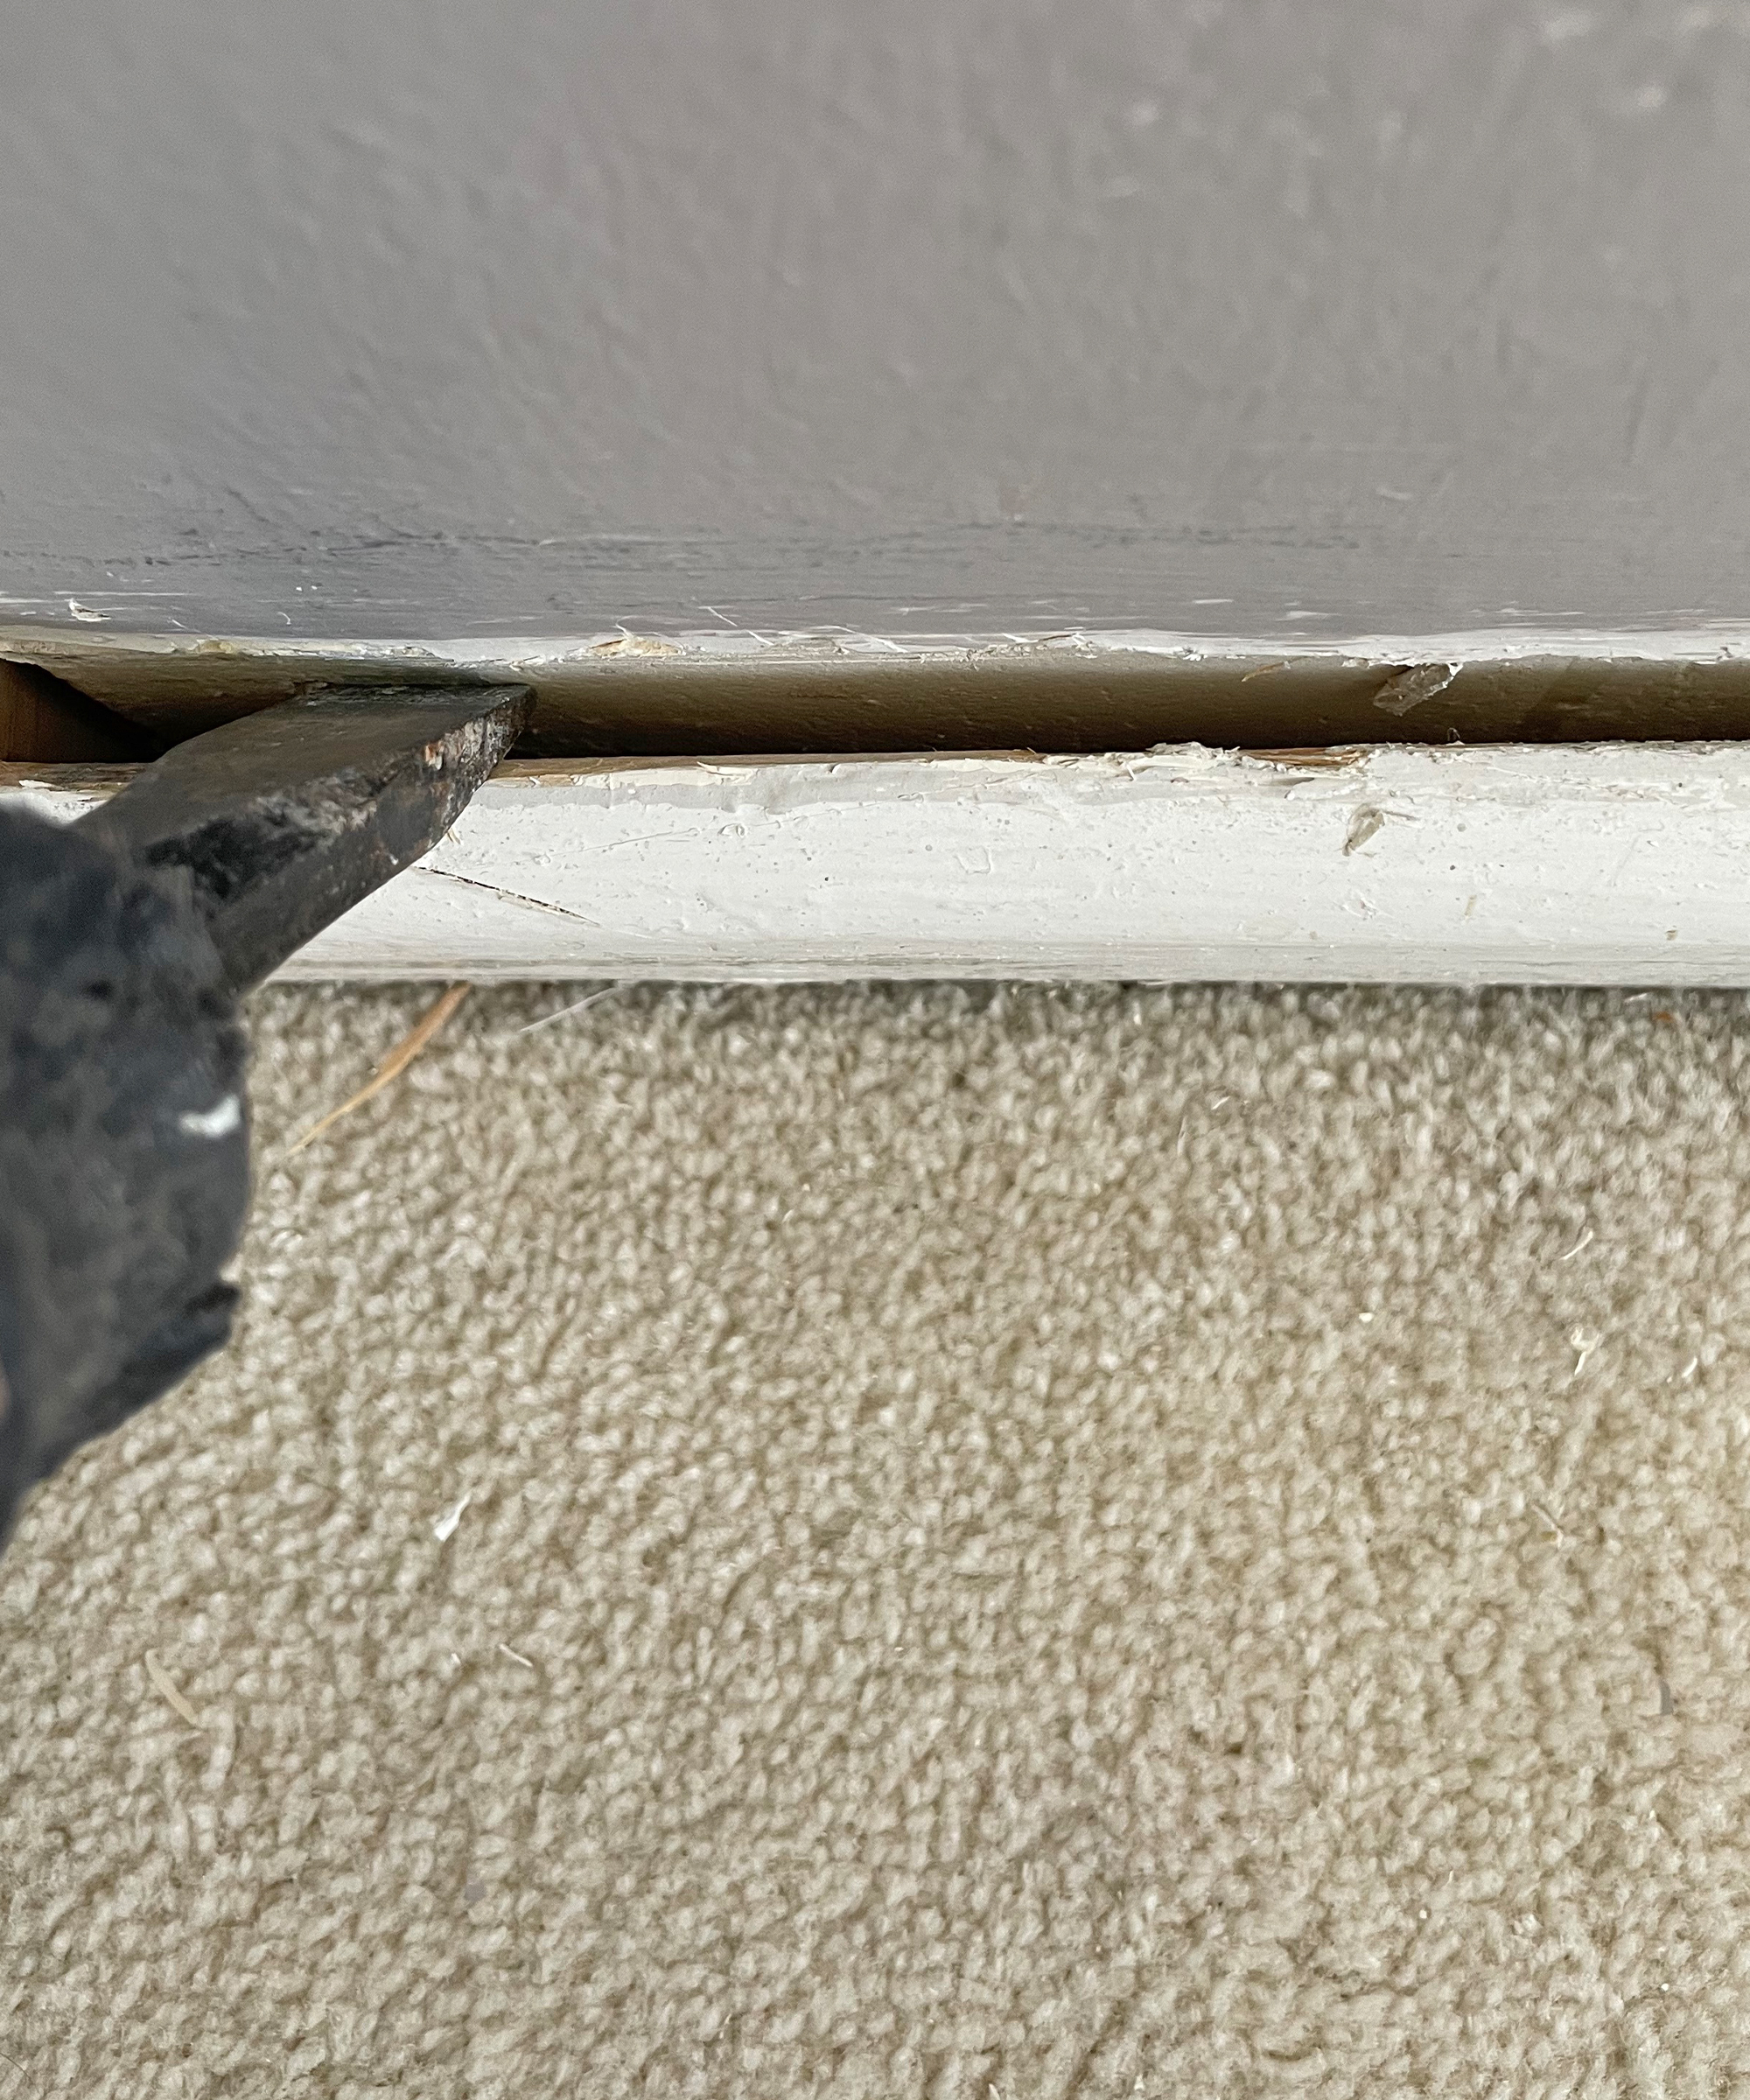
Once you have cut along the join, insert a chisel in the gap between the baseboards and the wall. Take care not to gauge into the wall with the end of the chisel (try and locate the studs in the wall if possible). Hammer the end of the chisel if required to get the end further down behind the baseboards and then pull back firmly on the chisel handle to detach the baseboard from the wall. Move along the wall and repeat this process every couple of feet or until the board is loose enough to come away completely.
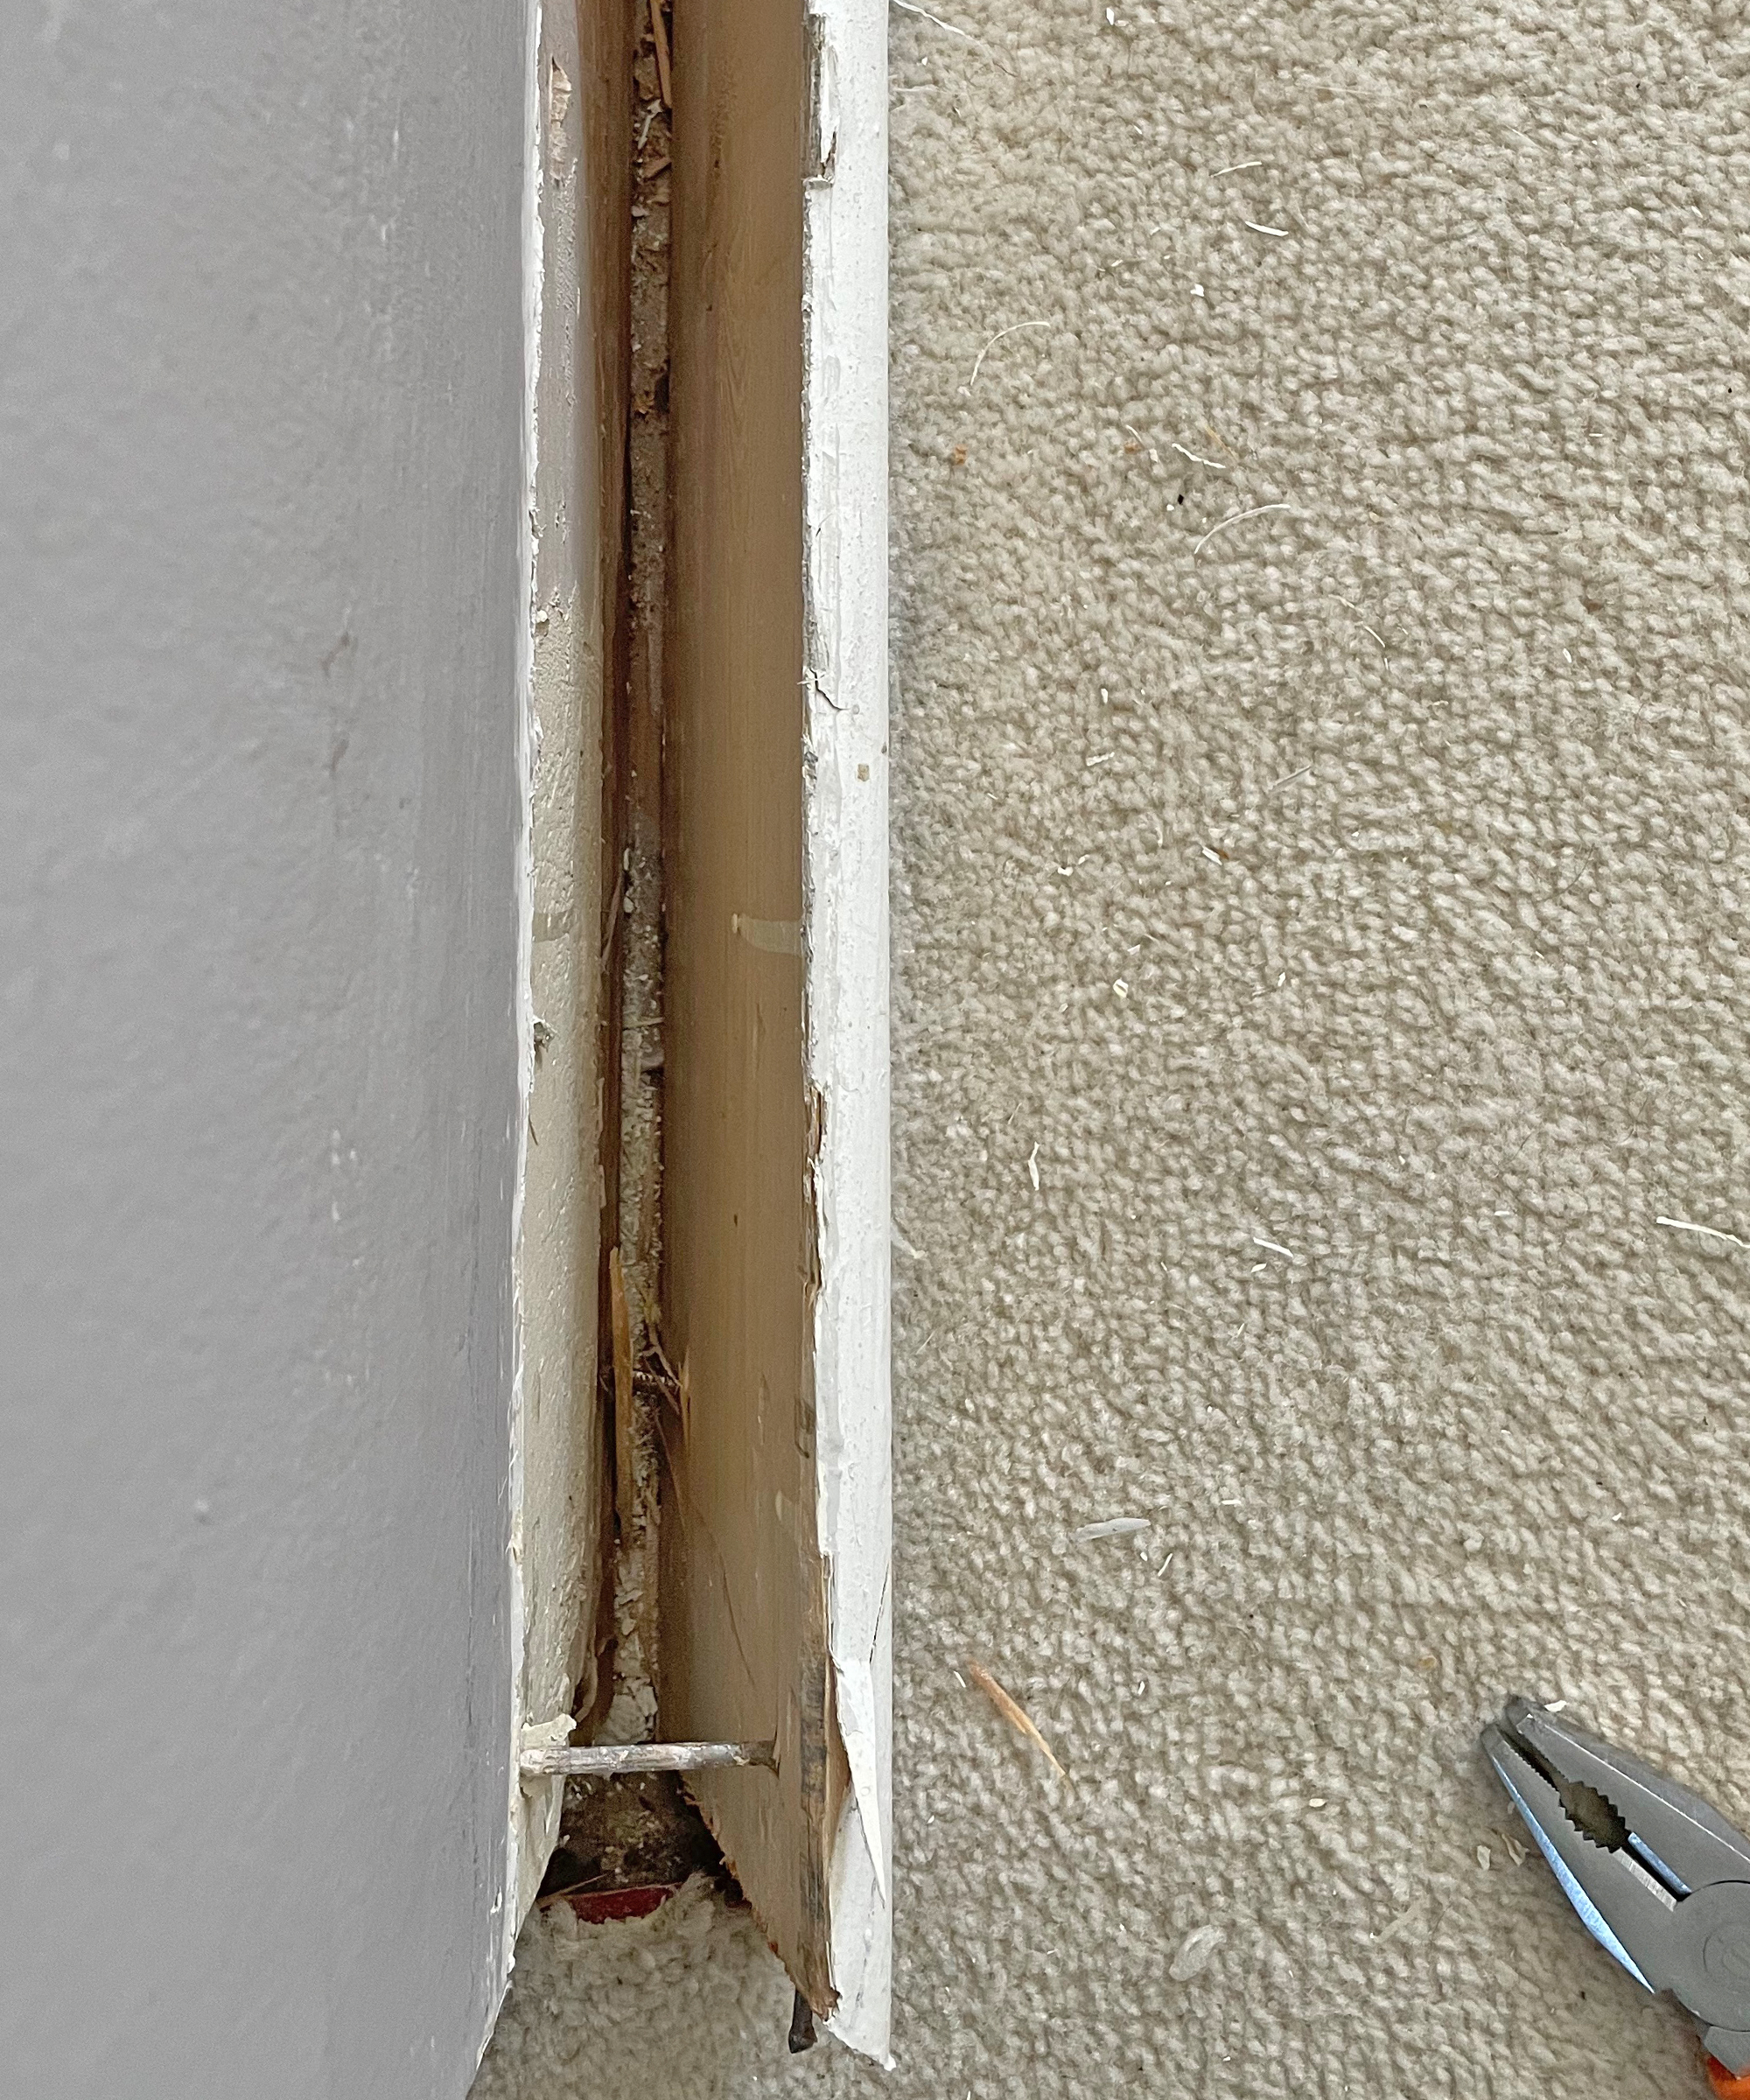
5. Deal with the nails or screws
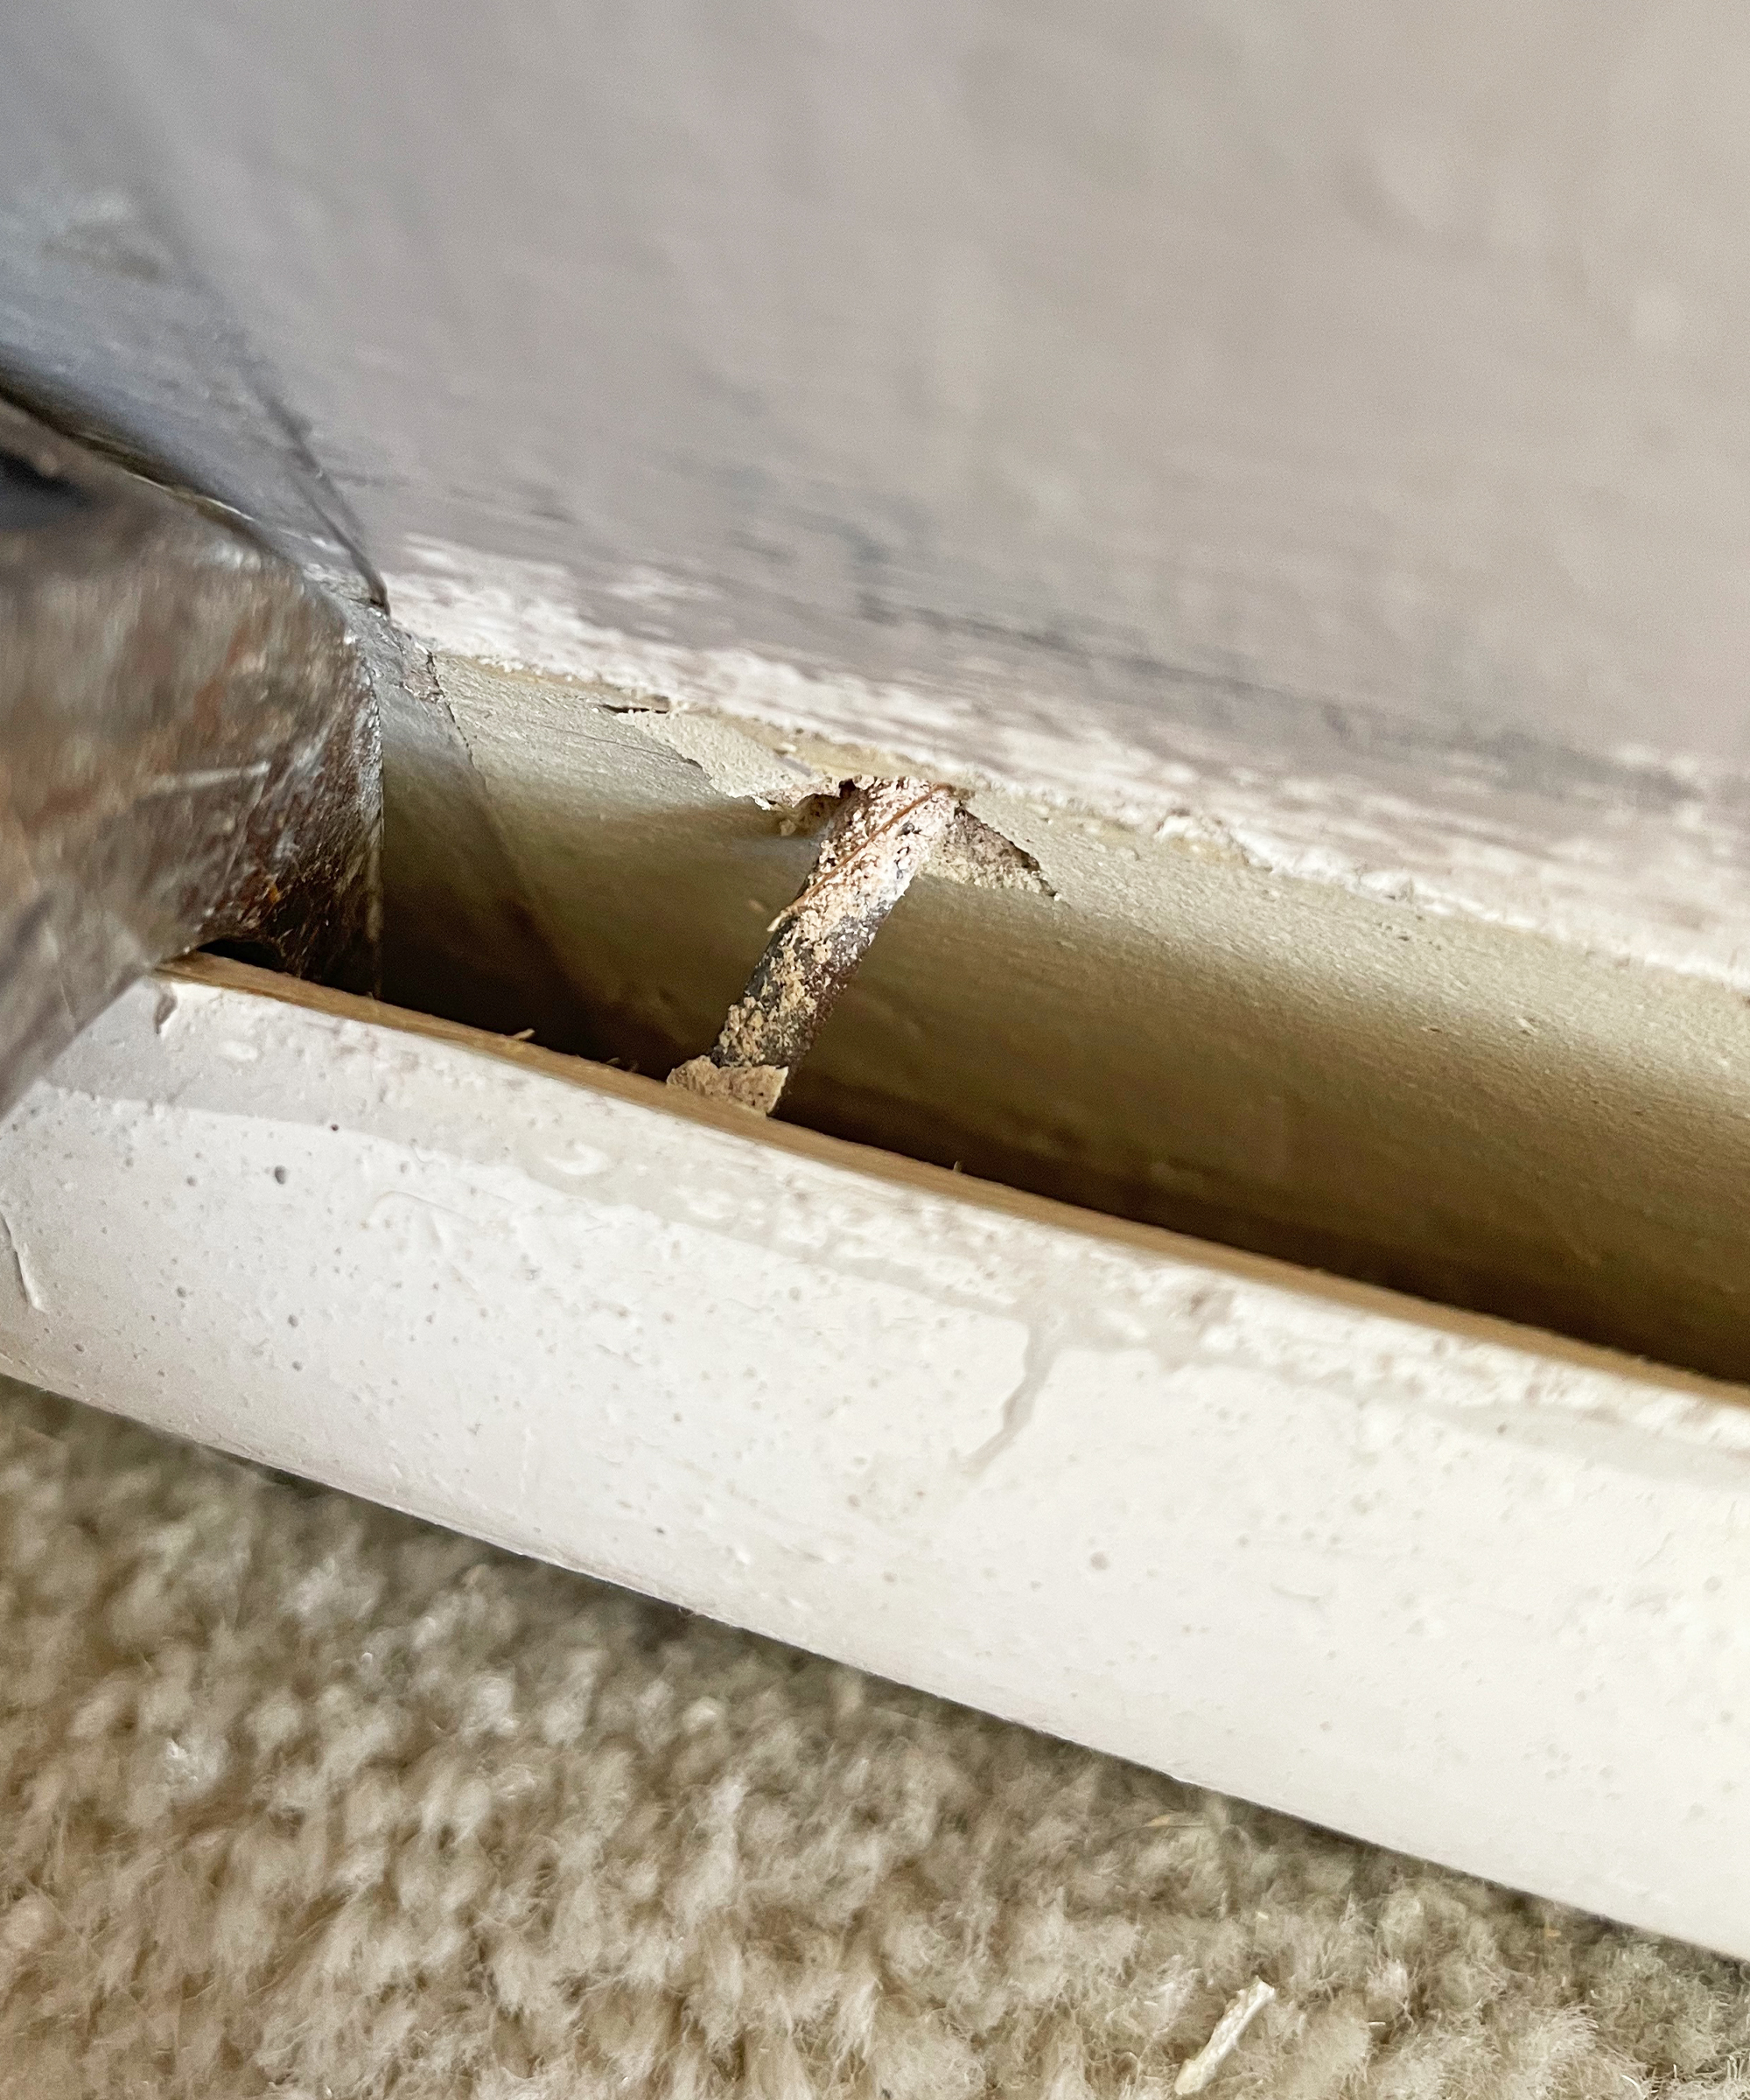
If there are any nails or screws left in the wall after you have removed the baseboard, you can pull them out with pliers or hammer them in so they are flat.
Get small space home decor ideas, celeb inspiration, DIY tips and more, straight to your inbox!
6. Tidy up
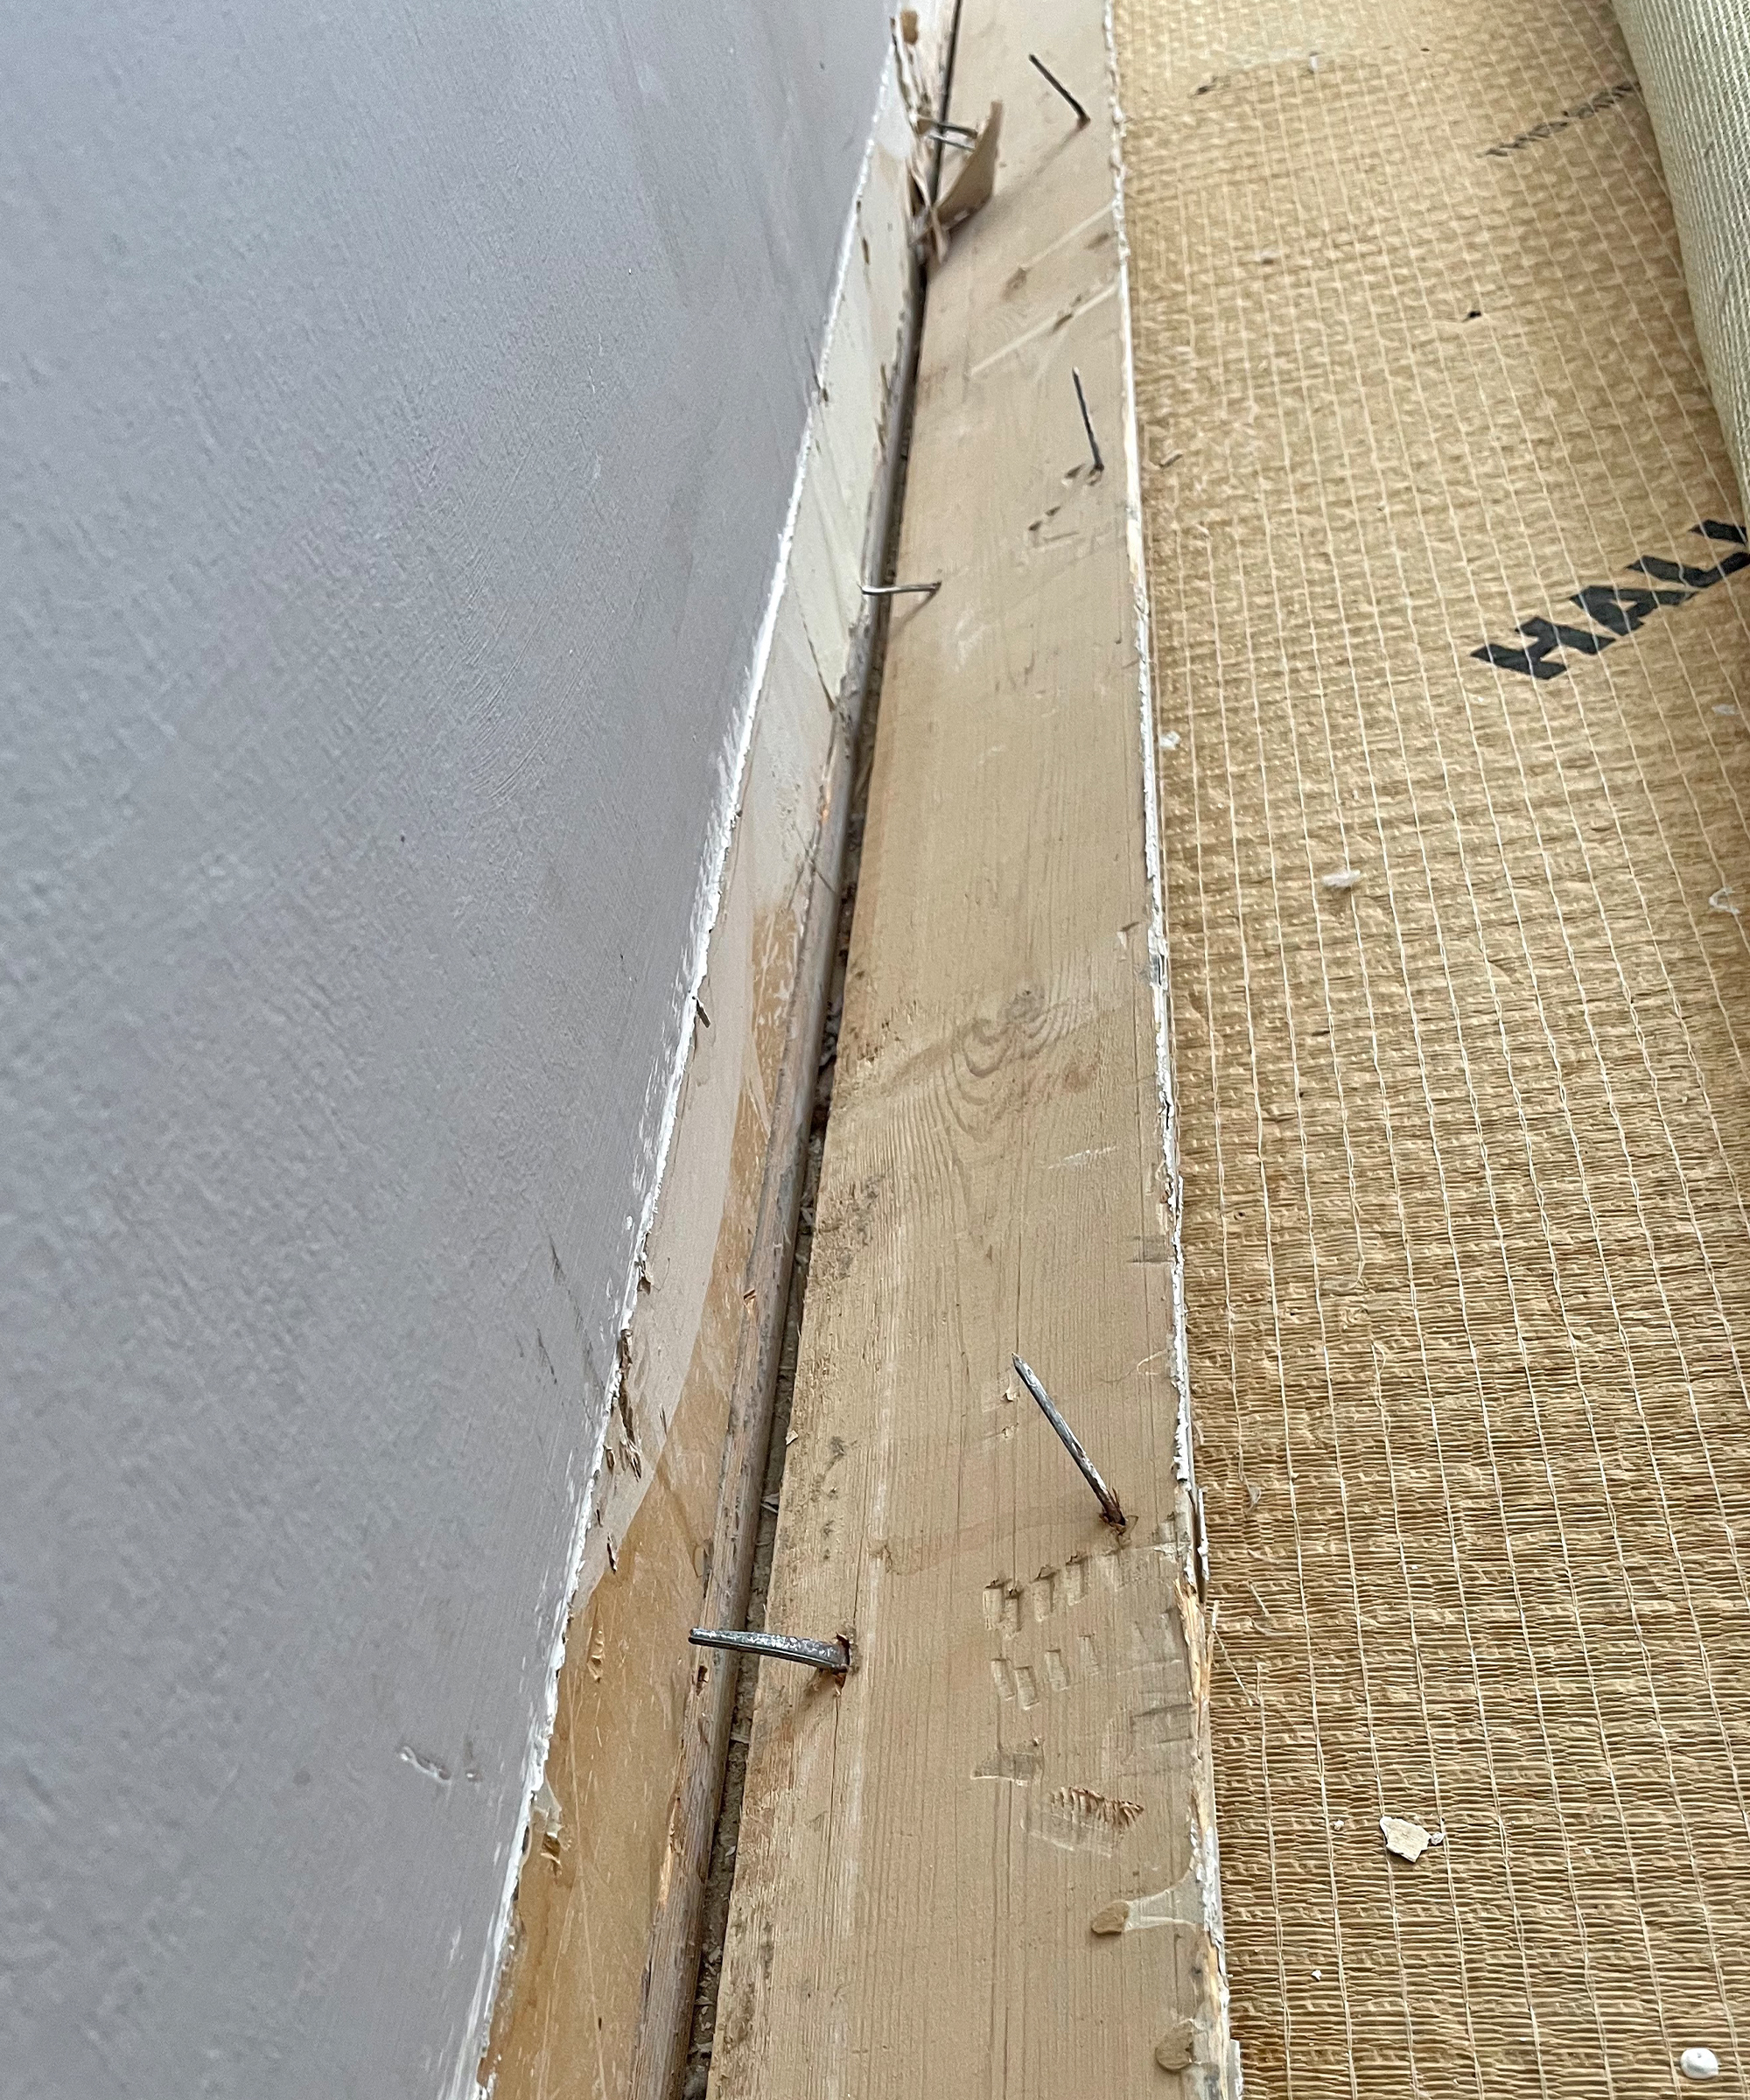
When you remove the baseboards, there will likely be a fair amount of dirt and dust behind them which should be vacuumed up. Take care when disposing of your old baseboards especially if they still have screws or nails sticking out of them. If the timber isn’t in too bad condition, there are lots of projects that you could repurpose the baseboards for, some examples are listed below…
- Nail them together to make a wooden box
- Glue and tack pieces of baseboard together to make picture frames
- Take them into the garden and make lawn or flowerbed edging
- Cut them into smaller pieces and make upcycled shelves
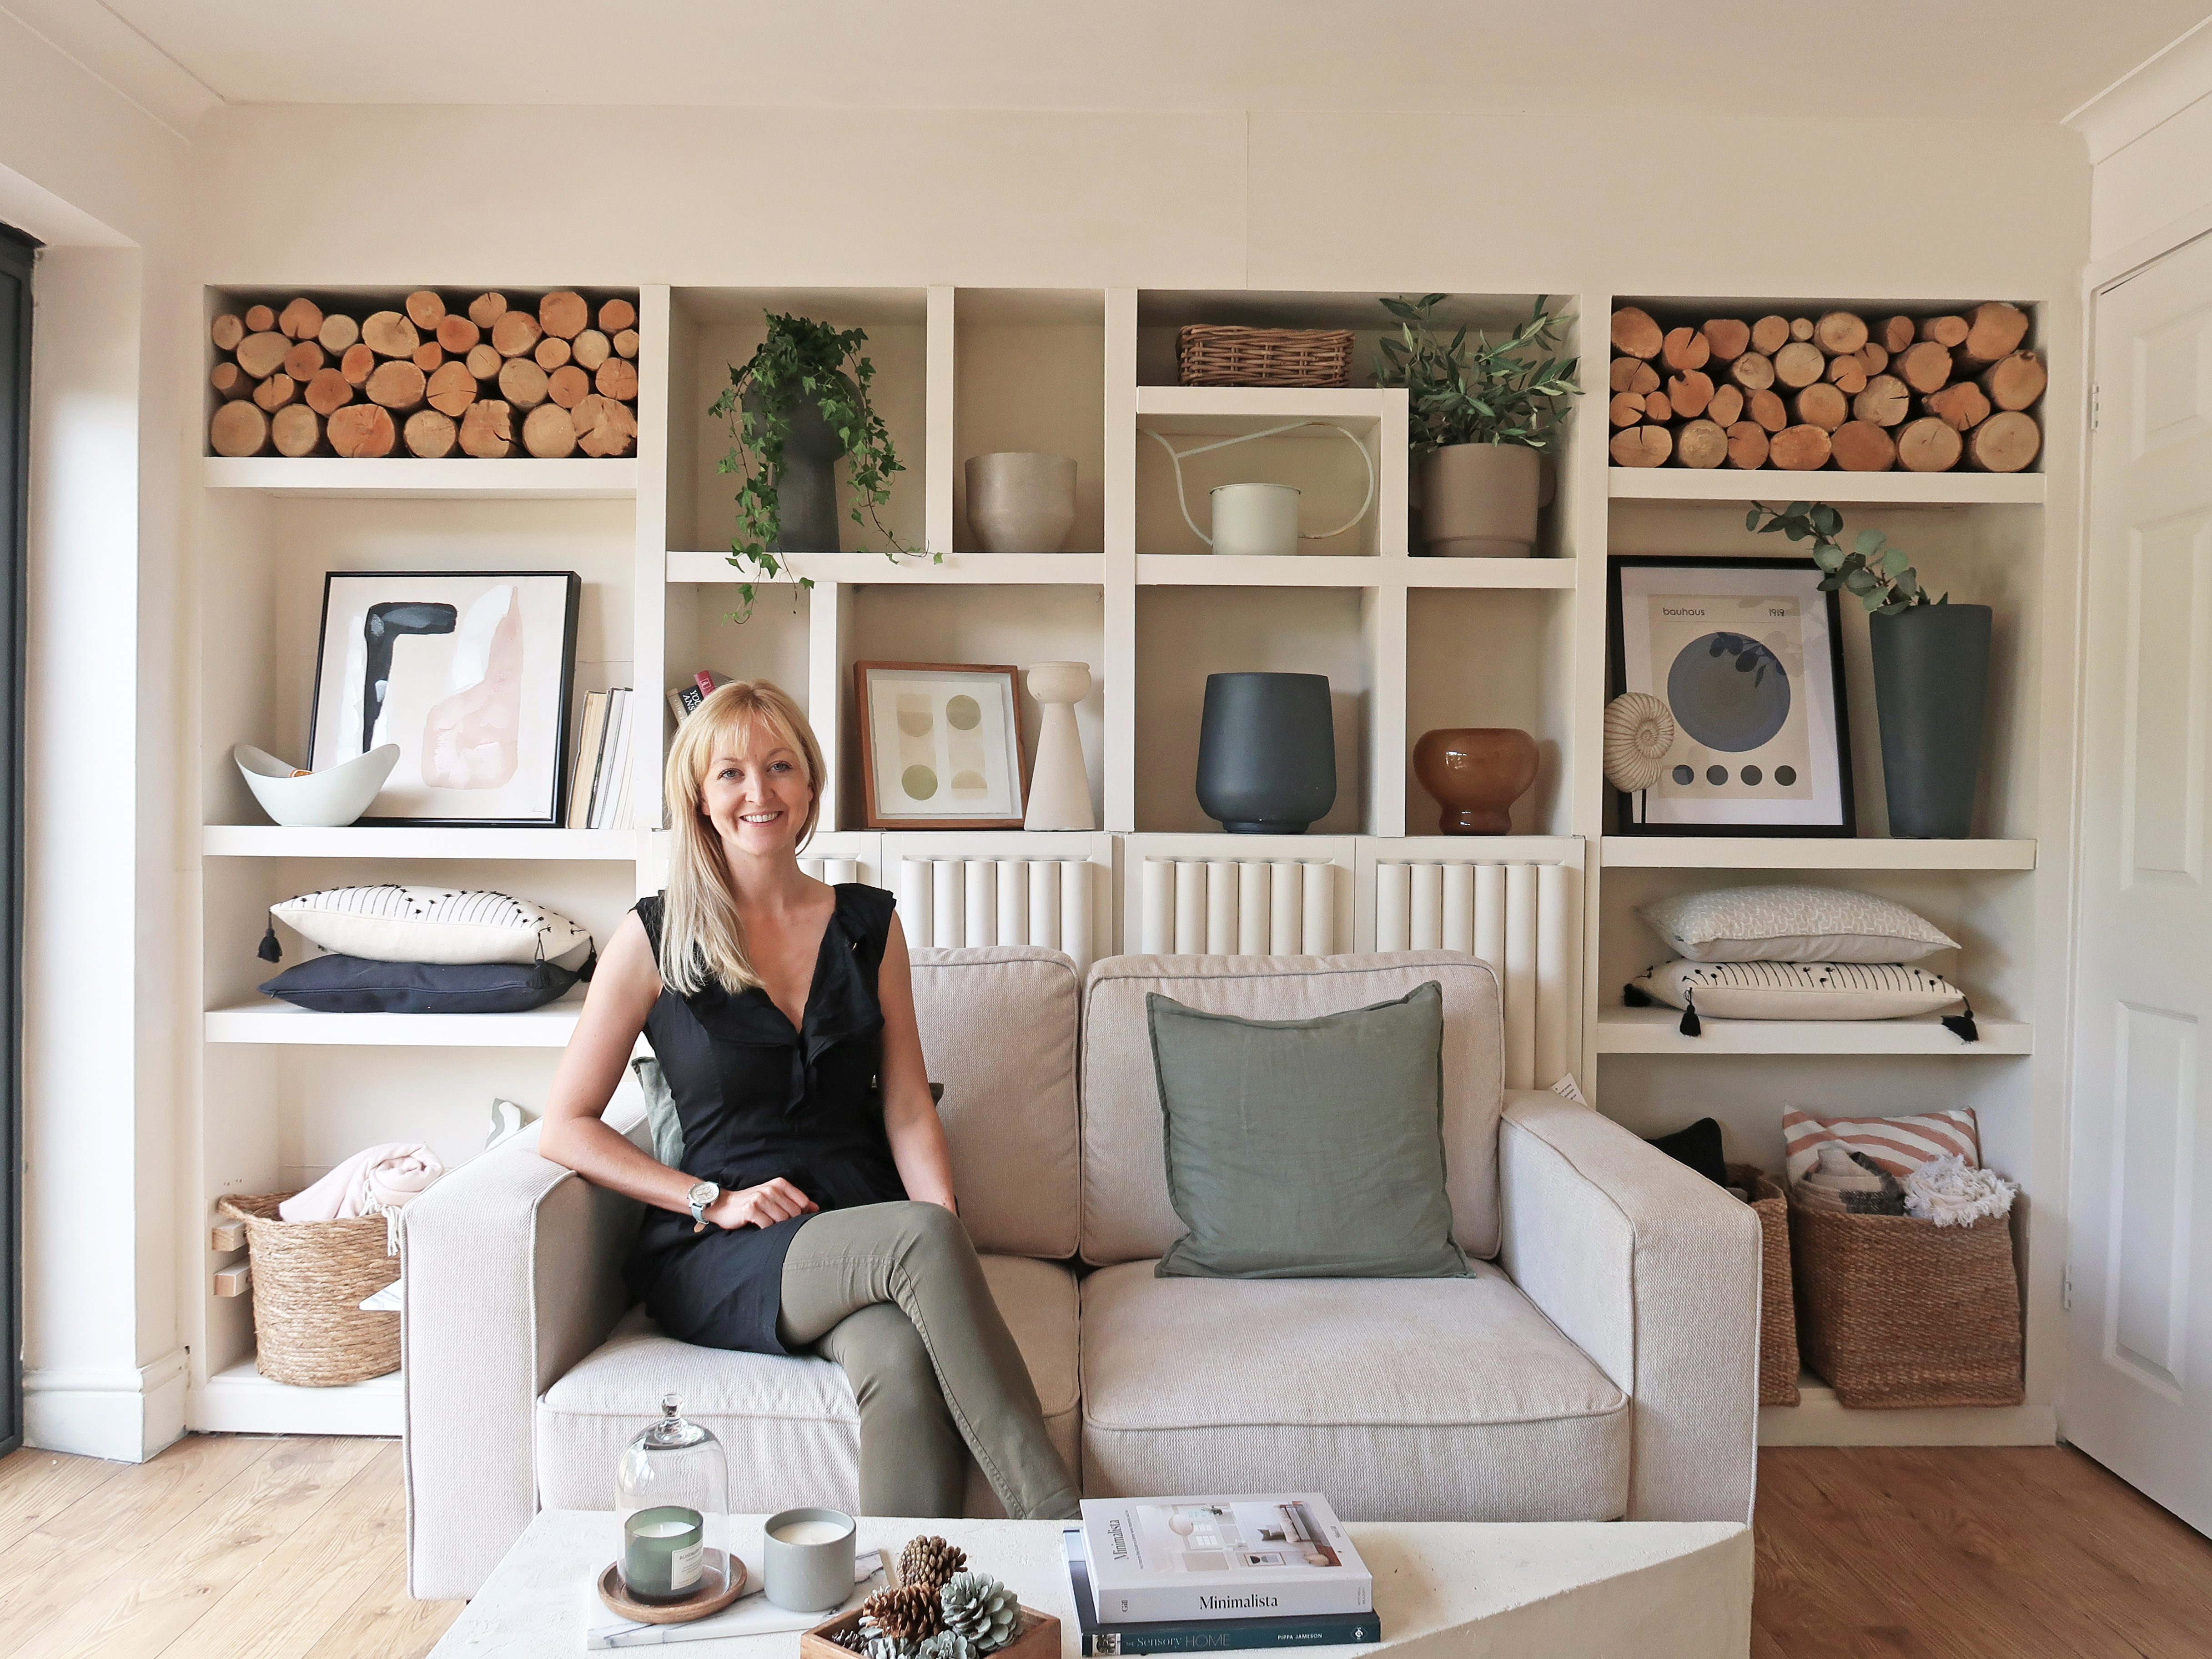
I'm happiest when I have either a drill or paintbrush in my hand! I specialise in room transformations on a budget and love experimenting with different styles and techniques which I share on my Instagram. I believe that your imagination, not your budget, should be the limiting factor when transforming a room and I love thinking of creative ways to build custom and bespoke-looking furniture using flatpacks or upcycle finds.
I also love writing and my home improvement blog (ClaireDouglasStyling.co.uk) is my passion project where I share creative ideas for interior styling and DIY tips and tutorials.