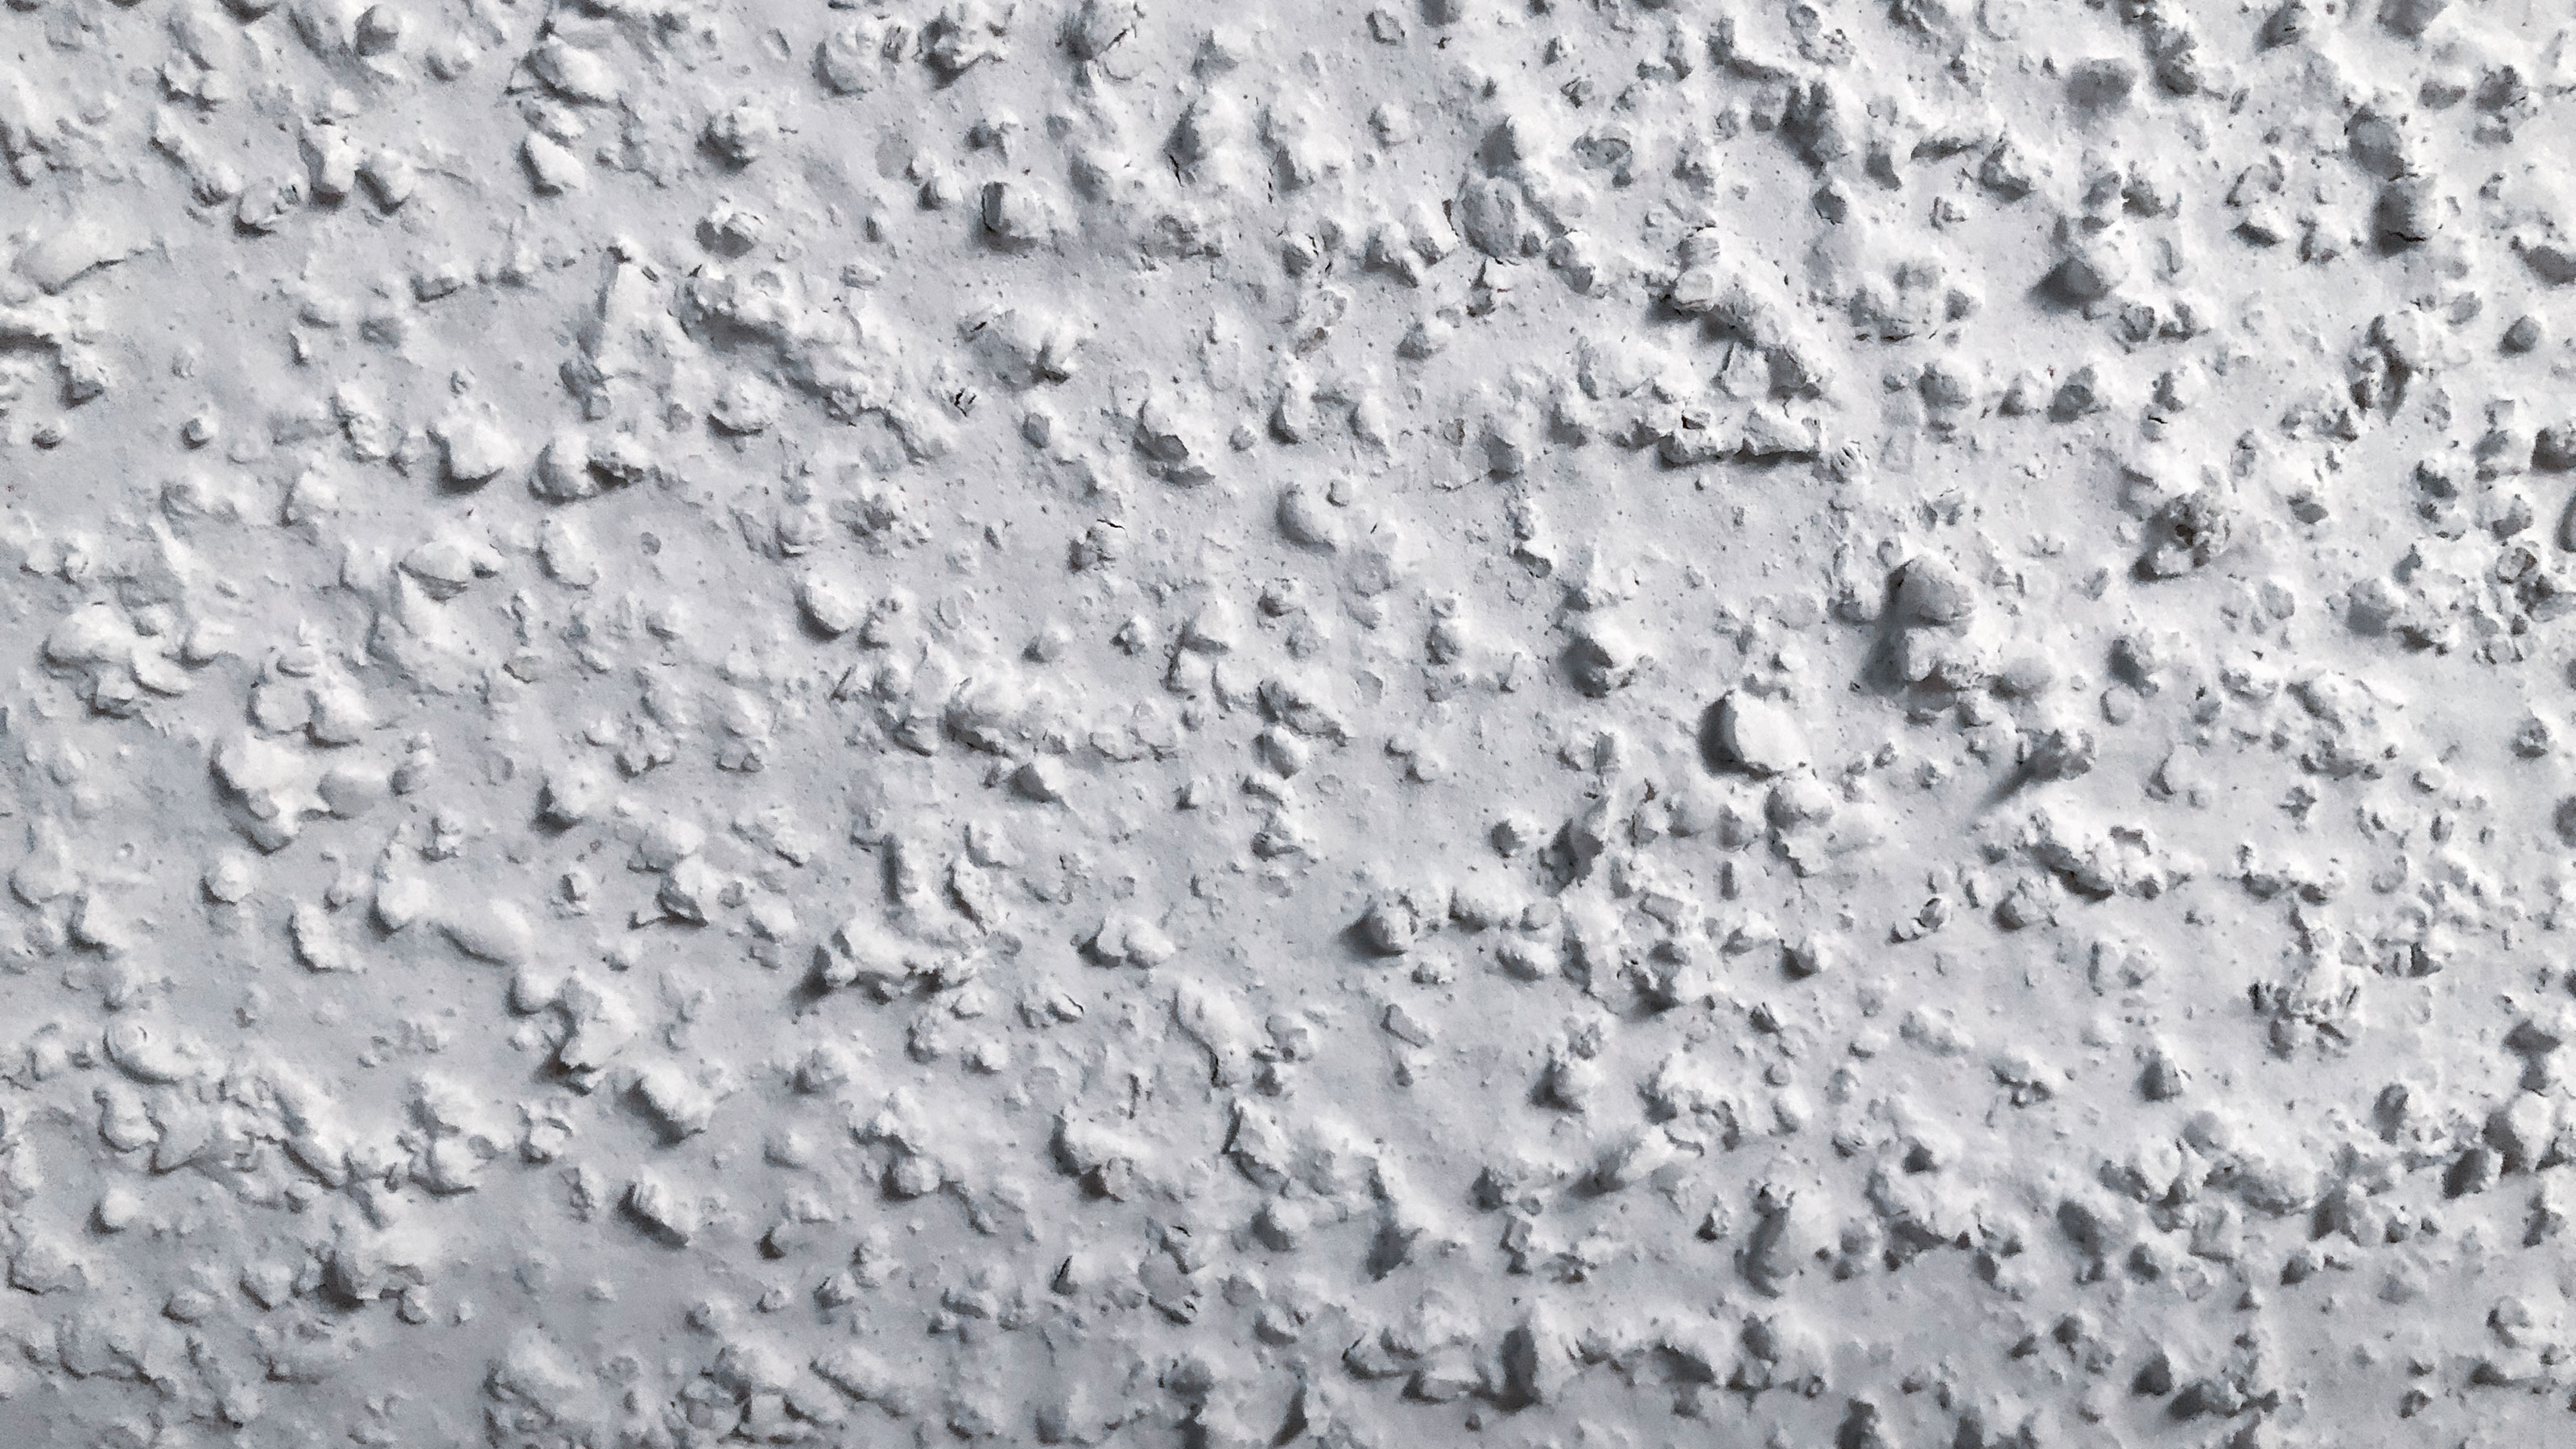

If you’re fed up of its unfashionable appearance and its ability to gather dust, you’re probably wondering how to remove popcorn ceiling – and whether it’s a task you can undertake yourself.
Hugely popular from the middle to the late 20th century, the textured surface of a popcorn ceiling is no longer what many people want, and removing or covering it is what’s in vogue so that you can introduce more modern ceiling ideas to refresh your space. Redo yours and you can turn a lumpy eyesore into a super smooth modern surface.
We’ve got the details you need on how to remove popcorn ceiling right here, along with the alternative ways to deal with it, and we’ve got the lowdown on doing the job safely, too, plus top advice from experts.
How to remove popcorn ceiling
Removing a popcorn ceiling is a job you can potentially DIY – with the alternative of calling in a pro. ‘If you choose to tackle this project yourself, be prepared for a long day of work,’ says Ted Speers, president of The Patch Boys. ‘Although this project is somewhat simple to execute, it can be hard on your body.’
1. Check for asbestos
There is an important issue to be aware of if you want to remove popcorn ceiling. ‘Prior to the early 1980s, asbestos was a common ingredient in popcorn ceilings due to its soundproofing qualities and fire resistance,’ explains Ted Speers. But, as you likely know, asbestos can cause mesothelioma, a cancer that most commonly affects the lining of the lungs, as well as other serious health conditions.
What are the risks? ‘Asbestos rarely poses a threat when it is enclosed and hidden, but home renovations, projects, and deterioration can uncover asbestos fibers and potentially expose homeowners, contractors, and individuals vulnerable to coming in contact with asbestos,’ says Hailee Claycomb of Mesothelioma.com.
It is therefore vital to check whether your popcorn ceiling contains asbestos before starting work. Home testing kits are available, but our advice is to call in a certified asbestos contractor to test.
If you do perform the test yourself? ‘Make sure that you’re using the appropriate protective gear such as gloves, a ventilator or dust mask and quality eye protection when collecting your sample,’ says Ted.
And if you do detect asbestos it’s crucial not to go any further without the right assistance. ‘If your test does come back positive for a carcinogen presence, you must work with a professional for the ceiling removal,’ cautions Glenn Wiseman at Top Hat Home Comfort Services. ‘Do not disturb or try to remove it until you have had an asbestos inspection performed by a qualified professional.’
2. Prepare for removal
If your ceiling doesn’t contain asbestos you can prepare for removal, but take appropriate precautions. ‘It’s always best to wear a particulate mask during removal,’ says Jeremy Hume, president and CEO of Phoenix CR Pro. Wear goggles to protect your eyes, too.
Get the room ready by removing all of the furniture. Mask walls with painter’s plastic, and cover the floor with plastic sheeting. ‘It’s best not to use a cloth tarp to cover the floors as the cloth isn’t waterproof,’ says Jeremy. Turn off the electricity to the room as well.
Open the room’s windows to ensure good ventilation for the space while you’re working.
3. Spray the ceiling with water
To make it easier to scrape the popcorn ceiling it is a good idea to spray it with water to soften the material.
‘Using a pump garden sprayer, lightly spray a roughly 5 by 5 feet section with water, and wait 10 to 15 minutes to allow the water to penetrate the popcorn,’ says Jeremy Hume. ‘Don’t soak the ceiling as this can damage the drywall. Additionally, using water will almost eliminate the dust.’
4. Scrape the ceiling
A putty knife or wide drywall knife can be used for scraping the popcorn ceiling. ‘It’s best to file the corners of the scraper edge to avoid puncturing the drywall,’ advises Jeremy Hume.
The other pro tip you need to be aware of to remove popcorn ceiling without scraping the ceiling beyond? ‘Work in small sections carefully to prevent damaging the underlying drywall,’ says Glenn Wiseman.
This is a messy task, but you can make life easier. ‘Use a drywall mud bucket to catch the falling popcorn. This will help reduce the mess on the floor and make cleanup quicker,’ says Jeremy.
Once you’re finished, tidy up the floor. ‘Vacuum up any debris left behind with a HEPA-filter vacuum cleaner just to be extra certain that any pollutants are caught, then dispose of it carefully,’ says Glenn.
5. Finish the ceiling
Once the popcorn ceiling has been removed, the ceiling can be sanded, any necessary repairs made, then primed and painted to complete the process of making it fresh, clean and smooth.
Cover a popcorn ceiling
Sometimes scraping a popcorn ceiling can be a difficult task, including if the popcorn is painted. ‘If the ceiling is painted, a better option might be to skim coat the ceiling with drywall mud to cover the popcorn and then apply whatever finish texture is desired,’ says Jeremy Hume.
‘Other options include installing a new layer of drywall over the old, or covering the ceiling with wood paneling,’ he adds.
What is the easiest way to remove a popcorn ceiling?
Scraping can be the easiest way to remove a popcorn ceiling although it does take time and effort. ‘Unfortunately, there is no “easy” way to remove a popcorn ceiling,’ explains Jeremy Hume.
‘However, the skill level required is minimal and if you’re willing to do a little hard work, it’s well worth the energy to make an update to the home that makes a huge difference.’
Is it worth removing popcorn ceiling?
For many people, it is worth removing popcorn ceiling. ‘Popcorn or textured ceilings can collect dust and cobwebs, are difficult to clean, and many homeowners today feel that it can make your space seem out of date,’ says Ted Speers.
‘The pandemic has also influenced homeowners and renters to invest more in making their spaces cleaner, healthier and more modern.’
Join our newsletter
Get small space home decor ideas, celeb inspiration, DIY tips and more, straight to your inbox!

Sarah is a freelance journalist and editor writing for websites, national newspapers, and magazines. She’s spent most of her journalistic career specialising in homes – long enough to see fridges become smart, decorating fashions embrace both minimalism and maximalism, and interiors that blur the indoor/outdoor link become a must-have. She loves testing the latest home appliances, revealing the trends in furnishings and fittings for every room, and investigating the benefits, costs and practicalities of home improvement. It's no big surprise that she likes to put what she writes about into practice, and is a serial house revamper. For Realhomes.com, Sarah reviews coffee machines and vacuum cleaners, taking them through their paces at home to give us an honest, real life review and comparison of every model.
-
 A $200 fluted panel transformed my drab kitchen in just one weekend
How to install a fluted kitchen panel: A speedy and achievable DIY tutorial even for DIY novices
By Claire Douglas Published
-
 How to replace a broken staircase spindle in 30 minutes flat
A missing or broken spindle on a staircase is not only unsightly, but it can be a real hazard. This is how to fix it in a few quick steps.
By Kate Sandhu Published
-
 An IKEA Billy bookcase hack inspired this cute media wall DIY
This cute DIY was inspired by an IKEA Billy bookcase hack and brought a ton of symmetry to an otherwise basic media wall space.
By Camille Dubuis-Welch Published
-
 Share your small space glow up to win $150 in the Real Homes competition
Show off your creativity and DIY skills to win $150 and for the chance to be featured exclusively in Real Homes magazine
By Camille Dubuis-Welch Last updated
-
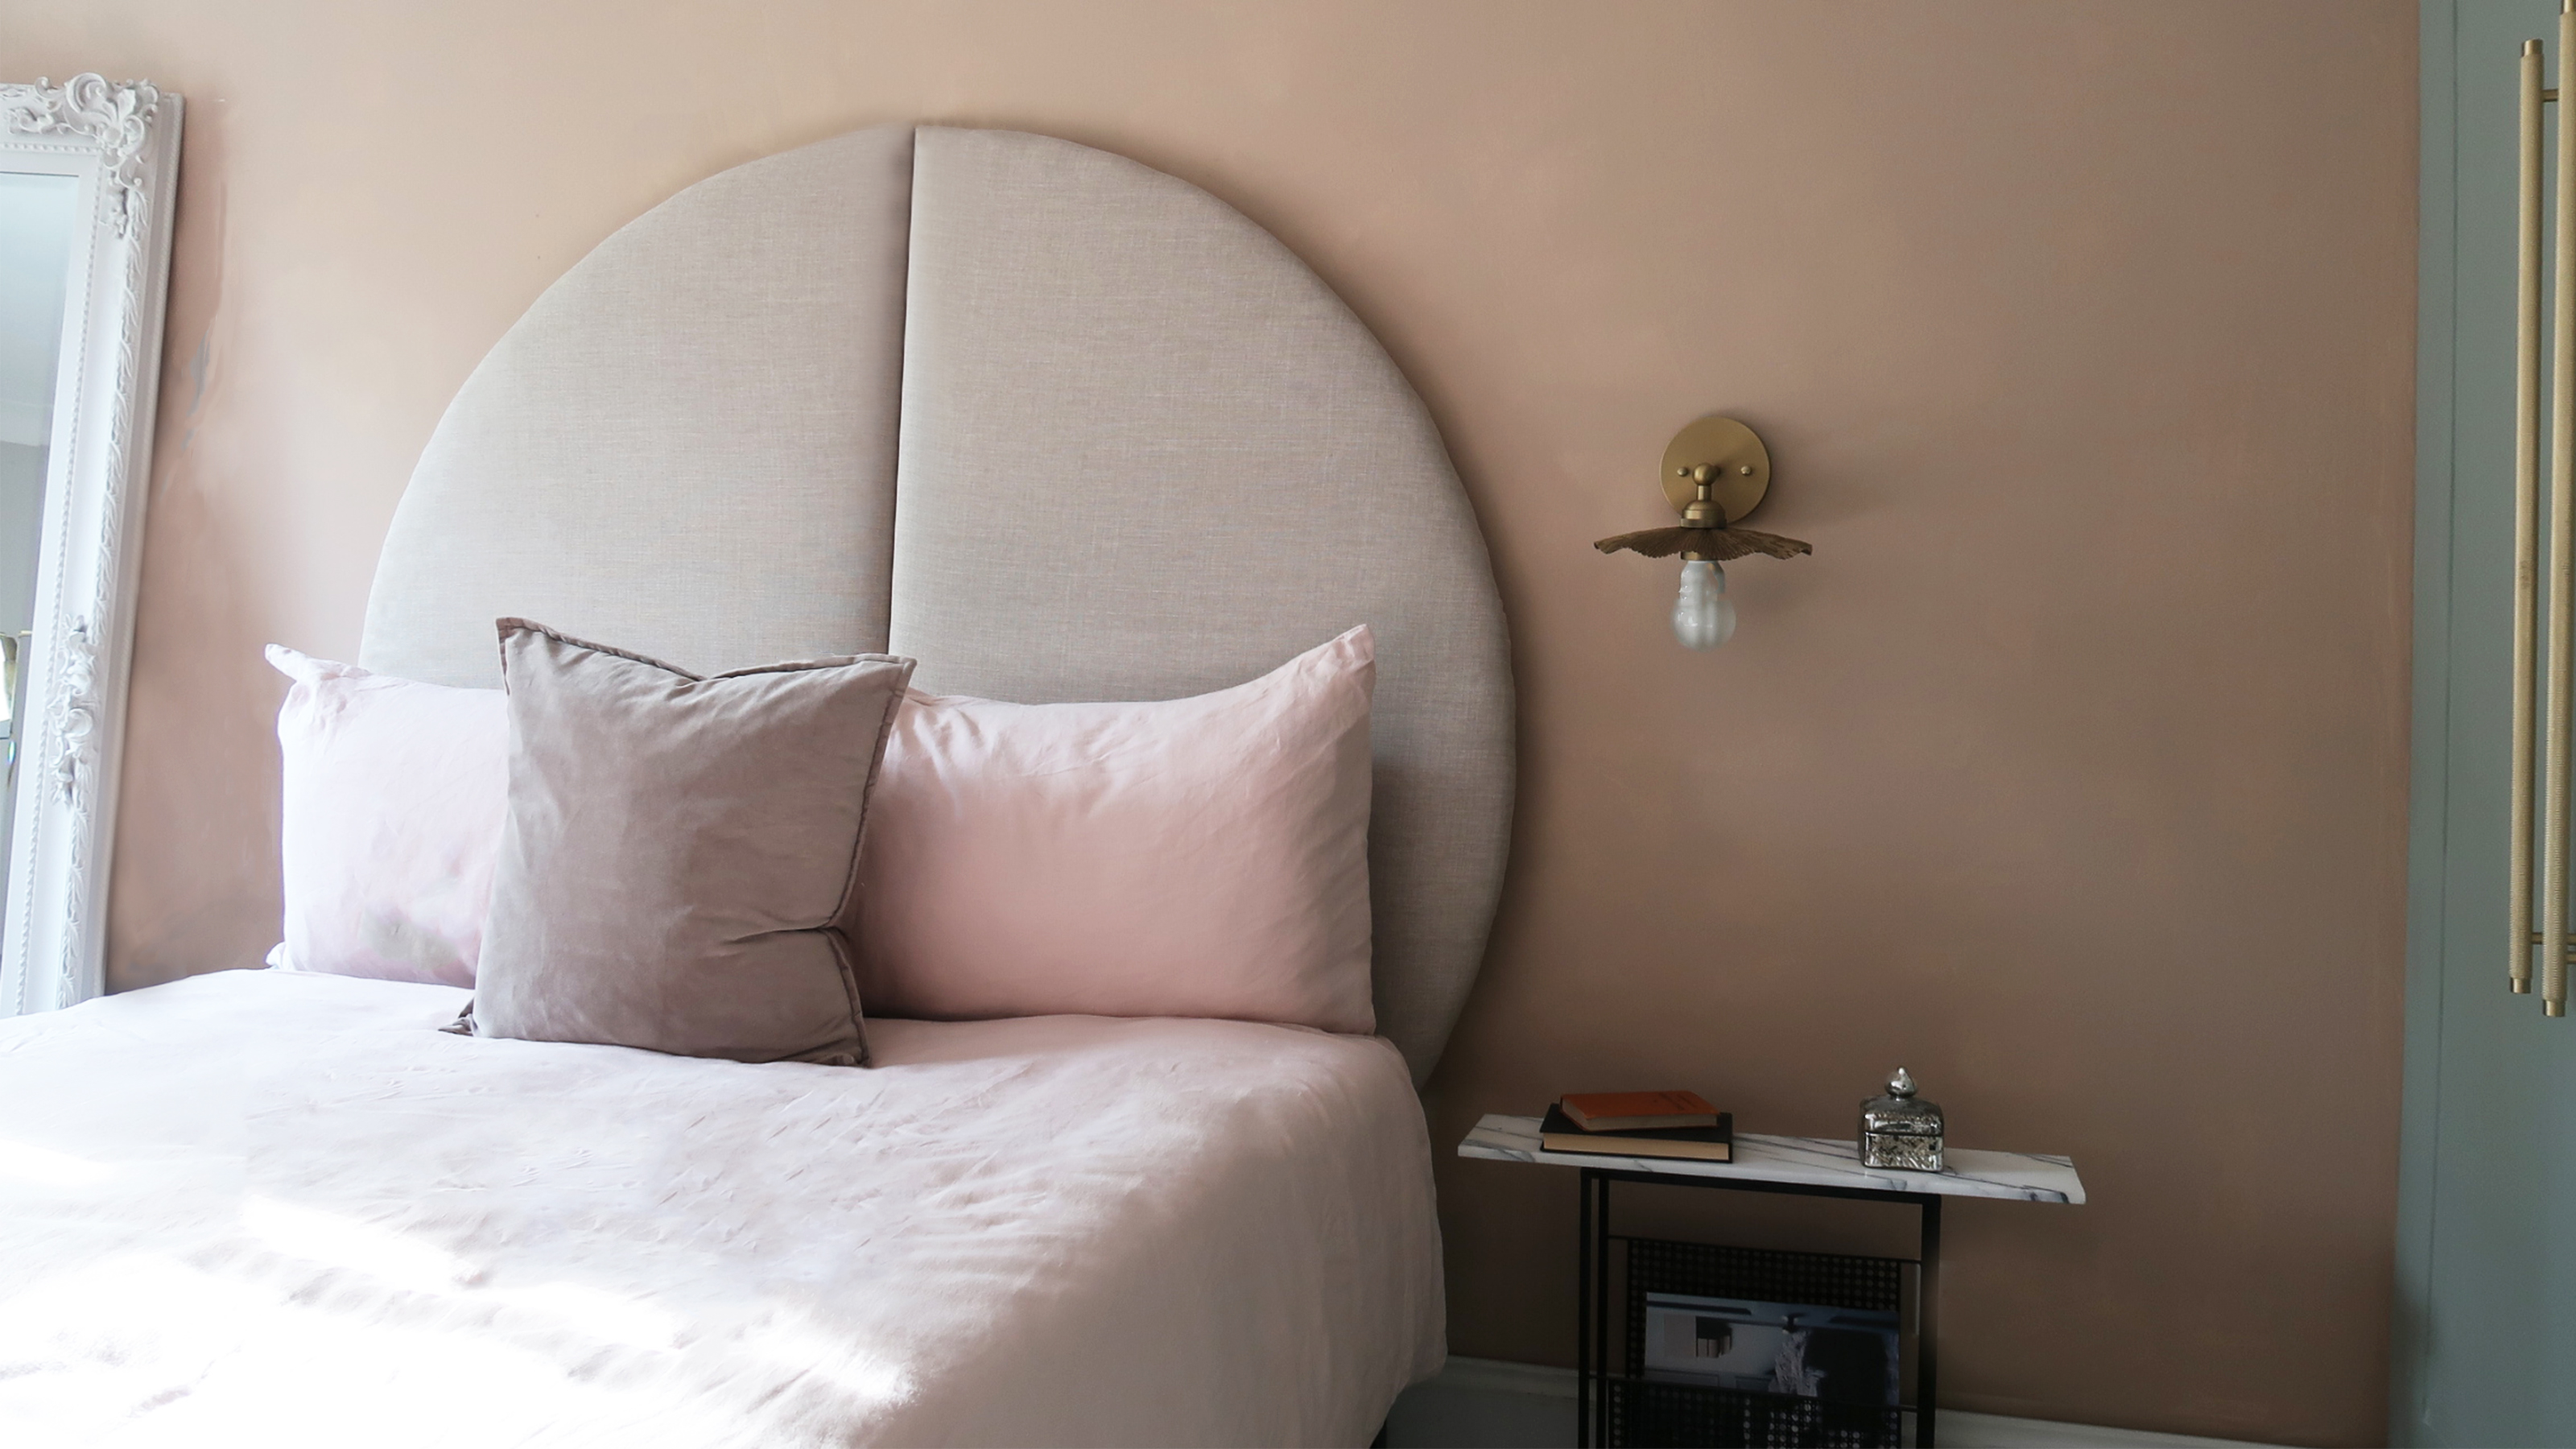 This oversized headboard looks designer, and takes 5 steps to DIY
Super simple to DIY, this oversized headboard will give your bedroom space all the designer vibes you could dream of.
By Claire Douglas Published
-
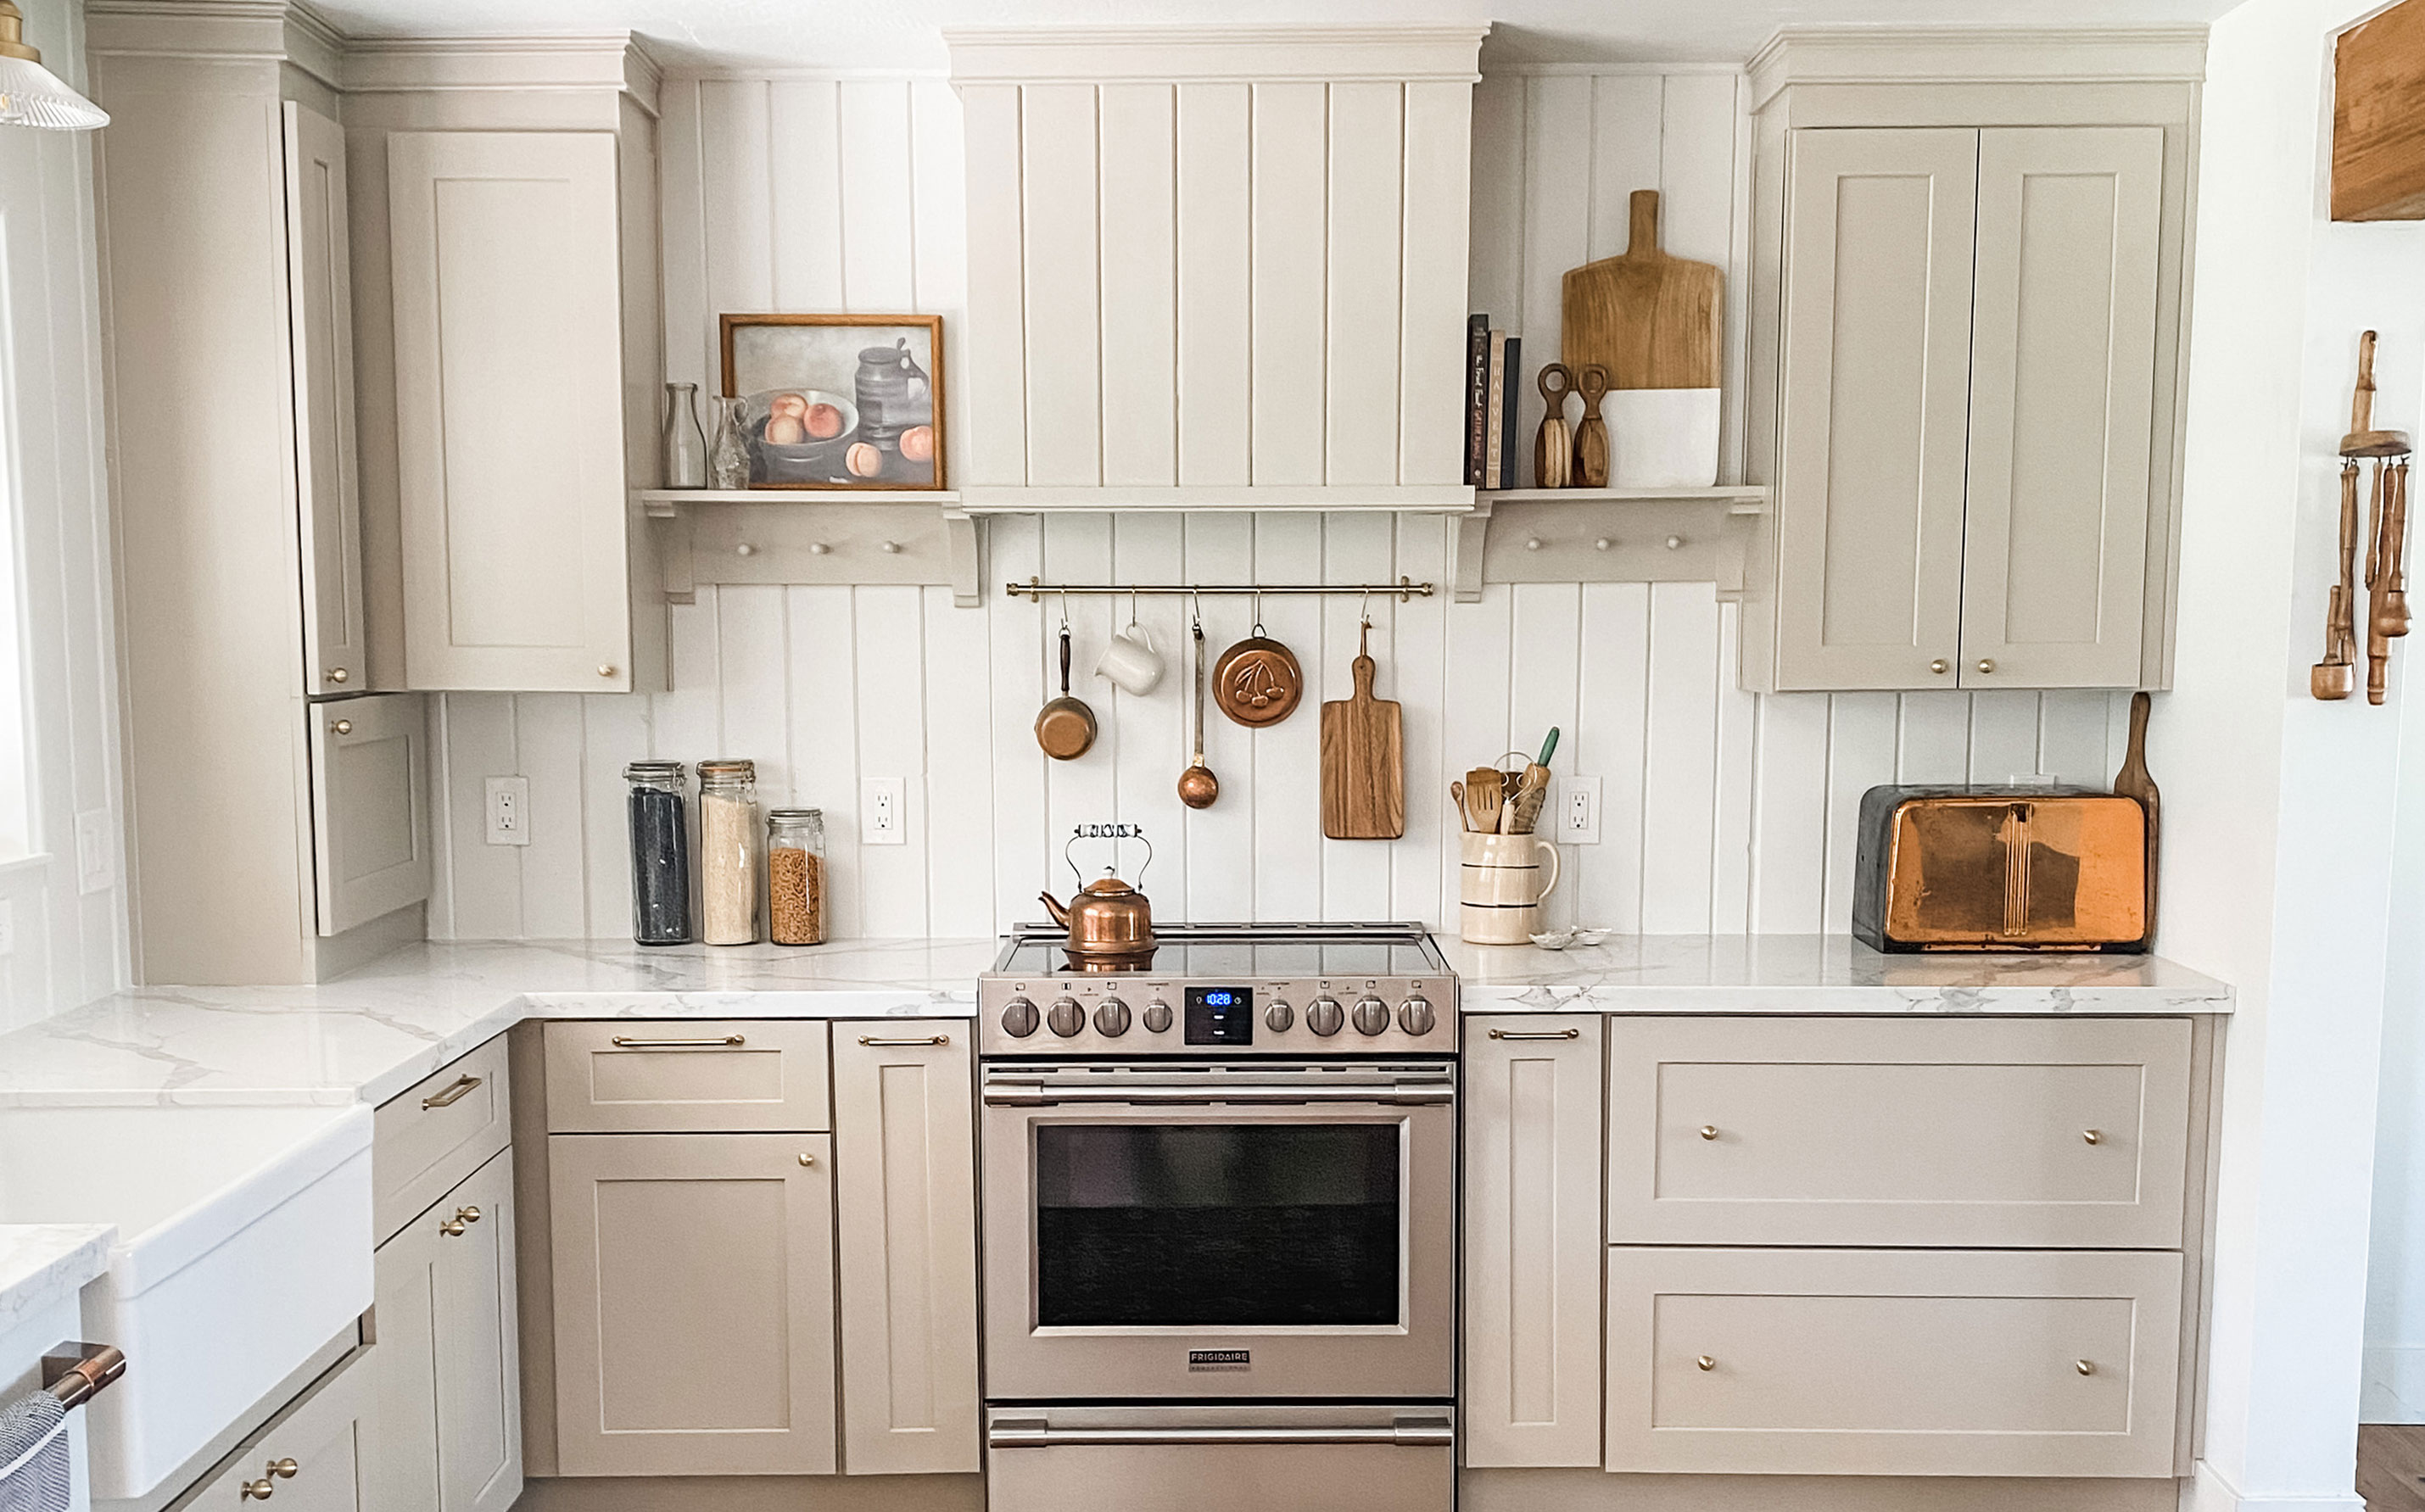 My DIY range hood and backsplash build gave my kitchen the perfect farmhouse finish
I craved charm in my kitchen space and adding a custom range hood and shelving was the best move.
By Brooke Waite Published
-
 How to paint a radiator in 7 steps
Painting radiators properly is all about choosing the right paint and the best process. Get interior designer-worthy results with our how-to.
By Kate Sandhu Published
-
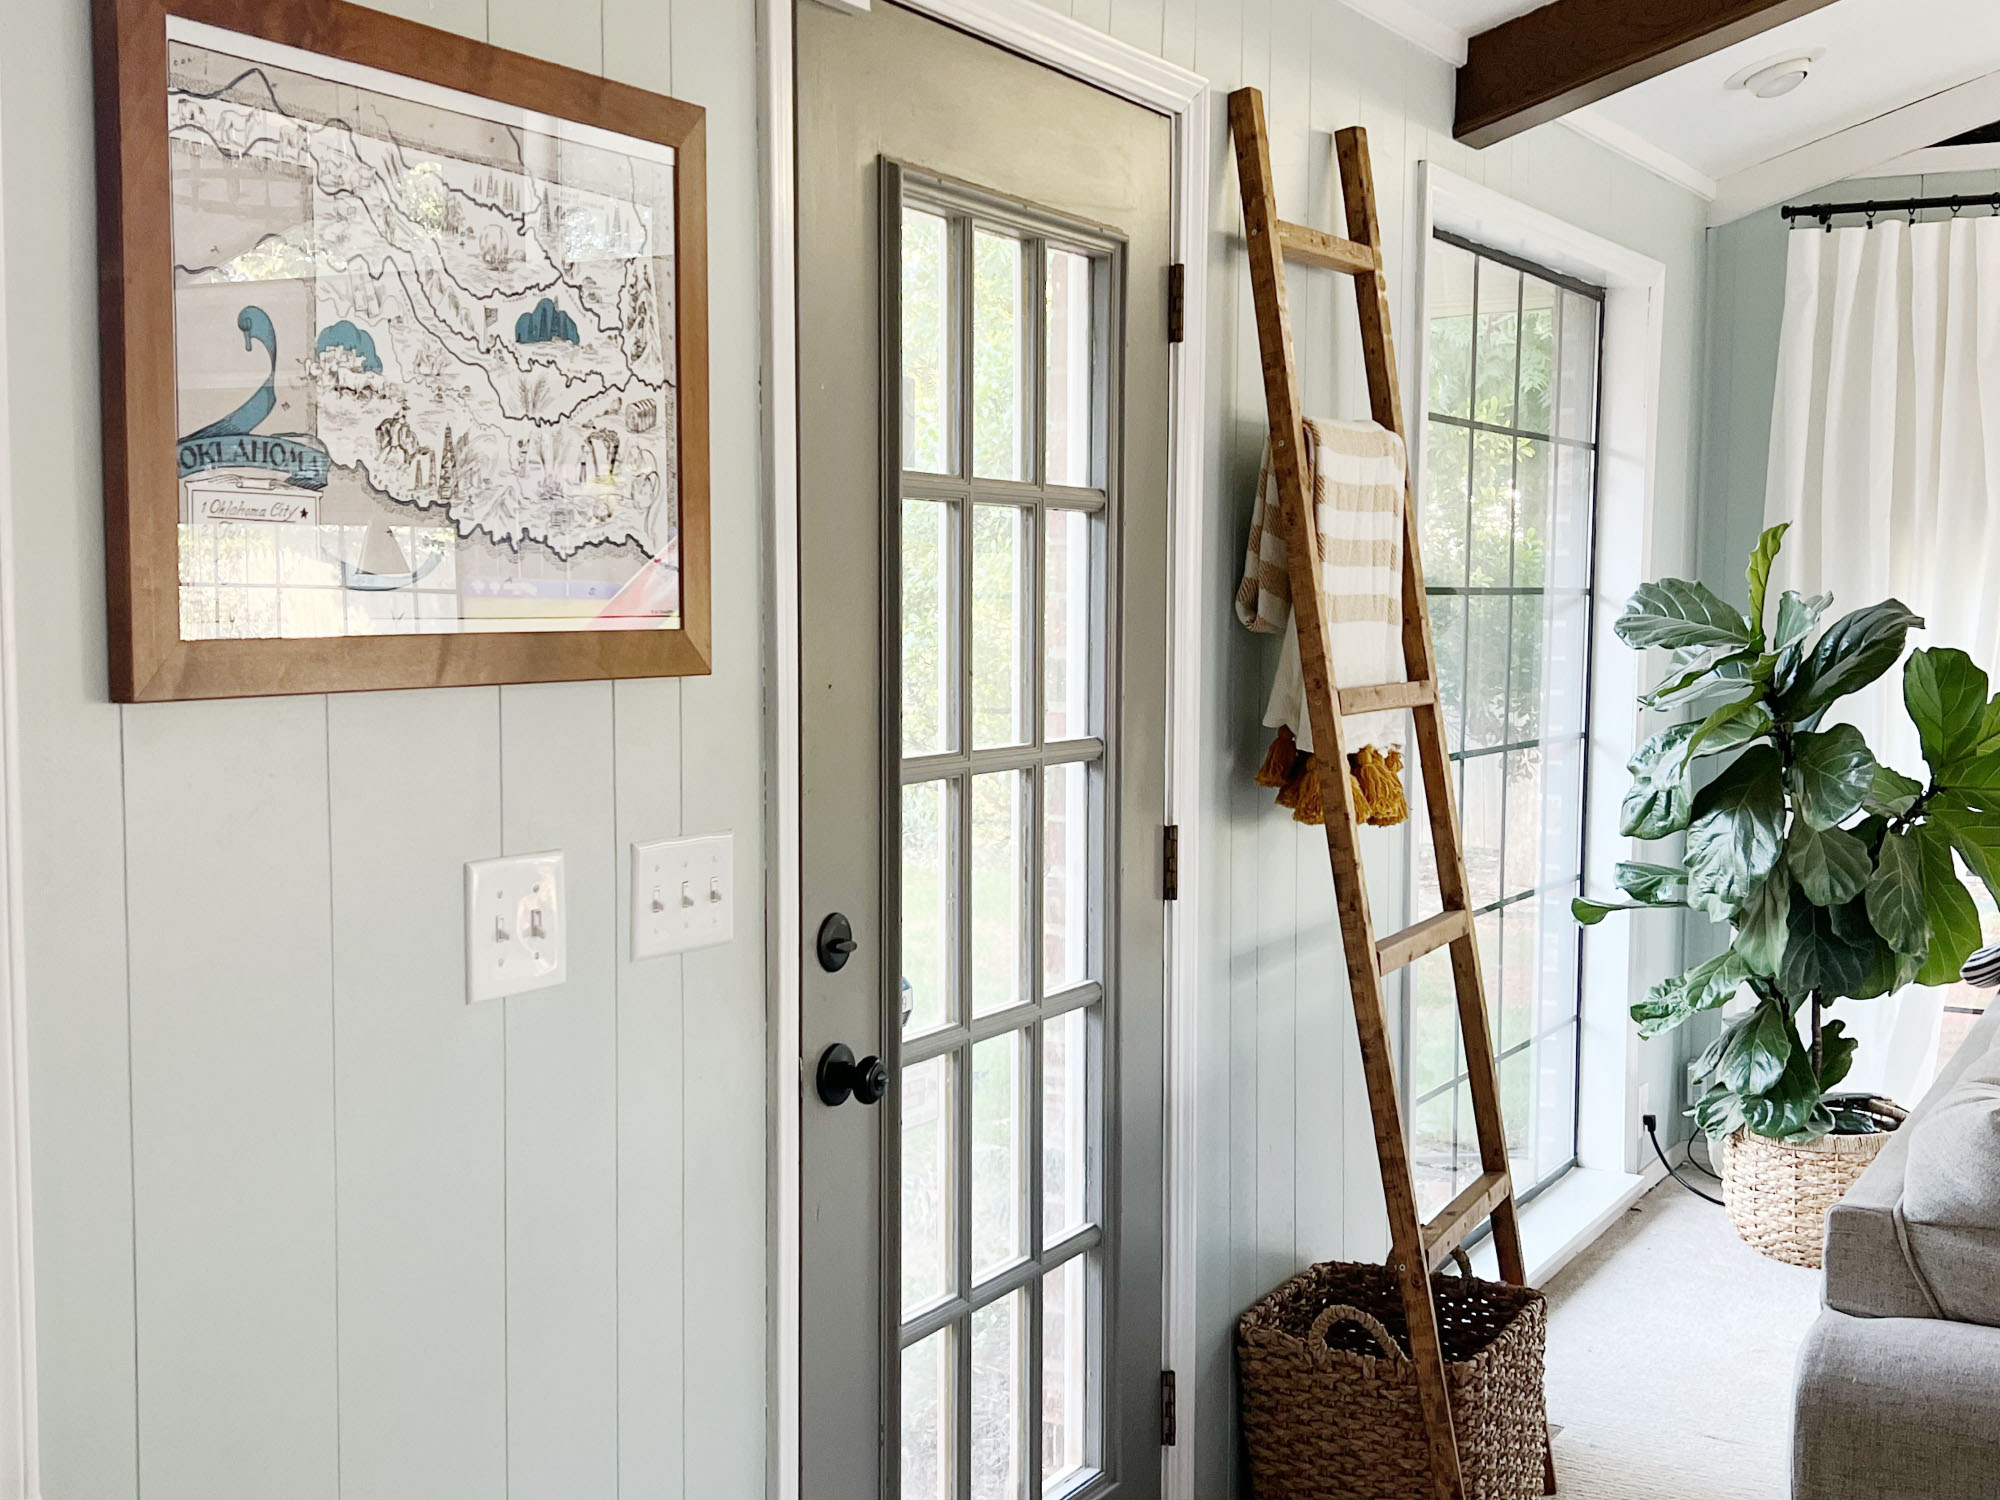 How to install a door knob
Updating your interior and exterior doors can be as easy as changing out the hardware! The best part is that installing a door knob is very DIY friendly. Follow these simple steps and enjoy a fresh look on your doors!
By Dori Turner Published