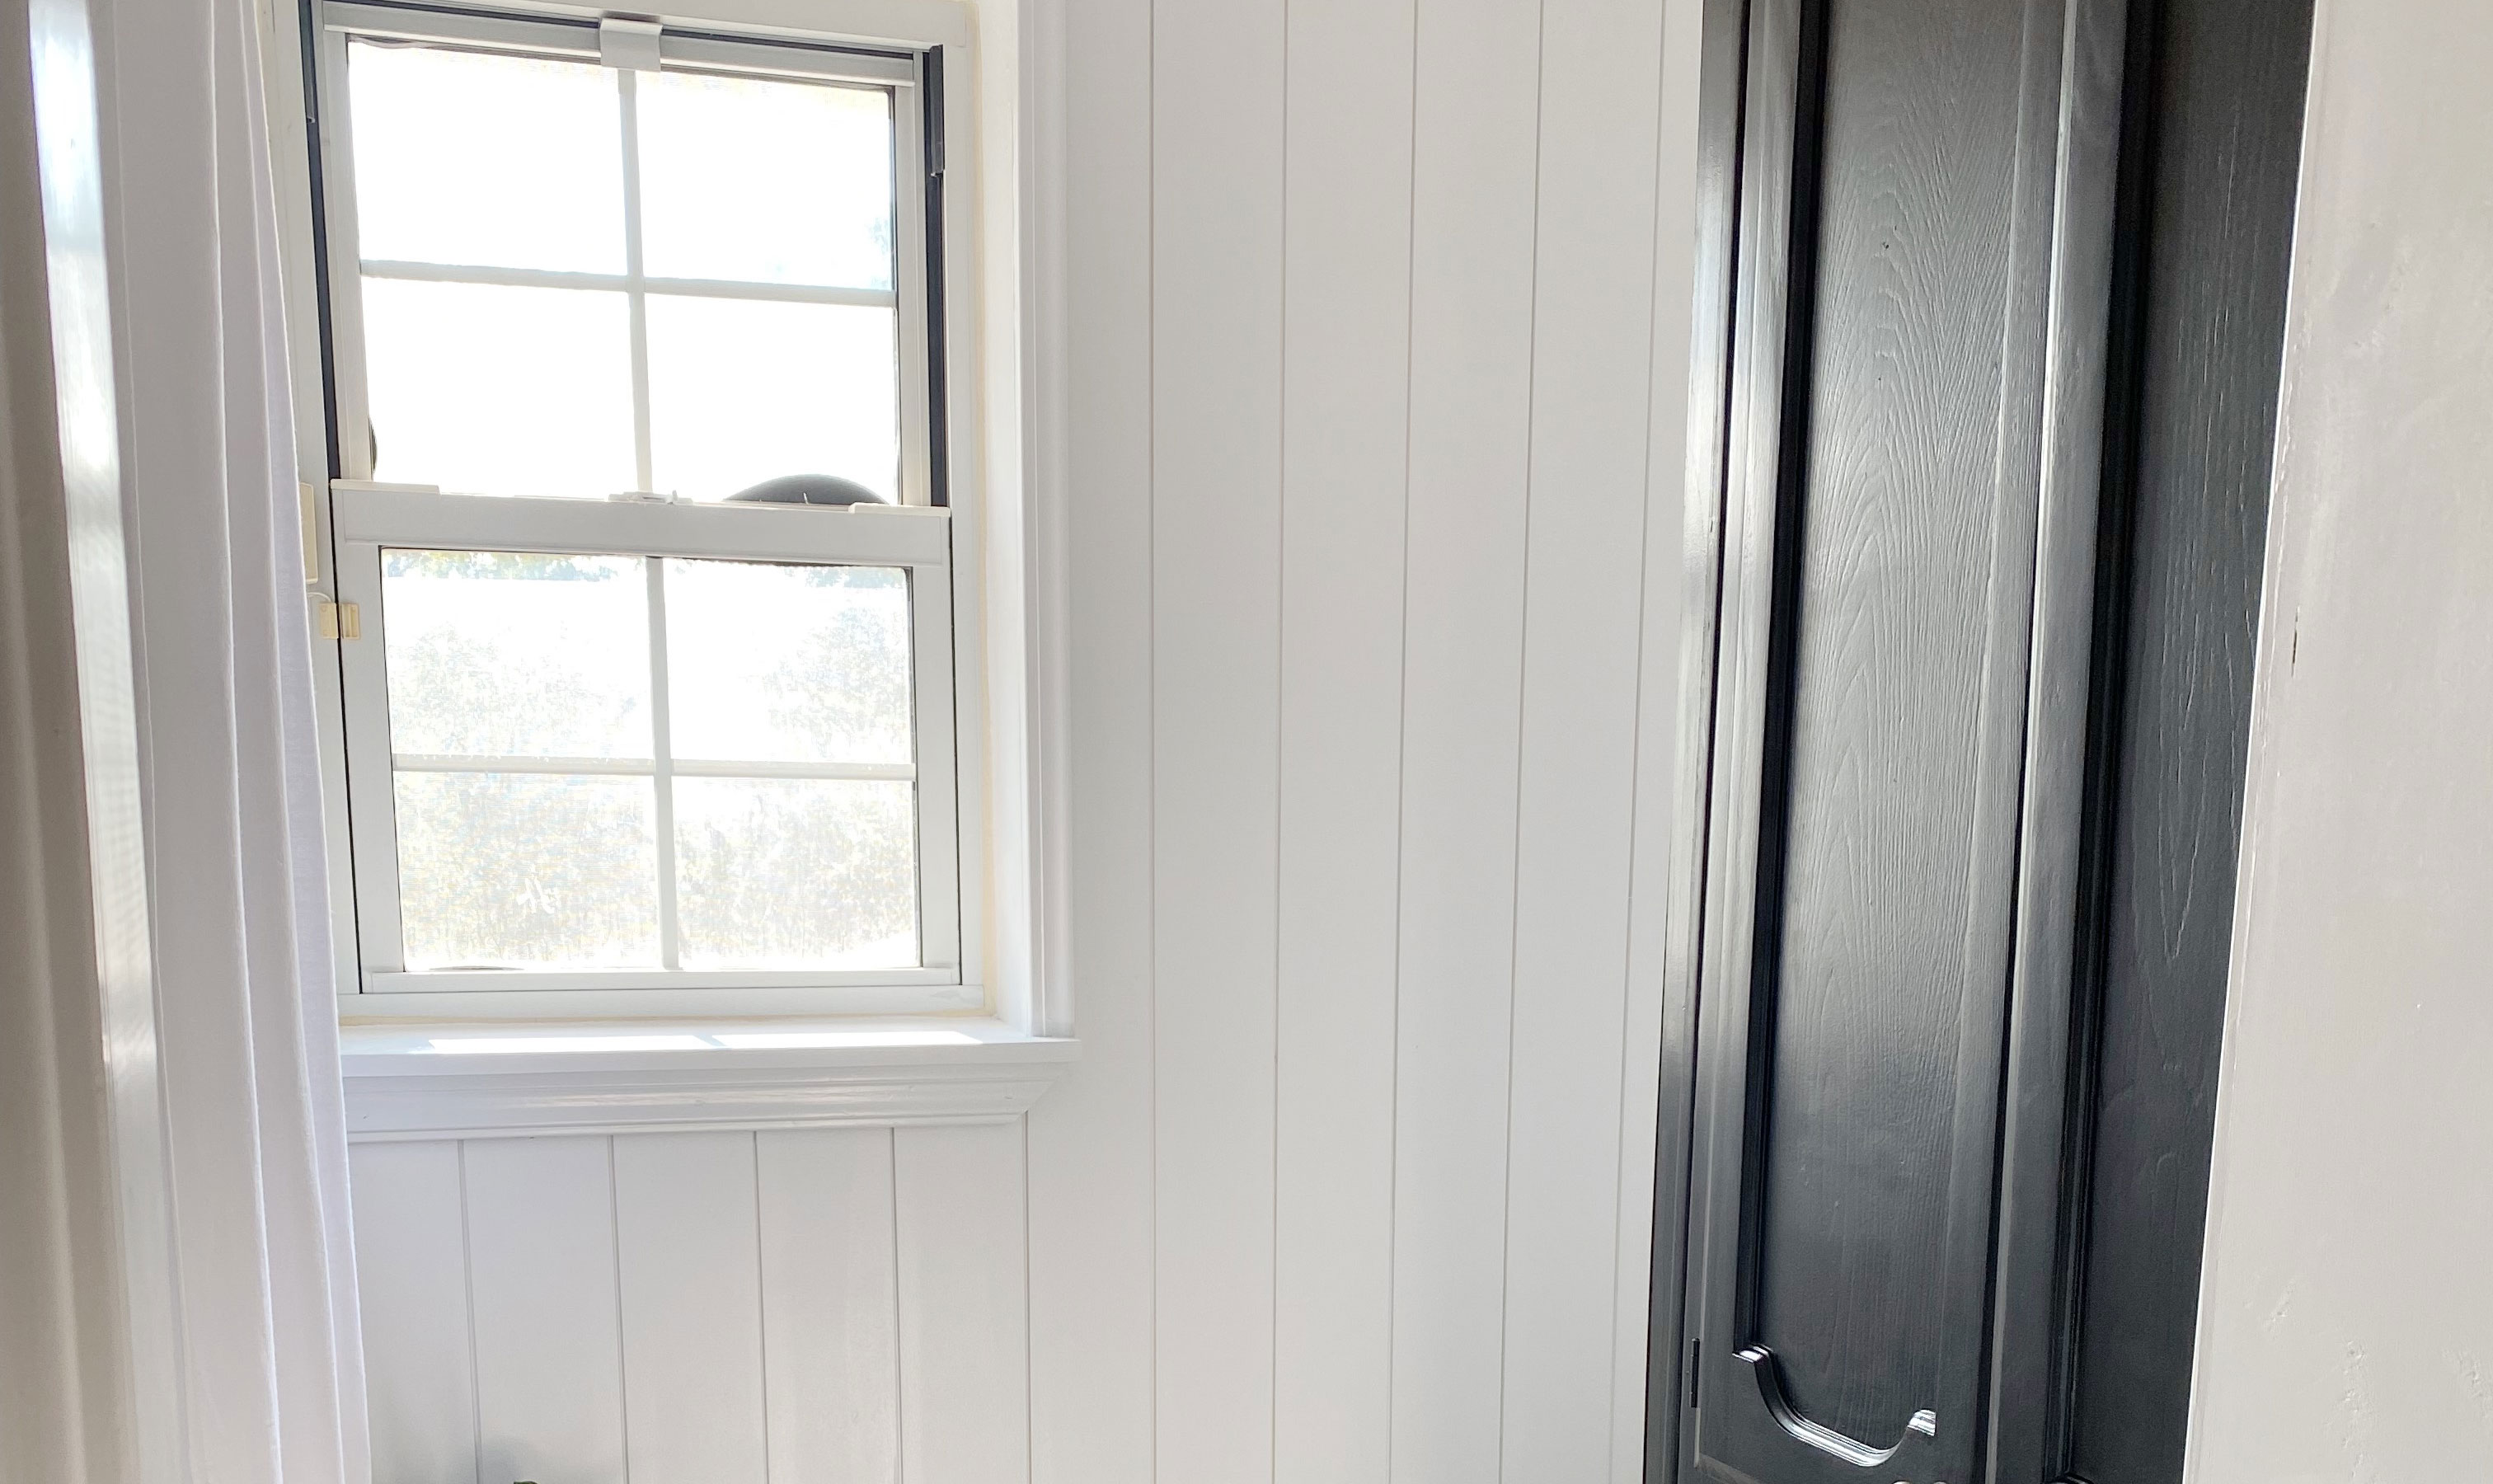

Wood paneling was all the rage from the 1950s through the 1970s. It was inexpensive to install and made a huge impact in a room. But by the 1980s, wood paneling was out of style and many homeowners were left with rooms full of dark wood that felt dated and dreary.
If you have wood paneling in your home, you don't have to live with it forever. Most of the houses we've owned were built in the 70s and we've definitely removed our share of outdated paneling! One option for giving it a quick update is to use a good wood paint to refresh it. But if you're wanting it gone, to bring more modern wall paneling ideas to life perhaps, rest assured that it's pretty easy to remove.
There are several reasons why people would want to remove wood paneling from their walls. As mentioned, it can give your home an outdated feel. Dark paneling can also make your home feel smaller. Additionally, if the wood paneling is not in good condition, it can make your home look like it hasn't been taken care of. If you are planning on selling your home, potential buyers may be turned off by wood paneling that is in poor condition or dated.
So how do you remove wood paneling? First, gather the right tools:
- Drop cloth
- Pry bar
- Hammer
- Drywall putty
- Heat gun (optional)
Now you're ready to dive in! Follow these five easy steps to remove the paneling and give your home an updated feel:
1. Protect the floors
Start by laying a drop cloth down to protect your flooring from any dust and debris.
2. The pry bar is your friend
The best way to remove wood paneling is to use a pry bar. If you’re removing full sheets of paneling you’ll want to start by removing any trim pieces at the top and bottom using the pry bar.
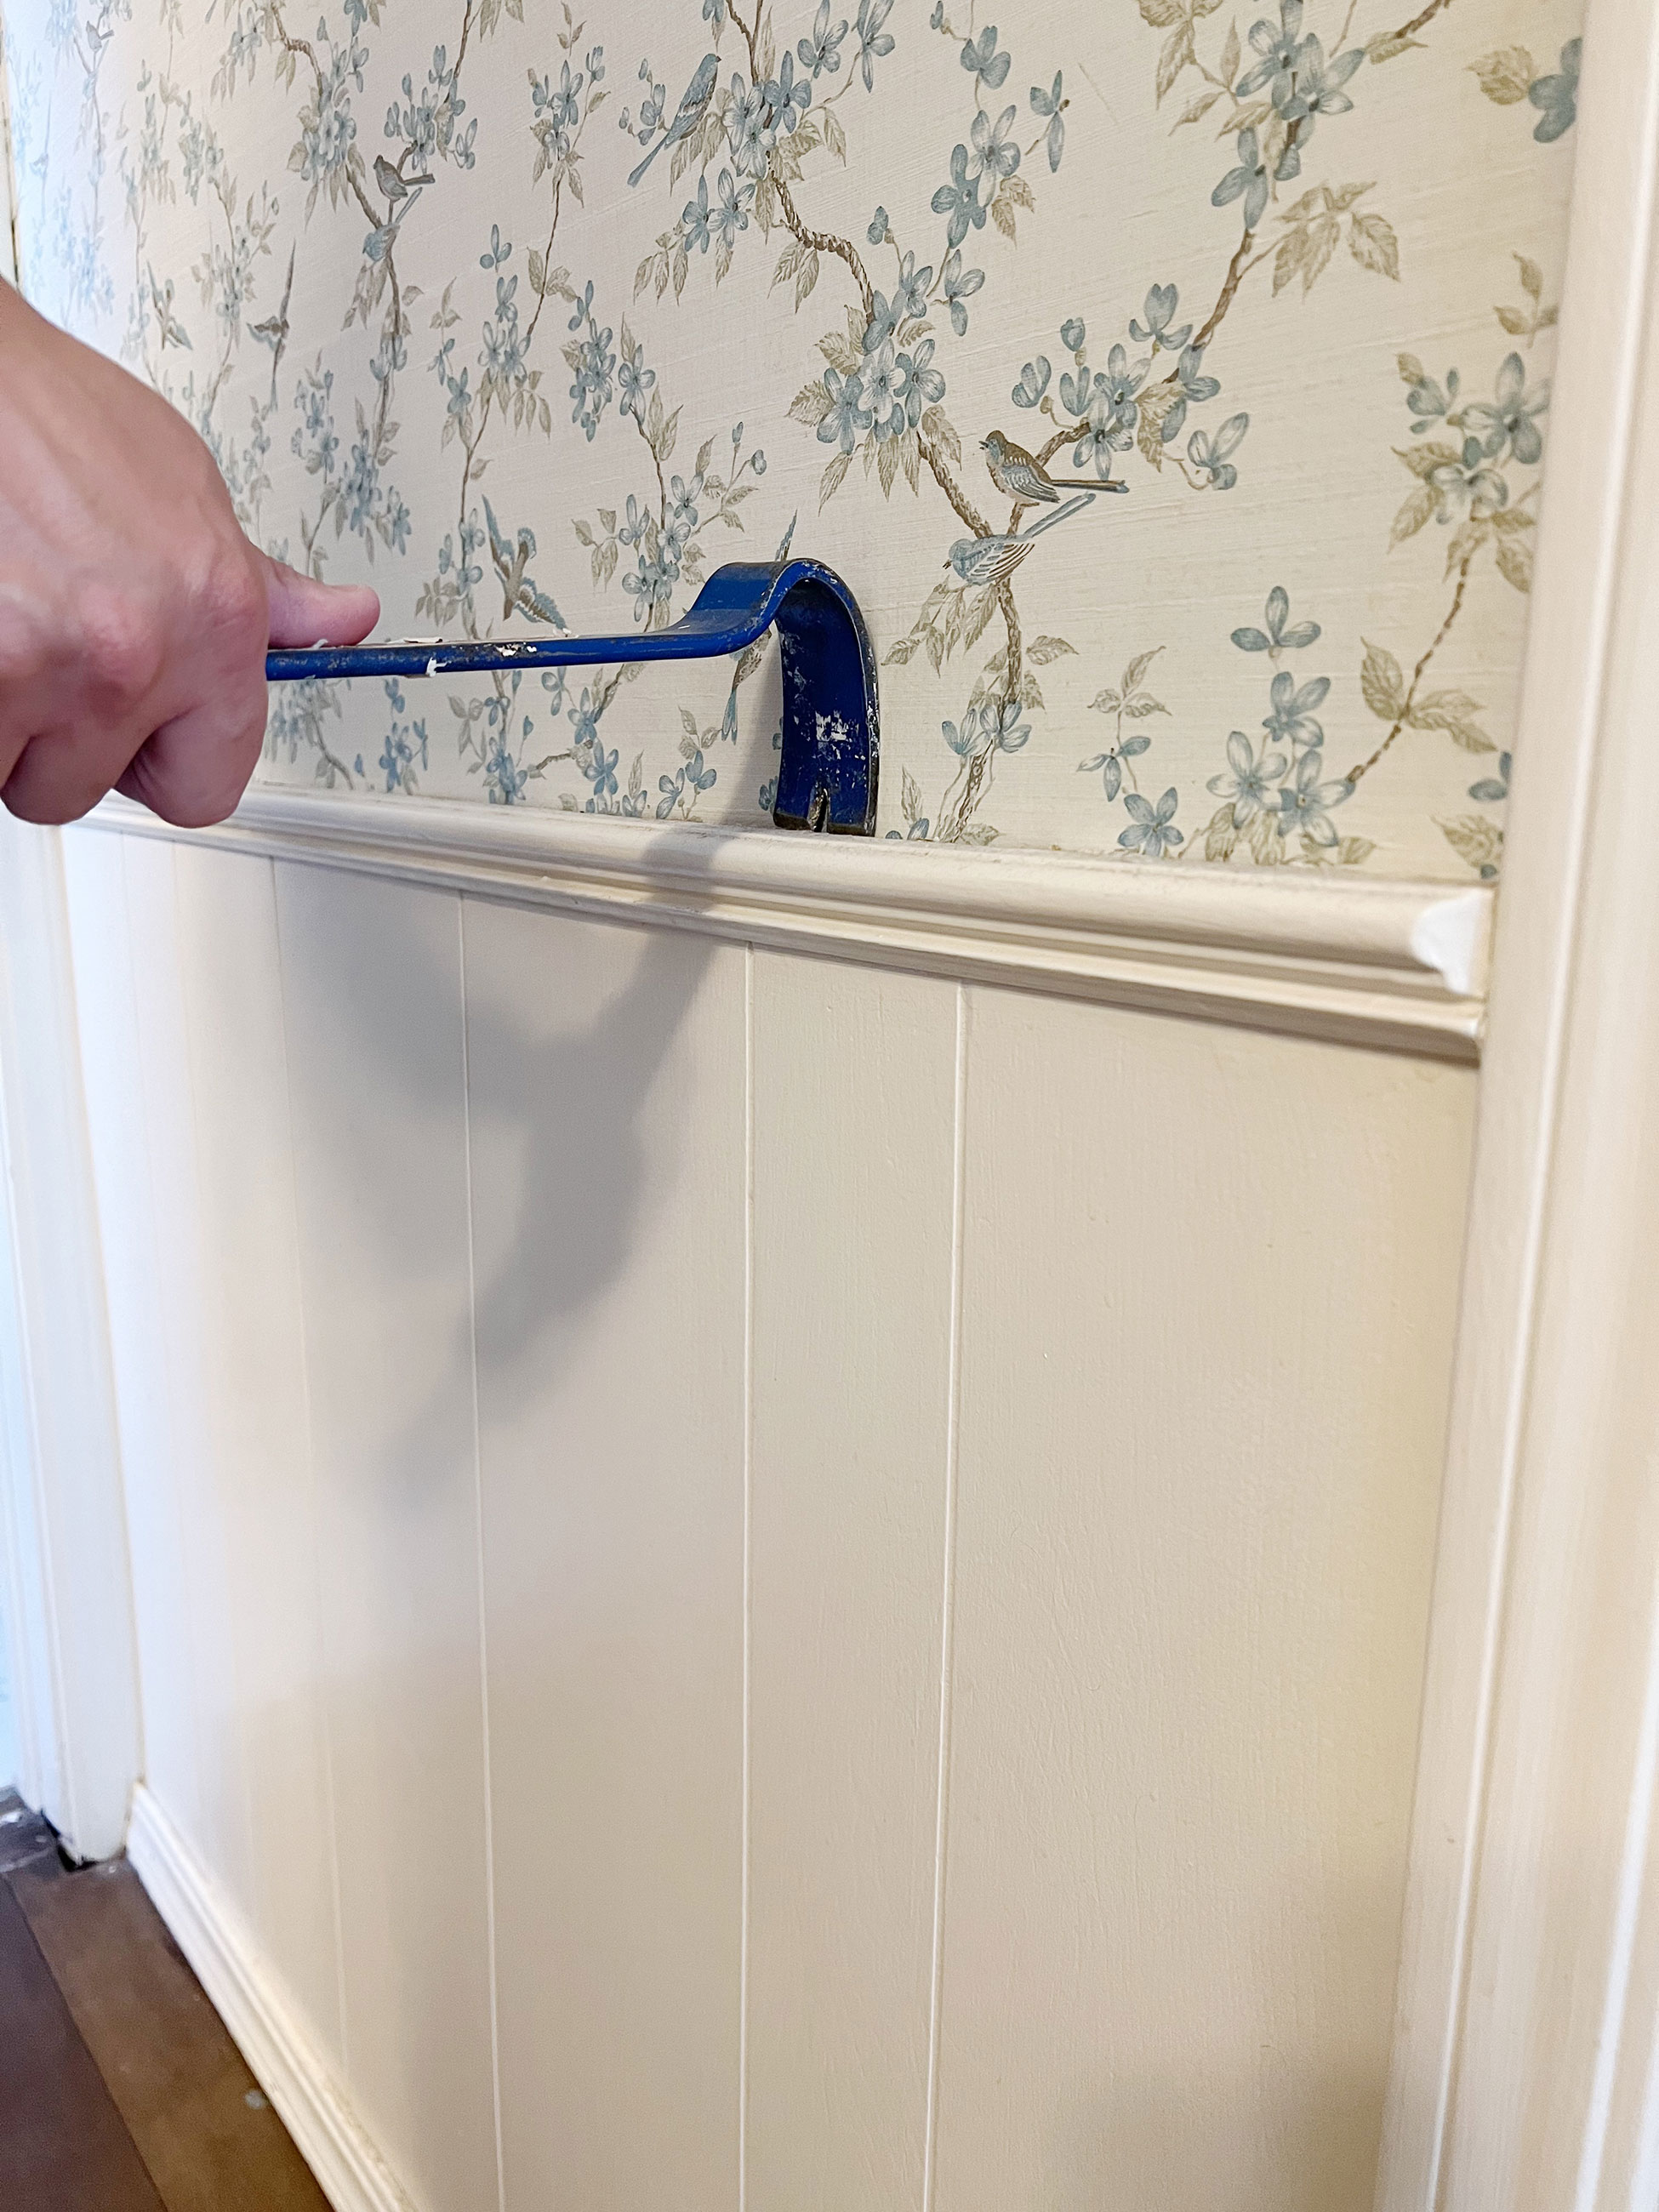
Use a hammer to help the edge of the pry bar get in between the panel and the wall.
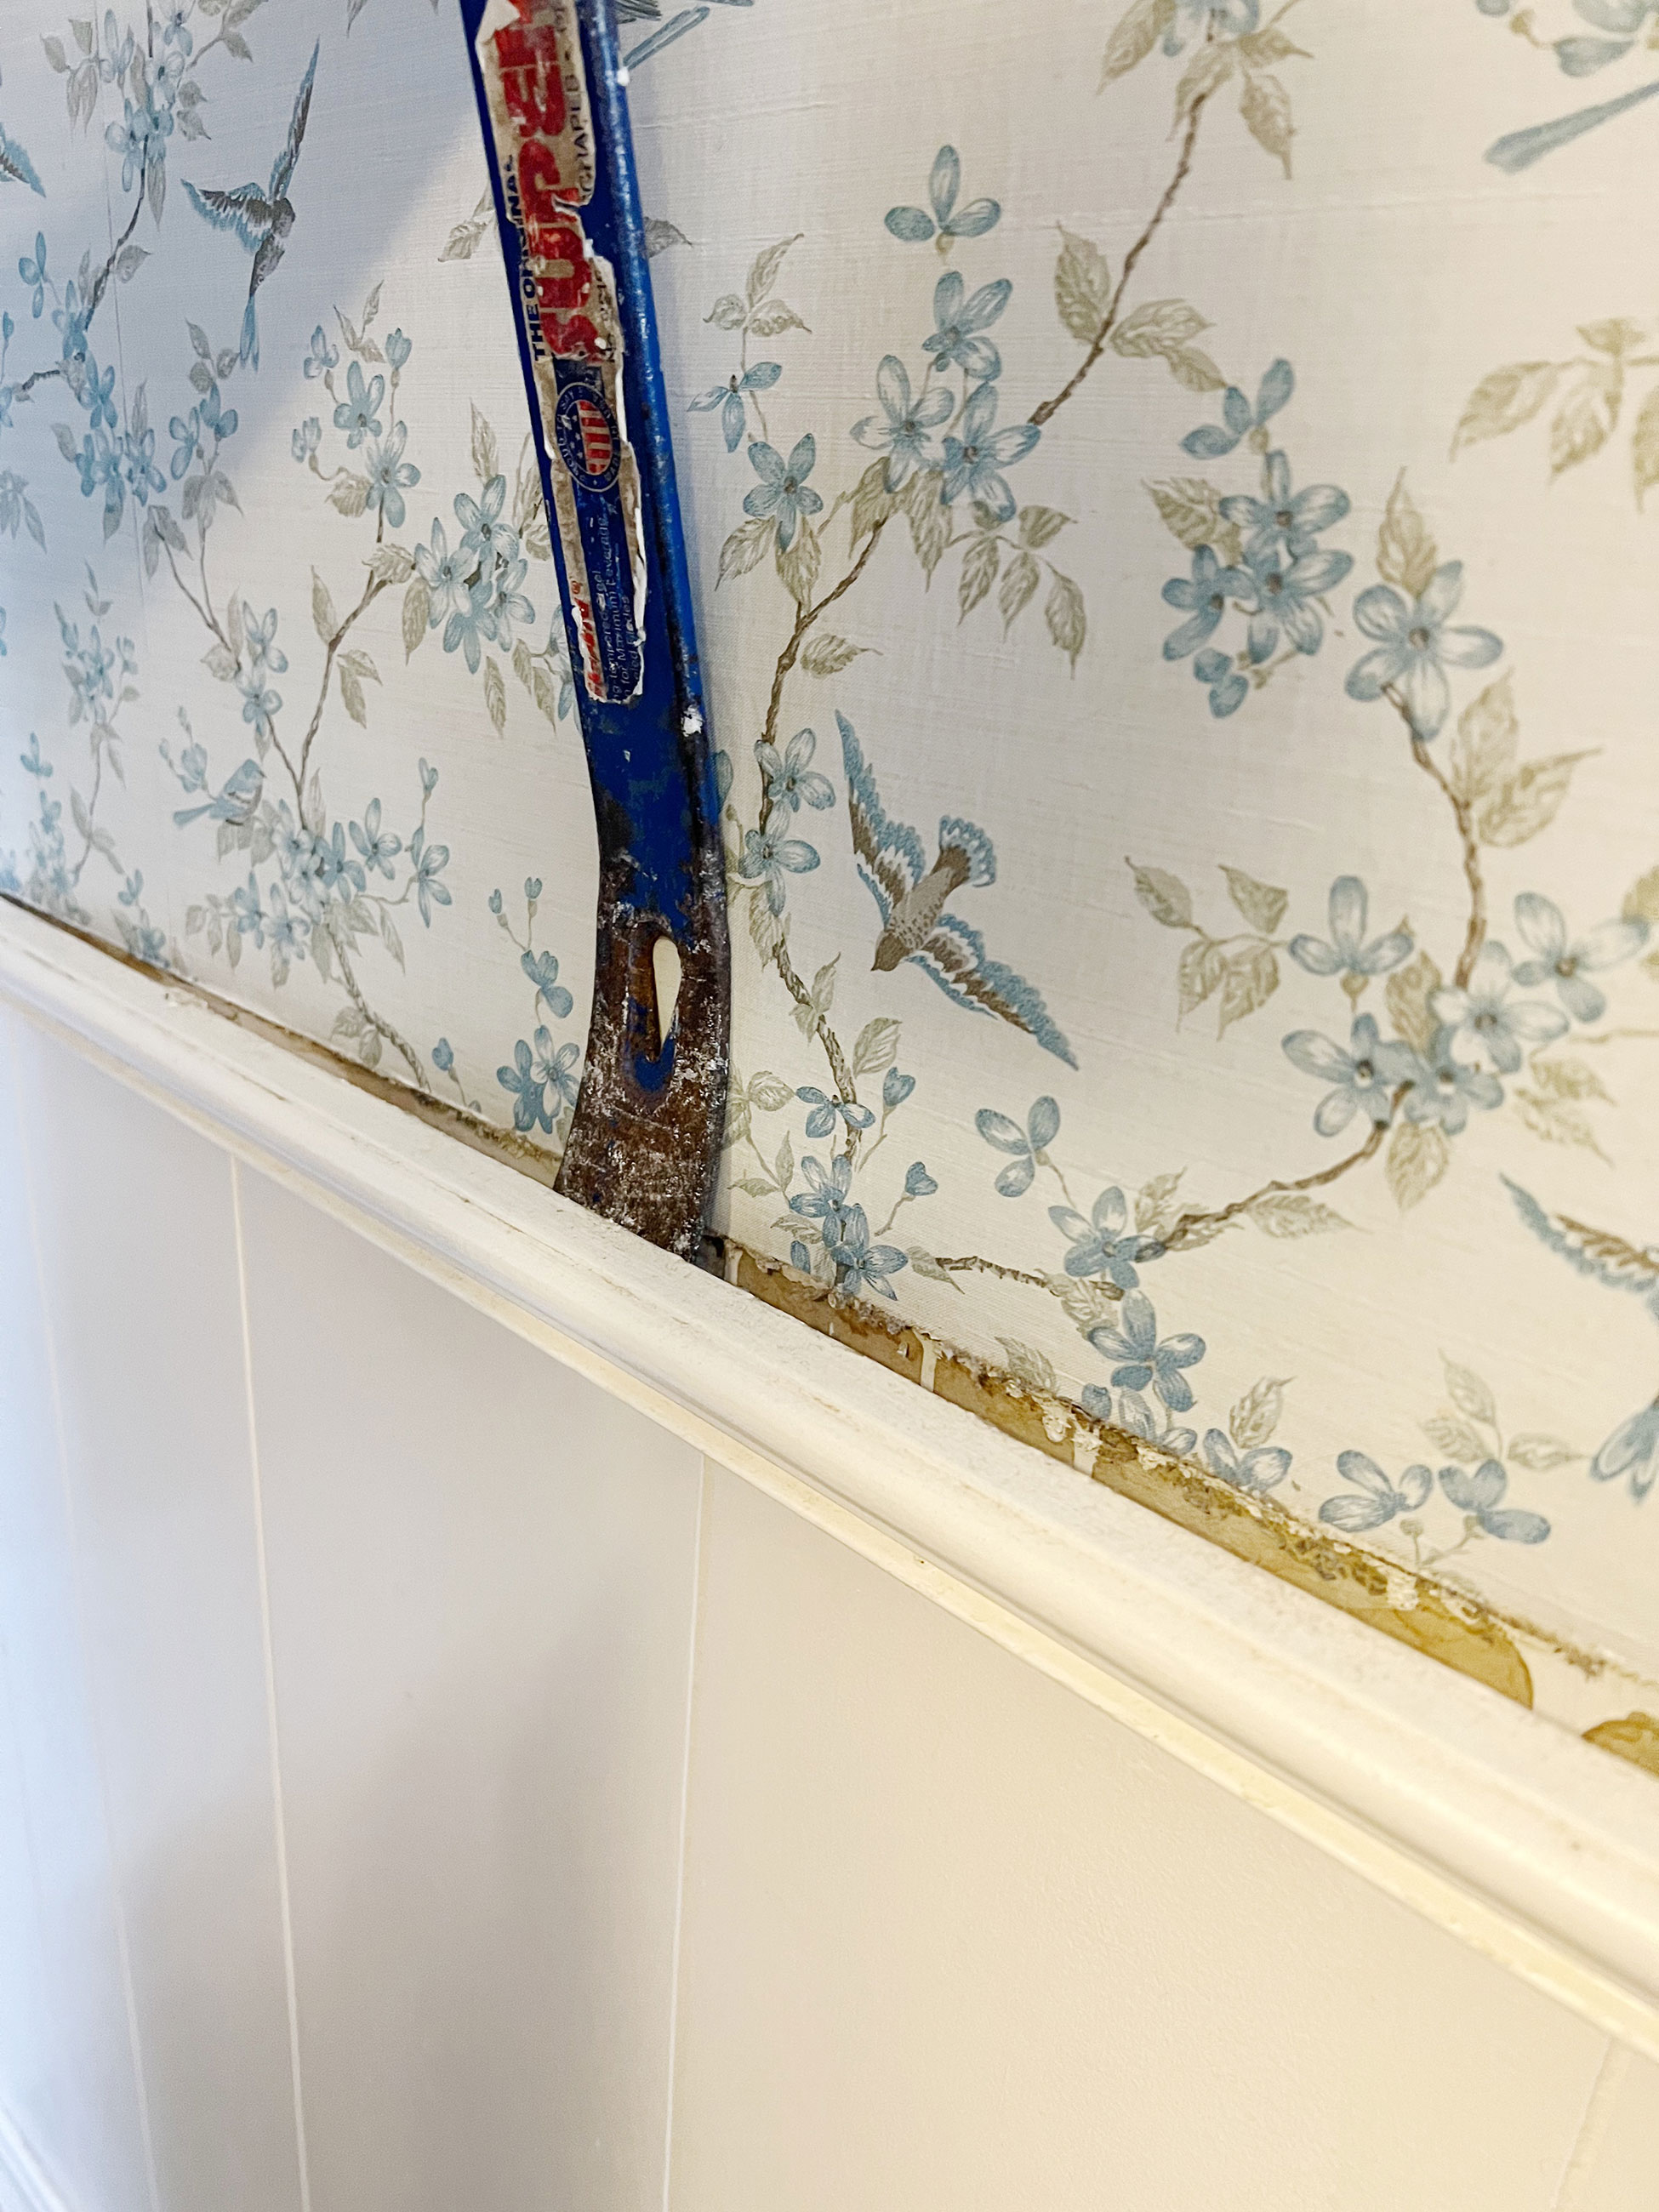
If your paneling only goes part way up the wall start by removing the trim pieces with the pry bar. Instead of starting at the bottom you will start at the top and gently pull use a hammer and pry bar to pull the paneling away from the wall.
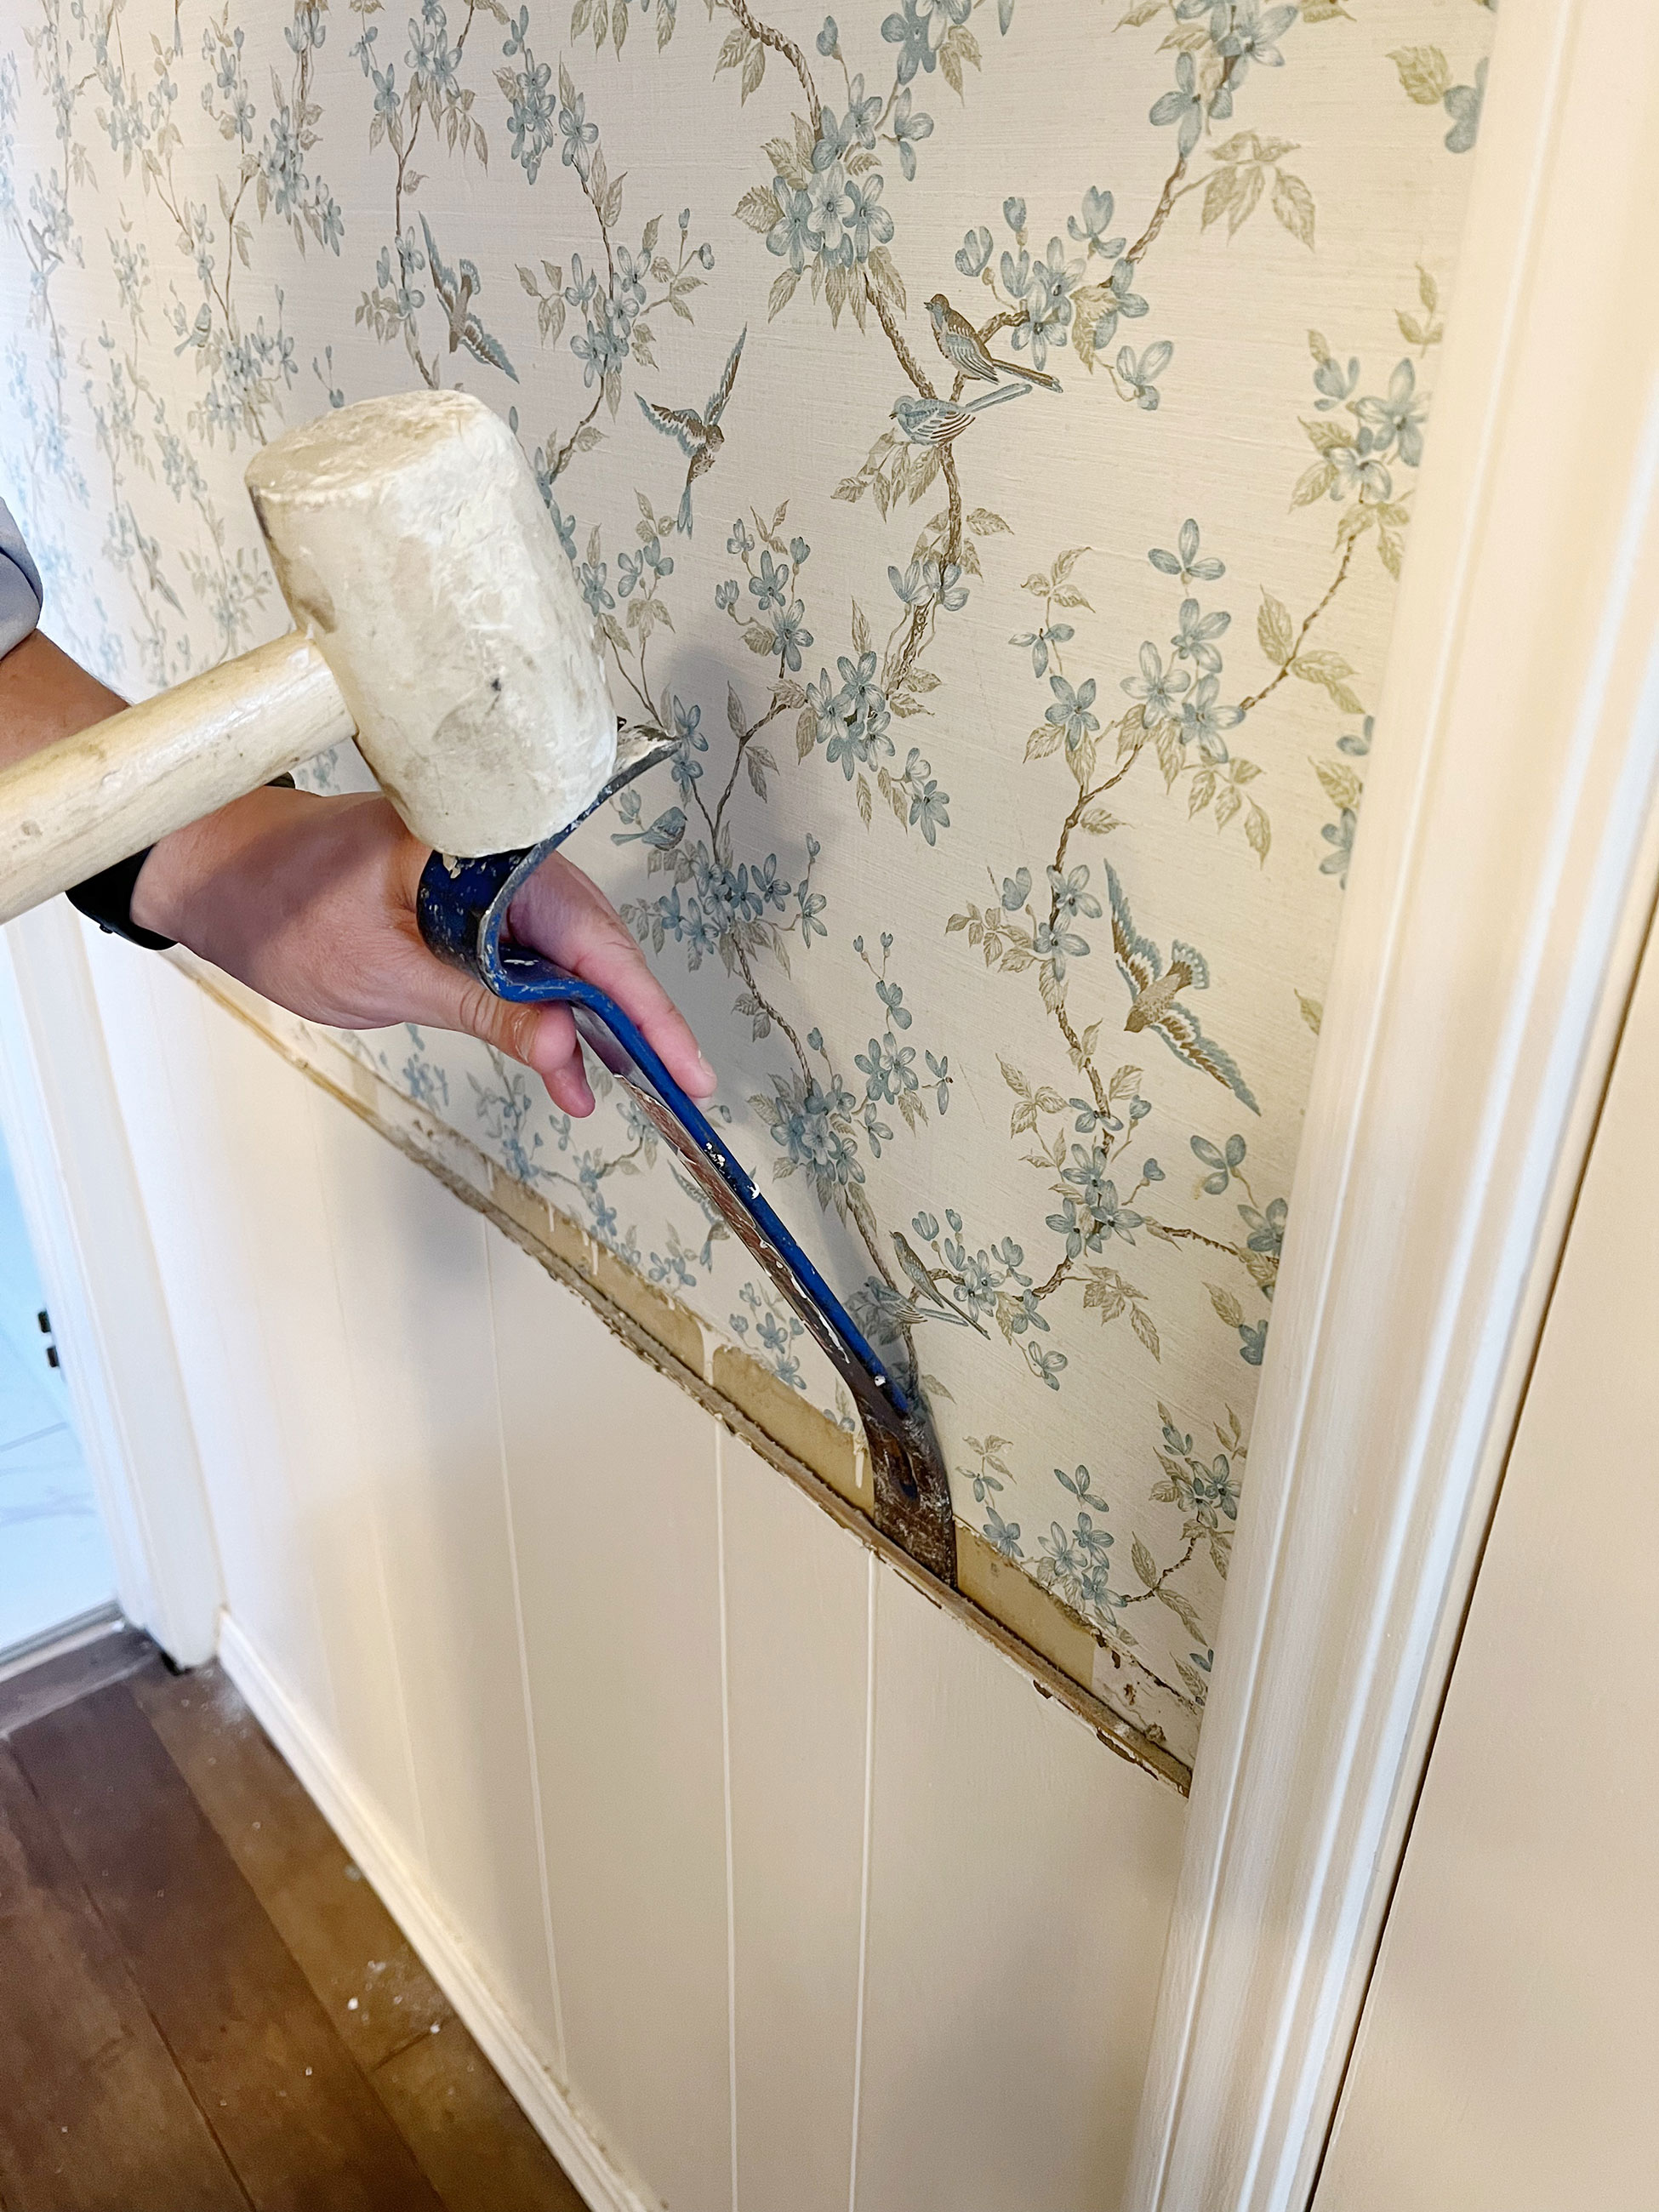
Once the trim is removed you will want to start at the bottom of the panel and carefully work your way up, gently separating the panel from the sheetrock.
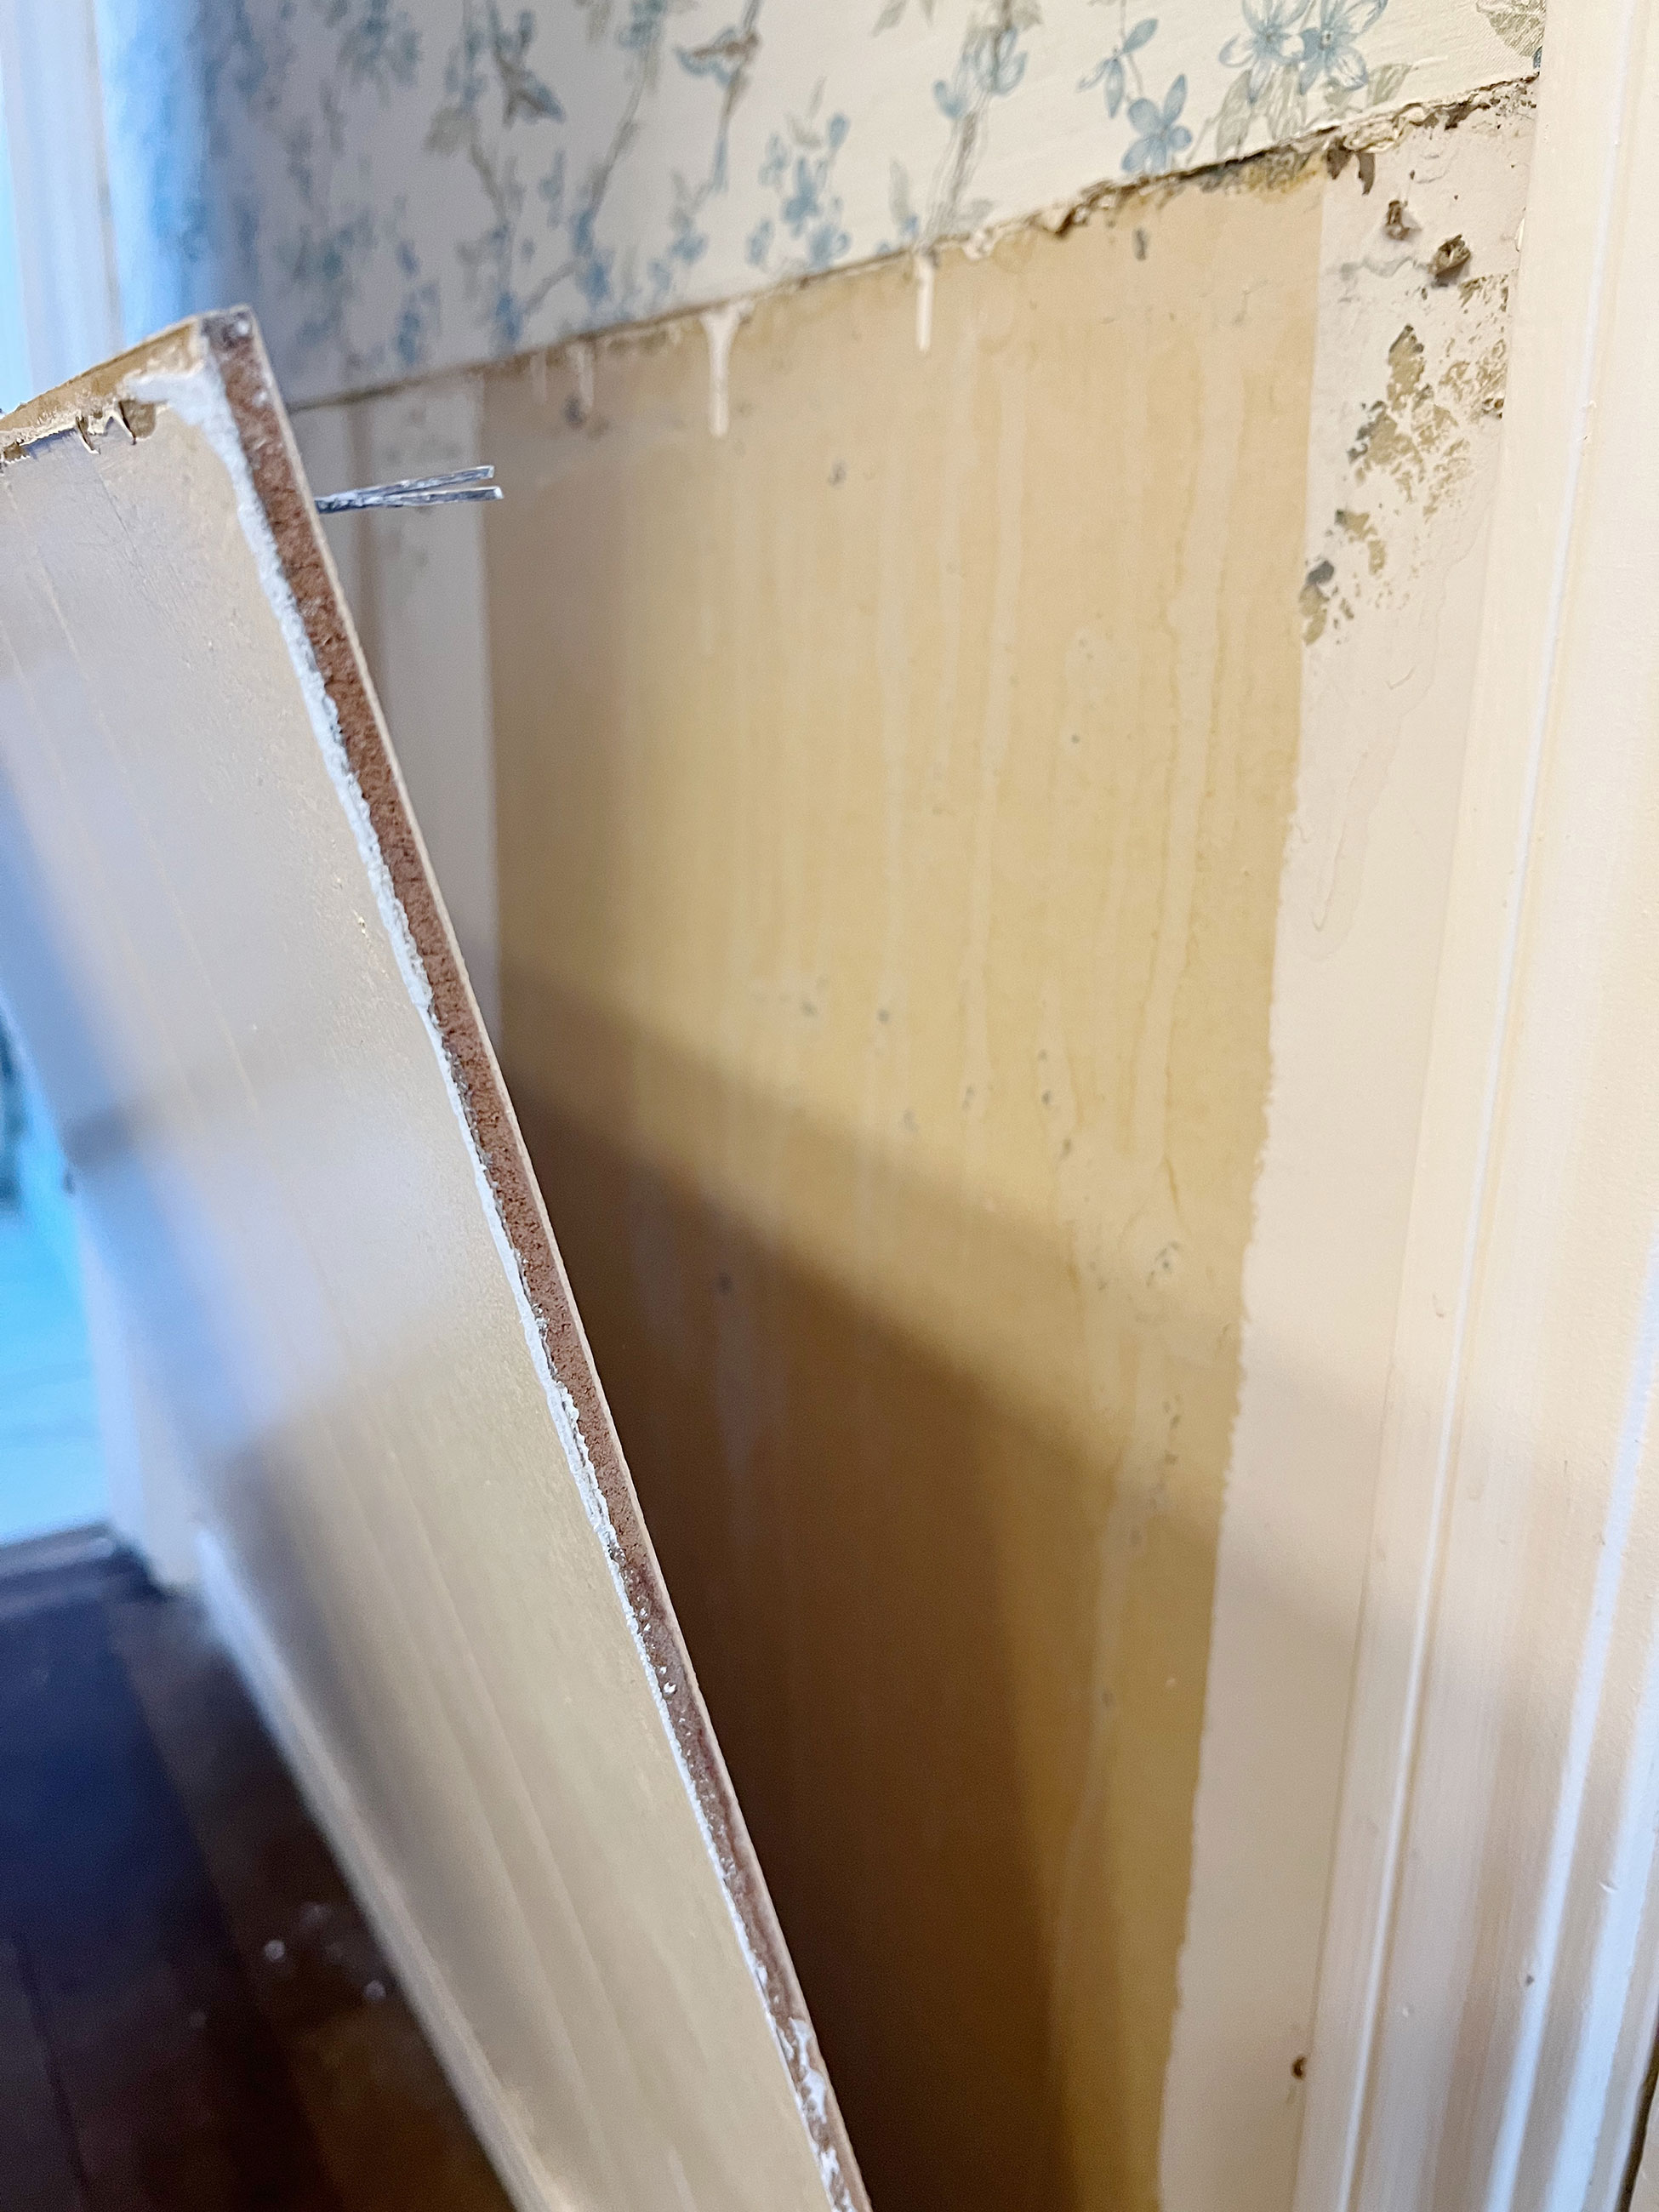
You may need to use a hammer to remove stubborn nails. Be careful not to damage the drywall underneath the paneling as you work.
3. Patch holes
Once you have pried the panels off, use your drywall putty to patch any holes in the drywall.
4. Gently sand
Once the putty has dried, sand down the patches to be even with the drywall.
5. Prime and paint
Now your drywall is ready for primer and paint and a fresh new look! Approach this DIY task as you would when painting a wall.
What if my paneling is glued to the wall?
If your wood paneling was glued to the wall you will need a heat gun to melt the glue. Once it begins to soften you can gently begin to use your pry bar to separate the paneling from the wall. You don't want to damage the wall, so work slowly.
What if there is no drywall behind my wood paneling?
This has been the case for us at times when we've removed paneling in our homes. The wood paneling was nailed directly into the studs along the wall instead of being attached to drywall. In this case, once you've removed the paneling, you will have to install new drywall. If you're not comfortable installing drywall, you may need to hire it out, so take this into consideration before you start. If you're not sure whether you have drywall underneath gently pry back a section and look underneath.
Is wood paneling making a comeback?
When it comes to the best wall decor ideas, wood paneling has made a comeback in recent years but in different forms like shiplap, painted beadboard, wainscoting and more. The paneling of the 50s, 60s, and 70s had a good run, but these updated forms of wood paneling help breathe new life into a space. If you still like the idea of paneling, consider using one of the options above to add some interest!
Join our newsletter
Get small space home decor ideas, celeb inspiration, DIY tips and more, straight to your inbox!
Dori Turner writes blog posts and feature articles on affordable design and DIY from her home in the heart of Oklahoma. She has a passion for teaching others how they can transform their home on a budget.
-
 A $200 fluted panel transformed my drab kitchen in just one weekend
How to install a fluted kitchen panel: A speedy and achievable DIY tutorial even for DIY novices
By Claire Douglas
-
 How to replace a broken staircase spindle in 30 minutes flat
A missing or broken spindle on a staircase is not only unsightly, but it can be a real hazard. This is how to fix it in a few quick steps.
By Kate Sandhu
-
 An IKEA Billy bookcase hack inspired this cute media wall DIY
This cute DIY was inspired by an IKEA Billy bookcase hack and brought a ton of symmetry to an otherwise basic media wall space.
By Camille Dubuis-Welch
-
 Share your small space glow up to win $150 in the Real Homes competition
Show off your creativity and DIY skills to win $150 and for the chance to be featured exclusively in Real Homes magazine
By Camille Dubuis-Welch
-
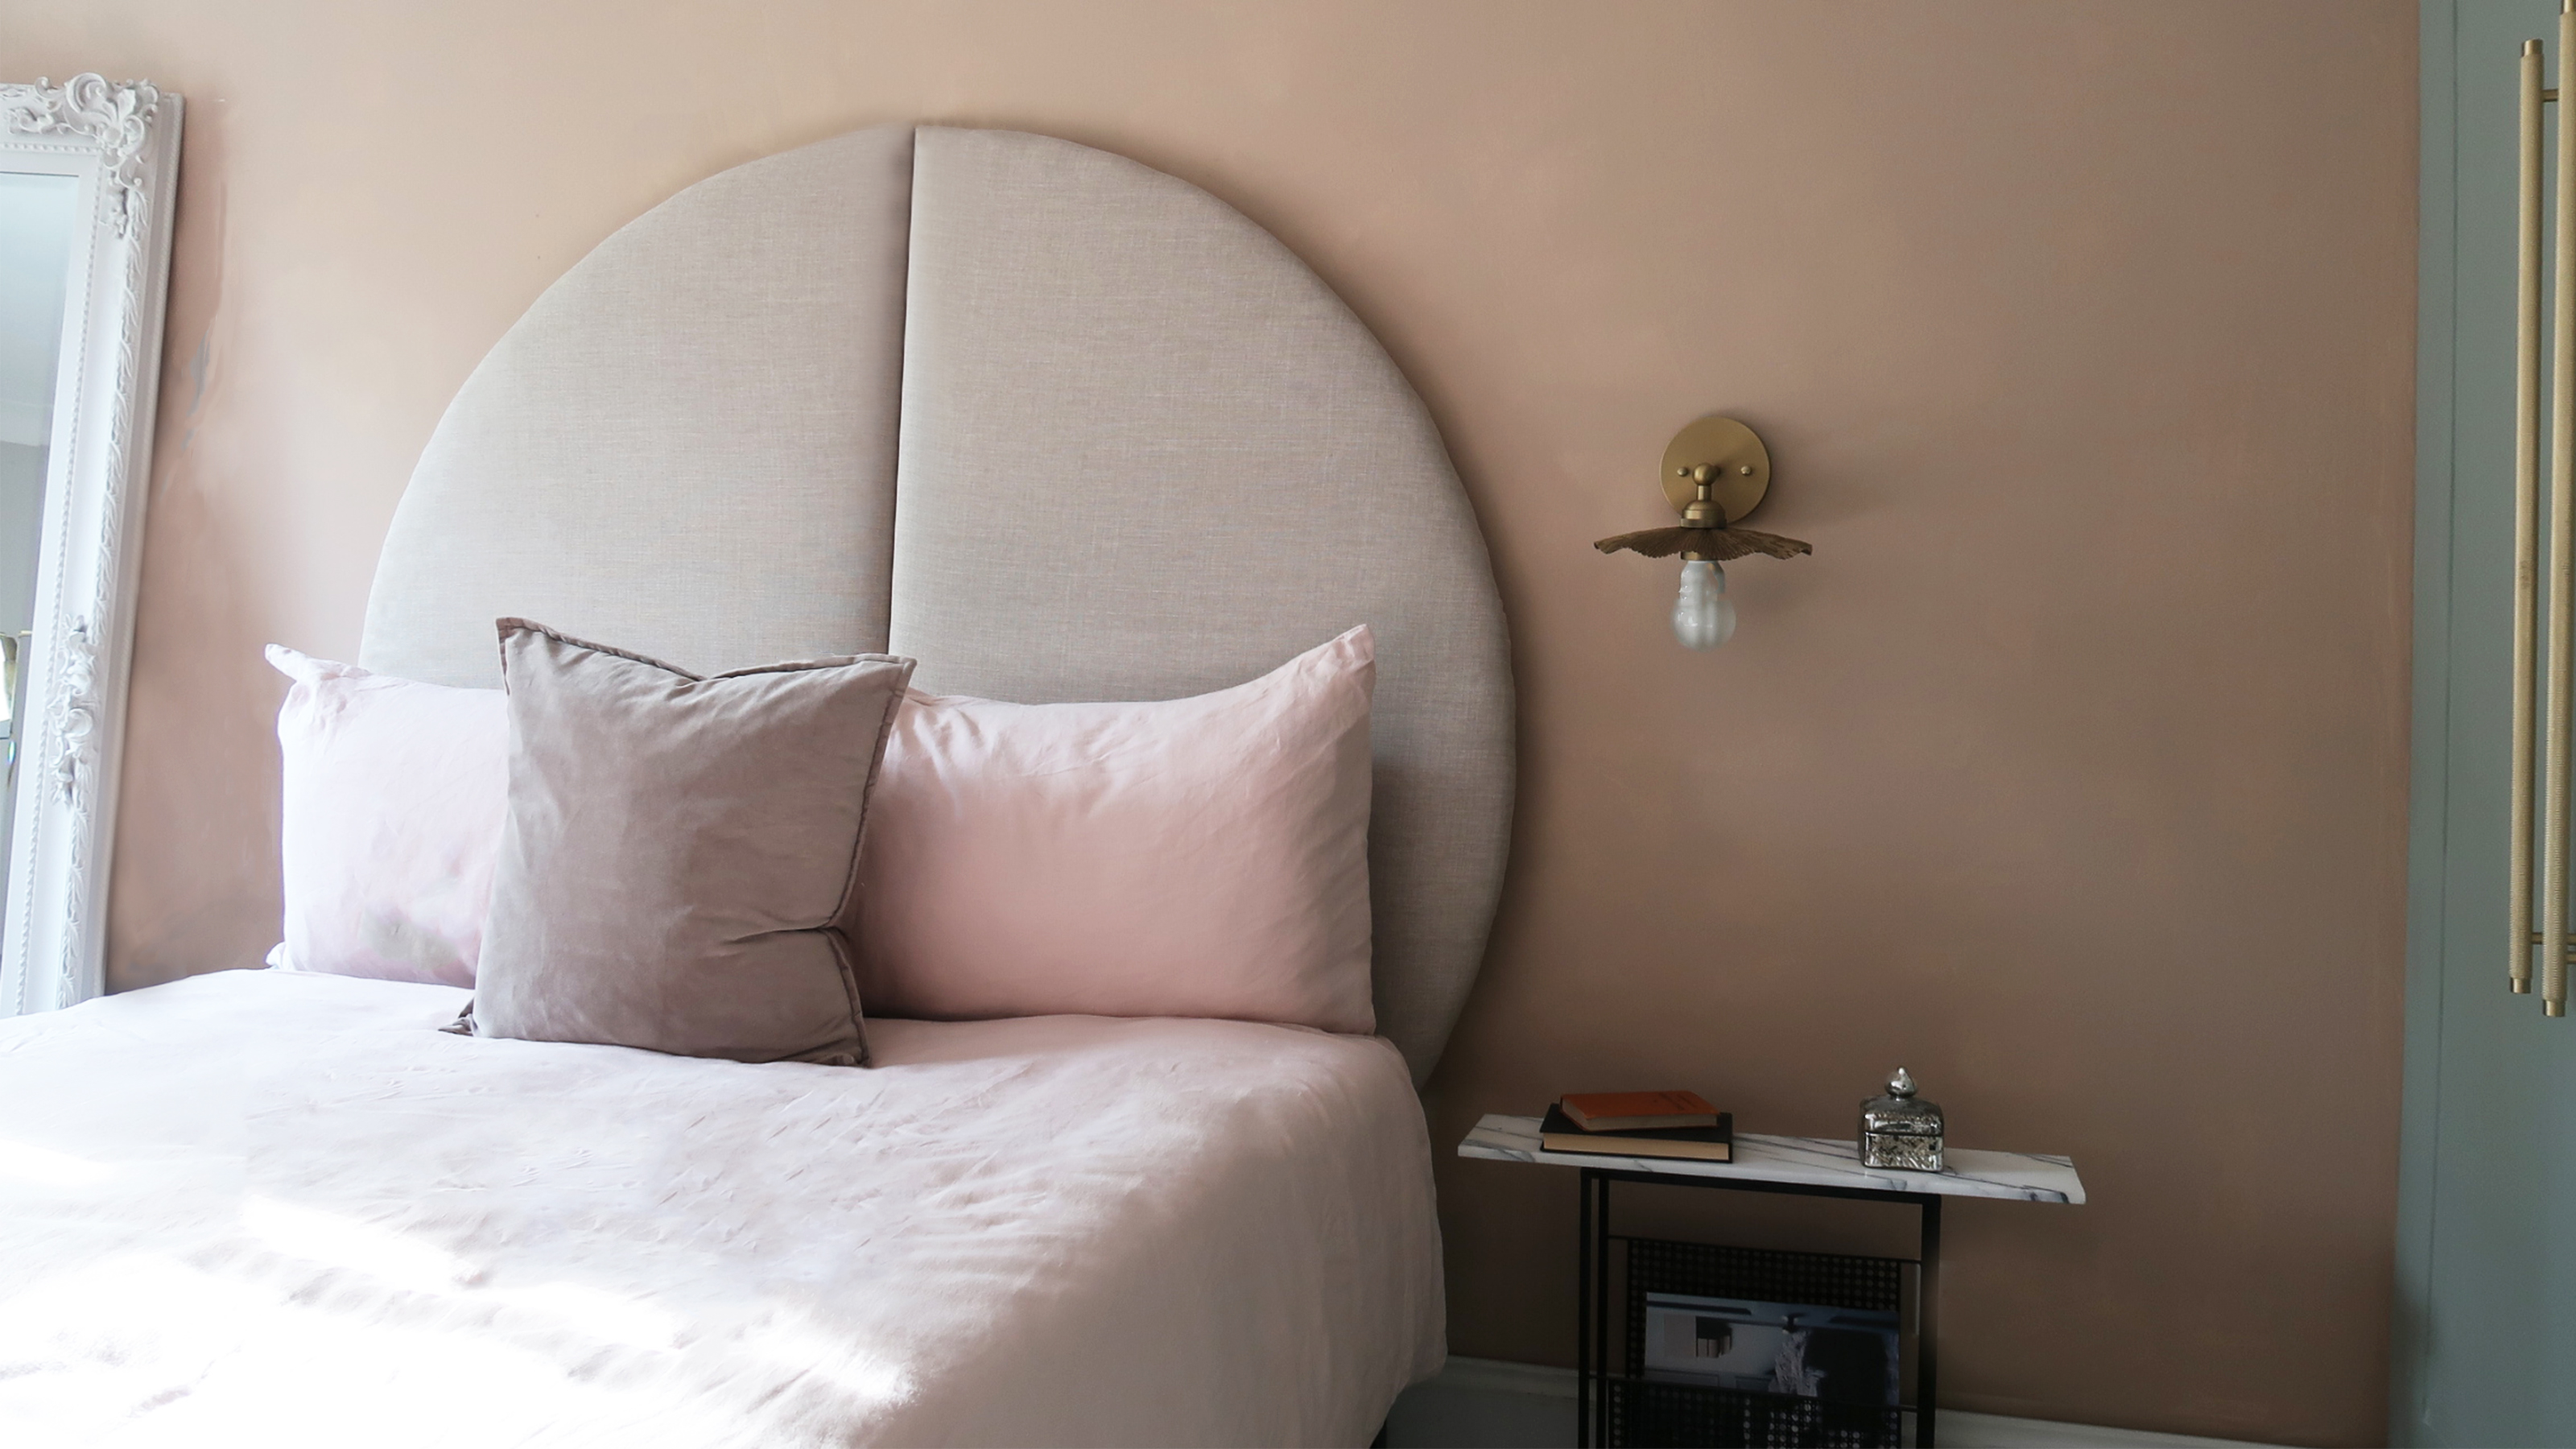 This oversized headboard looks designer, and takes 5 steps to DIY
Super simple to DIY, this oversized headboard will give your bedroom space all the designer vibes you could dream of.
By Claire Douglas
-
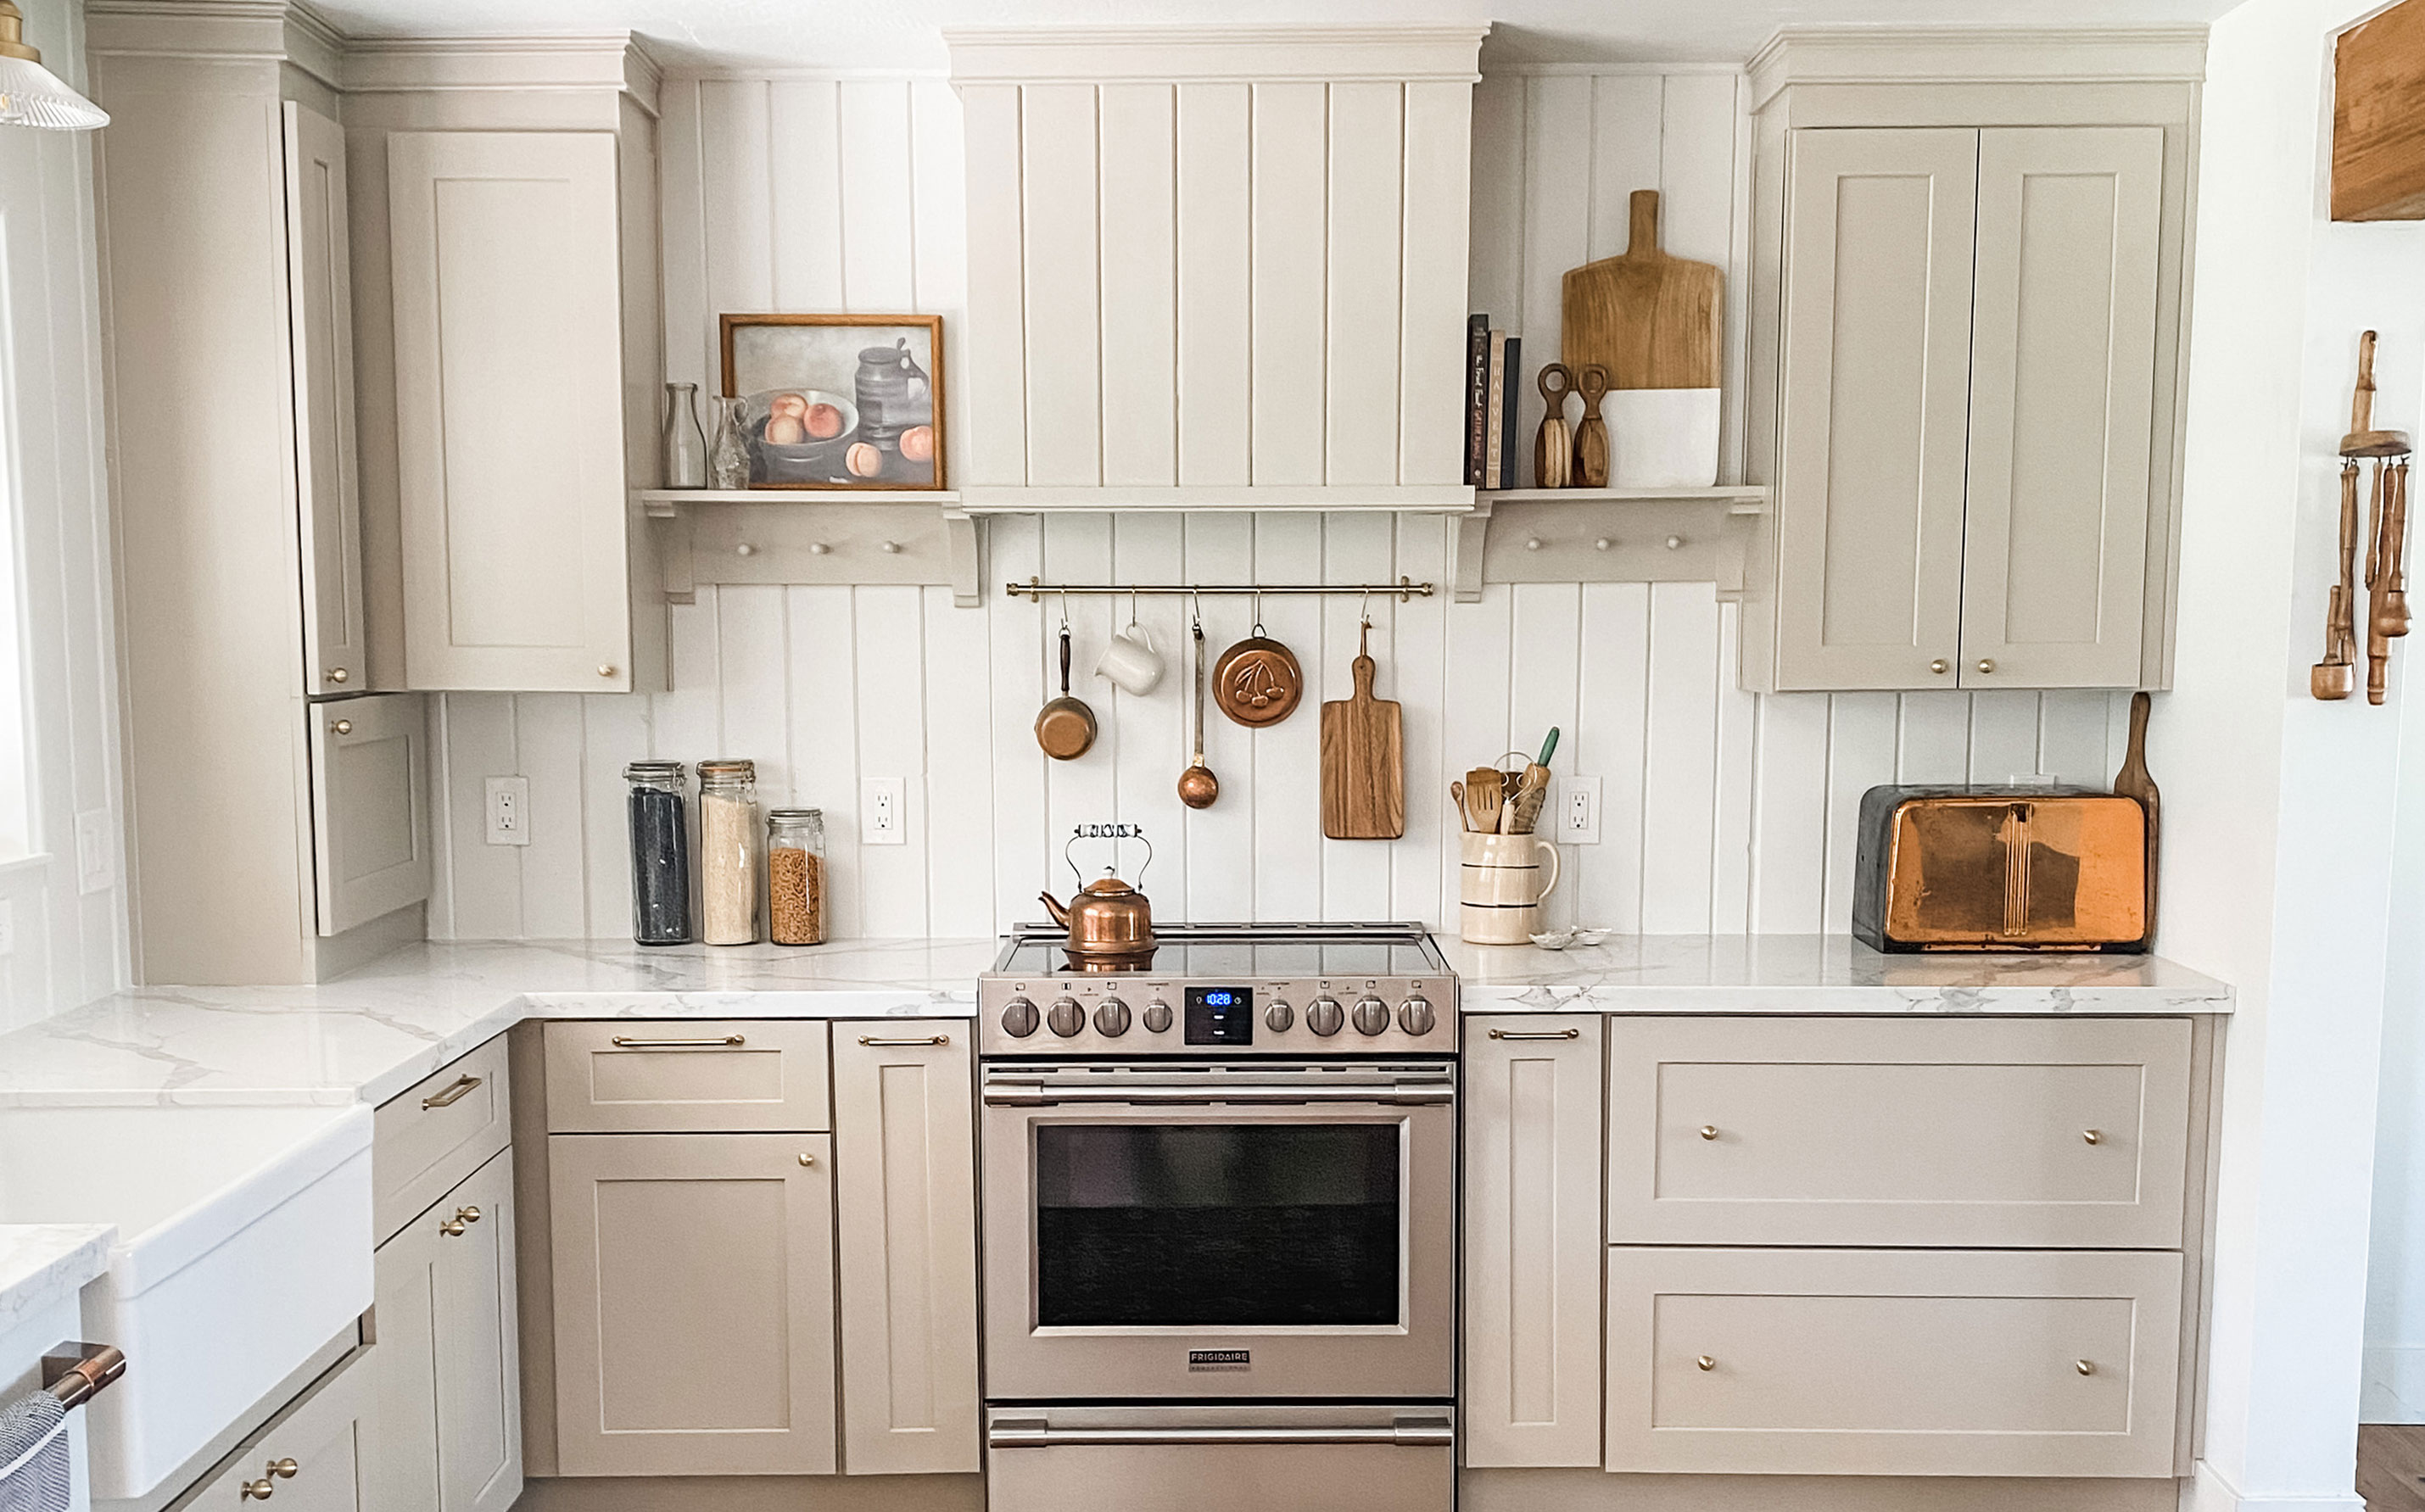 My DIY range hood and backsplash build gave my kitchen the perfect farmhouse finish
I craved charm in my kitchen space and adding a custom range hood and shelving was the best move.
By Brooke Waite
-
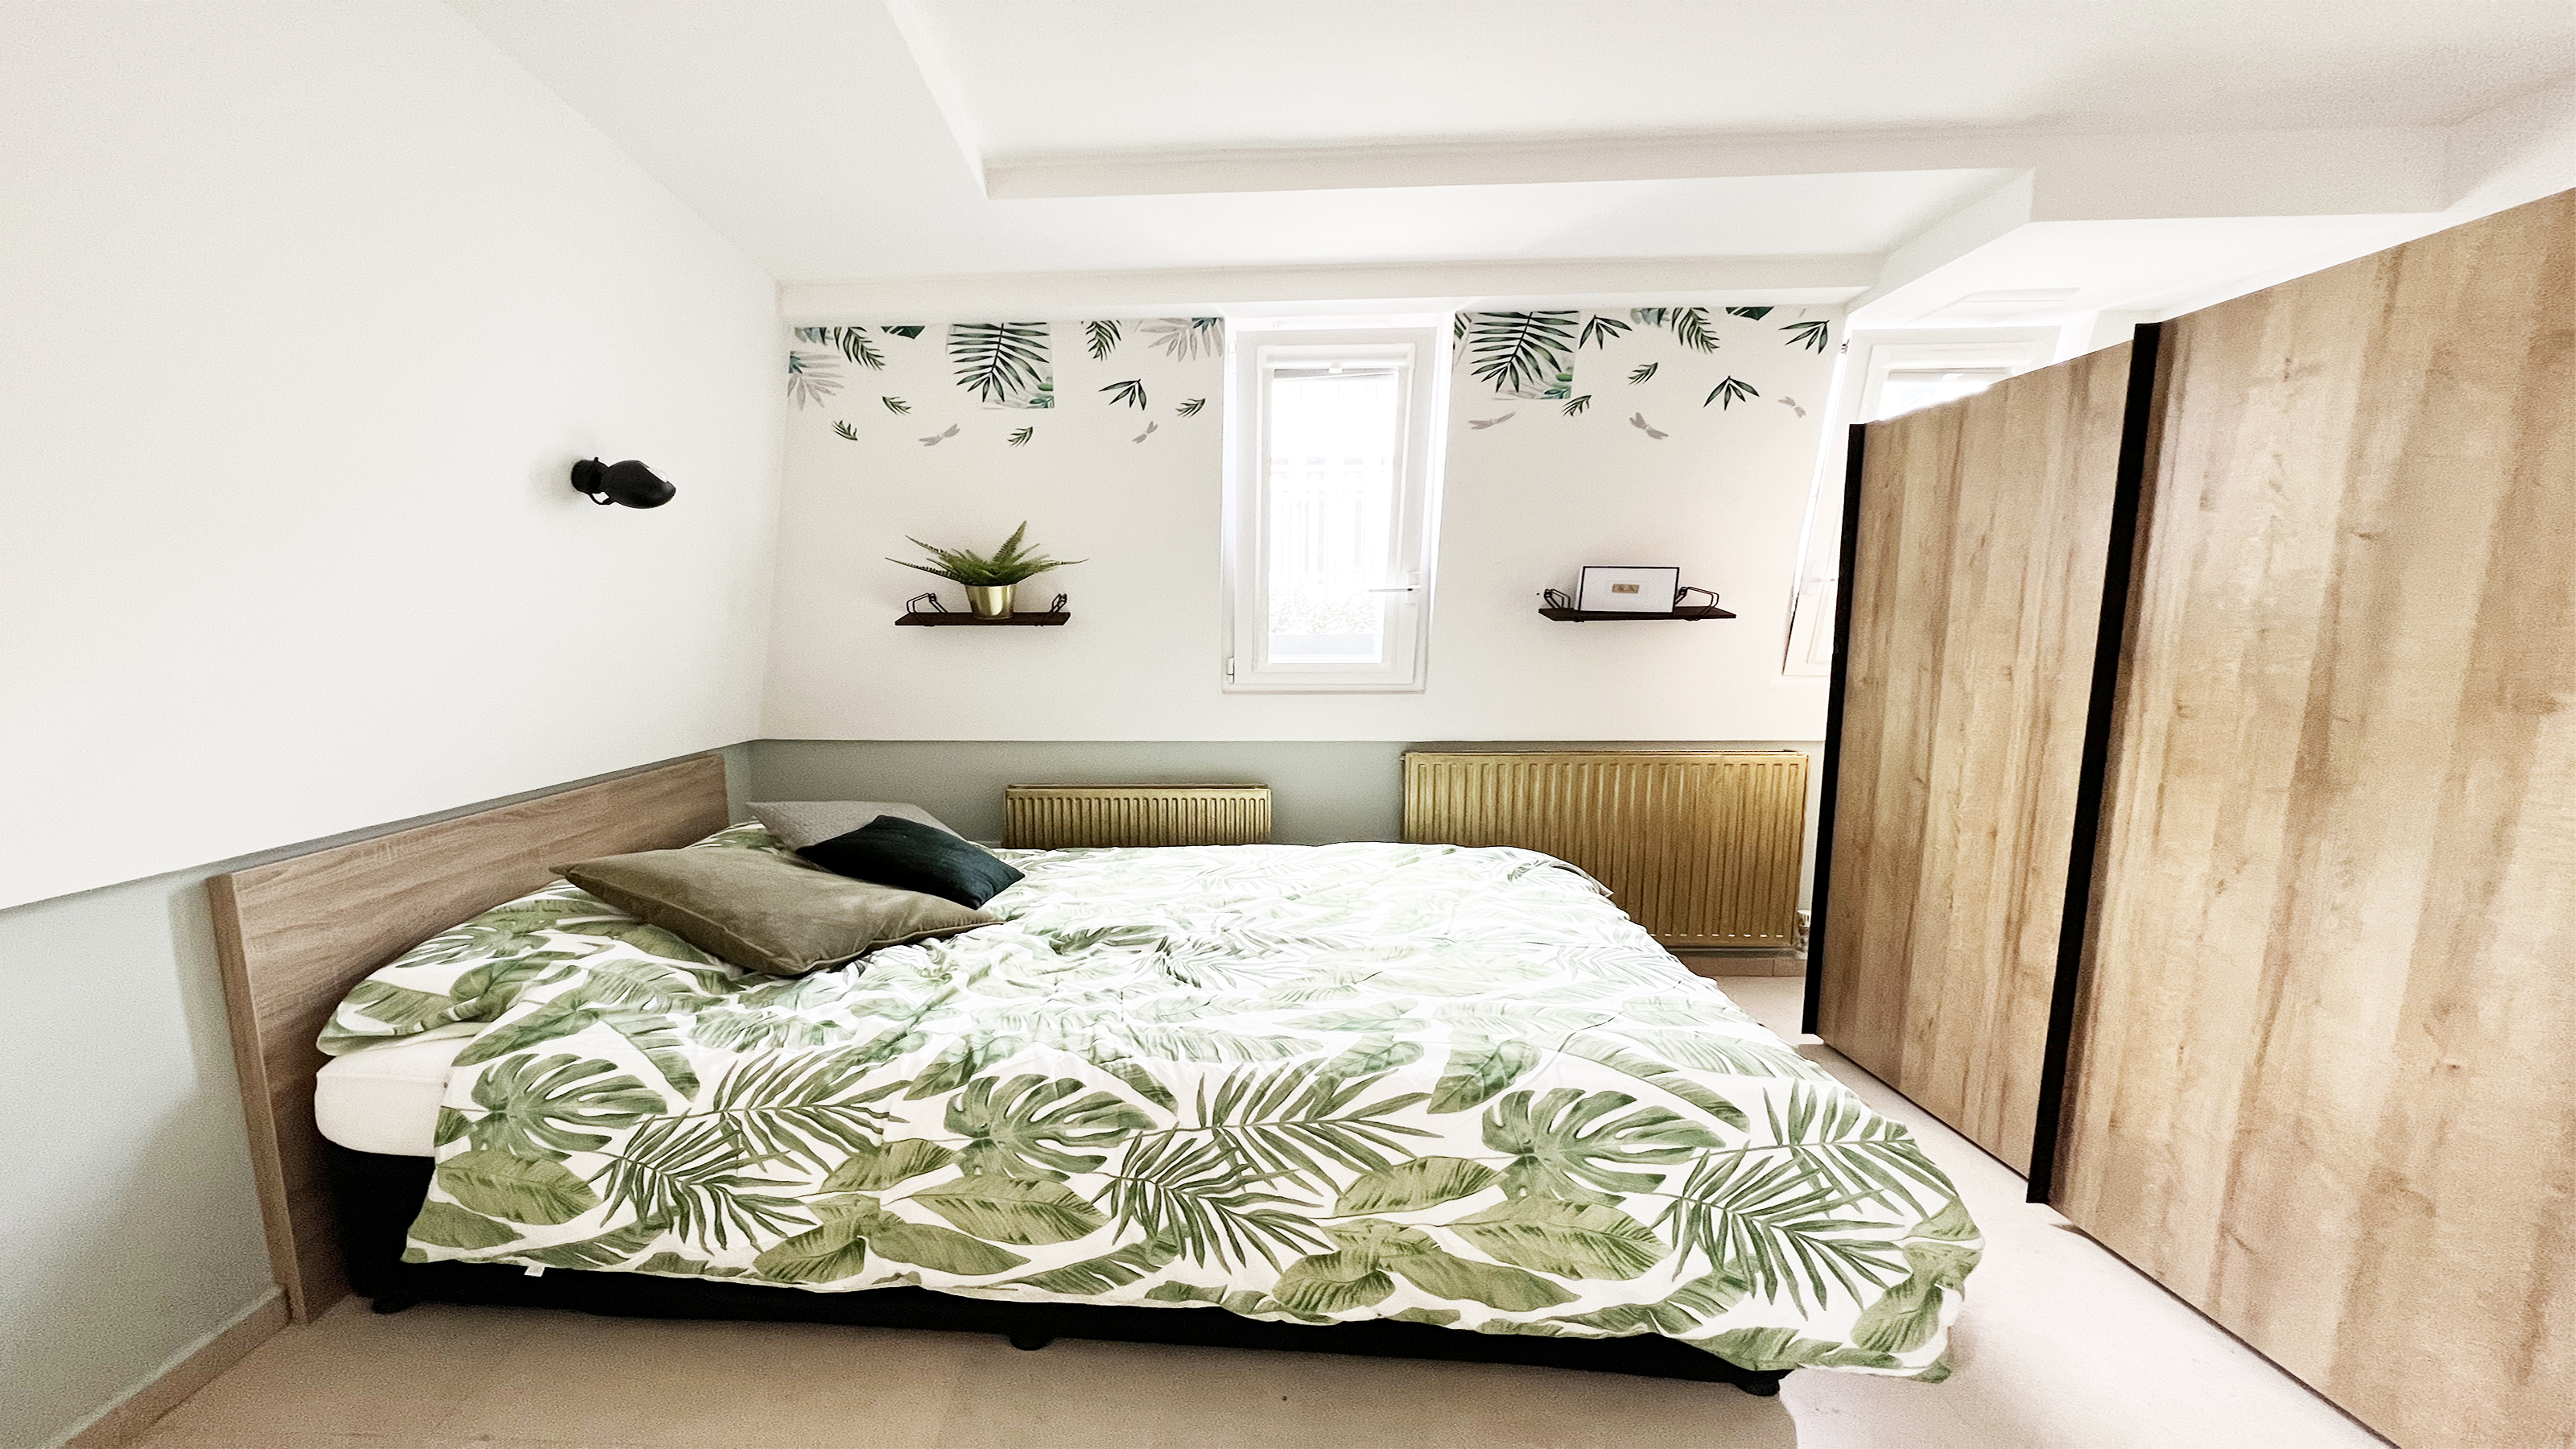 How to paint a radiator in 7 steps
Painting radiators properly is all about choosing the right paint and the best process. Get interior designer-worthy results with our how-to.
By Kate Sandhu
-
 How to install a door knob
Updating your interior and exterior doors can be as easy as changing out the hardware! The best part is that installing a door knob is very DIY friendly. Follow these simple steps and enjoy a fresh look on your doors!
By Dori Turner