

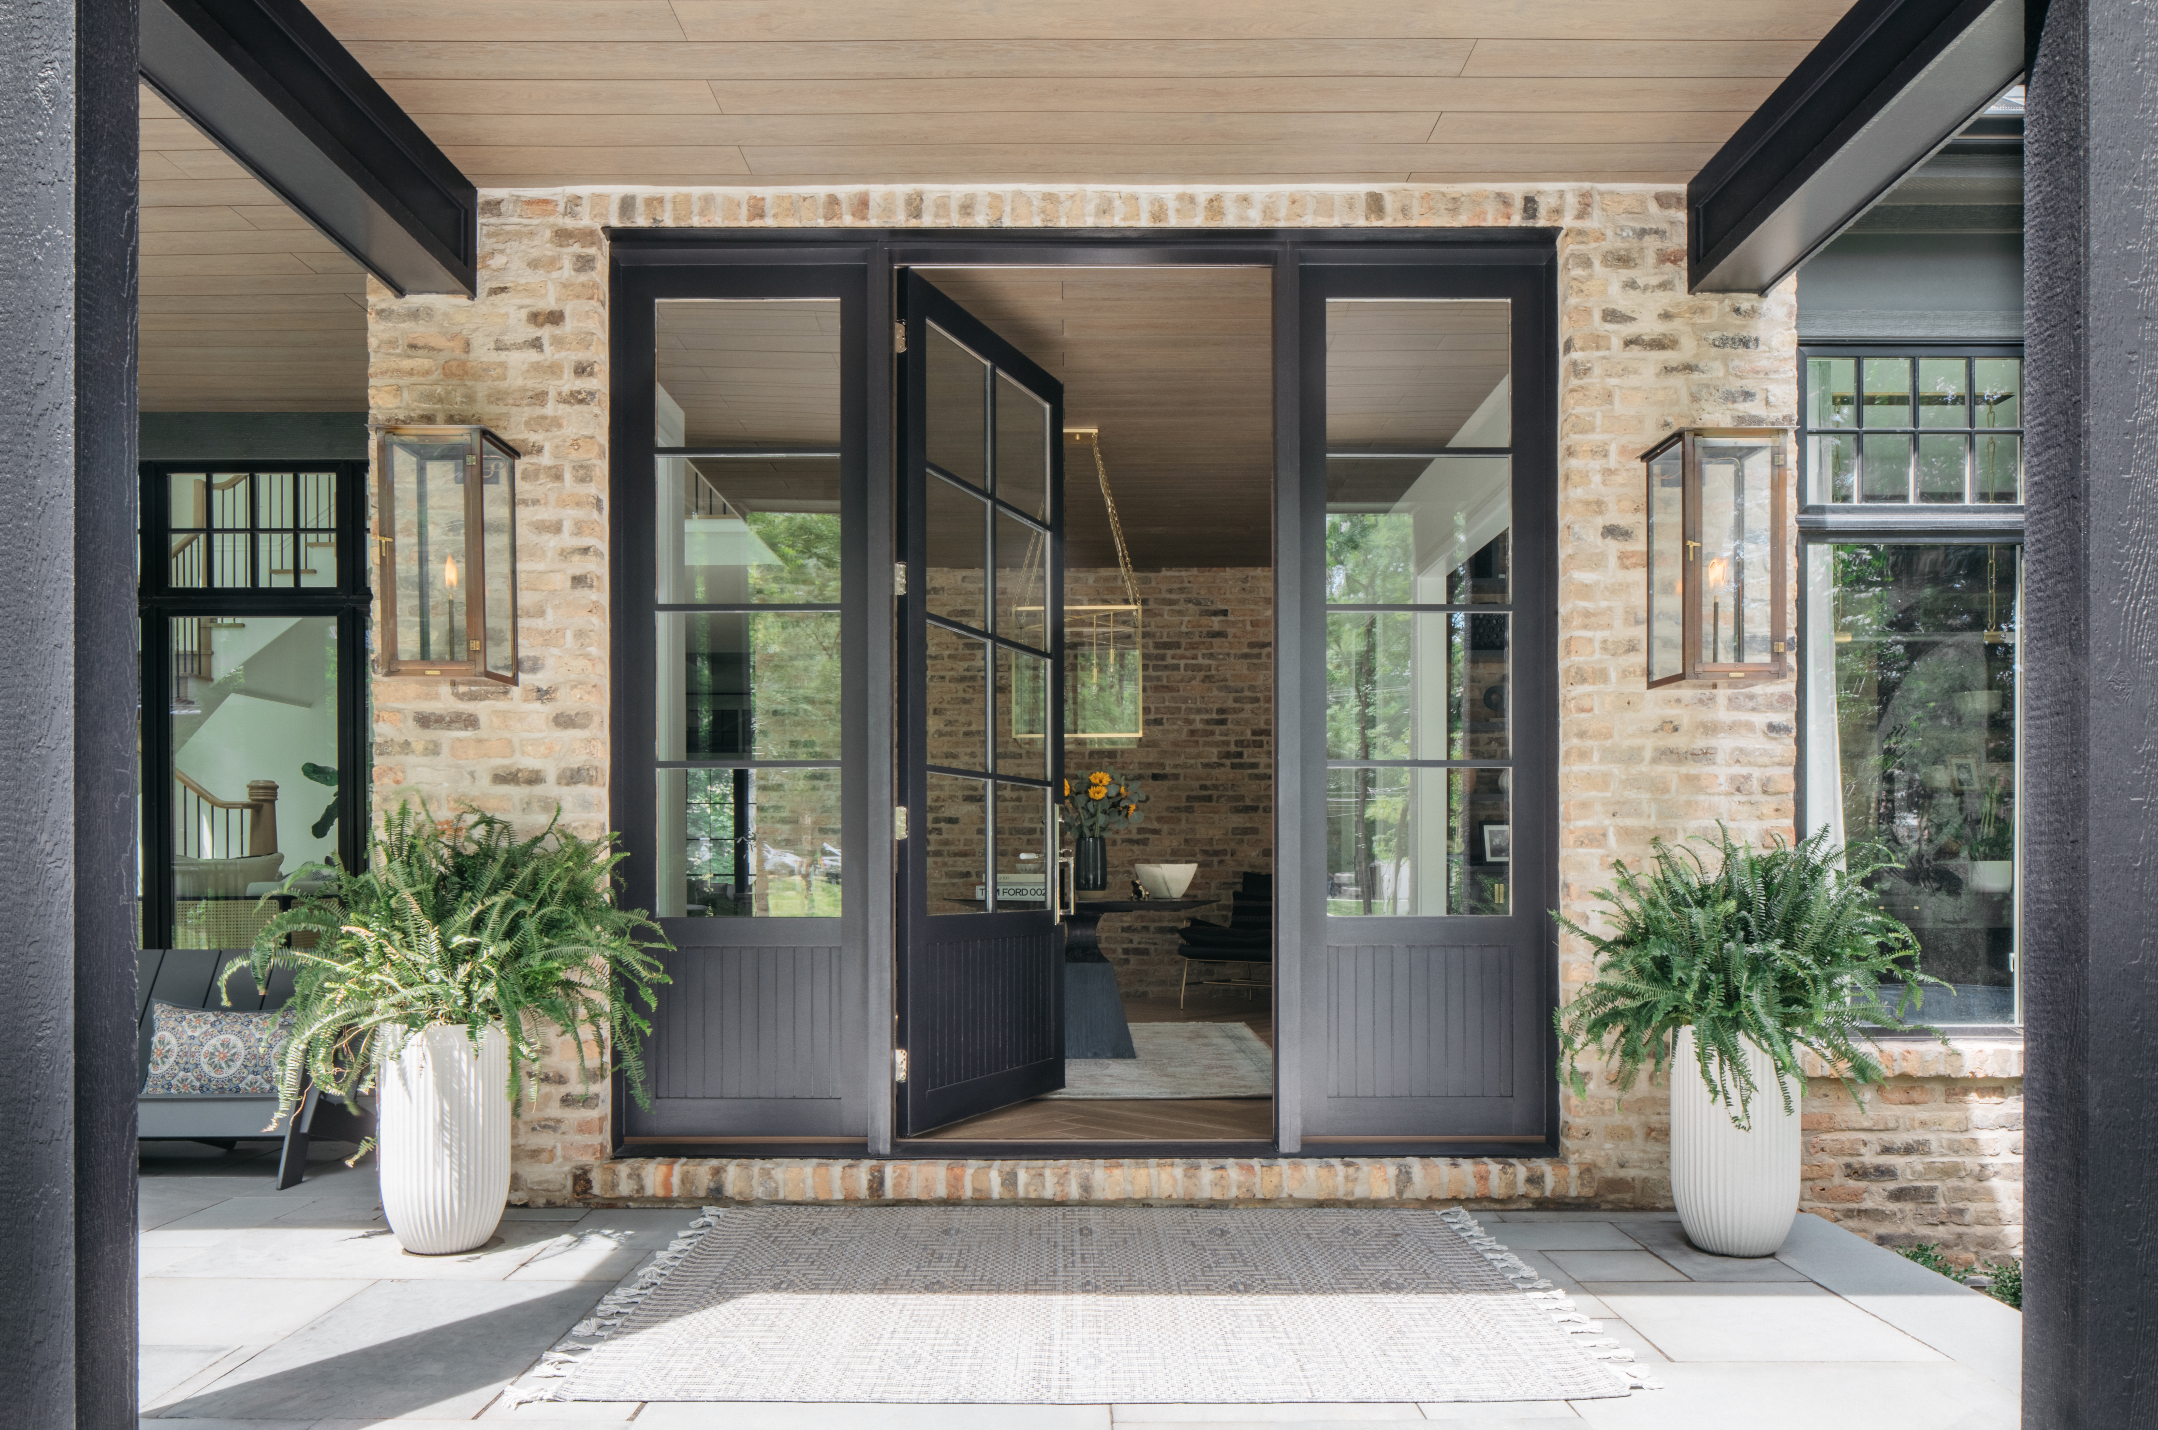
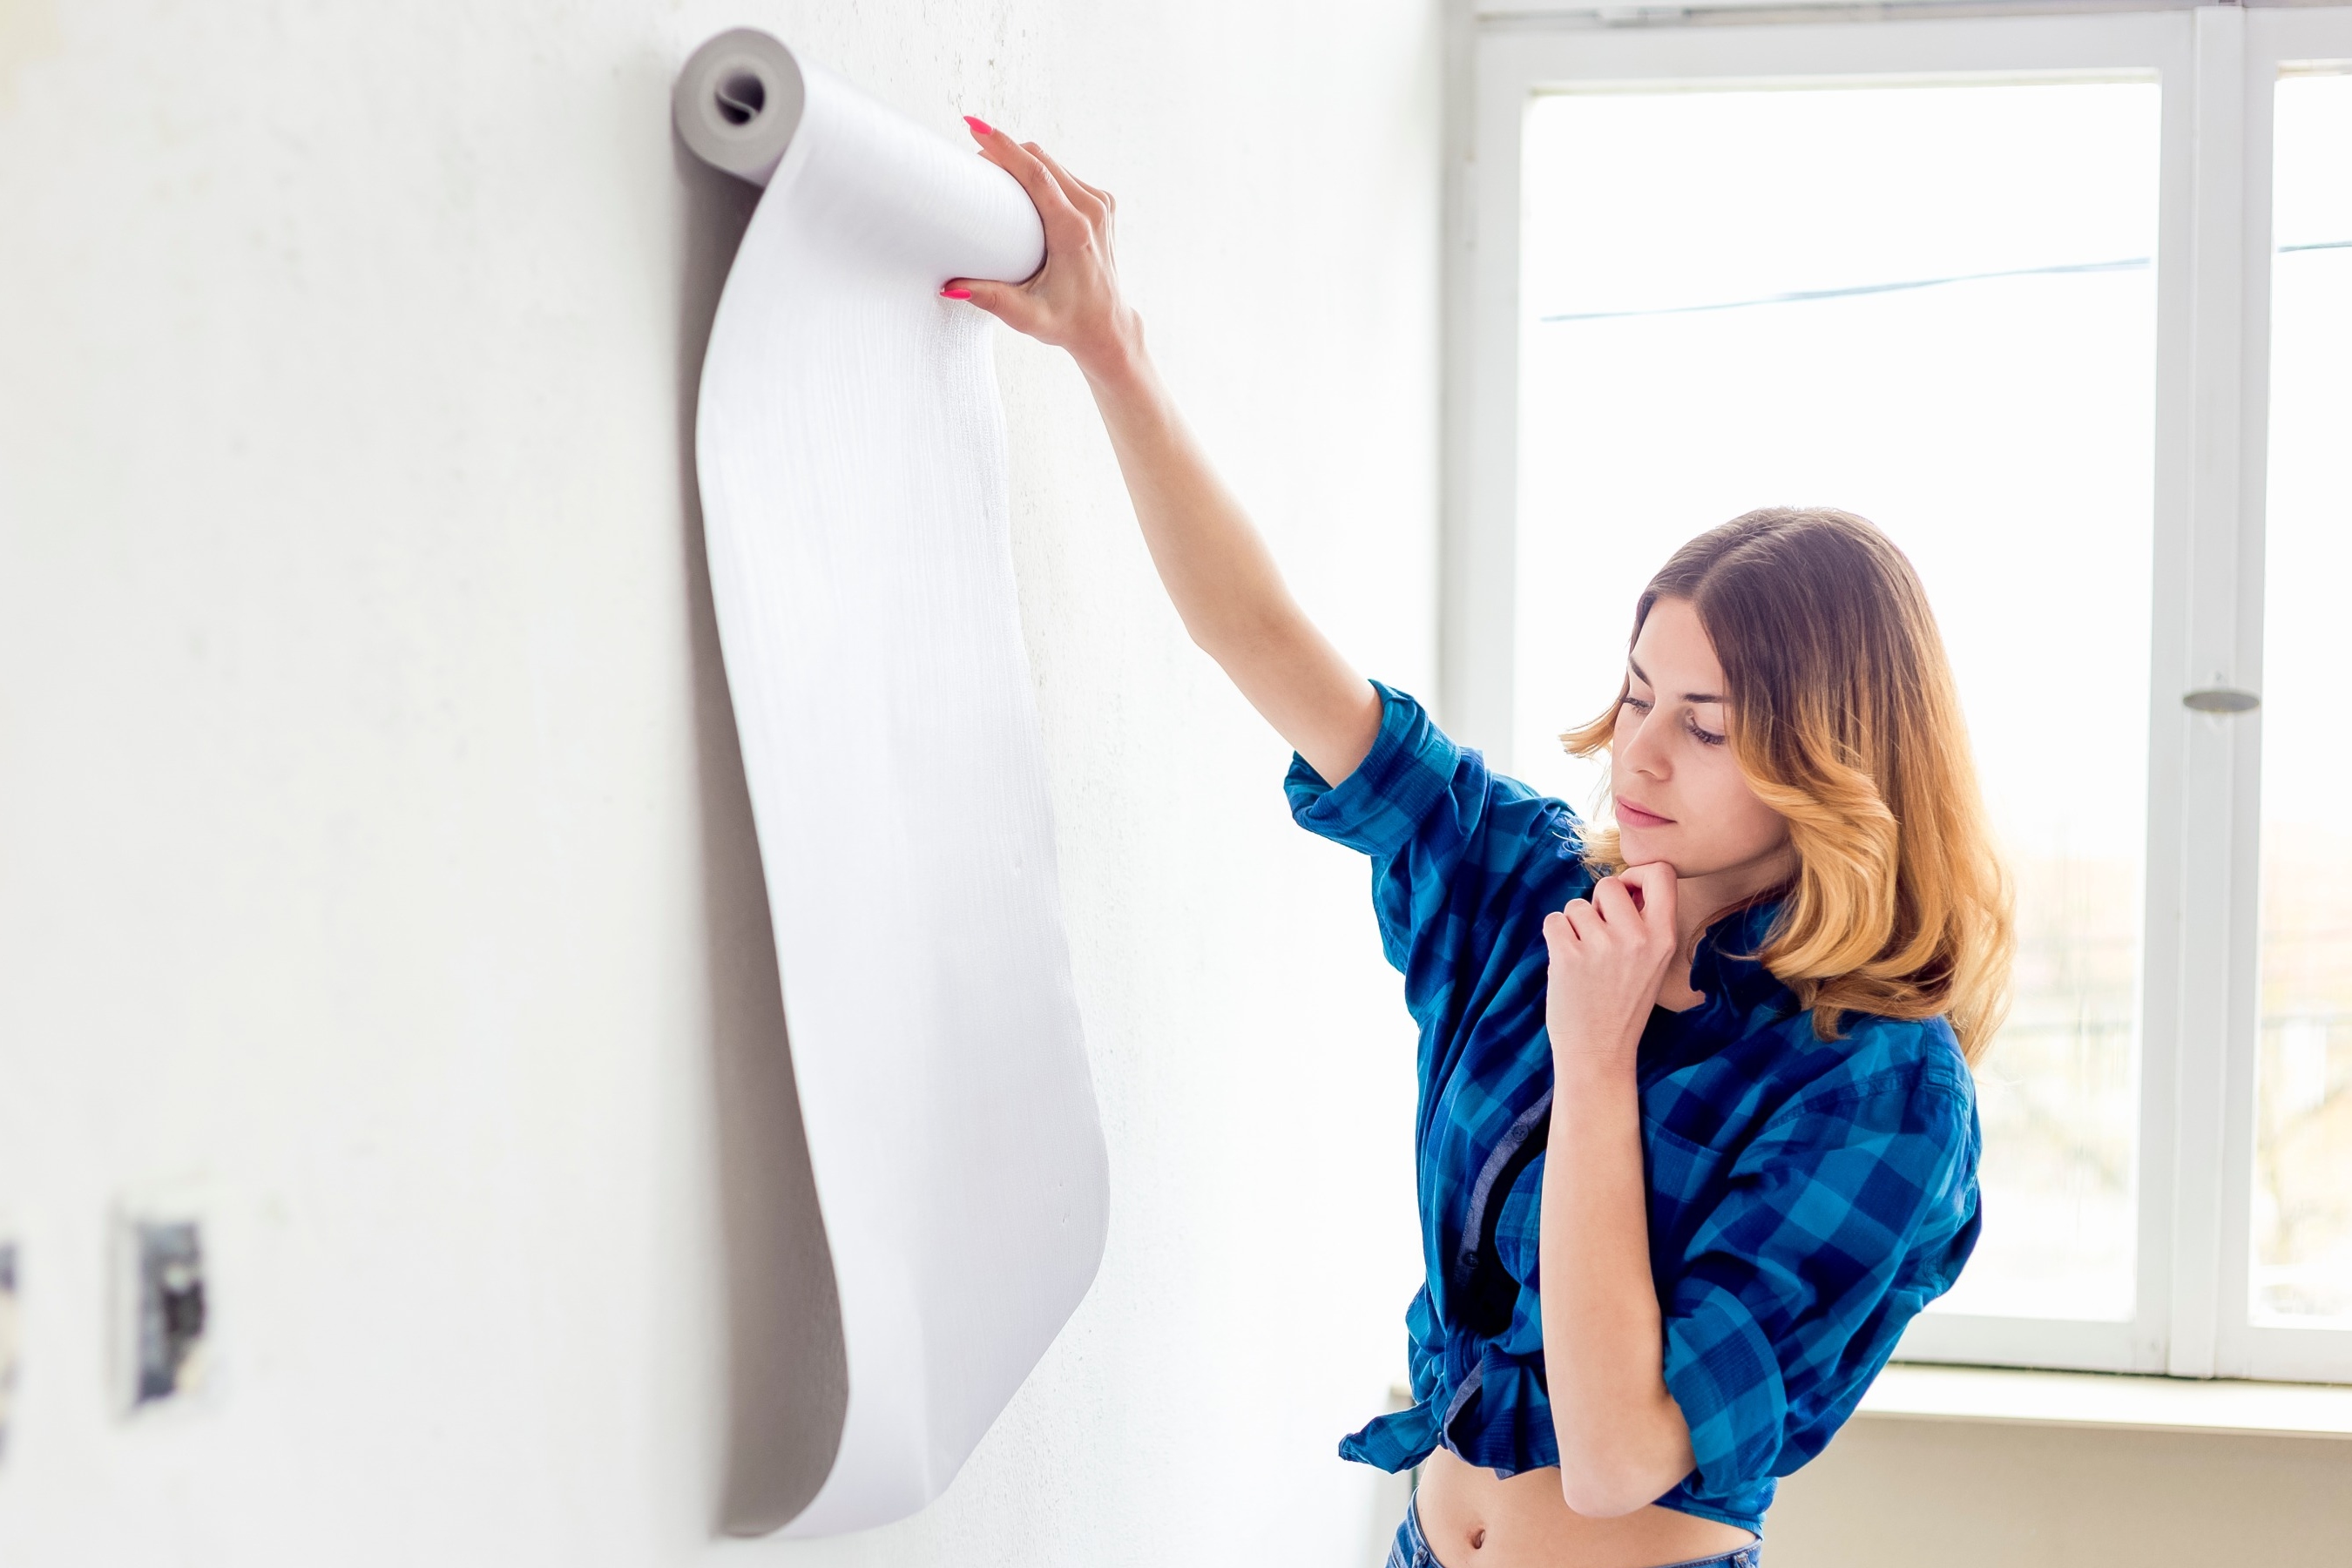
If your home has original coving – whether Victorian, Edwardian or Georgian – or more contemporary ceiling cornicing, then chances are it'll need some TLC as part of your house renovation. Layers of paint that build up over years can obscure the detail of the coving and need stripping back so that you can get a smooth, even finish.
Cracks can also appear in the coving that need careful filling before you apply another coat of paint. We've teamed up with builder Sian Astley to produce a step-by-step video guide to restoring your cornicing.
Once your coving is restored, check out our guides to painting a room and painting a ceiling.
Essential kit
Before you start, make sure you have the right tools. You’ll need:
- A paint stripping product like Peelaway, if required
- Ladder or platform to safely stand on
- Clean water
- Light disinfectant
- Cloths
- Non-abrasive sponges
- Soft filler
- Chisel
- Clean brush
- Sandpaper
- Paint, if using
Related articles: How to prepare and paint a wall | How to cut in when painting a wall or ceiling | How to paint a door
1. Strip off layers of paint
If your coving is covered in thick layers of paint, use a product like Peelaway to get it strip it back to the plaster and then you can paint from scratch. A paste is applied to the coving using a spatula, brush or trowel and the surface is then covered with a poultice blanket for the required amount of time. When stripping is complete, the blanket, paste and paint are removed with the stripped paint sticking to the blanket to prevent any harmful particles becoming airborne.
2. Sand and clean
If you don't have layers of paint to strip off, then start by giving the coving a sand and a good clean. Use sheets of sandpaper that you can shape into the nooks and crannies, then apply a mild detergent spray and then wipe off with clean water.

3. Refine the edges
To make the most of the decorative cornice, restoring defined, crisp edges is key. Using a small chisel or blade, carefully skim along the edge or the front-facing groove first to highlight the corners and right angles, chipping away any excess paint to get a smooth finish. Do the same along the other lines of your cornice, working down to the bottom, but being careful not to chop away too much and compromise the original shape.

4. Repair any cracks
Original cornice may have become damaged over the years, or you may find cracks that have been covered with paint once you’ve stripped it back.

First, use a small chisel to carefully chip away the edges of the crack, resulting in a more even surface, and then sand away any lumps so that the area is smooth.

Using a spatula or wide chisel, apply a pre-prepared soft filler to the area, filling the crack and smoothing over, so that when paint is applied, the finish is seamless. Make sure to not overload the filler – it’s best to use a little bit at a time and top up with more if required.

5. Clean the cornice again
After refining the edges and applying filler (and waiting for this to dry), clean the cornice with a cloth and clean water to remove dust. Finish by spraying on sugar soap and wiping away residue before you begin painting.
6. Apply your paint
You may like to leave your cornice stripped for a distressed look, but if you’re planning to paint it, use a basic matt emulsion. Apply the first coat, leave to dry and then paint over with a second coat. If you stripped the coving right back to the plaster, then you'll need to apply a primer before you begin applying your emulsion.
Check out these related articles
- Learn how to paint a room, walls and all, with our handy guide
- Find out how to cut in when painting walls and ceilings
-
 This colourful home makeover has space for kitchen discos
While the front of Leila and Joe's home features dark and moody chill-out spaces, the rest is light and bright and made for socialising
-
 How to paint a door and refresh your home instantly
Painting doors is easy with our expert advice. This is how to get professional results on front and internal doors.
-
 DIY transforms 1930s house into dream home
With several renovations behind them, Mary and Paul had creative expertise to draw on when it came to transforming their 1930s house
-
 12 easy ways to add curb appeal on a budget with DIY
You can give your home curb appeal at low cost. These are the DIY ways to boost its style
-
 5 invaluable design learnings from a festive Edwardian house renovation
If you're renovating a period property, here are 5 design tips we've picked up from this festive Edwardian renovation
-
 Real home: Glazed side extension creates the perfect garden link
Louise Potter and husband Sean's extension has transformed their Victorian house, now a showcase for their collection of art, vintage finds and Scandinavian pieces
-
 I tried this genius wallpaper hack, and it was perfect for my commitment issues
Beware: once you try this wallpaper hack, you'll never look back.
-
 Drew Barrymore's new FLOWER Home paint collection wants to give your walls a makeover
Drew Barrymore FLOWER drops 27 brand-new paint shades, and every can is made from 100% post-consumer recycled plastic.


