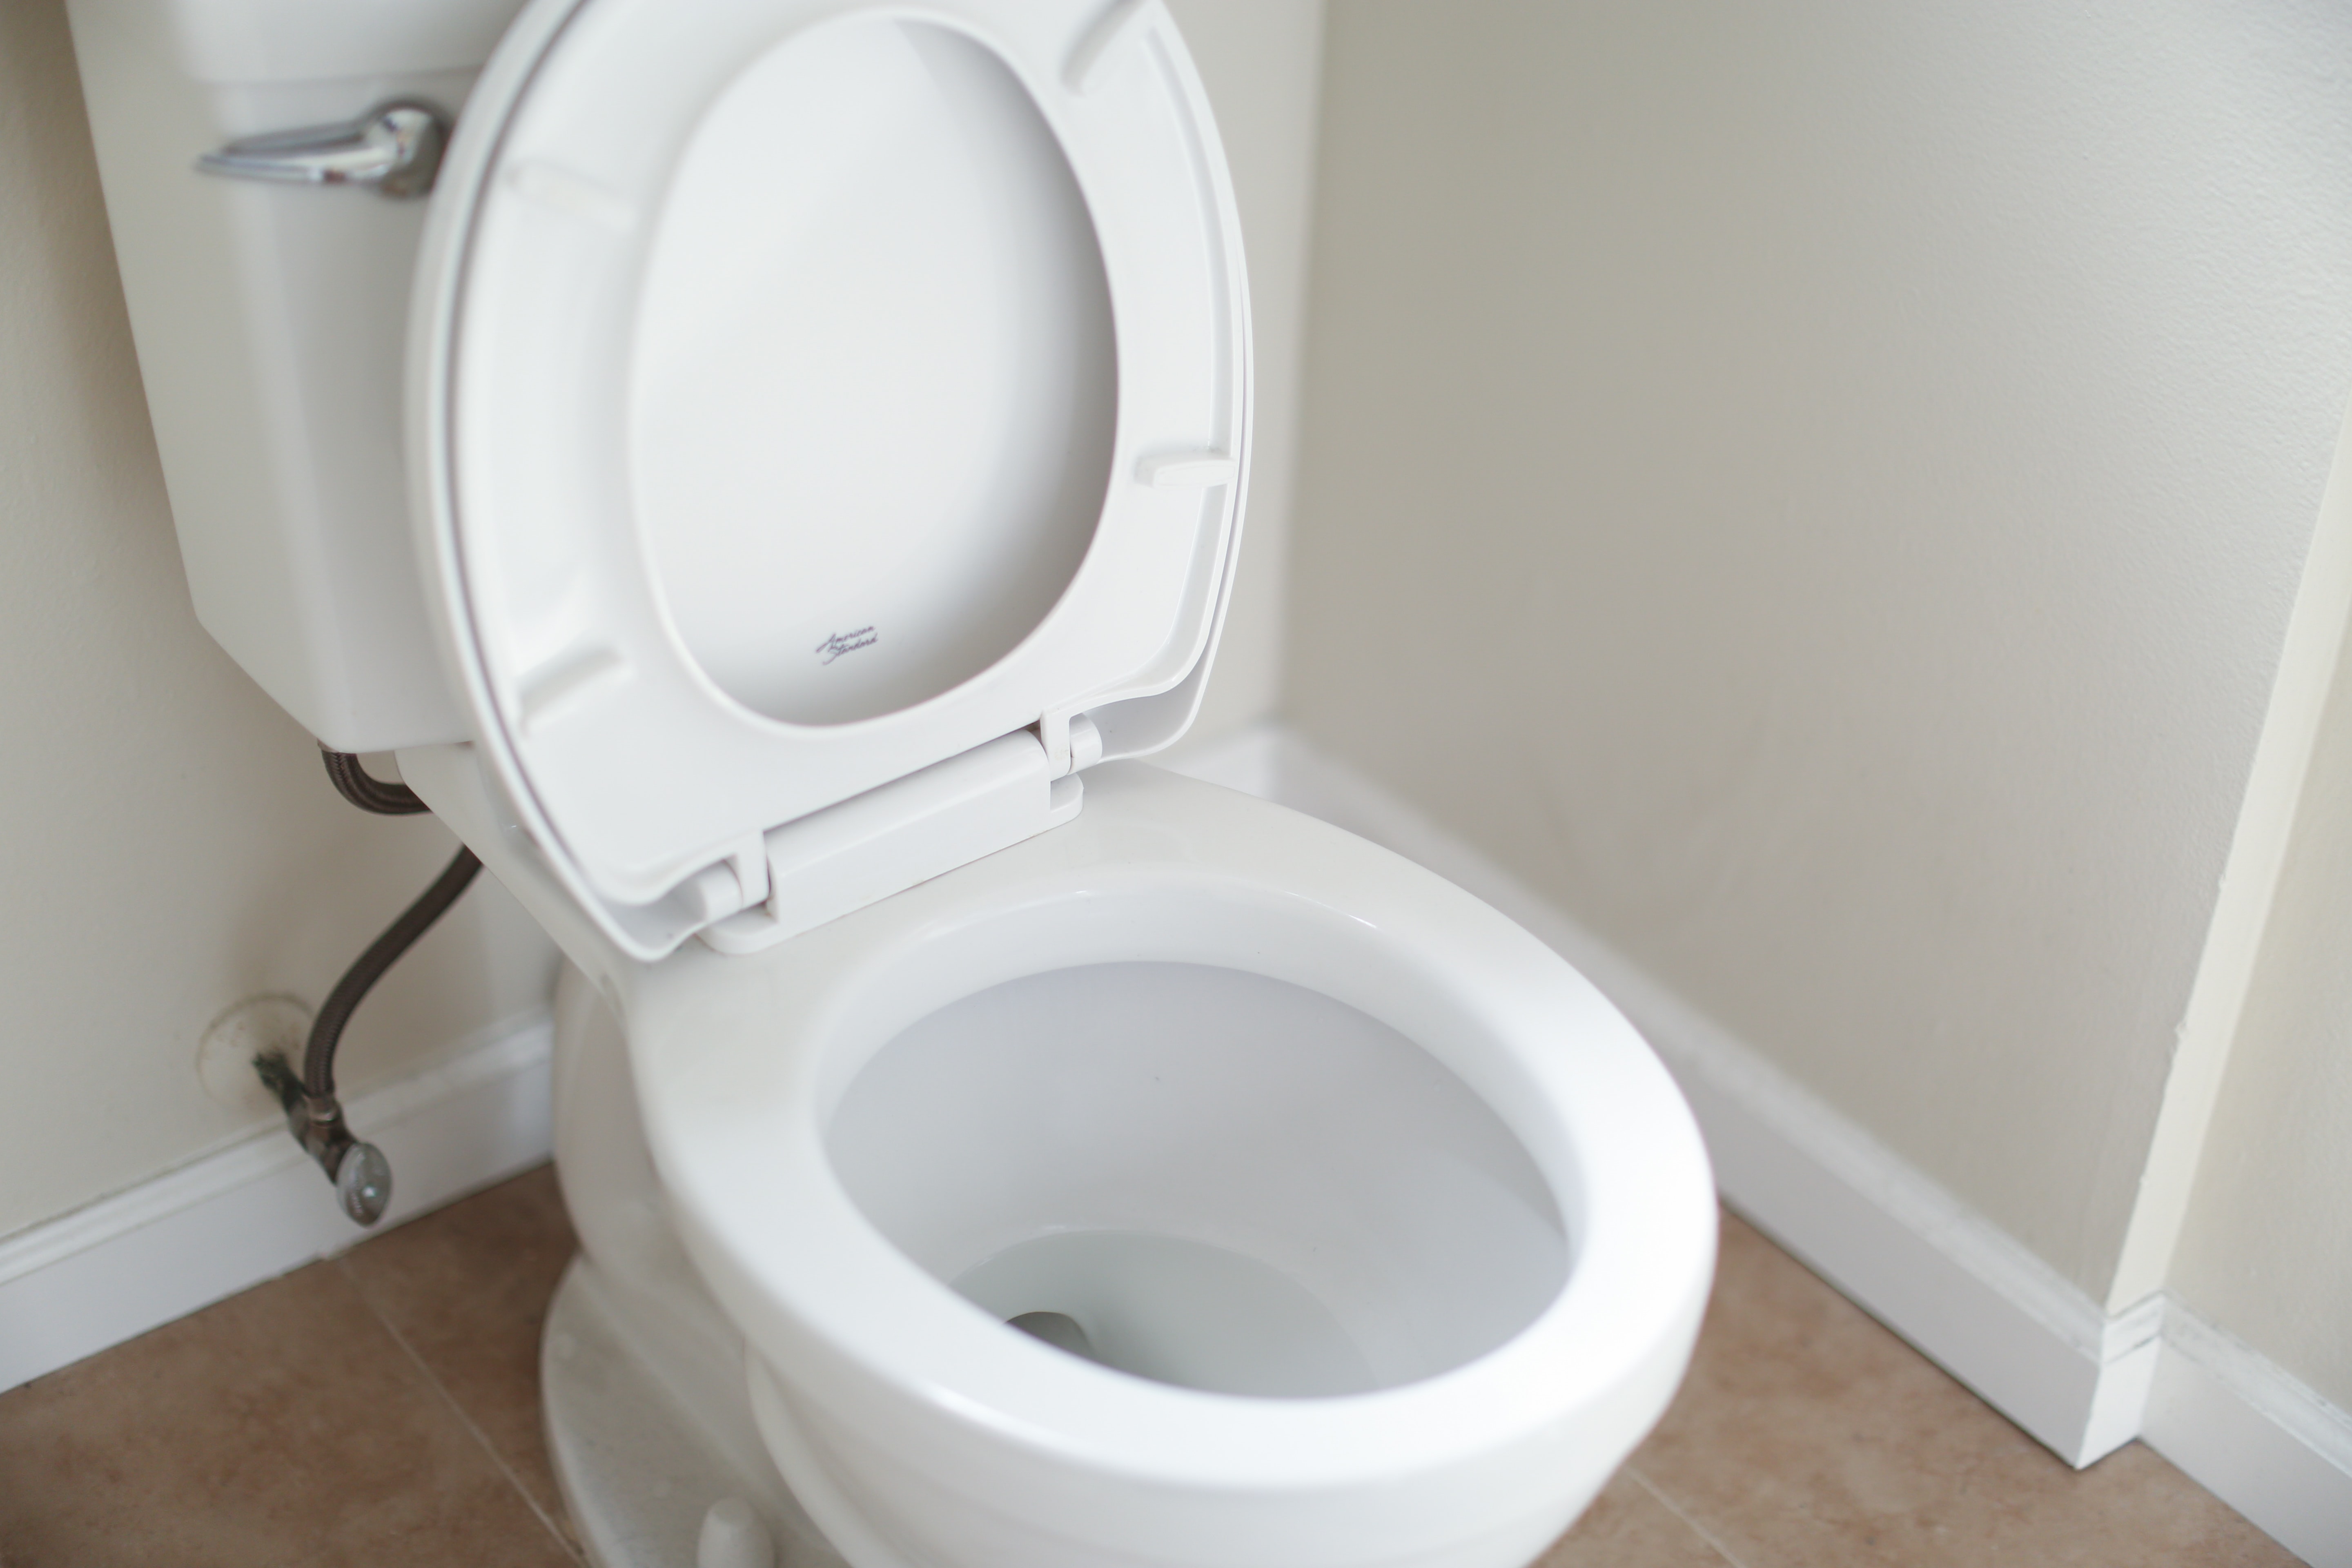
A toilet is likely the hardest working seat in your house, but even it needs to be upgraded occasionally. If it’s cracked and leaks, is older than more water-efficient models, isn’t the right size and shape for older family members, or is simply an outdated color, you should replace it – yes, even the best toilet seats should be replaced every once in a while! The good news is, as intimidating as swapping out the toilet seems, the job is pretty straightforward.
- Remodeling? Find out how much a bathroom remodel costs
Do I need a plumber to change a toilet?
Replacing a toilet is a basic DIY project. You will need a handful of tools to complete the process and enough help to remove and carry the old toilet out. As long as you’re comfortable working in tight spaces and on your knees, you don’t need to hire a plumber.
What tools and materials will I need to change a toilet?
You can replace a toilet with some basic tools including:
- slip joint pliers
- an adjustable wrench
- utility knife
- a hack saw
When shopping for a new toilet, confirm it includes a new wax ring, and if not, purchase one at the home center. The new toilet will also include the hardware needed to fasten the toilet to the floor. But some cheaper toilets use a zinc-coated metal that looks yellow—you want to use longer-lasting brass. If you’re unsure about the metal, pick up a pack of brass closet flange bolts too. It’s also a good idea to have some rags, a sponge, and a bucket handy to sop up water and prevent sewer gasses from filling the bathroom.
Before you go shopping for a new toilet, take some measurements
There are a couple of key measurements you’ll need before you shop for a new toilet. Most bathrooms have about 12 inches between the wall behind the toilet tank and the center of the fixture’s waste line. It’s important because if your bathroom is less than 12 inches you might need to special order a toilet to fit.
With a tape measure, find the distance between the wall, baseboard molding, or heating element behind the toilet and the center of the capped bolts at the base of the bowl that holds the toilet to the floor. If your measurement is less or more than 12 inches, your stock choices at the home center might be reduced.
The second measurement is the depth of the seat. Round toilets have a 16 1/2-inch-long seat, measured front to back. If you’re simply replacing a round toilet with a new round one, you should be all set. But if you’re upgrading to an elongated toilet that is 18 1/2-inches with extra space, you’ll want to make sure it doesn’t prevent doors and drawers from opening. Also, most two-piece toilets don’t come with a seat, which you need to purchase separately.
- Keep reading: 38 DIY home repairs you can do yourself
How to replace the toilet
Once you have everything you need, follow these steps to replace your toilet.
Step 1: Shut the water off to the toilet
All toilets have a supply valve that controls the flow of cold water to the fixture. It’s located on the left-hand side, behind the toilet, on the wall or the floor. Turn the valve clockwise to close it.
Step 2: Drain the toilet
Remove the tank’s lid. Flush the toilet and hold the lever down to encourage the water to drain into the bowl. There will always be some clean water left in the tank. Absorb the rest of the water into a sponge and bucket. While wearing gloves, use the sponge to remove as much of the water from the bottom of the bowl as possible. If you leave some behind, that’s okay, it won’t spill out of the toilet as long as you keep it upright while removing it.
Step 3: Break the water connection
The supply valve brings cold water to the tank with a flexible, braided supply line, which you have to remove. The line connects to both the valve and the underside of the tank with threaded connections. Undo the white connection to the underside of the toilet with your hands, or if it’s stuck, a pair of slip-joint pliers. Then, remove the supply line from the valve with a pair of adjustable wrenches: use one to loosen the fitting and the other to hold the valve steady so you don’t weaken its connection to the copper pipe, causing a leak. If the connections at the valve or the tank are stubborn, which happens if they’ve been in place for a few years, spray them with penetrating oil to break down the corrosion.
Step 4: Separate the tank from the bowl
Before you free the toilet from the floor, you have to decide if you can lift the toilet in one piece. If you’re working alone or can’t lift toilets, which can weigh up to 100 pounds, you might want to separate the tank from the bowl. Bolts underneath the tank connect it to the bowl. Loosen them with an adjustable wrench and then lift the tank straight up and out of the room.
Step 5: Cut the closet bolts and remove the toilet
Toilets are held to the floor with a pair of bolts that come up through the base of the bowl. Use a screwdriver to pop the plastic decorative caps off the top of these bolts. Then use an adjustable wrench to loosen the nuts holding the bowl down. If you’re lucky, they will turn. If the nuts are rusted in place use the penetrating oil to try and free them. If that doesn’t work, reach for a metal-cutting hacksaw blade—ones designed for plumbing are called close-quarter blades—to cut through the bolt by slicing between the underside of the nut and the plastic washer below it. With both bolts removed, cut any caulk used at the base of the toilet with a utility knife.
Before lifting the toilet off, plan on where you’ll rest it. The underside of the bowl will have wax on it (and some water inside) so rest it down on a piece of plywood or cardboard. Gently rock the toilet back and forth make sure that the caulk seam is broken. Then lift the toilet bowl straight up and out of the room.
Step 6: Remove the old wax ring
Between the underside of the bowl and the waste line is a rubber gasket covered in wax used to make a tight seal. Twist the remainder of the two closet bolts out of the white plastic flange, noting their location. Then scrape off the old wax ring with a putty knife removing as much of it as possible; use a rag to get into nooks and crannies. But don’t worry, you don’t need to get it spotless. Now stuff a rag into the pipe to prevent sewer gas from filling the room. If the flange—the white plastic ring on the floor—is cracked or wiggling you might need to purchase either a stainless-steel repair ring or a whole new flange. The good news is these parts are available at most home centers. Snap a photo of the flange and take it with you when shopping so you can show an employee at the home center or plumbing supply shop.
Step 7: Add new closet bolts
Remember the two bolts you removed earlier? Add the two new ones that came with your toilet, or that you purchased separately, so the threaded end faces up in the same spots. It’s easier to set the new wax ring onto the flange in the floor as opposed to on the bottom side of the new toilet. Remove the rag, and press the new wax ring into place pressing it lightly to ensure a good seal against the plastic.
Step 8: Position the new toilet
It’s often easier to attach the tank to a bowl before installation when you can move around the toilet easily. But if you can’t muscle it, you can put the tank on later. Hold the new toilet over the flange. You might need some help guiding the bowl down over the bolts—oddly one of the more challenging parts of the installation. Once the bowl is over the bolts and on the floor, press down on it firmly to deform the wax ring to the underside of the bowl. Be careful not to move the seat once the bowl is down.
Step 10: Add new nuts
Slip the plastic washers, metal washers, and metal nuts over the threaded brass closet bolts. Finger tighten both at first. Then working with an adjustable wrench, tight them by alternating between the two until the toilet is snug. This keeps the pressure on the wax ring even on both sides, which lessens the chance you’ll break the seal. Don’t overtighten the nuts, which can crack the porcelain bowl. Often the bolts are taller than required. Cut them just above the top of the nut on each side with the close quarter saw.
Step 11: Attach the tank
If you didn’t do this earlier, bolt the tank to the new bowl by following the manufacturer’s instructions. Some brands require you to tighten two or three nuts. Some brands may have you attach the gasket to the bottom of the tank too, though many do this for you.
Step 12: Add water
Add the water supply line by threading it onto the valve and the bottom of the toilet tank. Now test for leaks: Slowly turn on the water valve by spinning it counterclockwise. Let the tank fill, then flush the toilet. Check for moisture and dripping where the tank meets the bowl and where the bowl meets the floor.
Join our newsletter
Get small space home decor ideas, celeb inspiration, DIY tips and more, straight to your inbox!
Sal Vaglica has been covering all aspects of home improvement for over 10 years, for publications like The Wall Street Journal, This Old House, and Men's Journal.
-
 How to fix a garbage disposal – 5 common problems and the best solutions
See how to fix a garbage disposal that is humming or simply not working as it should. These are the 5 most common problems and fast solutions.
By Sarah Warwick
-
 Frozen pipes? What to do and how to stop them from bursting
Prevent frozen pipes and the ensuing chaos (and hefty bills) in your home with these easy tips
By Alison Jones
-
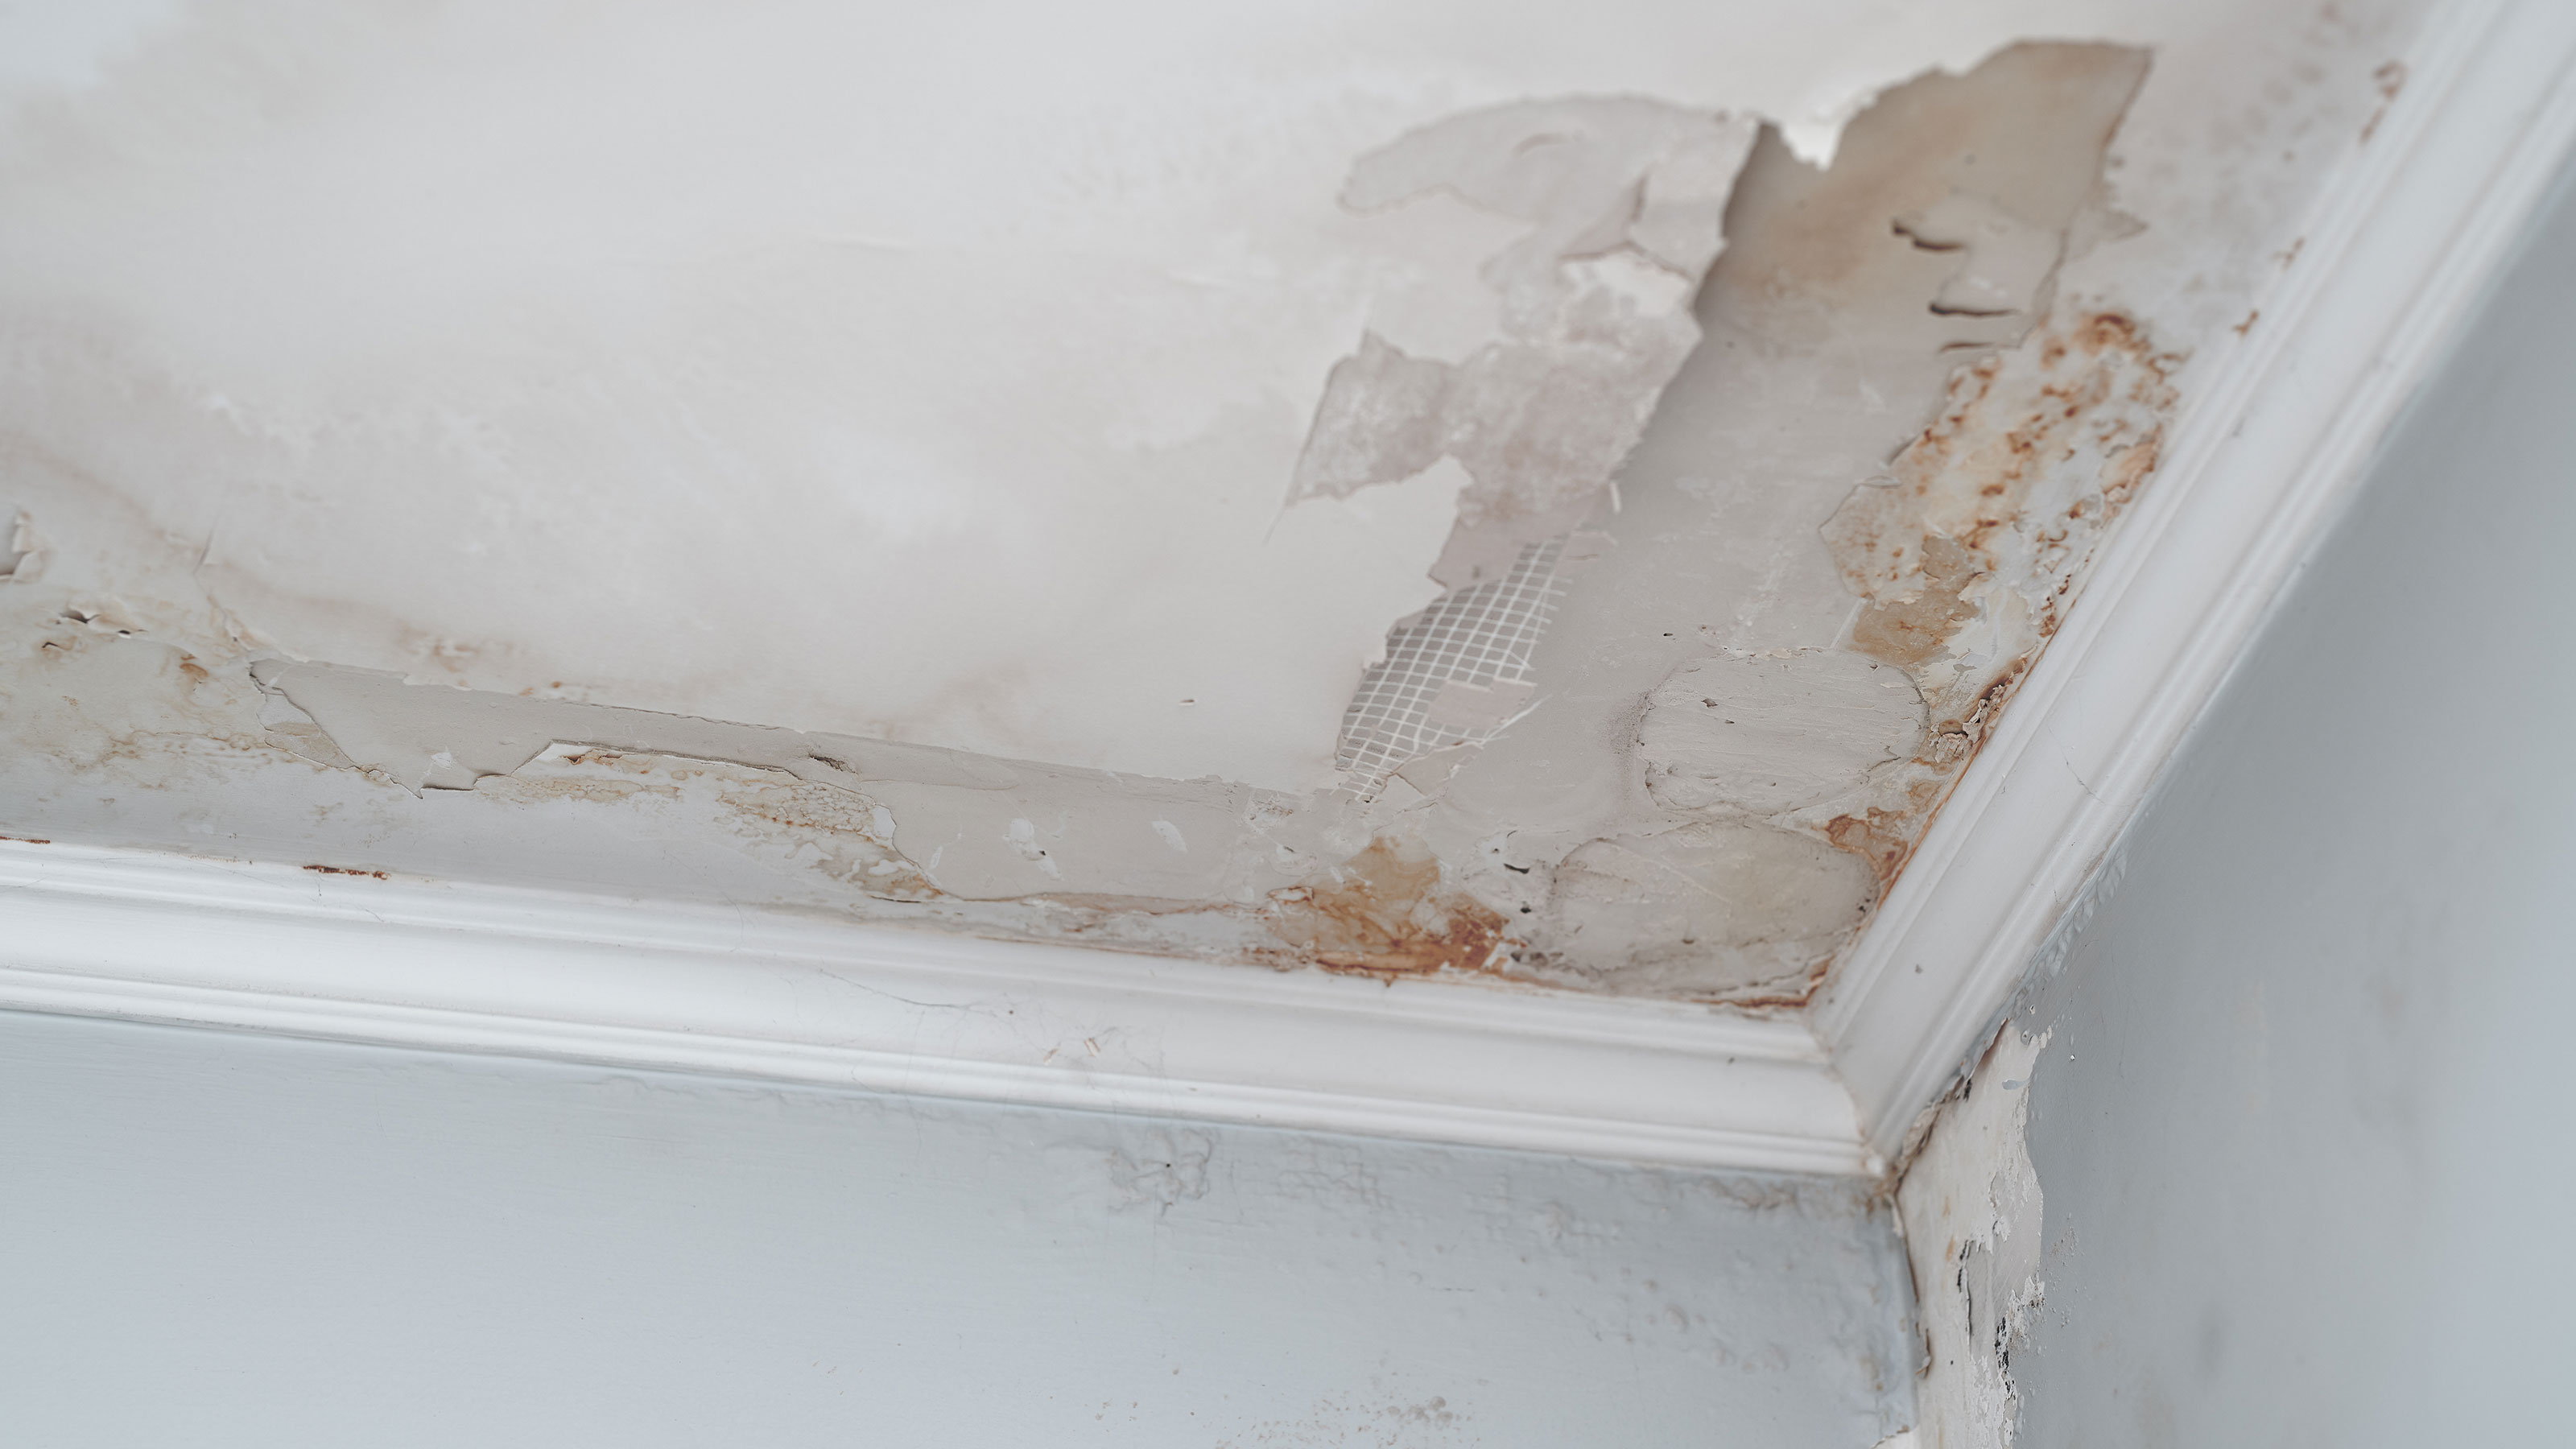 Water damage repair in a house – the cost to fix it and where to start
Need to make water damage repair? Here’s the lowdown from the experts
By Sarah Warwick
-
 Leaking pipes – common causes and what to do
How to deal with leaking pipes in your home with advice from the experts
By Sarah Warwick
-
 How to seal a granite countertop
Preserve your investment with proper daily care and the right products for cleaning, sealing, and polishing your granite or other natural stone.
By Carol J. Alexander
-
 How to change a light fixture: An approachable DIY job that provides instant gratification
Save the fee of hiring an electrician with this basic installation that you can pull off with tools you probably already have
By Sal Vaglica