
Garden statues are a great way to add a focal point to a garden, to add height and shape among delicate blooms and leafy hedges. When chosen correctly they can provide an attractive centrepiece to your garden throughout all the seasons.
While you can buy your garden ornaments new, there are many bargains to be had second hand in flea markets and charity shops. However, these may have small cracks, which come winter can expand and cause more serious damage.
Use our guide to repairing a garden statue to fix damage so that frost and freezing temperatures come those cooler months, won't make things worse. For more outdoor decor inspiration, take a look at our garden ideas feature.
- Planning a bigger garden design project? Be sure to check out our advice piece.
An expert guide to repairing garden statues
Garden statuary first became popular in the 17th and 18th centuries when well-heeled travellers returning home from the Grand Tour wanted to emulate the glorious ornamental Italian gardens they had seen, featuring stone pillars, seats, fountains and figures.
Stone is the customary material used for statuary. It is durable and can accommodate fine carved detailing. Nowadays modern machine tools supplement the craftsman’s traditional mallets, chisels and rasps. This speeds up the process but stone carving still demands a good deal of skilled craftsmanship and the cost of stone products reflects this.
A less expensive option for statuary is reconstituted or cast stone by companies such as Haddonstone and Chilstone, who crush and grind natural stone, then mix it with a binding agent before it is re-bonded and pressed into moulds. The finished item can be made to look like marble, granite, sandstone or limestone, appearing so similar to natural carved stone that at first glance it is often difficult to tell them apart.
Don’t attempt to repair a valuable antique statue, as visible DIY work can lessen the value. Instead, find a professional restorer through a reputable umbrella body such as The Institute of Conservation.
You will need:
- Bristle brush
- Mild detergent
- Milliput epoxy putty
- Epoxy adhesive such as Araldite Precision
- Narrow spatula or knife
- Craft knife
- Cloth
- Thin plastic gloves

- For more advice on DIY projects, visit our dedicated DIY section.
1. Clean up statue’s stone surface
Brush away moss, loose dirt and crumbling stone from the damaged area. Clean with mild detergent diluted in warm water to get rid of any ingrained dirt or grease. Rinse away residue with clean water and allow stone to dry out. Careful preparation now will allow the adhesive to bond well with the stone.
2. Make good the unsightly gap
First deal with the gap in the stone by filling with epoxy putty, known as Milliput. This product can be found in craft and hardware shops, and plumbers’ merchants. It’s available in five colours, Silver Grey being the closest to the colour of the stone in this case. Take equal quantities from each of the two Milliput sticks.

3. Prepare the Milliput putty
Knead and roll the two pieces of Milliput in your hands for five minutes until the colours merge and become uniform and no visible streaks remain. Mix for a further minute. If you have sensitive skin, wear rubber or polythene gloves. Gently press the putty into the gap using a knife or spatula.
4. Smooth the putty into shape
Use a wet finger or a wet narrow spatula to shape and smooth the putty repair. At first the putty is soft but it will become rock hard after three to four hours. A hairdryer will set the putty in a few minutes, which is useful if you need to build up a repair in stages. Clean tools straight away before the putty hardens.

5. Make up a missing part with putty
The putty can be fashioned to create a missing or damaged part, such as a toe on this statue. If you are interrupted while you are mixing or shaping, put the Milliput into the freezer where it will keep for 36 hours. When you resume take it out of the freezer and warm it in your hands until it becomes soft and pliable.
6. Fix the hairline crack in the stone
Deal with the hairline crack before moisture can be drawn into the stone, freeze and expand, leading to further damage. Choose an epoxy adhesive recommended for stone, such as Araldite Precision. Squeeze out equal amounts of the two-part resin kit and mix together thoroughly before applying.

7. Apply the adhesive with care
Wearing thin plastic gloves, use a circular action to rub a quantity of adhesive well into the crack – I used a cocktail stick to help guide it in. Surplus adhesive can look ugly if allowed to remain, and sets rock hard, so wipe excess off with a cloth dampened with white spirit taking care not to disturb the affected area.
8. Encourage an antique finish
Any unsightly hardened adhesive can be removed with a sharp blade. Blend in the repair by encouraging moss and lichen growth. People have their favourite recipes to stimulate this including painting on milk, or rubbing with compost or manure, but most reliable is an occasional coat of plain natural yoghurt.
How to source reclaimed garden statues
From large architectural items to bird baths, planters and ornaments, reclaimed garden pieces have a wonderful weathered patina that can only be achieved through years of being outside. The advantage of buying an older piece is that you know it won’t crack during the first frost – chances are that if it’s already survived several winters, it’s likely to last a long time to come.

Fountain boy statue from Jardinique
How to choose a garden statue
Buy what you like, as it’s for you to enjoy, but always ask about condition, especially if not buying in person. Older garden items obviously won’t be in perfect condition but it is best to avoid anything with cracks, particularly planters. Once something has a crack, the frost can get in and break it unless it has been restored correctly. Also check for rot on wooden items.
Common restoration issues

Antique garden statue on a pedestal, for similar try The Hoarde
The main issues people face are matching the texture and colour of the repair, as well as making sure it is stable. If the item is antique, it is advisable to use a professional restorer. However, if you want to have a go yourself, an epoxy resin – a strong glue that will stick concrete and stone – is recommended. The stone must be completely dry for it to be effective.
How to clean stone garden ornaments
Cleaning stone garden statues is very simple but does require a bird of elbow grease. Plus this method will also work regardless of the material, whether bronze, concrete, wood or marble.
All you need is a bucket of warm water, a few drop of eco-friendly washing up liquid and a brush (the sort you'd use for your nails or cleaning vegetables).
Choose a warm day to help with the drying process and to prevent the water from freezing in cracks or pores in the statue causing cracks.
Start by rinsing your statue, either with a hose with a gentle sprayer nozzle or with a watering can and a rose. Do not use any pressurised hose setting or a power washer as these can damage the statue.
Then simply wash using the brush or cloth to remove debris. Empty your bucket when the water gets dirty. When finished gently rinse the soap from the statue and wipe dry.
For garden ornament inspiration, be sure to read our feature.
What should I pay for a garden statue?
Prices can vary enormously so it’s best to shop around. Bear in mind that you’ll also need to factor in the delivery costs unless collecting it yourself, but most good dealers will be able to arrange this with trusted and reliable couriers. Sites such as Decorative Collective and The Hoarde represent lots of dealers in one place, so you can search for items you’re interested in buying and see the range of prices.
Read more:
- Garden water features: everything you need to know
- The best garden fountains
- Garden bench restoration: how to bring yours up like an expert
-
 Impactful landscaping ideas for small backyards that will transform your space — 10 ideas to inspire
From wood paneling and a lick of paint to planters and fire pits, our landscaping ideas for small backyards will refresh your space
-
 The 2024 sustainable landscaping trend is the only one worth trying, gardening pros reveal
Looking for a new landscaping trend to try? We've asked designers for their top one for 2024, plus picked out essentials to help you get started
-
 These 6 tropical landscaping ideas will give your space a resort feel
Our tropical landscaping ideas will uplift your backyard with water features, lush plants, vibrant shades, and tactile materials in bright colors
-
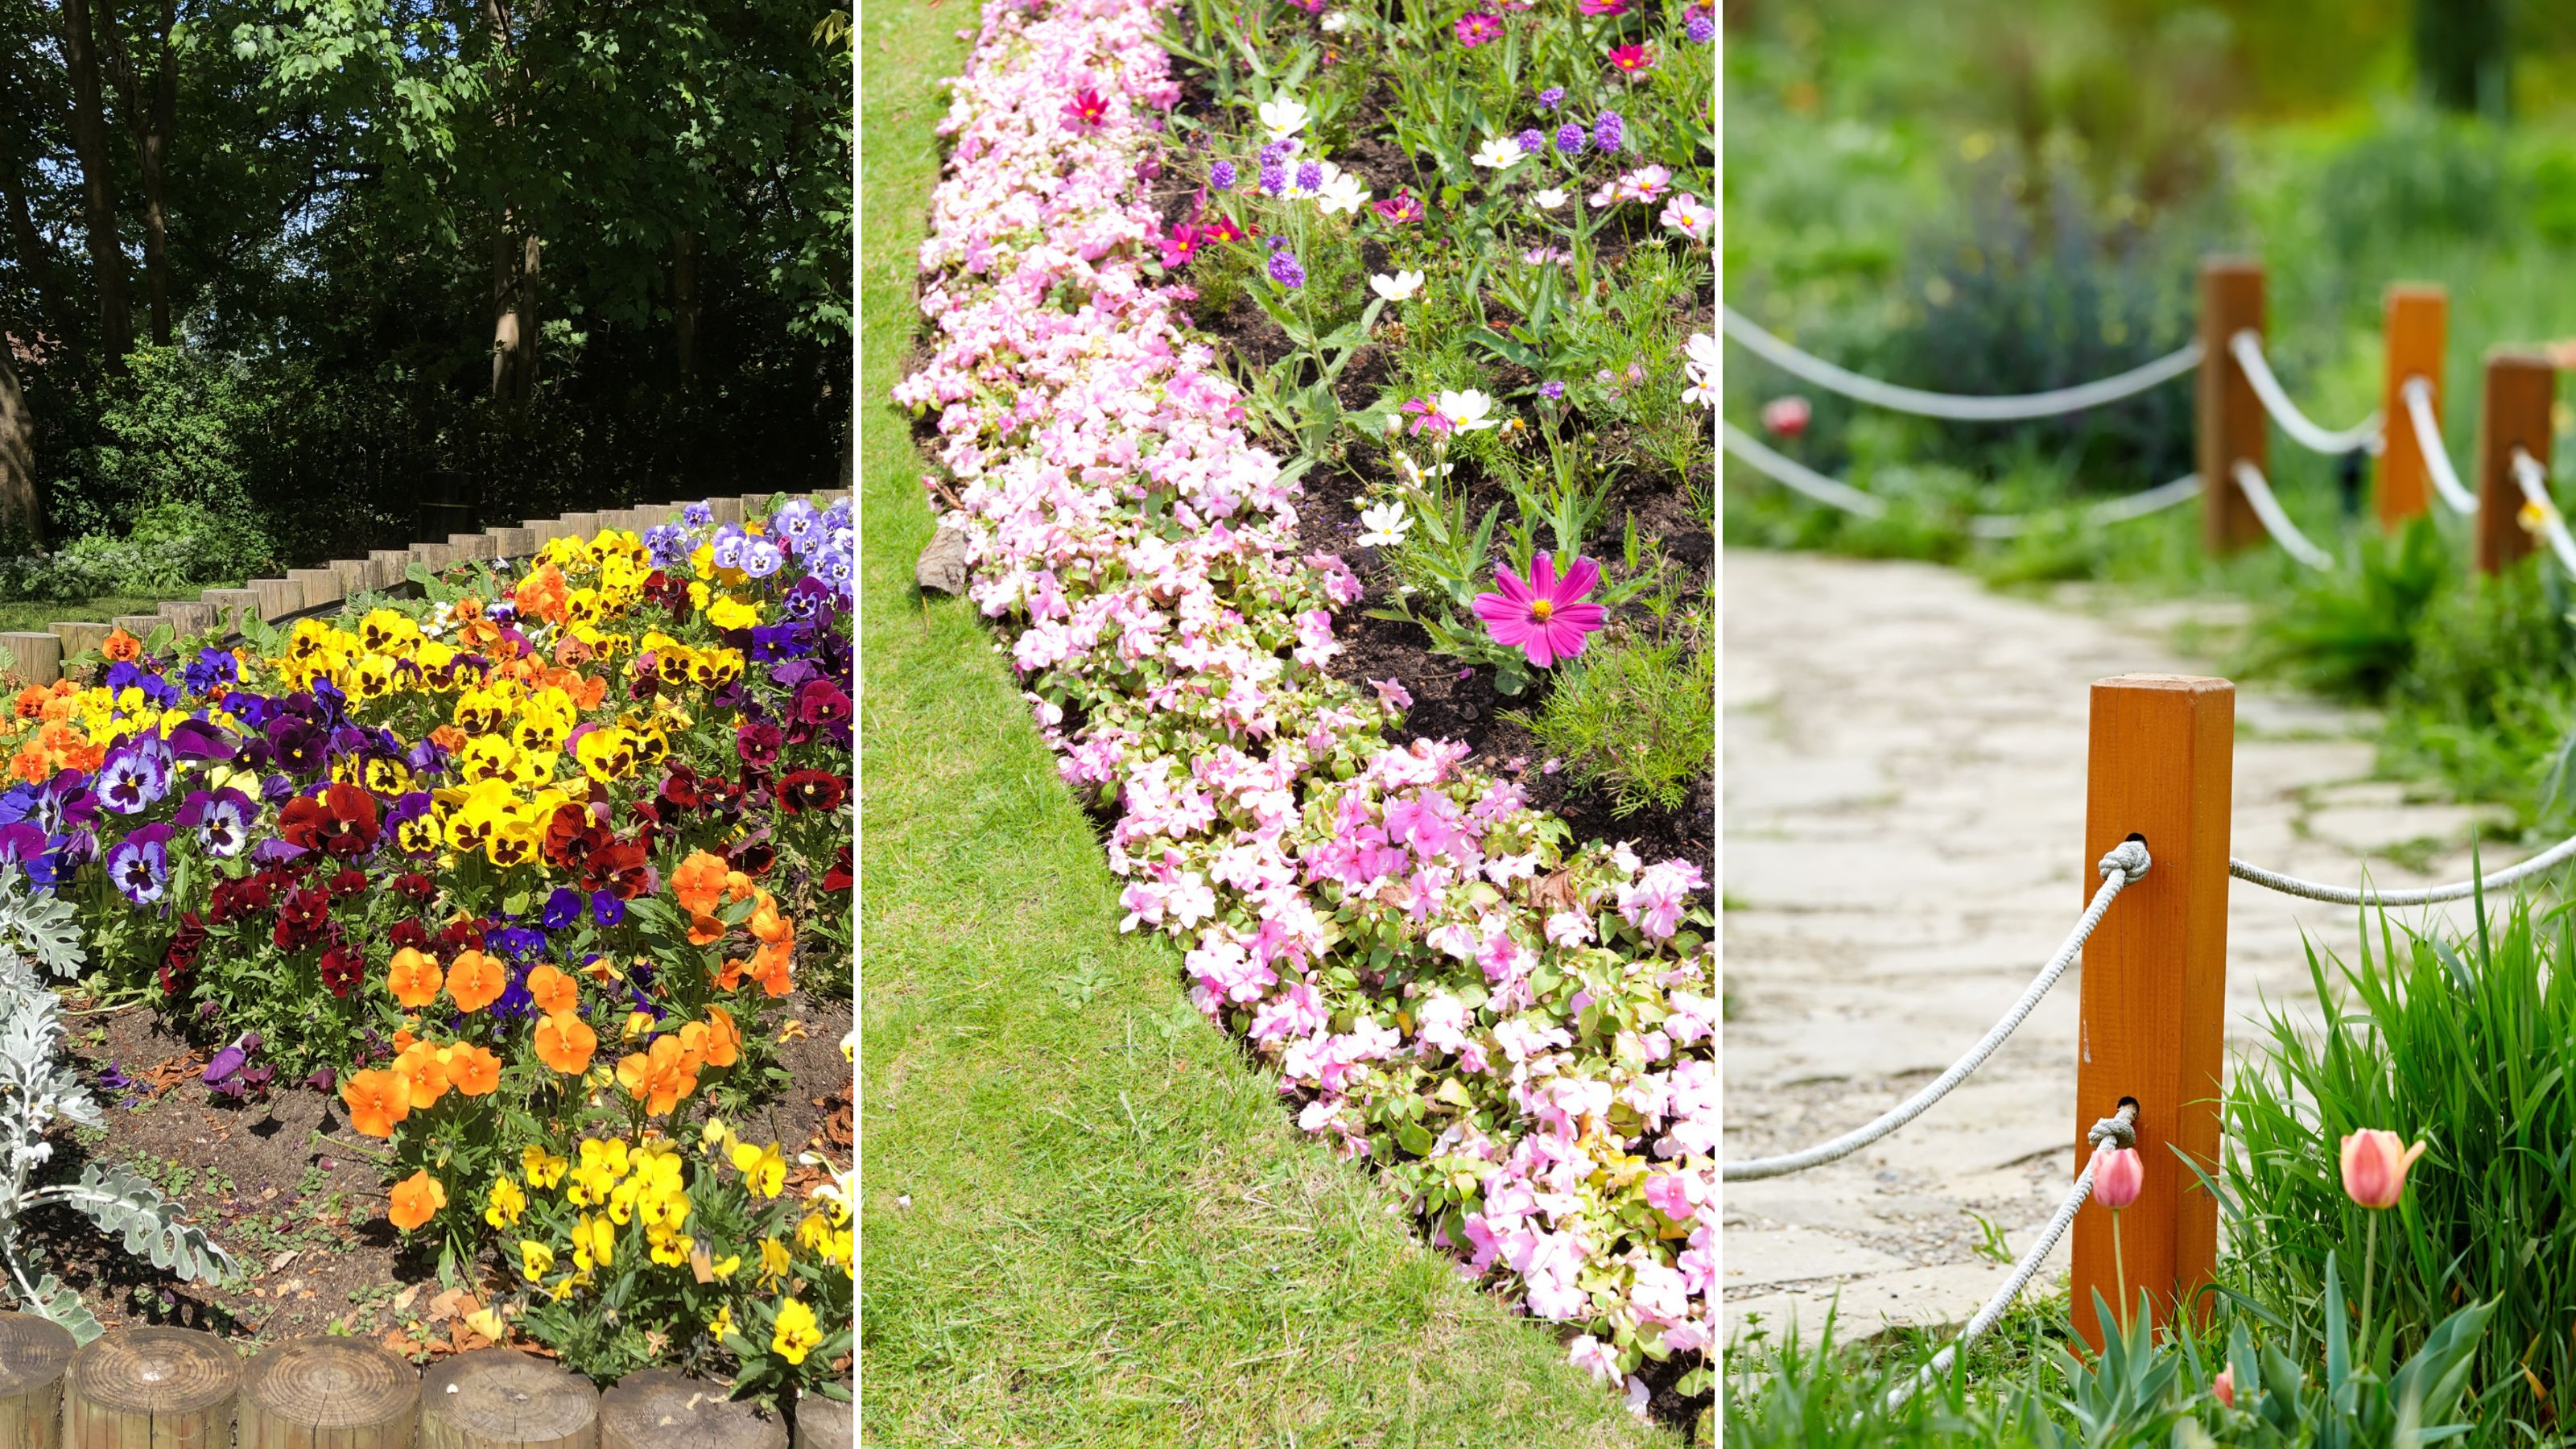 14 lawn edging ideas that will add definition and style to your backyard
Want to neaten up your lawn with lawn edging ideas? From fresh flowers to laidback bricks, we've scouted out materials and styles that look brilliant
-
 How to make a DIY hummingbird feeder using a glass jelly jar
This charming DIY hummingbird feeder is perfect for backyards and apartment balconies alike! Complete with homemade nectar, you can have this project done in under an hour.
-
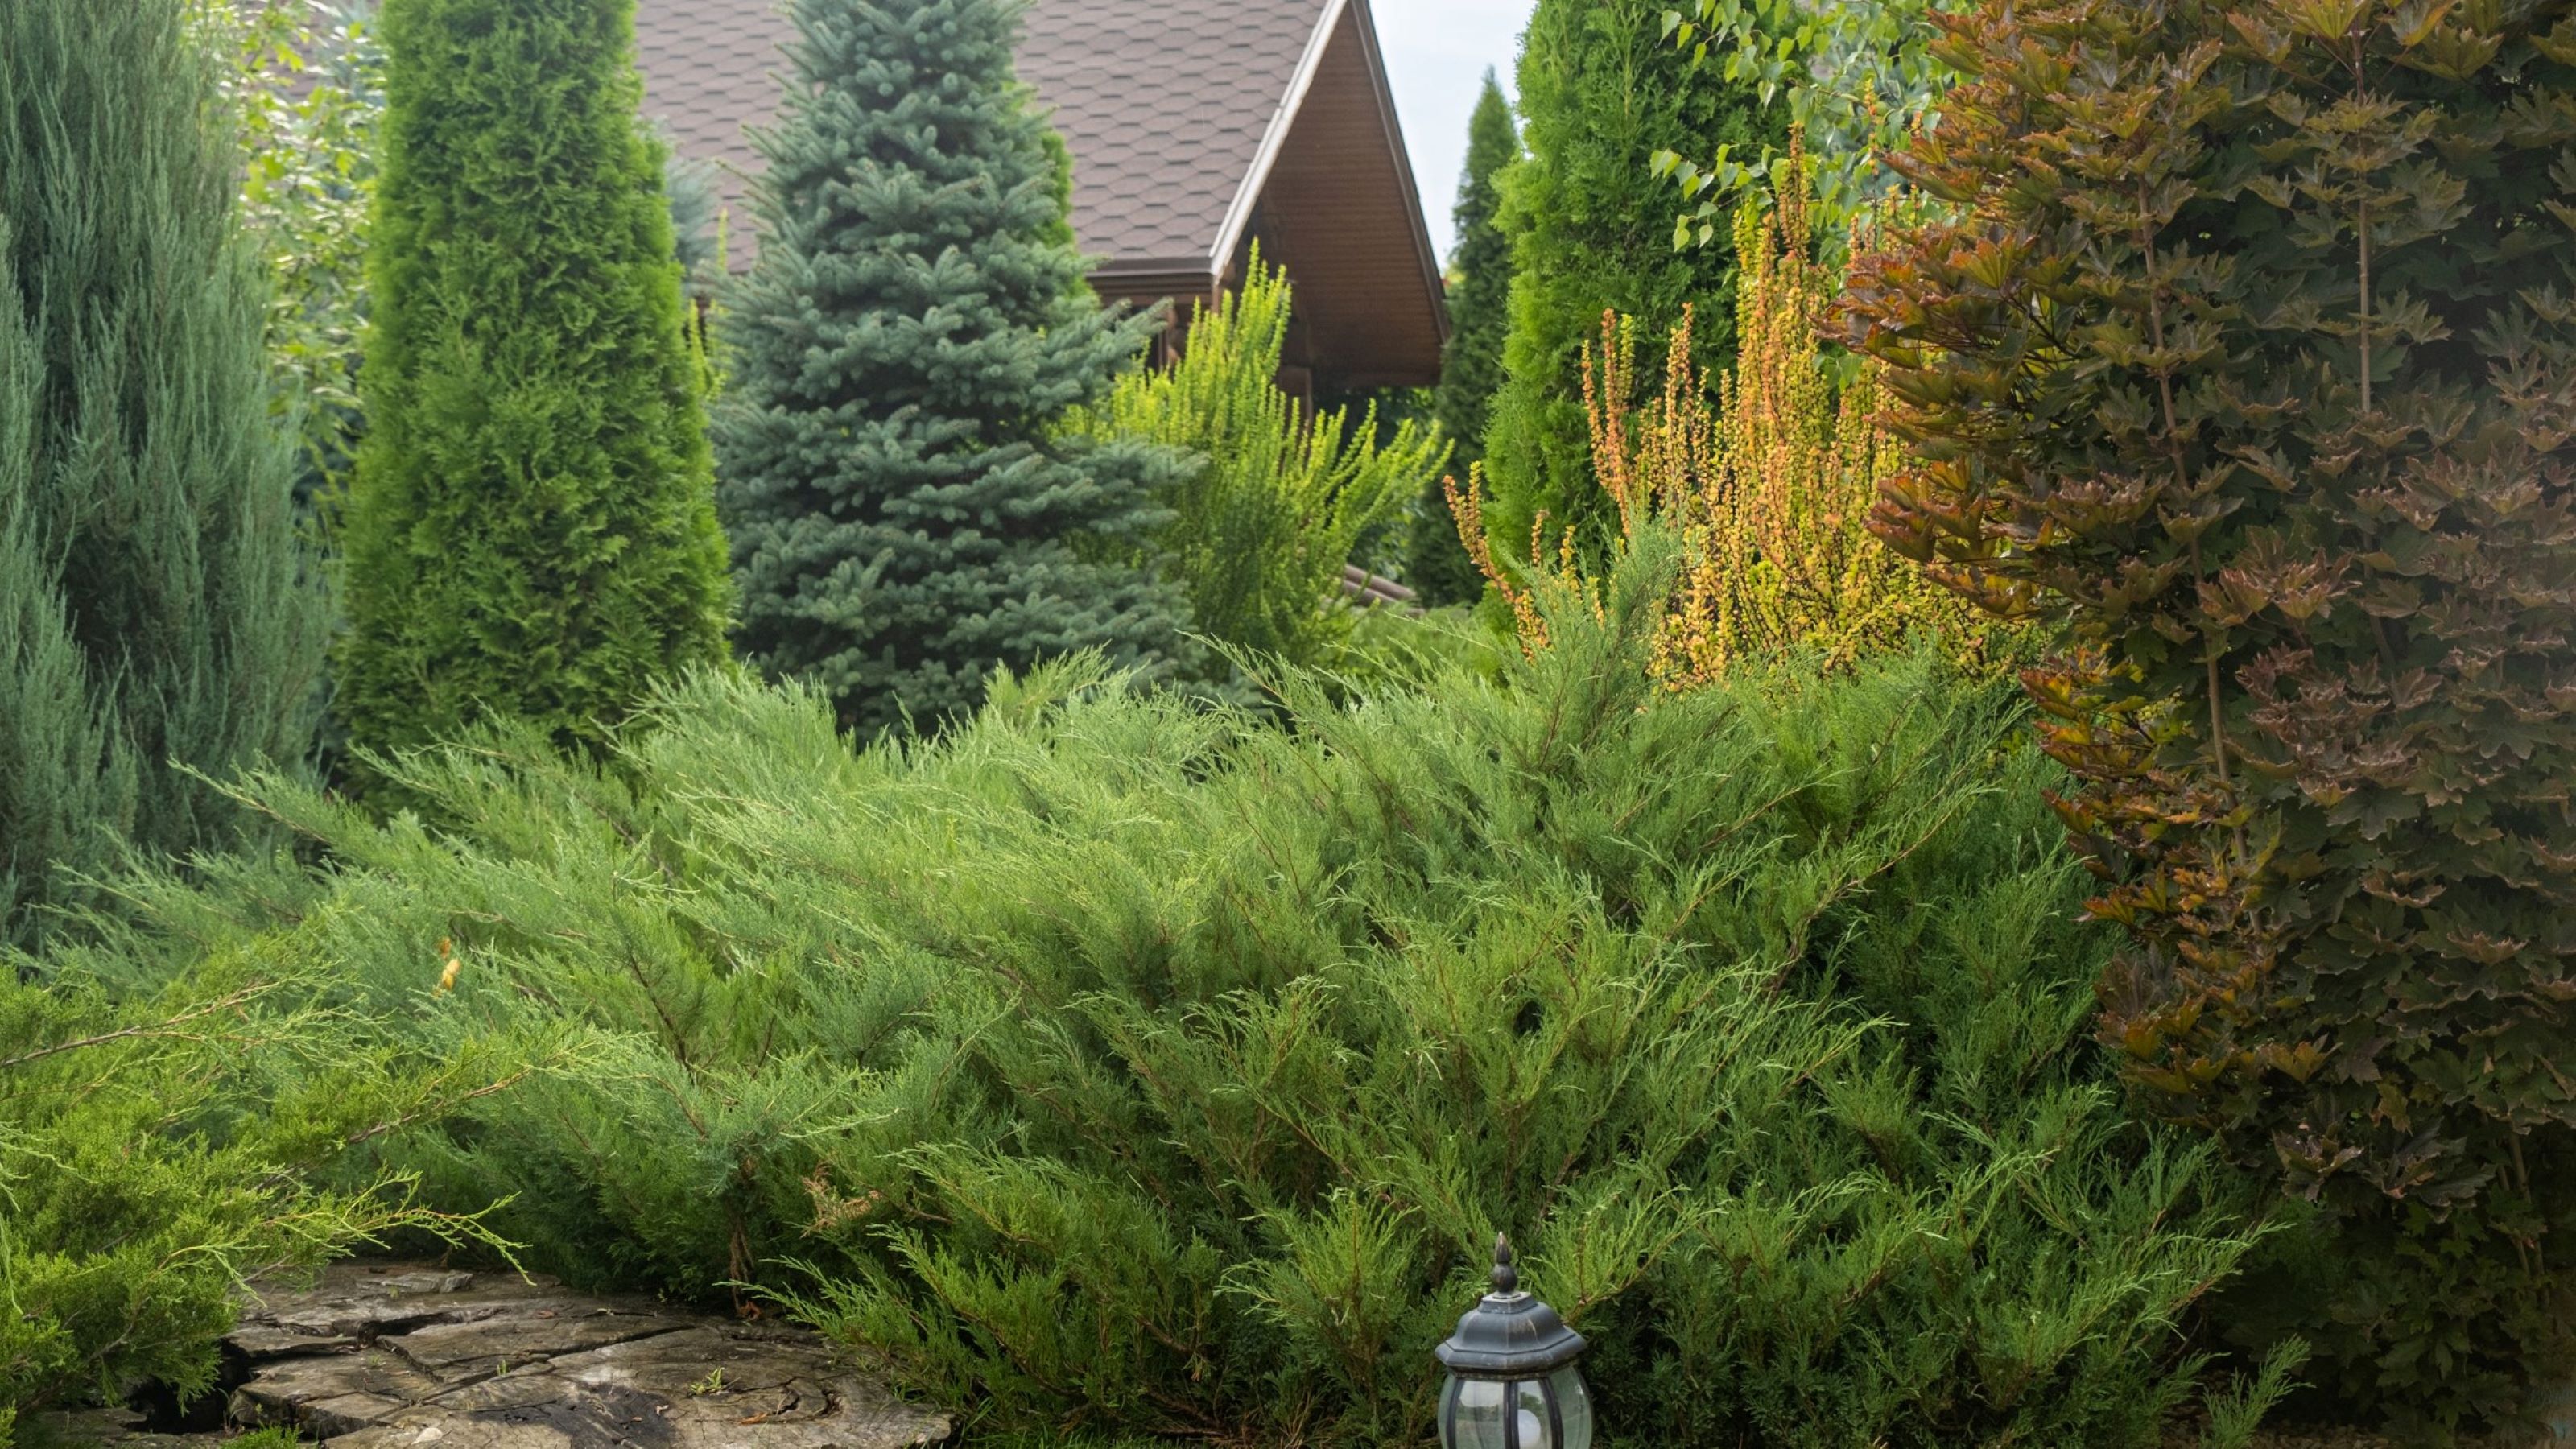 10 trees to plant for more privacy and shade
Planting trees for privacy and shade will spruce up your yard's landscape while providing natural screening from neighbors and roads. Find beautifully low-maintenance and fast-growing options.
-
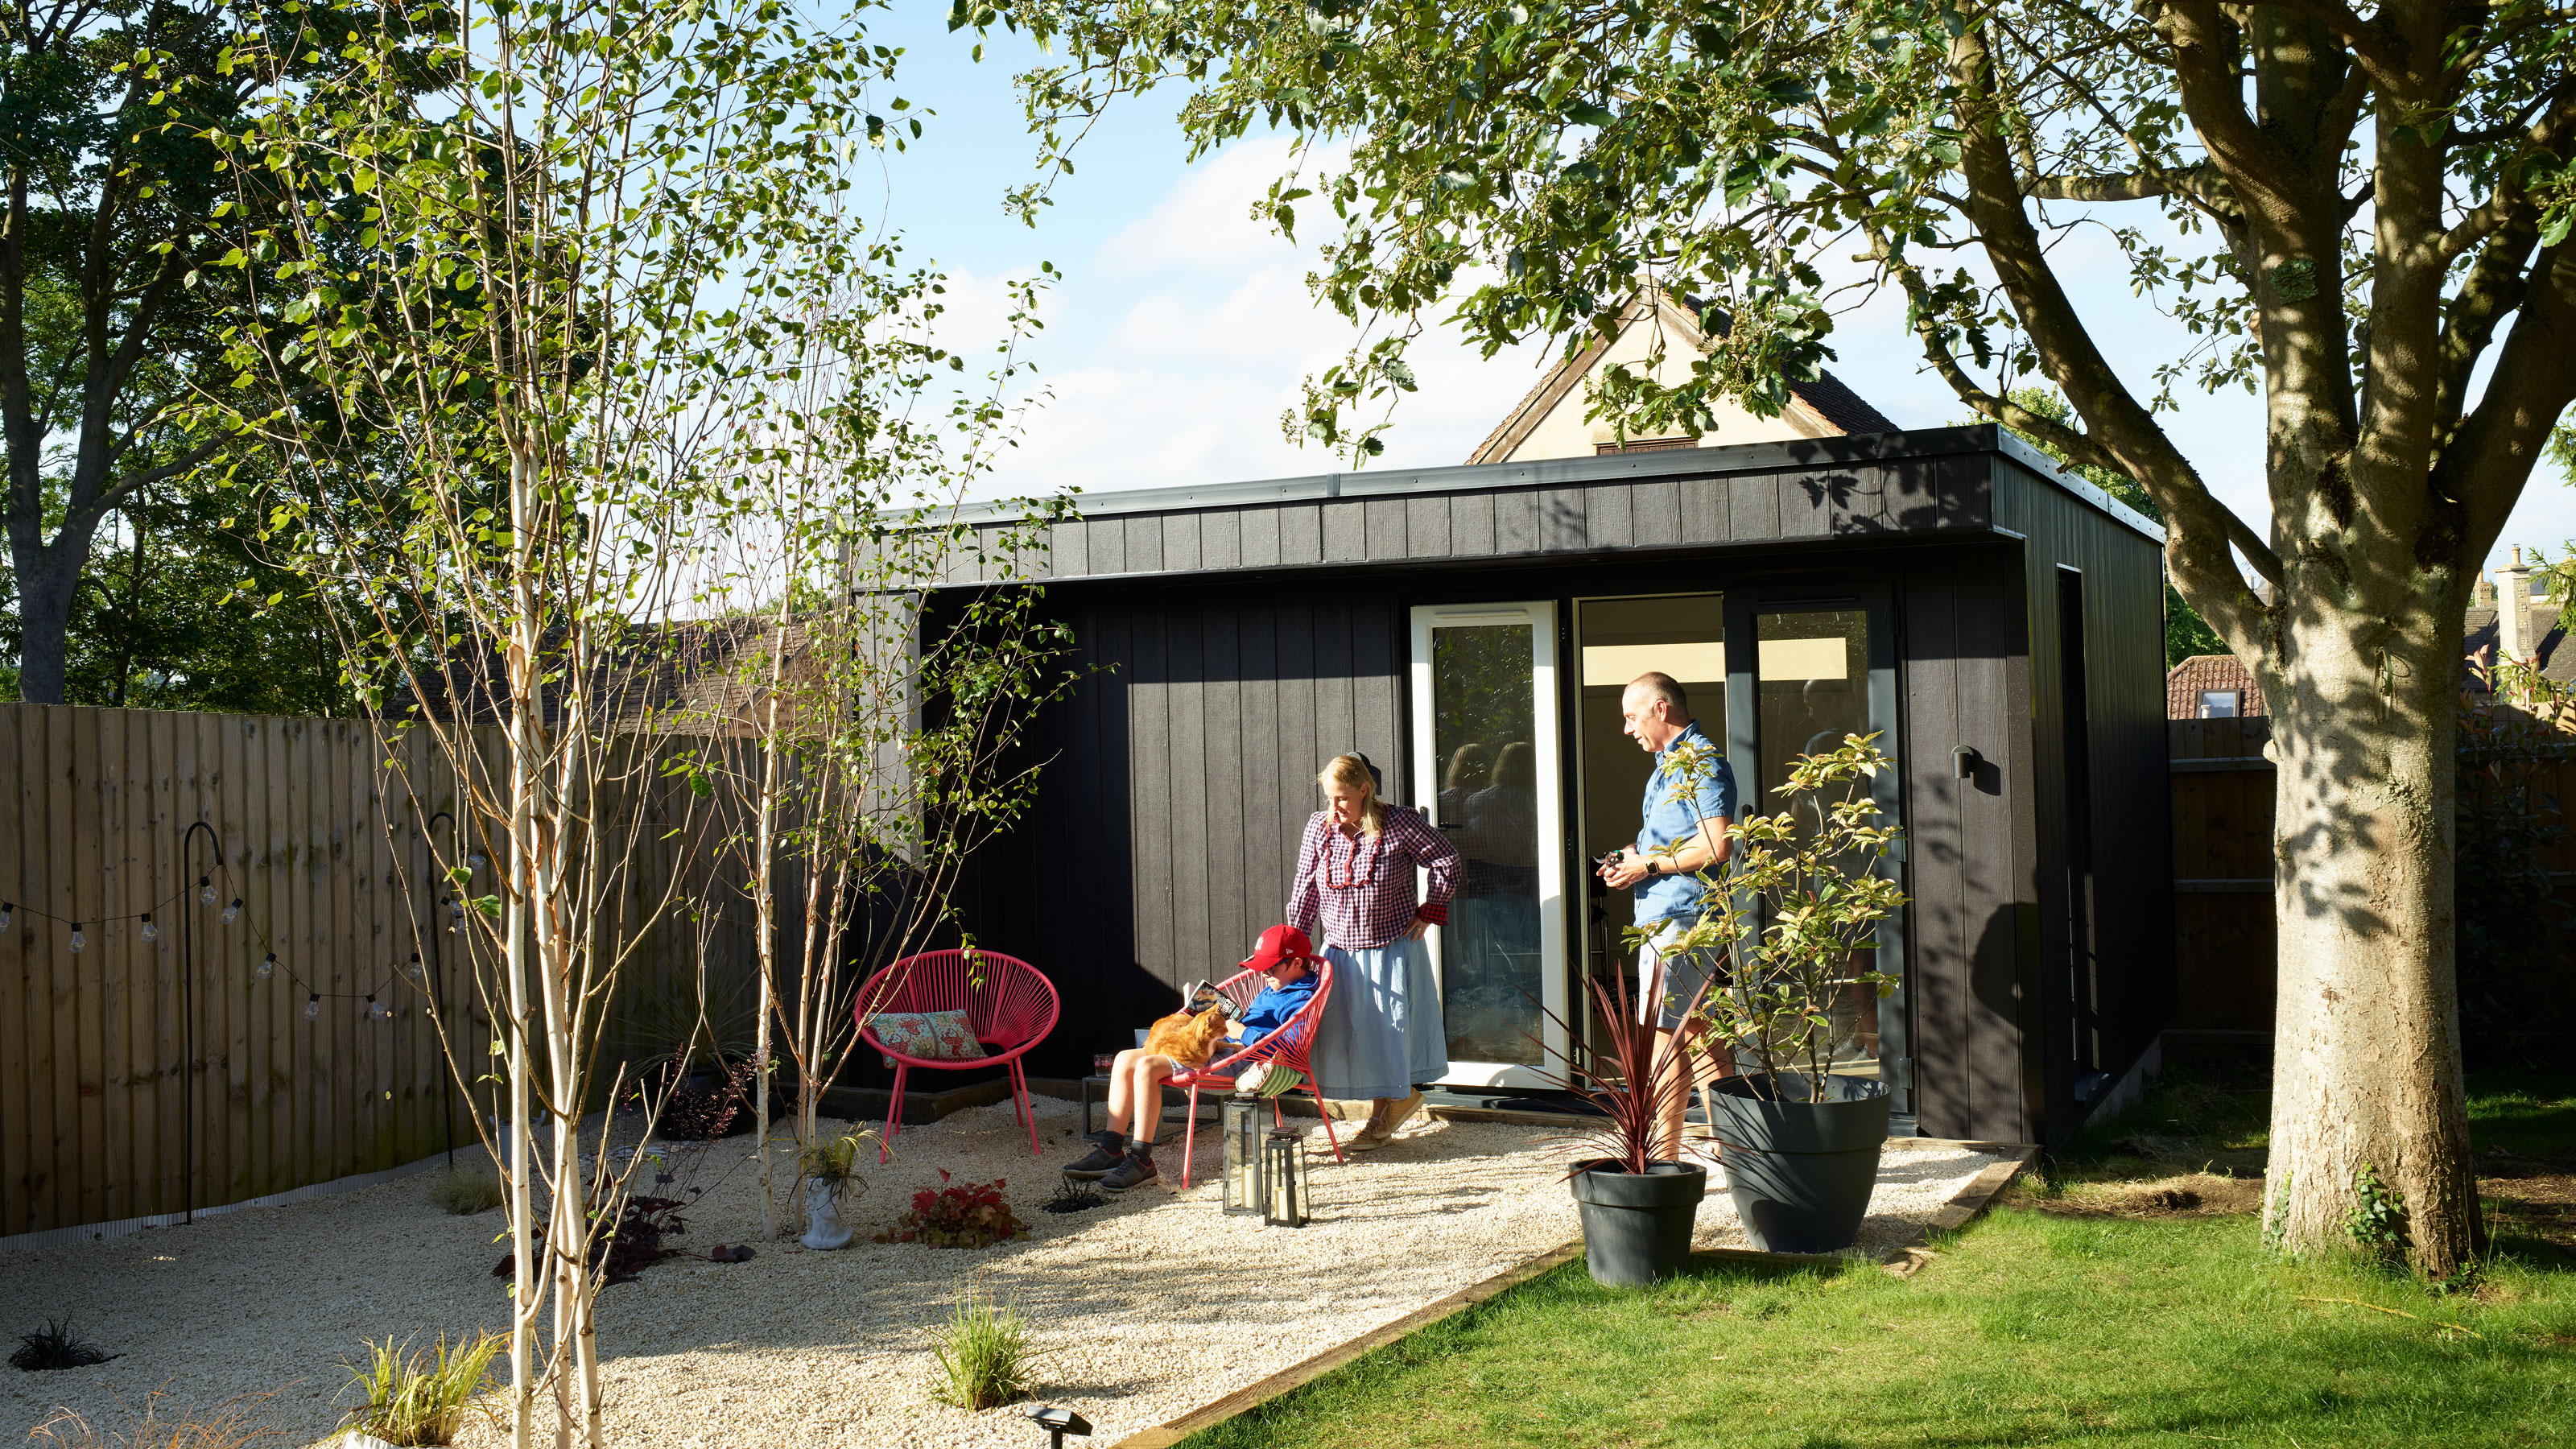 Real Home: Muddy garden transformed into a seaside-inspired oasis
Ade and Becky turned a characterless suburban garden into a 'rural seascape' that is perfect for work, rest and play.
-
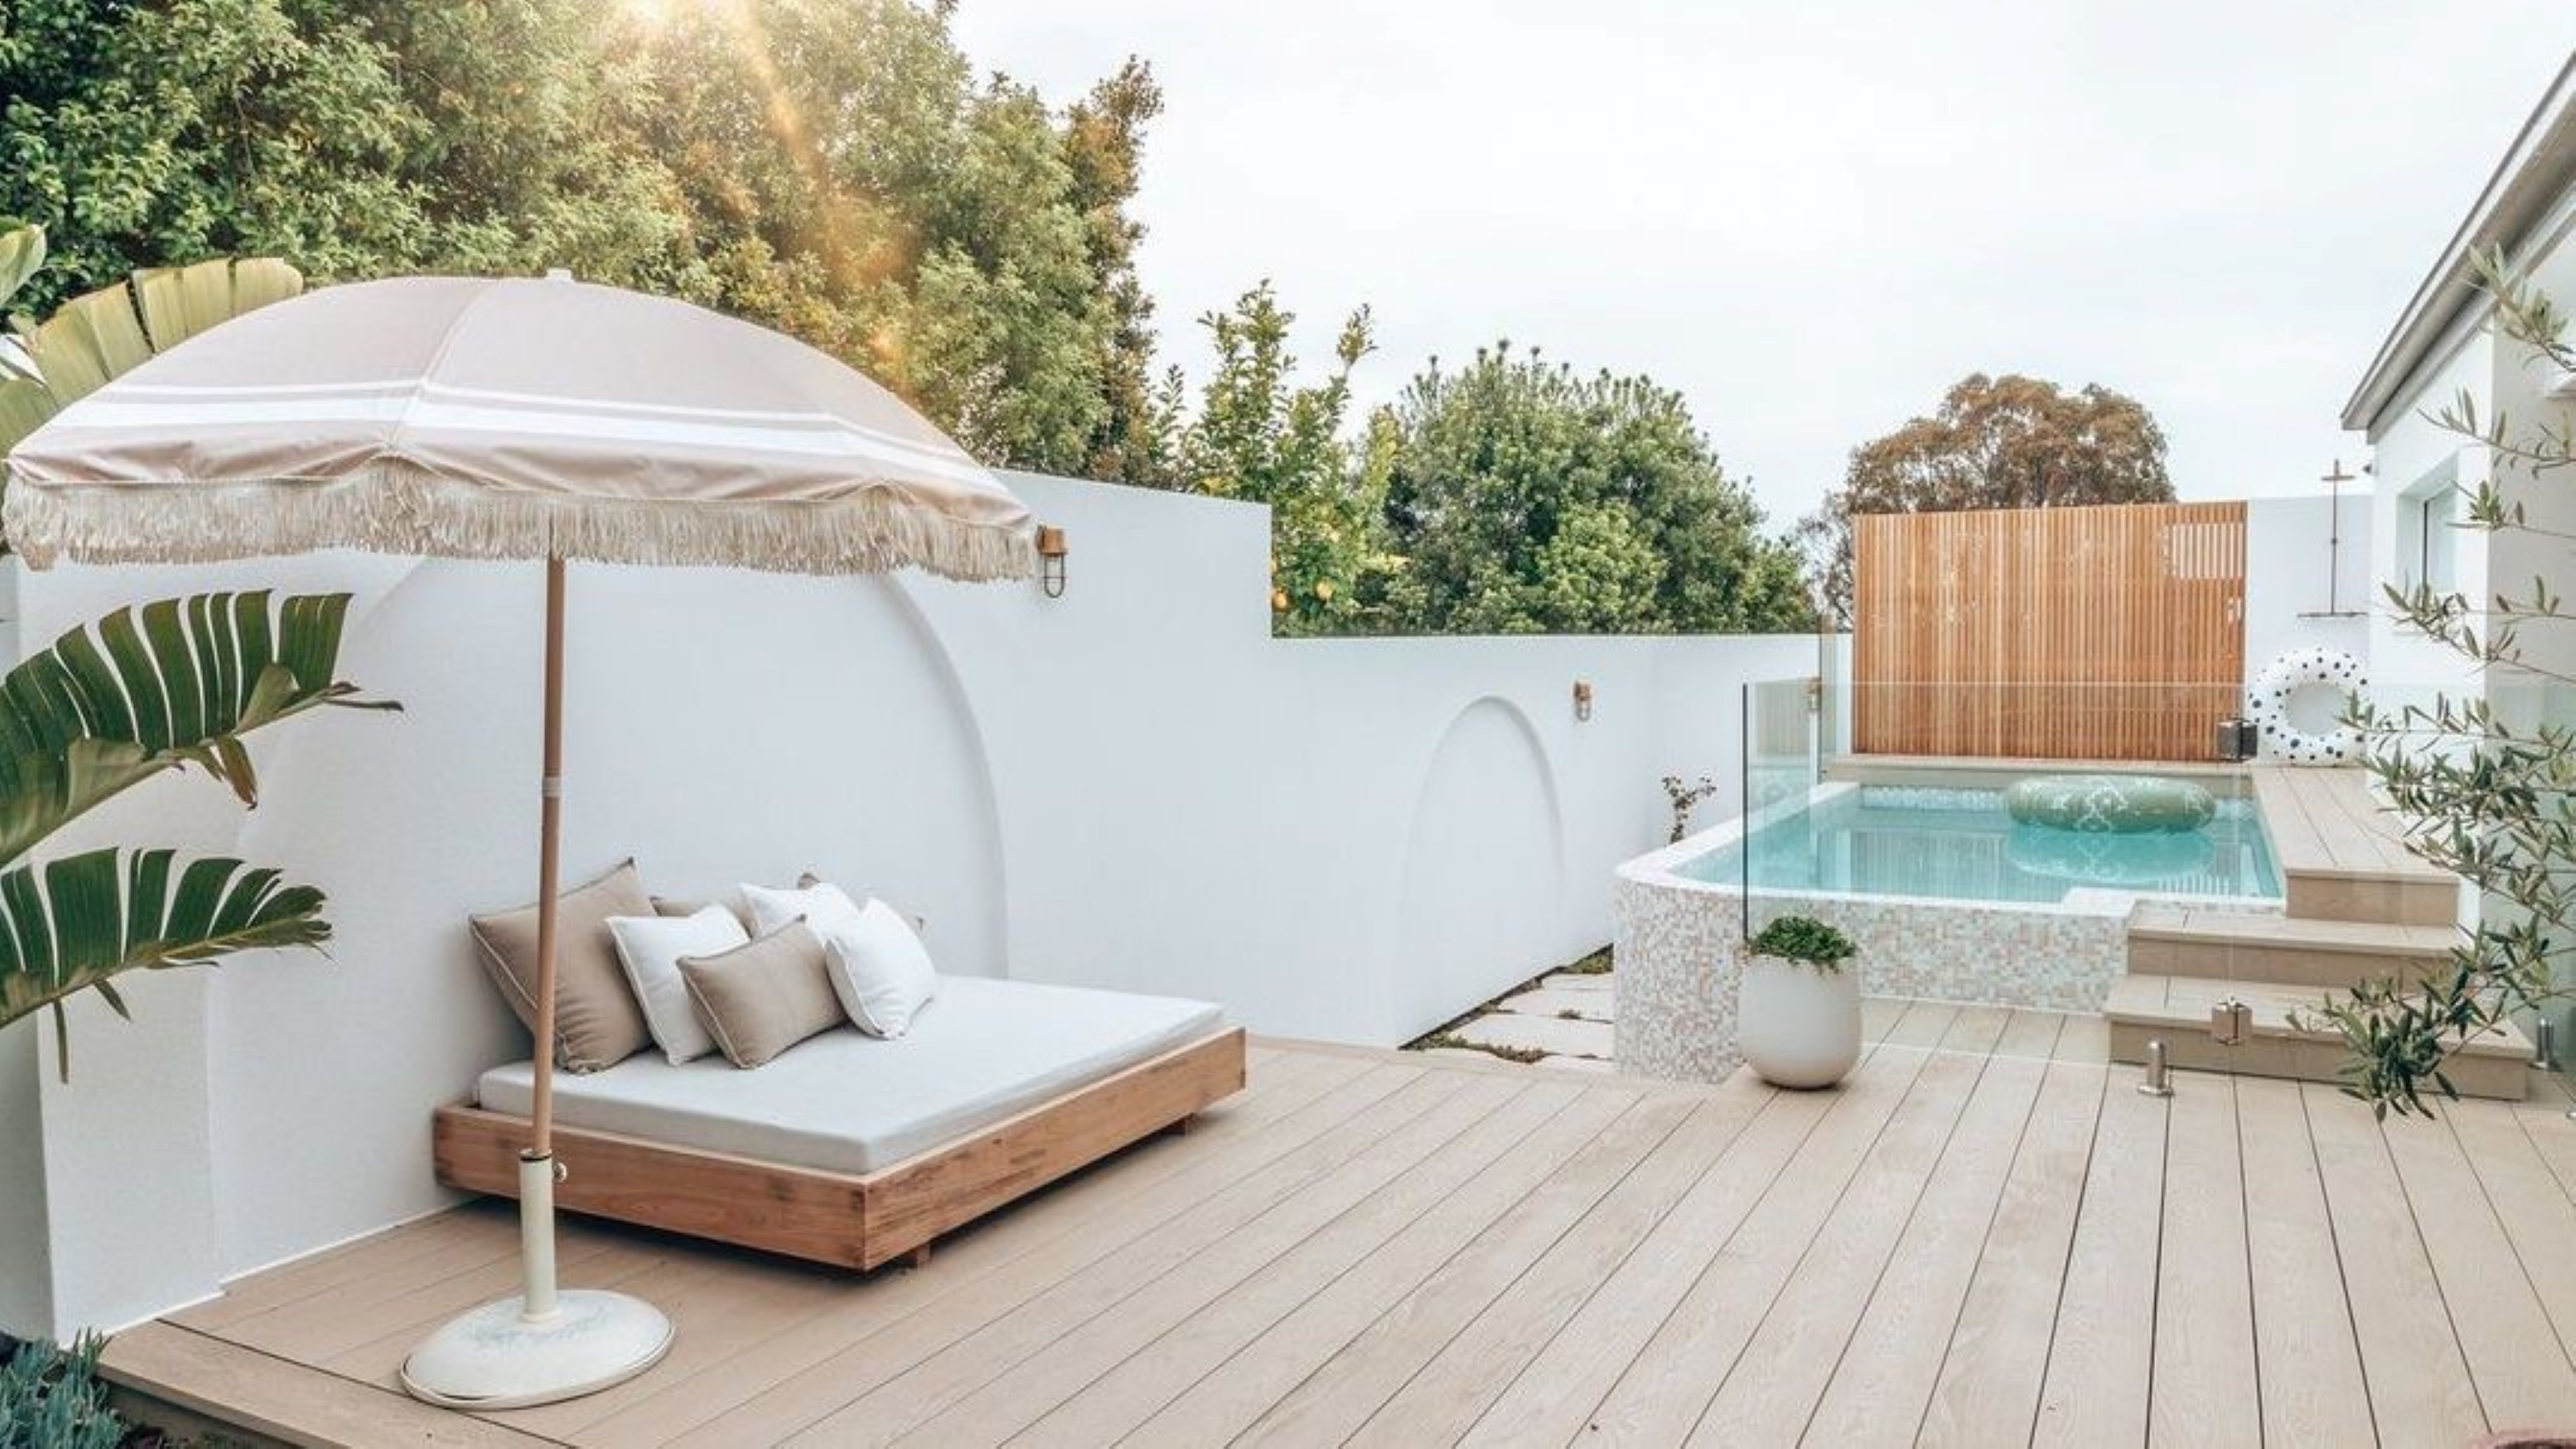 5 DIY above-ground pool deck ideas on a budget
These above-ground pool deck ideas on a budget will add character and class to your outdoor space


