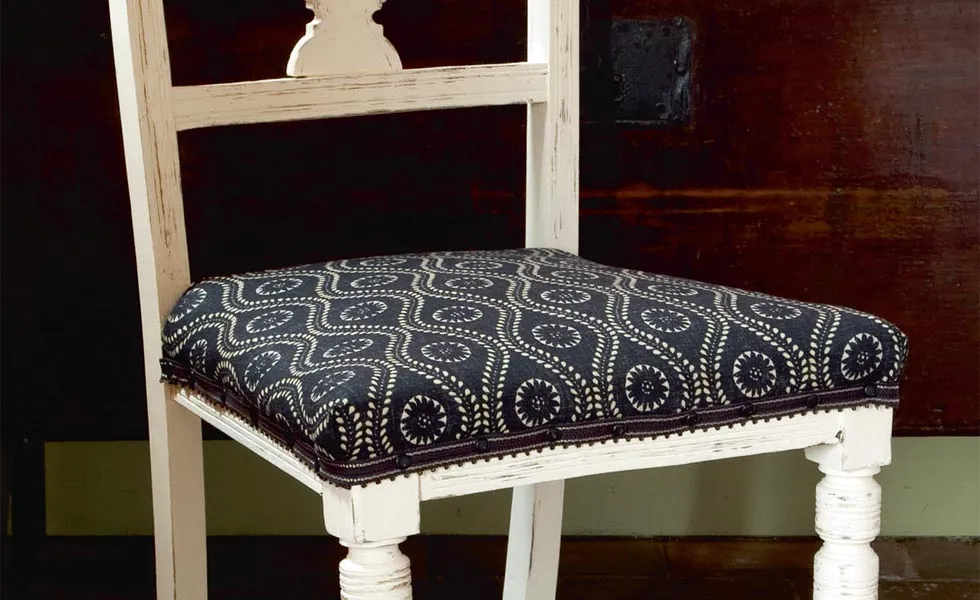
This pretty, early 20th-century dining chair was heading for the skip when I noticed its potential. All I needed to do was give it a fresh coat of paint, and to reupholster a new seat, covering it in an elegant linen fabric.
Before stripping down the old upholstery, estimate how much fabric you will need while it still has its original form and shape, and allow a little more to take extra stuffing into account. Strip the dining chair down layer by layer with a ripping chisel or similar. Make a sketch or a diagram to show the construction and, if possible, take some photographs. Use this stripping process to see how to put the upholstery back together again.
Related articles: How to upcycle furniture | How to upcycle a wooden settle | How to choose upholstered furniture
To reupholster a dining chair, you will need:
- Tack hammer
- Jute webbing
- Scissors
- Upholstery tacks
- Hessian
- New or replica animal hair stuffing, if required
- Wadding
- Large eye needles and Twine
- 1m upholstery fabric
- Fire retardant interliner, if required
- Braid
- Studs

1. Fix the jute webbing: For comfort, the chair’s webbing must be taut and well secured to the frame. Shave or sand sharp inner edges on the rails to avoid chafing against the webbing. To stop the wood splitting, arrange jute strips in a criss-cross pattern and don’t tack too close to the frame edge. Secure webbing with at least five tacks at each end.
2. Attach first sheet of hessian: Tack a first layer of hessian on top of the webbing to prevent the stuffing dropping down through the gaps. If the wood is very hard it can be difficult to get the tacks in, so try making a pilot hole first with a bradawl; it makes the job take a little longer but reduces the frustration of bent tacks.

3. Place stuffing on seat: Originally this Edwardian dining chair would have been stuffed with horsehair. You may have been able to salvage some of the old horsehair stuffing and given it a clean (as above) but if not, artificial horsehair or other animal hair mixes that look and feel as good as the real thing are available.
4. Attach second sheet of hessian: Tack on another layer of hessian to hold the stuffing in place. For efficacy it’s important to keep the tack hammer face clean and smooth: rub it against coarse abrasive paper to lessen dents and pitting, then smooth it on fine abrasive paper. If you find small tacks tricky, hold them in the teeth of a comb as you knock them in.

5. Echo the Edwardian look: To create the Edwardian shaped seat use horsehair to make an edge roll. Lay stuffing on the edge and enclose by folding hessian over. Make sure there are no lumps and that the stuffing is even and pulled up to the edge. Use twine and a large-eyed needle to sew in place. The stitches will support the shape and maintain the firmness.
6. Make finish smooth with wadding: Cut a piece of wadding that is slightly oversized. This will make a soft, smooth surface ready for the decorative finishing fabric. Hold the wadding in place with a few well-placed tacks – not too many because the tacks that will secure the top fabric will also go through and secure the wadding.

8. Add the final flourish: A pretty ribbon of braid gives an elegant finish. Apply with a hot glue gun or stitch it into place. To add a little panache, this braid was attached using decorative black upholstery studs. Buy more studs than you think you will need – there might be wastage if you are fixing into particularly hard wood.
Top tips:
- Checking out antiques shops and local auctions is one of the best ways to come across discarded furniture such as dining chairs. Dealers and most buyers will usually walk away from items that need money spent on them, but if the chair is structurally sound, reupholstering the seat is a great way of reinventing the piece, and getting creative.
- Any original horsehair from the seat that’s still springy can be reused – stuff it into a pillowcase, tie up the top, and machine wash on a quick programme at a low temperature. Add a little fabric conditioner so the horsehair will be easier to work with once it is dried. You may need to supplement with extra stuffing – new horsehair is scarce these days and expensive, but synthetic horsehair is available.
-
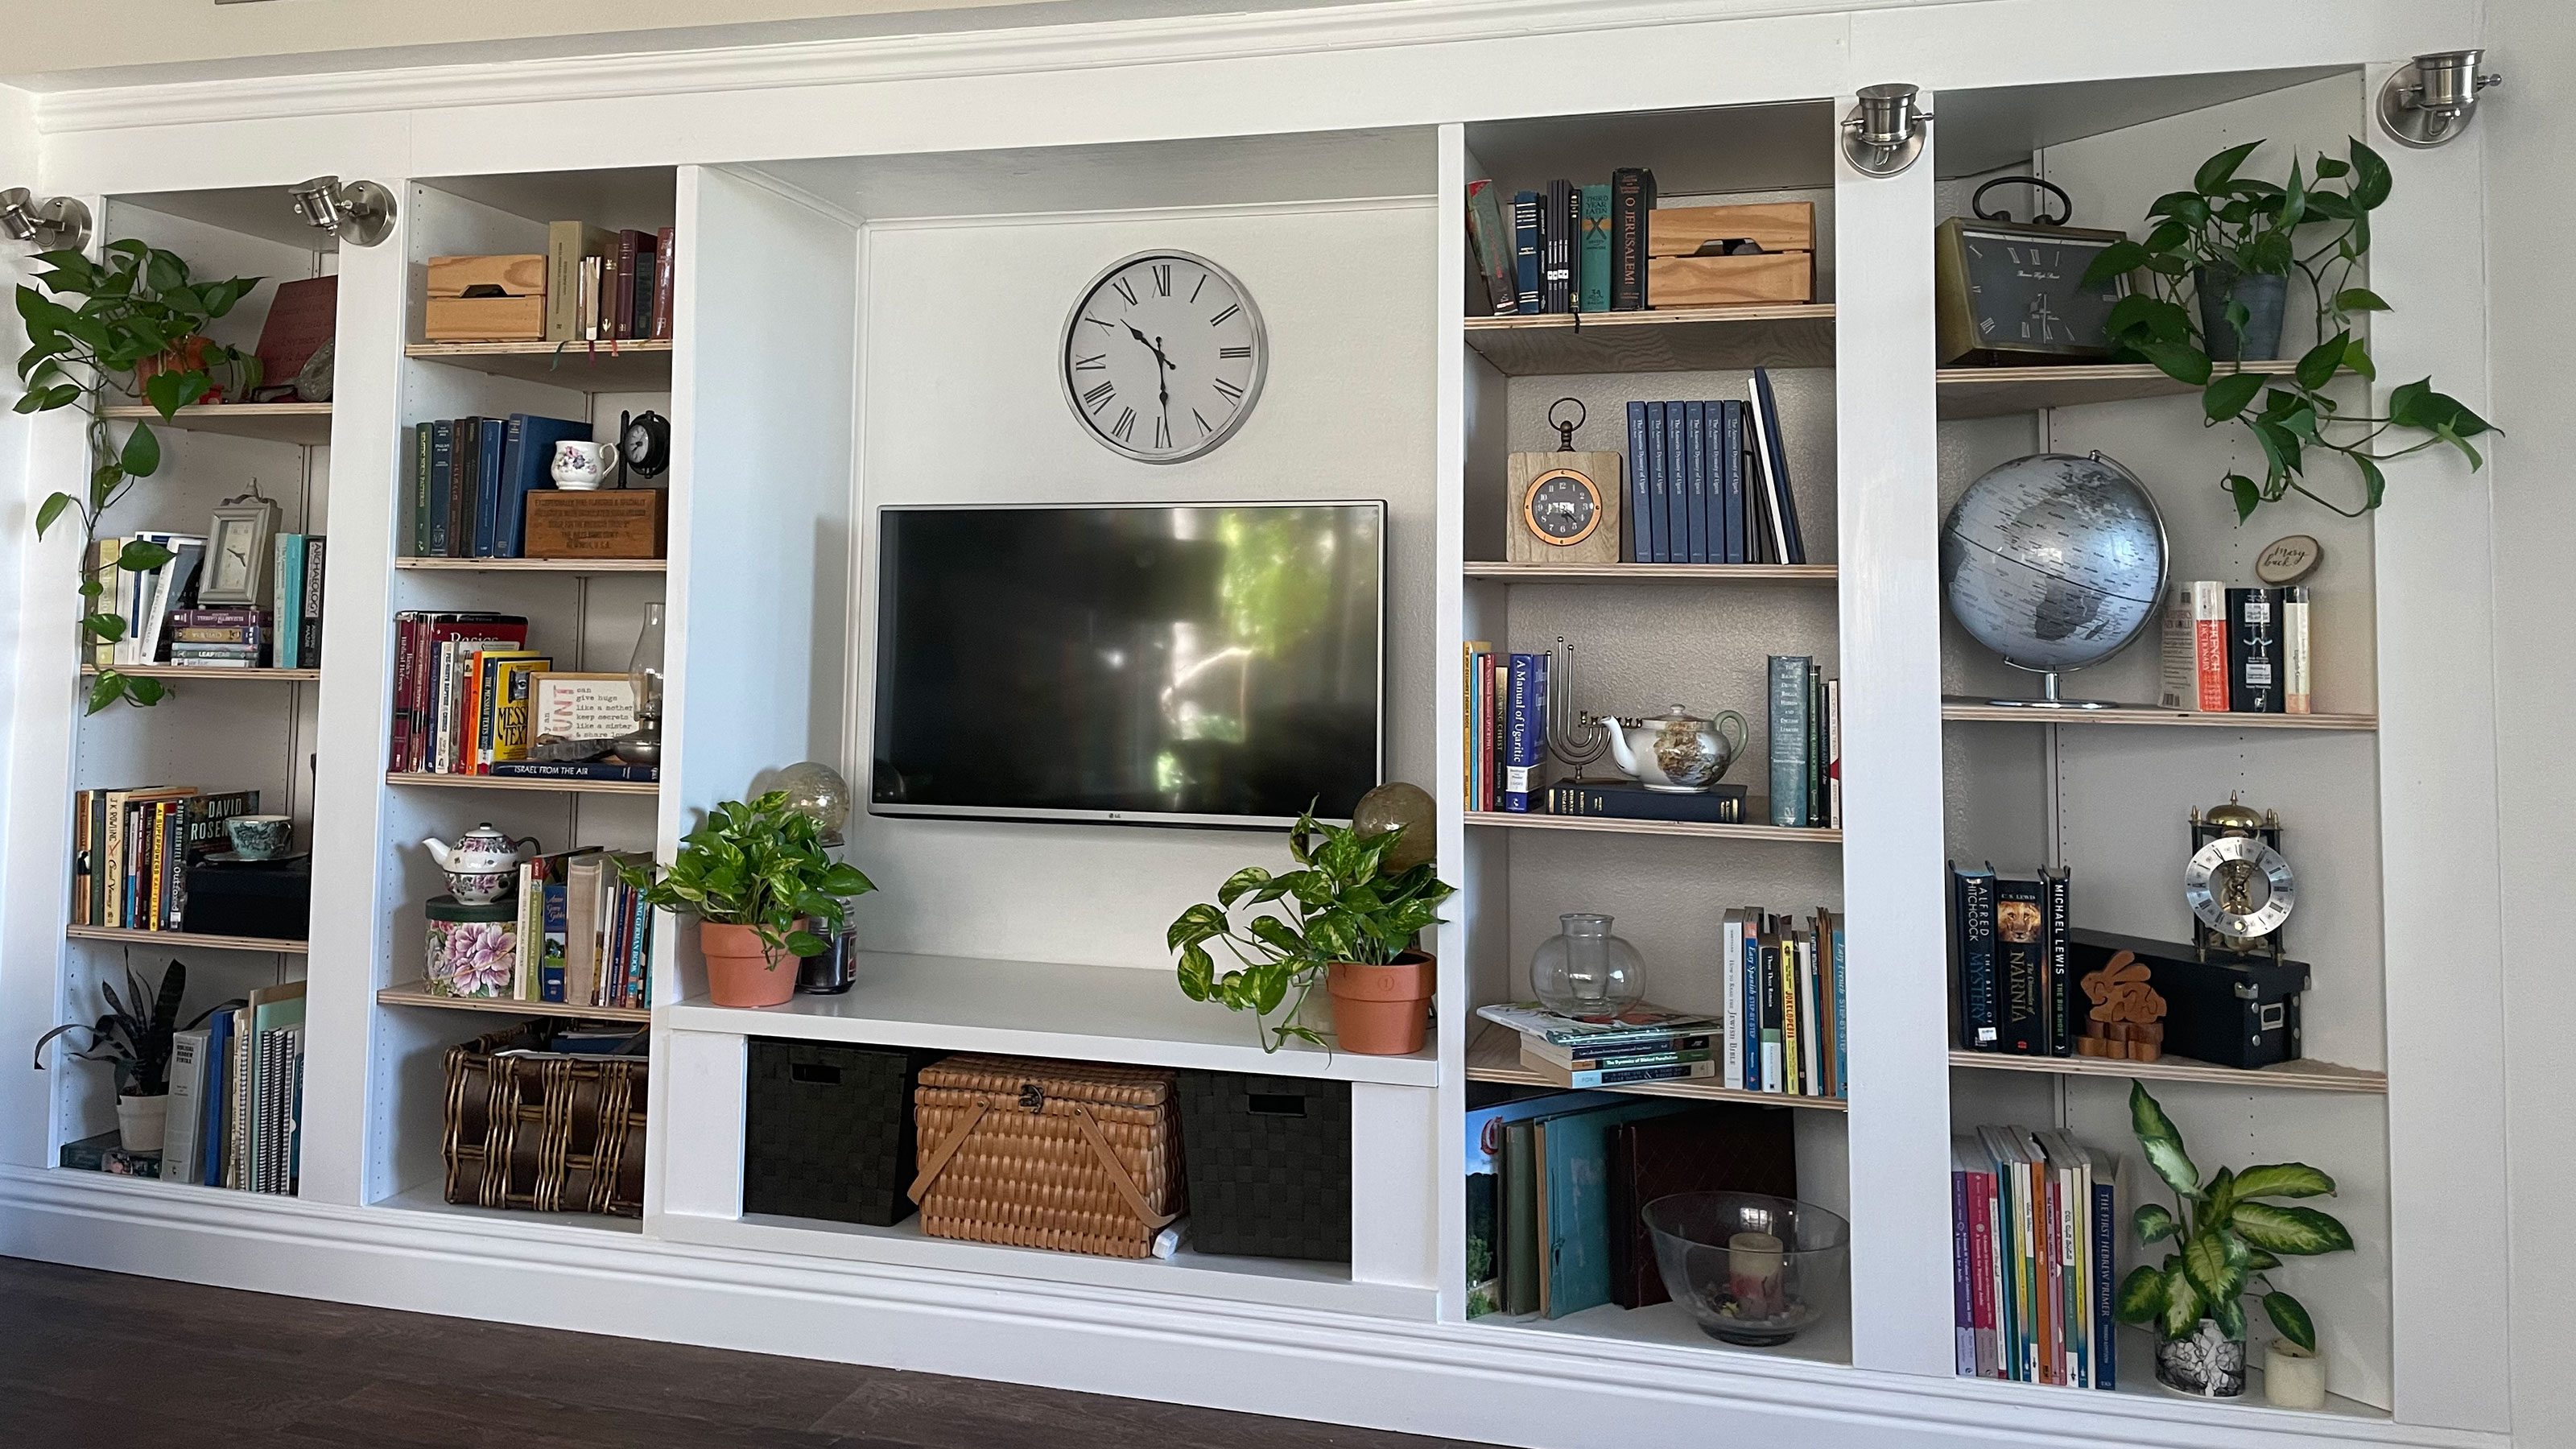 An IKEA Billy bookcase hack inspired this cute media wall DIY
This cute DIY was inspired by an IKEA Billy bookcase hack and brought a ton of symmetry to an otherwise basic media wall space.
-
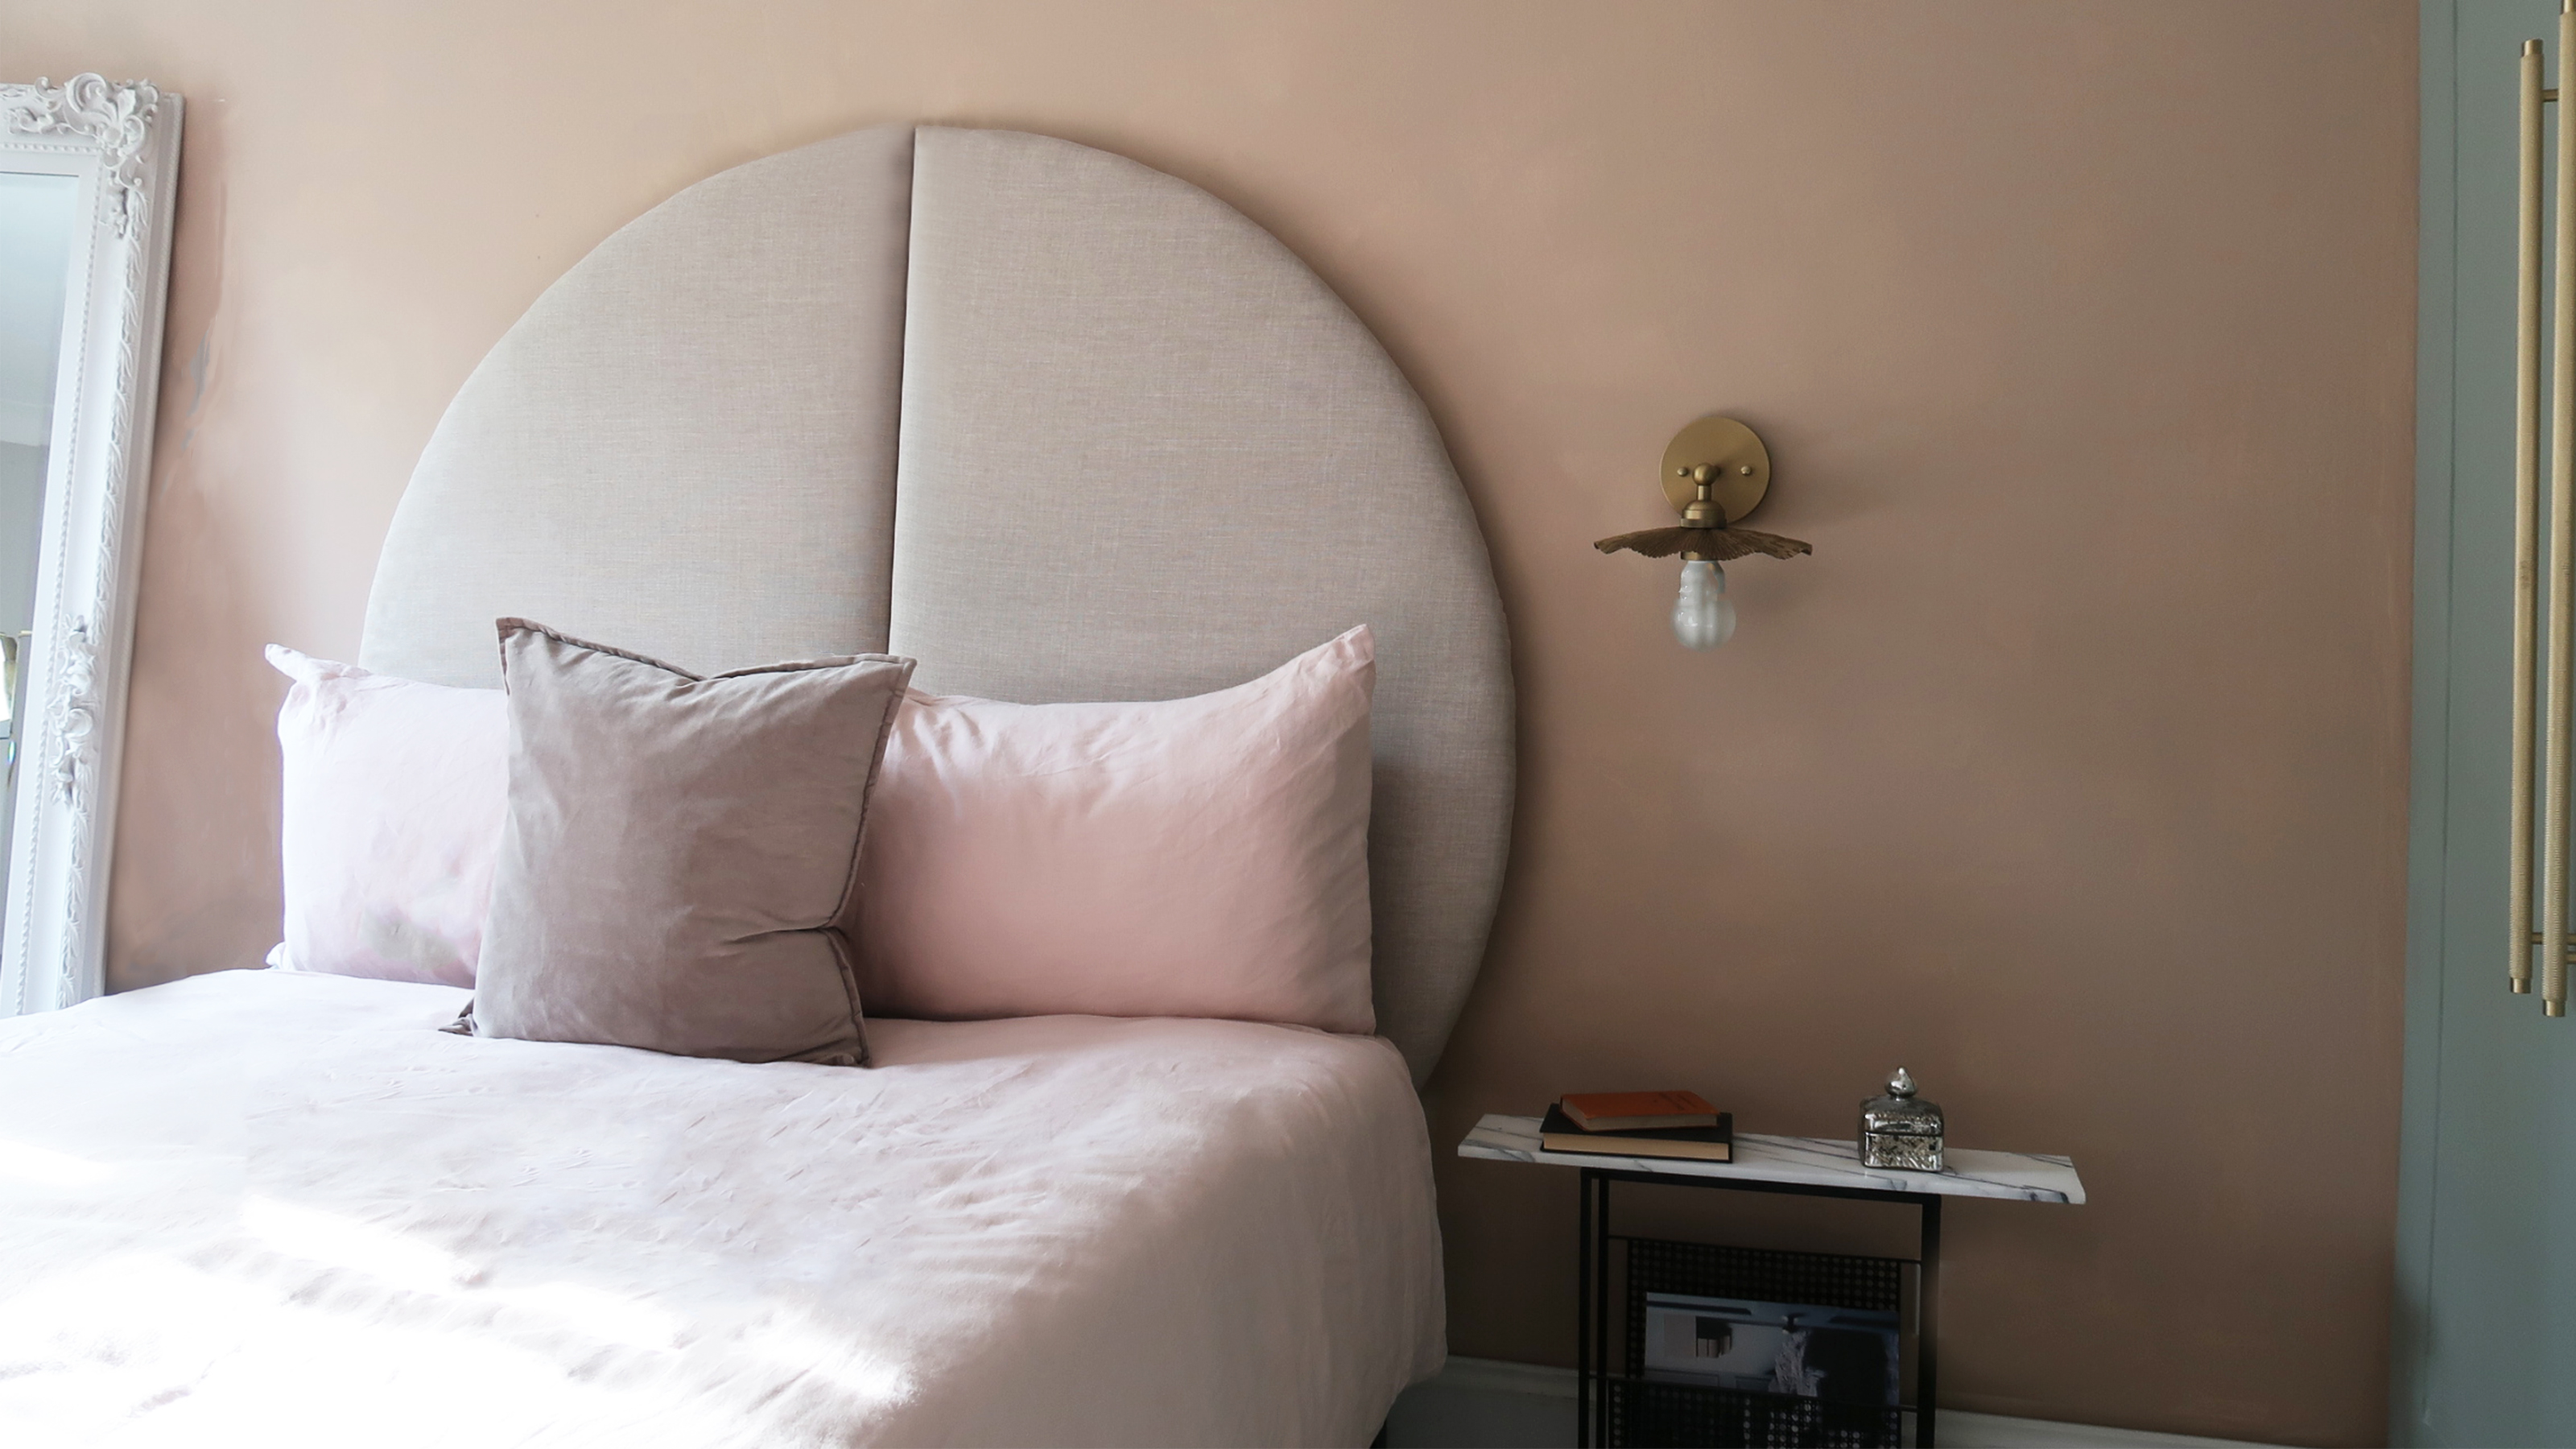 This oversized headboard looks designer, and takes 5 steps to DIY
Super simple to DIY, this oversized headboard will give your bedroom space all the designer vibes you could dream of.
-
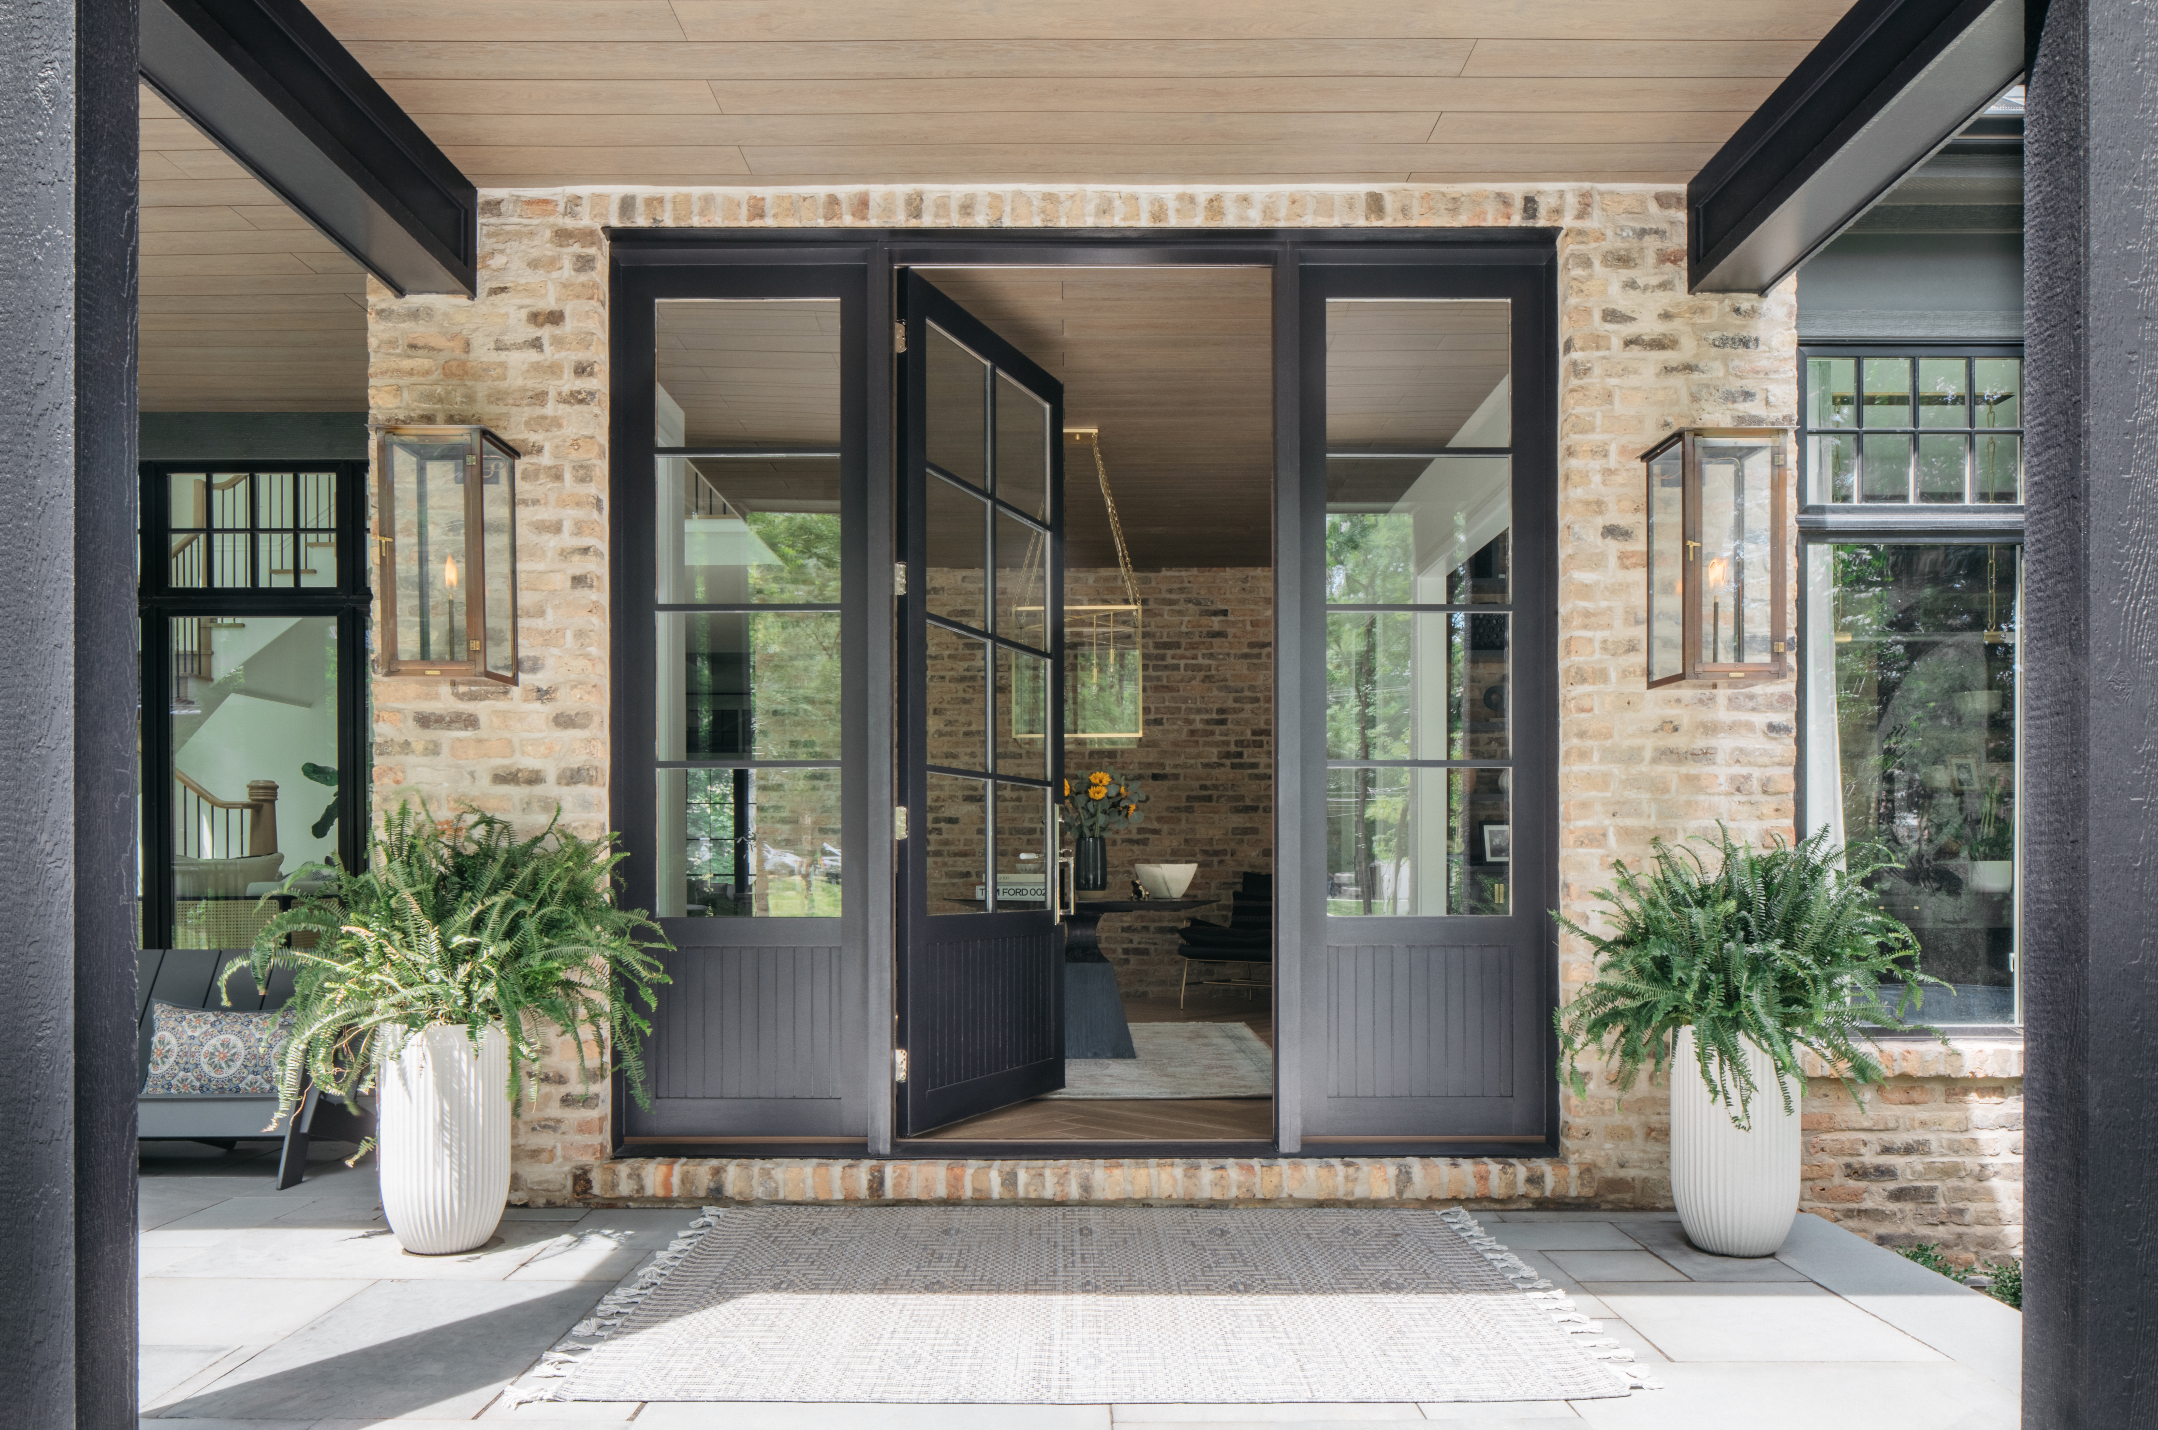 How to paint a door and refresh your home instantly
Painting doors is easy with our expert advice. This is how to get professional results on front and internal doors.
-
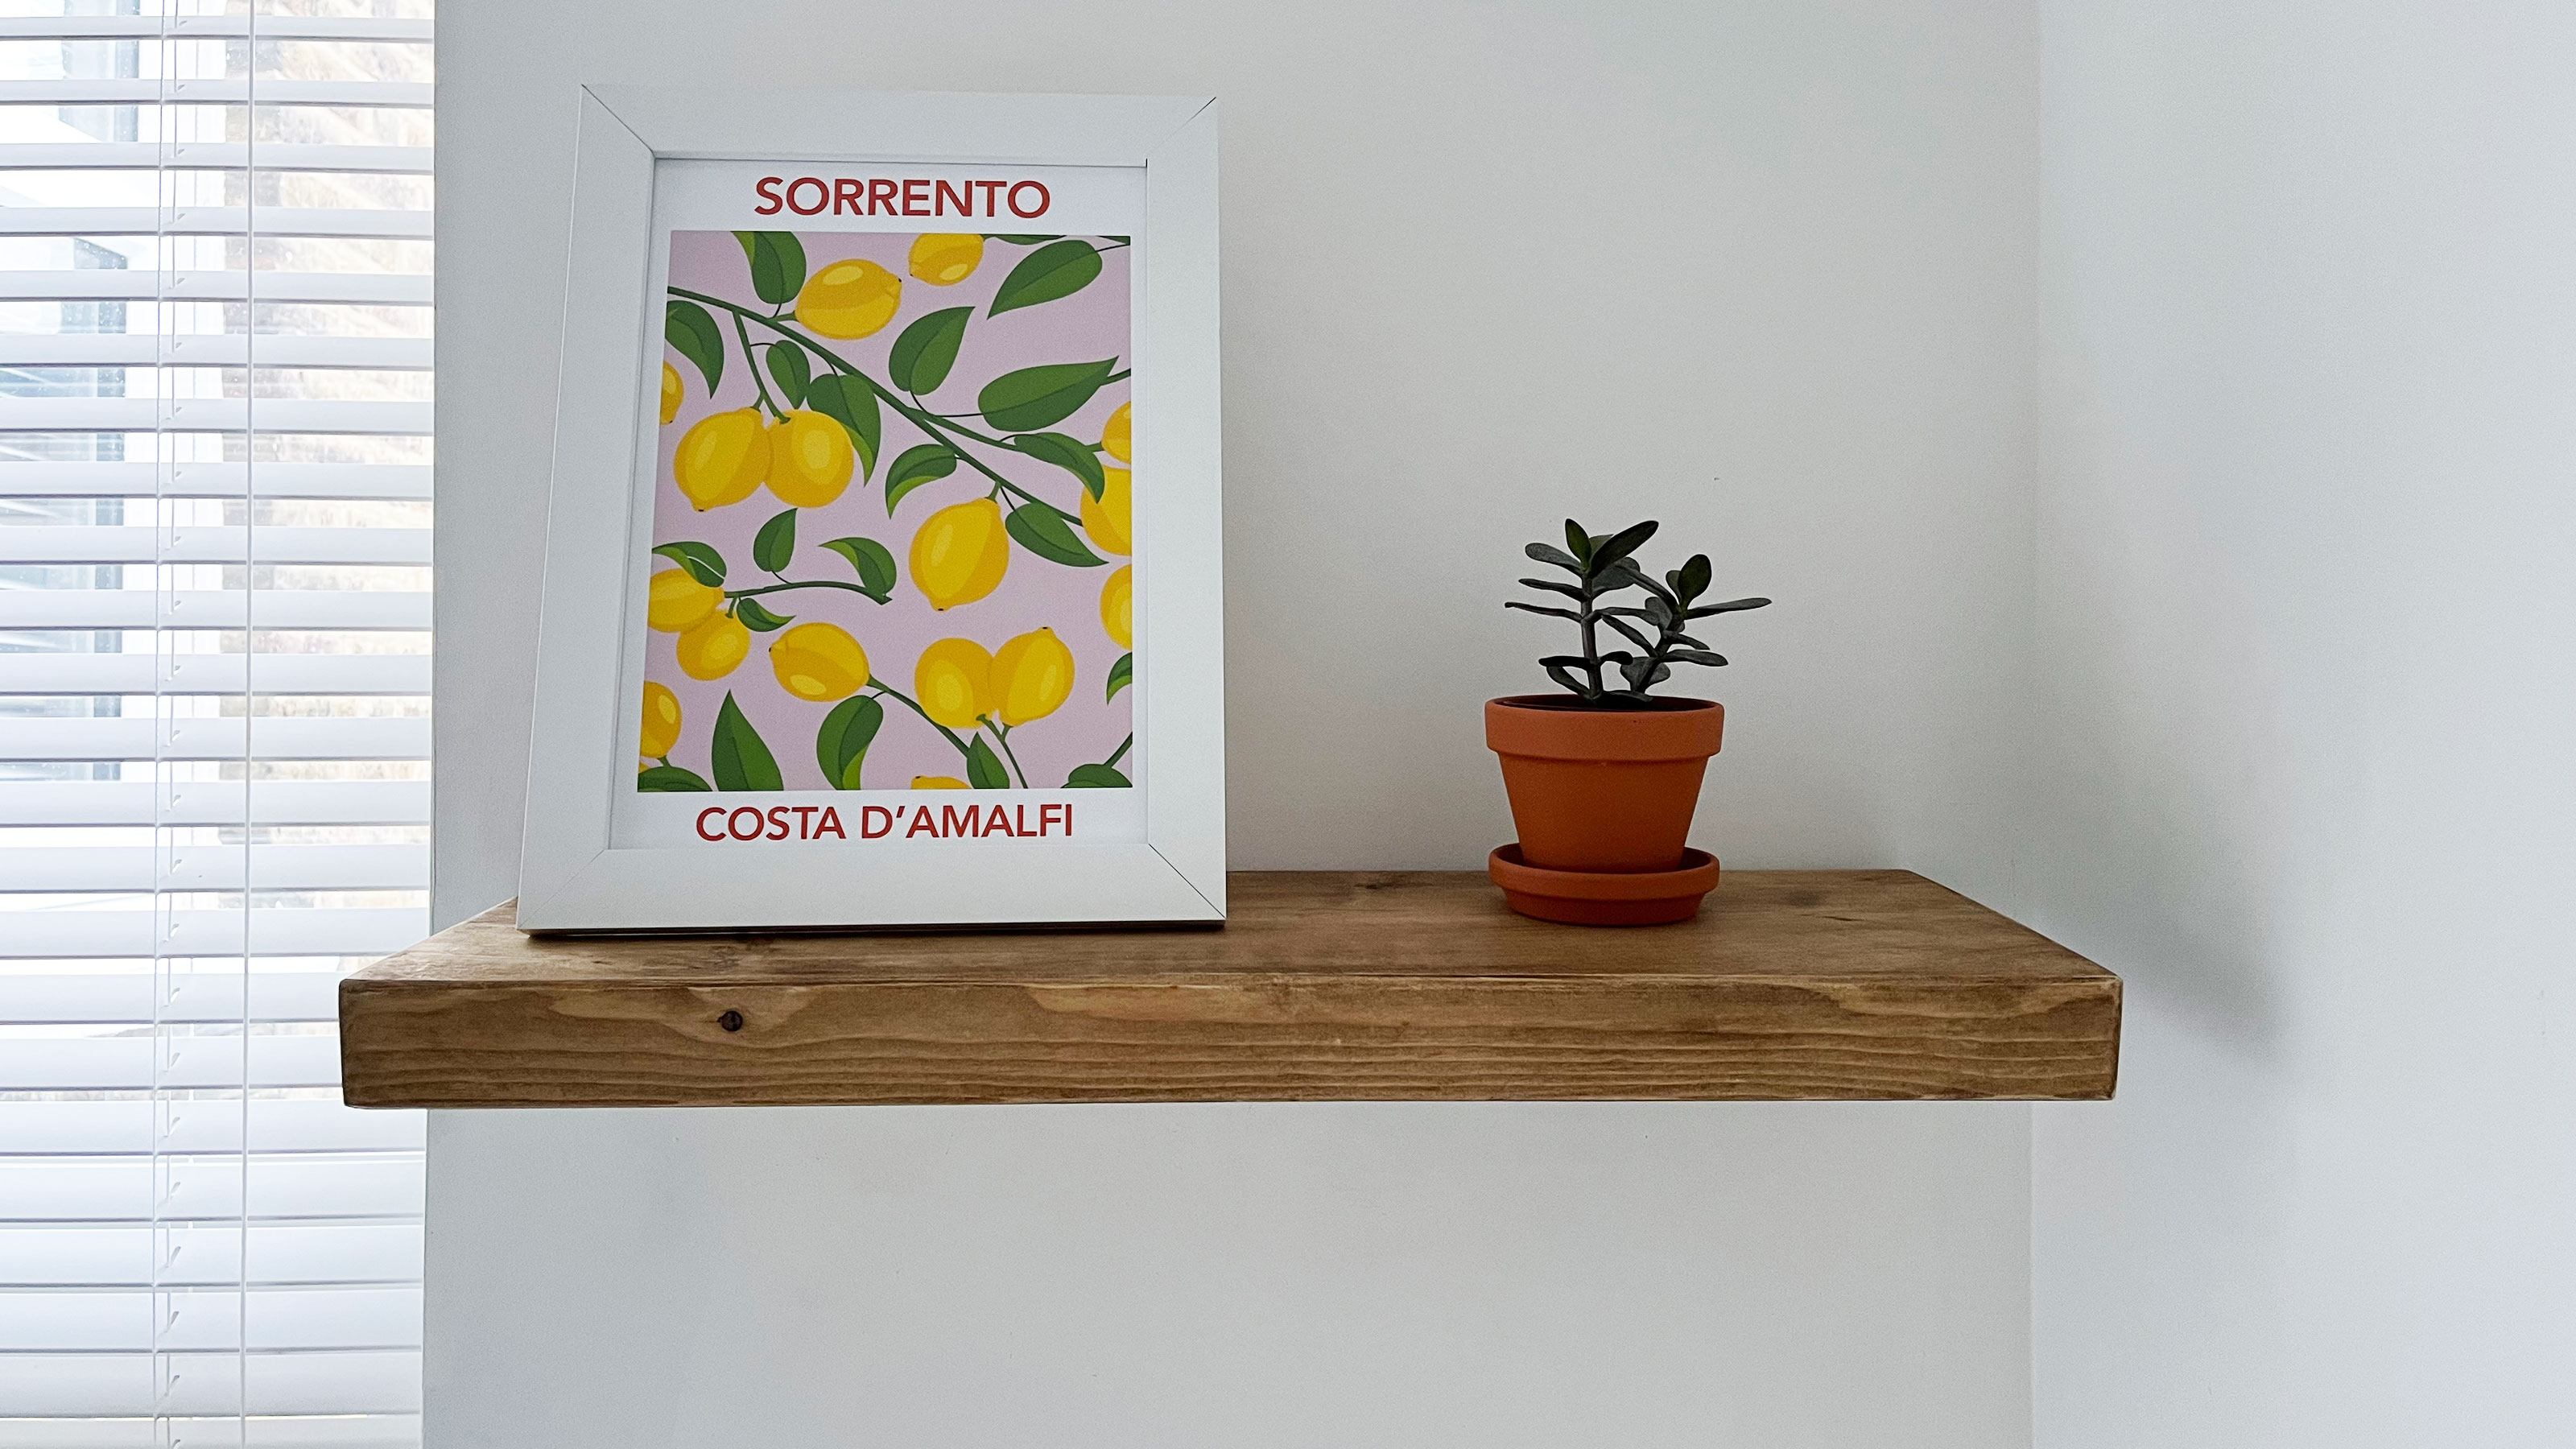 How to install and style a floating shelf
Installing a floating shelf can add instant design interest to your home. Dress yours with artwork, houseplants, and books for the perfect finish.
-
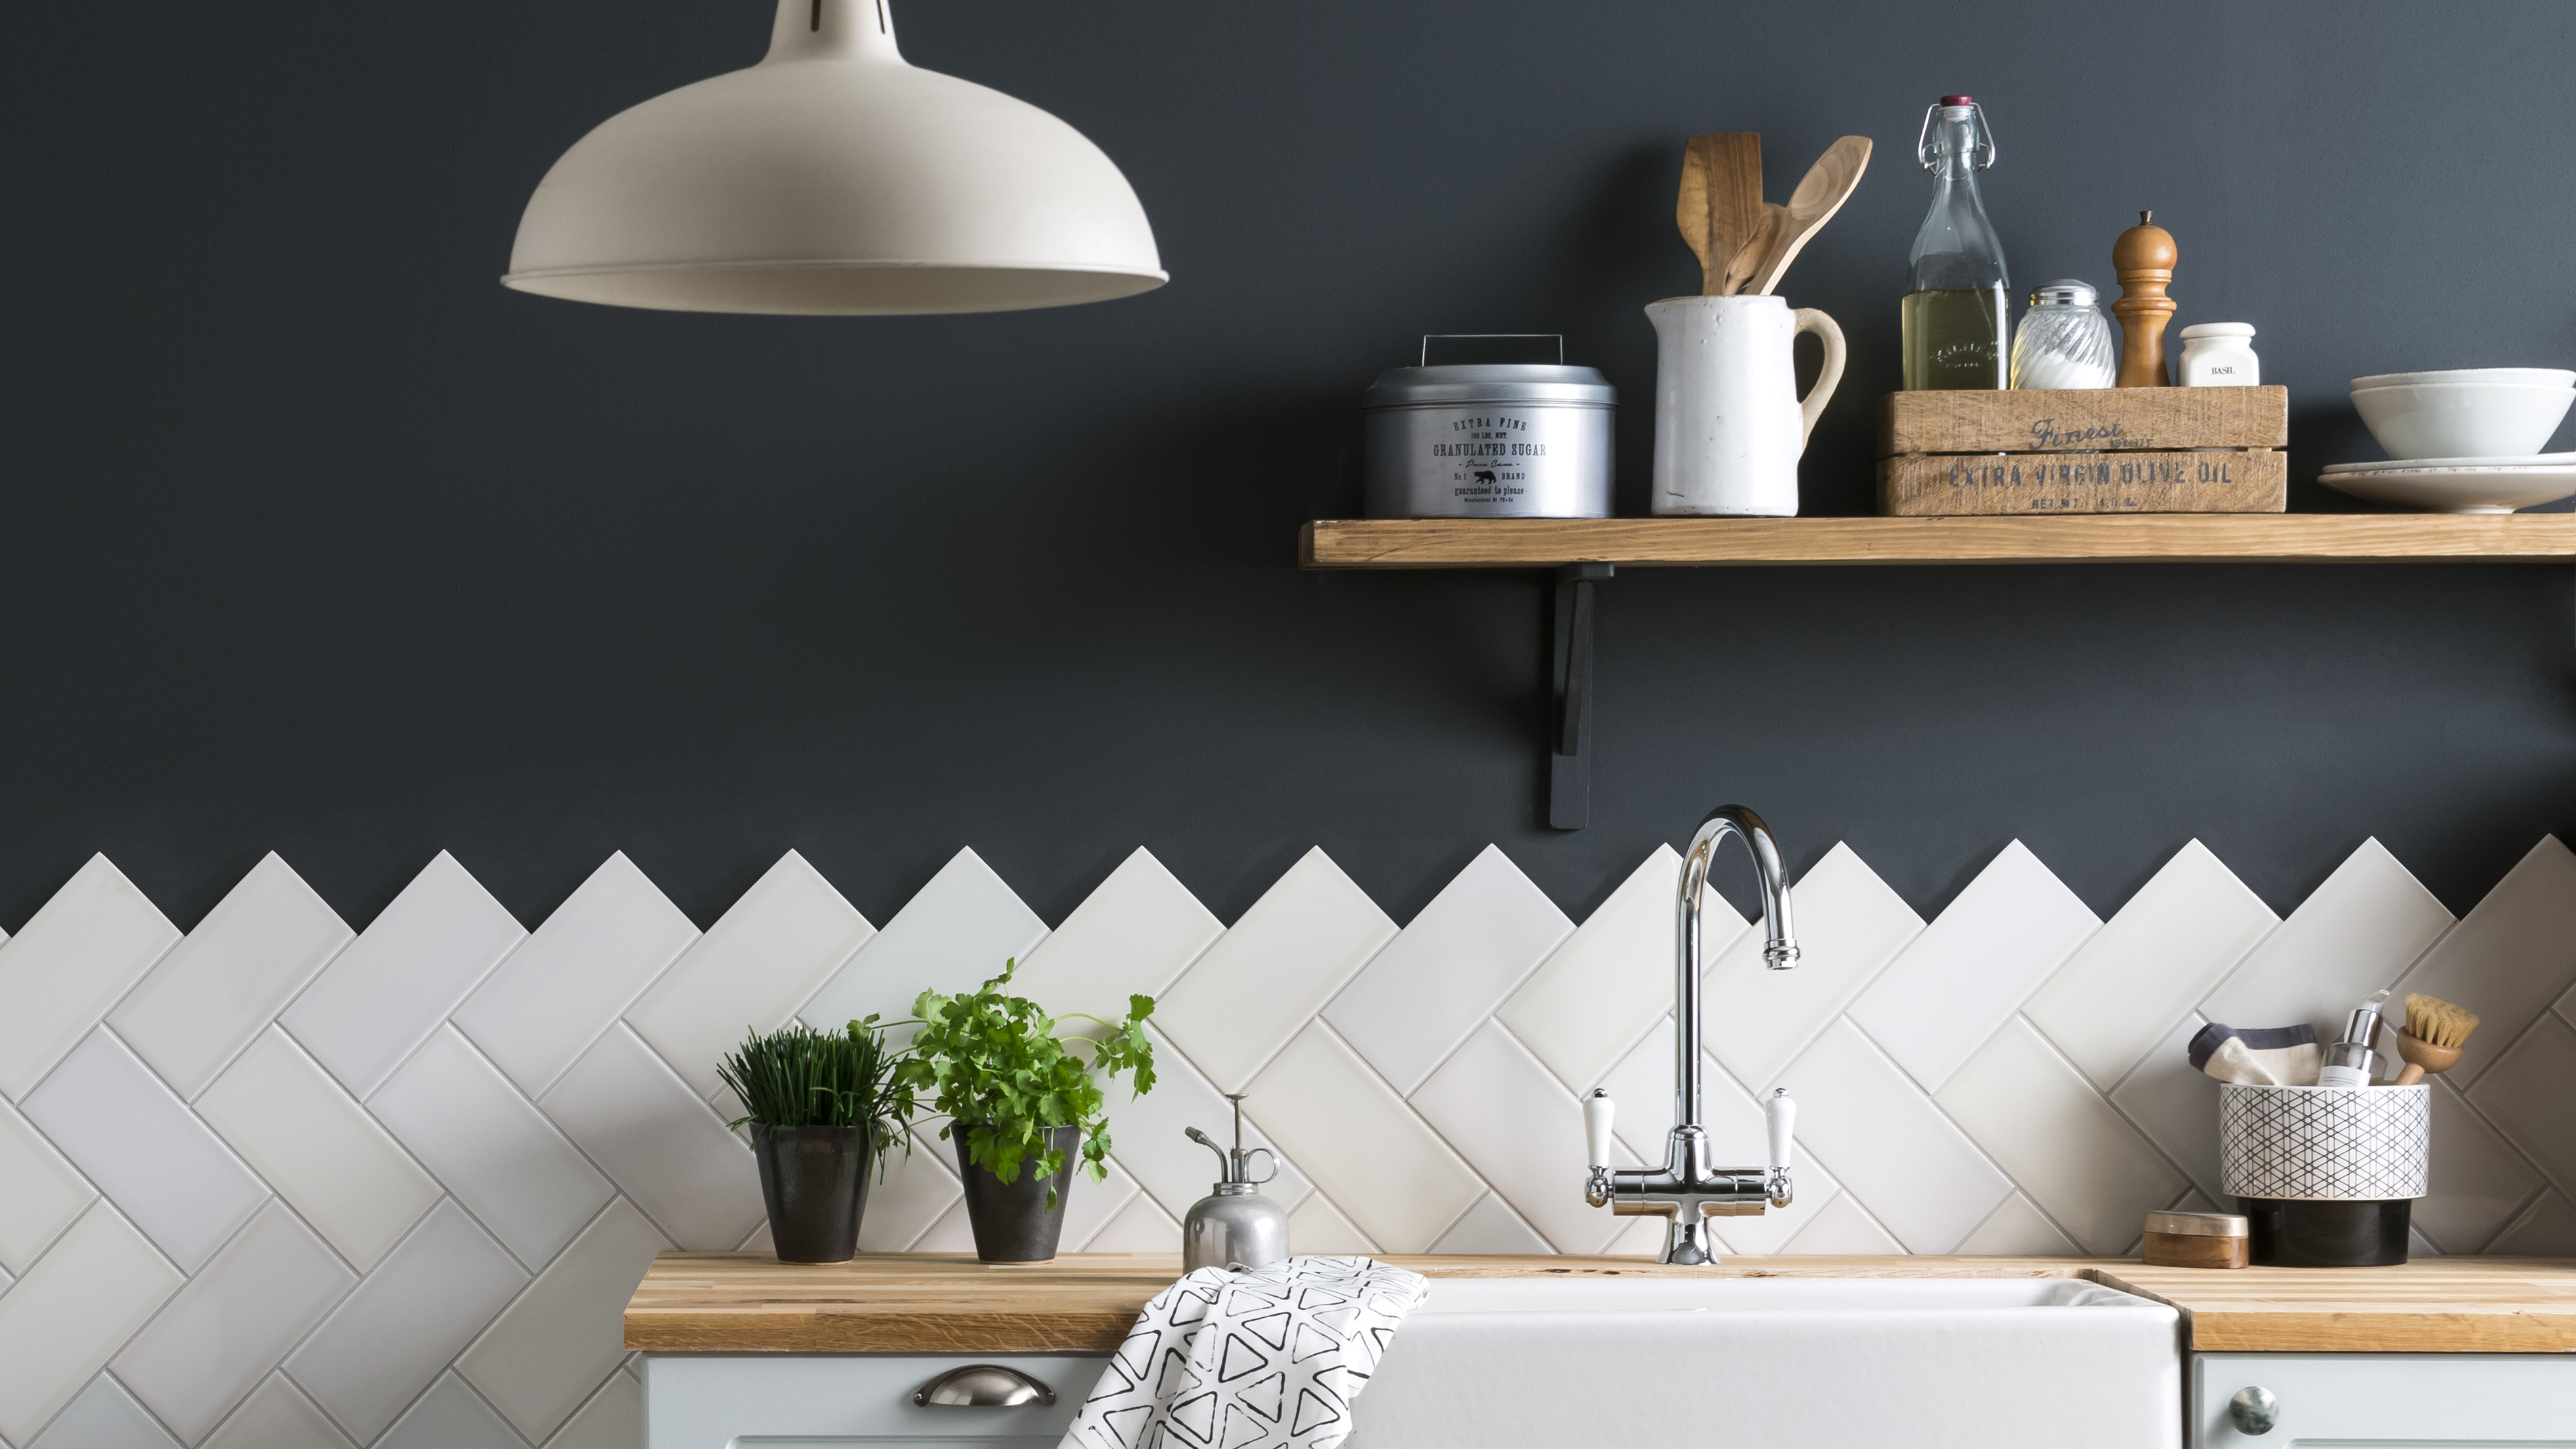 How to tile a backsplash: a DIY guide for beginners
Knowing how to tile a backsplash will make a big difference to the look and function of your kitchen. DIY to save on the cost of calling in a professional.
-
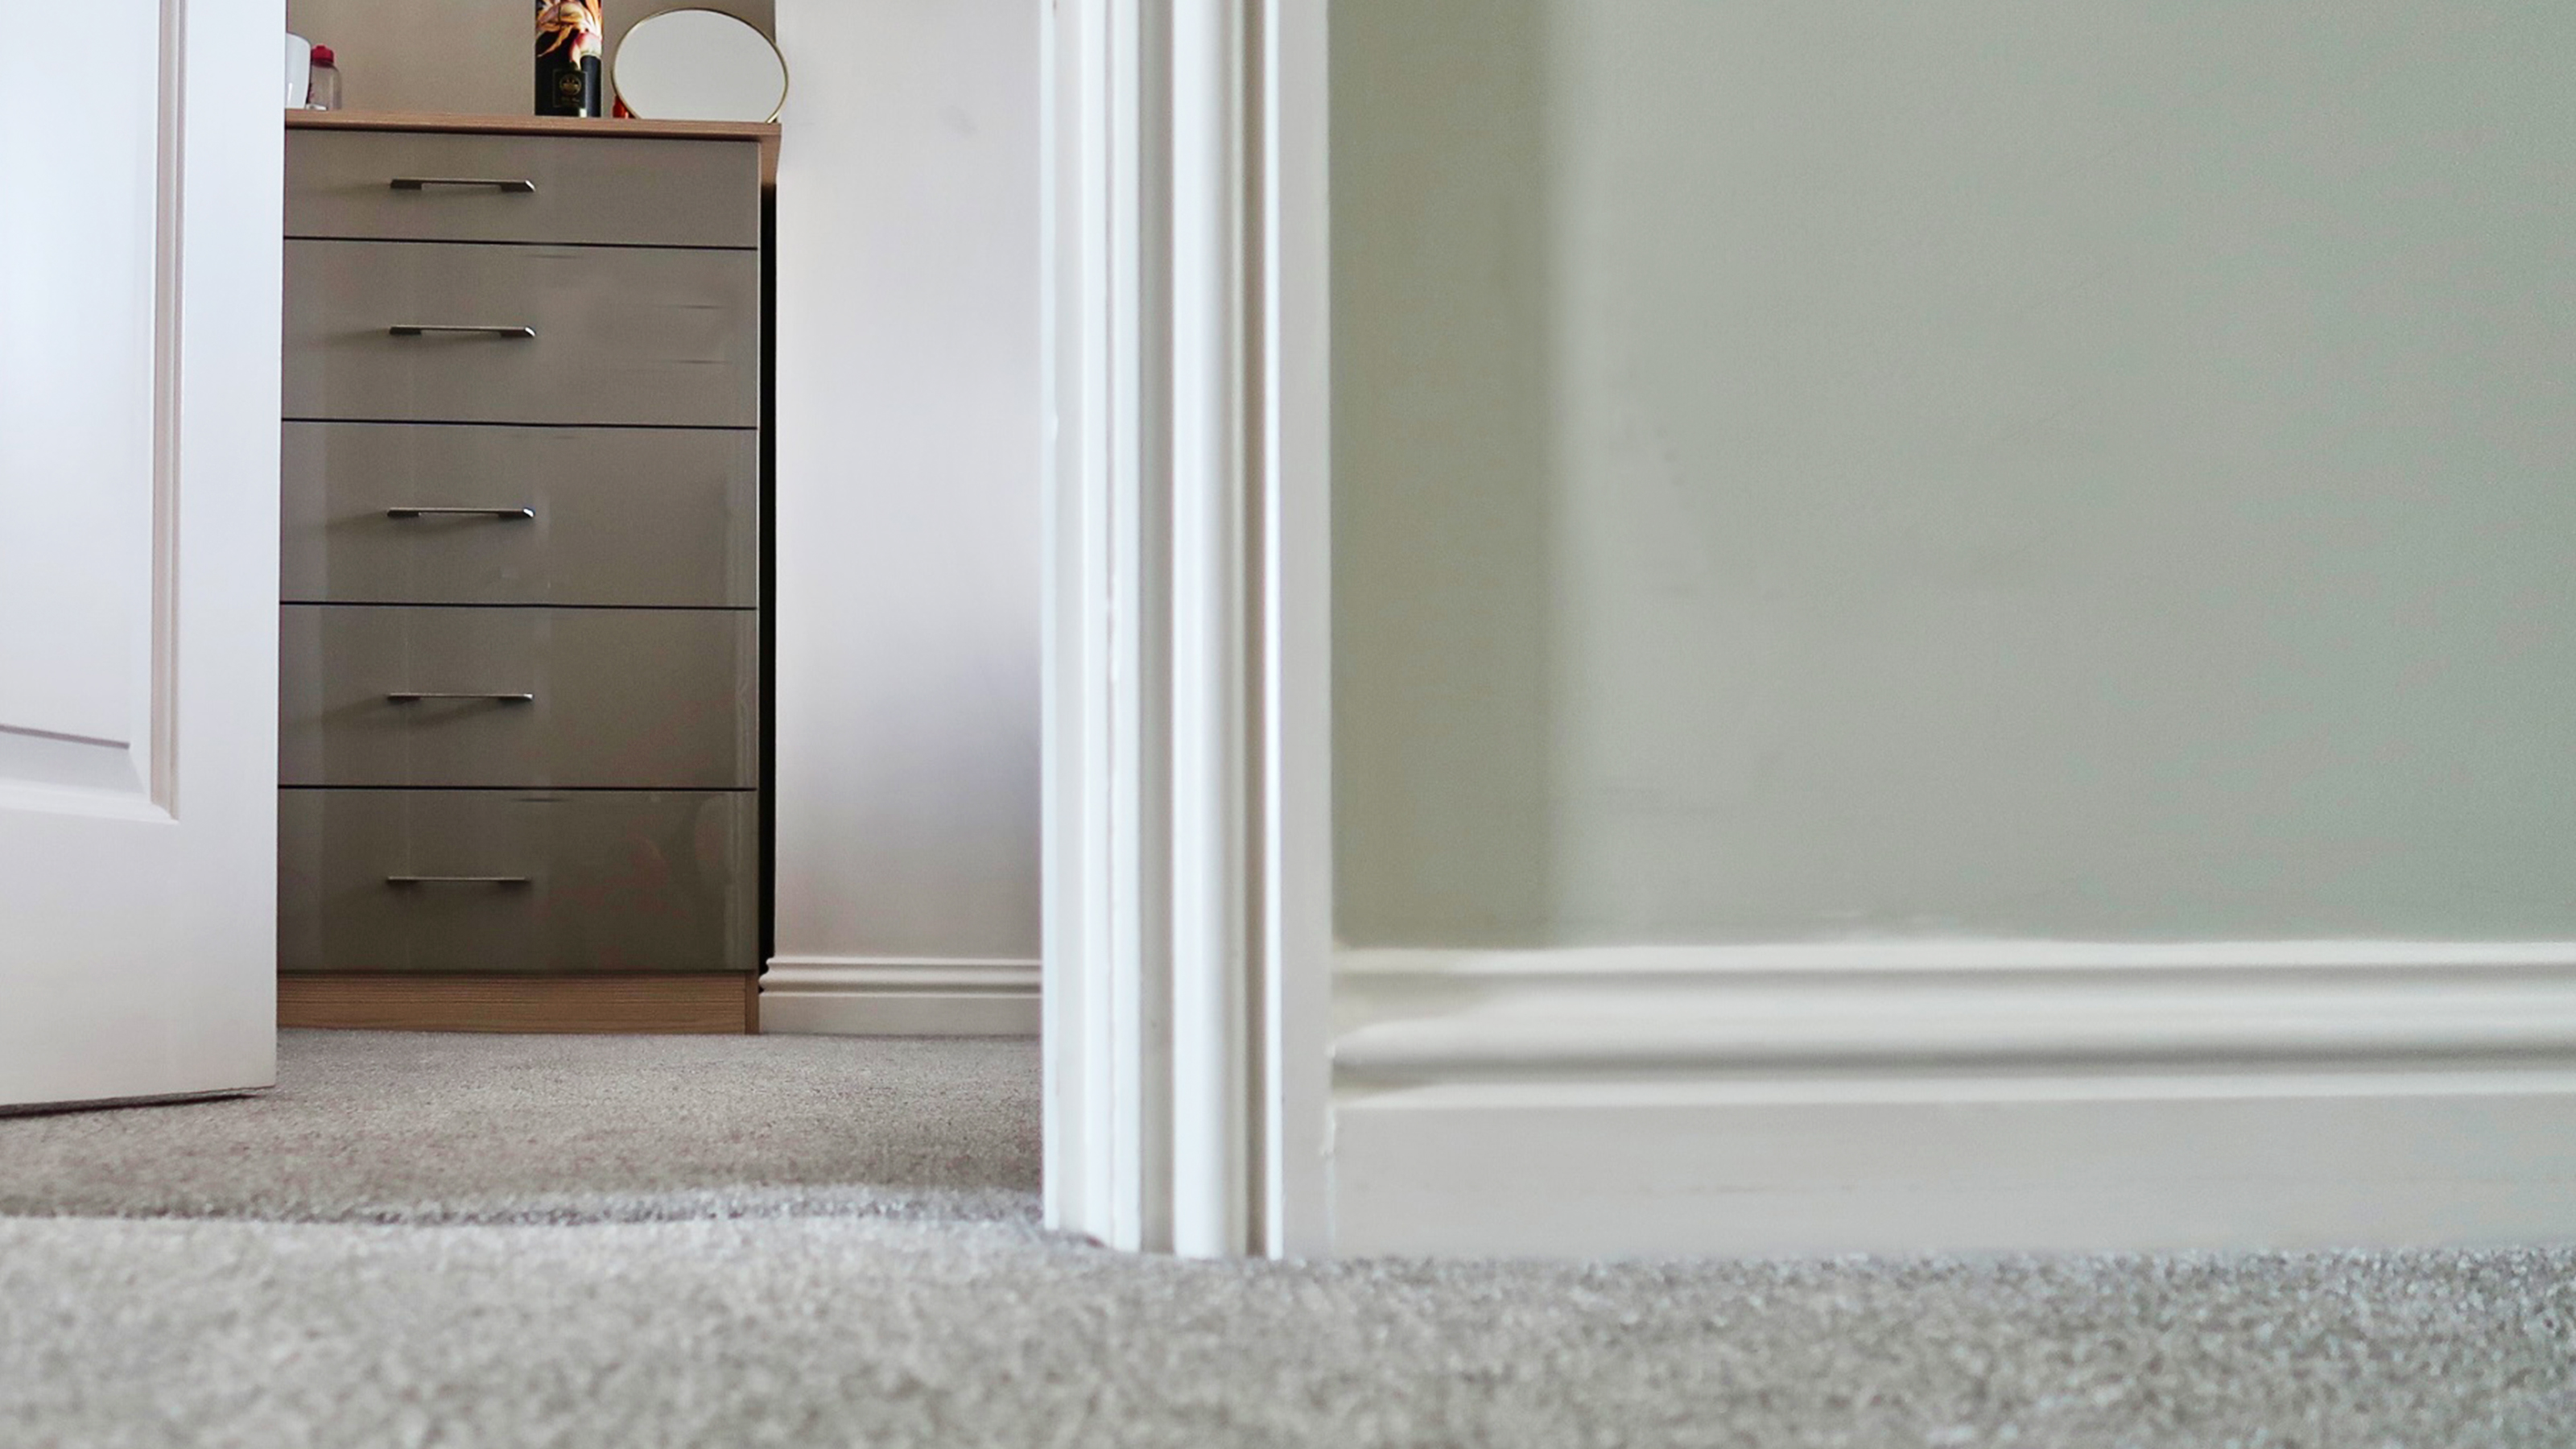 How to install baseboards: a simple 10-step DIY
Installing baseboards is an achievable DIY with the right know-how to ensure you get a professional finish, whether you're updating a living room or refining a home addition.
-
 18 home DIY project ideas for instant aesthetic appeal
Transform your surroundings with these home DIY projects that will make all the difference to your space, big or small
-
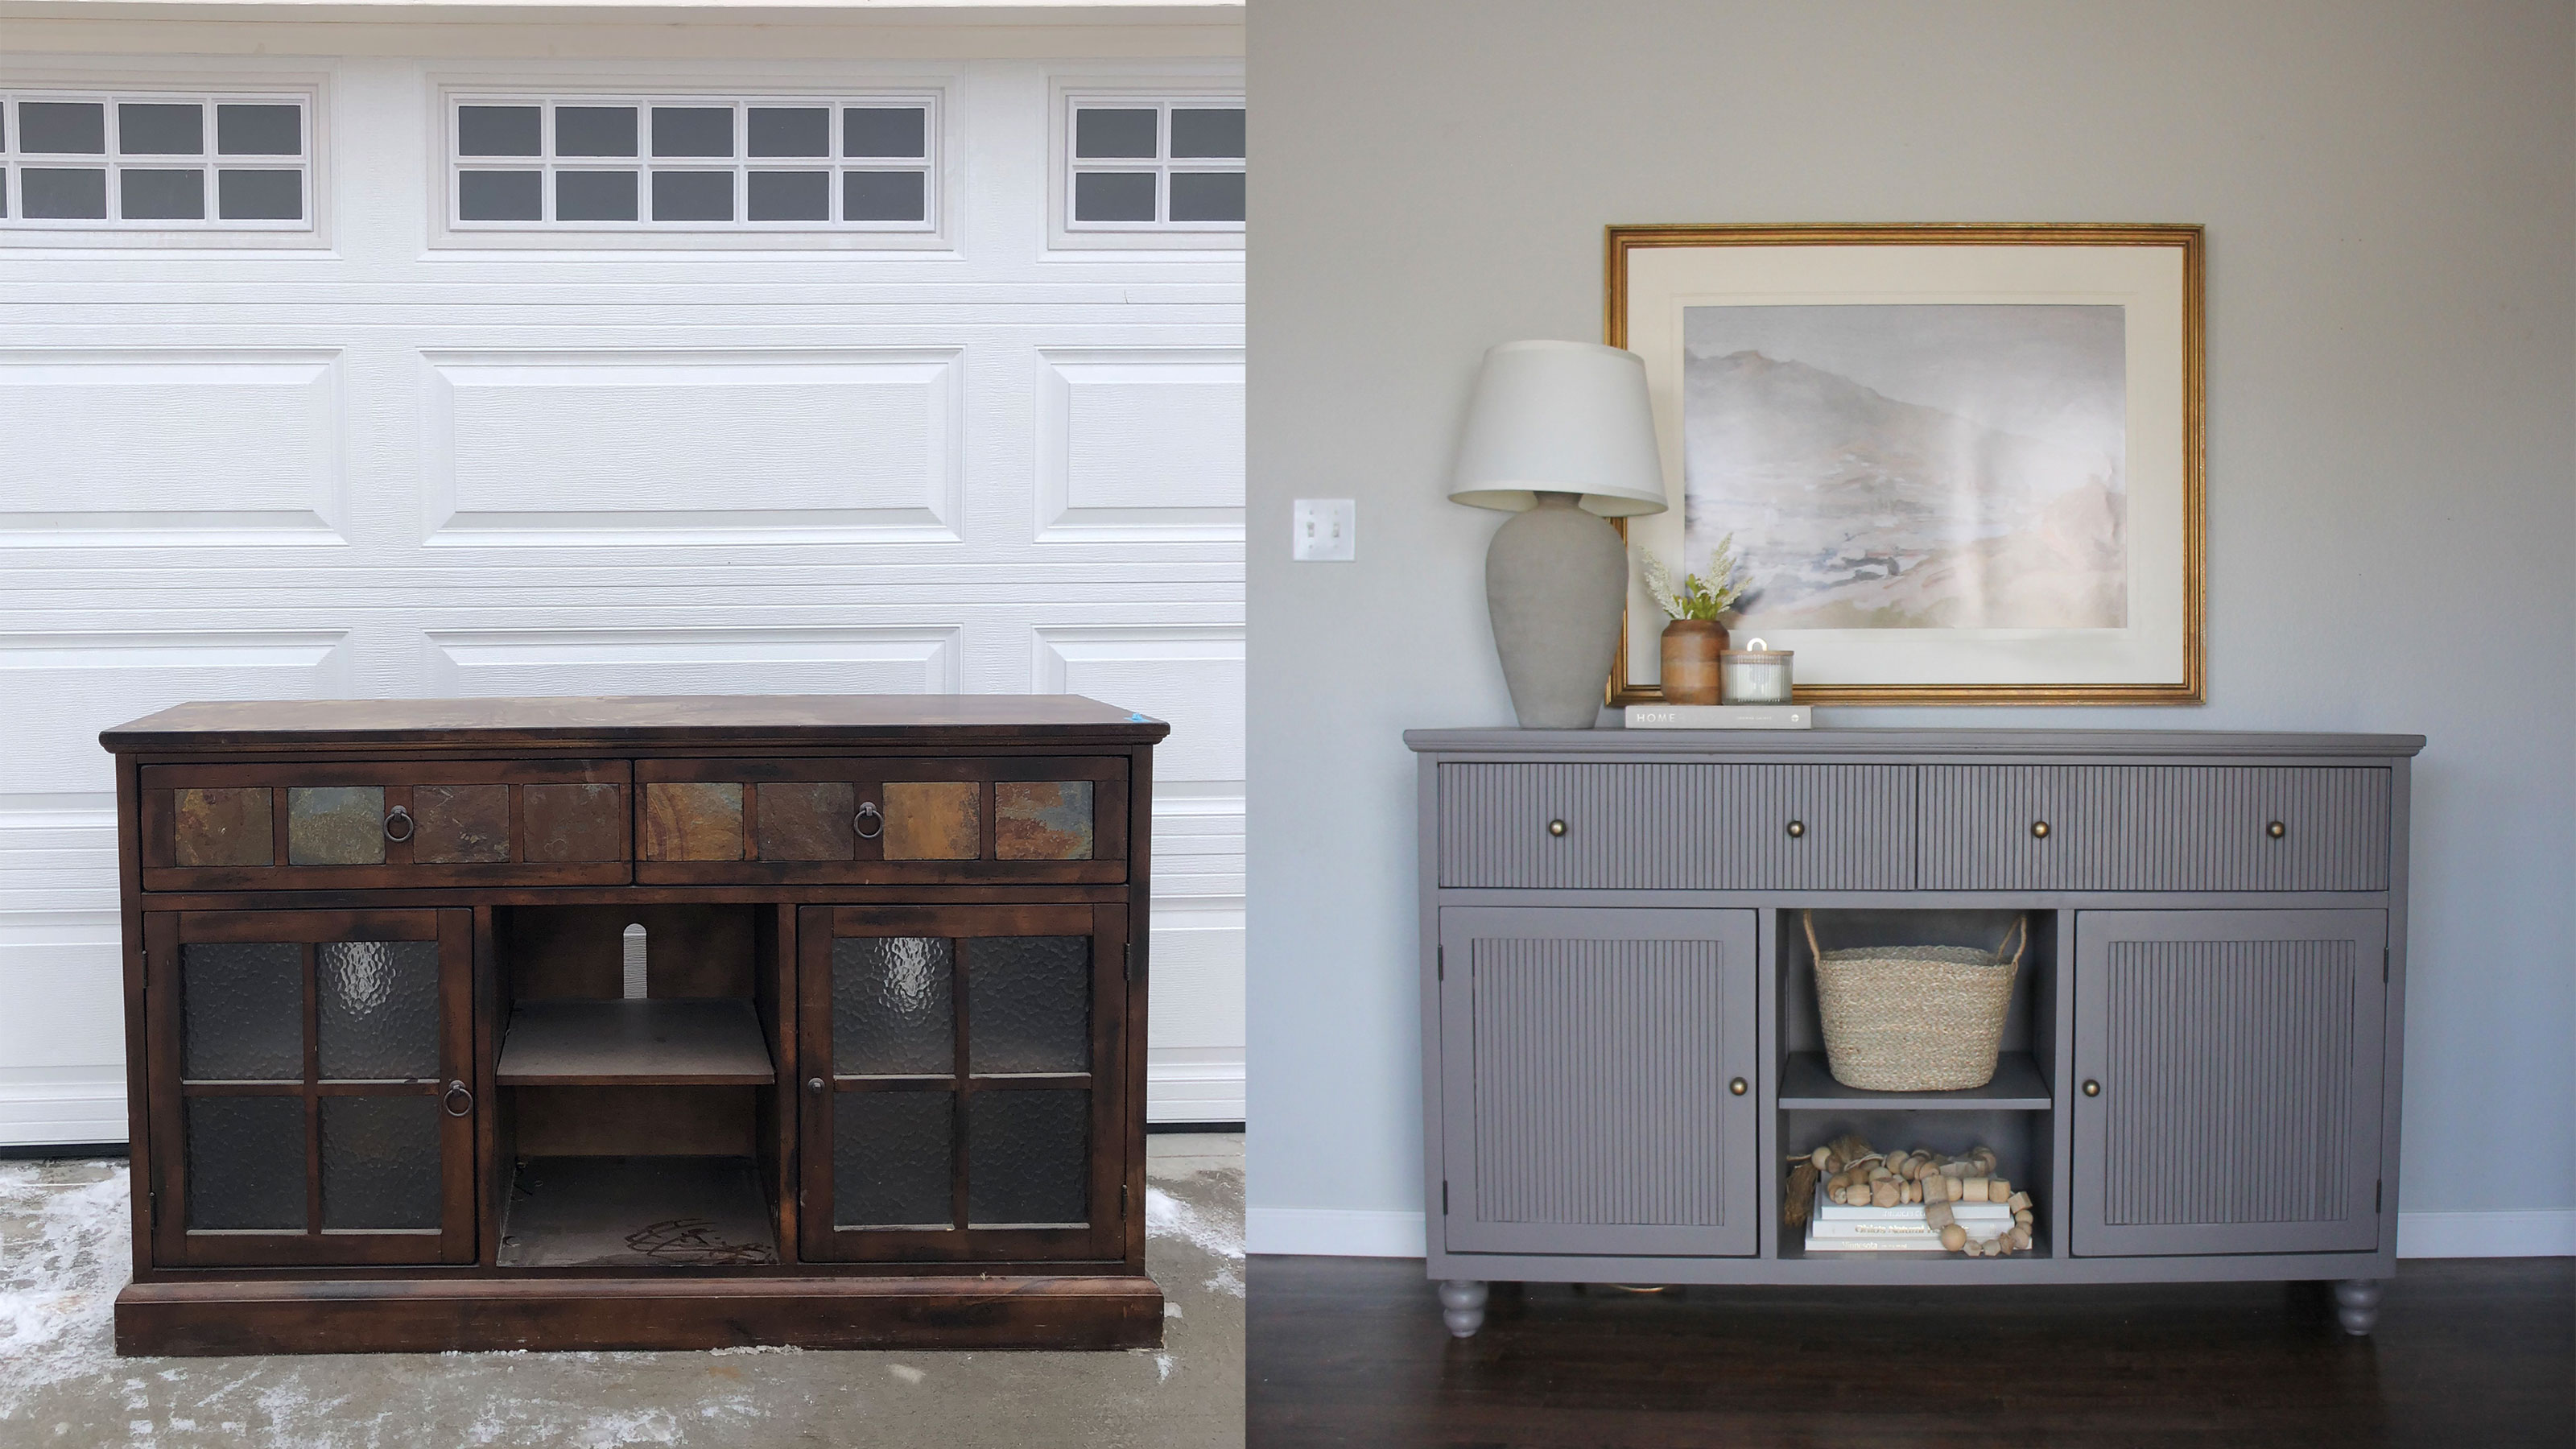 How to pole wrap a cabinet for a modern furniture transformation
DIYer Leslie Jarrett shows us how to pole wrap a cabinet and paint it for a modern glow up on a thrifted TV console


