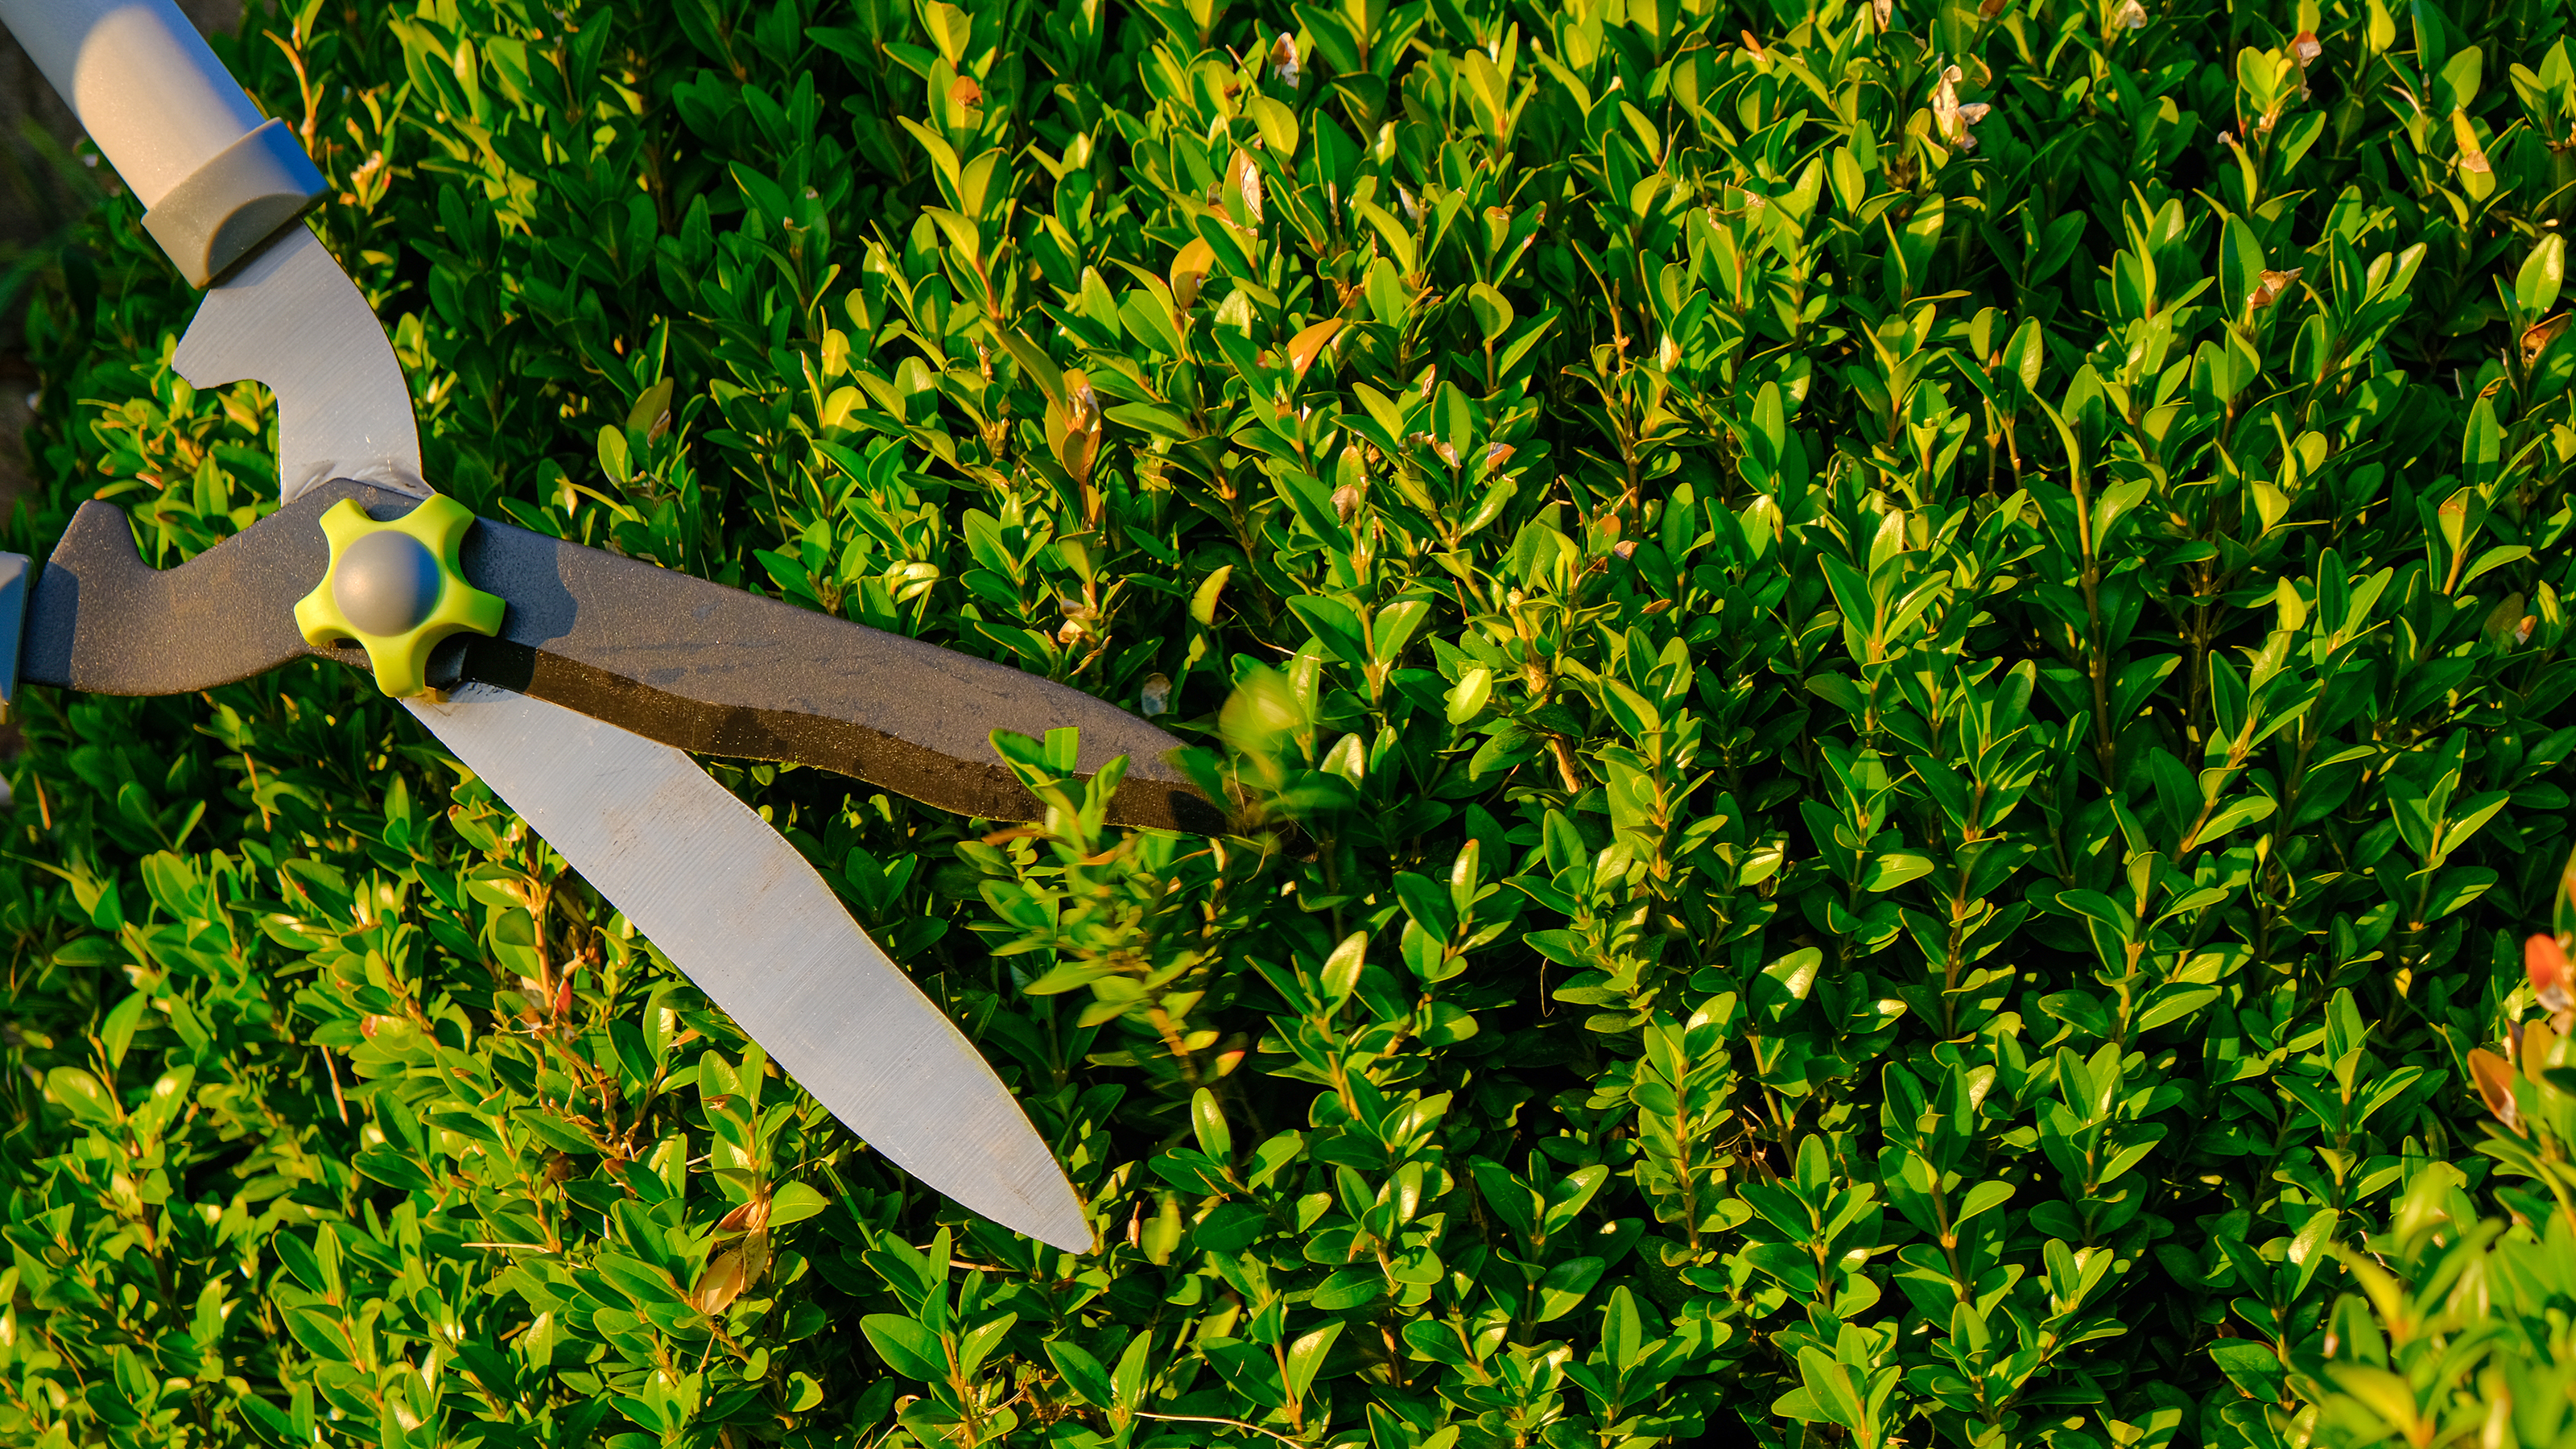

It might be time to learn how to sharpen garden shears if you've noticed that your nippers aren't quite cutting it as they did when you first purchased them.
This essential backyard tool is used to cut branches and shrubs, so if you've got an overgrown bush that's creeping into your neighbor's space, or need to prune/deadhead spent blooms – it's time to sharpen up your best gardening tools. Blunt equipment isn't just inconvenient to use – it can also damage your plants, and cause you injury.
Maintaining your outdoor instruments is vital to growing verdant foliage in your front or back garden. And keeping your external scheme smart by trimming back trees, flowers and hedges will make your garden design ideas look more expensive.
Plus, if you pare back your plants, (retaining green leaves and fertile-looking florals), and get rid of diseased or pest-ridden leaves, you can create space to fill your plot with more pretty varieties.
The best hedge trimmers are great for, well... hedges and shrubs, but if you want to trim back your trees, garden shears offer a more controlled and considered solution to take slithers and select stems off your plants. Consider lopping shears like a giant pair of haircutting scissors, while hedge trimmers are akin to a set of electric clippers.
We'll show you how to sharpen shears at home, using a metal file, whetstone, or grinding them down with sandpaper. If you're an avid gardener, buying the equipment will work out much cheaper than outsourcing a professional service.
Plus, once you've learned how to do it once, you should never have to tolerate blunt blades again. Granted, they're not the most pretty gardening tools, but loppers are super practical, so you want to make sure they're in good working order.
Equipment list
1. A pair of garden shears
2. Cut-resistant gloves: get them on Amazon
3. Safety goggles: we've got our eyes on these
4. High-grit sandpaper: shop fine and coarse paper
5. A bench vice: secure your tools for safe DIY
6. A wood and metal file set: pick from a wide selection
7. A sharpening whetstone: cutting-edge products
8. Scrap paper or newspaper: to test your sharpened blades
9. Machine oil: lubricate your tools for longevity
10. A bucket/pan: or vessel large enough to fit your shears in
11. Washing-up liquid: or buy cheap dish soap at Amazon
12. A wire brush: make your shears shine like new
13. An old bath towel or flannel: alternatively, a rag will do
14. White vinegar: buy it cheap at Amazon
15. Baking soda: Amazon sells budget-friendly bicarb
How to sharpen garden shears with a file or whetstone
We spoke to Chris Moorhouse, category director for timber, building, décor, and garden at Wickes, who kindly laid out the below step-by-step guide on how to sharpen shears. Plus, other industry experts chip in with garden shear guidance.
1. Safety first
To protect your eyes and hands, ensure you have the appropriate safety gear such as coated cut-resistant gloves to prevent any scratches or cuts, along with safety goggles to avoid any damage to your eyes.
2. Clean your shears
Before you begin to sharpen your shears, it's important you get all the heavy dirt and debris off the blades. This way, you can spot any rust and damage, clearly. Belinda Punshon, who works as part of Airtasker’slifestyle editorial team has a four-step process to prepare your tools.
How to:
- For heavy dirt, immerse the tool in water mixed with dish soap or detergent and leave it to soak for a few minutes.
- Retrieve the tool from the soapy water and rinse it off with clean water. You can also use a wire brush to remove any stubborn dirt.
- Repeat the process until all dirt is removed, then wipe the tool dry with an old towel or rag.
- If you don’t see any dirt on the shears, give them a good rinse under your faucet and wipe them dry.
3. Inspect your tools for signs of oxidation
It’s important to remove any rust or dirt if it has built up over time on the blades as this can affect their efficiency. This can be removed easily with high-grit sandpaper. Simply sand down the blade to a nice shine and you’re ready to begin sharpening.
'When sharpening garden shears, you’ll need safety equipment and items for cleaning and removing rust,' says Punshon.
'You’ll need to remove any rust or dirt buildup on your garden shears; A dirty or rust-encrusted blade can cause your sharpening tool to slip or prevent you from sharpening dull sections. Even a dull tool can give you a nasty cut, so wear safety gloves when shear sharpening.'
If your shears are heavily encrusted in rust, cleaning with vinegar or immersing them in a natural baking soda cleaning solution might improve their condition.
Here's how to do it:
- Mix white vinegar (or baking soda if you run out of vinegar) and water in a pan or bucket, in a 1:10 ratio of vinegar and water.
- Immerse the tool in the mixture and leave it there for at least 12 hours.
- Retrieve the tool and run a wire brush on its surfaces to remove the rust.
- Rinse with clean water and wipe it dry with a rag.
4. Sand down the blade
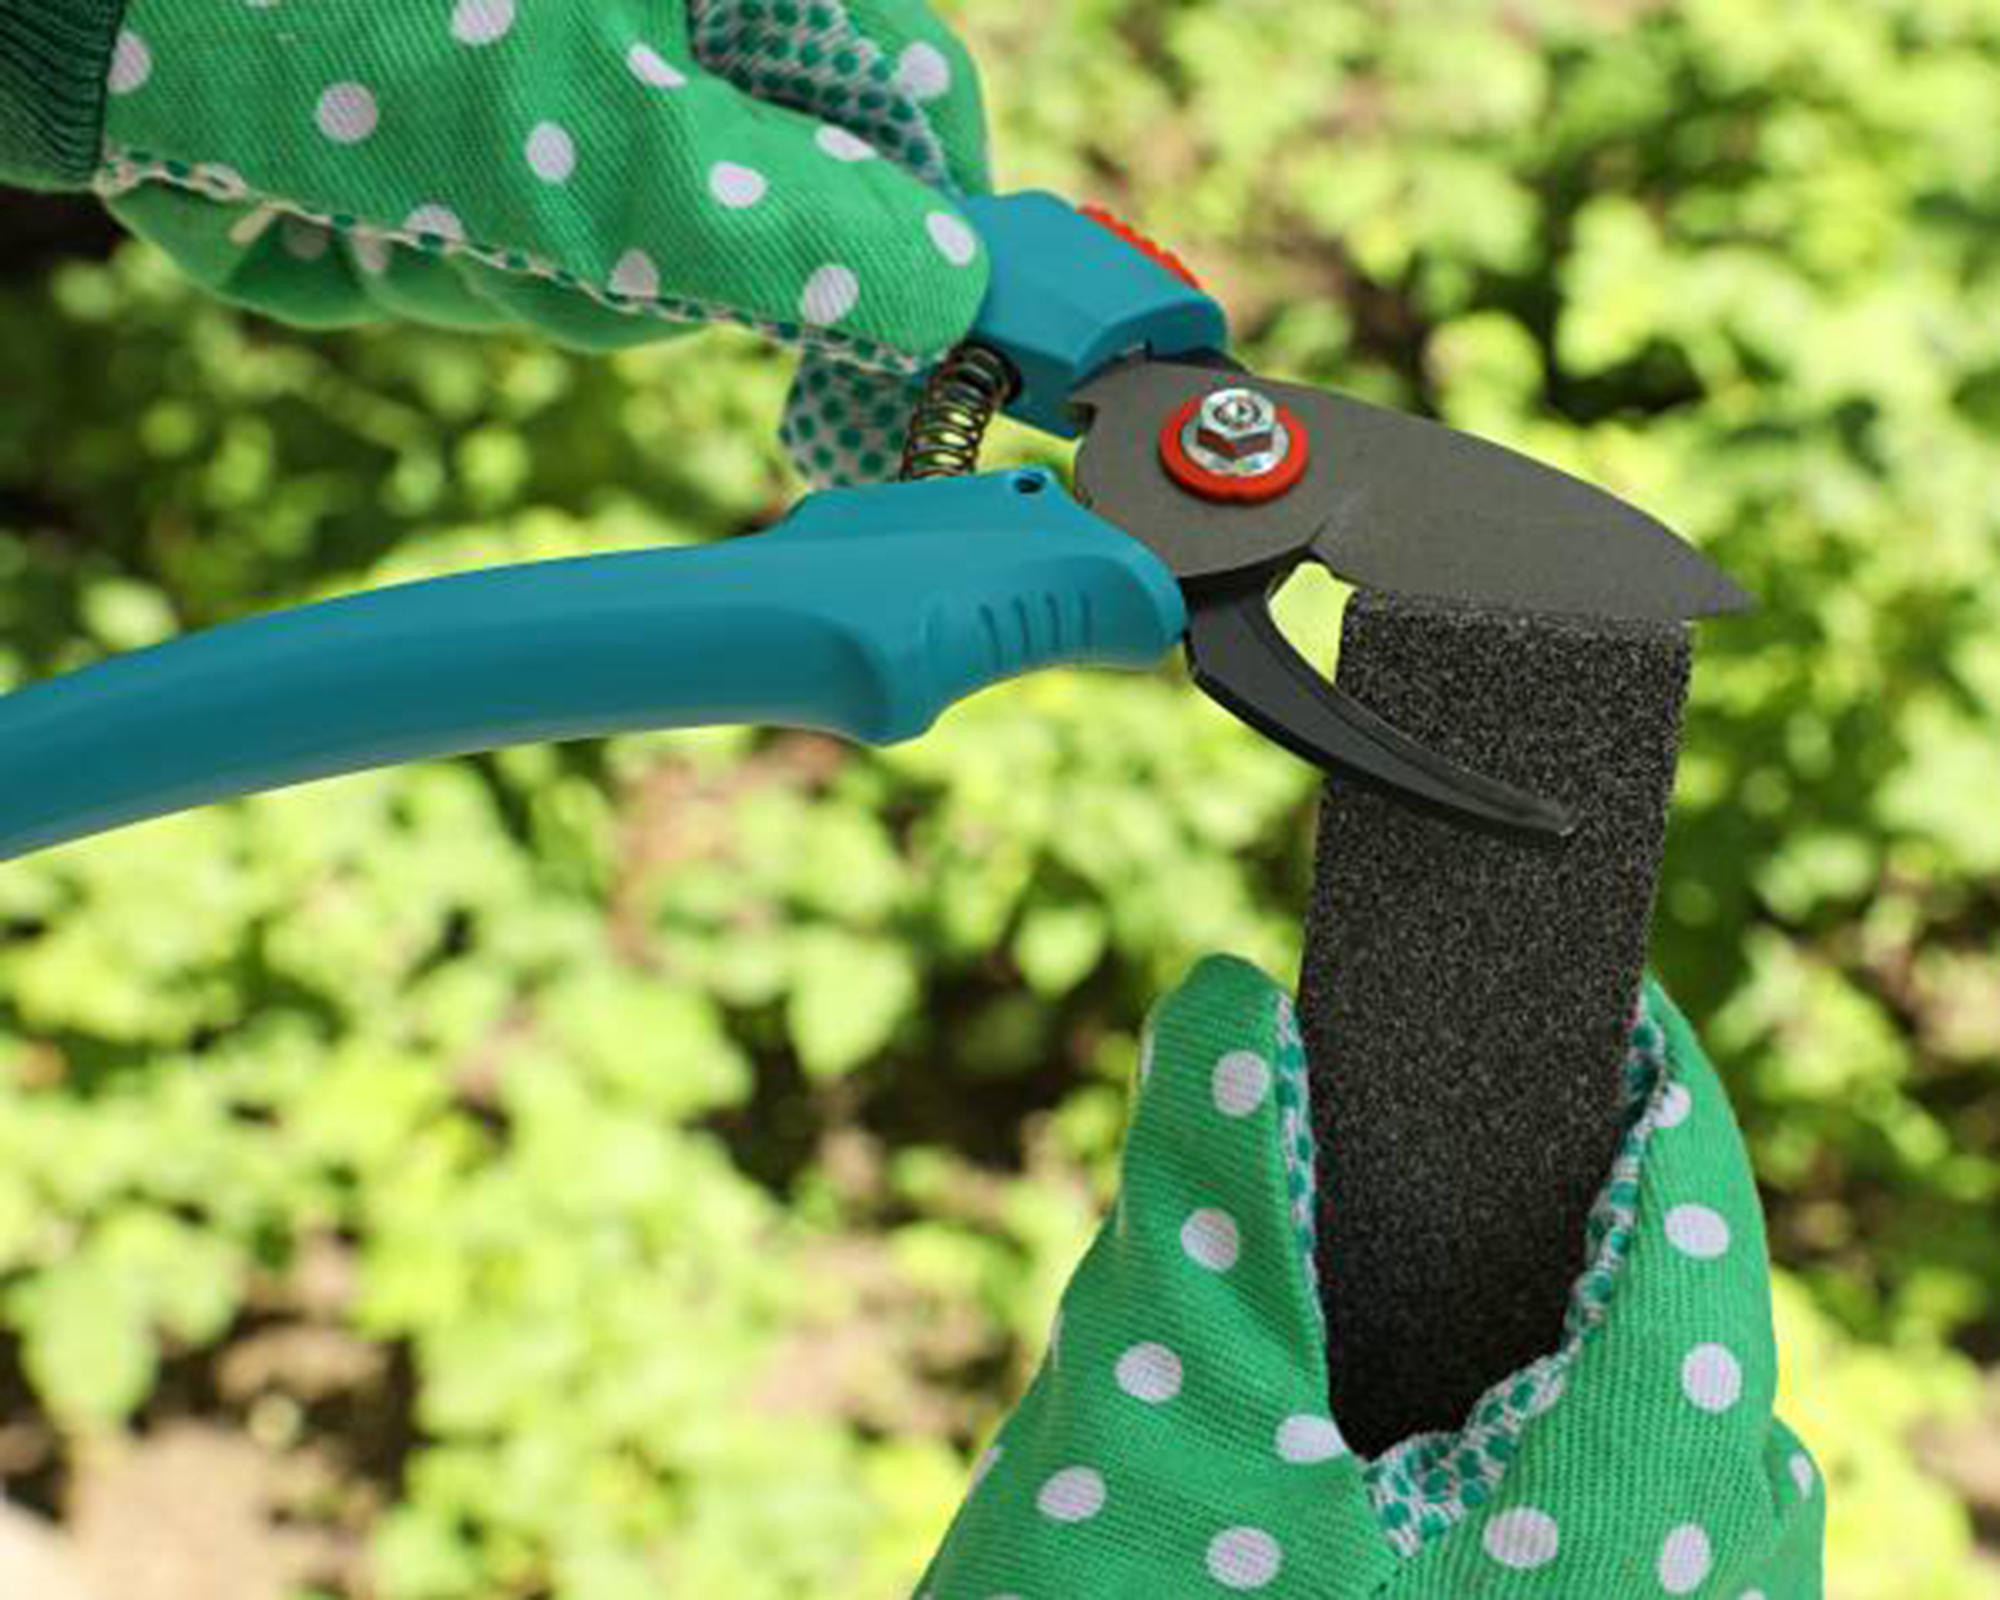
Once the blades are clean and you are protected, secure the shears in a bench vice if possible and open the tool as wide as it can go ensuring that the beveled edges of the blades are facing upwards.
Using a hand file such as a general purpose sharpening whetstone, firmly push the sharpening instrument forwards at the angle of the blade. Maintain this angle as you continue filing until you are satisfied that it is sharp. Note, with some whetstones, you may need to immerse them in water for around 5-10 minutes to get rid of any air.
Moorehouse's tip: use a single, smooth stroke across the contour of the blade from base to tip and always move away from the body until uniformly shiny. Around 20-30 strokes should do the trick which can be completed in just a few minutes.
5. Remove burrs
Once sharpened, you’ll want to remove any burrs (rough edges that can be caused by sharpening) that have formed on the opposite side of the blades.
A few more runs of the sharpening tool will remedy this but be mindful of applying too much pressure which could create more burring on the original edges.
6. Test your sharpened shears
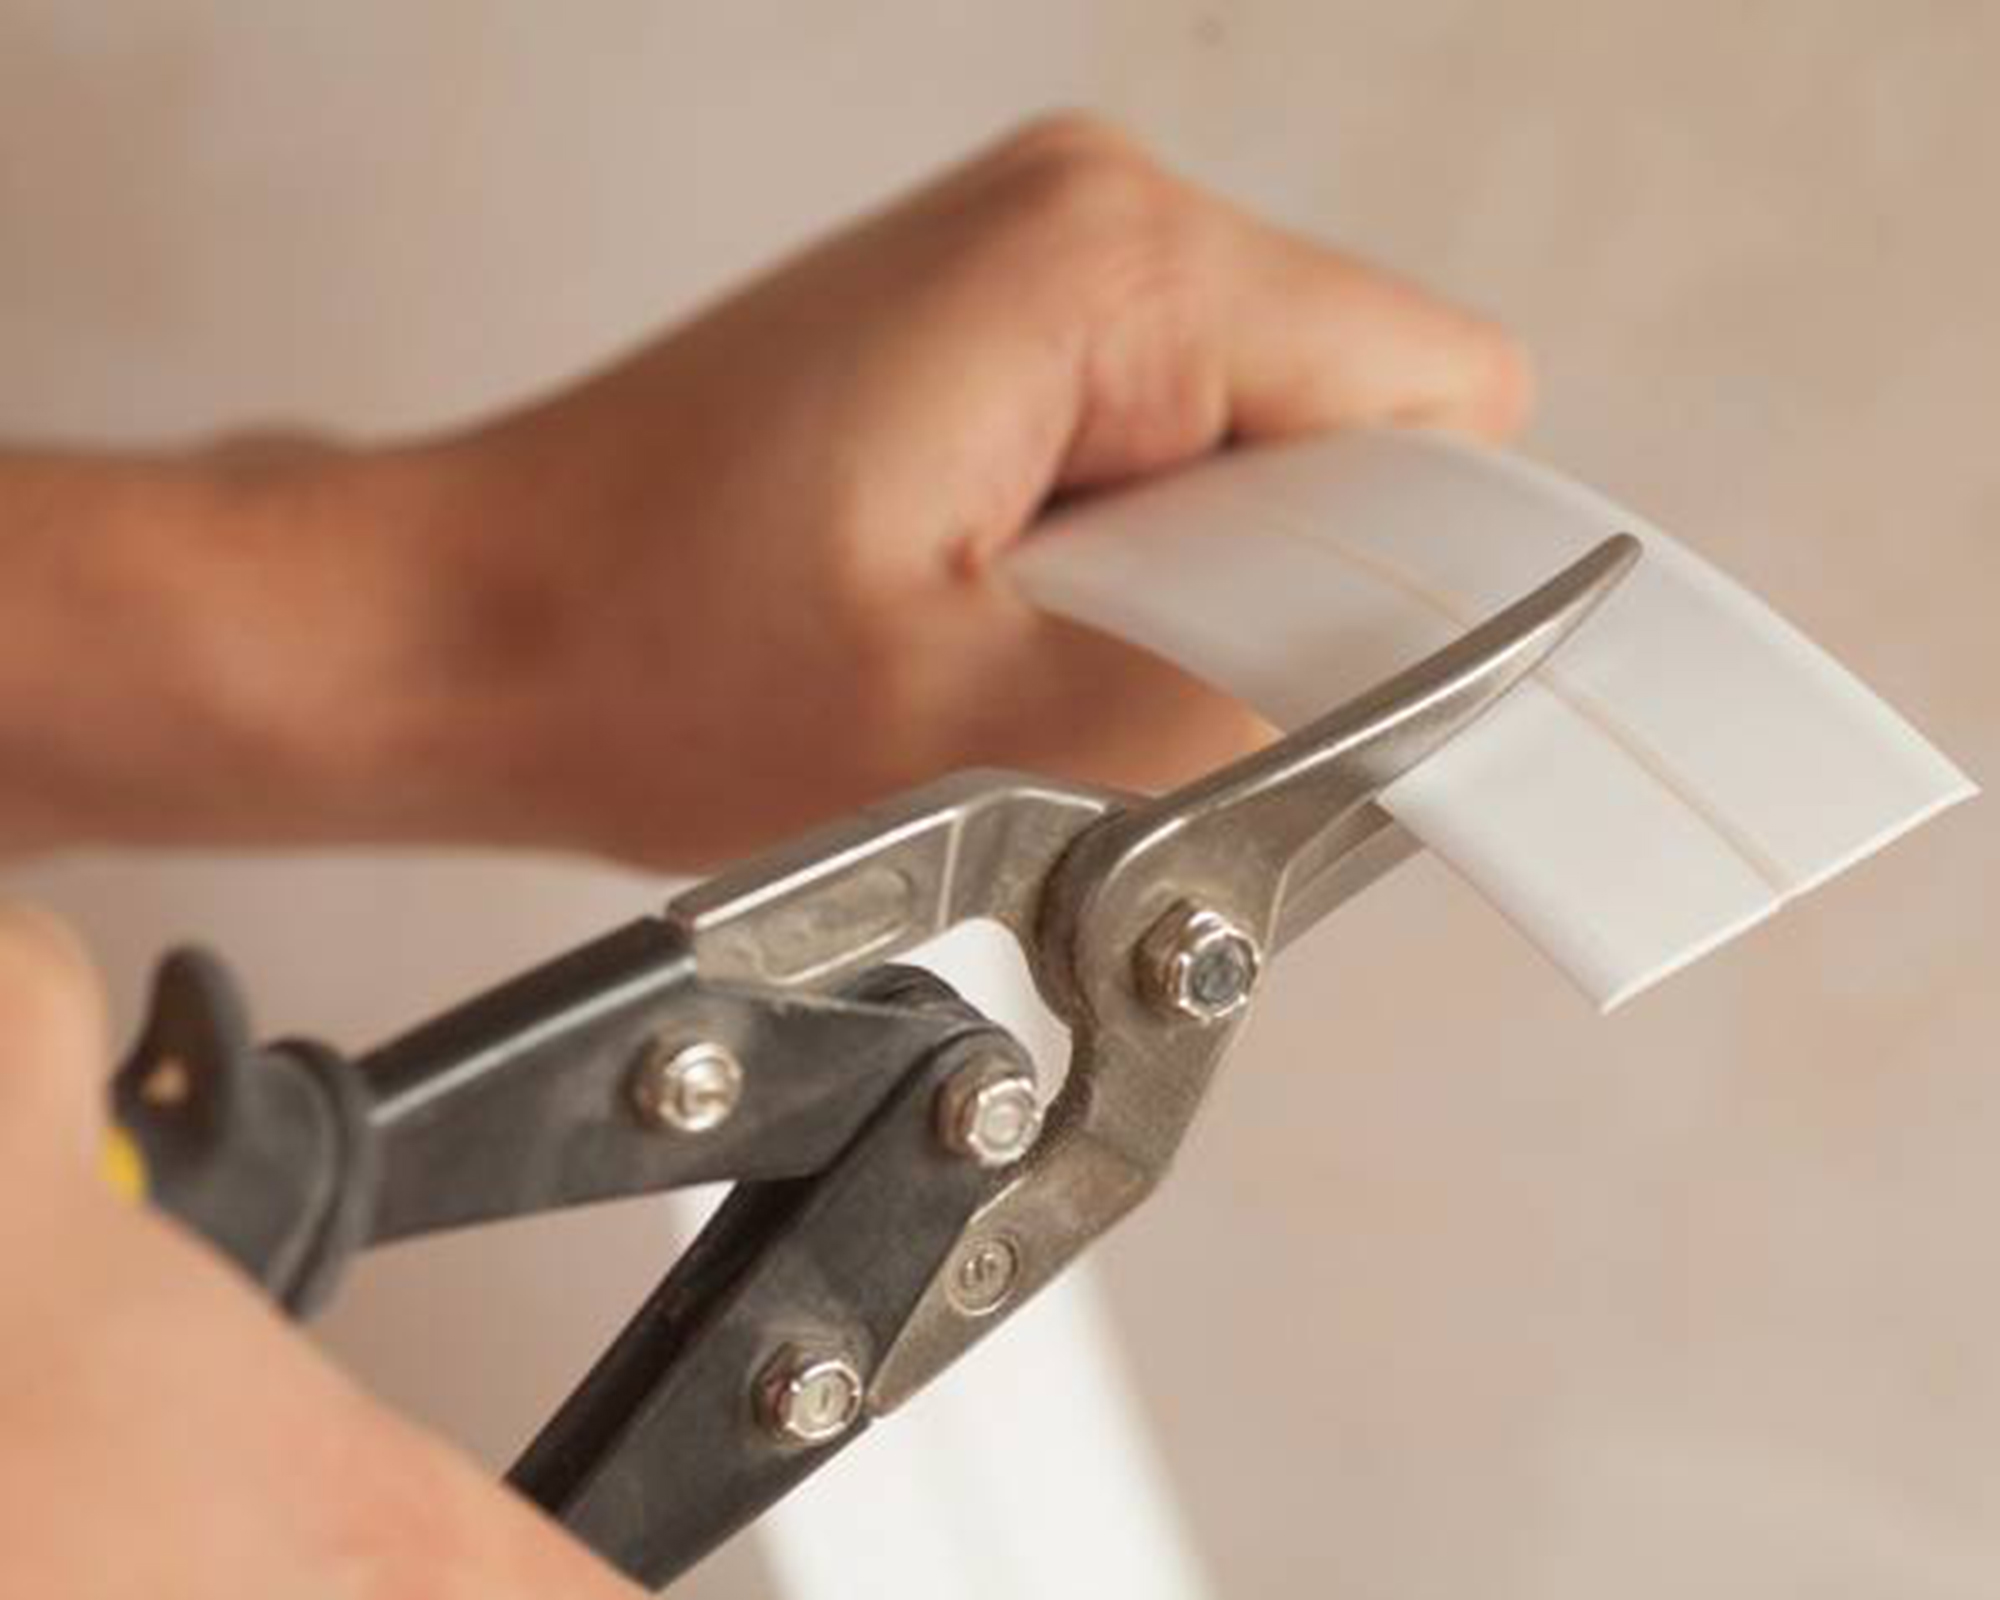
Using scrap paper, newspaper, or leftover corner beading/facade from a previous DIY project, test your newly sharpened blades on a medium to tough chop to assess your work and repeat if needed.
'To check if the blades are sharp enough, reassemble the shears and use them to cut scrap paper or old newspaper. Note the ease or difficulty in cutting the paper, and the resulting cut,' explains Punshon.
'If the paper has jagged edges, repeat the sharpening and testing process until your garden shears make smooth, clean cuts on the paper. Lubricate the blades and pivot areas with a spot of machine oil.'
How do you sharpen pruning shears at home?
Experts at the RHS say that: 'Some garden shears (hedging shears, 'sheep' shears, and lawn edging shears) come with a specially-designed sharpener, specific to that brand of shears.'
'Others could be sharpened with general sharpening tools but this is a tricky job if the blades do not come apart or the shears are very blunt. Where this is the case it is usually best to have them professionally sharpened.'
How do I keep my garden shears sharp?
'Garden shears must be disassembled and cleaned before they may be used again.' advises Tiffany Payne, director of marketing, Orangeries UK.
'Remove the pivot bolt by unscrewing the pivot nut with a combining spanner or an adjustable spanner. Put the bolt, nut, and washer in a safe place until you're ready to reassemble the shears. Use a steel brush to remove the most stubborn dirt and oxidation from each blade.'
'Then reassemble the shears after applying lubricant to the pivot point. Sharpened garden shears need to be reassembled. But first, apply copper grease to the pivot bolt holes. Brush both the squares and indeed the circular bolt holes thoroughly with oil. Once the blades are reassembled, this will help to ensure a smooth snip.'
Join our newsletter
Get small space home decor ideas, celeb inspiration, DIY tips and more, straight to your inbox!

Hi, I'm the former acting head ecommerce editor at Real Homes. Prior to working for the Future plc family, I've worked on a number of consumer events including the Ideal Home Show, Grand Designs Live, and Good Homes Magazine. With a first class degree from Keele University, and a plethora of experience in digital marketing, editorial, and social media, I have an eye for what should be in your shopping basket and have gone through the internal customer advisor accreditation process.
-
 The 7 flowers to plant in August, according to gardening gurus
Knowing what flowers to plant in August isn't always so clear-cut. But that's why we called in help from pro planters — here's what they said to pot.
By Becks Shepherd
-
 The 7 plants to prune in August — and the 2 pieces of greenery you shouldn't touch
Wondering what plants to prune in August? We asked a gardening expert for their top tips plus info on what pieces of greenery to avoid pruning this month
By Becks Shepherd
-
 Do you need to deadhead azaleas? Top tips for pruning these flowering shrubs
Wondering whether you need to deadhead azaleas? We asked a gardening expert for their top tips for looking after these blooms
By Becks Shepherd
-
 10 houseplants that are not toxic to cats — plus expert advice on keeping your pets safe
Keep your four-legged companion safe by choosing these houseplants that are not toxic to cats, and learning the dangers of those that are, according to veterinary experts
By Holly Crossley
-
 14 lawn edging ideas that will add definition and style to your backyard
Want to neaten up your lawn with lawn edging ideas? From fresh flowers to laidback bricks, we've scouted out materials and styles that look brilliant
By Eve Smallman
-
 Which houseplants are toxic to dogs? Vet experts pinpoint problem plants and solutions
Wondering Which houseplants are toxic to dogs? We spoke to vets about the problematic leafy greens, what they trigger in dogs, and how to find a solution
By Danielle Valente
-
 Backyard inspiration: interior designers reveal the four things you need for summer 2024, starting at just $40
Our edit of backyard inspiration according to interior designers will help you perfect your space for summer. Here's what the professionals are shopping this year.
By Danielle Valente
-
 How to attract hummingbirds to your backyard, according to ornithologists
Trying to figure out How to attract hummingbirds to your backyard? These ornithologist-backed tips will guarantee you visitors in no time
By Danielle Valente