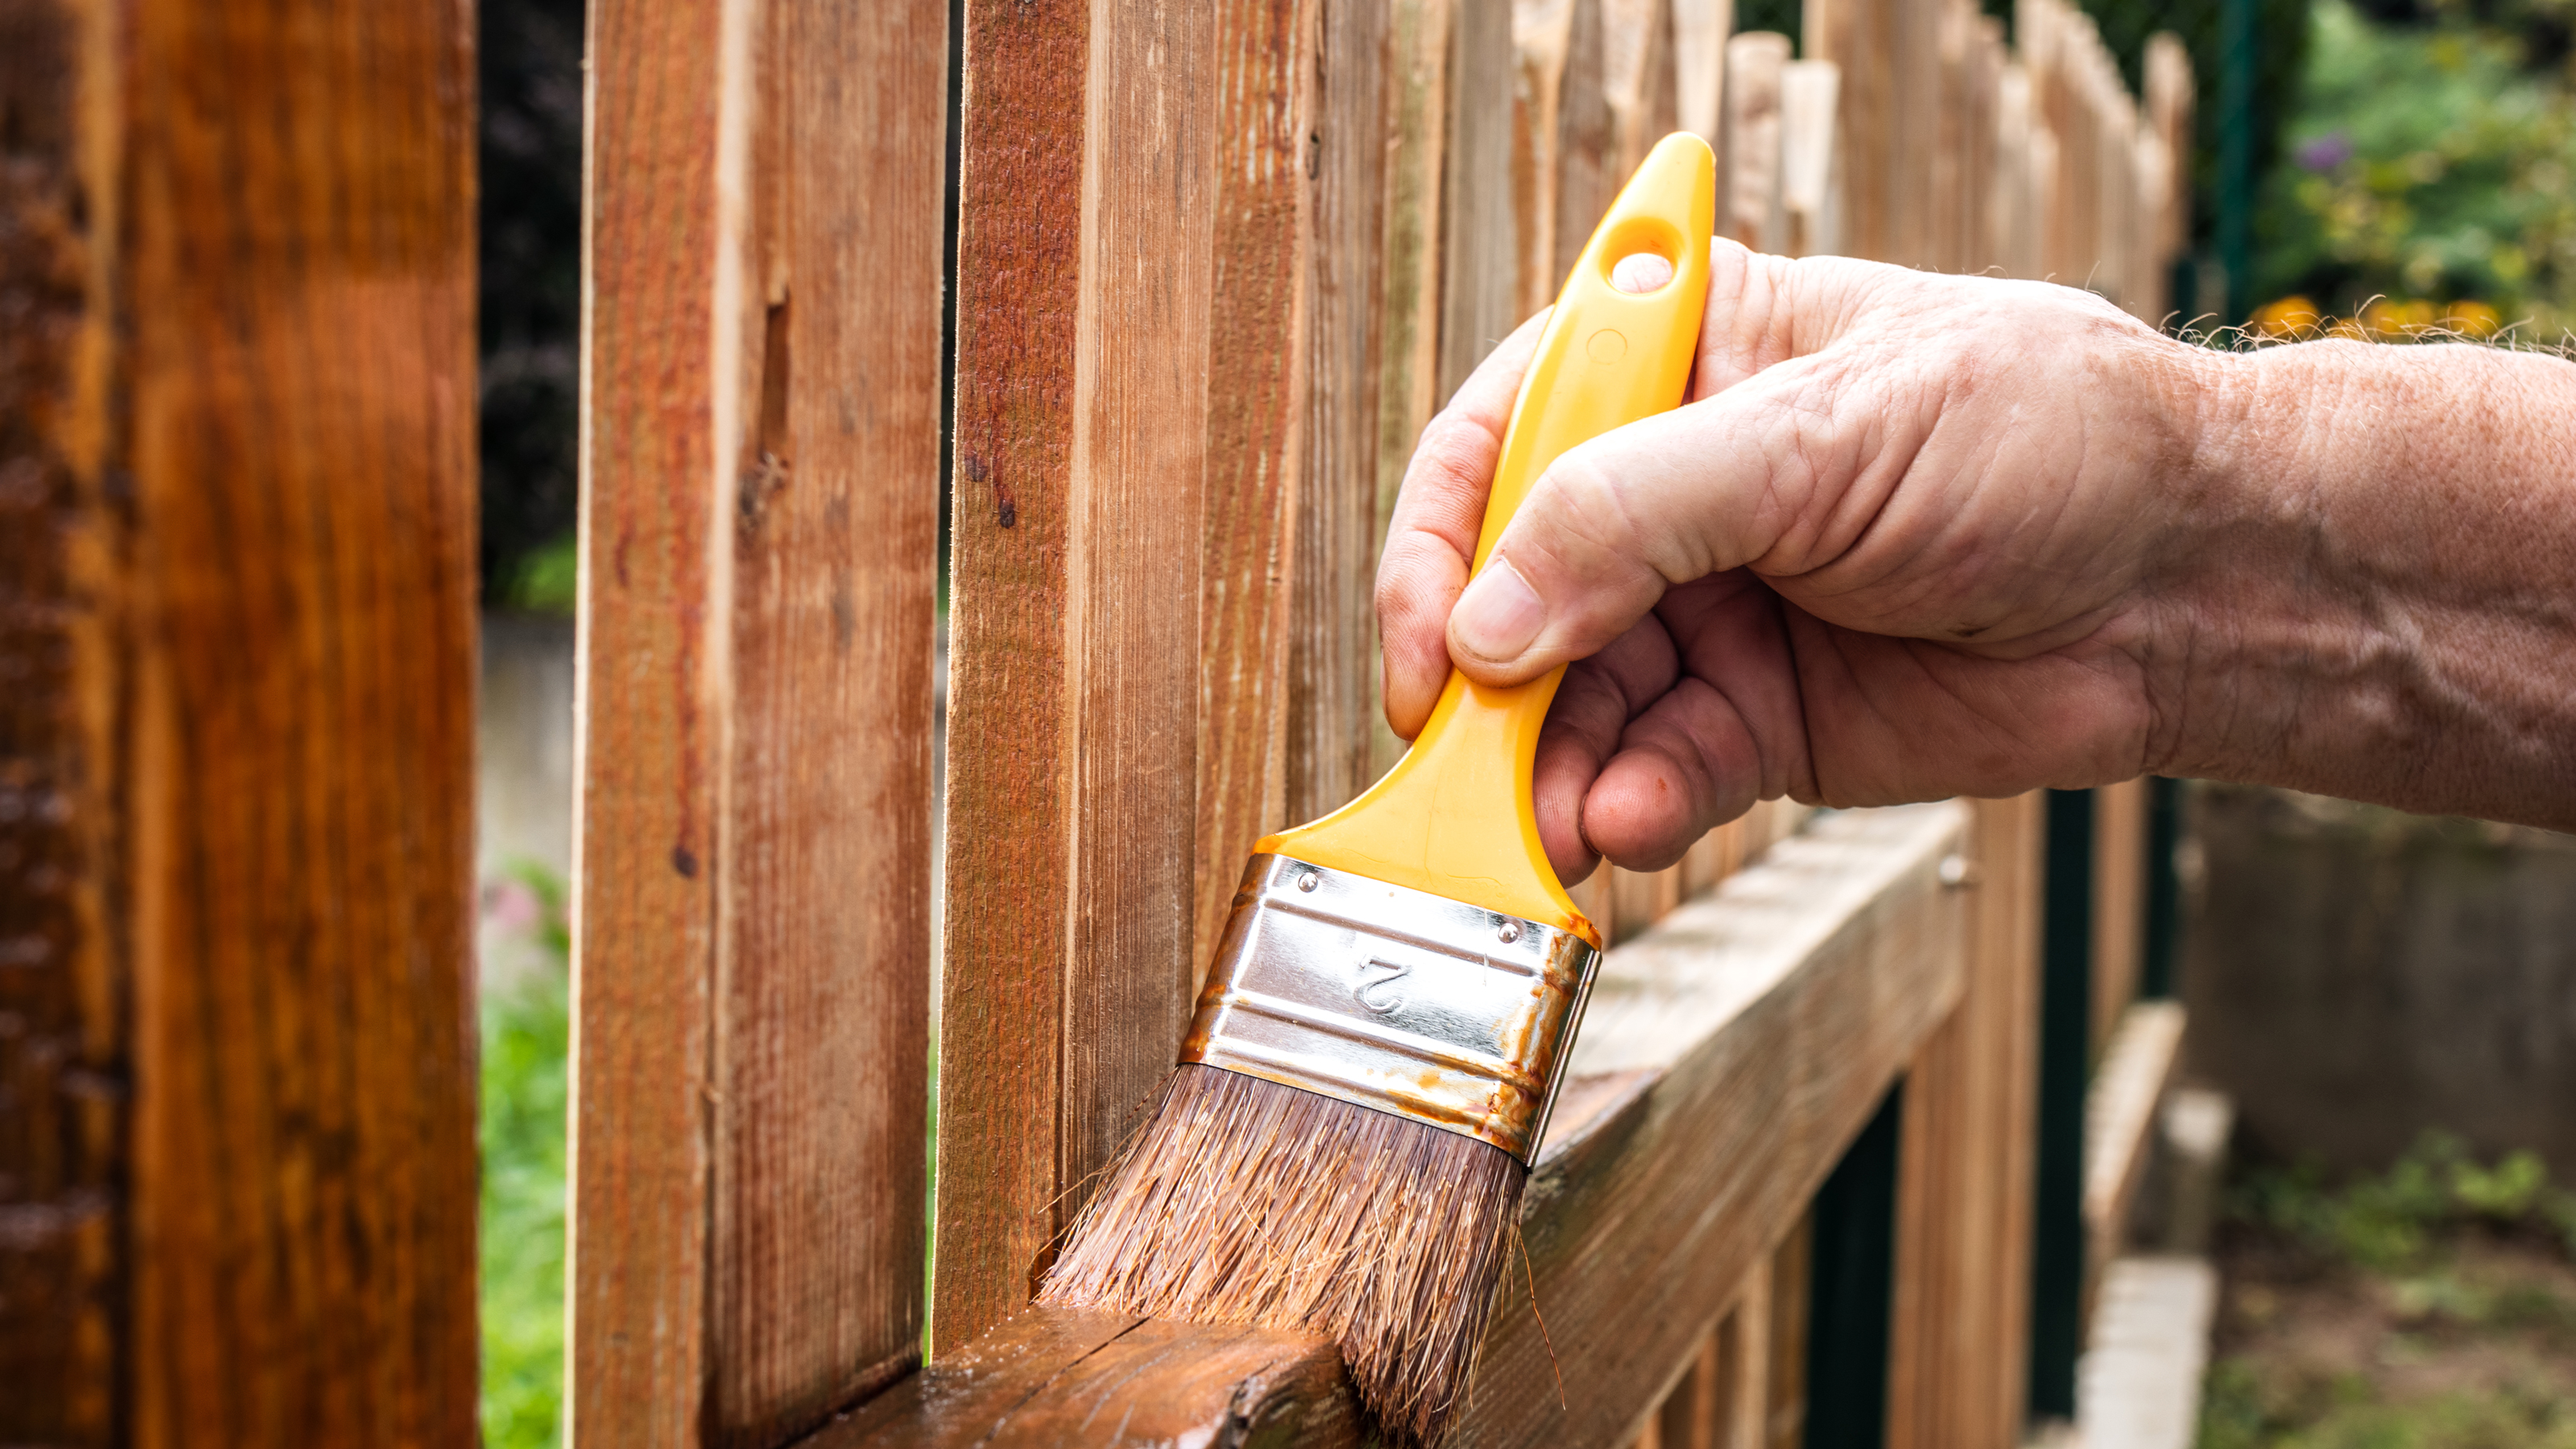
Learning how to stain a fence is a fundamental part of fence maintenance. And, a stained fence will last longer and look better, with fewer problems like algae, mold and discoloration affecting the wood. A stain also brings out the natural richness in the wood, with some products offering a tint as well as weather protection.
The best fence stain products will prolong the life of your fence, without the need to paint over the wood. However, the correct preparation and technique when painting are key to getting the best and longest-lasting results. No product will do your fence justice if it's been applied hastily or unevenly. Find out how to get it right with our expert-led advice.
How to stain a fence
The exact method will depend on the type of fence and fence stain you have, but preparation is key if you want to achieve an even finish and for the stain to last. The amount of preparation your fence needs will depends on how old your fence is and on the different fence ideas and looks you want to create. Generally, you will need the following, many of which are available on Amazon:
1. Clean the fence
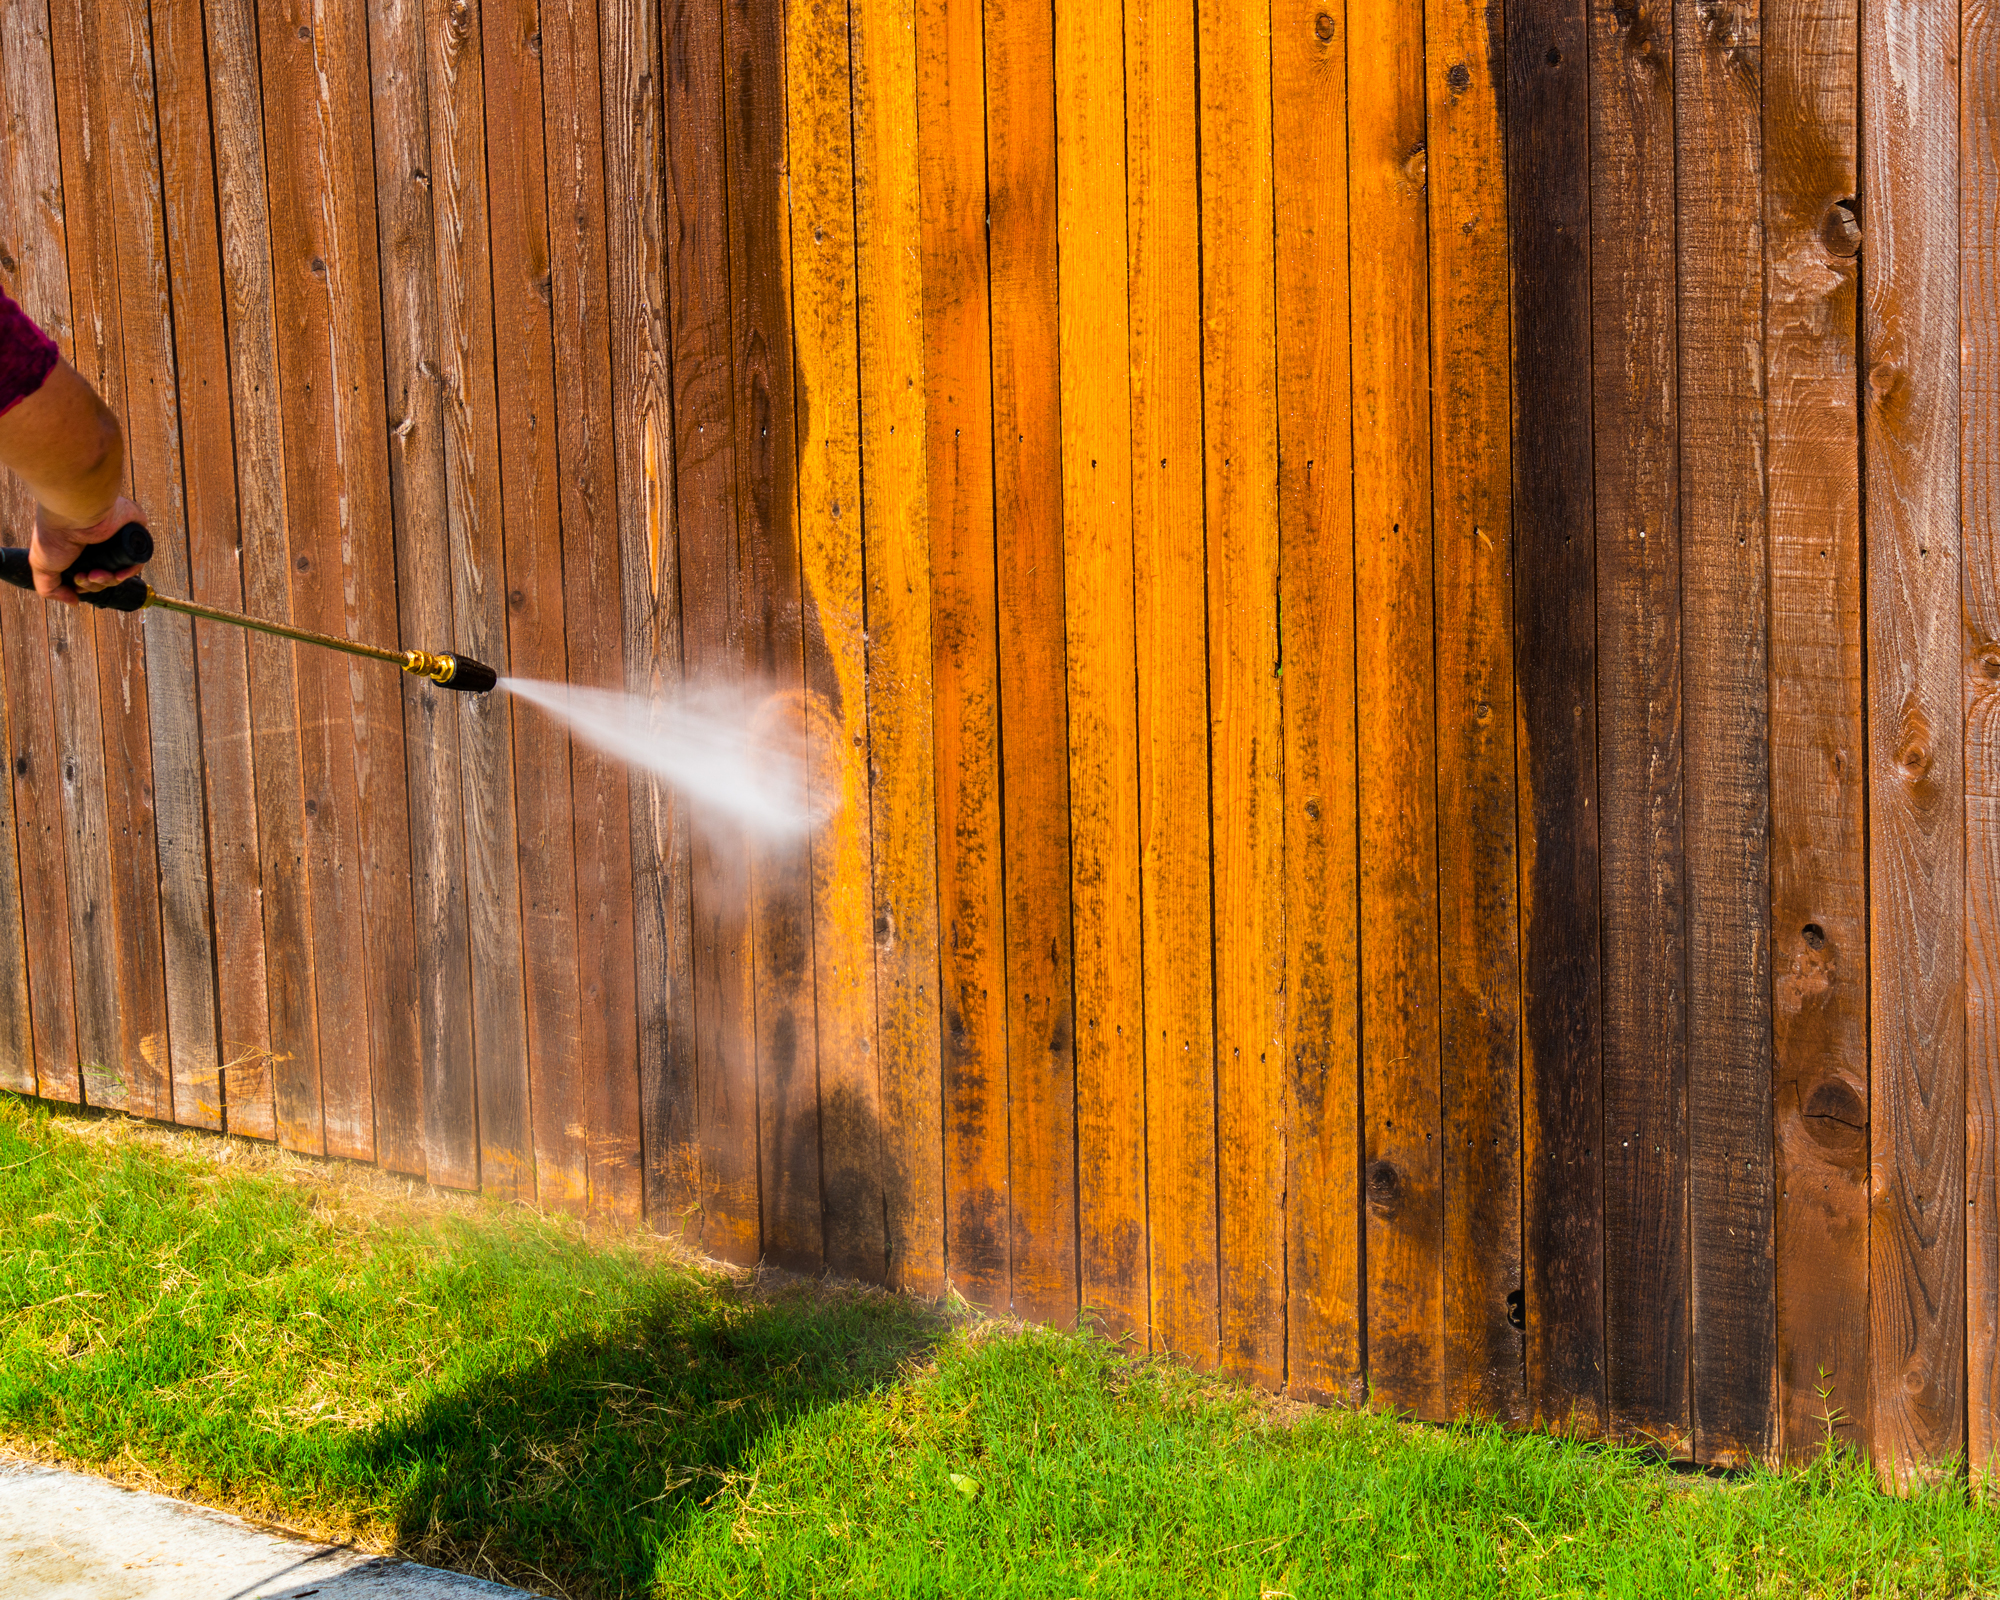
If your fence is new, you only need to wash it with water. Jeff Becka, of the Fence Resource, believes that 'a light spraying from a pressure washer should be plenty. Just use water. There is no need to add any special soaps or cleaners.'
However, if your fence is old and/or dirty, you may need to perform a more heavy-duty clean. Matt Kunz, President of Five Star Painting, explains that 'if your fence is older there's a good chance that it has mold, mildew, dirt and other debris that affects the way the wood absorbs the stain.' If this is the case, start by scrubbing it with bleach and water.
2. Rinse the fence
Make sure to protect yourself by wearing rubber gloves and goggles. Using a pressure washer for this step will make the job a lot easier, although you can use a hose and a stiff, heavy-duty brush if you prefer.
3. Let the fence dry out completely
Wait 48 hours before staining. The fence must be completely dry before you apply the stain. If rain is forecast, you will need to wait longer to make sure your fence isn't even a little damp.
4. Choose the right day
Make sure that the weather has been warm and dry for a few days both before and after you stain. As for time of day, early morning or late afternoon on a cloudy day are the best.
5. Pick the right brush or pad for the job
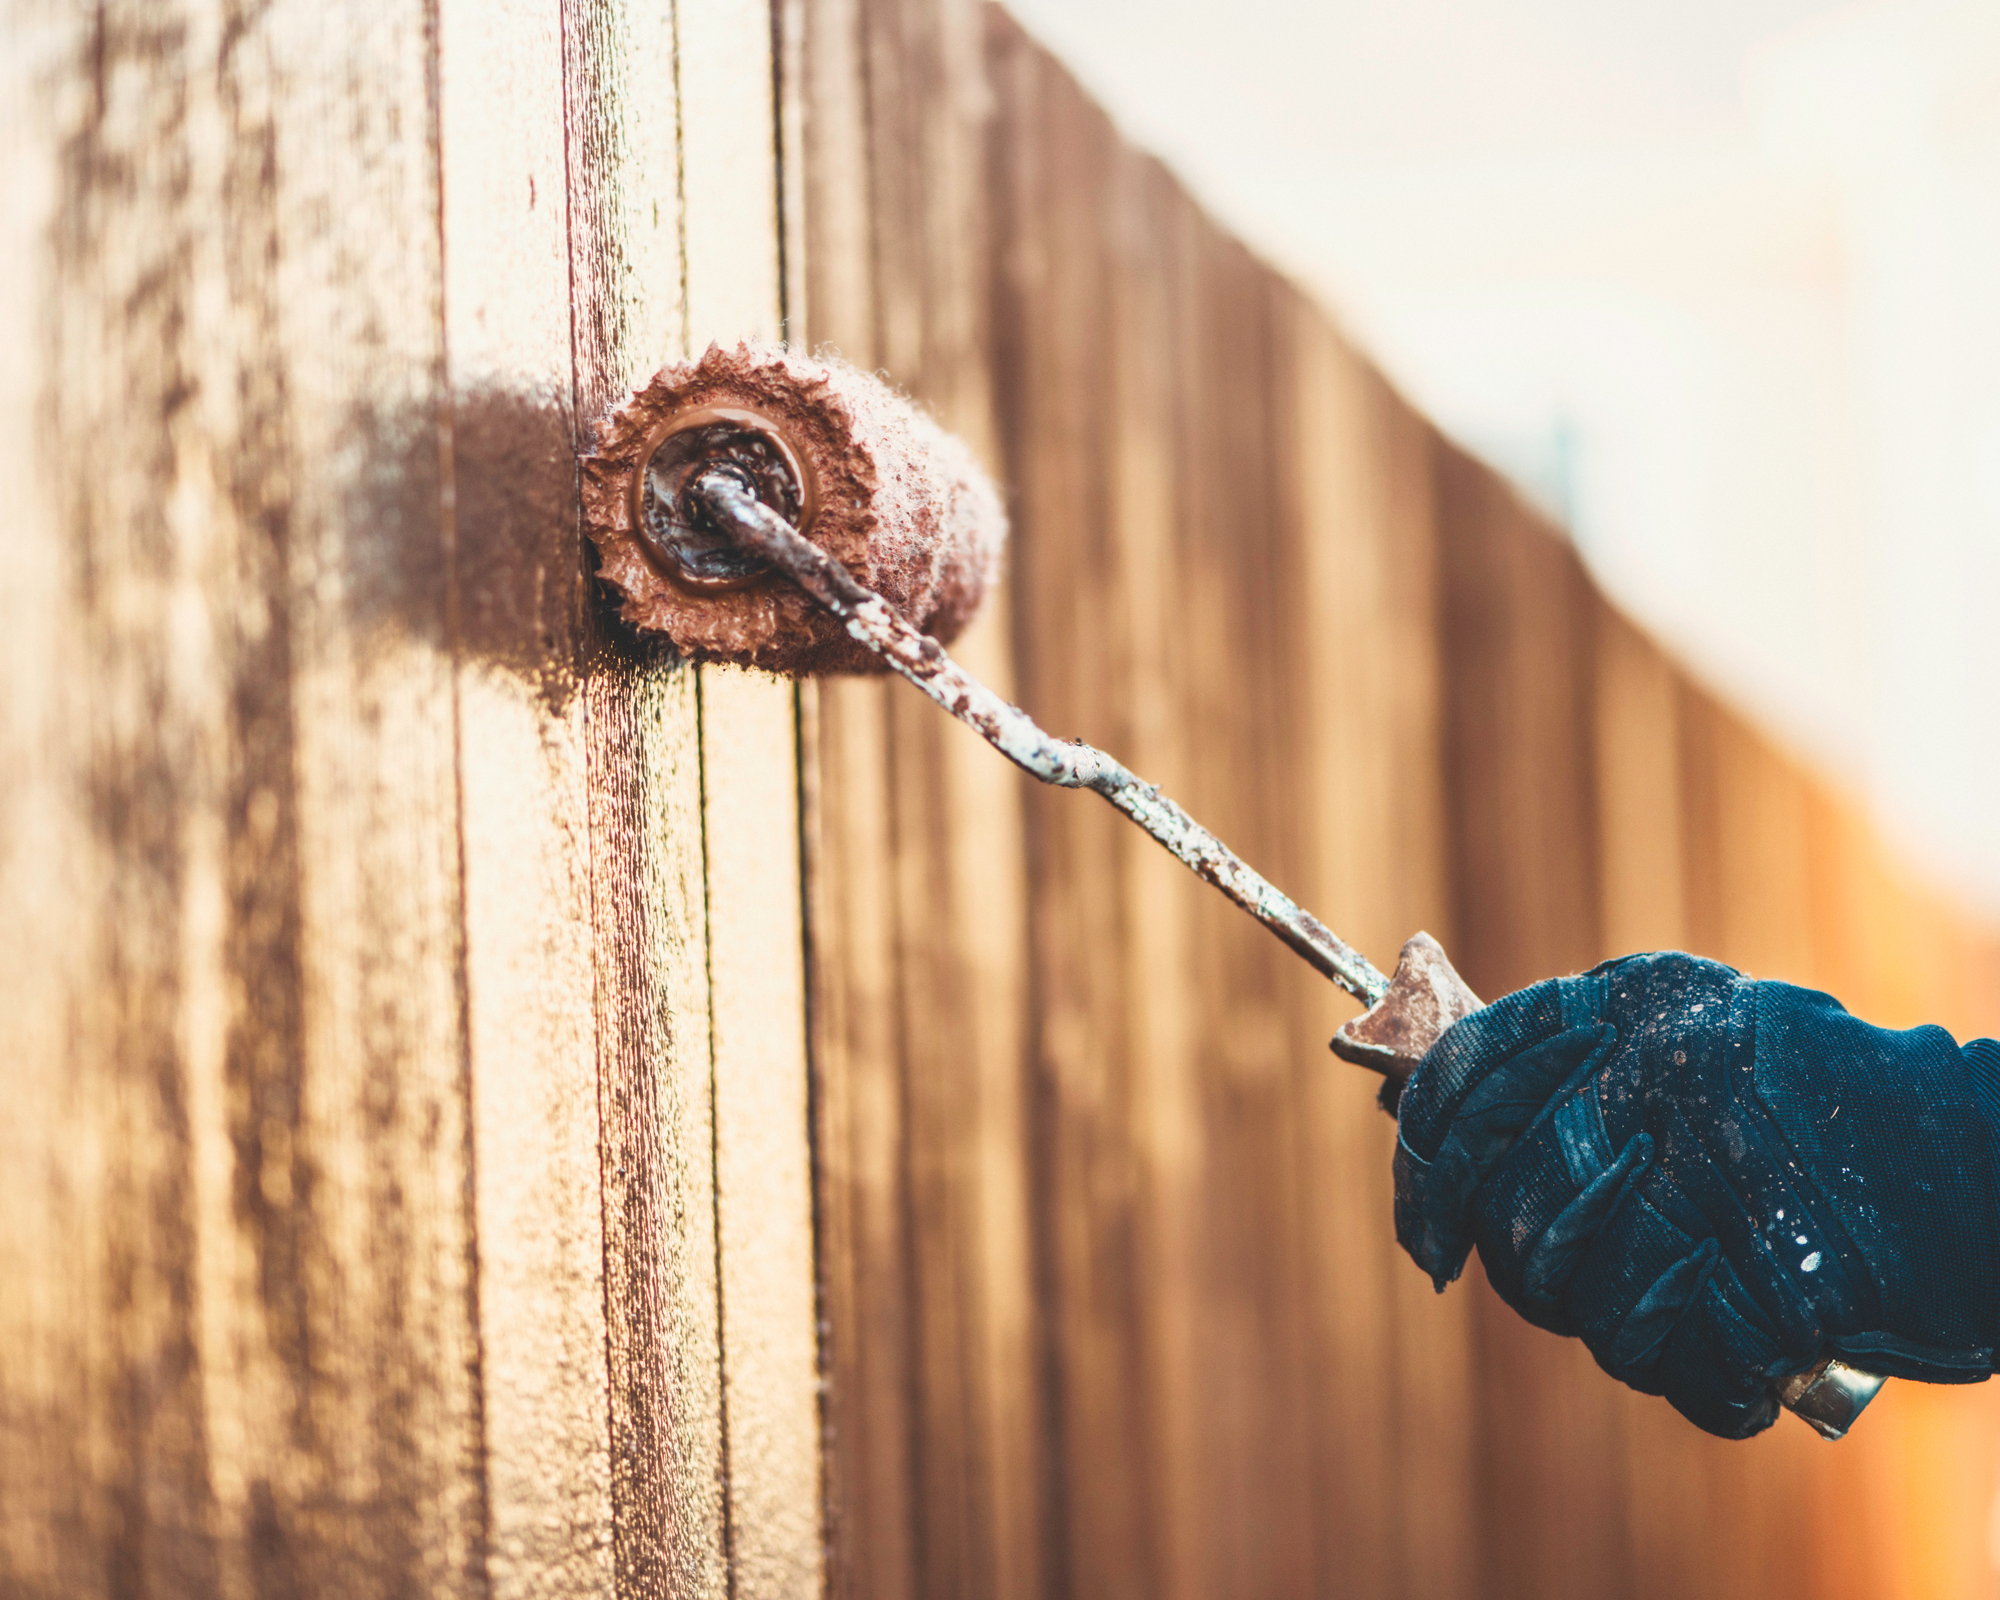
For best results pick a medium-sized brush, four or five inches long. If you would prefer to use a pad make sure the pad has a fluffy nap, such as the ones that are used for decks. Finally, if you opt for a roller any roller will do just make sure you'll be able to hold it for a long time.
6. Master the technique
To avoid uneven dripping, paint the fence from the top to the bottom. Try using small, quick brush strokes rather than huge ones to achieve a more even coverage.
7. Repeat if necessary
Becka adds that 'Depending on the type of lumber your fence is made from and how long the fence has been installed, your fence may require more than one coat of stain. Because of the nature of wood grain, some boards will accept the stain better than others.' You will need 6-8 hours between coats.
8. Respect the needs of different types of wood
You should also bear in mind that different types of wood have different requirements for staining. Generally, 'fences built from cedar lumber can be stained right after construction. Fences built using pressure-treated lumber should let the lumber dry out for a season before applying stain. Staining treated lumber that is considered “wet” will result in uneven splotchy coverage.'
9. Consider using a moisture meter
Volodymyr Barabakh, the Co-Founder and Project Director of building contractors Structural Beam, recommends using a moisture meter like the Tavool moisture meter from Amazon 'to measure the dampness of your wood as it must be dry (<12%) for the stain to properly stick.'
Is it better to brush or roll on the stain?
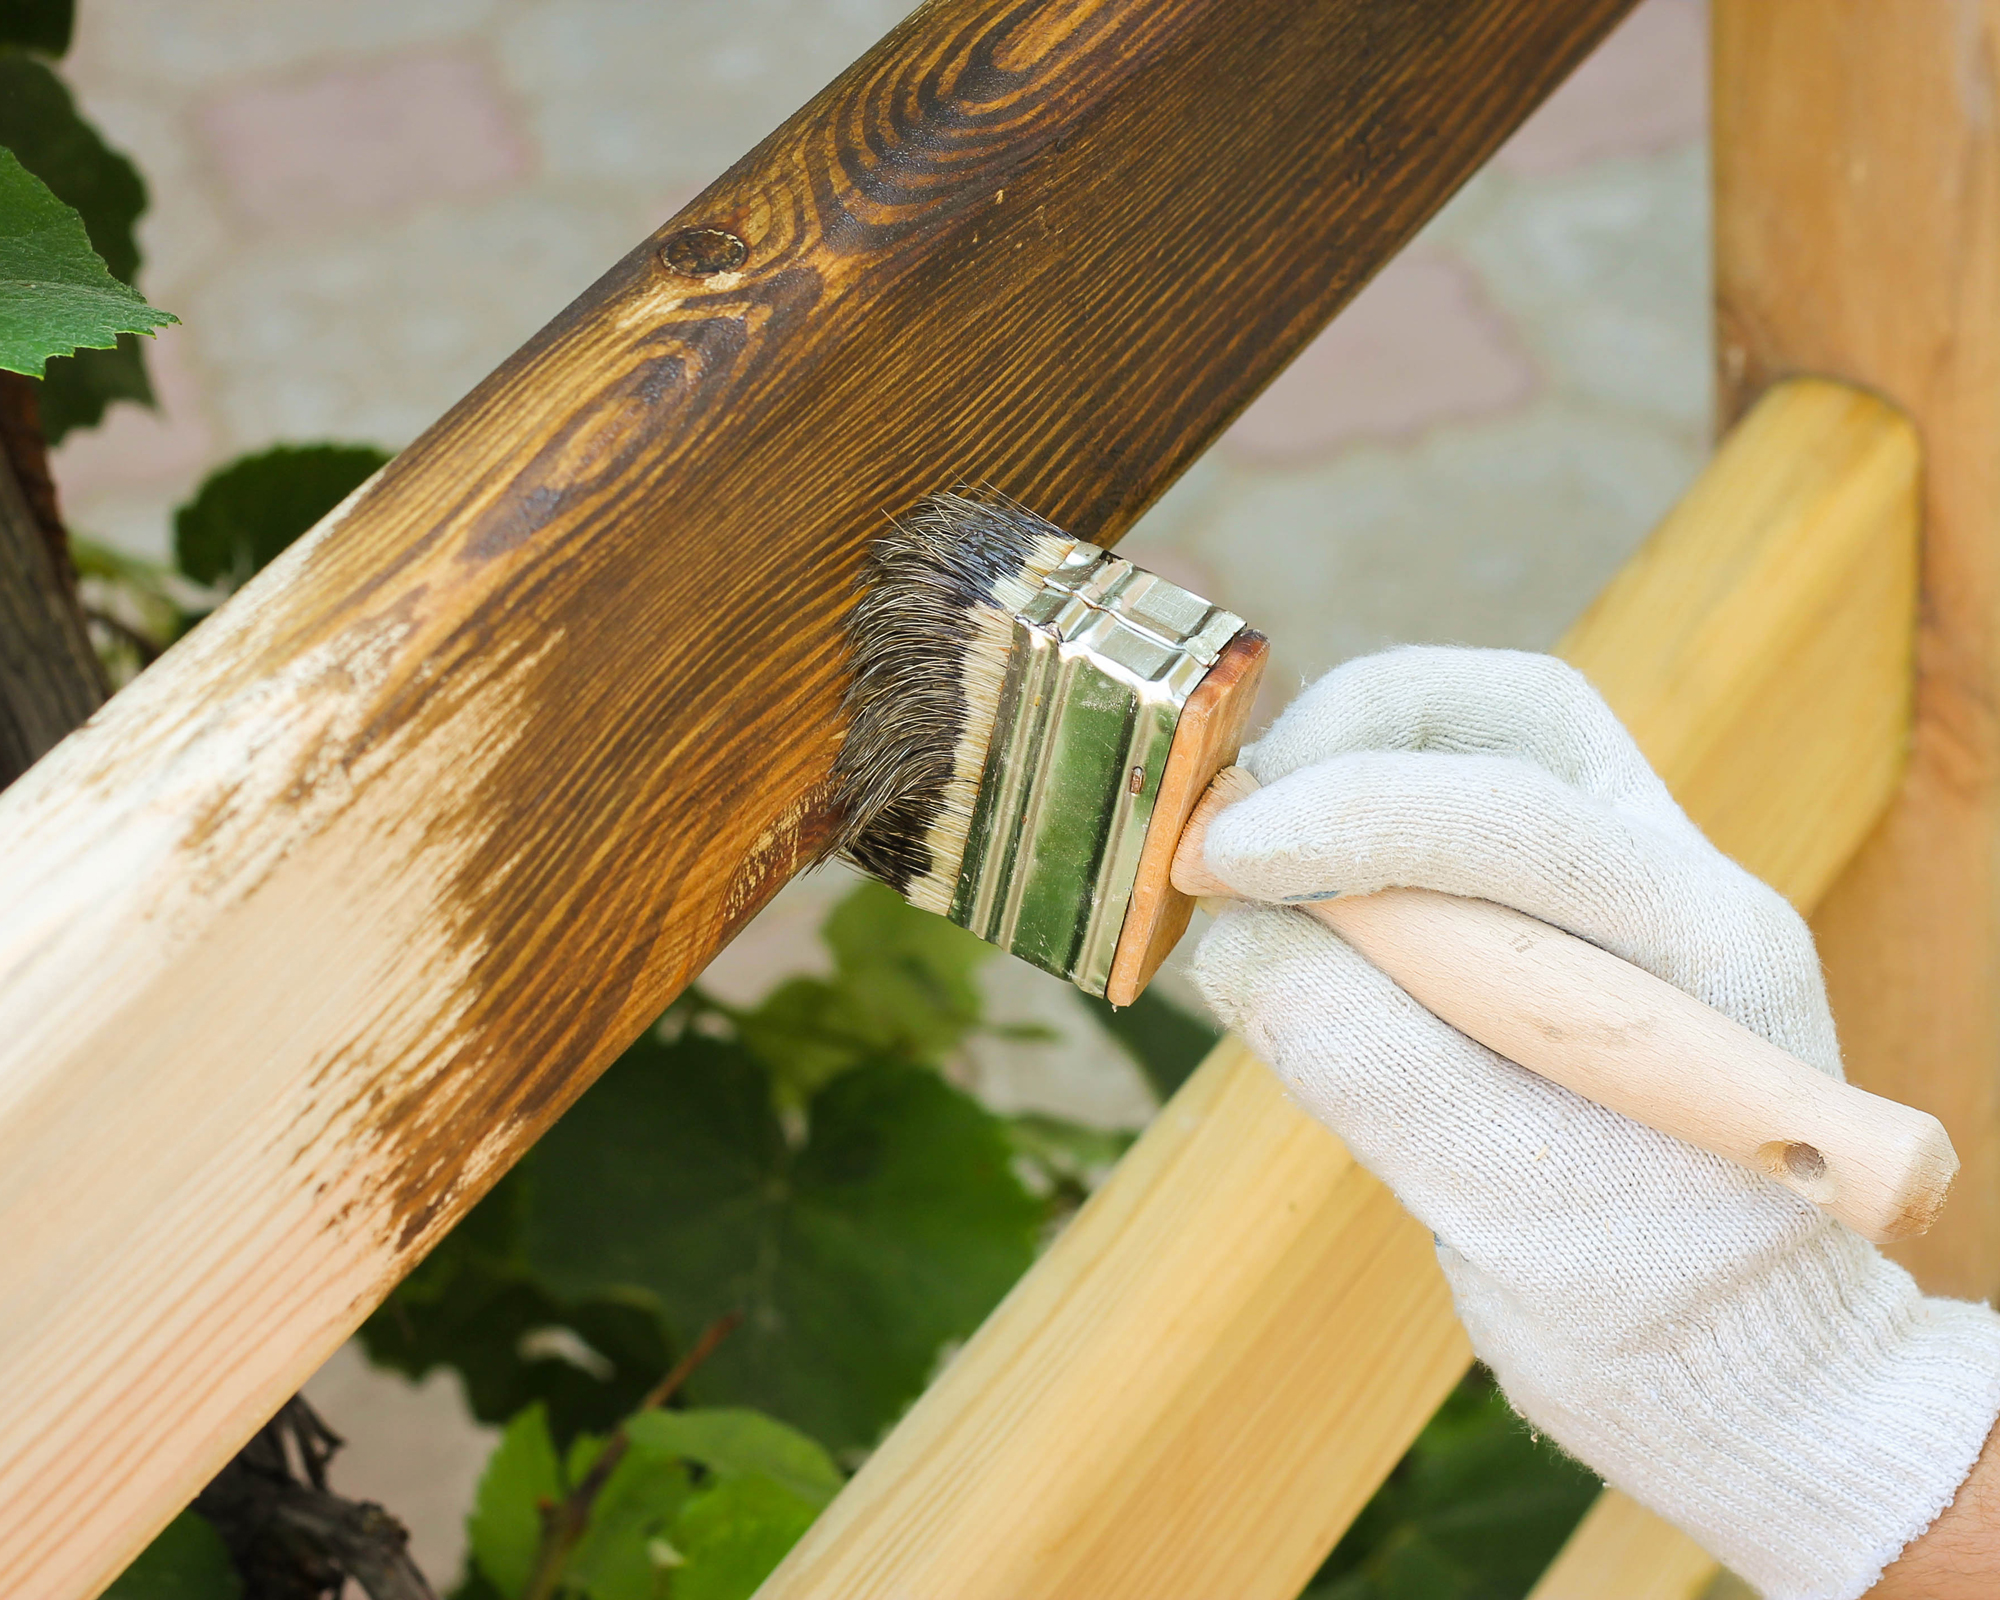
Brushes are generally superior where it comes to fence staining. In theory, according to Kunz, 'there isn't a better method overall (brush vs roller), it really depends on the type of fence you have for what will work best for you.' However, 'if you need to apply the stain to a smaller surface or an oddly shaped space then it's best to use a brush. Further natural bristles provide the best results with alkyd or oil stains, and synthetic bristles are best with 100 percent acrylic and acrylic or oil stains.'
Barabakh also votes for a brush: 'though less time-efficient, brushing on the stain will achieve better-lasting results. This is because a brush produces more friction against the fence to push the product in deeper. If you want to save time and use a roller, I advise you to go back over it with a brush before letting it dry.'
What is the fastest way to stain a fence?
The fastest way to stain a fence is actually by using a sprayer. Becka explains that 'purchasing or renting a sprayer will speed up the process substantially. However, there is one drawback to using a sprayer on open picket-type fences. There will be overspray.'
For this reason, 'It is crucial that there is no wind on the day you stain your fence when using a sprayer.' Becka recalls that he has personally had 'to clean neighboring homes and vehicles because of stain that has carried in the wind to neighboring properties.'
With all of that in mind, buying a paint sprayer from Amazon will save you time. Kunz agrees, saying that 'The fastest way to stain a fence is to use a sprayer, but if you are choosing between brush and roller you should pick the roller.'
Faster isn't necessarily better with fence stains, especially if your fence has a lattice or picket design. You'll want to make sure that you get in all the crevices, and that can only be achieved with a brush.
Join our newsletter
Get small space home decor ideas, celeb inspiration, DIY tips and more, straight to your inbox!
Anna is a professional writer with many years of experience. She has a passion for contemporary home decor and gardening. She covers a range of topics, from practical advice to interior and garden design.
-
 5 DIY above-ground pool deck ideas on a budget
These above-ground pool deck ideas on a budget will add character and class to your outdoor space
By Becks Shepherd Published
-
 How to paint Ikea outdoor SKARPÖ chairs: from white to Champagne pink
UK DIY blogger Jo Lemos shares how to paint the iconic IKEA SKARPÖ chairs for a budget yet bougie yard upgrade
By Jo Lemos Published
-
 22 DIY alternative planter ideas: easy designs to dress up your porch or patio
We guarantee you won't see these DIY alternative planter ideas in your local home improvement store
By Hebe Hatton Published
-
 How to oil a deck step-by-step: protect and enhance your outdoor living space
Bring tired and faded decking back to life with our no-nonsense guide on how to oil a deck
By Claire Douglas Published
-
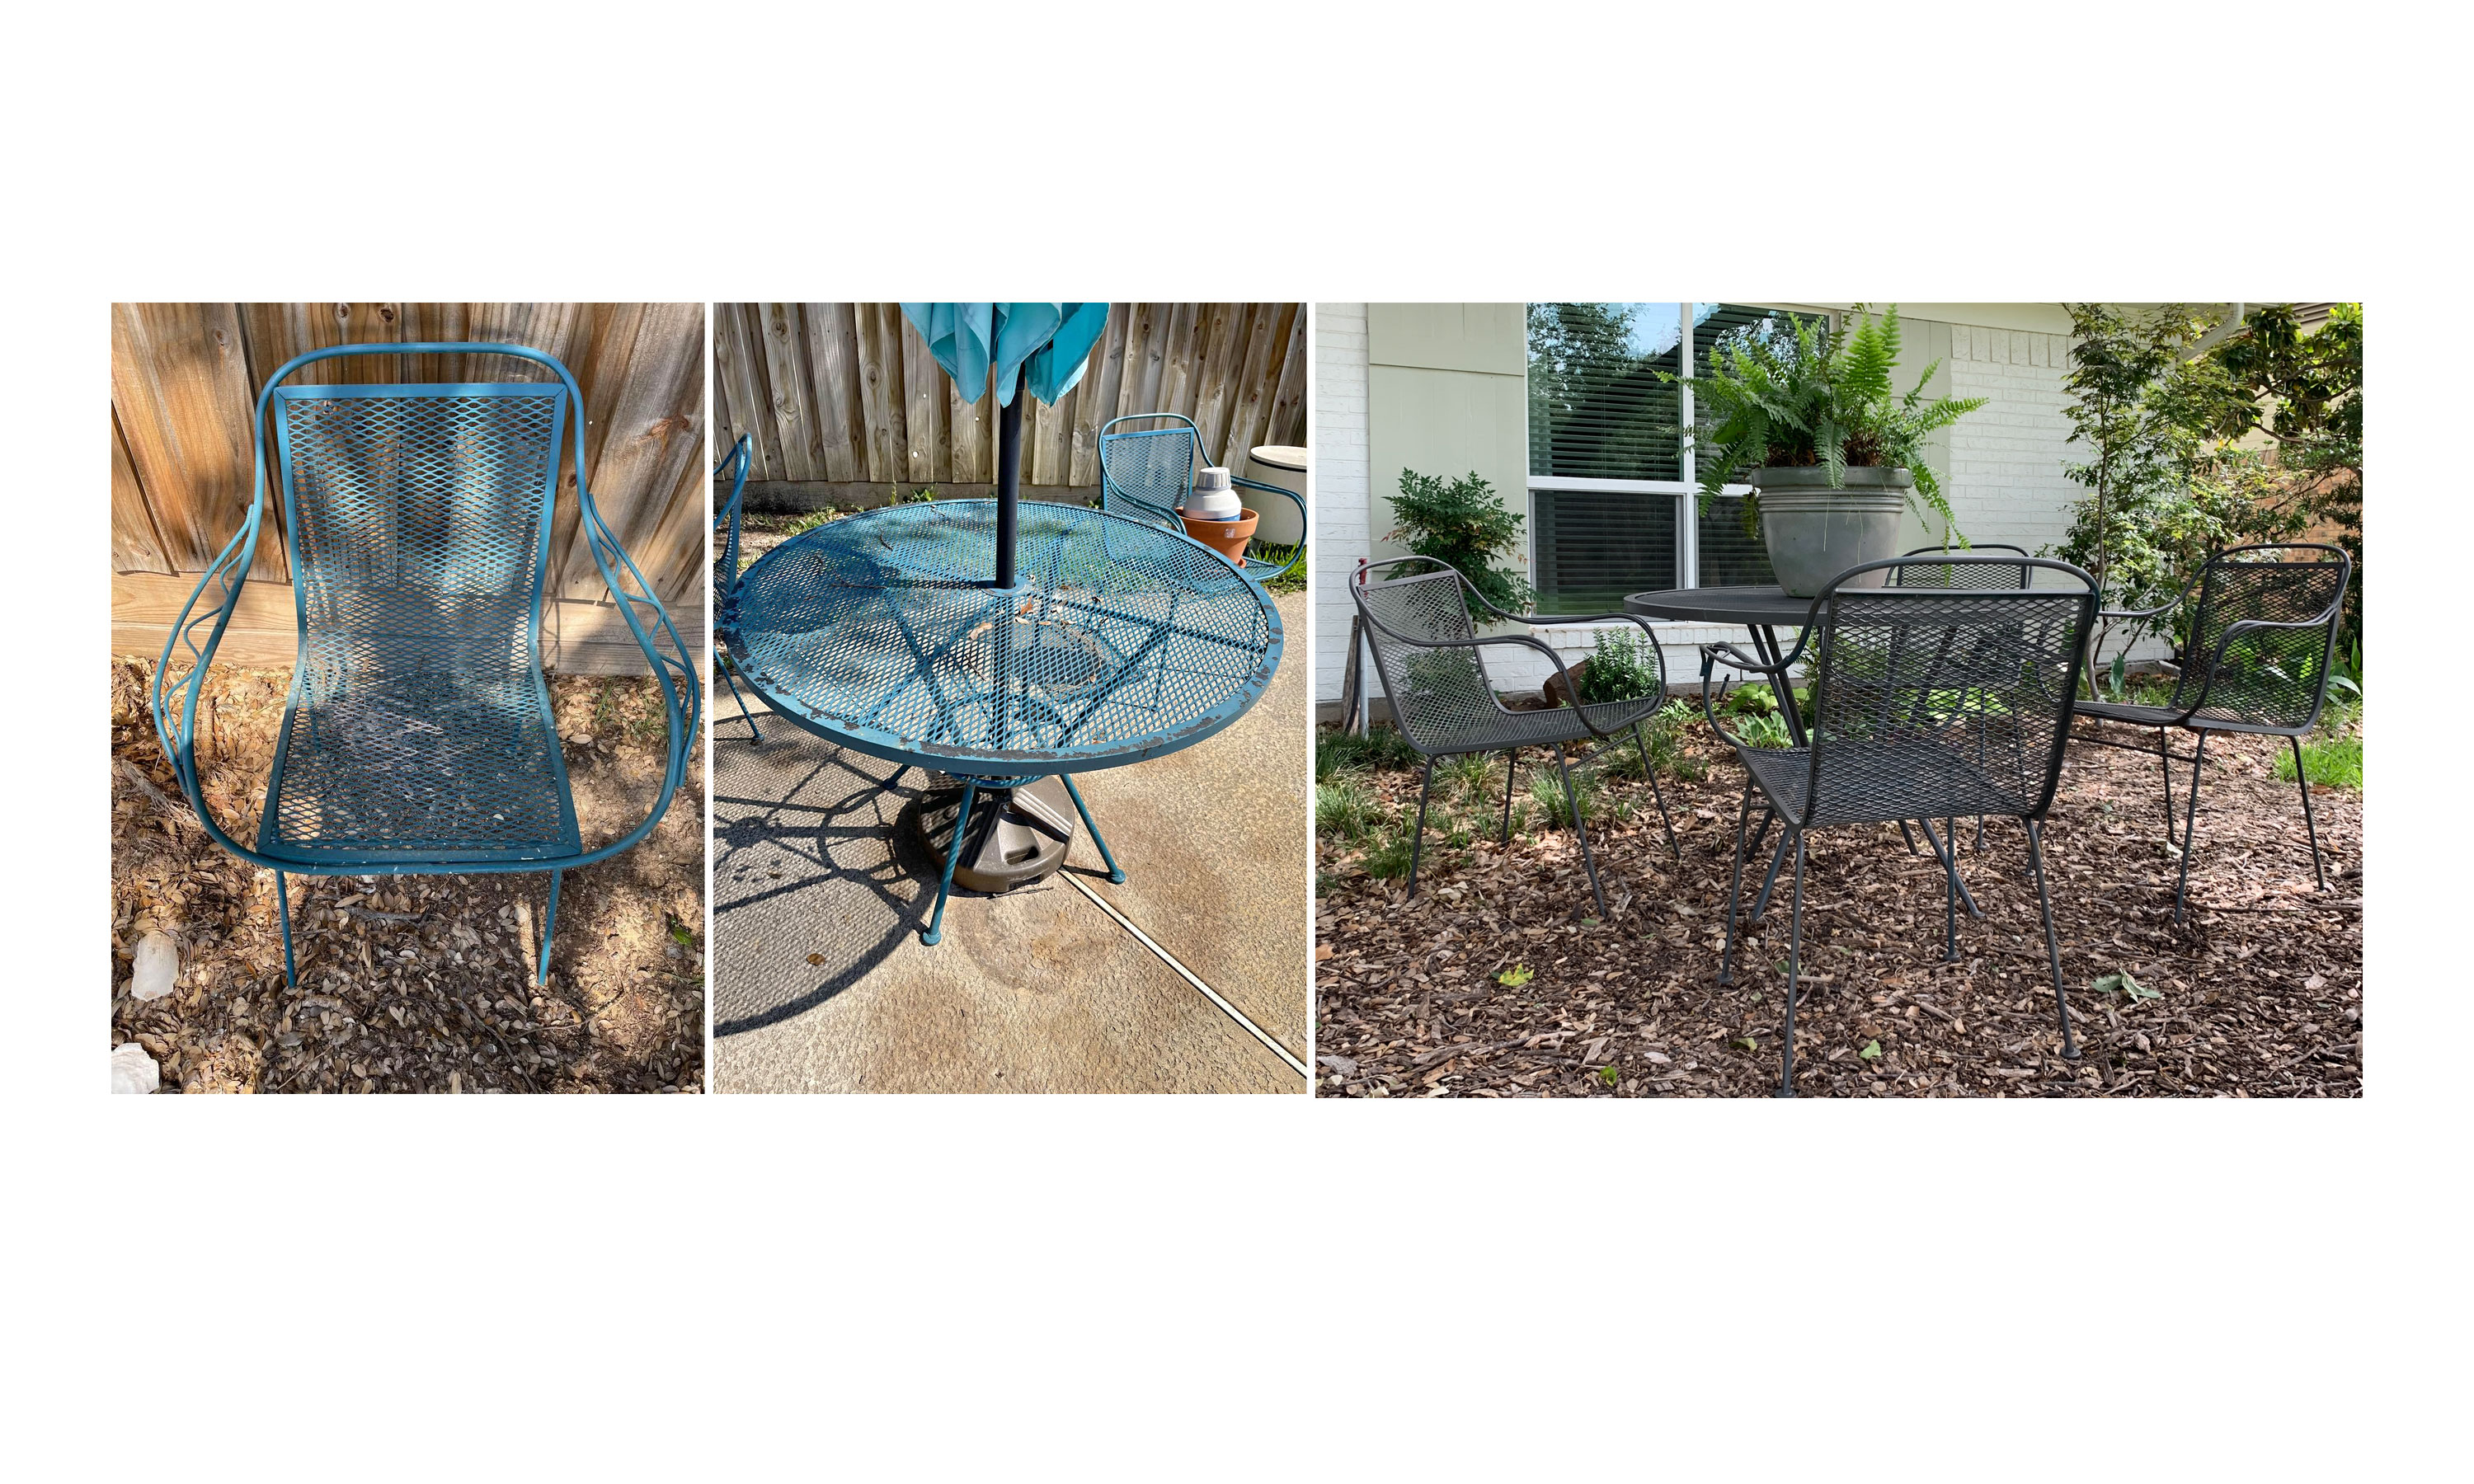 How to revive an old patio furniture set with spray paint, on a shoestring budget
DIYer Jessica Nickerson used spray paint to bring a used metal patio furniture set, from Facebook Marketplace, back to life. Giving her front yard a speedy facelift, for next to nothing
By Camille Dubuis-Welch Published
-
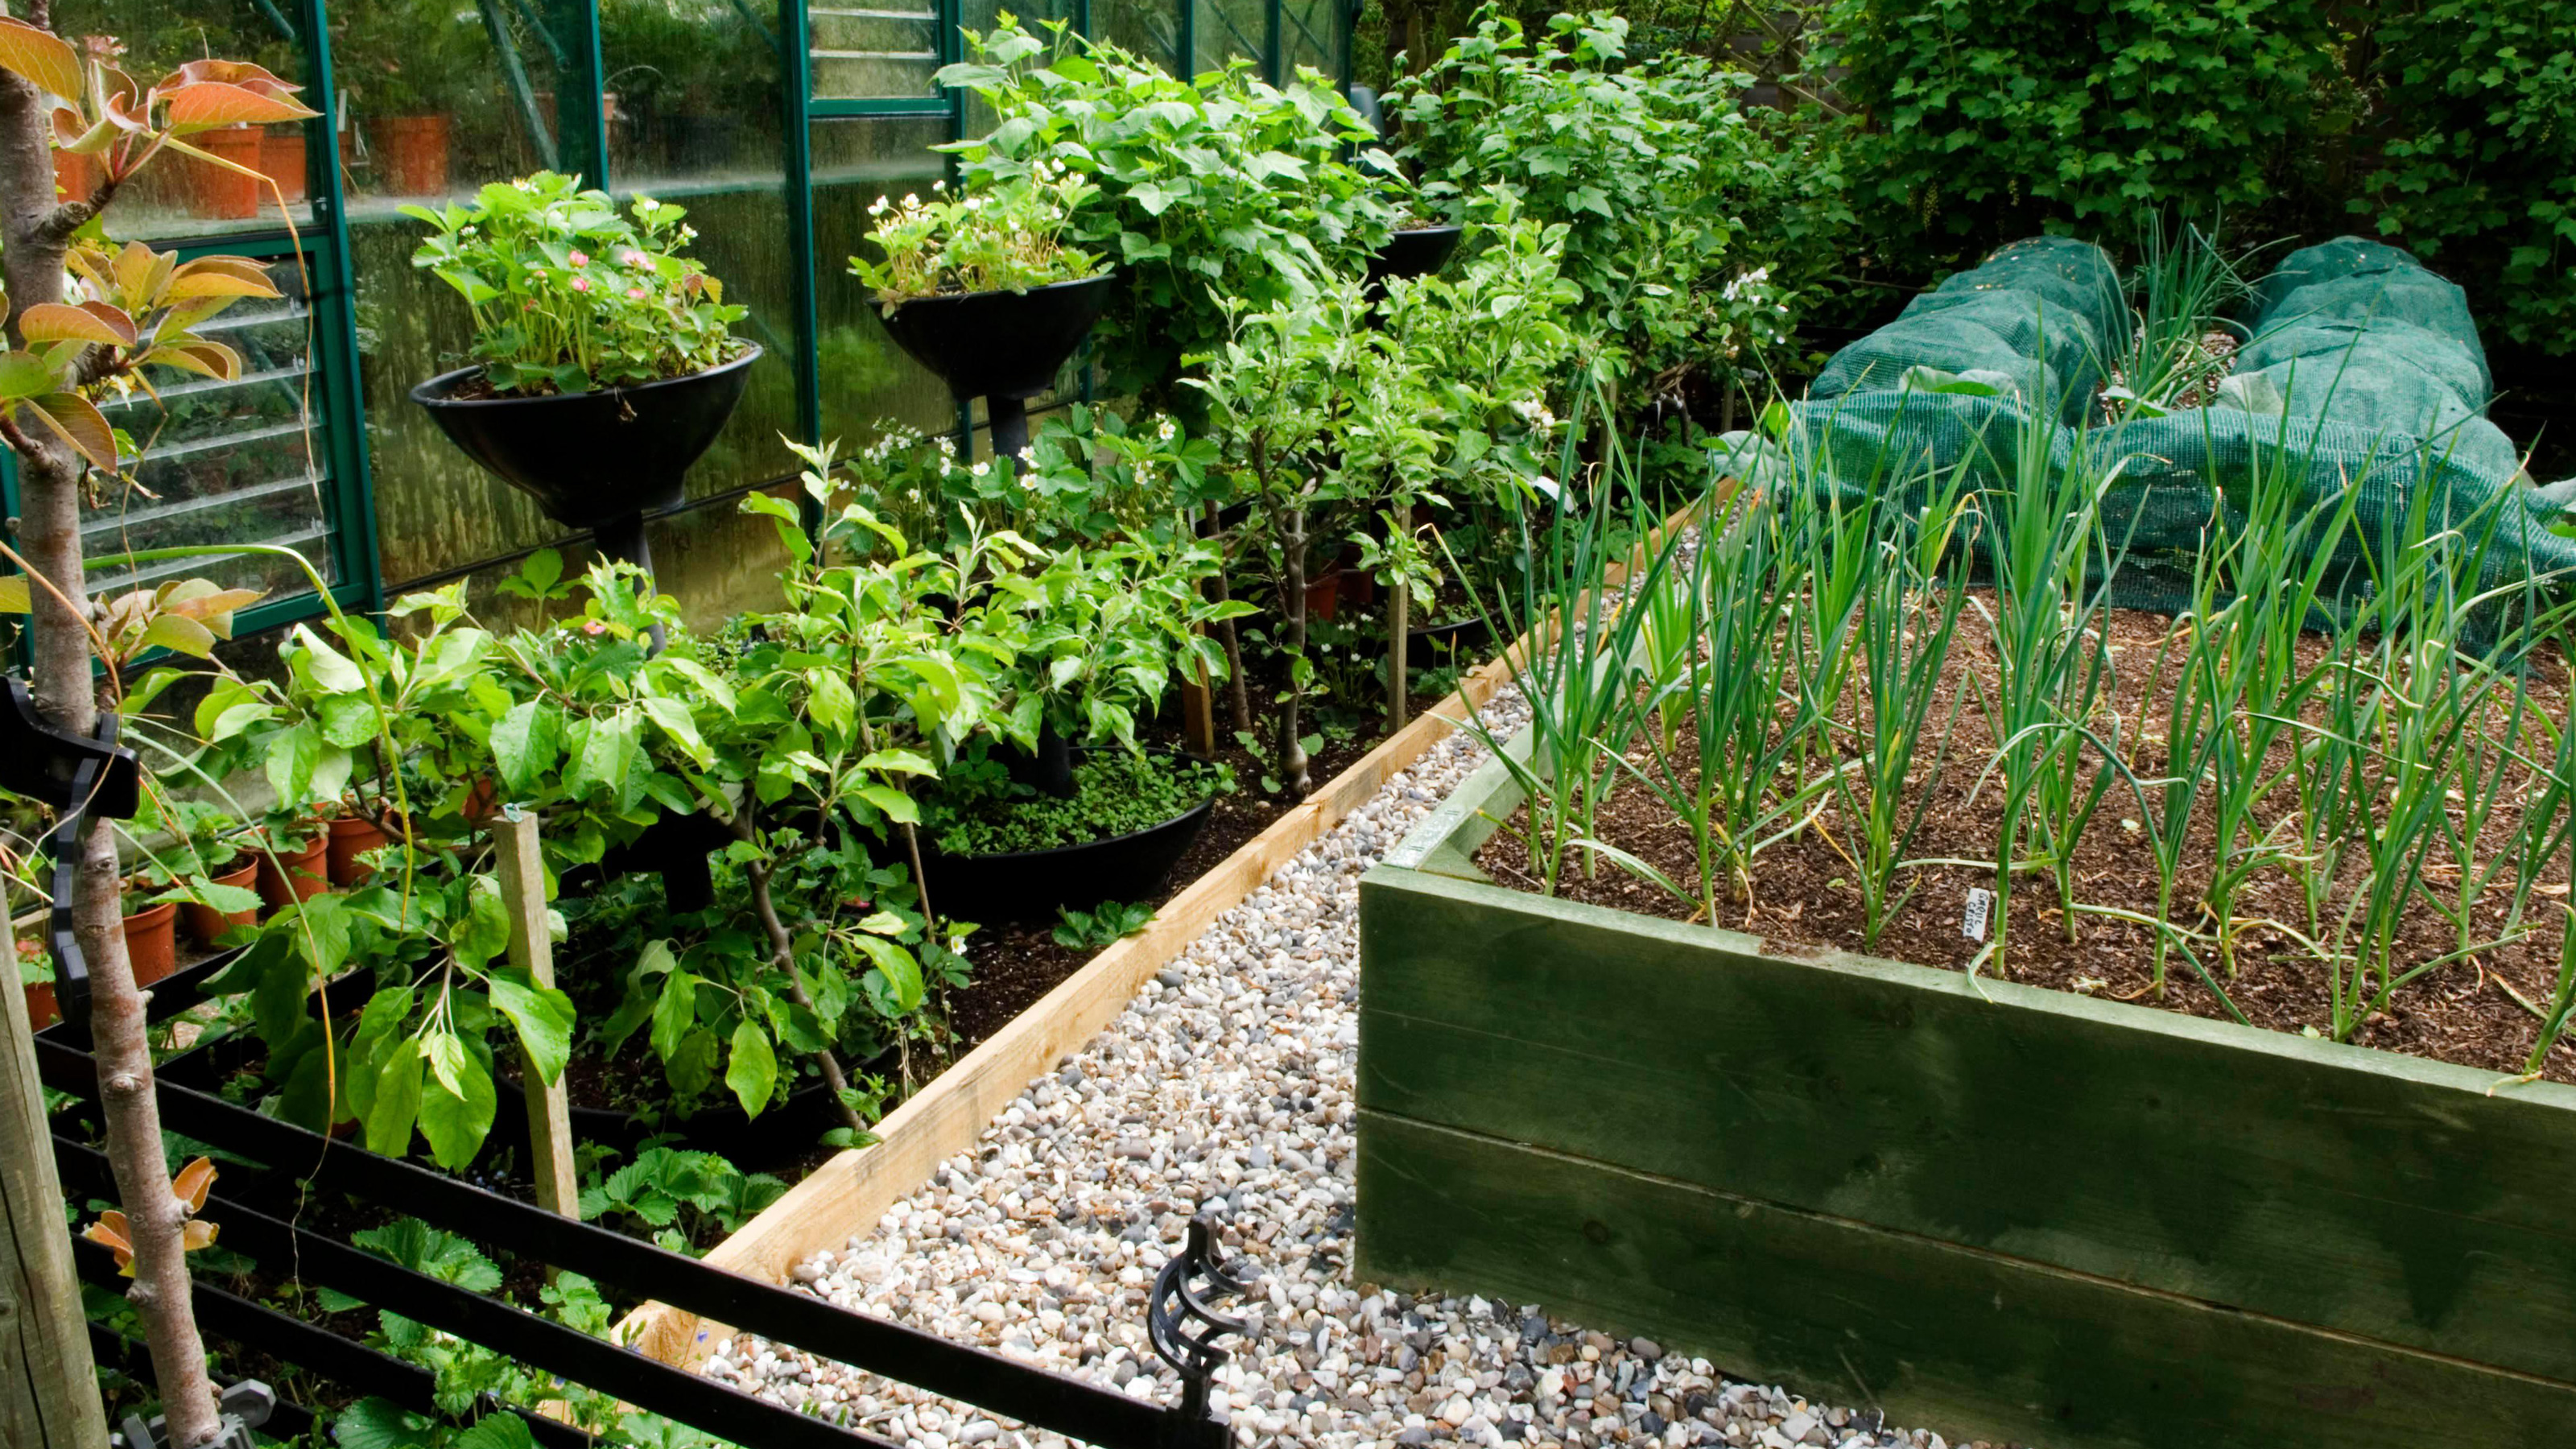 How to build a raised garden bed – everything you need to know about DIY raised bed gardening
Learn how to build a raised garden bed with our budget-friendly DIY tips. Raised beds are a beautiful and practical way to grow vegetables and flowers easily.
By Melanie Griffiths Published
-
 How to build a smokeless fire pit
Learn how to build a smokeless fire pit and enjoy an outdoor fire without the air pollution
By Anna Cottrell Published
-
 13 striking shed paint ideas for a speedy garden update
These shed paint ideas are sure to inspire a little DIY project and will add a glorious pop of color to your garden
By Hebe Hatton Published