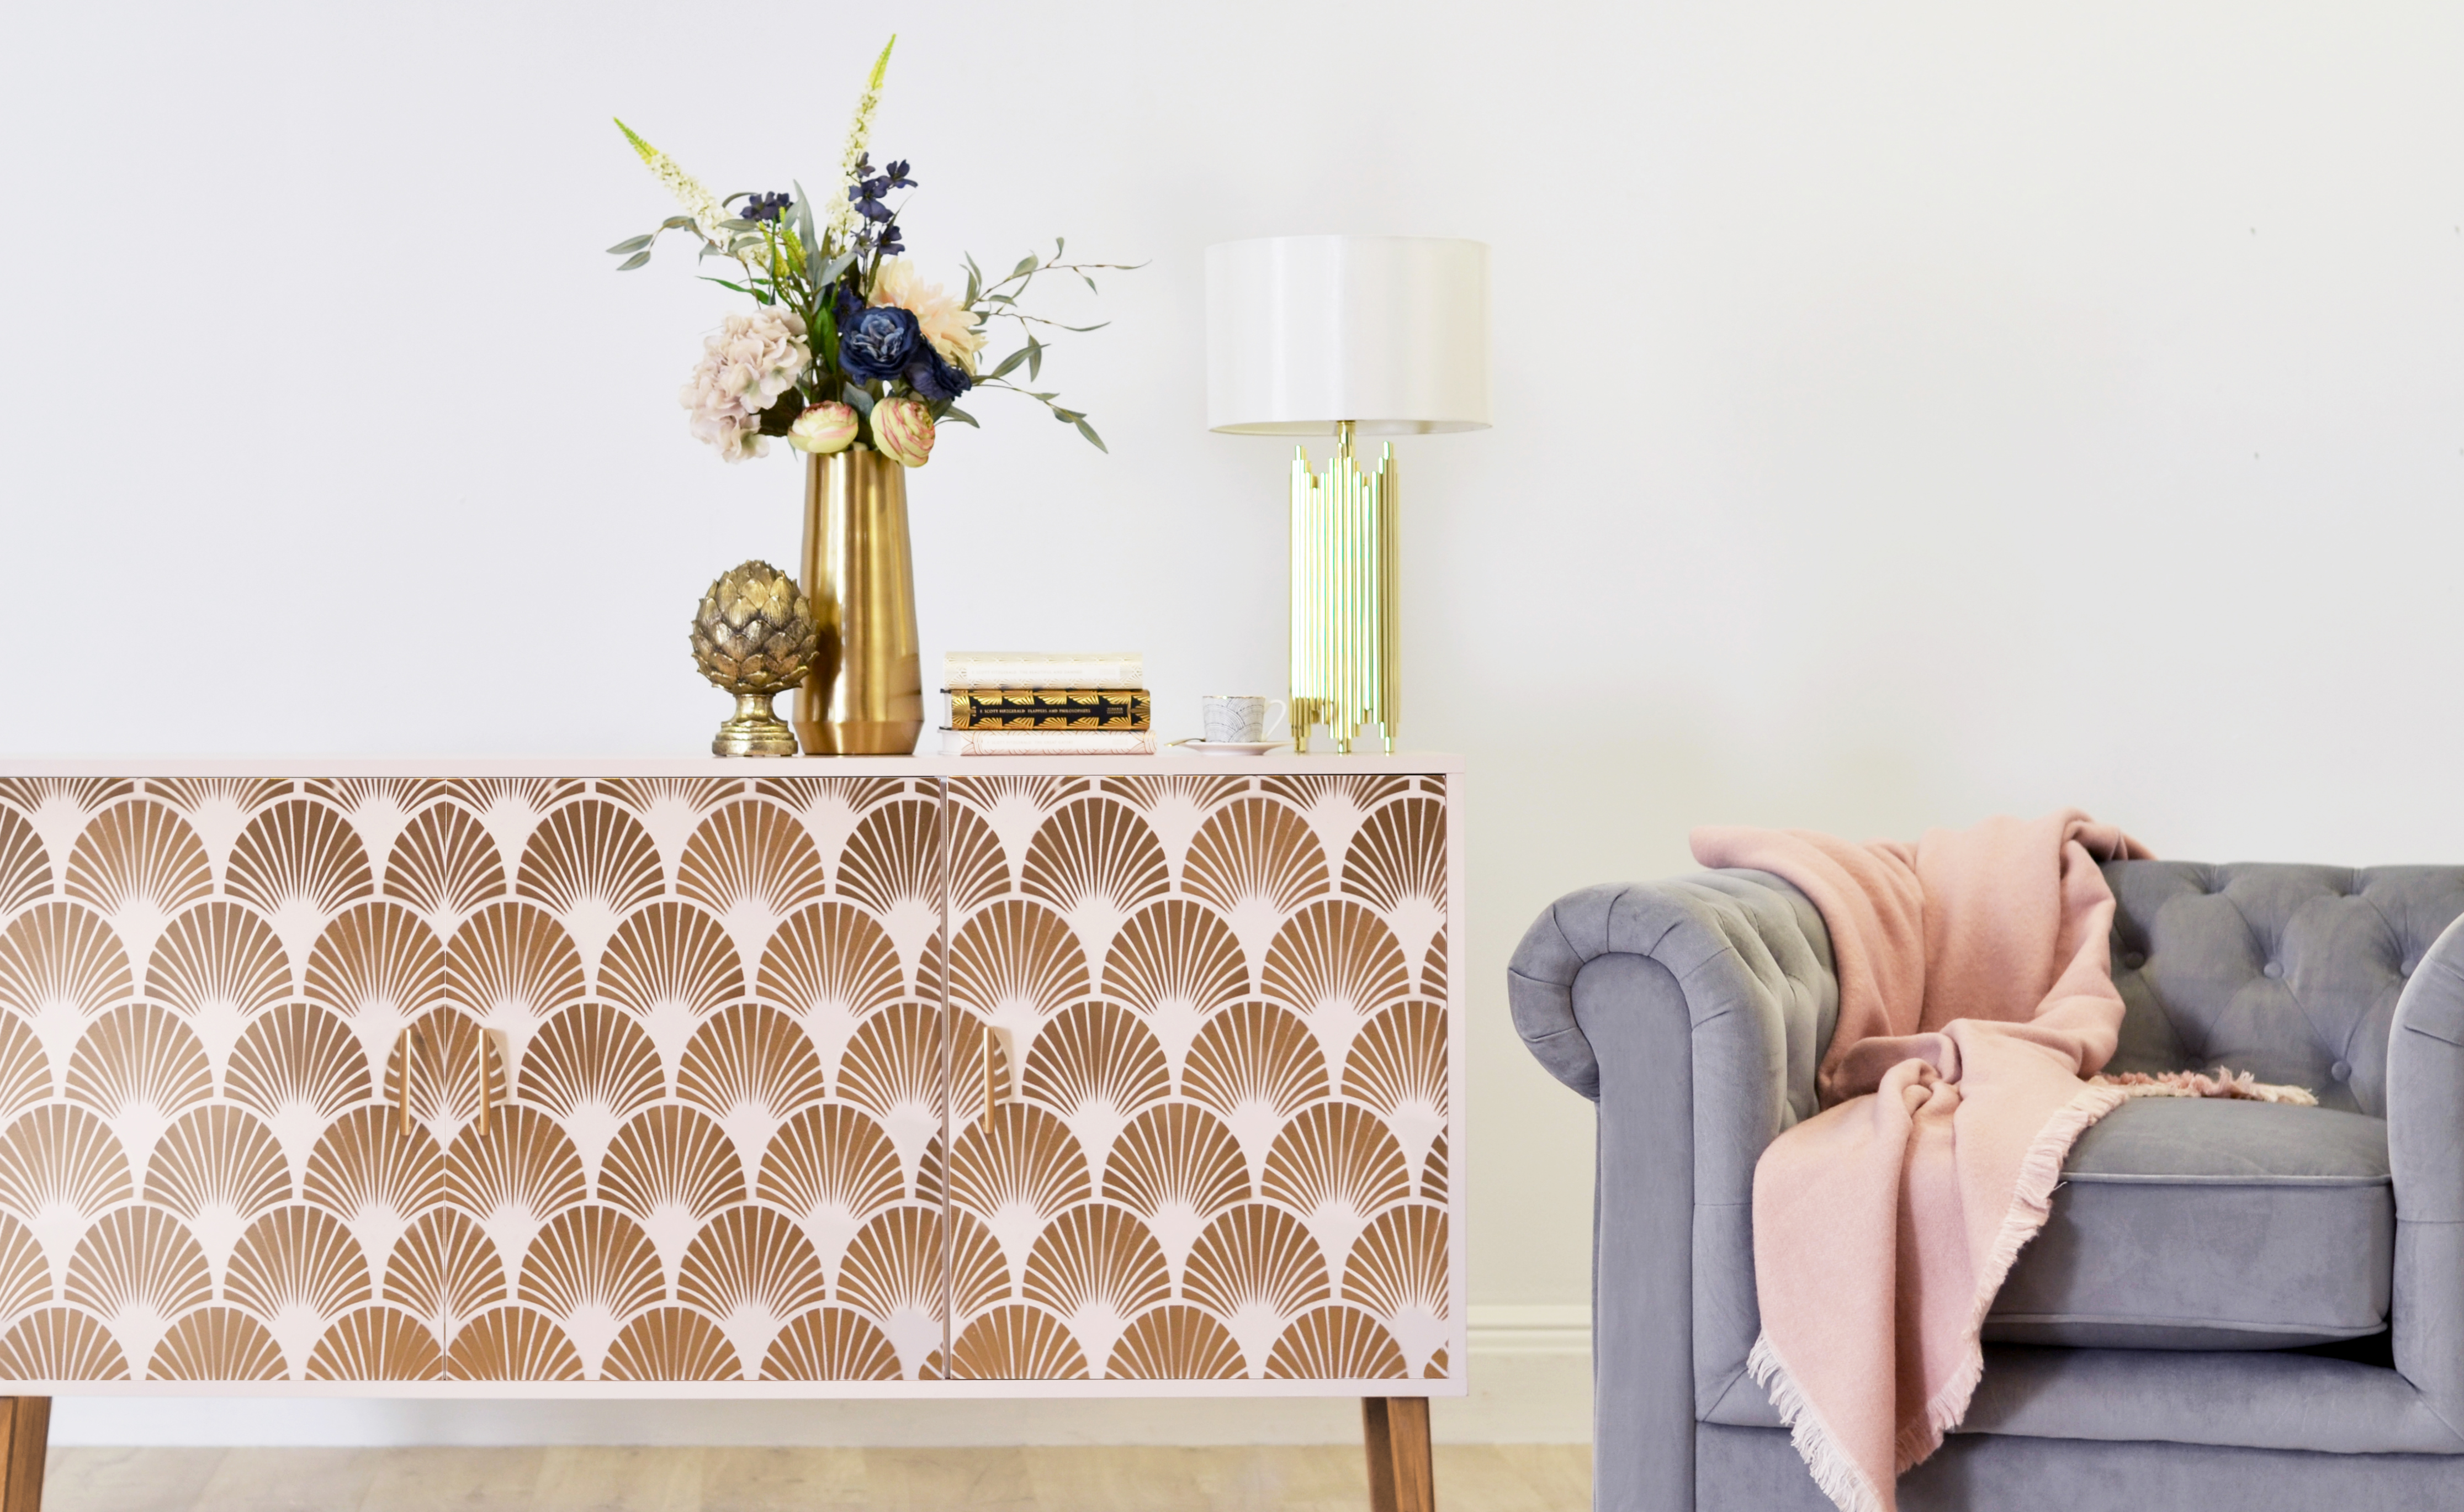

Want to know how to stencil. It's an easy but really worthwhile craft skill to learn, so that when you get a bit bid-happy on eBay, you can do so safe in the knowledge that you can upcycle that less than perfect find.
We've put together this super simple DIY guide that will help transform a humble sideboard (or any cupboard or wardrobe) into a gorgeous statement piece in just a few hours with stencilling*. Switch up the colours and stencils to match your style and no one need know that your gorgeous new sideboard was just the result of a few too many wines and the irrational need to outbid @midcenturymoderngal67.
After more DIY and crafty projects? Head over to our crafts hub page for a load more inspiration...
You will need:
- Gold spray paint or gold paint
- Furniture or wood paint (see our pick of the best furniture paint for more options)
- Small paint roller
- Stencils of your choice (Etsy have loads of option)
- A sideboard, or whatever piece of furniture your are upcycling, a wardrobe or a cupboard would also work
Step 1: Detach doors and feet
First step of upcycling your furniture is to take off the doors and if you can remove the legs too if you don't want to paint them. Then you can start painting the outside of the sideboard. We recommend using a small roller for this rather than a paint brush as you will get a smoother finish.
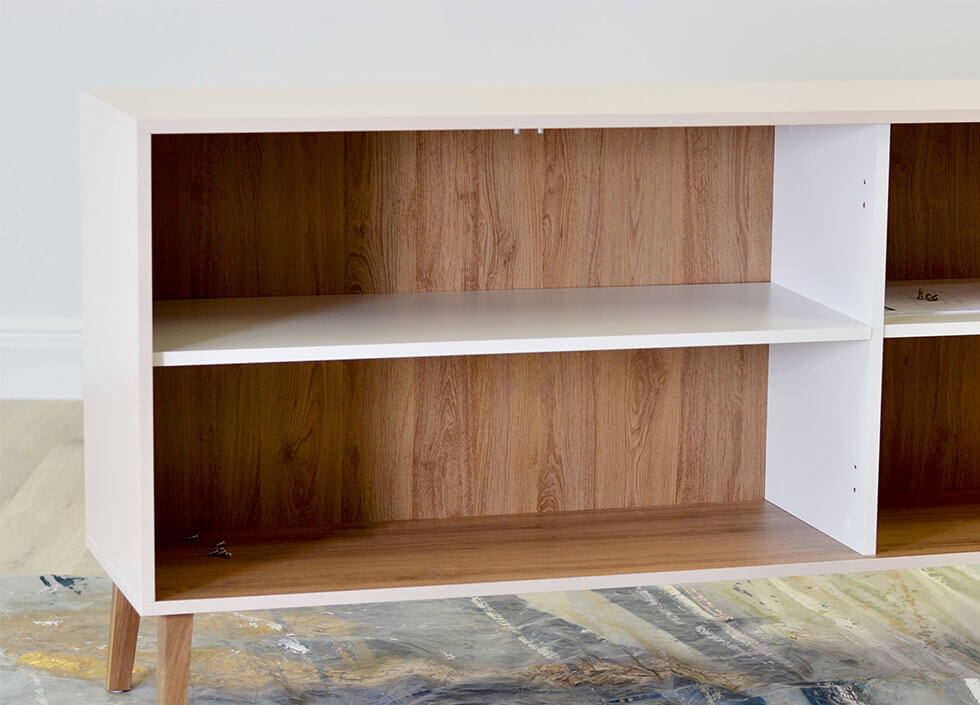
Step one: Detach doors and feet
Step 2: paint the doors
Remove any handles from the doors before you start painting. You can either choose to paint your doors the same colour as the rest of the cabinet as we have done or paint them a different colour altogether, just depends on the look you are going for. We reckon a white cabinet, or even a wooden cabinet, with deep teal doors (something like Rust-Oleum Belgrave) would look gorgeous with the gold stencilling over the top.
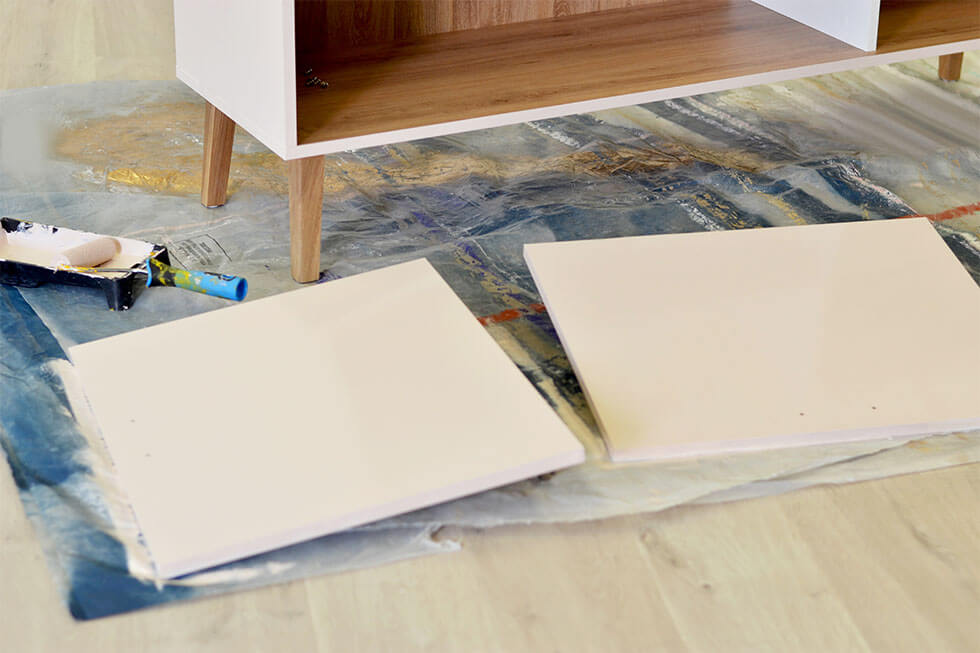
Step two: paint the doors
Step 3: how to stencil
Here's the good bit: how to stencil. Wait for the paint to dry before carefully aligning your chosen stencil on the doors. Use a small amount of masking tape to secure the stencils in place, making sure they are tight to the surface to prevent any of the paint bleeding out. Once that’s done, take your can of spray paint and spray away! If you are using paint, take a clean small roller and gently roll of your stencil. Don't put too much paint on your roller as if the layer is too thick it may bleed underneath the stencil.
Top tip: As an alternative to masking tape you could set the stencil with a spray mount before laying it on the door. The spray mount keeps your stencil in place without leaving any residue or marks behind once it is removed.
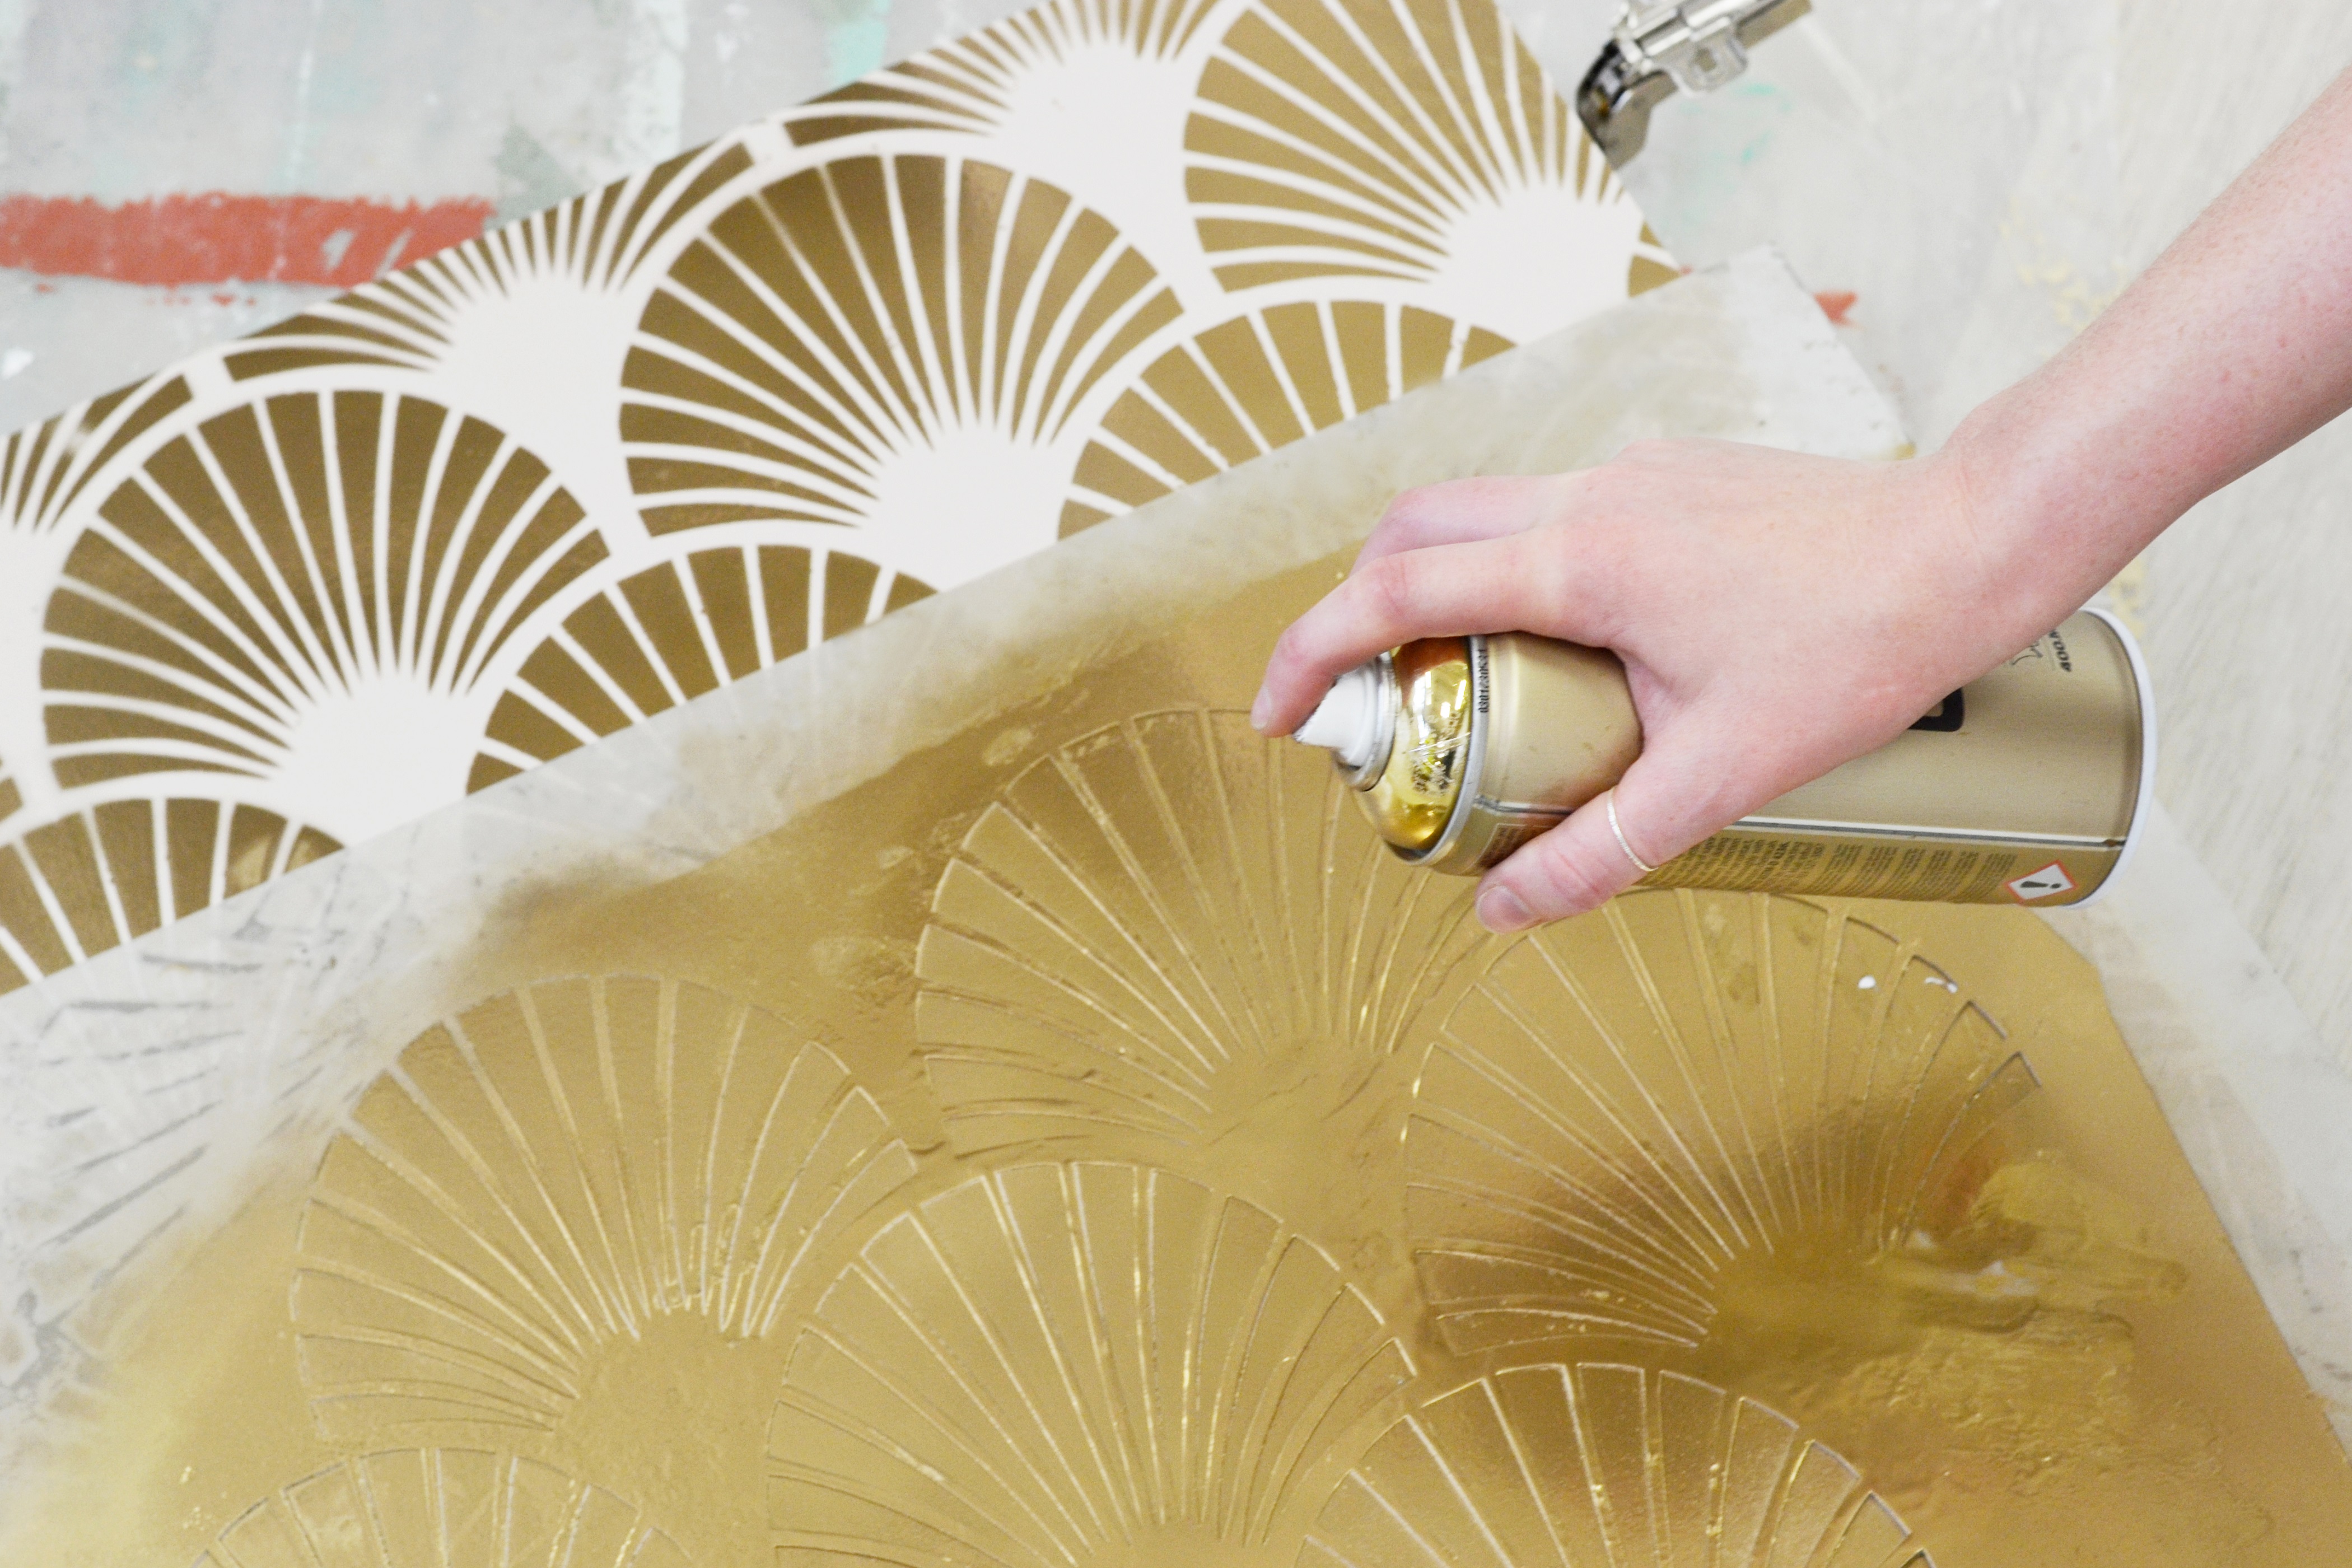
Step three: spray on your stencils
Step 4: paint the feet
You could of course leave the feet of your furniture natural or paint them the same colour as the rest of the cabinet, but we've gone with gold to tie in with the pattern.
Step 5: varnish the surfaces
Once you’re satisfied with the overall look, and the paint has dried, set your handiwork with a coat of varnish to protect against surface damage. You could also now switch up the knobs and handles to ones that match the new look of your cabinet (check out the gorgeous selection of knobs and handles from Anthropologie).
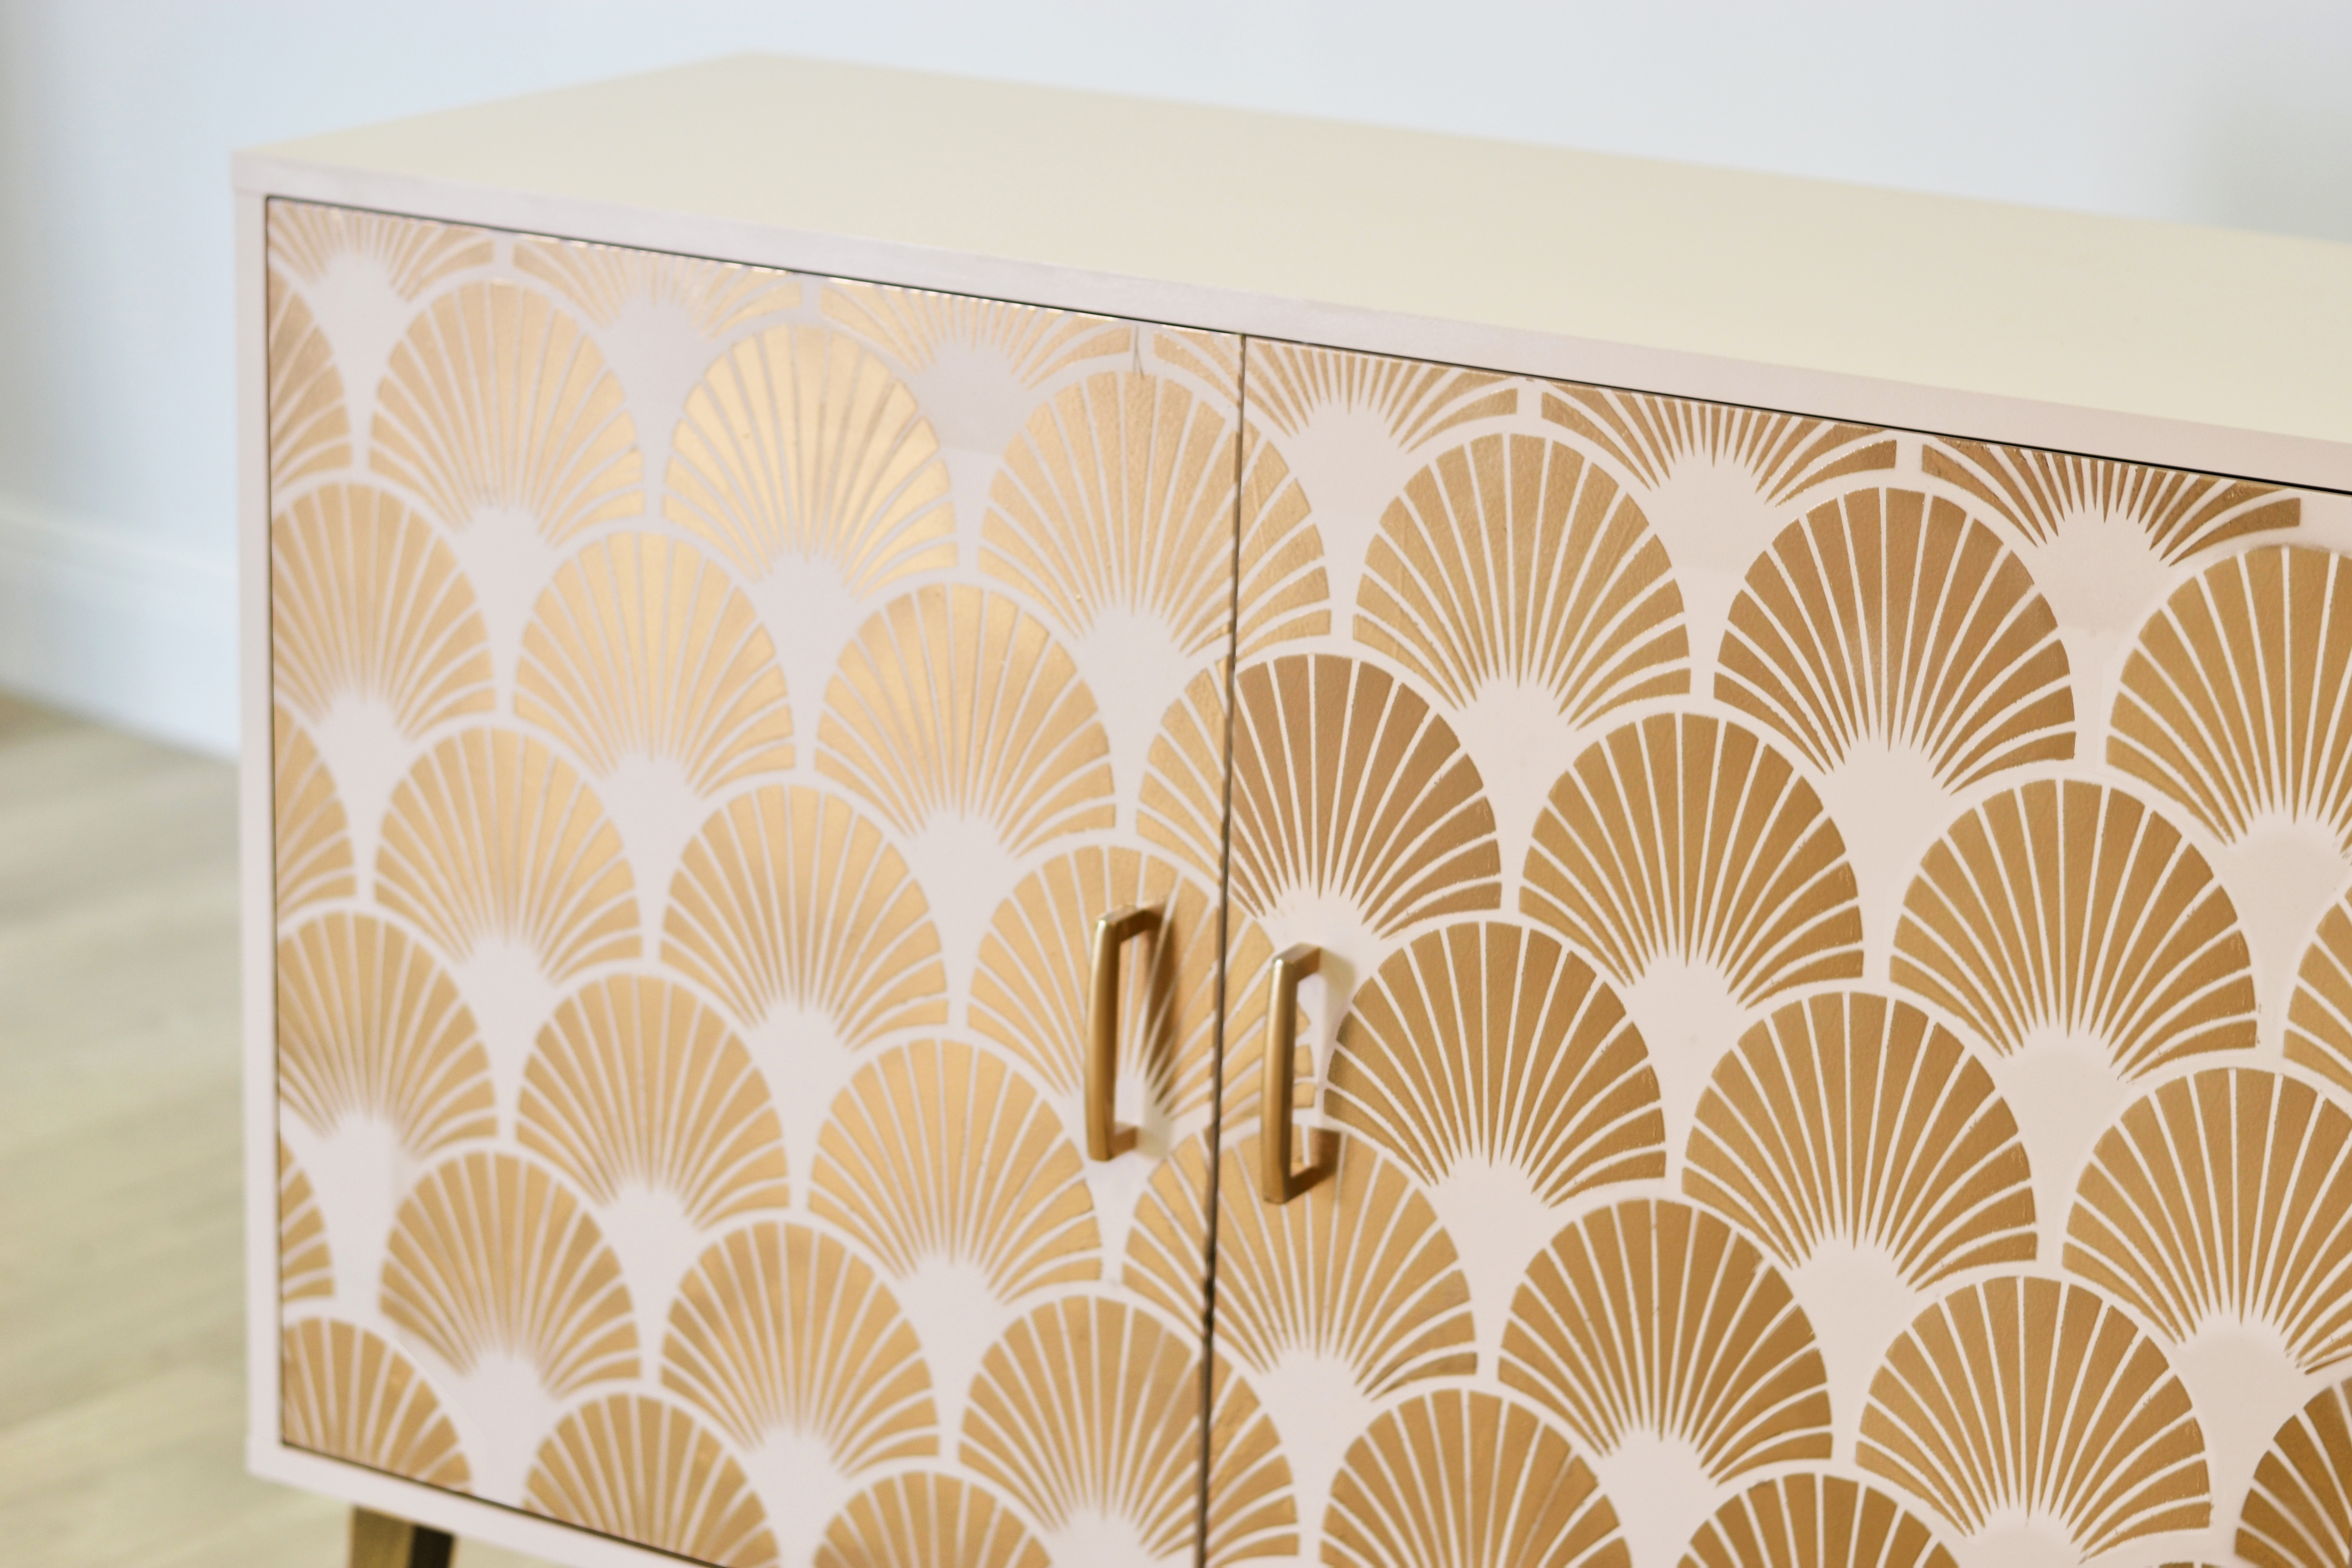
Step five: varnish the surfaces
Step 6: put your cabinet back together
Pop the legs and door back onto your cabinet and voilà. Style it up with lamps, vases and prints that match the vibe of your newly upcycled sideboard.

Step six: put your cabinet back together and style it up
*DIY step by step thanks to Furniture Choice
Check out more easy weekend projects...
Join our newsletter
Get small space home decor ideas, celeb inspiration, DIY tips and more, straight to your inbox!
Hebe joined the Real Homes team in early 2018 as Staff Writer before moving to the Livingetc team in 2021 where she took on a role as Digital Editor. She loves boho and 70's style and is a big fan of Instagram as a source of interiors inspiration. When she isn't writing about interiors, she is renovating her own spaces – be it wallpapering a hallway, painting kitchen cupboards or converting a van.
-
 A $200 fluted panel transformed my drab kitchen in just one weekend
How to install a fluted kitchen panel: A speedy and achievable DIY tutorial even for DIY novices
By Claire Douglas Published
-
 This colourful home makeover has space for kitchen discos
While the front of Leila and Joe's home features dark and moody chill-out spaces, the rest is light and bright and made for socialising
By Karen Wilson Published
-
 How to replace a broken staircase spindle in 30 minutes flat
A missing or broken spindle on a staircase is not only unsightly, but it can be a real hazard. This is how to fix it in a few quick steps.
By Kate Sandhu Published
-
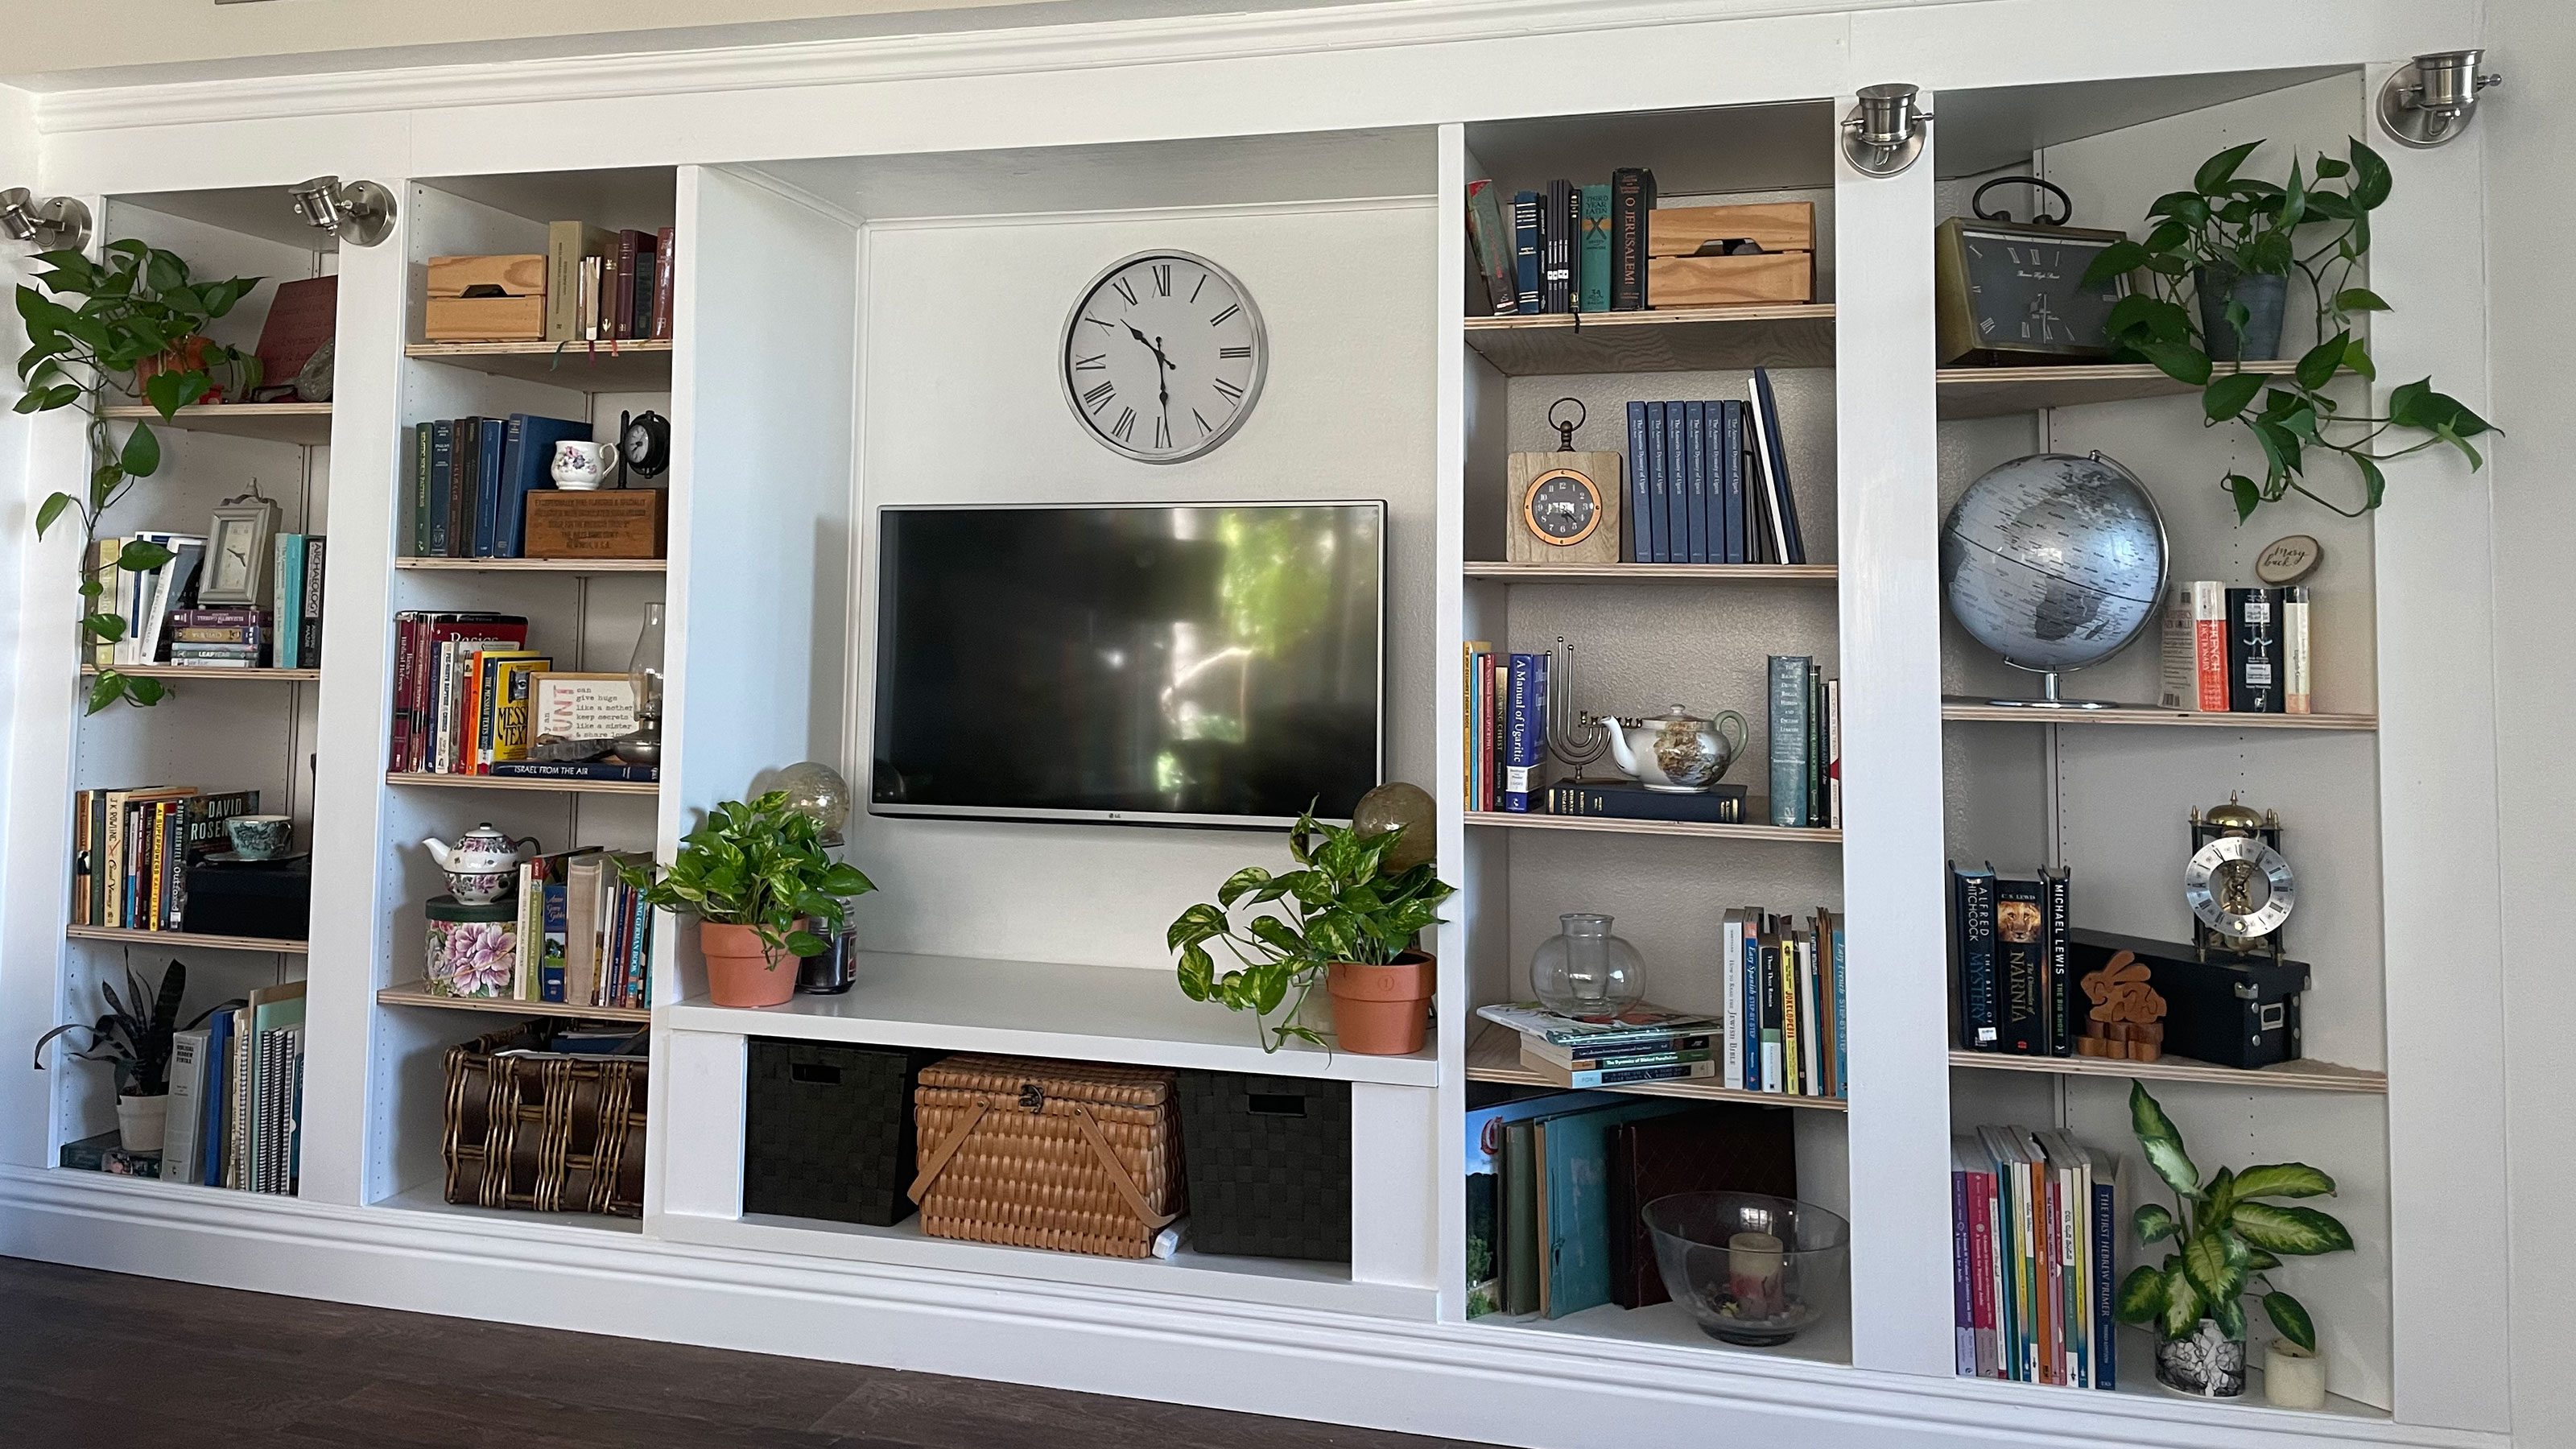 An IKEA Billy bookcase hack inspired this cute media wall DIY
This cute DIY was inspired by an IKEA Billy bookcase hack and brought a ton of symmetry to an otherwise basic media wall space.
By Camille Dubuis-Welch Published
-
 Share your small space glow up to win $150 in the Real Homes competition
Show off your creativity and DIY skills to win $150 and for the chance to be featured exclusively in Real Homes magazine
By Camille Dubuis-Welch Last updated
-
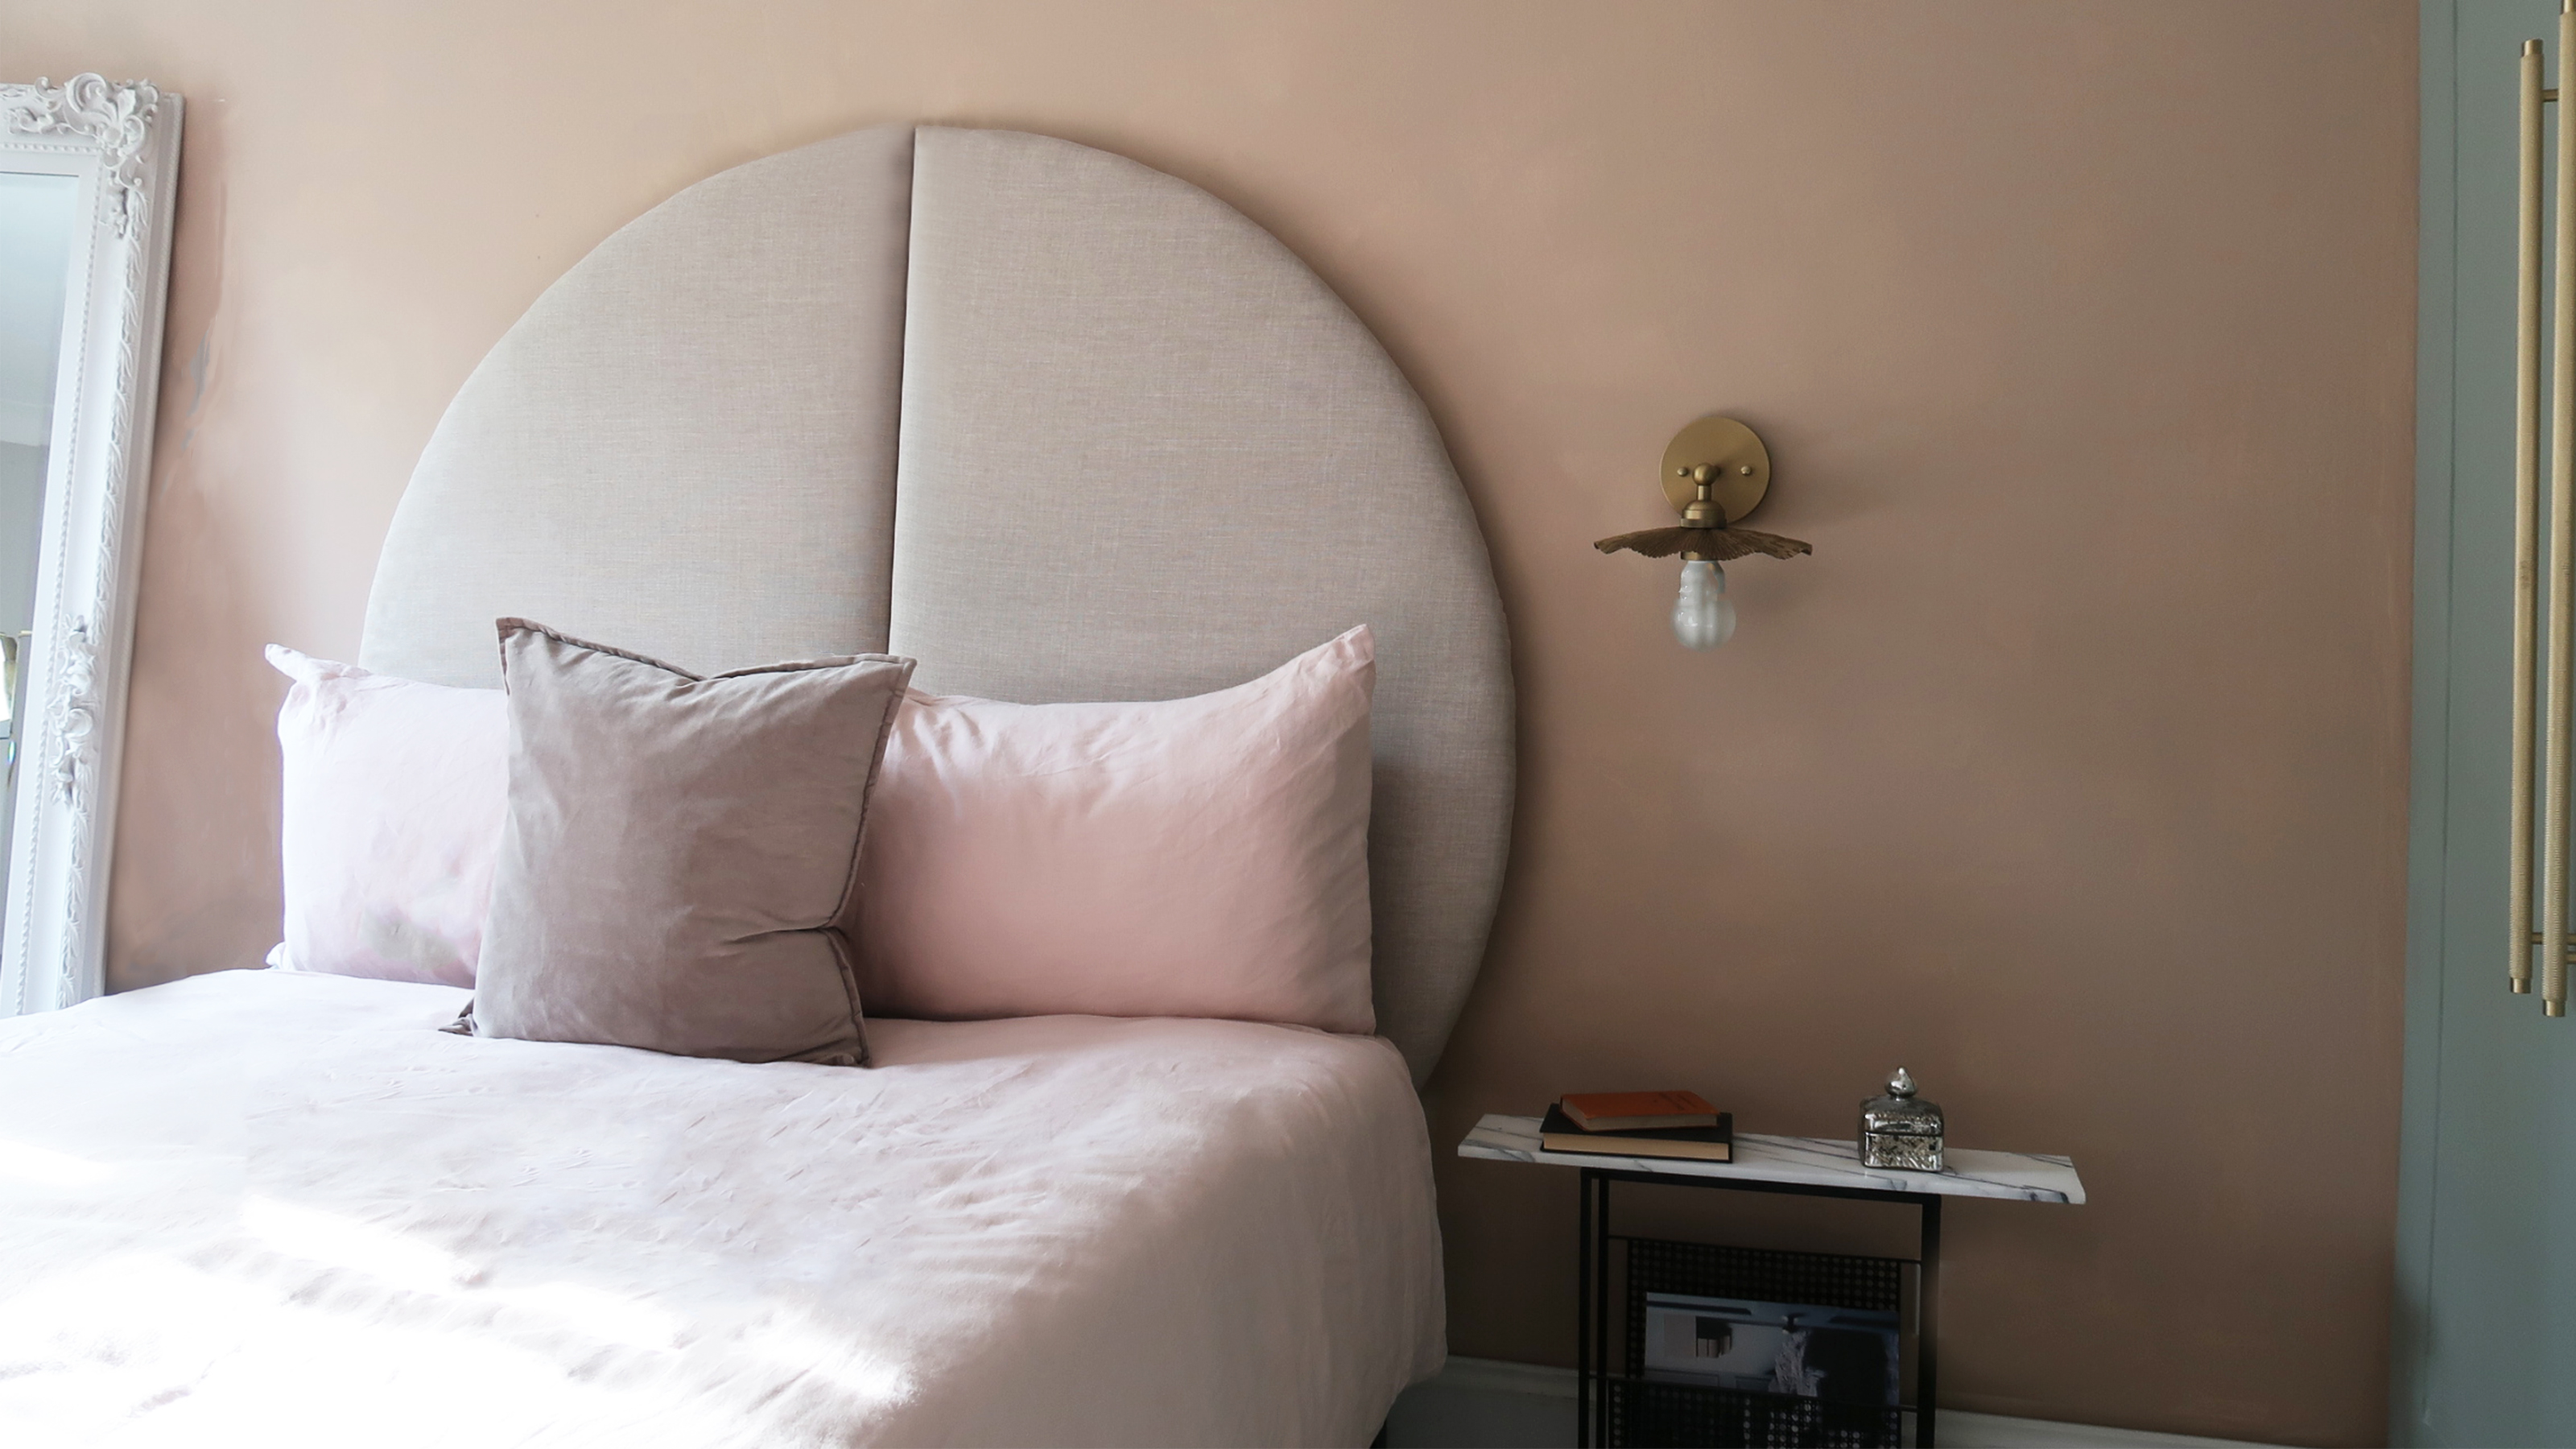 This oversized headboard looks designer, and takes 5 steps to DIY
Super simple to DIY, this oversized headboard will give your bedroom space all the designer vibes you could dream of.
By Claire Douglas Published
-
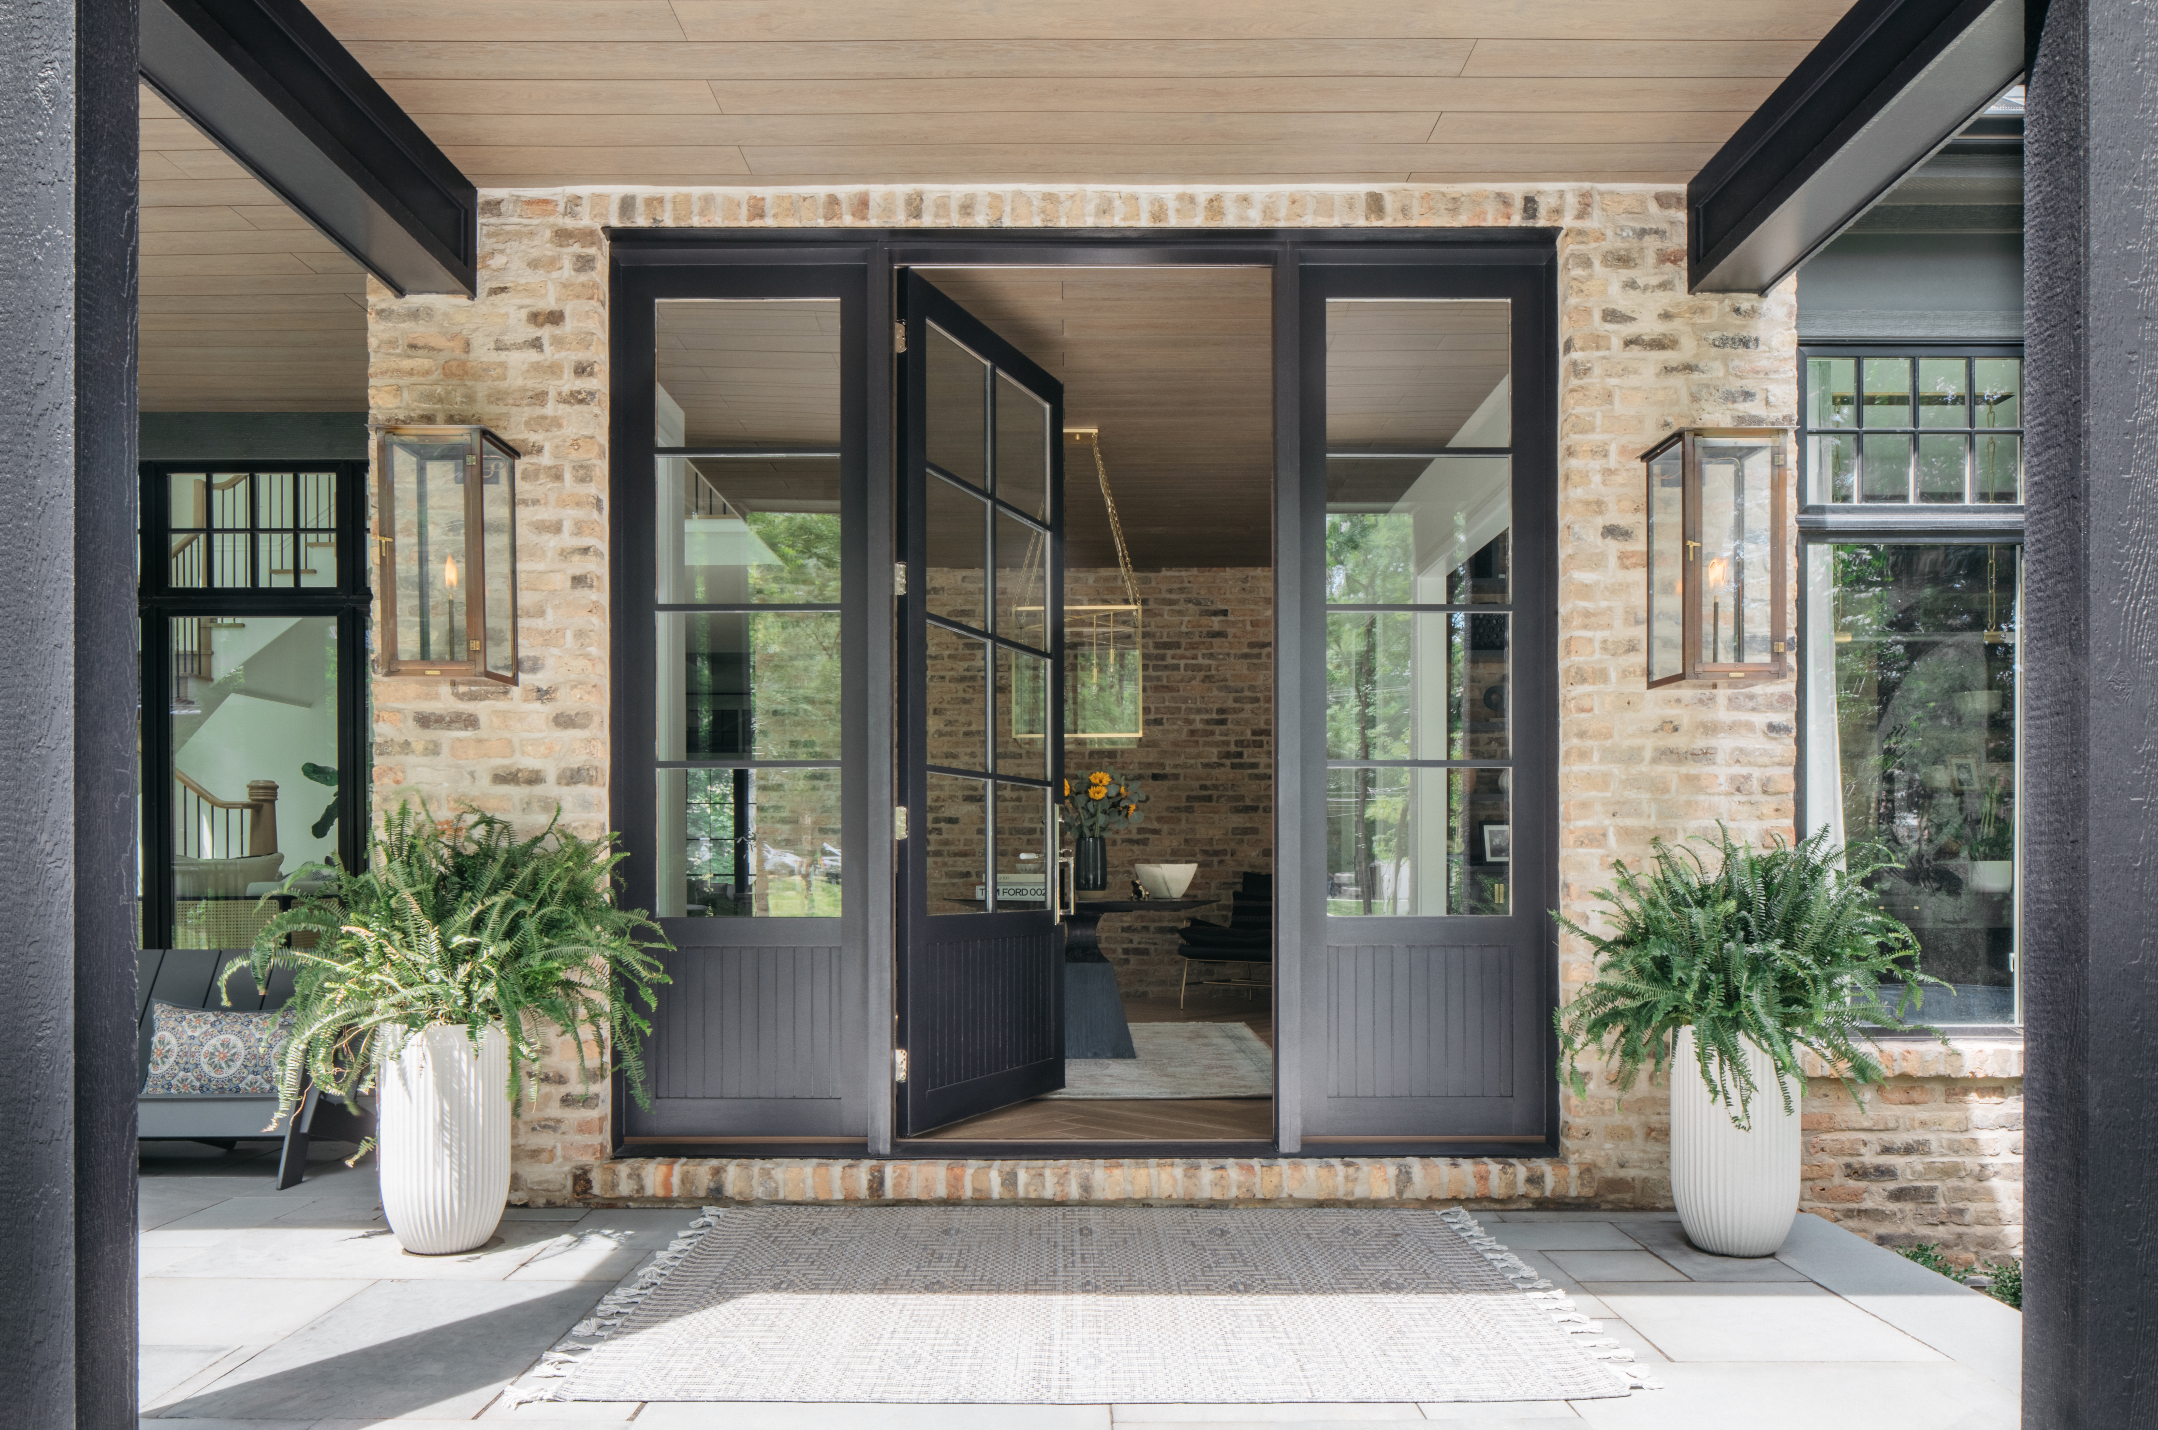 How to paint a door and refresh your home instantly
Painting doors is easy with our expert advice. This is how to get professional results on front and internal doors.
By Claire Douglas Published
-
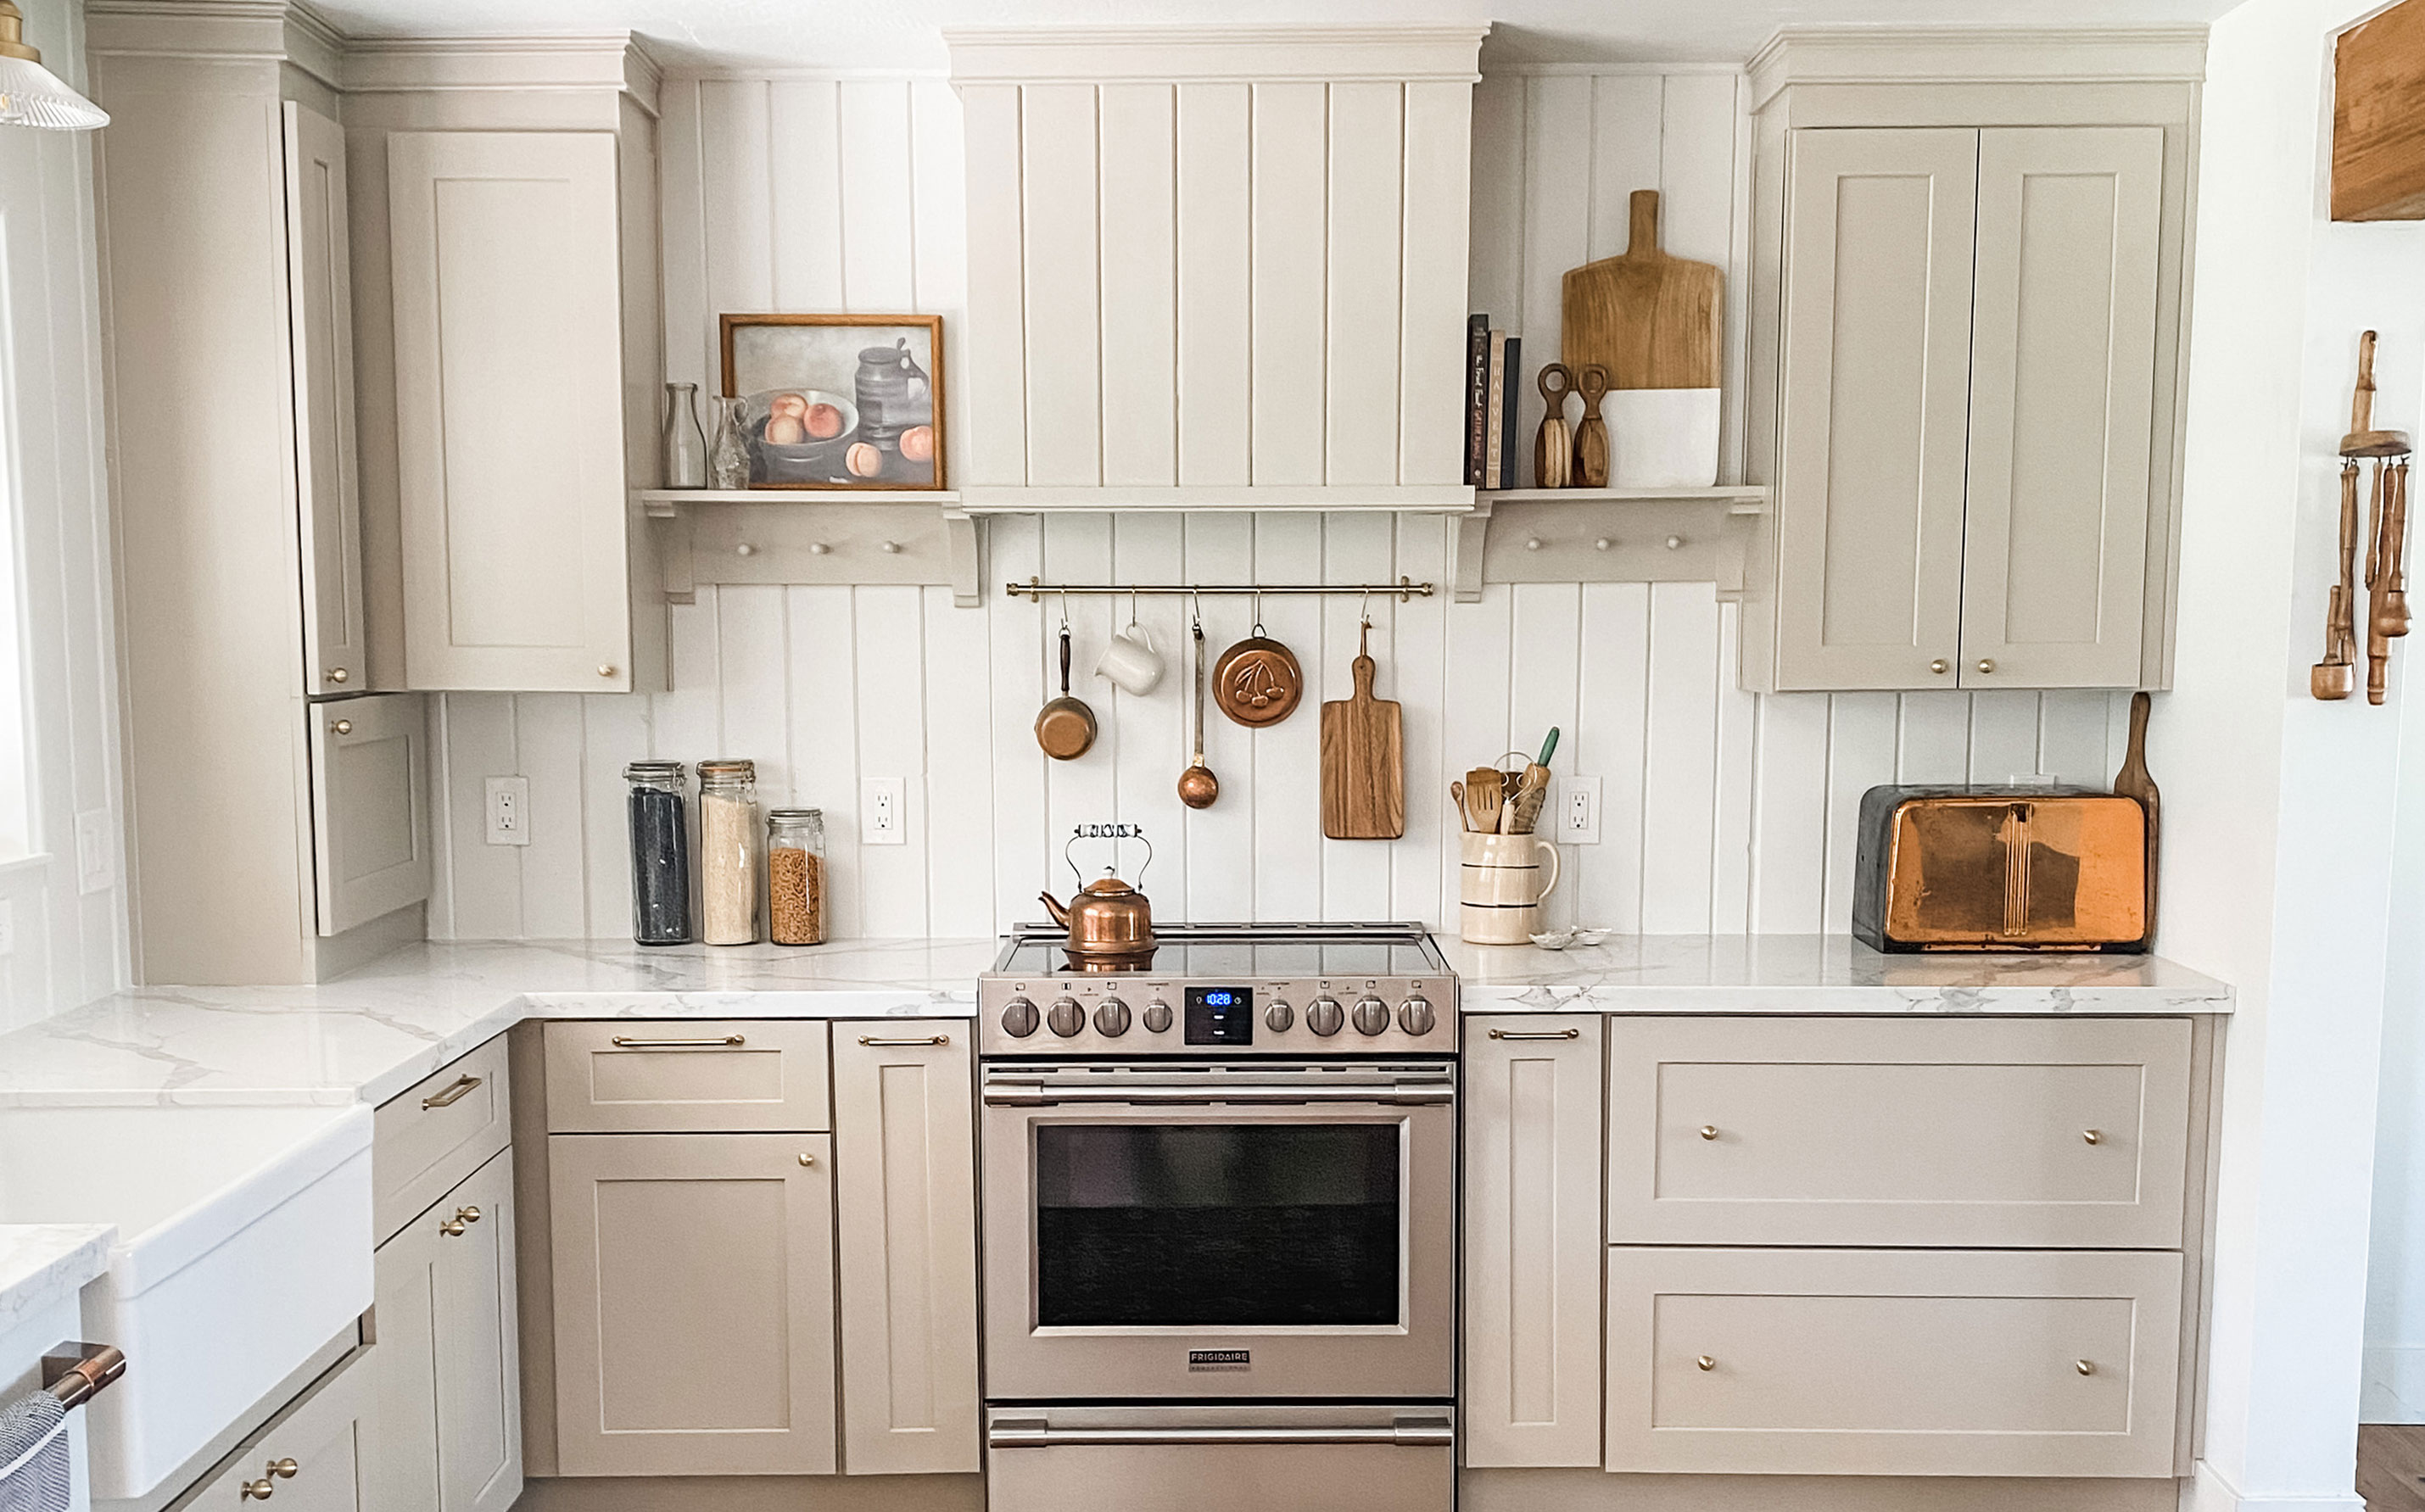 My DIY range hood and backsplash build gave my kitchen the perfect farmhouse finish
I craved charm in my kitchen space and adding a custom range hood and shelving was the best move.
By Brooke Waite Published