

Kate Sandhu
Learning how to tile a backsplash – known as a splashback in the UK – might seem intimidating if you've never tiled anything in your life, but it's actually a pretty straightforward job. How complicated the DIY will depend mostly on the area you're covering, the type of tile design you're working with, whether you need to cut the tile, and so on.
But honestly, prepare enough, take your time with it, and not only with you be able to bring the best kitchen backsplash ideas to life, going as bespoke as you'd like, but you'll also save a ton on labor costs.
Lean on our expert-led video and step-by-step guide below to see how you can install a tiled backsplash like a pro.
How do you tile a backsplash step-by-step
Even if you're a total newbie to the world of DIY, if you're remodeling a kitchen, it's a good skill to have under your belt!
Mike Katona, skilled DIYer from the ShabbyChicHouse notes how prep is key, 'Each and every tile project is different. Before you begin a tile project you should plan out where you'll start the tile, where you'll be placing partial tiles and how the tiles will terminate along the edges.'
Phillip Ash, the founder of Pro Paint Corner – a small business that specializes in paint resources and home design likewise says 'Measurements are key,' noting how if you're installing a backsplash, 'you don't want to cut any corners or you'll end up with a less than stellar job.
'The first thing you want to do is to make sure you have the materials you need to properly measure the space. These include: a tape measure, pencil, and a 48 inch spirit level. Ensure you have these before beginning your DIY job.'
You will need:

1. Your chosen tiles
2. Grout
4. Protective floor covering
5. Grout float or bendy spatula
6. Small bucket
7. Large bucket
8. Clean sponge
9. Dish soap
10. Water
11. Pencil
12. Tape measure
13. Level
15. Tile spacers, (unless you're using a mosaic with a mesh backing)
Cutting your tiles
No matter how much you try to avoid cutting tile, it is highly likely that you'll need to cut them once you reach the edges anyhow. If you want to minimize cutting, another option is to finish the backsplash a little way beneath your cabinets, leaving a distance of say 15 centimeters between the backsplash and the top of the cabinet. You will likely still need to cut the tiles at each edge of the countertop but this is easier to hide so it's a good option if you feel a little less confident.
If you are cutting tiles, you might need a specialist cutter. A tile scribe like this one from Tile rite can be used on thin tiles, but you may need an electric cutter like this one from Tooltronix or a wet saw like this one from Monster group for thicker or more complex cuts, such as right angles or curves.
A bullnose tile like these from Daltile is characterized by its rounded edges and is often used to cover or frame the perimeter of a tile design. Quarter round tiles are also used to finish edges or turn corners. Pencil tiles can often add a little more character to the finished look. Alternatively, you can choose to go with a metal strip finish, though this may work best in bathrooms.
The type of cut and style of tiles you're using will influence the style of cutter you require. In general, the following rules apply:
- A manual cutter is used to achieve straight lines.
- When dealing with thinner tiles, it's often best to use a tile scribe.
- To achieve right angles, curved edges and to cut through thicker tiles – for example, porcelain or natural stone – you'll want to use an electric cutter.
1. Prepare the wall for tiling

As with all tiling projects, taking the time to prepare is vital, so make sure to clean your wall area with soap and water and cover your kitchen countertops with plastic sheeting, newspaper or a dust sheet.
Wait for the surface to dry before going any further. You may need to prime your wall and, in wet areas, you may need a waterproof adhesive, but check with the tile manufacturer for what’s recommended.
Remember to think about the wall type you're dealing with also. 'You can tile over painted drywall but you'll want to make sure to sand it first,; says Ash. 'An orbital sander like this one by Press nuts is an ideal tool for the job, though you can always work by hand. Purchase 80 to 120 grit sandpaper like this one from Timco for this job and get to work removing the shine or finish from your paint. Roughing up the surface of your wall will allow the mortar for the tile to adhere better.'
Katona adds, 'You can tile on a painted or unpainted wall. The biggest factor is ensuring that you have a level surface to work with. I had an instance in my mirrored subway tile project in which I had to taper my walls with drywall mud to eliminate some small and unsightly gaps.'
2. Measure for tiling

Using a tape measure and a level, mark a horizontal and vertical plumb line (i.e. straight lines that serve as a guide) at your starting point to ensure the tile is level.
If the area you’re tiling has a plug socket or switch on it, you’ll need to measure where this sits on the tiles before you start laying and make the cuts as necessary using a tile cutter as described above.
3. Mix the mortar or tile adhesive

Make sure to select an adhesive to suit your tile choice. You can use either a ready-mixed or a cement-based adhesive, which you’ll make up yourself according to the packaging instructions.
Remember to use a waterproof adhesive like this one from Mapei, for wet areas by sinks. If you want to try and save a little money then you can always buy a combined adhesive that serves as an adhesive for the tiles as well as a grout, though it can be tricky to achieve a good finish with these as they can be low spec so if it is a highly visible area, we'd recommend buying separate products.
4. Carefully apply the tile adhesive

'If it's a backsplash - typically it's best to start at the countertop and work your way up. This is because you'll want a full tile butting up to your countertop and typically you can hide a cut/partial tile under your cabinets.' Says Katona.
So, starting at the bottom of the wall, apply the adhesive using a notched trowel like this one from Faithfull, or using a standard trowel and then creating the grooves with an adhesive spreader like this one from Vitrix . Apply a generous layer and create grooves, or notches, in the same direction, which will help the tiles to stick.
Make sure to do a small area at a time – no more than a square meter– as the adhesive will set quite quickly.
5. Lay the first tiles

'If it's a backsplash - typically it's best to start at the countertop and work your way up. This is because you'll want a full tile butting up to your countertop and typically you can hide a cut/partial tile under your cabinets.' Says Katona.
Carefully push the tile into the adhesive and place a tile spacer like these from Ox along each edge. If you’re using mosaic sheets, like these from Grand taps and tiles that are designed to fit together, you won’t need any spacers, if however they aren't designed to fit together then you will need to use spacers in between each sheet in the same way.
Repeat the steps until you’ve covered the backsplash area and wipe the surface to remove any glue residue, using a clean cloth or sponge, as you go as the adhesive will dry quickly.
Leave the tiles for a few hours – or even overnight – to set and then you’ll be ready to apply the grout.
6. Prepare and apply the grout

Mix the correct type of grout for your tile type (this one from Unibond is fairly multifunctional and can be used for most tiles) in a bucket. It’s best to do a little at a time, as the grout sets quickly. Leave the mixed grout for two to three minutes and then mix again before applying.
Once mixed to a good, thick consistency, scoop the grout onto a grout float like this one from Vitrex and press it into the gaps by holding the float at a 45-degree angle and slowly, but firmly spreading it onto the surface. If you haven't got a grout float you can use a spatula, spreading the grout like frosting on a cake.
Wipe the tiles with a clean, damp sponge regularly to remove excess. Take care not to overwet the tile at this point, which can weaken the finished grout. Make sure you know how to clean grout on your tiles to keep them looking fine in the future too!
7. Seal and clean the tiles then admire the results!

After you’ve covered the whole area, leave it for about an hour and wipe it down again to ensure a clean finish. You can then apply sealant like this one from Unibond along the edges to make sure your new surface is watertight before admiring your beautiful new tiled feature.

The results

Styling your DIY backsplash install
Ash reminds us how when tiling a backsplash, to have fun with tile choice. 'Tile backsplashes are so great as they make for easier clean up from messes and protect the wall ... They also help to reinforce the style of a room. There are tons of great design choices but if you want to be on trend, stay away from rectangular subway tiles and opt for something in a slightly more fun shape, like hexagon, or fish scale. You can also opt for peel and stick tile which is a much cheaper option, and requires a lot less effort to install.'
Splash away!

-
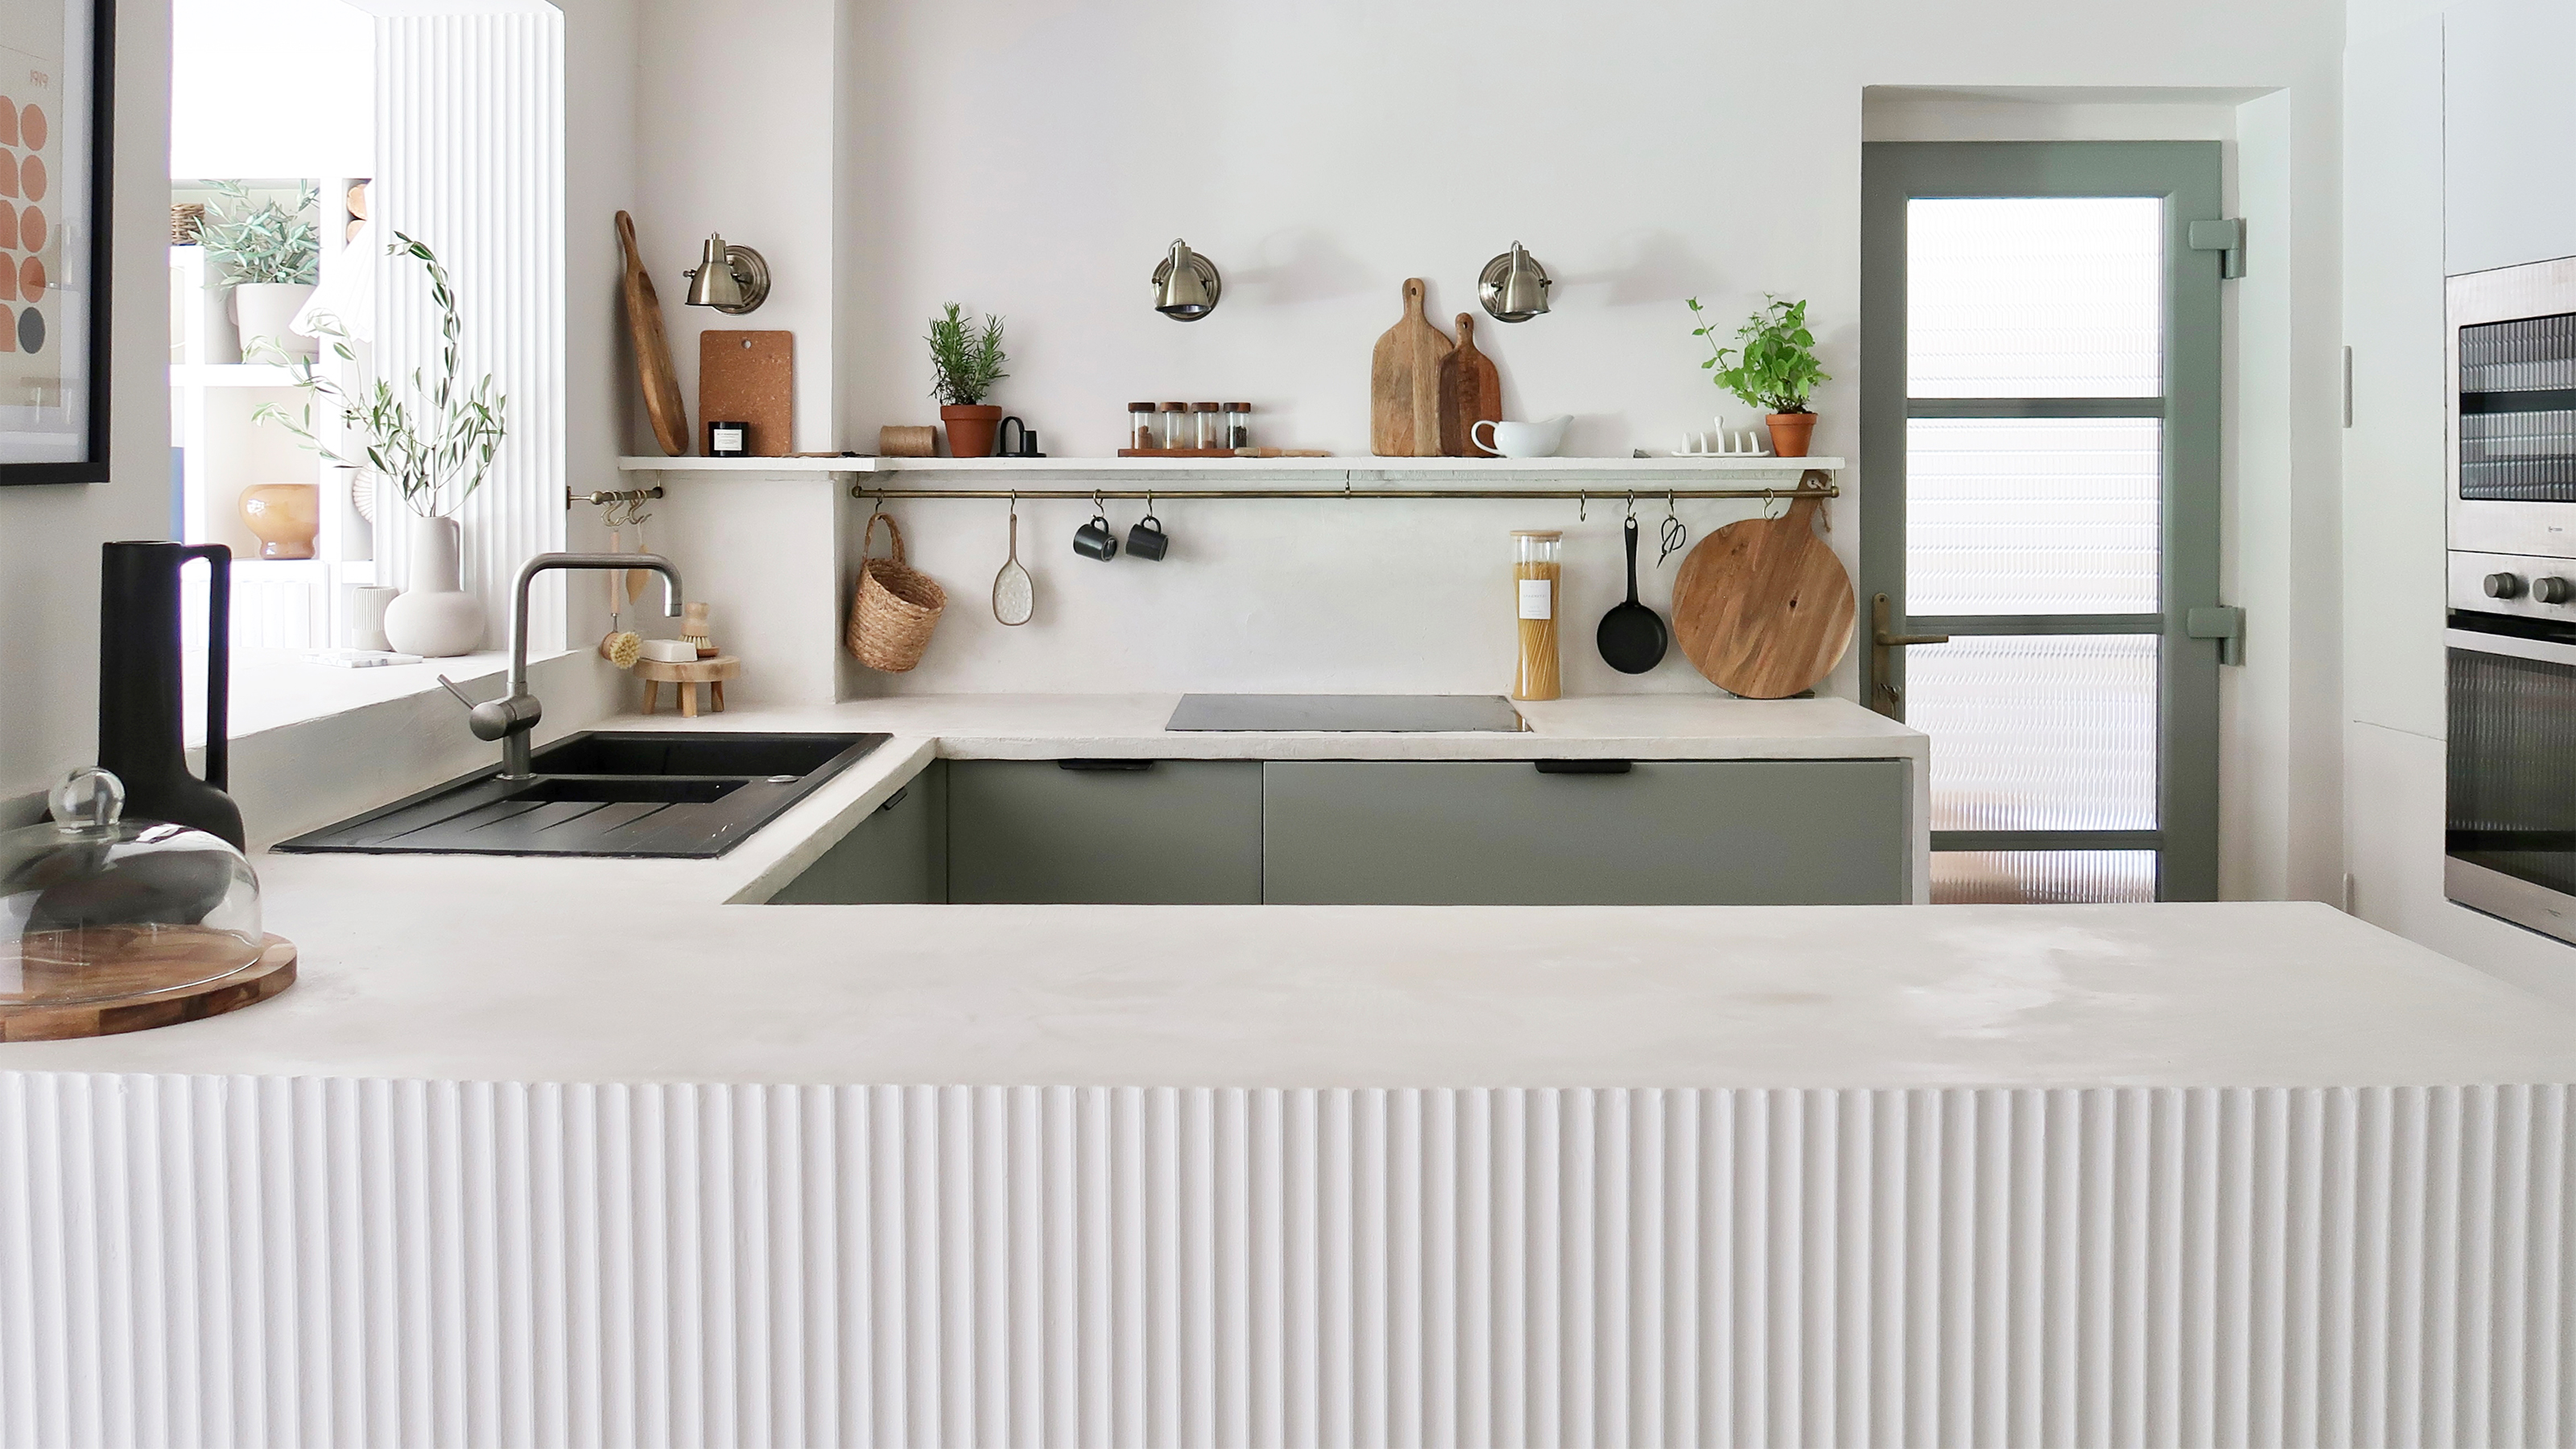 A $200 fluted panel transformed my drab kitchen in just one weekend
How to install a fluted kitchen panel: A speedy and achievable DIY tutorial even for DIY novices
-
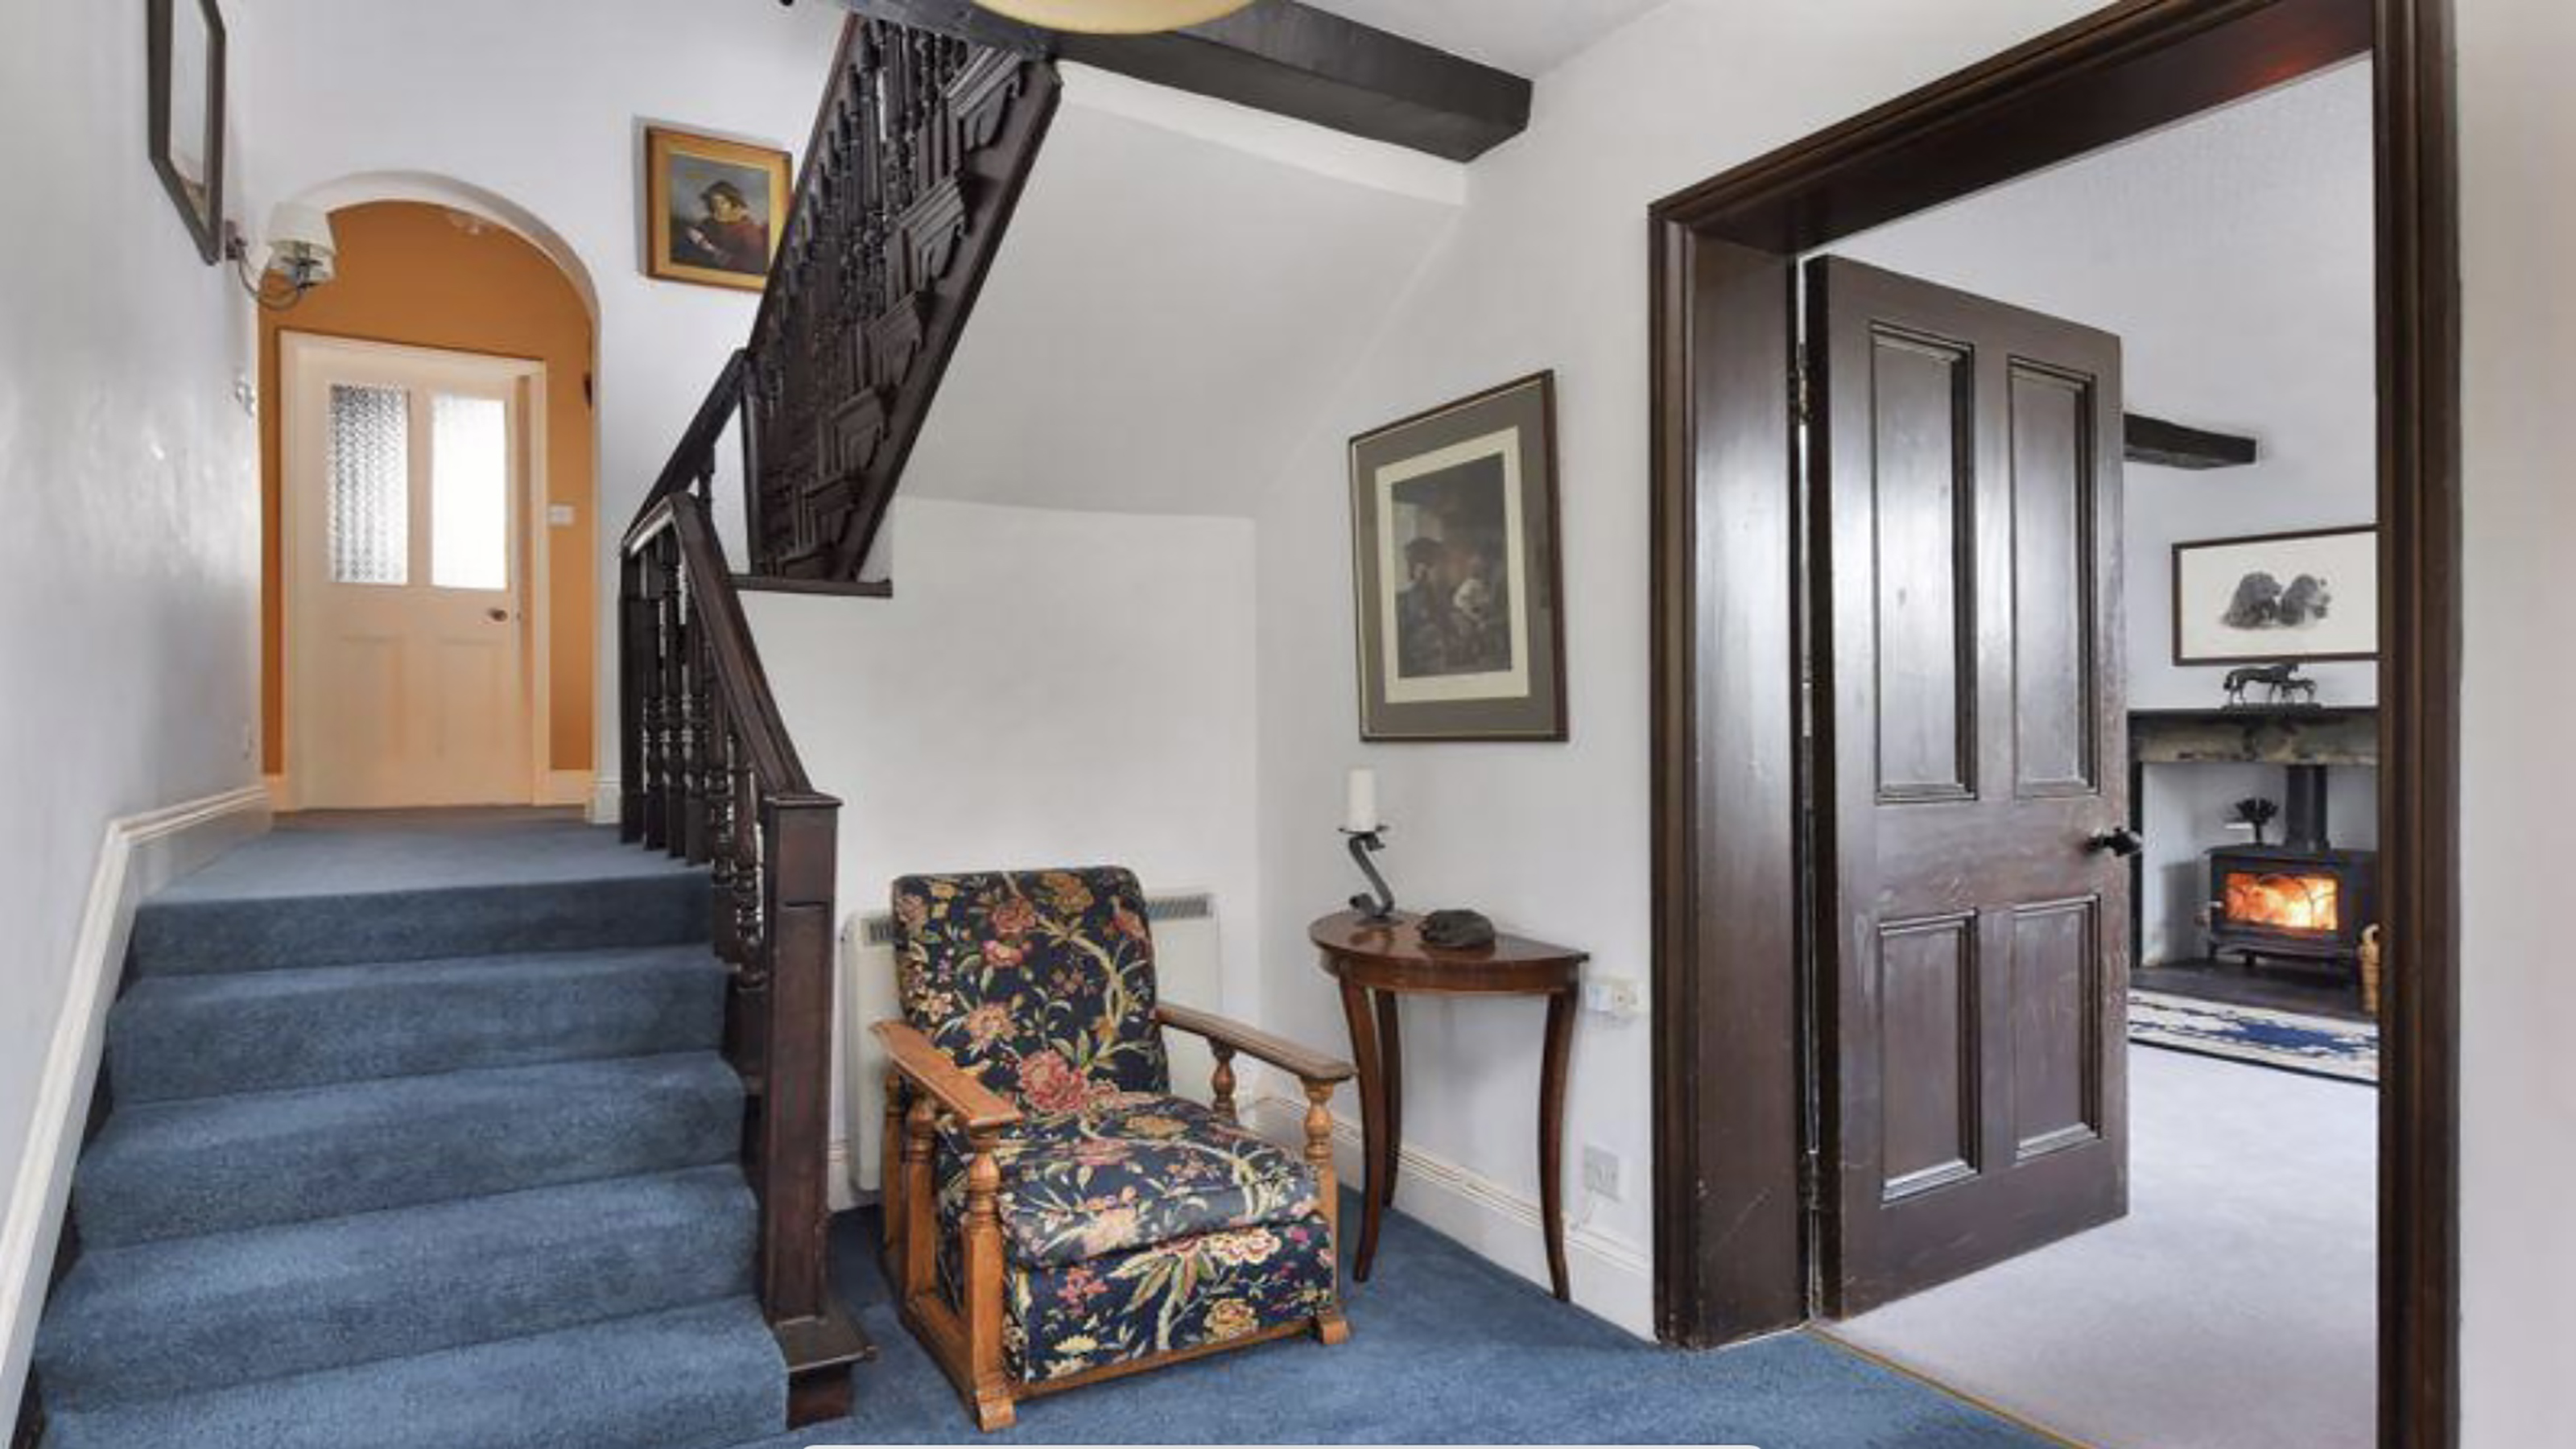 How to replace a broken staircase spindle in 30 minutes flat
A missing or broken spindle on a staircase is not only unsightly, but it can be a real hazard. This is how to fix it in a few quick steps.
-
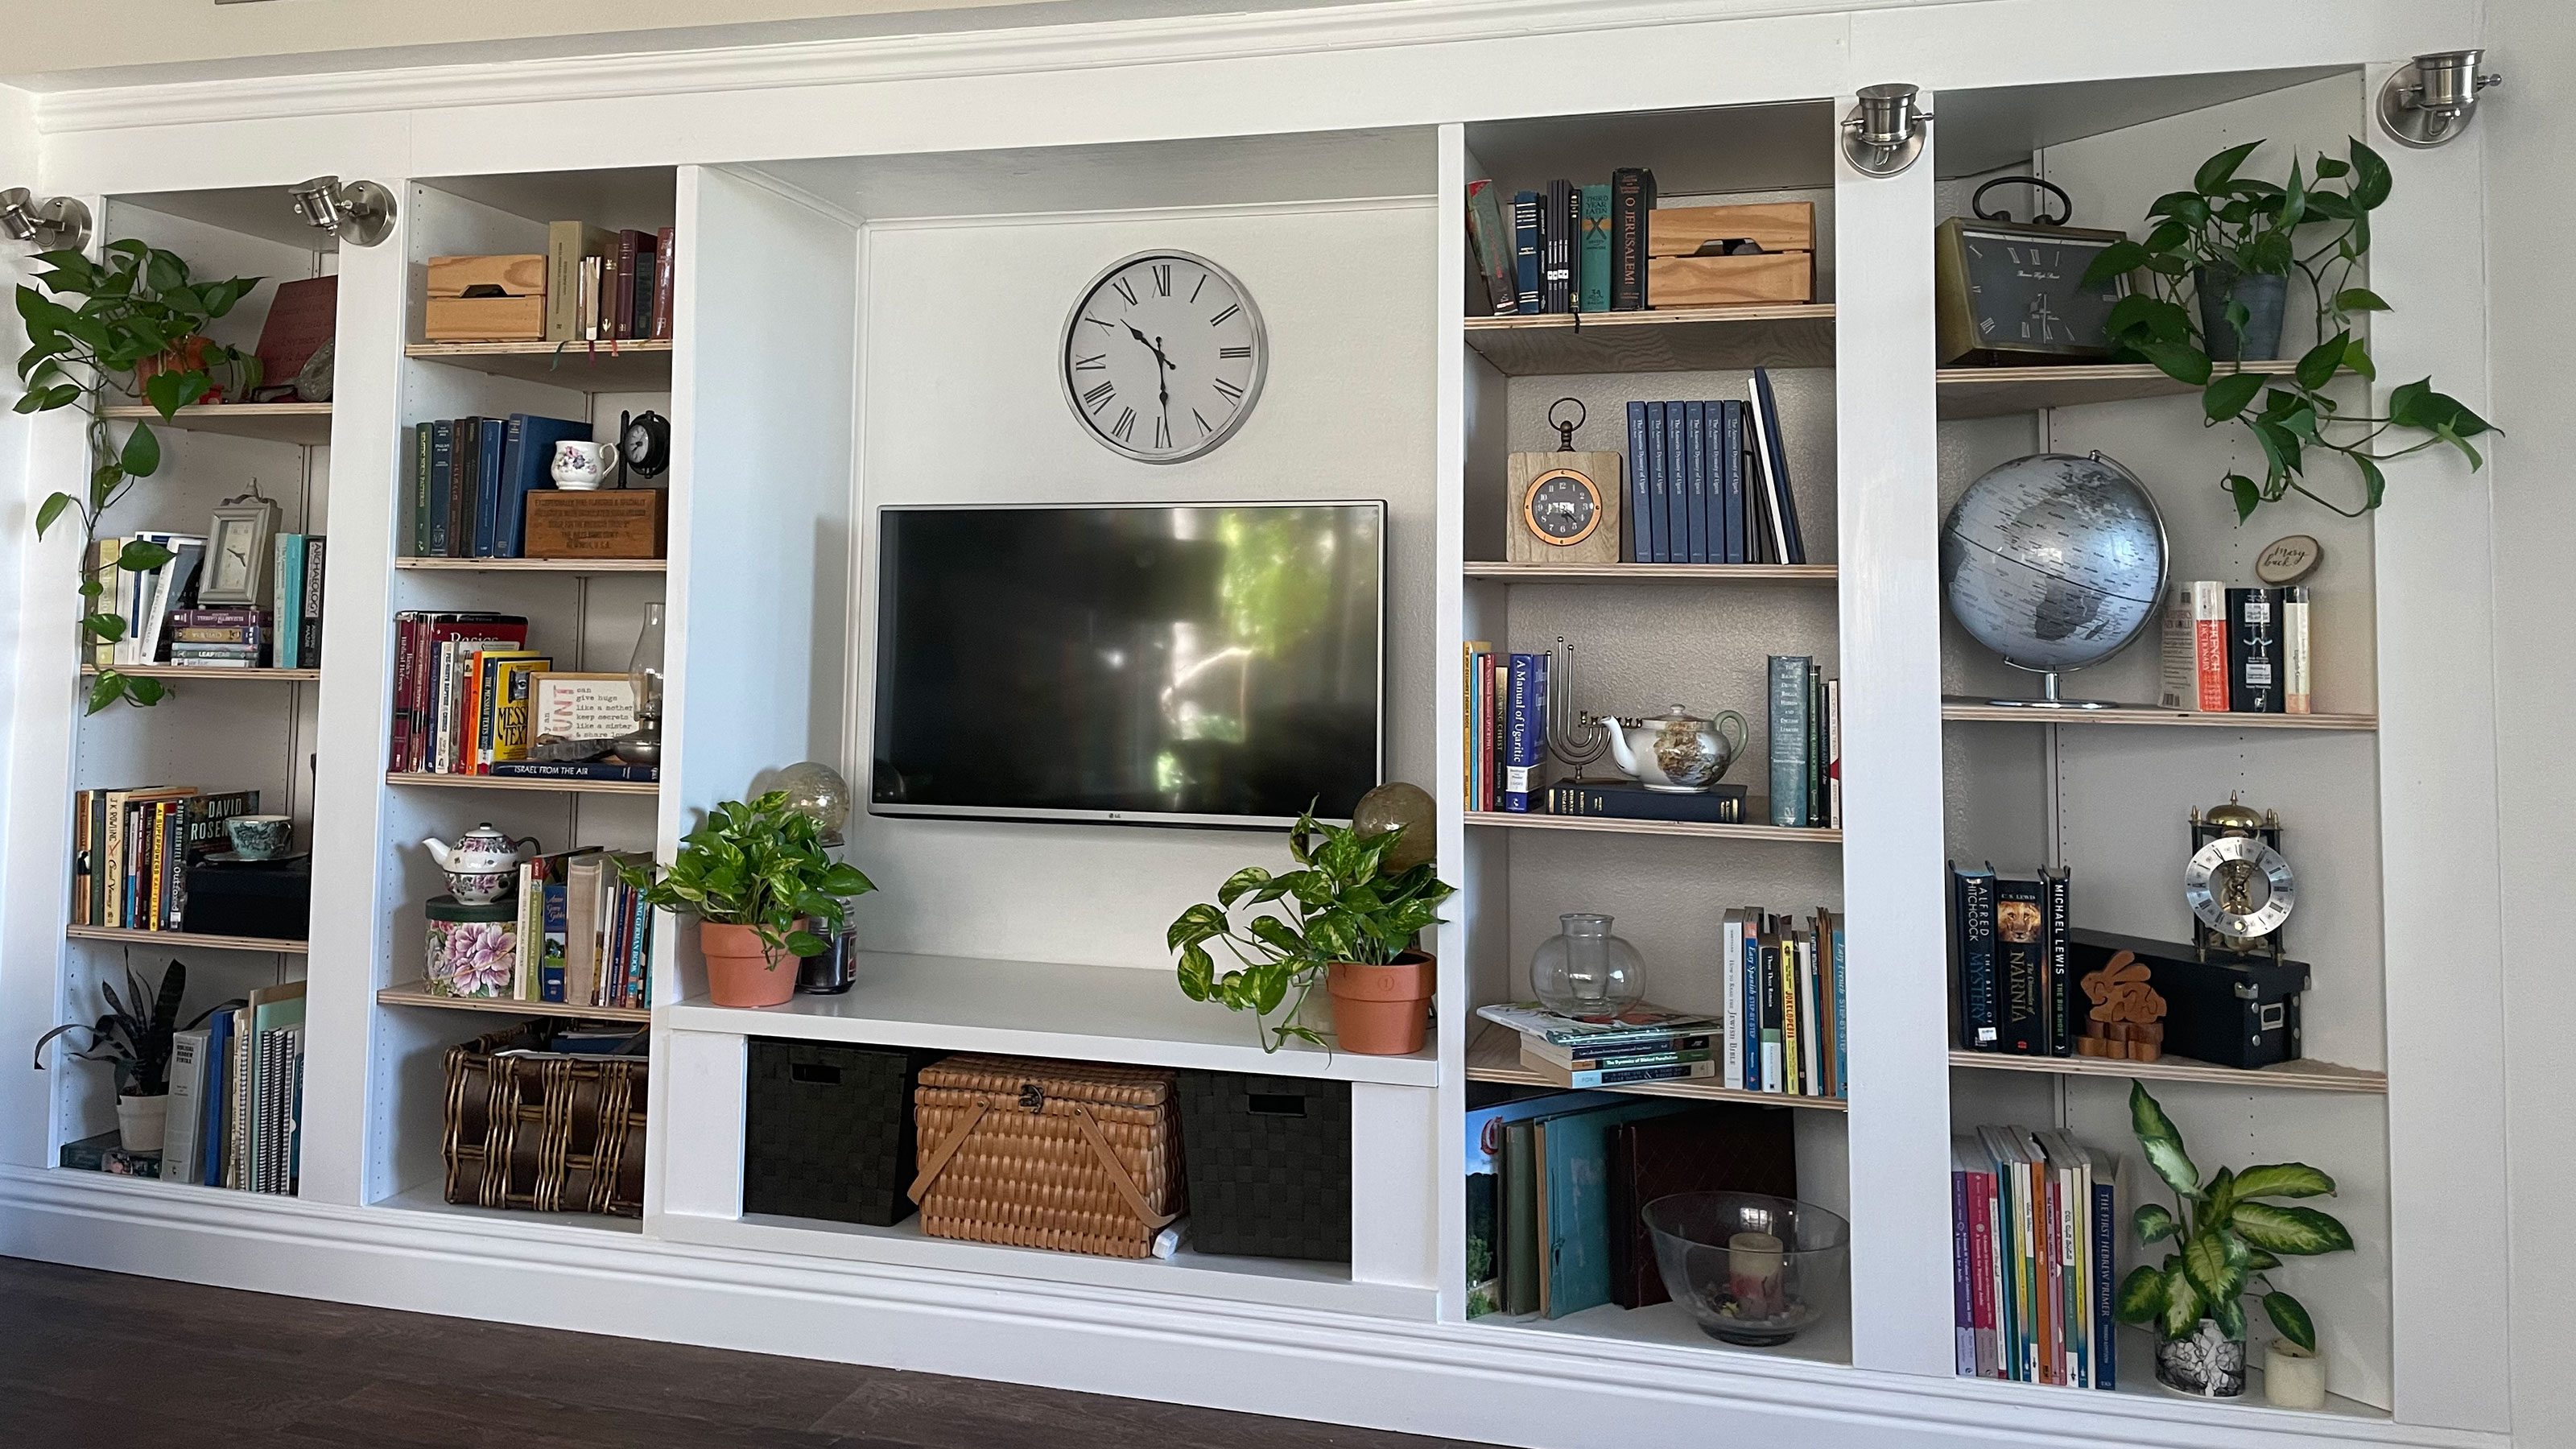 An IKEA Billy bookcase hack inspired this cute media wall DIY
This cute DIY was inspired by an IKEA Billy bookcase hack and brought a ton of symmetry to an otherwise basic media wall space.
-
 Share your small space glow up to win $150 in the Real Homes competition
Show off your creativity and DIY skills to win $150 and for the chance to be featured exclusively in Real Homes magazine
-
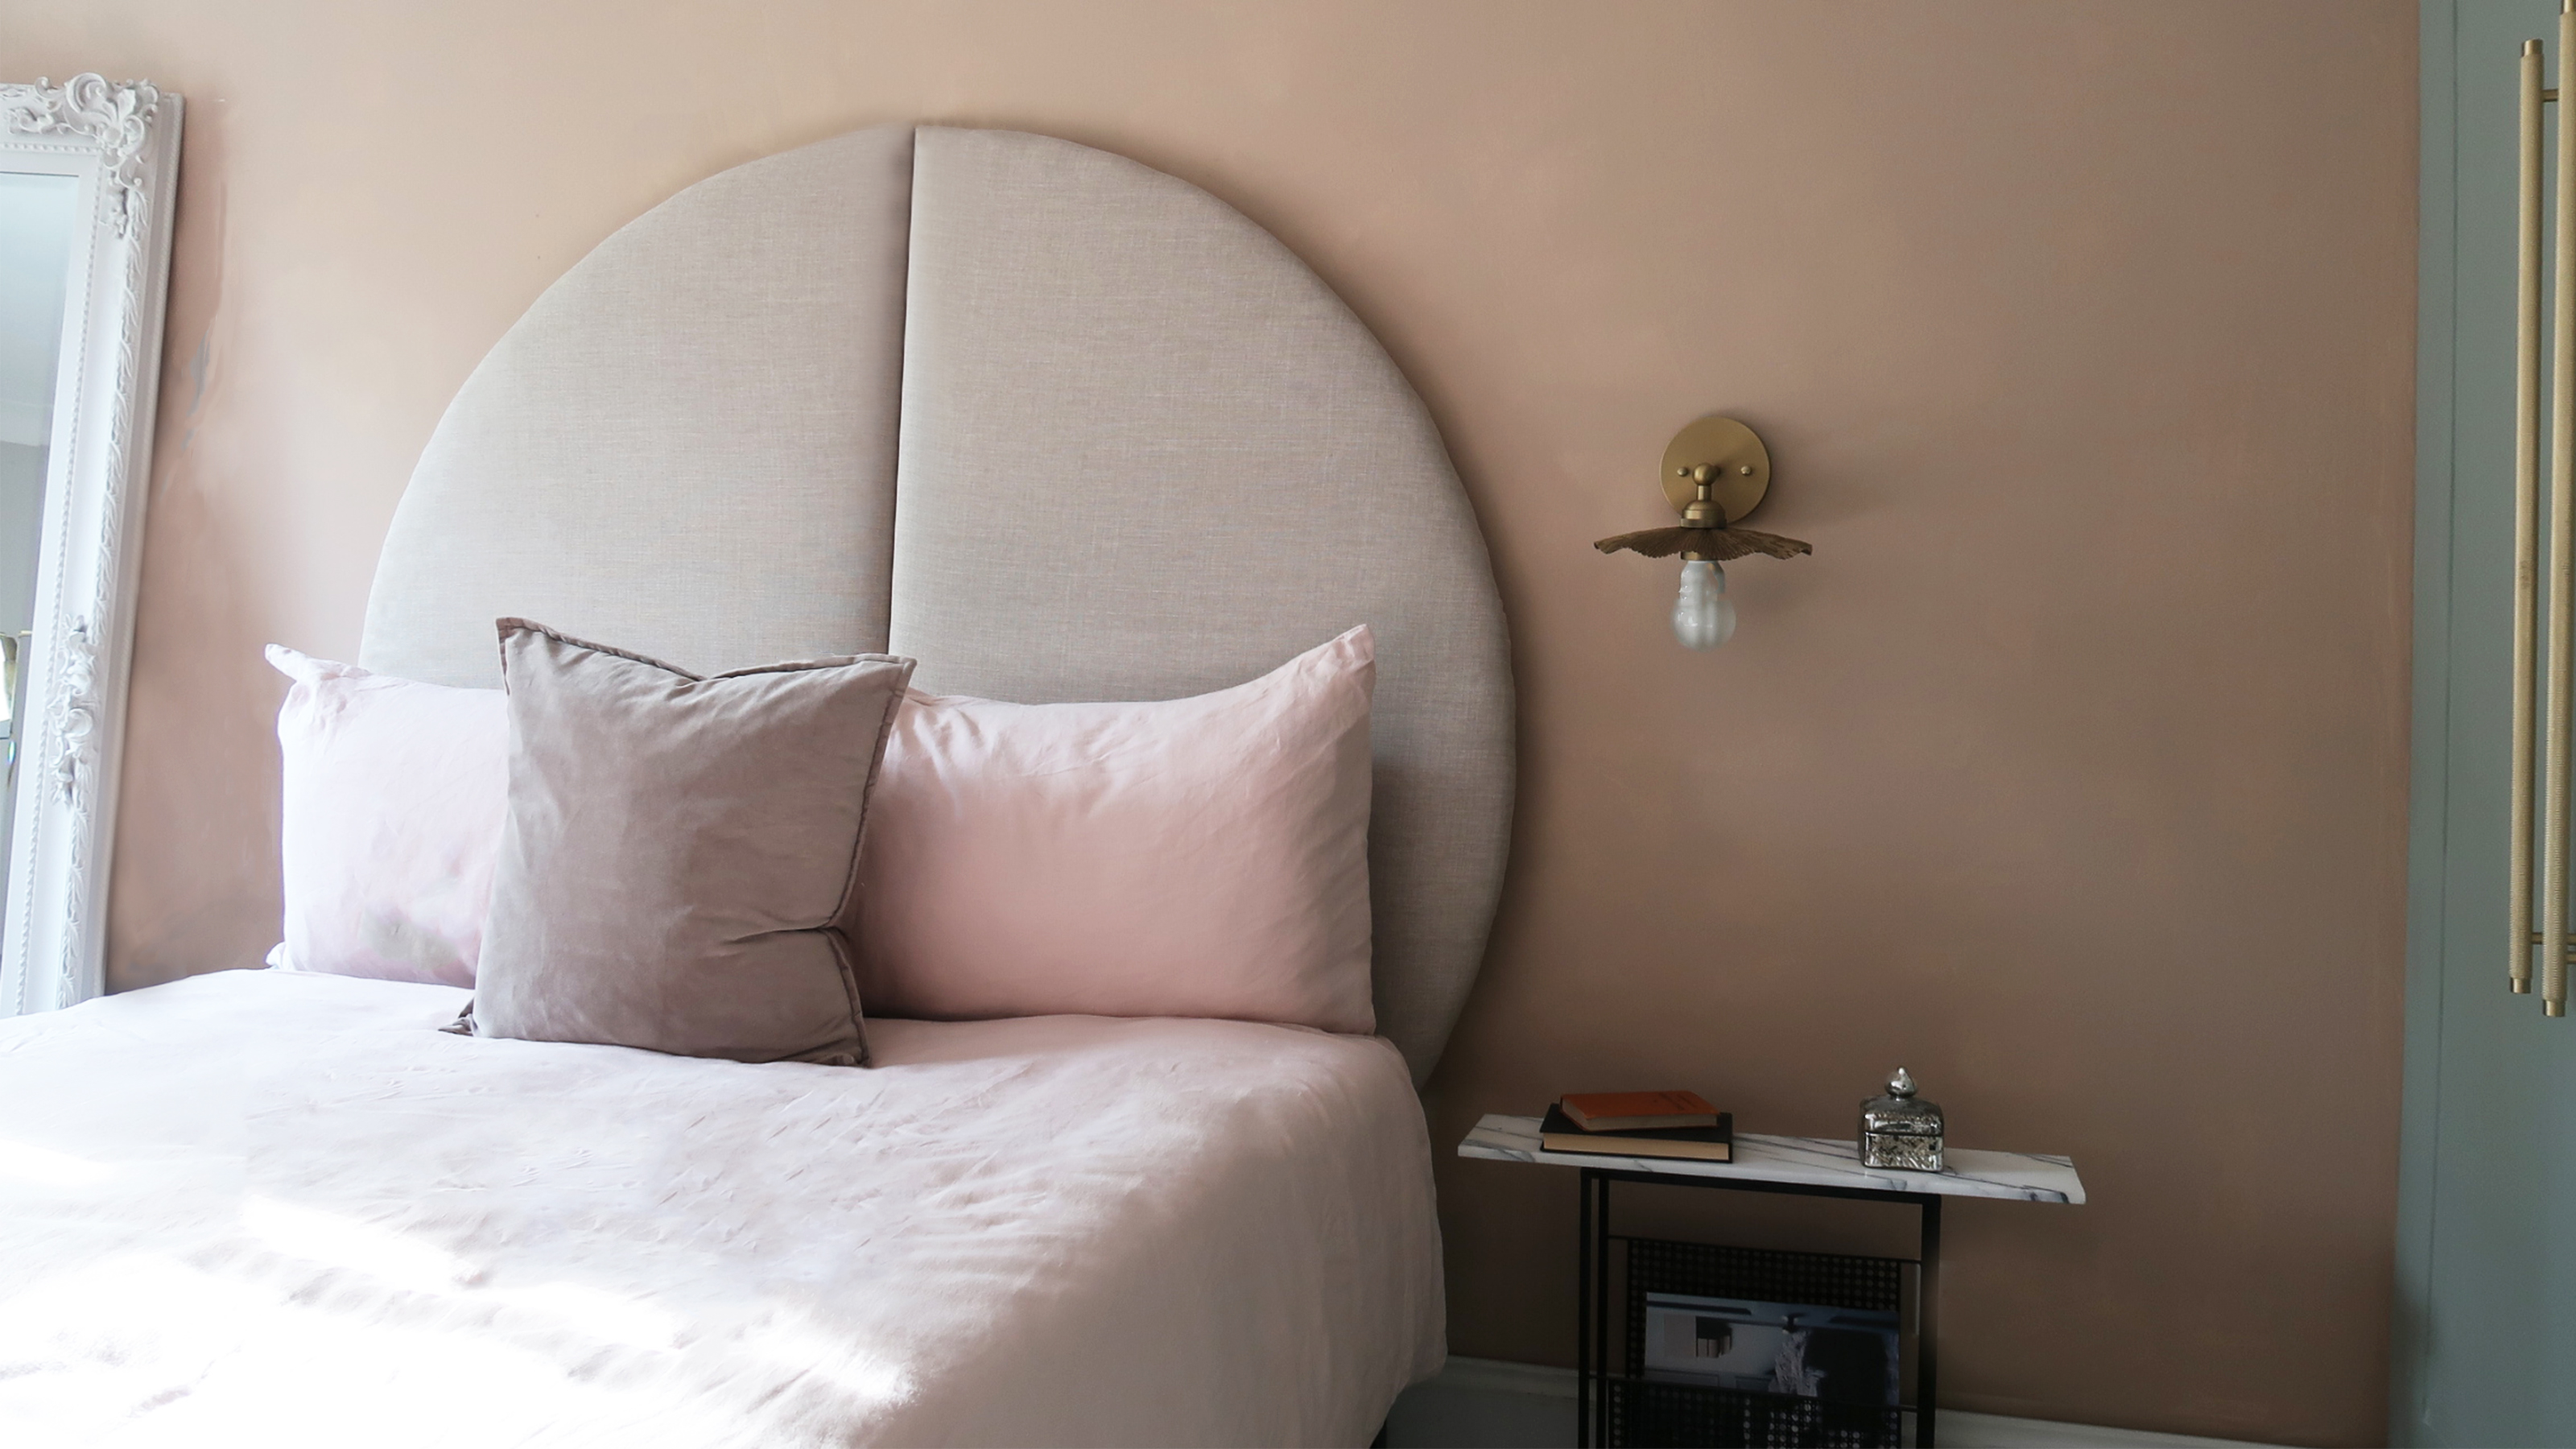 This oversized headboard looks designer, and takes 5 steps to DIY
Super simple to DIY, this oversized headboard will give your bedroom space all the designer vibes you could dream of.
-
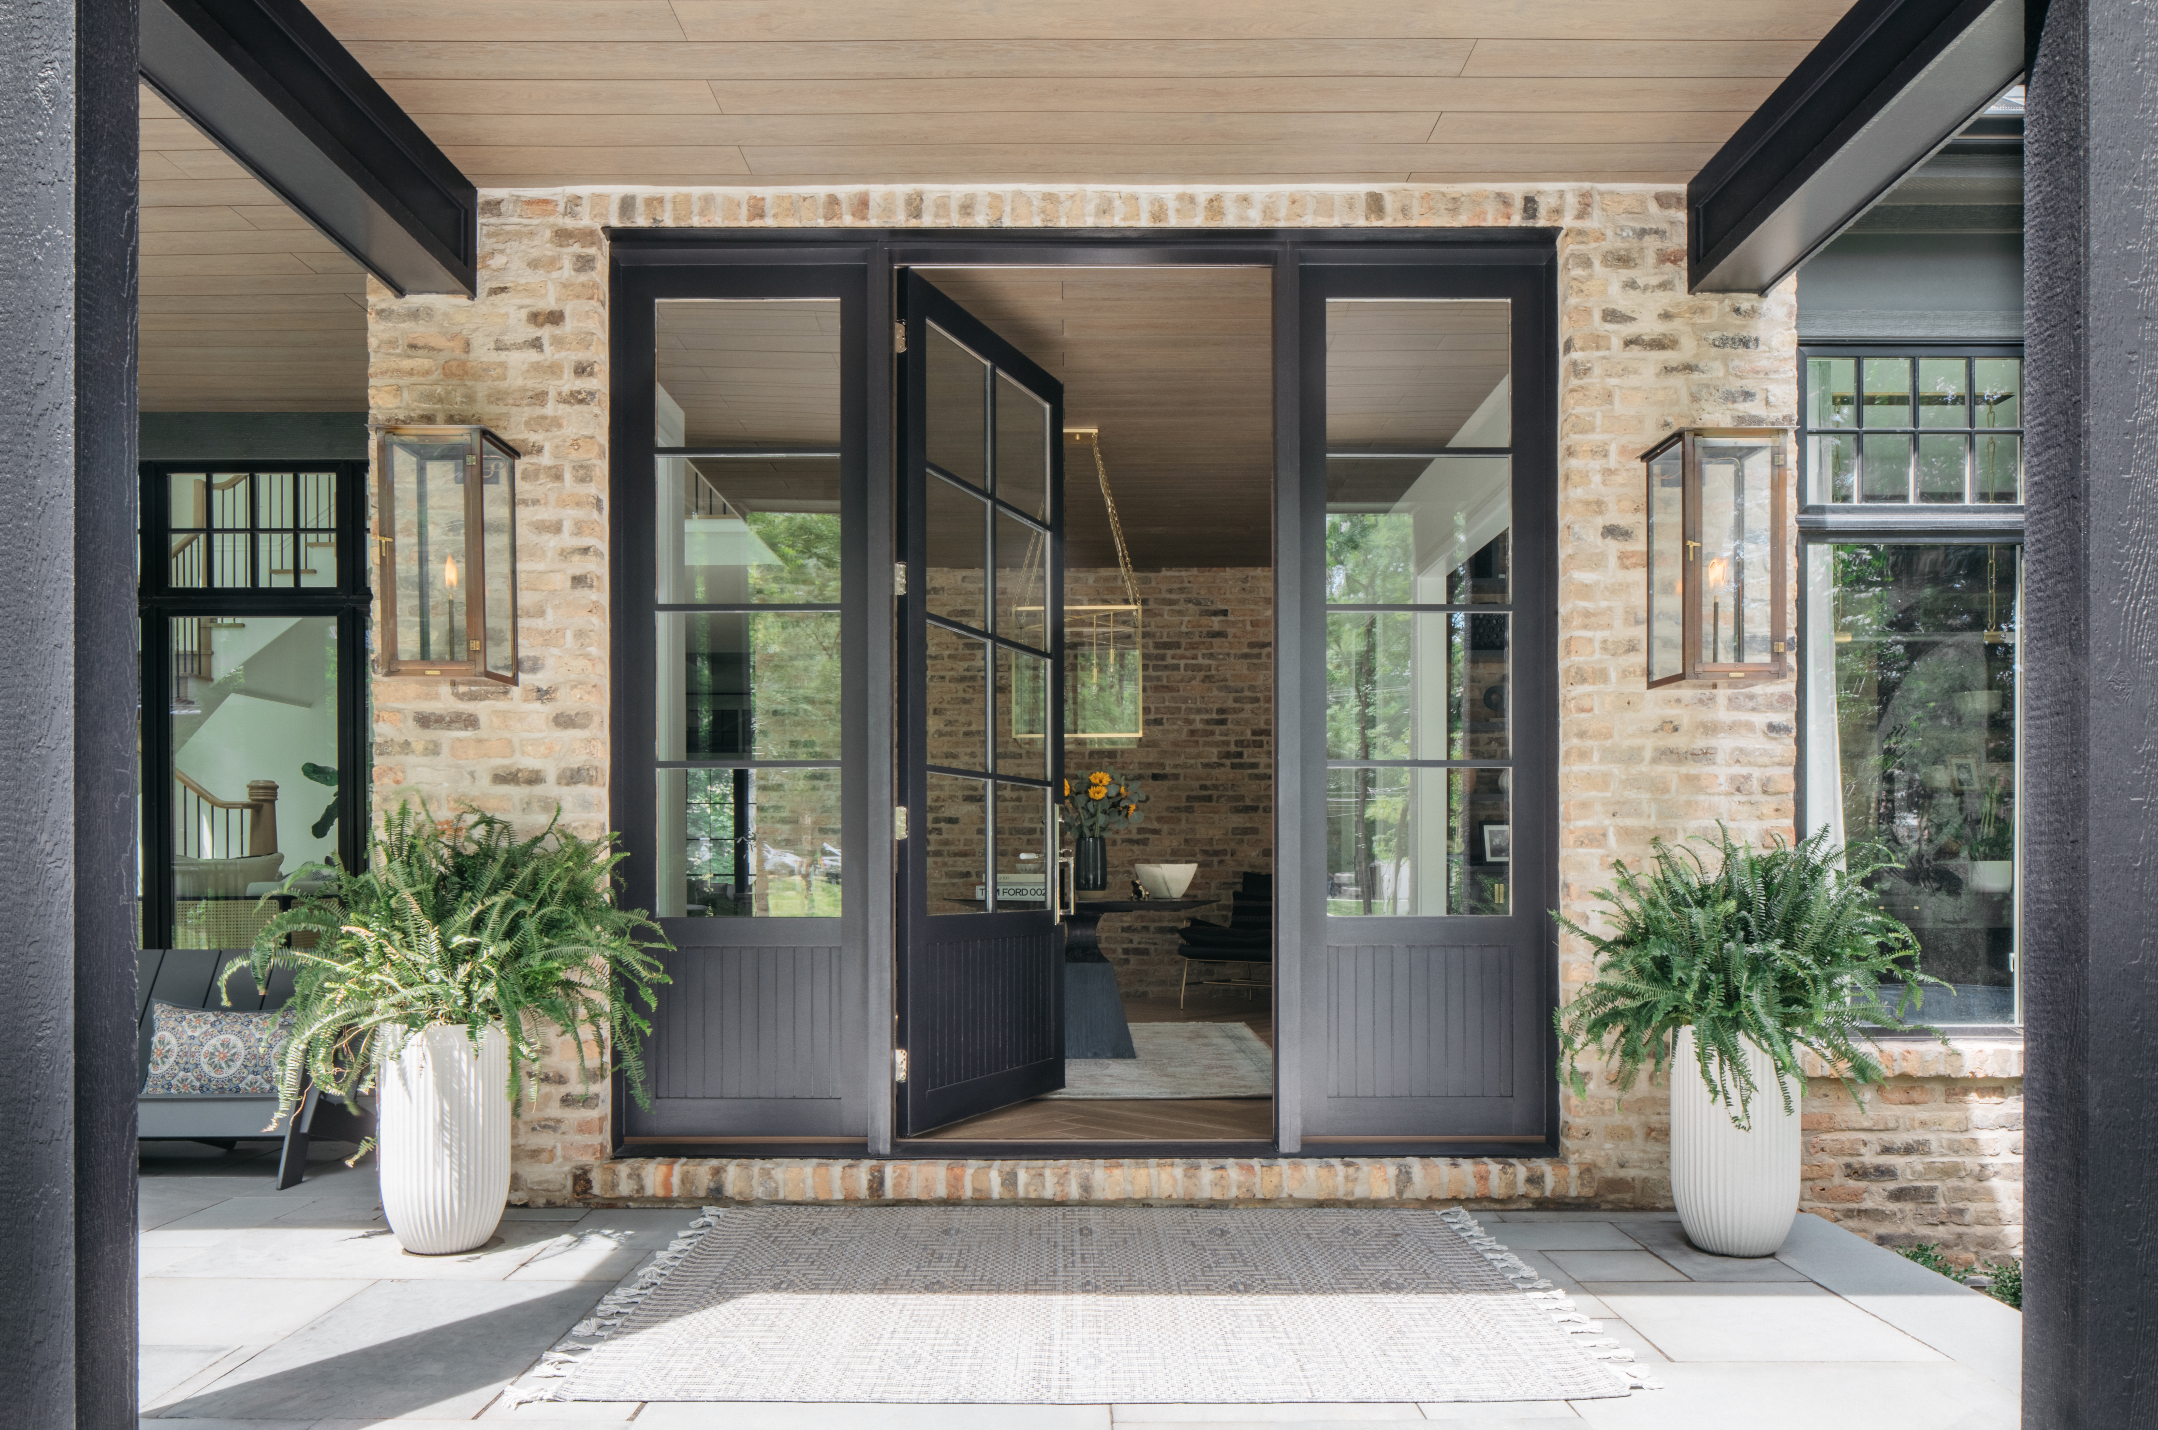 How to paint a door and refresh your home instantly
Painting doors is easy with our expert advice. This is how to get professional results on front and internal doors.
-
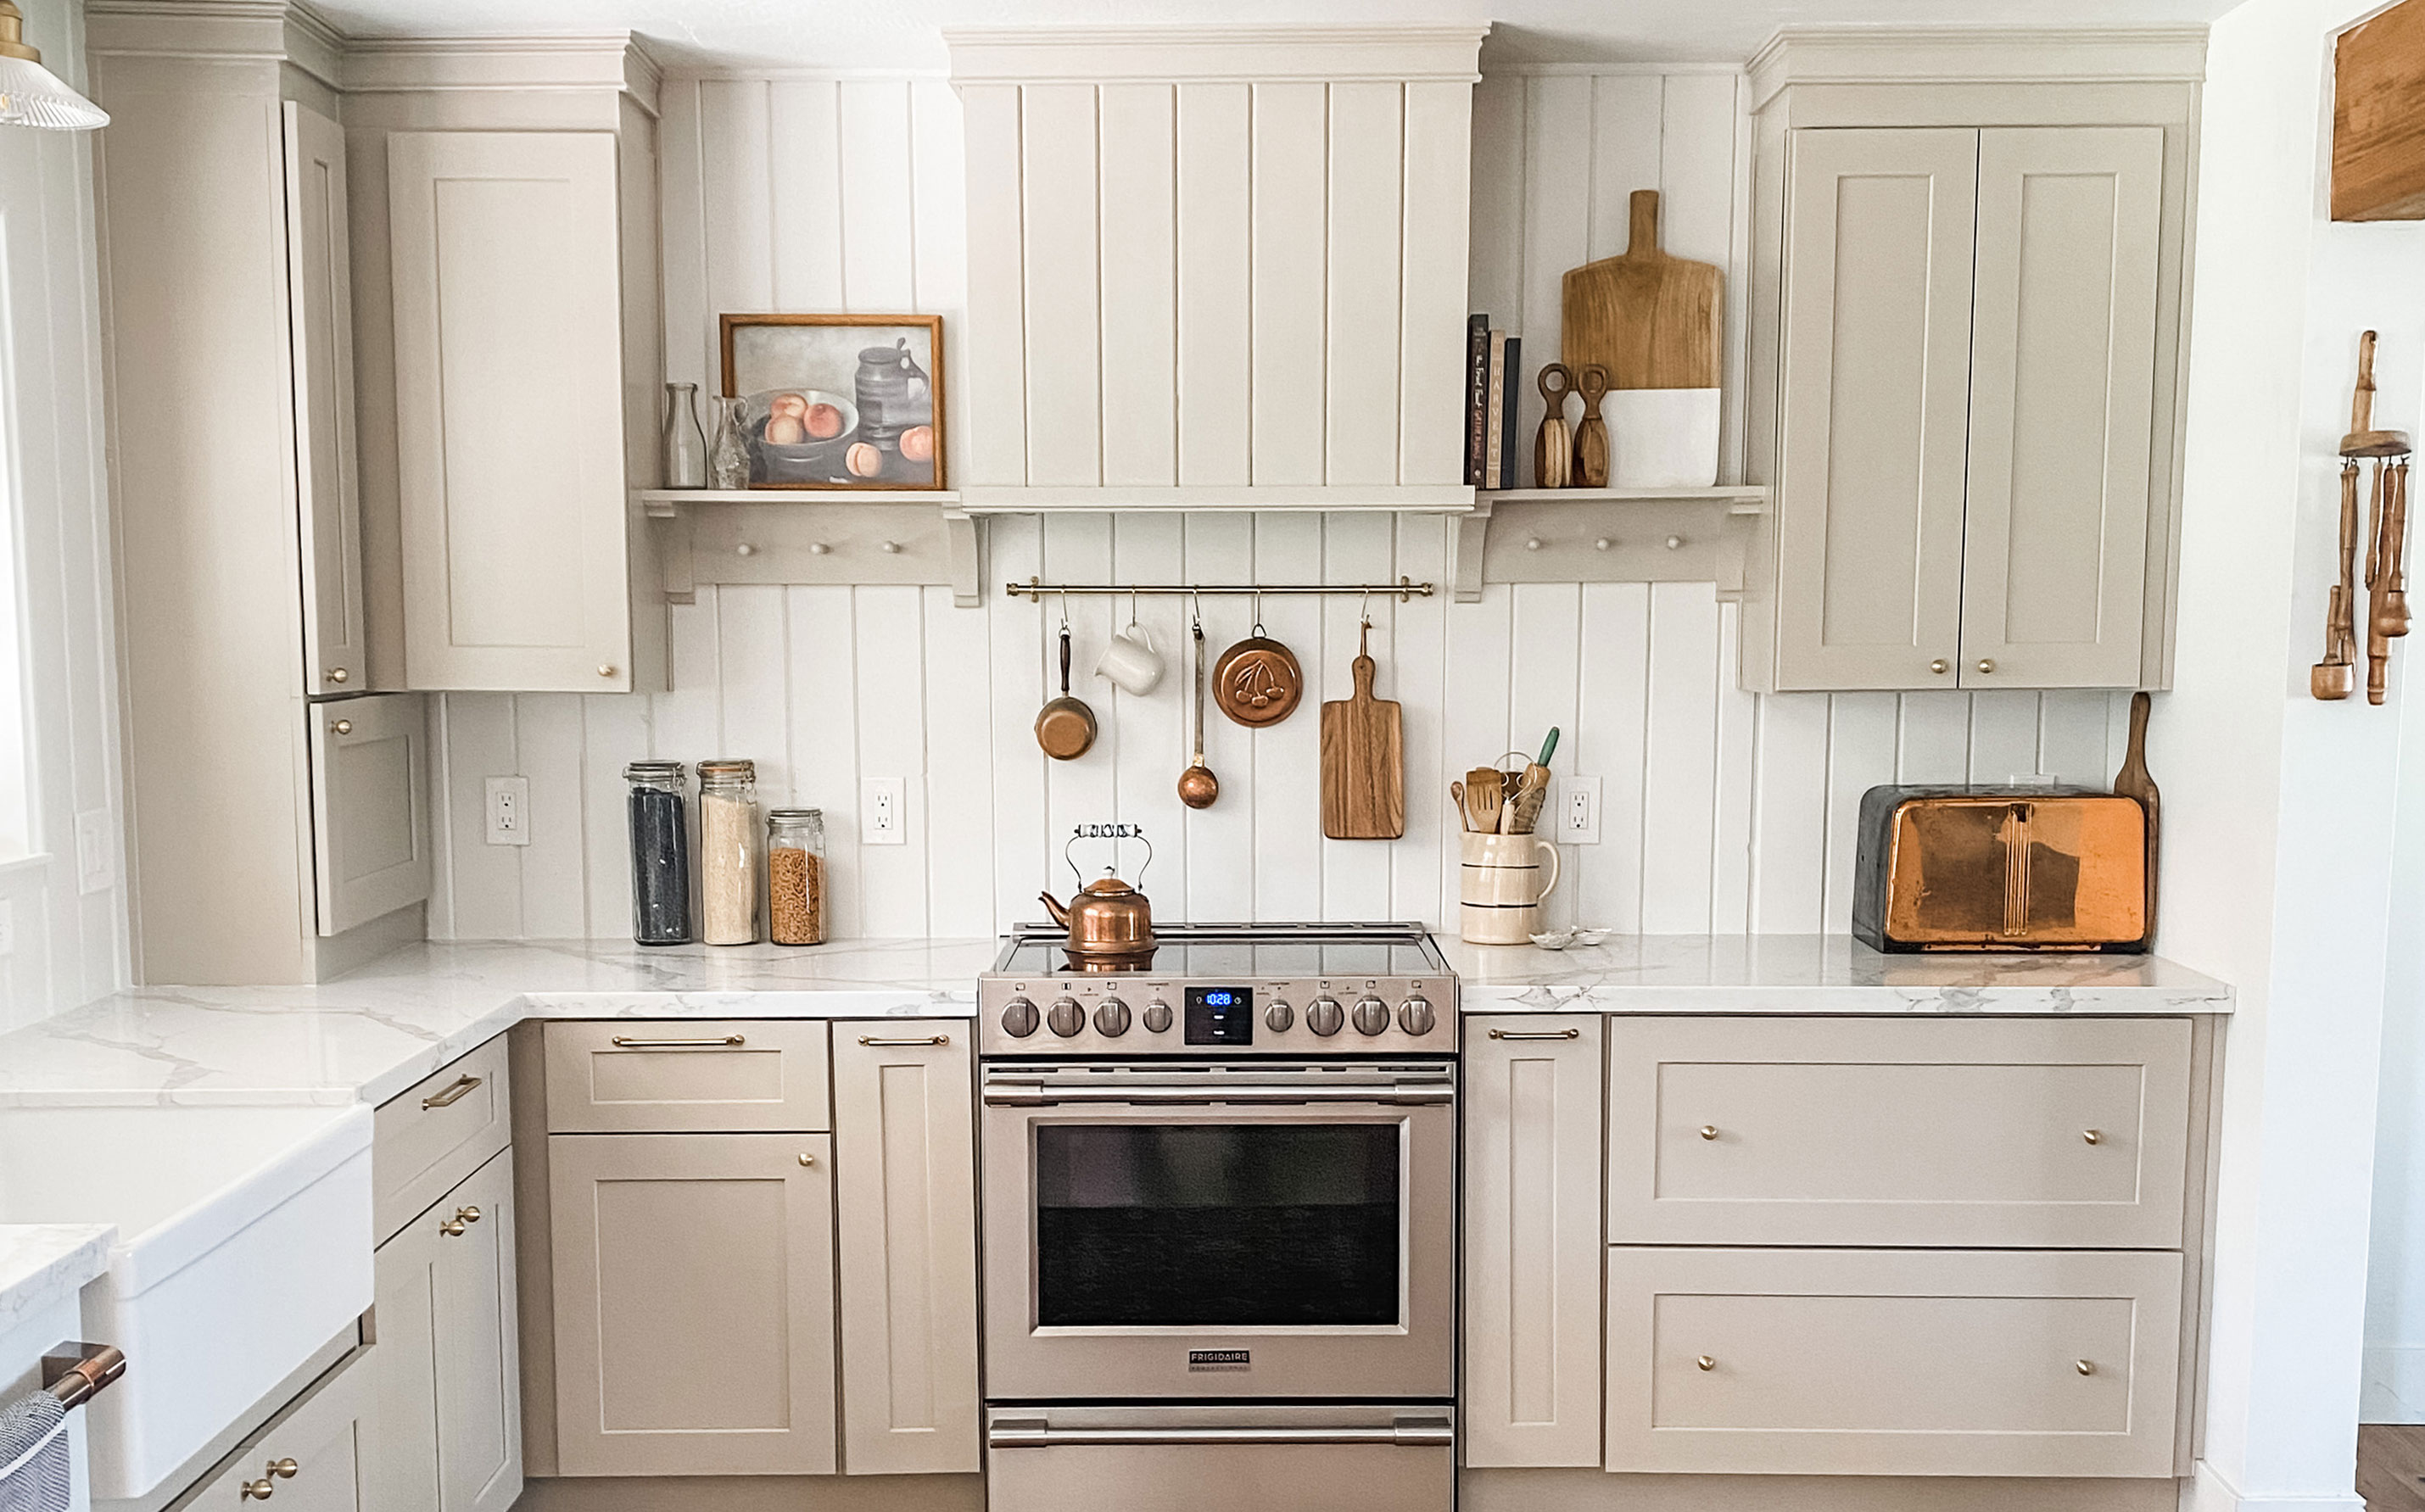 My DIY range hood and backsplash build gave my kitchen the perfect farmhouse finish
I craved charm in my kitchen space and adding a custom range hood and shelving was the best move.
-
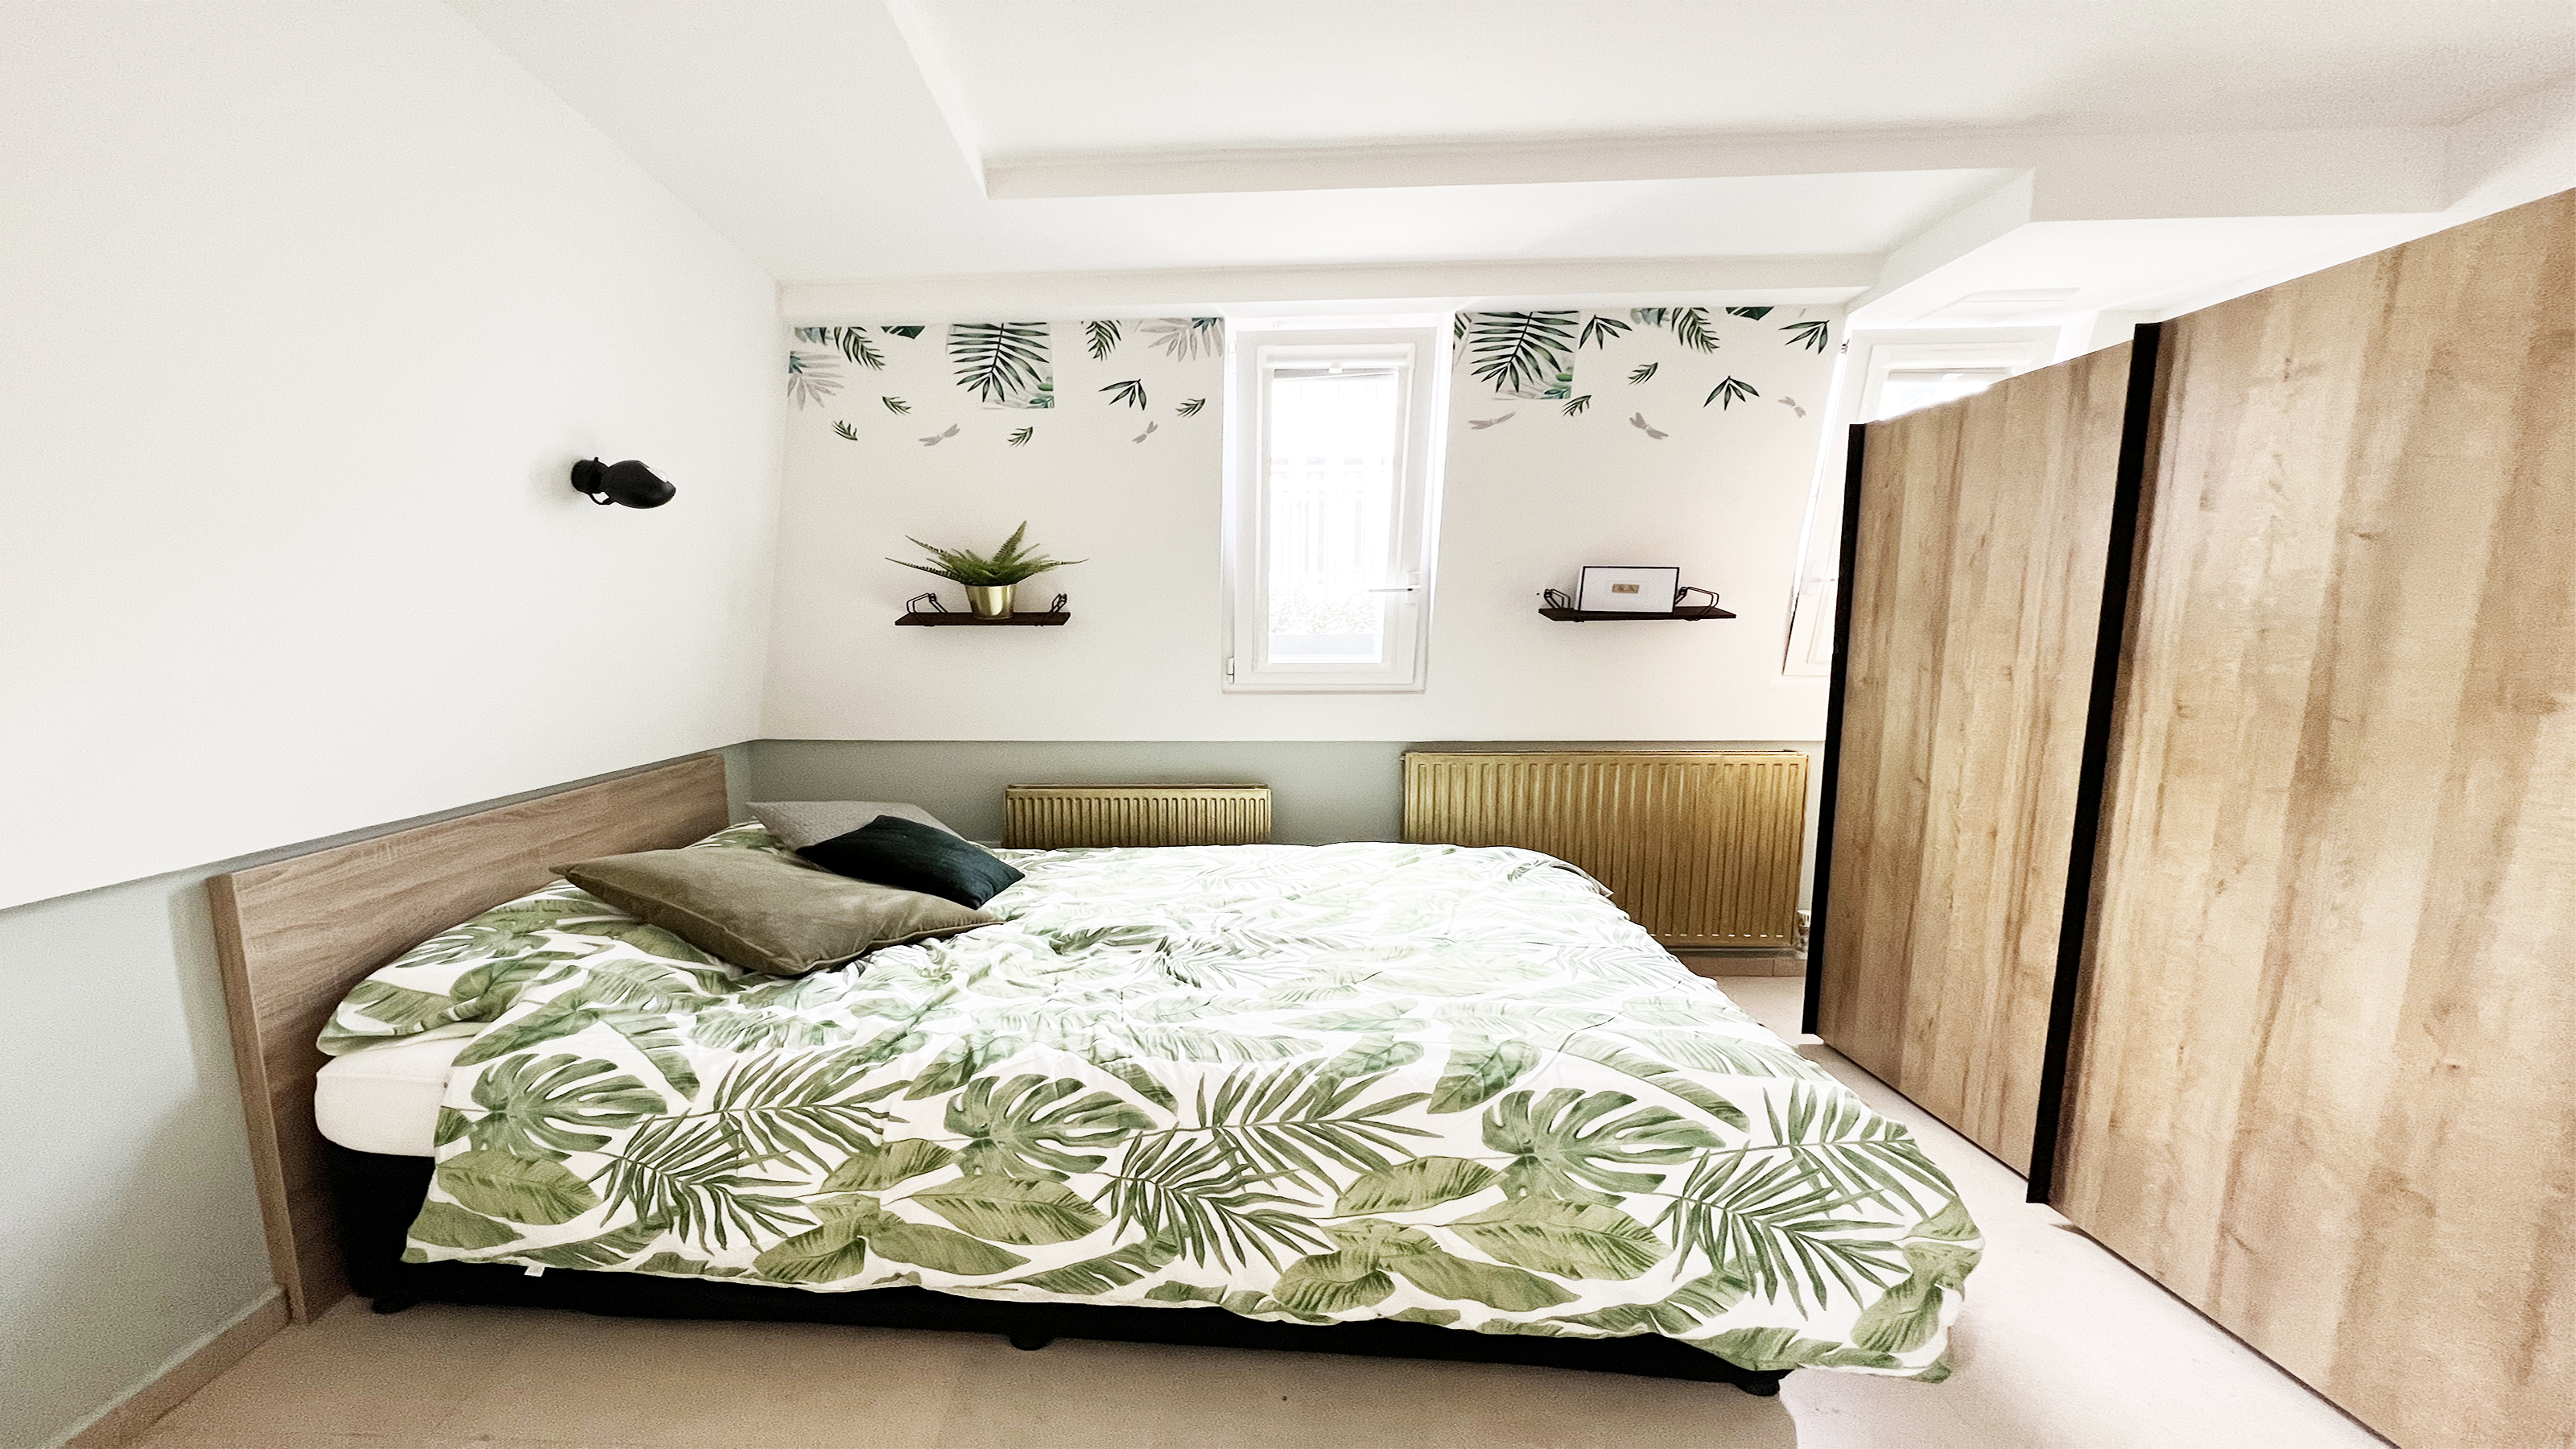 How to paint a radiator in 7 steps
Painting radiators properly is all about choosing the right paint and the best process. Get interior designer-worthy results with our how-to.


