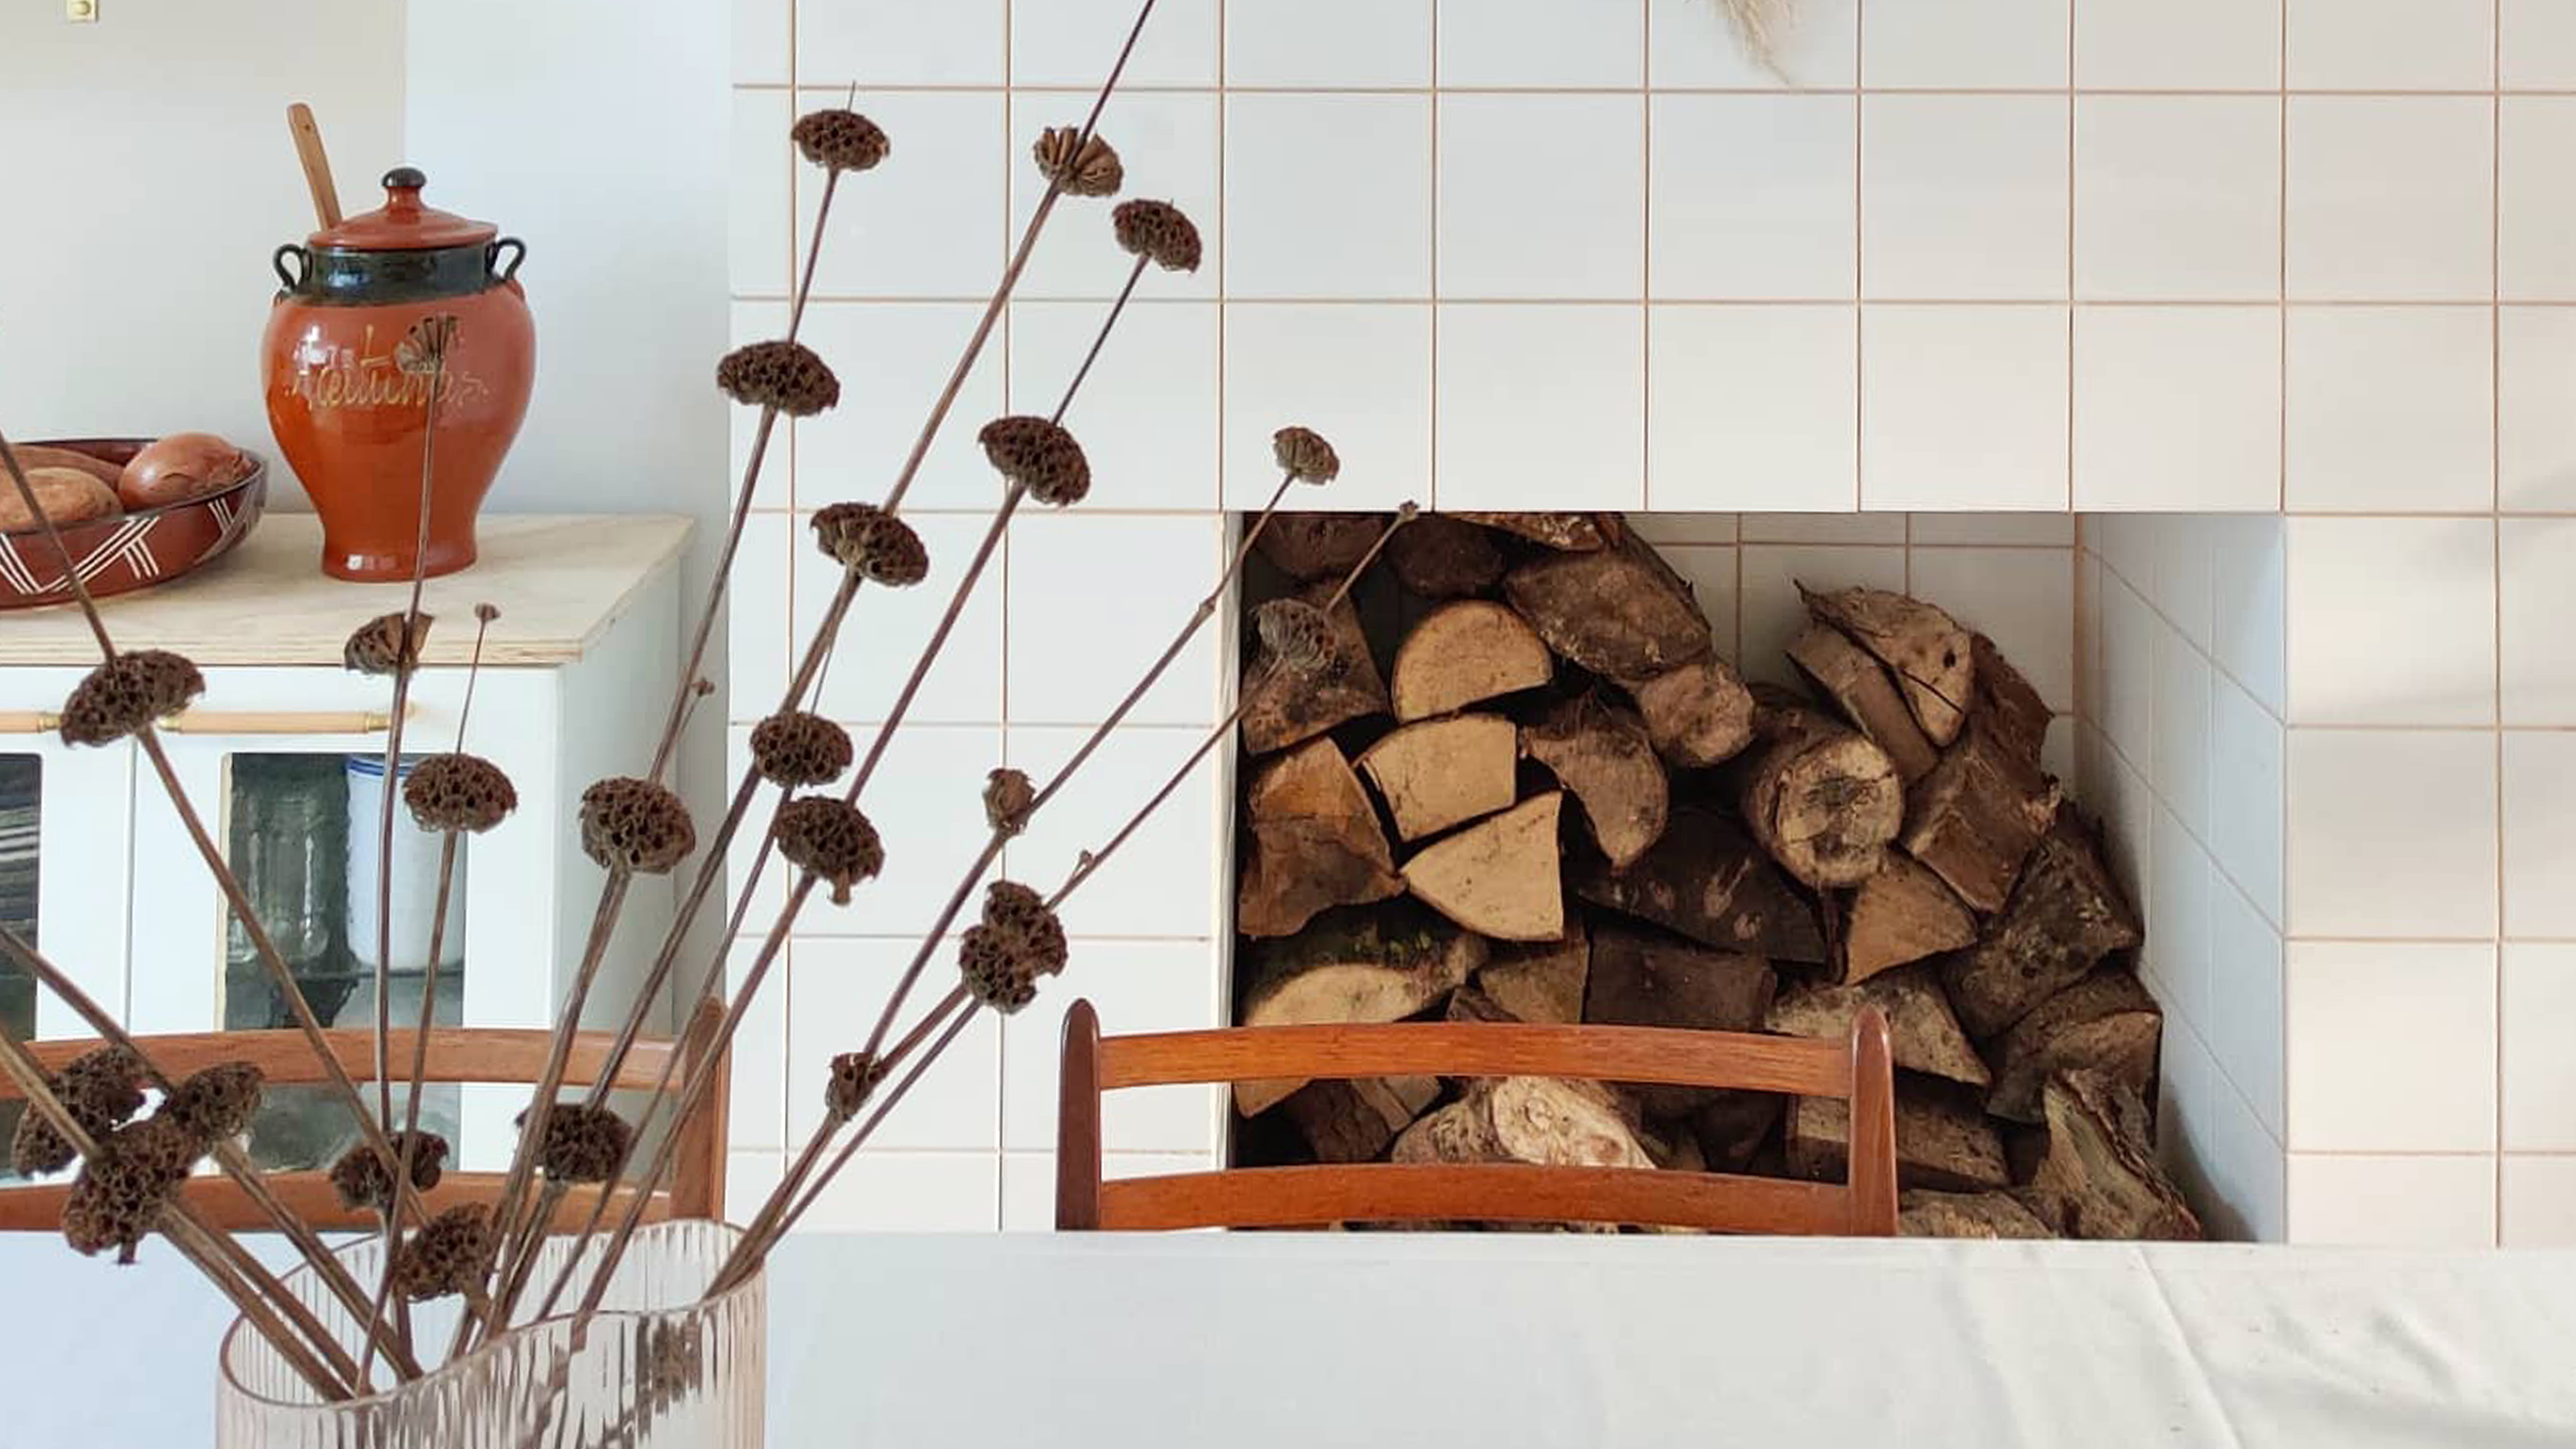
Wondering how to tile over a brick fireplace easily? Tile fireplace surrounds and chimney breasts are picking up major trend momentum in interior design. Tiling offers an alternative to the standard brick or smooth plaster fireplaces we are used to seeing. As with any tiled surface, the sizes and patterns are endless. Giant slabs of marble and small mosaics alike can be used to create your desired look.
When we moved into our 1930s semi-detached house in 2019 there was a brick chimney breast around our fireplace that was not in the best condition. It had been extended over the years and the bricks were not well matched. If I’m honest, it looked like an absolute travesty. The façade of the fireplace had to change and after briefly exploring and ruling out total demolition of the chimney due to cost, I decided to take on a DIY project and tile over the brick fireplace instead.
I have been using white square tiles throughout my houses for a while now in my designs. I love the simplicity and it will always be a classic in my view. The room the fireplace is in is at the center of the house, which also became the kitchen. As I was using square tiles as the kitchen backsplash I decided that the tiling on the fireplace surround had to match.
If you're thinking about tiling over a brick fireplace wall in your home, here's a step-by-step overview of how I did it.
How to tile over a brick fireplace
In a few straightforward steps, I completely transformed our old fireplace into one of the most sought after fireplace ideas around.
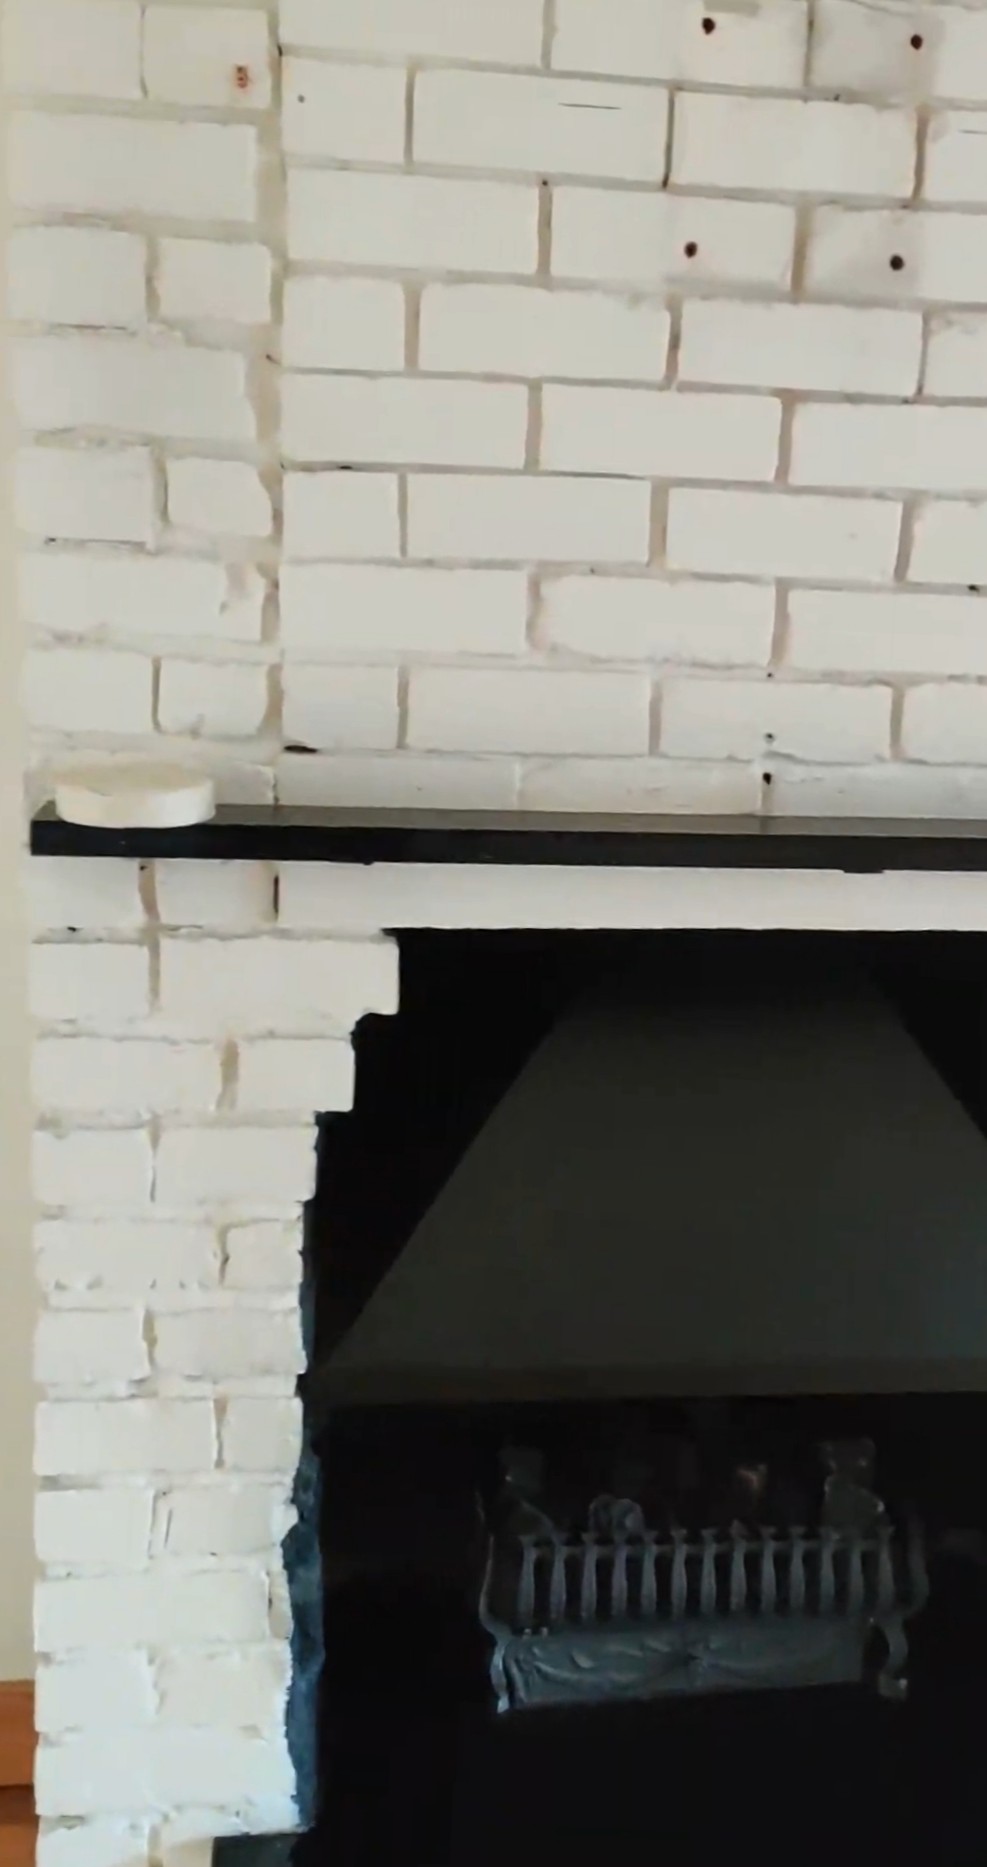
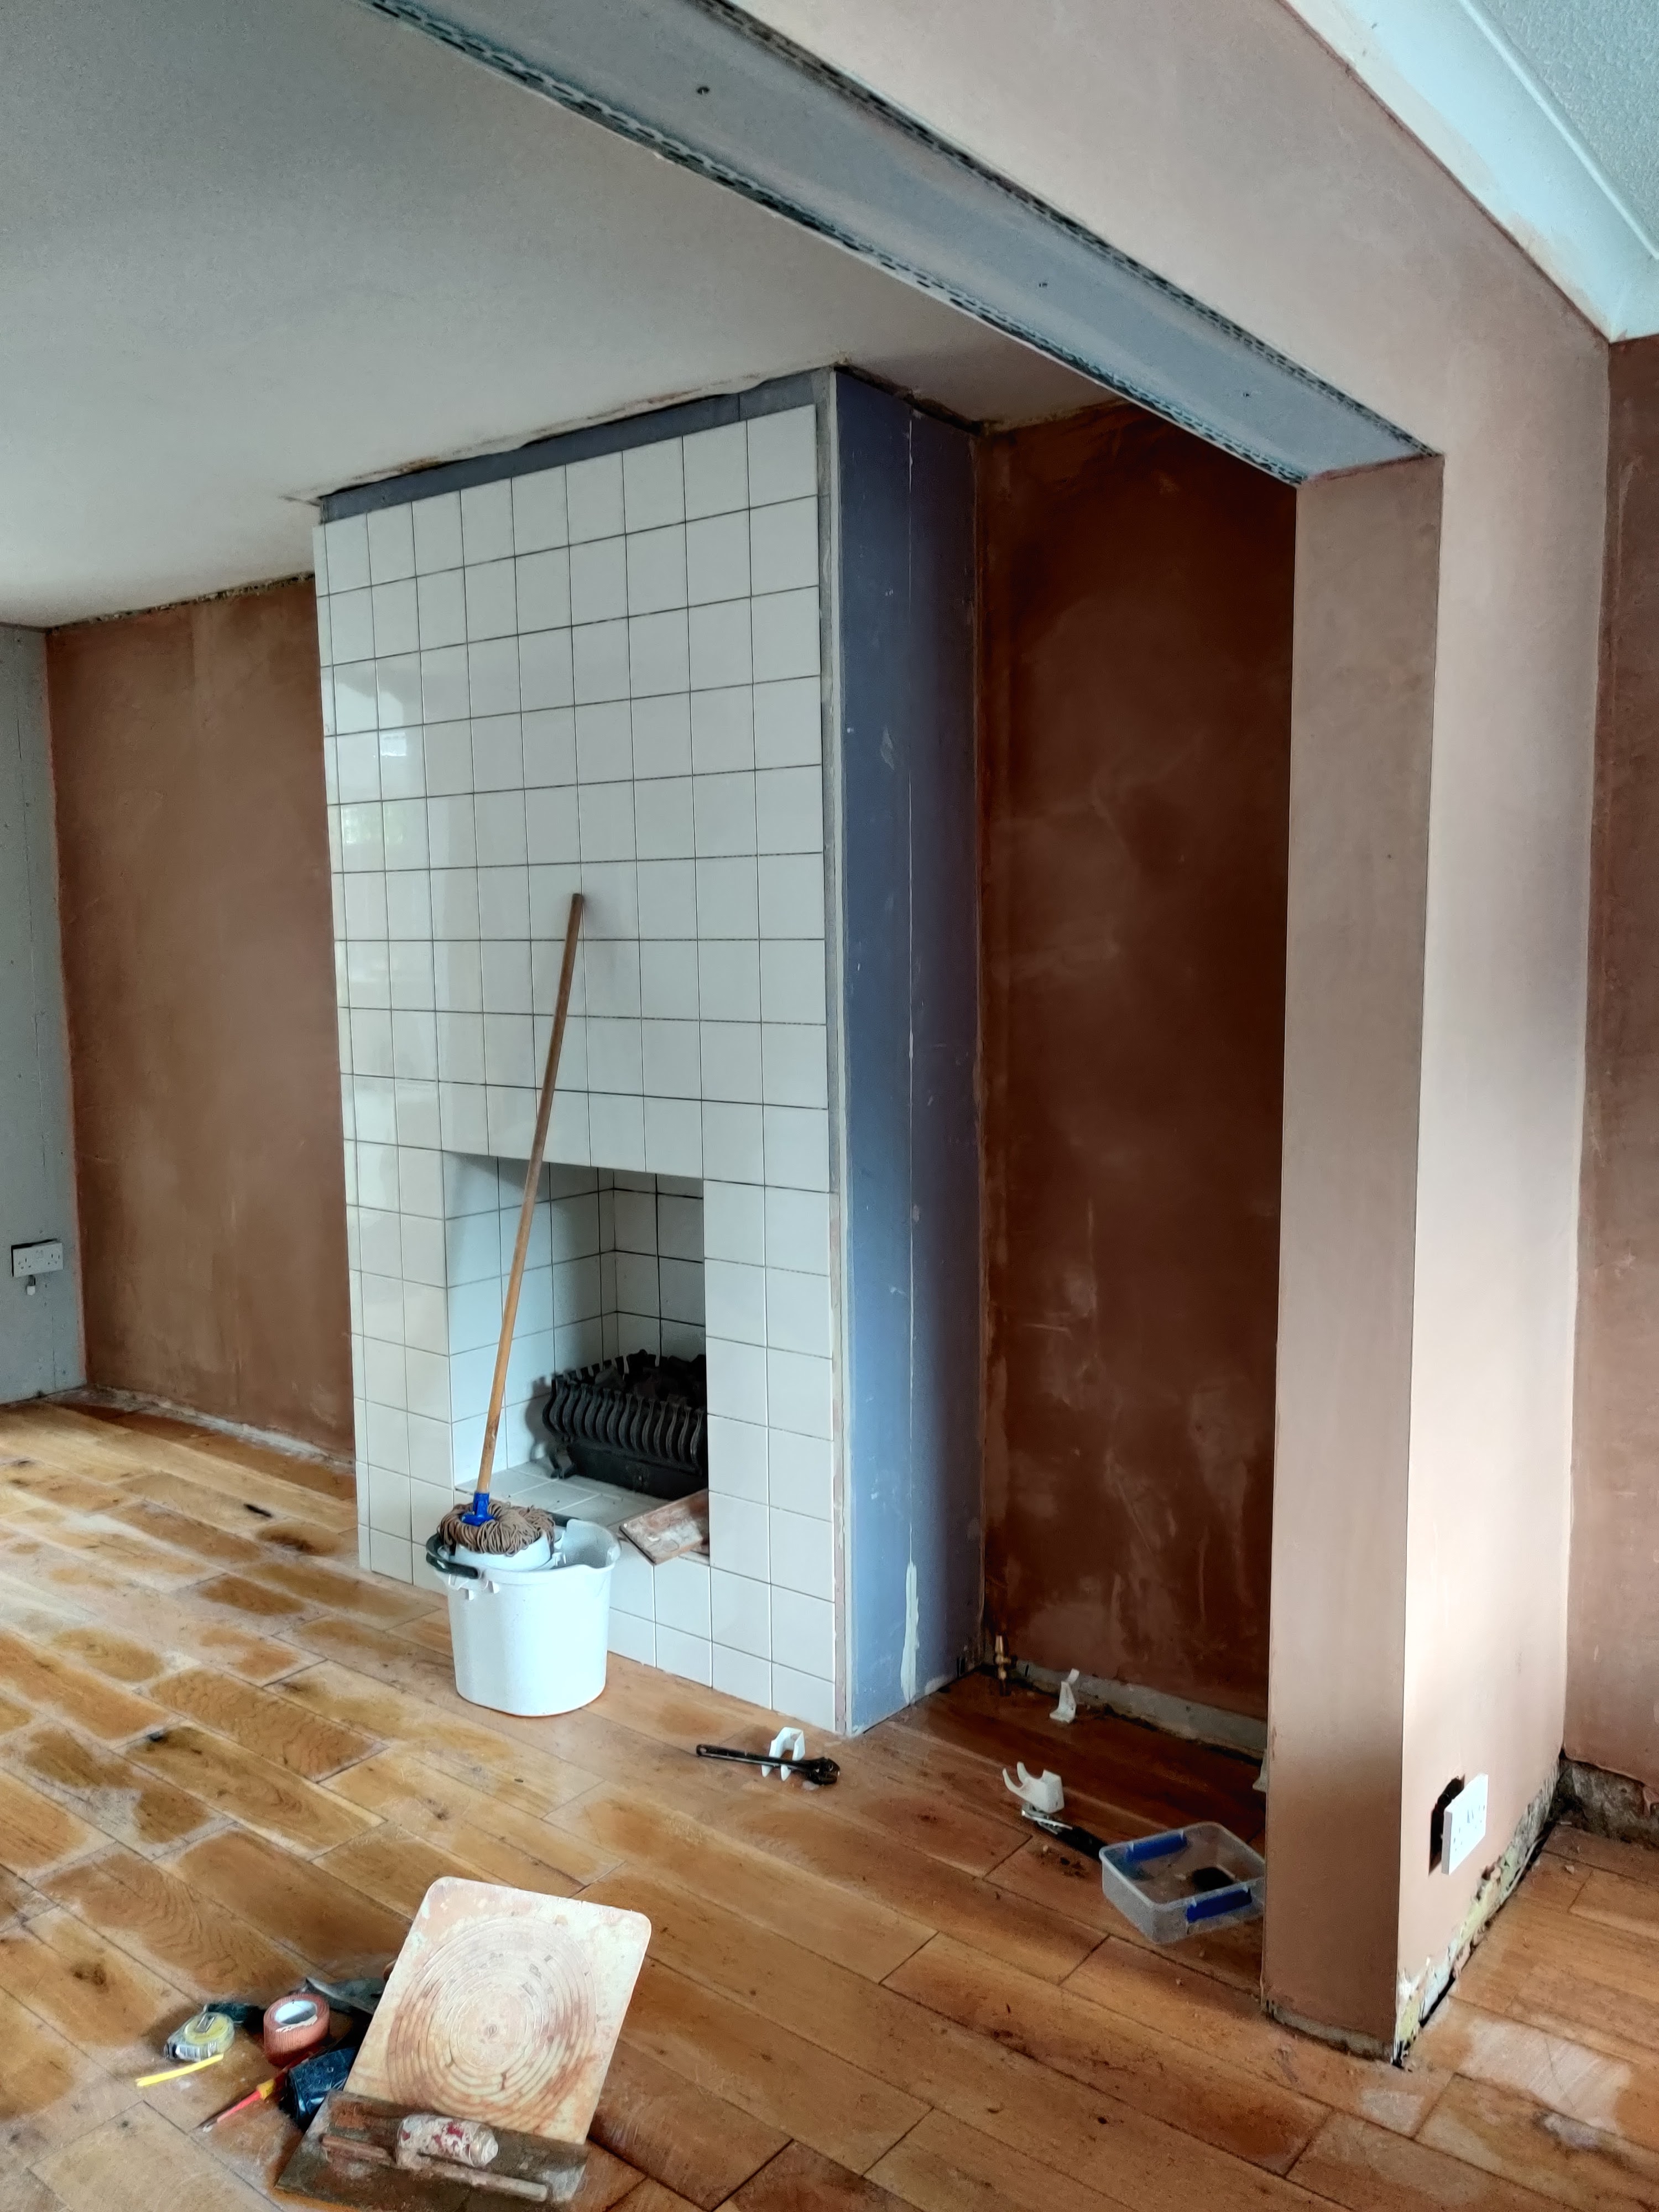
Our brick fireplace before we added tile
Step 1: Create a structure to cover the brick
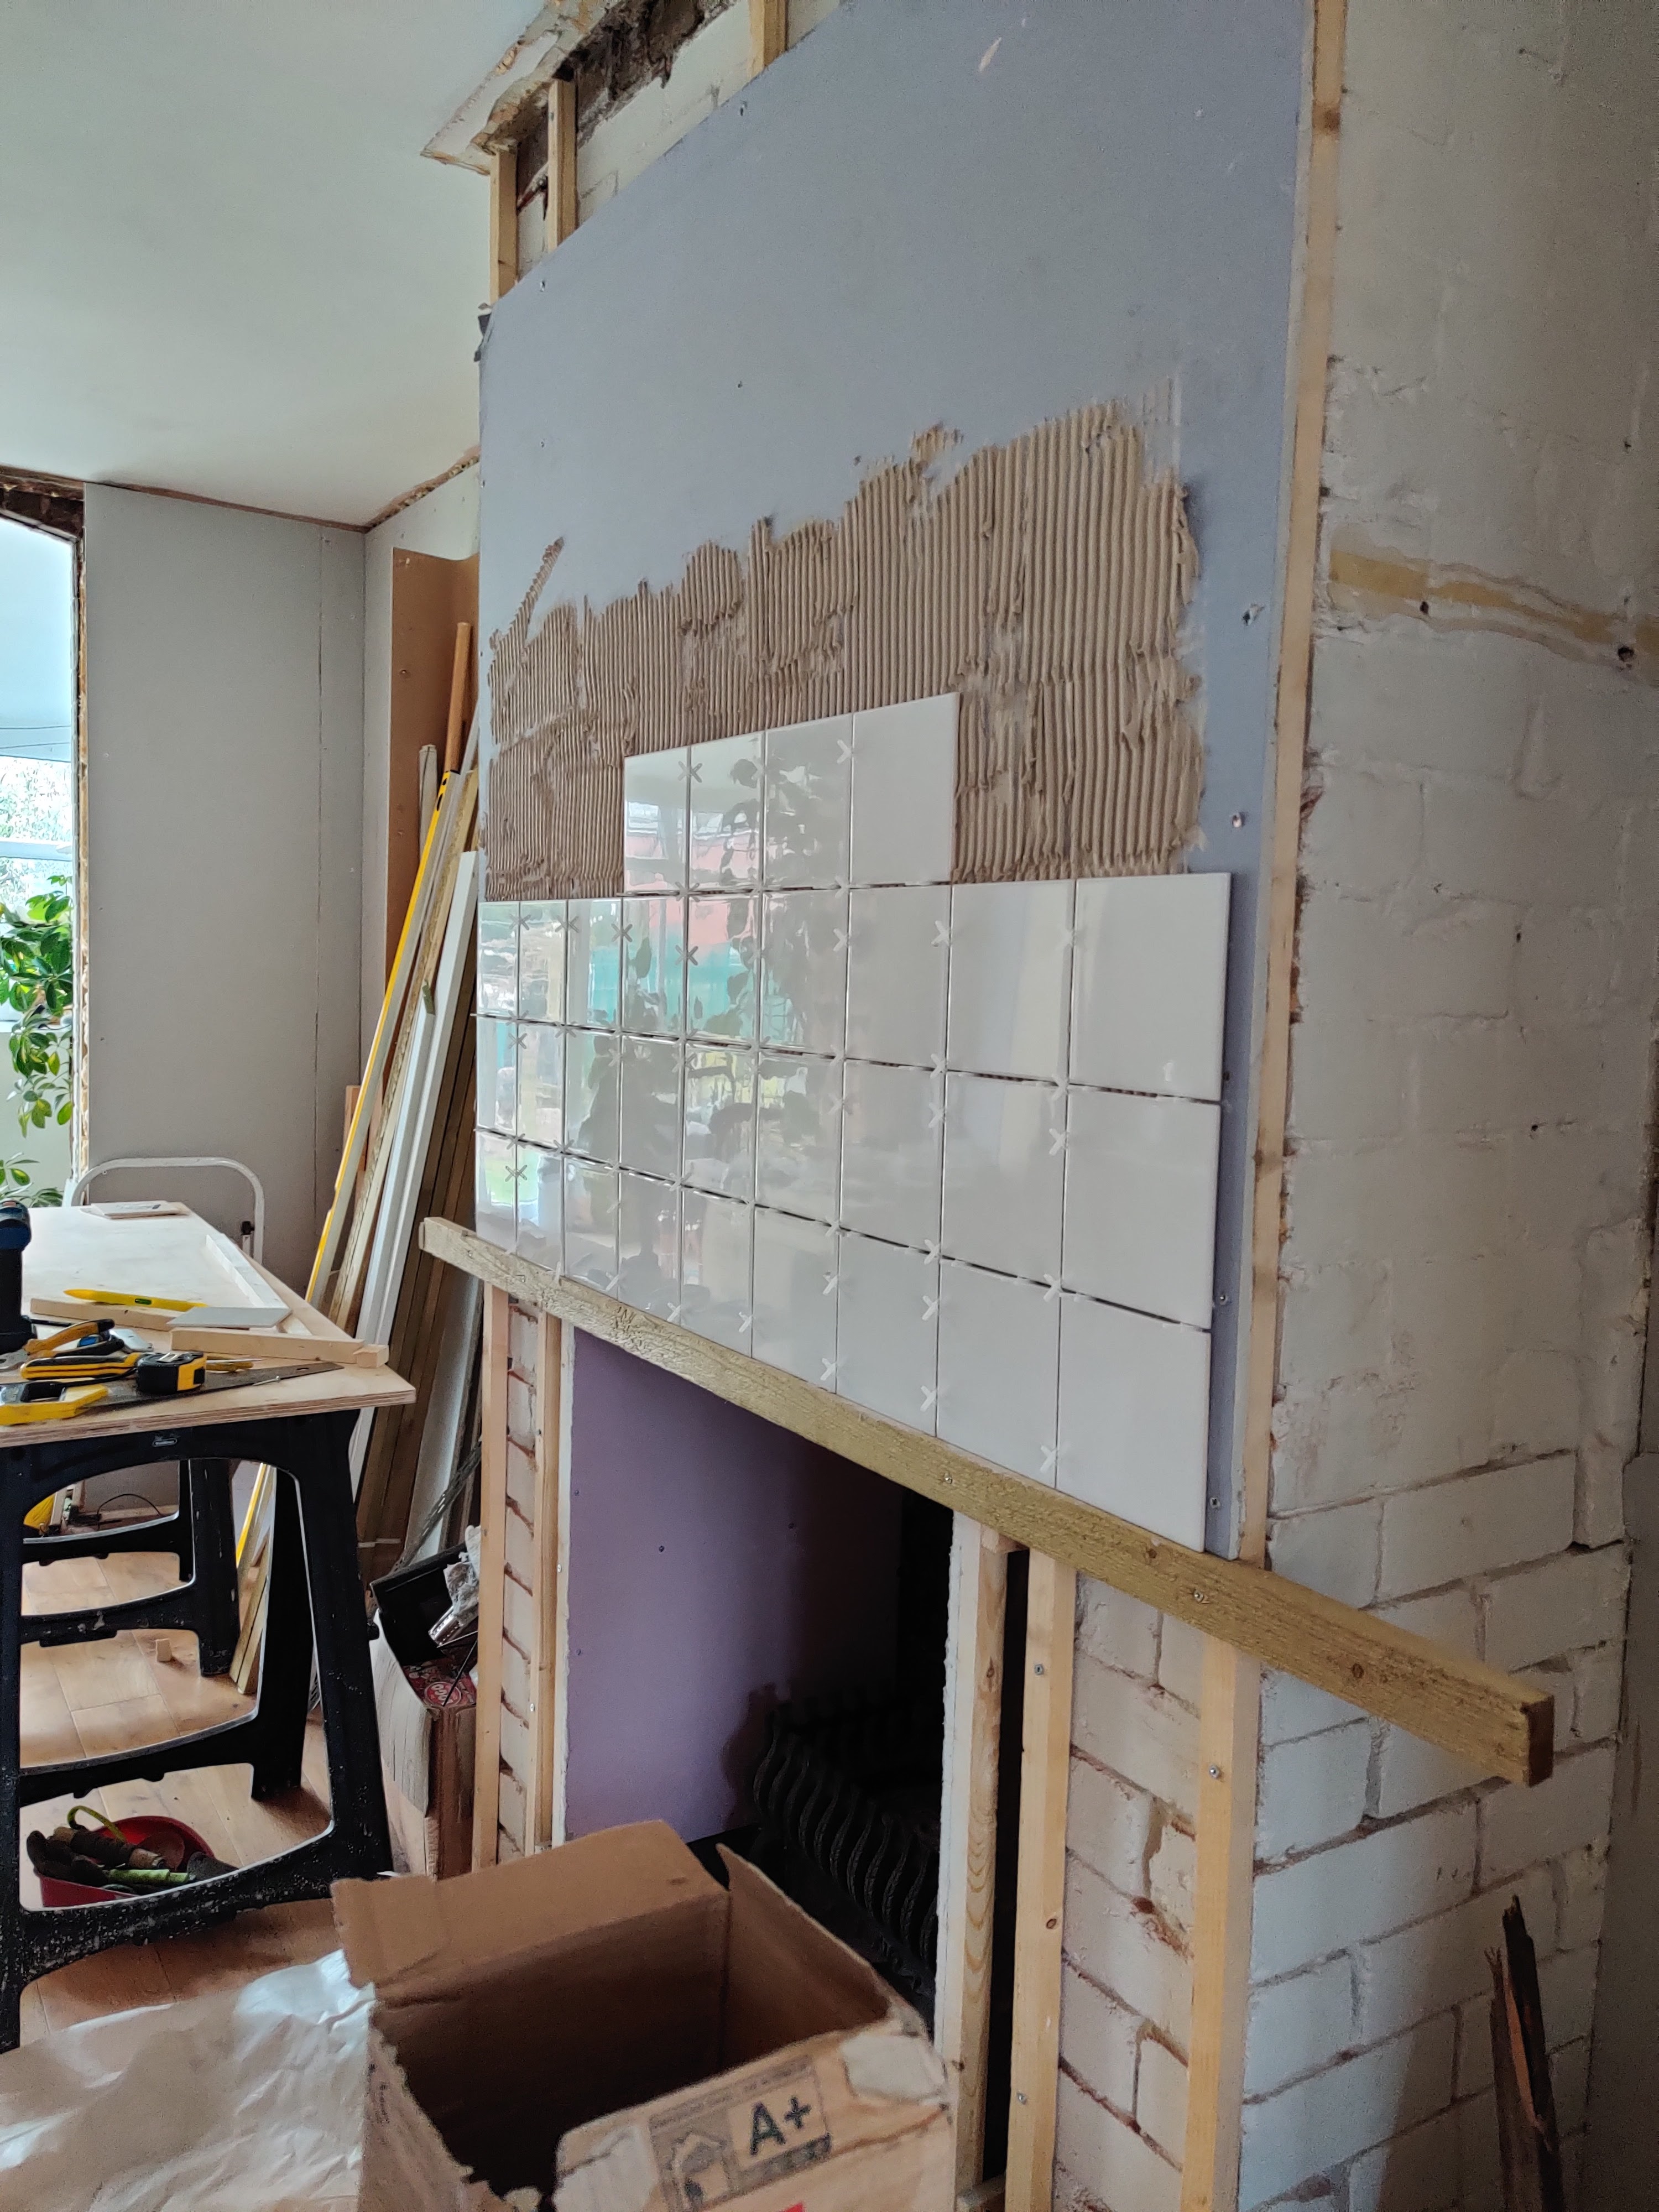
The bricks that made up our chimney breast had been built in a way that meant they were not flush with each other, and although structurally sound, the pattern was all over the place. I knew I would not be able to tile directly onto this so decided to build a structure with a flat surface attached to the fireplace surround. If you are looking to do this yourself and the original chimney breast is flat or already plastered you shouldn’t have to do this step.
However, there was one benefit to building a smooth structure around the brick. The white square tiles I used were placed in a grid-like format and I was able to build the structure so that I was able to use full tiles around the opening. This was much more visually appealing as it meant there were no cut tiles along the edges. Based on the original opening of the chimney I was able to figure out that I create a structure that would be 5 tiles wide and 5 tiles tall for a new opening.
- I first attached wooden beams to bricks.
- I drilled holes in bricks and, using wall plugs, screwed the beams to the breast.
- I made sure the wooden structure was the correct size so I could have full tiles across the opening. I also made sure to take into account the width of the plasterboard that I would tile onto when building the structure.
- Once happy with the structure I attached plasterboard to the wood beams using plasterboard screws.
- The gas fireplace that was in the chimney had been disconnected but I decided to use fire resistance plasterboard inside the opening in case a future owner tried to light a fire in the chimney.
Step 2: Tiling the fireplace surround
- I decided to start tiling the opening sections first.
- Attach and level a wood beam that your tiles can sit on top of.
- When tiling, it is worth taking your time with the first row, as any imperfection at the start will be exaggerated the more tiles are placed on top.
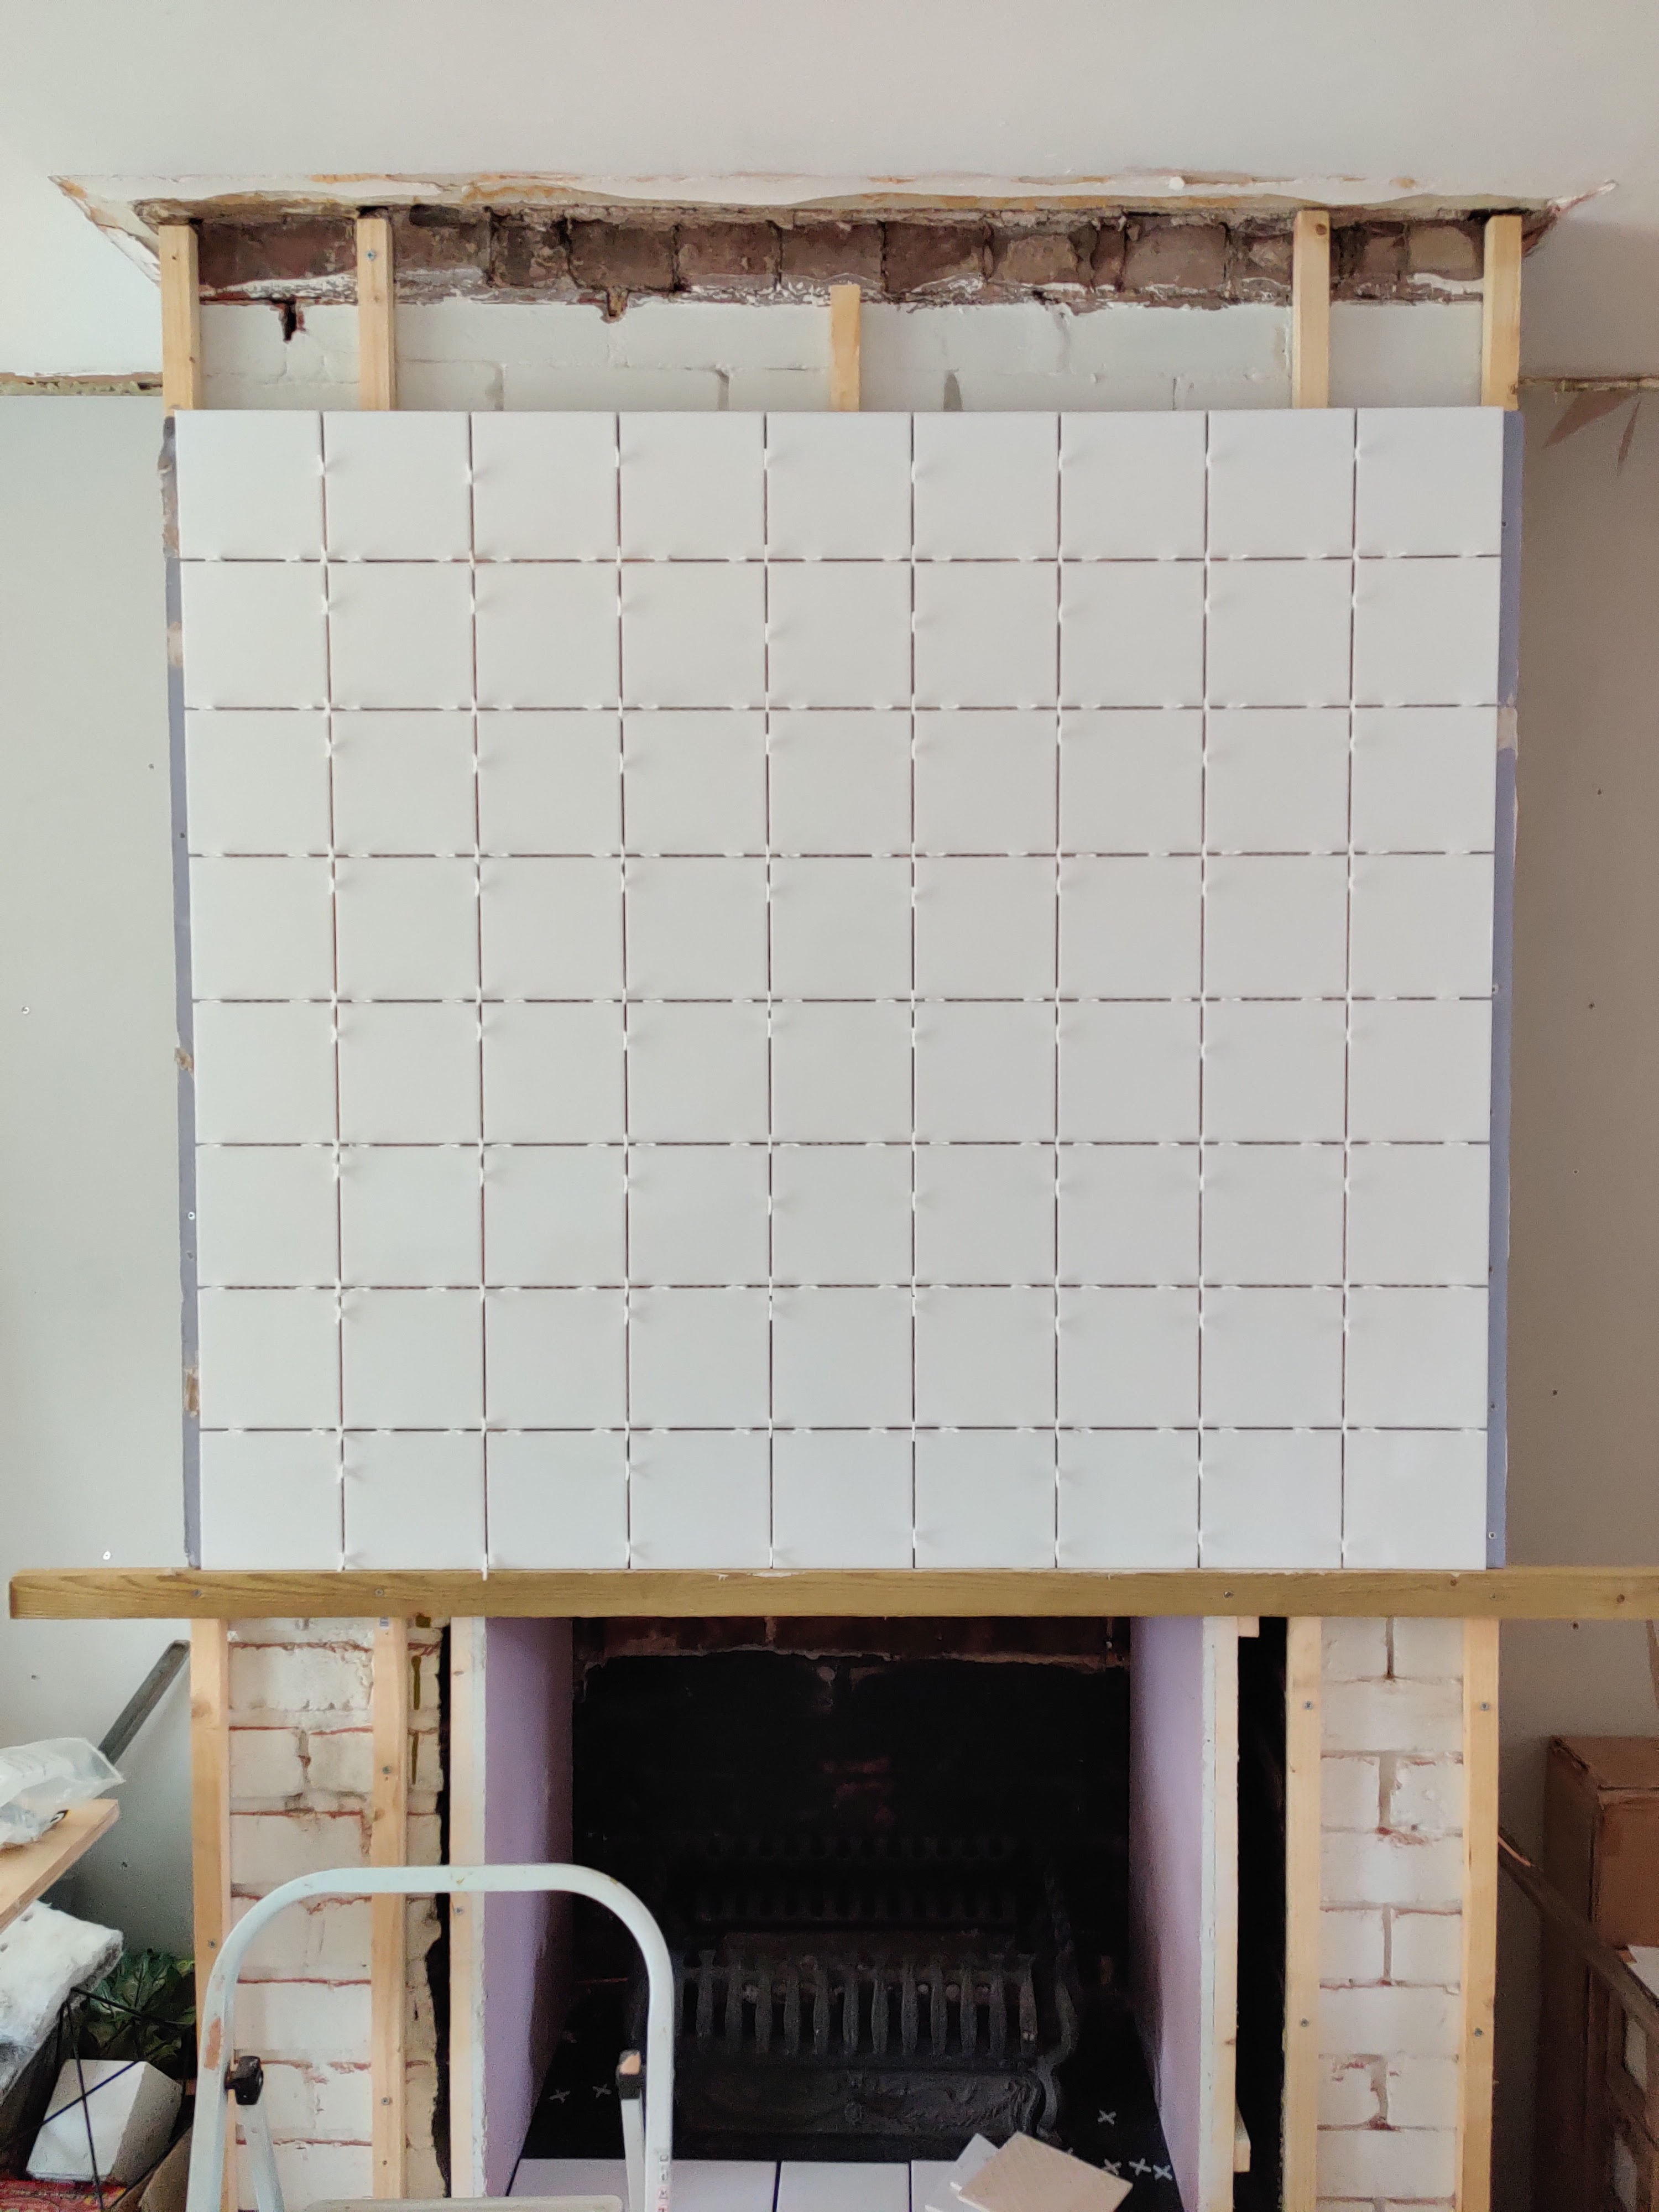
Top tip: When tiling, it is worth taking your time with the first row, as any imperfection at the start will be exaggerated the more tiles are placed on top.
- I used a premixed adhesive and tiled directly onto the plasterboard.
- The tiles were positioned using 3mm spacers which can be left in until the adhesive dries.
- Once the opening was finished and I tiled the rest of the breast and the inside of the opening regularly stepping back and making sure my lines were straight.
- For the corners, I decided to add an edging for greater protection. There is a whole host of edging types to choose from but I decided to go with a simple white PVC edging which I felt blended seamlessly against the white tiles.
Top tip: To finish off I used a beige grout from Unibond which is a lovely sandy color. It makes the grid tiles pop without being a harsh contrast due to its light color.
I have continued the use of this color grout in the rest of the kitchen and utility room for cohesion.
DIY chimney tiling cost
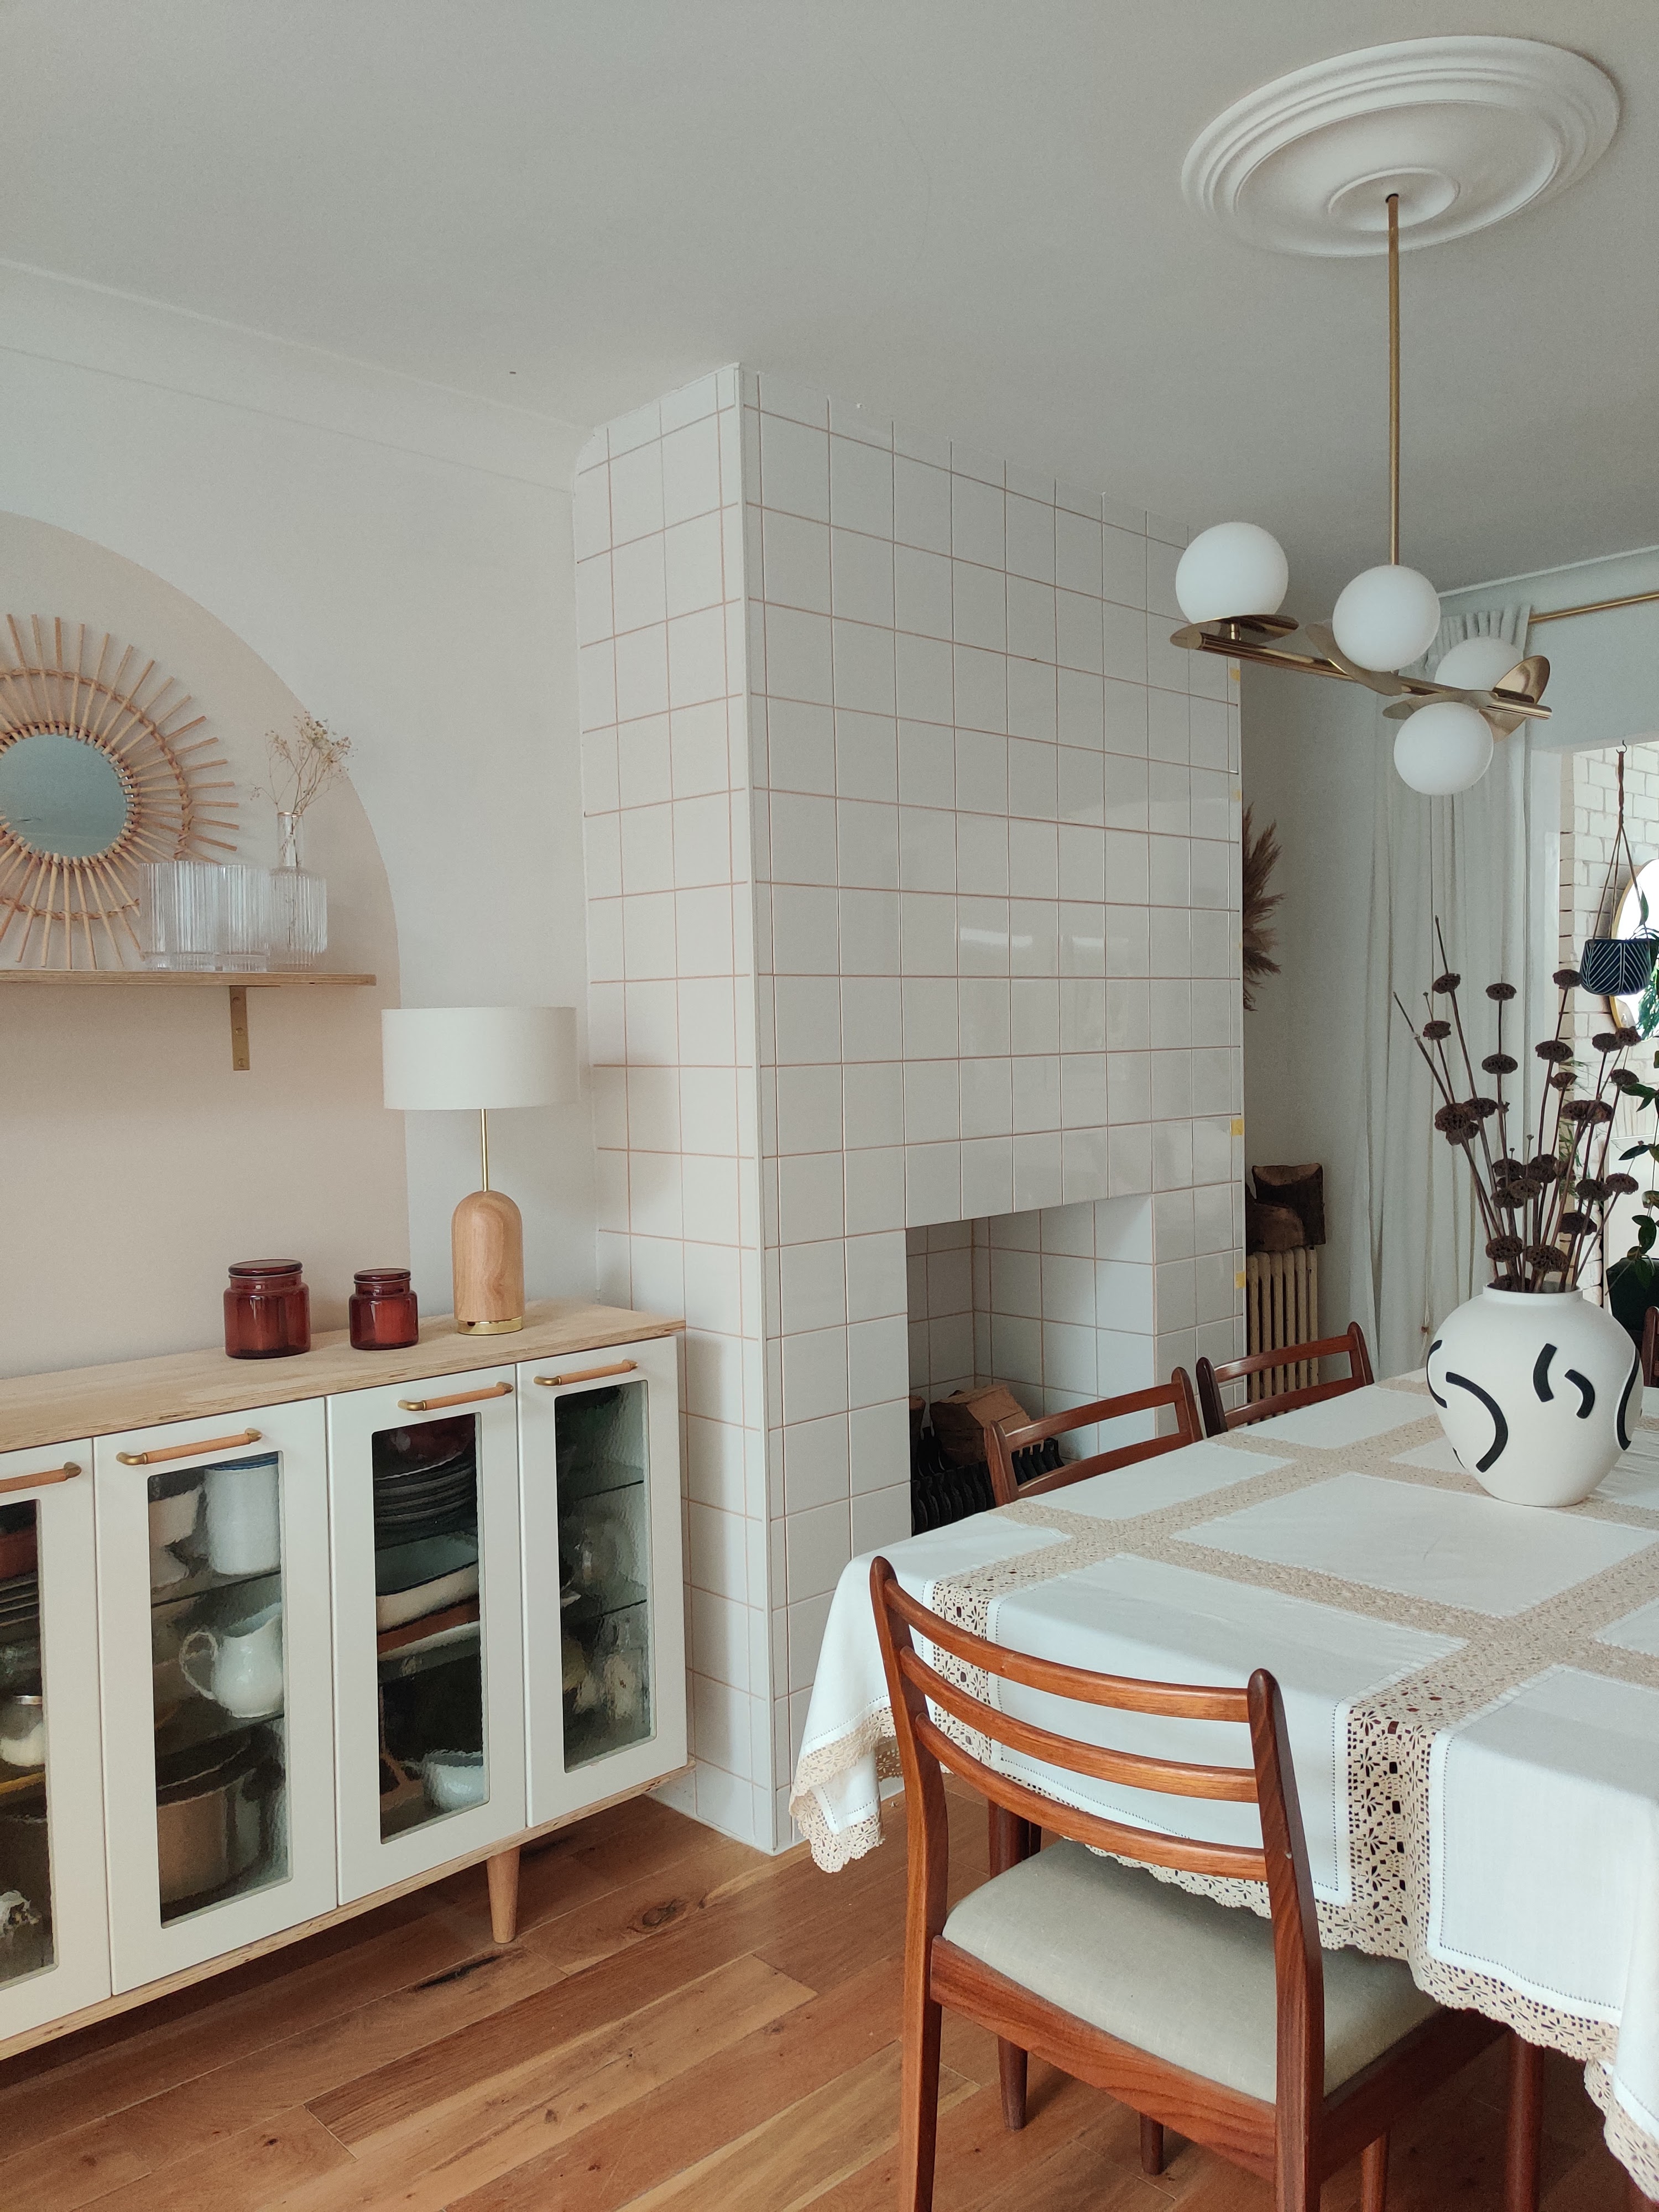
One of the things I love about white square tiles is as they are considered as a basic tile and therefore are affordable. I purchased my 150mm square tiles from B&Q at £6 per square metre at a total cost of £36 for the tiles and edging strips for £12. I used 3 plasterboard sheets at the cost of £30 and wooden batons at the cost of £25. Overall, the cost for the tiled chimney breast is £103.
Join our newsletter
Get small space home decor ideas, celeb inspiration, DIY tips and more, straight to your inbox!
Jo Lemos is a DIYer and decorator who chronicles his projects on the popular Instagram account @two.men.and.a.semi. His DIY obsession began in childhood, when he used to help his parents redecorate the family house. Since then, he’s been developing his DIY skills for two decades, culminating in a full renovation of his current house alongside his partner, Chris. Currently the duo is restoring a 1930s semi-detached house in Manchester that had been badly renovated throughout the years. For Jo, sustainable and budget friendly design is the best way to renovate your house, and he considers his renovation motto to be: “Why pay someone when I can do it myself?!”
-
 A $200 fluted panel transformed my drab kitchen in just one weekend
How to install a fluted kitchen panel: A speedy and achievable DIY tutorial even for DIY novices
By Claire Douglas
-
 How to replace a broken staircase spindle in 30 minutes flat
A missing or broken spindle on a staircase is not only unsightly, but it can be a real hazard. This is how to fix it in a few quick steps.
By Kate Sandhu
-
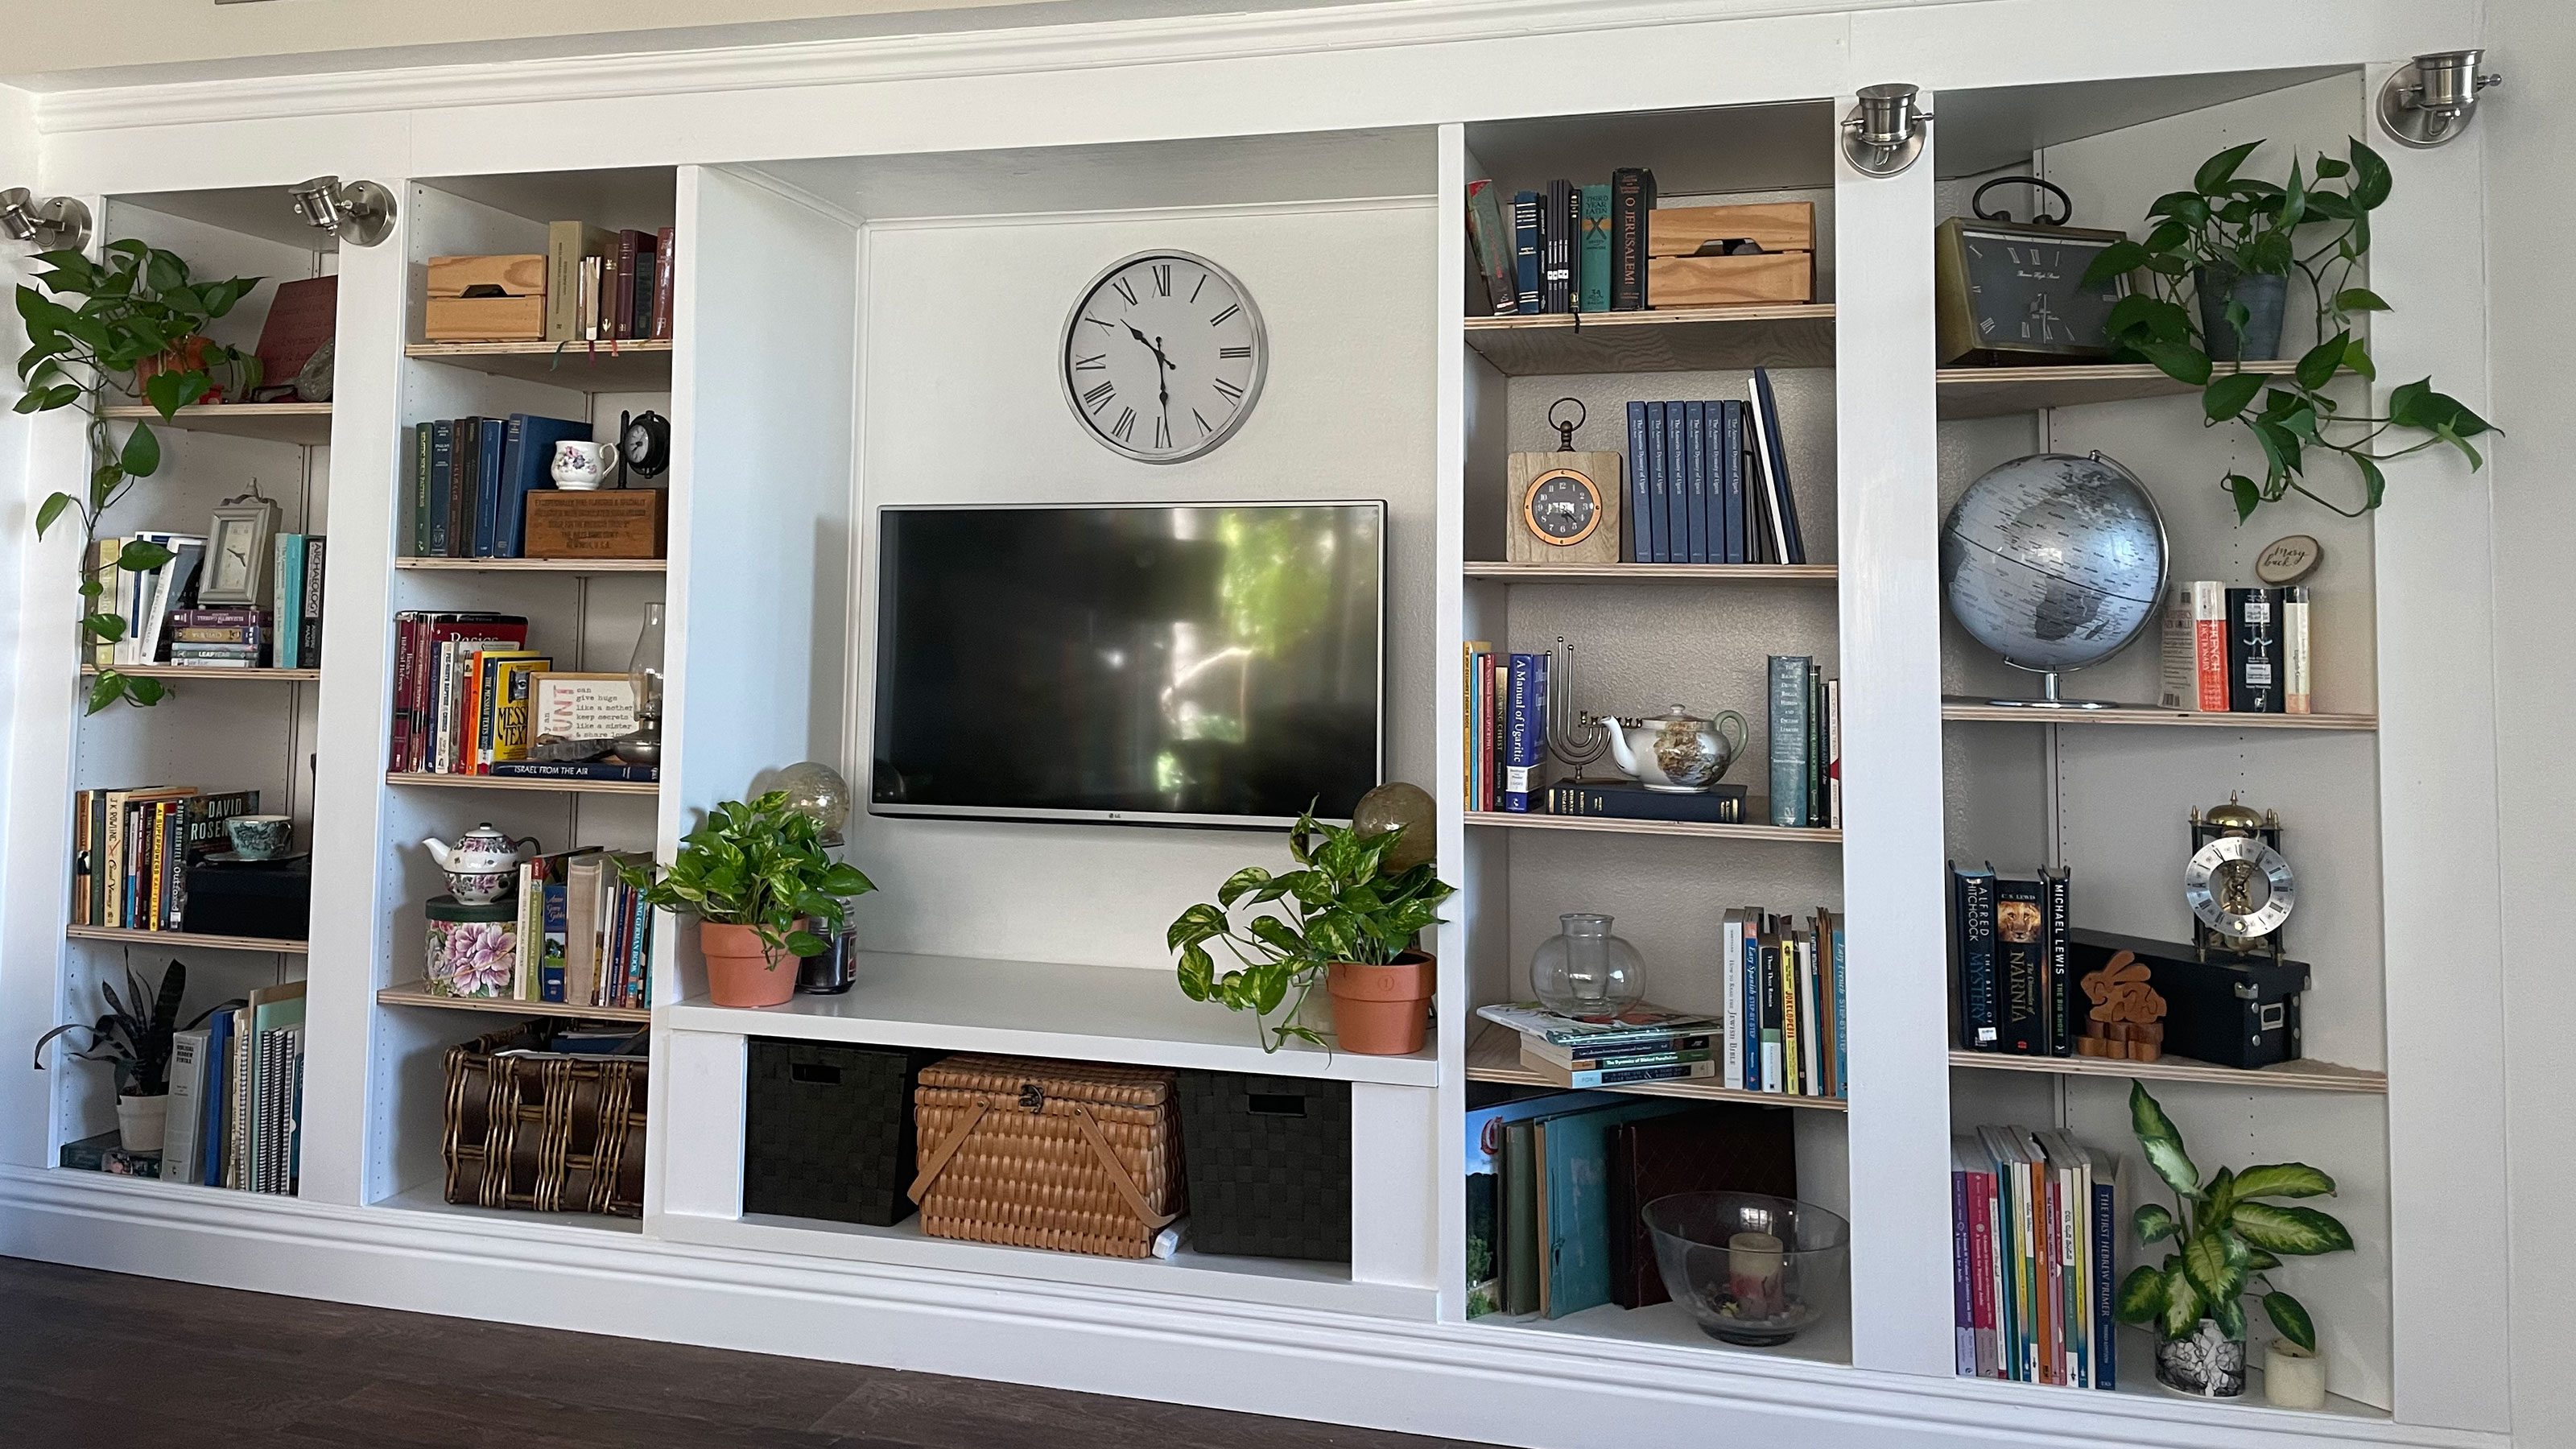 An IKEA Billy bookcase hack inspired this cute media wall DIY
This cute DIY was inspired by an IKEA Billy bookcase hack and brought a ton of symmetry to an otherwise basic media wall space.
By Camille Dubuis-Welch
-
 Share your small space glow up to win $150 in the Real Homes competition
Show off your creativity and DIY skills to win $150 and for the chance to be featured exclusively in Real Homes magazine
By Camille Dubuis-Welch
-
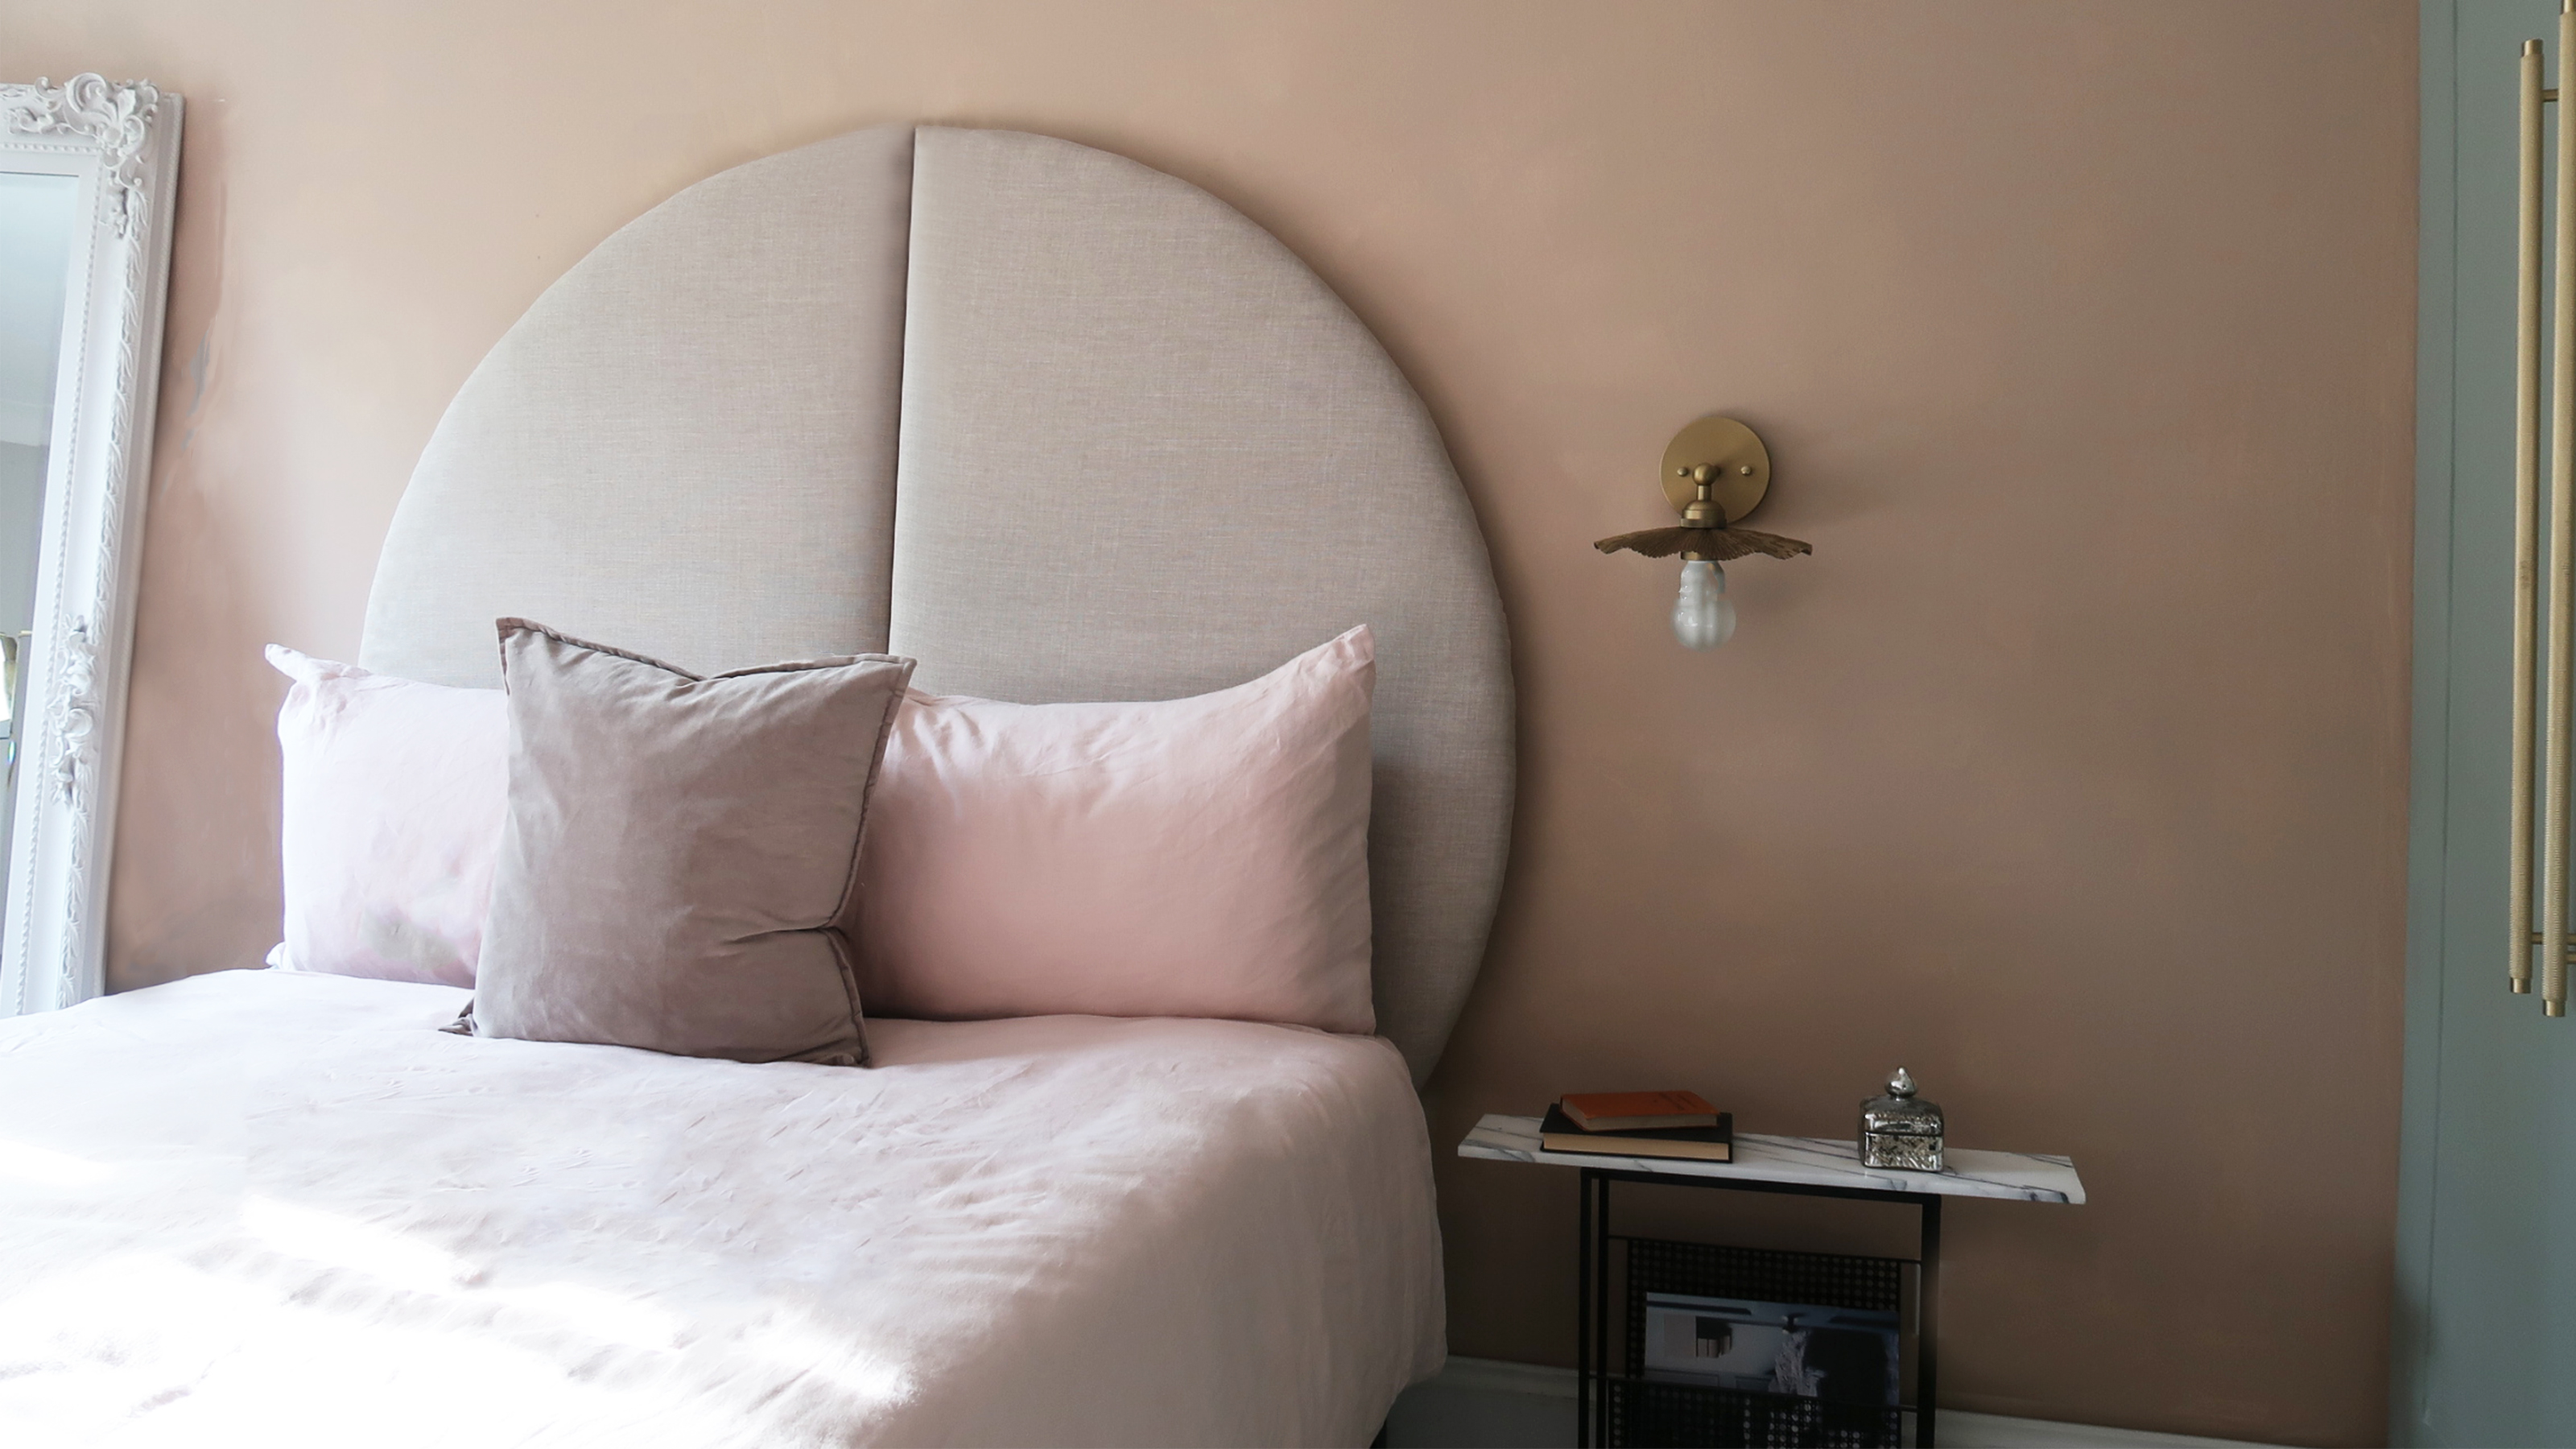 This oversized headboard looks designer, and takes 5 steps to DIY
Super simple to DIY, this oversized headboard will give your bedroom space all the designer vibes you could dream of.
By Claire Douglas
-
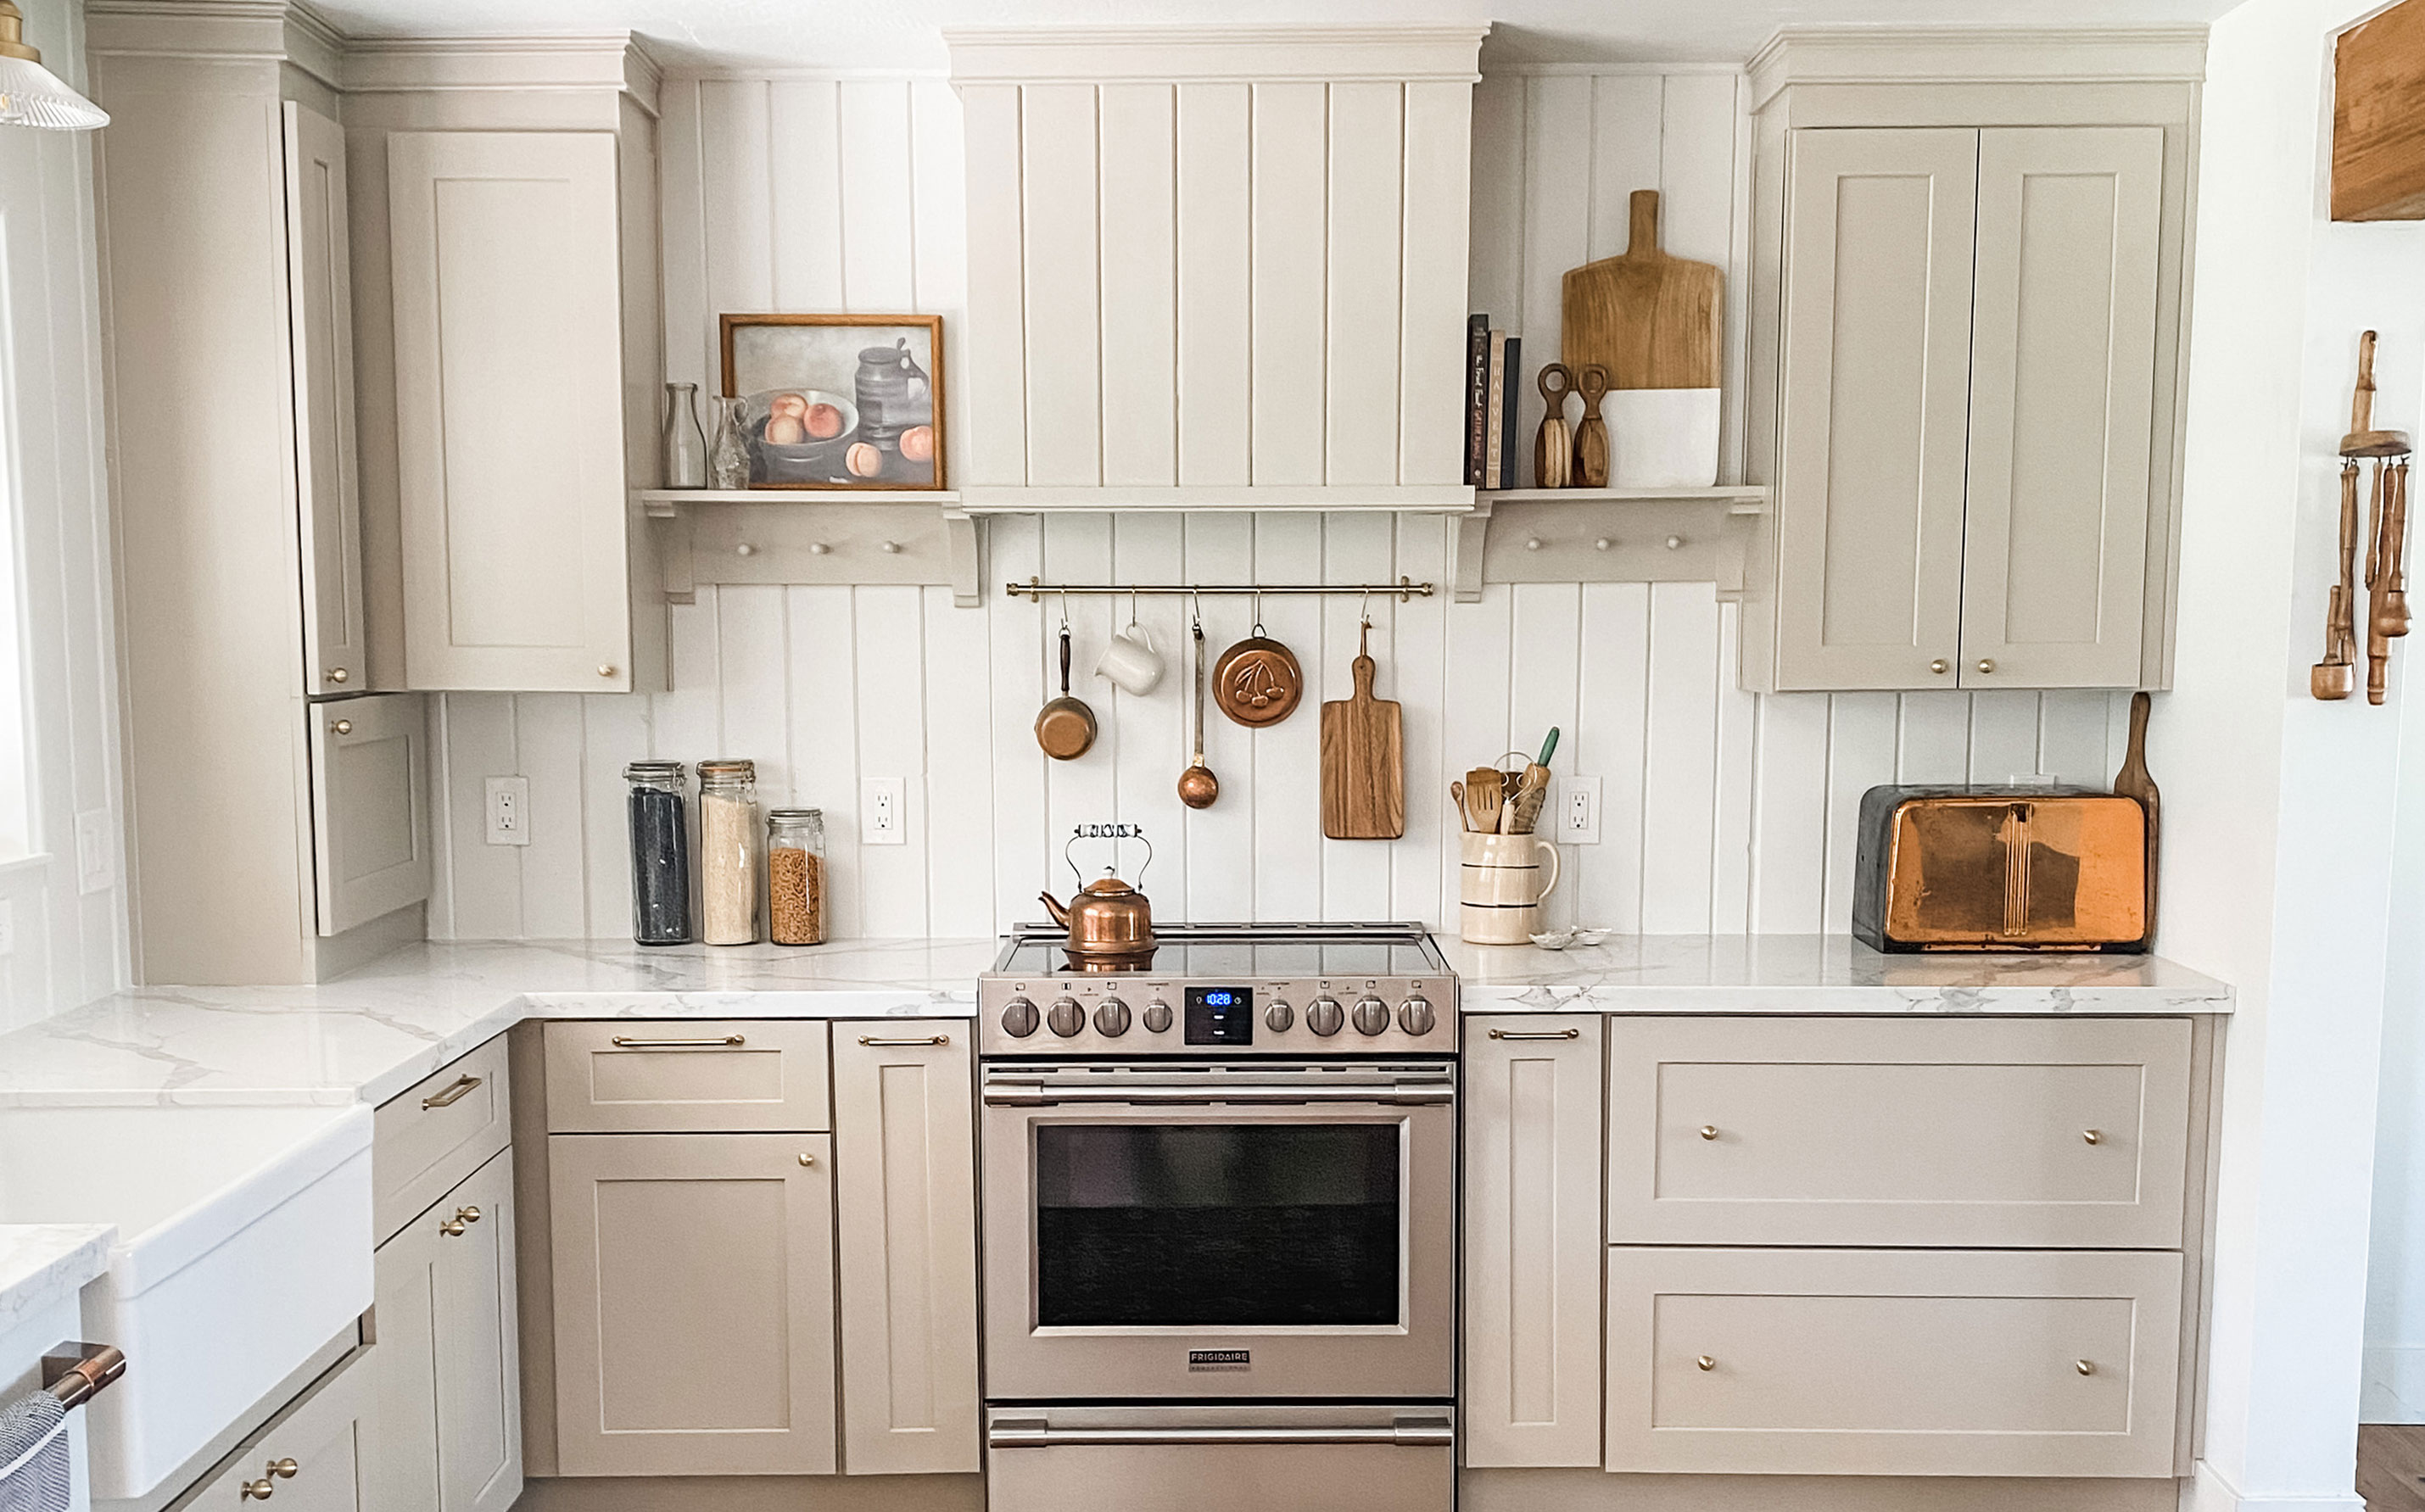 My DIY range hood and backsplash build gave my kitchen the perfect farmhouse finish
I craved charm in my kitchen space and adding a custom range hood and shelving was the best move.
By Brooke Waite
-
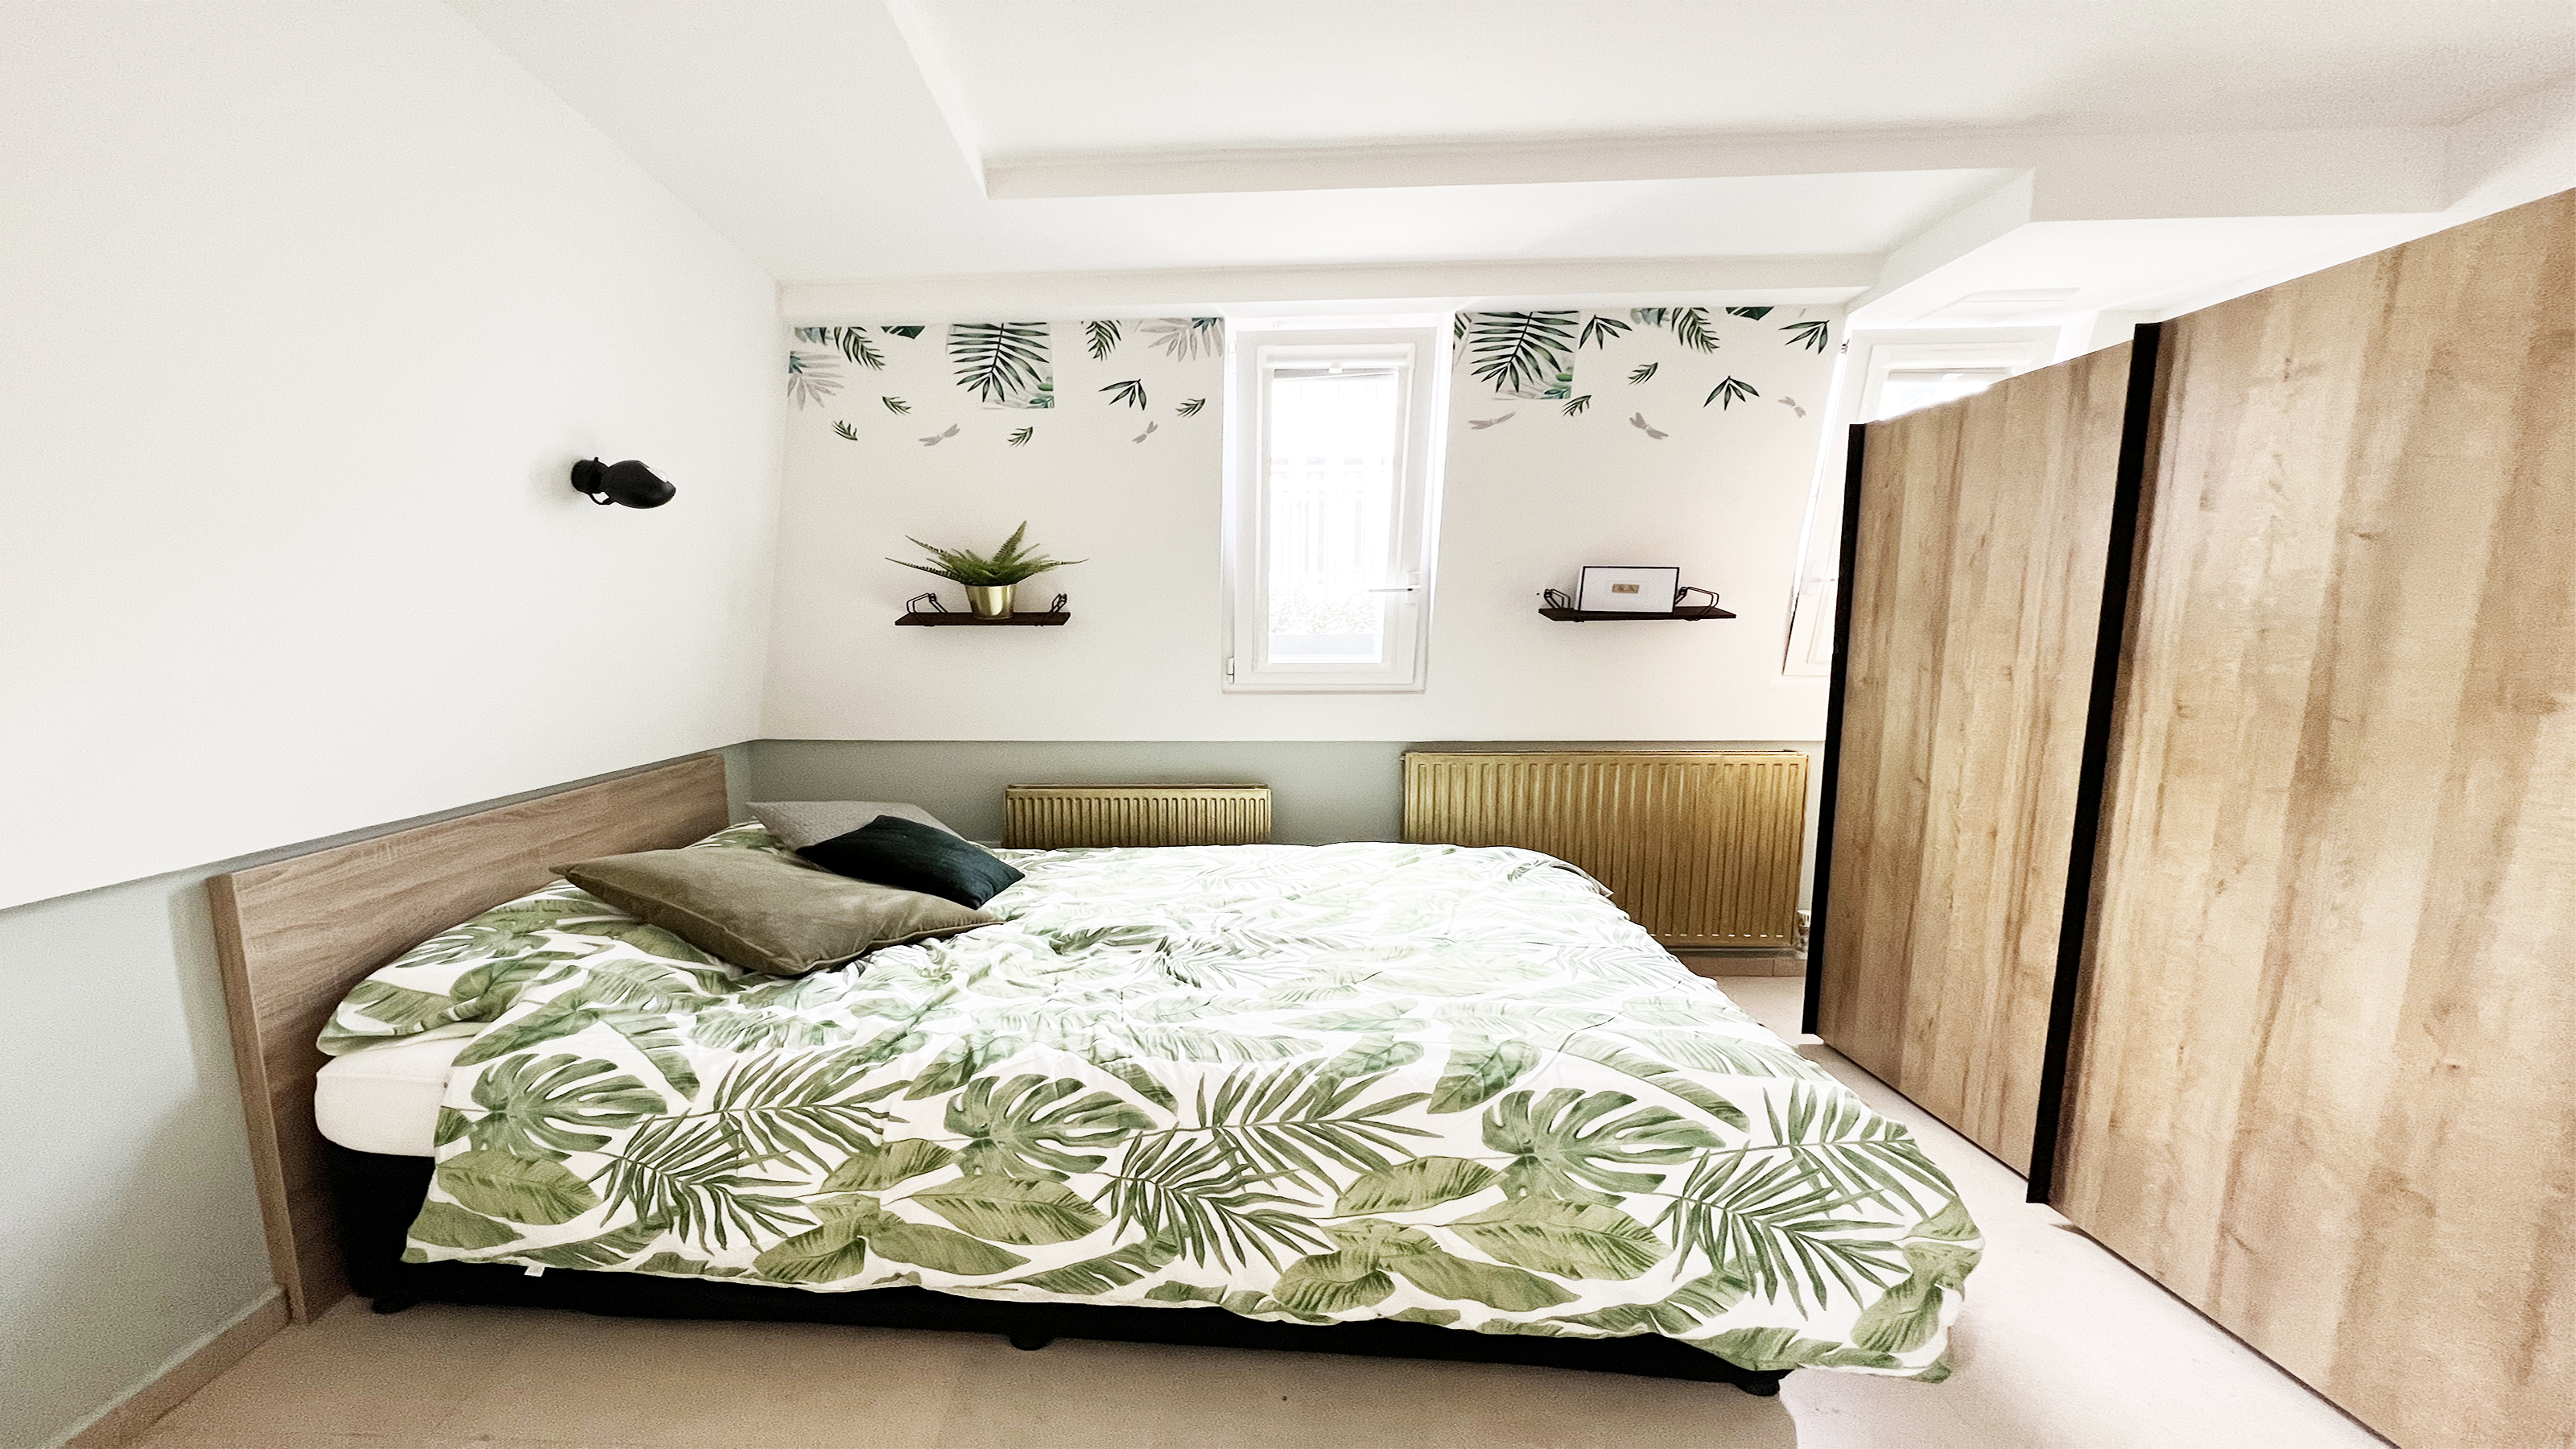 How to paint a radiator in 7 steps
Painting radiators properly is all about choosing the right paint and the best process. Get interior designer-worthy results with our how-to.
By Kate Sandhu
-
 How to install a door knob
Updating your interior and exterior doors can be as easy as changing out the hardware! The best part is that installing a door knob is very DIY friendly. Follow these simple steps and enjoy a fresh look on your doors!
By Dori Turner
