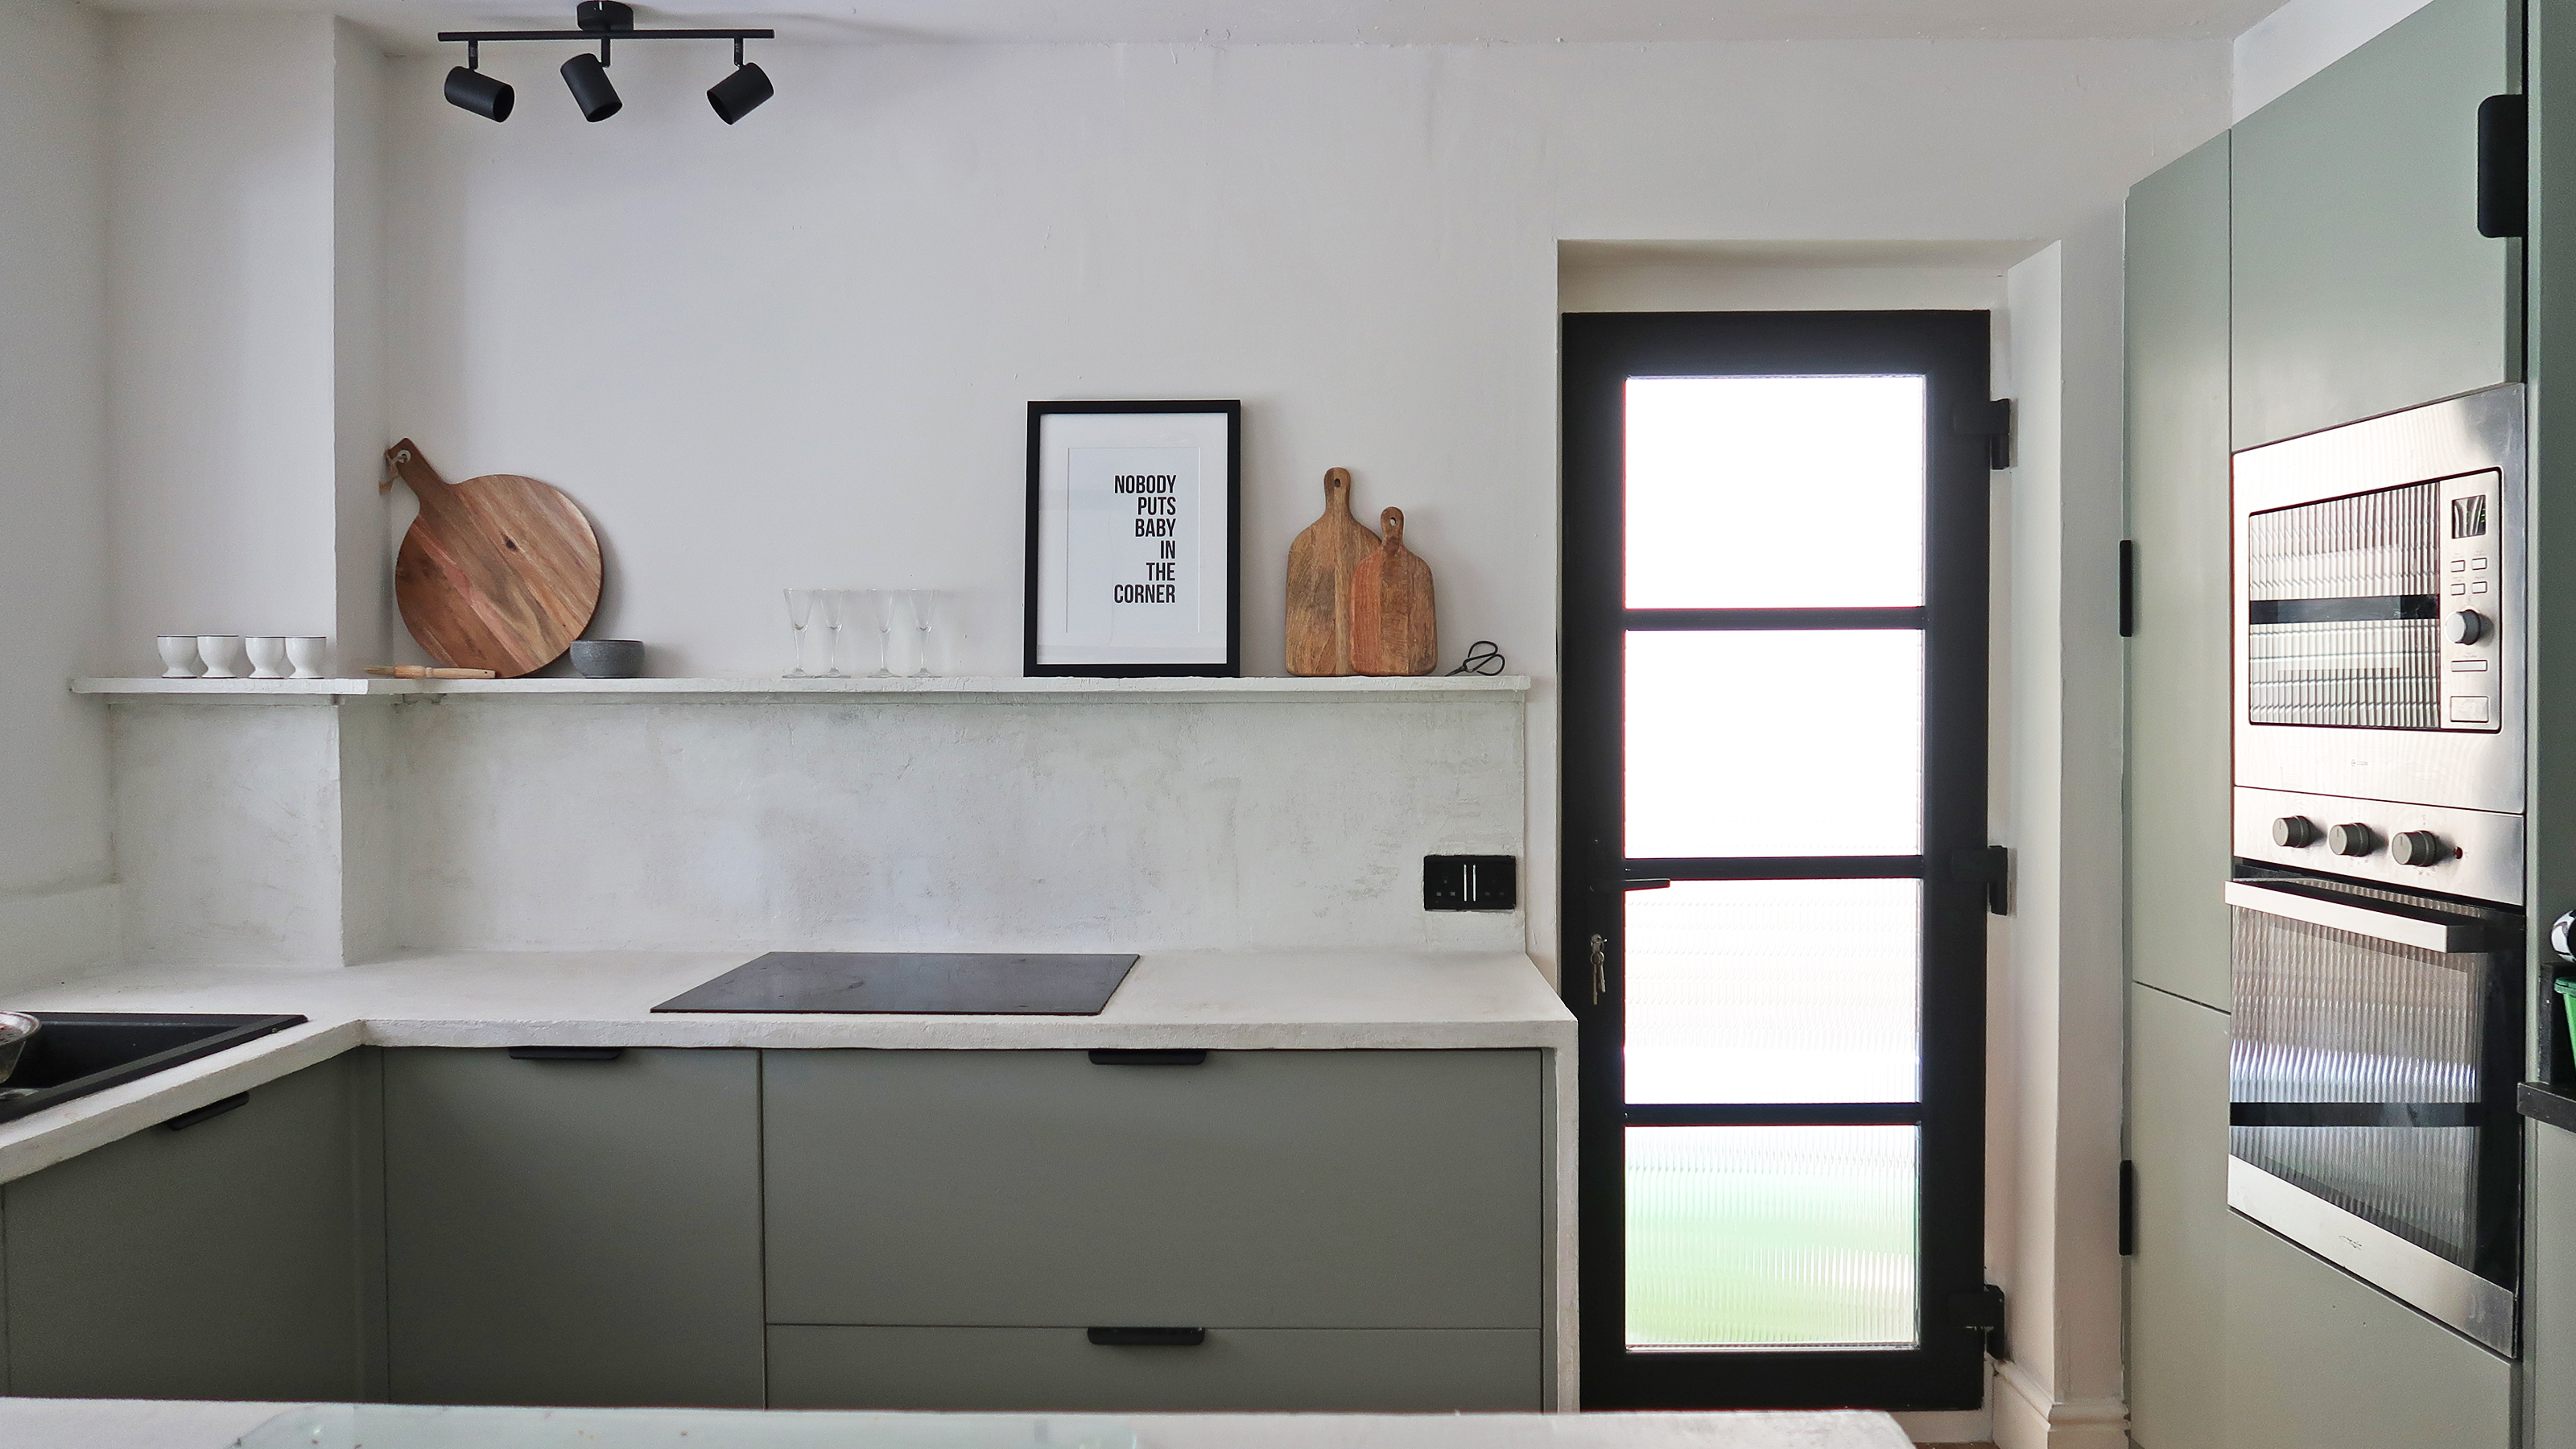
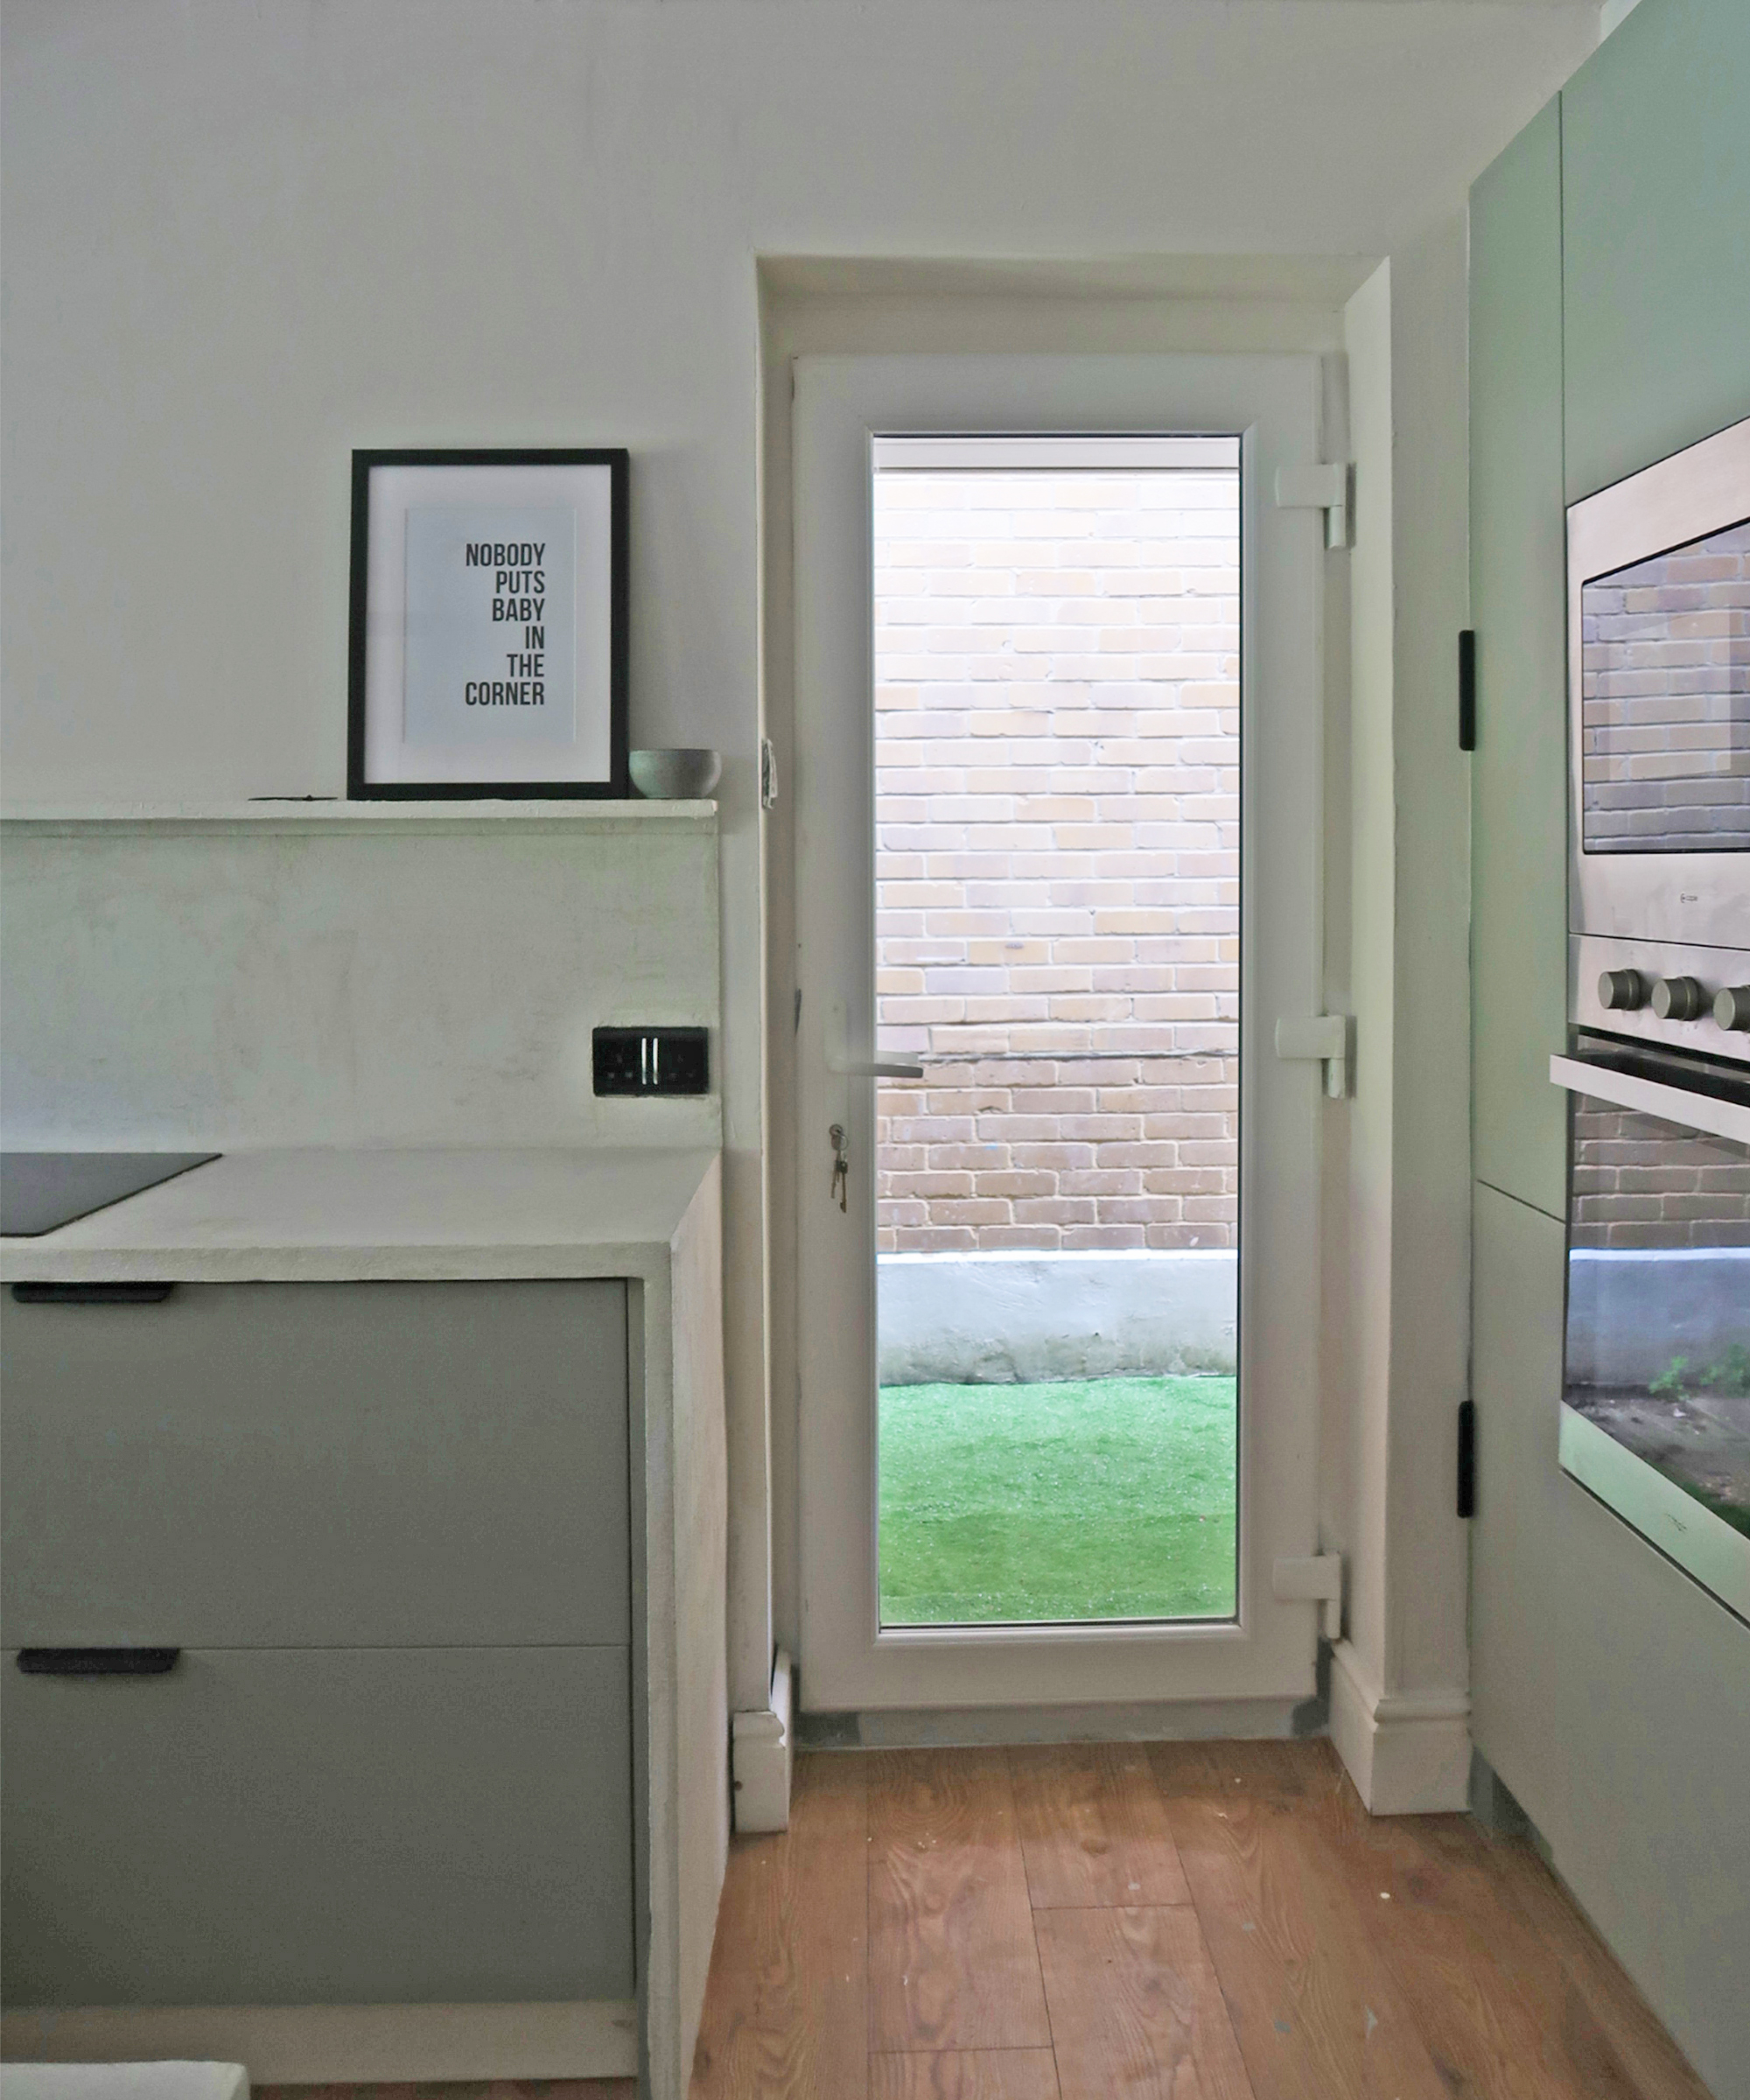
I’ve never been a fan of white uPVC doors. I know they tick a lot of ‘sensible’ boxes as they are durable, secure, and easy to clean, but in my opinion, these practical advantages often come at the expense of aesthetic appeal and I’m allowed to say that as the (not so proud) owner of one!
The offending door has been minding its own business in our kitchen for the last six years and for most of that time the kitchen was also white, so it blended in pretty well and I was able to ignore it. Then came the budget kitchen revamp with grayish-green cabinets, tubular peninsula texture, microcement countertops, and black accents, and suddenly the dated door stood out like a sore thumb and I just couldn’t ignore it anymore. I also couldn’t justify the cost of a new door, particularly as not only was there nothing actually wrong with this one and it was still ticking all those aforementioned boxes. There was only one thing for it… a budget makeover, which if you follow my Instagram you will know that a pocket-friendly DIY project is one of my favorite kinds...
How to upgrade a uPVC door?
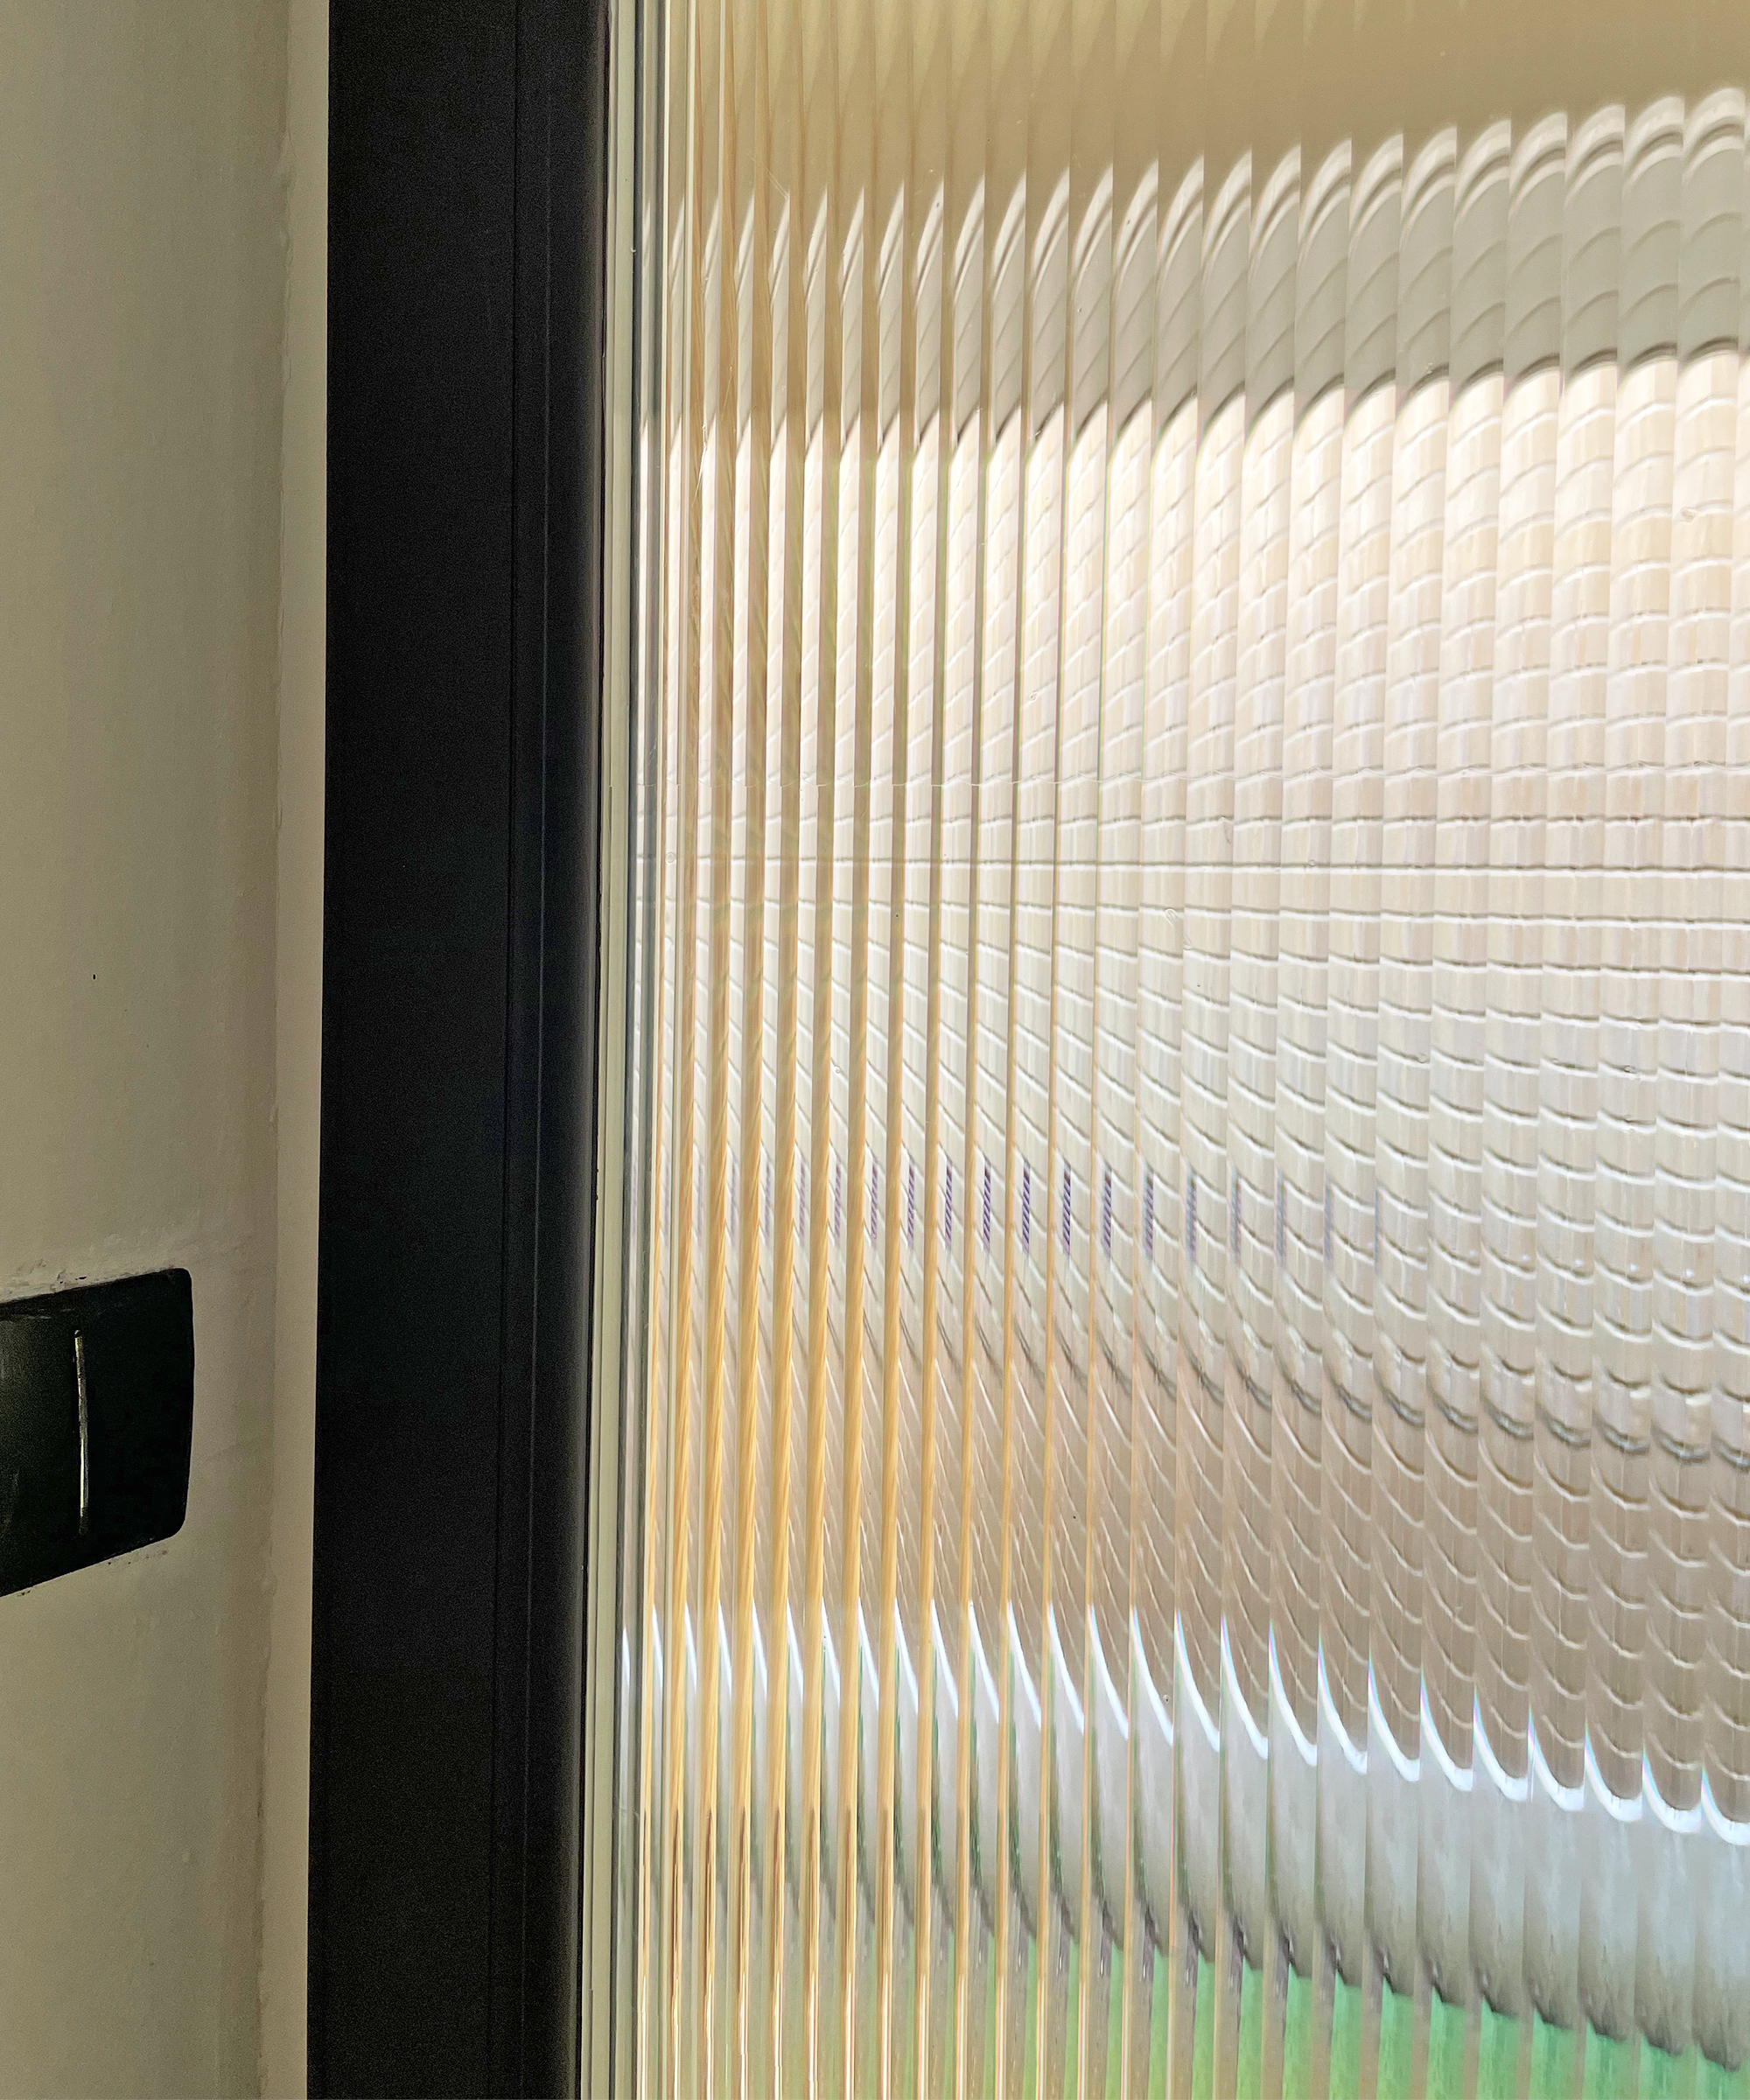
Painting a door will always make a grand difference, then for extra style points, you can add some faux crittall detailing and reeded glass film like I do here. This makeover was such a fun one and was super quick and simple to complete which is always a bonus.
As when painting uPVC window frames, there are many paint ranges specifically formulated for this job and you don't have to look far on social media to find lots of examples of completed projects, but a simple paint job wasn’t going to cut it for this particular door which had the added disadvantage of being directly opposite quite an ugly wall.
Sadly, as the wall belongs to our neighbor, our glow-up options were limited so I decided that rather than try and change the view, I would hide it, by adding some clever and stylish (more boxes ticked) reeded effect glass film that I found from Glass Films. They make a bunch of different style privacy films, but the reeded one really caught my eye.
Reeded glass glow-up
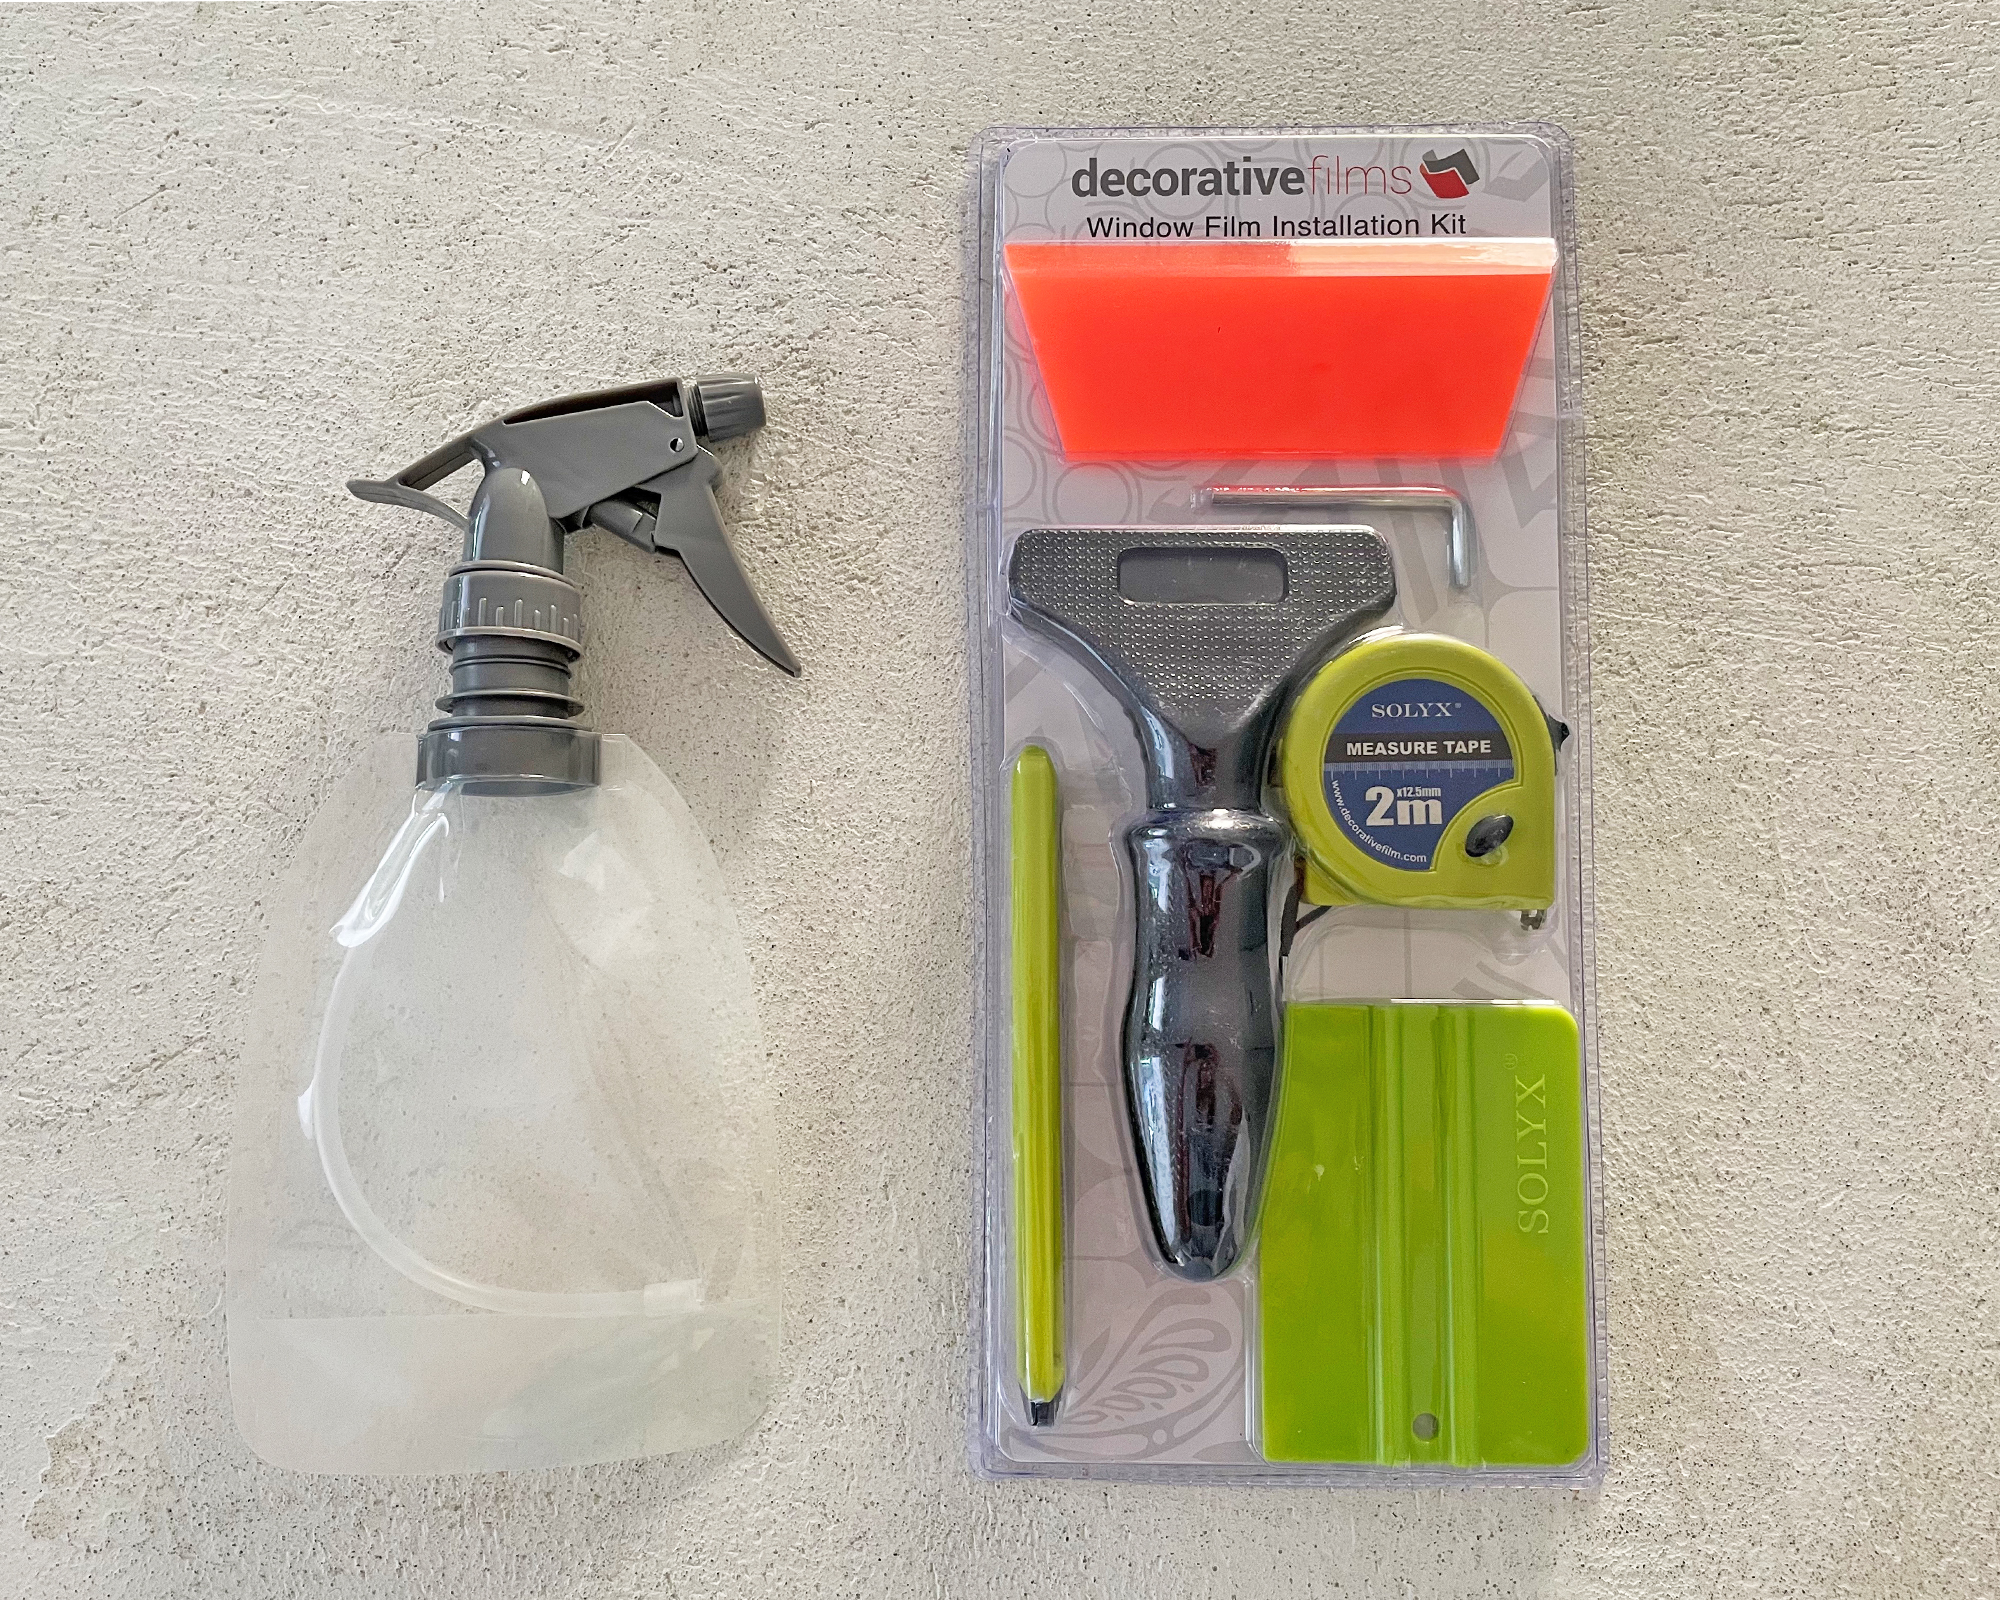
In the past, reeded glass doors were often unattainable on a modest-sized budget, not anymore though, thanks to the invention of this brilliant glass film which not only looks fab but also provides privacy and in our case hides the less than appealing view on the other side of the door. I recommend using the install kit as it made the application of the film, which is crucial to a good end result, a lot easier.
- DIY level: Novice
- Time: Weekend
- Budget: Low
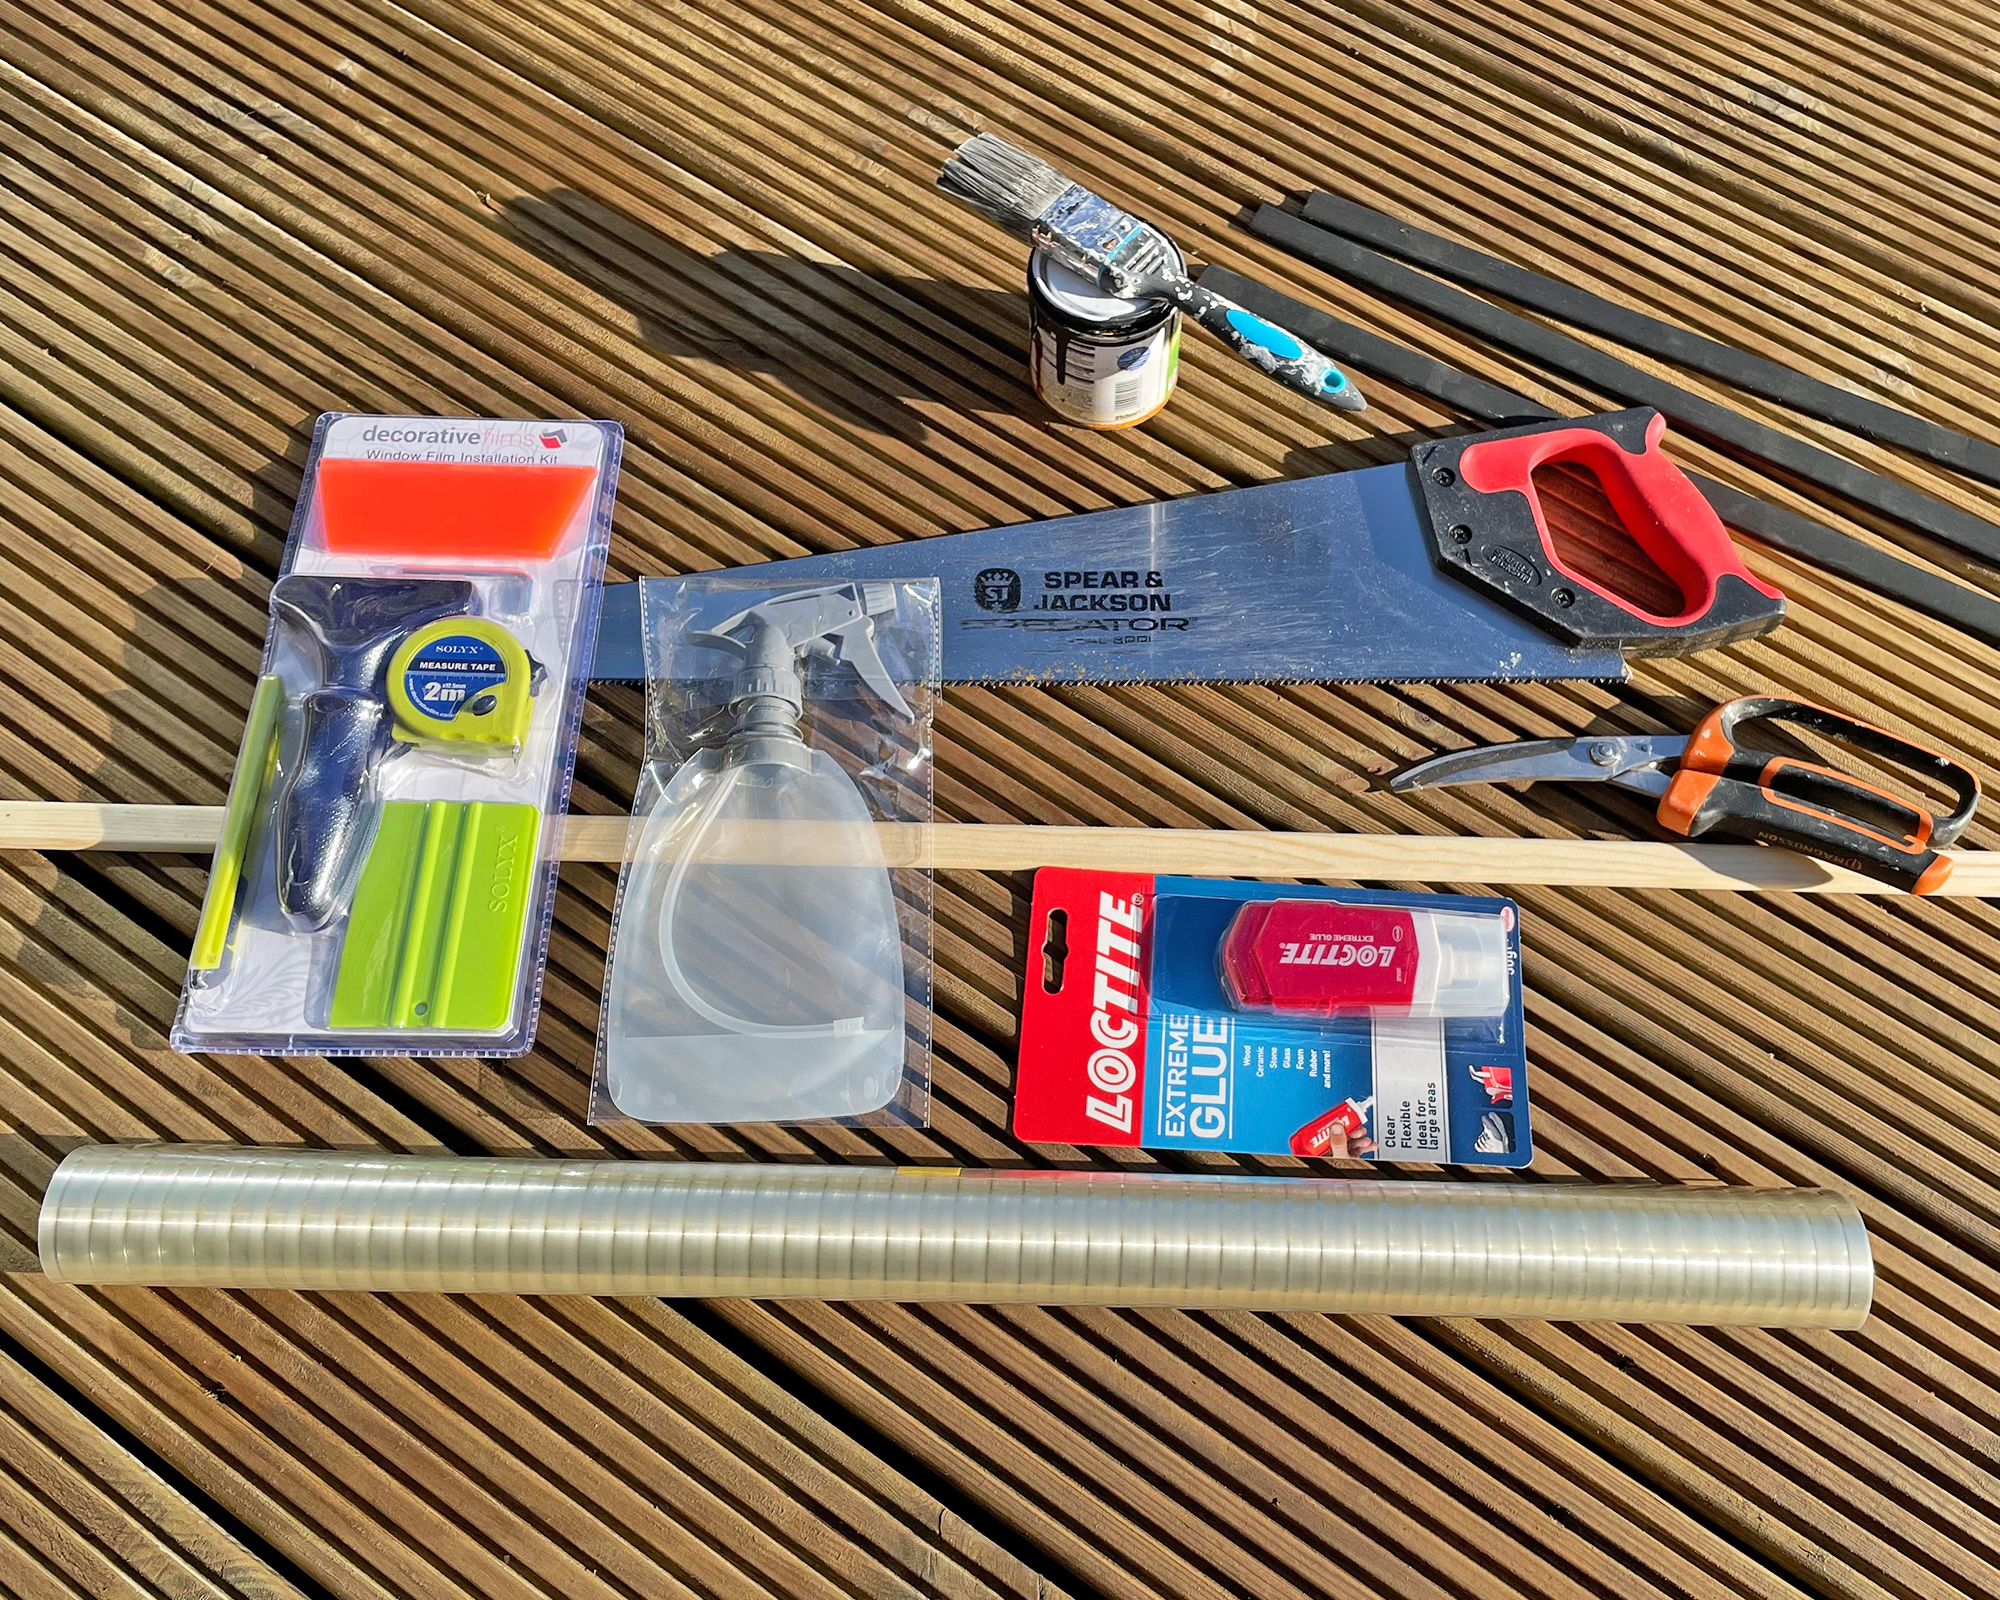
You will need:
1. Cleaning fluid: I use Bartoline Sugar Soap Liquid Concentrate
2. A sponge: I always bulk buy from Amazon!
3. Sandpaper: an assorted pack is best.
4. Multi-surface or uPVC paint: I used Rust-Oleum Universal Paint in Matt Black.
5. Wood molding
6. A level: A bubble ruler level from Amazon is fine.
7. Reeded glass film: I used this one from Glass Films which was excellent.
8. Glass film install kit: (this window film application kit made applying the glass film so much easier)
9. Strong glue: something like Loctite Super Glue that's suitable for glass.
10. Saw: I like this Faithfull FAIMS Mini Saw from Amazon.
How to paint a UPVC door and add Crittall-style detail
Painting a uPVC door that’s less than a year old is not recommended due to the resins from the manufacturing process affecting the adhesion of the paint.
If your door is an external door and exposed to the elements then you’ll need to choose weatherproof paint, check the tin for application instructions.
1. Prep the door
Clean and dry both sides of the door from top to bottom using diluted washing-up liquid. Scrape the surface of the glass and use a squeegee to dry. Lightly sand (key) the door frame to allow for better adhesion. Apply painter's tape around the edge of the door frame, the lock, and the hinges.
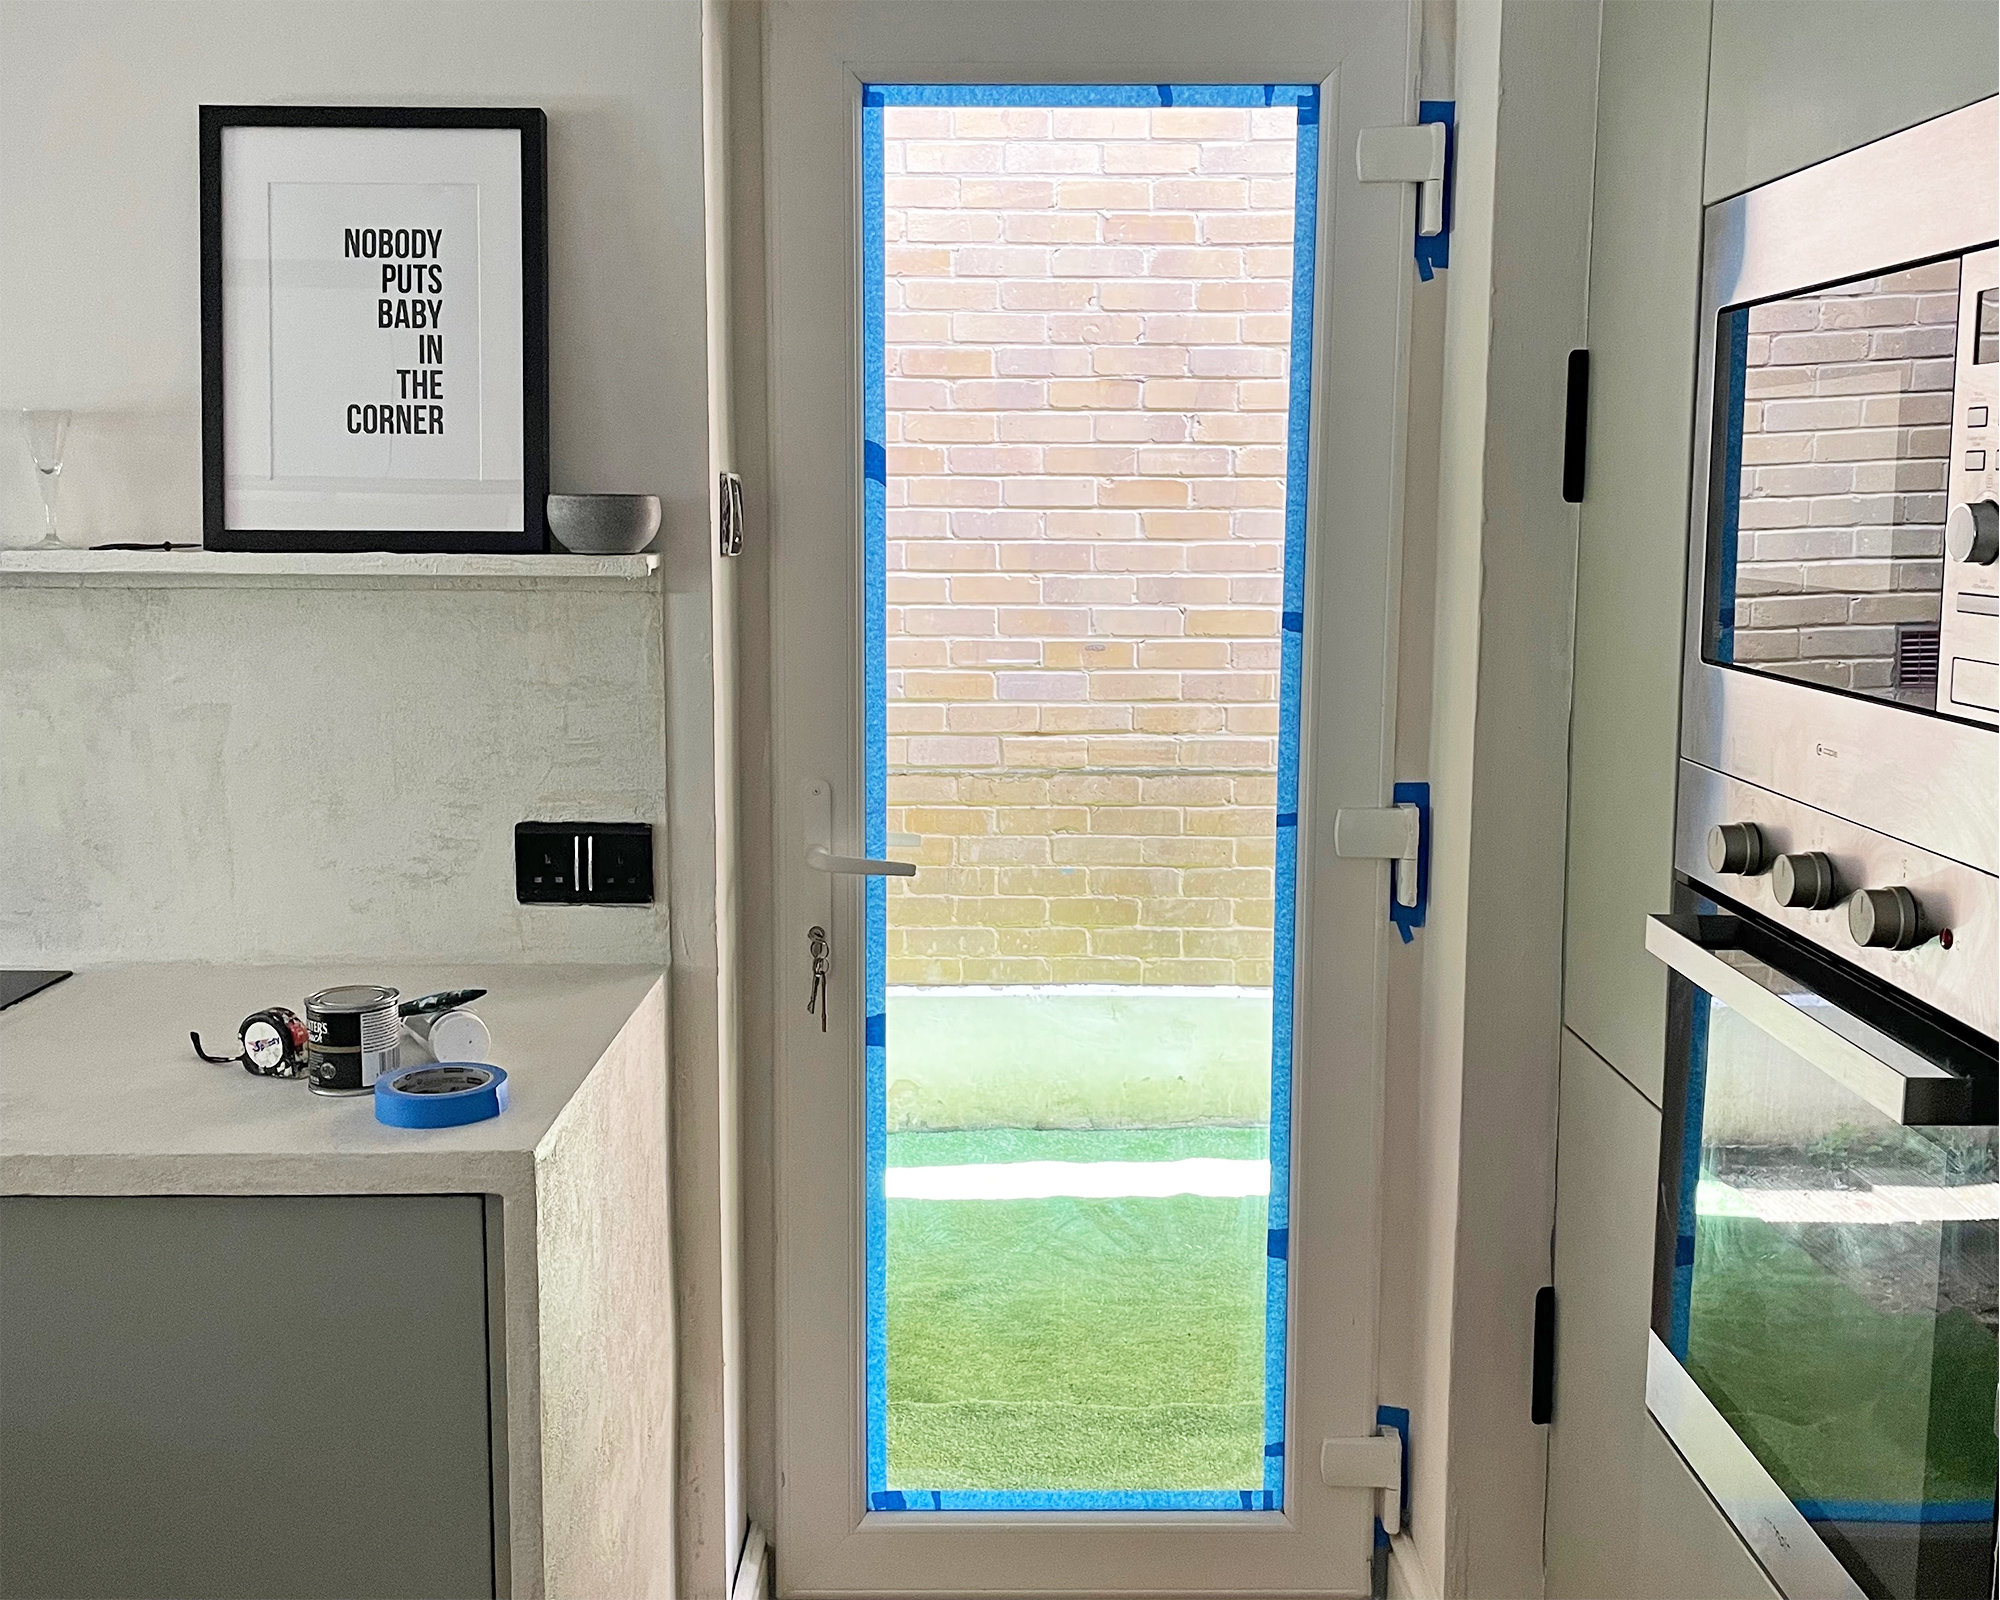
2. Paint
Apply two or three coats of multi-purpose or uPVC paint, I used Rust-Oleum Universal Paint in Matt Black, allowing time in between for each layer to fully dry.
Top Tip: When painting, always peel off the painter's tape before the final coat dries.
Don't worry if the first coat doesn’t cover well, that’s normal when painting a uPVC door, the second coat will look much better. You don’t have to paint both sides of the door, but if you leave one side white, you will need to paint the baton you apply to that side white also to match.
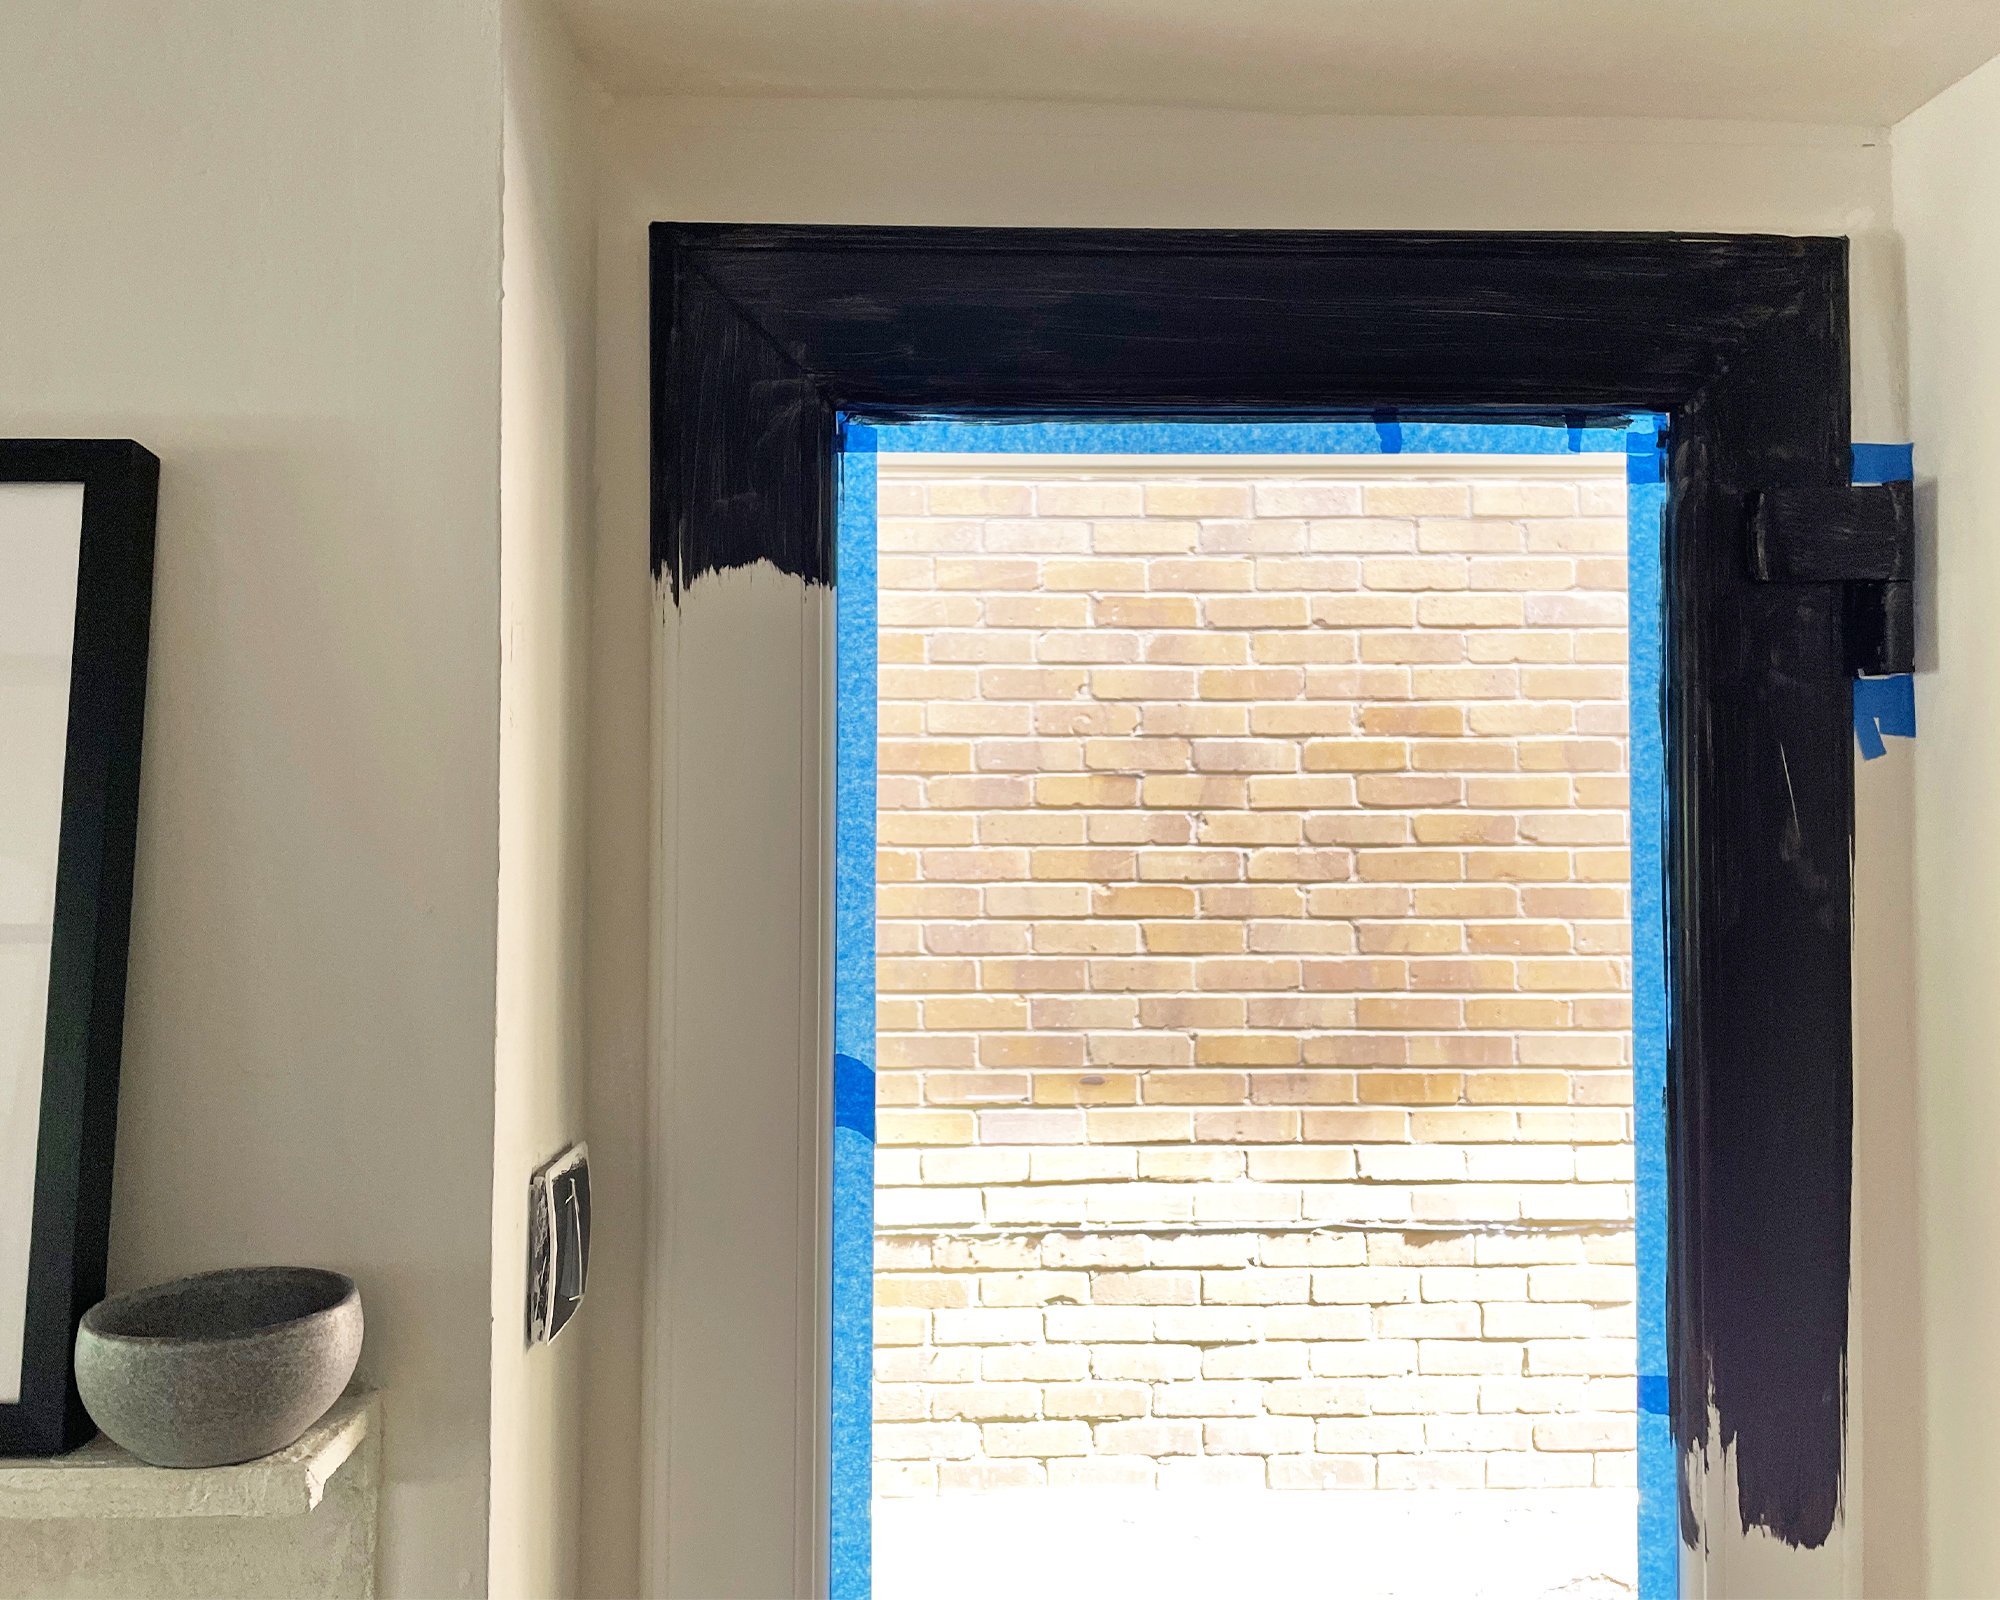
3. Apply glass film
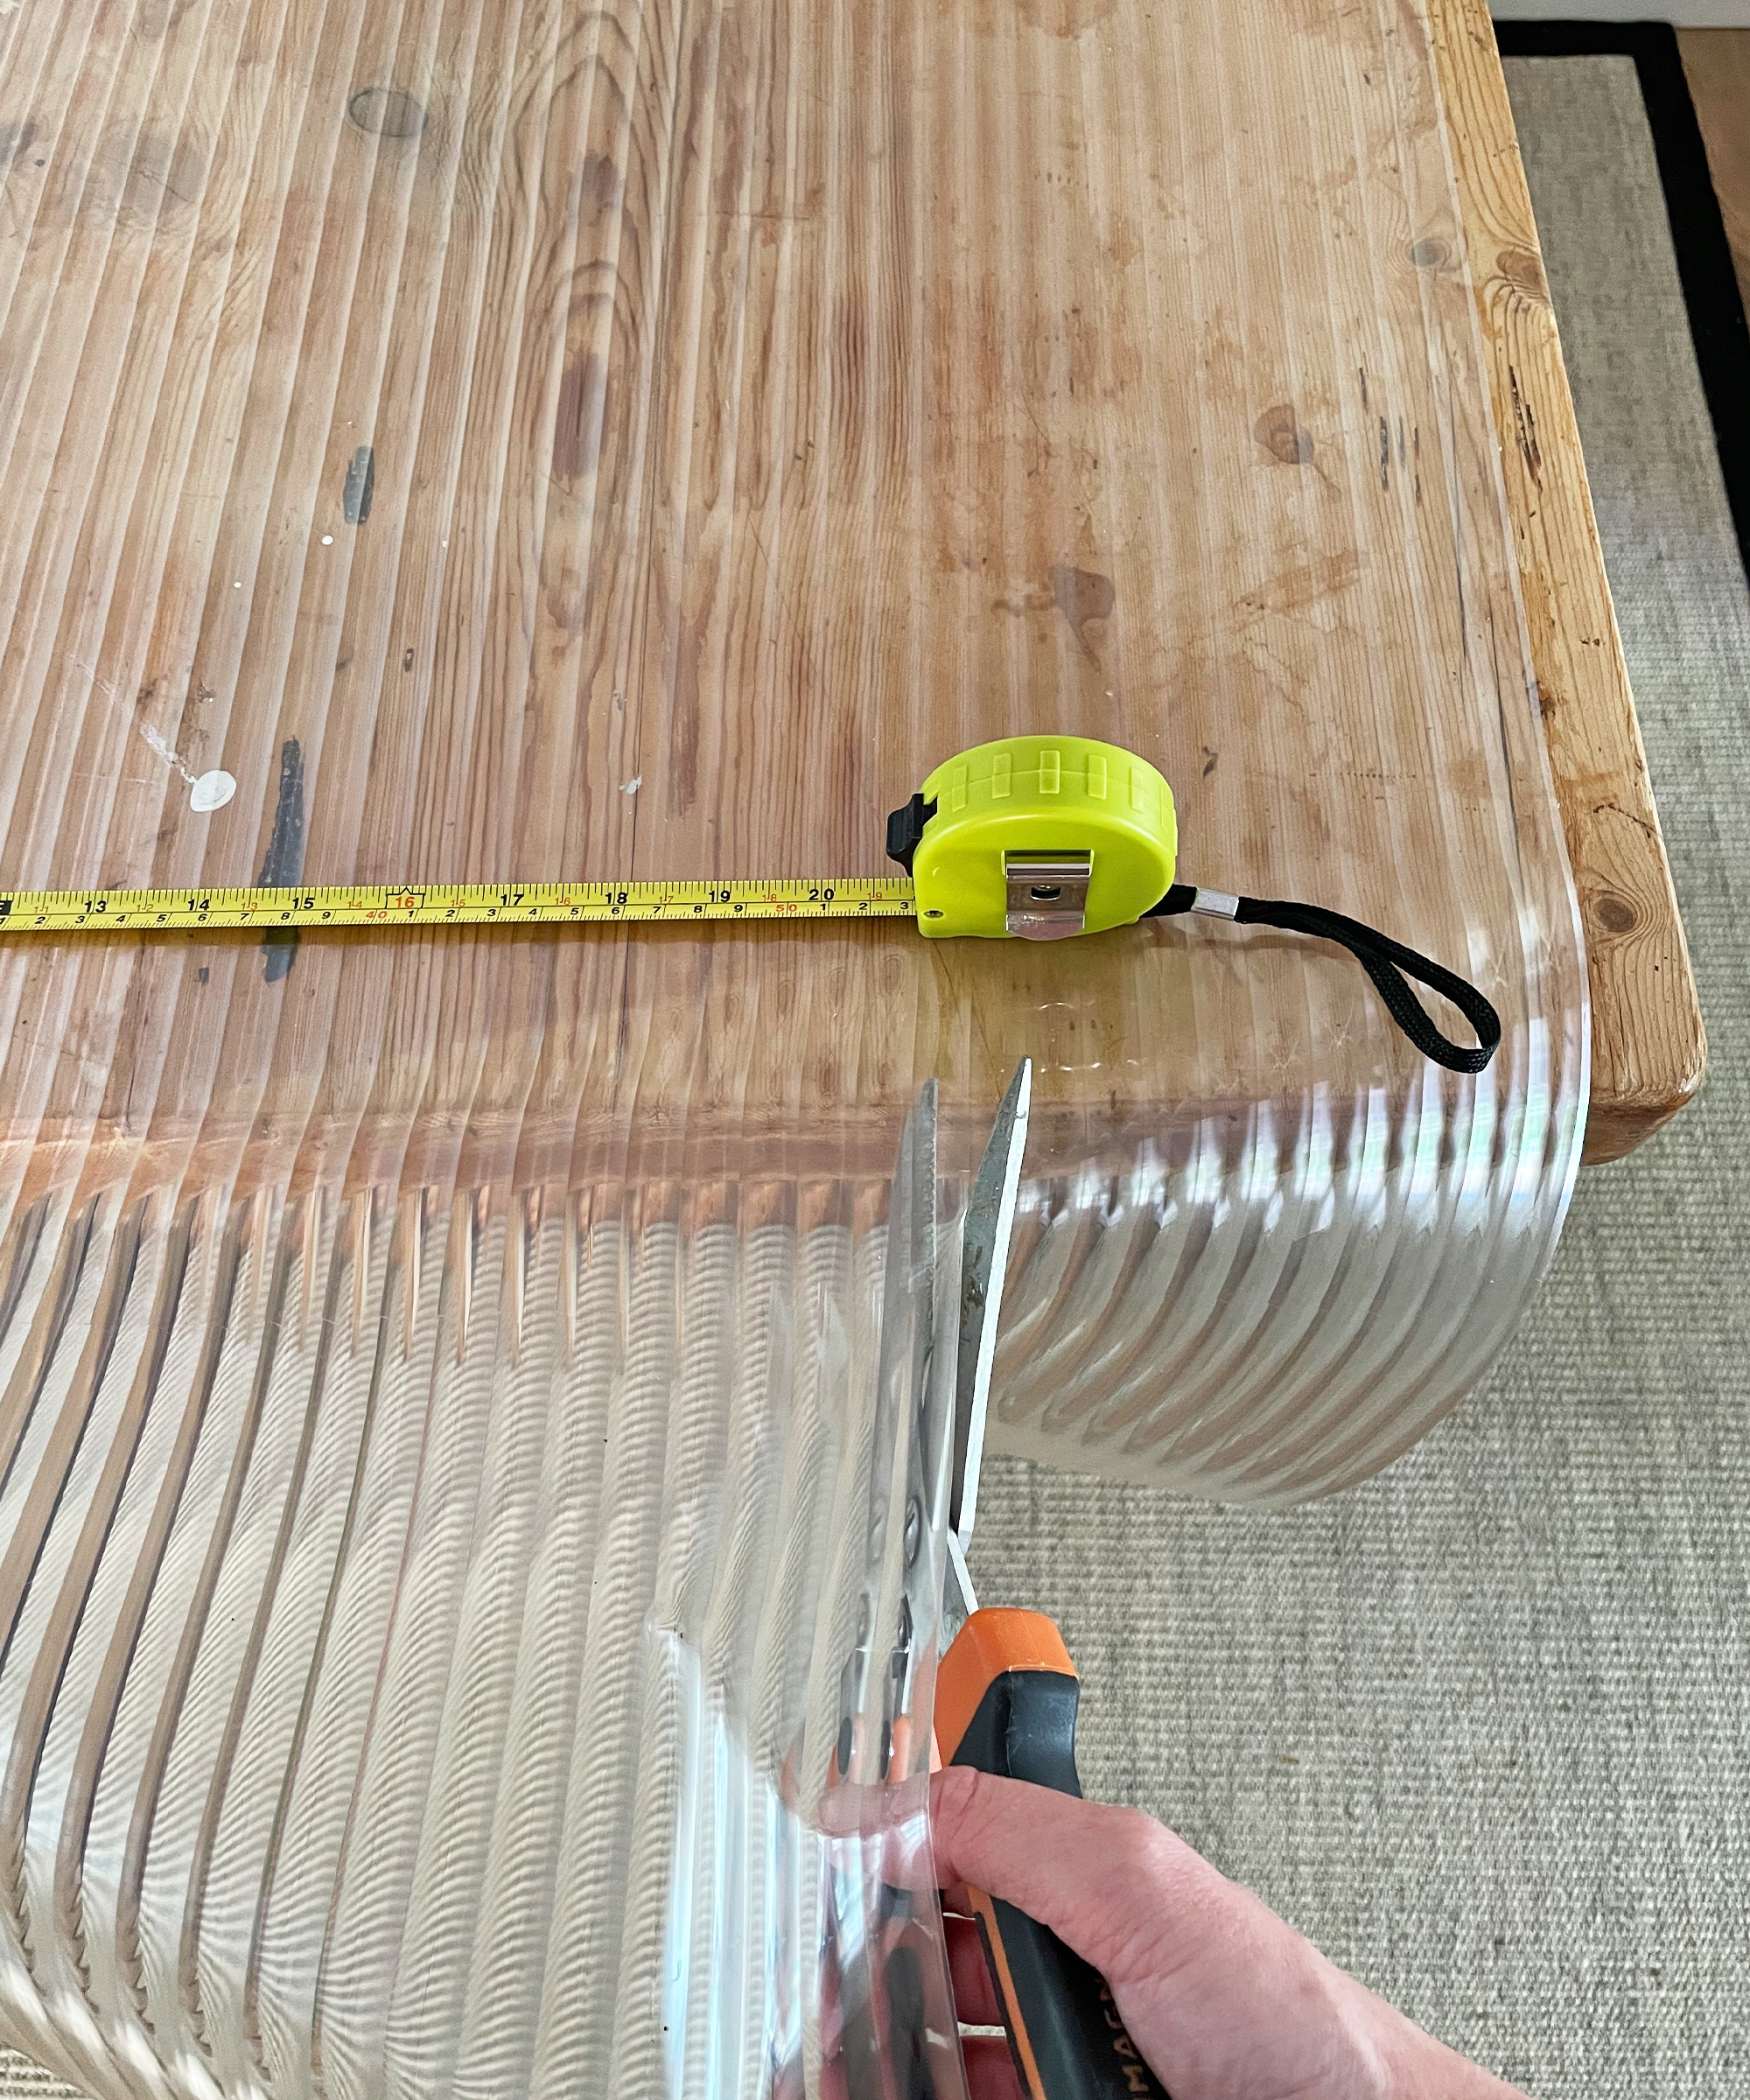
Measure and cut the desired size of glass film, allowing an extra 20mm. (I only covered one side of the door and that worked perfectly, but you could add to both sides if you prefer.) Spray installation fluid onto hands and remove the protective liner of the glass film. Spray the adhesive side of the glass film all over with the installation fluid ensuring the whole surface is covered. Spray the glass with installation fluid, again ensuring there are no dry patches.
Place the wet, adhesive side of the film against the glass lining up with the top of the door. Spray the front of the glass film with the installation spray, so the squeegee won’t stick to it.
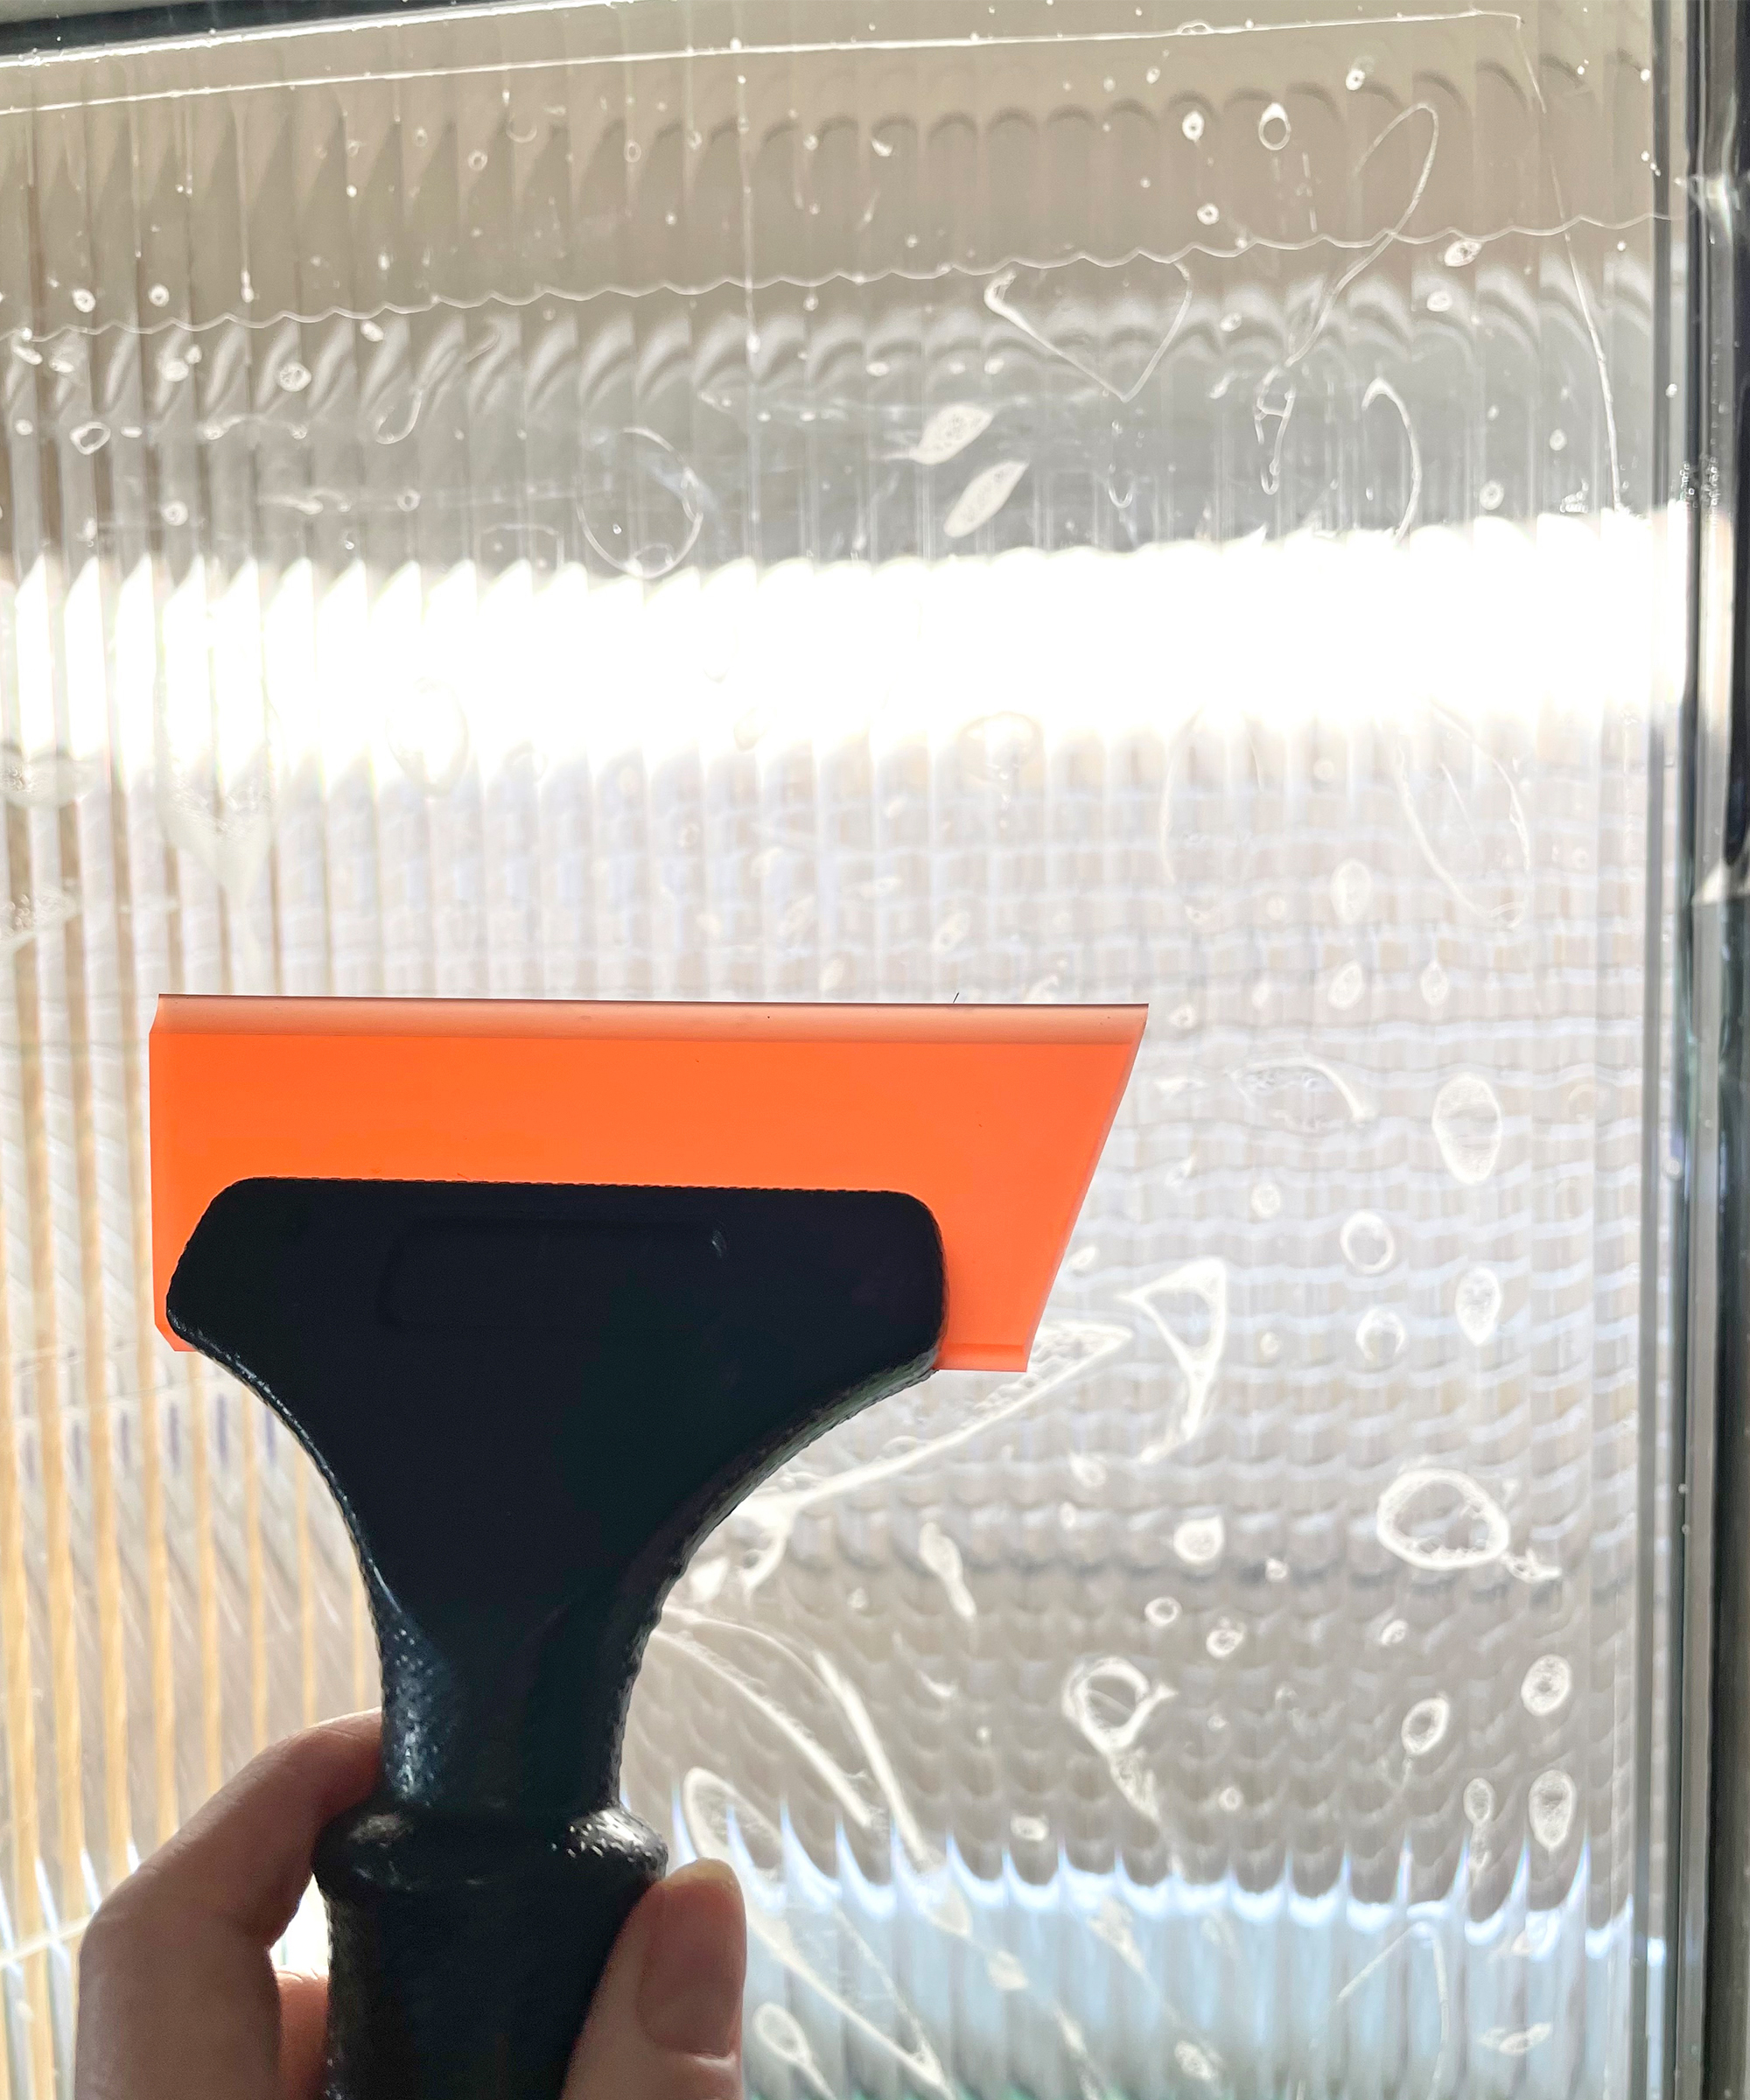
Work down the center of the glass and use the squeegee to press the water out behind the film. Once the glass film is sealed against the glass, cut it down to fit using the green card squeegee and ‘snap off knife’. Once the film has been trimmed, continue to remove the remaining water up to the edges of the pane. Use a cloth to dry the edges once the water has been removed.
4. Add strips of wood molding
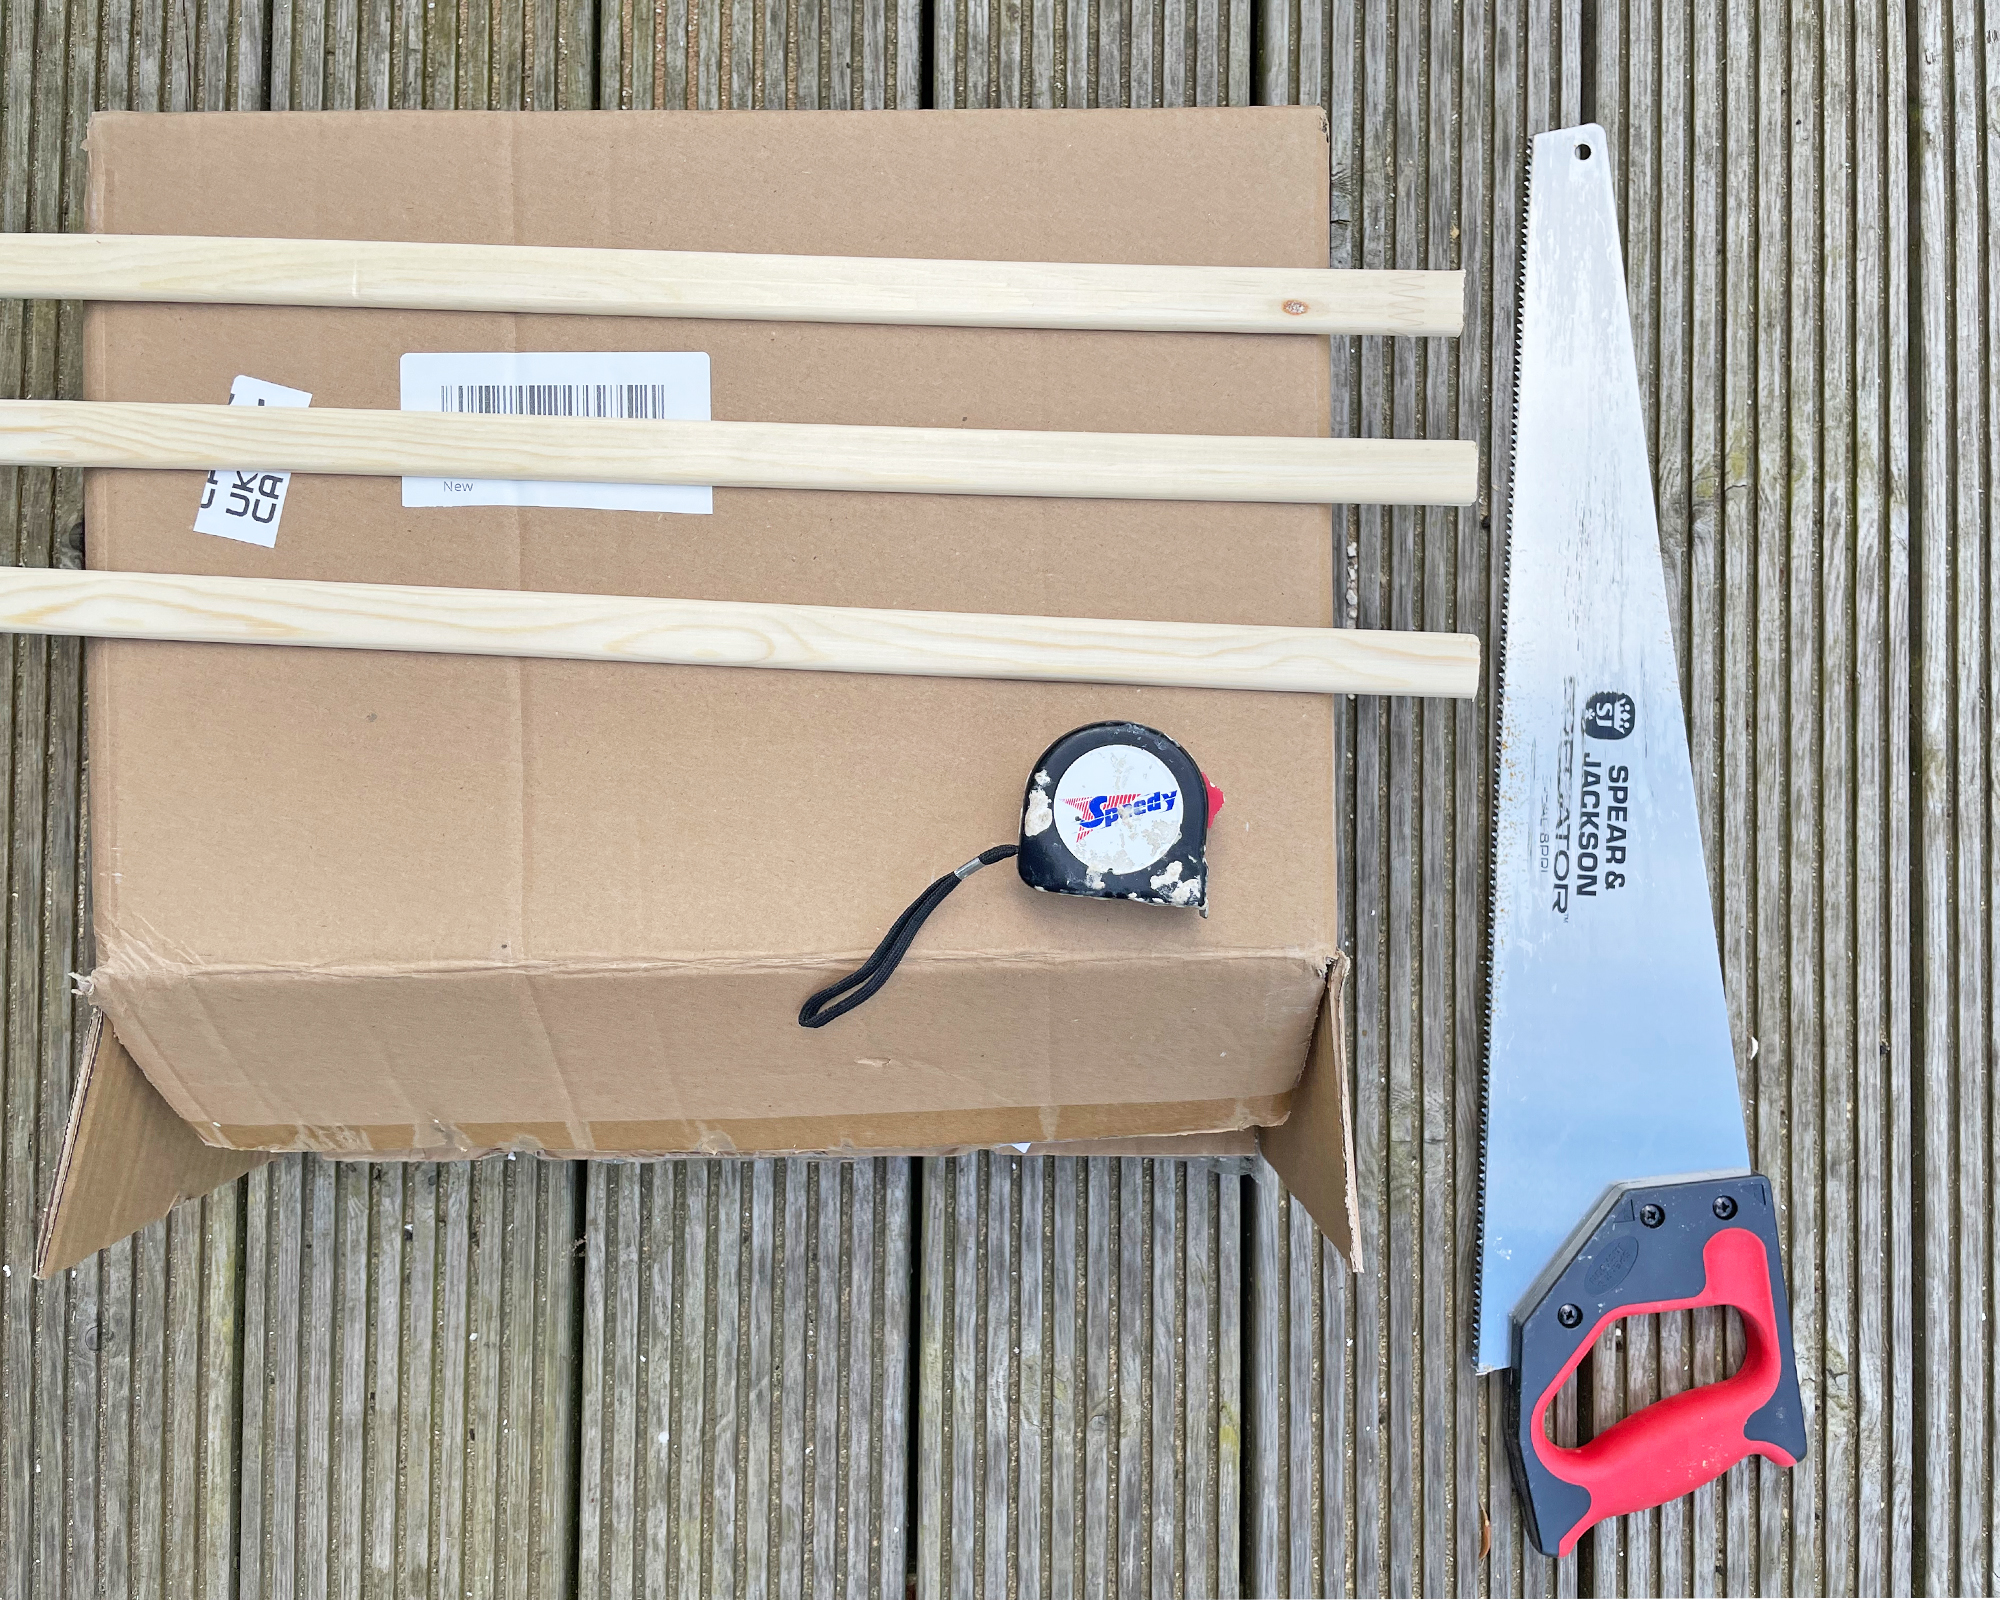
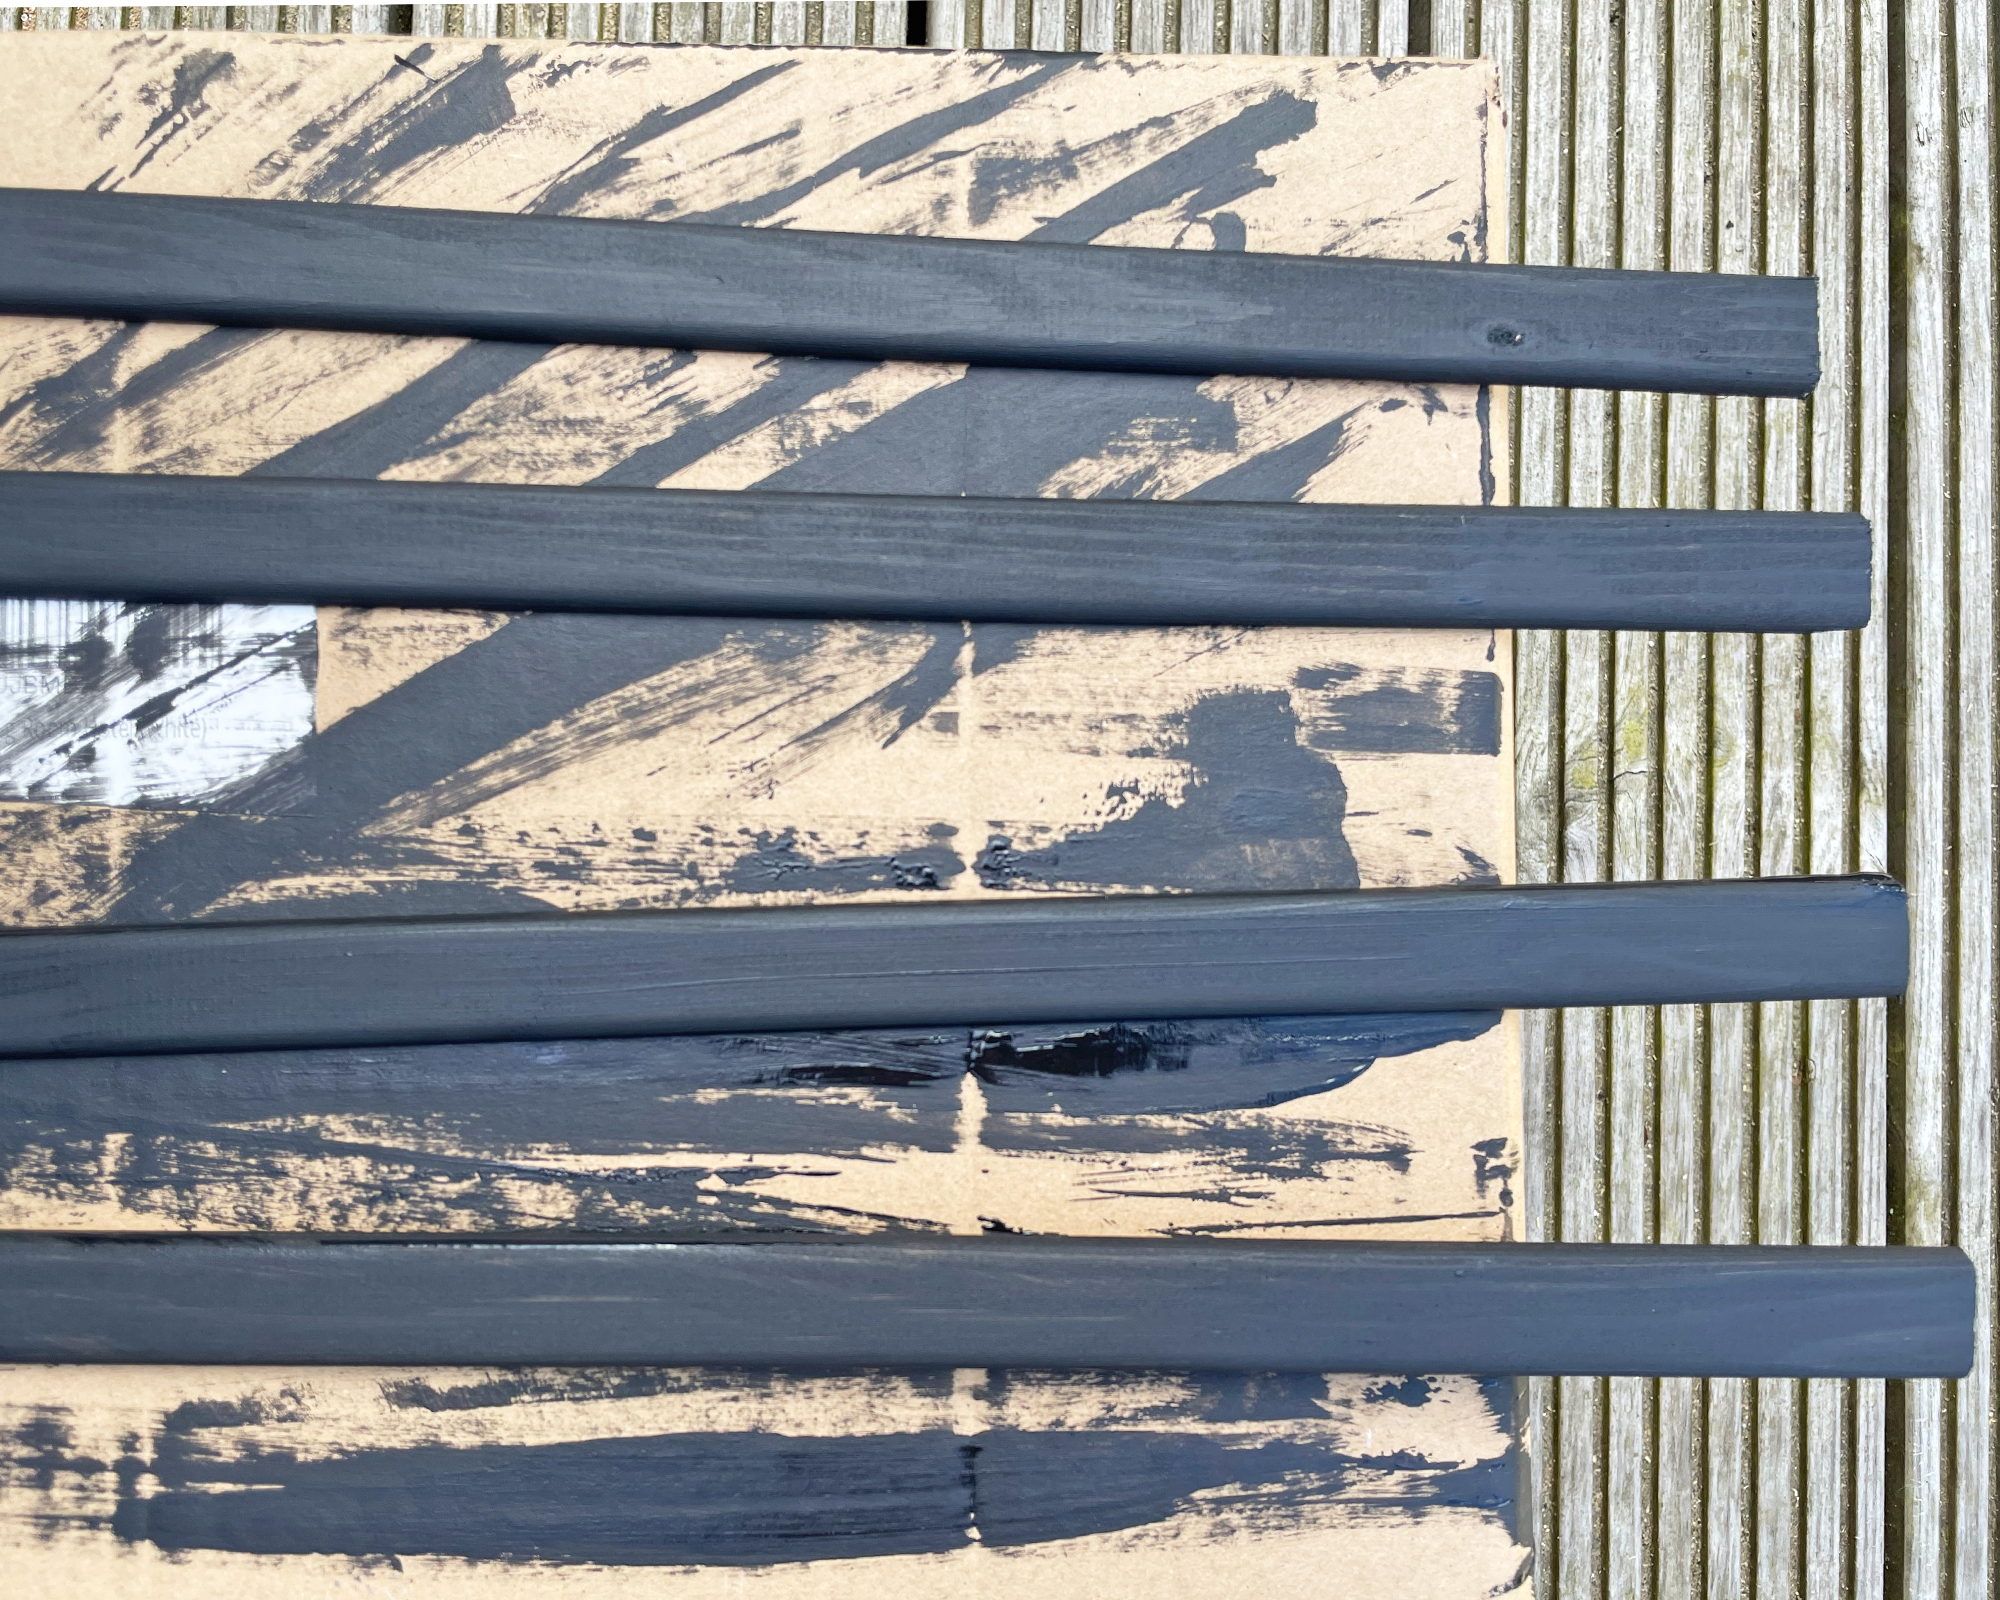
Choose the formation you want for the faux Crittall effect on your door and measure the lengths of wood molding that you will need. Cut the strips and lightly sand the sawn ends. Paint the pieces of cut molding with at least two coats of the multi-surface paint you used on the door frame to ensure there is a consistent color and finish. Remember to add the wood strips to both sides of the door, as you will see the glued back of the baton through the glass if you only apply it to one side.
Position the pieces on the door for a final check before applying glue to the back one at a time. Place each glued strip in position on the door and check with the level before applying firm pressure. Allow the glue to dry.
5. Add the final touches
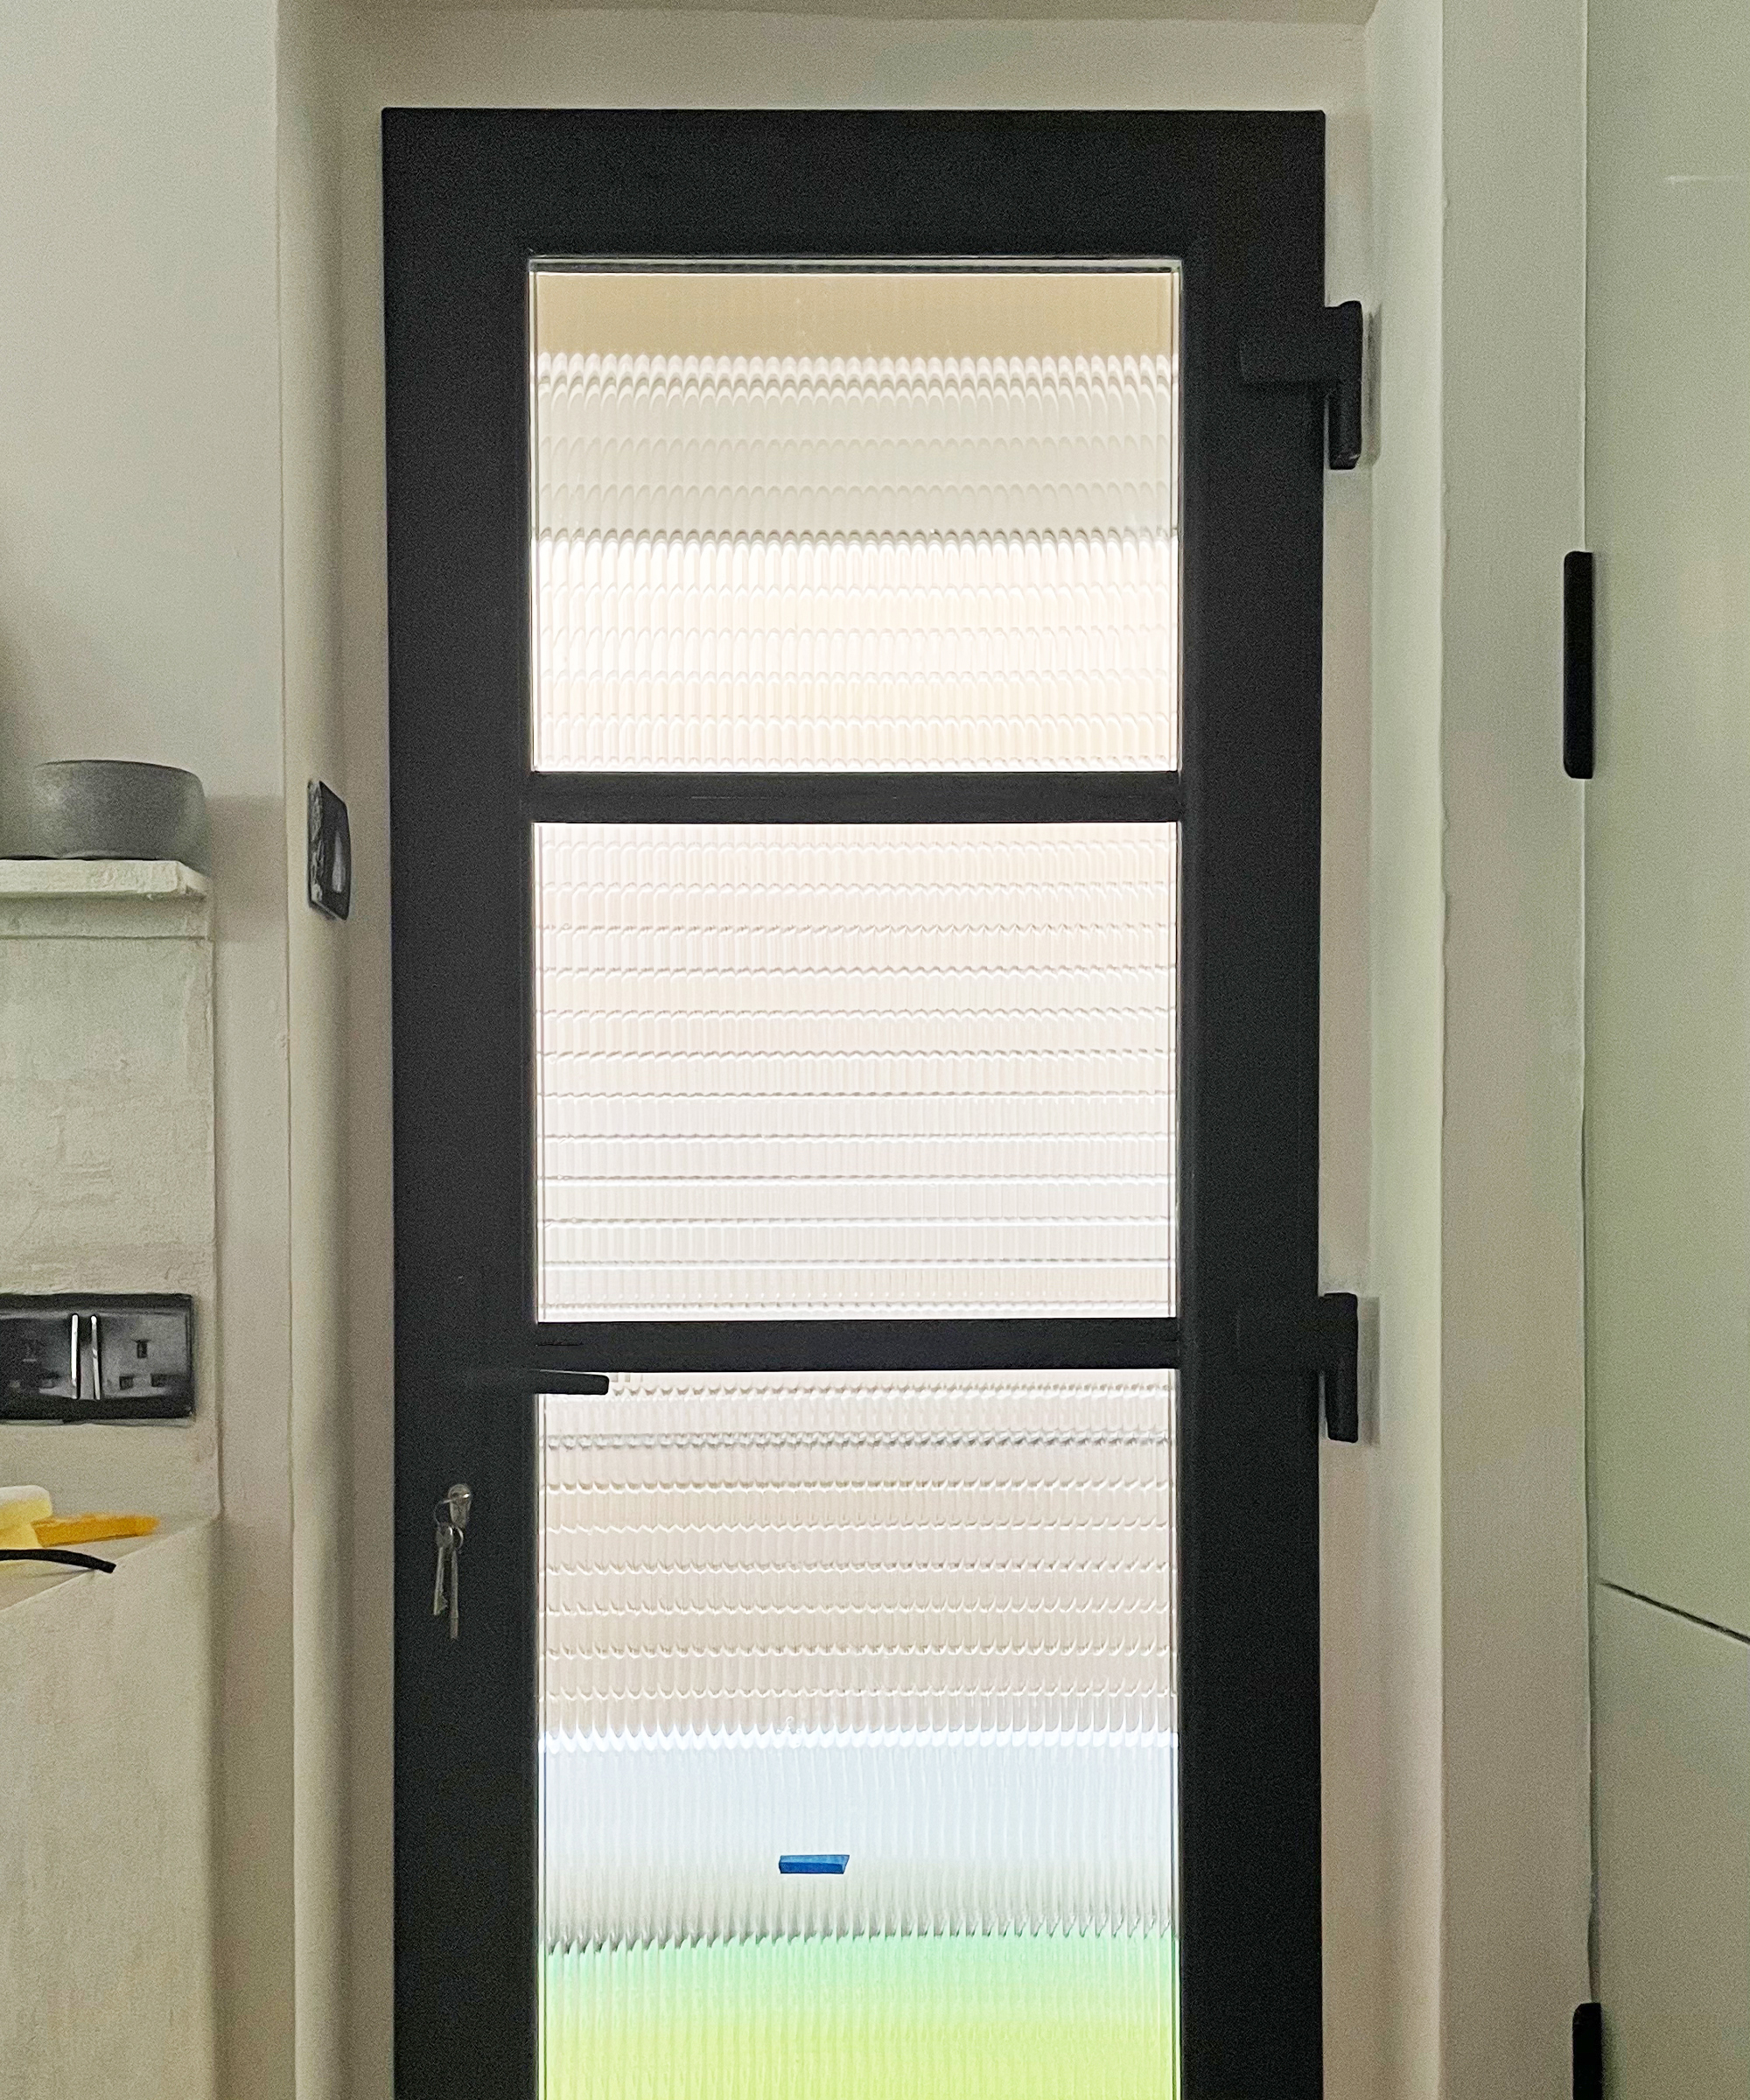
After the wood molding has dried, check if you have any gaps between the door frame and the painted strips; if you do they can be filled and painted for a super slick finish. And there you have it, a totally transformed door for a fraction of the price of a new one.
The results:
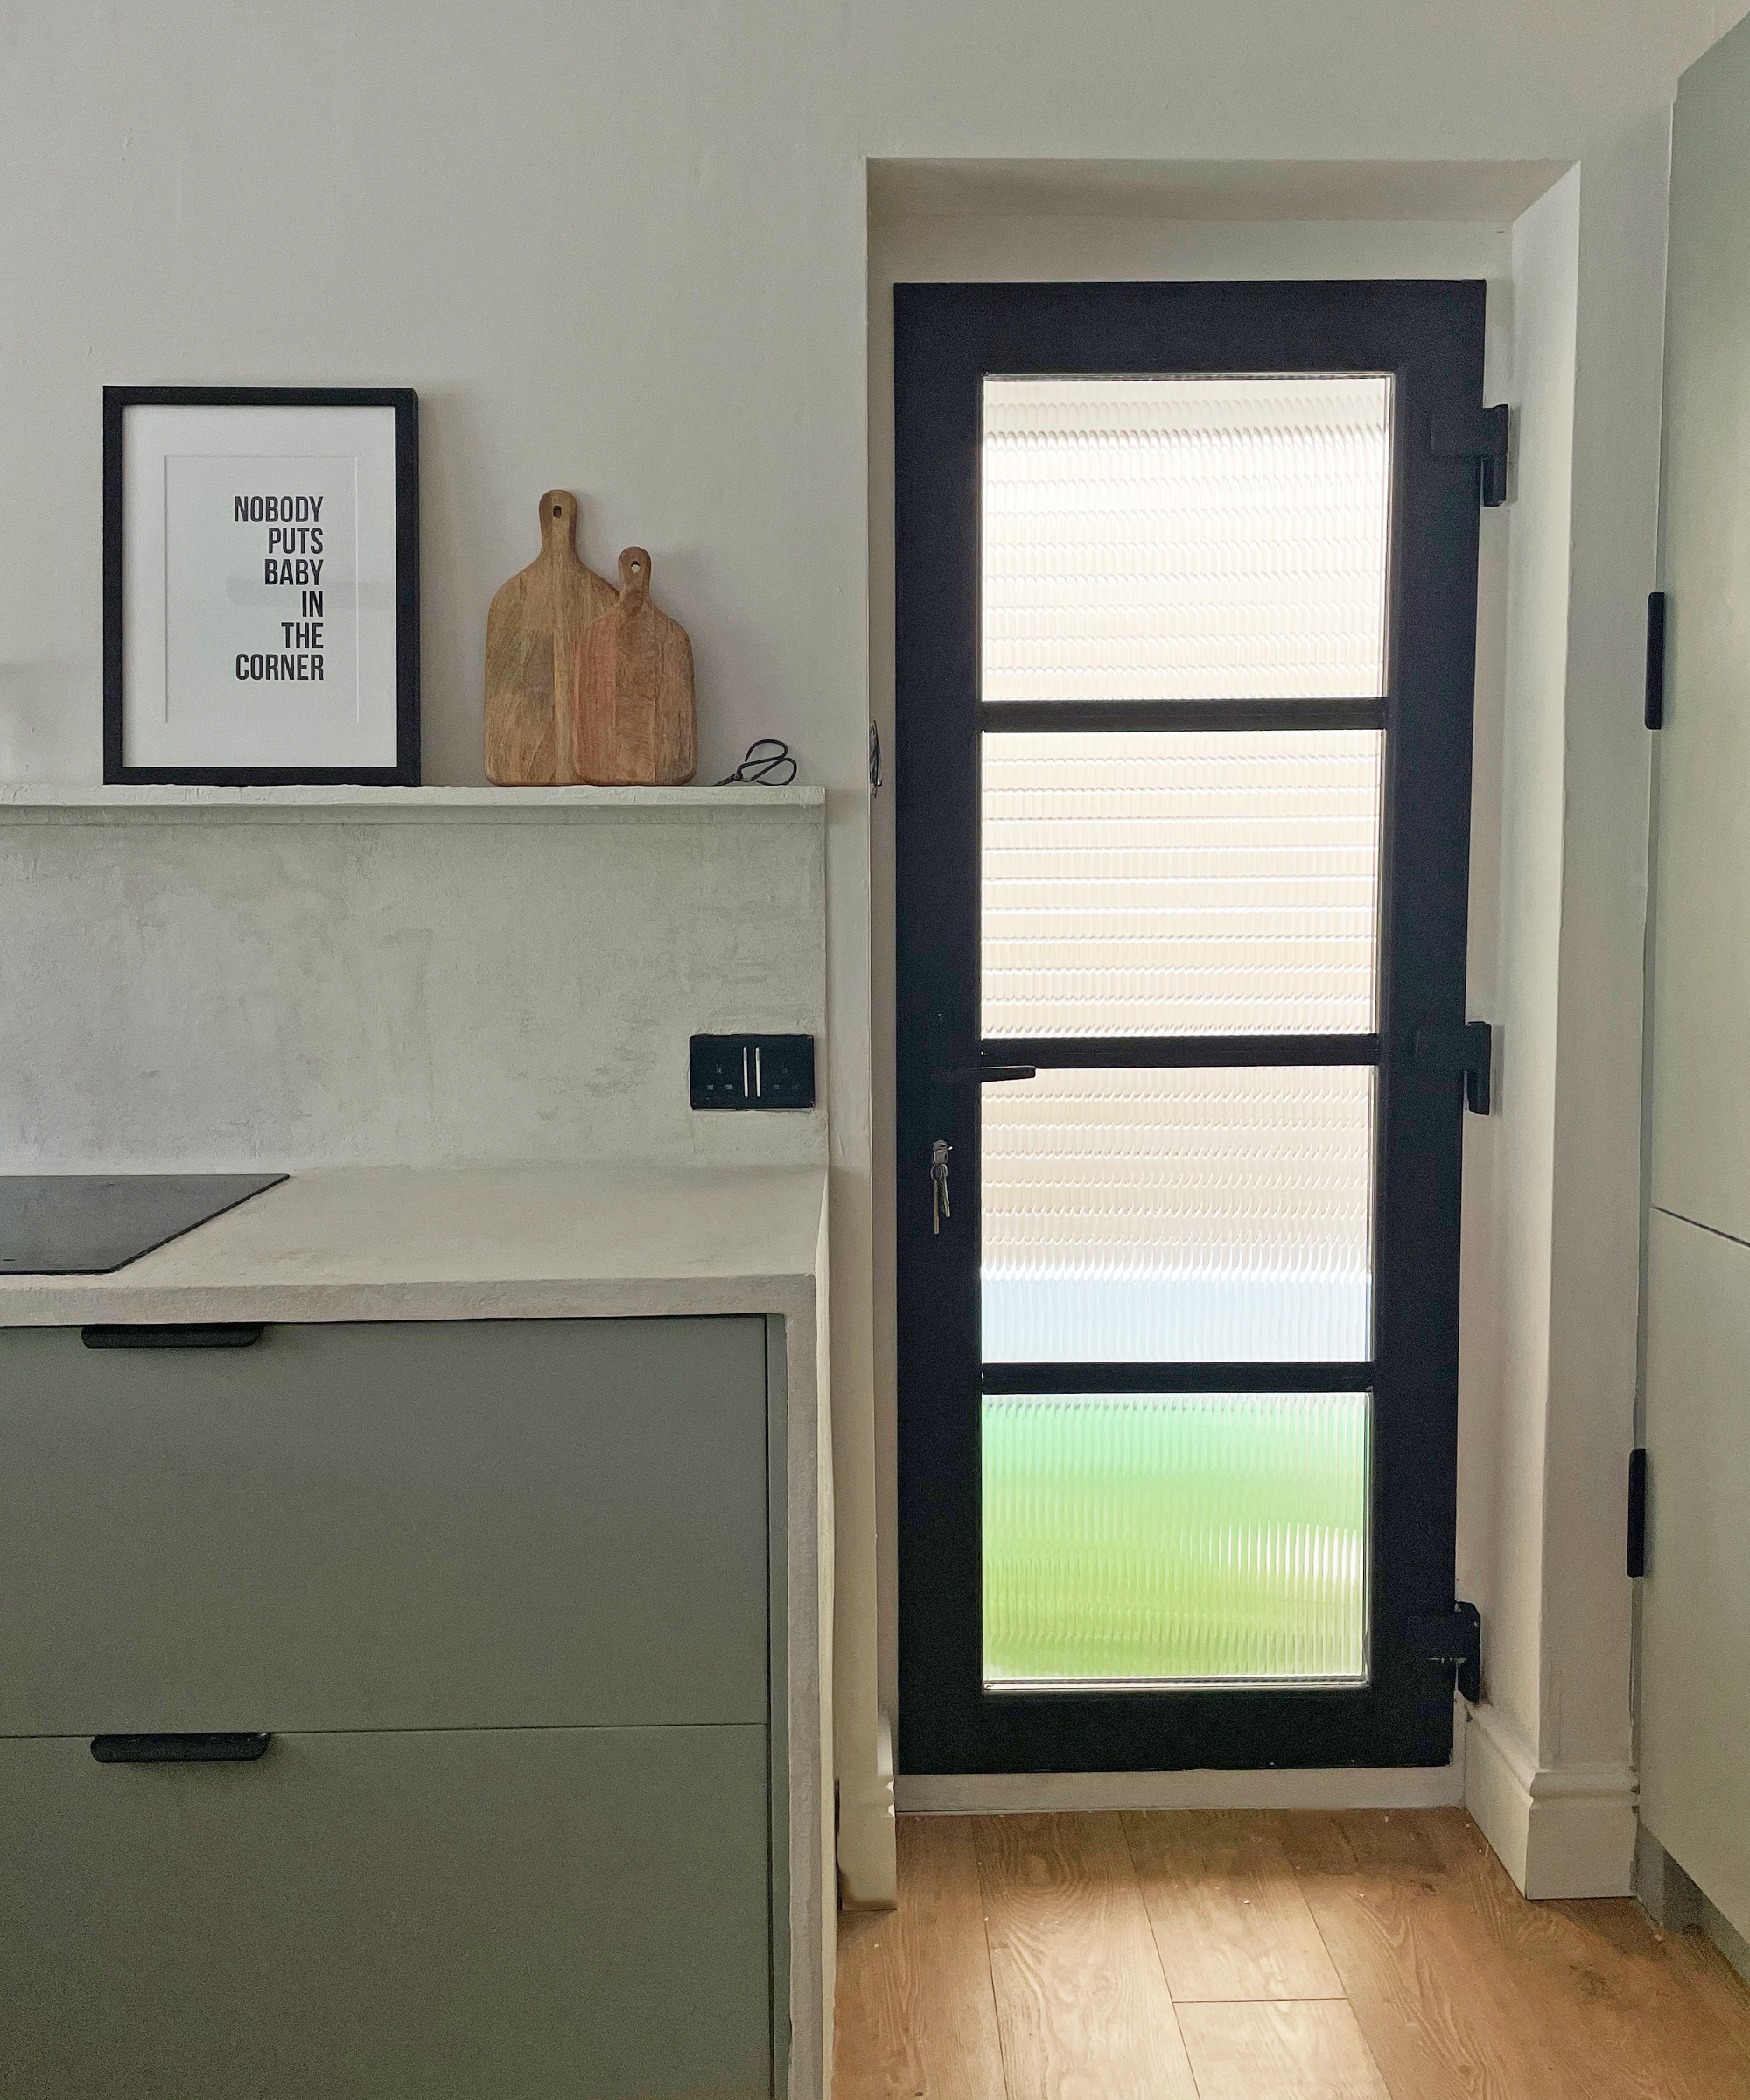
Join our newsletter
Get small space home decor ideas, celeb inspiration, DIY tips and more, straight to your inbox!

I'm happiest when I have either a drill or paintbrush in my hand! I specialise in room transformations on a budget and love experimenting with different styles and techniques which I share on my Instagram. I believe that your imagination, not your budget, should be the limiting factor when transforming a room and I love thinking of creative ways to build custom and bespoke-looking furniture using flatpacks or upcycle finds.
I also love writing and my home improvement blog (ClaireDouglasStyling.co.uk) is my passion project where I share creative ideas for interior styling and DIY tips and tutorials.
-
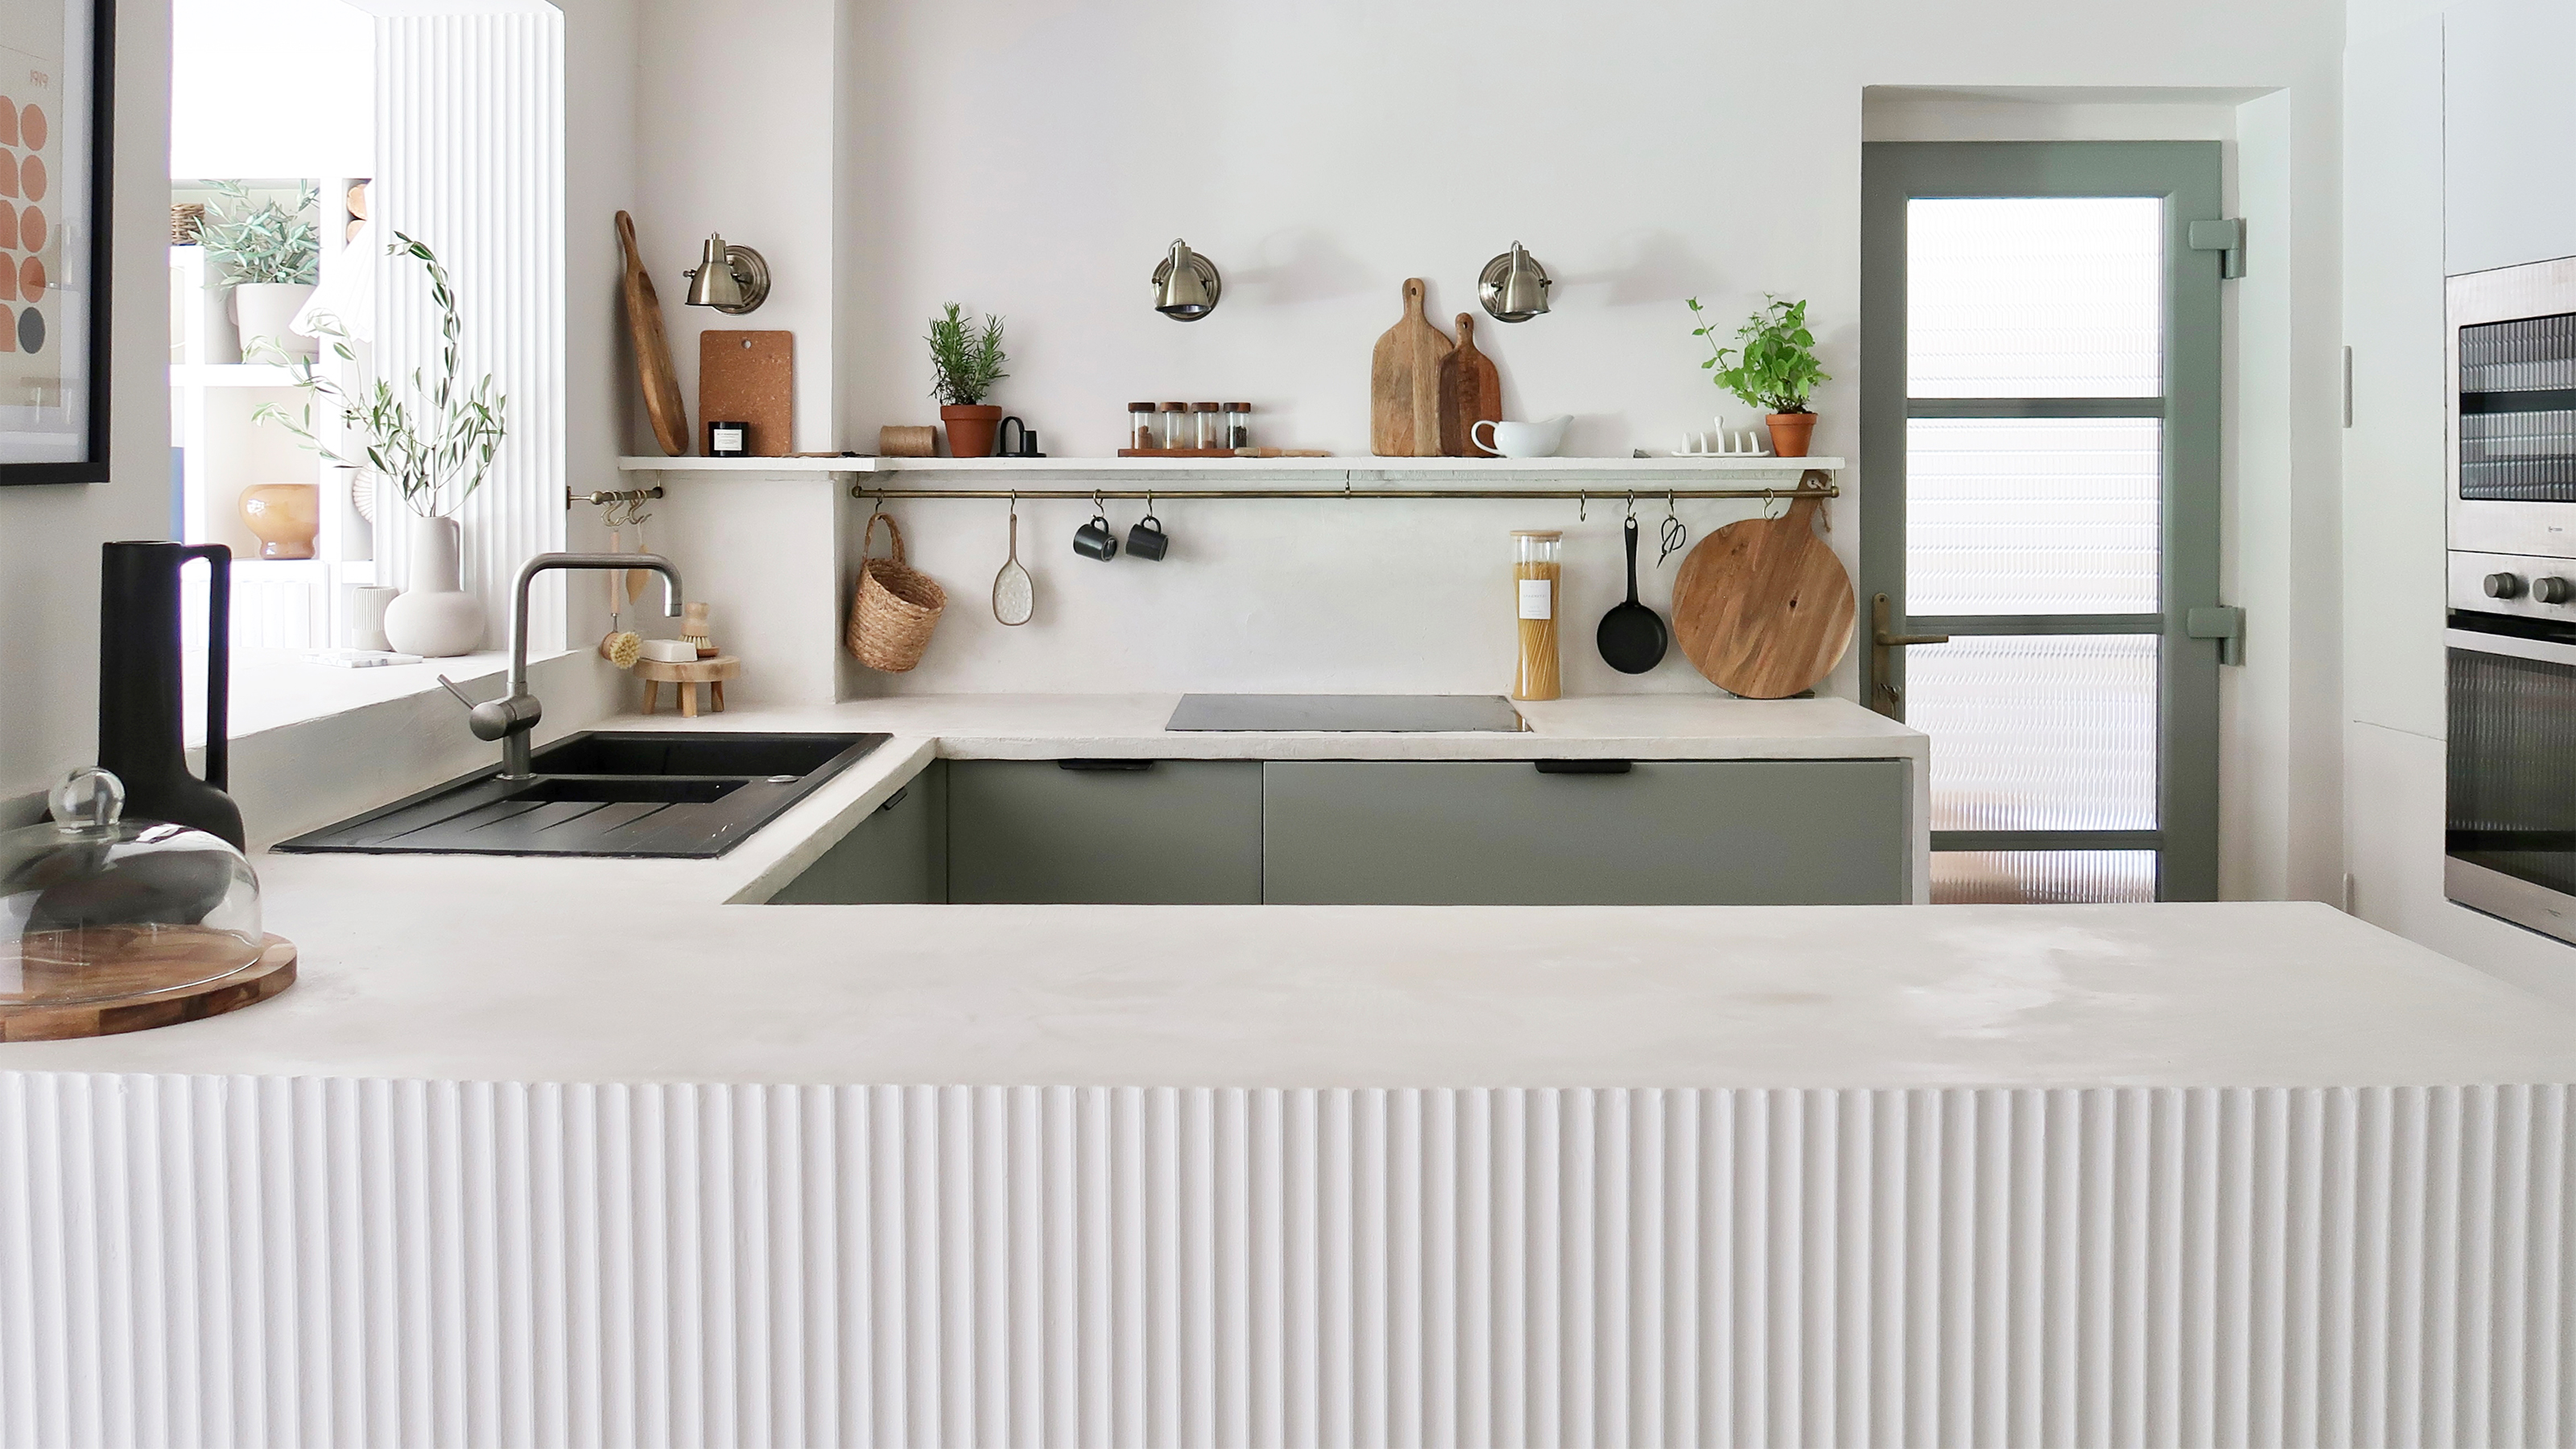 A $200 fluted panel transformed my drab kitchen in just one weekend
How to install a fluted kitchen panel: A speedy and achievable DIY tutorial even for DIY novices
By Claire Douglas Published
-
 How to replace a broken staircase spindle in 30 minutes flat
A missing or broken spindle on a staircase is not only unsightly, but it can be a real hazard. This is how to fix it in a few quick steps.
By Kate Sandhu Published
-
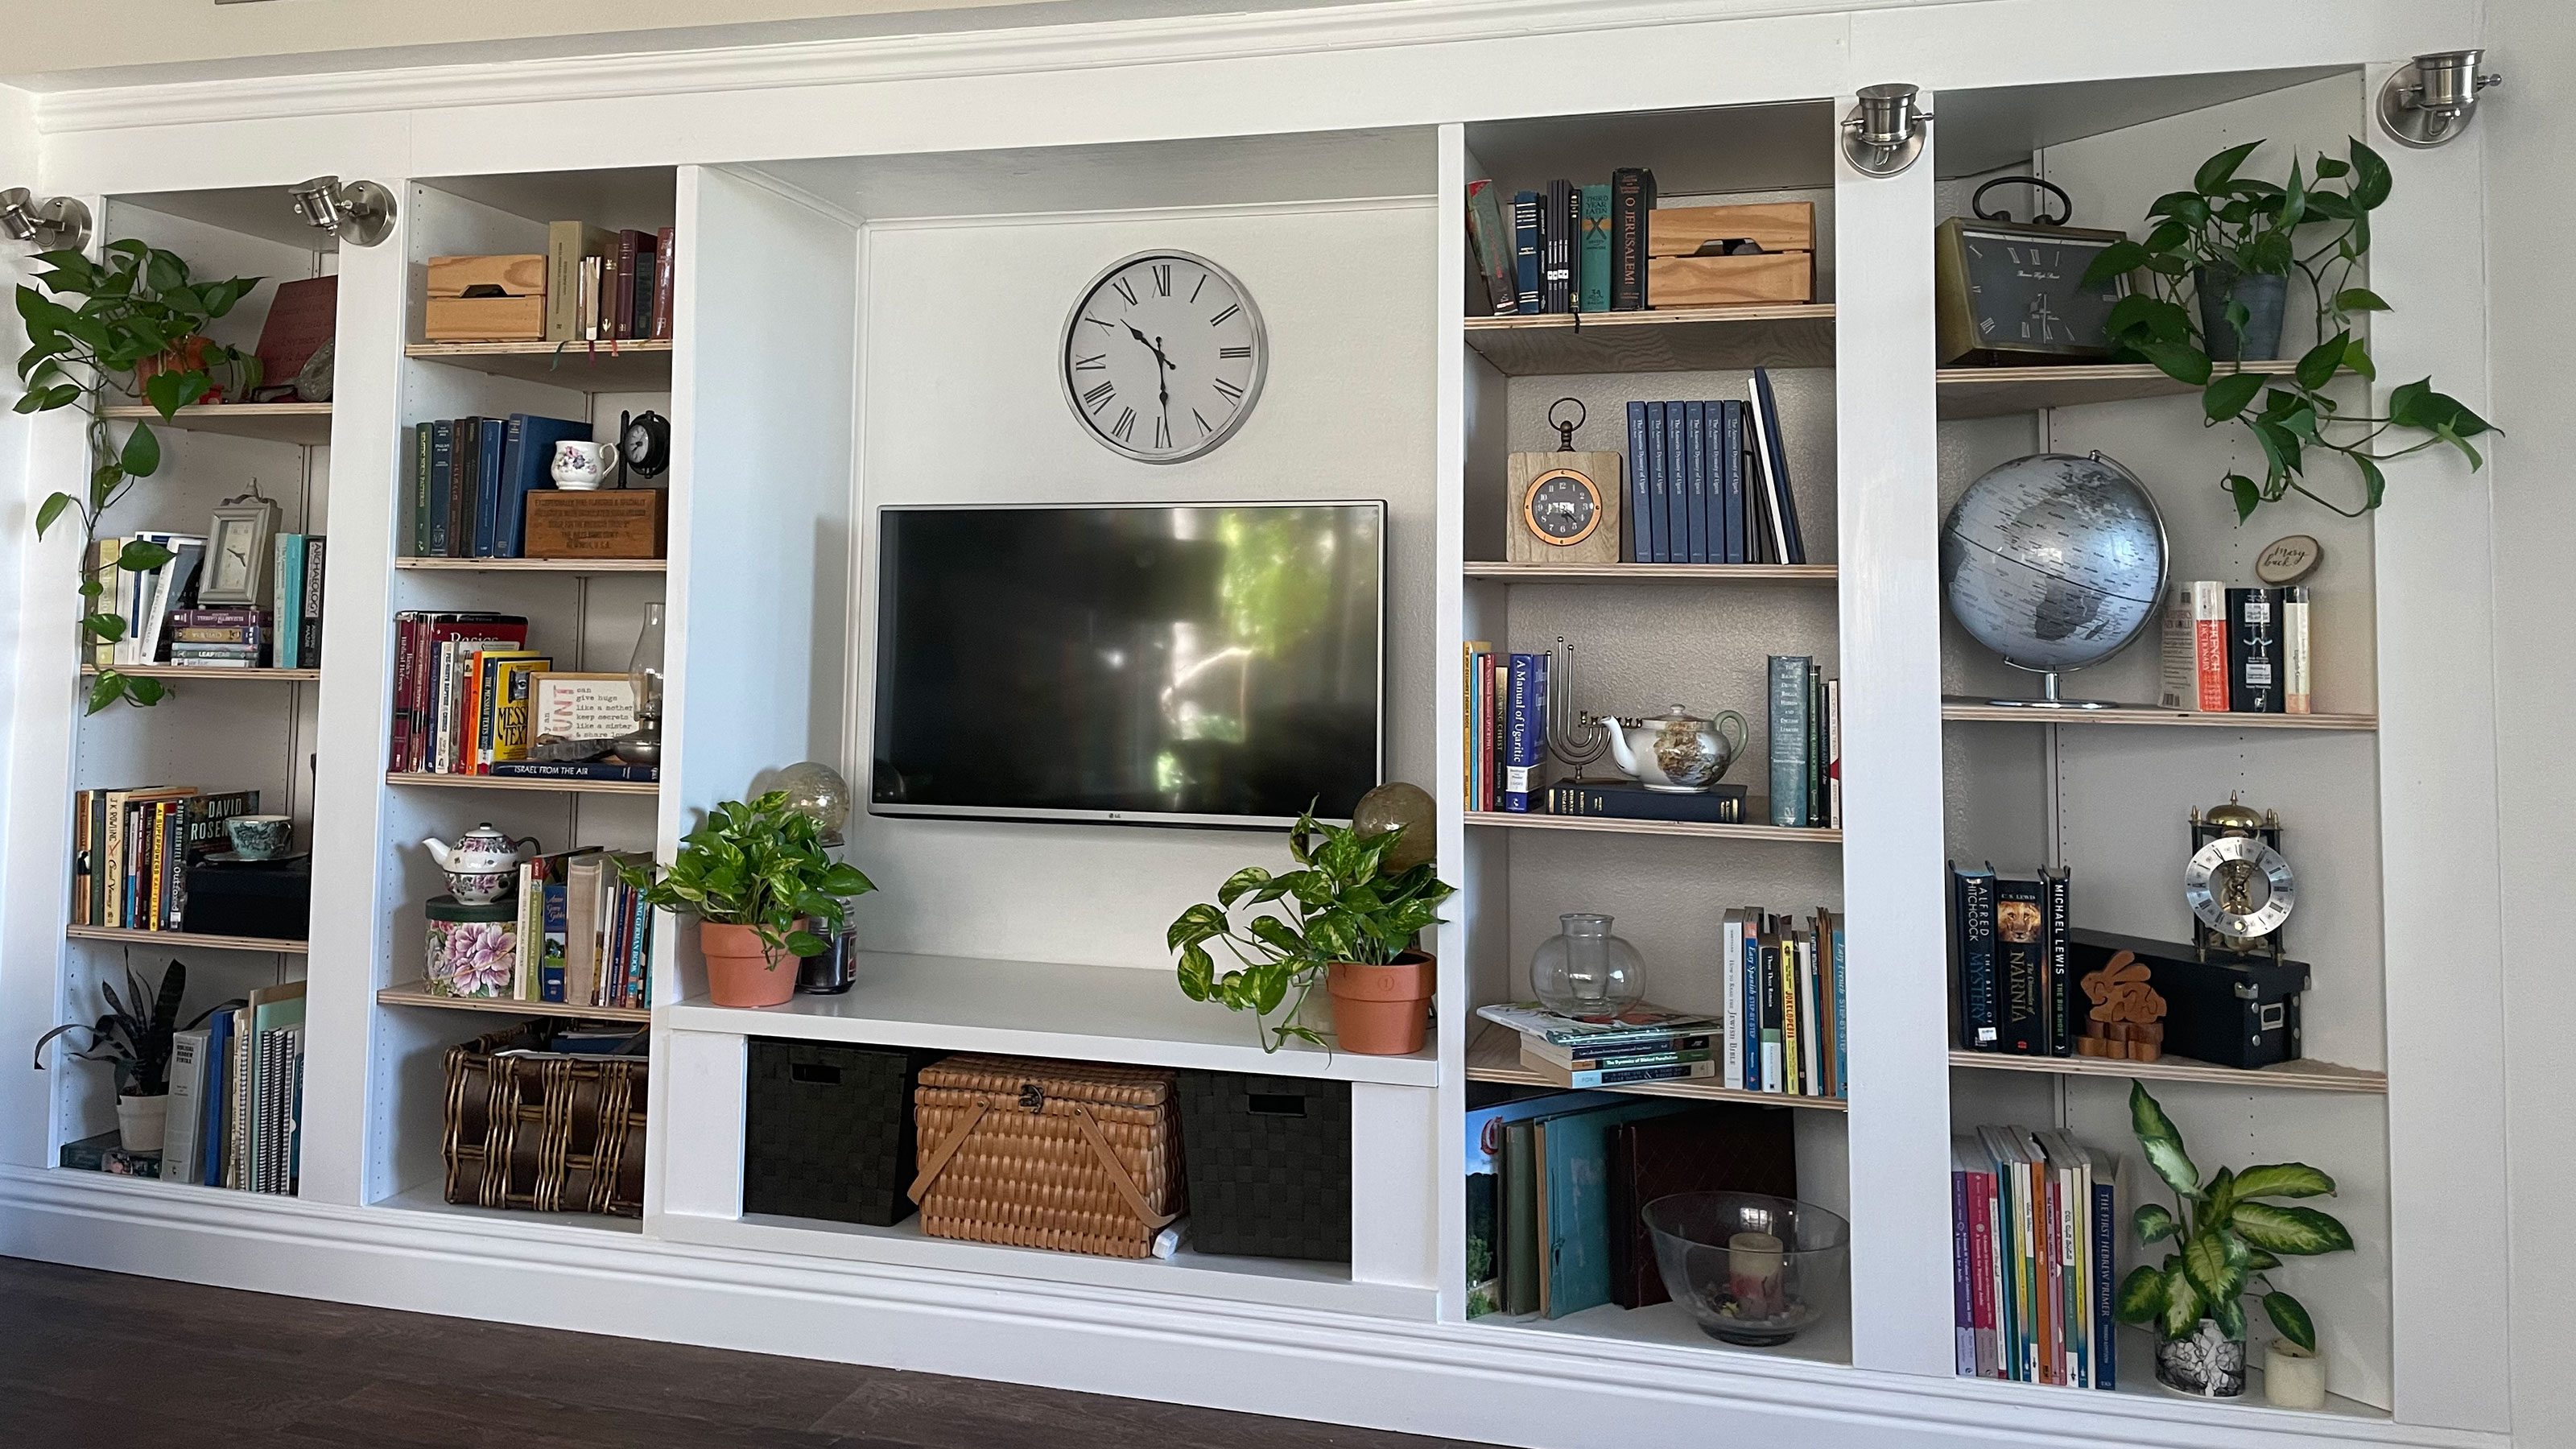 An IKEA Billy bookcase hack inspired this cute media wall DIY
This cute DIY was inspired by an IKEA Billy bookcase hack and brought a ton of symmetry to an otherwise basic media wall space.
By Camille Dubuis-Welch Published
-
 Share your small space glow up to win $150 in the Real Homes competition
Show off your creativity and DIY skills to win $150 and for the chance to be featured exclusively in Real Homes magazine
By Camille Dubuis-Welch Last updated
-
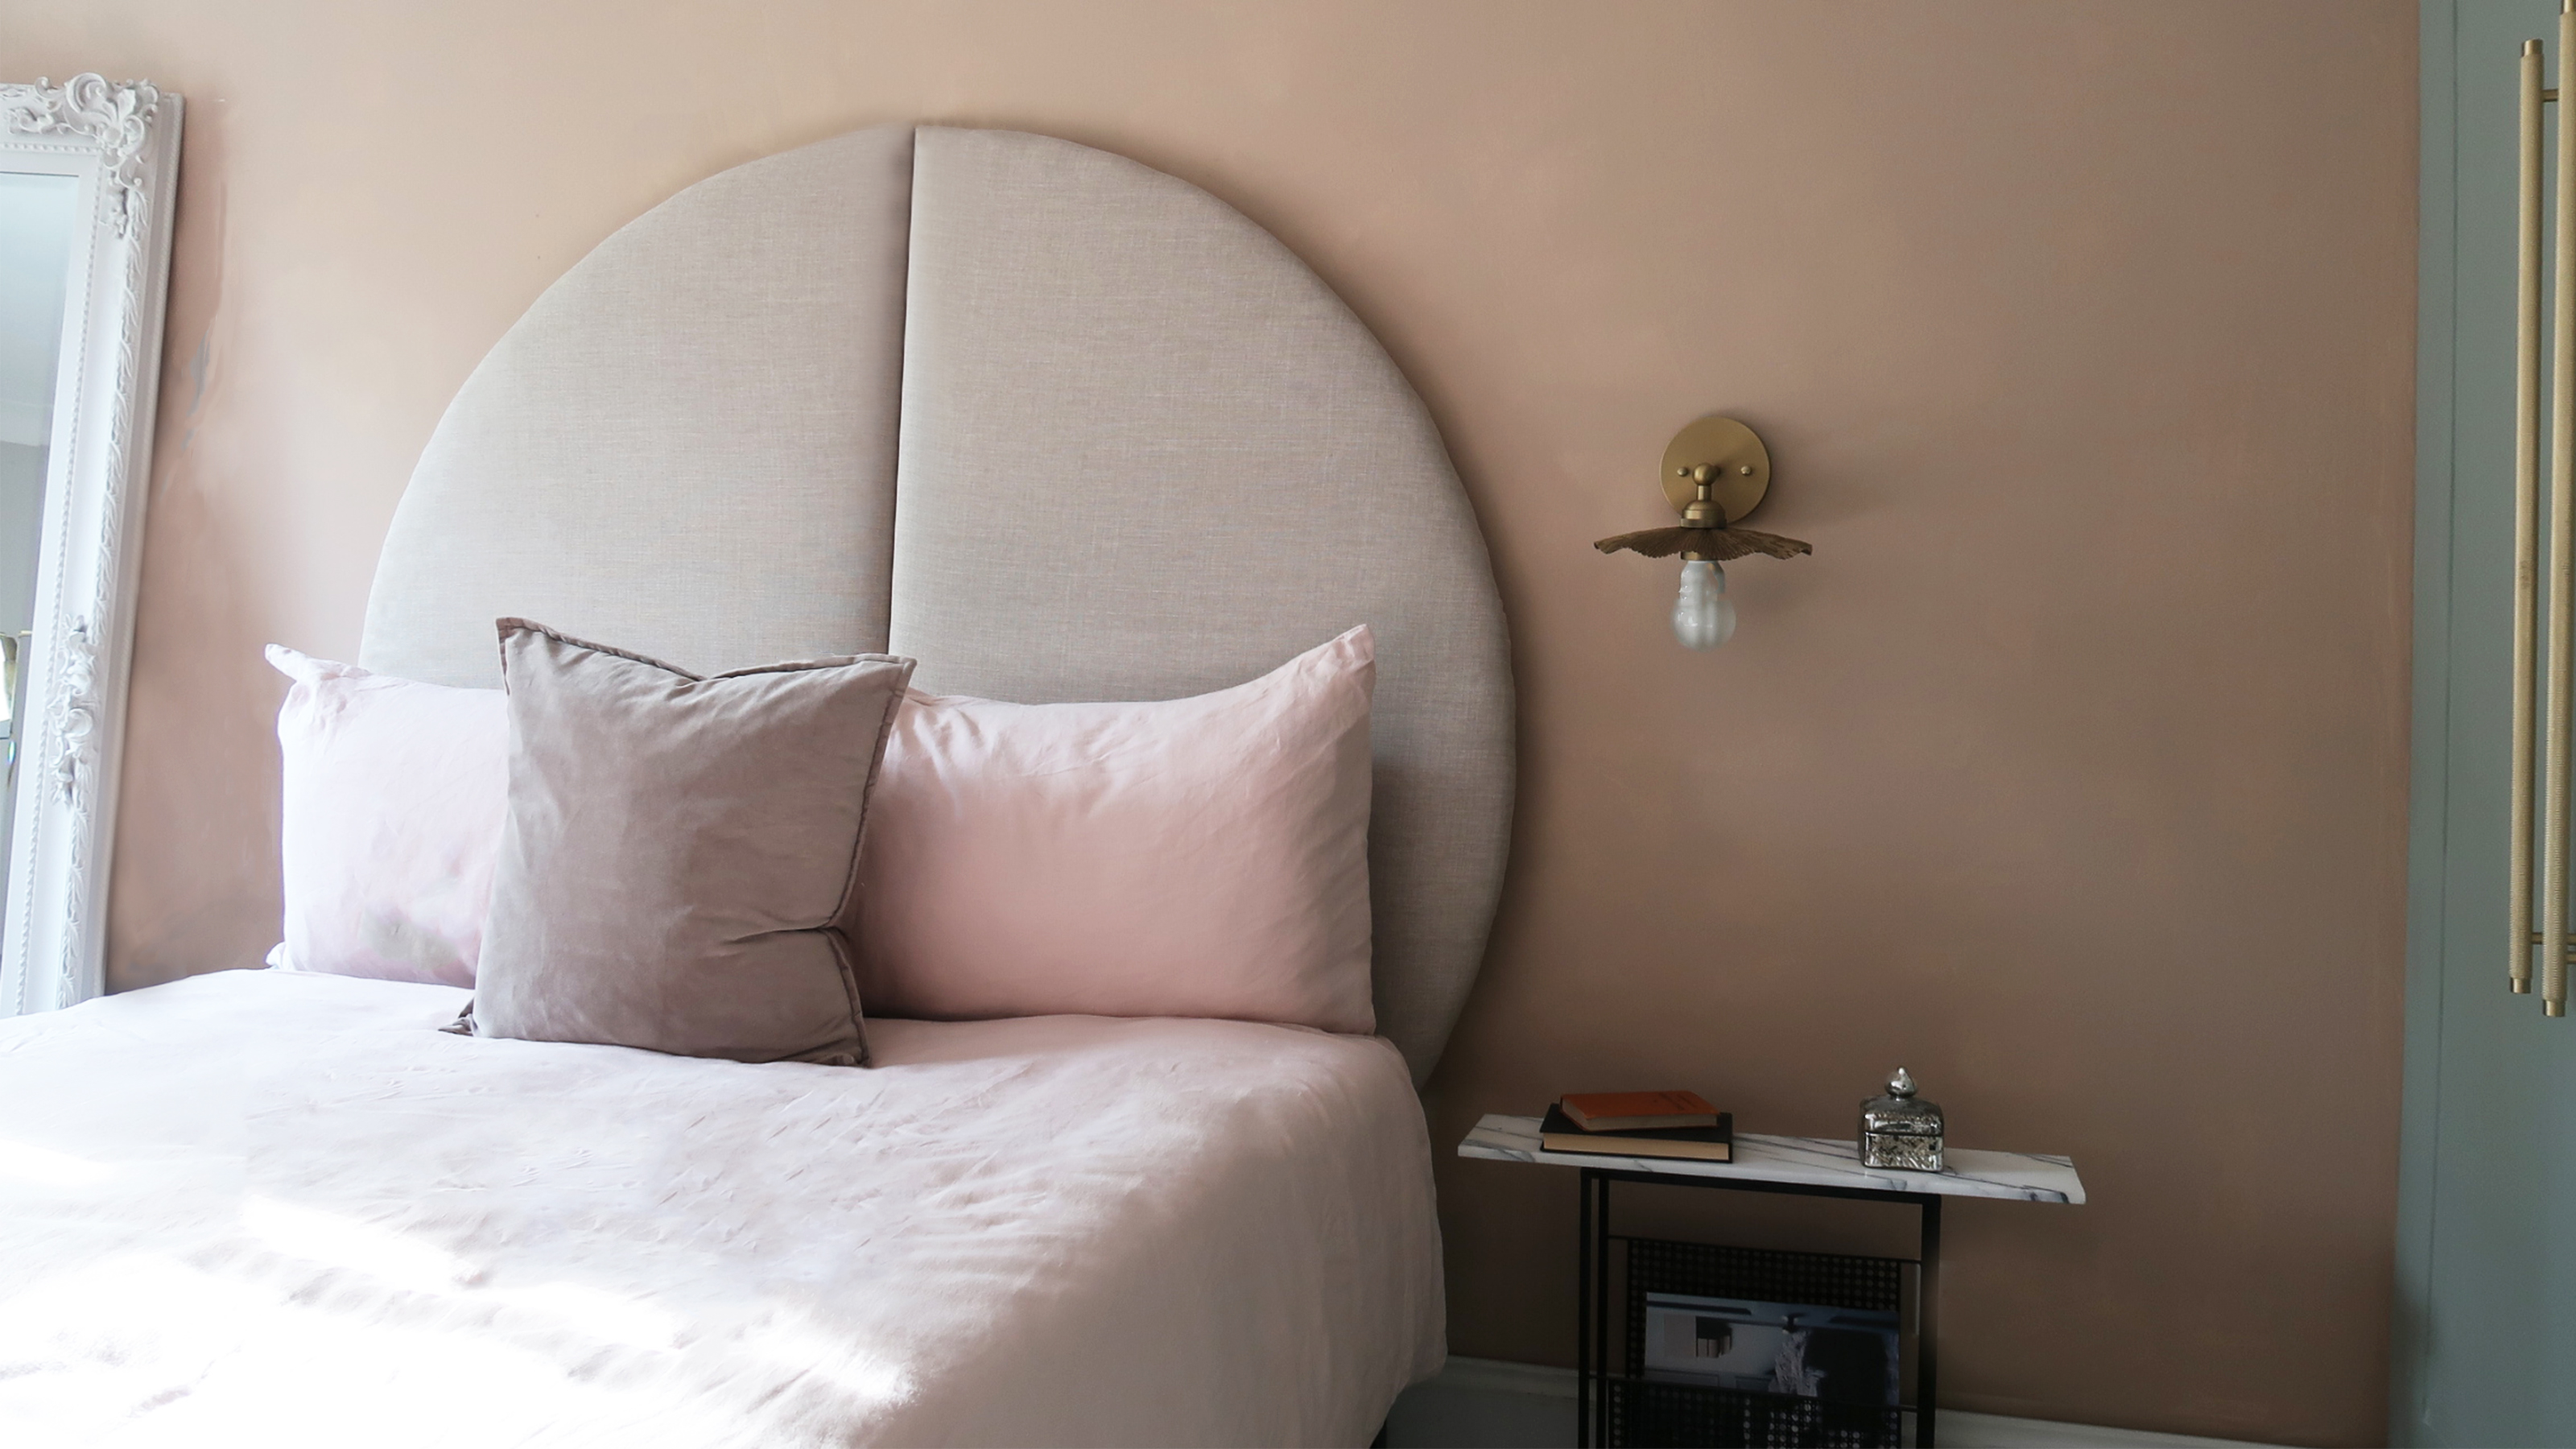 This oversized headboard looks designer, and takes 5 steps to DIY
Super simple to DIY, this oversized headboard will give your bedroom space all the designer vibes you could dream of.
By Claire Douglas Published
-
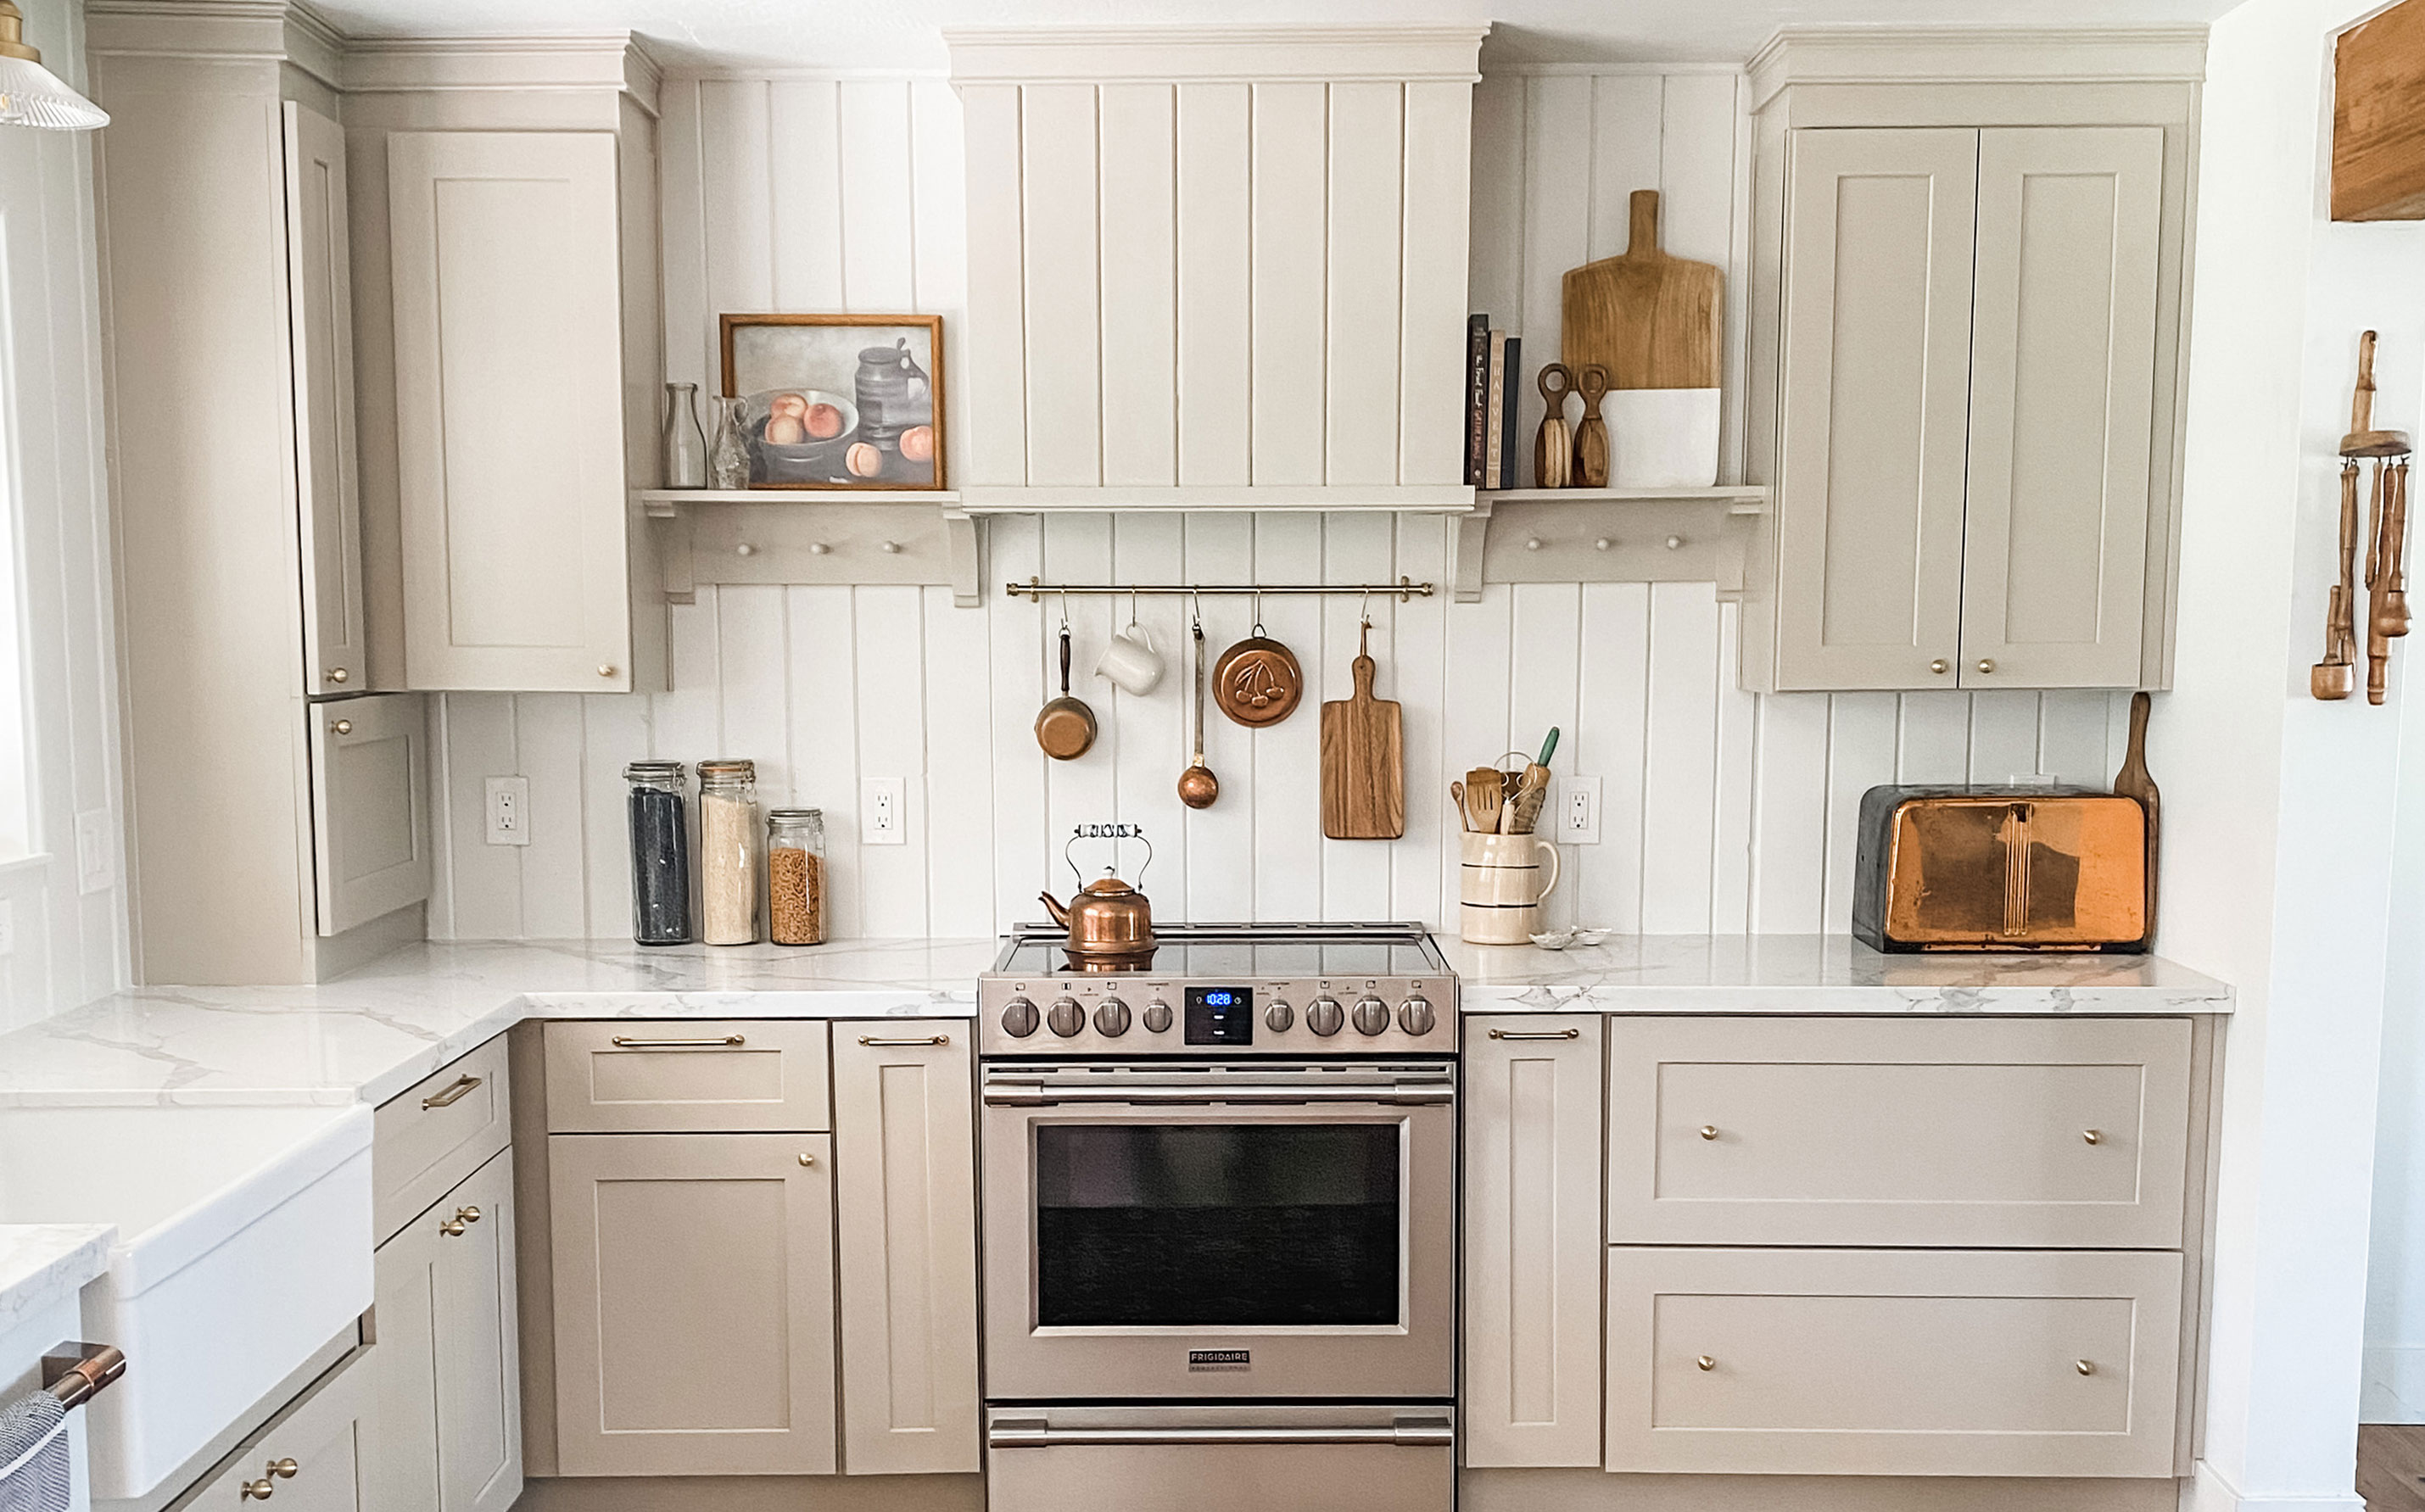 My DIY range hood and backsplash build gave my kitchen the perfect farmhouse finish
I craved charm in my kitchen space and adding a custom range hood and shelving was the best move.
By Brooke Waite Published
-
 How to paint a radiator in 7 steps
Painting radiators properly is all about choosing the right paint and the best process. Get interior designer-worthy results with our how-to.
By Kate Sandhu Published
-
 How to install a door knob
Updating your interior and exterior doors can be as easy as changing out the hardware! The best part is that installing a door knob is very DIY friendly. Follow these simple steps and enjoy a fresh look on your doors!
By Dori Turner Published