

Want to know how to wire a plug? These simple, step-by-step instructions are intended to help you replace a plug on an appliance, or other electrical equipment, in the event that the plug supplied has been damaged. It's a simple DIY job that should be carried out, with ease, by most. And is a better solution than replacing a product entirely.
Before you get started, it's worth noting that an error in wiring your new plug not only has the potential to prevent your equipment from working correctly, but can also make it unsafe and could cause serious injury. So, if you have any doubts or queries prior to getting started, then you should consult a registered electrician, repair technician, the equipment manufacturer or their agent in order to seek professional support. It's not worth getting this one wrong if you're totally confident in what you're doing.
For more DIY advice and information, head over to our DIY hub page.
- Thanks to Wickes for their help providing expert advice.
How to wire a plug
Materials needed:
- Screwdriver - check plug, whether Philips, slotted etc.
- Small flat head (terminal) screwdriver
- Wire Cutters/strippers
Instructions:
1. Before starting, check if any part of the plug is damaged. If this is the case, dispose of it and replace it.
2. Note that a plug with exposed conductors will be dangerous if plugged in.
3. Firstly, with the plug on a flat surface, remove the outer screws. Note that the main centre screw may undo but not be removable.
4. Open the plug up and familiarise yourself with the markings on the inside – positions of the markings should be Neutral (blue cable; bottom left); Live (brown cable; middle right) and Earth (green and yellow cable; central top).
The mains lead on your equipment may only have two wires inside, Live (brown) and Neutral (blue). This is perfectly normal and your equipment will have extra protection built in so that an earth connection is not required.
5. If your plug was supplied with a flex strain-relief (rubber tube), slip it over the end of your cable.
6. Next, loosen all the small terminal screws inside the plug.
7. Check the instructions provided with your replacement plug and strip back the correct length of outer insulation on your cable. Make sure you do not damage the inner (coloured) cores.
8. Cut the individual cores to length and strip back the coloured insulation of each core according to the plug instructions twisting the copper strands together. The Live (brown) cable will typically be shorter than the earth (green/yellow) and neutral (blue).
9. Beginning with the Live wire, insert the twisted copper conductors into the terminals and tighten each screw securely. Ensure that no strands of copper protrude and that the coloured insulation does not enter the terminal.
If your mains cable does not have an earth wire, ensure the earth terminal in the plug is also tightened securely to prevent the loose screw from falling out.
10. Press the coloured wires into the spaces in the plug so that when the top is attached, wires will not be pinched.
11. Hold the cord grip in position and replace the two screws (if provided). Check that the wires inside the plug are not under tension and that the cord grip will tighten onto the outer insulation.
If you have a rubber flex strain-relief, ensure it is captured with the cable beneath the cable grip or is in position at the exit of the plug as appropriate.
12. Tighten securely and gently pull on the cable to check that it cannot move. Note that some plugs do not have a cord grip retained by screws but have a mechanism that pinches the cable. Check that the cable is retained securely. If this is not possible, maybe because of the size of the cable, you will need to obtain a different plug.
13. Double-check that all connections have been made correctly, i.e. Live to Live terminal etc.
14. Replace the top of the plug and tighten the screw securely.
Looking for more renovation advice?

-
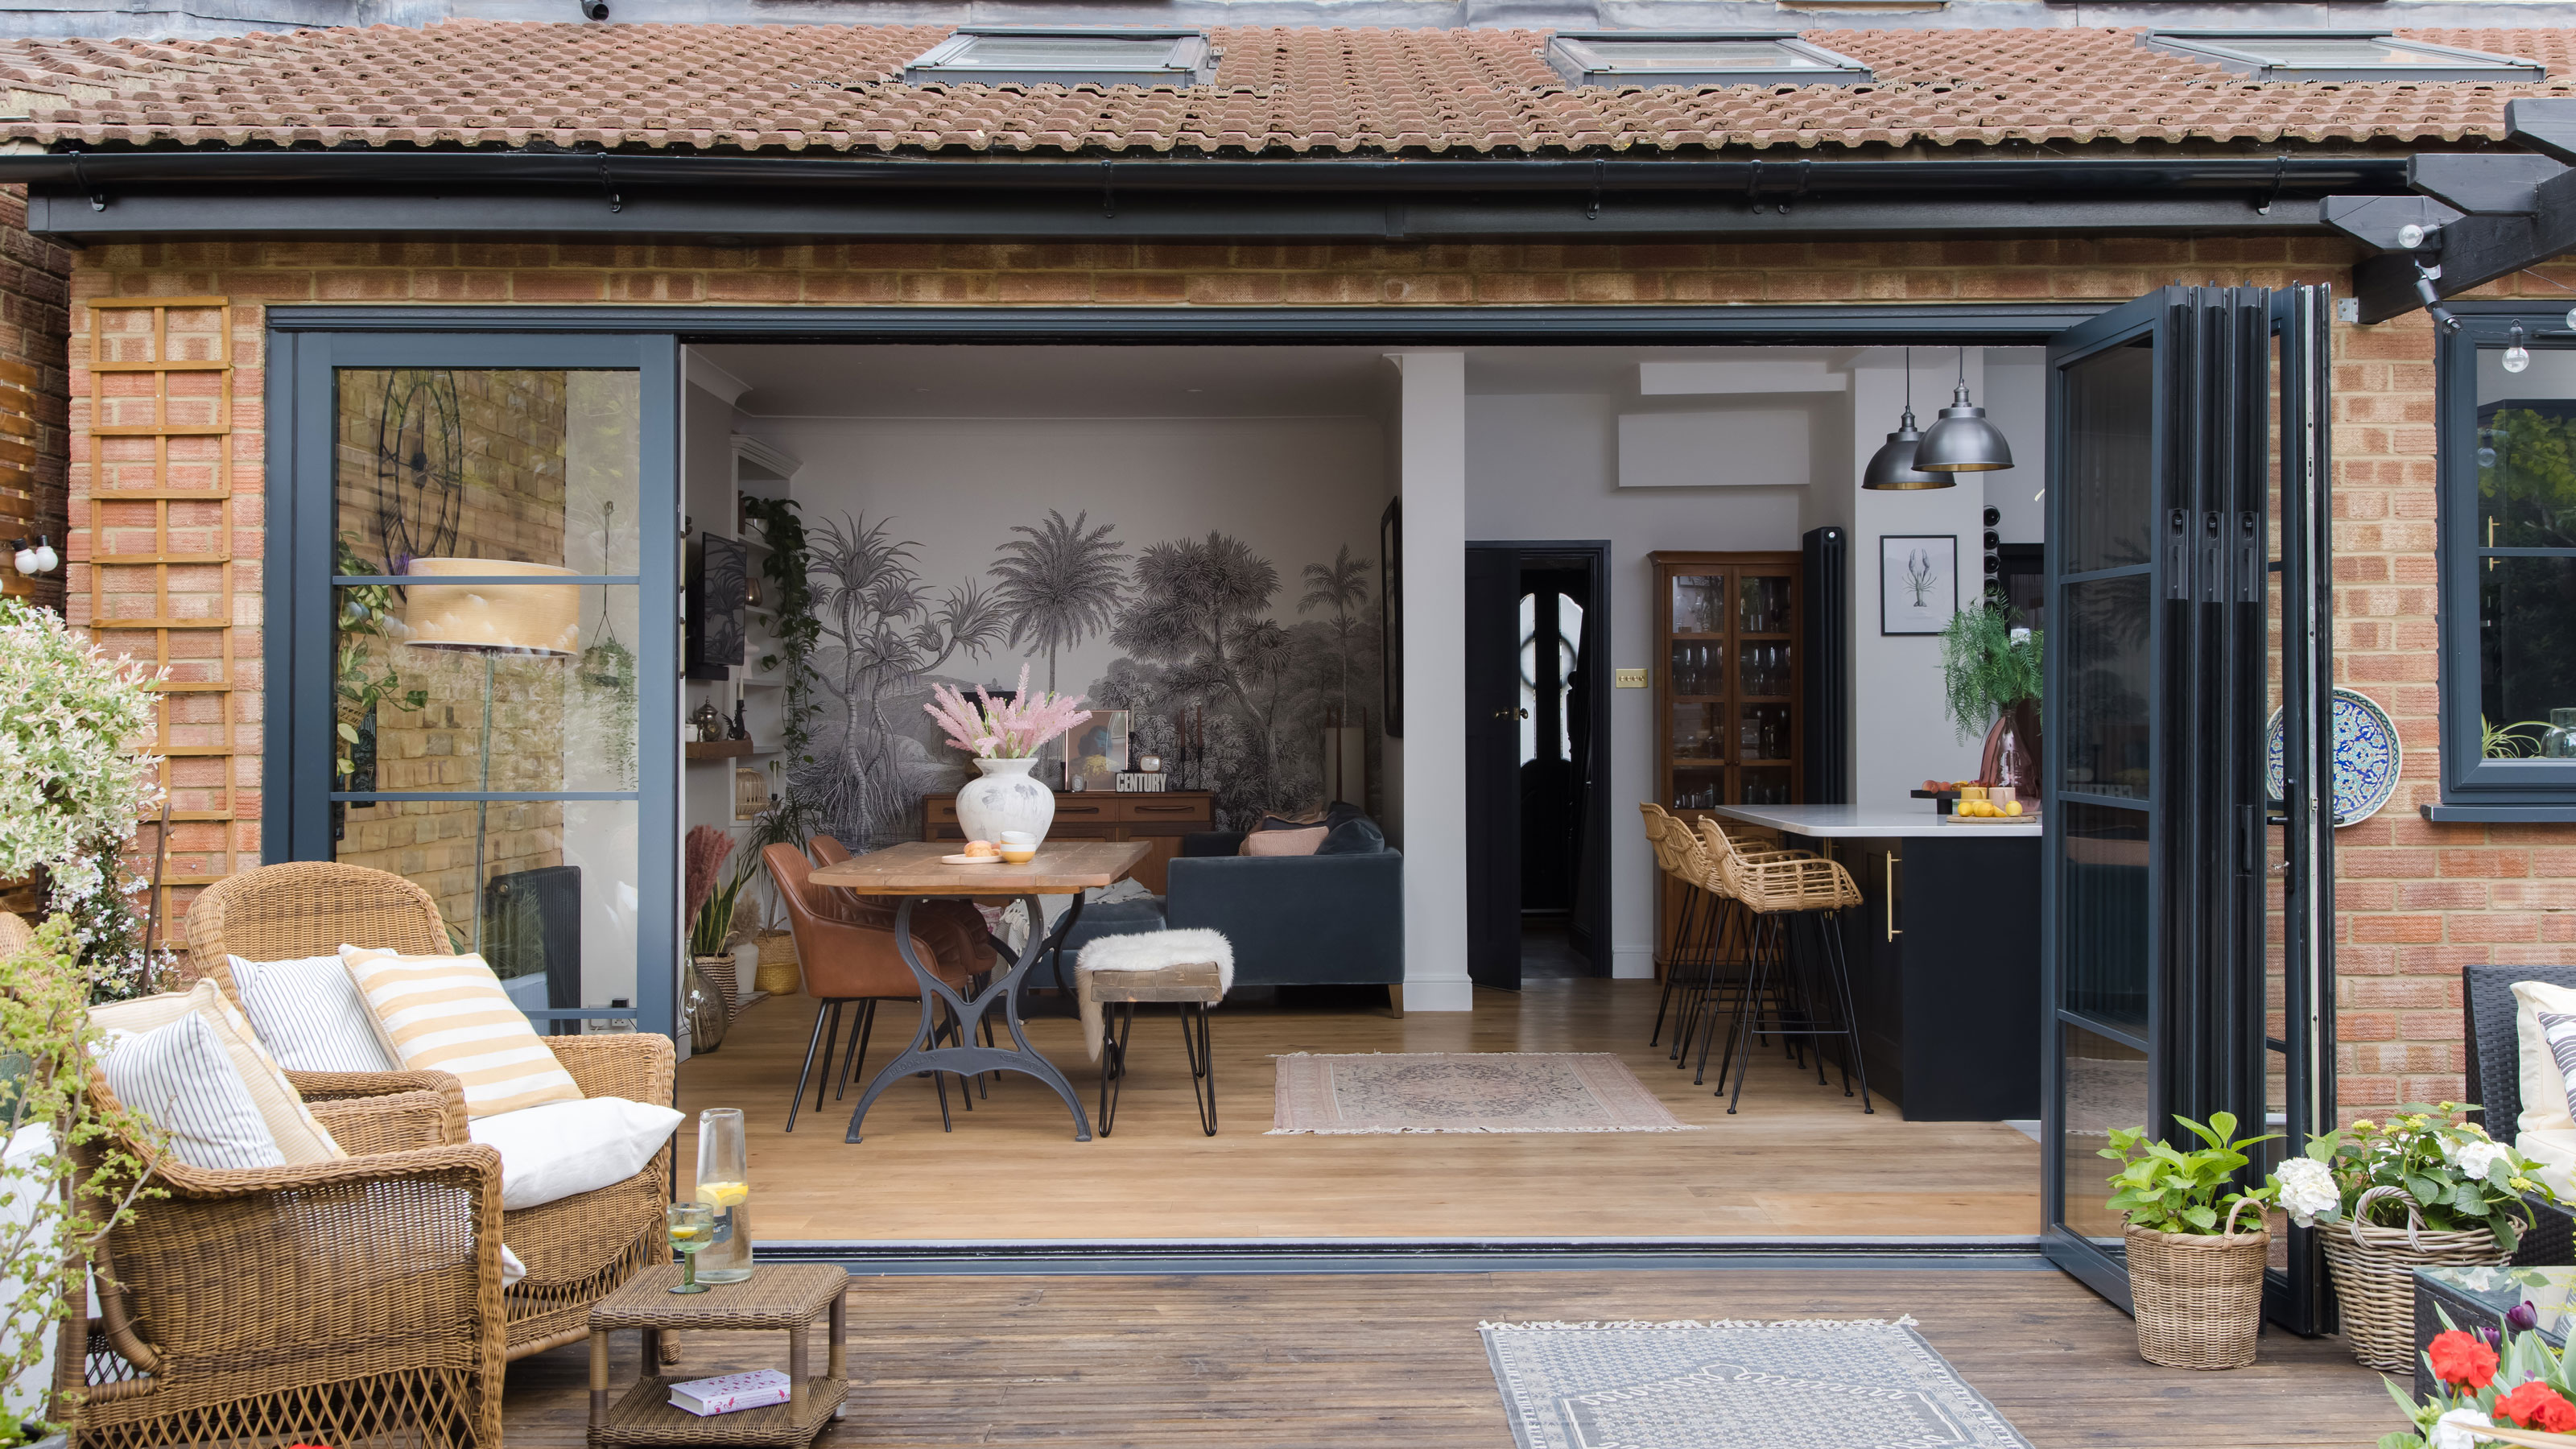
 This colourful home makeover has space for kitchen discos
While the front of Leila and Joe's home features dark and moody chill-out spaces, the rest is light and bright and made for socialising
-
 How to paint a door and refresh your home instantly
Painting doors is easy with our expert advice. This is how to get professional results on front and internal doors.
-
 DIY transforms 1930s house into dream home
With several renovations behind them, Mary and Paul had creative expertise to draw on when it came to transforming their 1930s house
-
 12 easy ways to add curb appeal on a budget with DIY
You can give your home curb appeal at low cost. These are the DIY ways to boost its style
-
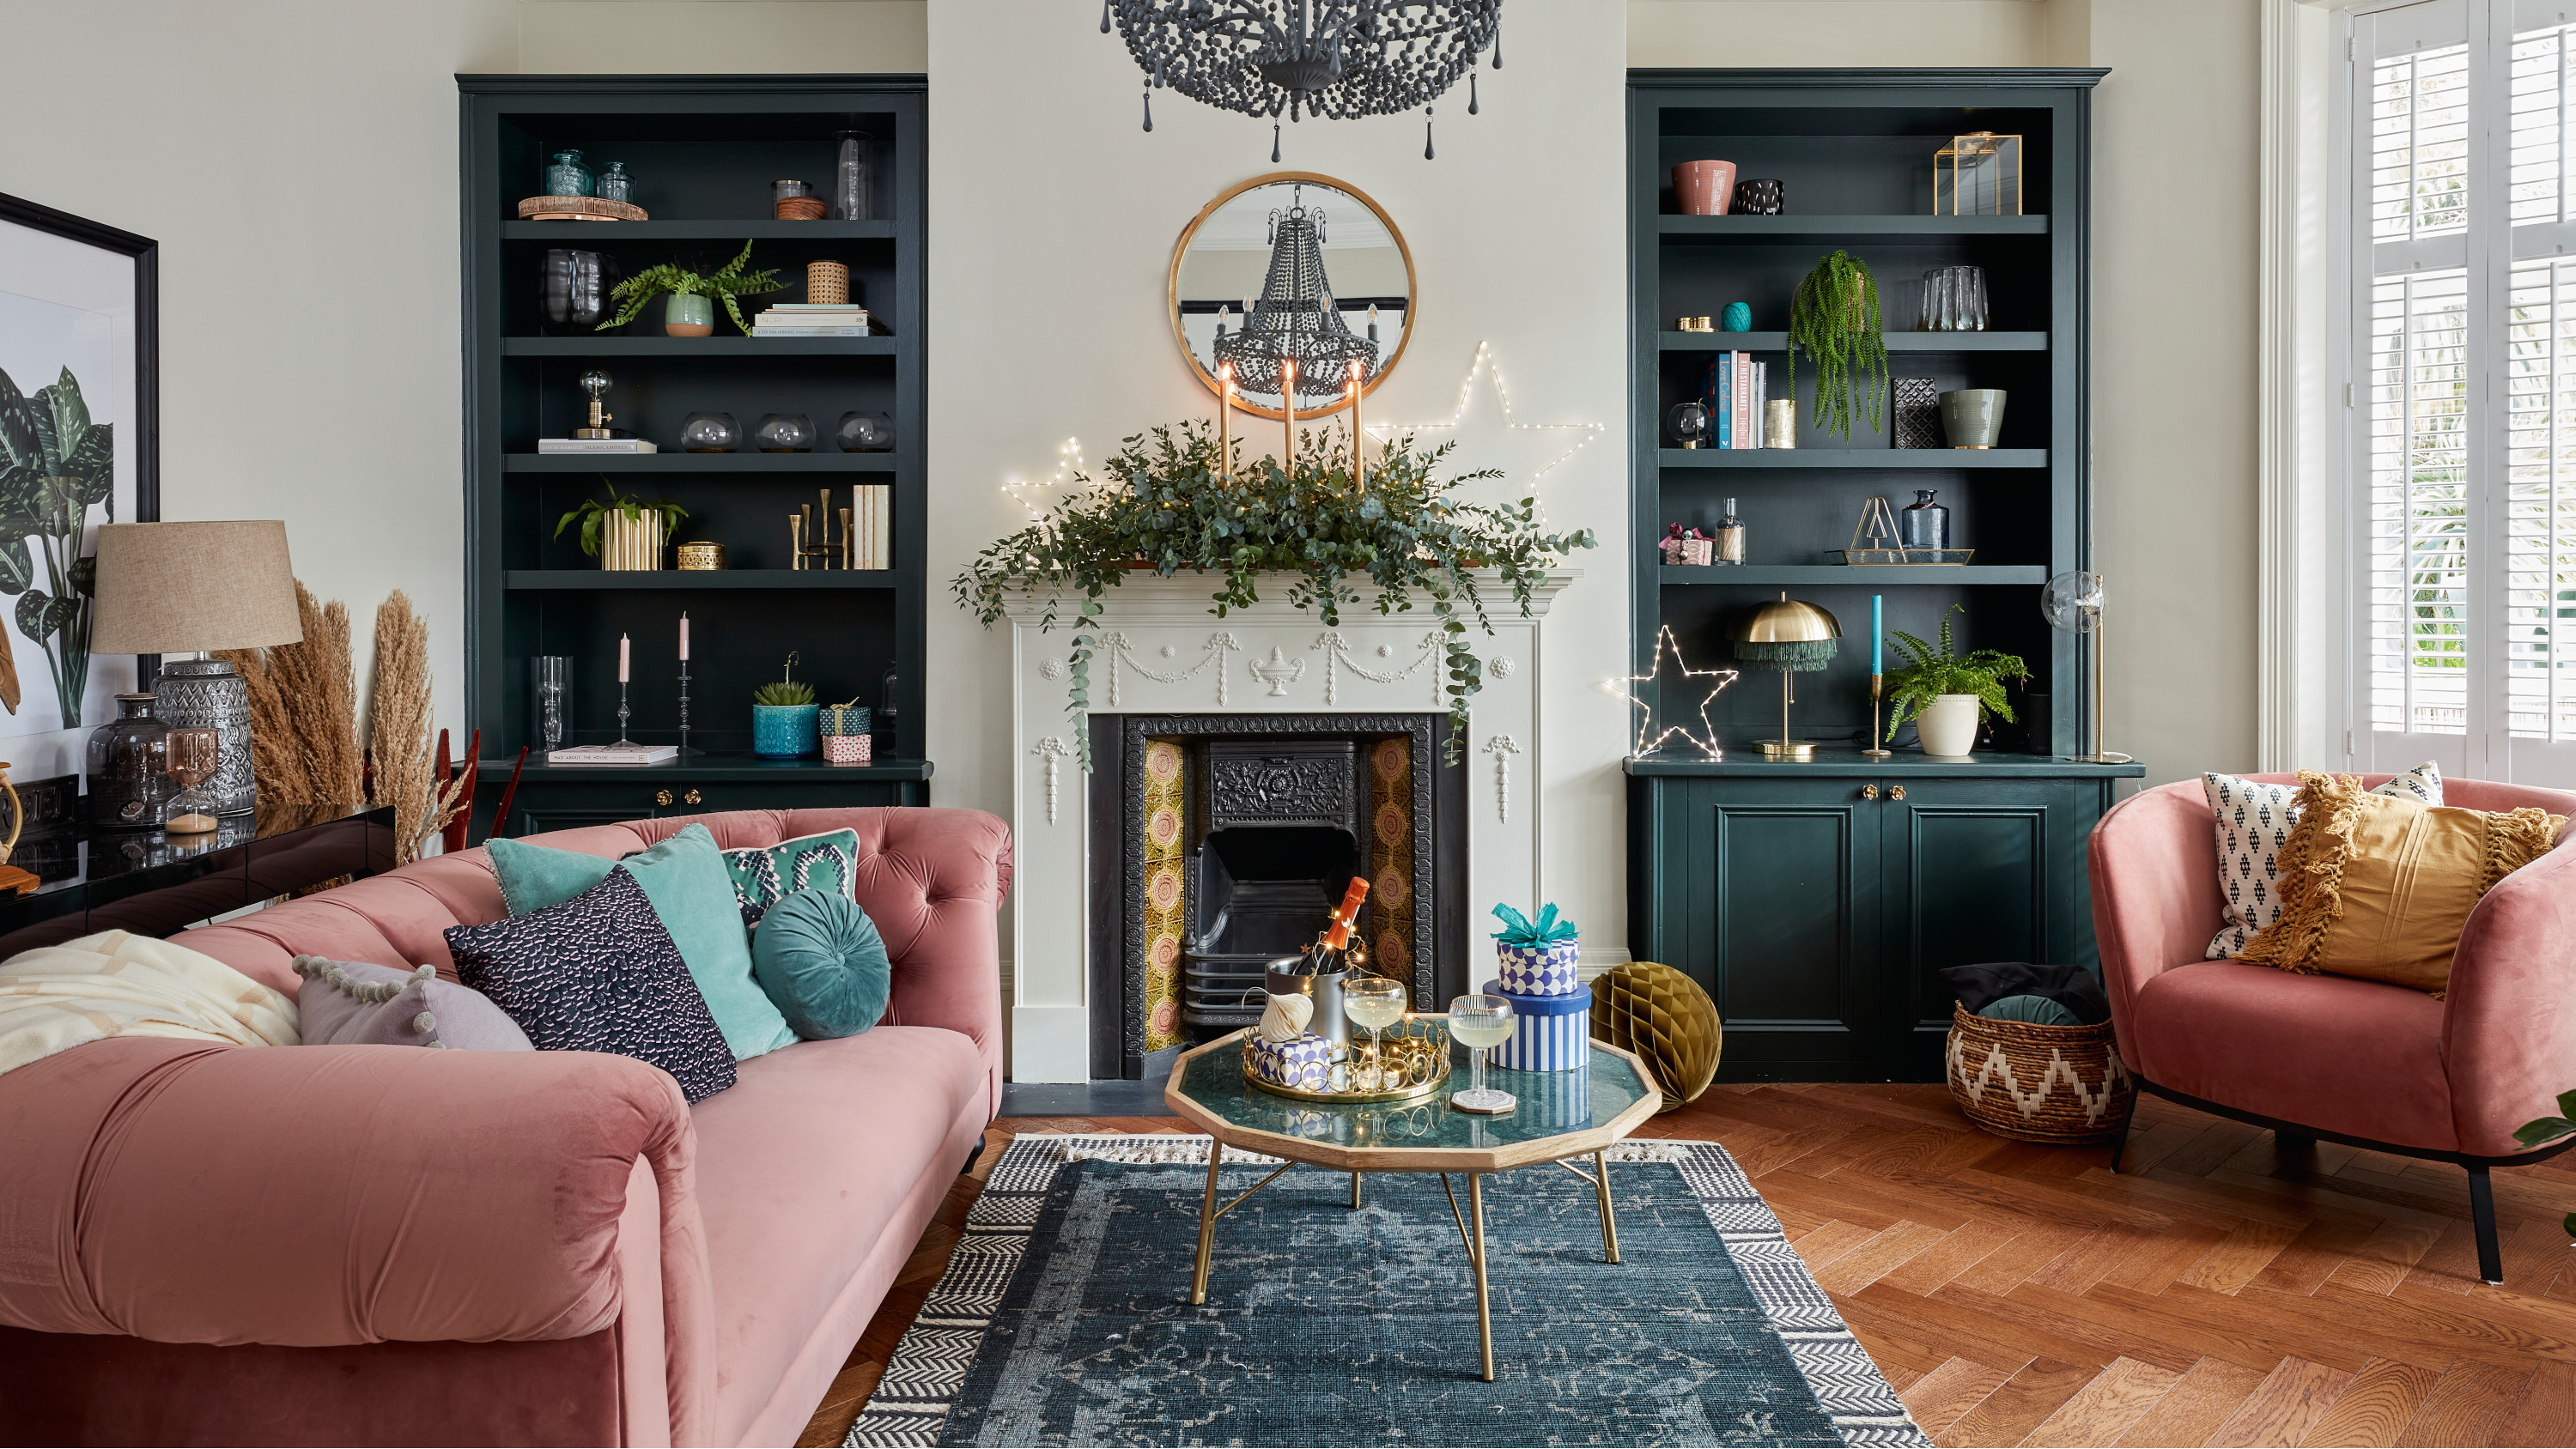 5 invaluable design learnings from a festive Edwardian house renovation
If you're renovating a period property, here are 5 design tips we've picked up from this festive Edwardian renovation
-
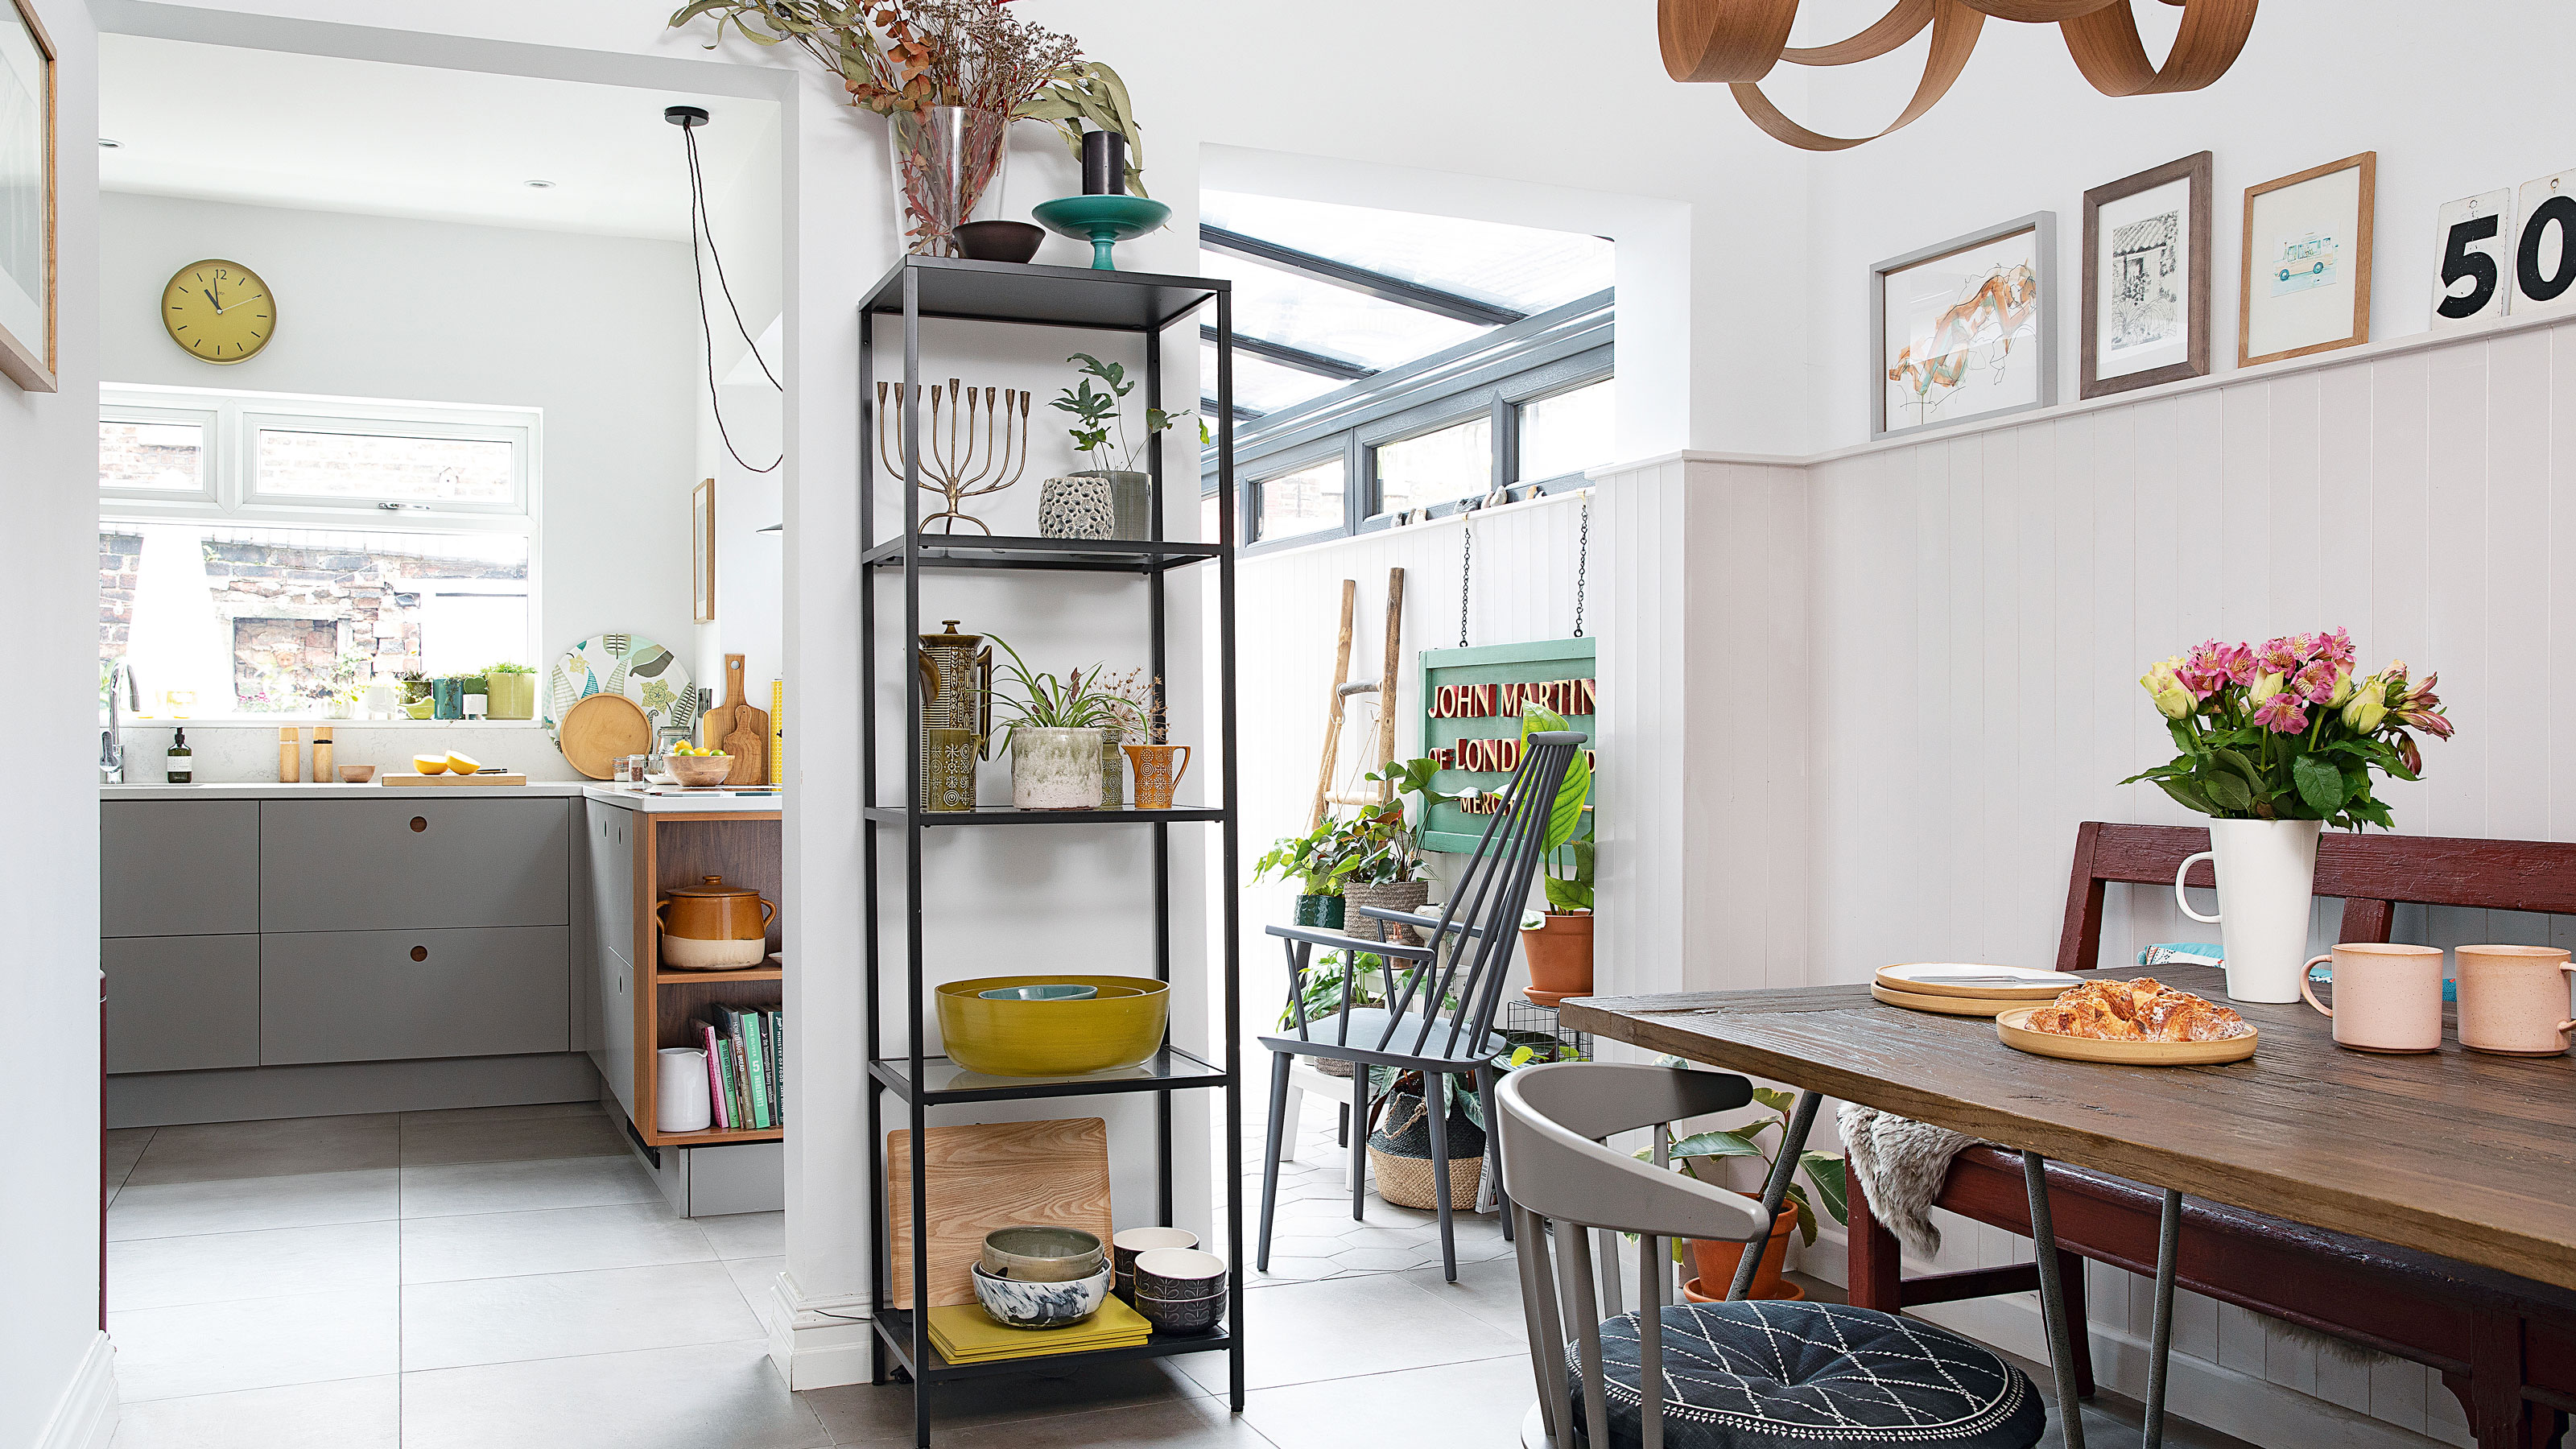 Real home: Glazed side extension creates the perfect garden link
Louise Potter and husband Sean's extension has transformed their Victorian house, now a showcase for their collection of art, vintage finds and Scandinavian pieces
-
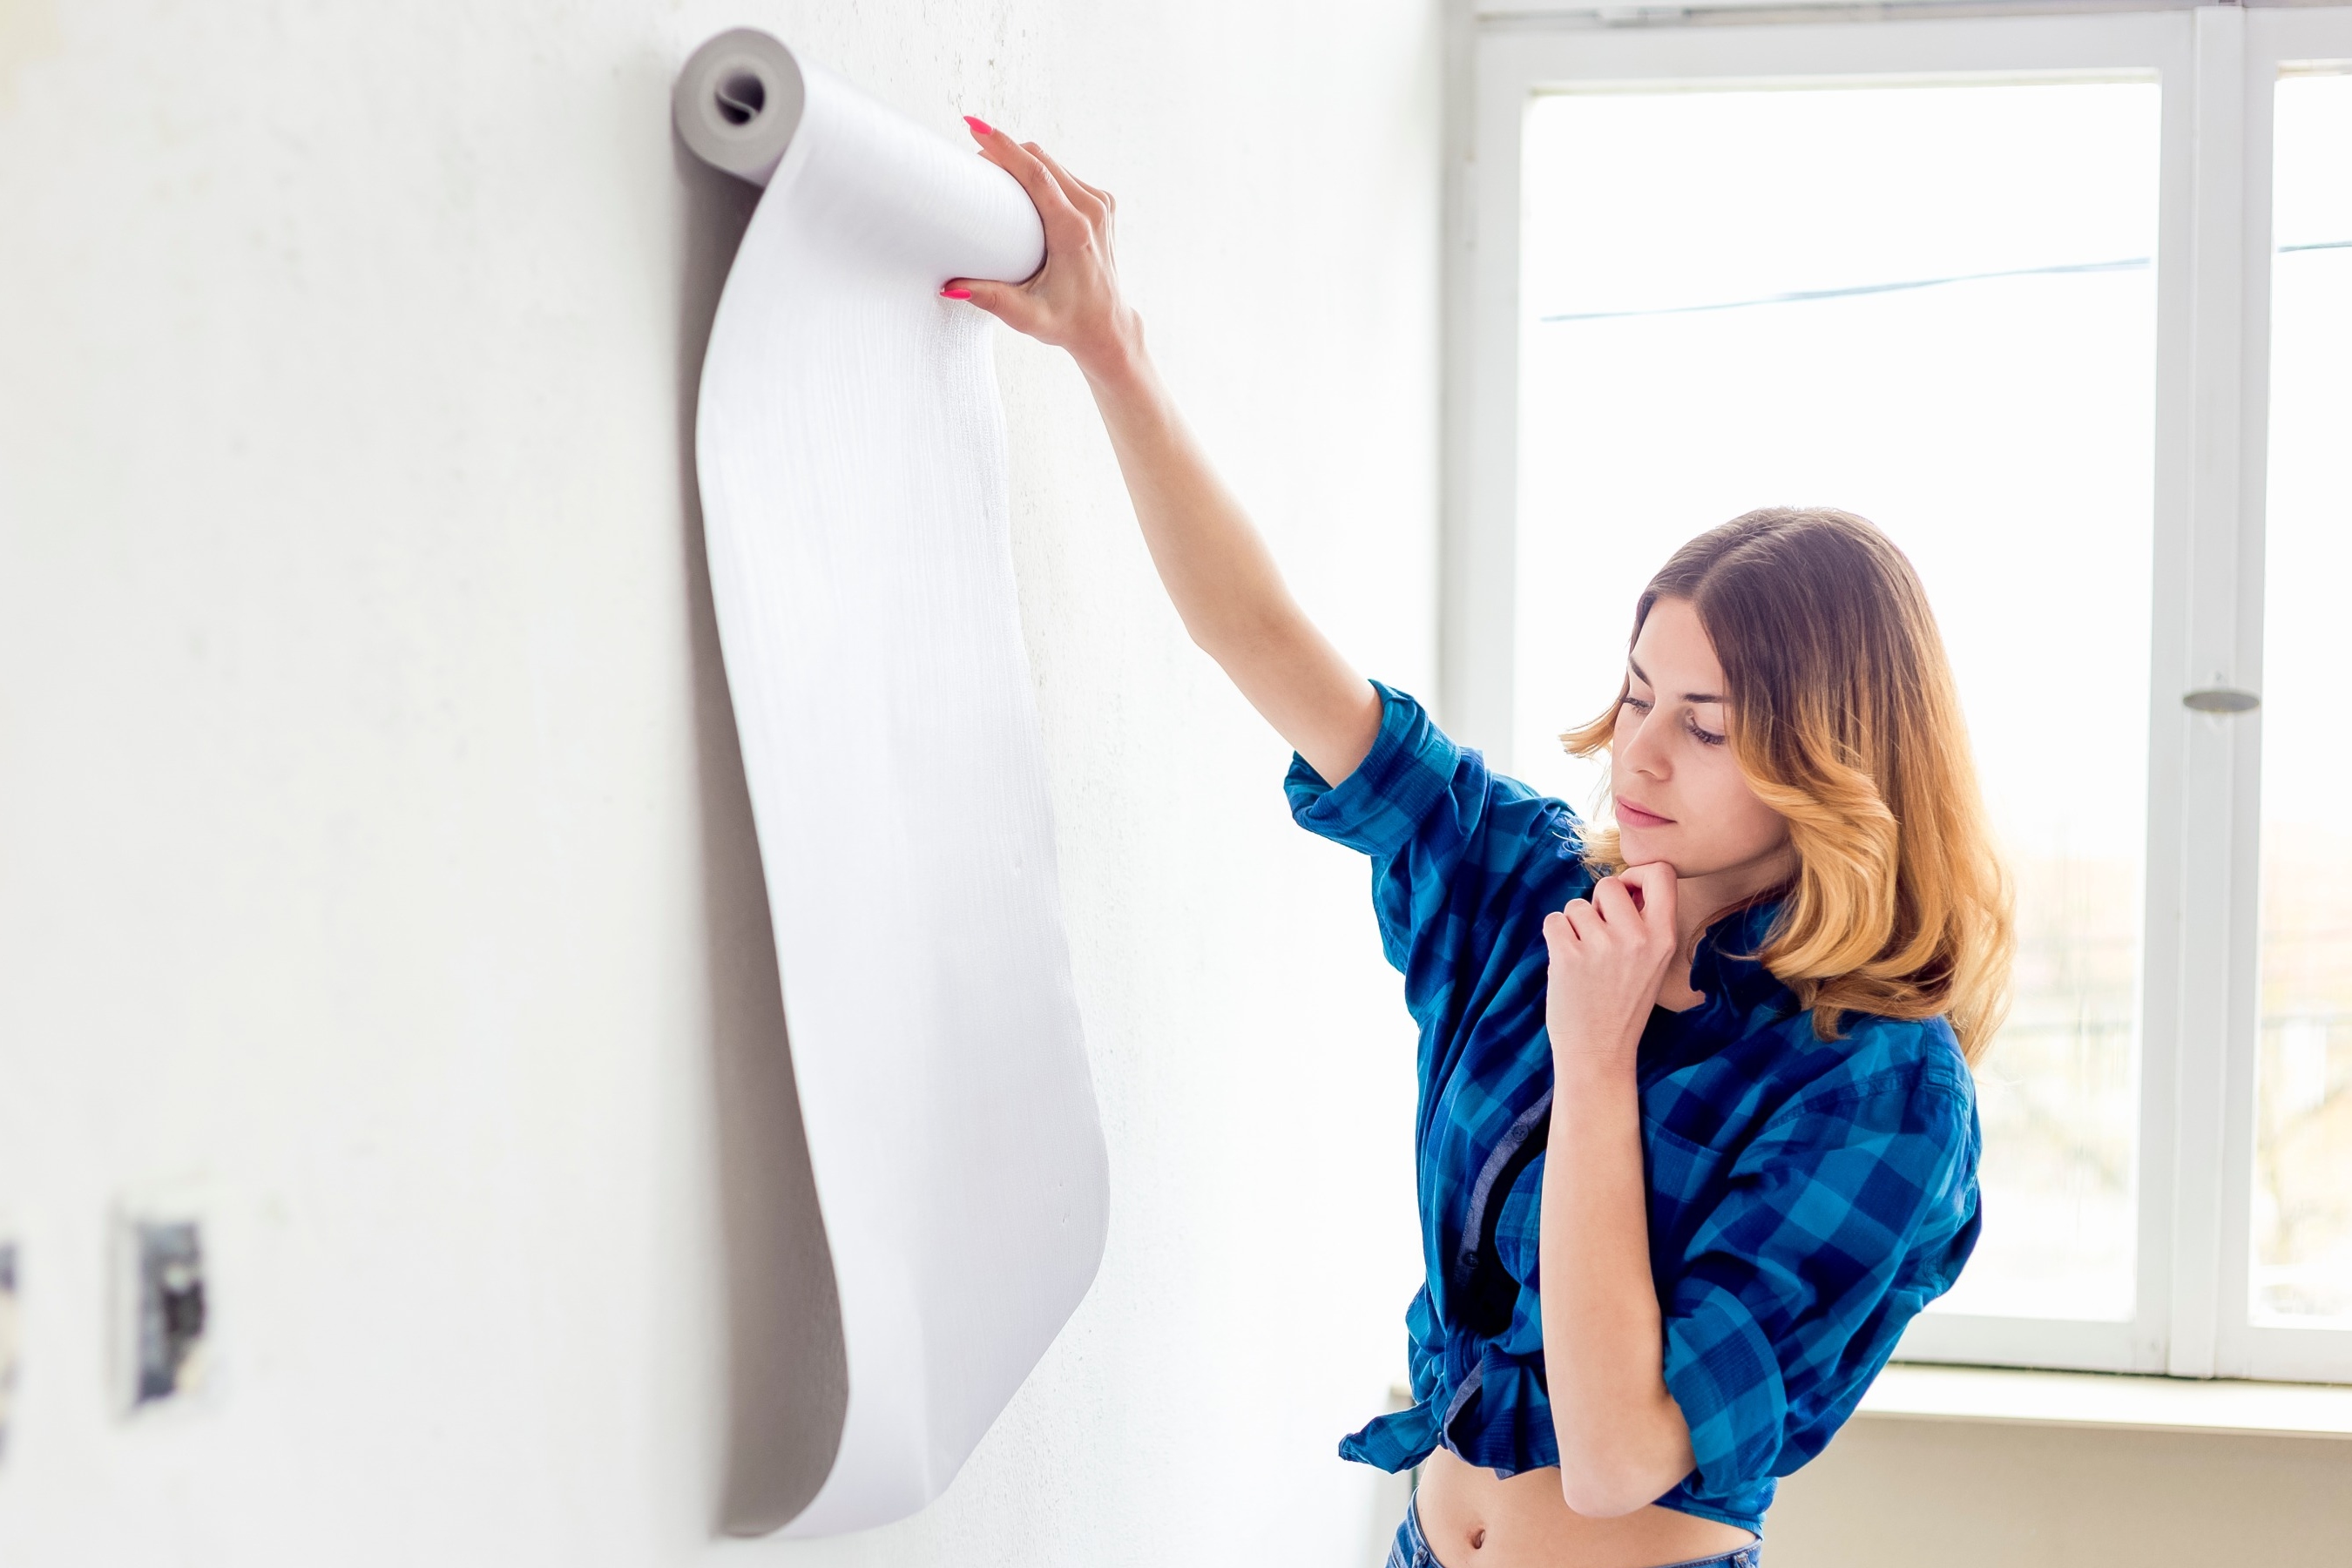 I tried this genius wallpaper hack, and it was perfect for my commitment issues
Beware: once you try this wallpaper hack, you'll never look back.
-
 Drew Barrymore's new FLOWER Home paint collection wants to give your walls a makeover
Drew Barrymore FLOWER drops 27 brand-new paint shades, and every can is made from 100% post-consumer recycled plastic.


