I transformed my IKEA Kallax unit into a stunning media cabinet
Complete with fluted doors.

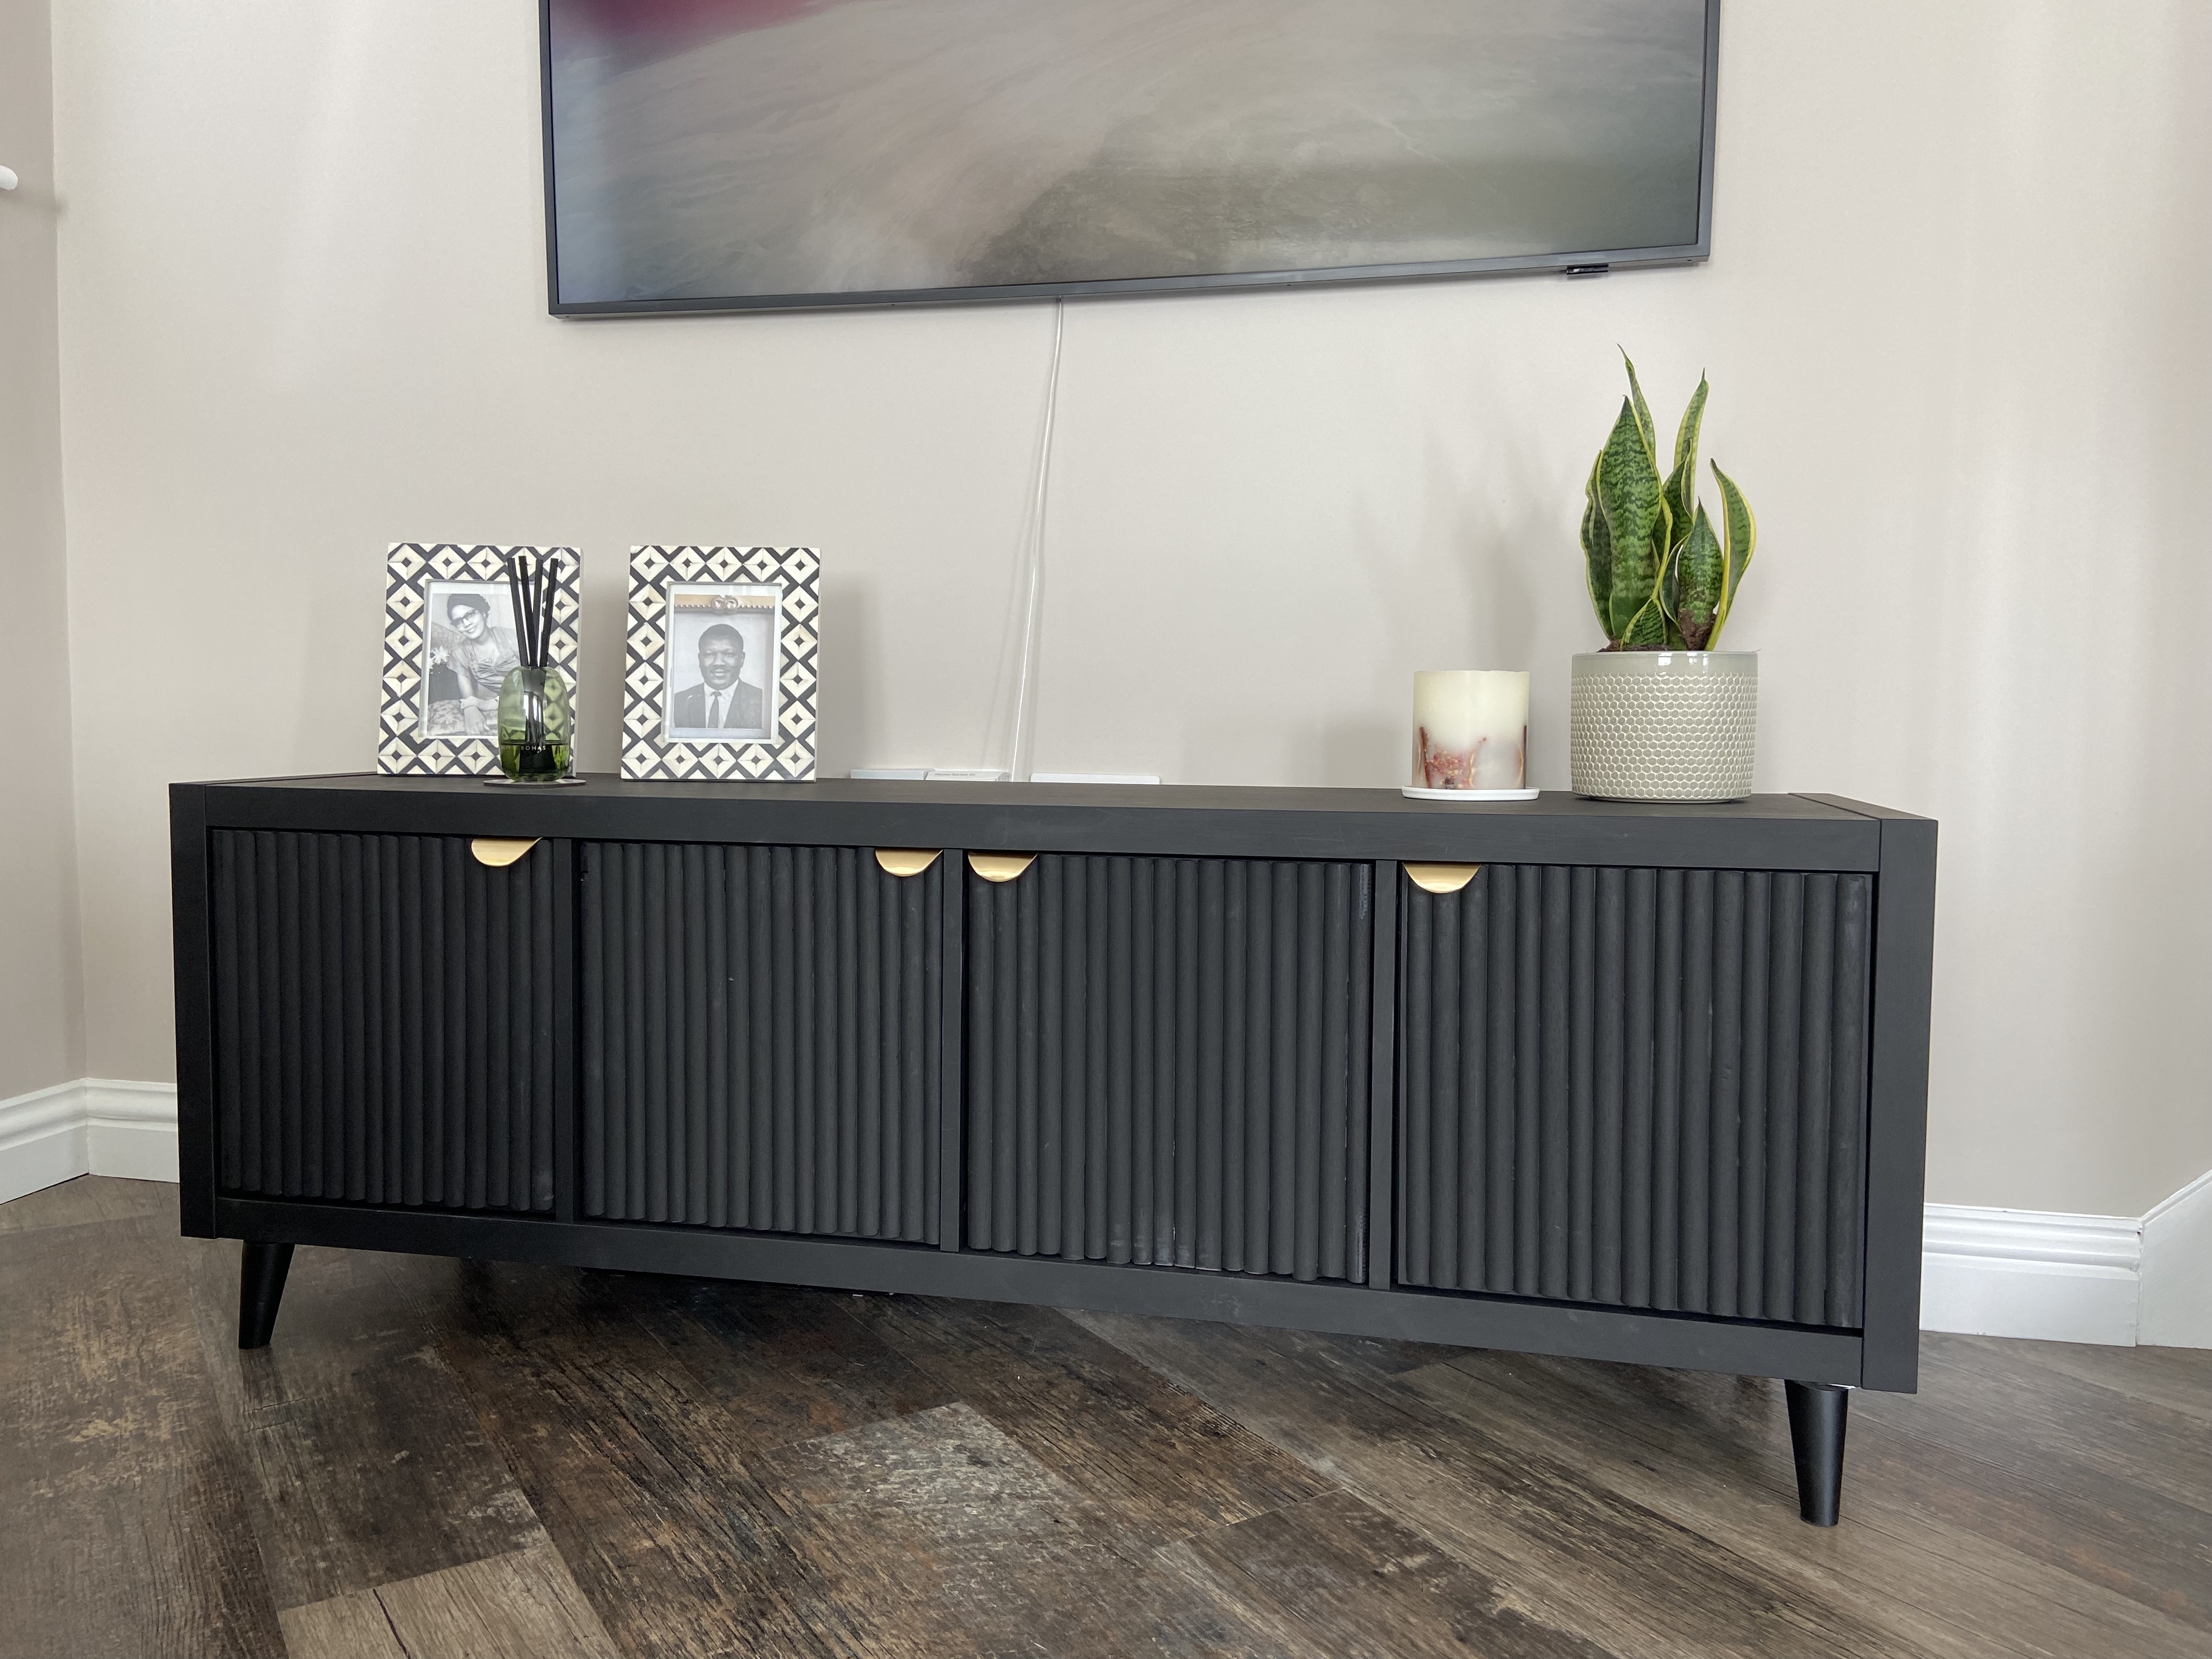
There's no end to what you can do with IKEA furniture. This particular DIY involves taking the standard KALLAX cube shelf unit and turning it into a four-door media cabinet complete with legs, handles and wooden fluted fronts... It's a vibe for every modern household.
If you, like me, have always been tempted by the long list of IKEA hacks that stop you in your tracks on Instagram or Pinterest, this could be your time to shine and join DIY experts by taking something standard, and turning it into something gorgeous and functional.
Honestly, there really is nothing quite like getting stuck in and upcycling a product to your liking. Plus, this design comes at a fraction of the cost you could expect to pay for a similar media console table elsewhere.
How to upgrade your IKEA KALLAX to a cool media cabinet: step-by-step
Thankfully, most of this budget-friendly DIY project involves flatpack furniture from the Swedish furniture giant. For example, along with the cabinet, the doors are self-assembly boxes that fit perfectly into the shelving units.
So, if you’re ready to give an IKEA KALLAX a glow-up and transform it from a shelving unit into a media console table, look this way and nail your design.
Tools and materials you will need:
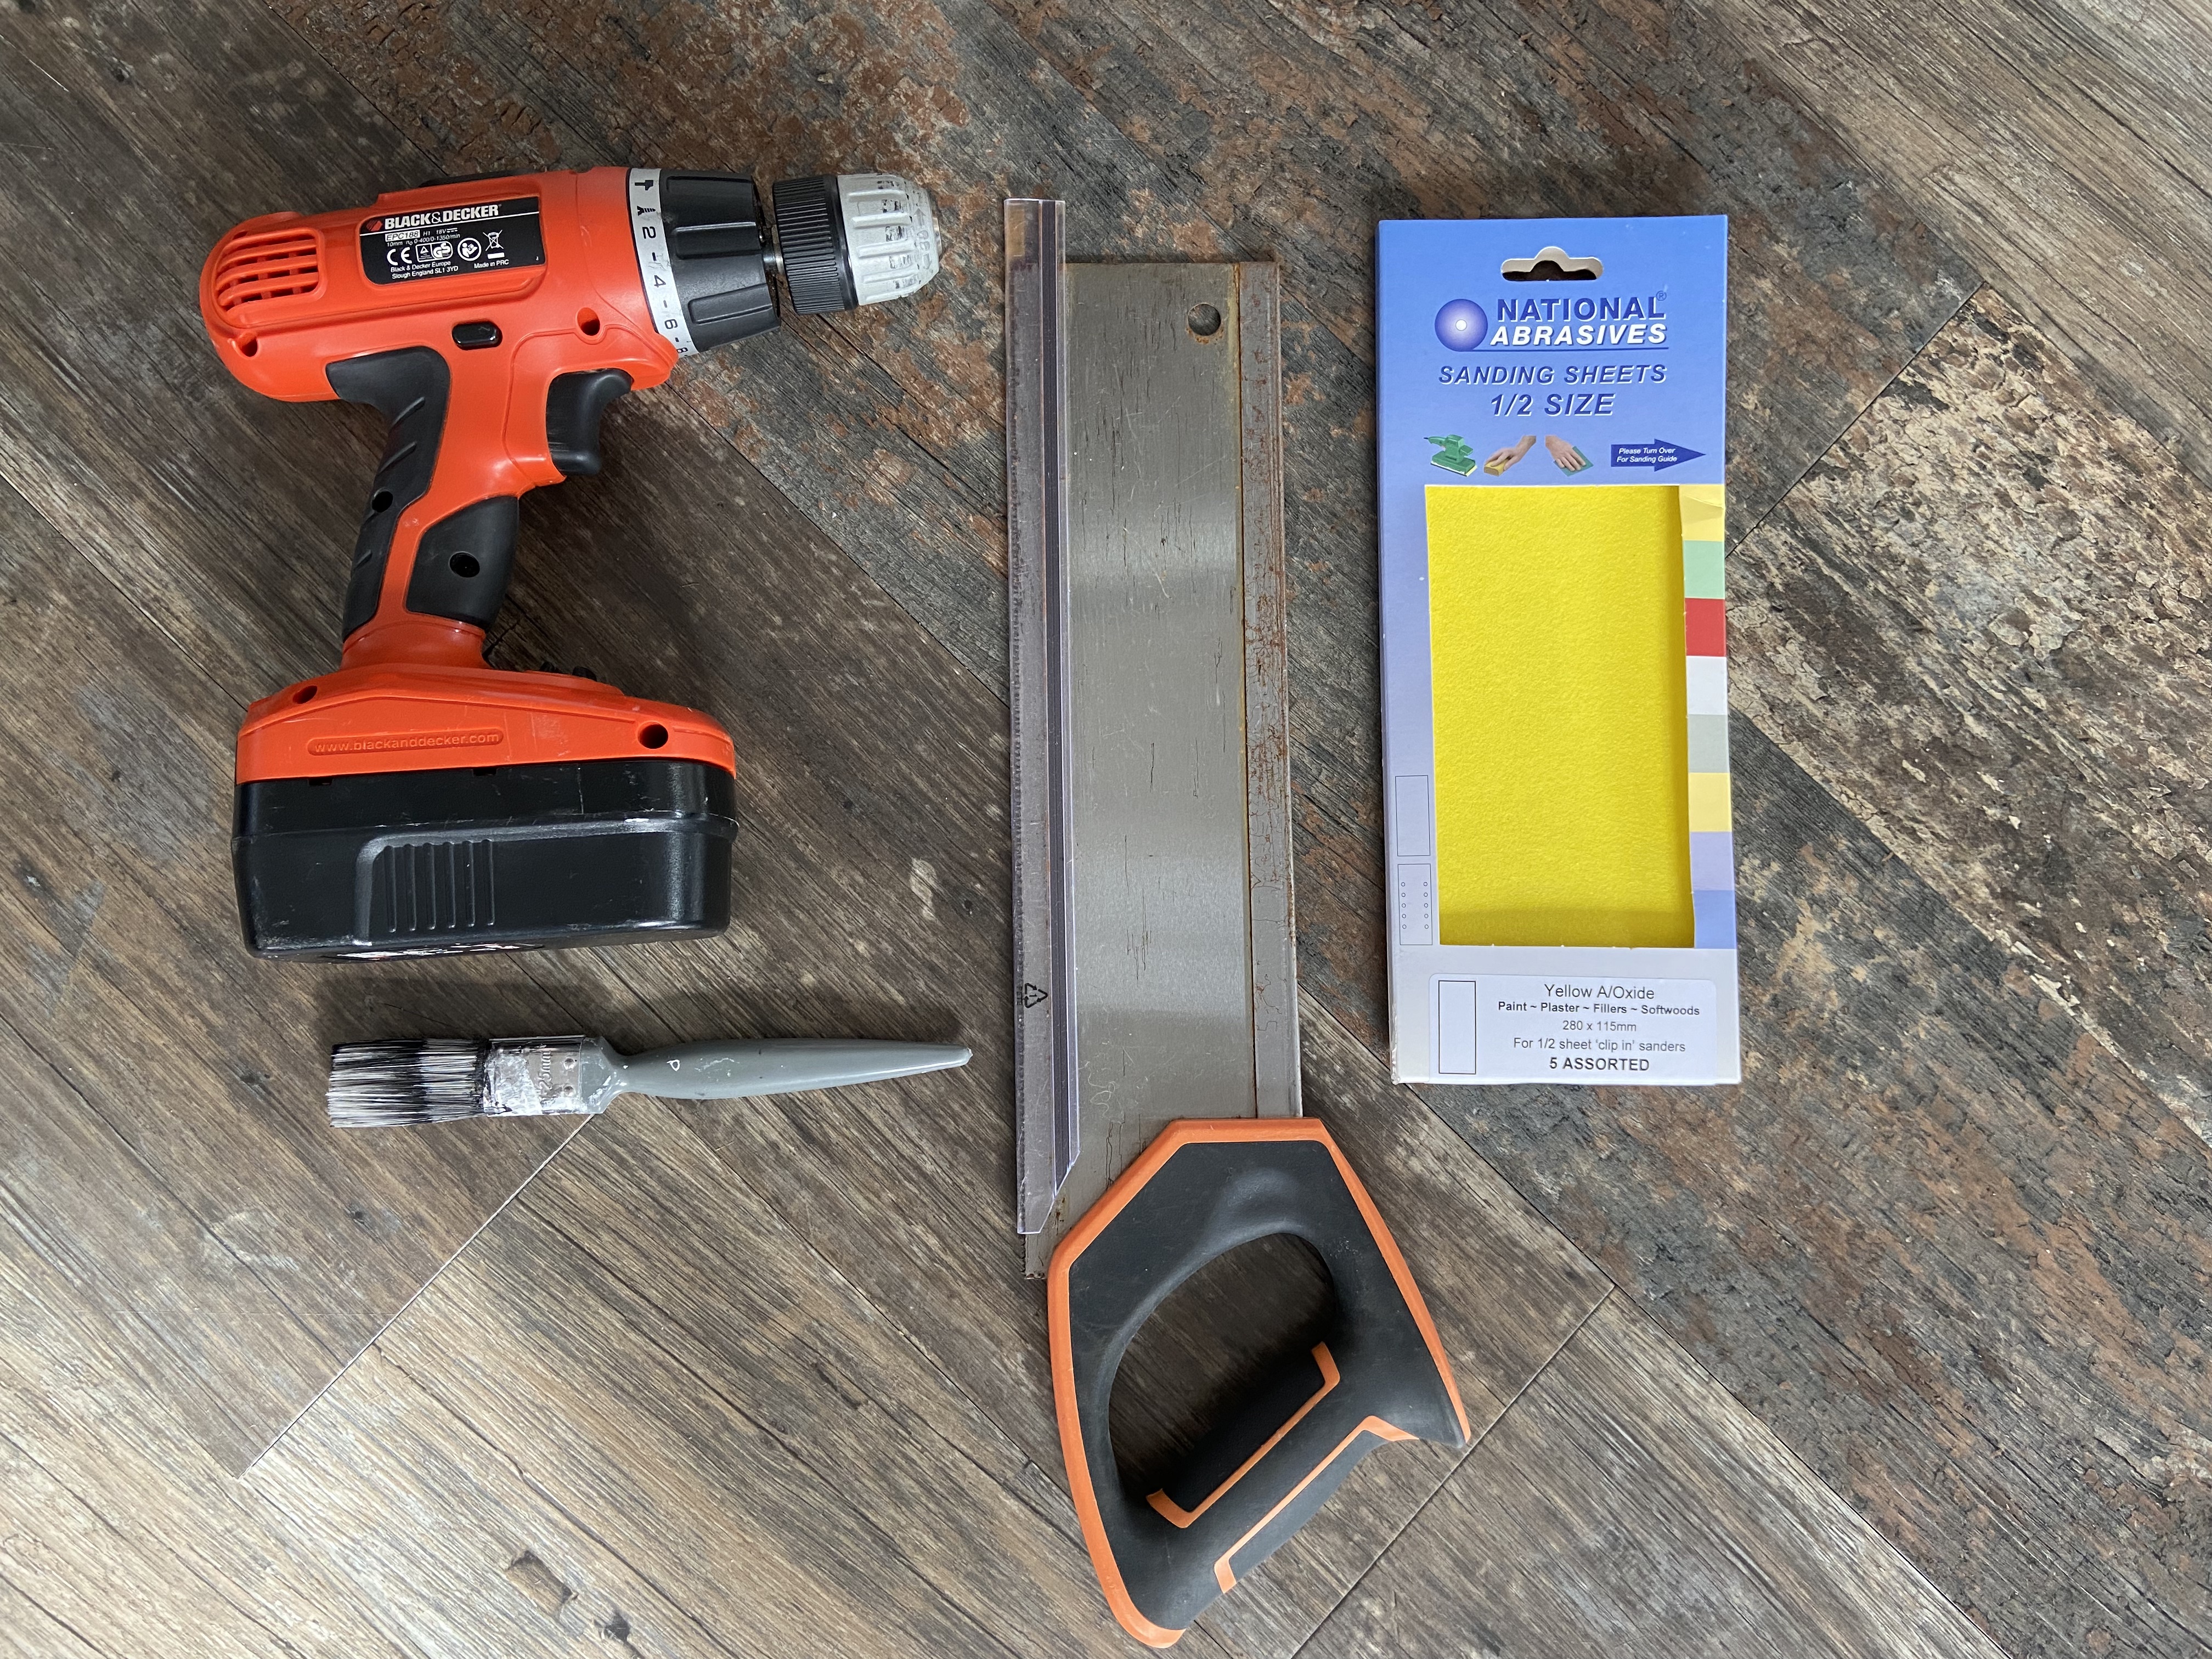
1. A saw
2. Sandpaper
3. Paintbrush – I love these Wooster brushes
4. A good drill and drill bits
5. Measuring tape
6. A screwdriver
7. A level
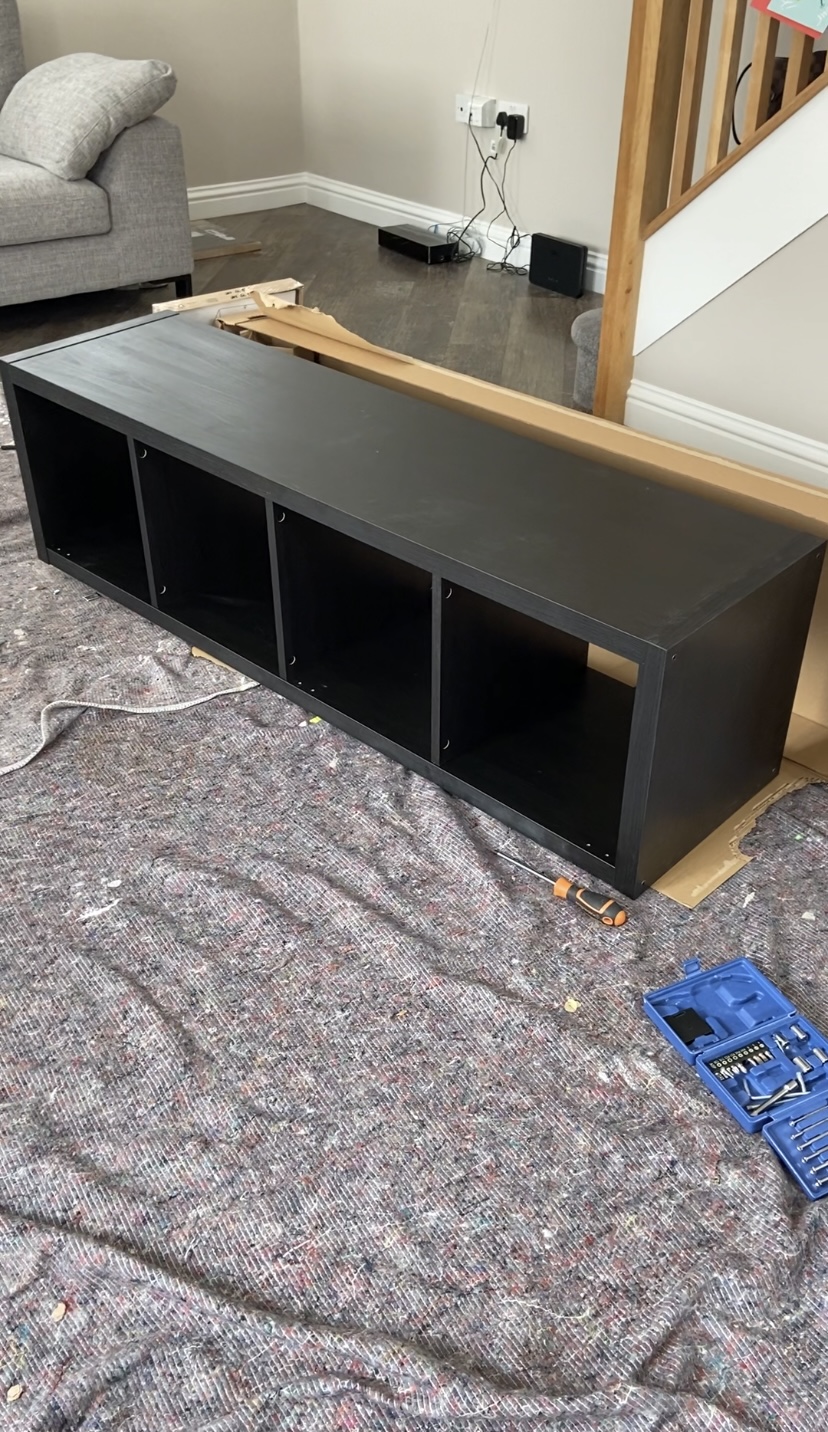
- 1 x IKEA KALLAX shelving unit in black-brown
- 4 x IKEA KALLAX doors in black-brown
- Paint – I went for Rustins Matt Black Quick Dry for wrought iron and wood
- 4x handles – I chose the LUSTE Curved Solid Brass Gold Door Pulls from Meraki
- 4 x legs
- Dowel – I used 21x6 half-round options and bought them from a local DIY shop
- Gorilla Glue
1. Build your IKEA KALLAX
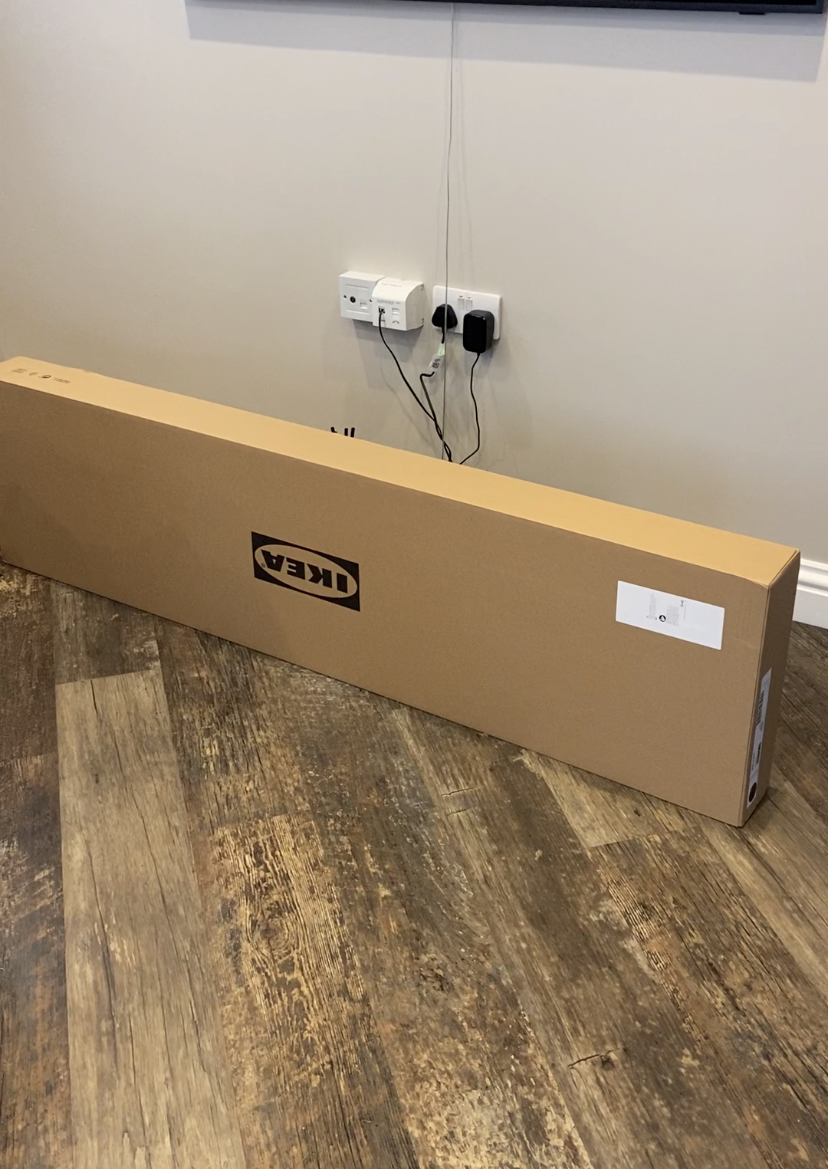
Start by making the IKEA KALLAX shelving unit using the instructions in the box. This took me around an hour – although if DIY is your thing it could certainly be completed quicker than this.
Just remember to follow the instructions carefully to make sure you don’t miss any steps which will mean you will have to go back on yourself halfway through the build.
Get small space home decor ideas, celeb inspiration, DIY tips and more, straight to your inbox!
Have a screwdriver close to hand in case you don't get on with the tools provided in the IKEA flatpack.
2. Fit the IKEA Kallax inserts
Once you have made the unit, it's now time to fit the inside of the cabinets.
Do so by following the IKEA KALLAX insert with door instructions. One of the key points in this step is to make sure you fit the inserts so they are flush at the back.
Another point to keep in mind is to remember not to attach the door fronts as you will need to be able to lay them flat for step five.
3. Measure and cut the dowel
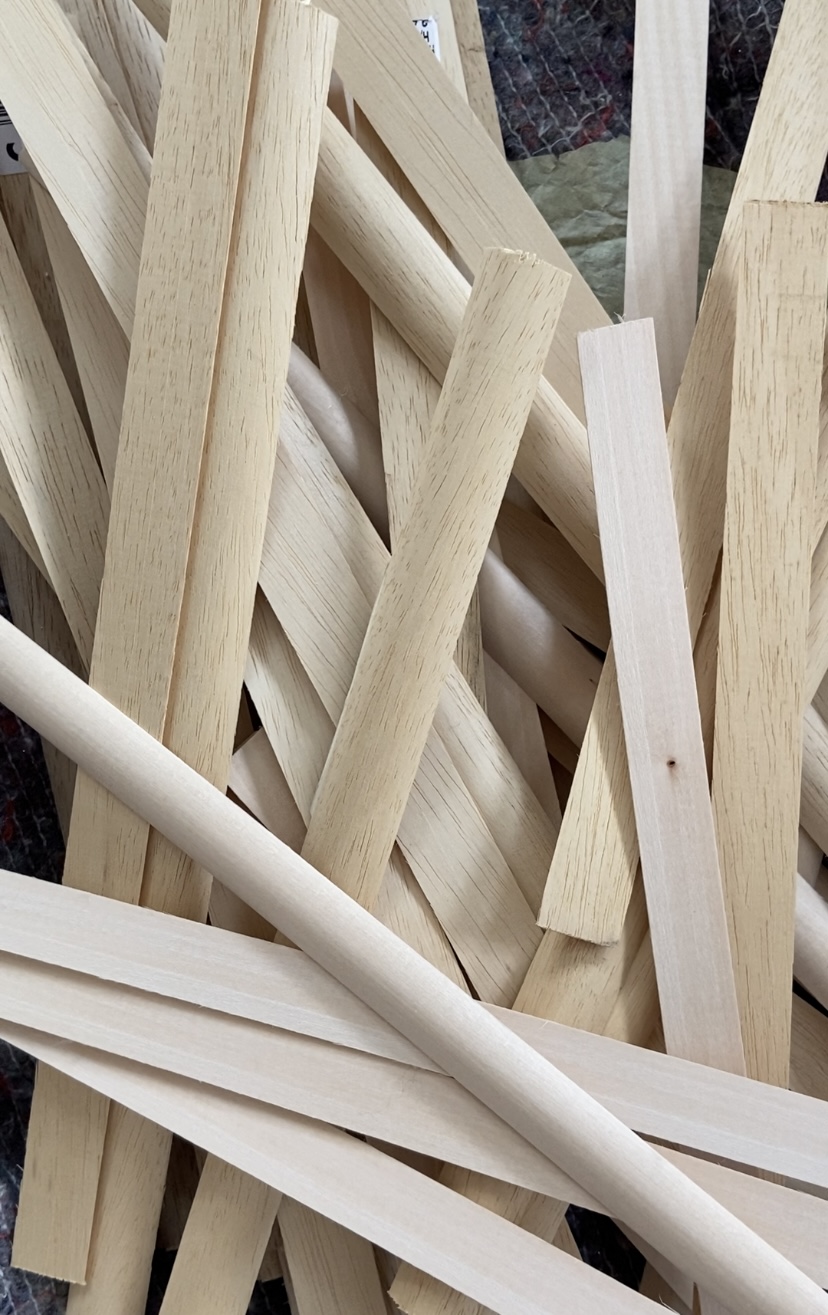
It's now time to cut the dowel to fit onto the front of the four doors.
Use a measuring tape to measure how long your dowel needs to be for each of your doors. Then use a saw to carefully cut the wooden strips.
I cut my wooden dowel strips at 33cm each, which enabled me to fit 17 strips onto each door. Although this might differ depending on what size width dowel you choose. I used the 21x6 half-round options.
4. Sand your dowel strips
Once you have cut enough strips for each of your four doors, use sandpaper to smooth any harsh edges.
Try not to sand your strips down too much as otherwise, they will be completely different sizes. And if you do – don't panic. You won't notice it too much once you have stuck and painted your dowel strips on your door.
5. Stick your strips on the doors
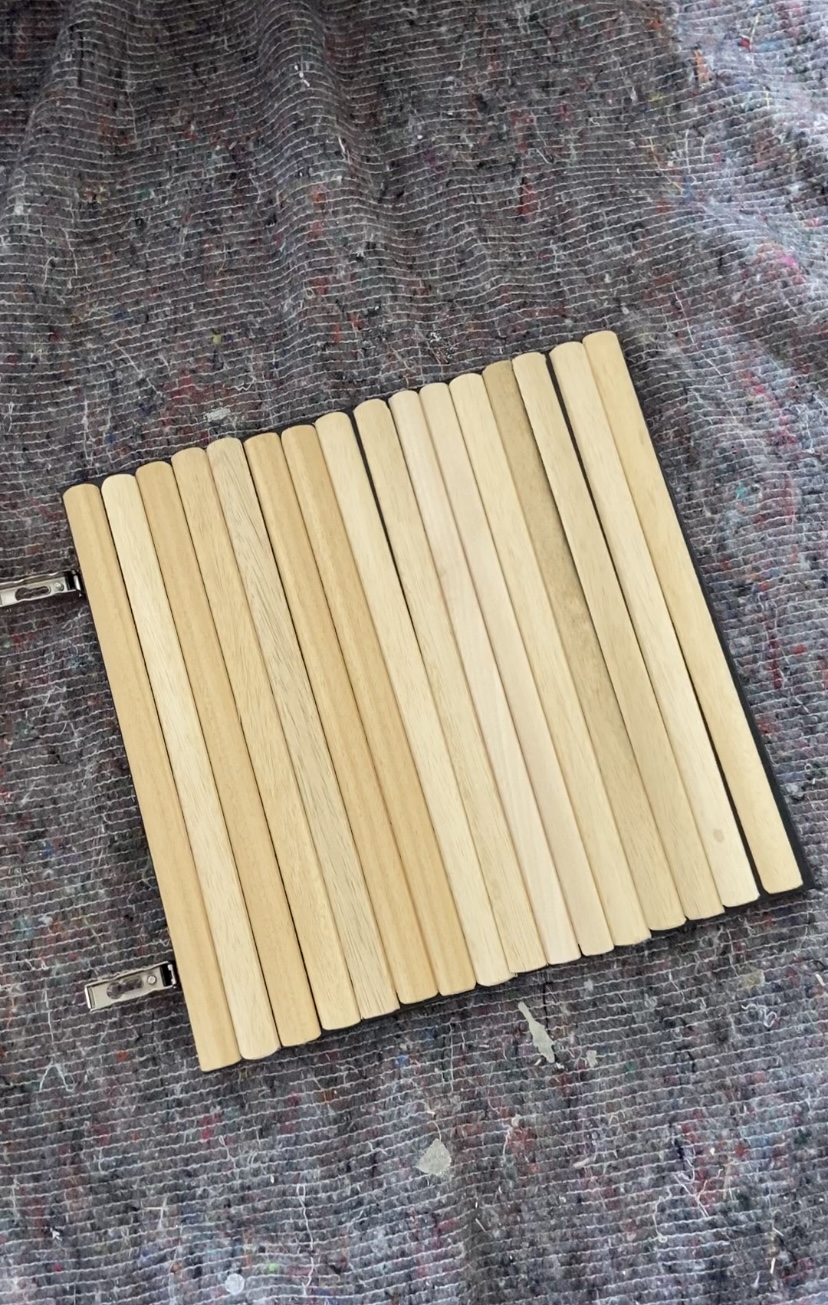
Lay out the four doors on a flat surface.
Spread the glue over one door and then carefully stick the strips onto it.
They should fit top-to-bottom perfectly, but if you find some are unlevel, make sure they are straight at the top, as you won’t notice any uneven sections at the bottom.
Repeat this process three more times until all of your doors have been covered. To make sure the wood will stick, you might need to lay something heavy over them. Just using a level worked for me.
6. Paint your cabinet
While you are waiting for the dowel to dry, start painting the cabinet with the furniture paint in your choice of color.
If you have time, before you paint, wipe down the cabinet to make sure no dust has settled on it.
Leave it to dry. Depending on the paint you have chosen it could take a couple of hours or longer.
7. Paint the doors
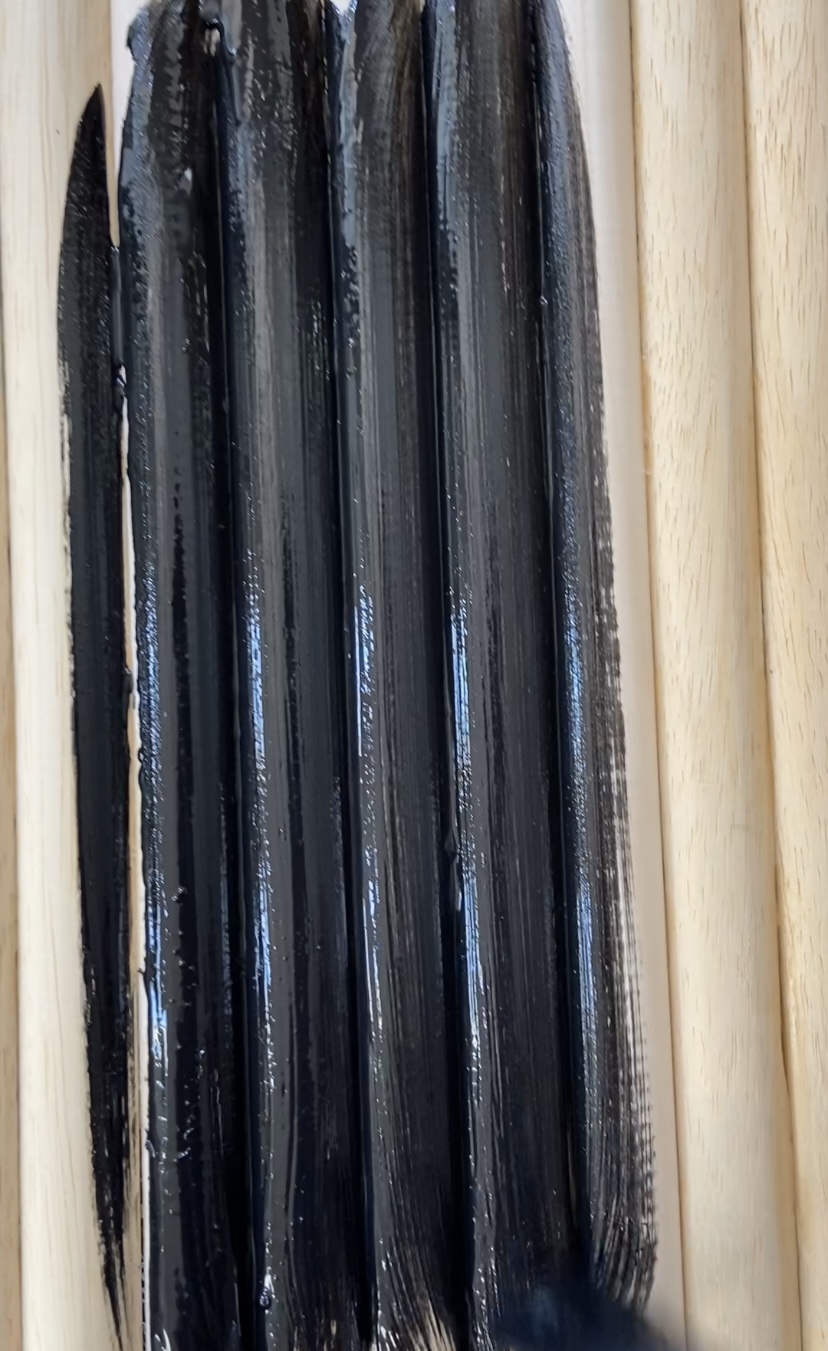
Once the glue has dried, paint your doors.
Remember to paint both sides of the doors as you will see the inside every time you open the cabinet. And, remember to paint the tops of the doors.
8. Paint a second coat
Give your cabinet and doors a second coat of paint to ensure you haven't missed any sections.
Once the paint has dried for the second time, depending on the paint you have chosen, you might even need to give your cabinet and doors a third coat. However, because the cabinet is already a dark brown, two layers should do it.
9. Fit the doors
Once the cabinet and doors are dry, fit the doors as per the IKEA KALLAX insert instructions using a drill.
Make sure you can open and close the doors fully.
10. Secure the legs
It's now time to fit the legs.
To do so, turn the cabinet upside down and fit your chosen legs. I attached my legs 2cm from the front and 2cm from each side.
This means they were slightly tucked underneath the cabinet, rather than splaying out on either side.
11. Fit the handles
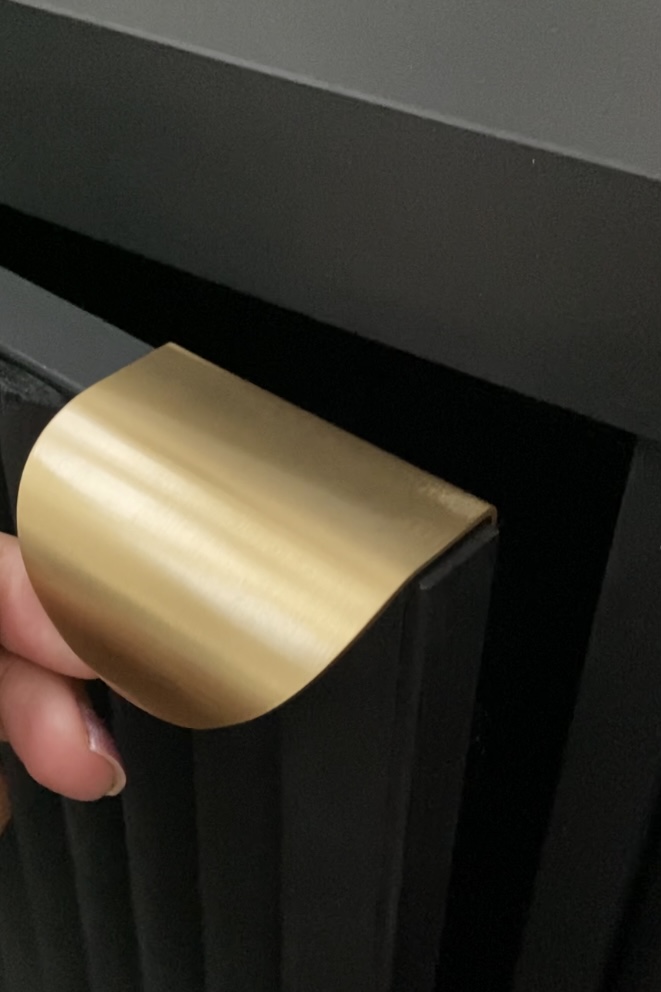
Now fit the handles.
Turn the cabinet the right way up and attach the handles.
My pull handles came with screws which I drilled in at the top right and left-hand sides of each door. Although I could have chosen to drill these in the middle of each cabinet door.
The results:
I loved this upcycle and honestly it saved me so much cash compared to what I would have to pay for a console table this beautiful (if I do say so myself).
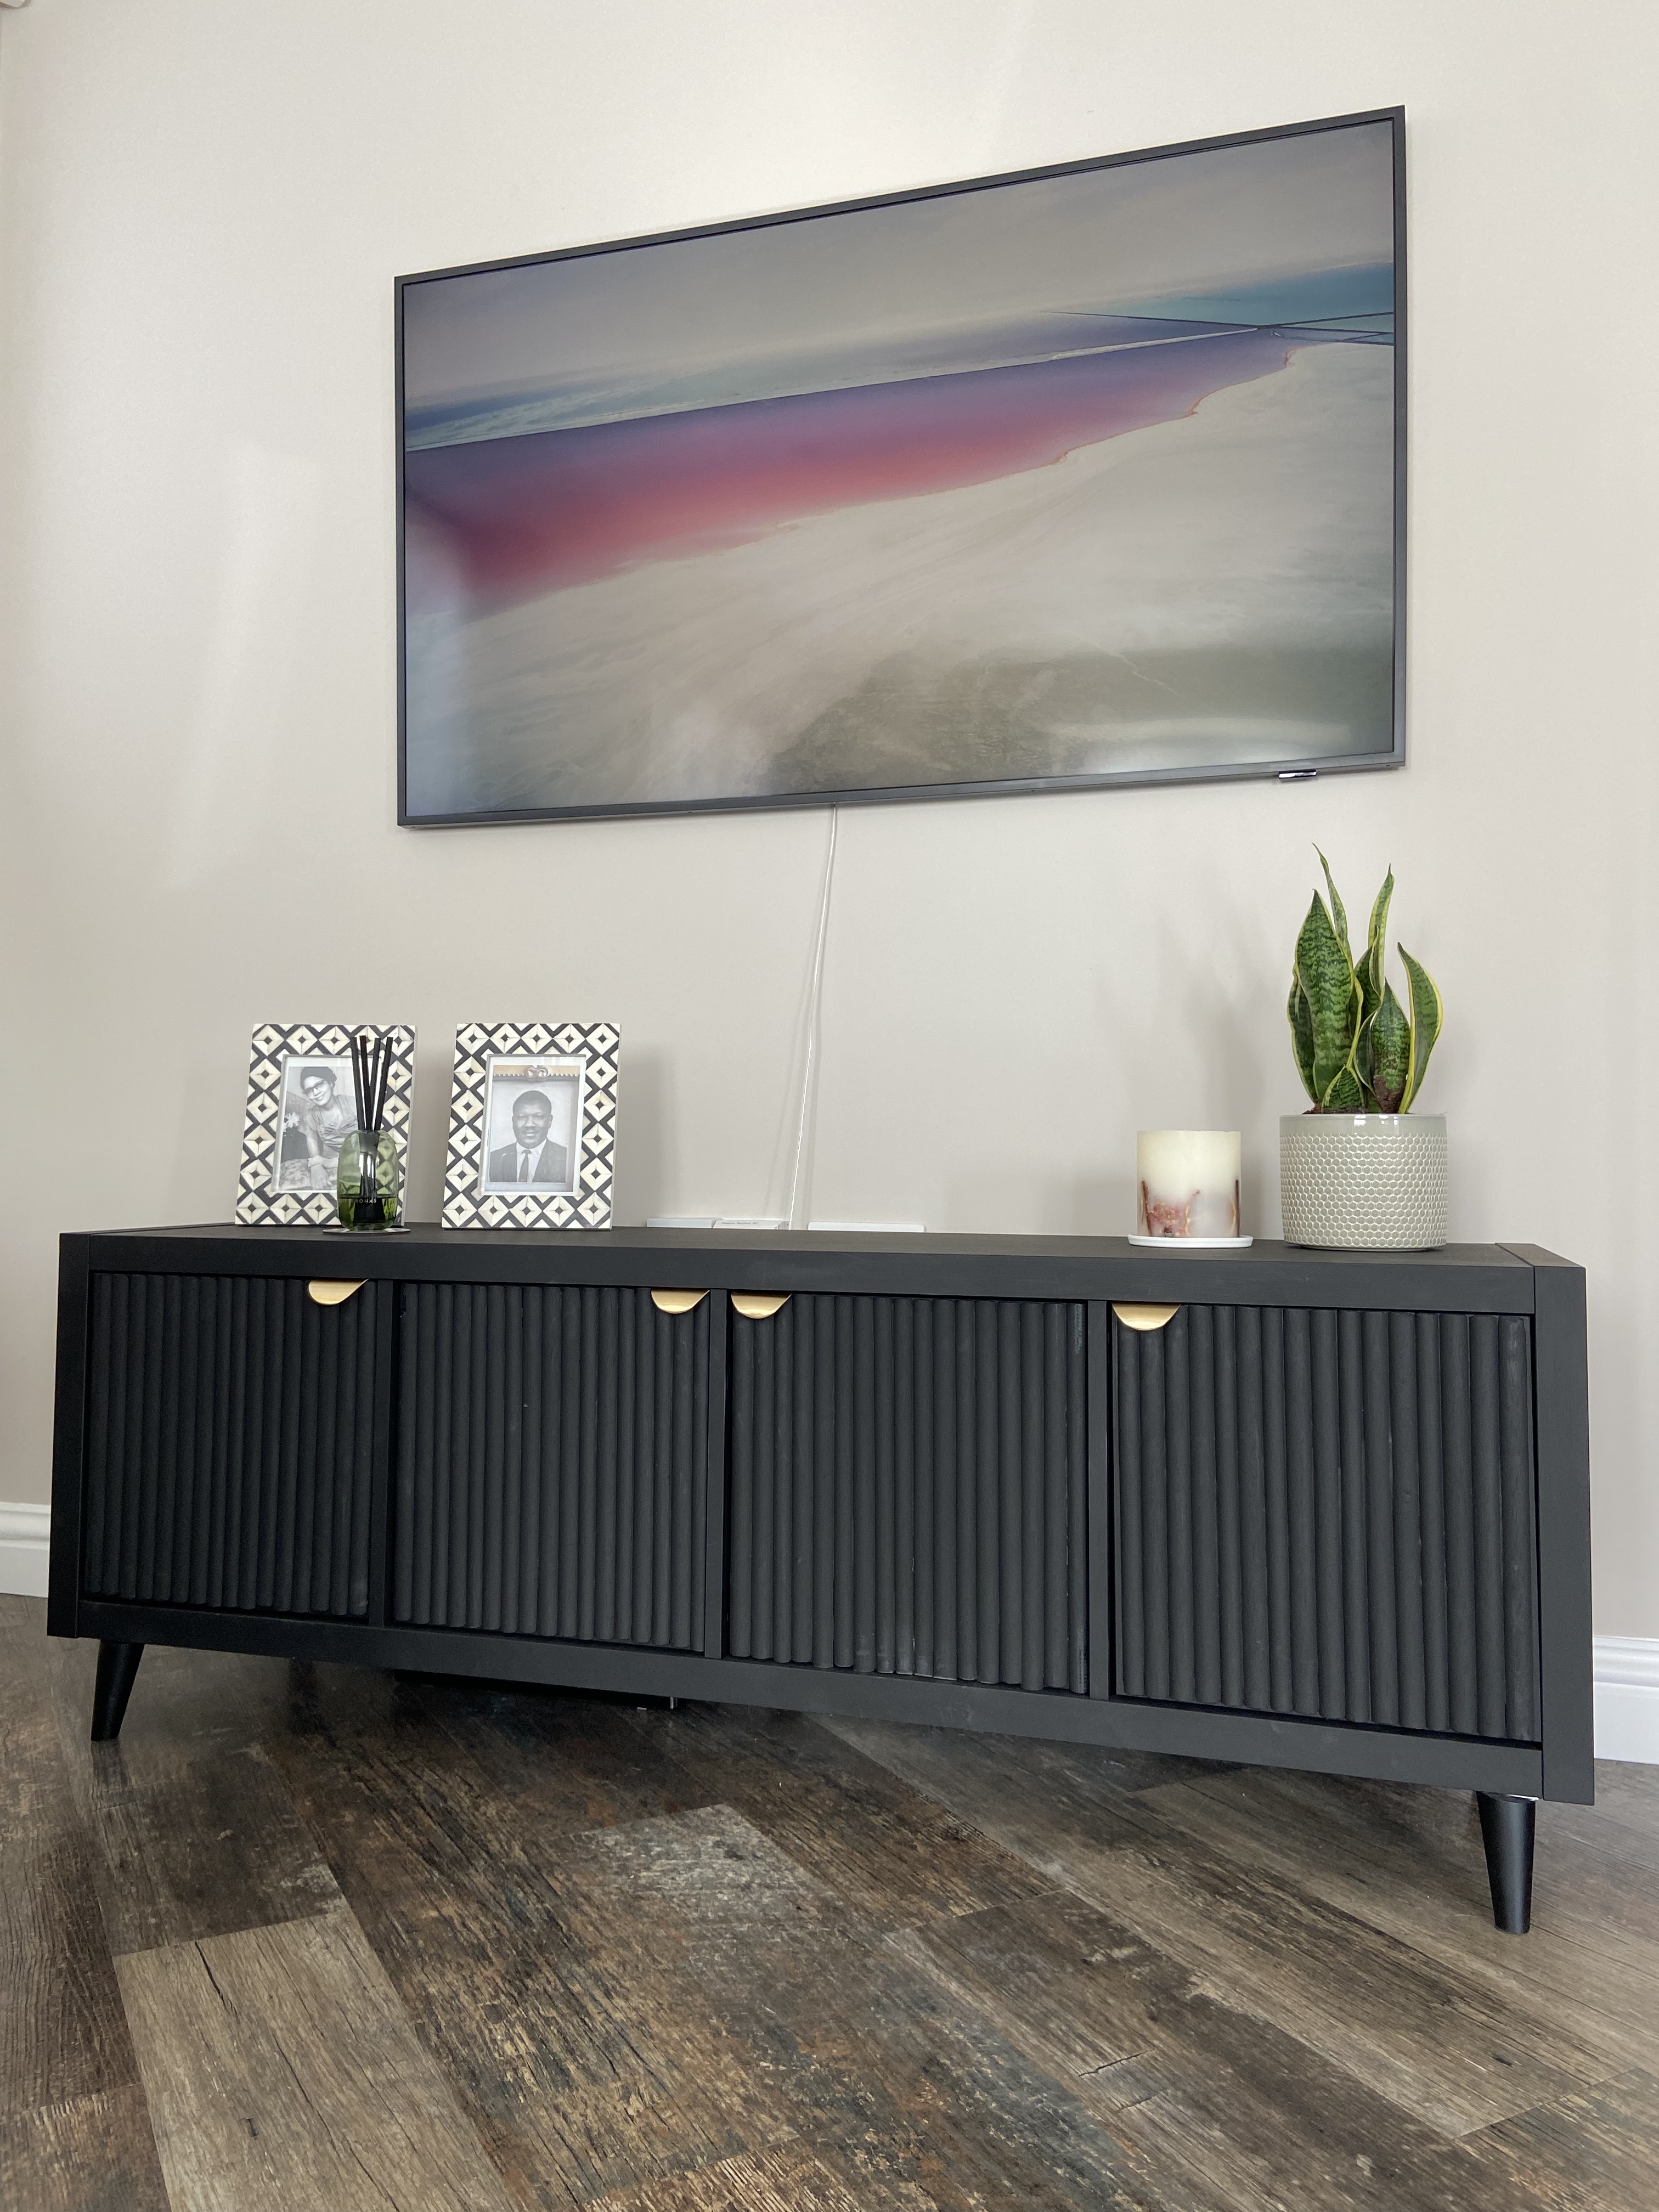
In fact, similar designs I spotted ranged between £500 to £800, compared to the under £200 price tag I paid. Not too bad.
However you like to decorate a console table, it's sure to give a stunning finish to your home.
Becks is a freelance lifestyle writer who works across a number of Future's titles. This includes Real Livingetc, Top Ten Reviews, Tom's Guide, TechRadar and more. She started her career in print journalism at a local newspaper more than 8 years ago and has since then worked across digital and social media for food, fashion and fitness titles, along with home interior magazines. Her own interior style? She's a big fan of Scandi designs and the same can be said for creating mindful spaces in every corner of her home. If it doesn't spark joy or happiness, it has no place here. When Becks isn't writing, she’s reading or probably thinking of more ways to add pink to her space.
