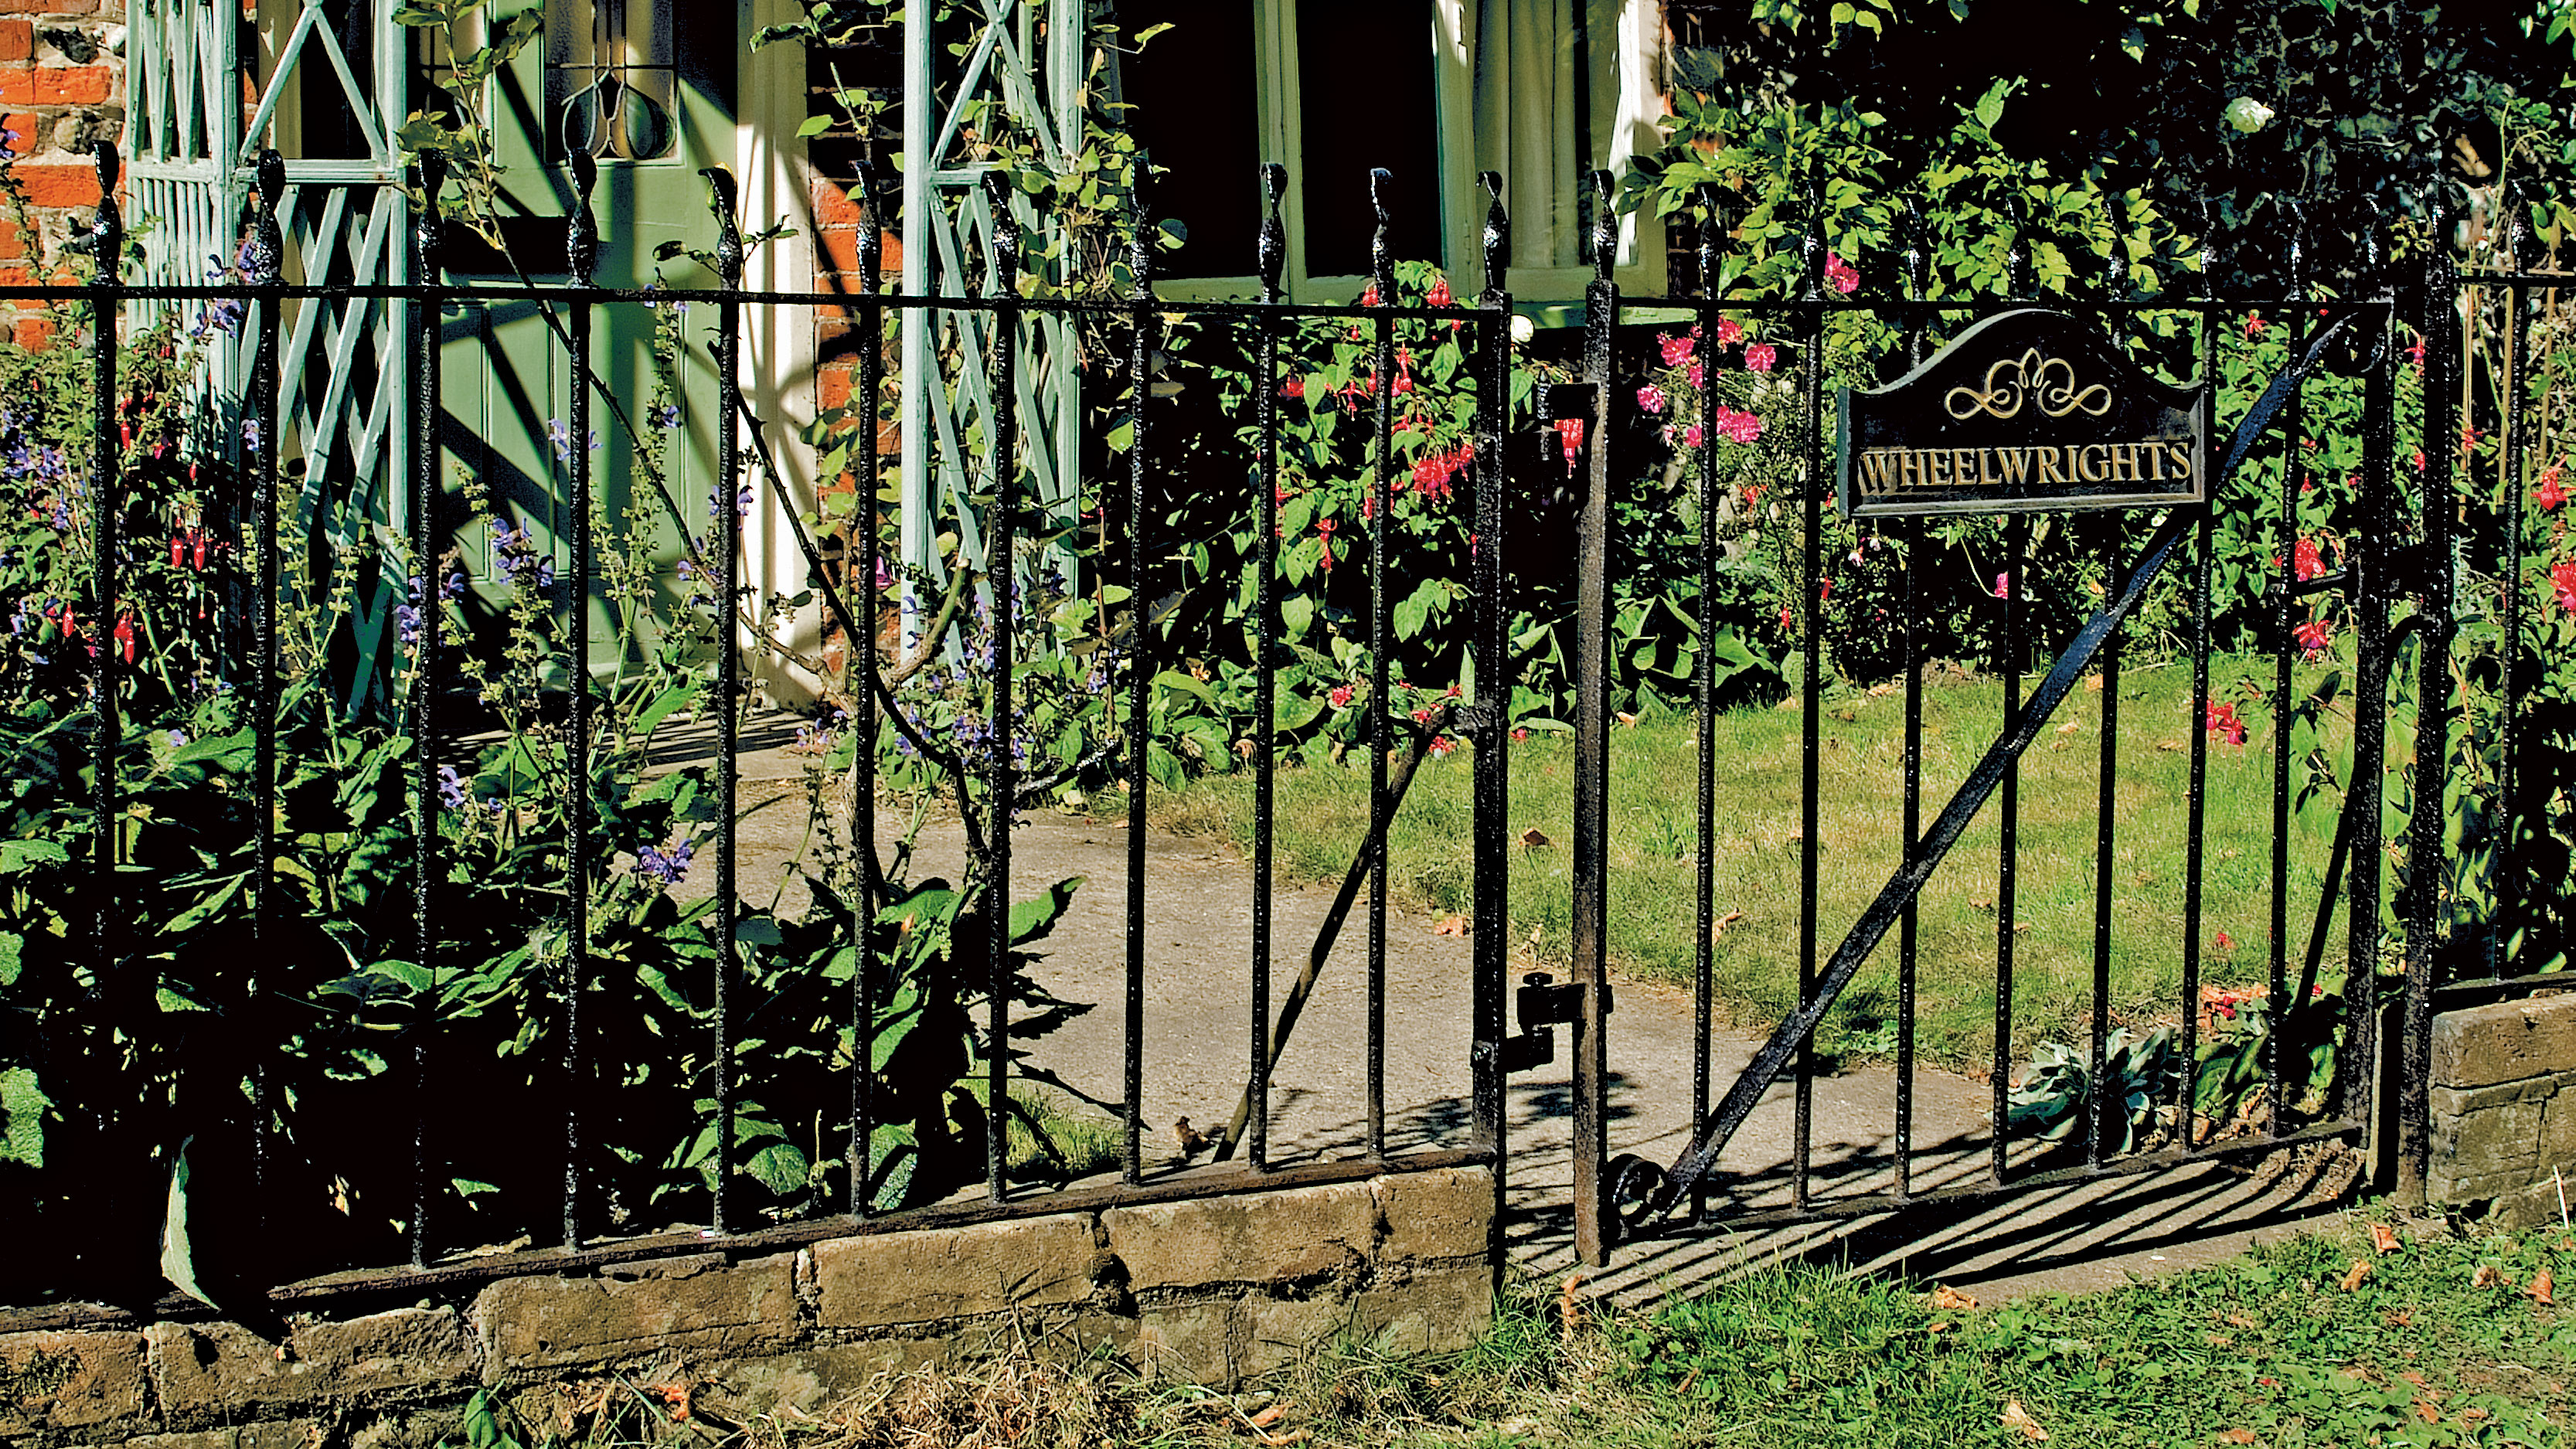
Old metal railings, fences, gates and other exterior metalwork are important architectural features that also serve a practical purpose.
Many original iron railings and gates will have been painted, whereas others are left in their natural state to show off the beauty of the metal.
Find out how to repair, clean and repaint railings and other metalwork below, and also add them to your annual home maintenance check to anticipate problems before they arise.
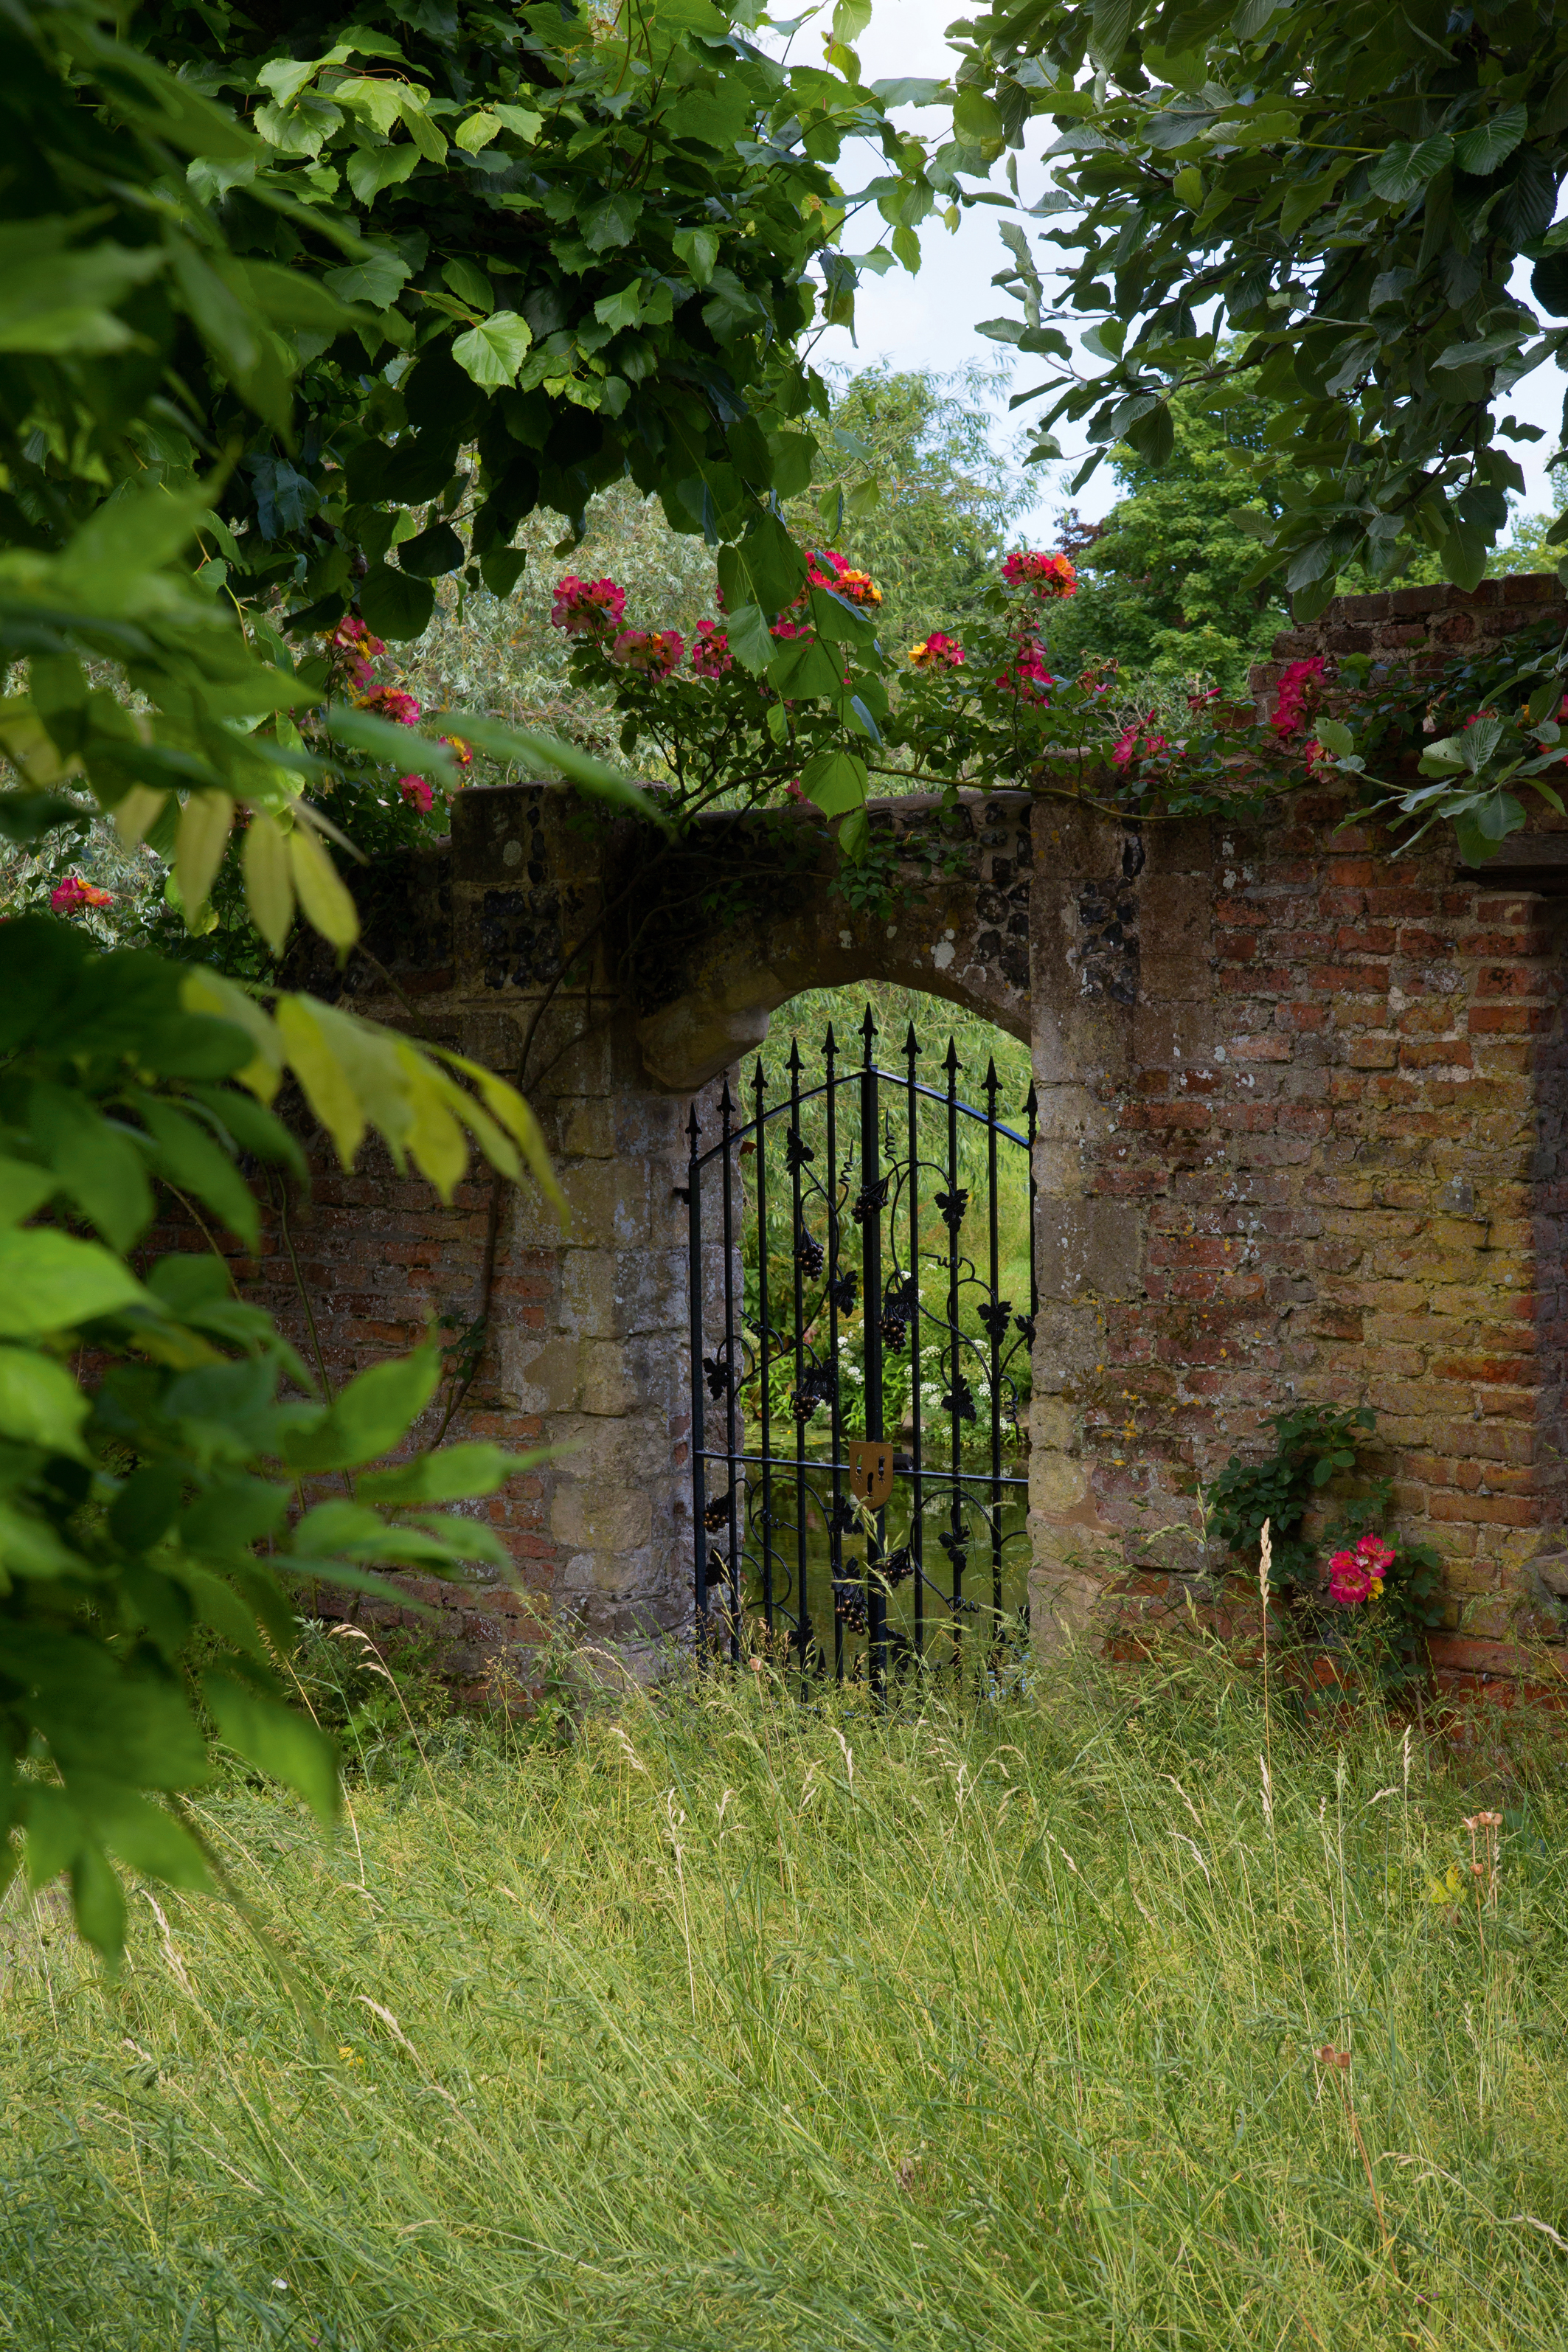
Keep on top of cutting back plants, as if they encroach on railings, they can slowly erode the metalwork over time
Why maintain iron railings?
Railings and other metalwork is vulnerable to damage due to fractures, rust and other forms of corrosion. All items should be regularly and carefully maintained and, where necessary, cleaned, painted and lubricated.
Which metal?
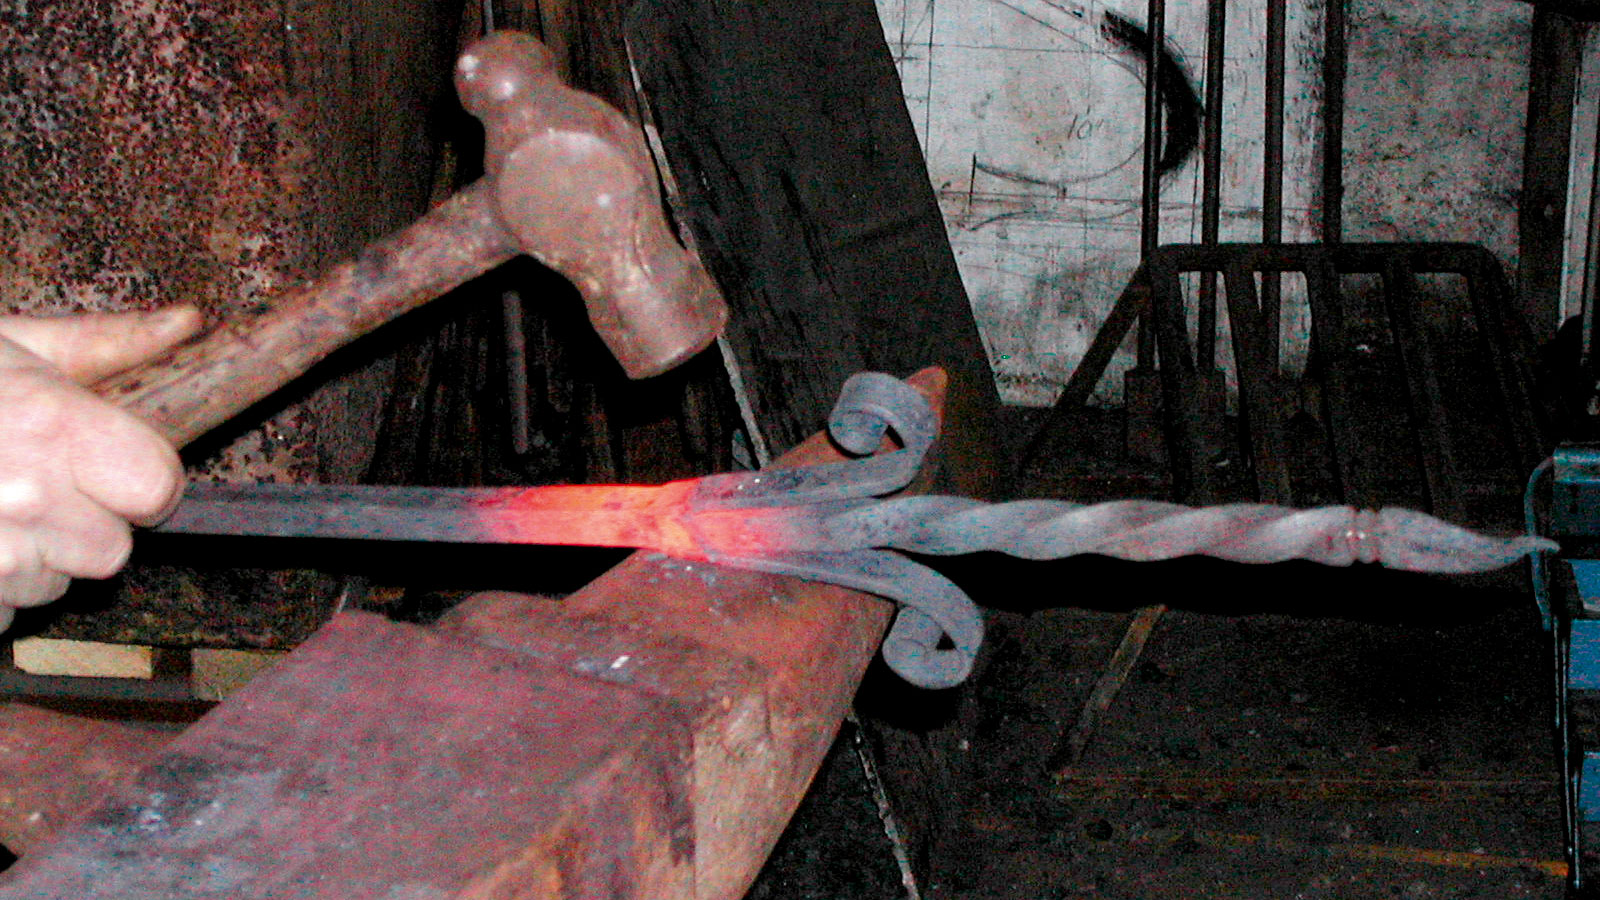
To ensure the best approach, try to identify the type of metal used. The ferrous metals – those containing iron – that are used in railings or gates are not always easy to tell apart, especially as they are often concealed under thick coats of paint and different metals are used in combination. For example, the decorative heads on wrought-iron railings are sometimes cast iron.
Iron is durable and, if regularly maintained, will last for years. But where paint has worn away, the exposure to water and air can quickly result in rust and decay. When iron corrodes it expands up to 10 times its original size, causing distortion and sections to be forced apart. Metal components set into stone can even cause the stone to fracture.
Spotting problems with metal railings and gates
- Damaged paintwork
- Blistering, discoloured paint or pitted surfaces
- Corrosion and failing joints
- Damaged or missing sections
- Moisture or dirt
- Moss or plant growth
- Rust staining to renders, masonry and other surfaces in contact with ironwork, including pillars and plinths
- Cracking to masonry where ironwork is attached
- Squeaking, binding or sagging gates
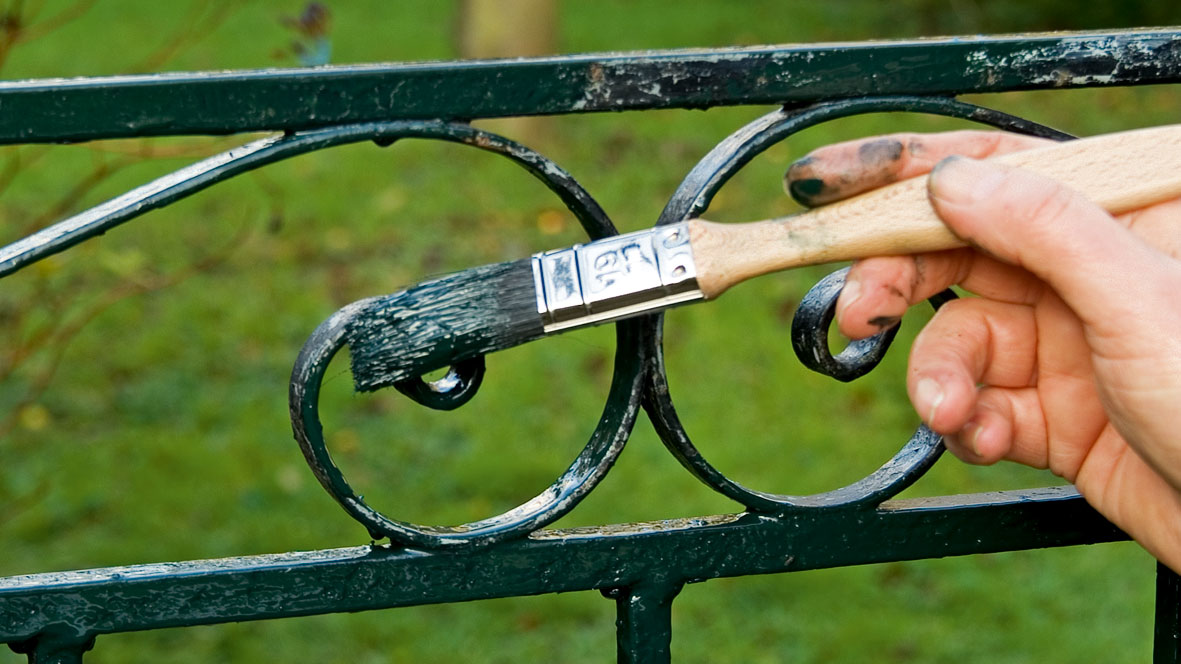
Painting gates and railings is an important part of their maintenance, as if water gets to the metal underneath then it will rust
Chopping back overgrown vegetation, dealing with patches of corrosion and repainting chipped and peeling paintwork will avoid trouble in the future.
Where there is damage, avoid cheap repairs. They often use inappropriate materials such as aluminium or mild steel, while poor quality welding can hasten damage.
How to clean and repaint railings and gates
Regular finishing of ironwork such as railings and gates is essential to avoid rusting and decay caused by exposure to air and water.
Good preparation of the surface is essential and all loose paint and rust must be removed first.
You will need
- Steel brush
- Scraper
- Abrasive paper
- Sugar soap and cloth
- Masking tape, newspapers and large sheets of cardboard
- Metal paint or gloss – we used Hammerite
- Knee pads, goggles, dust mask and work gloves
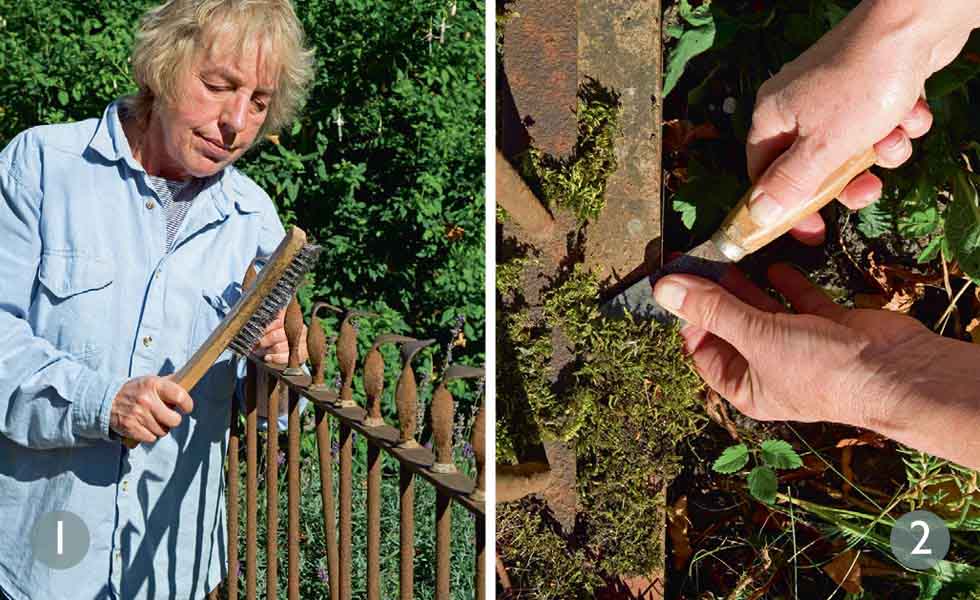
1. Brush off old flaking paint
Use a steel brush to get rid of all loose and old flaking layers of paint. This is important – the new paint won’t bond with the existing paint and protect the metal unless the railings are cleaned of loose rust and unsound paint. Brush away heavy algae growth and treat with a sterilising solution, then leave for 24 hours and rinse off.
2. Clear moss and weeds
Check the bottom of the railings, scrape away moss and clear away weeds. Sometimes there is a gap between the brick plinth and the bar at the bottom where debris can collect. This becomes a moisture trap encouraging corrosion as the metal never has the opportunity to dry out. Investigate and clean with the scraper.
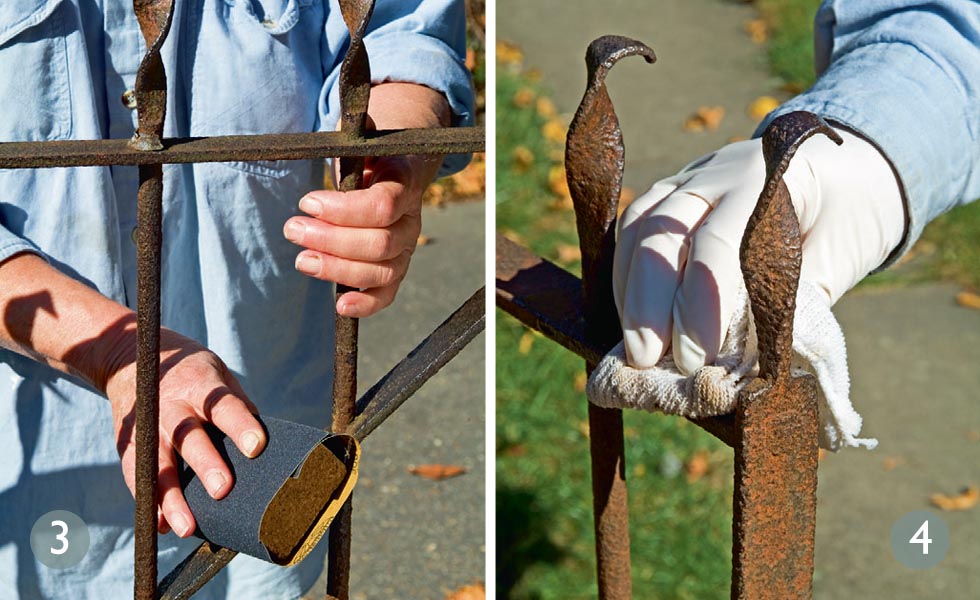
3. Prepare metalwork for painting
Existing paintwork must be ‘keyed’ or roughened with medium grade abrasive paper to create good adhesion for the new paint. Wet and dry paper used with water prevents the paper ‘clogging’. Wet sanding is also advisable as it reduces dust. For a smooth finish rub around the edges to avoid ‘steps’ on the new paintwork.
4. Clean away grease and grime
Wearing gloves and using a clean cloth, wash the railings thoroughly with a solution of sugar soap dissolved in hot water. This will get rid of all the dirt and grime and any greasy deposits, too. Once the railings are completely clean, use a new cloth and lots of water to rinse away the dirty suds.
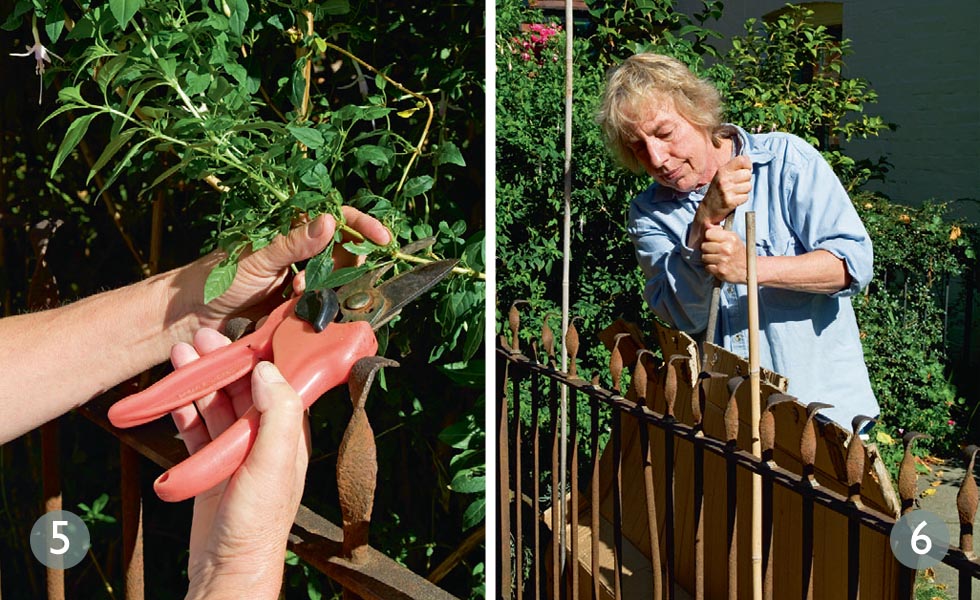
5. Prune nearby plants and test paint
Cut back all vegetation that comes into contact with the railings. If painting over existing paint you must ensure that the new paint is compatible. Paint a trial section and leave overnight. Hammerite can be painted directly on to the metal without a primer, but if you’re using a gloss paint, the metal must be rust-free and then protected with two coats of zinc-based primer.
6. Protect plants from paint splashes
Use some large sheets of cardboard to prop behind the railings to protect plants. Hold in place by pushing canes into the ground on alternating sides of the board.
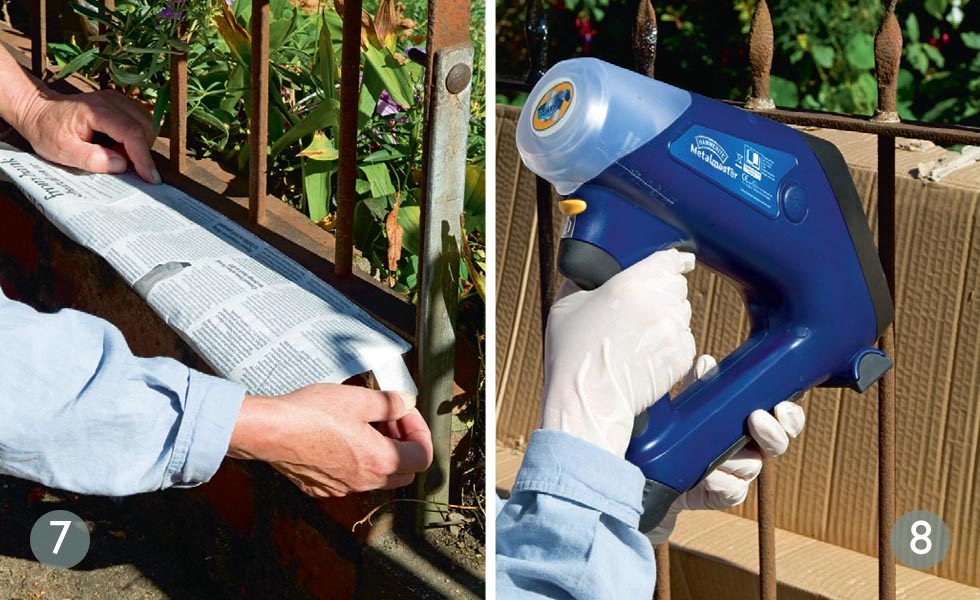
7. Make final preparations
Fix old newspaper to brick plinths, pillars and paths using masking tape. Check the weather forecast: a warm slightly overcast day is best; don’t paint when wind or rain are predicted and avoid the months from November to February as it will be too cold and damp for the paint to cure properly.
8. Apply new coats of paint
Brush on two coats of paint, following the manufacturer’s instructions regarding the length of time between coats. The first coat can become pitted if the second is applied too soon and two thin coats are more effective than one thicker one. If you have a lot of railings you may prefer to use a spray gun.
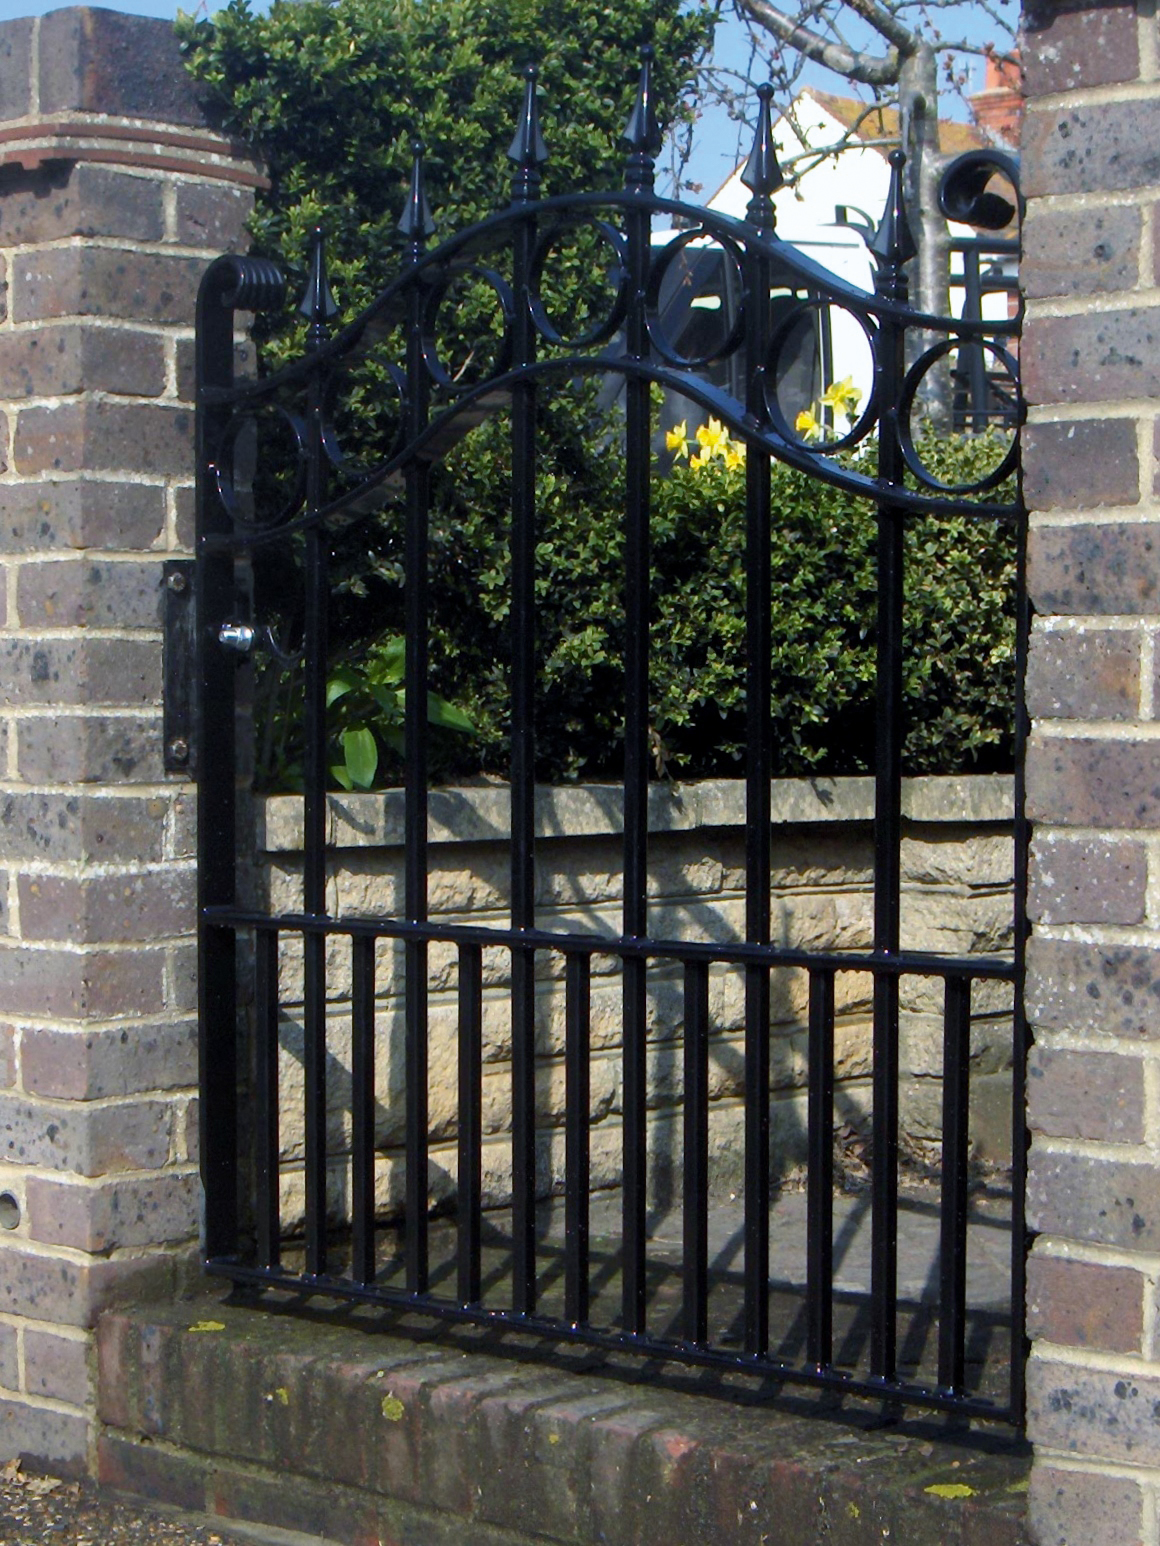
The finished railings, which have been given new life through cleaning and repainting
Removing layers of paint from railings
The fine detail of metal items is often obscured by accumulated paint layers, so these may need to be removed. Use brush applied chemical strippers or peel-away poultice systems, following the manufacturer's instructions. Hot air guns will not work with metal as the heat quickly dissipates.
When removing paint from railings, shot blasting or flash flame cleaning methods may be suitable if undertaken by a professional experienced in conservation work
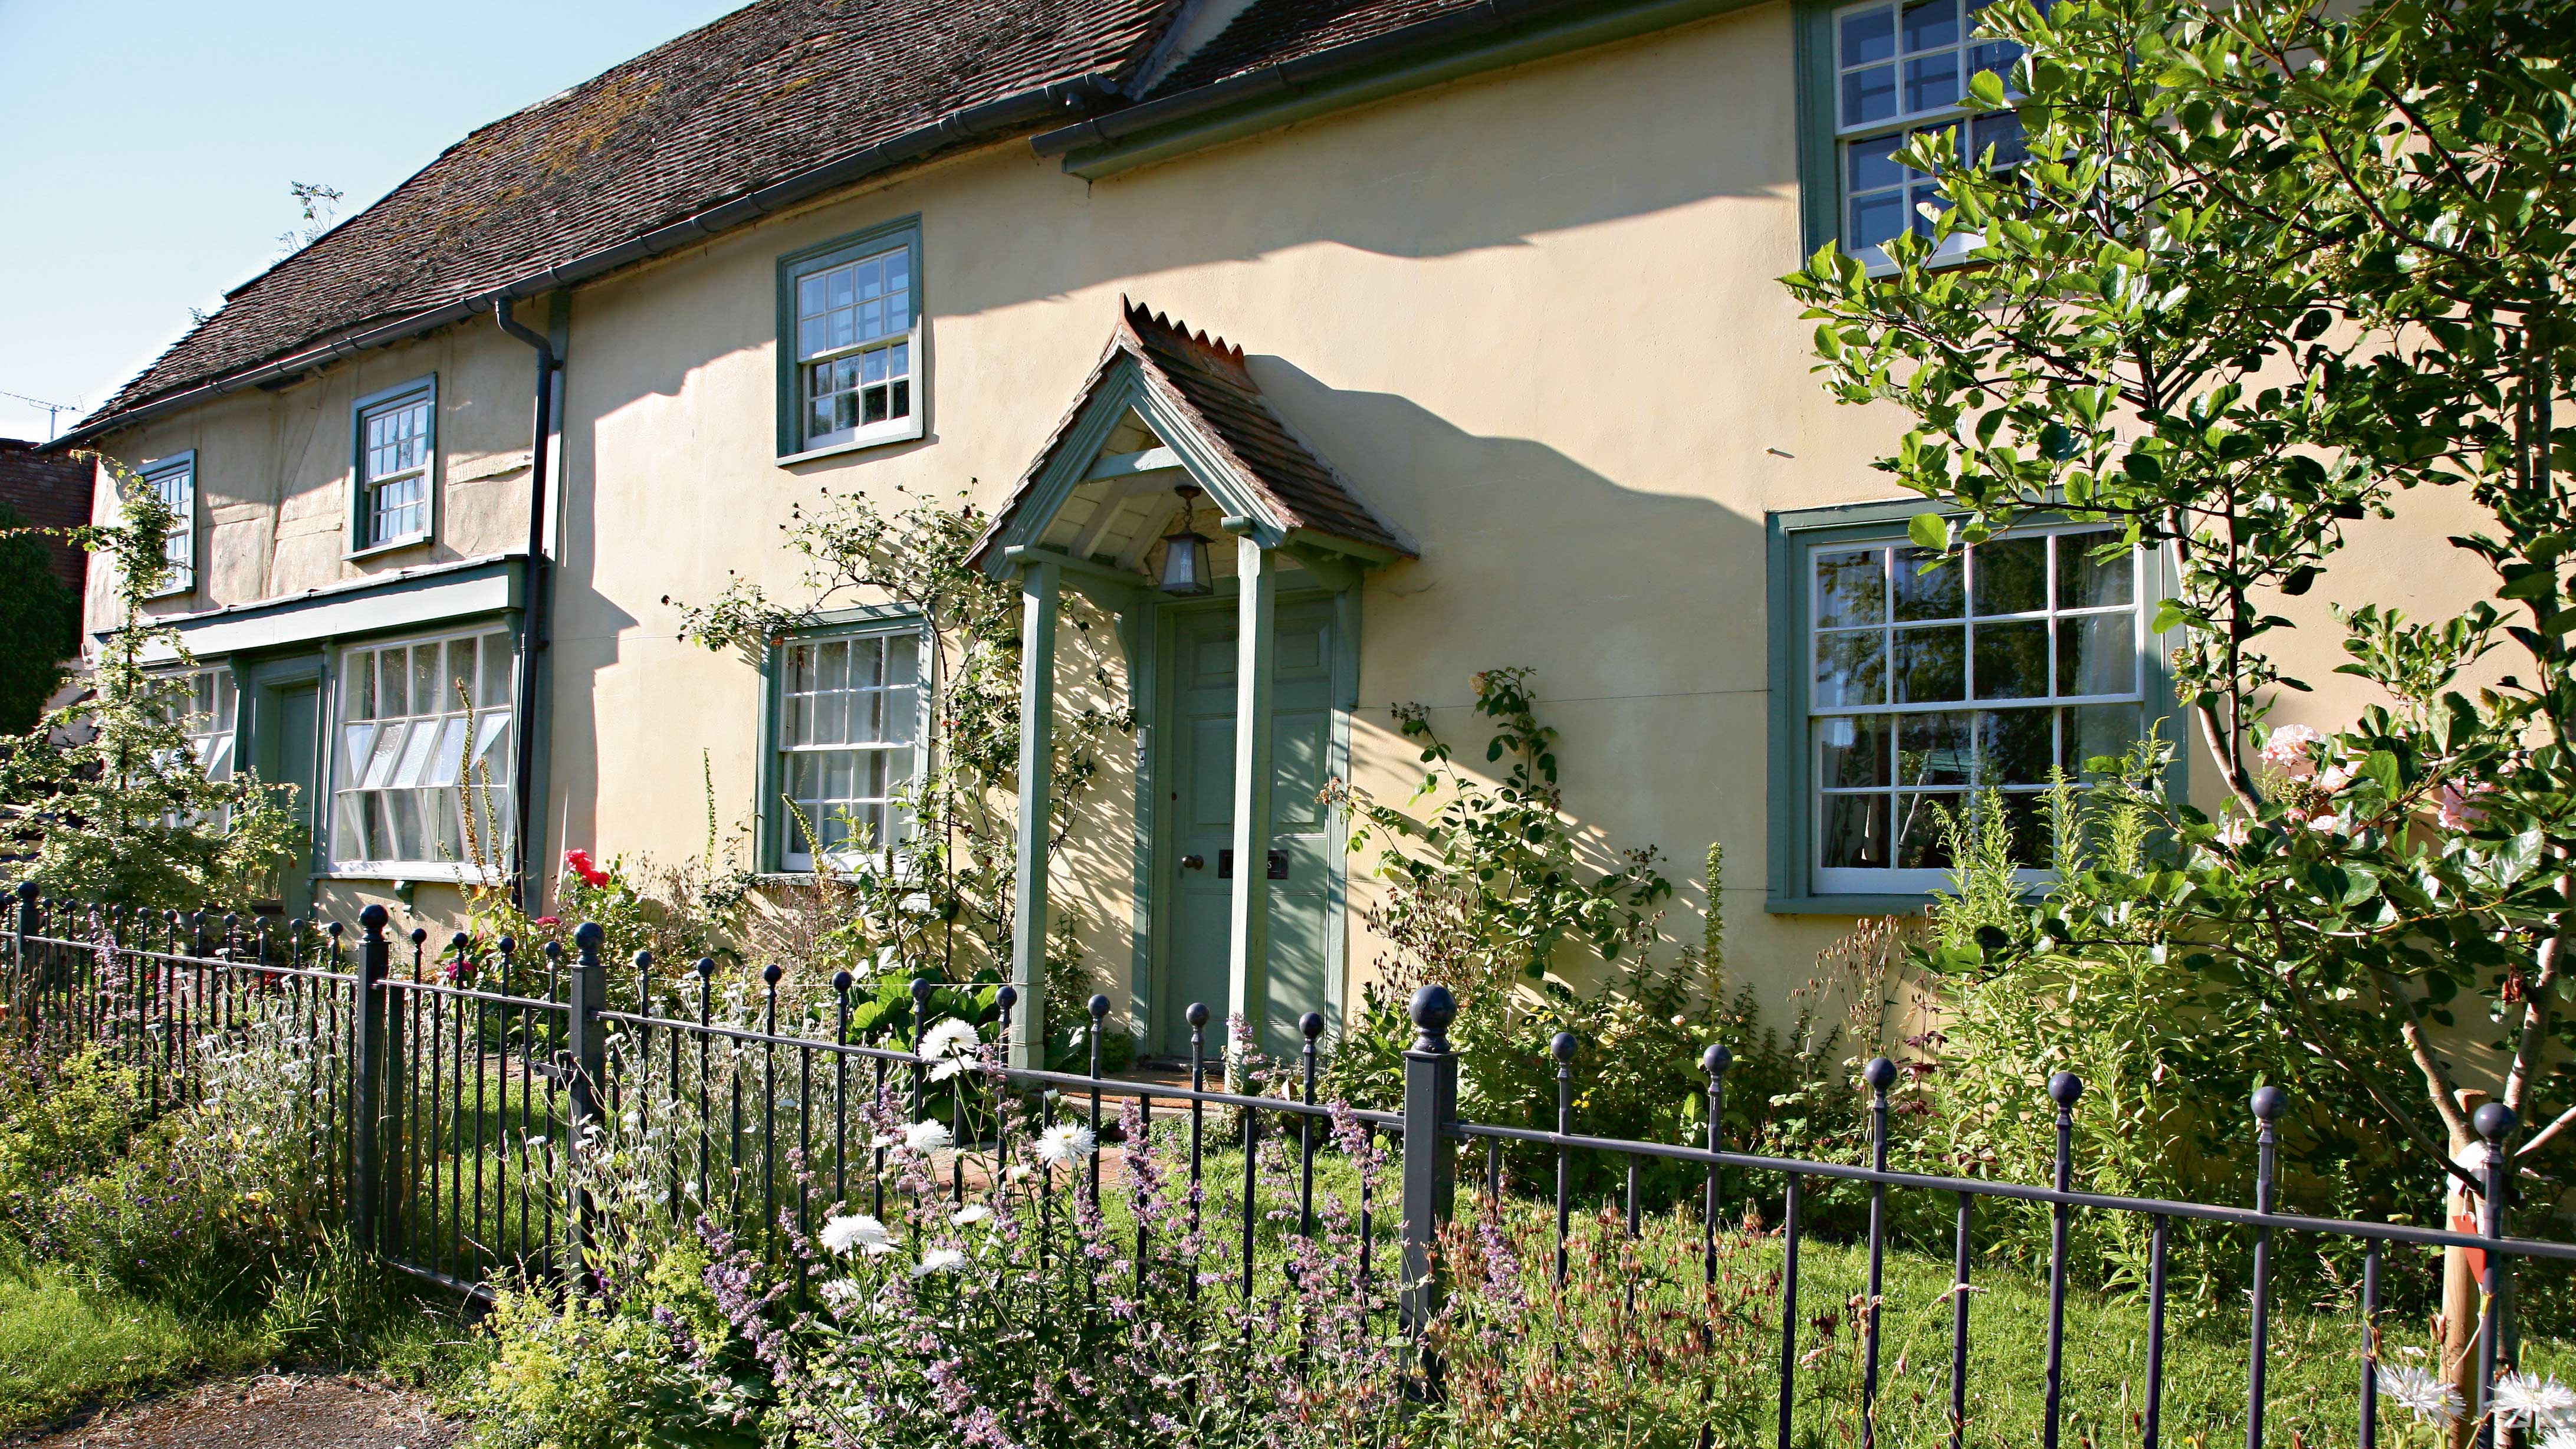
How to repair railings
Regular maintenance and repainting of railings and other metalwork is the best protection against rust and deterioration. Other potential problems include the fracturing of cast iron because of impact or casting flaws, and the distortion of wrought iron.
Where deterioration has occurred, wrought iron can be repaired by cutting out defective lengths and welding in new pieces in a similar material. Recycled wrought iron is available but there has been no new source in the UK since the 1970s.
Cast iron is more easily repaired by cold stitching. Specialist firms can take moulds from cleaned originals and recast components.
Bear in mind that repairing railings is a skilled job requiring considerable craftsmanship. Contact a blacksmith who will carry out new work on a like-for-like basis.
Use undamaged pieces of cast iron to provide patterns for new castings. Contact foundries as some still hold traditional patterns in stock.
You can also search architectural salvage yards for replacement items.
Always try to retain as much of the original as possible and have repairs made in like-for-like materials
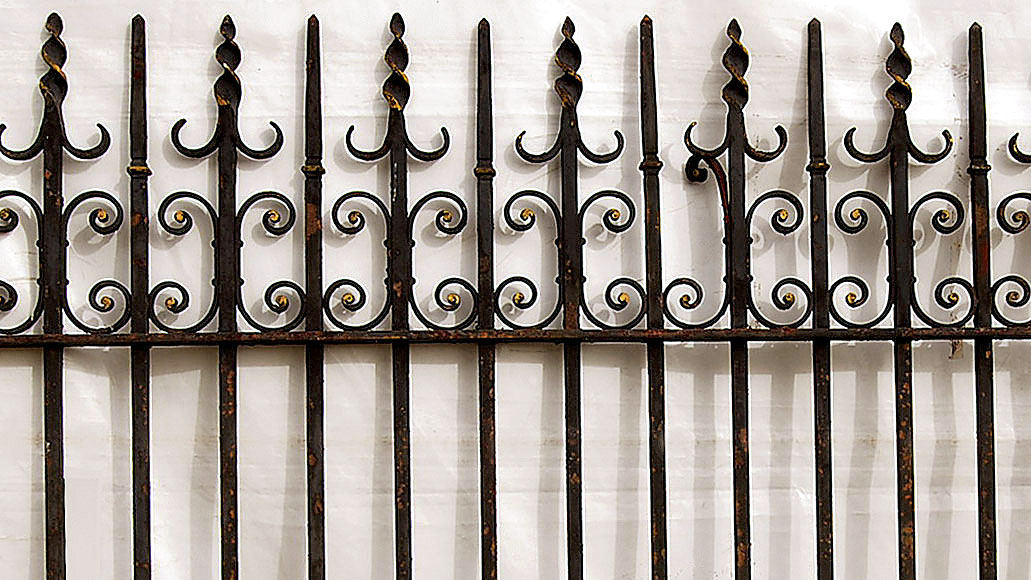
Salvage yards can be a good source for original iron gates and railings, such as these from Lassco
When to replace ironwork
Occasionally, where there is vehicle damage, for example, replacement may be the only option. New cast-iron and mild-steel equivalents can be readily obtained and, if carefully forged, mild steel is hard to distinguish from wrought iron.
For a period-style finish, it is best to use traditional methods of assembly rather than arc welding, which is the method that’s commonly used today.
Bear in mind that many products sold as being of ‘wrought iron’ today, such as gates, are actually fabricated from standard sections of steel welded together. While perfectly serviceable, these borrow little from the genuine traditions of the blacksmith.
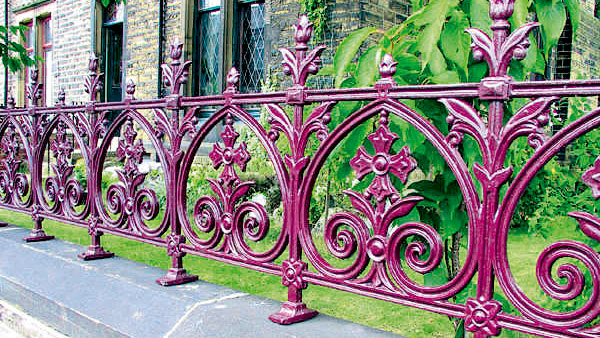
If replacing old railings, it's important to use a company that employs traditional blacksmithing skills. This new Terrace design is by Heritage Cast Iron
A short history of iron railings
Wrought iron began to be widely used to create highly decorative items, including gates and screens, in the 17th and 18th centuries.
More from Period Living
Period Living is the UK's best-selling period homes magazine. Get inspiration, ideas and advice straight to your door every month with a subscription.
Until technological advances in the Industrial Revolution brought about the mass production of wrought and cast iron, items were made on a modest scale by local blacksmiths
Once it became more widely available, and within the means of the growing middle classes, it soon became a favoured building material for use as a decorative boundary.
Until the late 19th century, it was used for components such as hinges and handles, gates and balconies before being largely superseded by steel in the late 19th century.
Cast iron became popular following the invention of the cupola furnace in the 18th century. This enabled liquid iron to be poured and cast into moulds in a foundry. Castings were frequently joined together by nuts and bolts or by interlocking the parts.
Cast iron is brittle and weaker in tension than wrought iron but is quicker and easier to make. Components have a deeper profile and more repetitive appearance. Unlike wrought iron, cast iron has never entirely been superseded by steel.
Wrought iron has a more delicate appearance and, as each piece is formed individually, there is more opportunity for slight variations in the finished piece.
Feature by Helaine Claire with additional copy by Roger Hunt, Douglas Kent and Melanie Griffiths
More step-by-step renovation projects:
Join our newsletter
Get small space home decor ideas, celeb inspiration, DIY tips and more, straight to your inbox!
-
 A $200 fluted panel transformed my drab kitchen in just one weekend
How to install a fluted kitchen panel: A speedy and achievable DIY tutorial even for DIY novices
By Claire Douglas Published
-
 This colourful home makeover has space for kitchen discos
While the front of Leila and Joe's home features dark and moody chill-out spaces, the rest is light and bright and made for socialising
By Karen Wilson Published
-
 How to replace a broken staircase spindle in 30 minutes flat
A missing or broken spindle on a staircase is not only unsightly, but it can be a real hazard. This is how to fix it in a few quick steps.
By Kate Sandhu Published
-
 An IKEA Billy bookcase hack inspired this cute media wall DIY
This cute DIY was inspired by an IKEA Billy bookcase hack and brought a ton of symmetry to an otherwise basic media wall space.
By Camille Dubuis-Welch Published
-
 Share your small space glow up to win $150 in the Real Homes competition
Show off your creativity and DIY skills to win $150 and for the chance to be featured exclusively in Real Homes magazine
By Camille Dubuis-Welch Last updated
-
 This oversized headboard looks designer, and takes 5 steps to DIY
Super simple to DIY, this oversized headboard will give your bedroom space all the designer vibes you could dream of.
By Claire Douglas Published
-
 How to paint a door and refresh your home instantly
Painting doors is easy with our expert advice. This is how to get professional results on front and internal doors.
By Claire Douglas Published
-
 My DIY range hood and backsplash build gave my kitchen the perfect farmhouse finish
I craved charm in my kitchen space and adding a custom range hood and shelving was the best move.
By Brooke Waite Published
