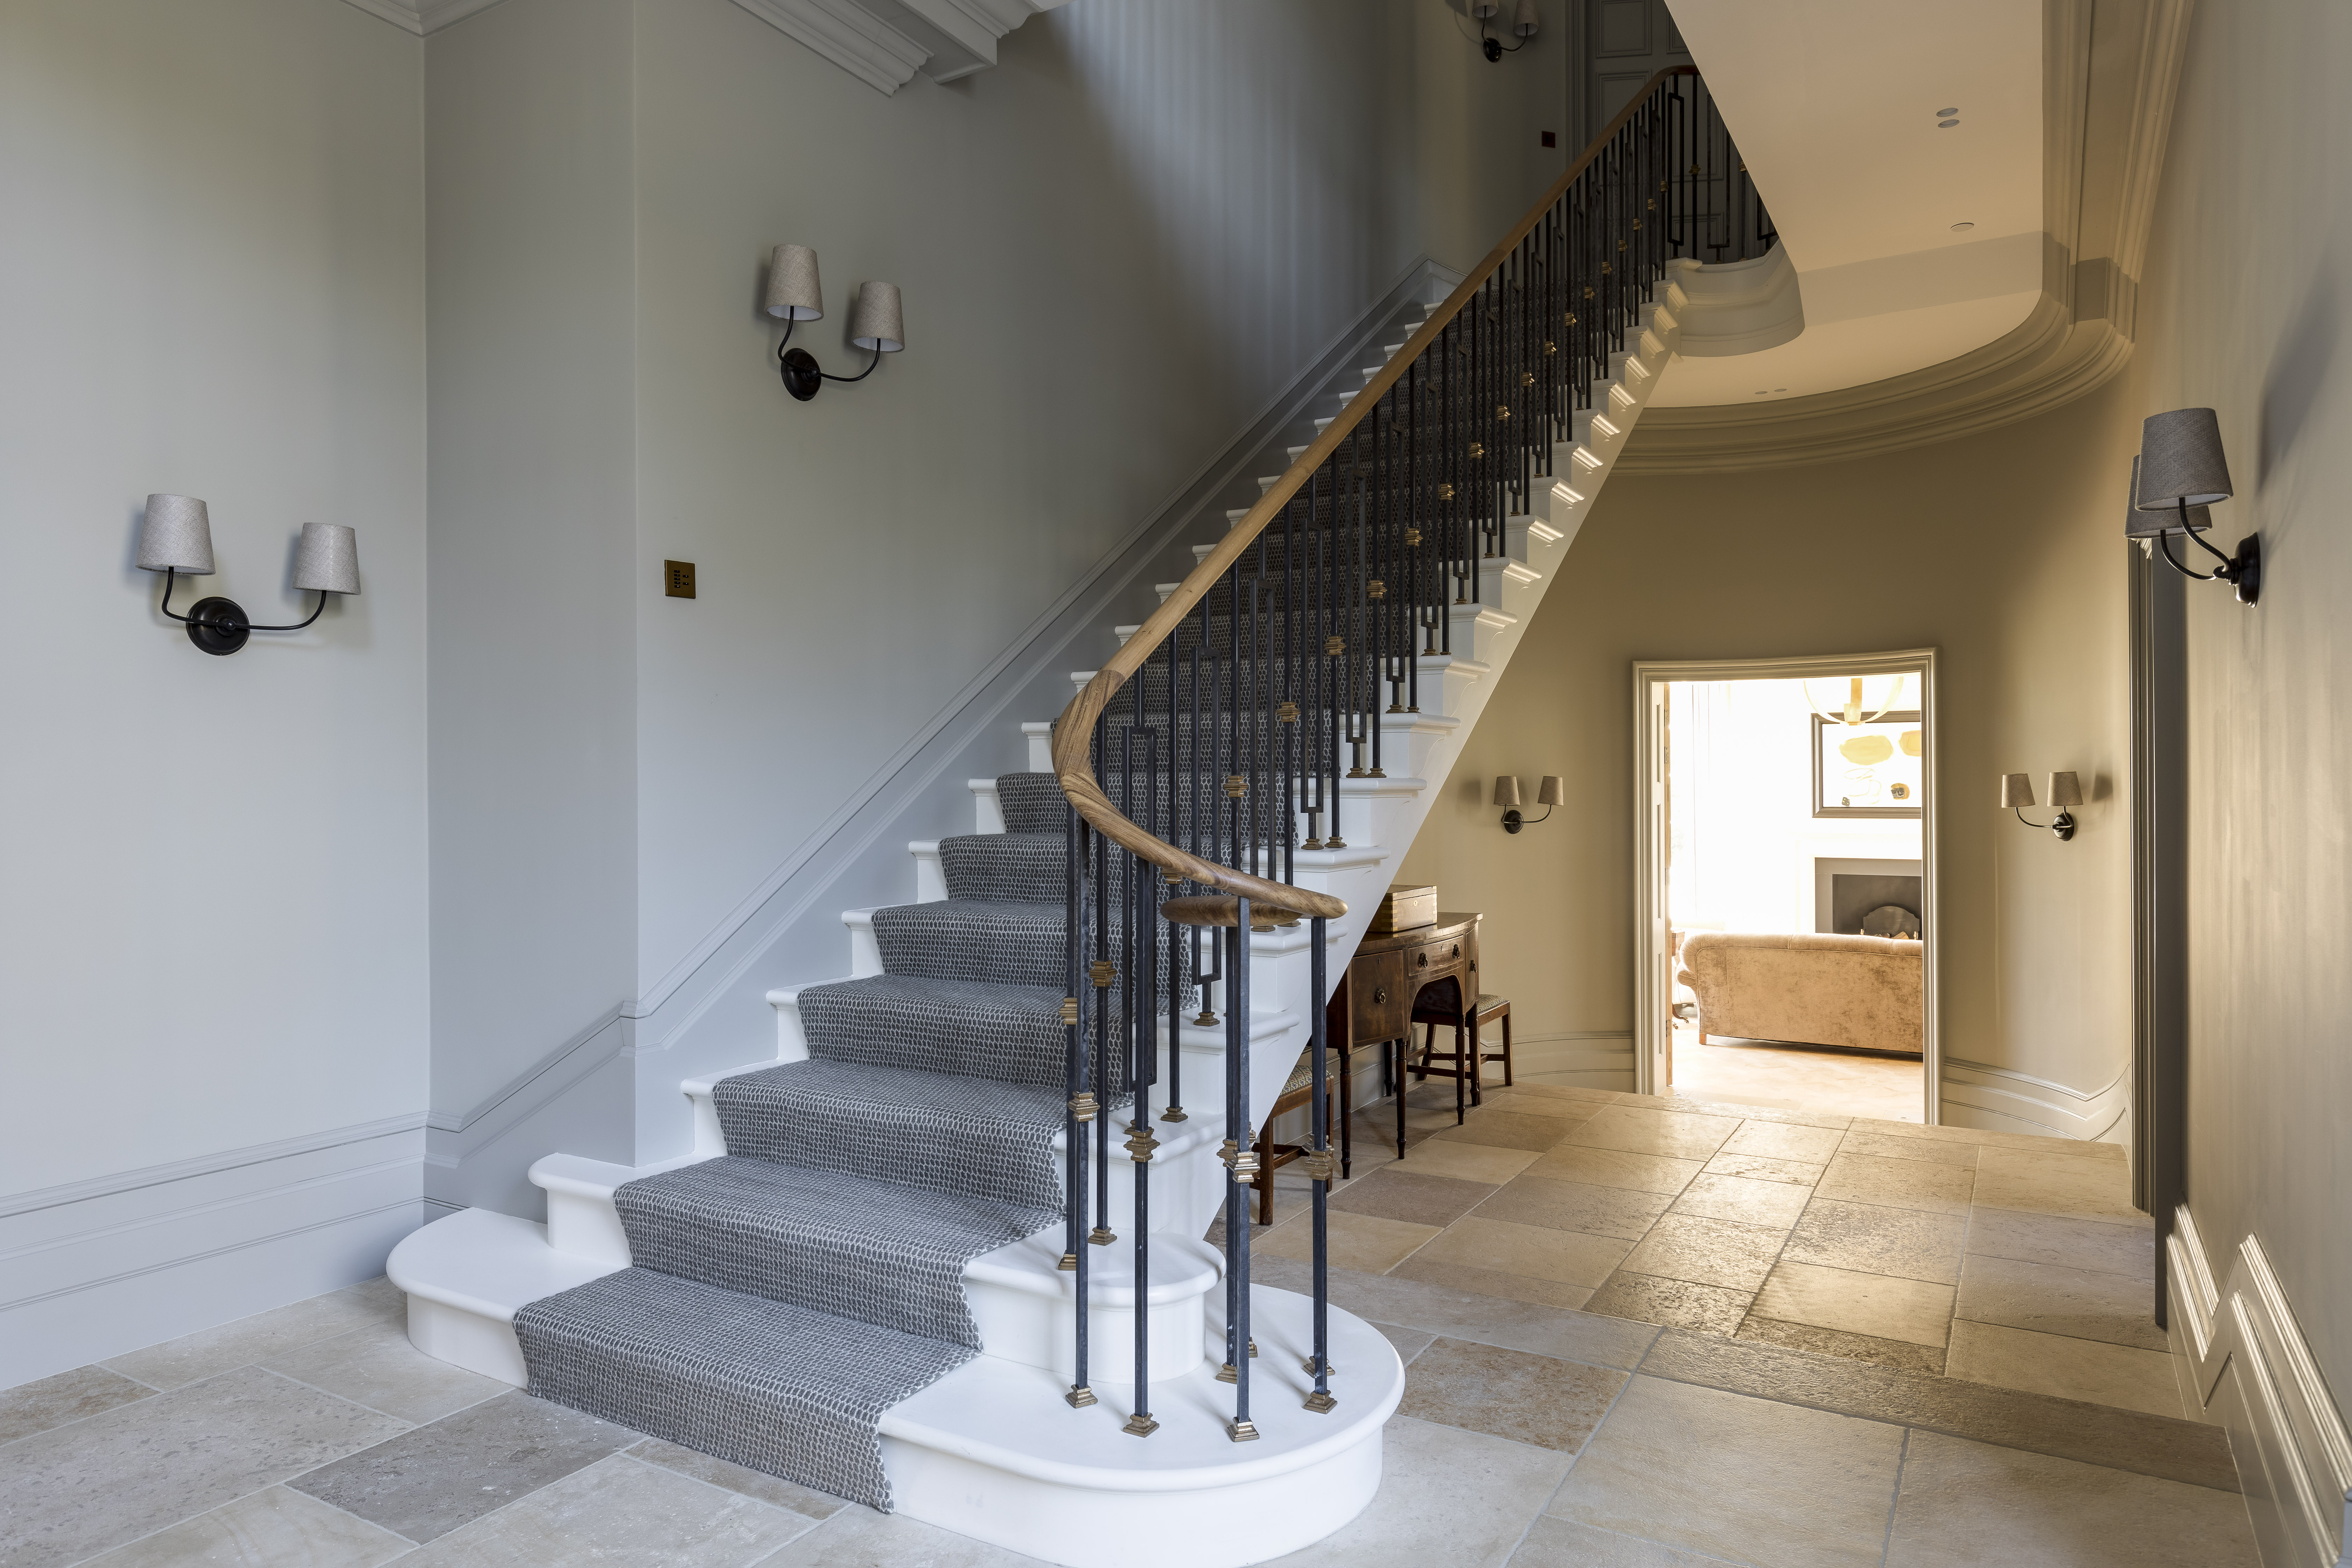
Following years of heavy foot fall, old staircases, just like hallway floors, are often subject to wear-and-tear. In order to minimise greater structural damage in the long-term, it's important to remain on top of basic repairs and maintenance.
Our practical guide, complete with a maintenance checklist, advice on building regulations and step-by-step guides to fixing everything from staircase treads to spindles, is designed to help you recognise and tackle staircase damage.
Staircase structure and terminology

Before you can get started on repairs, it's important to ensure that you're aware of the structure of your staircase, as well as some key terms.
- At the end of each flight of stairs a 'newel post' supports the handrail and the ‘string’ (a sloping timber board forming the side of the staircase) transfers the weight of the structure to the floor.
- 'Balusters' or 'spindles' stand vertically in the space between the handrail and the string or tread.
- The 'treads' (horizontal) and 'risers' (vertical) that form the steps are fixed to the strings, which may be ‘open’ or ‘closed’. Open strings are the simplest as their upper side is cut in the shape of the steps. Closed strings have parallel edges with the treads and risers jointed into them.
- The front part of each tread is usually curved with a ‘nosing’ projecting over the riser.
Building regulations and staircases
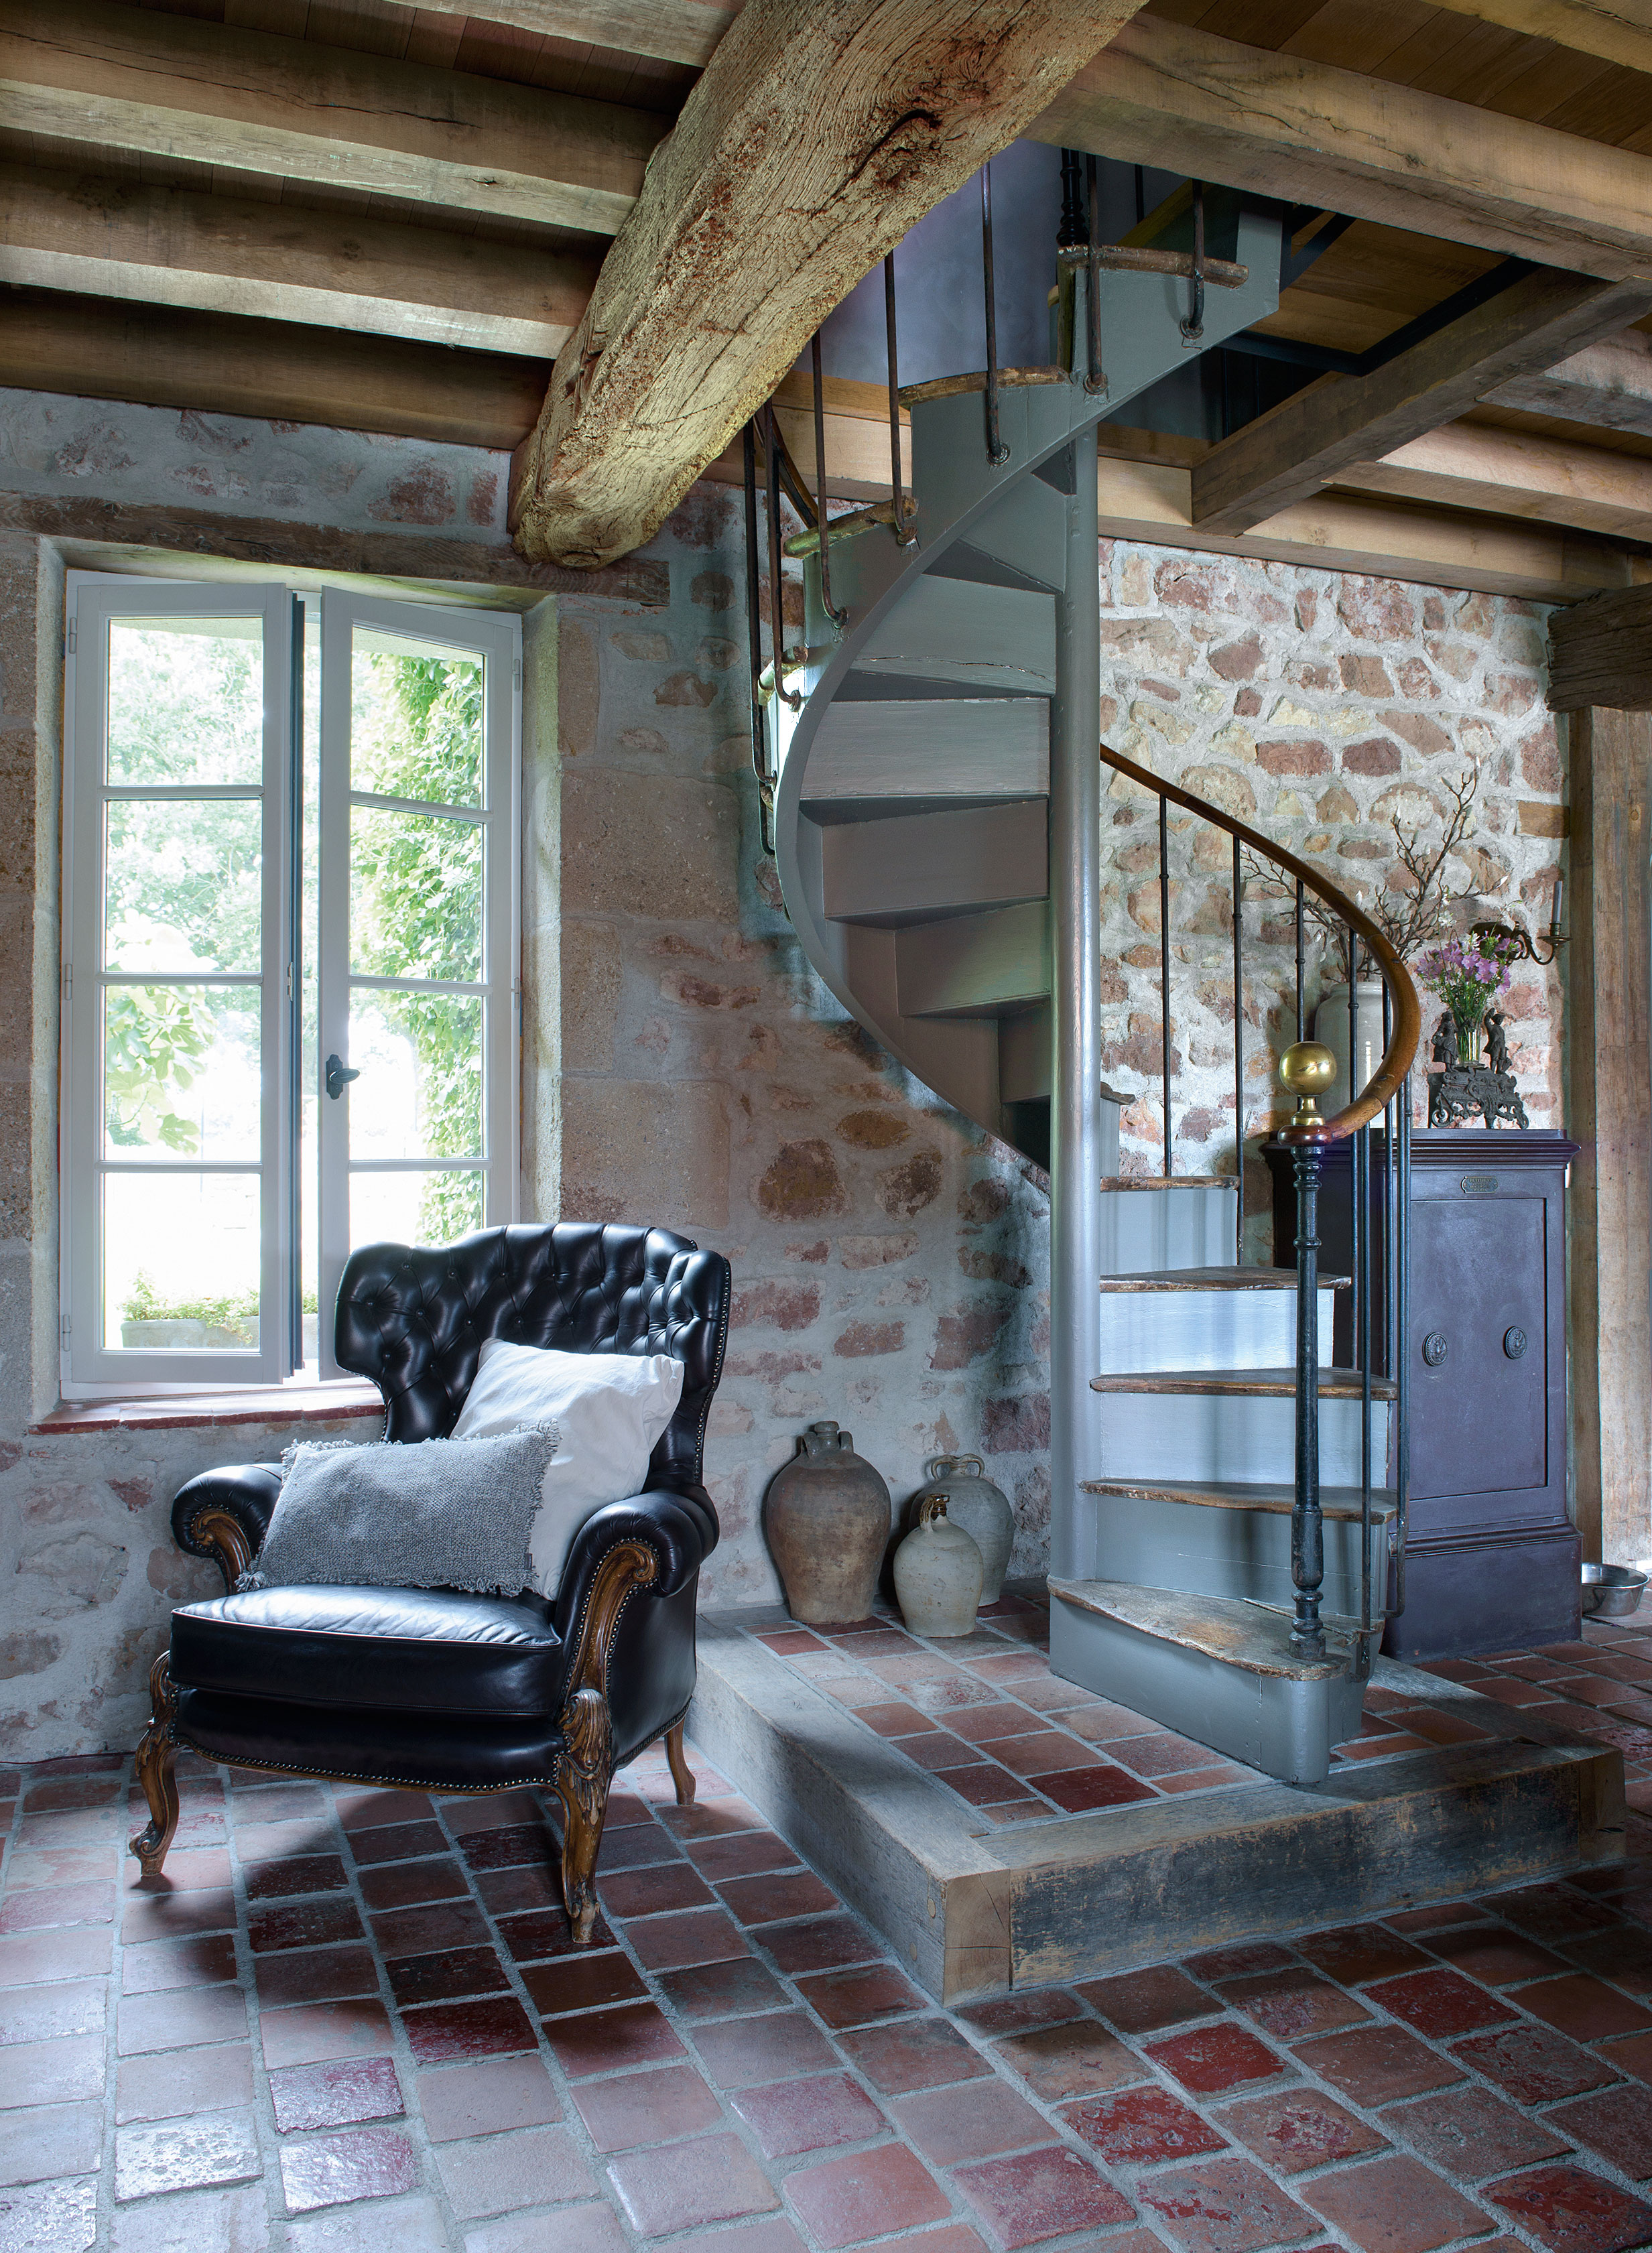
New staircases require building regulations approval, meaning it's not always possible to ‘slot’ a new staircase into an available space in an old building.
Particular care needs to be taken if buying an original staircase from a salvage yard to ensure that it will comply.
Staircase maintenance checklist
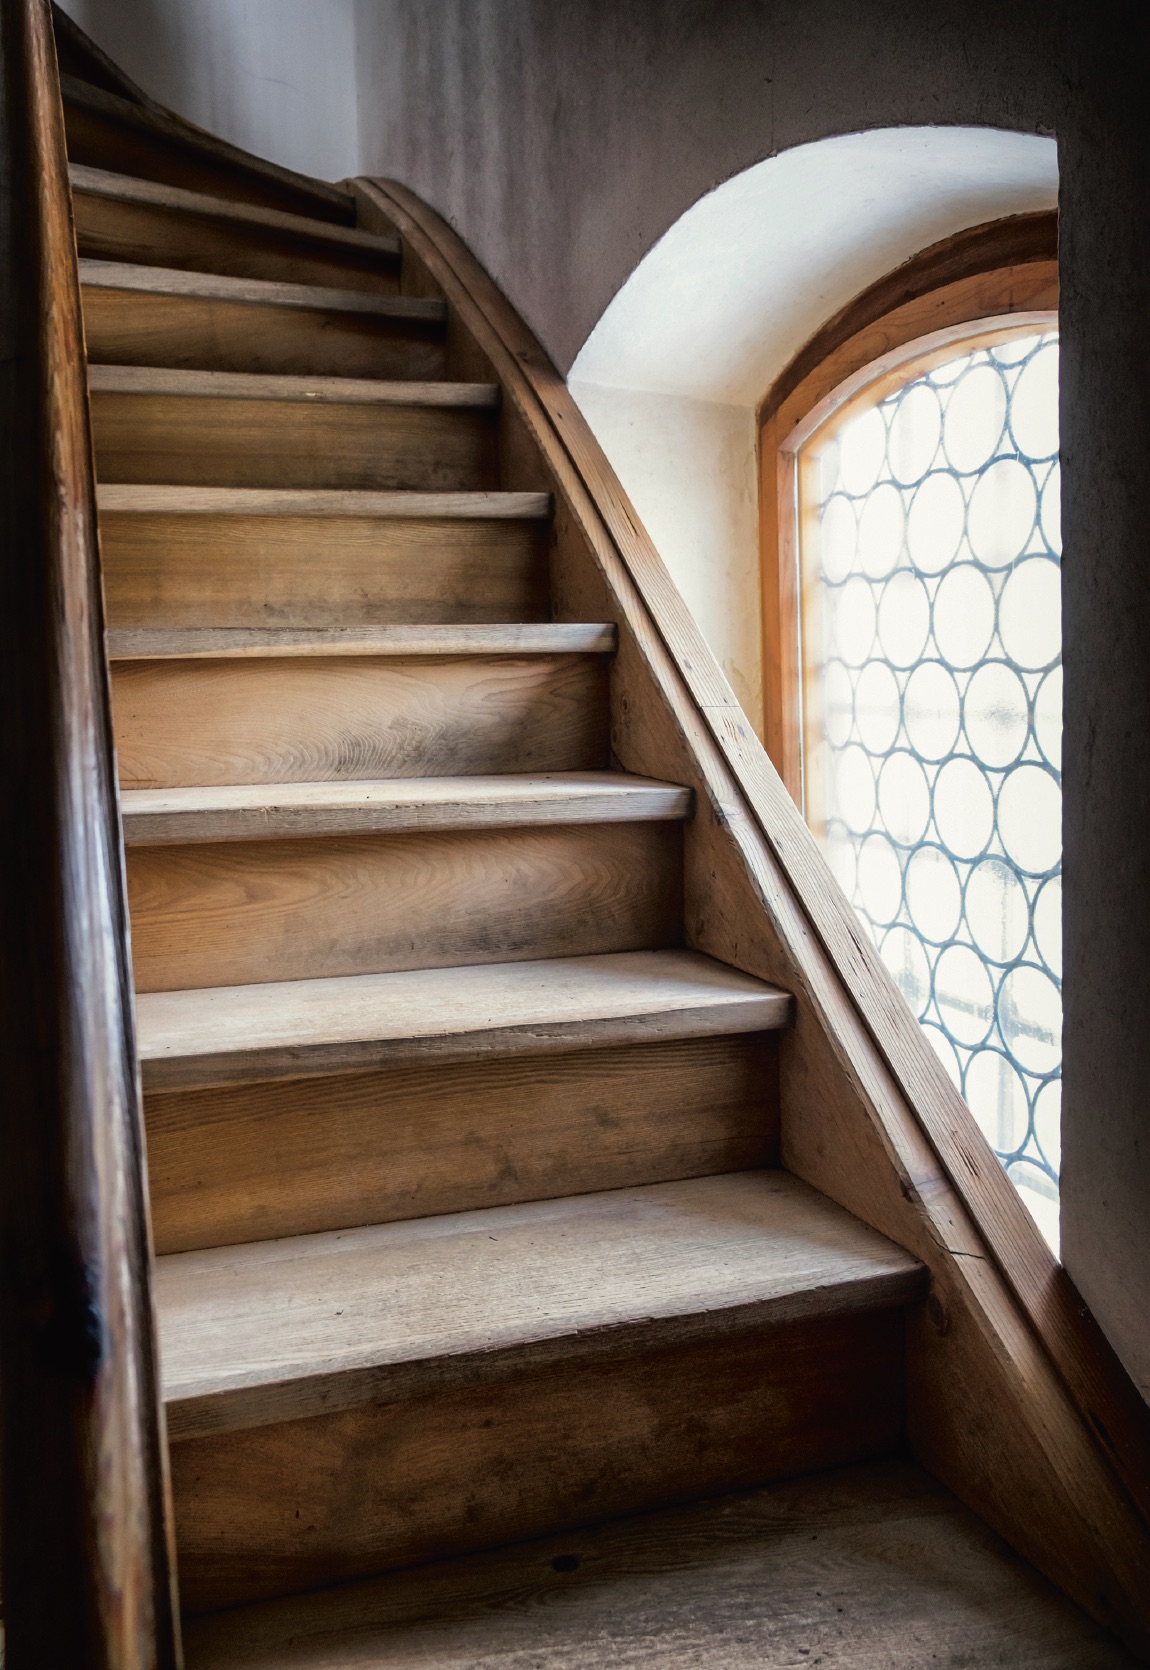
If you're not sure what kind of damage you should be looking for, our staircase maintenance checklist is here to help. Make sure to carefully inspect your staircase, keeping an eye out for the following:
- Powdery deposits –this may be a sign of beetle infestation.
- Creaking stairs which can be an indication of loose joints.
- Damaged spindles or balusters, which can be dangerous if left unfixed.
- Worn or damaged nosings on the front of treads – they can be hazardous.
- Cracks in stone stairs which may indicate structural movement.
- If there is rust staining or cracking to external stone stairs, check the metal fixings.
Once you've identified what needs fixing, it's time to move on to maintenance and repair. As a general rule of thumb, seek the advice of experts if you're in doubt.
How to restore a pine staircase: from fixing loose treads to varnishing
The most common problem with wooden staircases is creaking treads, though rot, beetle infestation and basic wear-and-tear can also take their toll.
This can be repaired on a DIY basis, though if the stability of a staircase is in doubt it may be sensible to seek professional advice – a reputable joiner should be able to make suitable repairs.
Creaking stairs are usually caused by loose or flexing components rubbing together, which can be due to shrinkage, wear and tear or the strain of excessive weight.
To spot the problem treads, first remove any carpet. Position yourself beneath the stairs and ask an adult to climb them while you watch and listen to ascertain which particular treads are causing a problem.
Having identified a creaky step, tread on and off several times, varying the position, to pinpoint loose joints. Mark the affected ones with chalk and follow Helaine Clare's step-by-step guide
To restore a staircase, you will need...
- Wood glue
- Hammer
- Pins
- Mallet
- Screwdriver
- Sander and a range of discs
- Vacuum cleaner
- White, water-based wood dye
- Water-based interior varnish
- Abrasive paper
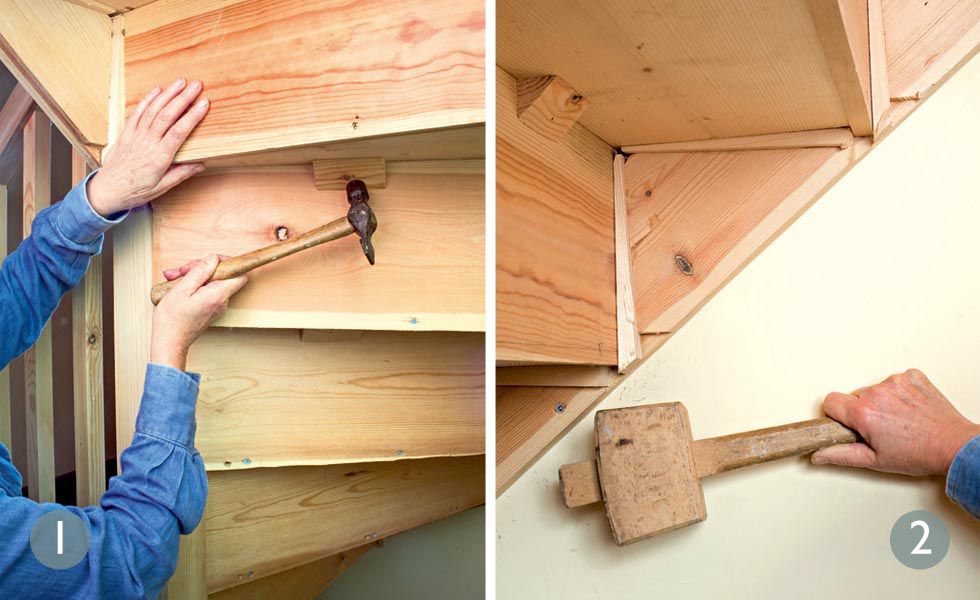
1. Reapply glue to stairs: Glue blocks are usually fitted into the angle between the tread of the stairs and the riser. If the old glue has failed, chip it off and apply woodworking adhesive and rub the block back into position, securing with a pin.
Wipe away any surplus glue with a damp sponge. If the underside of the stairs is not accessible, movement between the treads and risers can be remedied by working in some diluted PVA glue from above.
2. Check firmness of wedges: If the ends of the tread or riser have worked their way loose in their housings, check that the wedges have not become displaced. Apply some wood glue and knock the wedges back into position using a wooden mallet. If the underside of the stairs is inaccessible, then wedge the joints from above.
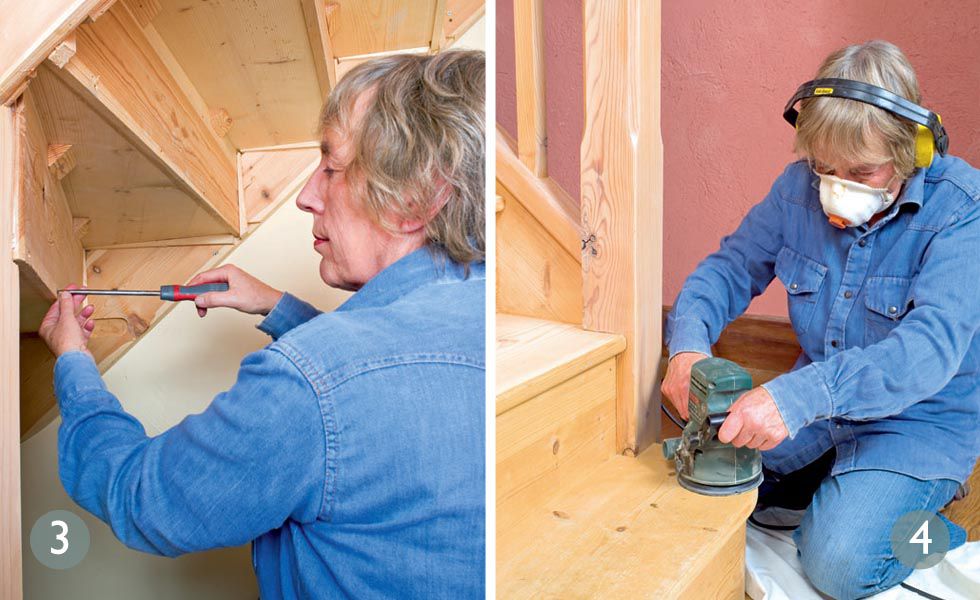
3. Tighten up any loose screws: Daily wear and tear and rough treatment can cause screws to work loose. Tighten up the existing screws and replace any missing ones. If you have oak stairs use brass screws, otherwise a chemical reaction between steel and oak can cause the screws to corrode and the wood to discolour.
4. Sand back the pine surface: Sanding the wood will help remove the orange tone and the prepared timber will better accept a lightening wood dye. Use a medium grade sanding disc and then go over with a fine grade disc. To avoid the risk of an electrical fire always fully unwind a retractable extension lead before use.
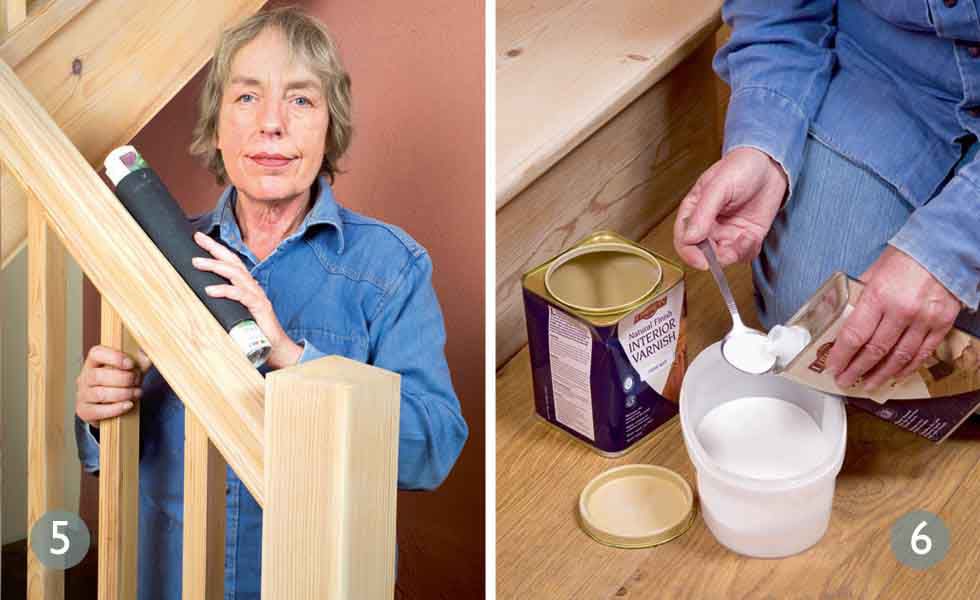
5. Sand awkward details by hand: A delta sander can get into corners, but finer details and carved areas are best sanded by hand. To sand the handrail, roll up a magazine to match the profile and wrap a sheet of abrasive paper around it. Sandpaper wrapped around a pencil can deal with those hard-to-reach places.
6. Suck up dust and make dye blend: Vacuum the stairs and surrounding area to get rid of all traces of sawdust. Then wipe over the woodwork with a damp cloth to pick up any stray dust. You are now ready to mix 10% white water-based wood dye into the water-based interior varnish. Stir to mix thoroughly.
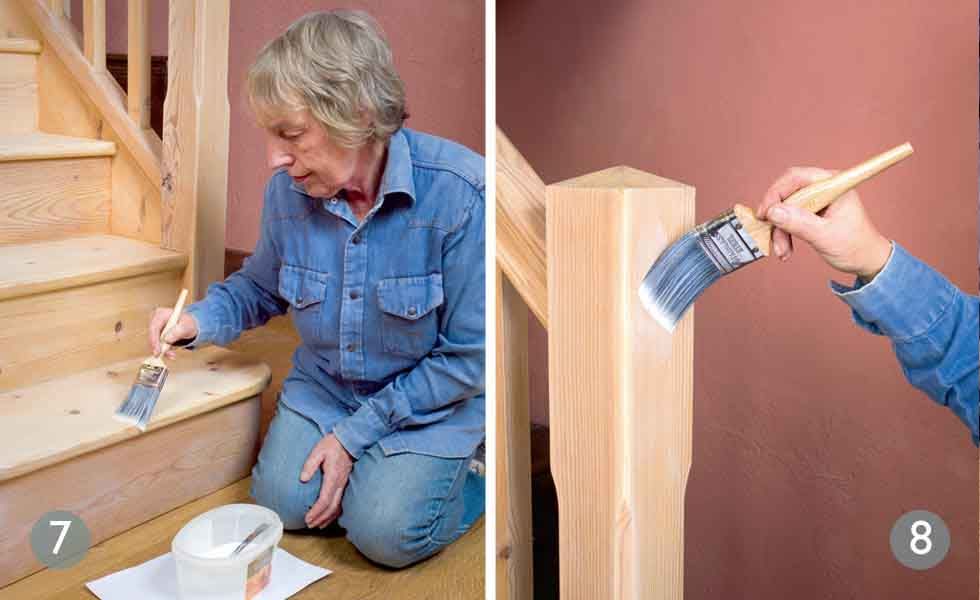
7. Apply the wood dye mixture: Apply two coats of the wood dye/varnish mix to the staircase, allowing at least two hours’ drying time between applications. A short roller can be used on larger areas. To ensure a smooth and even finish, apply the first coat vertically and the second horizontally or following the grain.
8. Finish with a coat of plain varnish: The addition of white, water-based dye in the first two coats will tone down the pine’s orange hue. Finish with a final coat of plain varnish to protect the wood from wear, yet maintain its natural look and feel. To keep the staircase looking as good as new, wipe it occasionally with a damp cloth.
Fixing staircase spindles
Where spindles or balusters are split or broken, it may be possible to glue and temporarily ‘splint’ them. The other option is to reinforce a broken spindle by using a dowel drilled into the end of the two halves.
Where they are missing, a near match might be found at a salvage yard; alternatively, a woodturner can sometimes make copies.
Maintaining stone staircases
Stone stairs can be subject to structural movement that may cause cracking. While this will not necessarily pose a danger to the stability of the staircase, it is advisable to have it investigated by a surveyor or structural engineer.
Worn steps are another problem and repairs are best undertaken by a craftsman. In some cases, sections can be ‘stitched’ back together with pins and resin or new stone cut in, so always keep broken pieces. Where this is done it’s vital to match the type and colour.
A stonemason should be able to replicate balusters.
Repairing staircase ironwork
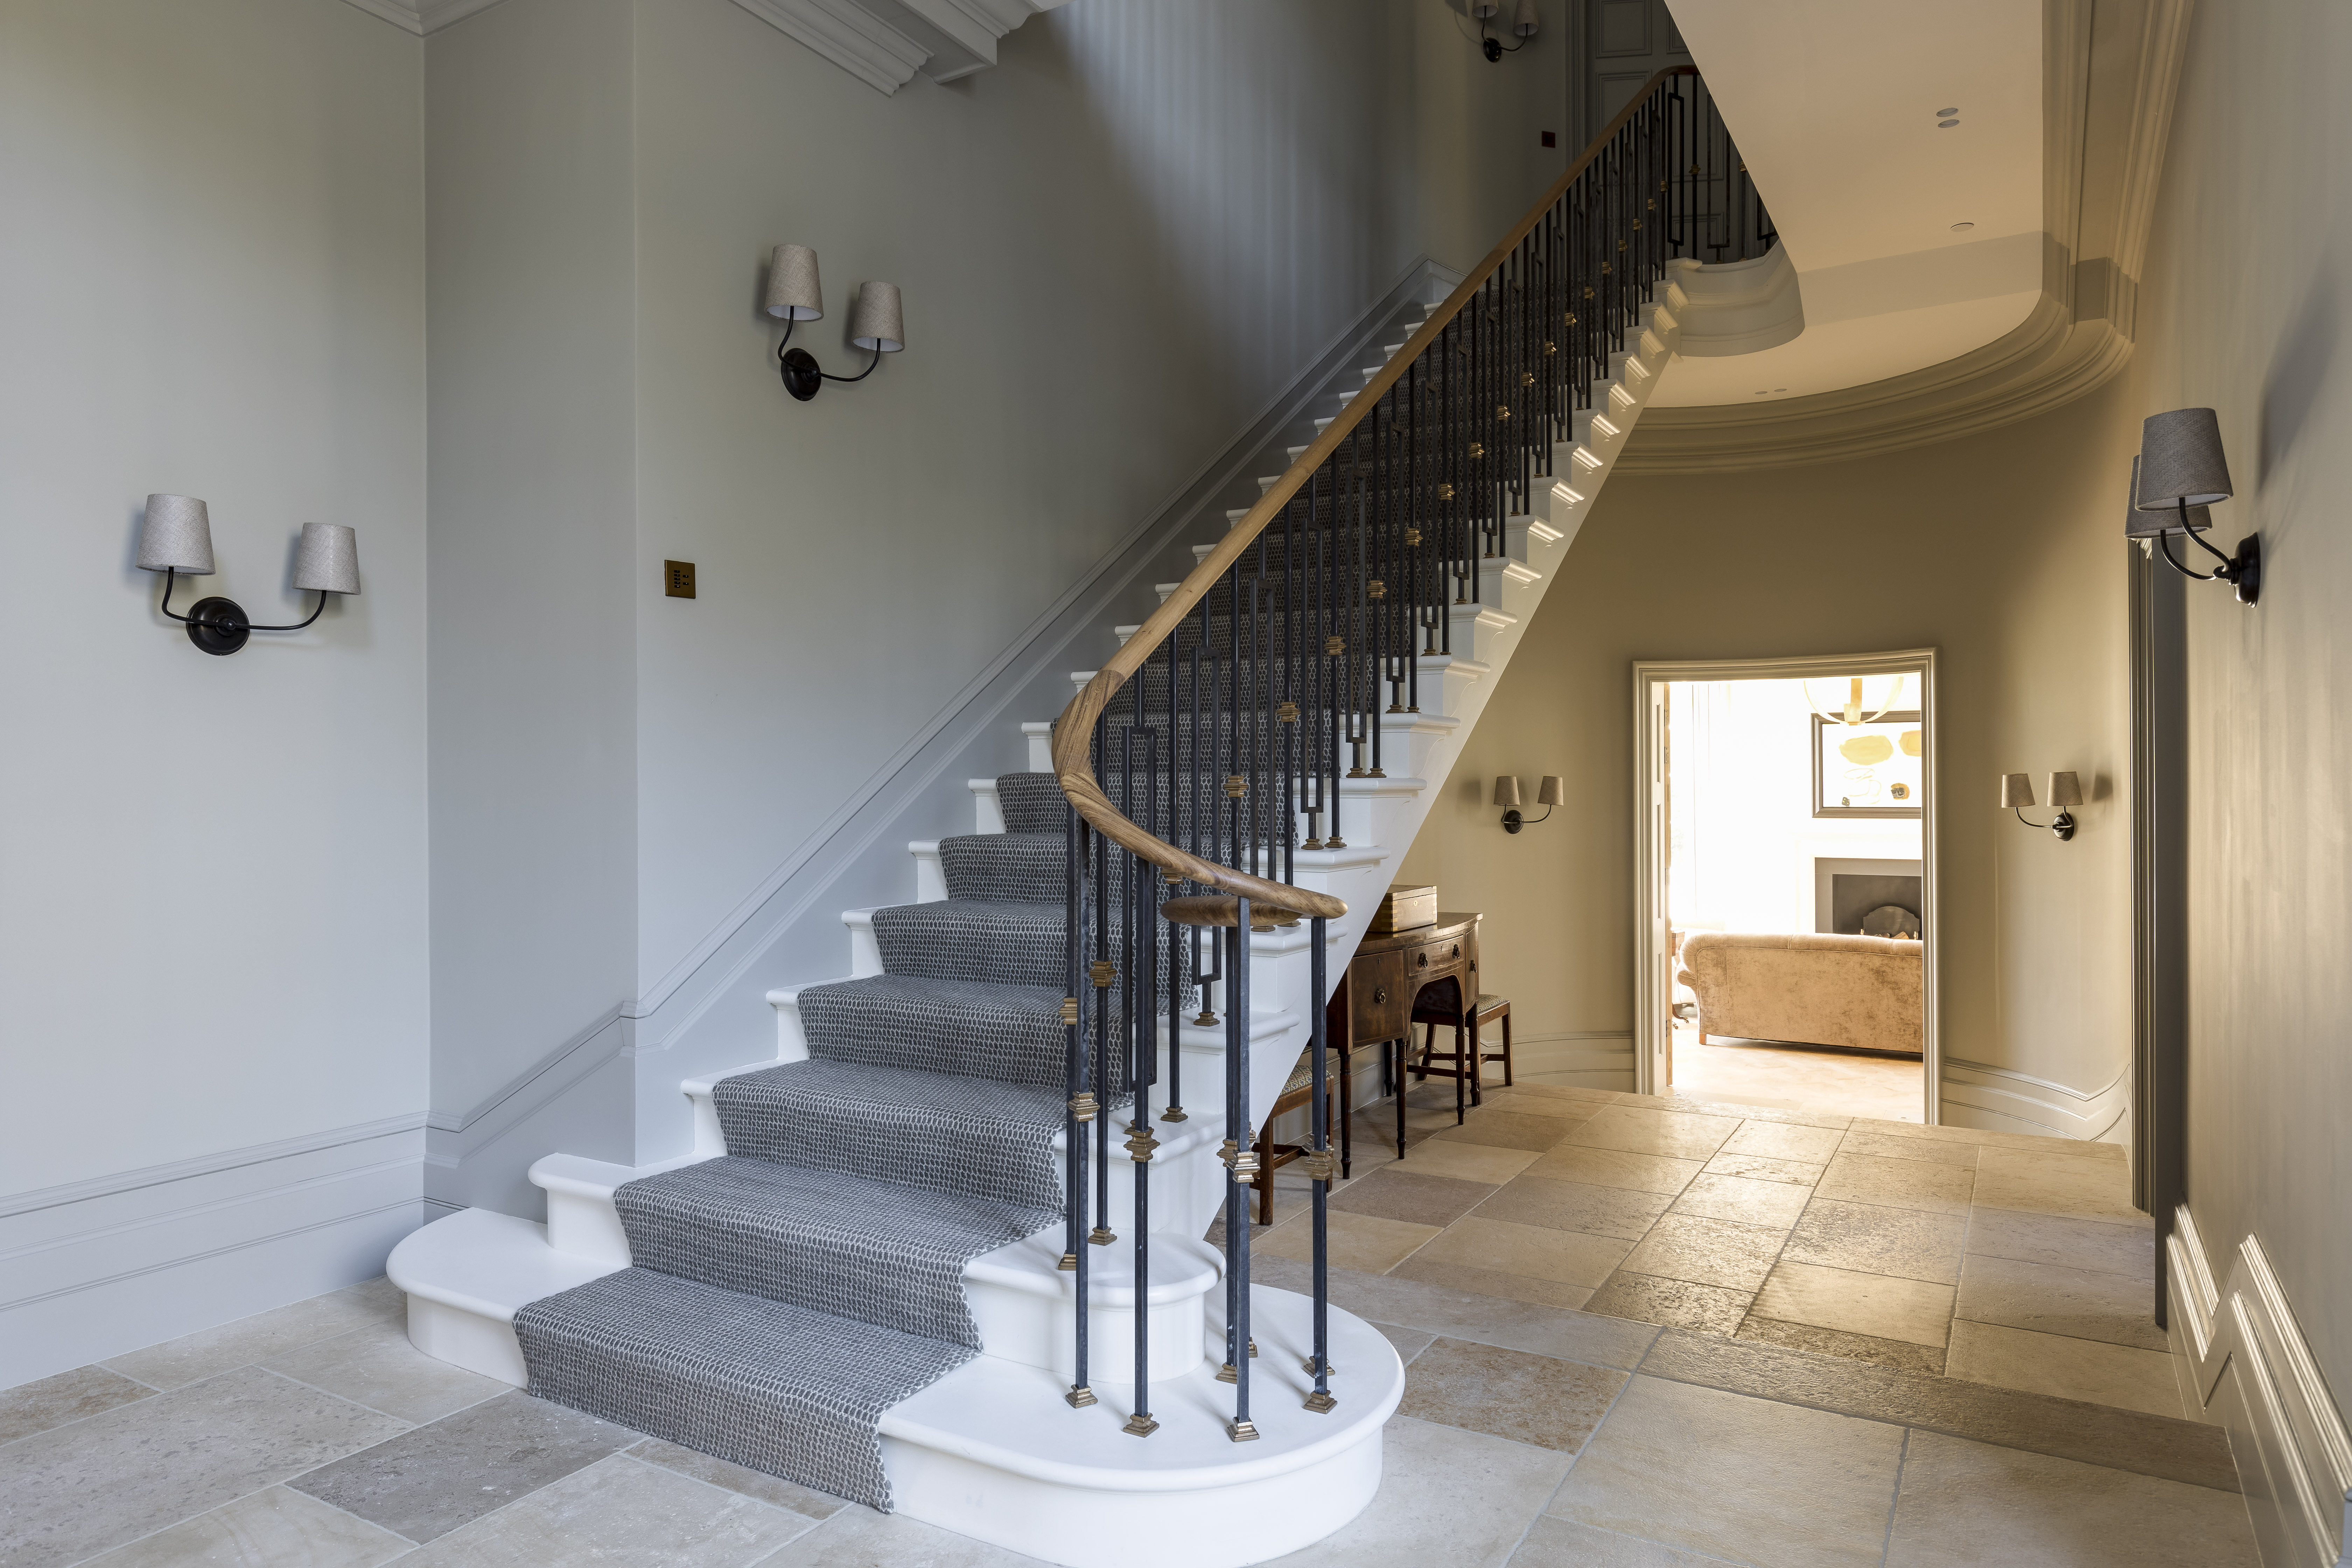
Repairs to ironwork can often be made by a blacksmith or specialist metalworker who can use existing elements as a mould for casting new pieces to match (particularly in the case of balusters). When set into stone, damage may occur through the expansion of corroding metal.
In the case of external metalwork, regular maintenance is required.
Stripping painted period staircases back to wood
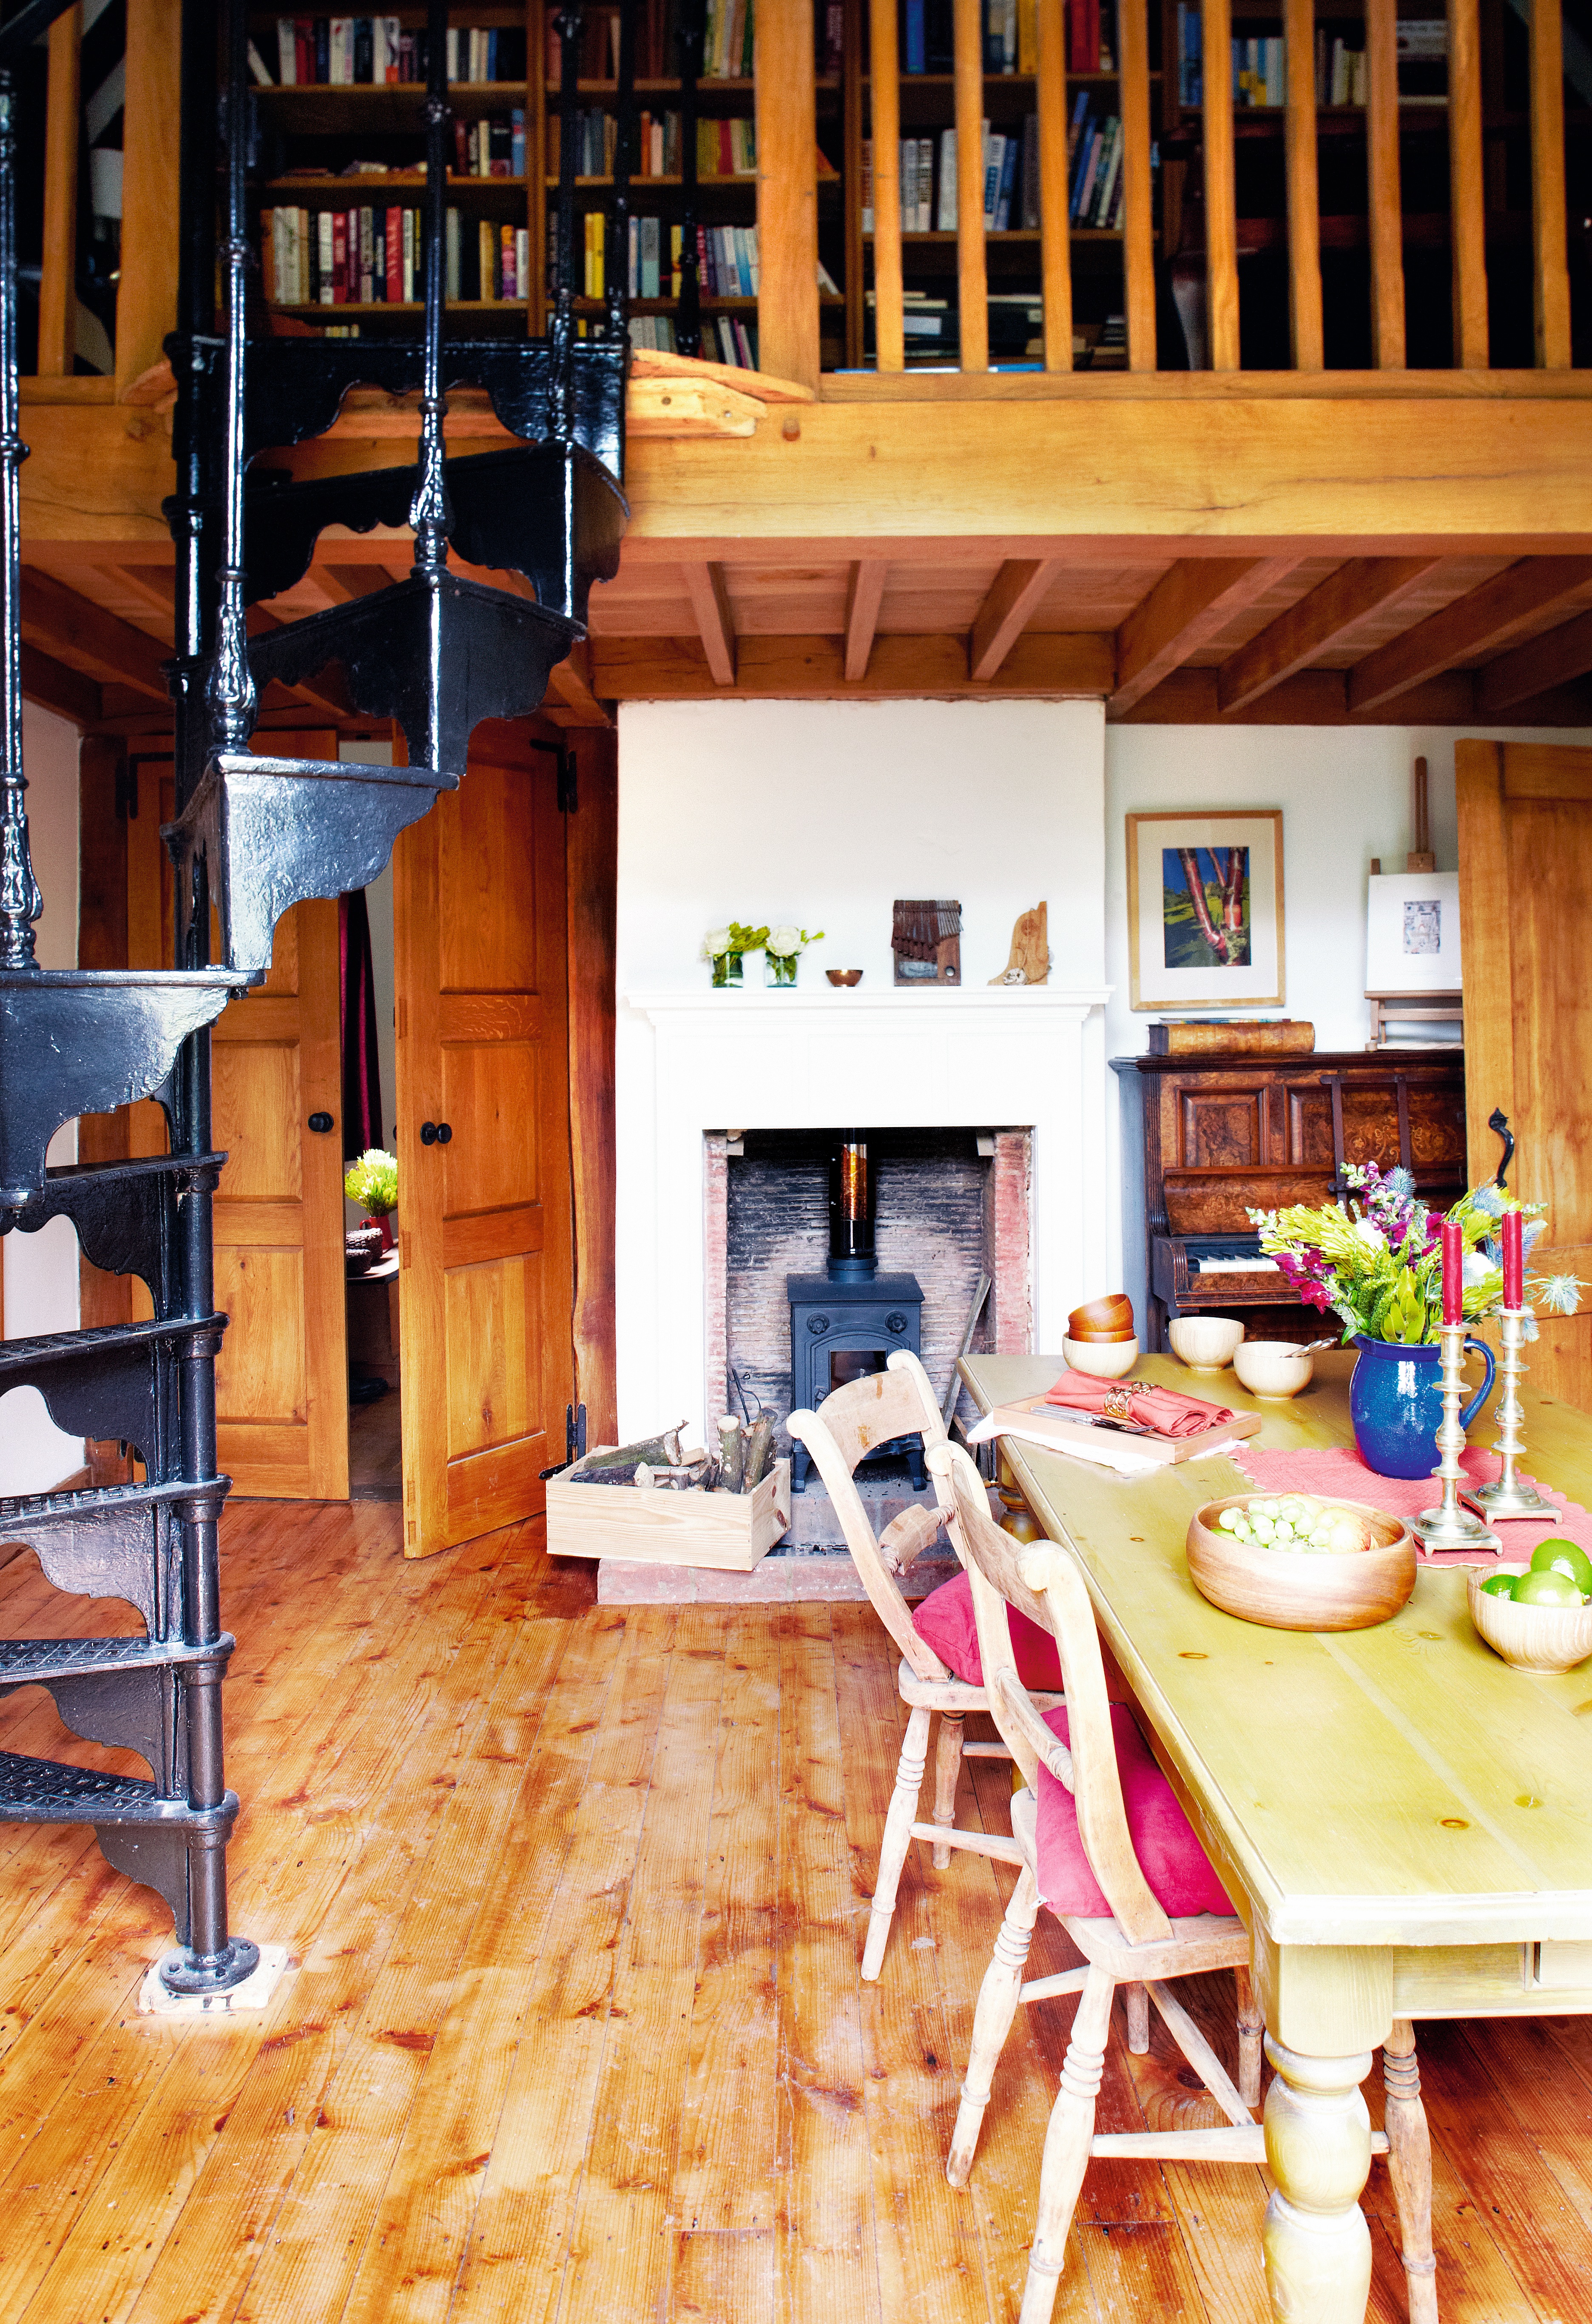
Historically only expensive hardwoods were left bare, while pine and other softwoods were painted. It's important to bare this in mind if you're considering stripping back a staircase, as soft woods can often prove disappointing when stripped back.
If you do decide to strip stairs back to wood, make sure to use the best paint stripper method for the job.
More on stairs and hallways:
Join our newsletter
Get small space home decor ideas, celeb inspiration, DIY tips and more, straight to your inbox!
-
 Get free tickets to the London Homebuilding & Renovating Show at the ExCeL
Get FREE tickets worth £36* to the London Homebuilding & Renovating Show, ExCeL, 30 September - 2 October 2022.
By Camille Dubuis-Welch Published
-
 How to fix a green pool fast
Properly cleaning and shocking your pool will help restore it to its former blue glory, fast. This is what to do to stop a green pool full of algae, spoiling your summer fun
By Anna Cottrell Published
-
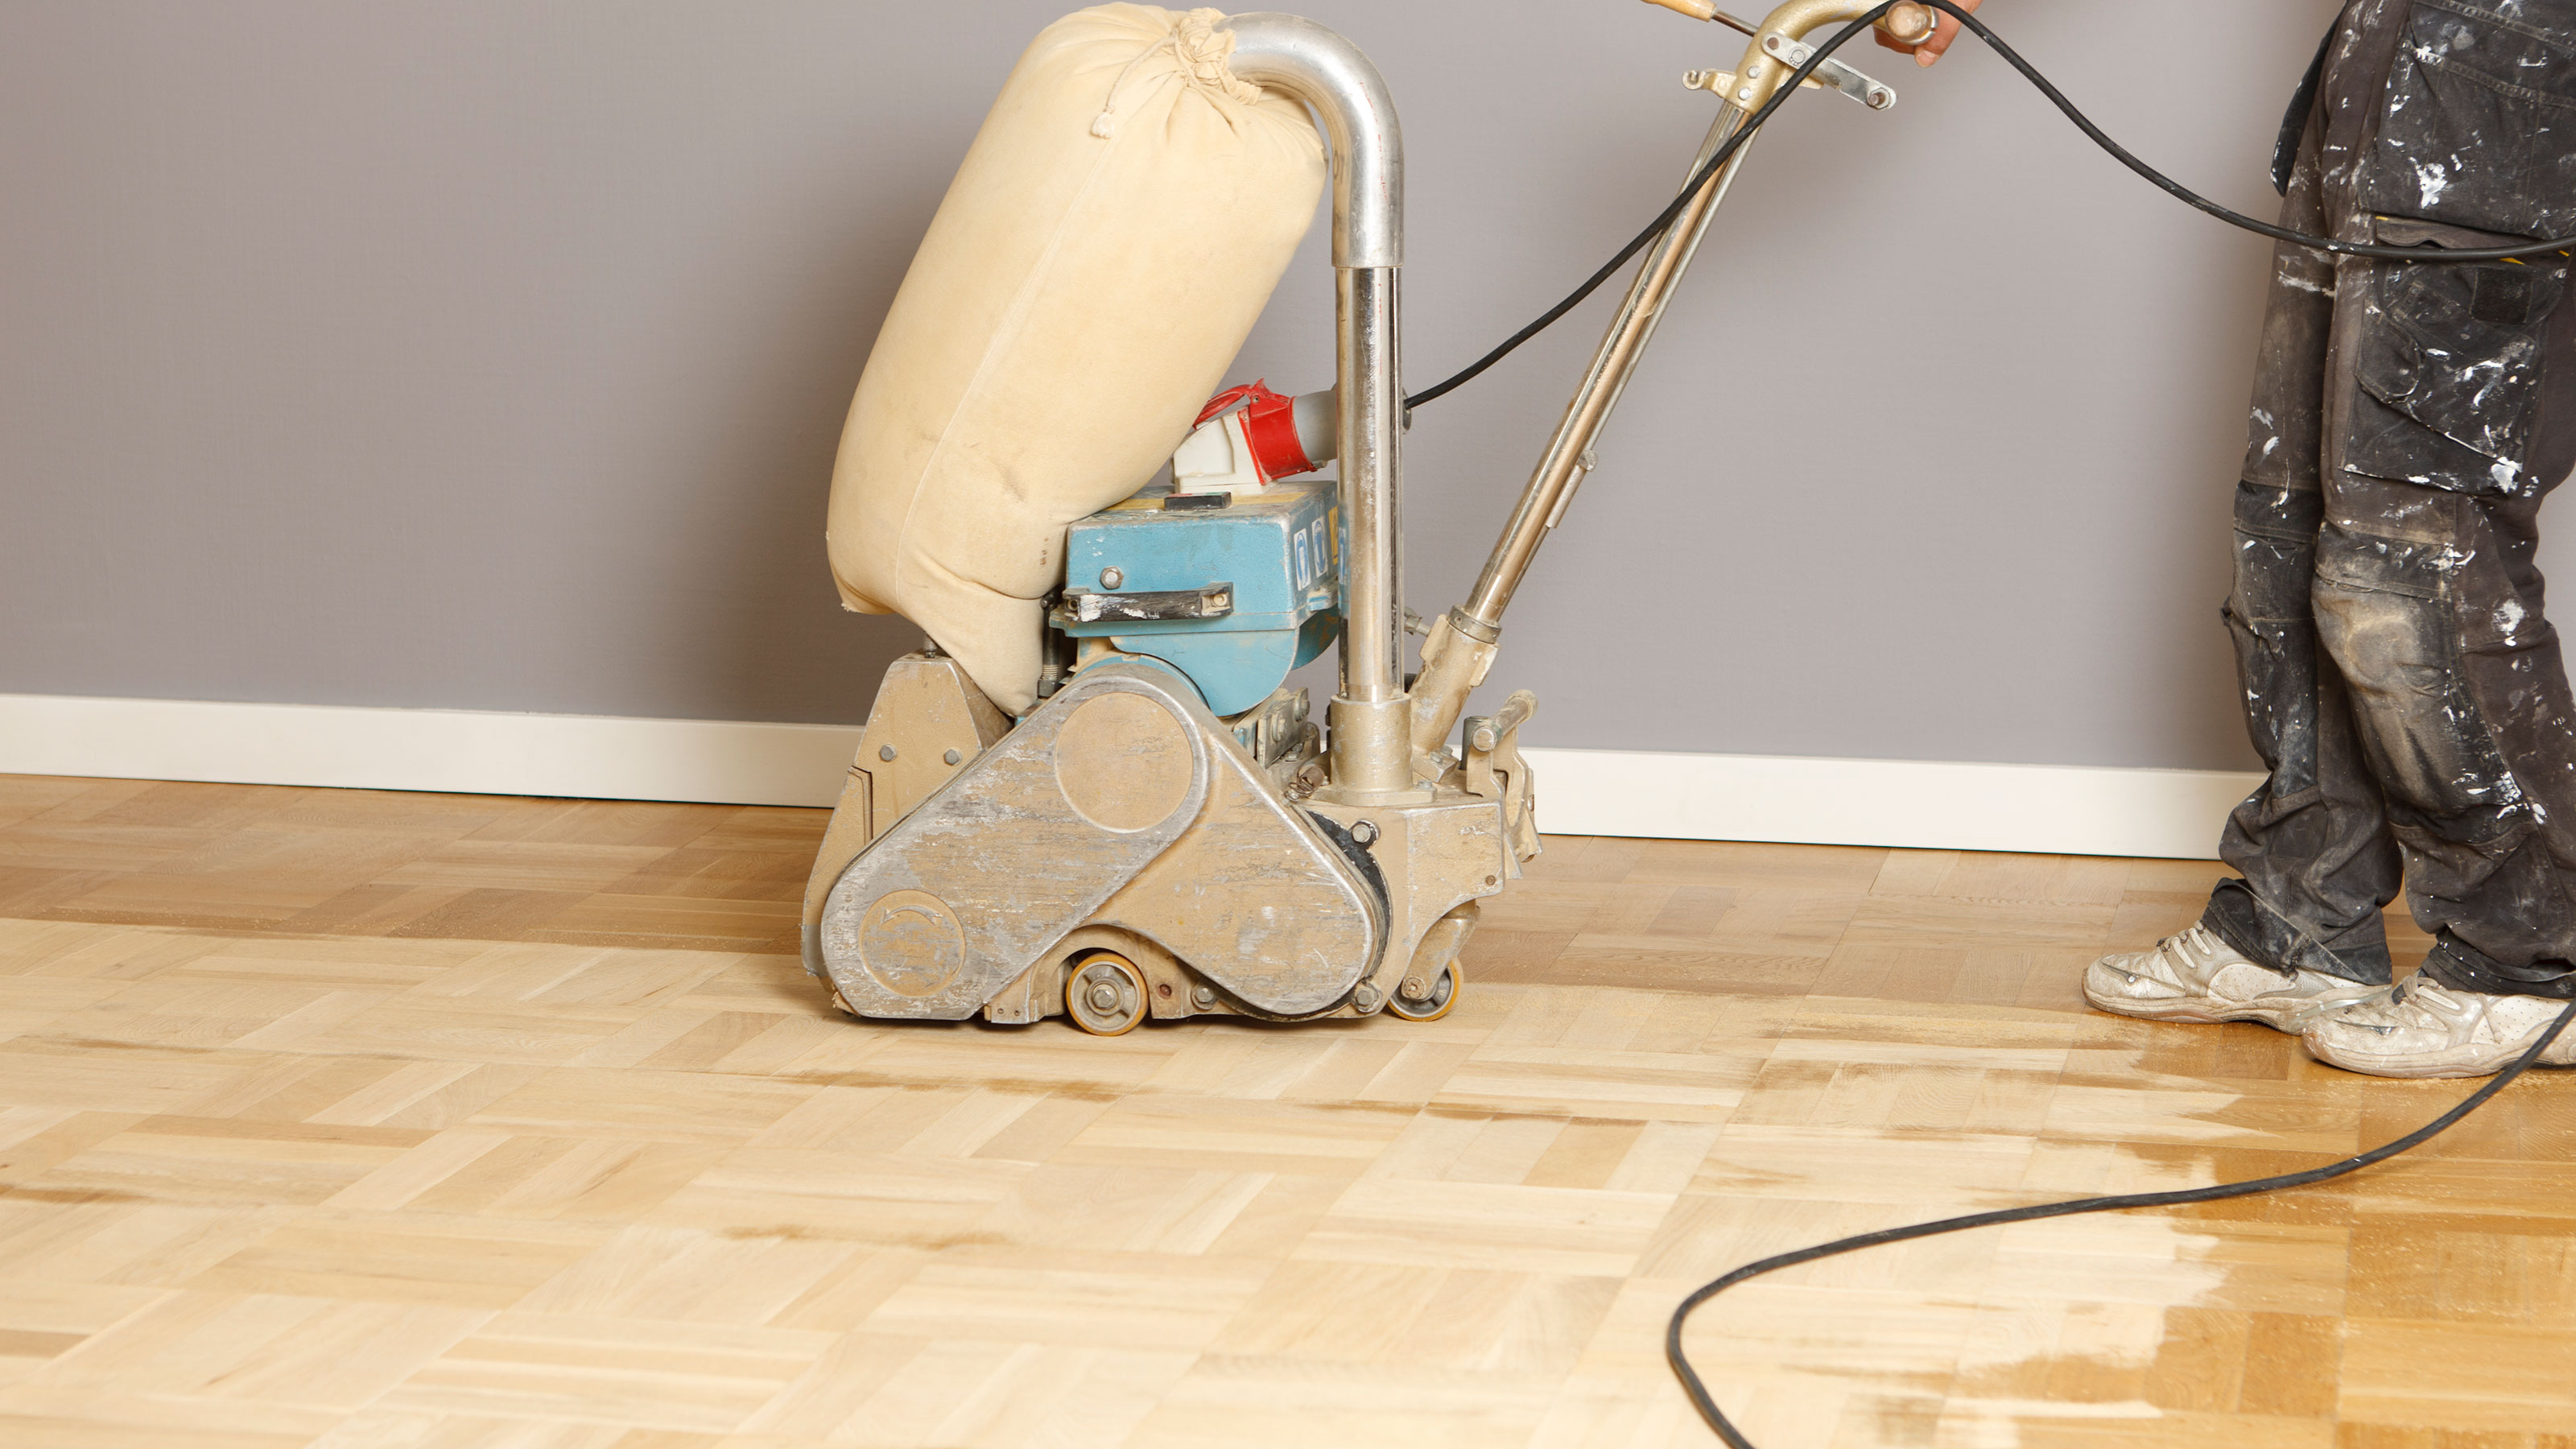 How to sand and refinish hardwood floors: A 10-step guide for pro results
You don't need to call in the pros to refinish hardwood floors. It's possible to restore yours with rentable tools, like a sander, and our expert advice
By Sal Vaglica Published
-
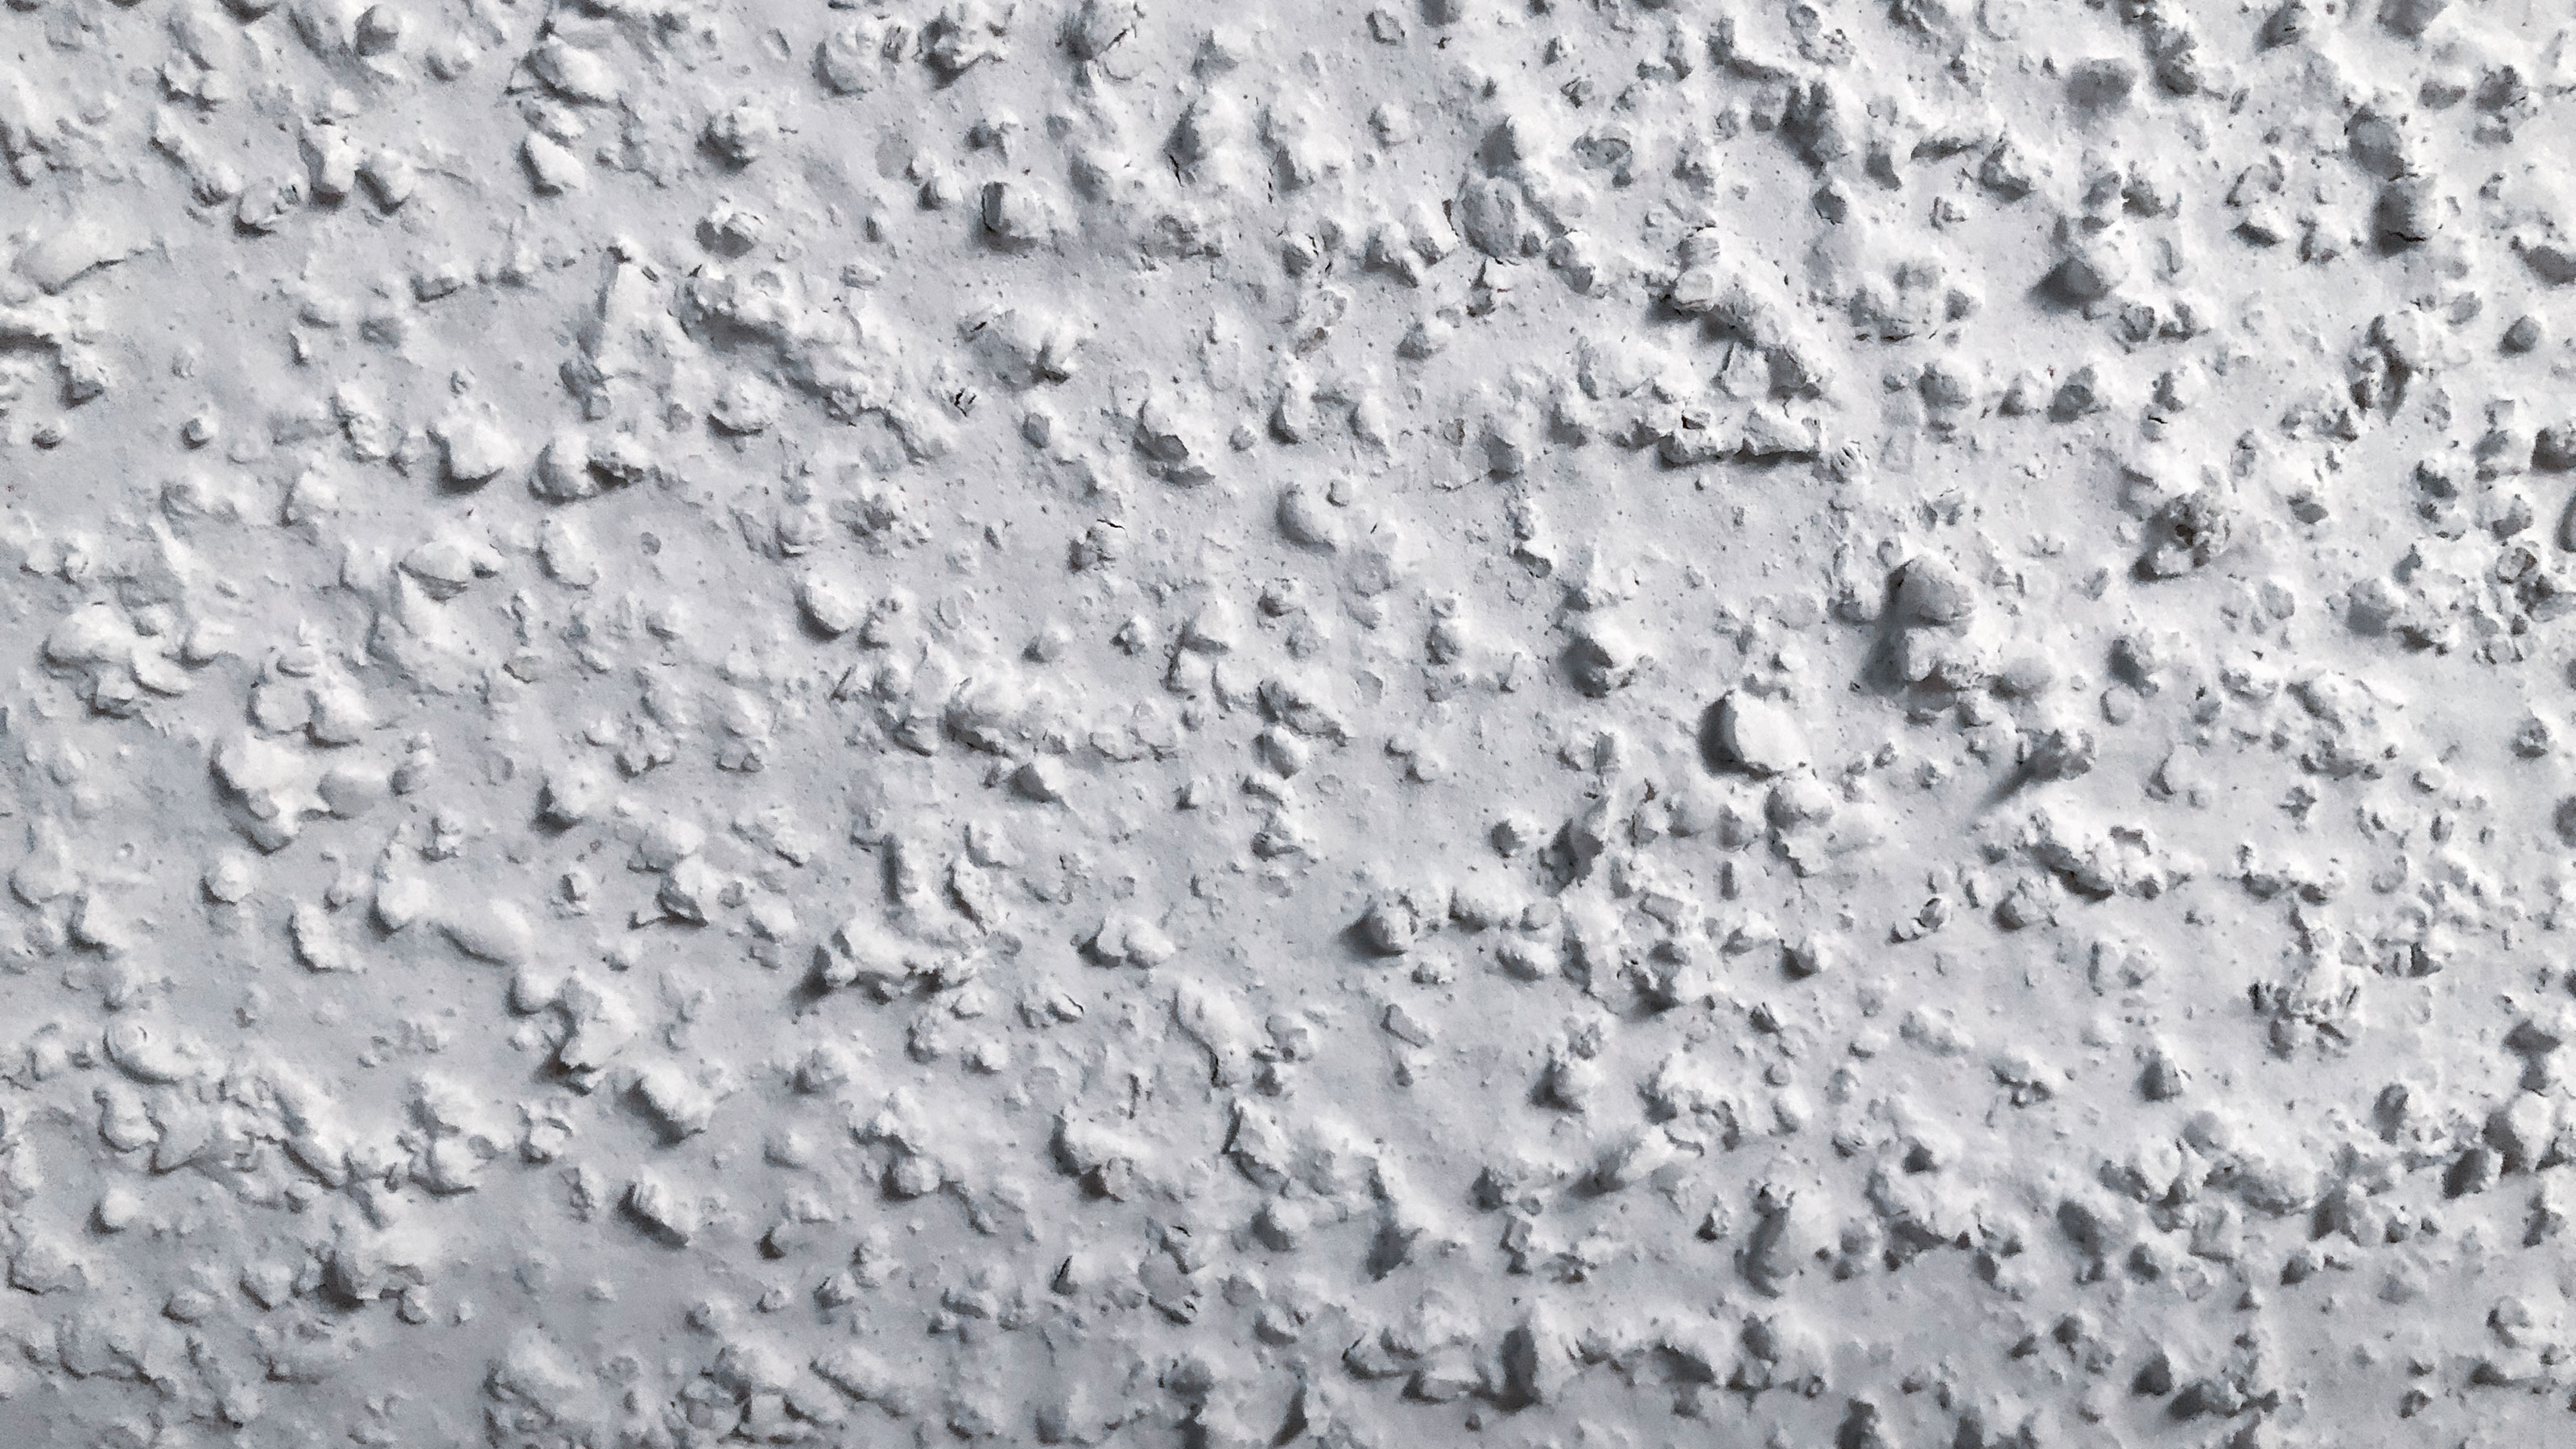 How much does it cost to remove popcorn ceiling?
Are you better off paying a professional or going down the DIY route? Experts share what it costs to remove popcorn ceiling and more budget-friendly alternatives.
By Carol J. Alexander Published
-
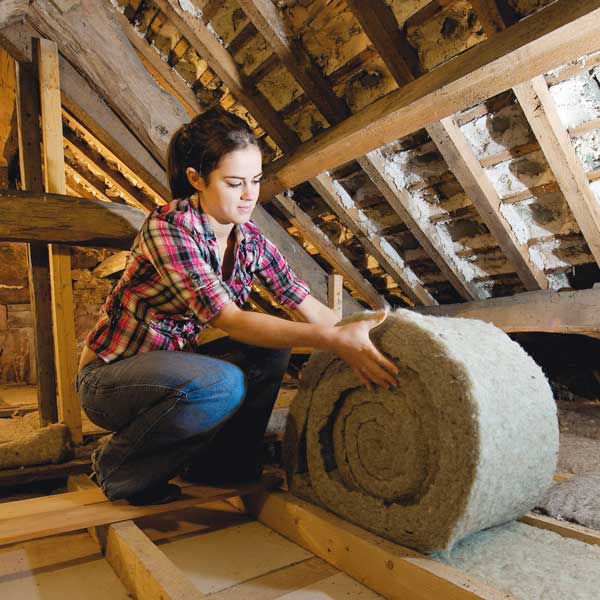 How much does attic insulation cost in 2022?
Want a warmer home and lower energy bills and wondering about attic insulation cost? Get the inside track.
By Sarah Warwick Last updated
-
 Home insulation: where, how and why you should insulate a house
The right home insulation will make your home warmer in winter, cooler in summer, and reduce energy bills.
By Sarah Warwick Last updated
-
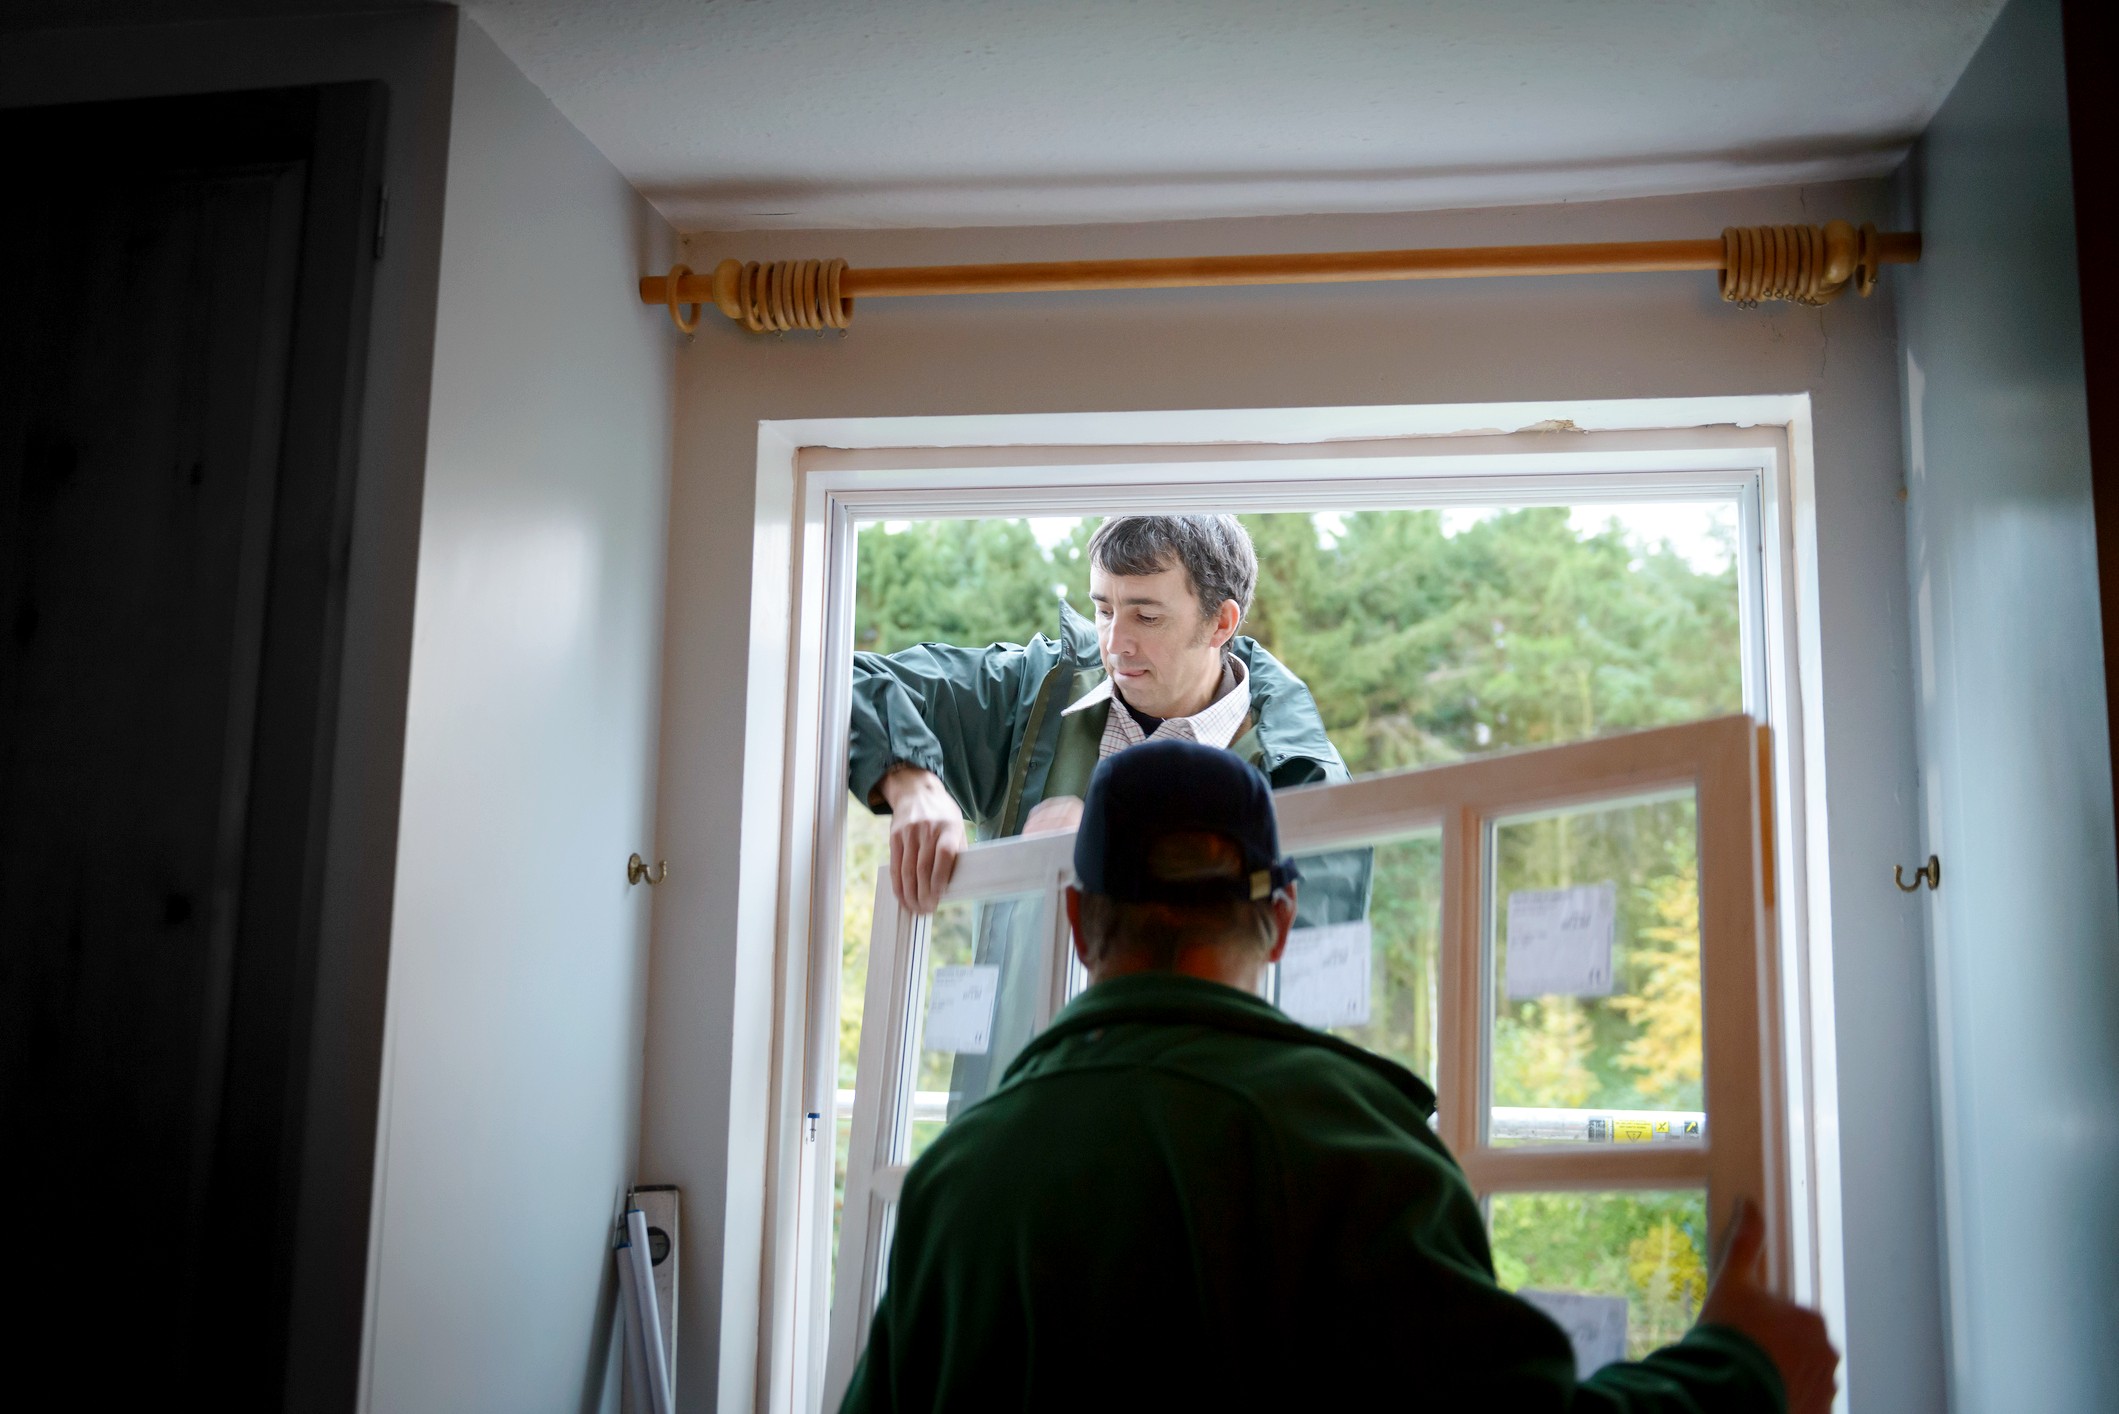 How long do windows last; plus signs it's time to replace yours
Today's windows last a long time, but eventually, they'll need replacing. Here's how to know which type of windows last the longest, plus when it's time to replace your windows
By Sal Vaglica Last updated
-
 RYOBI ONE+ HP 18V cordless drill and driver review: A toolbox must have for the avid or beginner DIYer
The RYOBI ONE+ HP 18V cordless drill and driver is a convenient, budget-friendly addition to the brand's ONE+ line
By Liz Hartmann Published