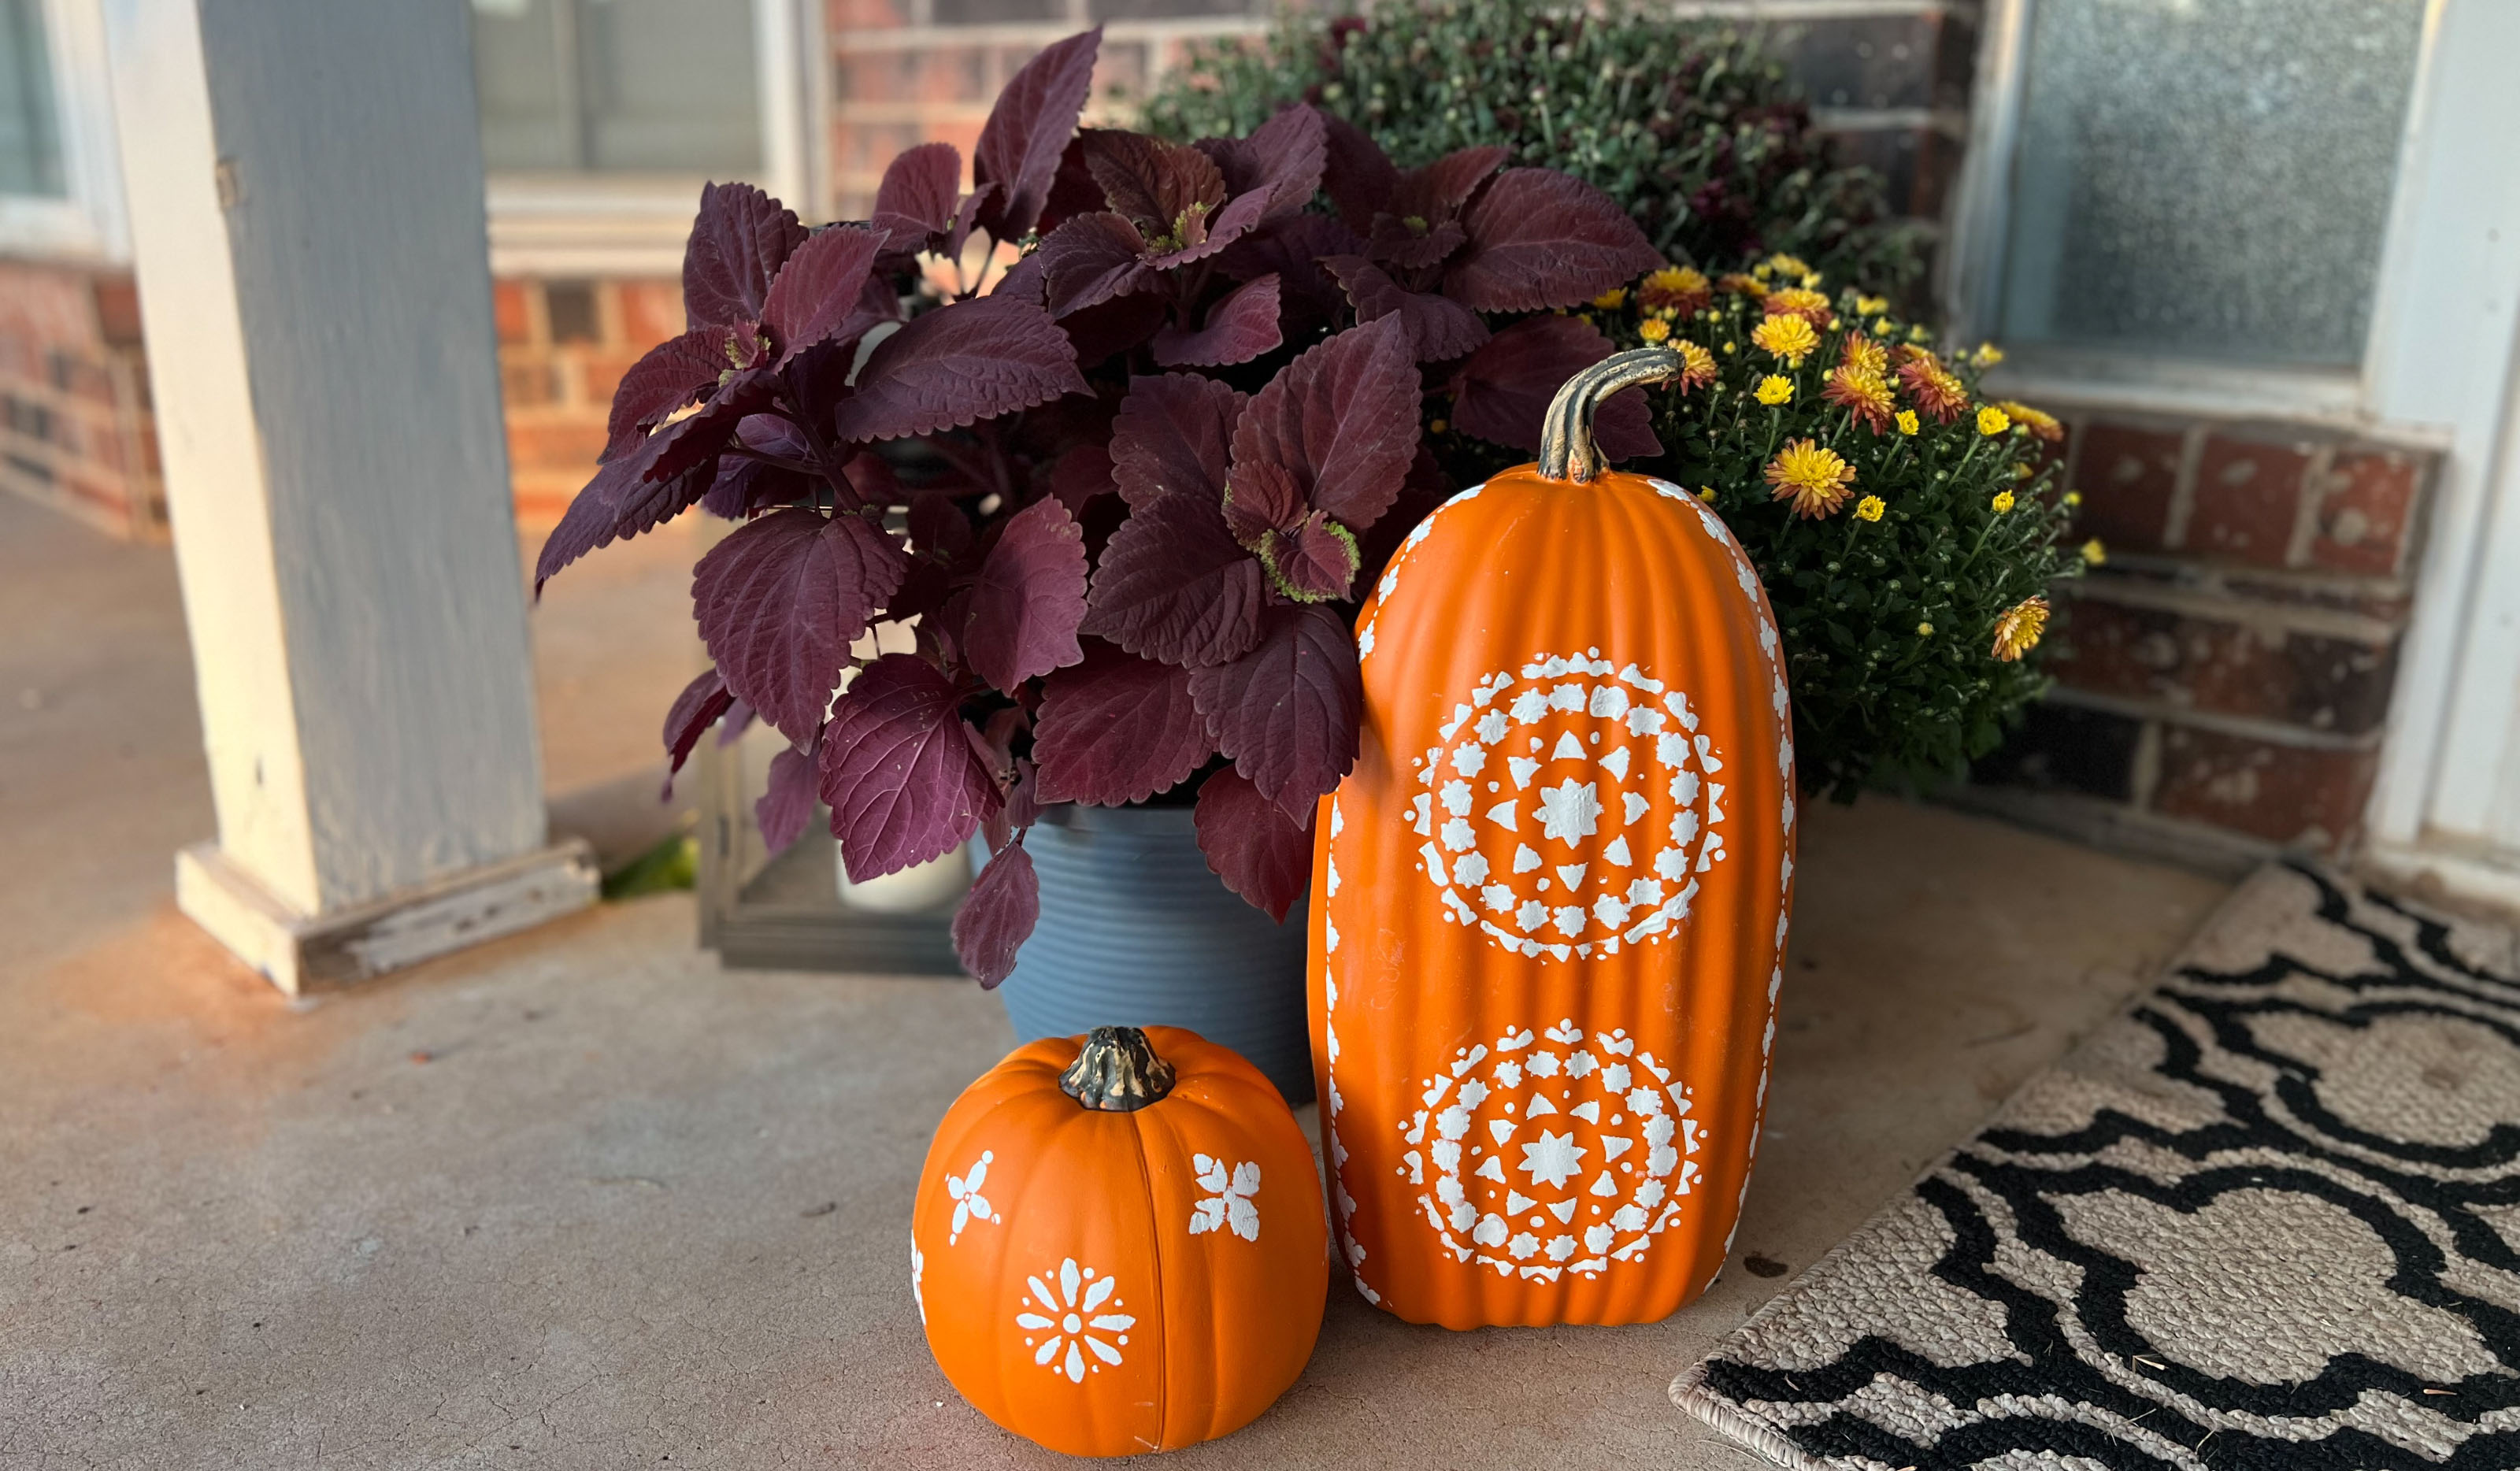

Looking for a fun way to jazz up your pumpkin display this year? Try my no-carve way of stenciling pumpkins for a super easy and fun (not to mention inexpensive) craft that all the family can get involved with.
A little paint and a fun stencil design can add a ton of impact to any fall decor you already have on display, to help your home stand out in a unique and beautiful way all season.
How to make no-carve floral stenciled pumpkins
If you're growing pumpkins, use them by all means but, if you'd rather save yours for cooking and create Halloween or fall decor that you can pull out year after year, investing in some realistic shop-bought gourds like I did, works fine!
I chose a floral stencil design for my pumkins but, of course, if you want this for a Halloween display, there are tons of spooky stencils out there to help you recreate your favorite no-carve pumpkin looks.
Supplies
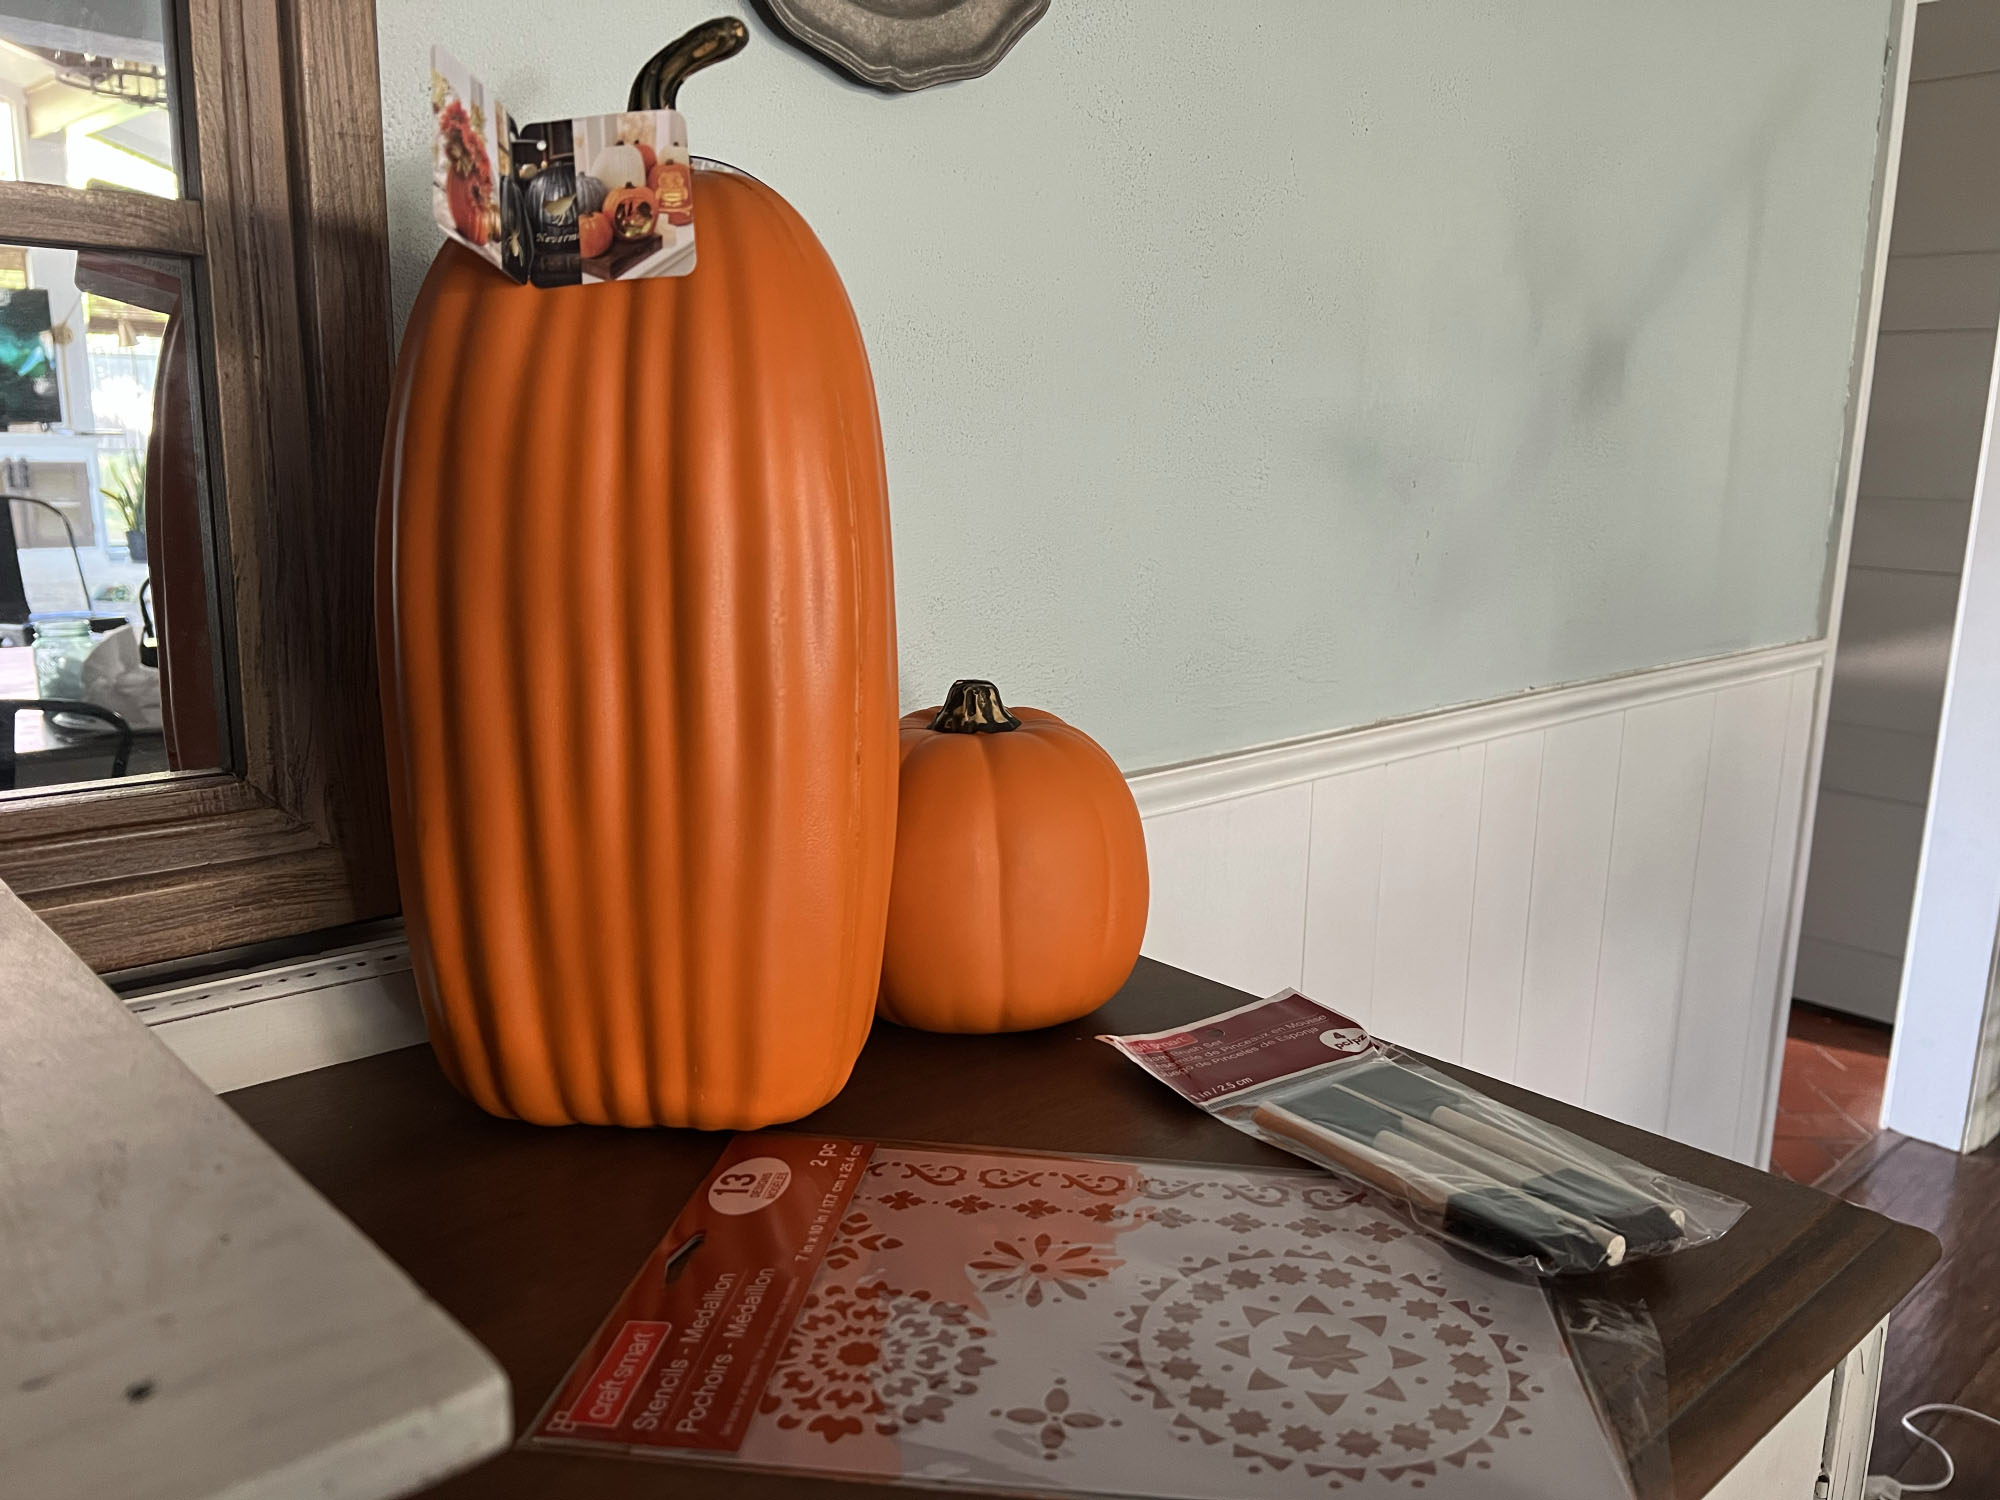
1. Pumpkins! Your choice of real vs. faux. I used a large and a smaller plastic pumpkin from Michael's
2. Stencils, there are tons on Amazon too
4. Paint: acrylic paint is fine
5. A small artist brush and Foam brush
6. Painter’s tape
1. Prepare your space
As with most Halloween crafts, you'll want to start by laying down some paper or plastic to protect the surface you’ll be working on. Keep a damp paper towel close by to wipe off any mess ups.
2. Choose your pattern
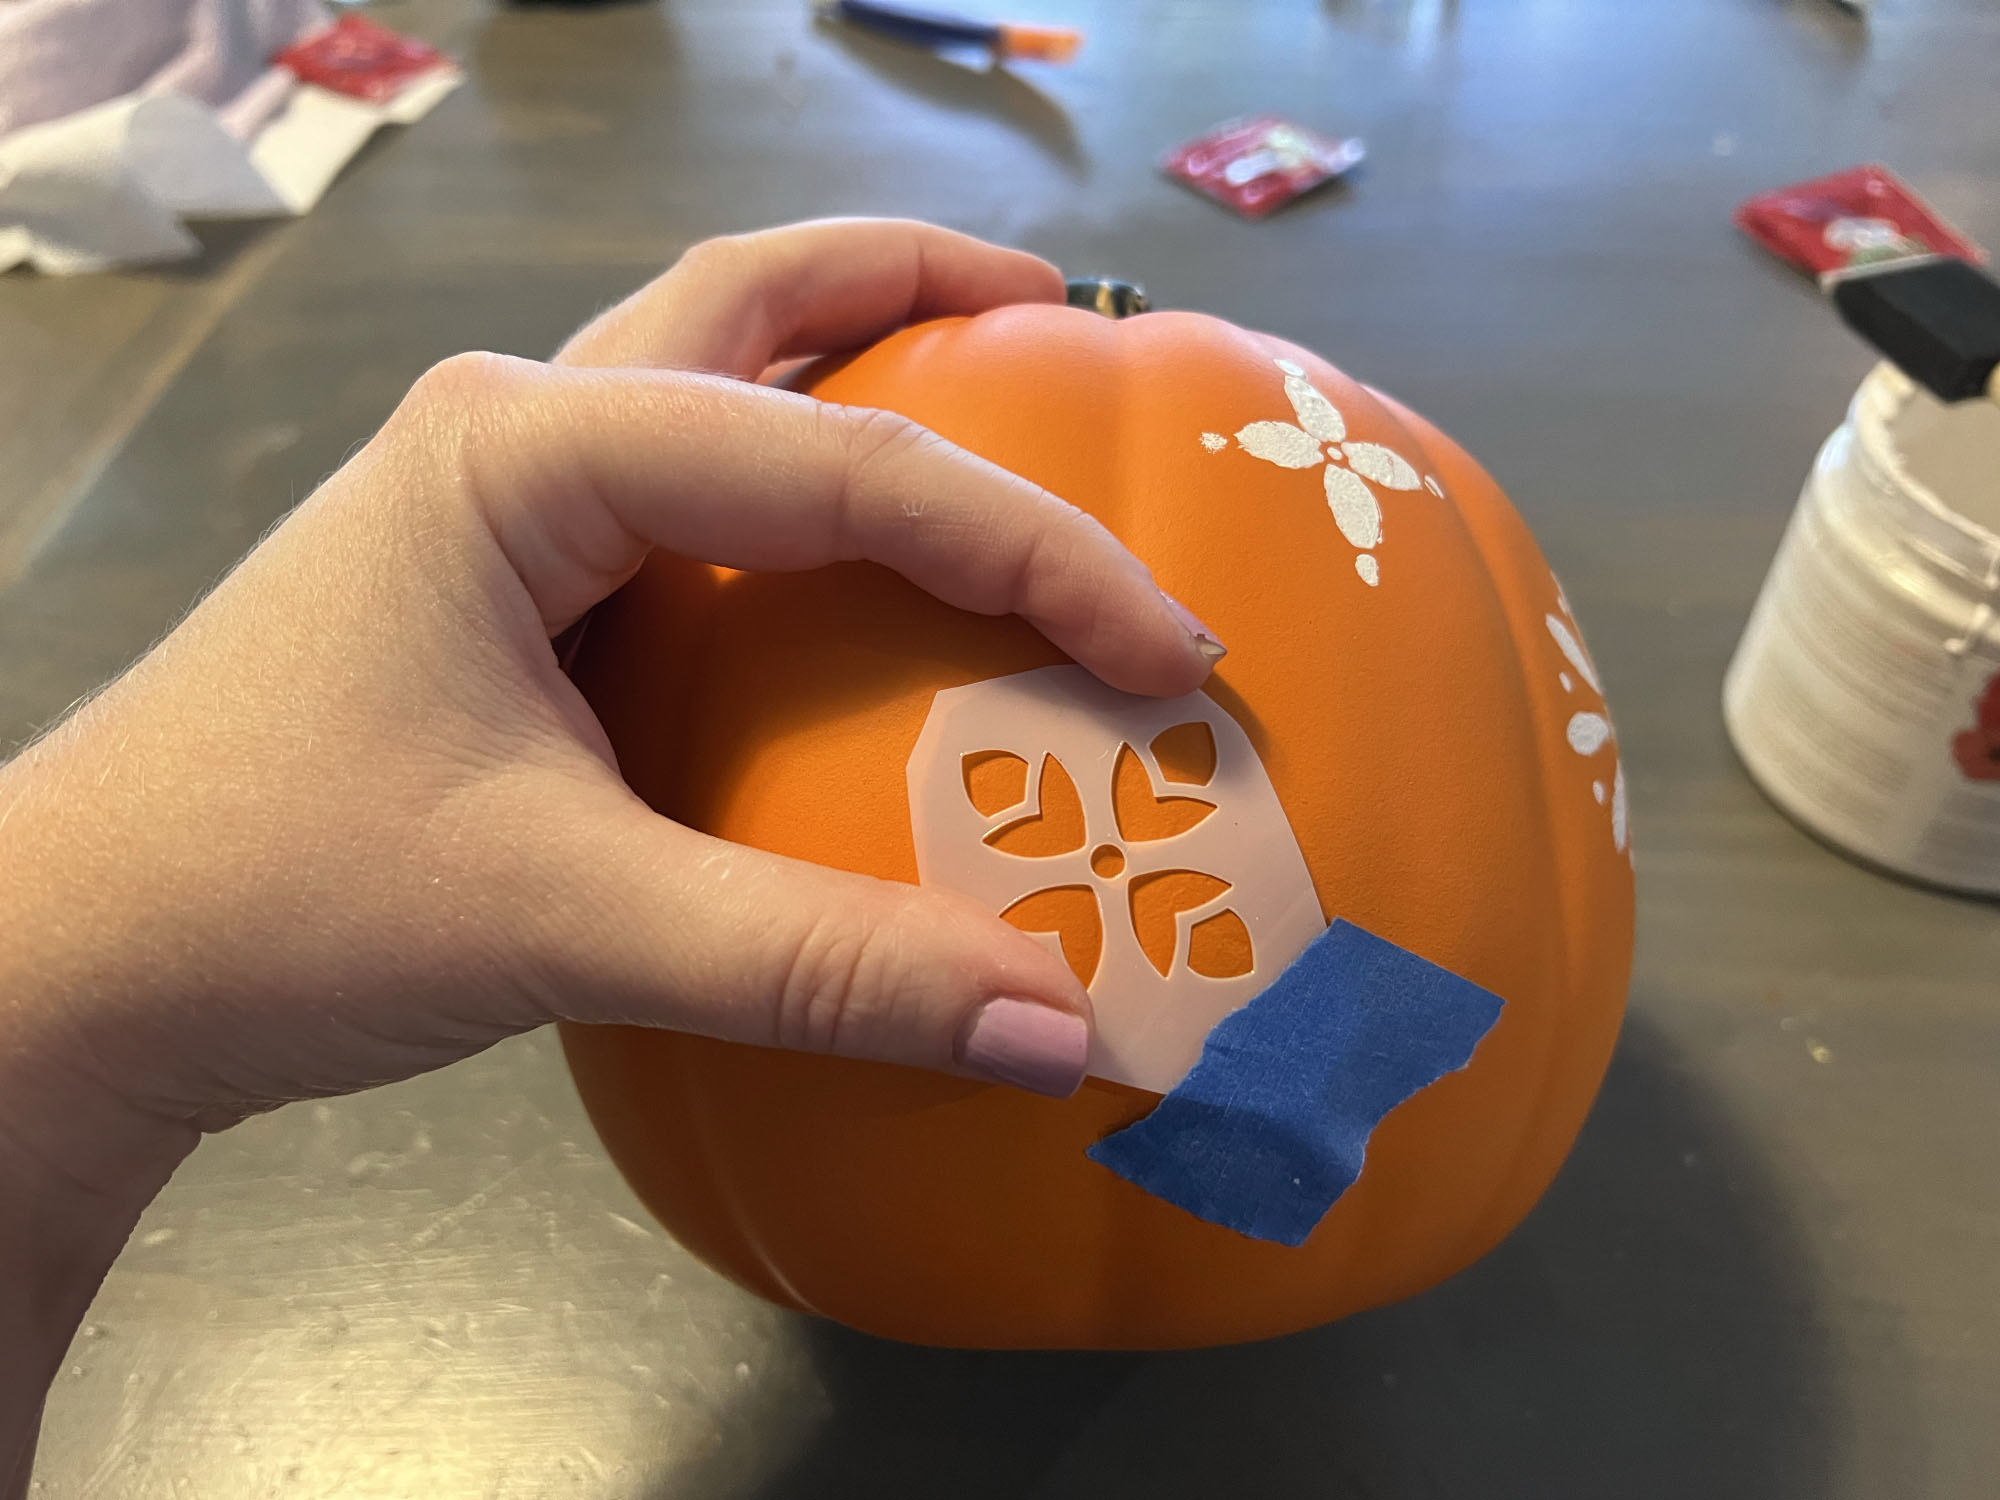
If you’ve never stenciled a pumpkin before, I recommend starting out with a simple pattern. Since it’s not a flat surface, stenciling a pumpkin can get tricky so choosing a complicated pattern may cause frustration.
Smaller stencil patterns work best. You may also choose to trace the pattern onto the pumpkin first and use a small artist brush to fill in the details. But a foam brush works great, too.
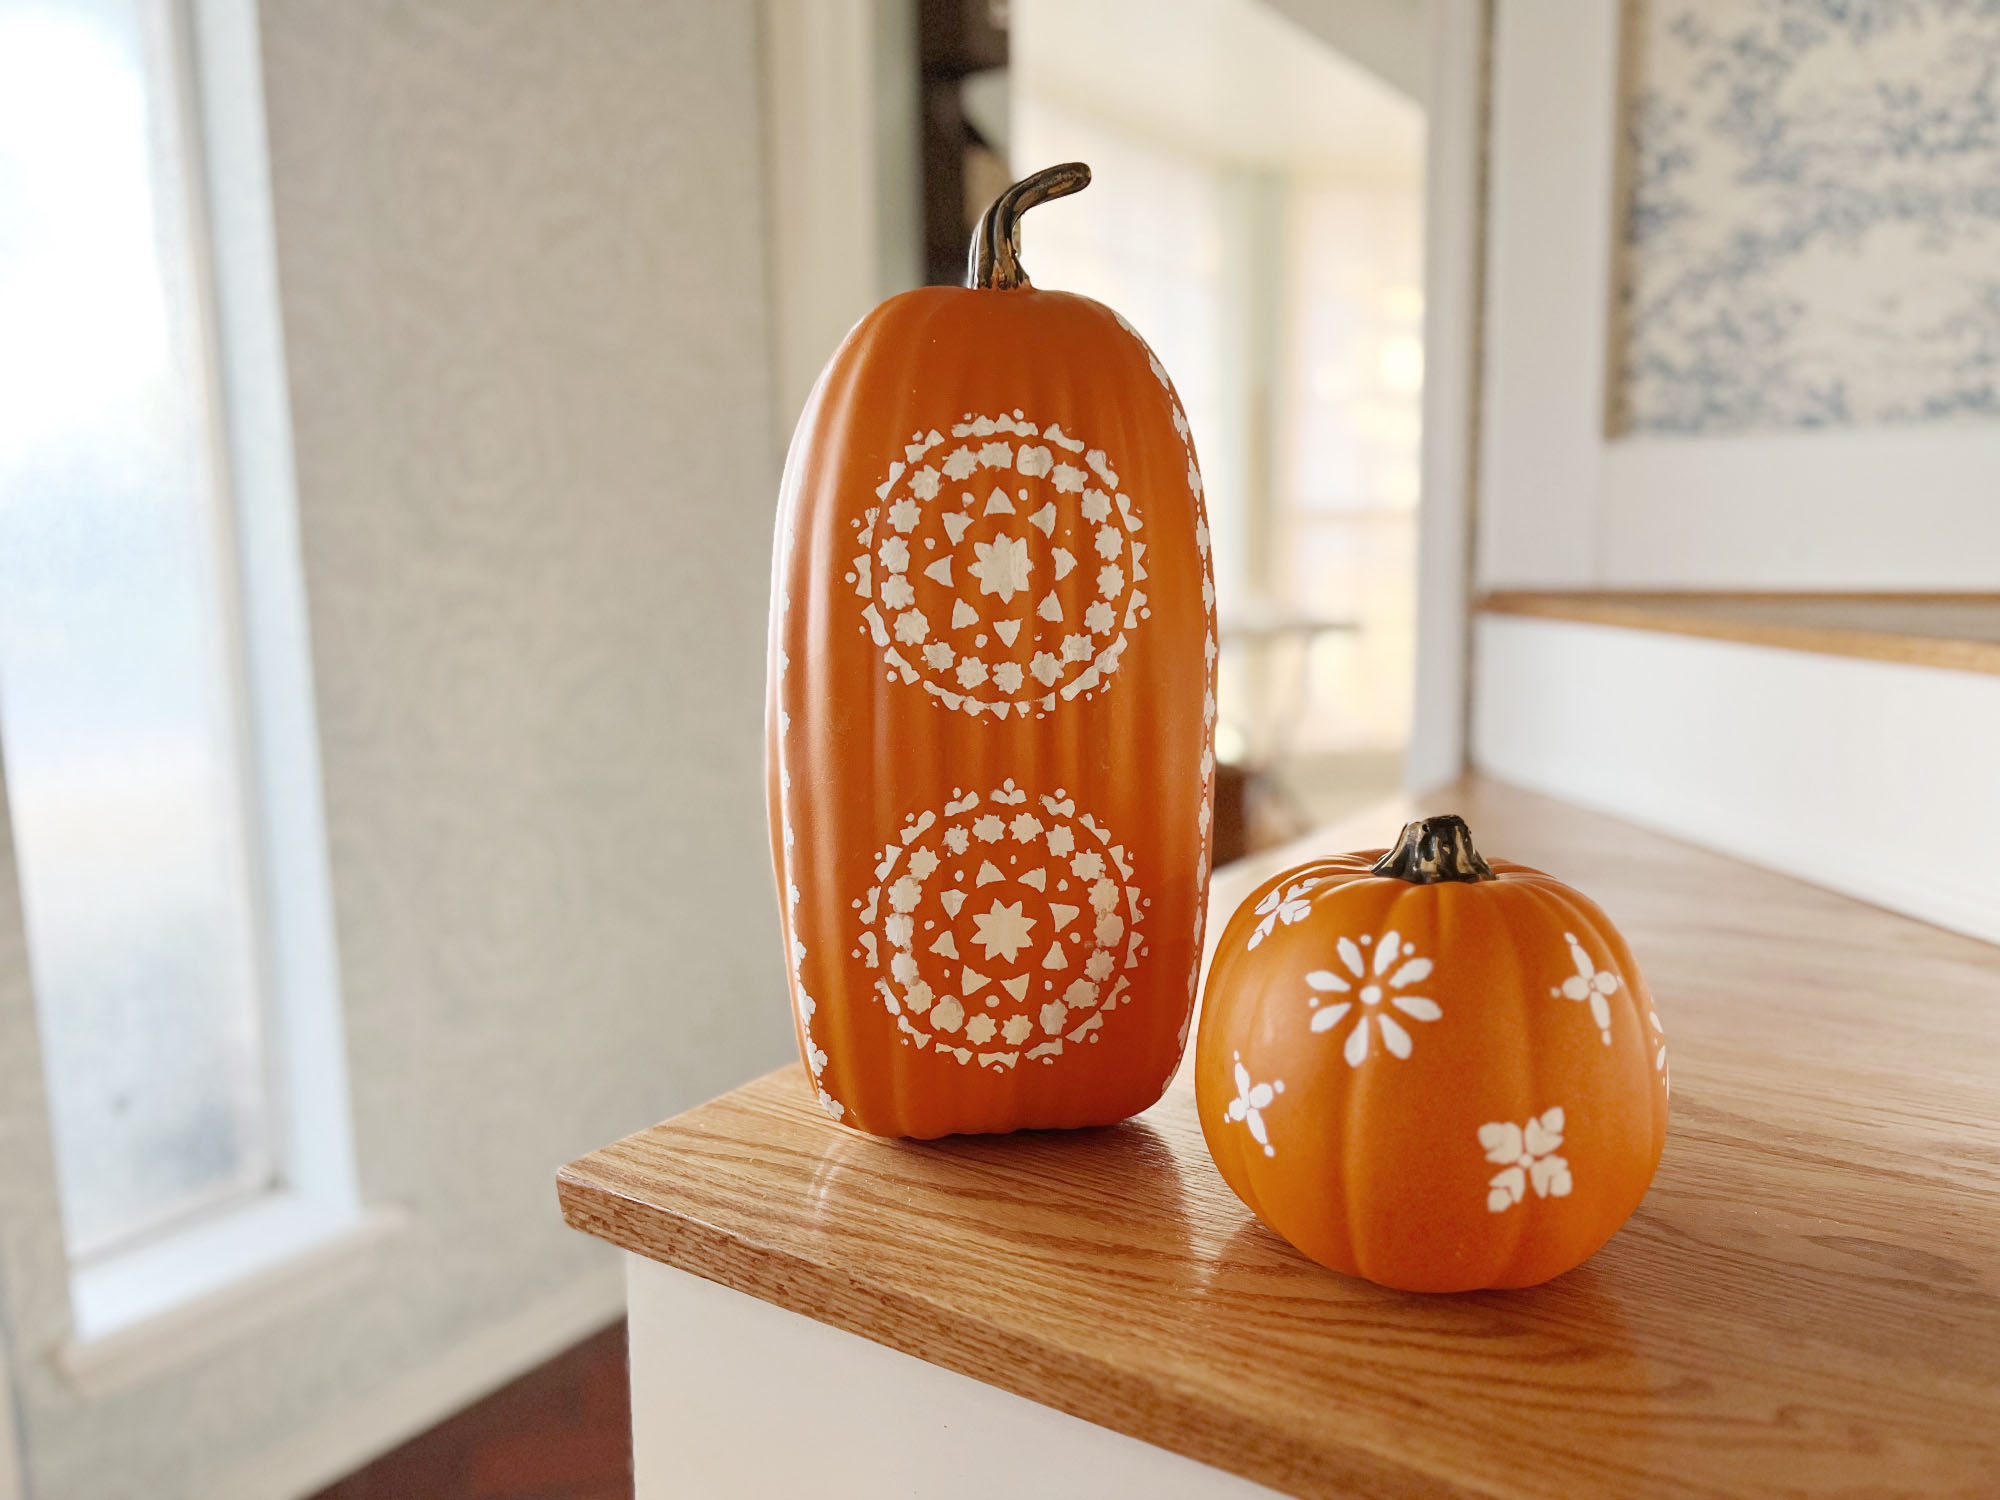
For this project I chose floral designs, alternating the different shapes on the small pumpkin. For the large pumpkin, I used the large floral medallion and floral border.
3. Begin stenciling
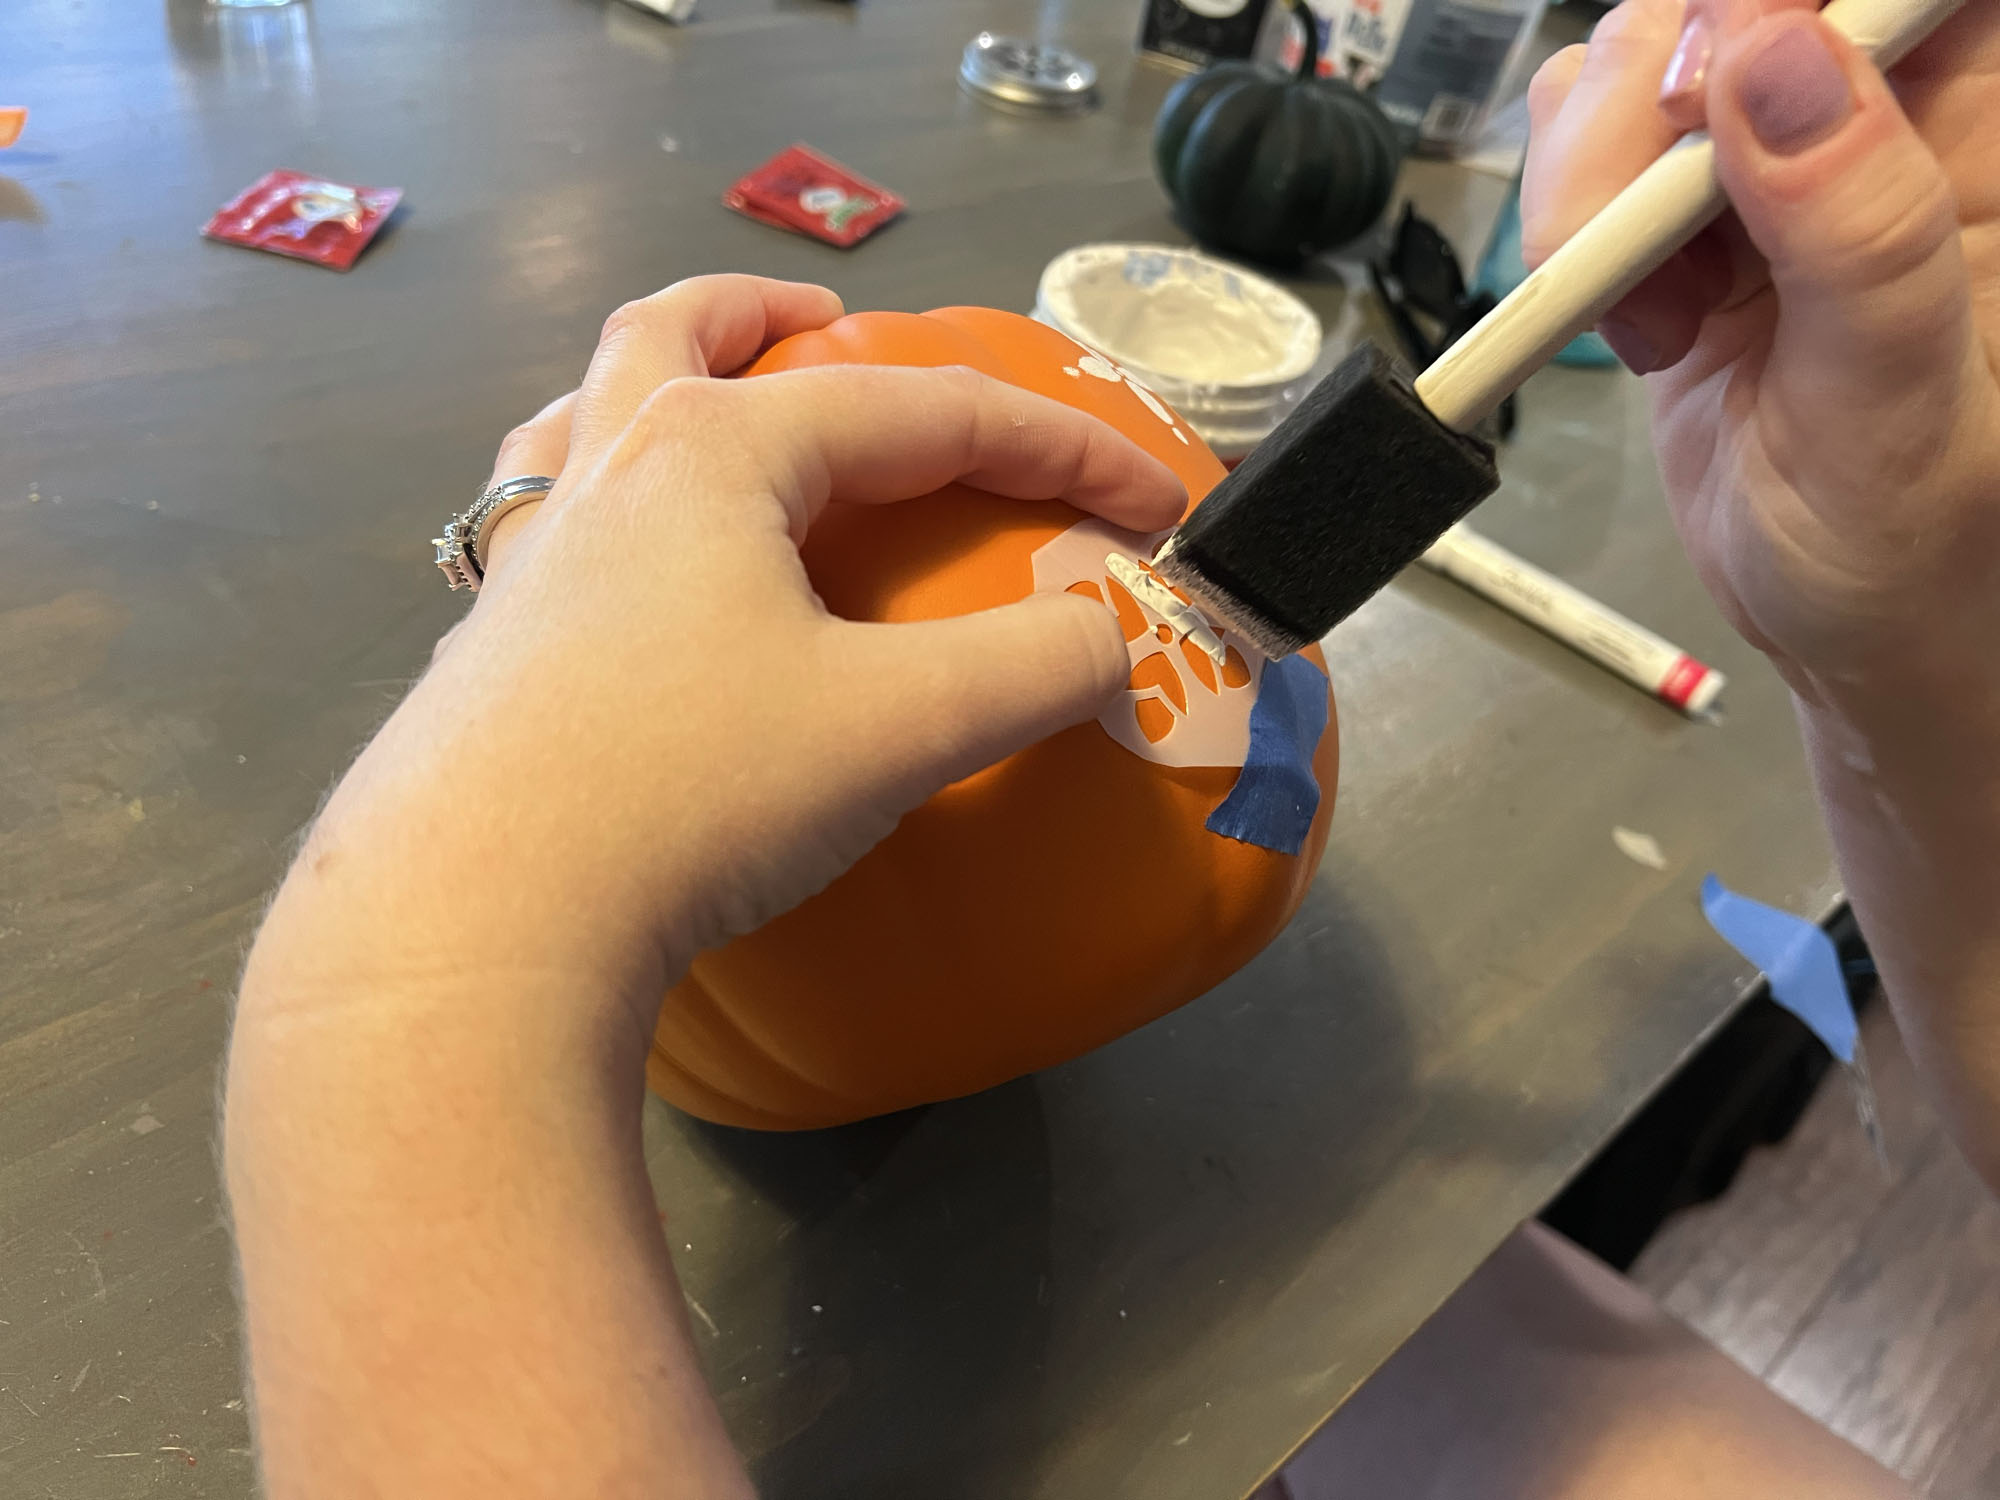
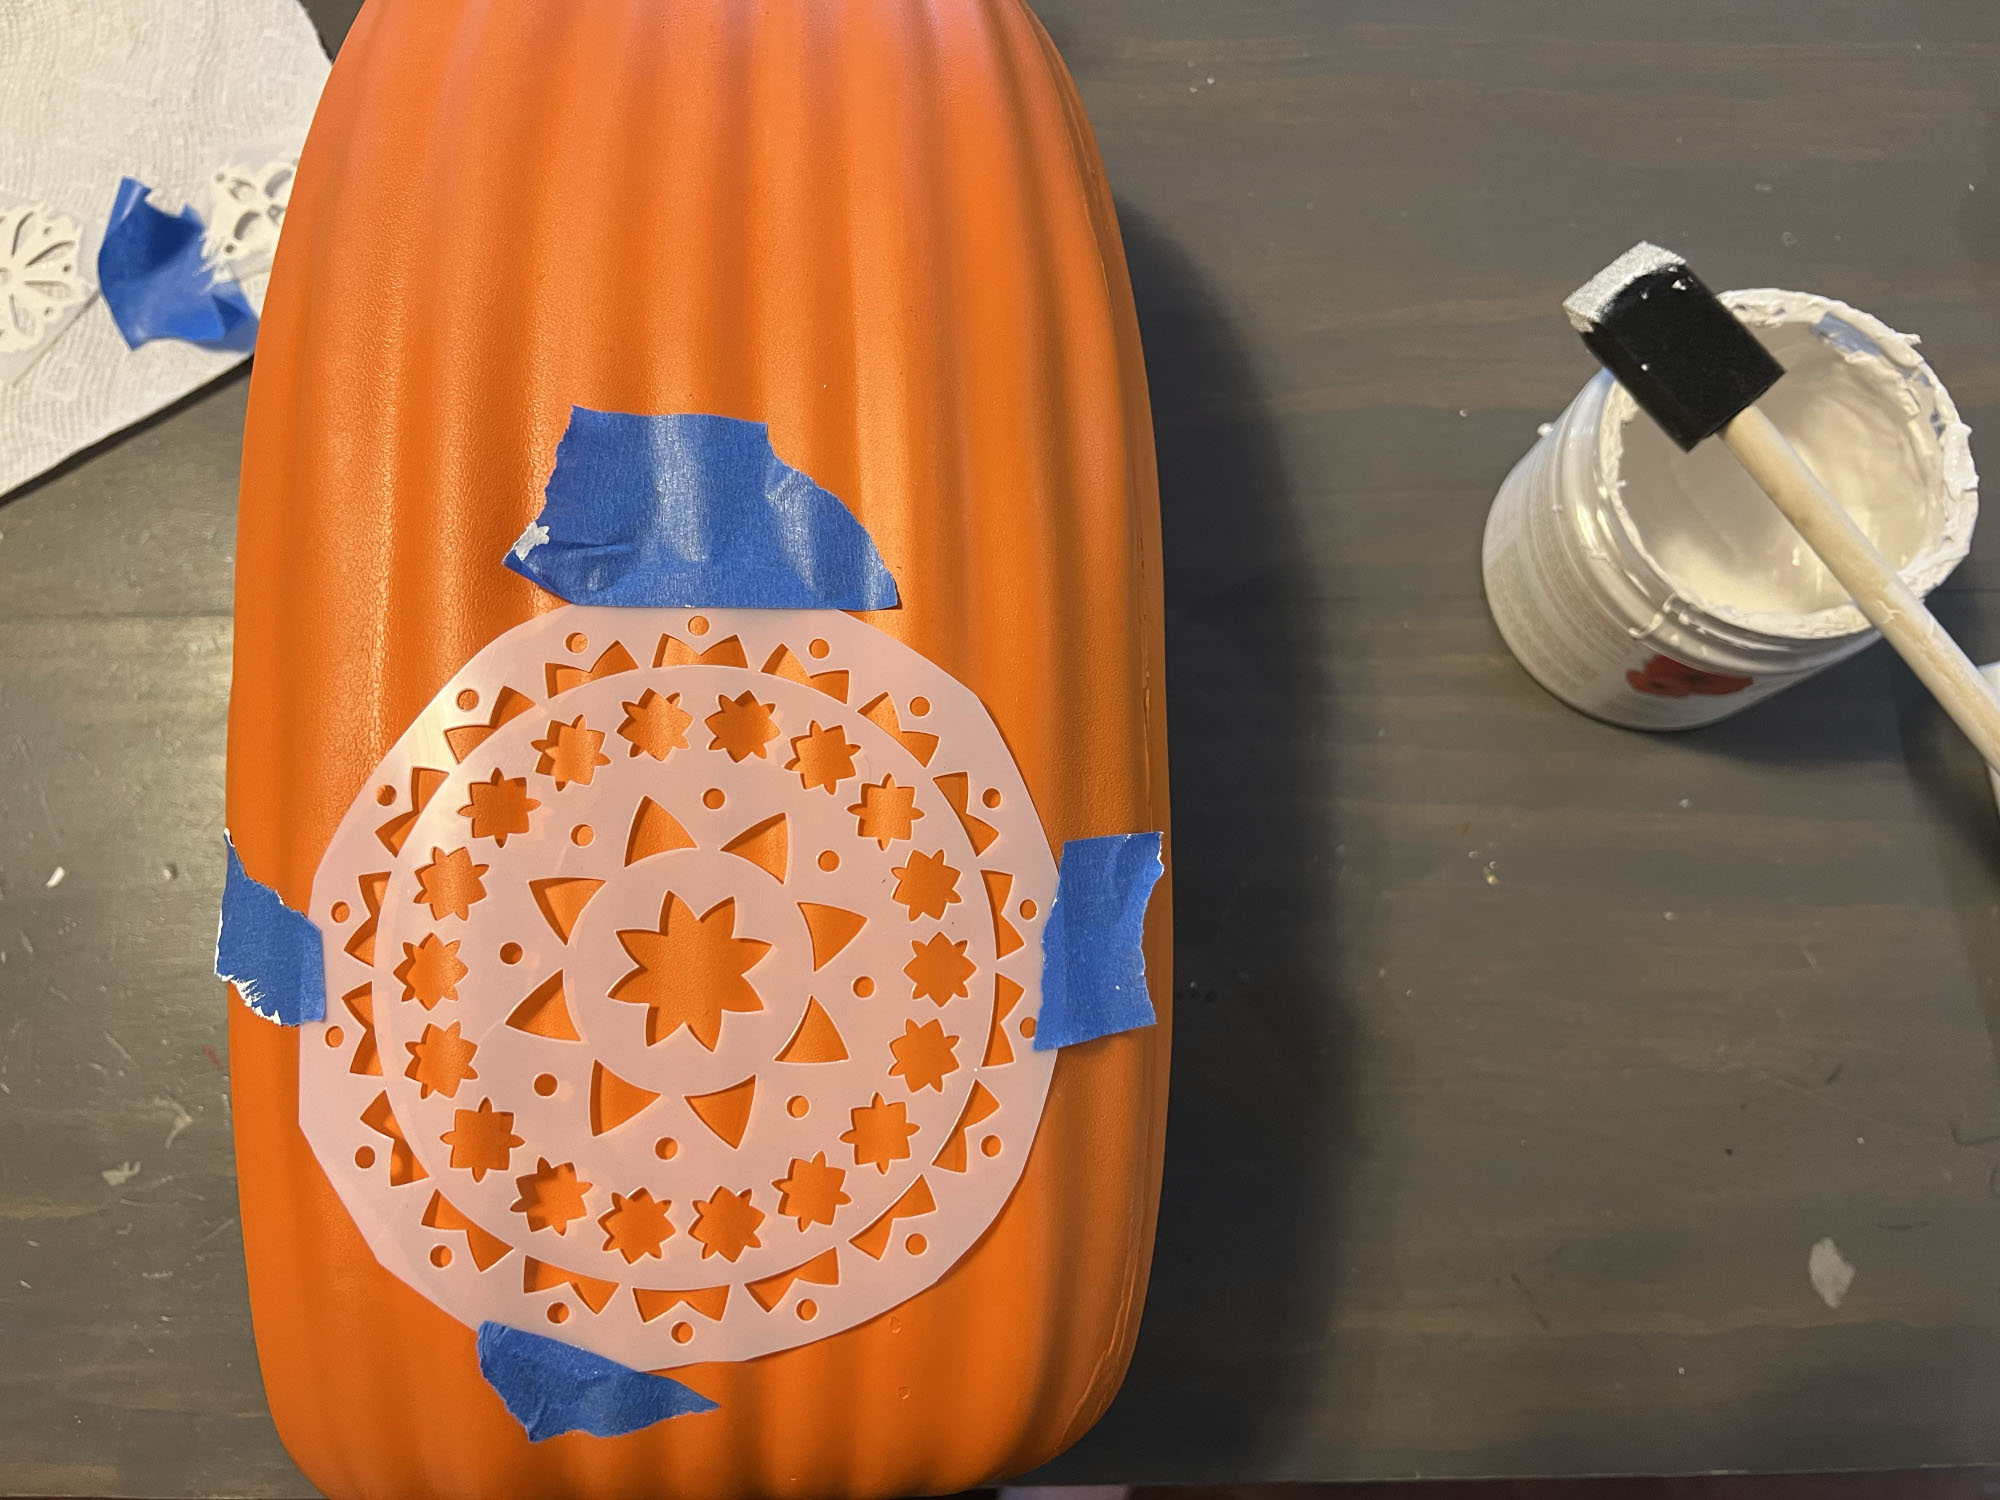
Place the stencil on the pumpkin using painter’s tape to help keep the stencil in place. Use a small foam brush to begin filling in the pattern by dabbing the brush over the pattern. Carefully remove the stencil.
Top tips: You may need to use a hair dryer to quickly dry the paint so you can move onto the next section without messing up the previous section. You may also need to occasionally remove the stencil and wipe off the backside if you’ve had paint seep underneath so it doesn’t mess up the pattern. Once you’ve finished stenciling your pumpkin, allow it to fully dry.
3. Style your stenciled pumpkins
Now you’re ready to display your DIY stenciled pumpkins! Enjoy styling them with the rest of your fall display on a porch or inside.
Stenciled pumpkins create fun fall table decor centerpieces and accents that bring beauty and character to the season!
What paint should you use when stenciling pumpkins?
Artist's acrylic paint which you can find cheaply on Amazon is fine for this DIY but it depends on the finish you want. This craft is a good way to use up leftover paint too. Even using chalk paint is fine if you're painting pumpkins for Halloween so think about the color and finish you want first and foremost when choosing your paint! Watercolors however won't give a bold finish so avoid those, and spray paint is another cool option if you want to cover more of the surface in one color and have the pumpkin color stand out through the stencil.
Join our newsletter
Get small space home decor ideas, celeb inspiration, DIY tips and more, straight to your inbox!
Dori Turner writes blog posts and feature articles on affordable design and DIY from her home in the heart of Oklahoma. She has a passion for teaching others how they can transform their home on a budget.
-
 No carve pumpkin decorating ideas from TikToK for when you're feeling spooky but lazy
We round up some TikTok-favorite no carve pumpkin decorating ideas with expert-backed tips
By Danielle Valente Published
-
 Amanda Seyfried made a haunted house for her son, and we're swooning over the spooky cuteness
Check out how Amanda Seyfried styled her son's Halloween haunted house—and how to copy
By Danielle Valente Published
-
 The Real Homes Christmas decor wishlist: Here's what our editors are obsessed with
Shop our editors' favorite Christmas decor picks from cozy bedding to funky ornaments
By Nishaa Sharma Published
-
 Modern Christmas decorations to shop if you're not feeling basic red and green
These modern Christmas decorations are sure to make any space feel clean and chic but festive, whether you're after white Christmas decorations or those with a little more color.
By Melissa Epifano Published
-
 NGL, I procrastinated decorating for the holidays, so this is what I’m buying last-minute
Fallen behind on Christmas decorating? Don't worry. Shop these last-minute Christmas decorations and get them ASAP
By Camille Dubuis-Welch Published
-
 10 ways to deck the halls that are better for the planet
If you love decorating your house for the holidays but want to nod to sustainability too, you can do both with these cute eco-friendly dec ideas.
By Camille Dubuis-Welch Published
-
 16 Christmas table settings and decor ideas for the perfect festive scene
The latest inspiration for the most festive and beautiful of Christmas table settings this year. Think holiday tablescaping at its best.
By Nishaa Sharma Published
-
 These DIY paper bag Christmas decs are super cheap to make and give a cozy, festive finish
Kinder to the planet and on your wallet, these Christmas paper bag decorations are quick, cheap, and super easy to make
By Sophie Warren-Smith Published