

After wallpapering our laundry room, I had quite a bit left over, so I decided to use what was left to wallpaper the upper portion of a wall in our connecting mudroom...
That wall sat that way for months, half finished. One day, after walking past it for the umpteeth time, I decided I was going to finish this wall that I started and never completed.
The before:

There are so many ways to approach an accent wall and even though the wallpaper is pretty nice on its own, I wanted a different treatment below for added interest.
I decided that horizontal shiplap wall paneling would look great for a change in texture, and that it would still allow me to create a small shelf and pegs where I could hang things. What is a mudroom if not functional and good looking after all? What's great about this DIY is that it's simple but super effective and so budget-friendly too – especially if you have all the tools available. In all it cost me a total of $150! Not bad.
DIY accent wall – how to
Unless you're like me and have half a wallpapered wall to work with also... Start by wallpapering just the upper half of the wall you're decorating then move along with the next steps for your one day DIY accent wall.
1. Gather materials
I picked up 8’ pieces of shiplap at Home Depot, along with an 8’ 1x4 piece of primed mdf to use as a shelf.
The tools and materials you'll need:
- Brad Nailer
- Level
- Miter Saw
- Wallpaper
- Wallpaper glue
- Wall smoothing tool
- Utility knife
- 6"x8' mdf shiplap
- Quarter round trim
- 1x4 primed mdf
- Wood filler
- Sandpaper
- Tack cloth
- Foam paint roller – you can pick up the best paint rollers online.
- Paint
2. Prepare and mark up the wall
I cut the shiplap to the length of my wall. Before I started installing the shiplap, I marked my wall where the studs were located. I definitely wanted my shiplap secured in studs!

I drew a level vertical line indicating where the studs were and started at the bottom. As I went up and nailed my pieces in with a brad nailer, it was easy to see the mark I had made when installing consecutive pieces. If you look closely you can see the vertical lines that the nail marks in the shiplap created.

3. Add the shelf

With all my shiplap pieces installed I positioned the 1x4 piece of mdf on top of the uppermost piece of shiplap to create a shelf and made sure it was completely level. For added stability and to cover the groove in the shiplap, I used a quarter round piece of trim underneath the shelf to remedy that and support it. I also added quarter round on each end to cover the gap between the shiplap and wall.

4. Smooth the shiplap surface
Next came all the finishing work: spackle and fill each nail hole, sand smooth, and wipe down with a tack cloth to prepare for paint.
Since the shiplap is already pre-primed I didn’t need to prime it. I used a foam roller to paint the shiplap the same color as our baseboards, Snowbound by Sherwin-Williams.

5. Add the final touches
Lastly, I installed coat pegs that I ordered from Amazon. They come unfinished so I spray painted them with a white paint in a satin finish. Styling the shelf and adding some pretty things to the pegs made it look next level cute.

- Find more shelving ideas in our feature.
The result:

I’m so happy to have completed this wall and I’m not entirely sure what took me so long since this took me just a day to complete. Sometimes I have to gear myself up for even the small DIY projects!

This mudroom is the first thing you see coming into our home from the garage and I’m so glad that it’s done!
Cost breakdown:
- Shiplap: $77
- quarter round trim: $14
- 1x4 primed mdf: $11
- shaker pegs: $8
- wallpaper remnant: $40
- (all other materials I already had on hand)
Total: $150

-
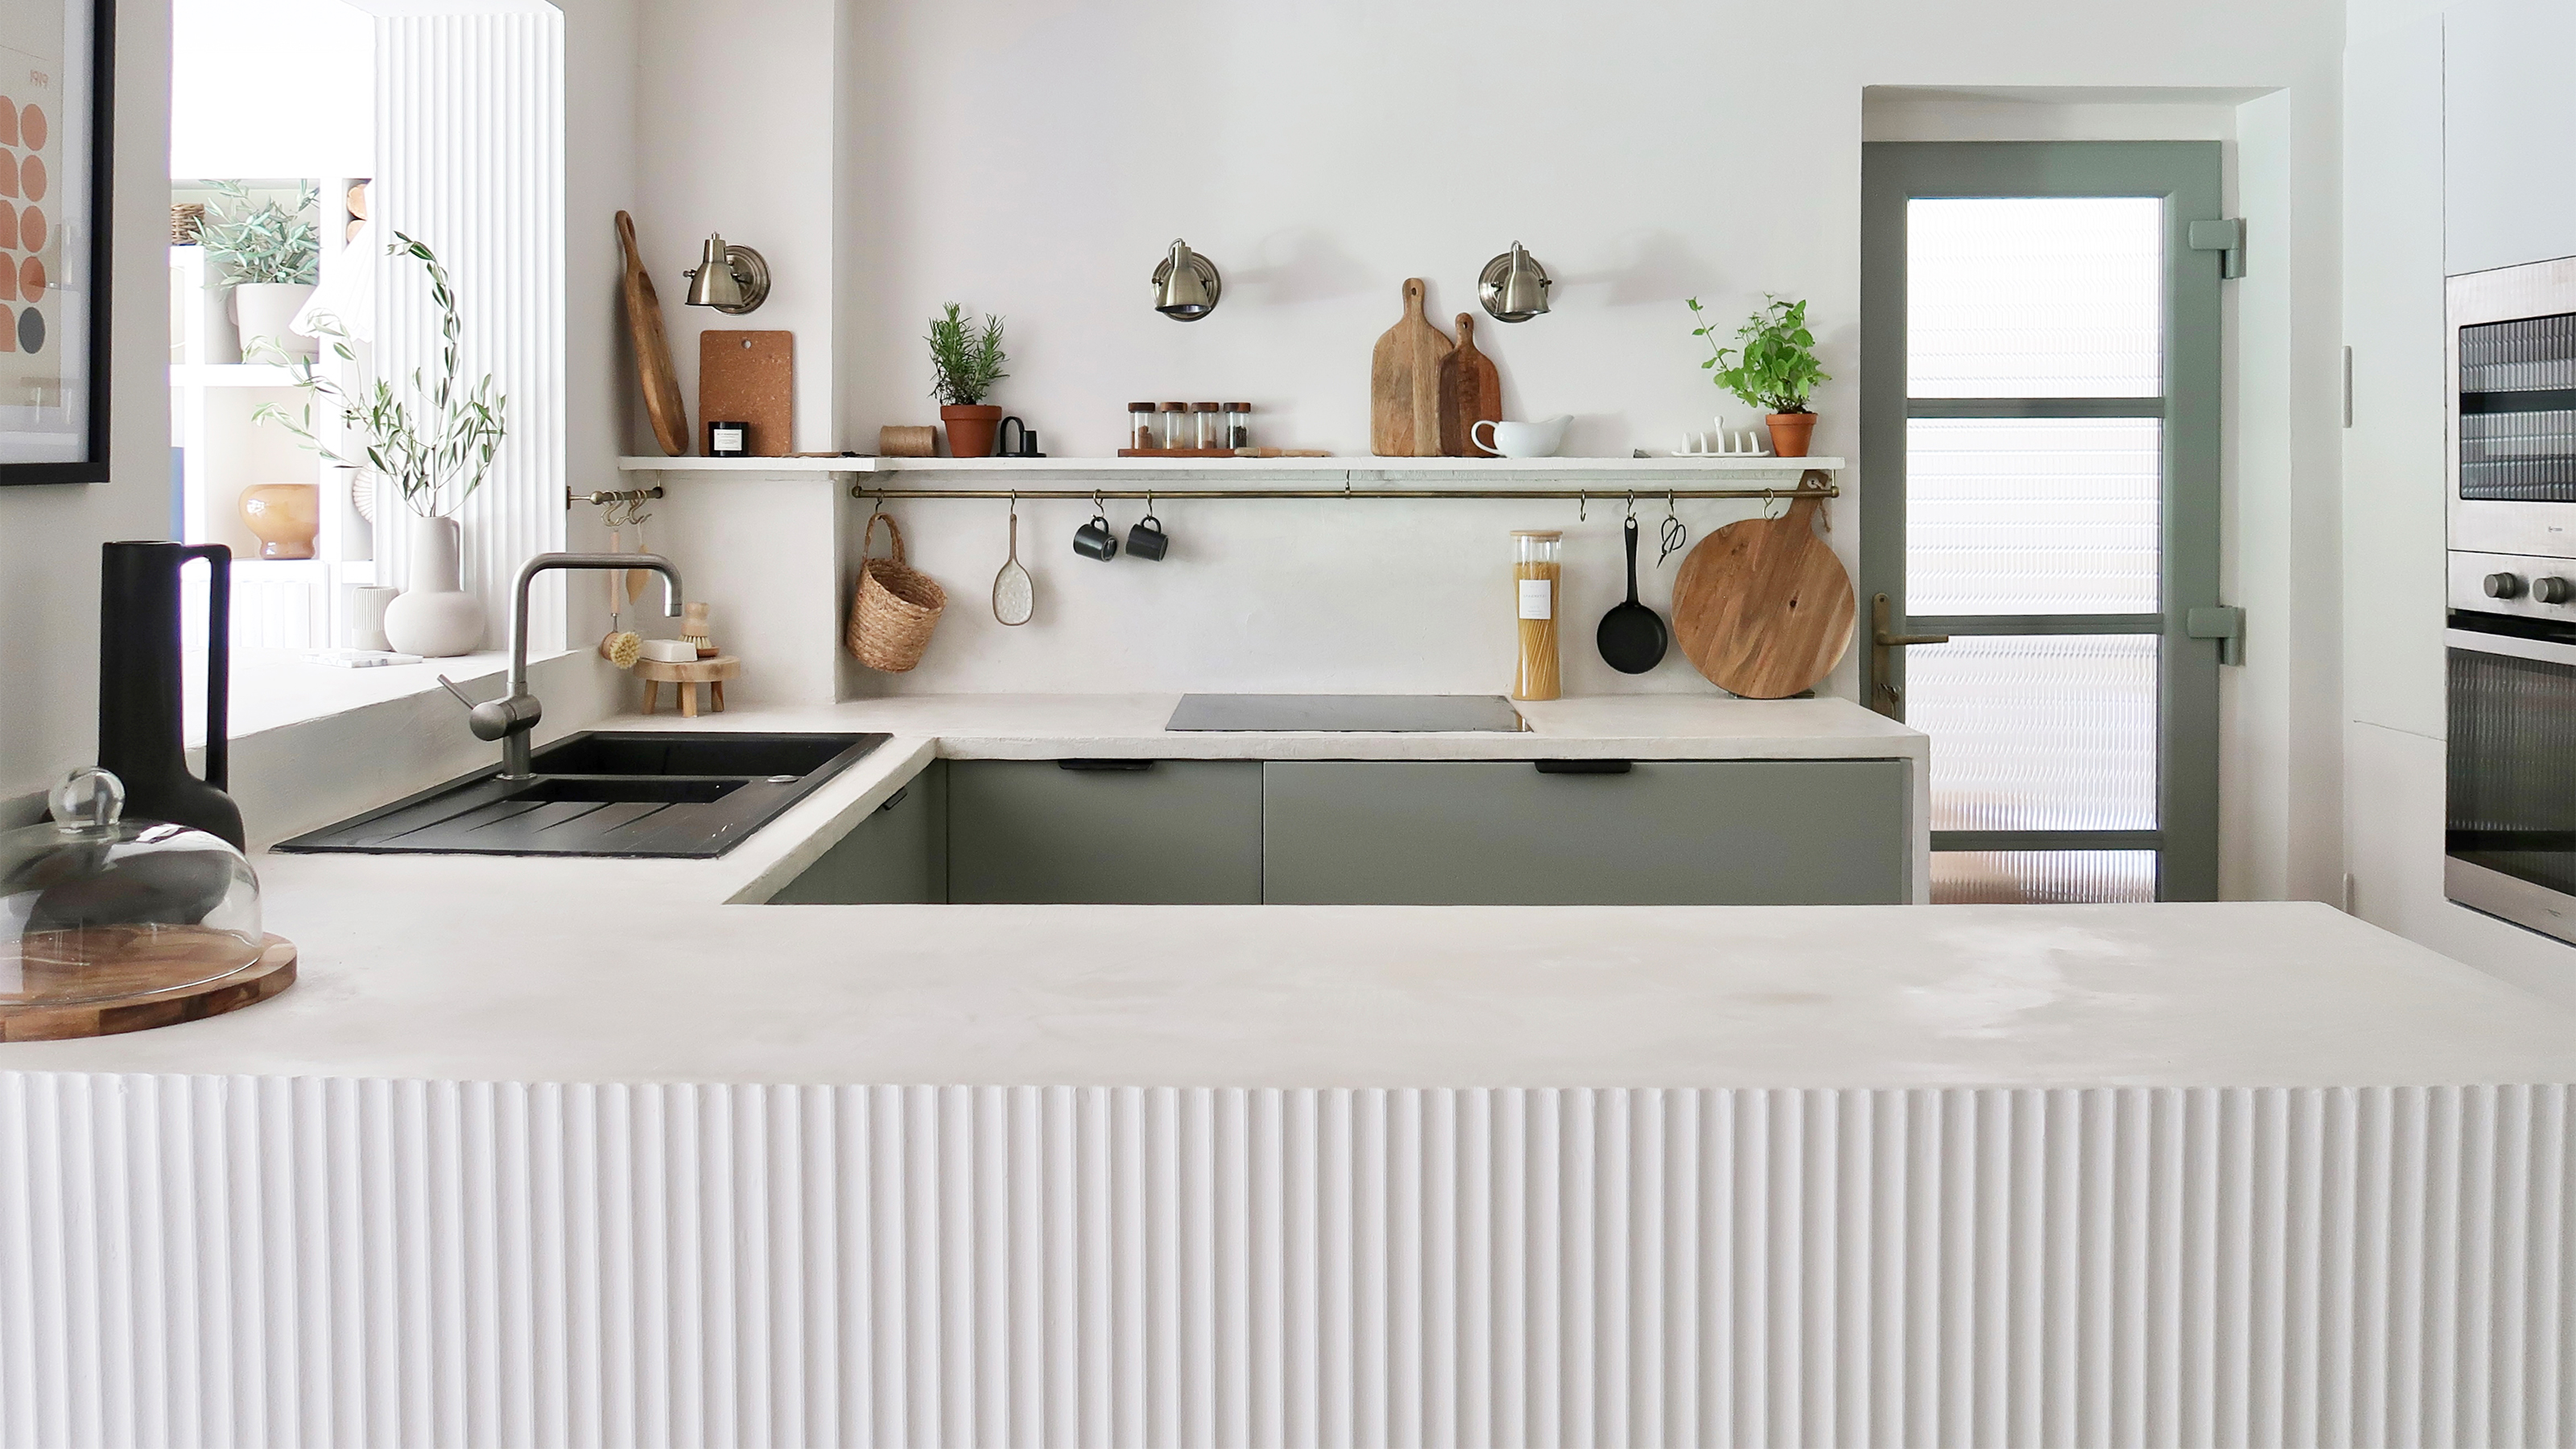 A $200 fluted panel transformed my drab kitchen in just one weekend
How to install a fluted kitchen panel: A speedy and achievable DIY tutorial even for DIY novices
-
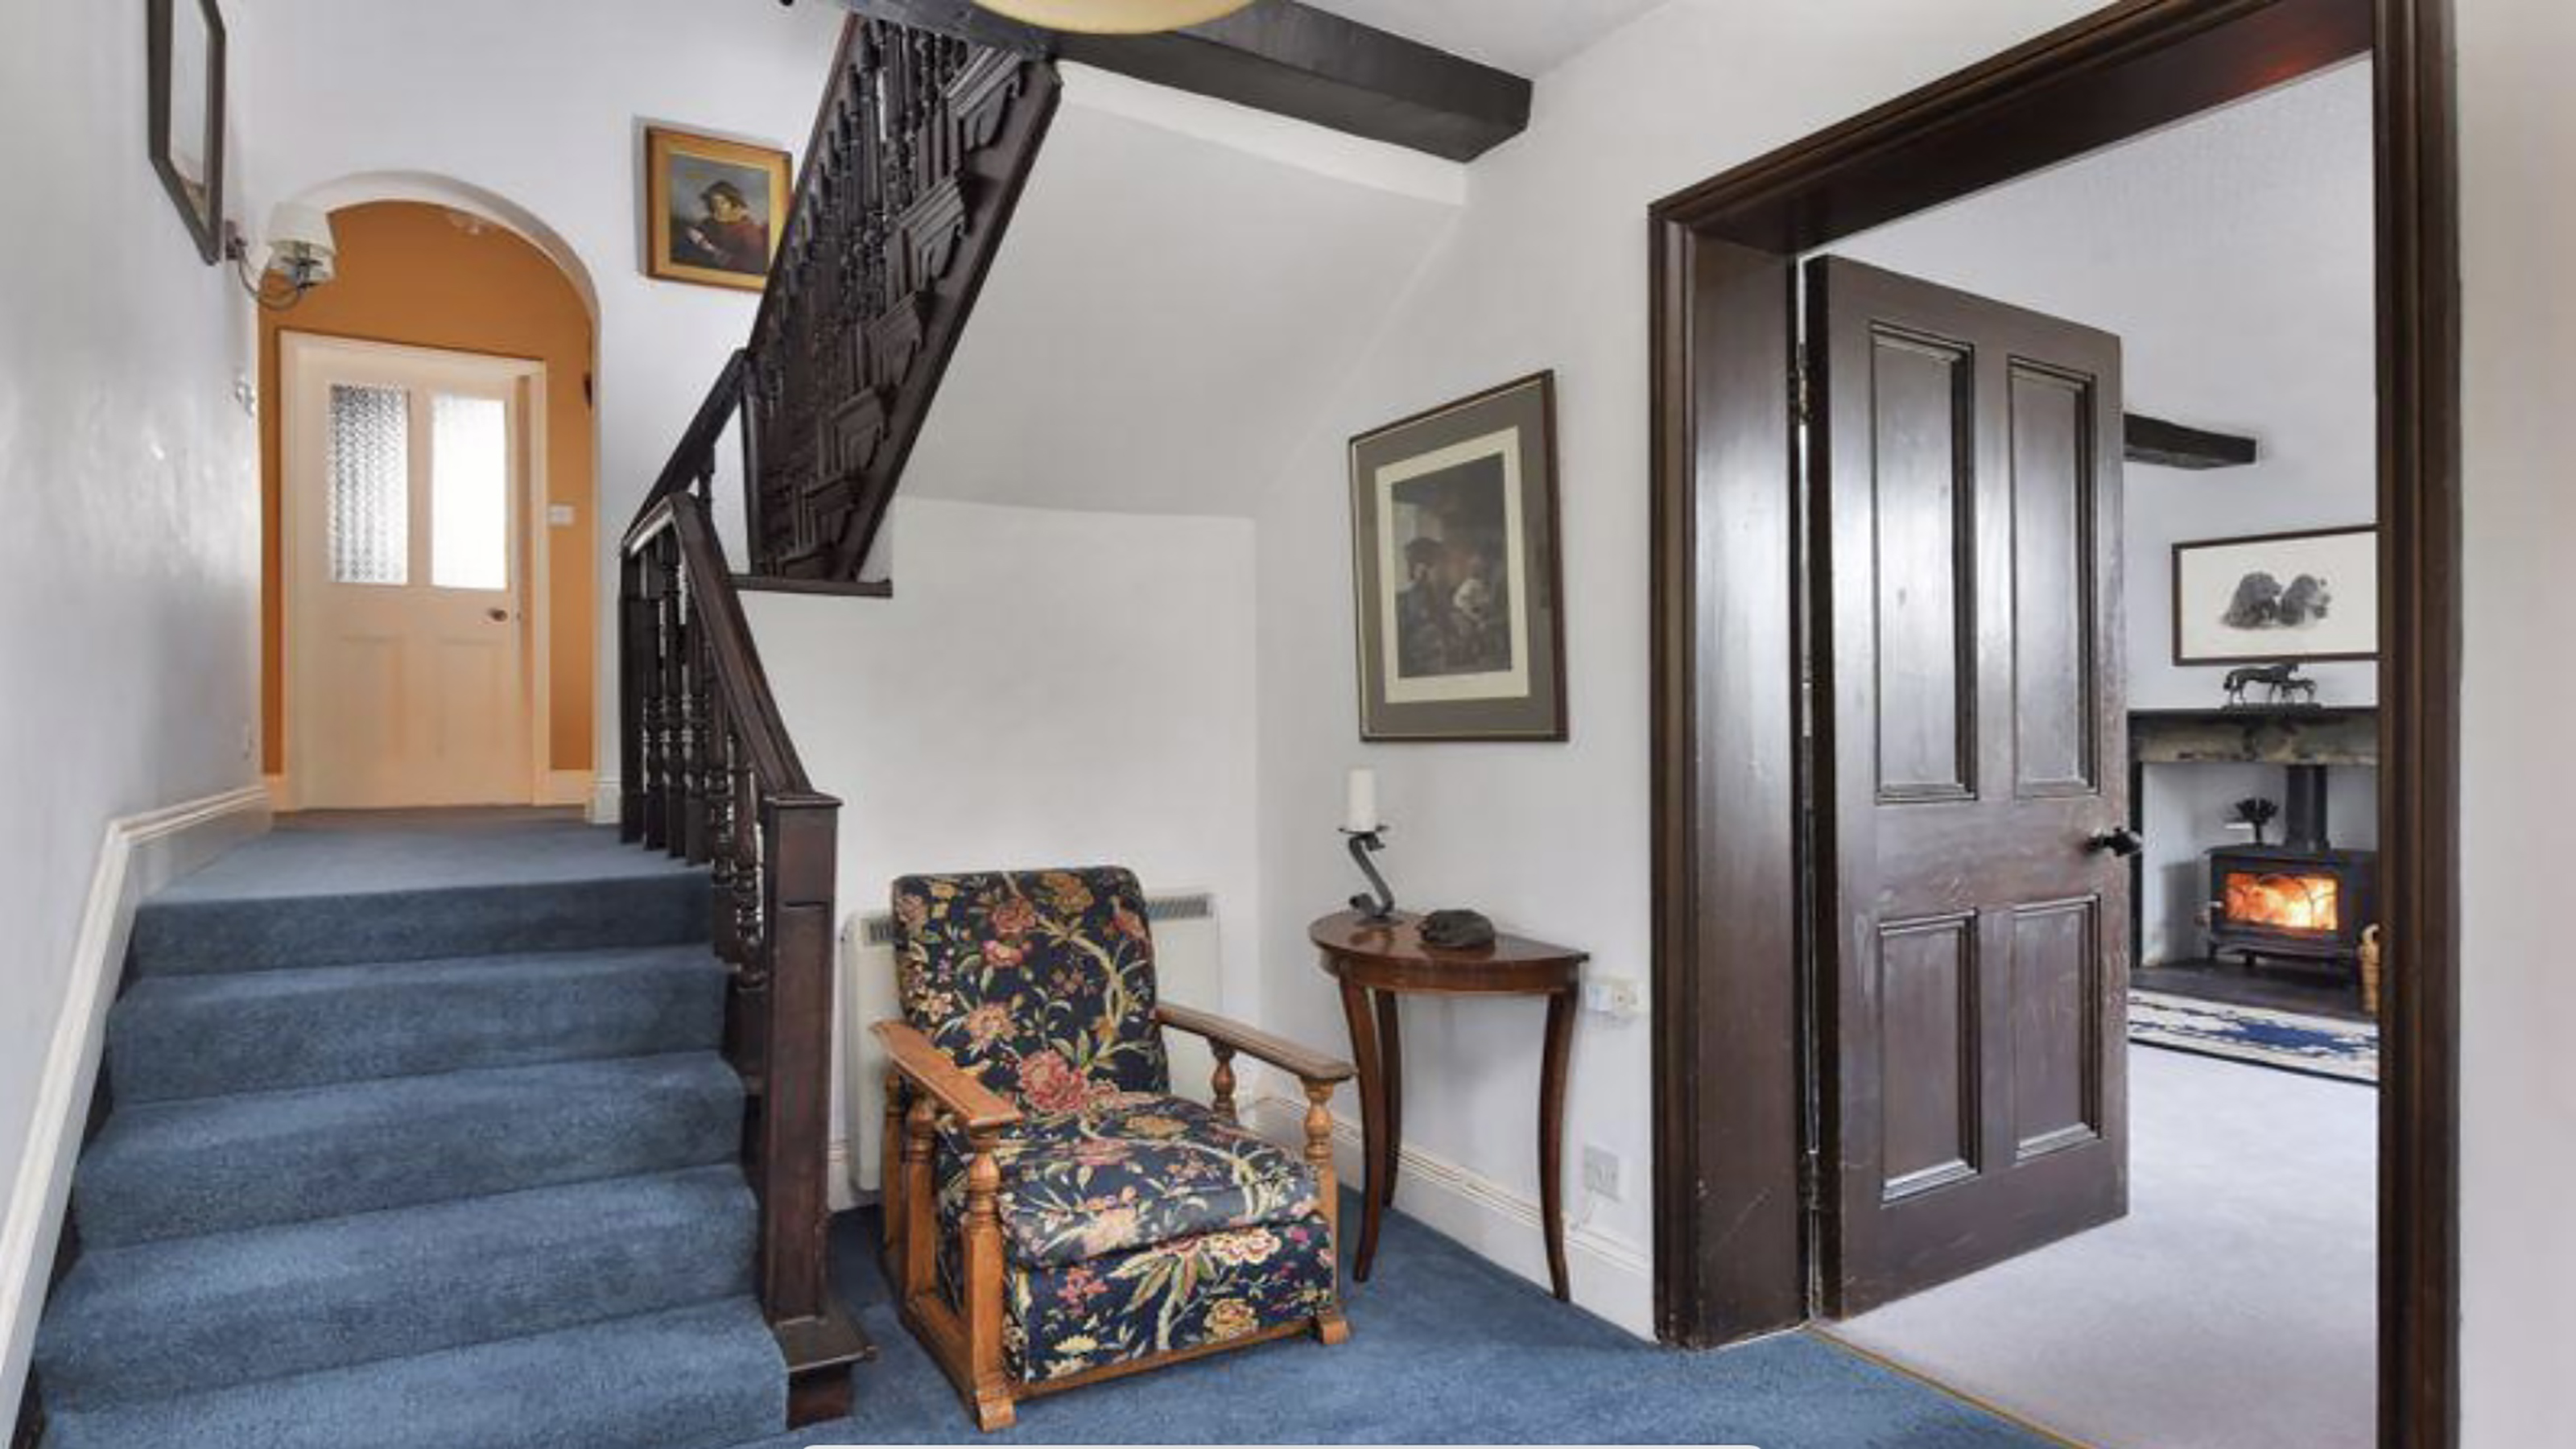 How to replace a broken staircase spindle in 30 minutes flat
A missing or broken spindle on a staircase is not only unsightly, but it can be a real hazard. This is how to fix it in a few quick steps.
-
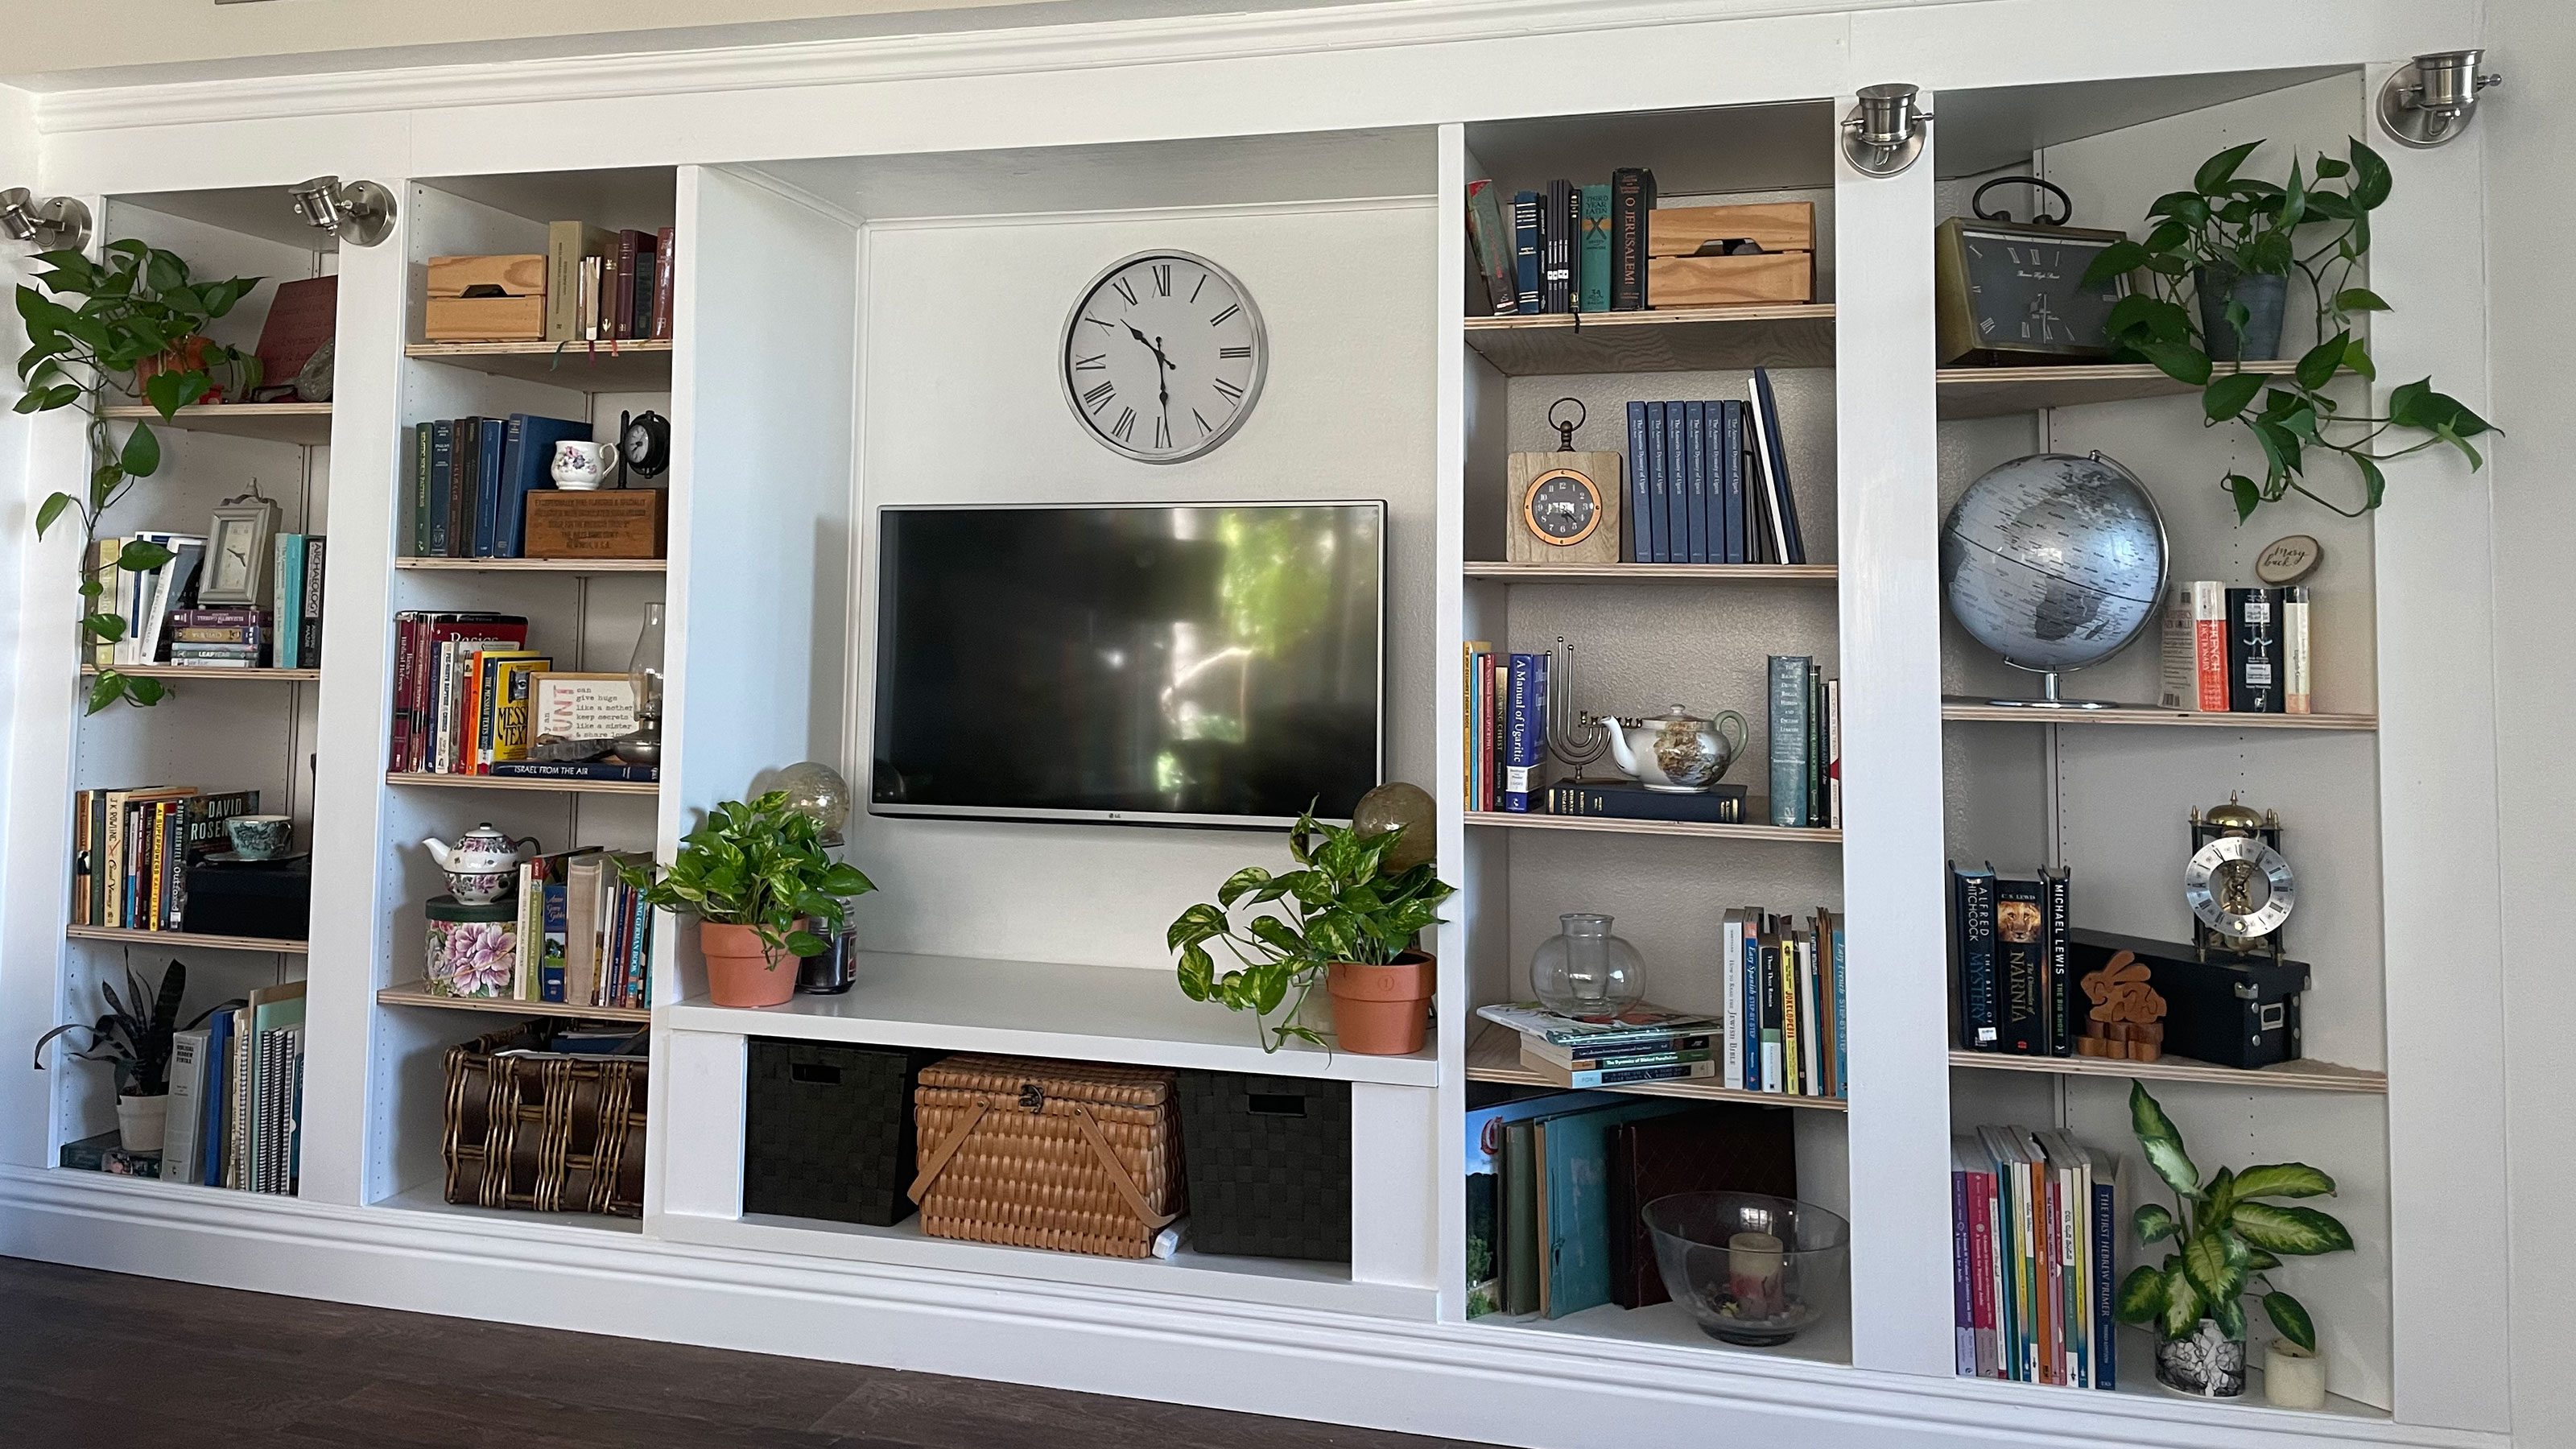 An IKEA Billy bookcase hack inspired this cute media wall DIY
This cute DIY was inspired by an IKEA Billy bookcase hack and brought a ton of symmetry to an otherwise basic media wall space.
-
 Share your small space glow up to win $150 in the Real Homes competition
Show off your creativity and DIY skills to win $150 and for the chance to be featured exclusively in Real Homes magazine
-
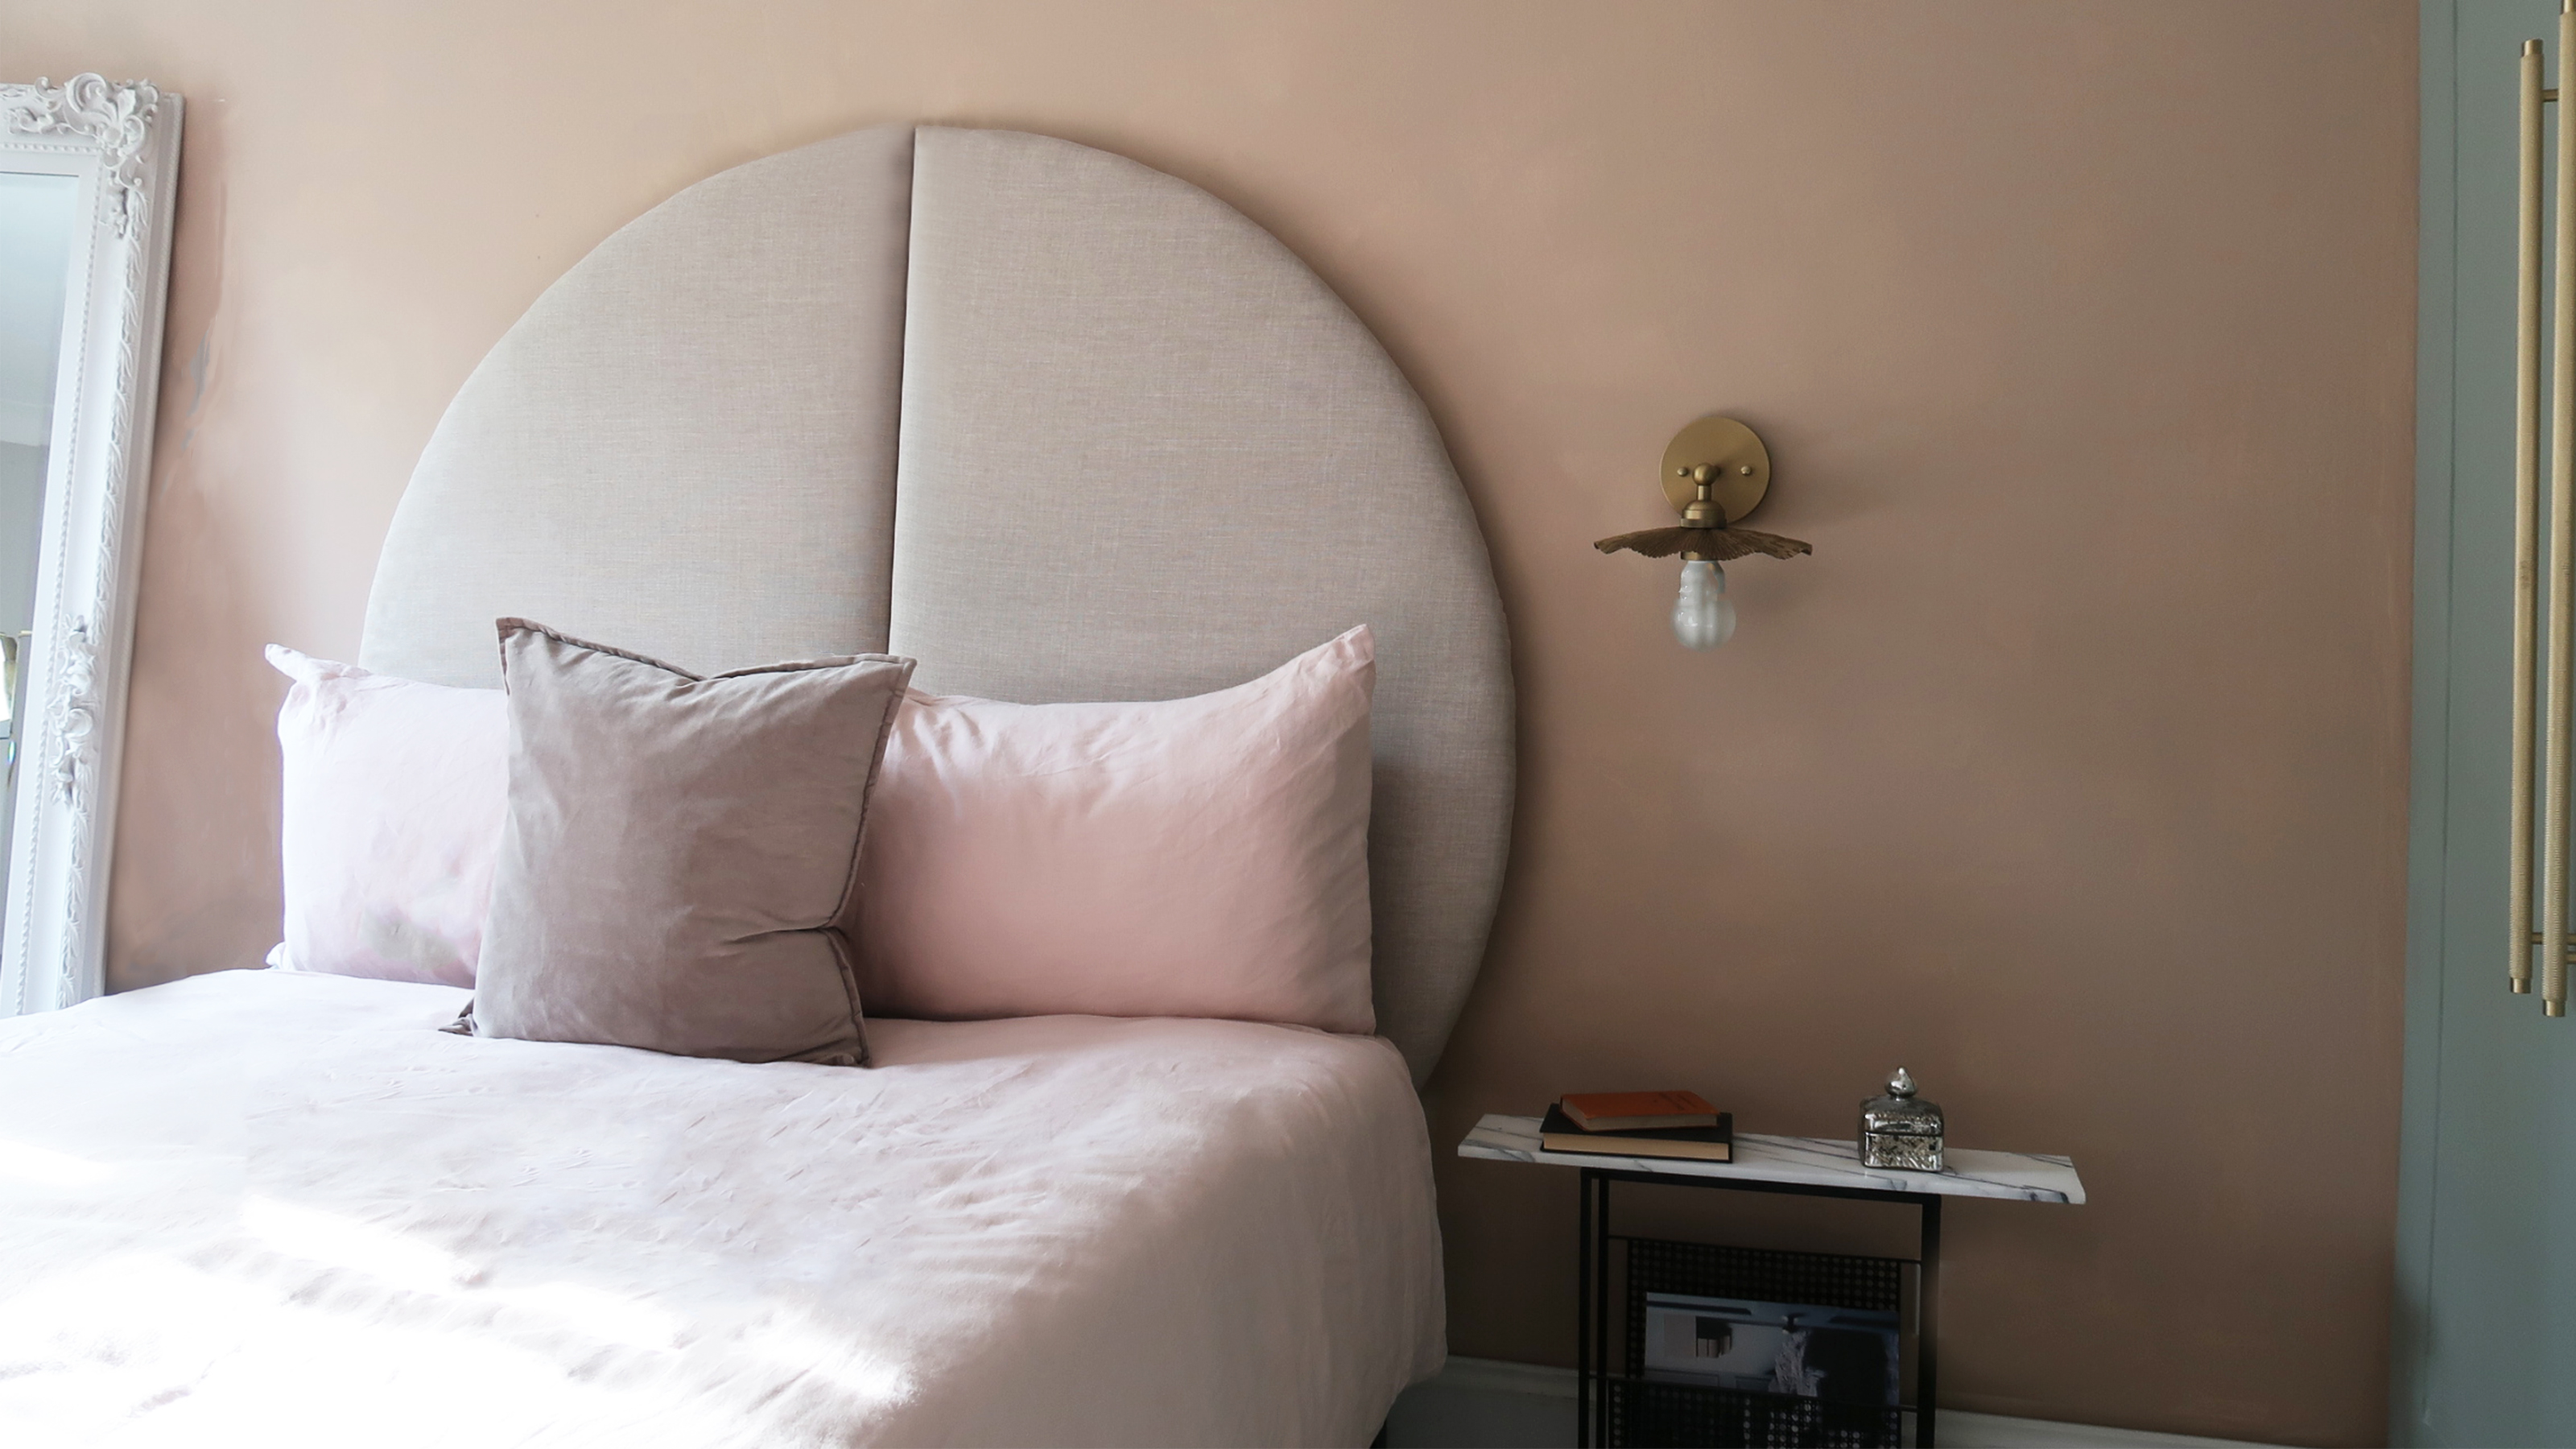 This oversized headboard looks designer, and takes 5 steps to DIY
Super simple to DIY, this oversized headboard will give your bedroom space all the designer vibes you could dream of.
-
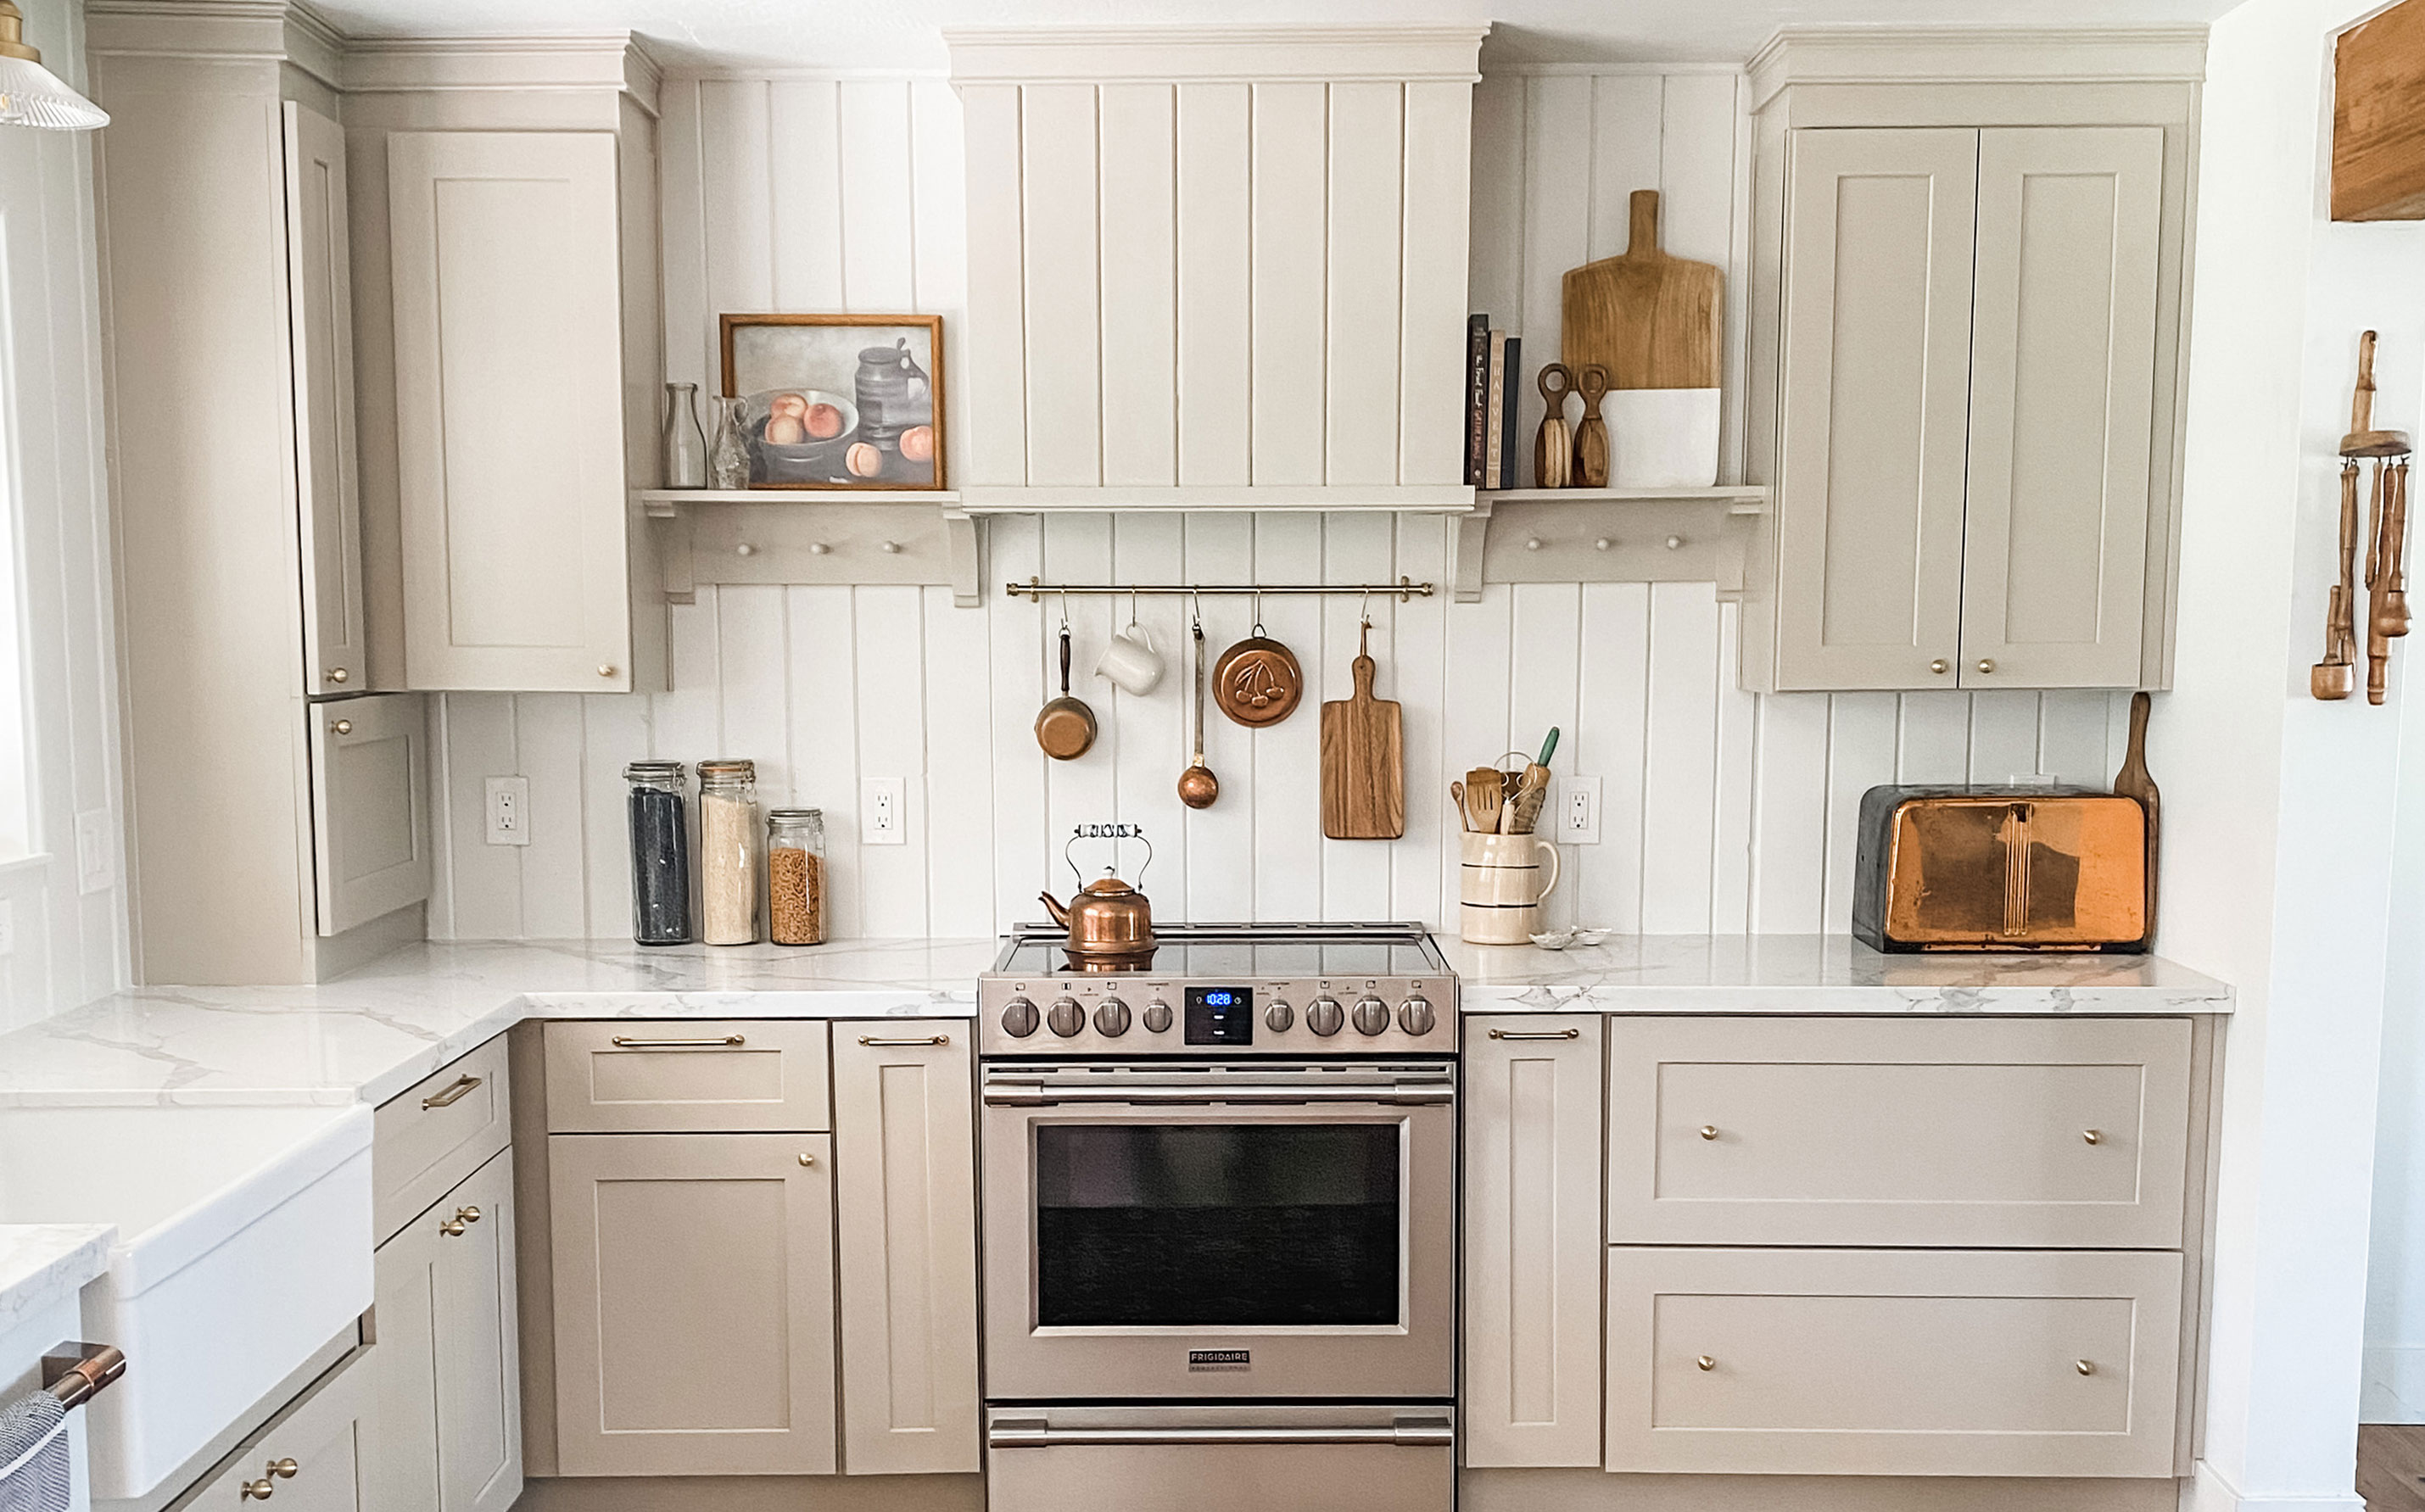 My DIY range hood and backsplash build gave my kitchen the perfect farmhouse finish
I craved charm in my kitchen space and adding a custom range hood and shelving was the best move.
-
 How to paint a radiator in 7 steps
Painting radiators properly is all about choosing the right paint and the best process. Get interior designer-worthy results with our how-to.
-
 How to install a door knob
Updating your interior and exterior doors can be as easy as changing out the hardware! The best part is that installing a door knob is very DIY friendly. Follow these simple steps and enjoy a fresh look on your doors!


