

Jasmine Gurney
Painting garden furniture is a great way to protect your outdoor furniture from the elements and give it a quick refresh.
Wooden outdoor furniture is especially vulnerable to weather damage, so even if you don't want to paint it a different color, you should apply a protective wood stain. Making sure the paint lasts and holds up against the elements all year round is tricky, but it’s all in the prep work and aftercare.
As with painting indoor furniture, preparation is key. You want to start by removing any flaking or chipped paint from any wooden furniture, treat any rust spots on metal and patch or glue any cracks in plastic. Giving your paint the perfect base will not only make your paint last longer but give it a professional-looking finish too.
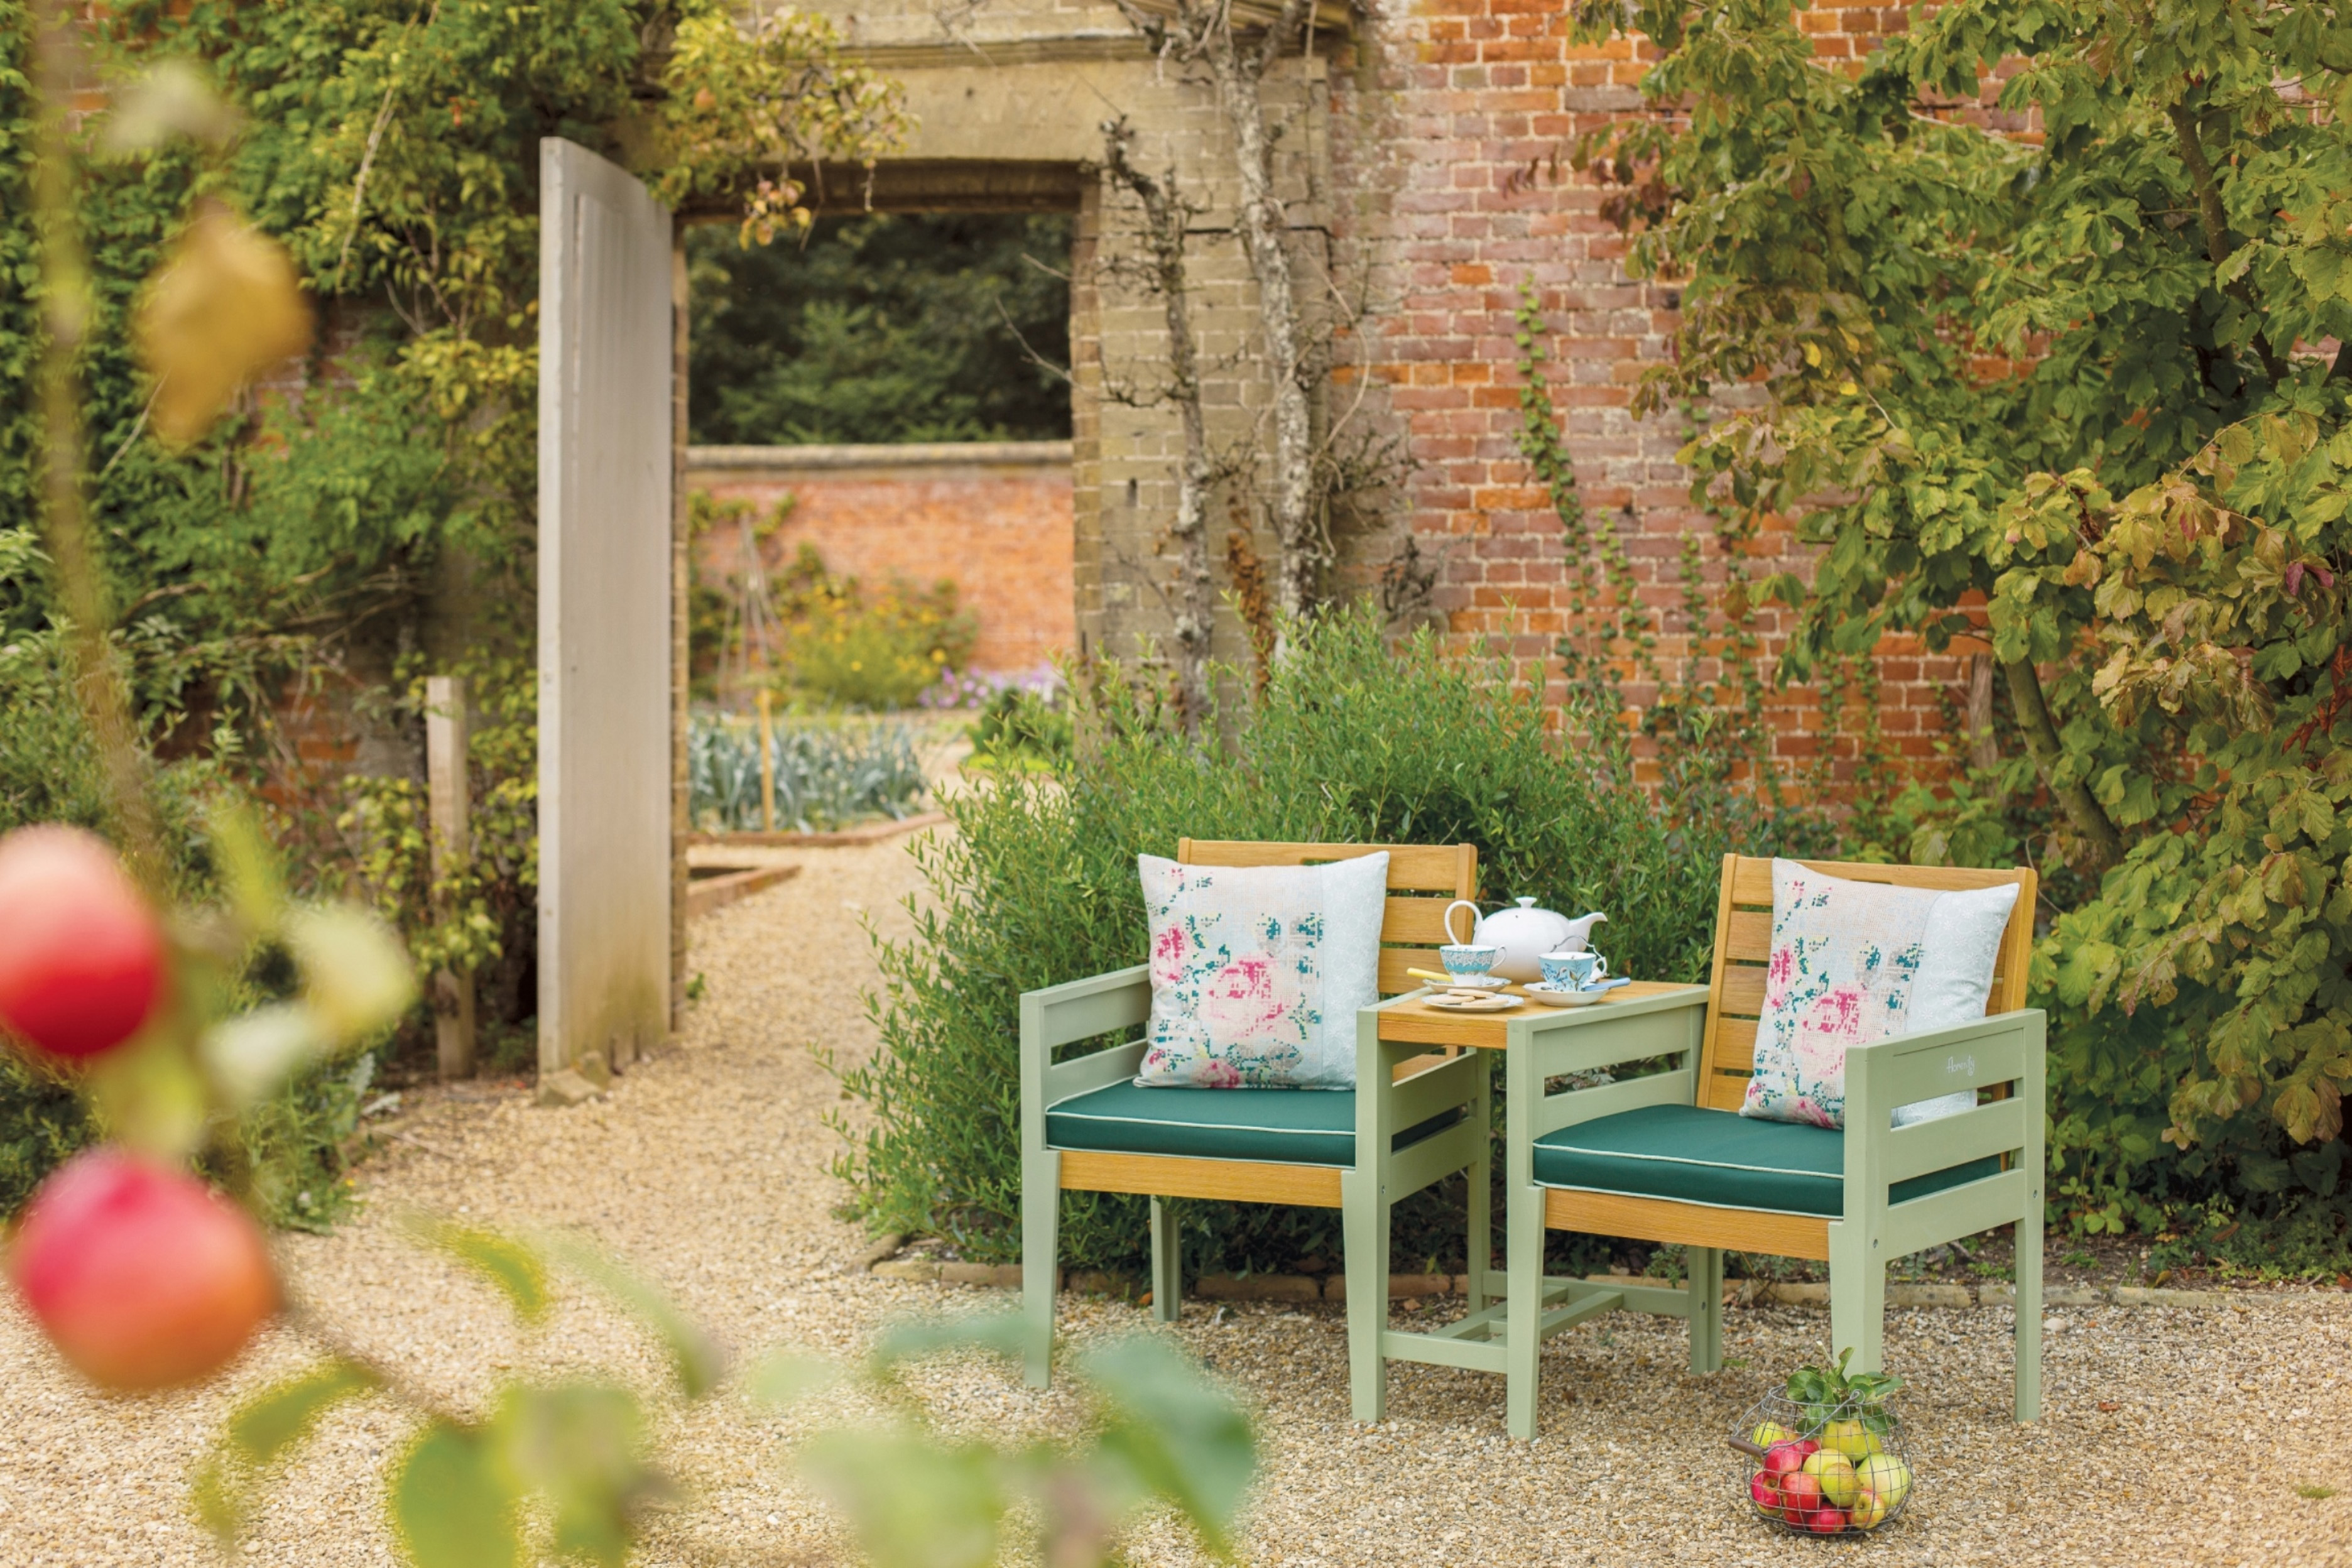
Gone are the days when exterior wood paint was brown or brown, now you can find almost as many shades as you can for indoors. We love sage greens and blues, which provide the perfect backdrop for plants.
Making sure your surface – whatever the material – is thoroughly cleaned and dry before doing anything else is essential. Sugar soap is a fantastic de-greaser that will properly prepare outdoor furniture for painting. You can also use things like Elbow Grease which you can grab at Amazon, but make sure you give it a good rinse after.
How to paint wooden outdoor furniture
Most wooden outdoor furniture is made from pressure-treated wood, like fences and decking. Though they are designed to hold up in all weathers, they do need treating to protect them from rot. You can stain, oil, or paint wooden outdoor furniture in any shade you want, whether that’s a natural wood shade or something bright and colorful.
There are many different types of external wood paint you can use, including shed and fence paint which can also be used to paint furniture. Some even have water repellent properties like Cuprinol Ducks Back which causes water to bead and roll straight off.
A great paint for garden furniture is the Frenchic Al Fresco range (you can grab at Amazon) which has a primer and sealer built-in, as well as being self-leveling. Just give the chair a light sand with 120 grit and use a chalk paint brush to coat it in 2-3 coats. A good primer to use on exterior wood is Zinsser’s Bullseye 123 or Cover Stain. Primer, however, does raise the grain of wood so will need a good sand after priming, then perhaps a second coat of primer to ensure a perfectly smooth finish.
- If your wooden furniture is brand new, then now's the perfect time to apply a coat of paint to protect it from the elements. If your furniture is a year or two old, then have a look at the timber and see what condition it's in. Remove any chipped or dented timber and lumps of existing paint with a stiff wire brush.
- If there are any holes or cracks, use wood filler to repair the damage. With a putty knife, work the filler into any holes or cracks. Then leave to dry and repeat, if necessary.
- Sanding the furniture will give a good base for the paint to stick to. Make sure you pop on a mask to protect you from any dust. Start sanding with a coarse-grain paper, such as 80 grit, and then finish with a finer grain, such as 220 grit, to create a really smooth finish.
- A sandpaper block is best for tabletops and flat surfaces, but you'll need sheets of sandpaper to get between slats or around legs.
- Sanding the furniture will give a good base for the paint to stick to. Make sure you pop on a mask to protect you from any dust. Start sanding with a coarse-grain paper, such as 80 grit, and then finish with a finer grain, such as 220 grit, to create a really smooth finish. A sandpaper block is best for tabletops and flat surfaces, but you'll need sheets of sandpaper to get between slats or around legs.
- Once you're finished sanding, use a large, clean paintbrush or a vacuum with a brush attachment to clean off any dust. Then, use a detergent, such as sugar soap, to remove any grease from the surface and leave it to air dry. This will help the paint to stick.
- Now it's time to get painting. Try to pick a day that's warm but not too hot as this can stop the paint from drying correctly. Make sure you pop down a dust sheet or old blanket to protect your patio or lawn from any paint spills.
- If the furniture has never been painted before, then it's worth applying a coat of wood primer and leaving this to dry before applying your first coat of paint.
- When you're ready to start painting, stir the paint well and then use a brush to apply it, paying attention to any nooks and crannies.
- Leave the first coat of paint to dry for the time specified by the manufacturer on the tin and then apply your second coat. It's better to apply two thin layers of paint than one thick, gloopy layer. Leave to dry and then sit back and admire your handiwork.
How to paint plastic furniture
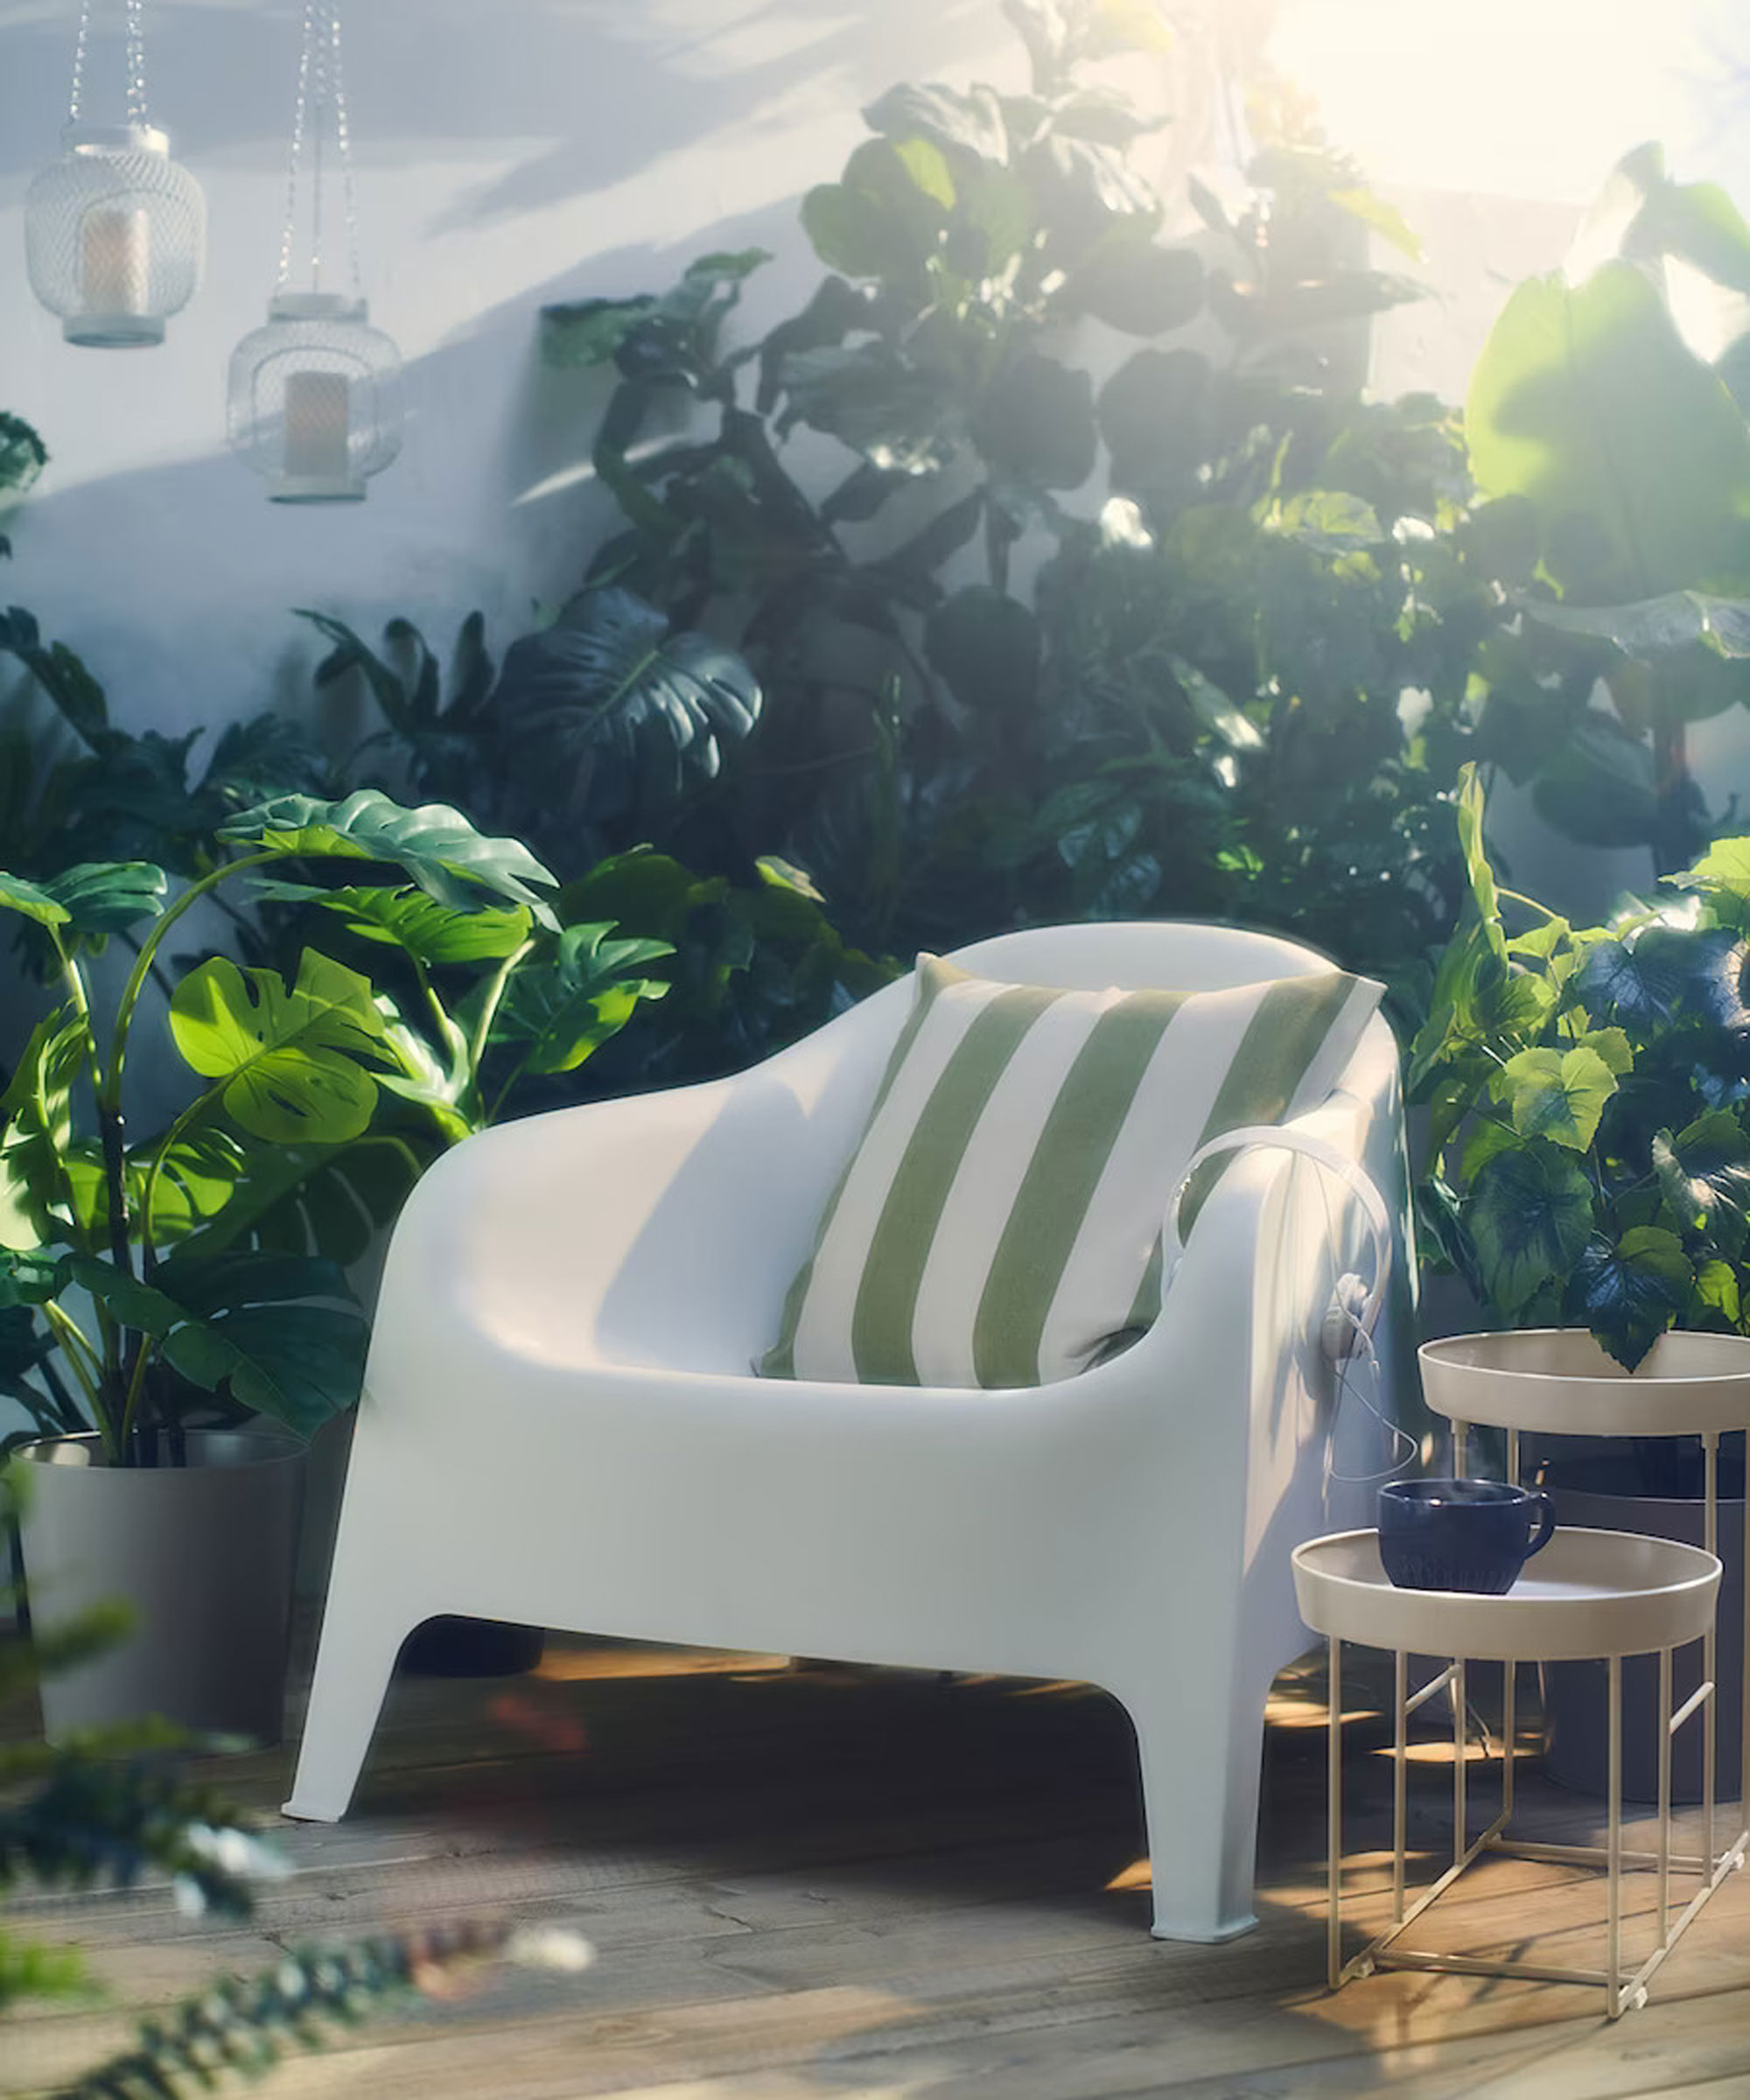
Painting plastic outdoor furniture is one of the easiest materials to paint as it’s already smooth.
Like with anything you paint, you want to ensure the surface is completely clean and dry. If your furniture is old, it may not have the smoothest surface, so you’ll want to give it a sand with a 220 grit.
For newer furniture, you can still do this step to create a key for the paint if the surface is high gloss.
- Prime the surface with a plastic (latex-based) primer paint, usually in a can. I really like Rustoleum’s Plastic Primer. Priming increases your paint’s durability and creates a great surface for painting.
- Rustoleum also do a good Direct to Plastic spray paint which doesn’t require a primer, but in personal experience, I never skip a primer, even for paints that claim not to need one. Once dry, you can go in with your color paint.
- Satin or gloss finish is best for plastic furniture, so once you’ve chosen your color spray paint (easiest with these surfaces), shake the can for 60 seconds, keep the can upright and spray 25-30cm away from the piece of furniture and keep the can moving from side to side slowly and evenly coat the surface in a light coat.
- Allow the full dry time and repeat with another 1-2 coats until fully opaque. Aiming for full coverage in the first coat or spraying too close can put your surface at risk of drip marks you’ll then need to sand off and re-paint.
- You should not need to seal this surface, but Rustoleum’s Crystal Clear lacquer is a great protector for all surfaces and make your paint last longer outdoors.
How to paint metal garden furniture
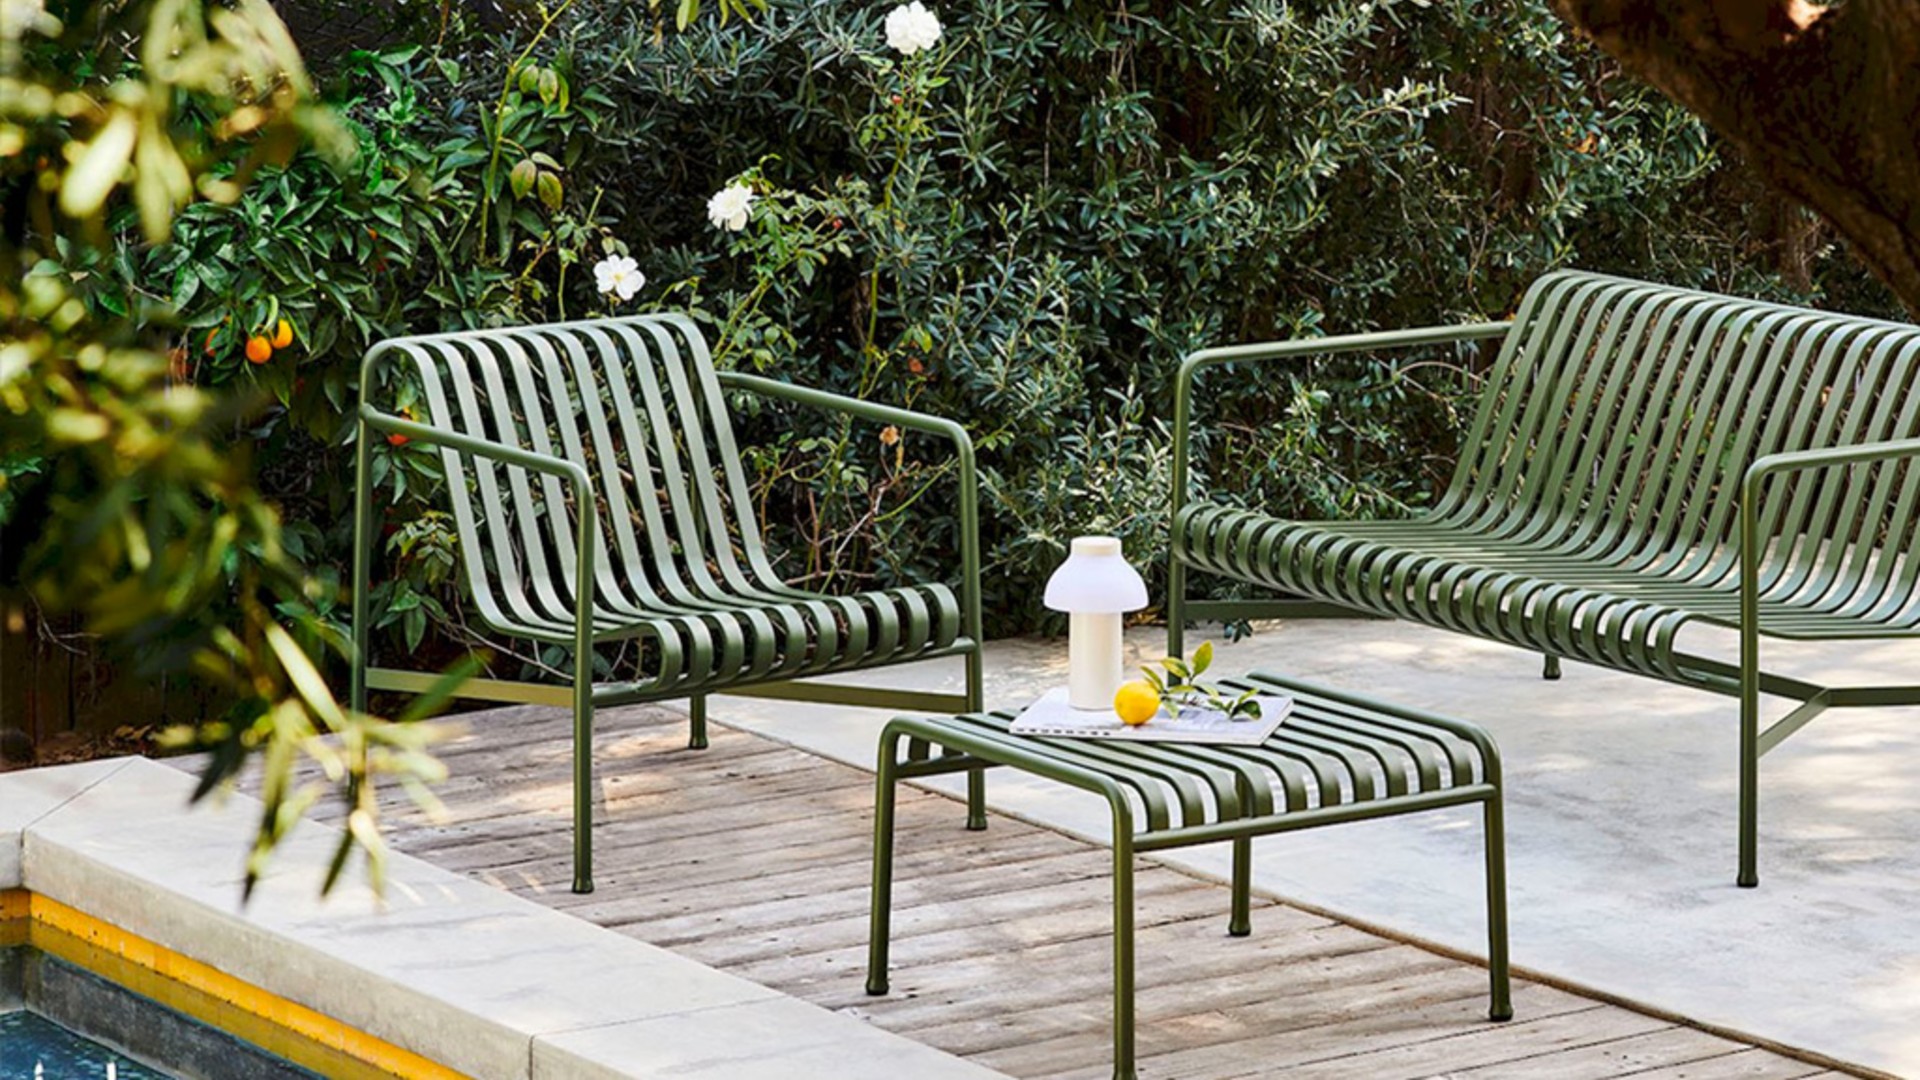
Metal requires a little extra prep work as it’s prone to rust. You will need to remove any rust or flaking areas, which can be done with a wire brush or sandpaper with 120 grit. If the furniture doesn’t require de-rusting, you can go straight in with 240-grit sandpaper to key the surface for painting. Next, you’ll want to clean or degrease the surface and leave to dry fully.
The primer you’ll want to use for metal should have anti-rust properties, so something like Hammerite’s No1 Rust Beater Primer & Undercoat.
Going for a grey primer is great if you’re going to paint it a darker color, or in white, if painting a lighter color as it will make the color more vibrant and help cover any existing paint color. You can just brush this on, ensuring your paint in the same direction for even coverage and low brush marks.
- To paint, you can go in with a spray paint like Hammerite Metal Paint which also comes in a tin.
- Many wood paints can also be used on metal so make sure to read the label to find out what surfaces your paint can be used on. There are three different finishes you can get with metal paint – Gloss, Satin, or Matt.
- Once you’ve decided what type of paint you want to use, either brush it on in thin, even layers, allowing for adequate dry time in between each coat, or spray it on, again in light coats, keeping the spray moving and at a steady speed.
- You shouldn’t need to seal this paint either, so once you’ve done your final coat, you’re ready to use your newly spruced-up bistro set.
Full equipment list
1. Work gloves
2. Dust sheets – pick up a set
3. Dust masks – buy in bulk at Amazon
4. Sugar soap – grab a few at Amazon
5. Sandpaper
6. Sponge
7. Paintbrushes – get a variety of sizes
8. Paint
9. Wire brush – this set of mini brushes get into all the difficult areas
10. Frenchic Al Fresco – it has a primer and sealant built-in
11. Zinsser’s Bullseye 123 – a great primer for exterior wood
12. Cuprinol Ducks Back – has added water repellent properties for wood
13. 220 grit sandpaper – to use on plastic furniture
14. Rustoleum’s Plastic Primer Direct to Plastic spray paint – if don't want to bother with primer
15. Rustoleum’s Crystal Clear lacquer – to protect plastic in all weather
16. Hammerite’s No1 Rust Beater Primer & Undercoat – Beat the rust on metal outdoor furniture
17. Hammerite Metal Paint – a spray paint with great coverage
Join our newsletter
Get small space home decor ideas, celeb inspiration, DIY tips and more, straight to your inbox!
Laura Crombie is a journalist and TV presenter. She has written about homes and interiors for the last 17 years and was Editor of Real Homes before taking on her current position as Content Director for Country Homes & Interiors, 25 Beautiful Homes Period Living and Style at Home. She's an experienced home renovator and is currently DIY-renovating a 1960s house in Worcestershire. She's been quoted on home design and renovating in The Times, The Guardian, The Metro and more. She's also a TV presenter for QVC and has been a commentator for Channel 4 at Crufts dog show.
-
 How to make a DIY hummingbird feeder using a glass jelly jar
This charming DIY hummingbird feeder is perfect for backyards and apartment balconies alike! Complete with homemade nectar, you can have this project done in under an hour.
By Dori Turner Published
-
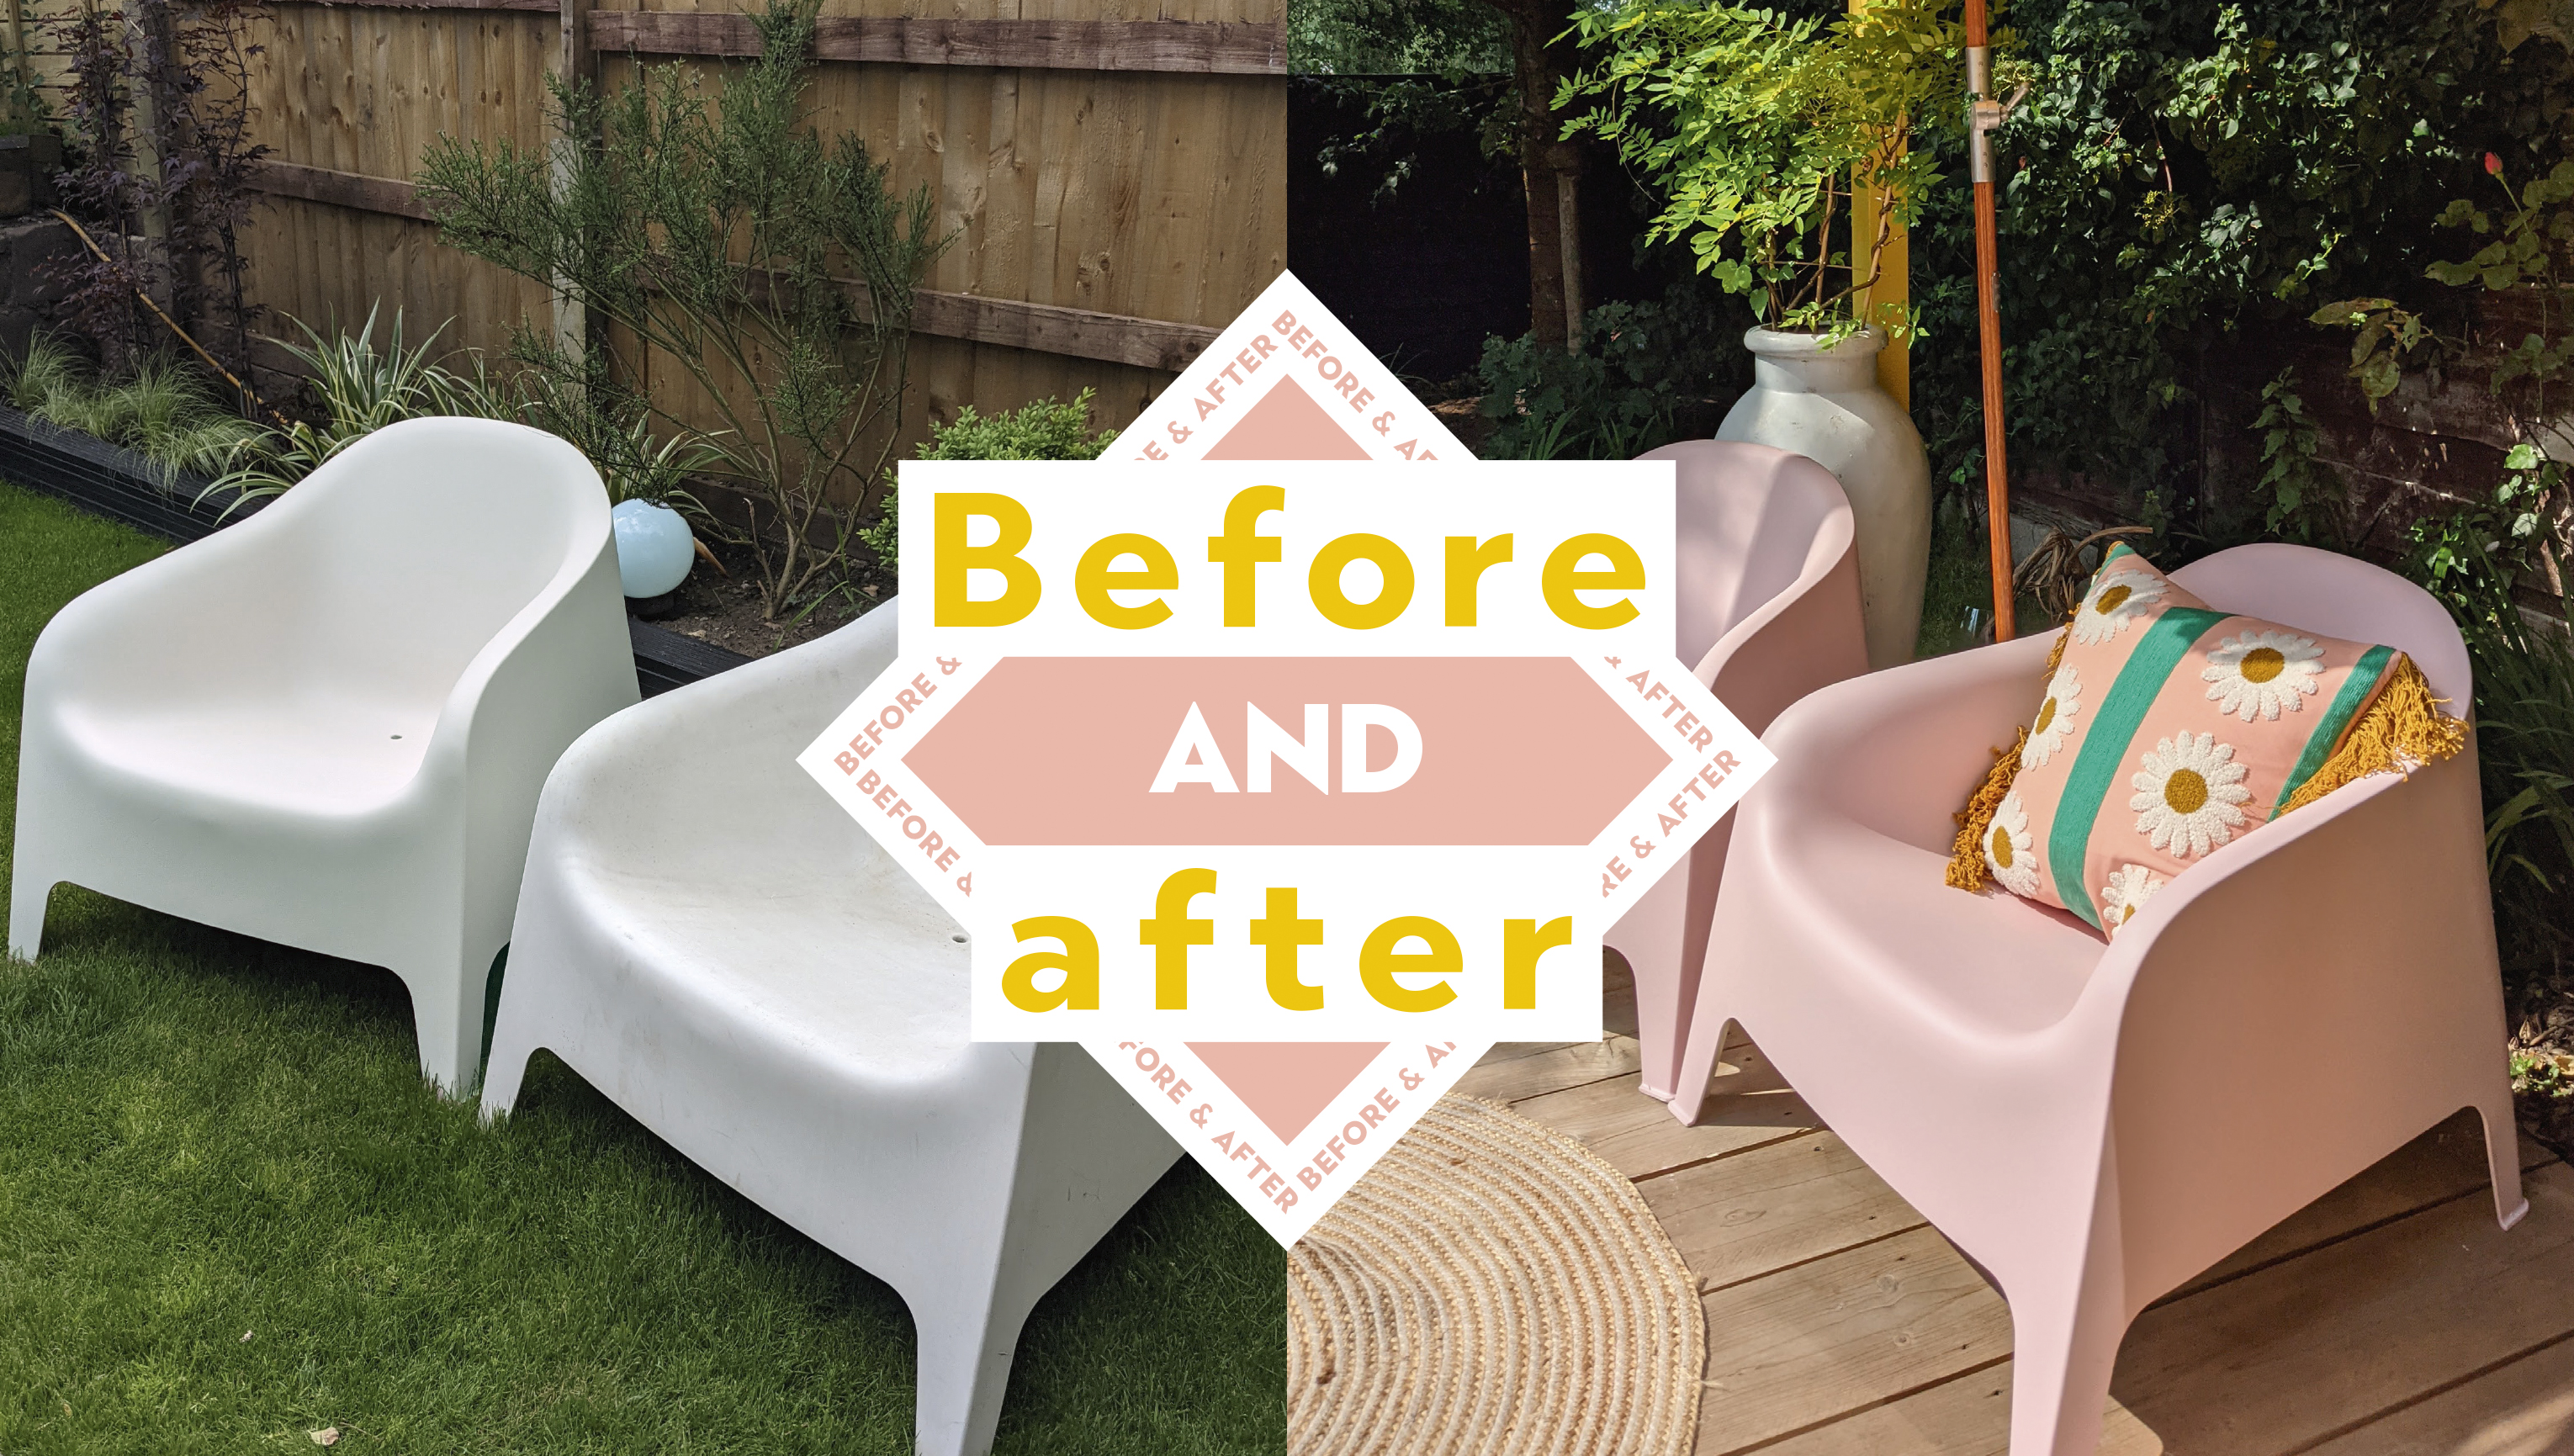 How to paint Ikea outdoor SKARPÖ chairs: from white to Champagne pink
UK DIY blogger Jo Lemos shares how to paint the iconic IKEA SKARPÖ chairs for a budget yet bougie yard upgrade
By Jo Lemos Published
-
 22 DIY alternative planter ideas: easy designs to dress up your porch or patio
We guarantee you won't see these DIY alternative planter ideas in your local home improvement store
By Hebe Hatton Published
-
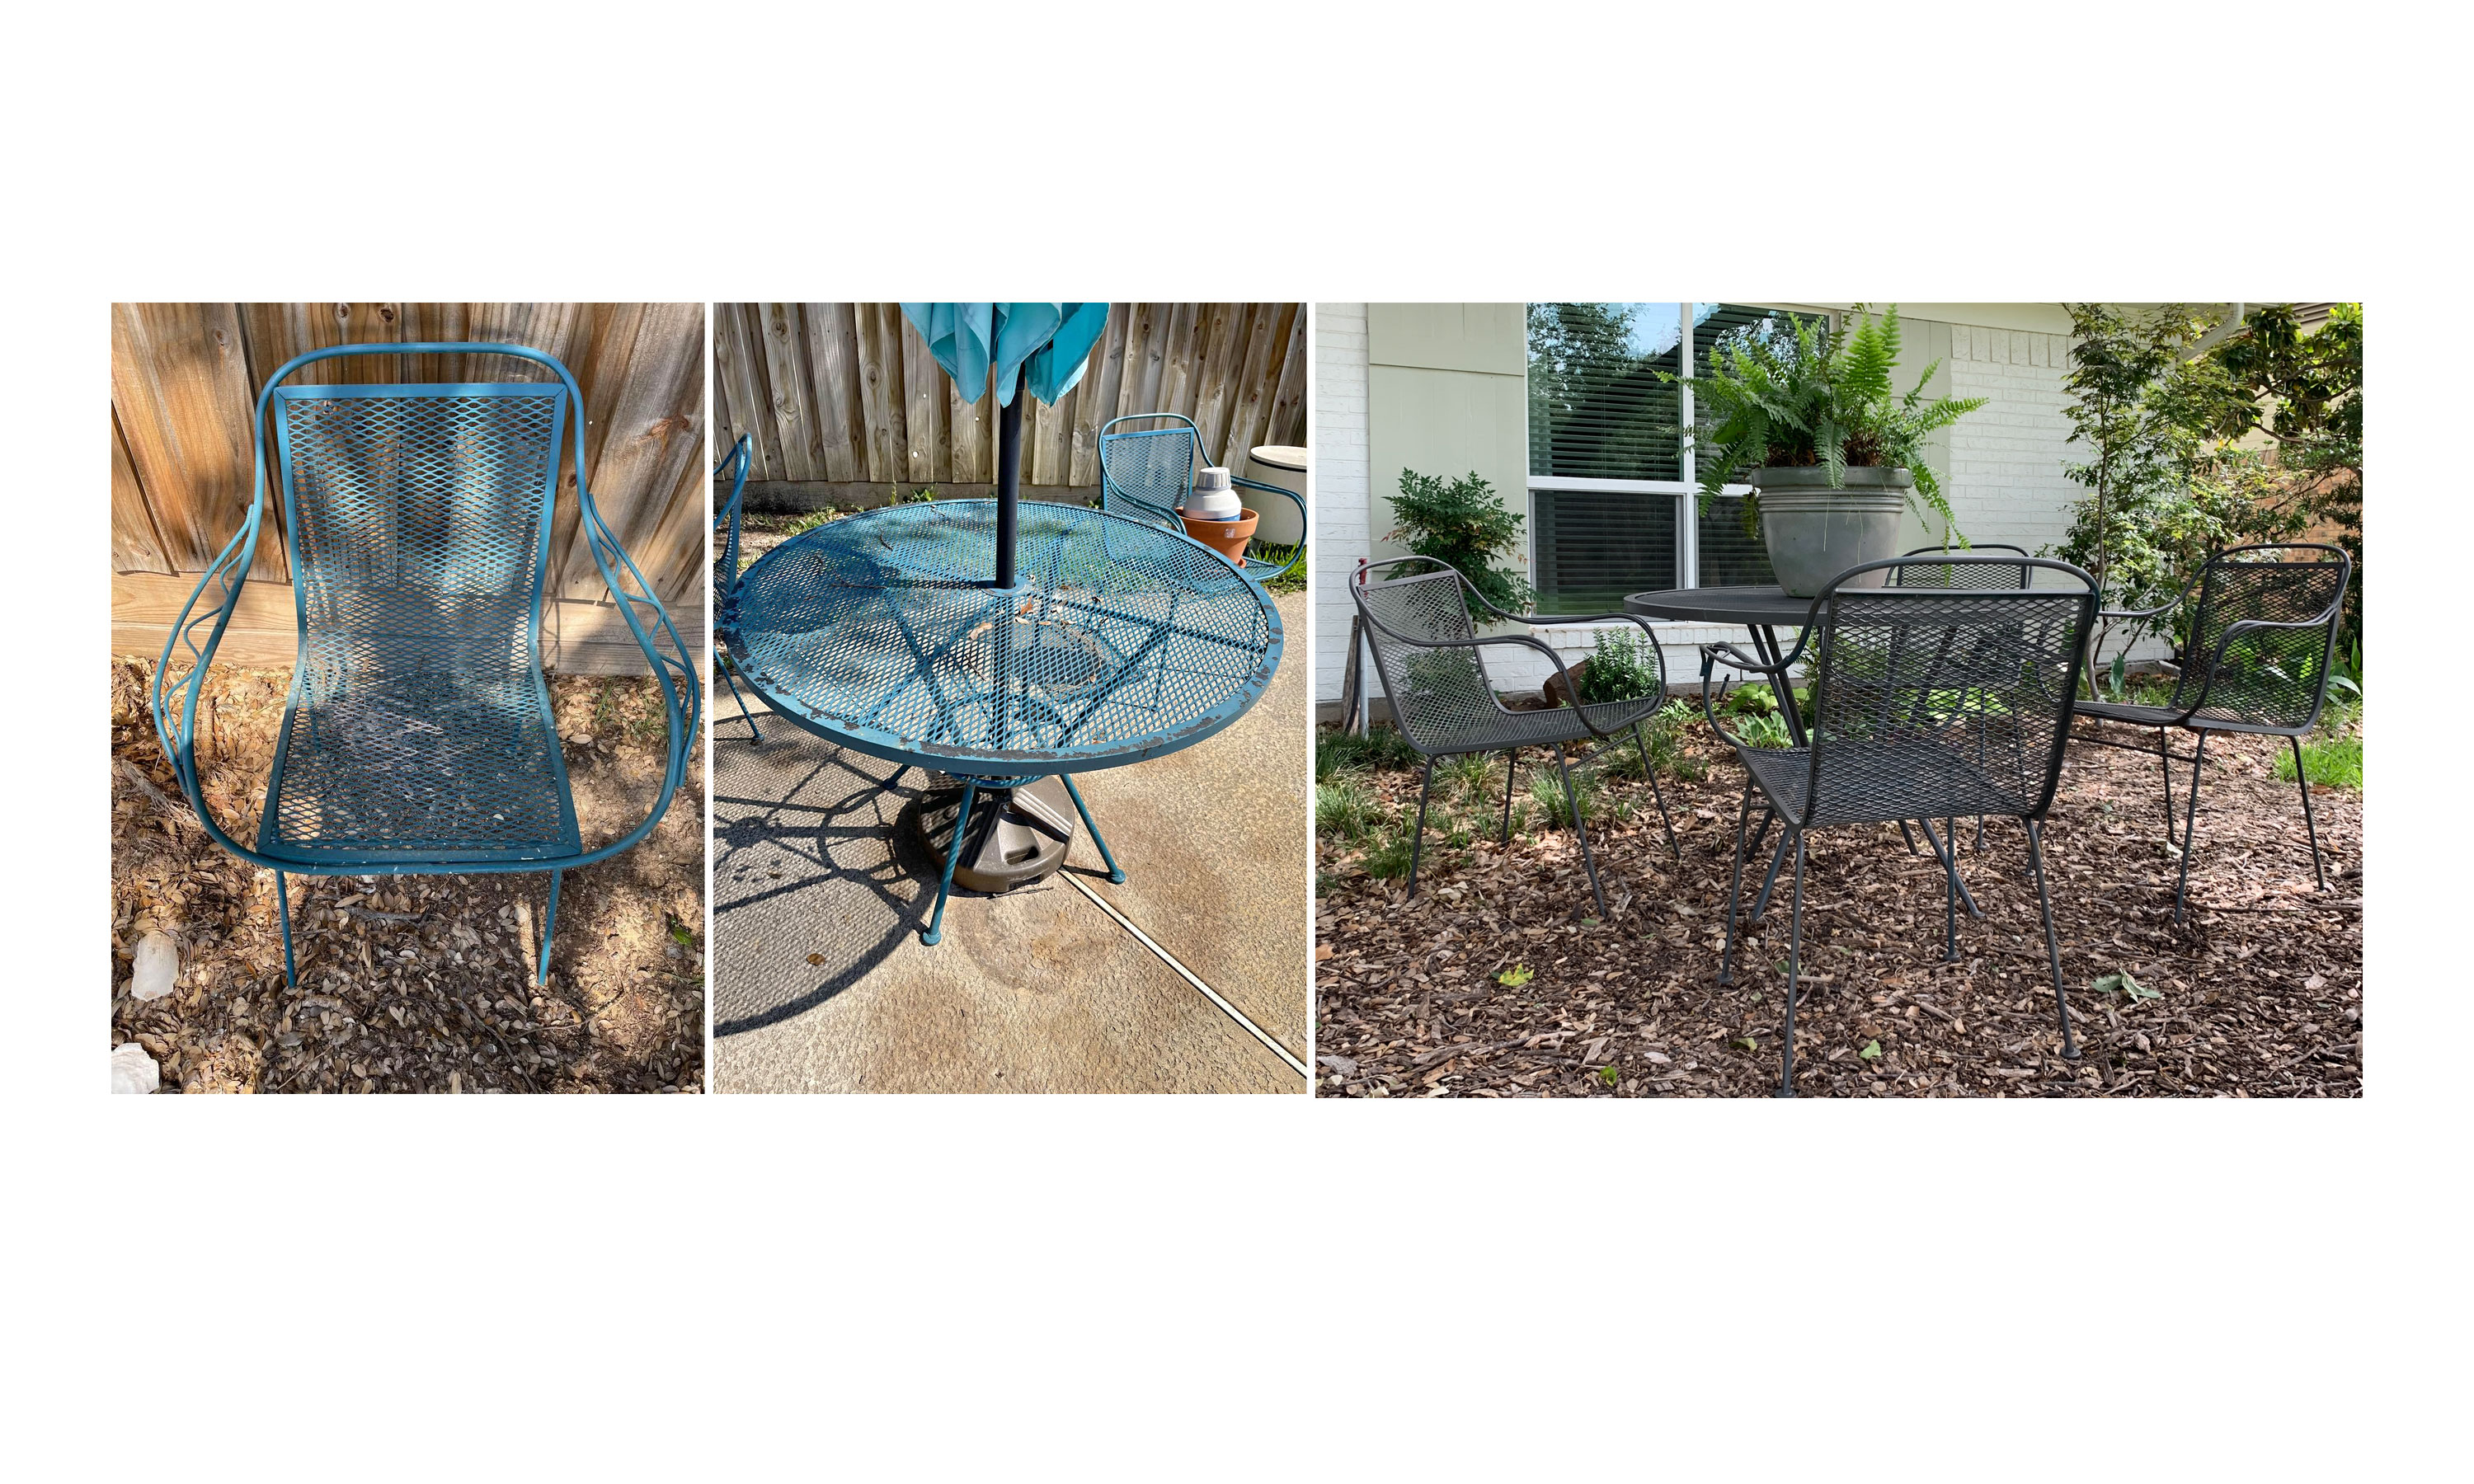 How to revive an old patio furniture set with spray paint, on a shoestring budget
DIYer Jessica Nickerson used spray paint to bring a used metal patio furniture set, from Facebook Marketplace, back to life. Giving her front yard a speedy facelift, for next to nothing
By Camille Dubuis-Welch Published
-
 How to clean decking – whether it’s wood or composite
Find out how to clean decking – remove dirt, algae, and mold from all decking materials in a few easy steps
By Sarah Warwick Published
-
 How to build a raised garden bed – everything you need to know about DIY raised bed gardening
Learn how to build a raised garden bed with our budget-friendly DIY tips. Raised beds are a beautiful and practical way to grow vegetables and flowers easily.
By Melanie Griffiths Published
-
 How to build a smokeless fire pit
Learn how to build a smokeless fire pit and enjoy an outdoor fire without the air pollution
By Anna Cottrell Published
-
 How to stain a deck in 5 easy steps
Find out how to stain a deck – an easy weekend DIY project even a beginner can tackle with these top tips
By Anna Cottrell Published