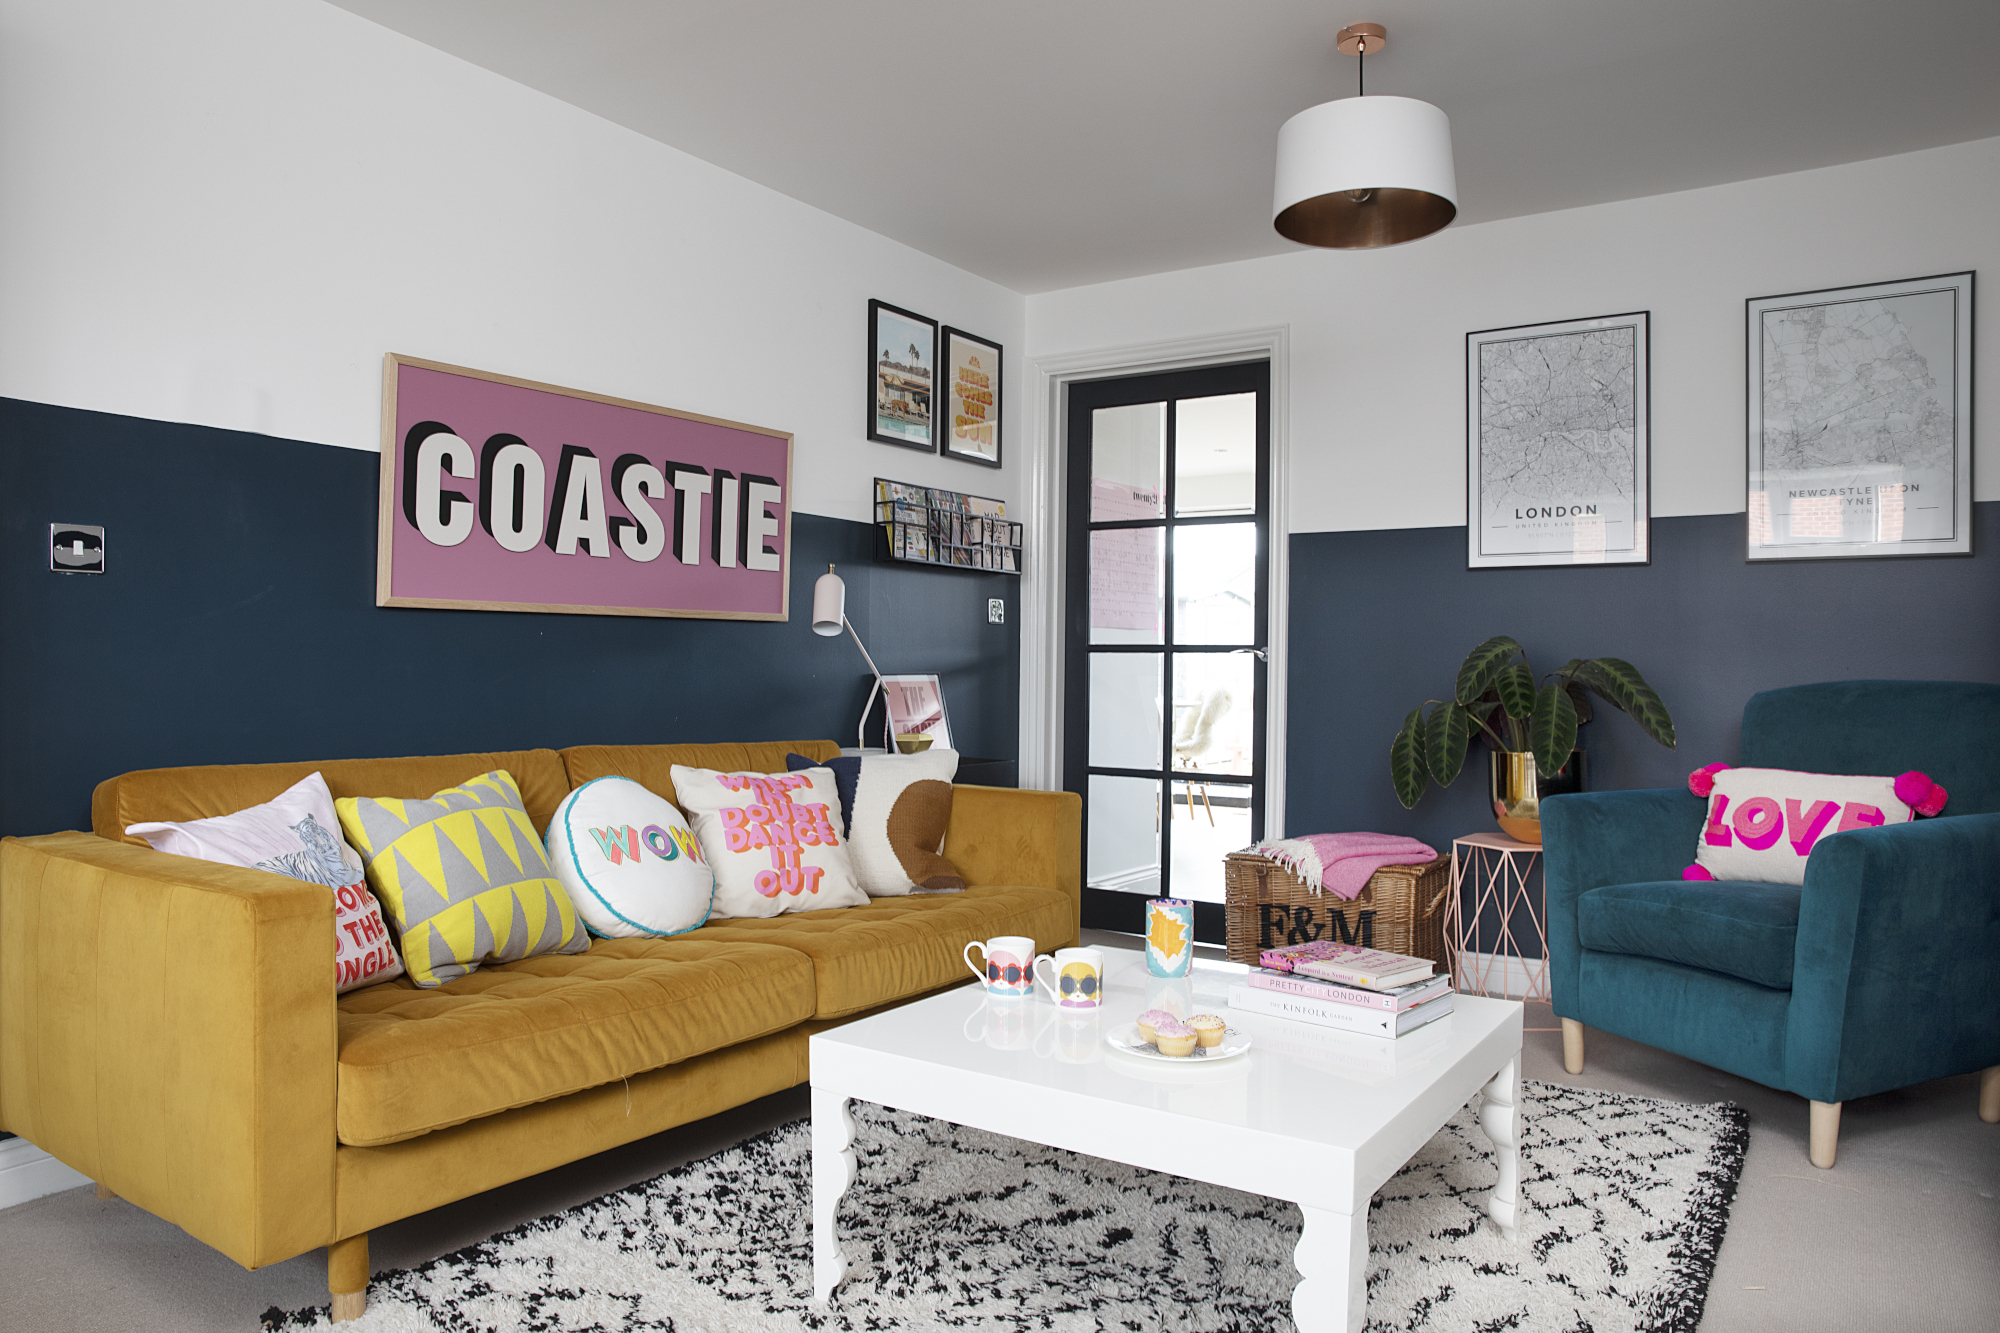

These painting mistakes are so common that every DIYer will have committed at least one at some point. That is nothing to be ashamed of. In most cases, it is because none of us are ever really taught how to paint a room and just make it up as we go along. Or sometimes, doing it the right way seems to take so much longer.
The latter probably sounds familiar. But not taking time to do your paint job properly means not only do you risk not having the best results – it could in fact mean having to redo parts. It will also be harder and less enjoyable in the process.
We canvased the team and asked some decorating experts what it is most people do wrong when painting. From inadequate prep, to not having the correct tools, all of the mistakes people make while painting are easily avoided if you know how.
1. Missing prep work
Fail to prepare and prepare to fail. This is so true for painting. It doesn't matter how much paint you slap on, if you're not starting with a good base then you are letting yourself in for a whole world of flaking, crazing, and peeling.
So how should you prep your room for painting? Always start by removing any old wall coverings such as wallpaper or flaky paint. You then need to fill any small holes, but if the wall is particularly defective, it may need skimming in advance.
Once your walls are filled, sand them down and give them a good clean to remove dust and grime. The whole room will need cleaning to prevent dust or hairs sticking to your tools and wet paint.
The same steps apply for not only walls, but should be tackled if you are painting furniture or any other woodwork. Fill, sand and clean before you paint.
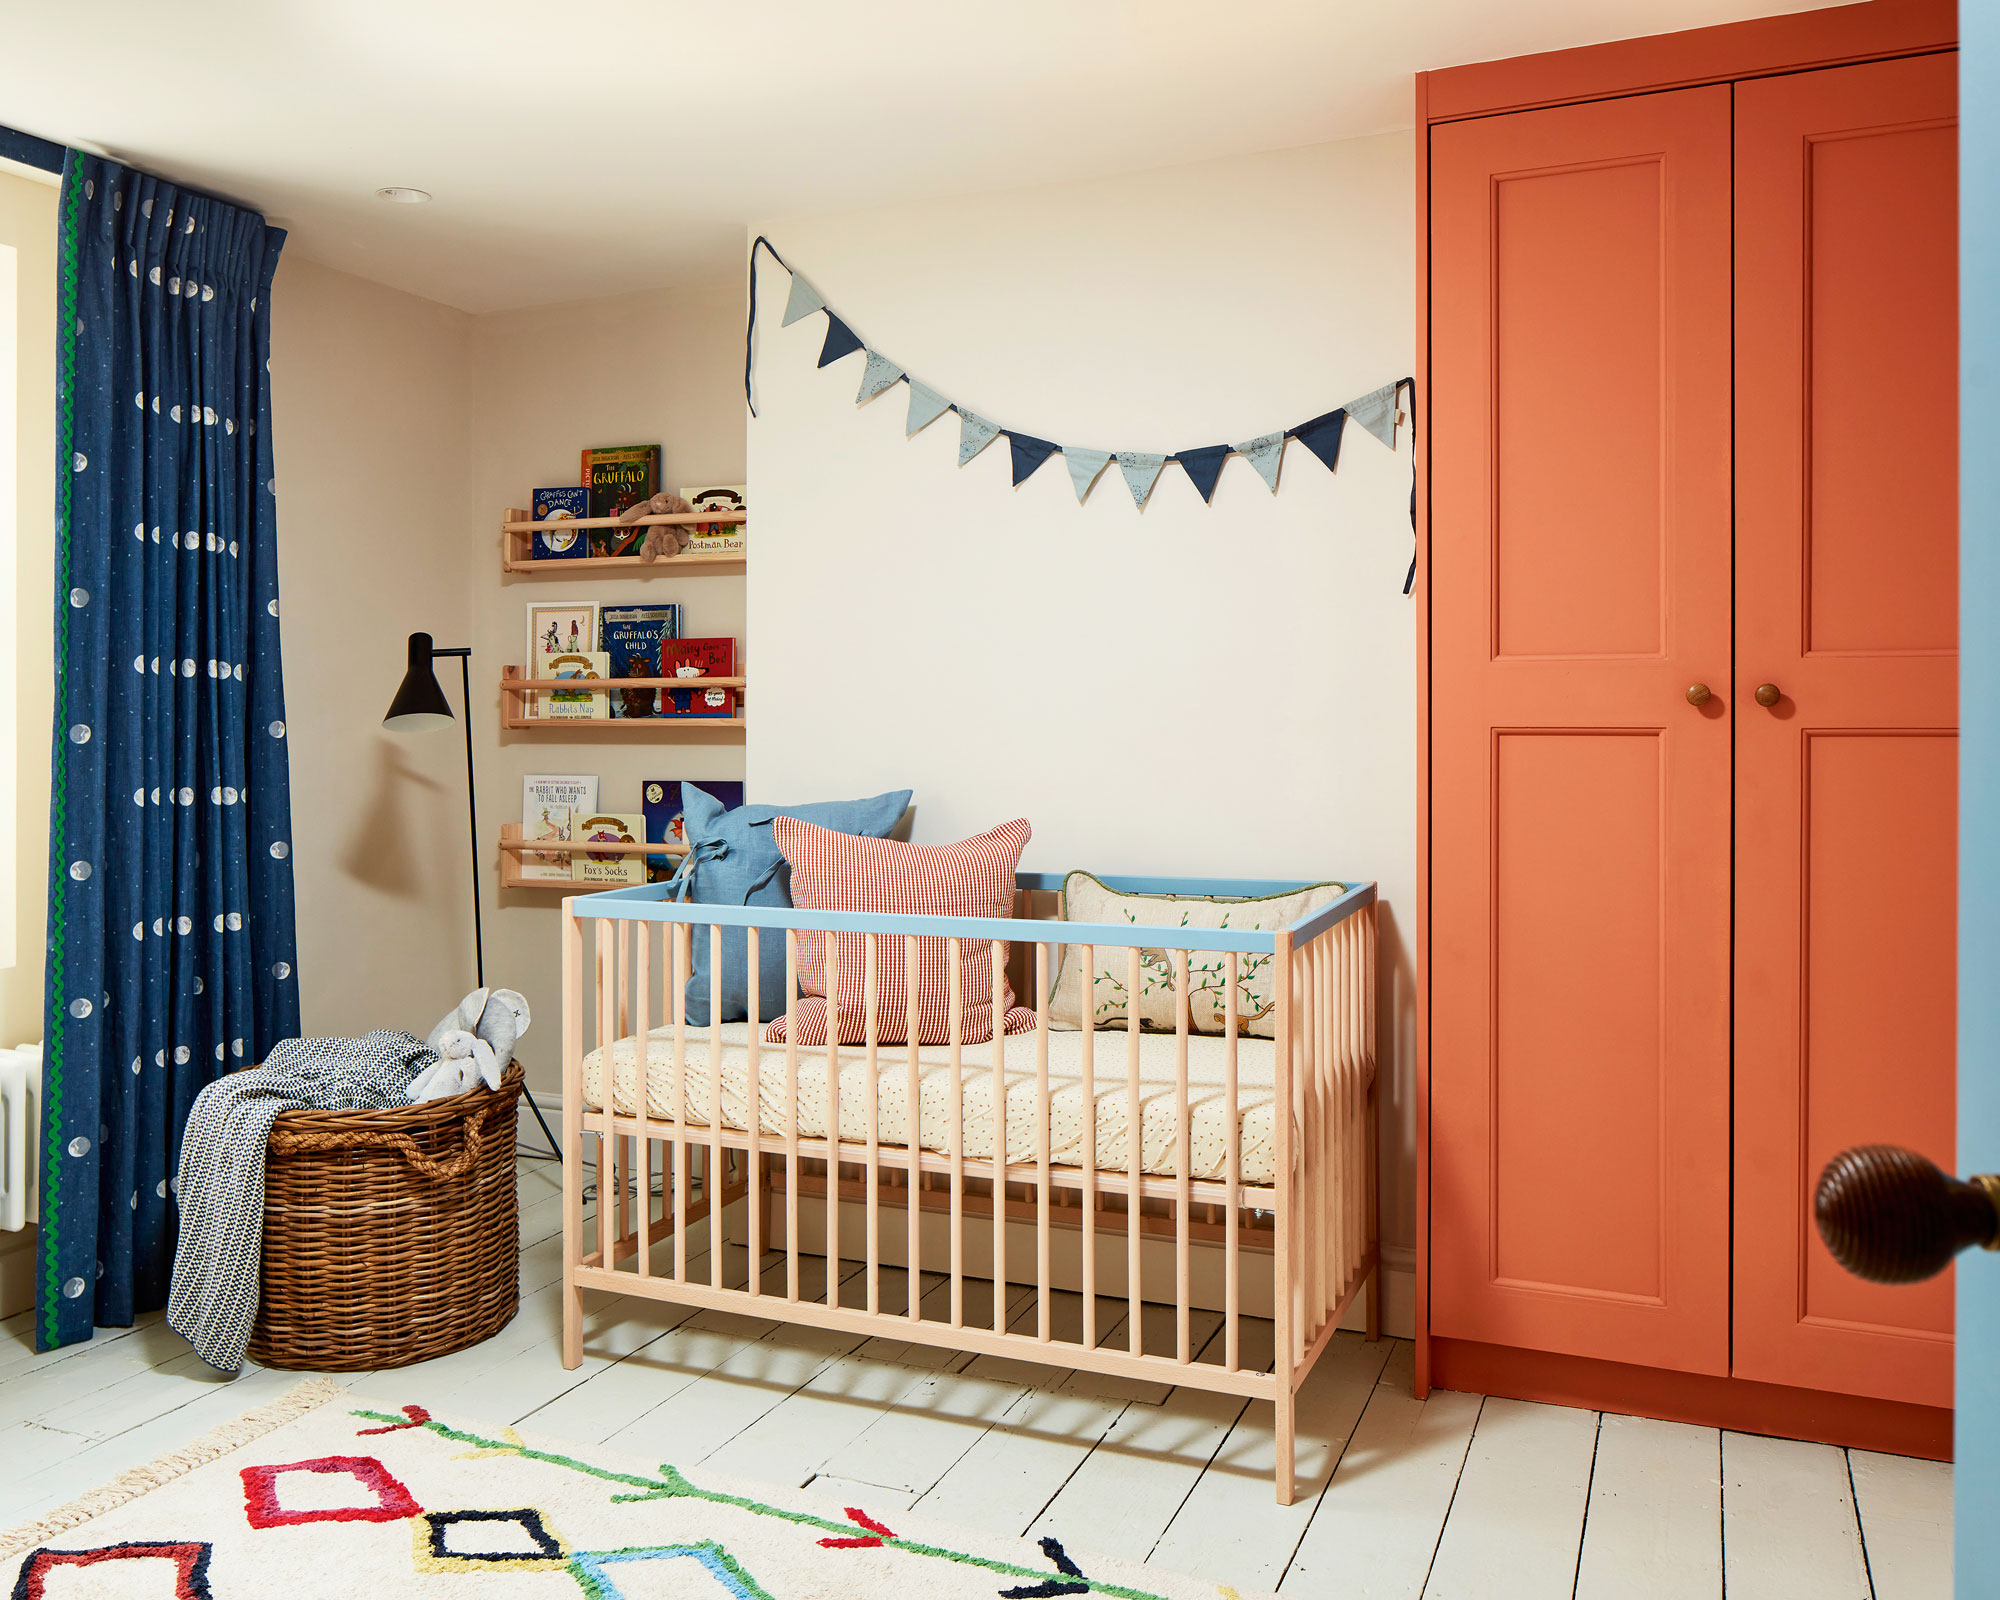
2. Skipping primer
Skipping the primer stage is a false economy when it comes to time and resources. You might think you can get away with it and save a few hours of painting and drying time, but if you don't prime your surfaces first you will likely end up needing to add an extra coat of paint. That negates any time saved not priming.
Primer is that essential coat that does what it says – primes the surface, disguising obvious blemishes that will show through the final layer.
Helen Shaw, UK Director at Benjamin Moore says, 'Skipping primer may result in uneven or blotchy paint. While many of Benjamin Moore's paints are self-priming, we recommend a dedicated coat of a high-quality primer. Primer is the best way to achieve a smooth finish.'
3. Not buying enough paint
It isn't just annoying to run out of paint, it can impact the result. If you don't accurately estimate how much paint you need when painting the ceiling for example,, you will be cursing yourself on the trip to buy more, and beyond.
Paint is made in batches, so the color might be very slightly different if you don't buy the same batch. The best way to avoid this is to work out the area of each space you are painting (multiply the length by the width) then multiply by two to allow for two coats. You might be tempted to subtract any windows and doors from the equation, but we leave them in to allow for a little wastage. Paint cans tell you what area they cover so divide your total area by this to get the number of cans you need.
If a different batch is unavoidable, just try to use it on the same coat or area so that any color discrepancies are not obvious.
4. Forgetting to protect sufaces
You might think you can work carefully, but accidents happen and a spilled can of paint will ruin a floor, adding cleaning or replacement fees to your budget. Cover all furniture that can't be moved from the area with old sheets and use a drop cloth to protect the floor. And don't skimp on the quality either, as our editor Punteha van Terheyden discovered with things she wish she'd known before painting her ceilings.
Then use painter's tape between surfaces to section off what needs painting. Again you might trust your steady hand, but it is much quicker to cover anything you don't want painting than having to clean or paint over later on.
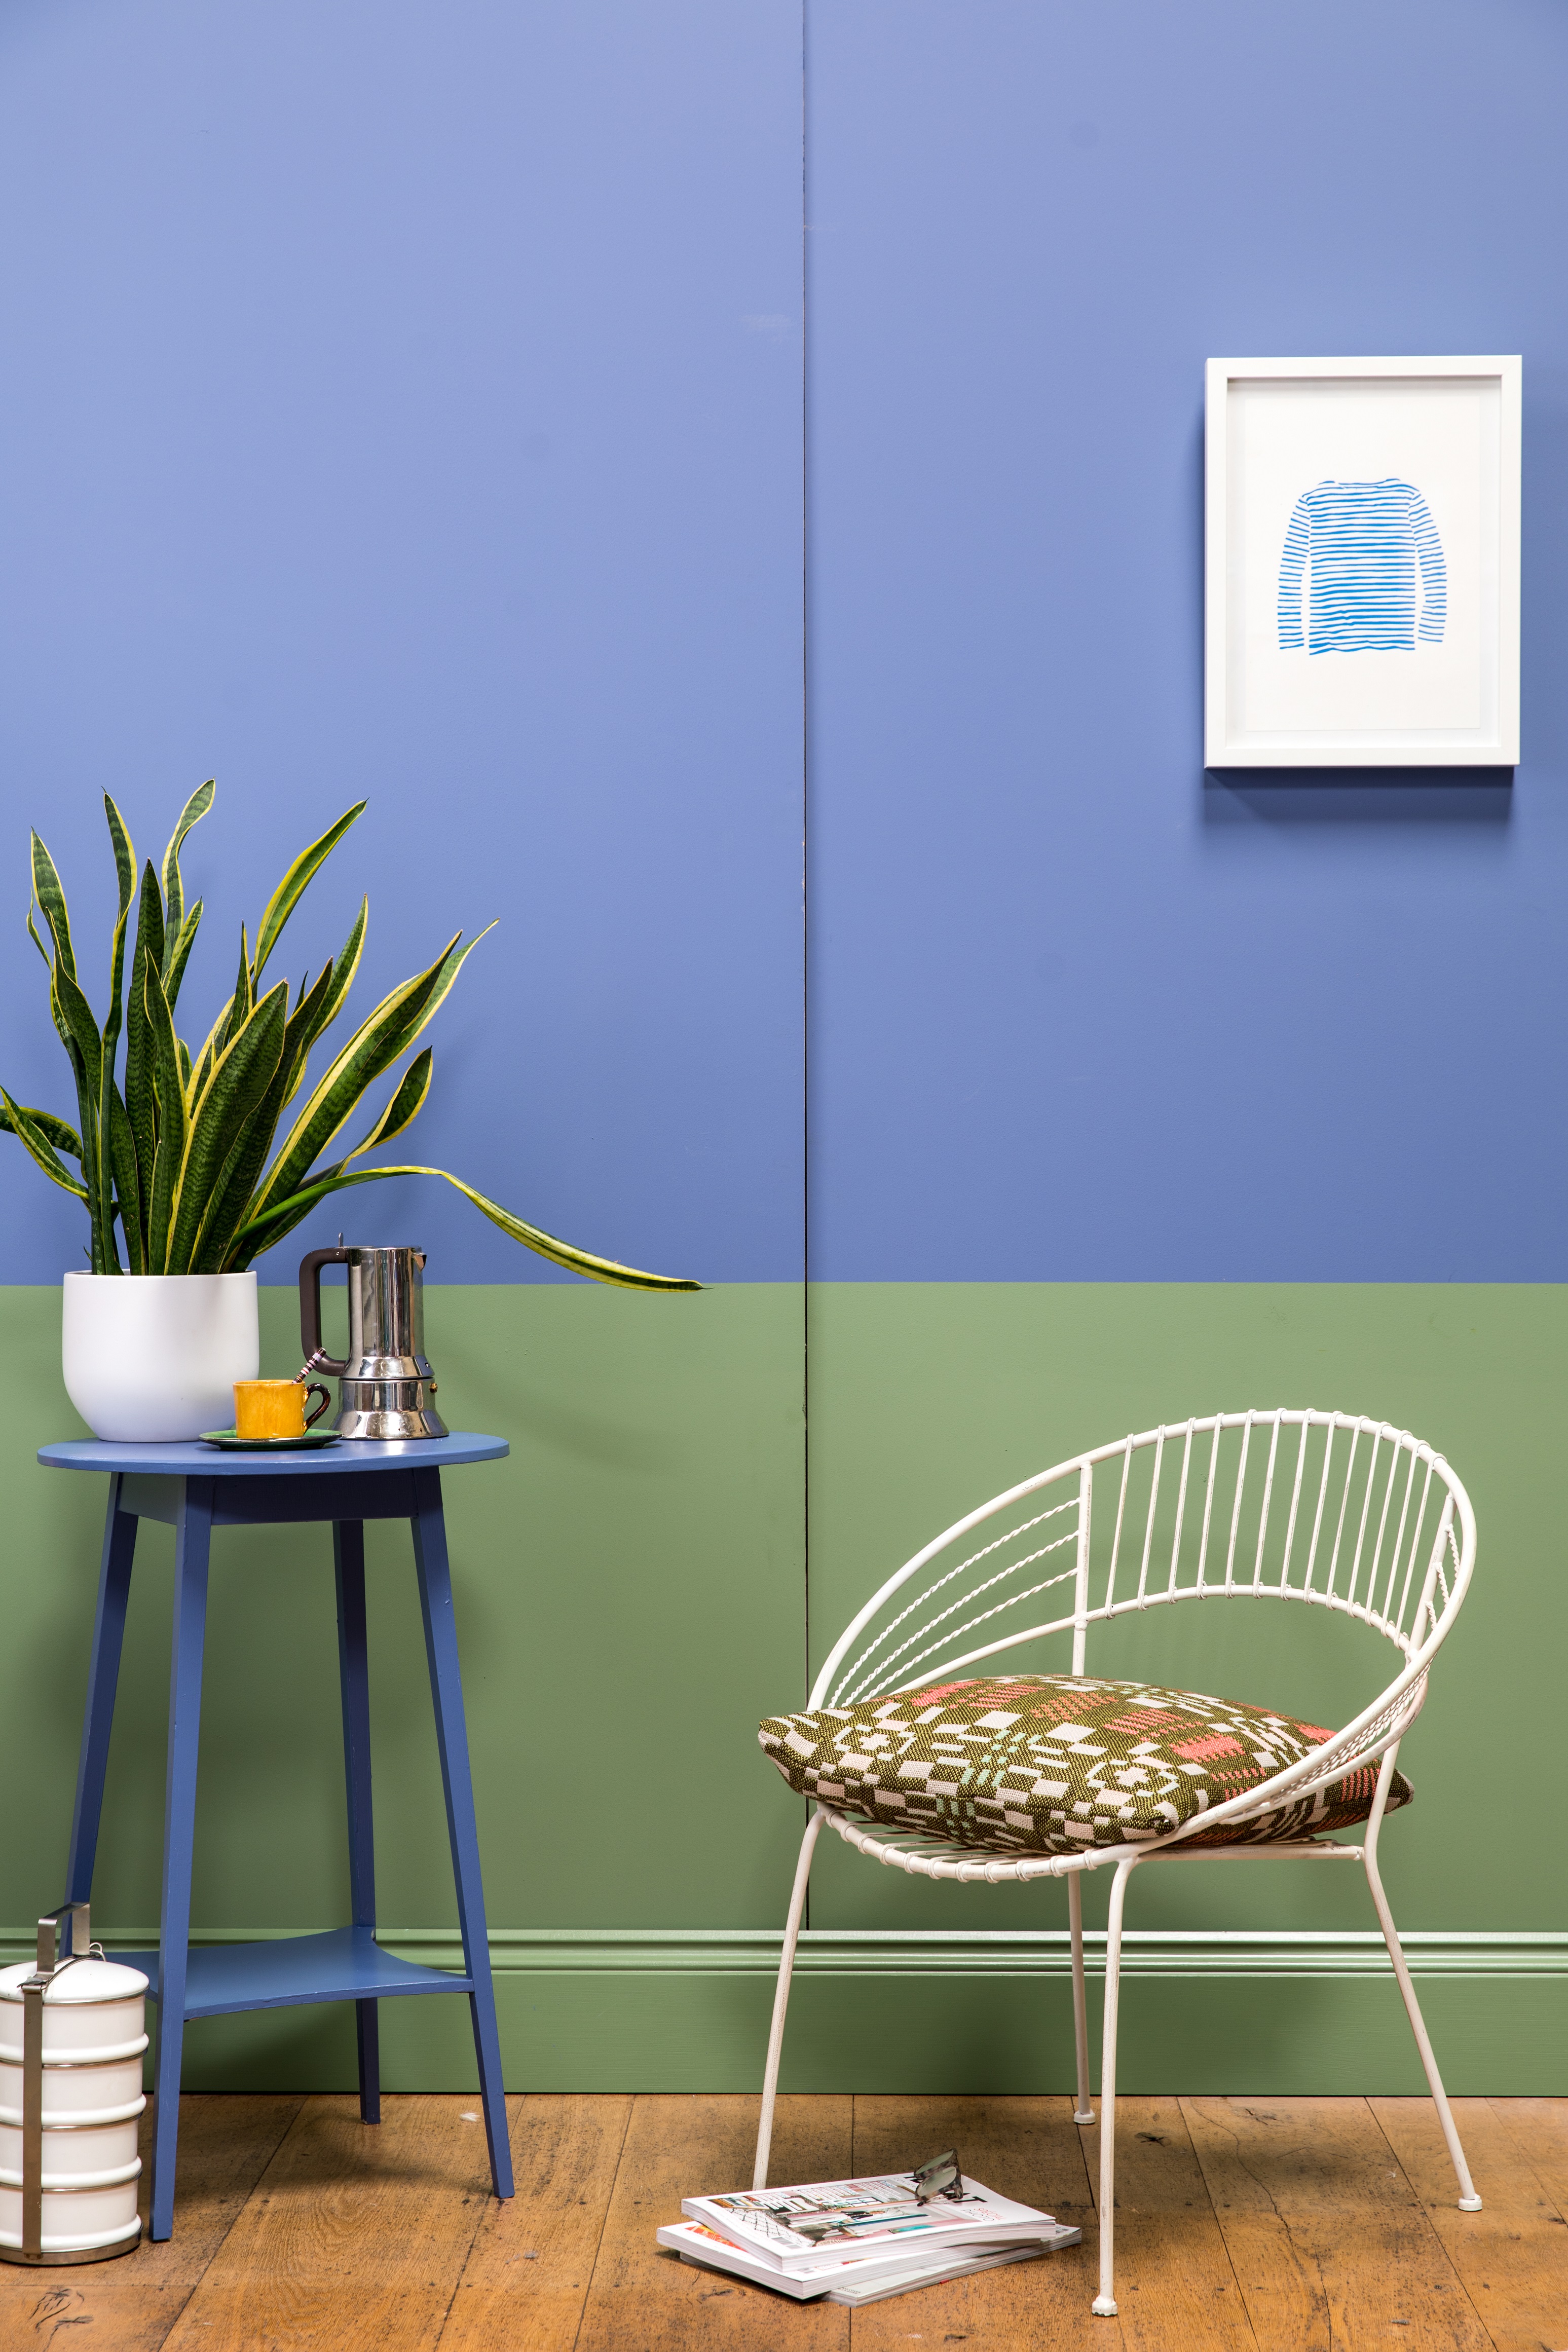
5. Using the wrong painter's tape (or none at all)
All hail those people on TikTok videos who can cut in neater than I can with painter's tape. For the rest of us, the time spent meticulously taping everything off is better than correction time or super slow painting with a too-small brush to avoid mistakes.
These tapes come in different colours so have different uses. The cream one is a cheap all rounder that is either not sticky enough, or too sticky and rips all your existing paint off, so it is best avoided. Yellow or purple tape is low tack and the one many of us will use the most. It can be used on recently painted surfaces without removing the paint (as long as it has cured for the recommended drying time).
Medium-tack blue tape is for things where you want good adhesion but want to avoid sticky residue – tile, glass, window frames, flooring, cabinetry, plastic and metal are all examples. Green and orange are high tack and extra high tack. These are for surfaces that haven't been painted in the last three days and untreated wood, metal, stone and glass. If you want to mask off a rough surface like carpet, use orange tape.
6. Not using the right rollers or brushes
There is a lot of choice when it comes to painting tools and the price differences vary wildly. The temptation to get a cheap pack of rollers and brushes might shave a bit off your decorating budget, but aim for mid-range or the best you can afford or your job will be plighted by piling rollers and loose brush hairs. The best paint rollers and best paintbrushes are even more important if you have splashed out on fancy paint.
Next, make sure you have the right type of roller or brush. For rollers, the thicker the pile the more textured the surface it can handy. The lowest pile foam rollers are for satin, eggshell, and gloss finishes where you want a really smooth finish. Conversely, a shaggy roller with a thick pile is great for getting into very uneven surfaces like popcorn ceilings or roughcast render.
Brushes vary by width. More detailed work needs a narrower brush. You can also get tapered brushes for easier cutting in and window frame painting.

7. Overloading your brush or roller
A messy finish is often due to overloading your painting tool. A roller that is too full will smear rather than roll and splatter paint everywhere. A brush that is too full will leave streaks.
Make sure you roll off the excess paint in your roller tray. And if you are using a brush, stretch a rubber band around the paint can, end-to-end, giving you an edge to remove the paint. This stops drips from forming around the rim of the can which can be a nightmare as they leave marks on your hand or wherever you place the pot.
Using too much paint can also be a risk when you have made efforts to keep things tidy by taping, too. As Shaw says, 'When paint is applied too heavily, it forms a bridge along the tape border and can cause an uneven line.'
8. Starting in the wrong place
When painting a room or object, start from top to bottom. Gravity will do its thing and you can correct any drips that form if you work this way. Start with the ceiling, then walls, then move down to baseboards. Give everything a mist or primer coat first. If you are painting the ceiling a different colour to the walls, finish the ceiling before starting the top coats for the walls or you will inevitably get ceiling coat onto your first wall coat.
If you are painting a staircase make sure you paint your way to your destination. This will usually be top to bottom too, but if you are painting up from a basement, make sure you end at the top to avoid getting trapped down there by wet paint.
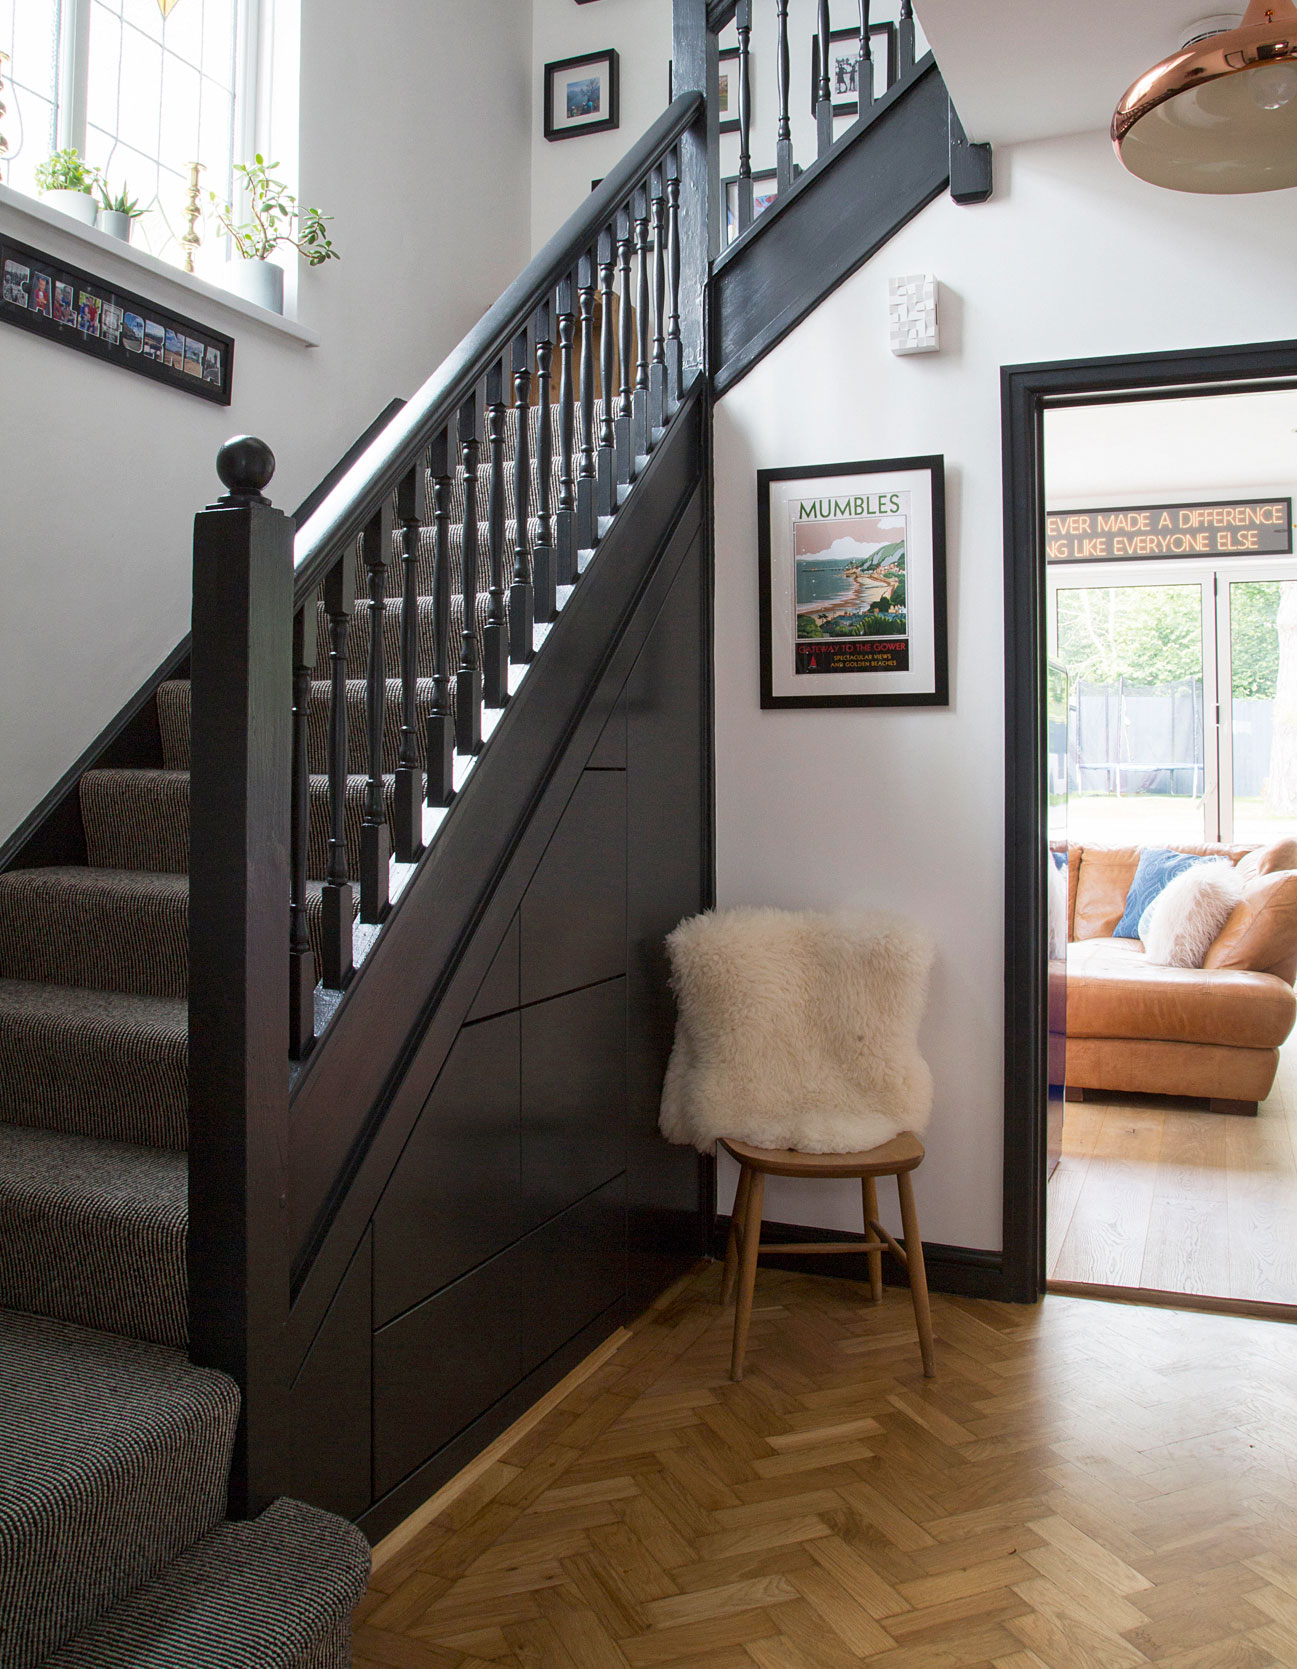
9. Letting brushes and rollers dry with paint on them
Dry paint can ruin brushes and rollers, changing the texture or leaving firm bits that hinder your paintwork. Always give them a thorough wash after use and allow them to dry fully before using again or putting away.
If you are going to use them again in the next 24 hours (with the same paint), cover them in plastic food wrap to keep the paint damp. This saves wasting time waiting for them to be cleaned and dried. You can also cover your roller tray this way. Just make sure everything is air tight to prevent crusting.
10. Working in poorly lit conditions
Painting in bad light has obvious implications. You can't see what you are doing so are more likely to miss patches or not spot drips. Time your painting for when natural light is at it's best. You will have to use artificial light when the sun goes down, but check your work in daylight.
On the flipside, don't paint outside in full sun. This will dry paint too quickly making streaks more likely. Work in good light, but under shade. Michael Rolland, MD of The Paint Shed advises, 'Make sure you chase the shade, know roughly where the sun is going to be throughout the day, remember it rises in the east and sets in the west.'

11. Not taking the right measures for working at height
To cut in properly you need to be a comfortable distance from what you are working on. Stretching to reach high spaces – or something worse like standing on a wobbly chair – is dangerous and won't give you the best finish. If you need to work at height, use a secure ladder.
If you can't work safely then you will have to use rollers and brushes on extension poles. The results will have slightly less finesse, but if you can't reach, you probably won't be able to see imperfections too closely either.
12. Leaving tape on too long
If you leave your painters tape on too long it is not only more likely to remove the coat beneath, but will give you a less neat line too. Remove when the paint is still slightly tacky, but not wet.
If the tape is stuck, use the warmth of a hairdryer to soften the adhesive. This will help it ease off.

13. Not letting the paint dry between coats
As you have probably guessed from this list, impatience is the biggest foe for the home decorator. Allow paint to dry before coats or you risk the top coat bubbling, peeling or crazing. Follow the instructions on the paint can – even if the paint feels touch dry, it might not be fully cured so wait the full time.
Helen Shaw of Benjamin Moore continues, 'Remember if part of a room is dry to the touch, that doesn't mean the whole room is so be sure to follow the can instructions on recoat time. This is typically one to two hours for most waterborne interior paint.'
14. Storing paint in the wrong conditions
Paint must be stored in a cool dry place, but not anywhere it is likely to freeze. Also, be careful not to let it overheat or face direct sunlight – this can change its composition and make it unusable.
After opening, paint should last about two years. Placing plastic wrap over the paint surface, below the lid is a good way to keep it fresher and prevent drying. When you do use it again, be careful not to get dried chips of paint in it and give it a good stir.
If you buy more paint than you can use, consider donating to local community projects.
Join our newsletter
Get small space home decor ideas, celeb inspiration, DIY tips and more, straight to your inbox!

Lindsey is Editor of Realhomes.com and Editor in Chief for Home Ecommerce at Future. She is here to give you aspirational, yet attainable ideas for your home and works with her team to help you get the best buys, too. She has written about homes and interiors for the best part of a decade for brands including Homes & Gardens, Ideal Home and Gardeningetc and isn't afraid to take the inspiration she finds at work into her own space – a Victorian terrace which she has been (slowly) remodelling for the last eight years. She is happiest sipping a cup of tea with a cat on her lap (if only she had a cat).
-
 How to paint a door and refresh your home instantly
Painting doors is easy with our expert advice. This is how to get professional results on front and internal doors.
By Claire Douglas Published
-
 How to paint a radiator in 7 steps
Painting radiators properly is all about choosing the right paint and the best process. Get interior designer-worthy results with our how-to.
By Kate Sandhu Published
-
 How to paint a textured ceiling in a day or less
Learning how to paint a textured ceiling requires a slightly different approach to a smooth surface, whether you need to paint a popcorn ceiling or refresh some woodchip
By Claire Douglas Published
-
 How to paint a garage door: metal, steel, fiberglass or for a wood effect
A step-by-step on how to paint a garage door made from metal, steel, fiberglass or wood. Choose the right paint and priming may not be necessary and there are many more factors to consider for a professional-looking finish...
By Claire Douglas Published
-
 How to dispose of paint properly
Learn how to dispose of paint safely to avoid polluting the environment and getting fined for improper paint disposal
By Anna Cottrell Last updated
-
 How to paint trim and molding: A beginner's guide for a pro finish
Painting trim and molding will perfect your room's decor and show off the color on your walls. DIY like a professional in seven easy steps with our guide.
By Natasha Brinsmead Last updated
-
 How to paint a wall for streak-free, professional results
Find out how to paint a wall properly using a roller and a brush for a professional finish – fast. Plus, how to not get paint everywhere else...
By Lindsey Davis Published
-
 Paint pros reveal a common painting mistake
We are definitely guilty of making this particular mistake
By Millie Hurst Last updated