

If you're looking for an easy way to spruce up a dated hutch or tired built-in cabinet, look no further than trying peel and stick wallpaper on furniture. Sure you could paint or a stain your piece, but peel and stick wallpaper is now beyond cool and this self-adhesive wall covering has no limits when it comes to adding pattern and design interest to a space.
From installing peel and stick wallpaper on bedroom, living room or even bathroom walls, to using it in the back of bookcases or in another type of wallpaper project, it's now a go-to for many as it gives a seamless, stylish finish with minimal fuss, and, it's super budget-friendly also.
You will need:
1. Roll(s) of wallpaper in pattern of your choice (I used NuWallpaper in Grey Farmhouse Plaid from Amazon)
2. Scissors
3. Smoothing tool kit like this one
4. A trusty Exacto knife
5. Basic microfiber cloths for prep
Where can I use peel and stick wallpaper on furniture?
There are so many areas you can use peel and stick wallpaper to give furniture some added interest. Here are just a few:
- On drawer fronts
- On drawer sides for an unexpected pop of color when opened
- On the back of a bookshelf
- On the inside of a hutch
- On the inlay of a door
- On the body of furniture paired with painted drawers/doors
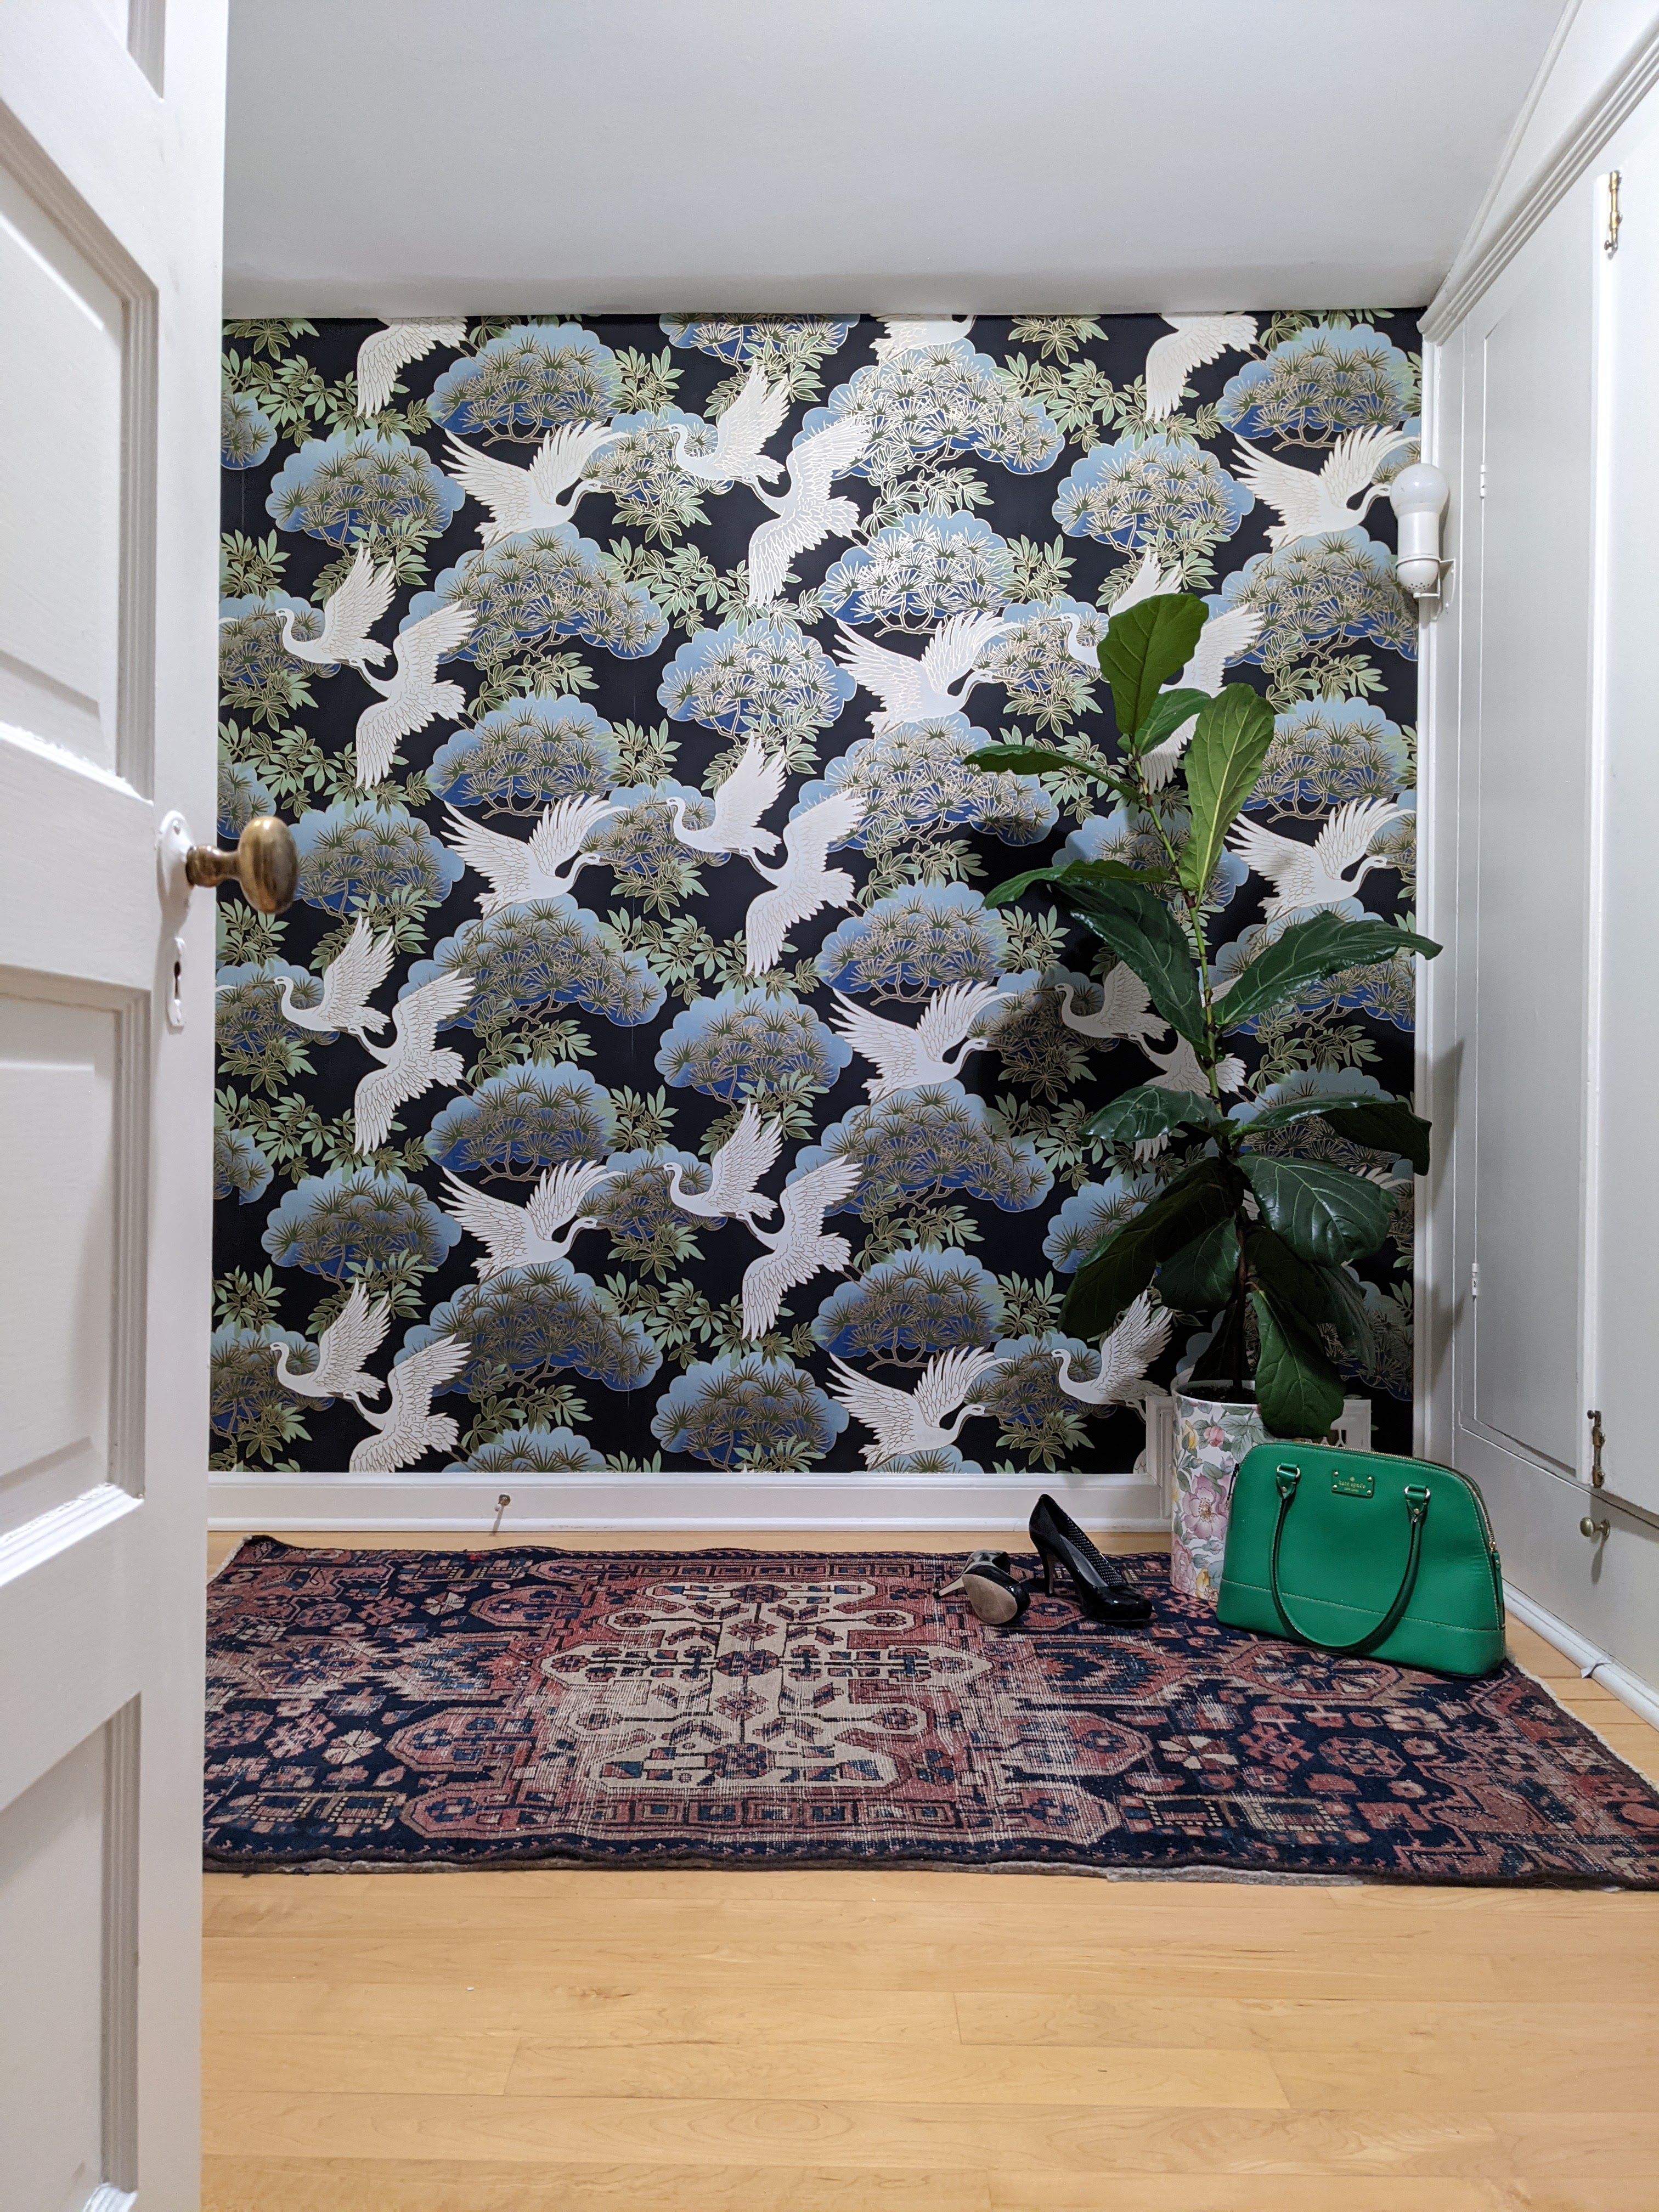
Our upstairs hallway was bland with white doors, gray walls and a white cabinet at the end. Deciding to make the cabinet a focal point, we removed the doors from the top of the cabinet to expose the shelving. We painted the cabinet black, but still felt it needed something.
The cabinet before:

That’s where the wallpaper came in. We decided to add a peel and stick wallpaper to the inside of the shelving to add interest and make the cabinet a focal point.
My Cabinet Makeover using peel and stick wallpaper
I was going for a modern farmhouse look so I searched wallpaper on Amazon and landed on a black and white checkered pattern. It came in a roll of 20”x 216” for just $30, so it was a great deal and I have plenty to use on another project.

1. Prepare your piece of furniture for the project
You want to make sure before starting any project that you clean the surface and make sure it’s free from any dust or grime that may keep the wallpaper from adhering to the piece. Keeping a bunch of microfiber cloths close by is ideal.
2. Measure up for the peel and stick
Using a tape measure, we measured the inside of the upper and lower section of the exposed cabinet. I cut the wallpaper according to the measurements.

3. Apply the peel and stick to your surface
Starting in the left corner of the lower shelf, I peeled the wallpaper backing from the corner and applied it to the shelf.
Top tip: Instead of peeling the whole backing off at once, carefully pull backing as you go. This will keep the wallpaper from sticking to itself or adhering to the surface you're working on before you’re ready.
4. Smooth the wallpaper to the surfaces
I used a wallpaper smoother to remove wrinkles and secure the wallpaper to the shelf as I went. You’ll want to use your smoother to push the wallpaper into corners and edges to give it a crisp look. Use a sharp tool like an Exacto knife to trim any excess wallpaper from the furniture.

5. Repeat the process and finish
We repeated the process above for the upper shelf and finished off the cabinet in no time. We added some storage bins that we found at Sam’s Club that house extra sheets and toiletries.
The result:

The wallpaper really added depth and character to the hallway cabinet and turned it from blah to a pretty focal point.
The wonderful thing about peel and stick wallpaper is that if you make a mistake, it’s easy to peel it off and readjust as needed. It makes for a very apartment-friendly project for walls because you can remove it when it’s time to move on. Since you’re not having to mess with wallpaper paste, etc. it’s a quick, clean, not to mention cheap DIY project that can be done in as little as an hour or two or a weekend depending on the scope of the project.
If you’re looking for an easy and inexpensive way to add interest to a piece of furniture, peel and stick wallpaper is a great option!

-
 How one trash can thrifter brought a vintage footstool back to life, for free
See how an innovative NYC-based trash can thrifter brought a vintage bamboo footstool back to life for free
-
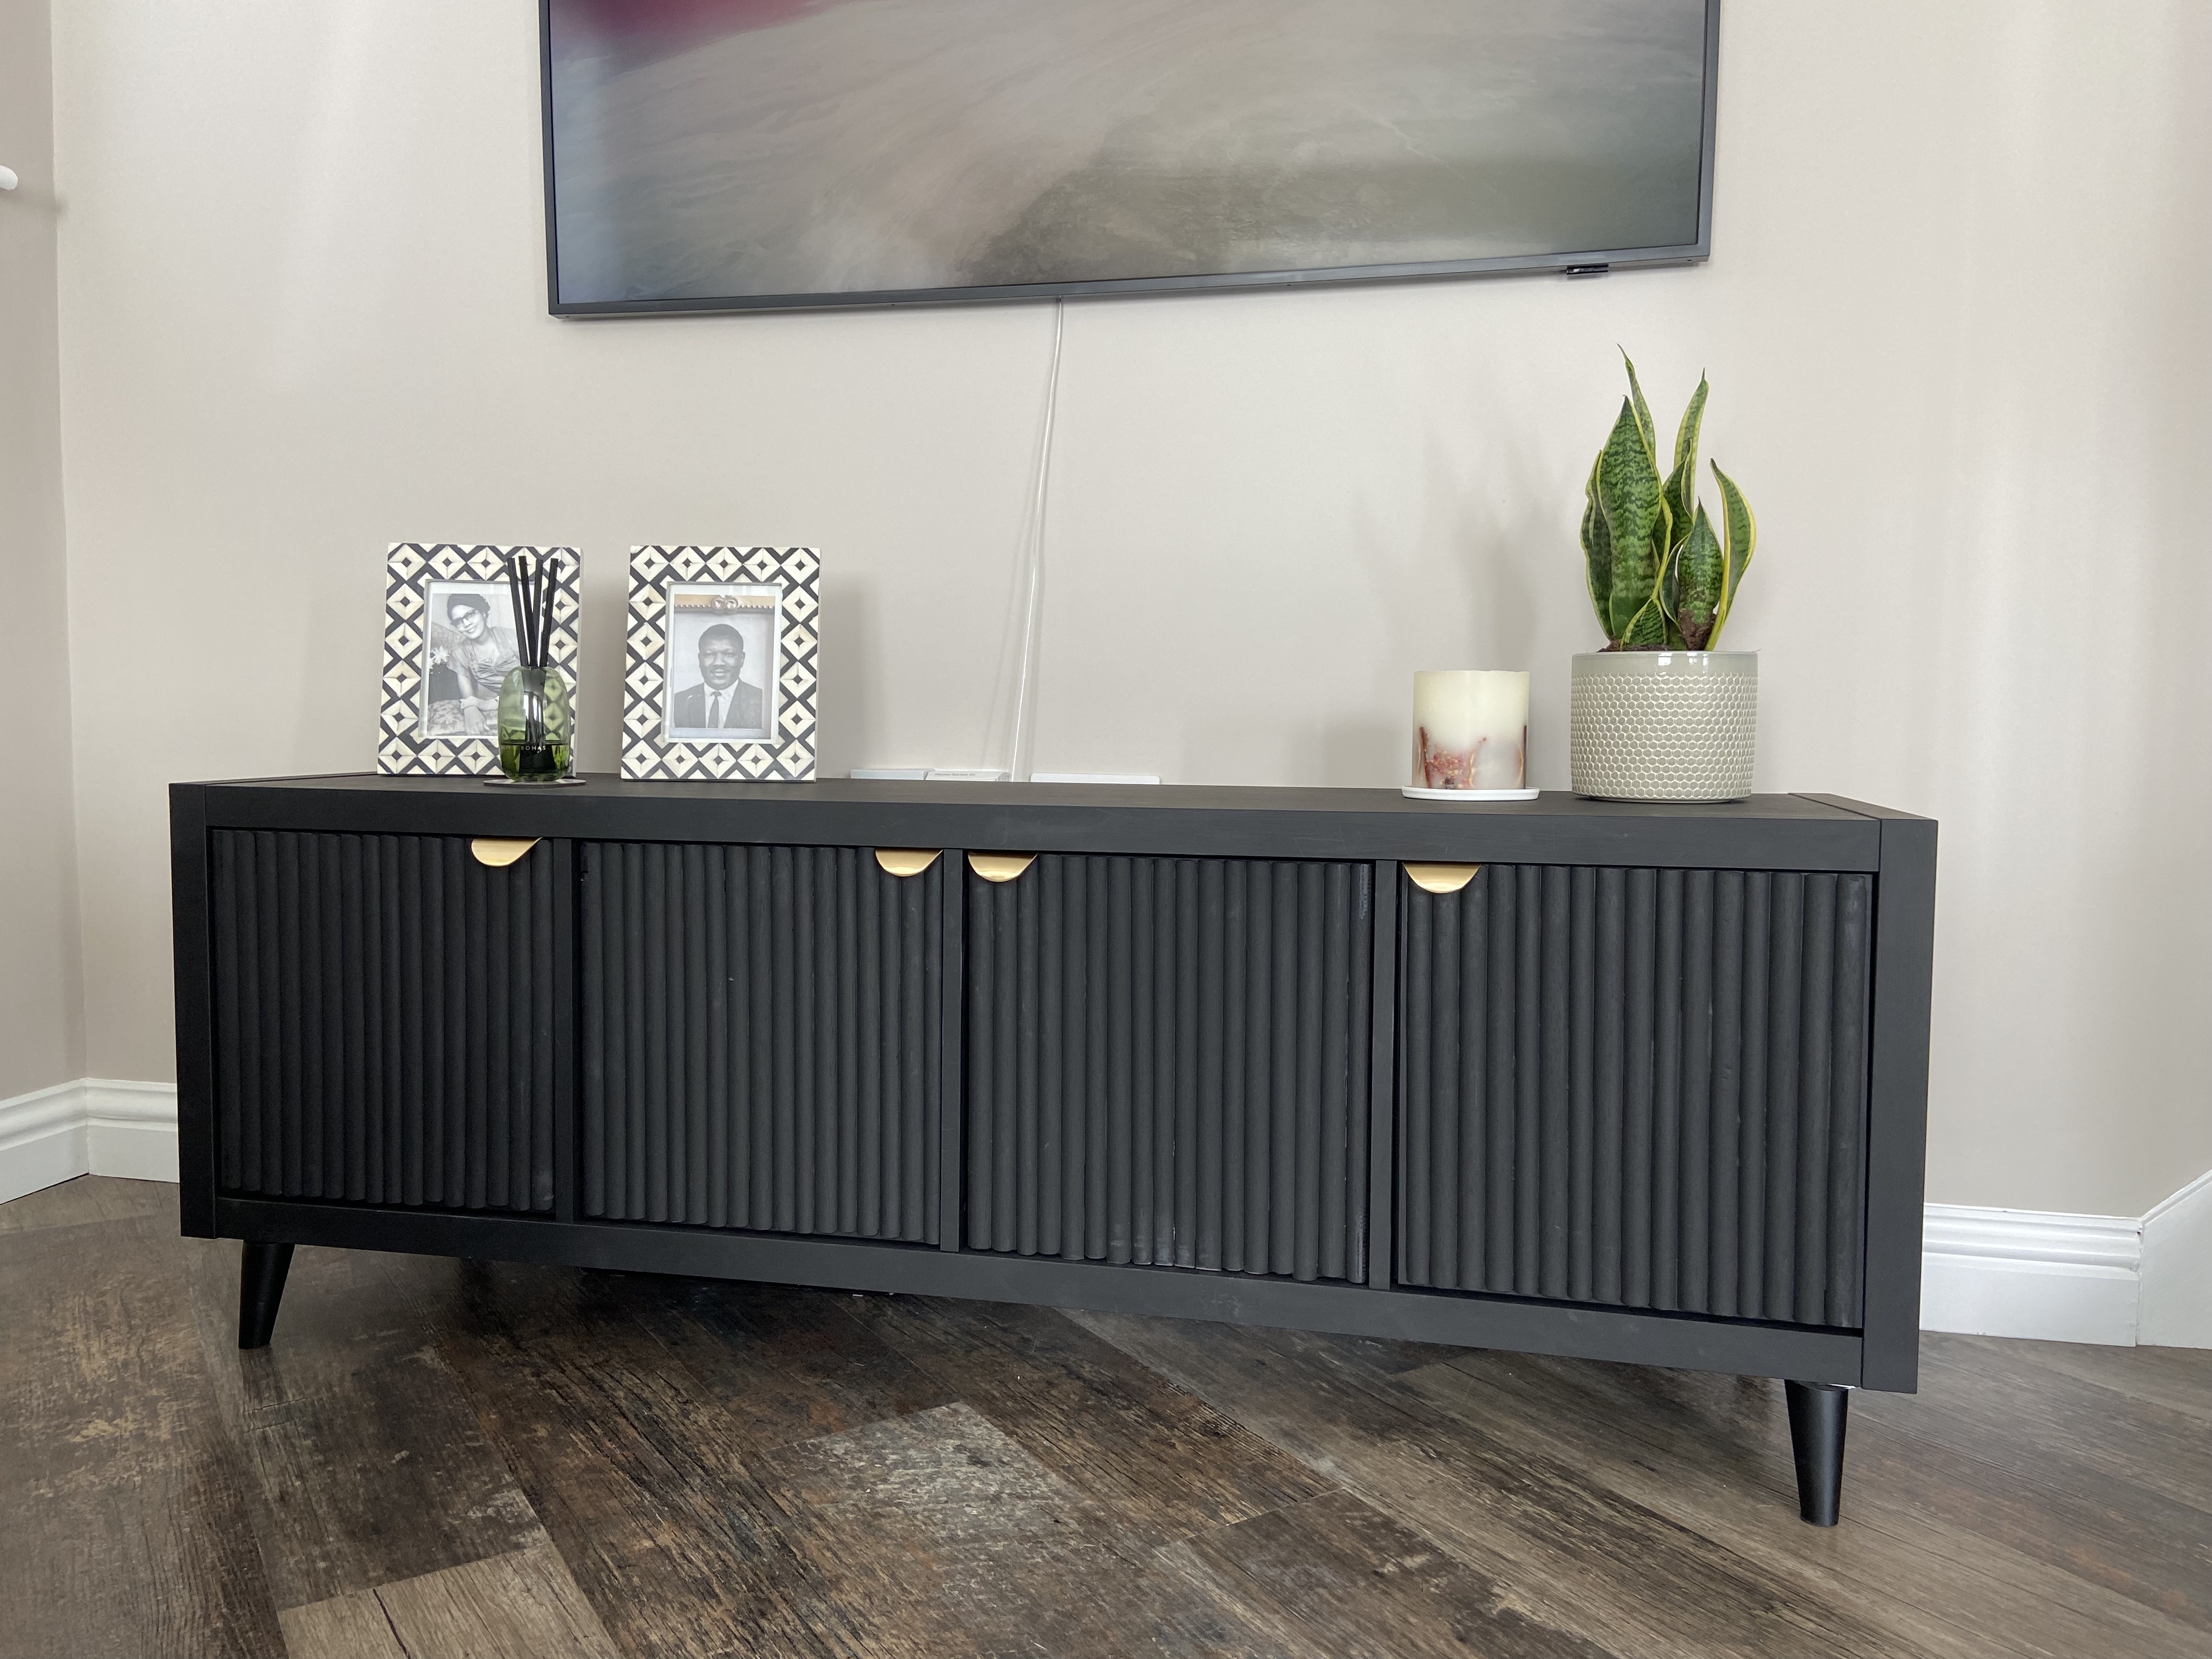 I transformed my IKEA Kallax unit into a stunning media cabinet
I took a weekend out to transform a basic IKEA Kallax shelving unit into the media cabinet of dreams. Here's how.
-
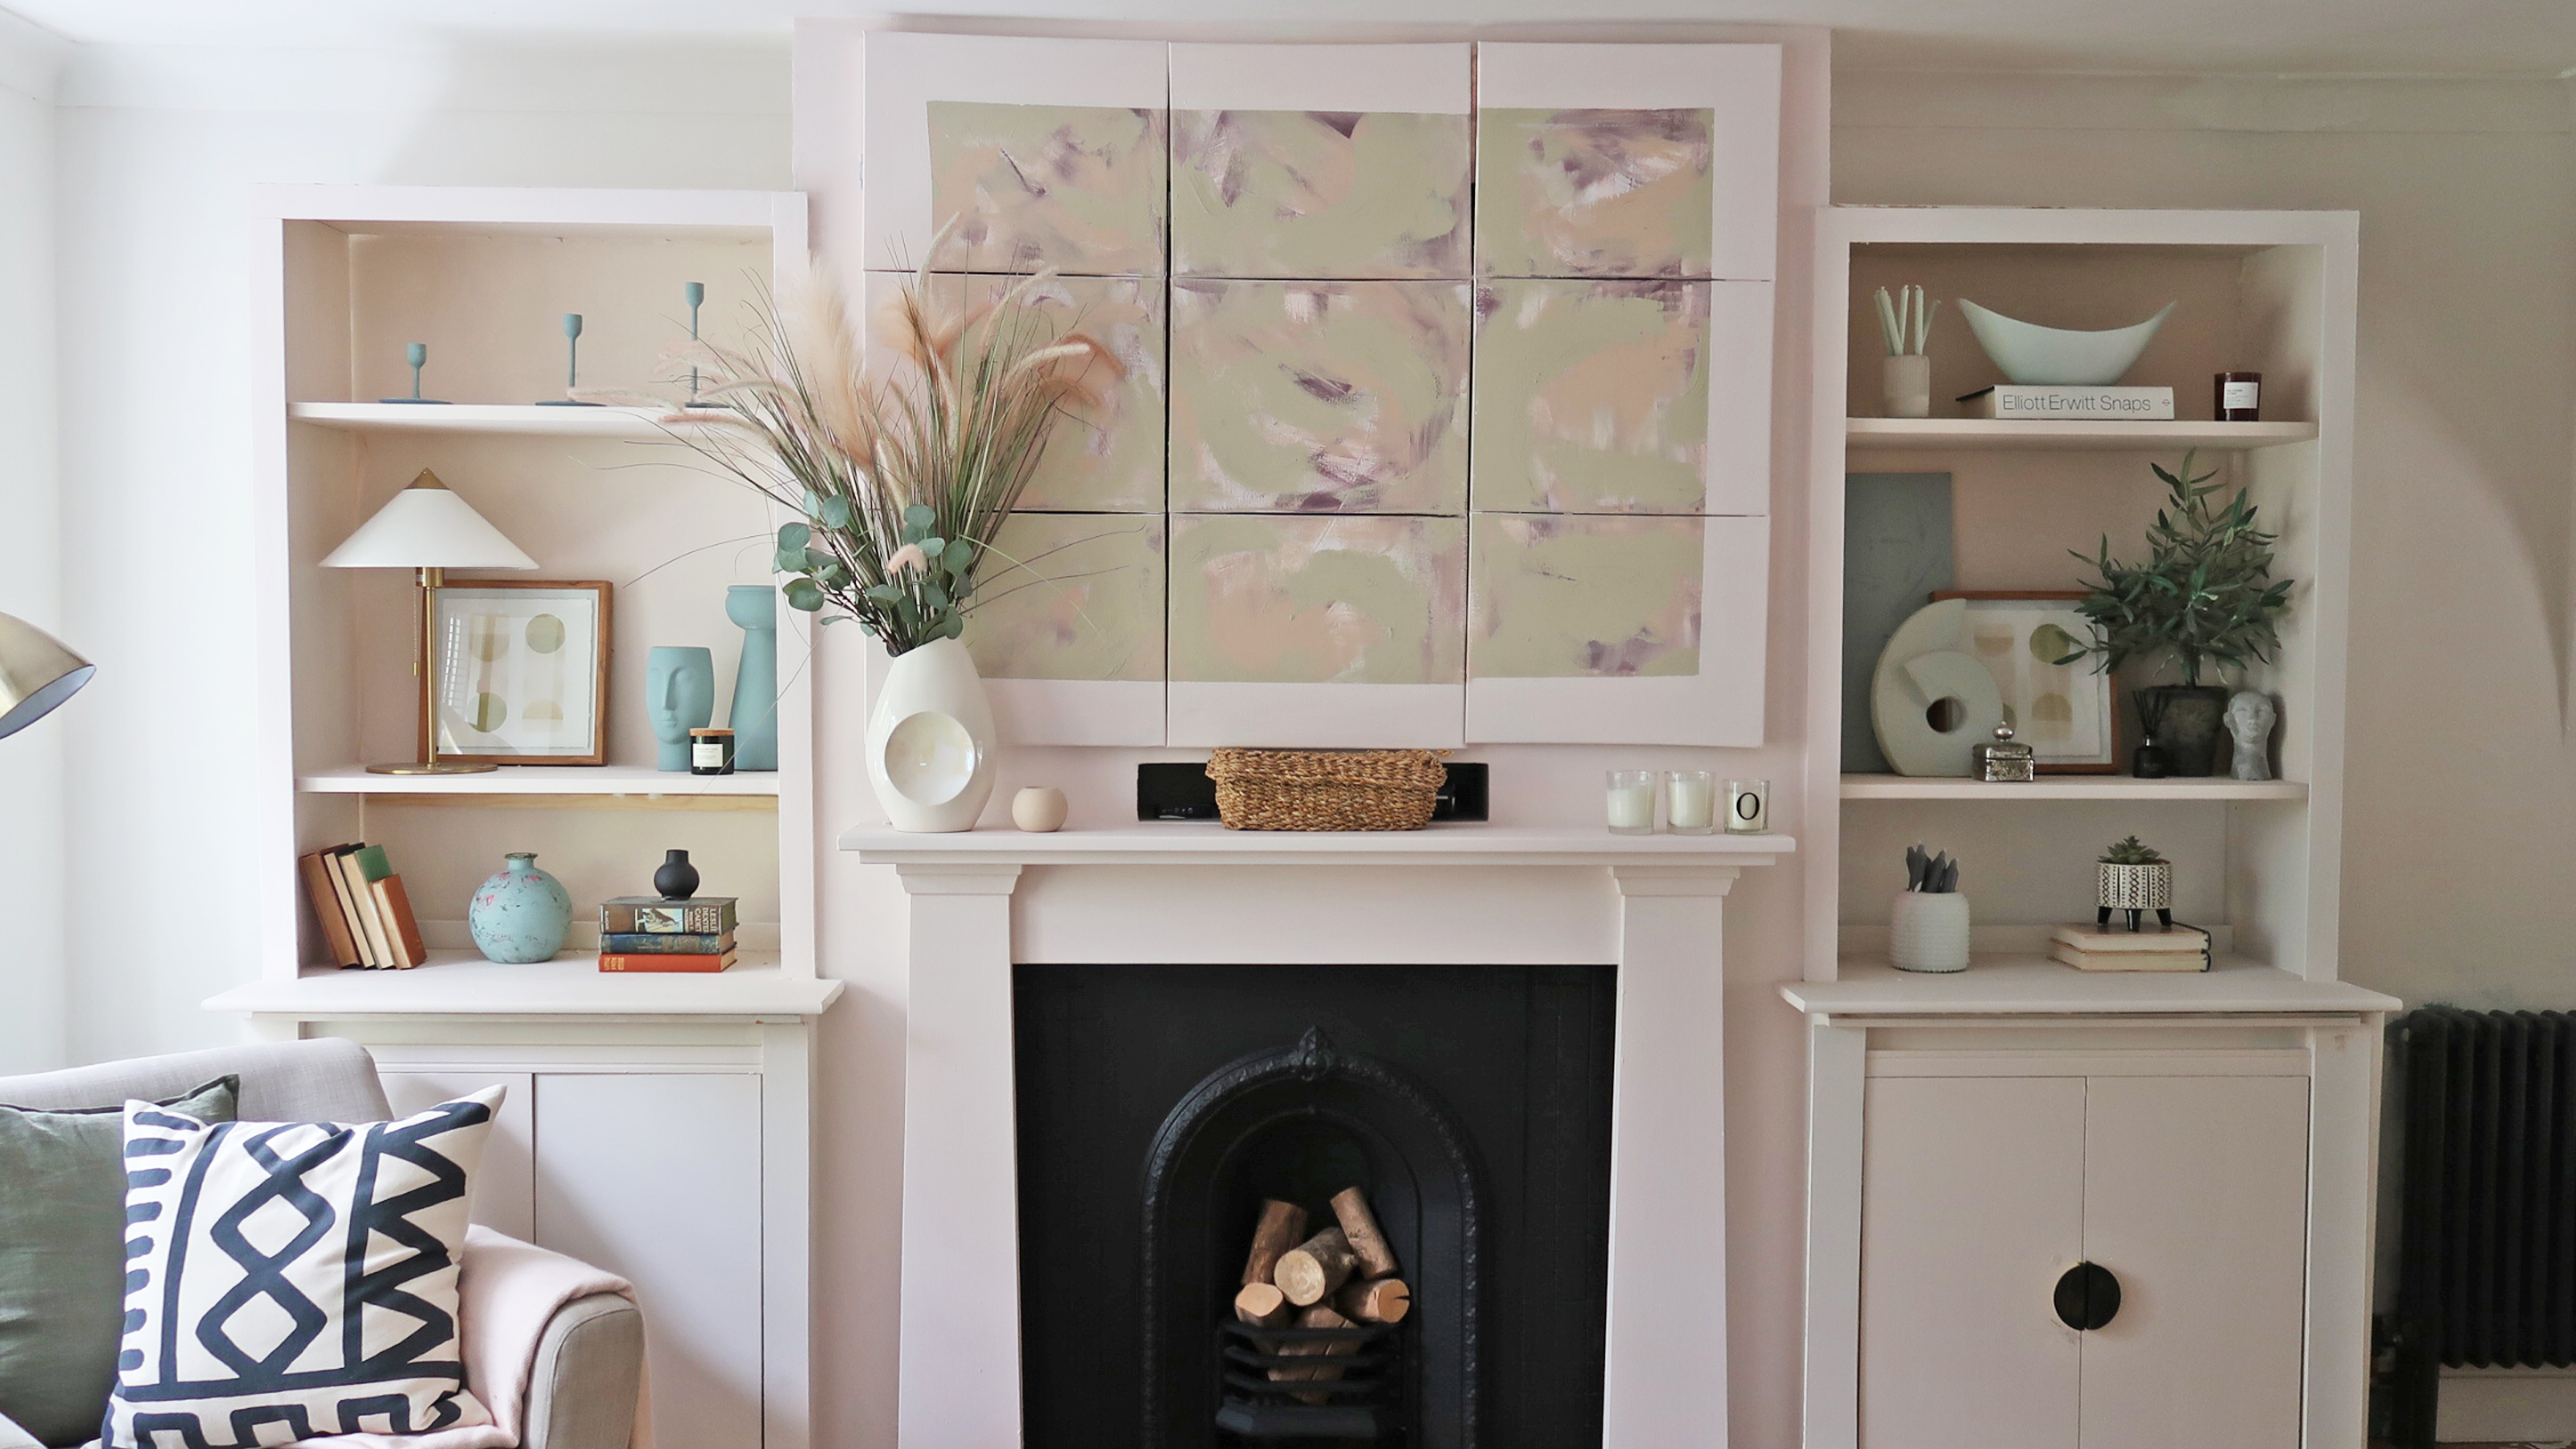
 How to arrange flowers like a pro: expert advice on creating stunning floral displays
Arrange flowers like a pro with our expert advice. The days of placing your shop-bought flowers in a vase and hoping for the best are over
-
 How to hide a TV on the wall: a DIY disguise with art
DIY a disguise for your TV on the wall with art and turn heads in your front room, for all the right reasons
-
 11 wallpaper project ideas to freshen up your home in under 2 hours
One roll, regular or peel-and-stick wallpaper projects for an impactful but budget-friendly refresh
-
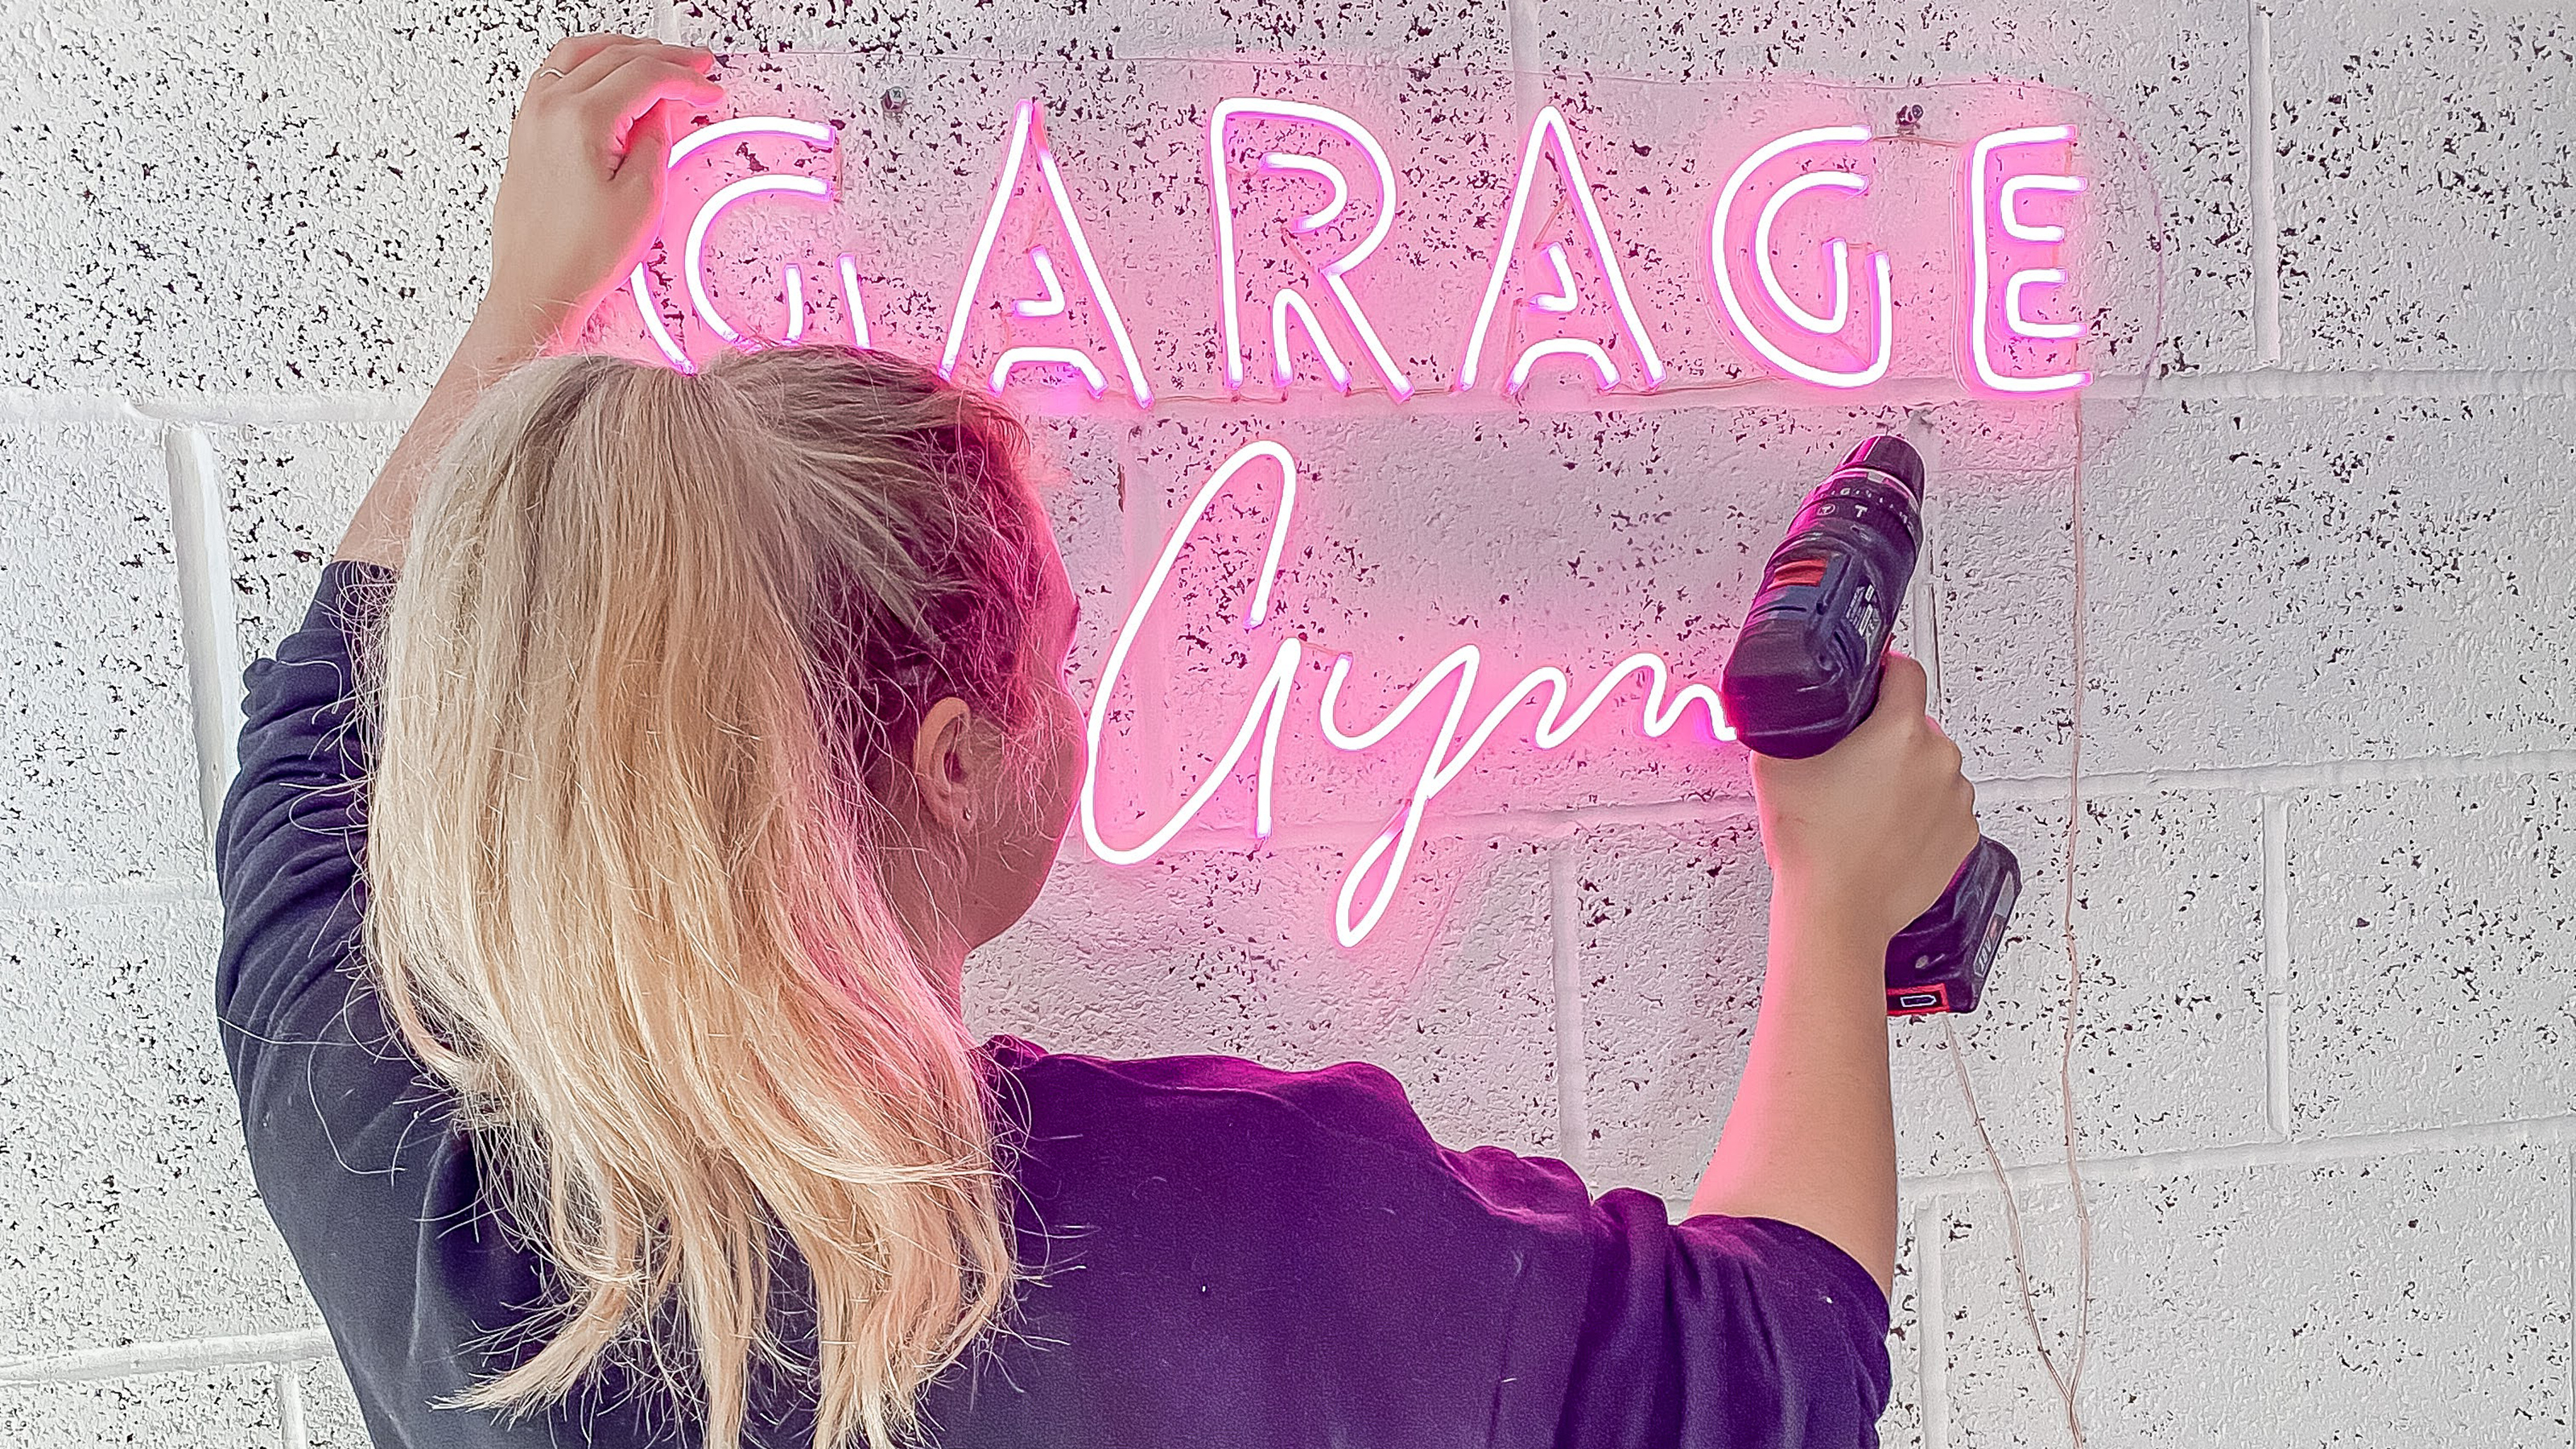 How to make a neon sign with rope in 5 steps
Save big bucks by making your own DIY Neon LED Rope Sign
-
 18 wall painting ideas – how to use paint, tape and creativity to DIY new looks
Refresh your living room, bedroom and the rest of your home with the best DIY wall paint ideas. You need tape, paint and a little creative thinking.
-
 The best IKEA hacks – 21 creative ways to update your furniture
Looking for the best IKEA hacks? We've rounded up some of the easiest ones out there...


