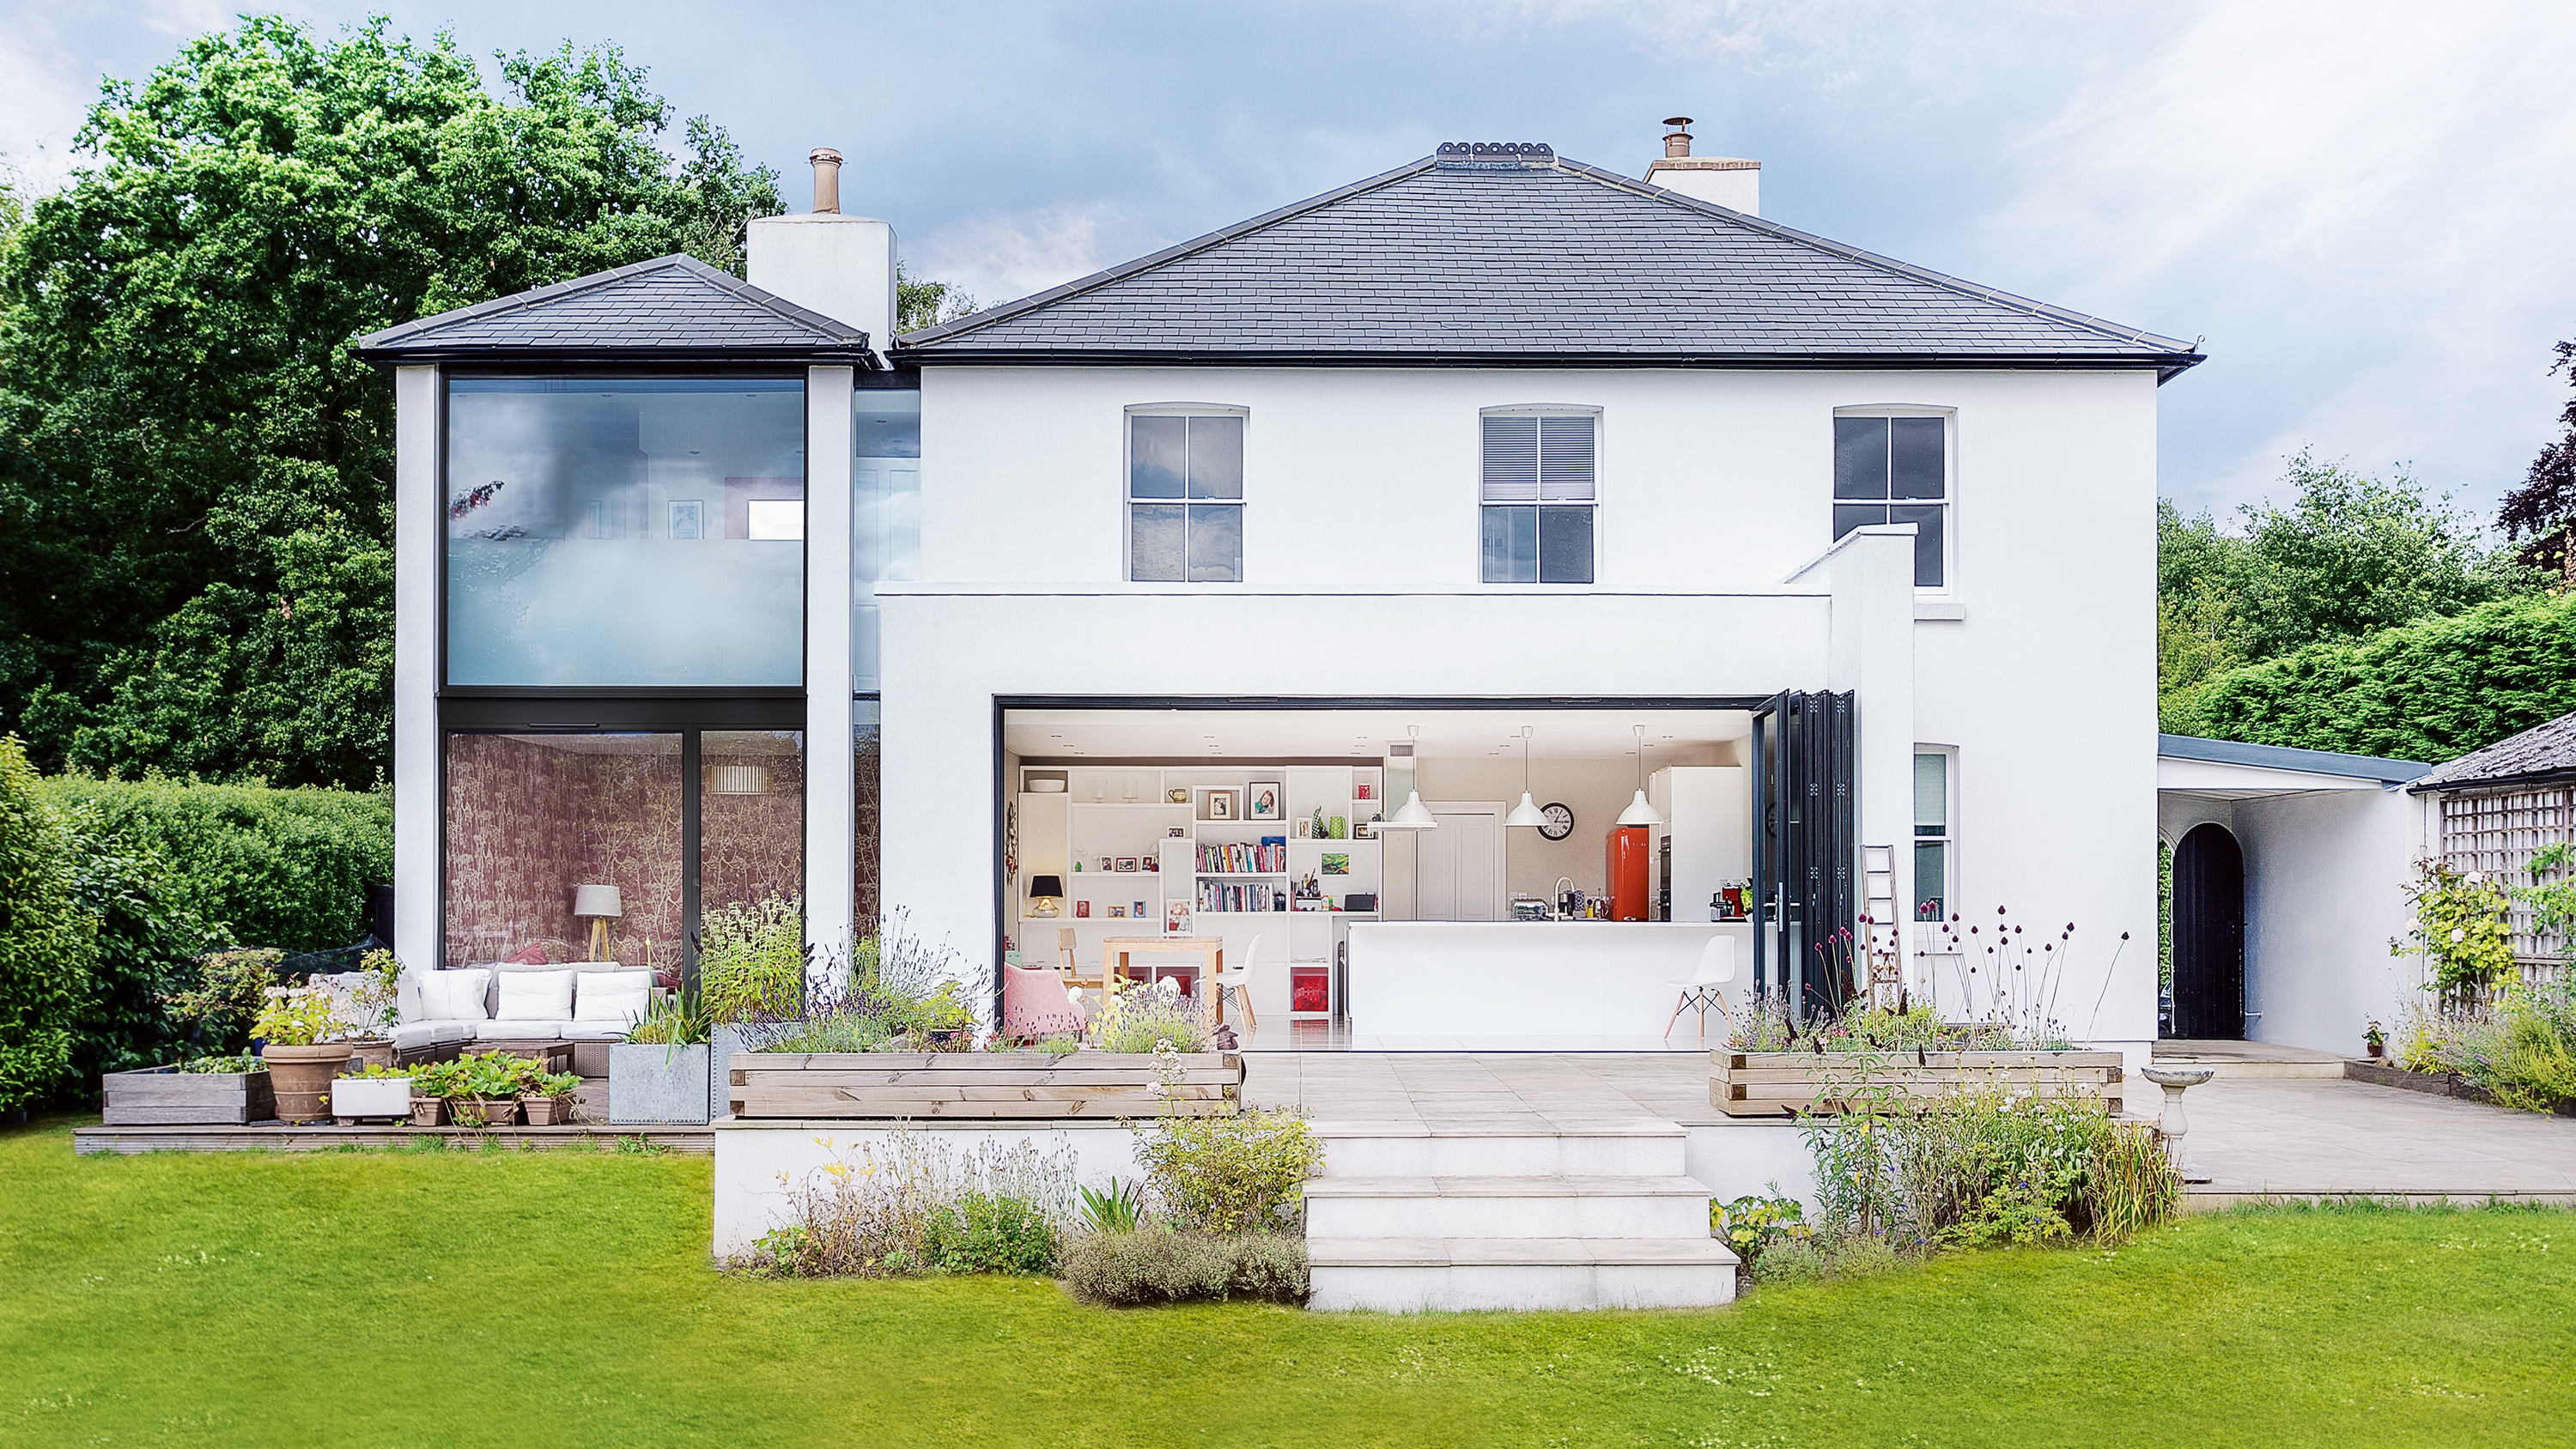
Knowing how to render walls is a useful skill. Even more useful is knowing when your home needs rendering, and how much it will cost to get it done.
Changing and improving the exterior of your home is actually one of the most effective ways of adding value to your property, and new render is one of the cheapest ways of achieving this. You home’s exterior is the first thing that any visitors or potential buyers might see, so making sure it has got as much kerb appeal as possible is important, especially if the current exterior is in poor condition, or a mixture of different mismatched materials. Plus, it's always much nicer to see a properly finished home when you're sitting on some of the best garden furniture.
Render can be sand and cement or a flexible, breathable polymer modified render for homes with solid walls. It can hide poor-quality or mismatched brickwork on period properties, and create a sleek finish on modern homes. It can come self-coloured or be painted later. Render works well with masonry or timber cladding, to add architectural interest, and can be matched with external insulation to warm up a draughty home.
Find out how to render walls in this guide, and discover more ways to improve the exterior of your home with our essential guide.
How much does it cost to render your home?
External rendering using a sand and cement ‘scratch coat’ and a finer render topcoat, followed by two coats of external masonry paint will cost in the region of £40–£60 per m². Rendering and painting a typical three-bedroom semi-detached house with 80m² of walls would therefore cost £3,200–£4,800.
For a solid walled house or where the cavity is too narrow to apply sufficient levels of insulation you may wish to take this chance to add insulation. In this case an external wall insulation system is usually a better option than insulating internally, as no space or architectural detail is lost within the property.
There are many different external wall insulation systems, but most of them are promoted on a supply and fix basis by specialists, so they’re not available to the DIY market.
Applying external insulation with a render finish typically costs £70–£90 per m². A typical three-bedroom semidetached house would require 80m², so it would cost £5,600–£7,200.
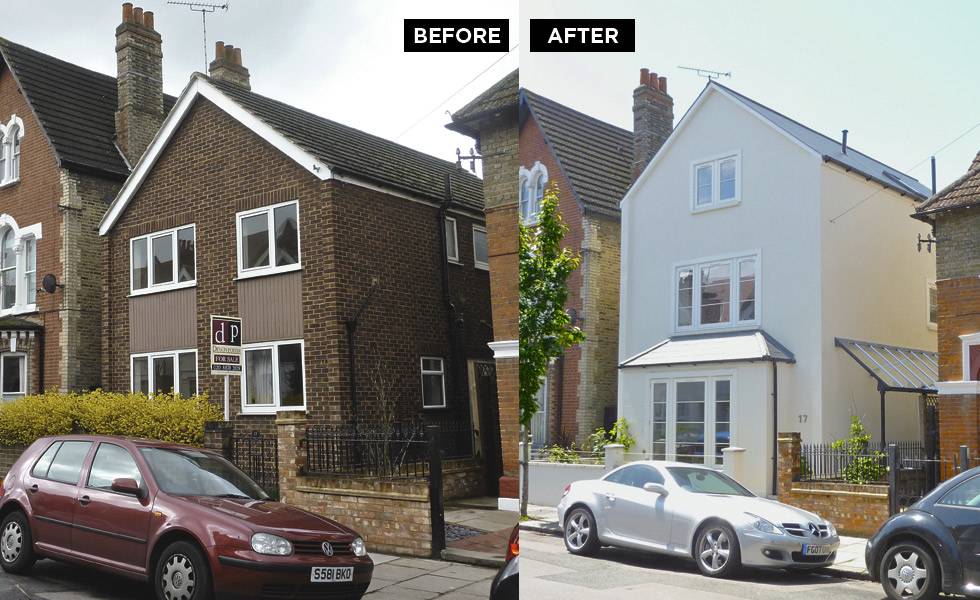
This house didn’t fit well with the period properties in its south-west London street. Render, painted cream, was an affordable solution
- Use our guide to choosing and using lime mortar and render for a period home to find out more.
Which type of render finish?
Render can be applied to create a smooth, textured or patterned finish, and comes in a wide range of colours. Consider the type of render you use carefully – lime render with a textured or patterned finish will suit old, historic buildings, while new, silicone-based renders that are flexible, breathable, low-maintenance and smooth in their finish will suit contemporary homes.
Modern renders are a big improvement on the concrete renders widely used until recently. Prices typically start at just under £60 per square metre.
- Lime render: Lime render is the best option for old homes. It is flexible and breathable, so suited to period properties to alleviate damp problems.
- Cement render: This is the standard choice on external walls. It can be mixed on site and the materials used are cheap – but as it takes two to three coats, labour costs soon add up. It does need frequent repainting to look fresh too.
- Polymer render: Usually cement or lime-based, they have polymers and other plastics added to them to help prevent cracking. They can be through-coloured, meaning they don't need painting.
- Acrylic render: This is often used as a top coat over existing finishes. Silicone may be added for longevity and to prevent the need for cleaning.
- Monocouche render: Monocouche means 'single bed' or single coat in French, and as expected this means only one coat is required. The product is based on cement render and comes ready to be mixed with water, then trowelled or sprayed on. Expensive to buy, but easy to apply, you can recoup the material costs with reduced labour and maintenance fees. They are self-cleaning, won't crack, and self-coloured so no need for painting.
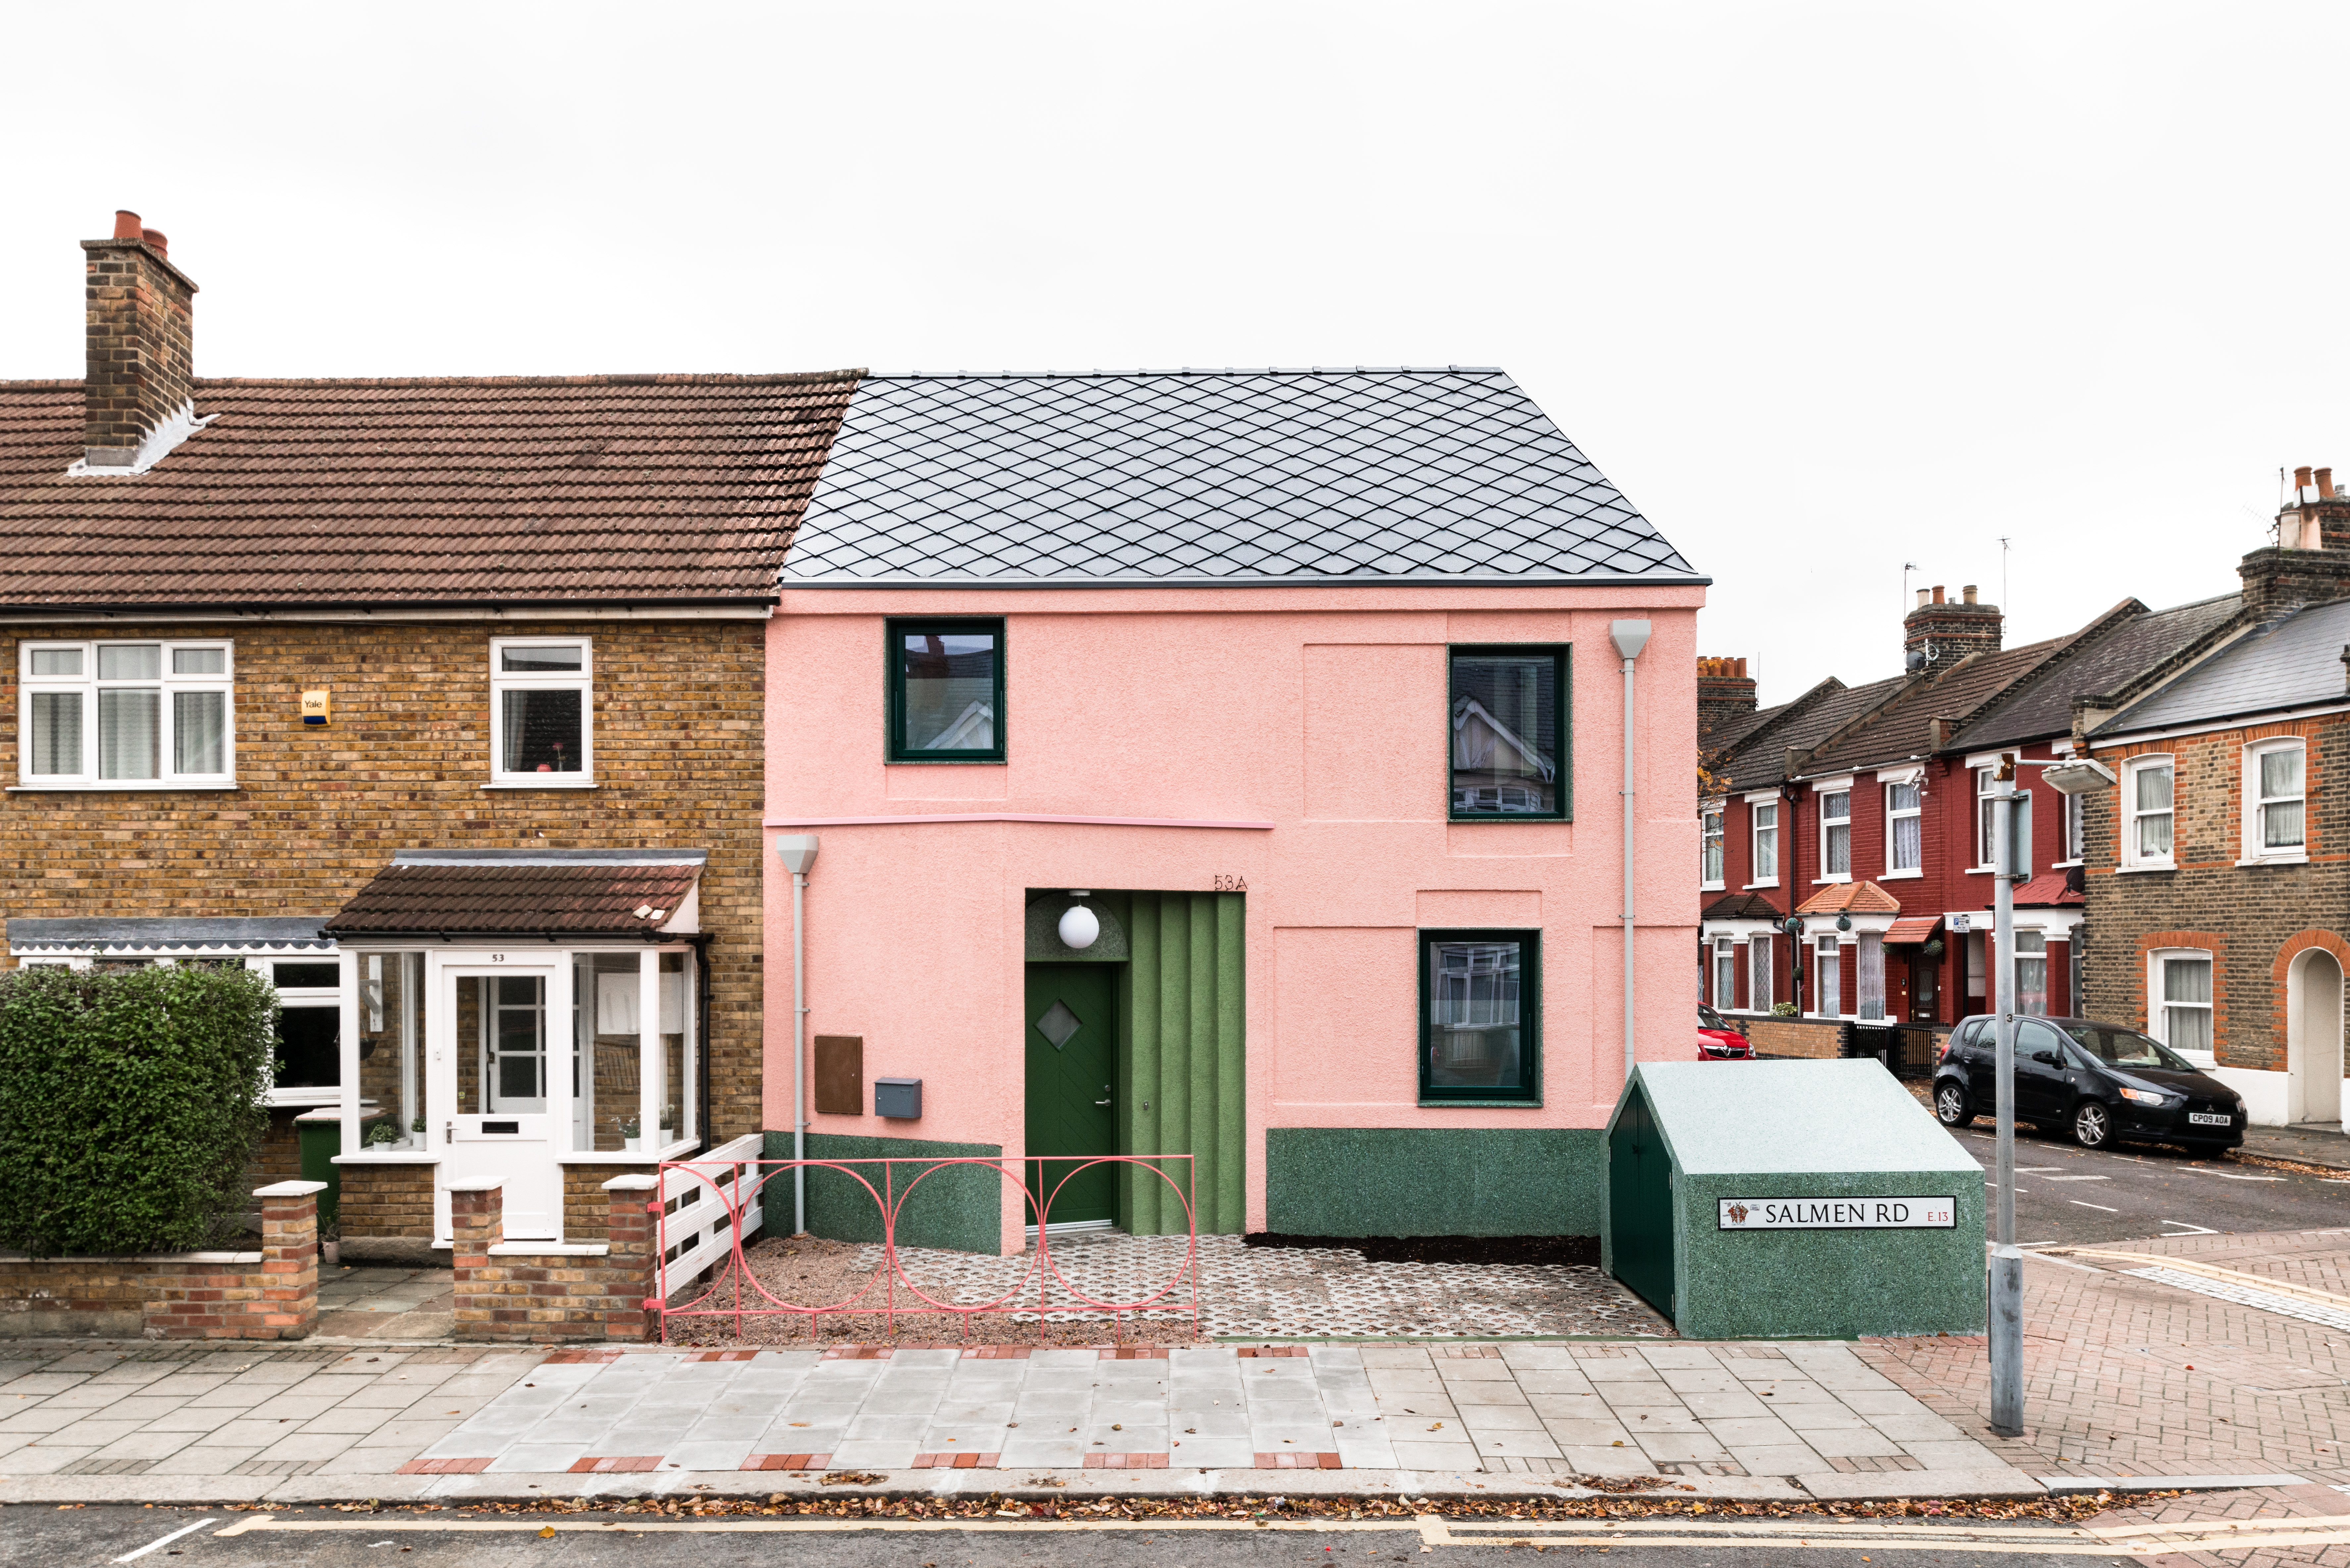
Office S&M were the architects for Salmen House in East London, which took just six months to build and cost £205,000. Stippled render and textured terrazzo was chosen to create the eye-catching facade
How to render walls: a step-by-step guide
Whether you attempt to do the work yourself, or hire a contractor, you need to understand the process so that you can plan it around the rest of your project.
1. Preparing the walls
Before a building is rendered, the walls should be surveyed, with repairs made to structural defects and any movement stabilised – otherwise the render finish is likely to fail. Any new finish is only as good as the wall behind it.
2. External details
External details such as bargeboards will often have to be removed, along with rainwater and soil pipes and other external details such as alarm boxes. Any vents will need to be extended, and sometimes window sills must be extended too. Metal stop and angle beads are then applied around the window and door openings and corners (or the edges of a terraced property) to provide clean edges for the render. The render system can then be applied.
3. Insulation
Where external wall insulation is being applied before the render coat, this is usually in the form of rigid boards or slabs. The type of fixing needs to be selected depending on the type of wall – which is either mechanically fixed or glued to the walls.
4. Creating a foundation for the render to fix to
A fabric render mesh is then applied over the insulation, bedded into the first base coat layer of render. This mesh acts as a reinforcement against cracking. This is followed by one or two more thin coats of render, usually a primer and a topcoat.
5. Building up the render
Different proprietary systems are built up of different layers, using various forms of insulation, including expanded polystyrene (EPS), mineral fibre (Rock Fibre) and phenolic foam (more expensive but superior performance). Different types of render are also used with external wall insulation systems, depending on the application and the desired finish, including polymer cement, silicone and acrylic.
6. Render finishes
Thin coat render systems are designed to be self-coloured so that they don’t need painting. As well as a choice of colours, different finishes are also available, from very smooth to textured. If you have chosen rendering that needs painting, make sure you choose a weatherproof external paint.
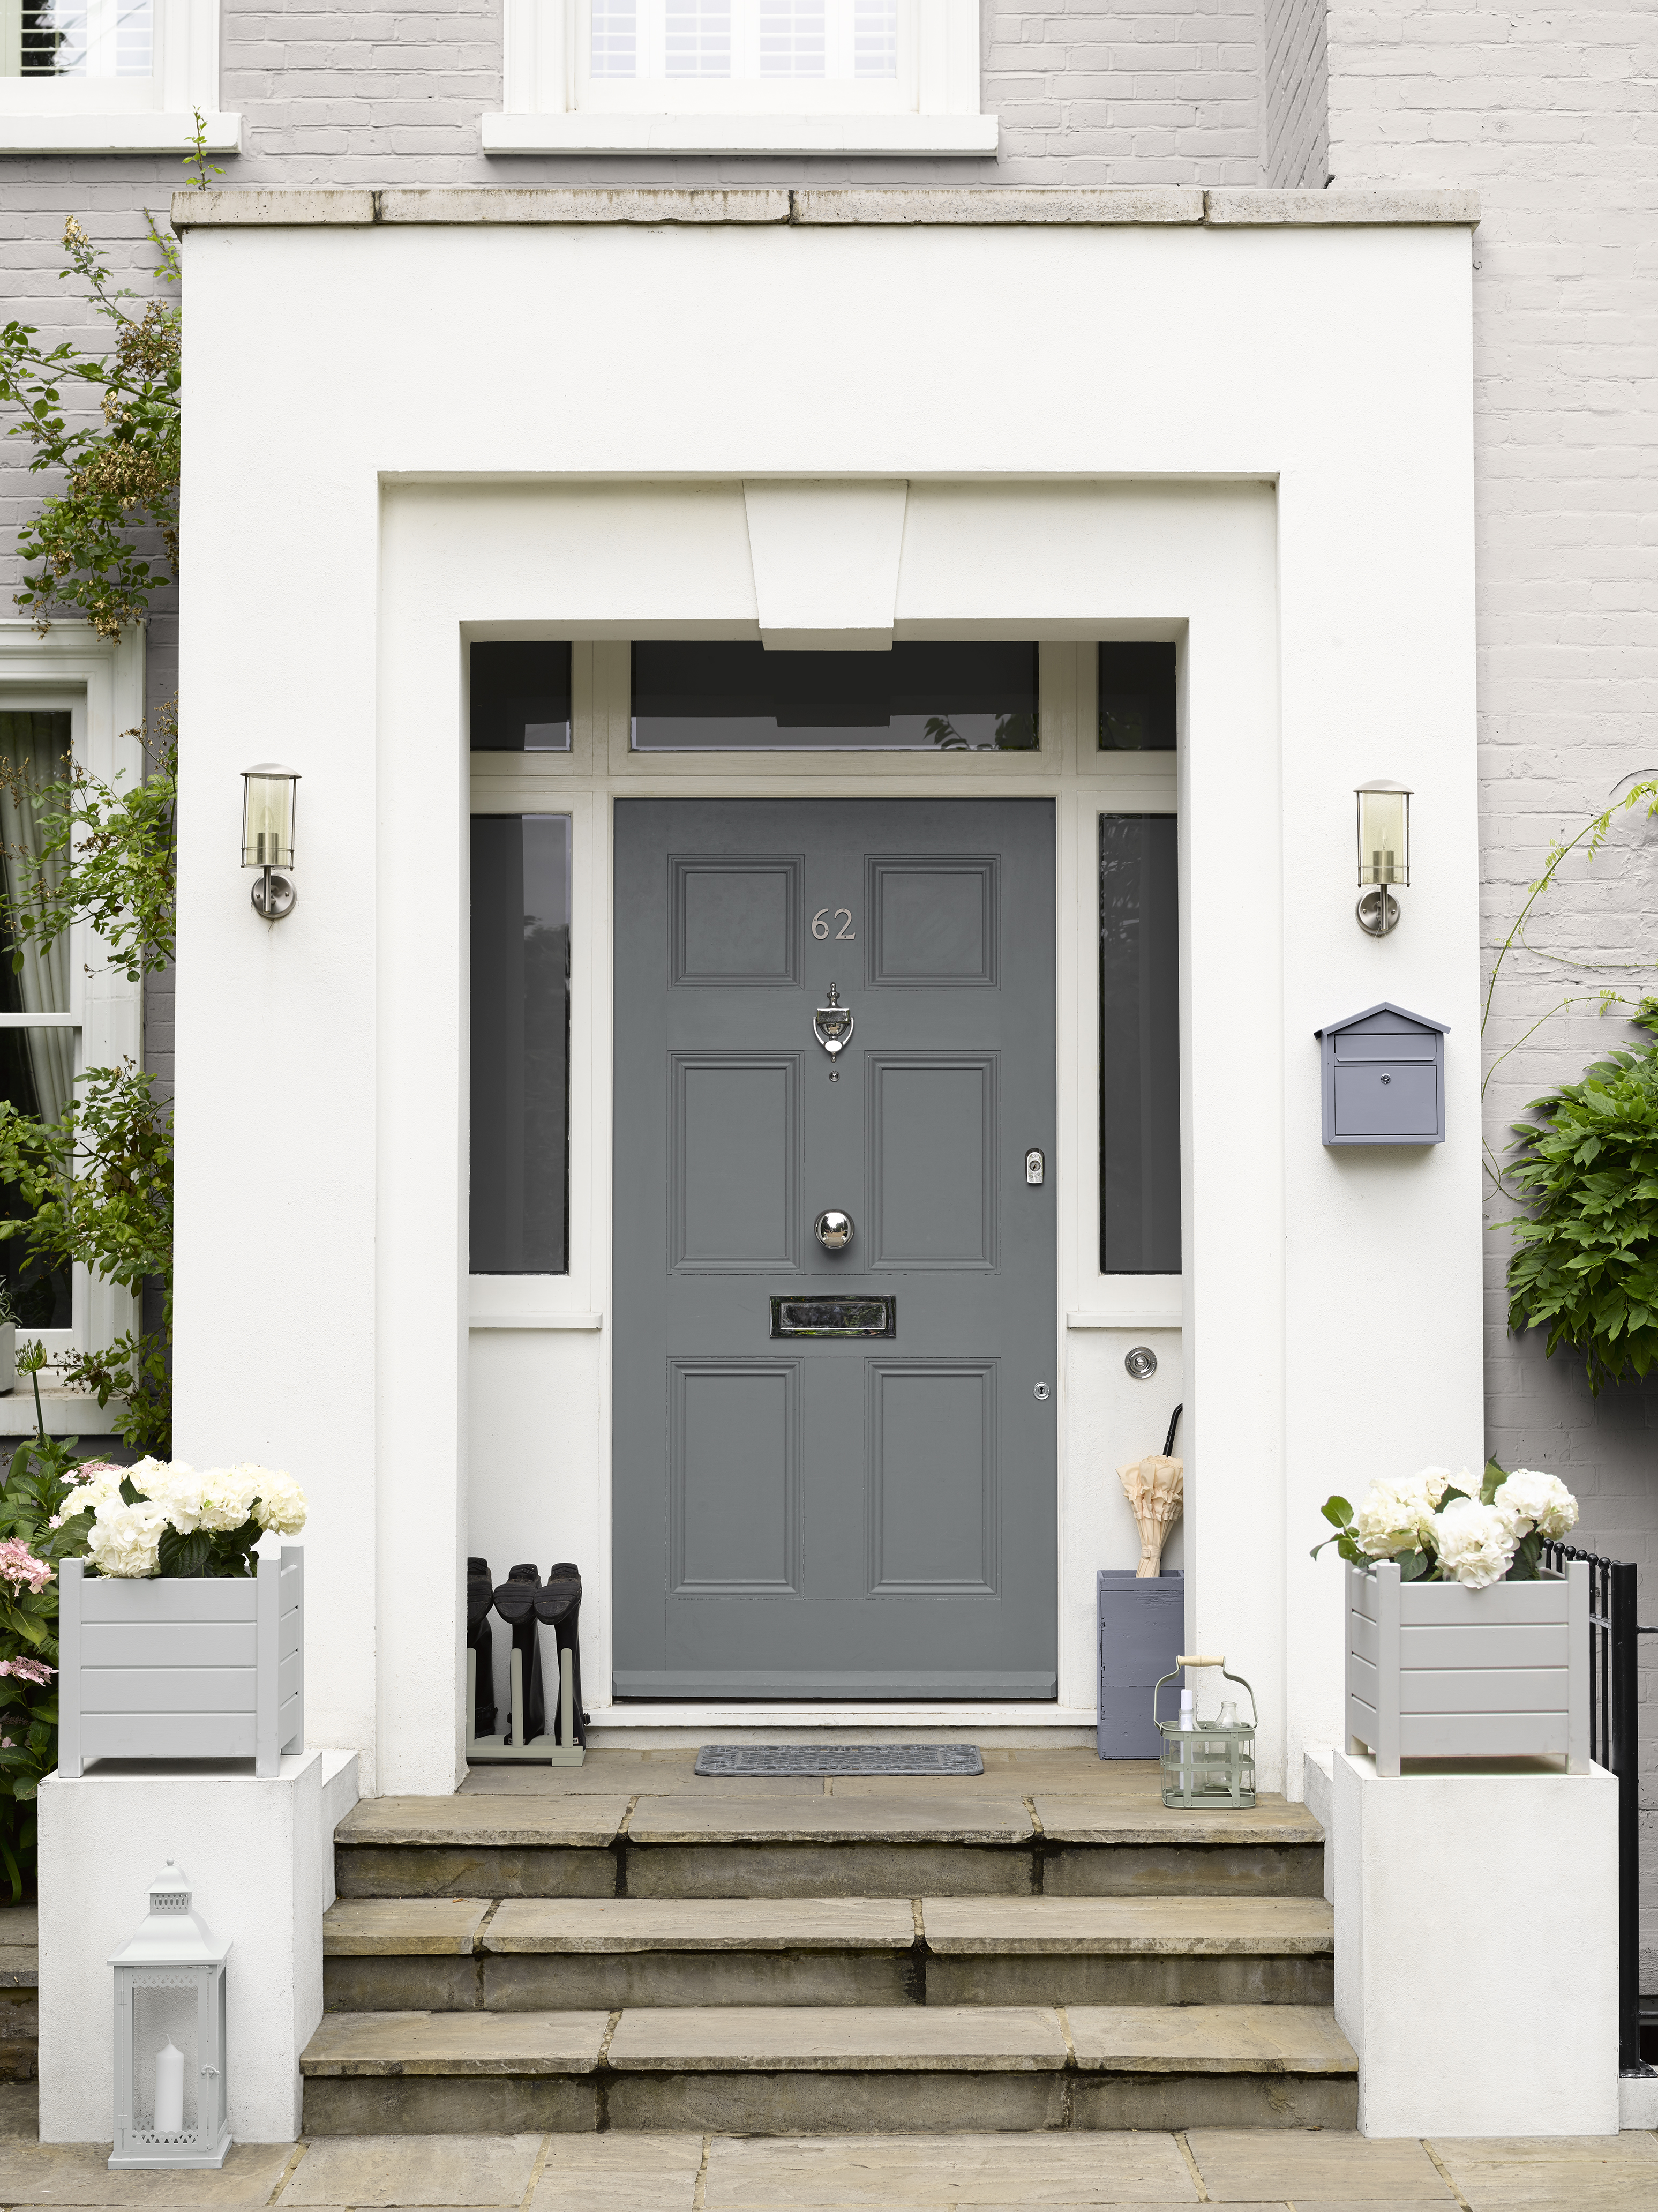
Sandtex Ultra Smooth Masonry Paint in Pure Brilliant White, from £20 for 2.5L, used on this porch, is ideal for painting rendered surfaces as well as pebbledash, concrete and brickwork and if white’s not right for your home, there are 26 colours, too. The door is painted in Sandtex Exterior 10 Year Satin Paint in Seclusion, from £22 for 750ml.
7. Final finishes
Finally, the external rainwater and soil pipes etc. can be reapplied. You can expect the total process to take around three to four weeks.
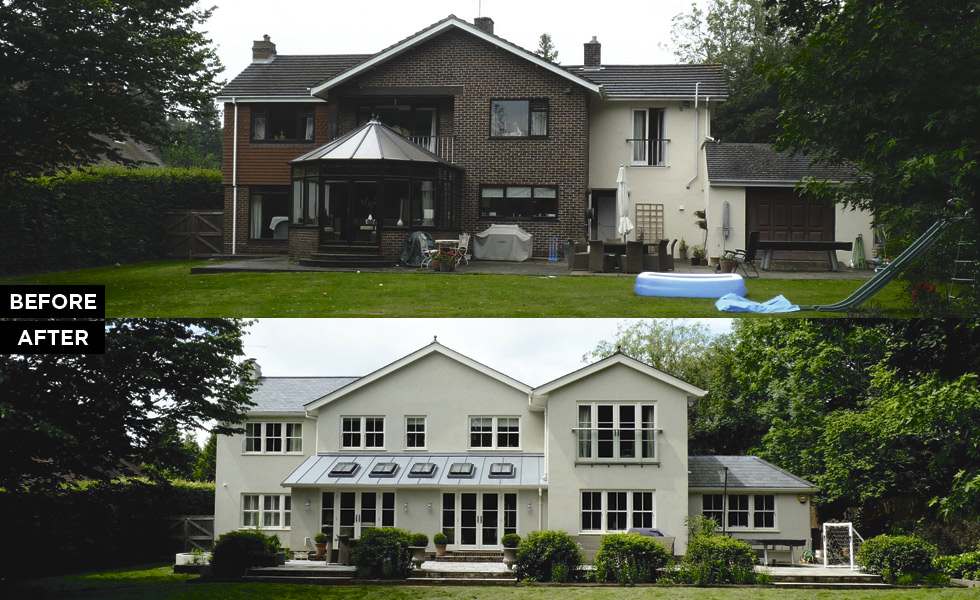
Back to Front Exterior Design transformed the exterior with the removal, resizing and addition of windows, and by applying render and new roof tiles
Do you need planning permission to render your home?
Planning permission isn’t usually required to apply render, providing the house isn’t listed or in a conservation area, and permitted development rights haven’t been removed (visit planningportal.co.uk and check with your local authority).
Rendering work on a substantial part of a house must comply with building regulations. In an older house it is likely that the walls will have to be insulated. This will mean adding insulation within the cavity or, in the case of solid walls, by applying insulation on the inside or outside face of the external walls. It adds to the cost but reduces fuel bills by up to 40 per cent.
Dos and don’ts of transforming your home’s exterior
- DO ensure the changes you make are in keeping with your home’s age and proportions. ‘Rendered walls on period properties can be painted in pastel hues, with architectural features picked out in white,’ says Michael Zucker, a chartered surveyor for estate agents Jeremy Leaf & Co. ‘Pebble-dashed or badly painted walls can be taken back to the brick, clad or rendered. Damaged brickwork can be insulated and rendered.’
- DO consider how the changes you’re planning will fit with surrounding properties. ‘In a terraced or semi-detached house, you need to picture how your house relates to its neighbours,’ adds Michael. ‘In a detached house, more radical treatments can be possible – including alteration of windows, a partial render, tile-hanging or cladding. A design consultant or architect will help you maximise its potential.’
- DO check with a local estate agent that your plans will improve, rather than detract from, your home’s value.
- DON’T miss the opportunity to improve your property’s energy efficiency if you’re rendering your home.
- DON’T forget to keep some of your budget back in case you need to revamp the garden, or surrounding area, once the makeover is finished.
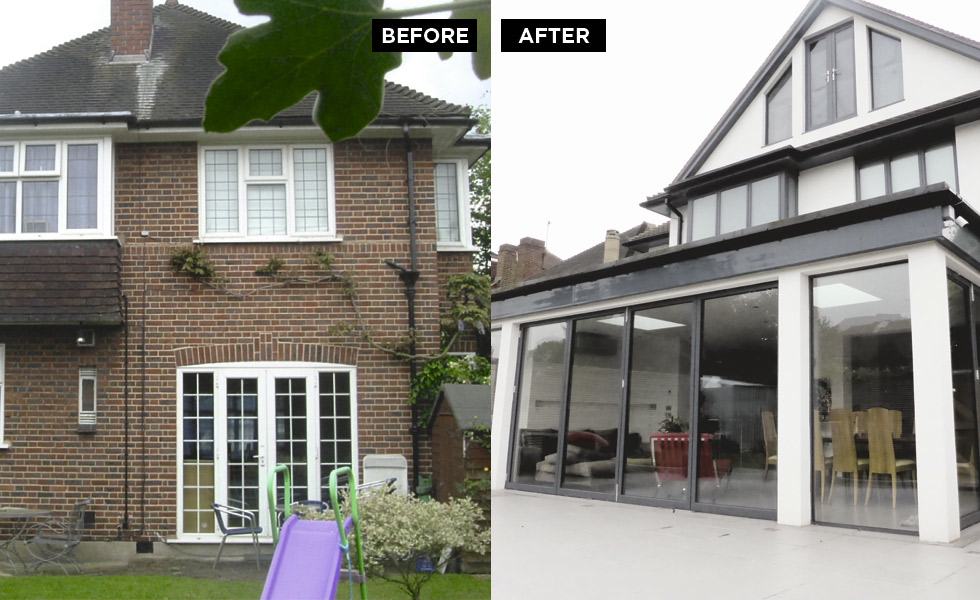
This detached house was transformed by VC Design using Sto render – an insulated panel with the render applied on top. It improved the insulation on the property and its energy efficiency
More on renovating:
- Permitted development rights explained
- The ultimate guide to extending your home
- Single storey extensions: how to plan and cost your build
Join our newsletter
Get small space home decor ideas, celeb inspiration, DIY tips and more, straight to your inbox!
Michael is Director of Content & Product Development for Future Homes. Prior to this he was Editor in Chief of Real Homes magazine, Period Living and Homebuilding & Renovating and he also served as Editor of Homebuiling & Renovating for several years. As well as being an expert in renovation, having presented multiple property TV shows and authoring Renovating for Profit (Ebury, 2008), Michael has a personal and professional interest in self build and helps others achieve their dreams of building a unique home. He is also Deputy Chair of NaCSBA and has campaigned for the self-build sector for many years, regularly sitting with government parties to advise on the industry.
-
 This colourful home makeover has space for kitchen discos
While the front of Leila and Joe's home features dark and moody chill-out spaces, the rest is light and bright and made for socialising
By Karen Wilson Published
-
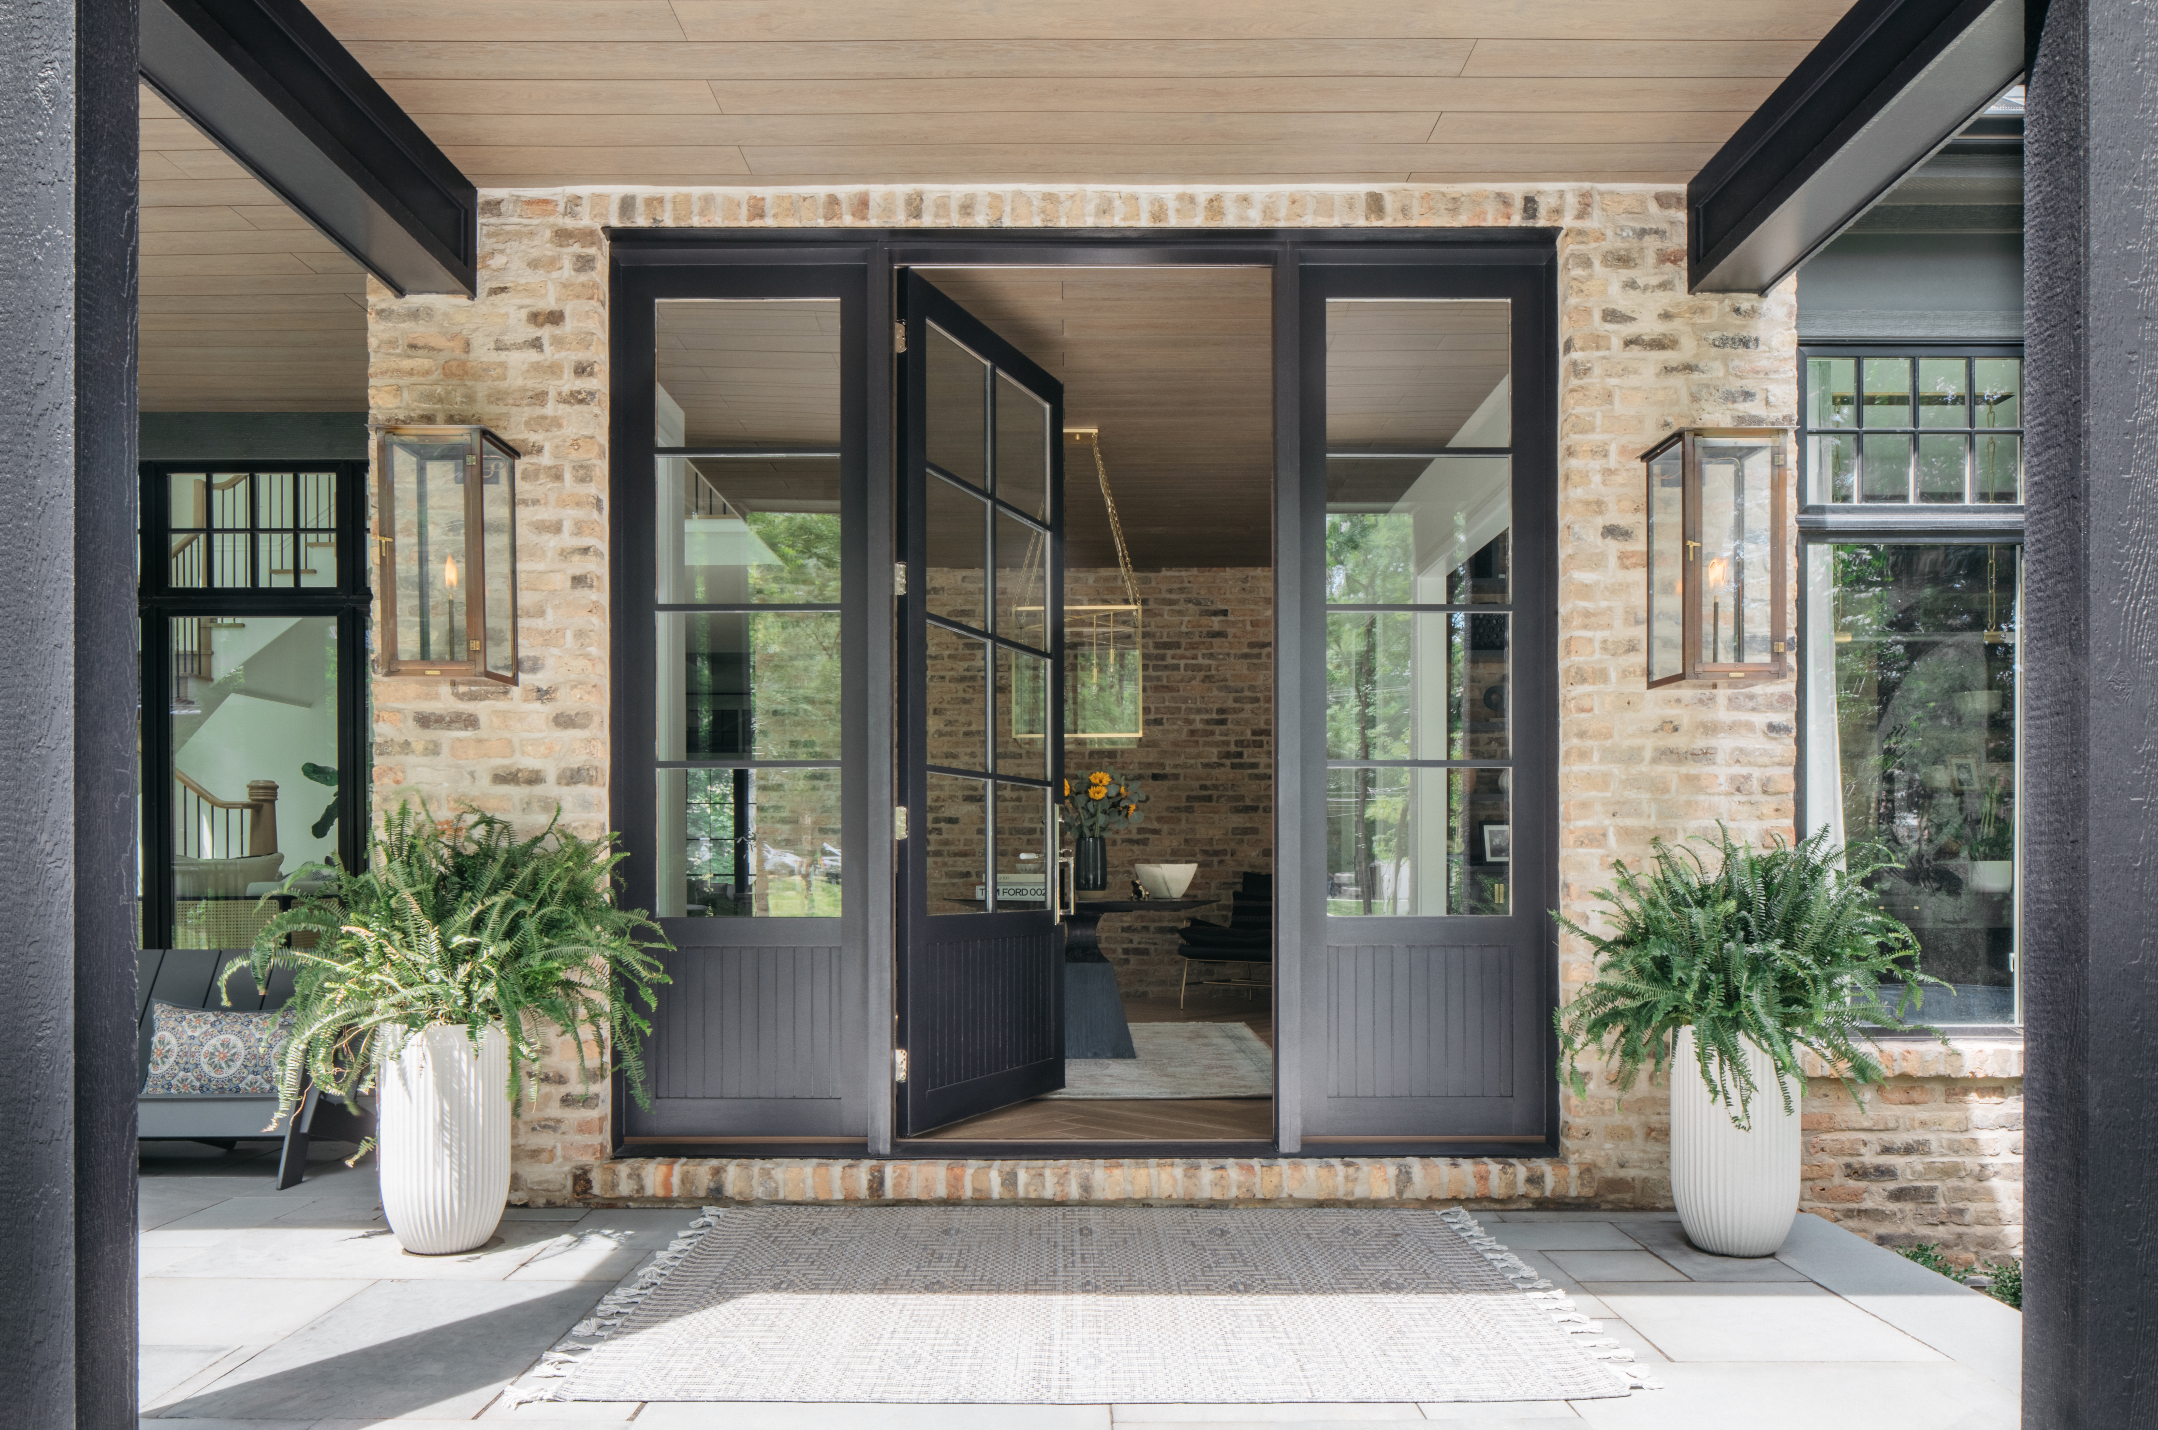 How to paint a door and refresh your home instantly
Painting doors is easy with our expert advice. This is how to get professional results on front and internal doors.
By Claire Douglas Published
-
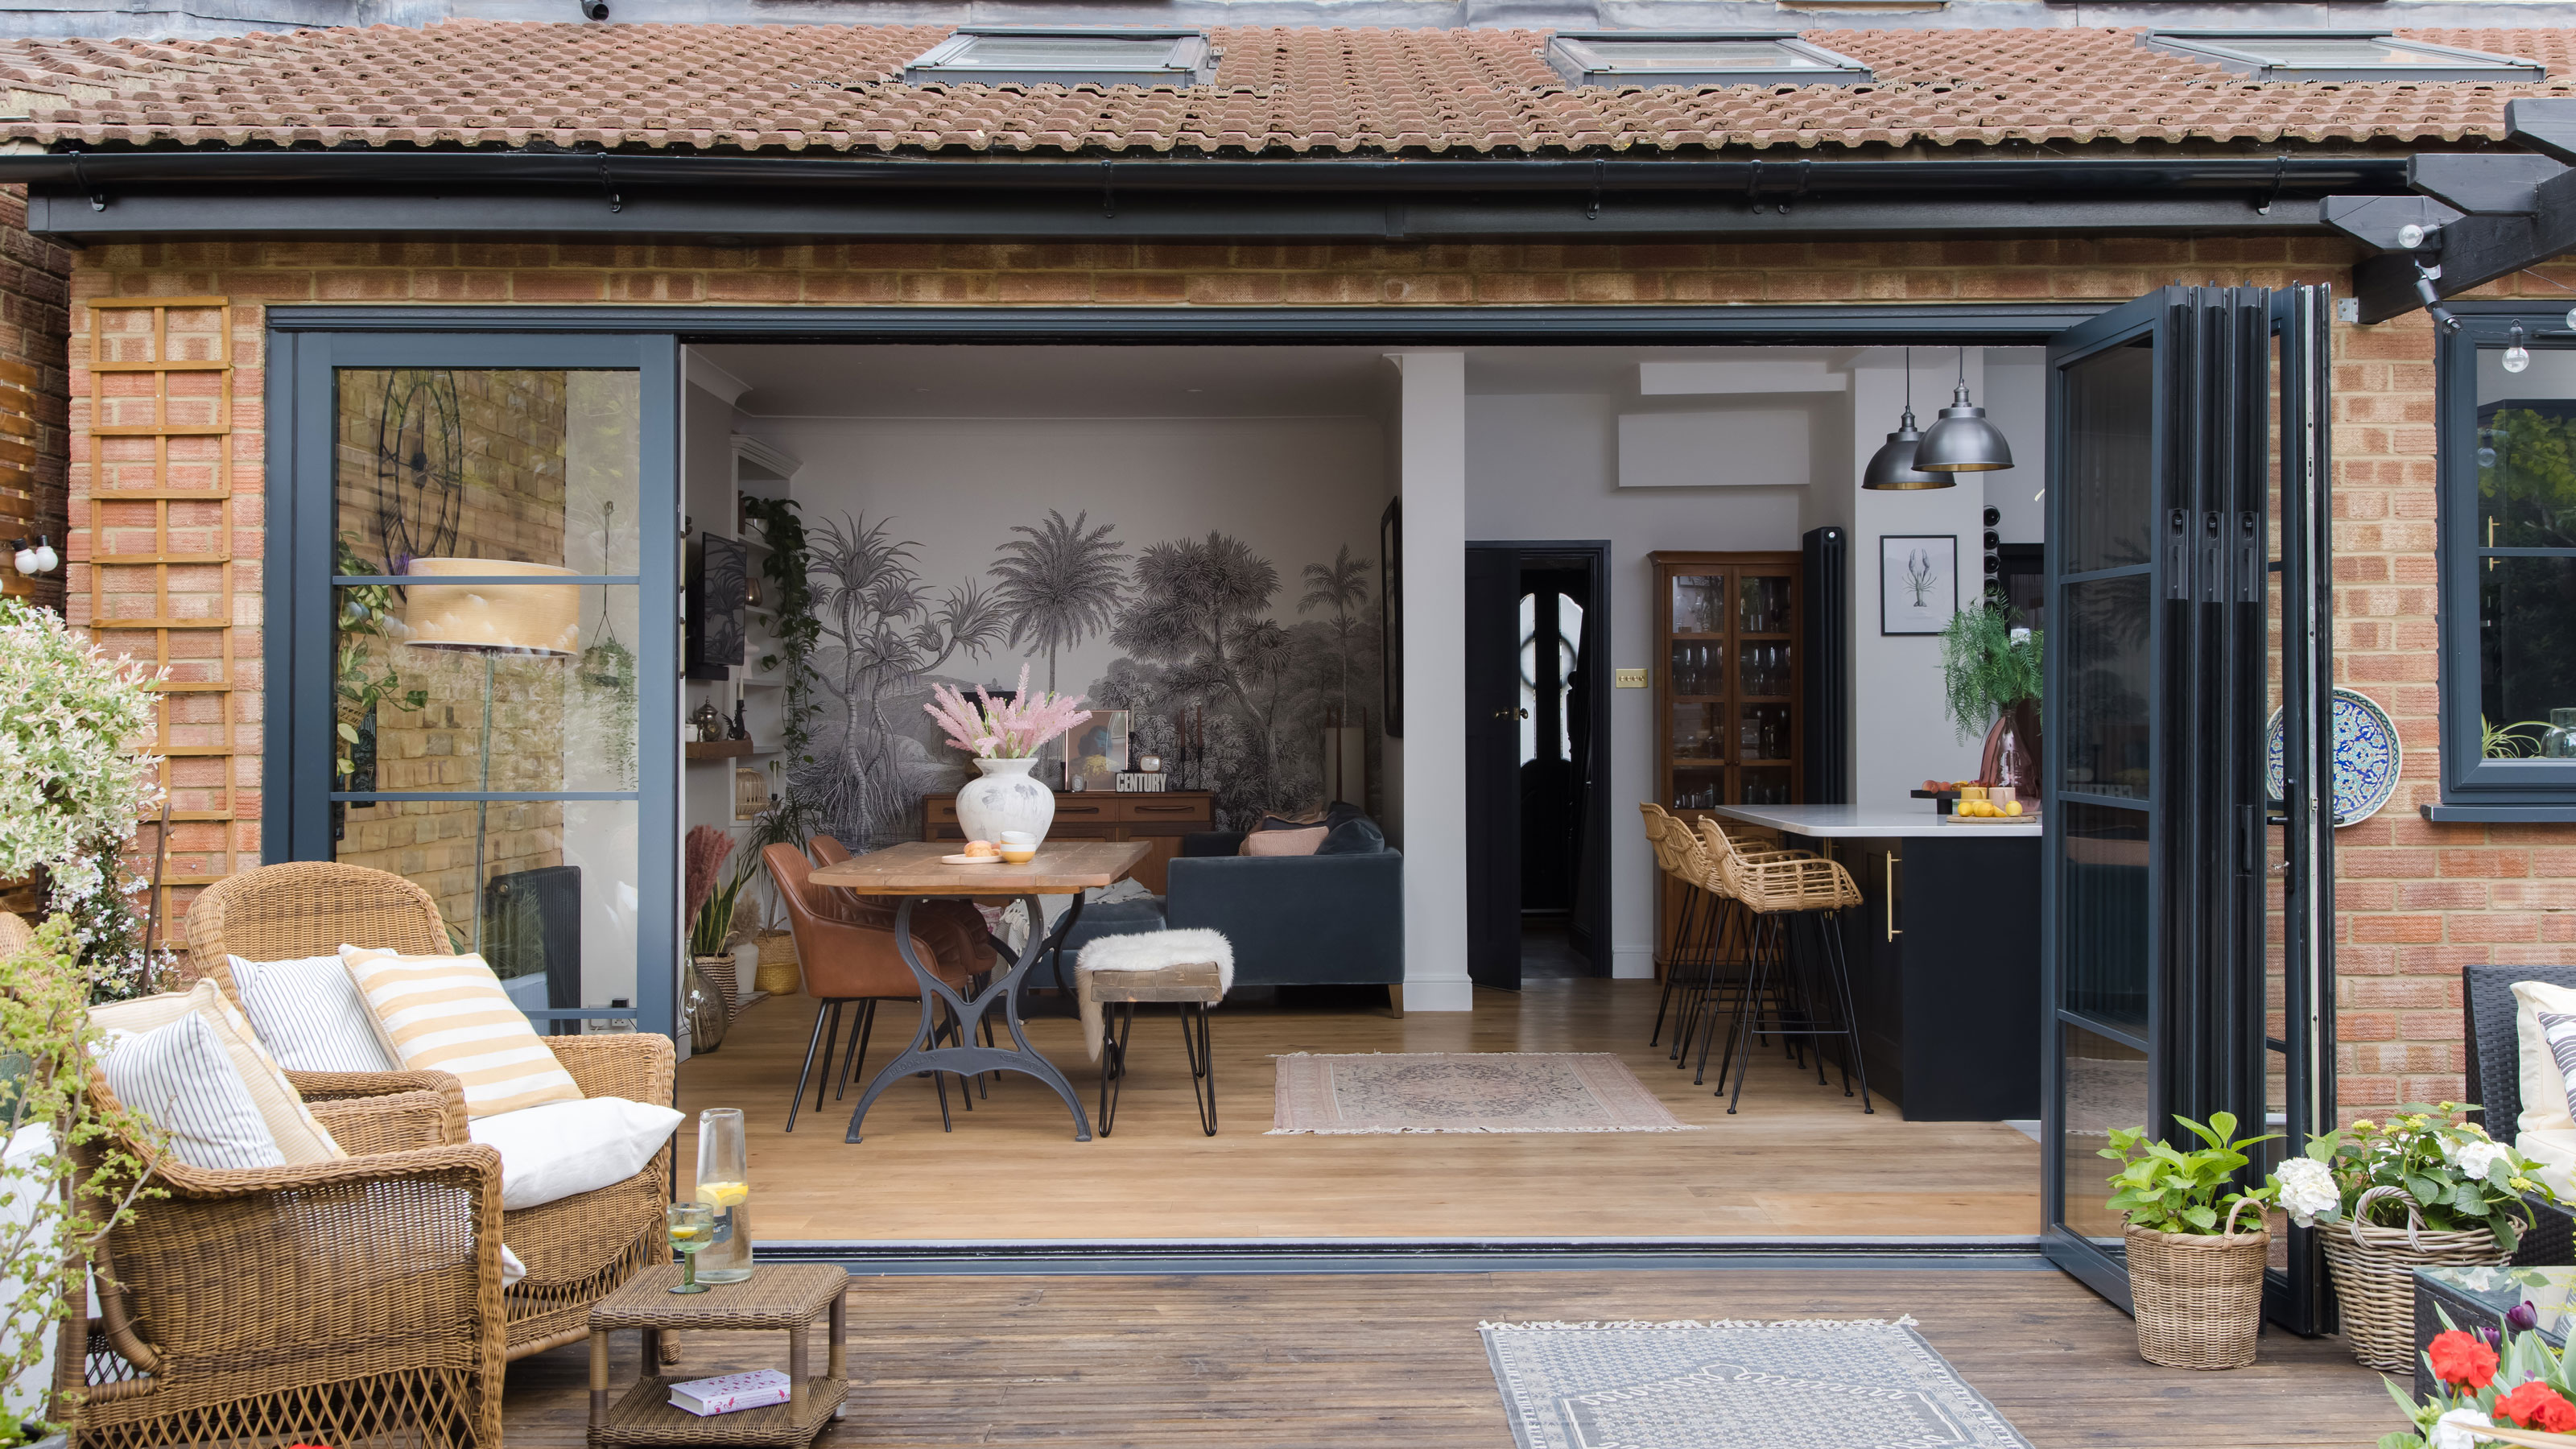 DIY transforms 1930s house into dream home
With several renovations behind them, Mary and Paul had creative expertise to draw on when it came to transforming their 1930s house
By Alison Jones Published
-
 12 easy ways to add curb appeal on a budget with DIY
You can give your home curb appeal at low cost. These are the DIY ways to boost its style
By Lucy Searle Published
-
 How to smooth walls without plastering, according to design experts
Try these ways to smooth walls without plastering — the best ways to prep your walls without needing a skim coat
By Anna K. Cottrell Last updated
-
 5 invaluable design learnings from a festive Edwardian house renovation
If you're renovating a period property, here are 5 design tips we've picked up from this festive Edwardian renovation
By Ellen Finch Published
-
 Real home: Glazed side extension creates the perfect garden link
Louise Potter and husband Sean's extension has transformed their Victorian house, now a showcase for their collection of art, vintage finds and Scandinavian pieces
By Laurie Davidson Published
-
 I tried this genius wallpaper hack, and it was perfect for my commitment issues
Beware: once you try this wallpaper hack, you'll never look back.
By Brittany Romano Published