
Repairing a roof is an unavoidable part of a homeowner's life. Even the sturdiest roof may develop a leak or a hole due to missing material, with anything from the age of your roof to adverse weather contributing to the damage. We have good news, though: most partial roof damage can be repaired without needing to replace the whole roof, and some roof repairs can be done on a DIY basis. It will be a bit of a challenge (hint: you'll need to be confident climbing ladders), but ultimately doable.
Whether you want to learn more about repairing a flat roof or a pitched one, and whether your problem is due to water damage or the overall aging of your roof, this expert advice will help you understand when to get up on that ladder, and when to just call in a professional roofer, plus, what to expect when it comes to roof repair costs...
What are the signs that a roof needs repair?
Fortunately, in most cases, the signs that your roof needs repair are 'extremely obvious', according to Ray Brosnan of Brosnan Property Solutions, a roofer with over 20 years of experience in the trade. Some of these will be visible on the exterior of your home, such as cracked or curling shingles that need replacing or damaged flashing – the 'thin sheets of galvanized steel and aluminum' that are 'designed to prevent water from entering into the roof's structure by re-directing the flow away from the roof seams.'
Other types of damage will be visible from the inside of your home. According to Brosnan, 'if you begin to notice discoloration or water stains on ceilings and walls it may be a sign that your roof's underlayment is beginning to wear, allowing moisture to seep into the home itself which can cause damp and mold issues if left unaddressed.'
The most common types of roof repairs
Amy Feller, Owner of Roofer Chicks, identifies the most common types of roof repair as:
- Missing/damaged shingles
- Leaky flashings (especially chimneys)
- Damage caused by rodents or tree rub
- Replacement of pipe jacks
As Feller puts it, 'we see some crazy things, but those are the things we see the most often.'
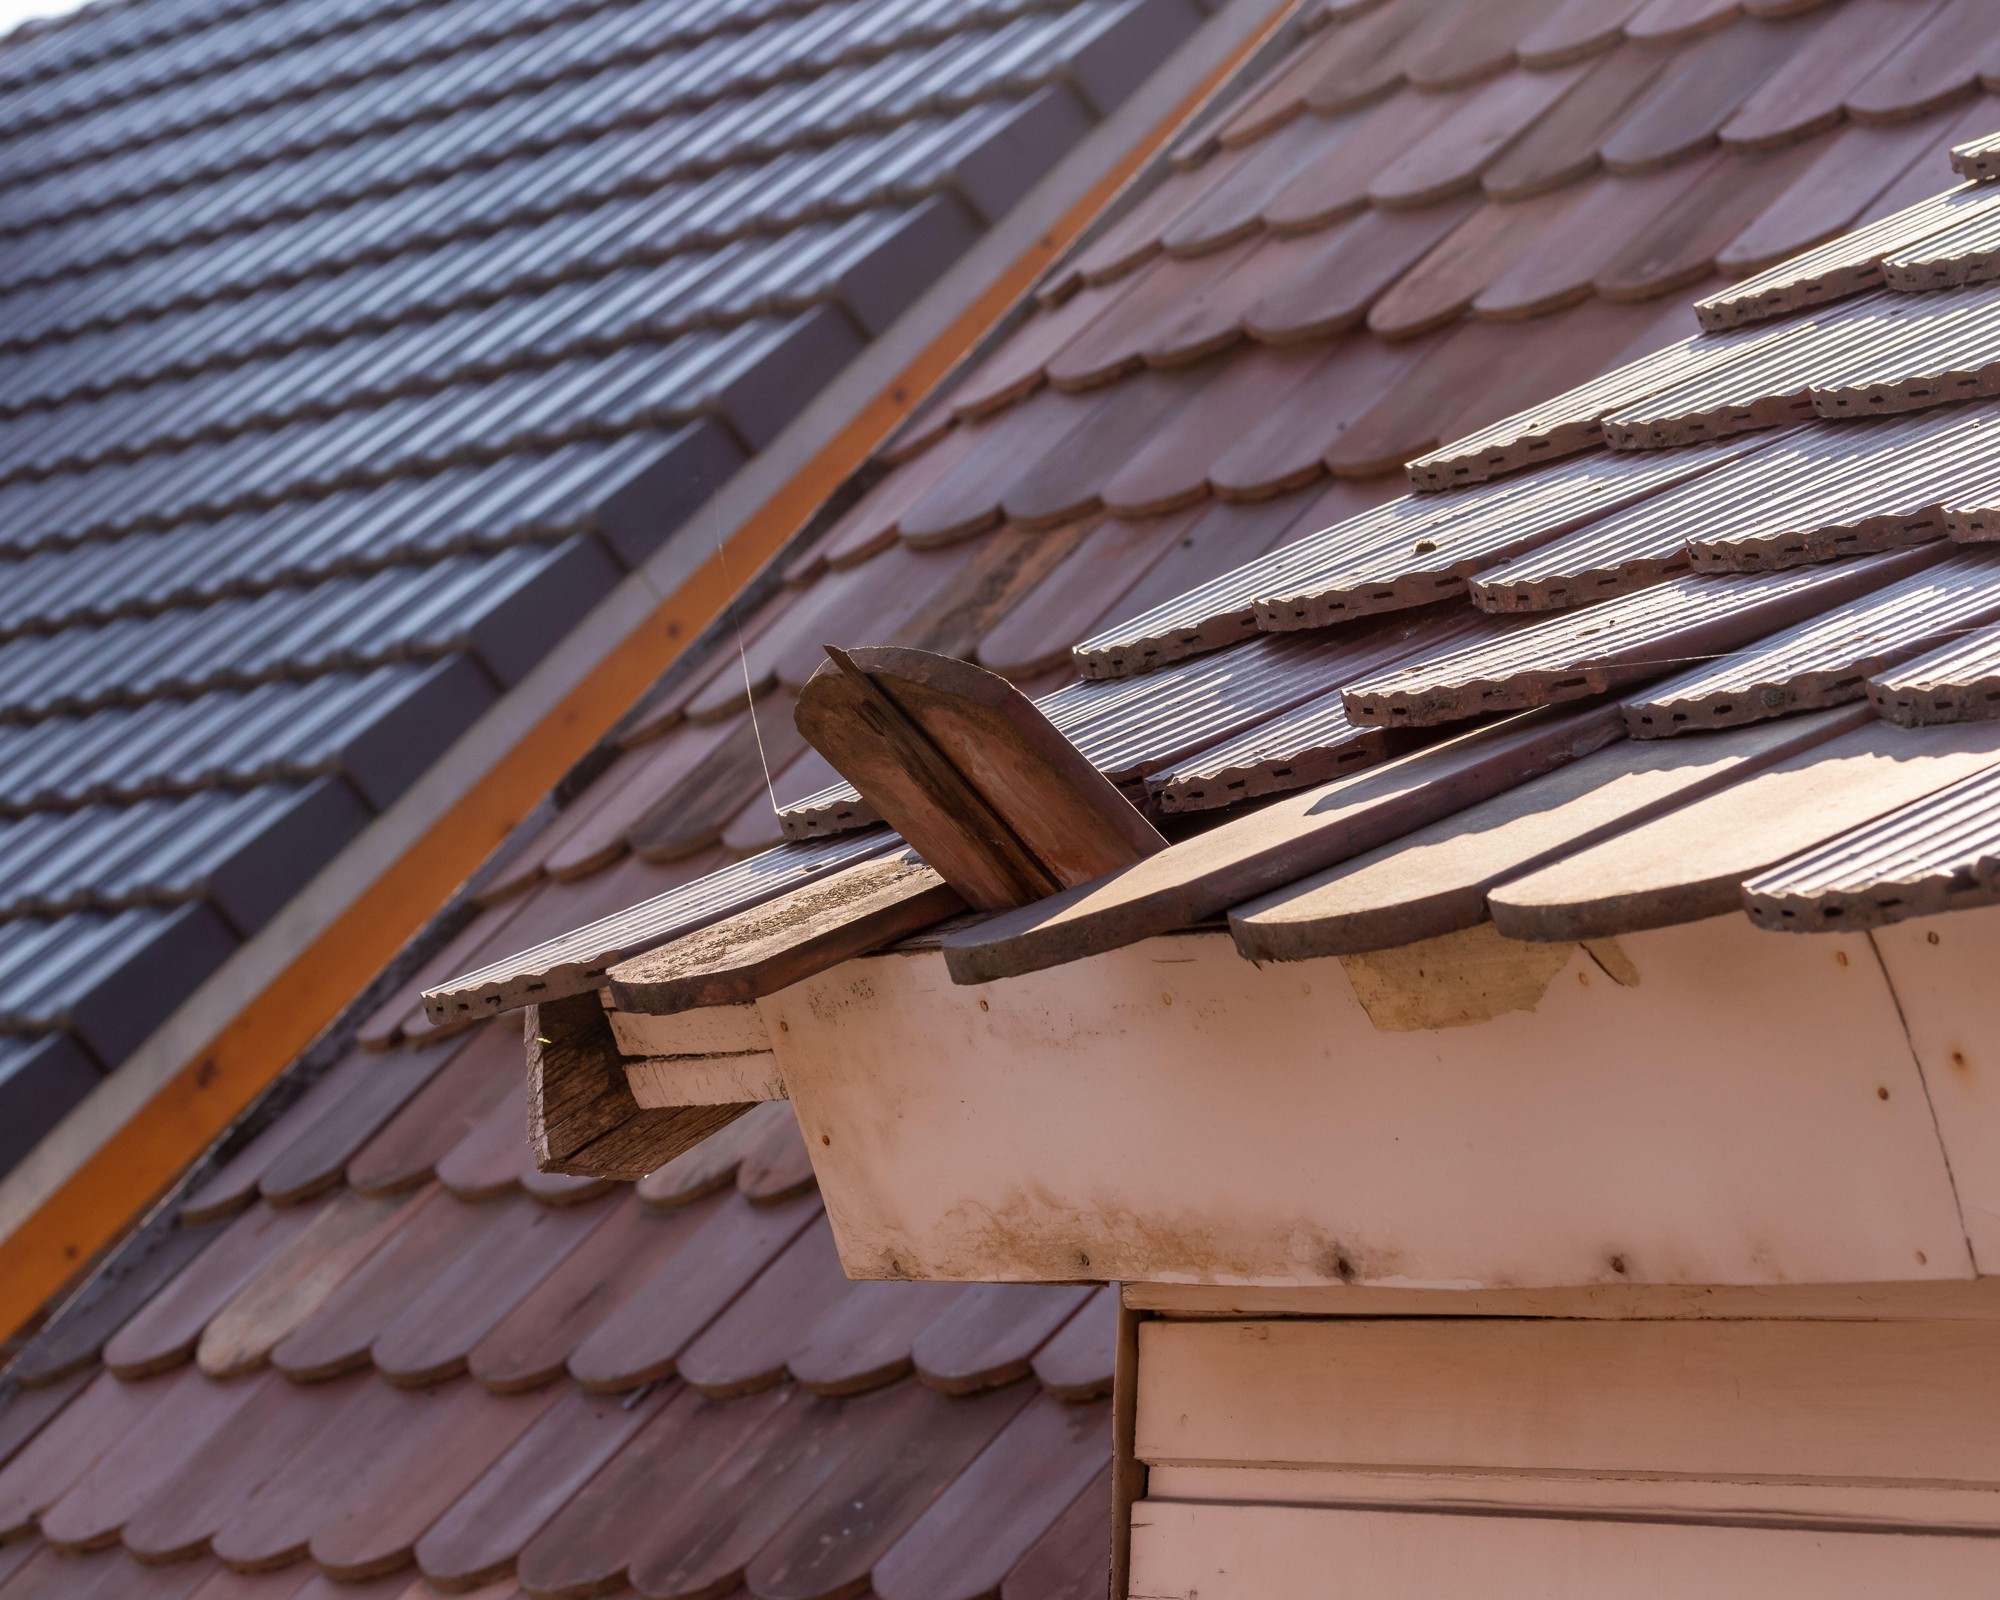
Repair or replace? How to know which one you need
In a nutshell, 'a roof can be repaired if it’s just one area that is having issues and not the entire roof', says Feller. For example, 'if the chimney is leaking, we can generally just reflash the chimney and resolve the issue without replacing the entire roof.'
The most common case where the entire roof needs to be replaced is if the roof is old' because this 'can make repairs difficult to perform, as it’s easy to damage other parts of the roof while making the repairs.' So, if you want to know how to repair an old roof, a replacement will more often than not be the answer.
The other clear-cut case for replacement rather than repair is hail damage, which usually means that 'the entire roof is generally damaged, making “spot” repairs tedious and ineffective.'
Finally, 'the material that was used can affect the repairability of the roof – shingles are very easy to repair but metal roofs can be impossible to repair sometimes, since you have to remove entire panels/sections to access the repair site. Generally, shingle roofs that are younger than 10 years old are fairly easy to make repairs on.'
Repairing a leaking roof
Roof leaks are very common. The good news is that in some cases it's possible to fix a leak yourself. Cameron Way, a roofing expert from Bob Behrends Roofing, names the most common culprits of a residential leaking roof: 'punctures, broken seams, and missing roofing material. Punctures are often caused by fallen tree branches or launched patio furniture during wind storms landing on your roof. Broken seams are a sign of an aging roof or one that wasn't installed correctly. This is one reason why regular roof inspections are important, especially as your roof ages.'
If you want to DIY repair a leaking roof, Way advises the following steps:
1. Inspect the roof exterior
You will have 'to ask yourself if you're comfortable finding and addressing a leaking roof. You will probably have to get into your attic and onto your roof to address the problem. Are you comfortable climbing a ladder and being in your dark attic with loose insulation? Are you comfortable walking around on your roof or on rafters? Do you have the tools, such as
- A drill
- A utility knife
- Screws
- Ladder
- Spare roofing materials
If you have the necessary materials, you can identify the leak. 'Start simple and step outside your house and look up at your roof. If you can't see your roof, you might need a ladder. If you have a drone, you can also use that. Do you see anything obvious, such as an umbrella sticking out of your roof, or a tree branch? You might be surprised how many times we see objects such as these on roofs.'
It's also worth looking around 'to see if you're missing any roofing materials, such as shingles or tiles. If you don't see any missing roofing material, or anything obvious sticking out of your roof, we recommend having a look in your attic, next.'
2. Inspect the roof interior
To inspect your roof interior, you will want to get into your attic. Way recommends doing this right after heavy rain, as 'a leak is more easily found during or right after a rainstorm.' Avoid inspecting the attic on very hot days, and do it in the morning. You will need:
- A mask, so you don't breathe in insulation
- Gloves, so you don't touch insulation or get splinters
- Ladder
- Flashlight. A head-mounted light is best so you can use both hands to climb the ladder, open the ceiling hatch, hang on to wooden beams, etc.
- A long-sleeve shirt and full-length pants, so you don't brush against insulation or get a wood splinter
If you have a stained ceiling, get into your attic, right above the water stain on your ceiling, and start looking around. Watch your head as there are probably nails sticking through the roof deck from above. Keep in mind that water from rain or snowmelt can travel along wood beams or wires in your attic. The leak might not be directly above, for example, the water stain on your ceiling.
3. Move insulation if needed
You will probably have to move some home insulation. Be careful not to compress the insulation. Compressed insulation is far less effective at insulating your house than light and fluffy insulation. Find the stained ceiling and start tracing back from there. You should see dark streaks on the otherwise light-colored boards, and/or deteriorating insulation. Follow this trail until it ends. Once this trail ends, you will need to find this same location outside. Outside, you might find either a hole from a puncture, or missing roofing material, or a broken seam.
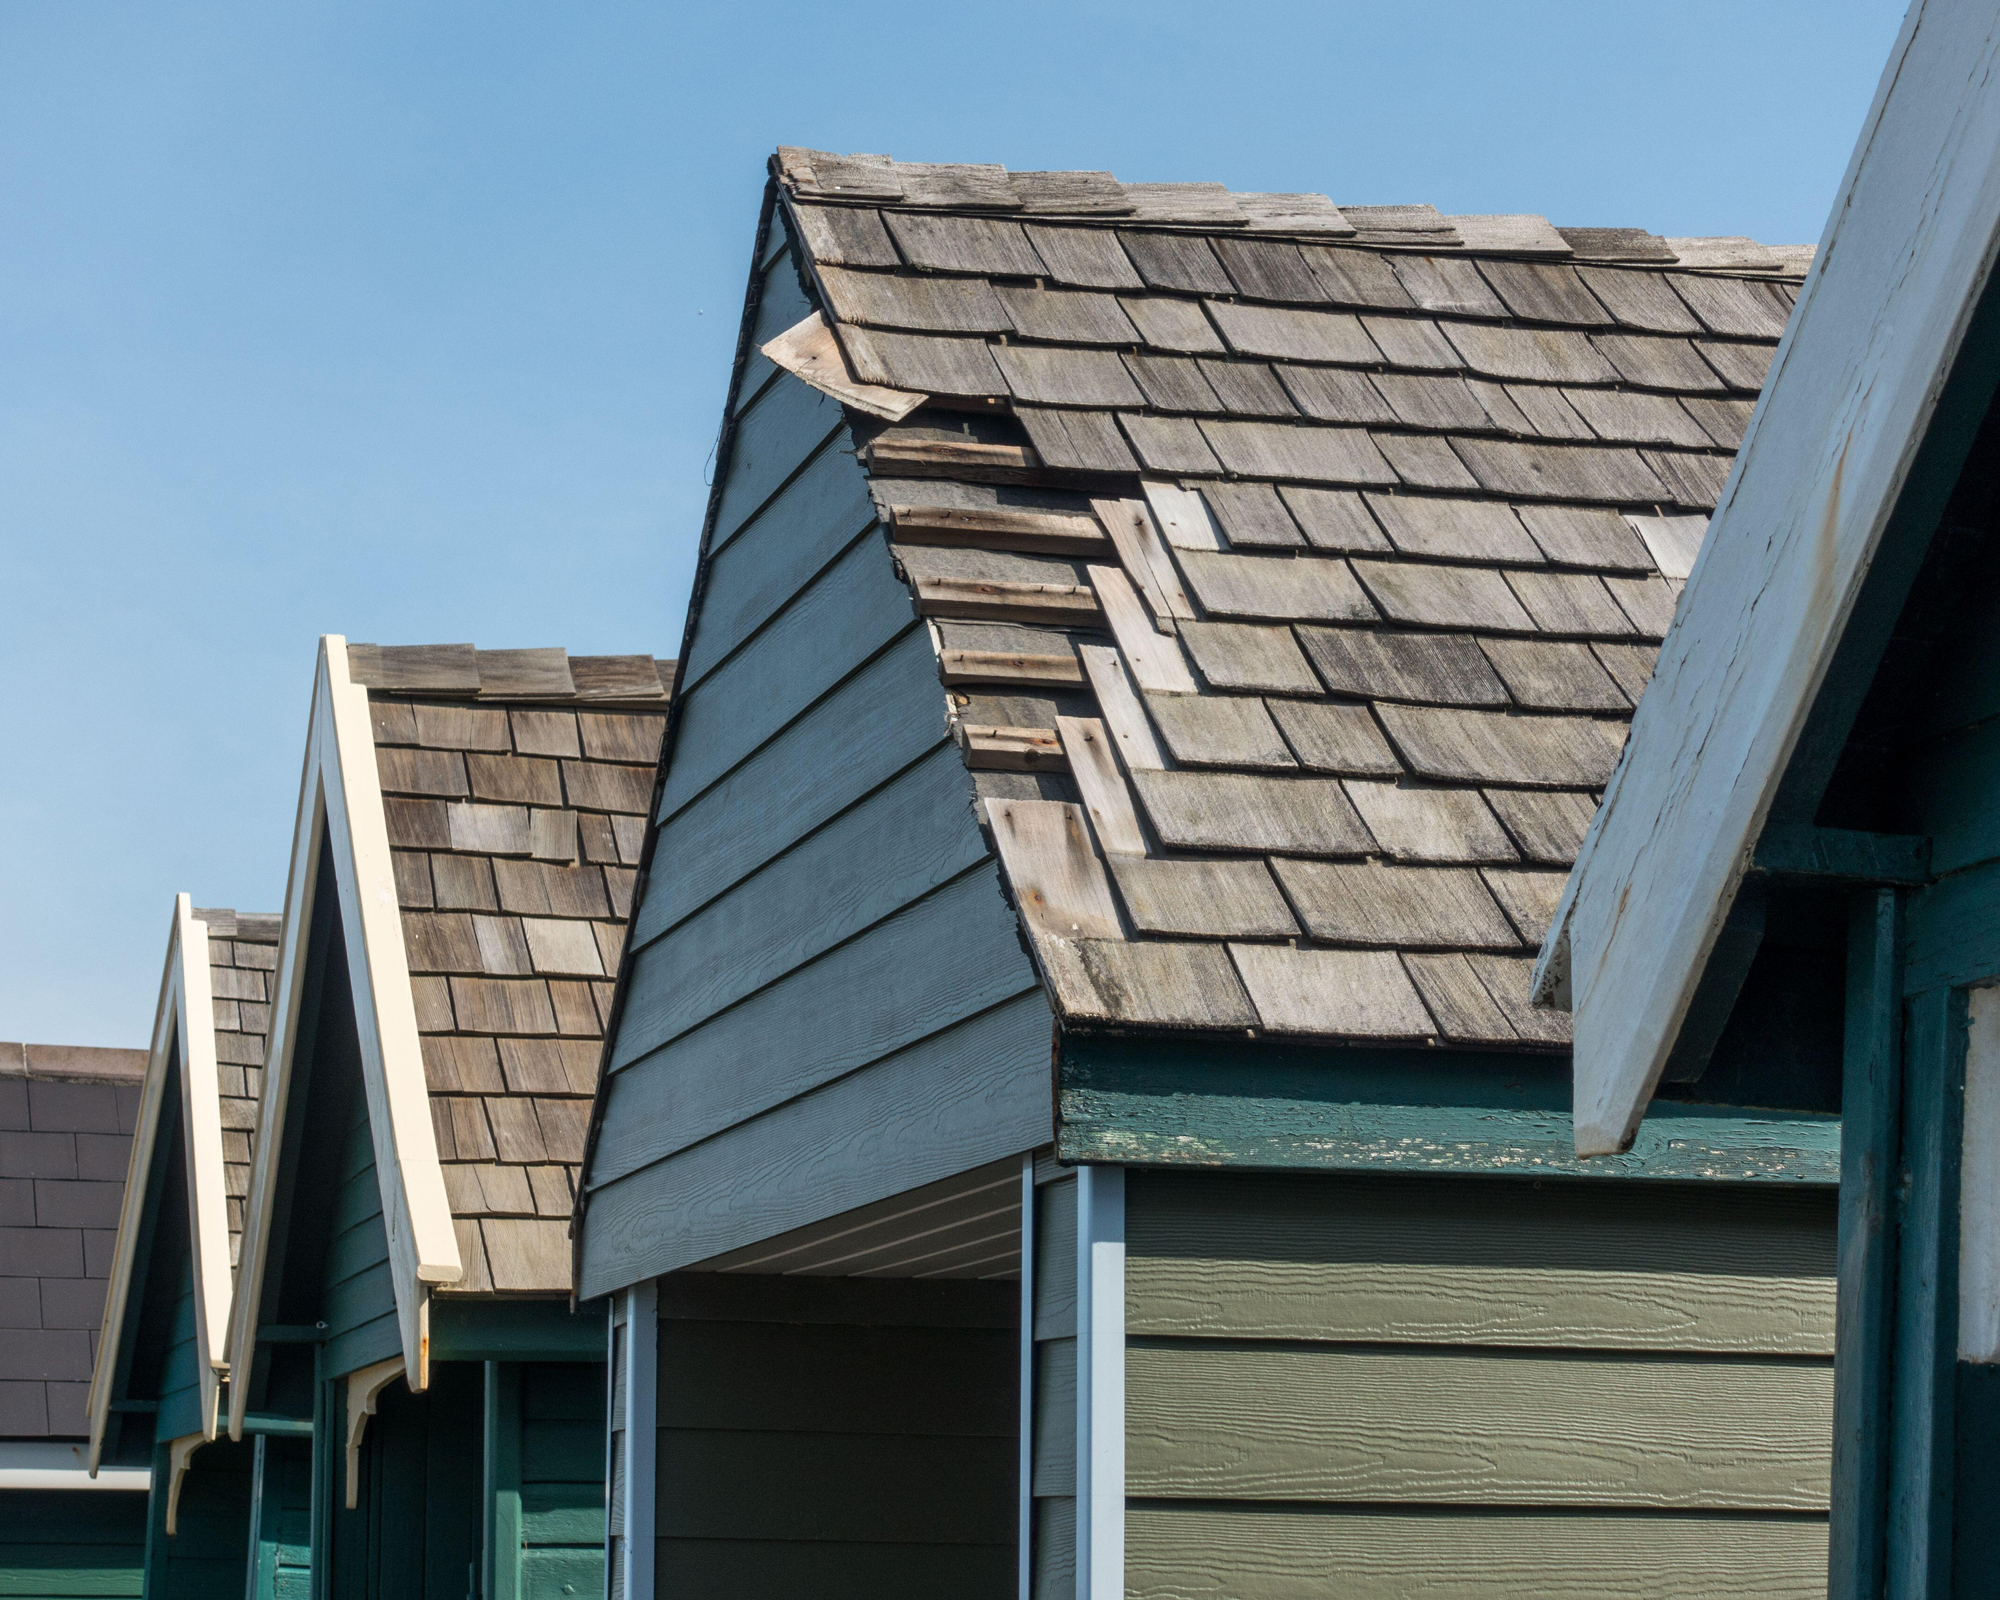
Repairing a roof shingle
Missing asphalt shingles are a very common cause of leaks. To repair a roof shingle you will need:
- A putty knife
- Wood filler
- A pry bar
- A hammer
- Roofing sealing tape
- Asphalt shingle, whole or scrap
- Construction sealant
- Gloves
1. Pry up the damaged shingle
Way advises that 'to repair a small hole, the size of quarter or less, in asphalt shingles, pry the damaged shingles up with a pry bar and/or putty knife, trying not to do further damage to the good shingles. Remember, shingles are layered, so you may need to lift-up two or more.
2. Insert a wedge under the damaged shingles
If you're working on multiple damaged shingle, you'll want to insert a wedge under each of them as you work. This will help you see exactly what you're doing, which shingles have been replaced and which still need doing.
3. Fill in any holes
If there's a hole in the roof deck, ideally you should fill it with wood filler. Cut a piece of tar paper about 6" and apply construction sealant just inside the border. Place that tar paper over the damaged area.
4. Replace the damaged shingles
Place that tar paper over the damaged area. Tear or cut a piece of asphalt shingle about 6”, apply construction sealant to the underside around the edges, and place it over the damaged area. Use a few roofing nails, also, to secure it down.
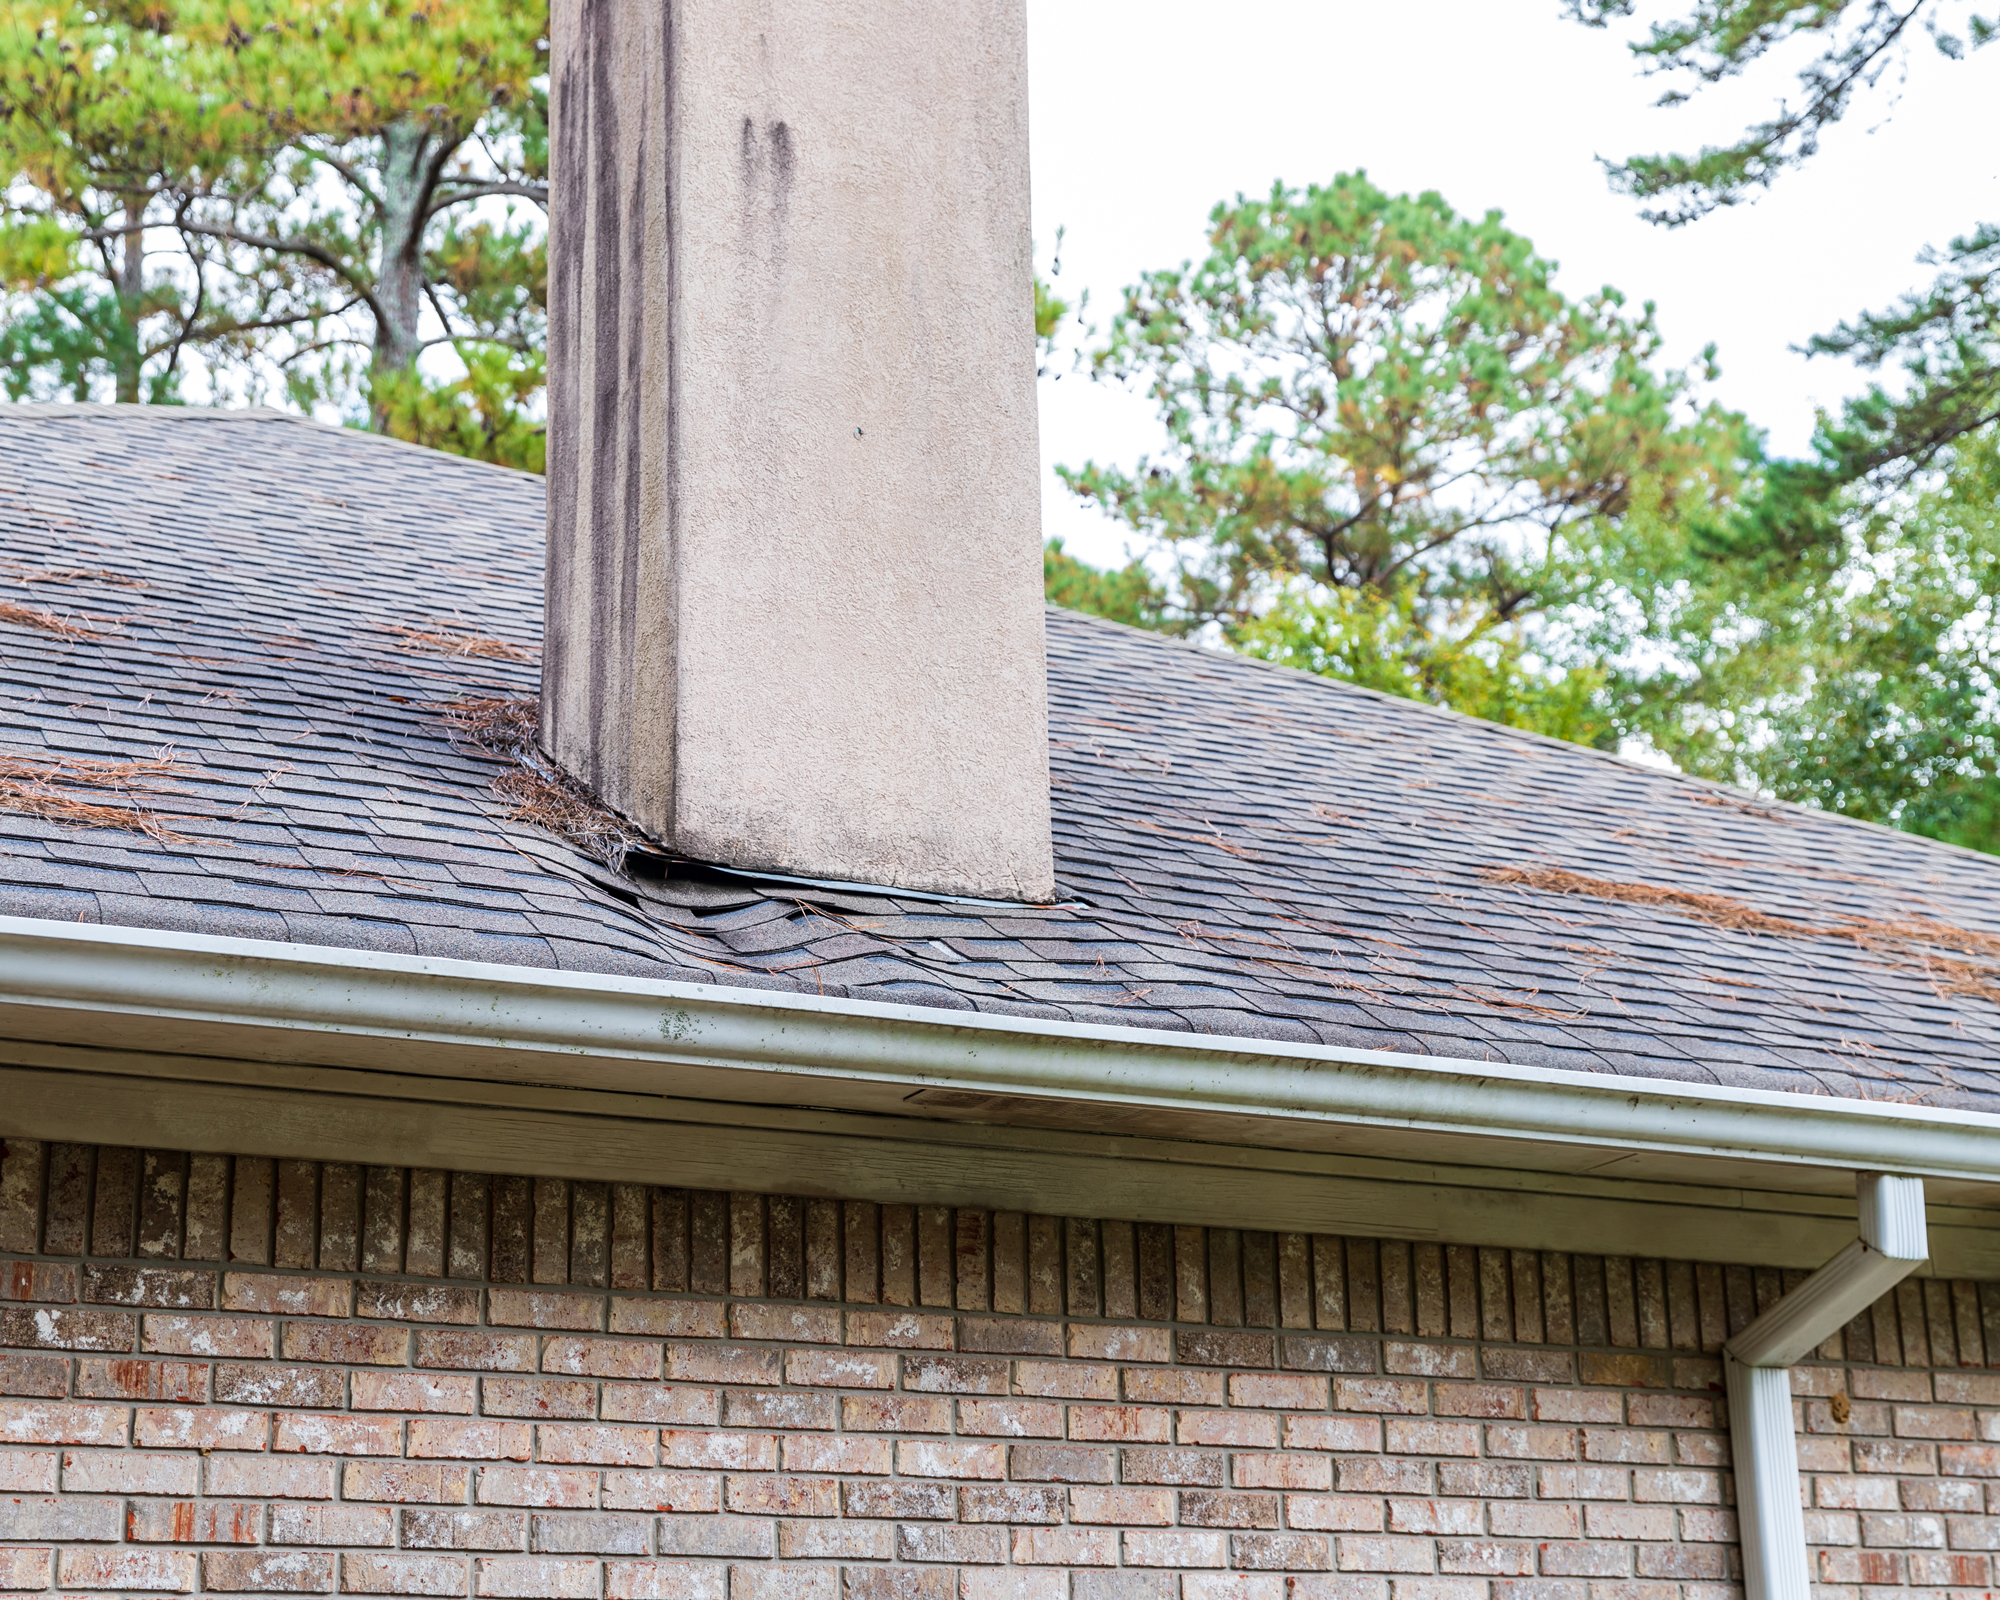
Repairing roof flashing
1. Repair damaged flashing seals
Typically, damage to flashing is along the seals. Way explains that 'damaged seals are dry, stiff and cracked. If this is what you see, this might be where your leak is. You can apply more flashing sealant over the dry cracked sealant.'
2. Repair bent flashing
If you see bent flashing (thin sheet metal around parts of your roof, such as pipes), you will have to bend it back into place and reseal it. Take a utility knife and carefully try to remove any sealant from the area of the flashing where the seal was broken. Remember, bending flashing back into place can be difficult to get straight and tight against the pipe. Be patient and wear gloves. Pliers come in handy, here.
3. Know when to replace damaged flashing
If the flashing is seriously damaged or cut, it might need replacing. If this is the case, you will have to lift up or remove the roofing material around, as the flashing goes underneath it.
Repairing a flat roof
Repairing a flat roof is one of the relatively easy exterior repairs and can be done very easily in three simple steps. Unlike with a shingled or tiled roof, you don't have to do a painstaking inspection with a flat roof to identify where the leak is. The best course of action is to just reseal it all. You will need:
- A stiff brush with natural bristles
- A multi-purpose primer
- A liquid rubber sealant
- A long-handle roller
1. Prep the roof by cleaning it
First, clean off any debris and dirt using the clean brush. You will need to do this on a dry day.
2. Apply primer
Now, apply the primer in a thin, even coating using the roller. The primer will work as an adhesive and make the sealant stronger.
3. Apply the sealant
Now it's time to apply your sealant. For best results, pour a little sealant out at a time and spread it out with the roller. Then use the brush to coat the outside edges of your roof. If you want you can skip the primer and go straight in with the sealant, although the result won't be quite as long-lasting.
DIY vs. professional roof repairs: which is better?
As we've seen, many common roof repairs can be at least attempted on a DIY basis. However, if your roof has an unusual shape, is old, or you can't easily identify the leak, it's best to call in a professional roofer. Scott Dawson, Senior CARE Trainer at roofing company GAF, shares a few top tips for actions on your part that will make the process easier on you, your home, and your contractor:
- Choose a contractor who is experienced, reputable and established in your community.
- Select your roofing shingle by considering its style, durability, cost, and the climate where you live.
- Get a few quotes before making a decision and ask questions to understand the costs.
- Know your budget - a new roof can be expensive, and knowing your budget or financing options can help you choose the right roofer and products.
- As a courtesy, let neighbors know when your new roof will be installed.
How much should you budget for roof repairs?
The total cost will depend on several factors, including the material, extent of damage, and your location. As a very basic guideline, Feller advises that the minimum repair charge is likely to be somewhere around $450. However, 'to reflash an entire chimney and build a new cricket/saddle on it we charge $2500! There is a fairly wide range for what a repair can cost depending on what is being repaired and how difficult the repair area is to access. Sometimes the issue is so simple we are able to just simply fix it and not charge a fee at all.'
Don't be afraid to contact a professional roofer – the fix may not cost as much as you think.
Join our newsletter
Get small space home decor ideas, celeb inspiration, DIY tips and more, straight to your inbox!
Anna is a professional writer with many years of experience. She has a passion for contemporary home decor and gardening. She covers a range of topics, from practical advice to interior and garden design.
-
 How much do roof repairs cost? Whether to replace or fix yours
If your home doesn’t require a roof replacement, what will different roof repairs cost you?
By Carol J. Alexander
-
 Real home: a glazed-roof kitchen extension
Lara and Andrew Dearman extended their property sideways to create a practical family room with a pared-back Scandinavian style
By Debbie Jeffery
-
 Using Green Roofs to Control Flooding
Making hard surfaces into water retention areas will make rainwater easier to manage.