
Exposed timber beams convey an endearing picture of ‘home’ to many people. But more than just attractive features, they provide a vital load-bearing function in a period building, typically spanning from wall to wall. Historically oak was the traditional native species chosen for beams in the UK, although elm, ash and other types of timber were also used.
Old timbers should not be needlessly replaced or their surface finishes removed without careful consideration. The replacement of beams will nearly always reduce the special interest of an old house. Sandblasting or aggressive cleaning not only damages the wood but can destroy traces of early decoration.
When to repair old timber beams
Old beams are robust by and large but may suffer decay (particularly at their ends) or distortion. While conventional carpentry techniques employing well-seasoned, matching new timber will frequently be suitable to address these defects, the use of steel may be justified where it allows more of the existing beam to be retained than would otherwise be possible. Use resins and consolidants, but only with great care.

Should I strip them back?
In recent times, the trend has been towards removing black coatings from beams, which was a popular addition in the 19th and 20th centuries. This can prove a painstaking, messy job. The wood is also often lightened, for instance, with liming wax or casein-based paint.
Generally, cleaning is best achieved by simply brushing beams or washing them judiciously with warm water. Should you decide to remove an inappropriate black finish, chemical strippers can work well (although it is important to first test areas).
Seriously consider whether exposing a beam is really appropriate and remember listed building consent may be required. Little is gained, say, from uncovering timbers boxed in during the Georgian period if the rest of a room features modern finishes.

When to replace original beams
The use of new timbers may be justified in certain circumstances, perhaps to replace unsuitable modern ones or offer an immediate impression of characterful comfort when building an extension. Good quality European green oak is a sound choice.
If you feel it necessary, the wood can be treated with a beeswax and turpentine polish or micro-crystalline wax. This is often preferable to polyurethane varnish, stains or modern gloss paint.
How much do new beams cost?
- New timbers cost from around £30 for 3m
- Reclaimed beams cost from around £150

A short history of timber beams
- Medieval timbers supporting the upper floors of houses were exposed to view.
- In higher status rooms, they might be moulded or ‘chamfered’ (have their angles splayed off), with the chamfer terminations (‘stops’) forming different patterns at the ends.
- The differing details can indicate the approximate age of a beam – although not necessarily a ceiling itself, because beams were sometimes reused.
- Traces of plain or decorative paint finishes may also survive on old beams, although might not be readily apparent.
- Ornamental plaster ceilings were popular by the late-16th century and could hide beams as well as the joists between them.
- By the 18th century, exposed timbers were rare in all but the humbler houses; where not concealed completely, they were normally encased in boarding or plaster.
- However, come the 19th and 20th centuries, they were not only being exposed once again but also blackened artificially.
-
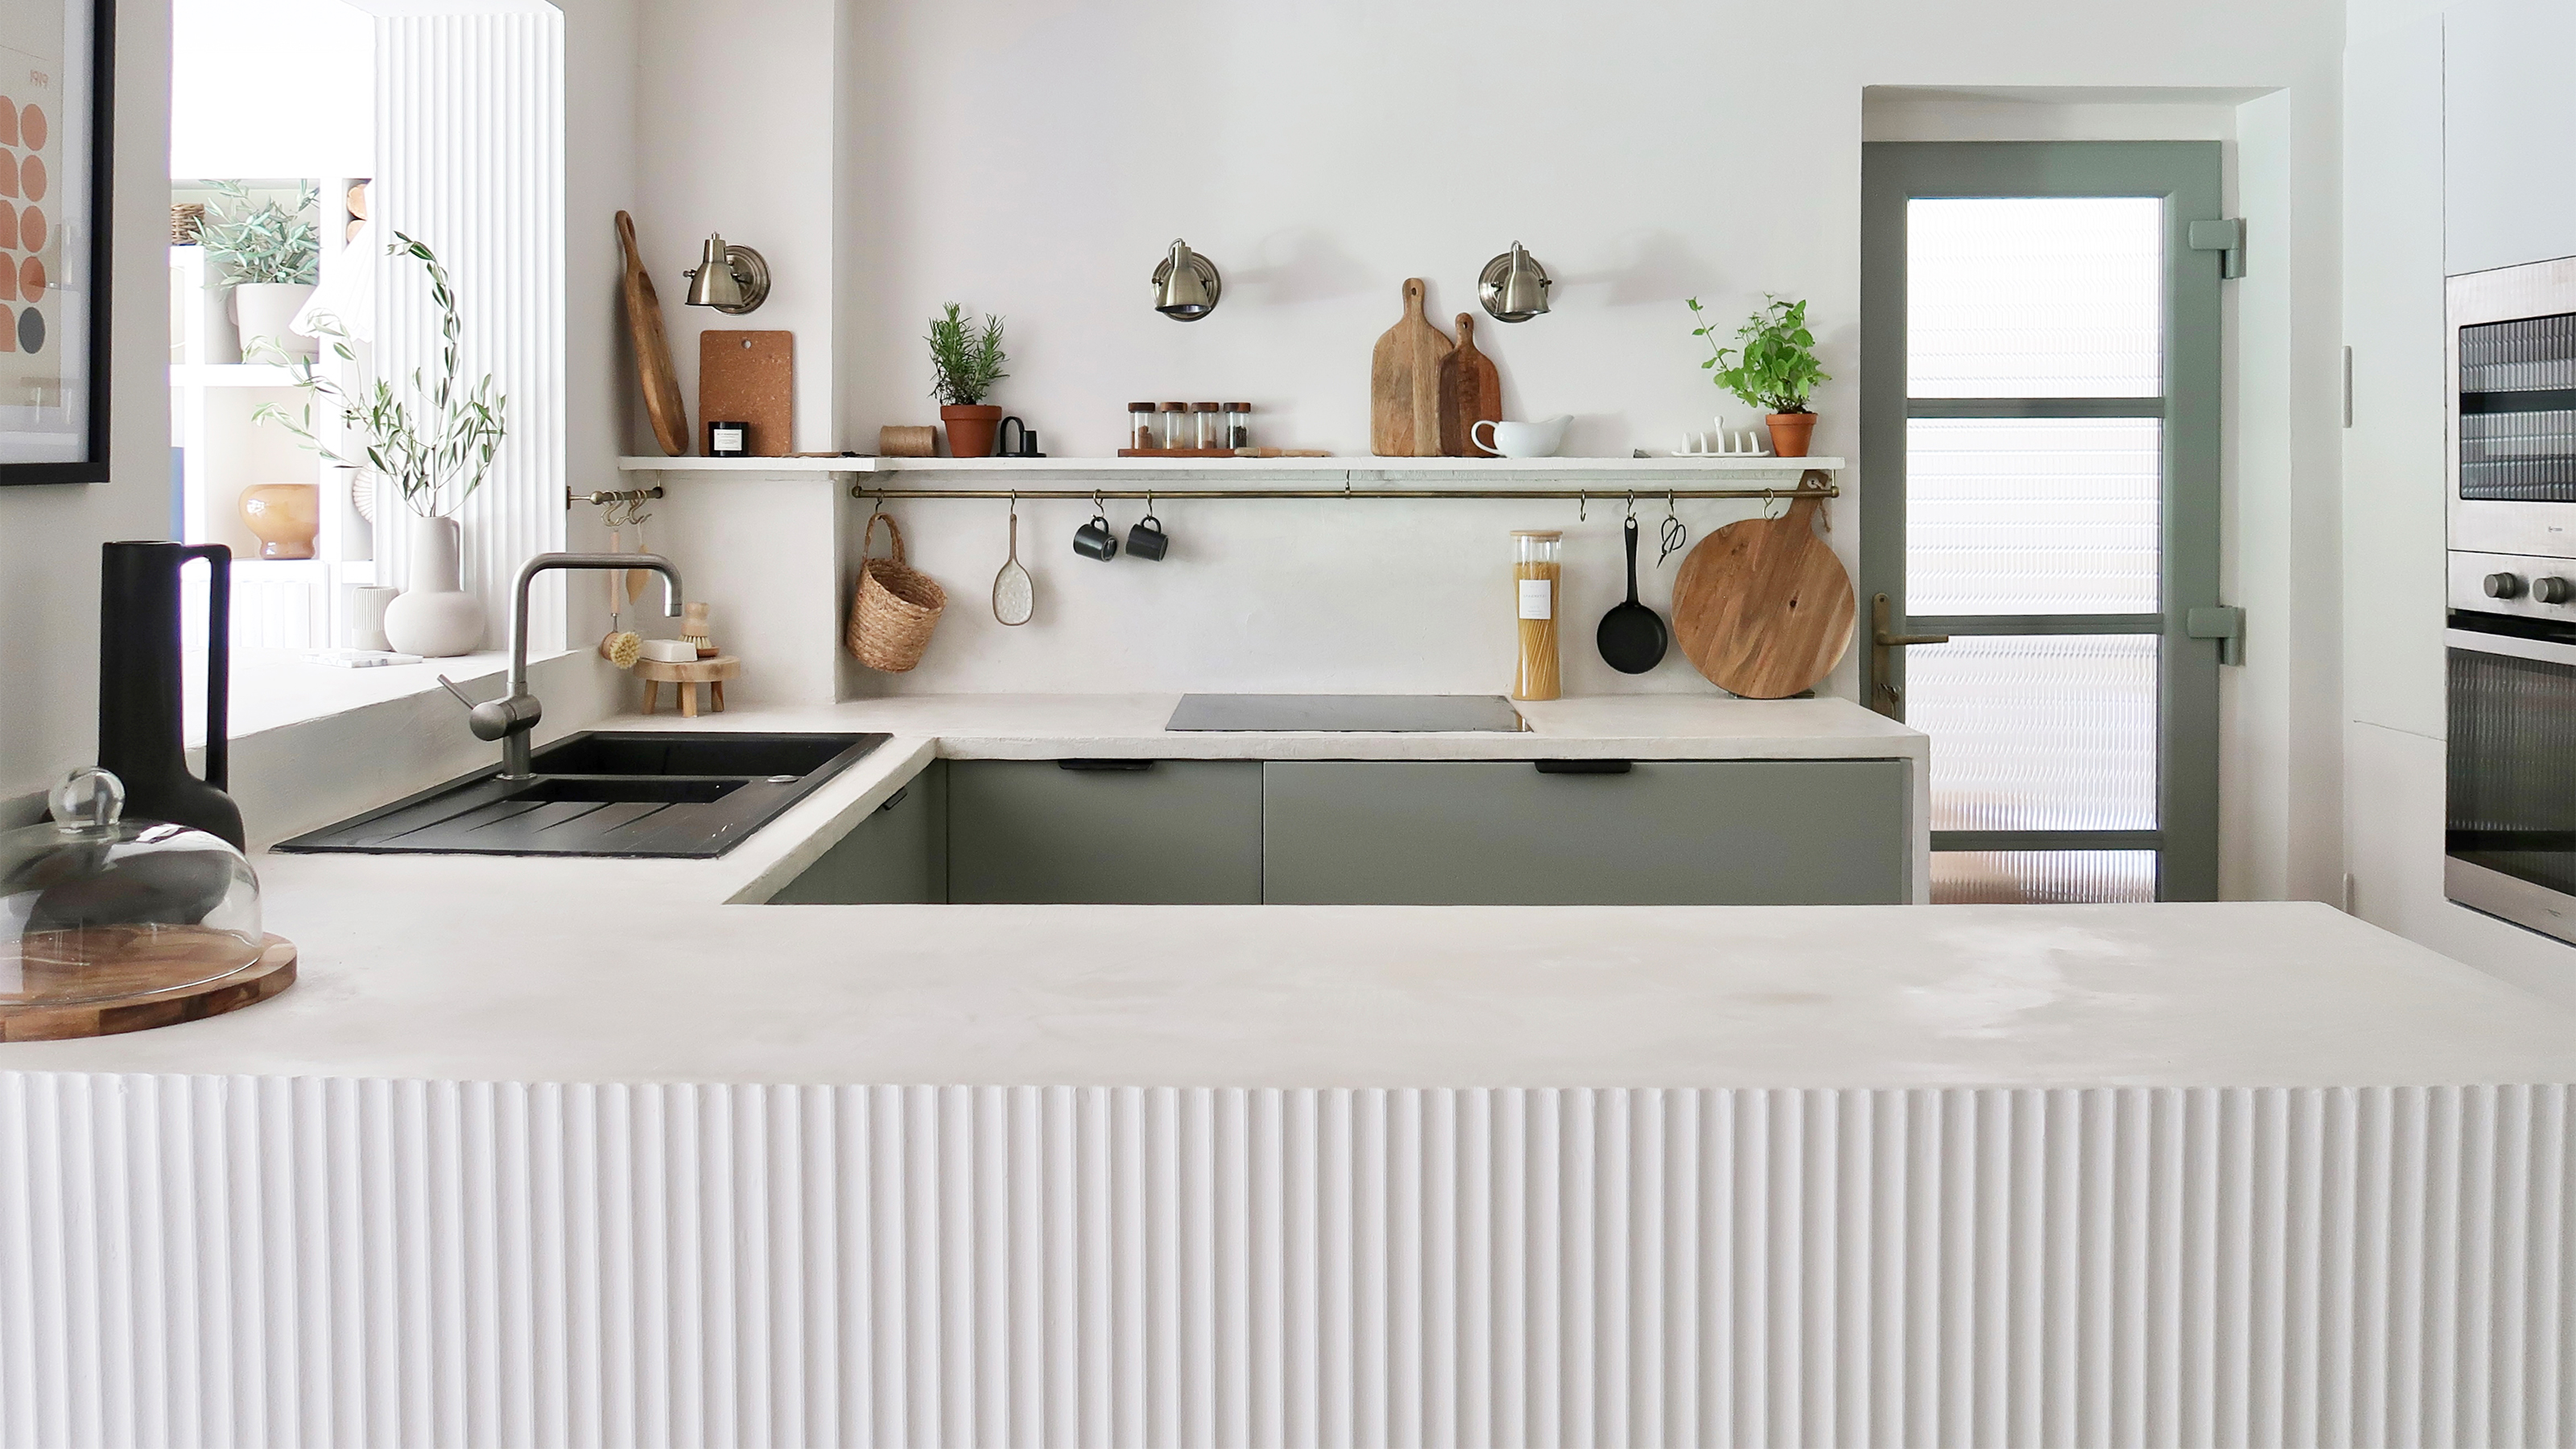 A $200 fluted panel transformed my drab kitchen in just one weekend
How to install a fluted kitchen panel: A speedy and achievable DIY tutorial even for DIY novices
-
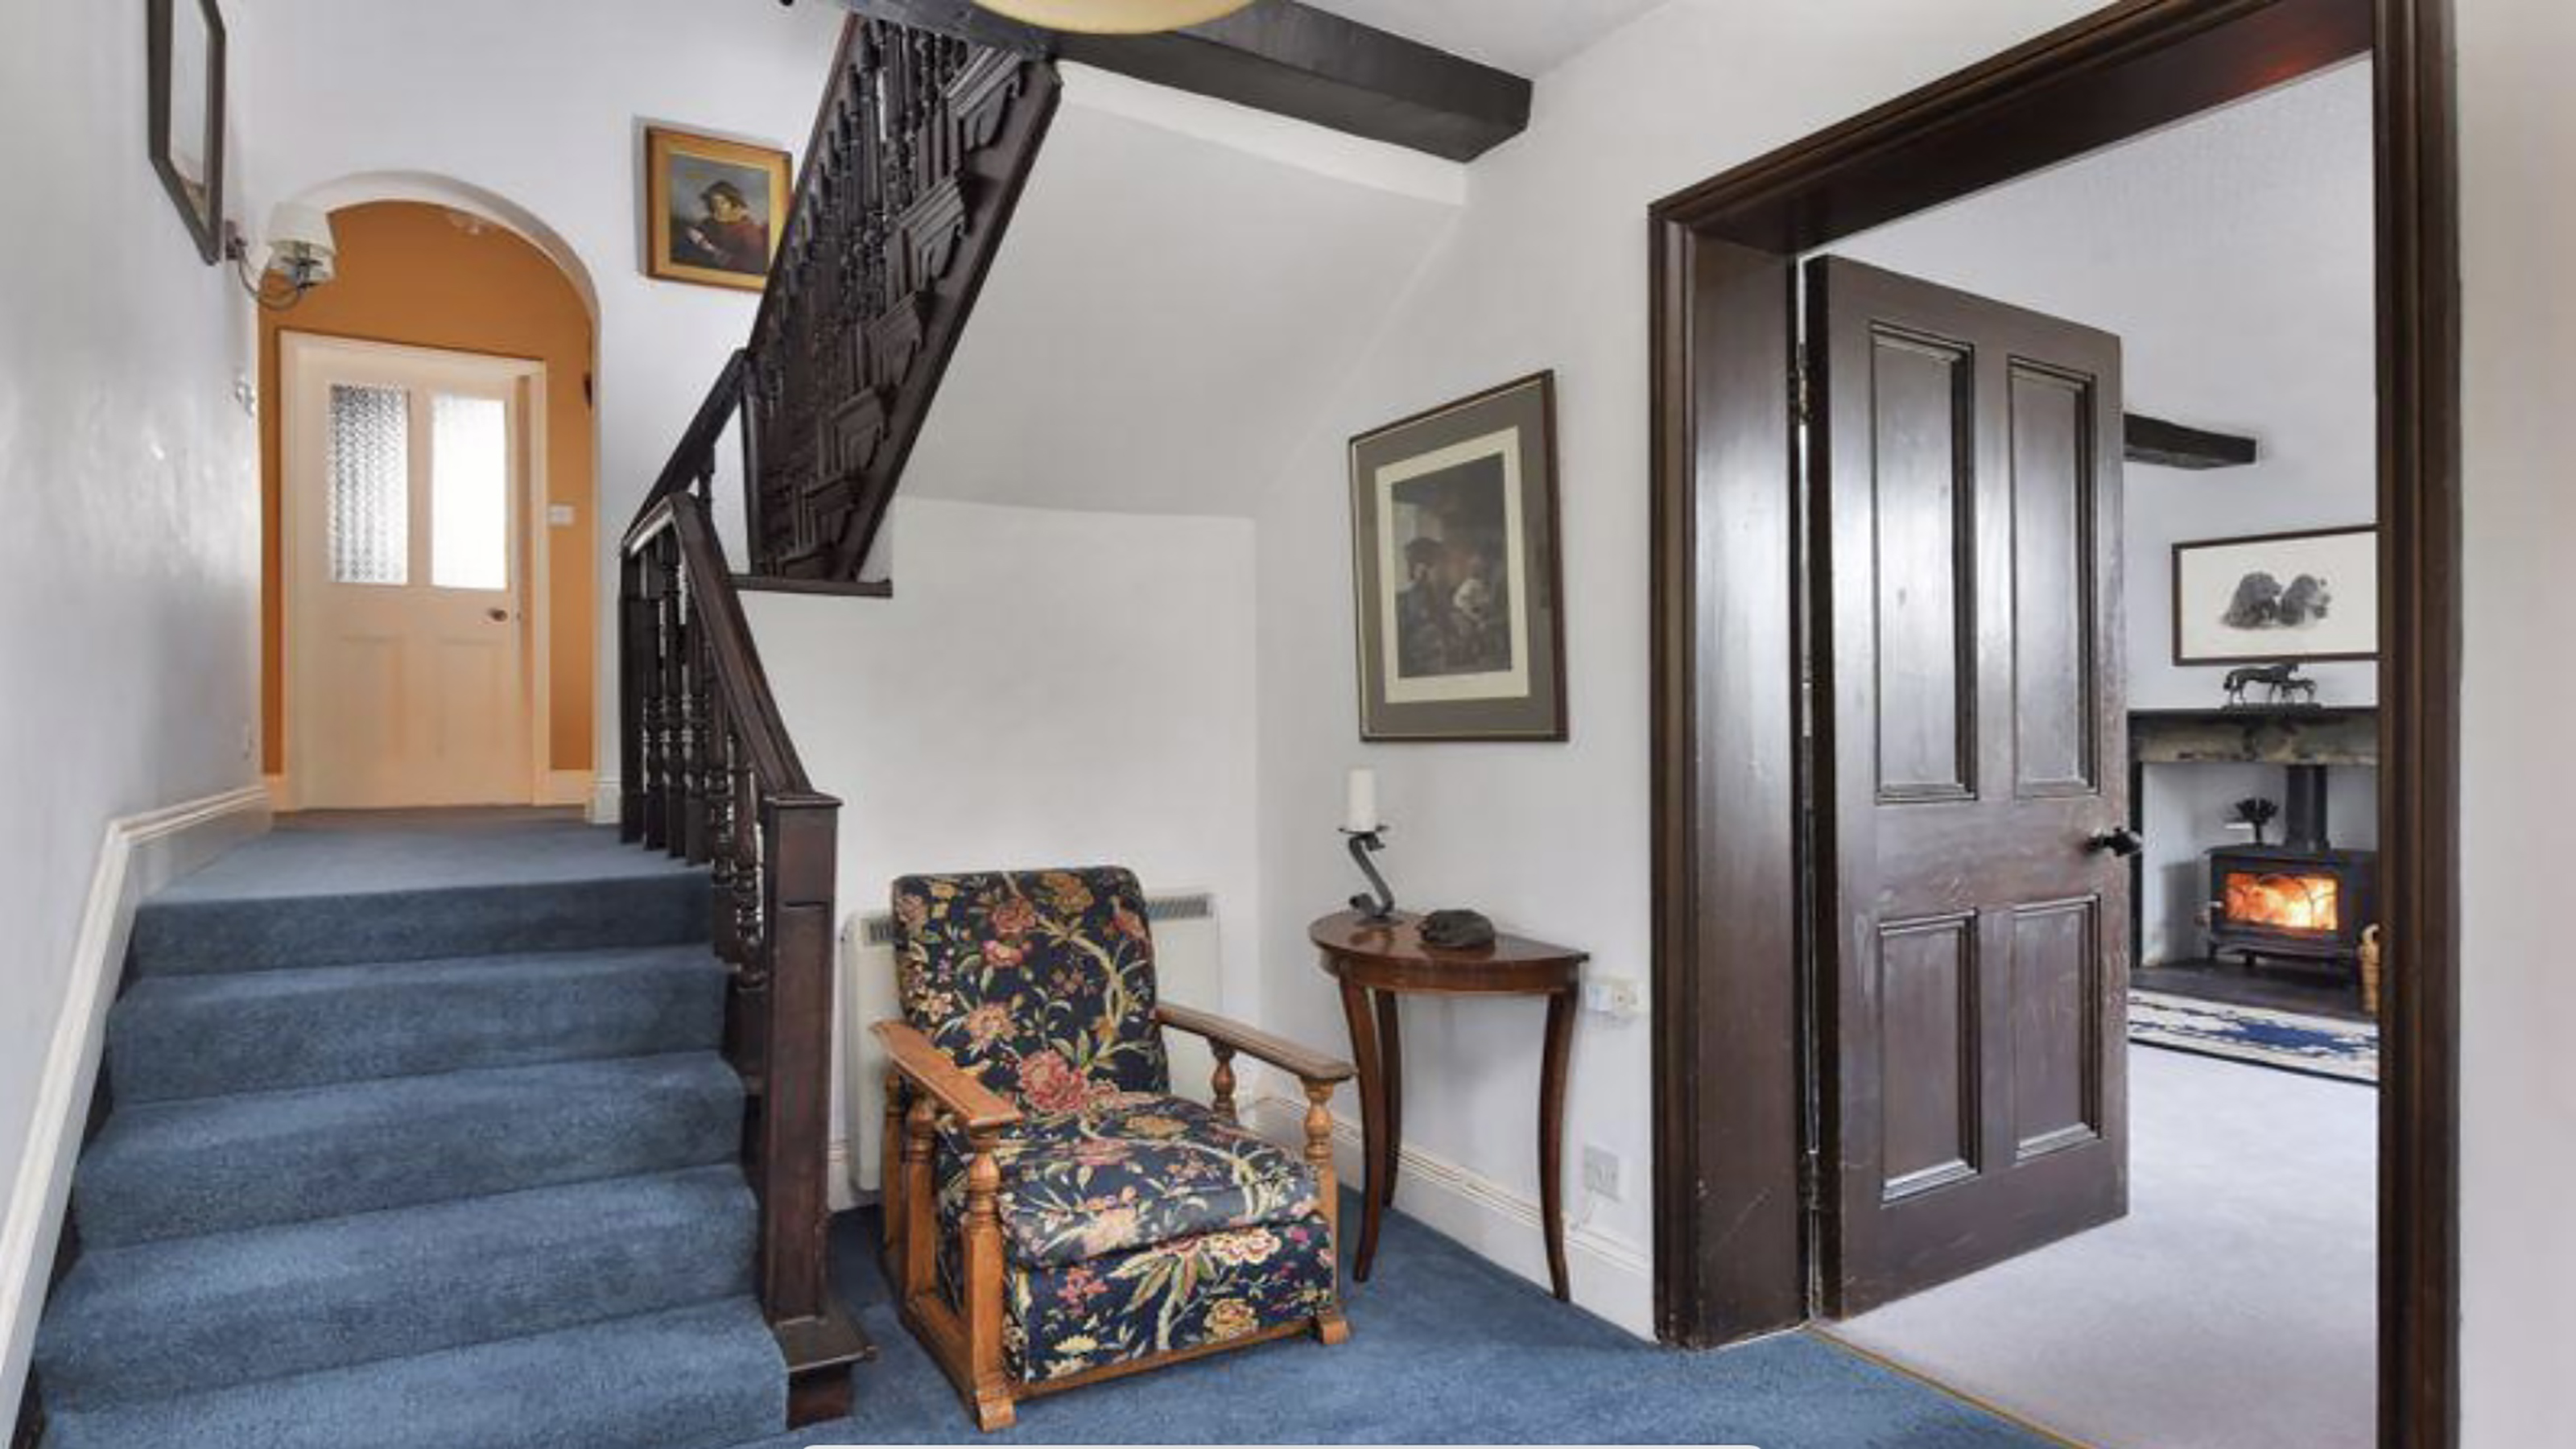 How to replace a broken staircase spindle in 30 minutes flat
A missing or broken spindle on a staircase is not only unsightly, but it can be a real hazard. This is how to fix it in a few quick steps.
-
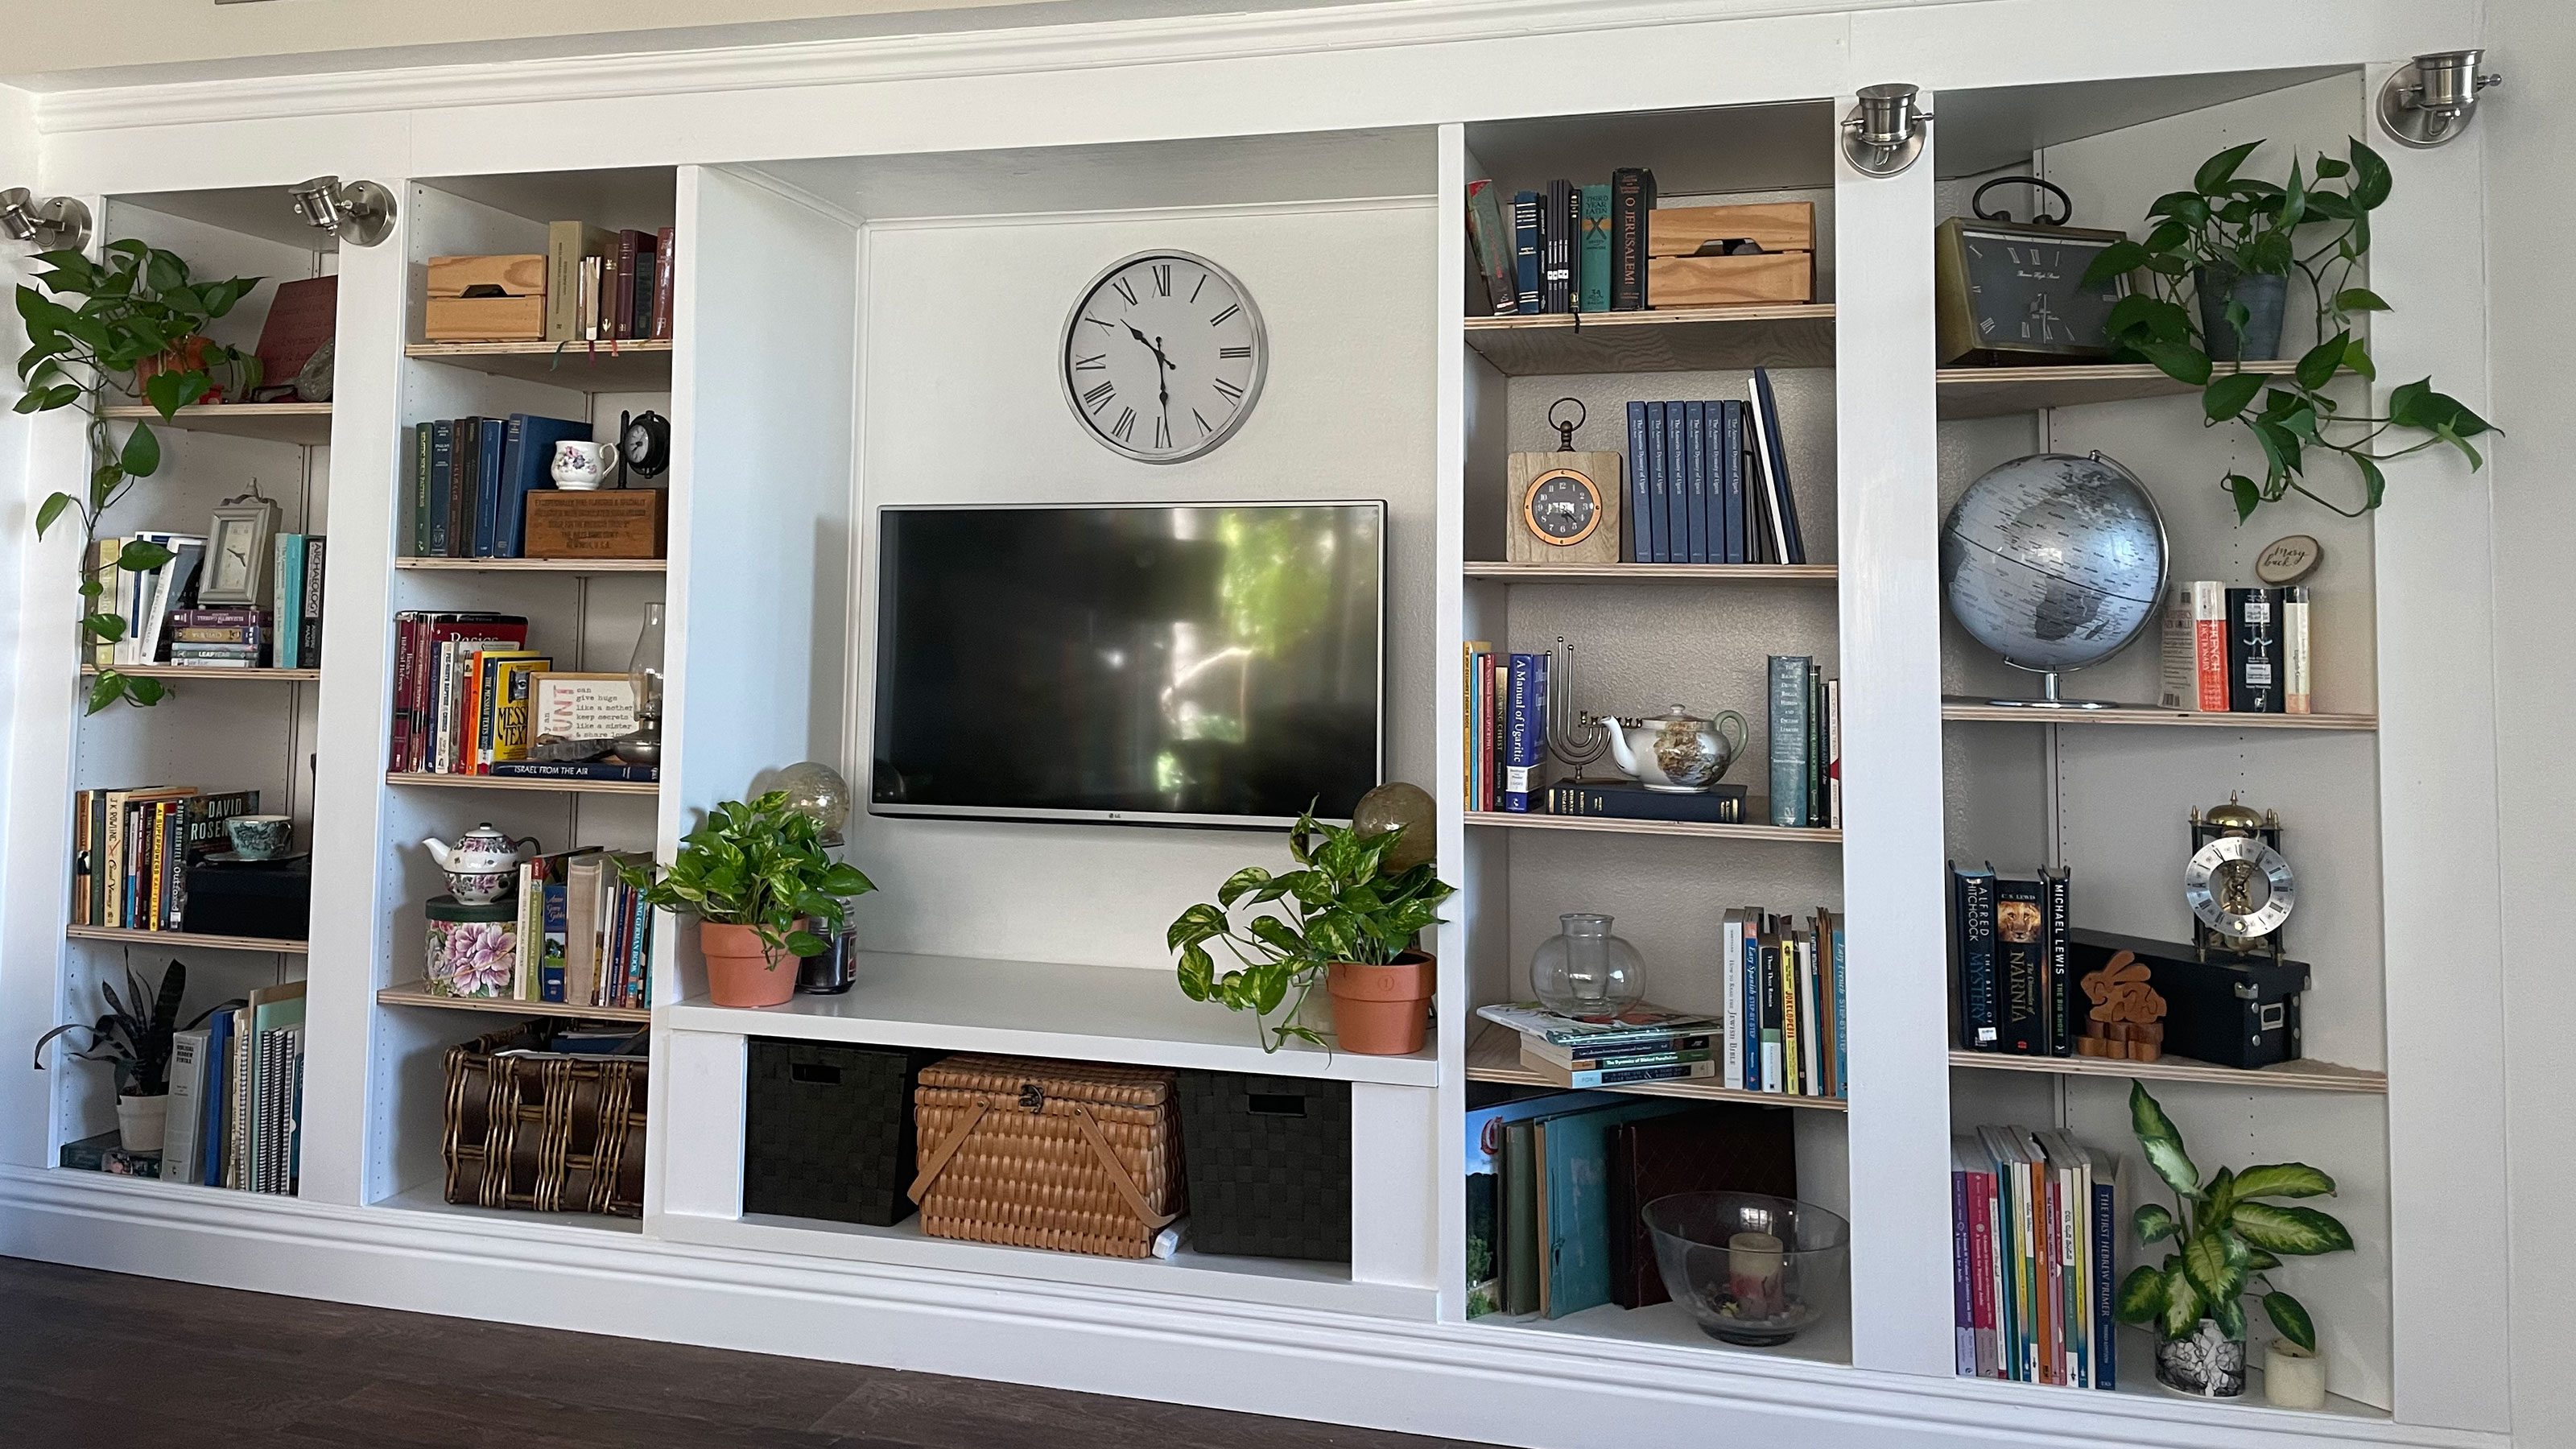 An IKEA Billy bookcase hack inspired this cute media wall DIY
This cute DIY was inspired by an IKEA Billy bookcase hack and brought a ton of symmetry to an otherwise basic media wall space.
-
 Share your small space glow up to win $150 in the Real Homes competition
Show off your creativity and DIY skills to win $150 and for the chance to be featured exclusively in Real Homes magazine
-
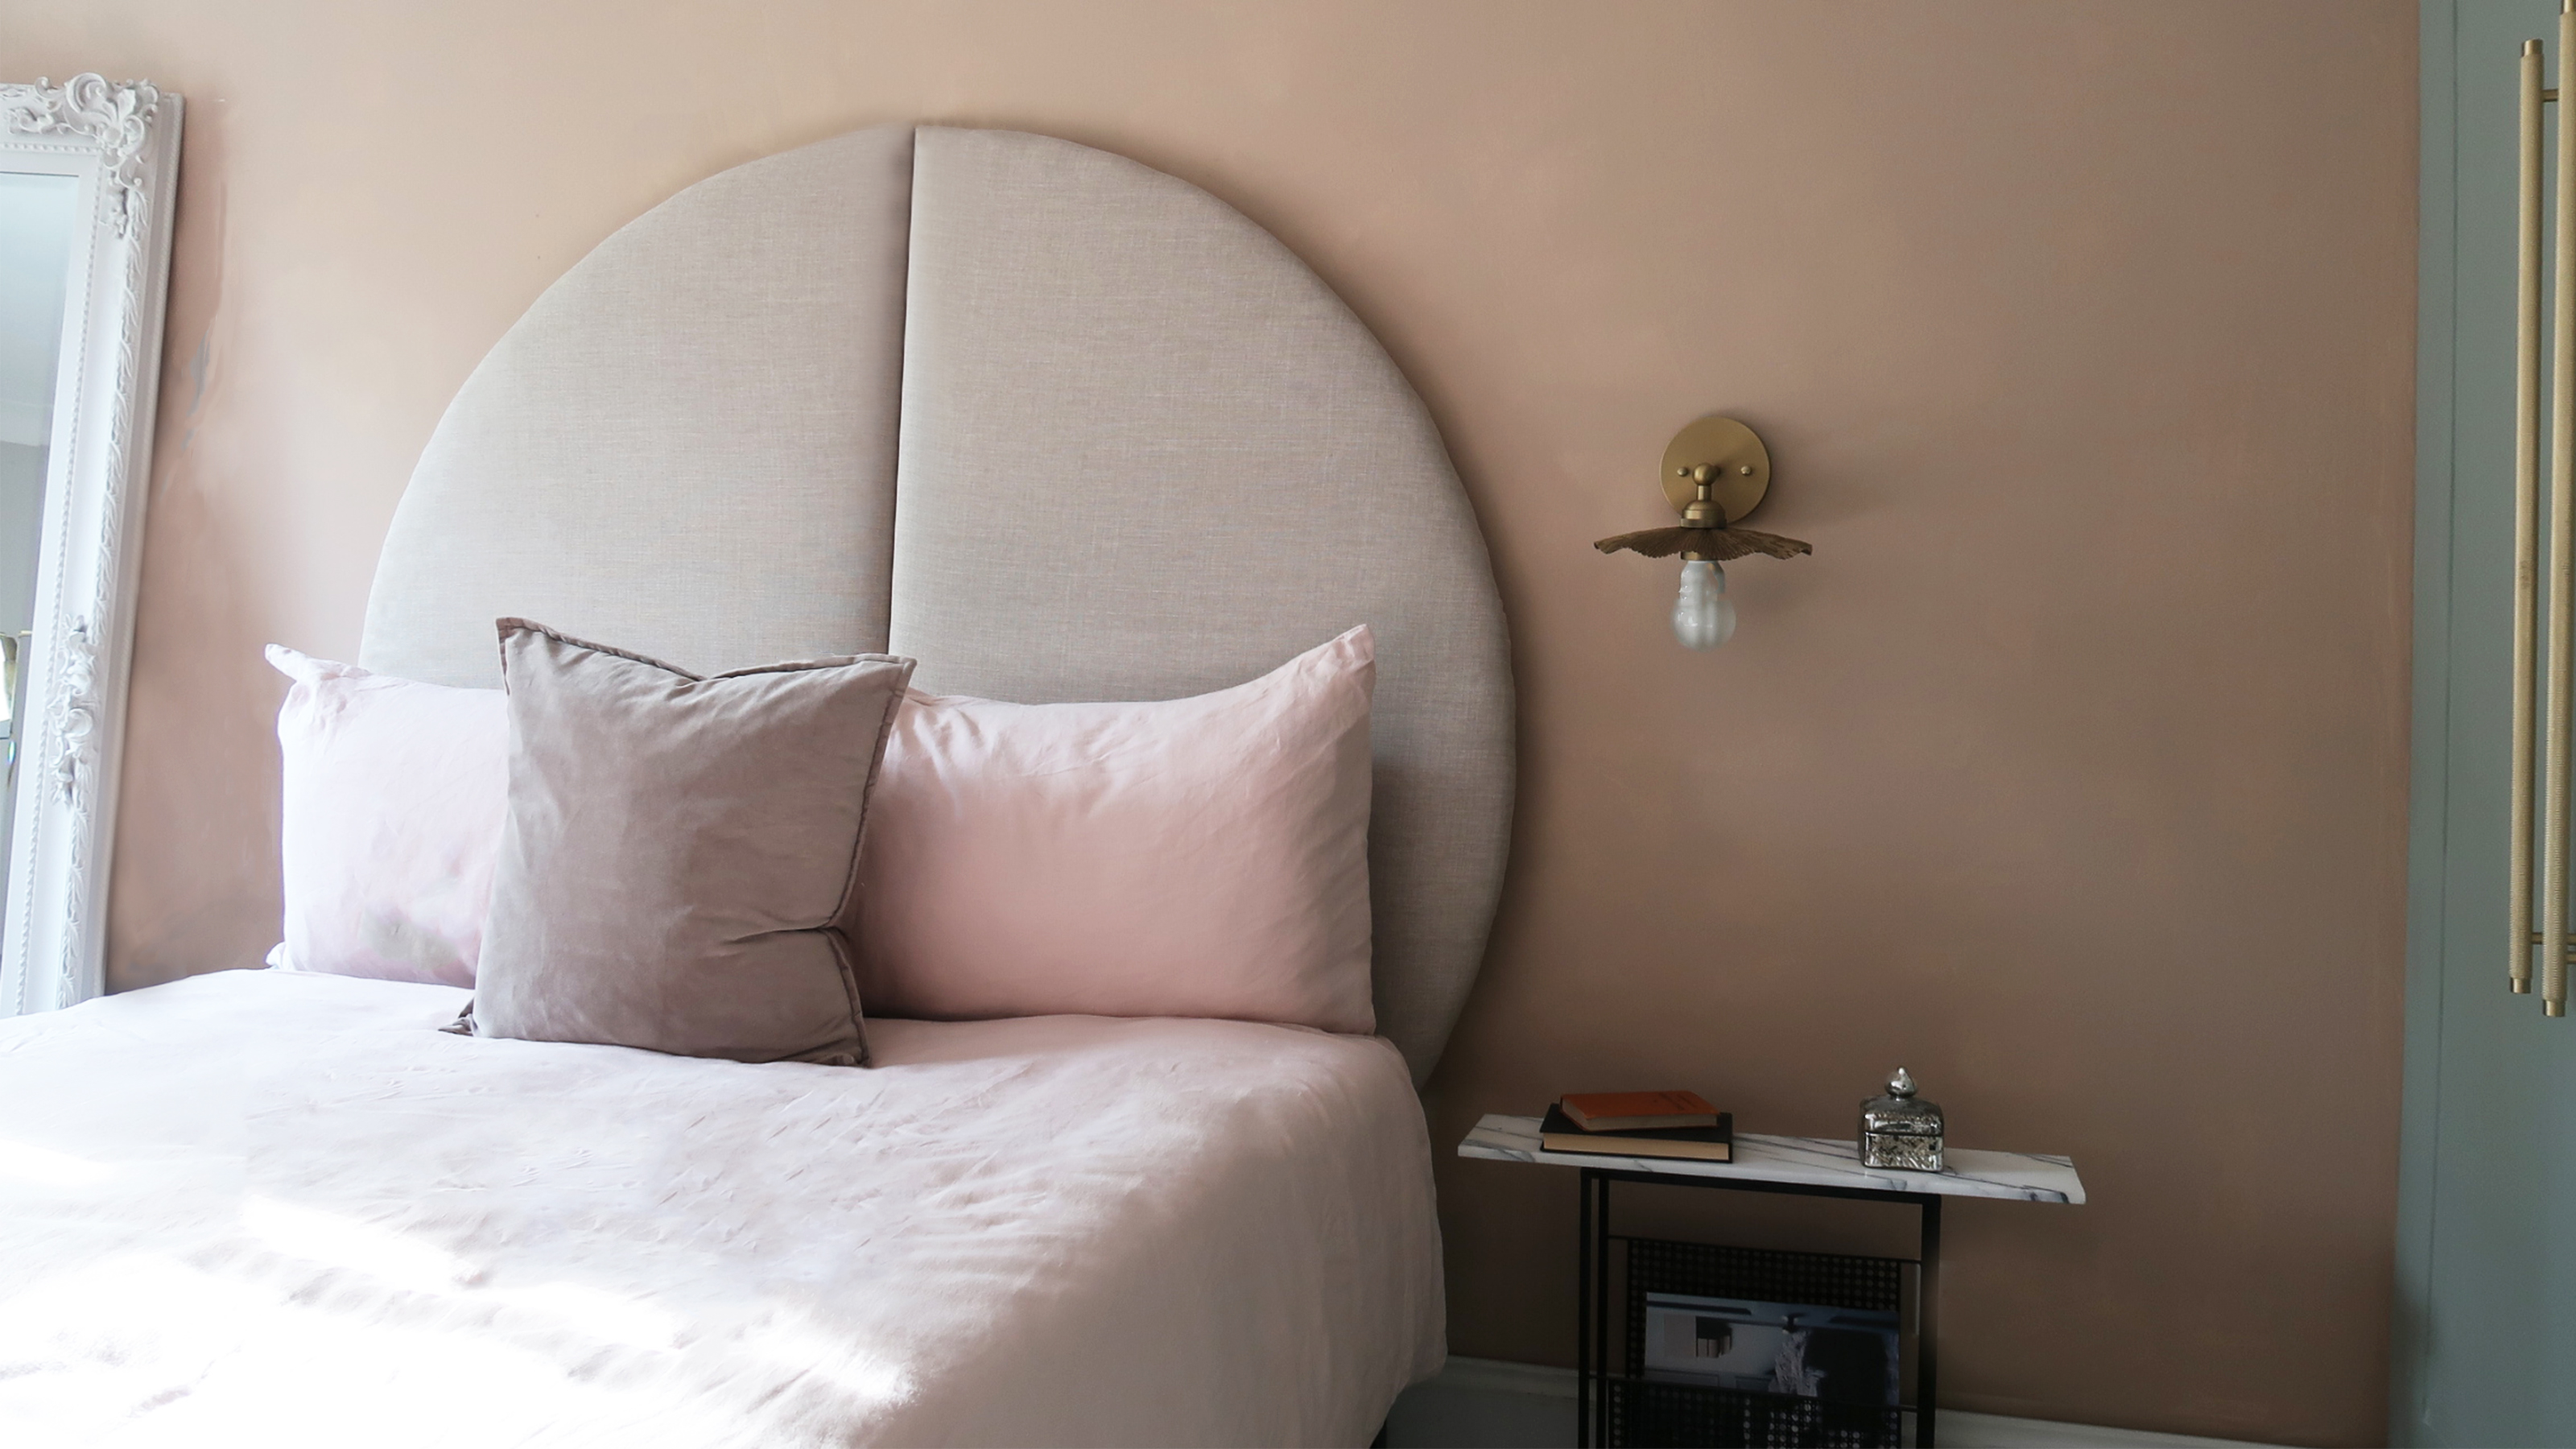 This oversized headboard looks designer, and takes 5 steps to DIY
Super simple to DIY, this oversized headboard will give your bedroom space all the designer vibes you could dream of.
-
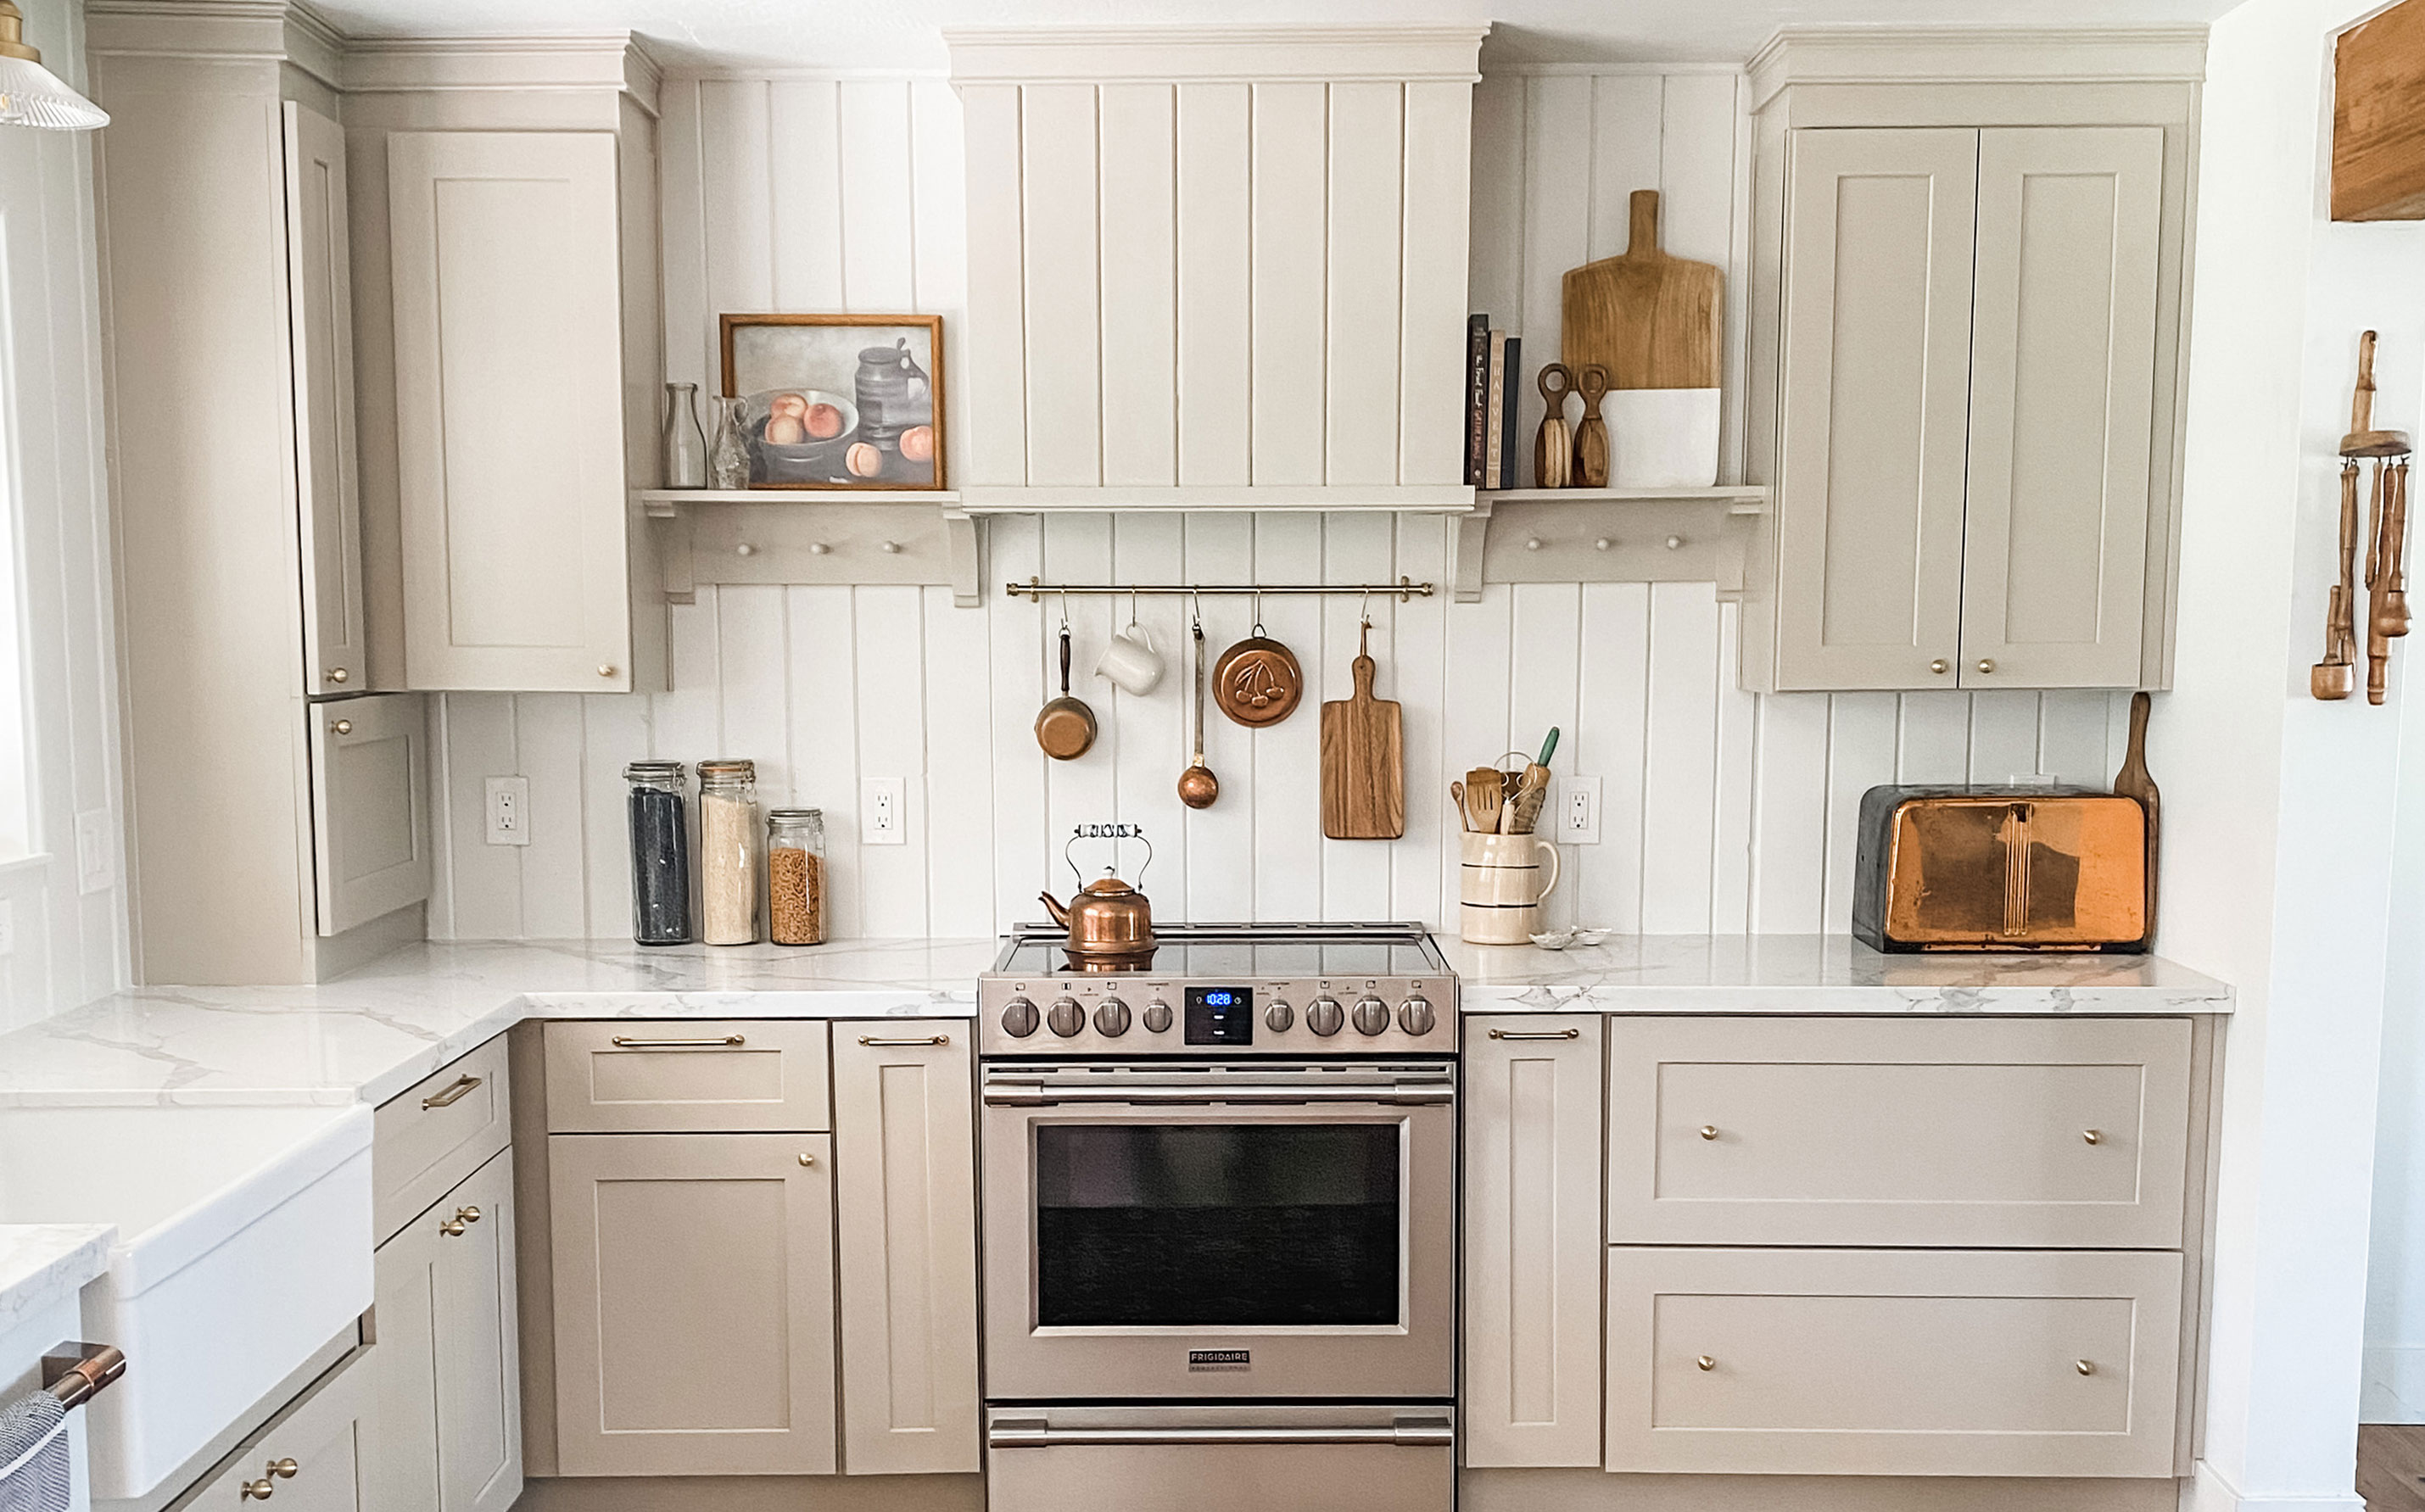 My DIY range hood and backsplash build gave my kitchen the perfect farmhouse finish
I craved charm in my kitchen space and adding a custom range hood and shelving was the best move.
-
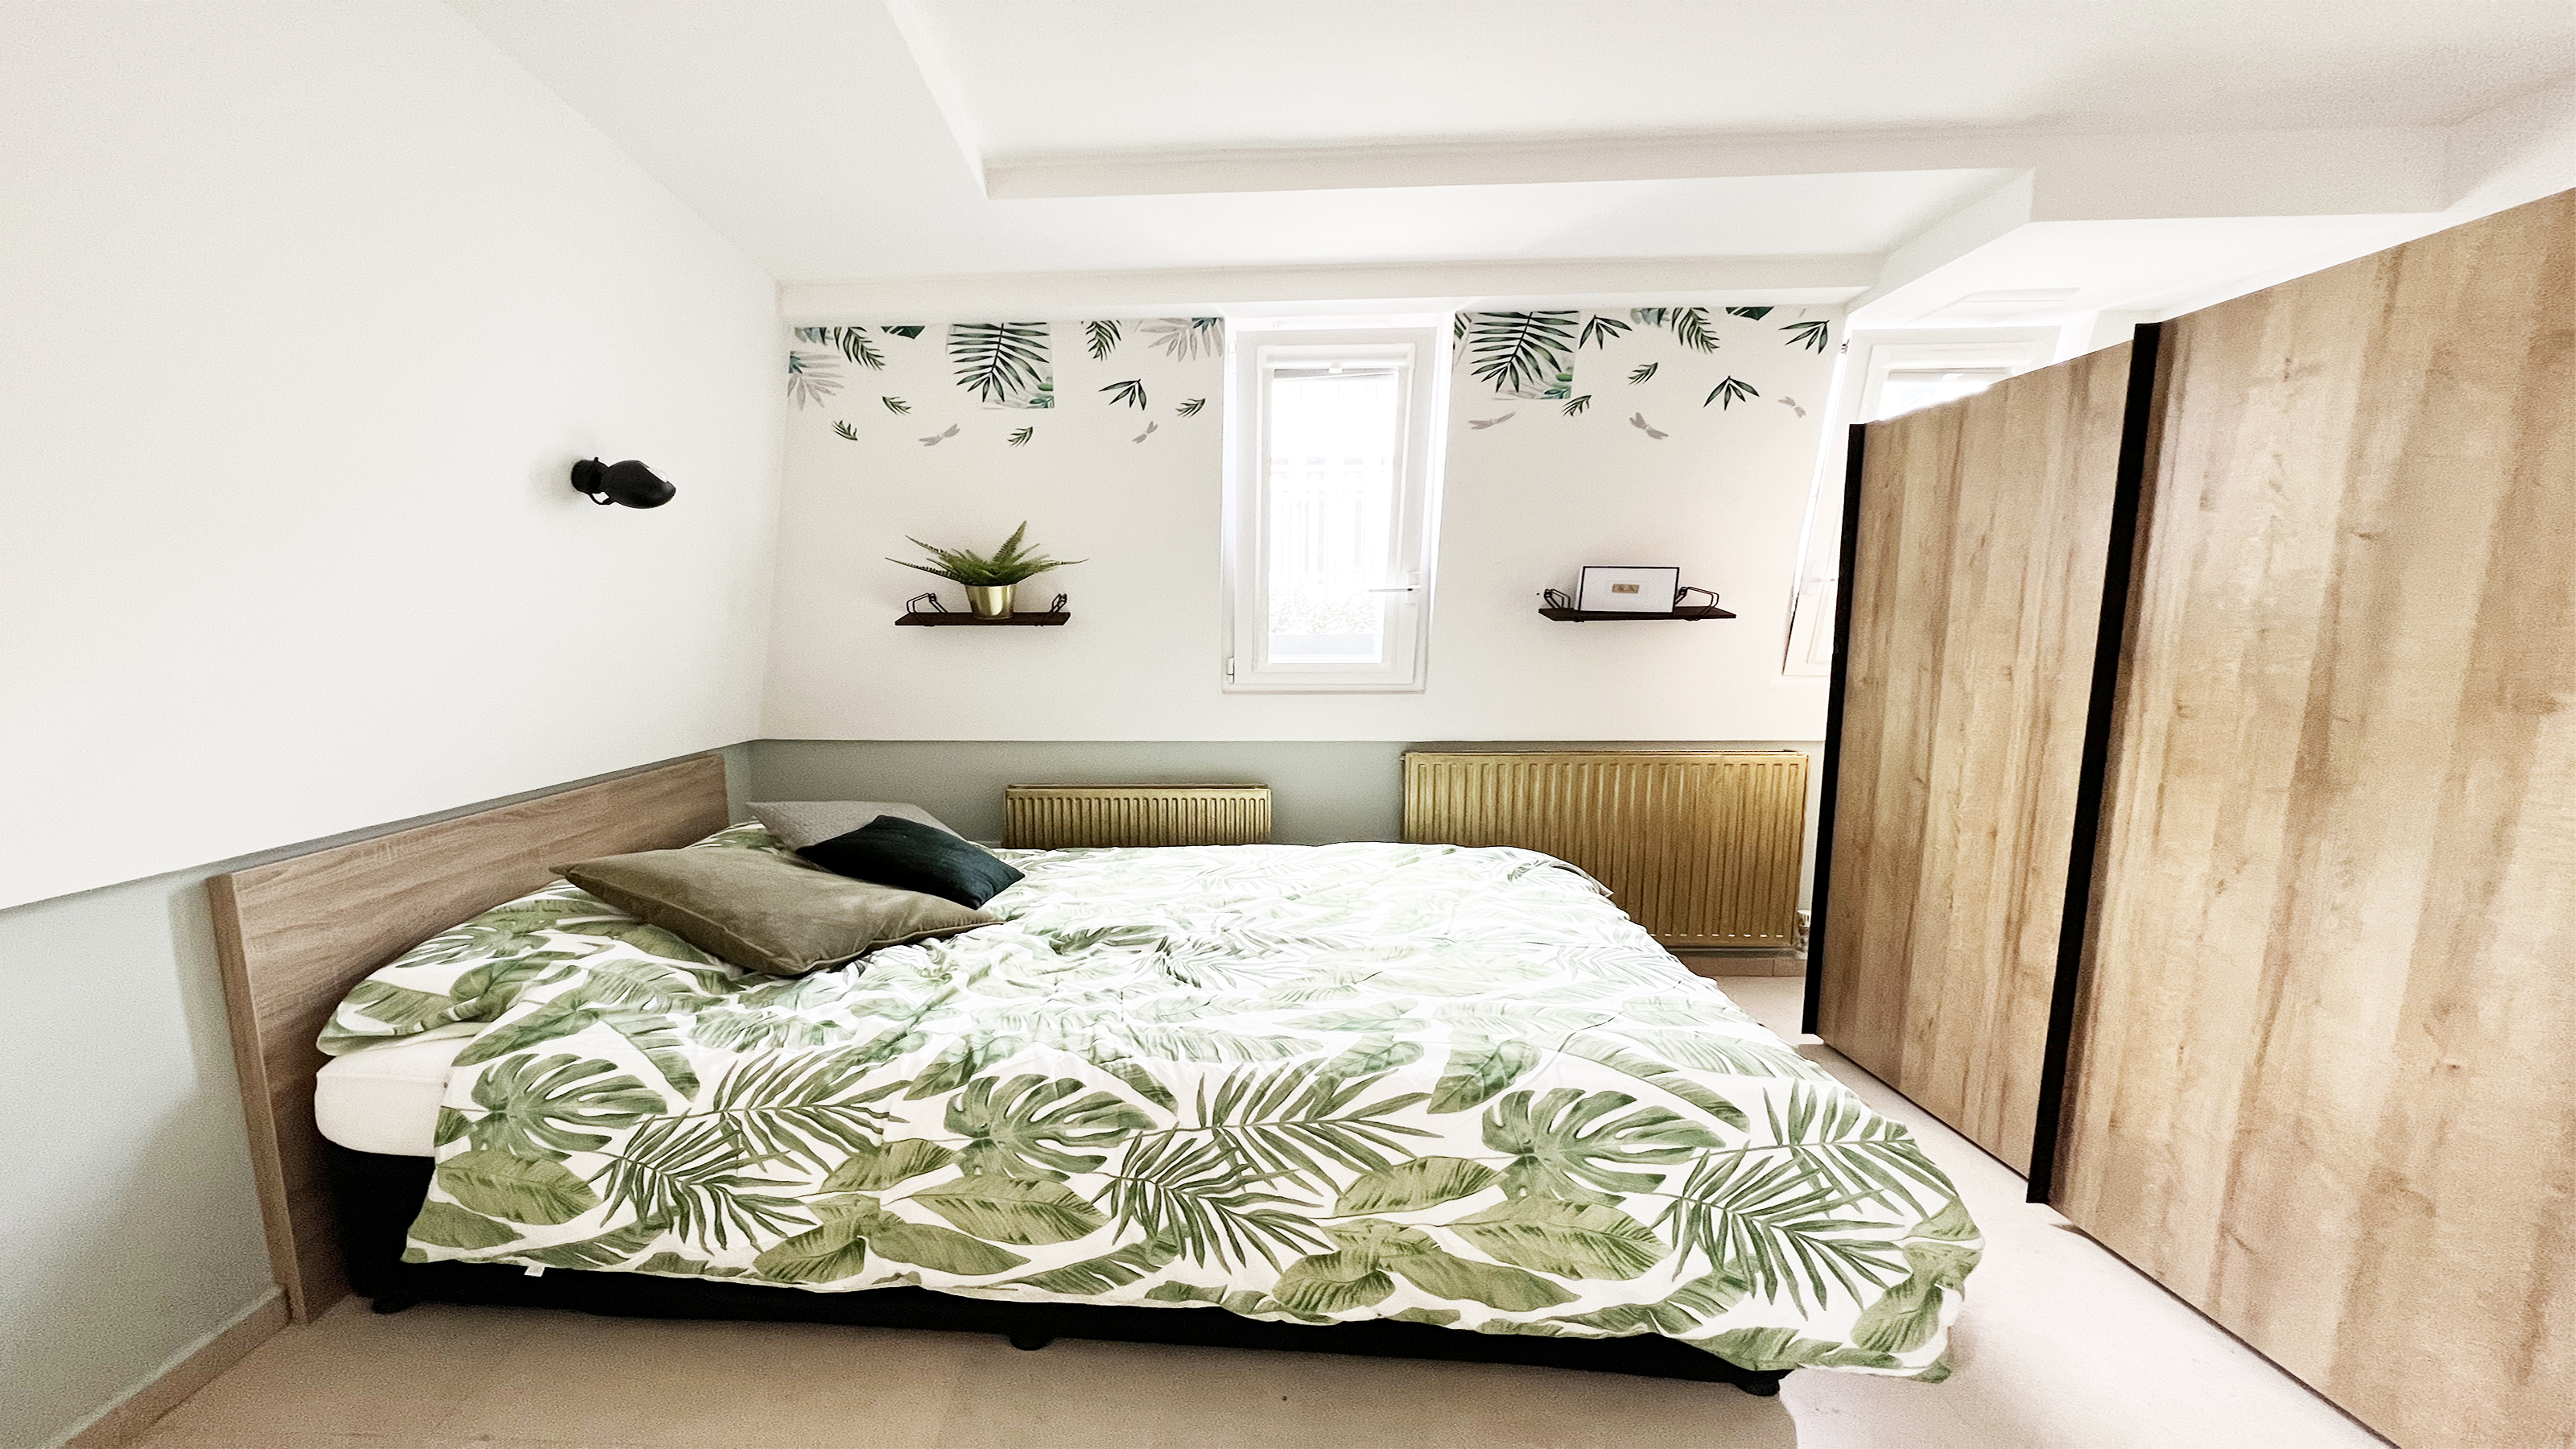 How to paint a radiator in 7 steps
Painting radiators properly is all about choosing the right paint and the best process. Get interior designer-worthy results with our how-to.
-
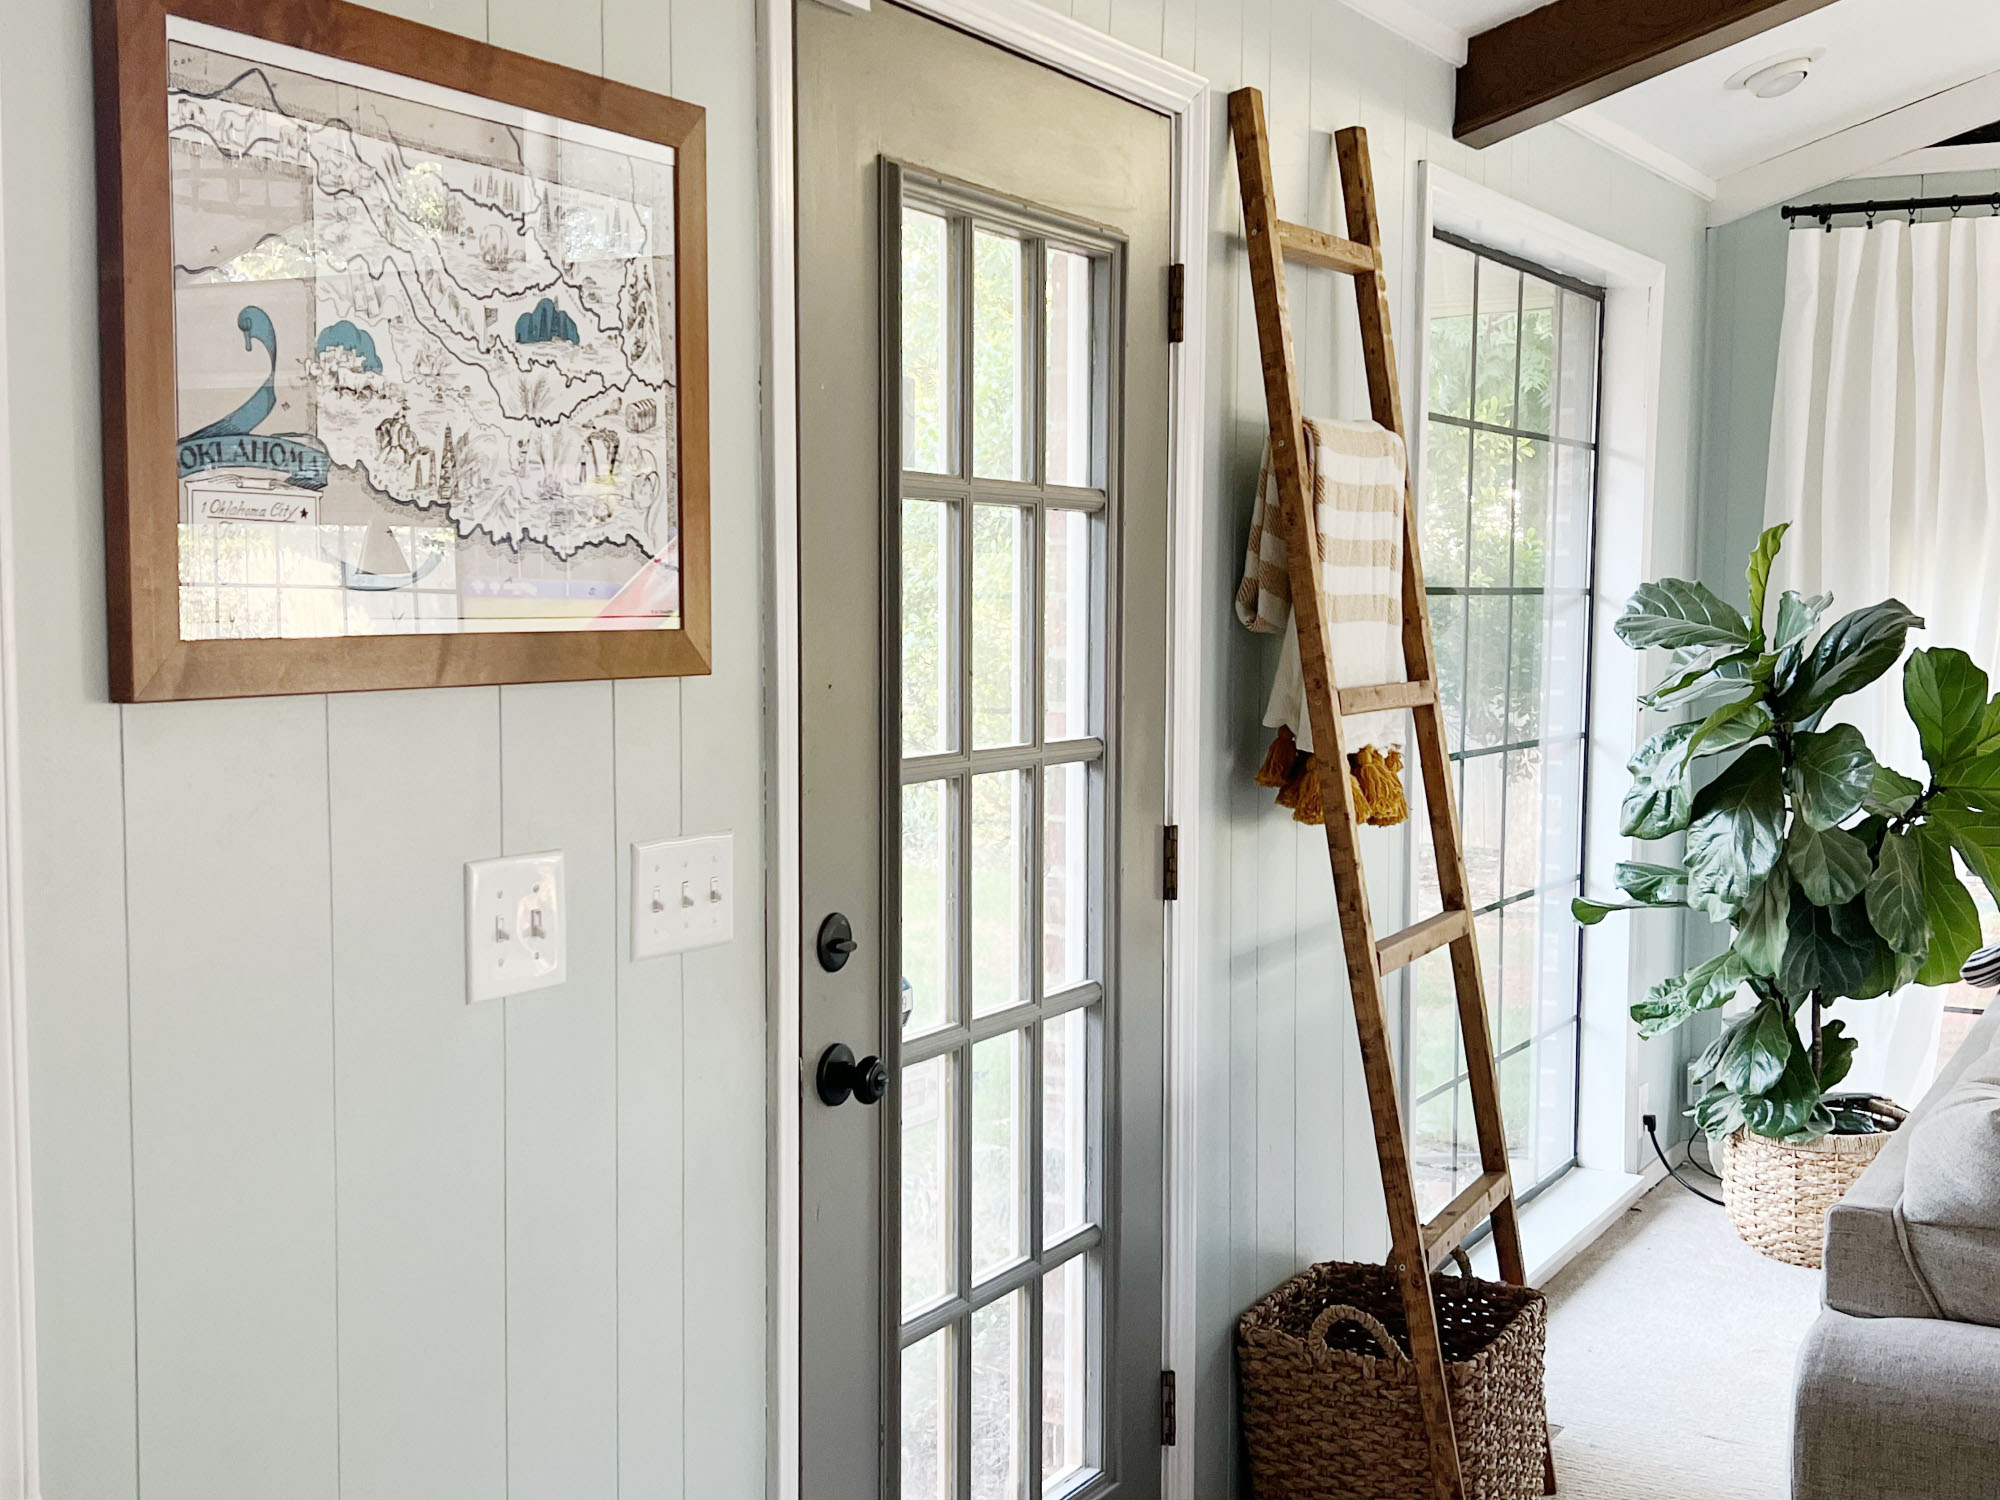 How to install a door knob
Updating your interior and exterior doors can be as easy as changing out the hardware! The best part is that installing a door knob is very DIY friendly. Follow these simple steps and enjoy a fresh look on your doors!


