How you can repair wood rot
Don’t let wood rot ruin your decorating plans – using two separate cases Helaine Clare shows how to fix this common problem on a shed door post and on french doors and how to prevent it from happening again in the future
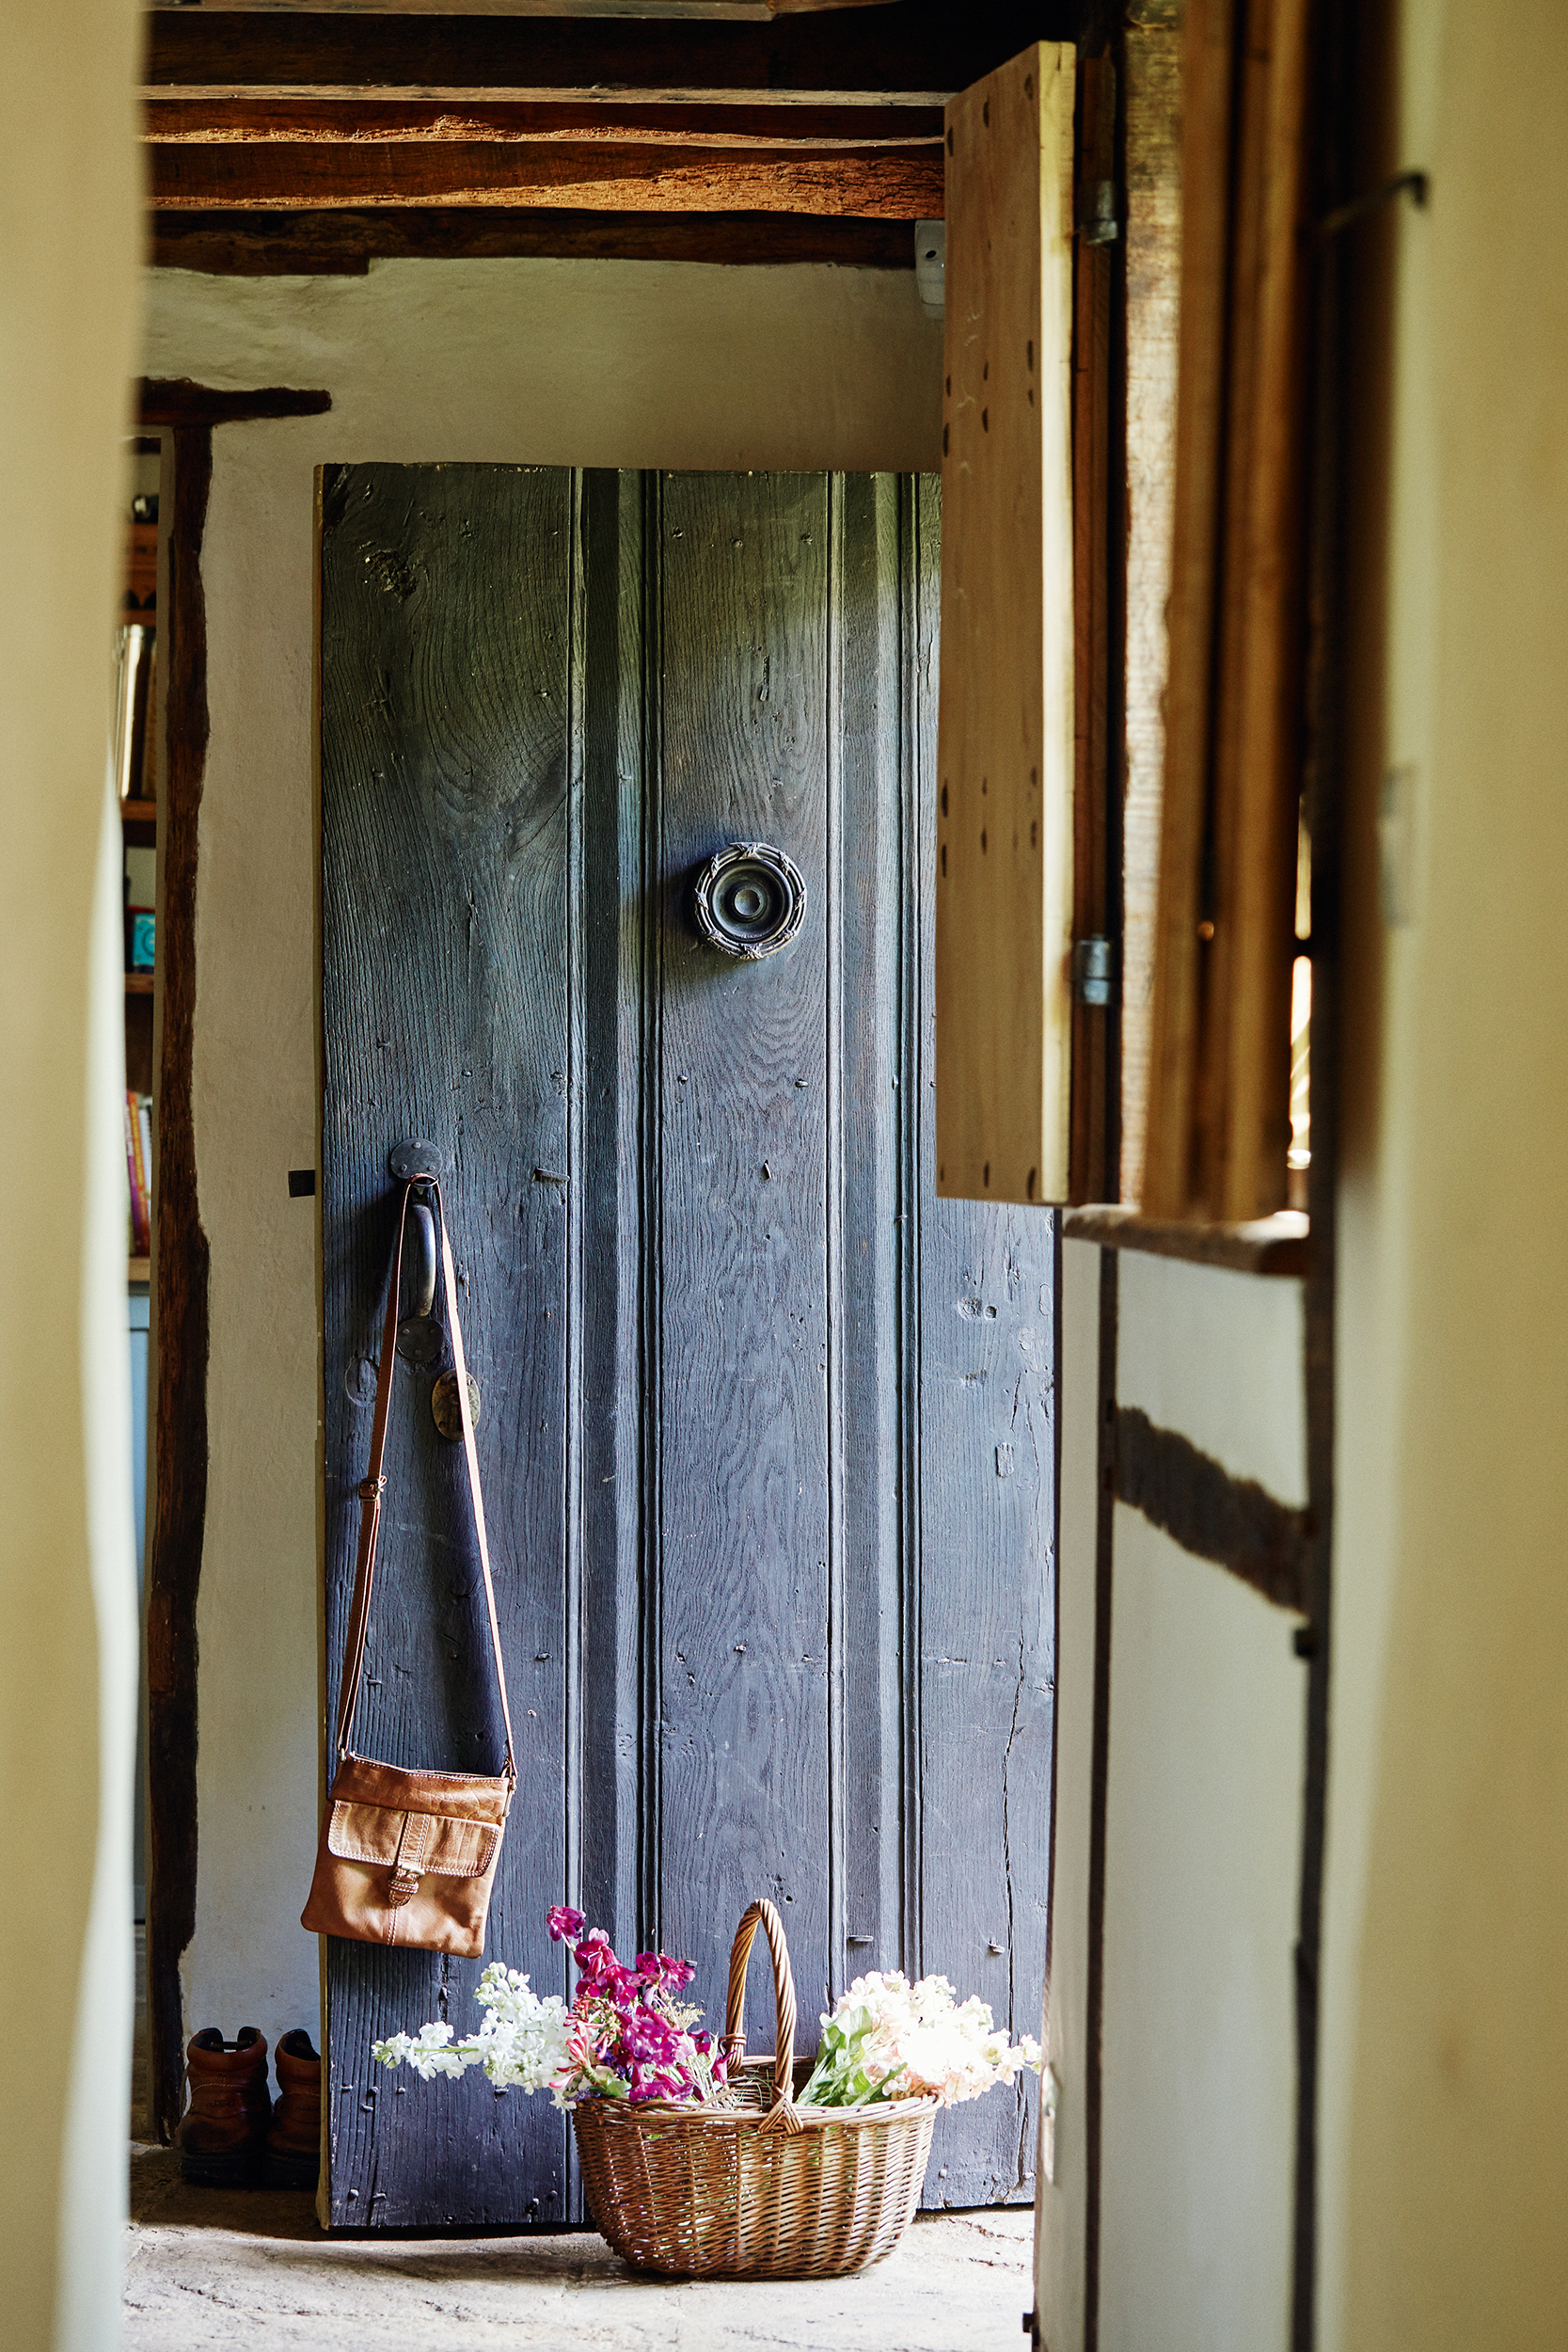
A new coat of paint on doors and windows gives your home a real boost. You know the scenario: you spread the kitchen table with paint charts, create a patchwork of colour with taster pots and find the perfect shade for the fresh new look. All is going encouragingly well, but just as you start rubbing down the woodwork and preparing for the new paint, the wood gives way beneath the scraper. The unexpected discovery of a bad case of wood rot can cause the homeowner’s heart to sink.
Don’t despair – often the decay is localised and can be filled or patchrepaired. From an ethical point of view this is the right approach as each home has its own unique character but that special charm can so easily be lost by needlessly casting out old for new. Always retain as much of the original fabric of the house as possible to preserve the period feel of your home: my mantra is to aim to repair rather than replace. It makes economic sense too – small repairs can be carried out by someone competent at DIY.
Isolating and curing the root cause of the problem is the best approach. In Task 1, the rotten wood at the bottom of the shed doorpost was caused by a blocked downpipe – rain spilled over and ran down the doorframe. In Task 2 the decay on the bottom of these French doors (pictured above) was the result of rain penetrating underneath the doors rather than being deflected away by means of a weatherboard. A few simple steps, carried out over a weekend, will make both cases of wood rot weatherproof and ready to decorate.
Get what you need here…
- Steel tape
- Saw
- Timber treatment solution
- External wood glue
- Drill
- Screws
- Screwdriver
- Wood hardener
- Brush
- Paint
- Gloves
Repairing wood rot on a shed door post
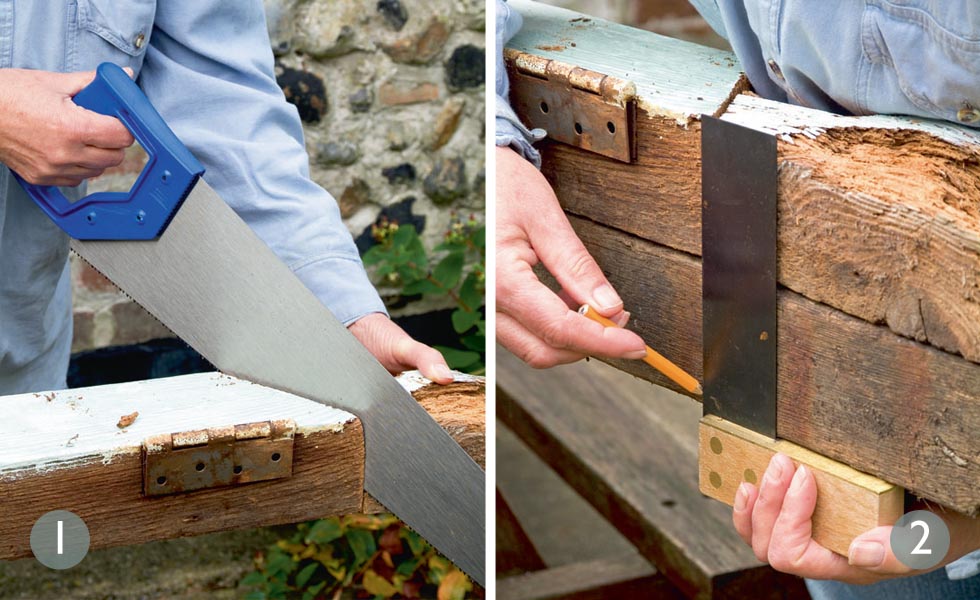
1 Remove the post. The fixings may be badly corroded making dismantling impossible, in which case the post must be repaired in situ. With a screwdriver or similar tool, probe the timber to establish the extent of the decay. Use a sliding bevel or alternatively fold over the corner of an envelope to make a 45 degree angle. Cut away the rotten section with a saw, keeping it true and straight.
2 Try to find a piece of wood of the same dimensions as the post you are repairing. Lay the damaged post and sawn off bottom piece on top of the replacement timber. Using the pieces as a template, measure and mark up ensuring an accurate 45% angle to form a scarf joint. My granddad was a joiner and would often repeat the maxim ‘measure twice, cut once’ – wise advice.
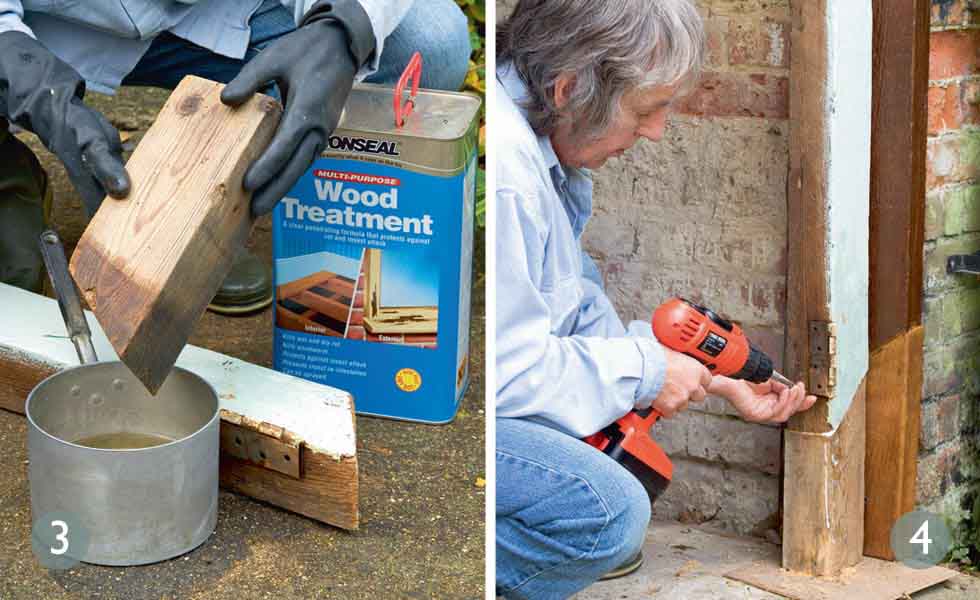
3 To make sure all the wood rot spores are eliminated from the decayed timber, stand the bottom of the post overnight in treatment fluid. Wearing gloves, treat the new piece of wood in the same manner and brush the solution on any adjacent woodwork. Wood boring beetles, their eggs and larvae will also be eradicated and timber will be protected against future infestation.
4 Apply a liberal amount of external wood glue to the bottom post and screw to the main post. To protect the screws from corrosion counterbore the holes and plug or fill flush with the surface. Wipe away surplus glue with a damp sponge. If there is a mortar fillet between the doorframe and brickwork this must be made good. Alternatively use a flexible mastic sealant.
Repairing wood rot on French doors
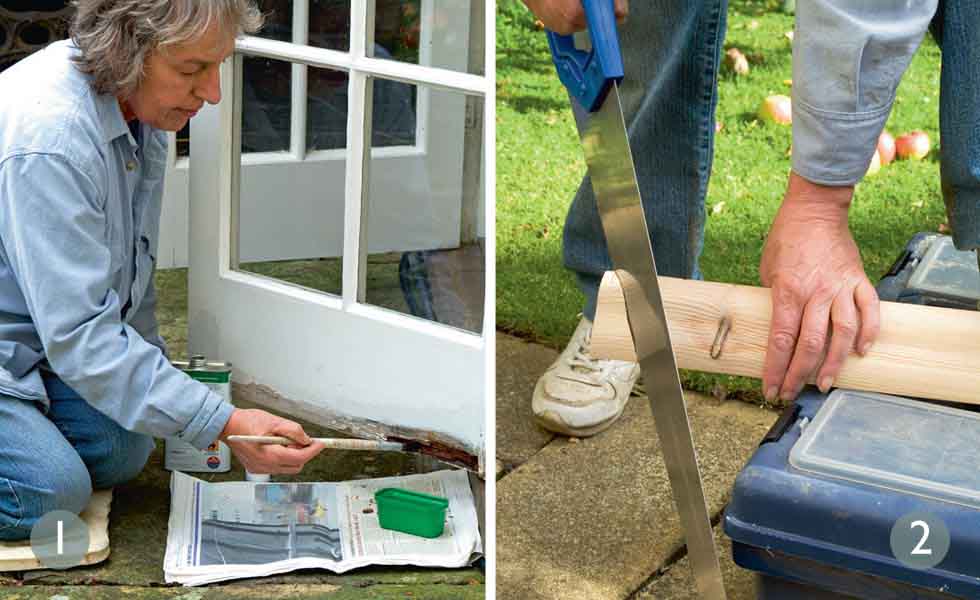
1 Remove old weatherboard from door. The wood must be completely dry before tackling this repair. Apply wood treatment solution to the affected timber. Leave for at least 24 hours and brush on a generous application of wood hardener. Apply further coats if required. Allow to dry overnight and fill any cavities with wood filler. When dry rub smooth with abrasive paper.
2 Buy a length of weatherboard. Measure the width of the door. These doors open outwards so the outer ends will need to be sawn at an angle to allow the door to open back fully against the wall. Mark carefully and slightly undercut, erring on the side of caution. Hold firmly in place and open the door to check for ease of opening. Trim off a little more wood if required.
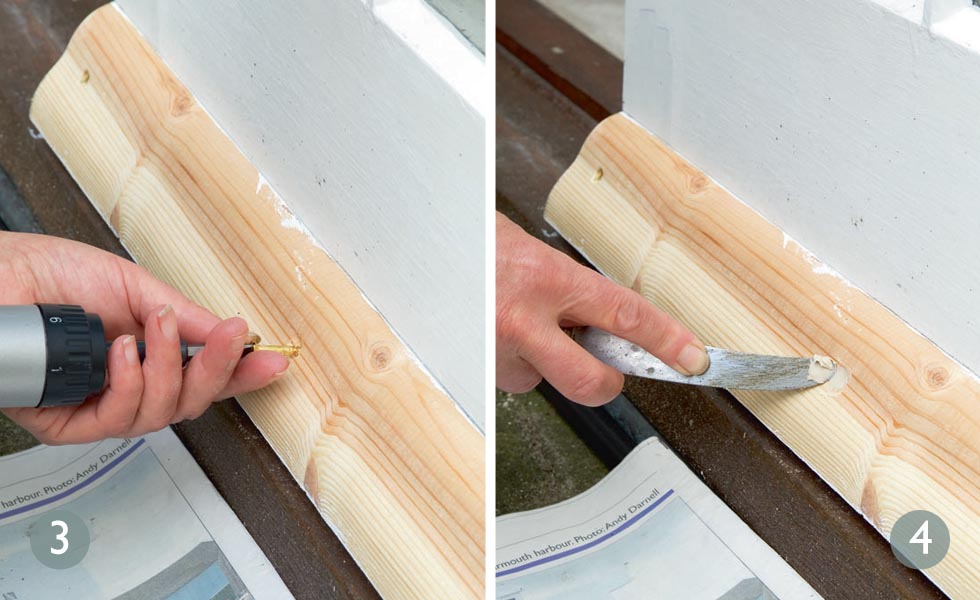
3 Bare wood swells quickly in the damp so apply wood primer to all surfaces. Allow to dry. Use a spirit level to mark door for position of weatherboard. Hold in place and drill holes for fixing screws. Counterbore holes and use brass screws to avoid corrosion. Apply a thick coat of primer to the back face and while still wet screw in position. This will form a good waterproof seal.
4 Plug or fill the holes to cover the screw heads. Apply an undercoat and a top coat to ensure the new wood is well protected against the weather. Weatherboards and window sills have a drip groove on the underside to deflect rain. When applying paint take care not to brush excessive amounts on this area in case the groove becomes clogged up.
Get small space home decor ideas, celeb inspiration, DIY tips and more, straight to your inbox!