

DIY projects can be fun, save money, and provide a source of pride and a sense of fulfillment. However, with any DIY project, it’s also easy to underestimate what’s needed to complete a project, or how long it might take. As a result, that one-hour project could end up taking a day or two to finish (with multiple runs to the home improvement store in between).
To help you properly estimate what you're getting yourself into when you take on a DIY, and to make the process as smooth as possible once you commit, we consulted a team of experienced DIY bloggers to get some tips for saving time on large or small DIY projects.
Have a clear vision
Many DIYers take a “let’s just see what happens” approach to projects. But according to Brooke Grasley in Joliet, IL, who blogs at Restore Décor & More, before you start, you need to have a clear vision of what you want the project to look like. “For example, if you are installing a DIY shiplap wall, do you know how you will stagger the boards, are you going to remove the trim?”
If you know exactly how you want the project to work, she says you won’t have to stop in the middle to make decisions (and changes).
Plan your project ahead of time
In addition to having a vison, Grasley says you also need a plan. In fact, she says this is the number one time-saving tip for DIY projects. “Make a list of everything you will need beforehand and have all supplies in one place before you start,” she advises. “This will not only save you a lot of time, but it will make the project more enjoyable.” Grasley also recommends keeping a garbage can close by to make the clean-up process smoother and faster.
Her advice is seconded by Christine Wessling in Berlin, Germany, who blogs at Little House on the Corner. “While it can be tempting to jump head first into an exciting new project, planning everything in detail before you start any work will not only save you money but also a lot of time,” she says.” Planning ahead will also help you avoid making mistakes, which can take a lot of time to correct.”
Don’t reinvent the wheel
It’s likely that your project has been completed before – probably by experts who have documented the process. So, why wouldn’t you tap into this free advice? “I am guilty of starting a project without fully reading the directions or doing my research,” Grasley admits. However, she recommends that you watch relevant videos and read instructions – and tips – before you start a project. “This will ensure that your project gets done smoother and faster,” she explains.
Put your paint to good use
Paint is an easy and simple way to refresh and restore practically everything. “I love changing up a room by just adding some paint, and you would be surprised how much you can do even with a sample can of paint,” says Baltimore, MD-based Di Ter Avest, blogger at Di is Organized. She also has a tip to make the painting process quicker and easier. “To save time between coats, wrap the brush in a grocery plastic bag and keep it in the fridge, so it doesn't dry up.” Also, she recommends covering the paint tray with aluminum foil to make clean up even easier.
- Keep reading: How to paint furniture
Have the right tools
If you have the right tools for the job, Ter Avest says you can save valuable time. "It's a good idea to invest in a basic tool kit and some small power tools,” she says. “You can start with a drill and drill bits; think about how much time it will save you assembling furniture, for example.”
Wessling agrees, and recommends having dedicated storage for all of your tools. “And try to keep everything tidy, so that you don’t waste precious time looking for tools or supplies that you’ve misplaced,” she says.
- Keep reading: 'I'm a DIYer, and these are my must-have tools"
Buy 10-15 percent in additional materials
One advantage of DIY projects is the opportunity to save money. But this doesn’t mean you should skimp on materials. Mike Katona, Cleveland, OH-based blogger at Shabby Chic House, tells us that he always buys an additional 10 – 15 percent in materials for his DIY projects. “This is a great practice for wainscoting, crown molding, wallpaper, or any tile project.” When trying to decide quantities, Katona says you must account for wastage and also occasional human error. So, buying extra can help you avoid an additional trip to the hardware store.
“In addition, wallpaper is typically produced in lots - so if you try to purchase an additional roll at a later date, the dyes and even the pattern can be discontinued,” he warns. “The same goes for tile - often marble is produced/cut from a quarry in lots, so colors can vary.”
Use a disposable/plastic drop cloth for demolition or wallpapering
Katona says he used to use canvas drop clothes to protect his floors during a demo. However, I found it's a huge time saver to use an inexpensive plastic drop cloth,” Katona explains. “When you're done, just grab all four corners of your drop cloth and pick up the waste in one fell swoop.”
Block off time to complete projects
In addition to planning your project, you should also plan your time. “Set aside dedicated time for your projects to help you avoid distractions and get your project finished sooner,” Wessling recommends. “Getting all of your tools and supplies prepared for DIY projects takes longer than you’d expect, so blocking off enough time for you to be able to finish the project you’re working on without having to tidy everything away in between your DIY sessions will save a lot of time.”
Don’t wait for the perfect time to start
Although planning is important, don’t let it be the reason you never get started. “As a mom of two young children, I know that the ideal time to start a project will never come,” Ter Avest says. And if you’re delaying the project because of your kids, she has some advice: involve them in the process. “Kids love to do ‘grown-up stuff’ and can help sort screws, hold the other side of a measuring tape, wipe down the baseboard before you paint them, and so many other small tasks.”

-
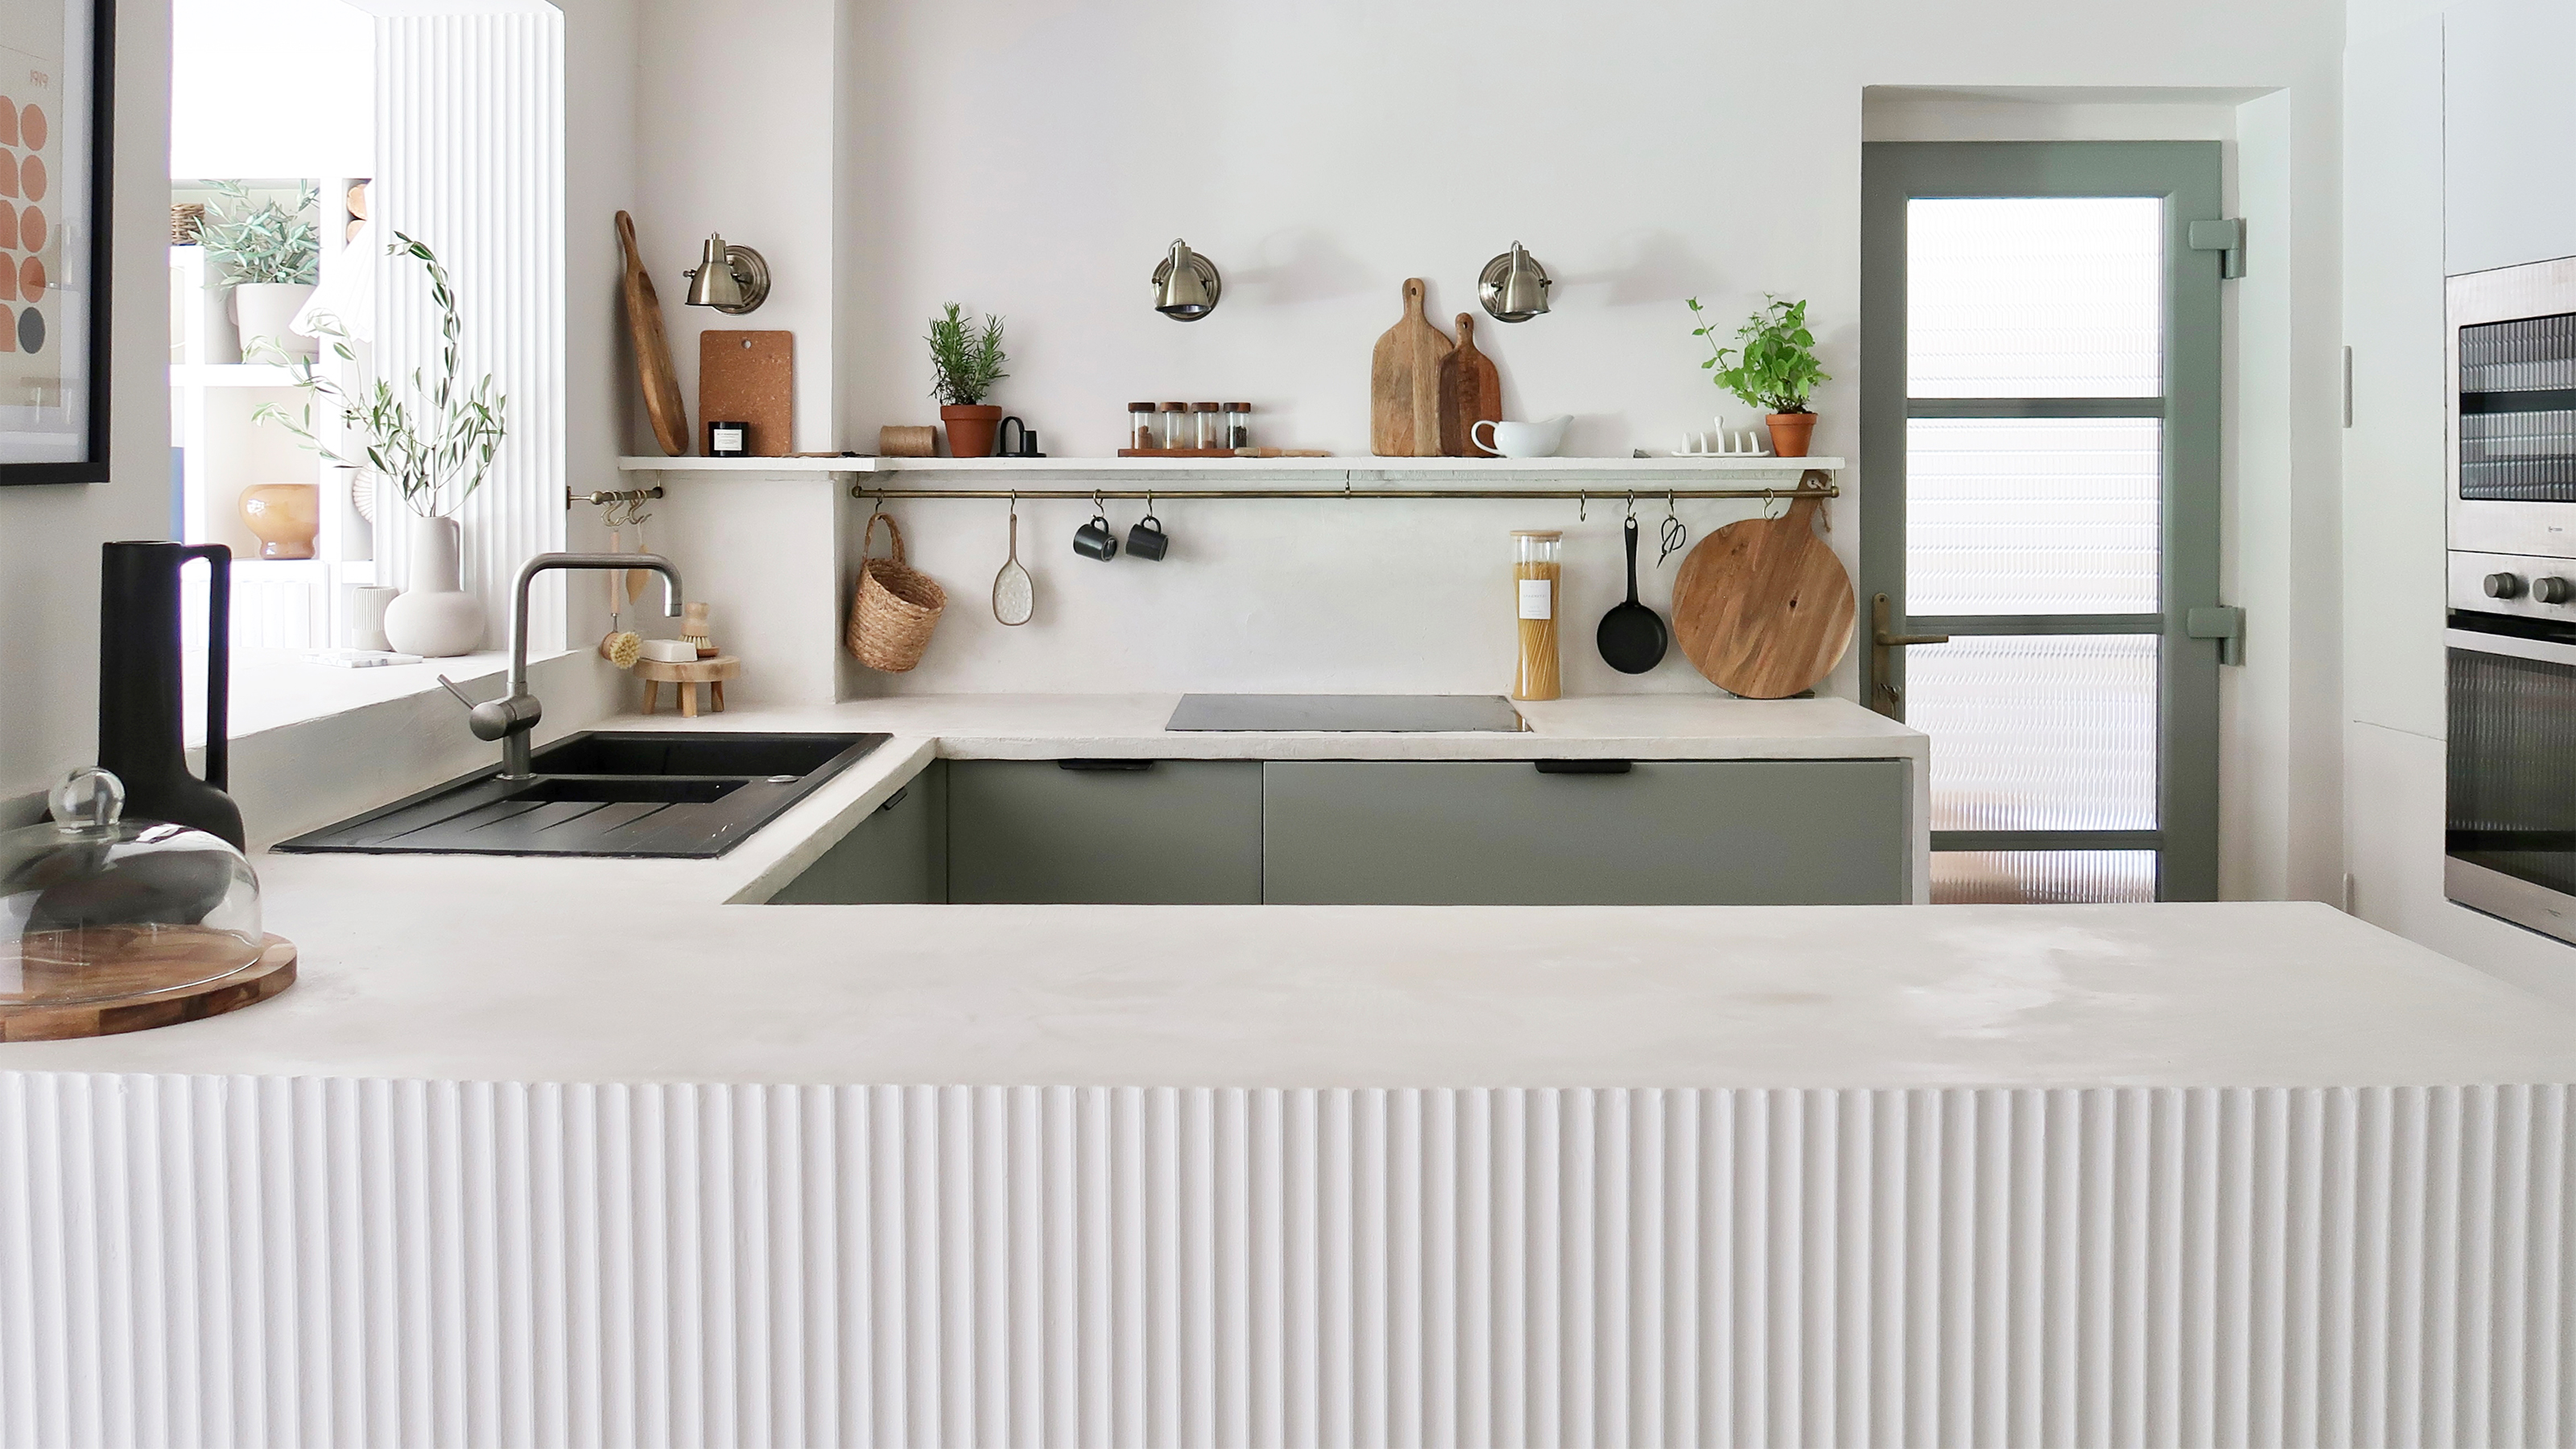 A $200 fluted panel transformed my drab kitchen in just one weekend
How to install a fluted kitchen panel: A speedy and achievable DIY tutorial even for DIY novices
-
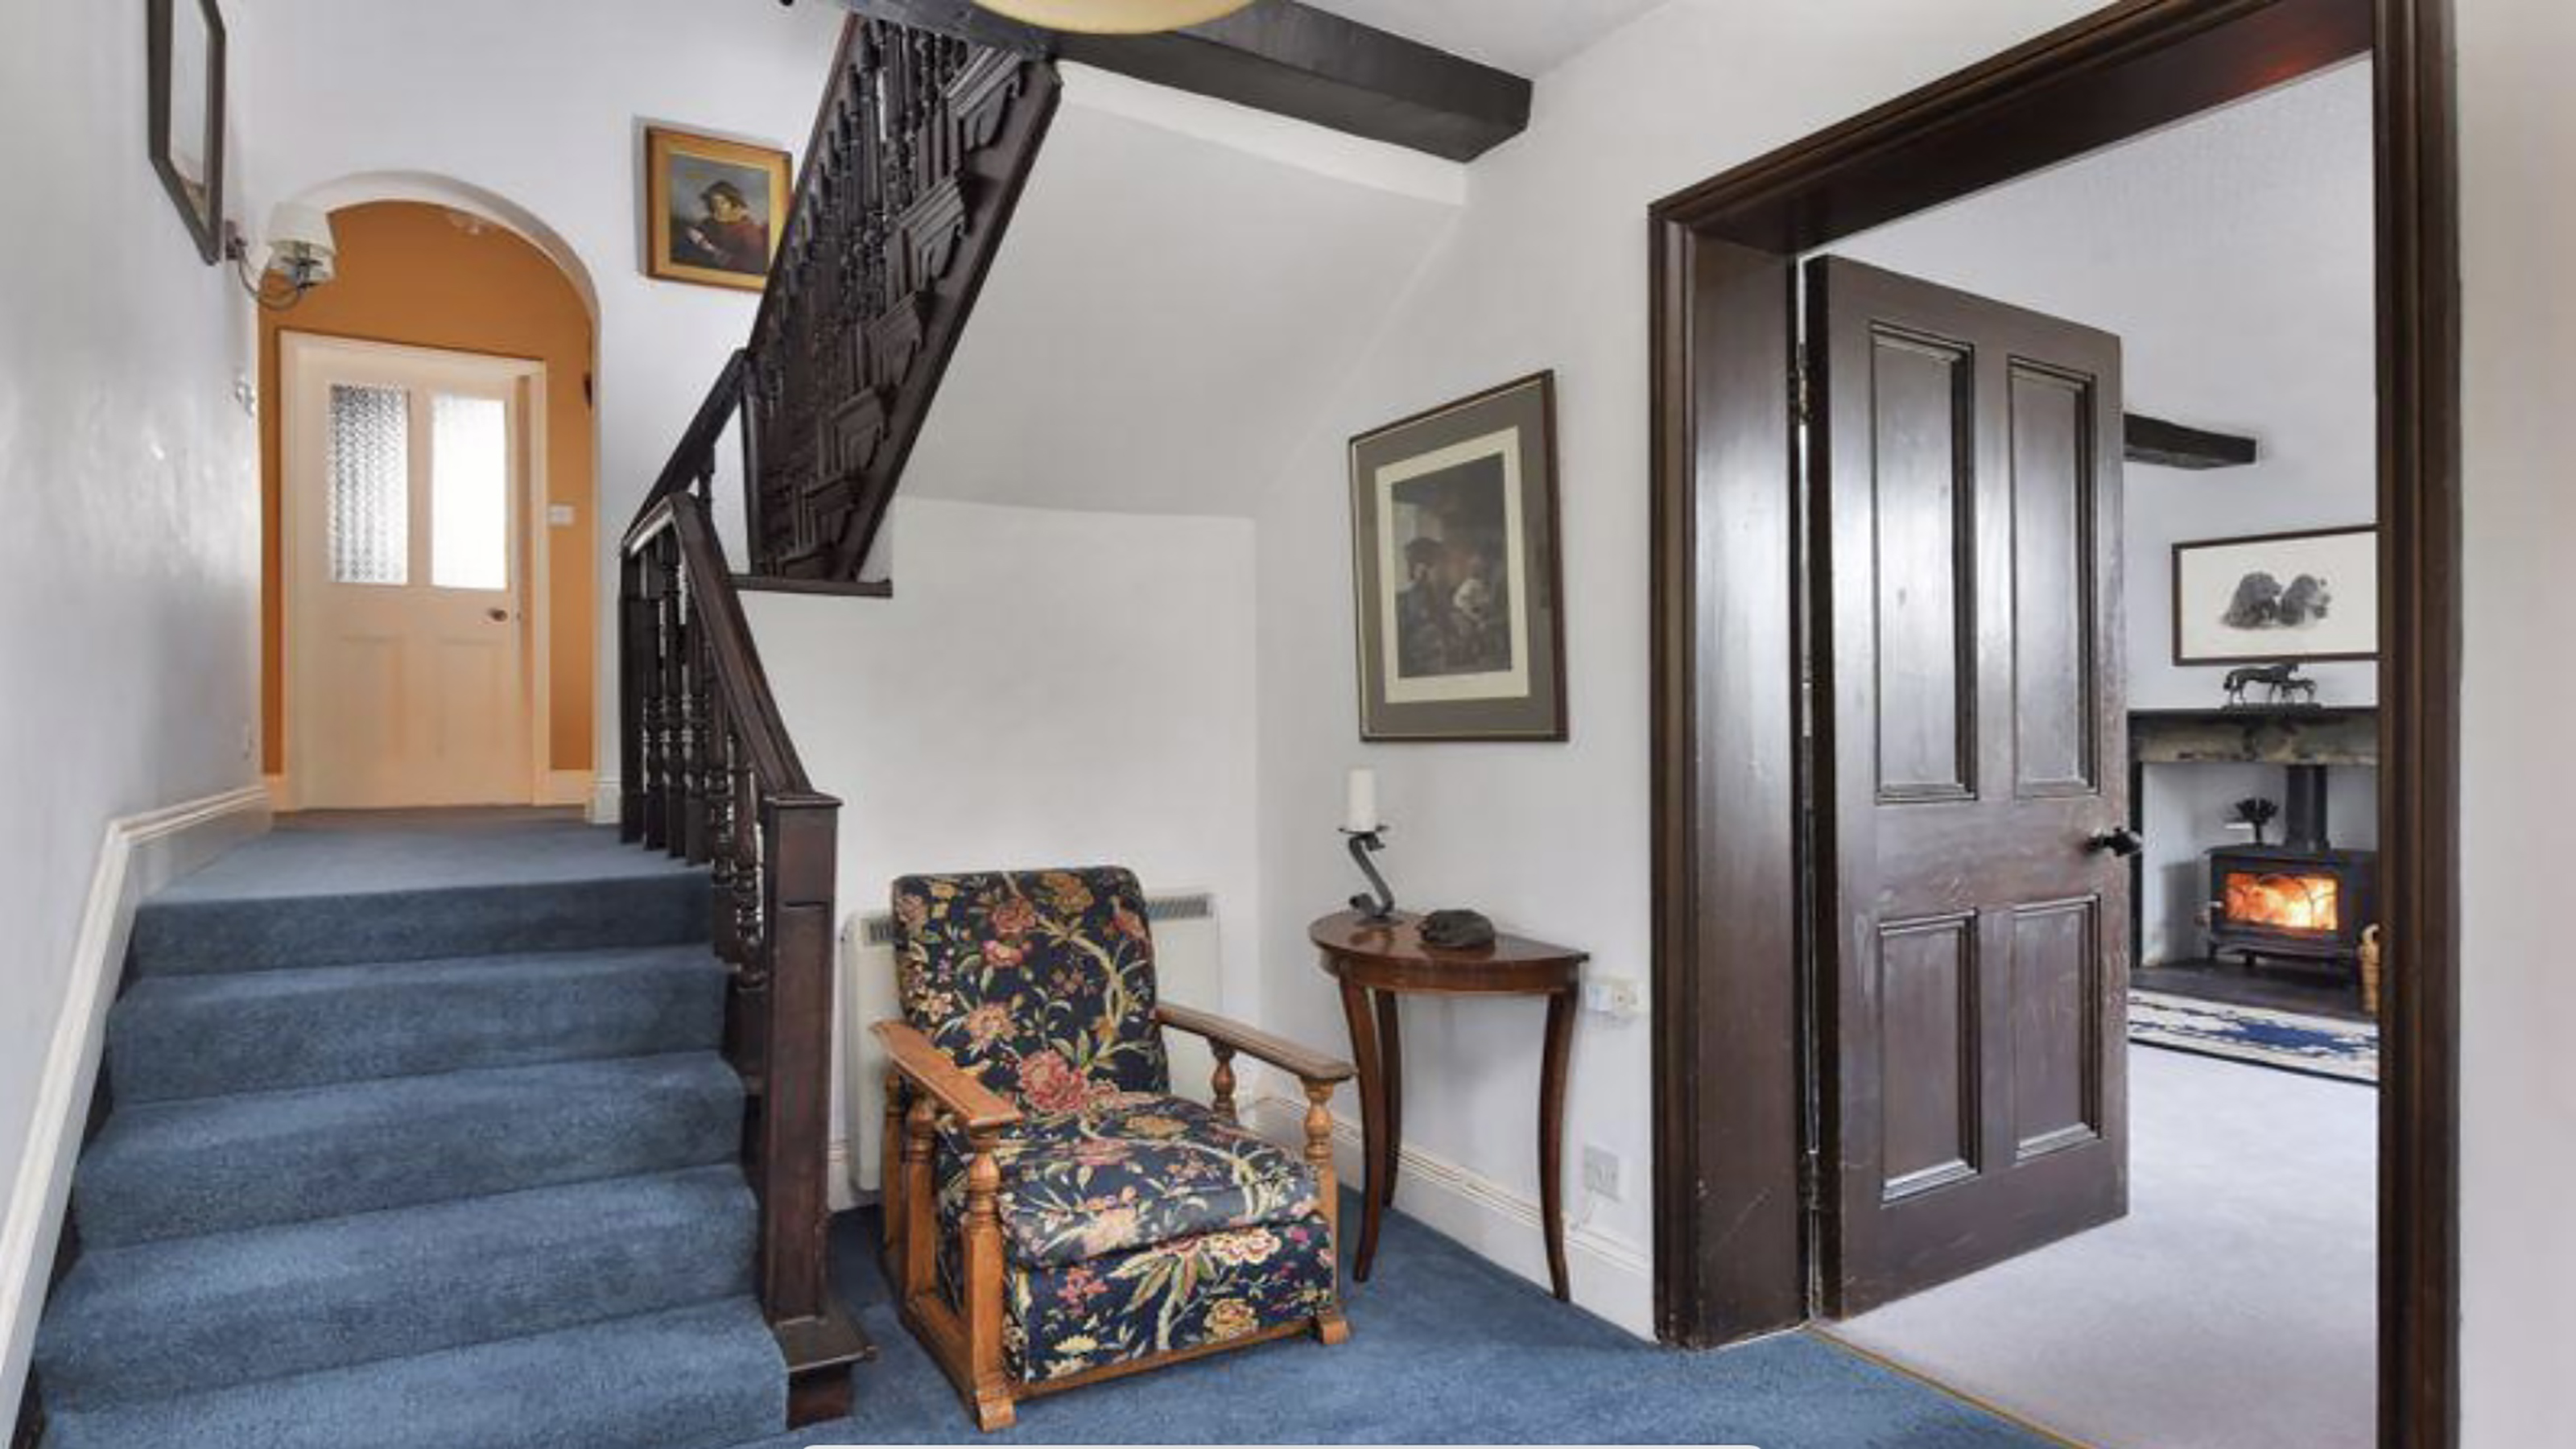 How to replace a broken staircase spindle in 30 minutes flat
A missing or broken spindle on a staircase is not only unsightly, but it can be a real hazard. This is how to fix it in a few quick steps.
-
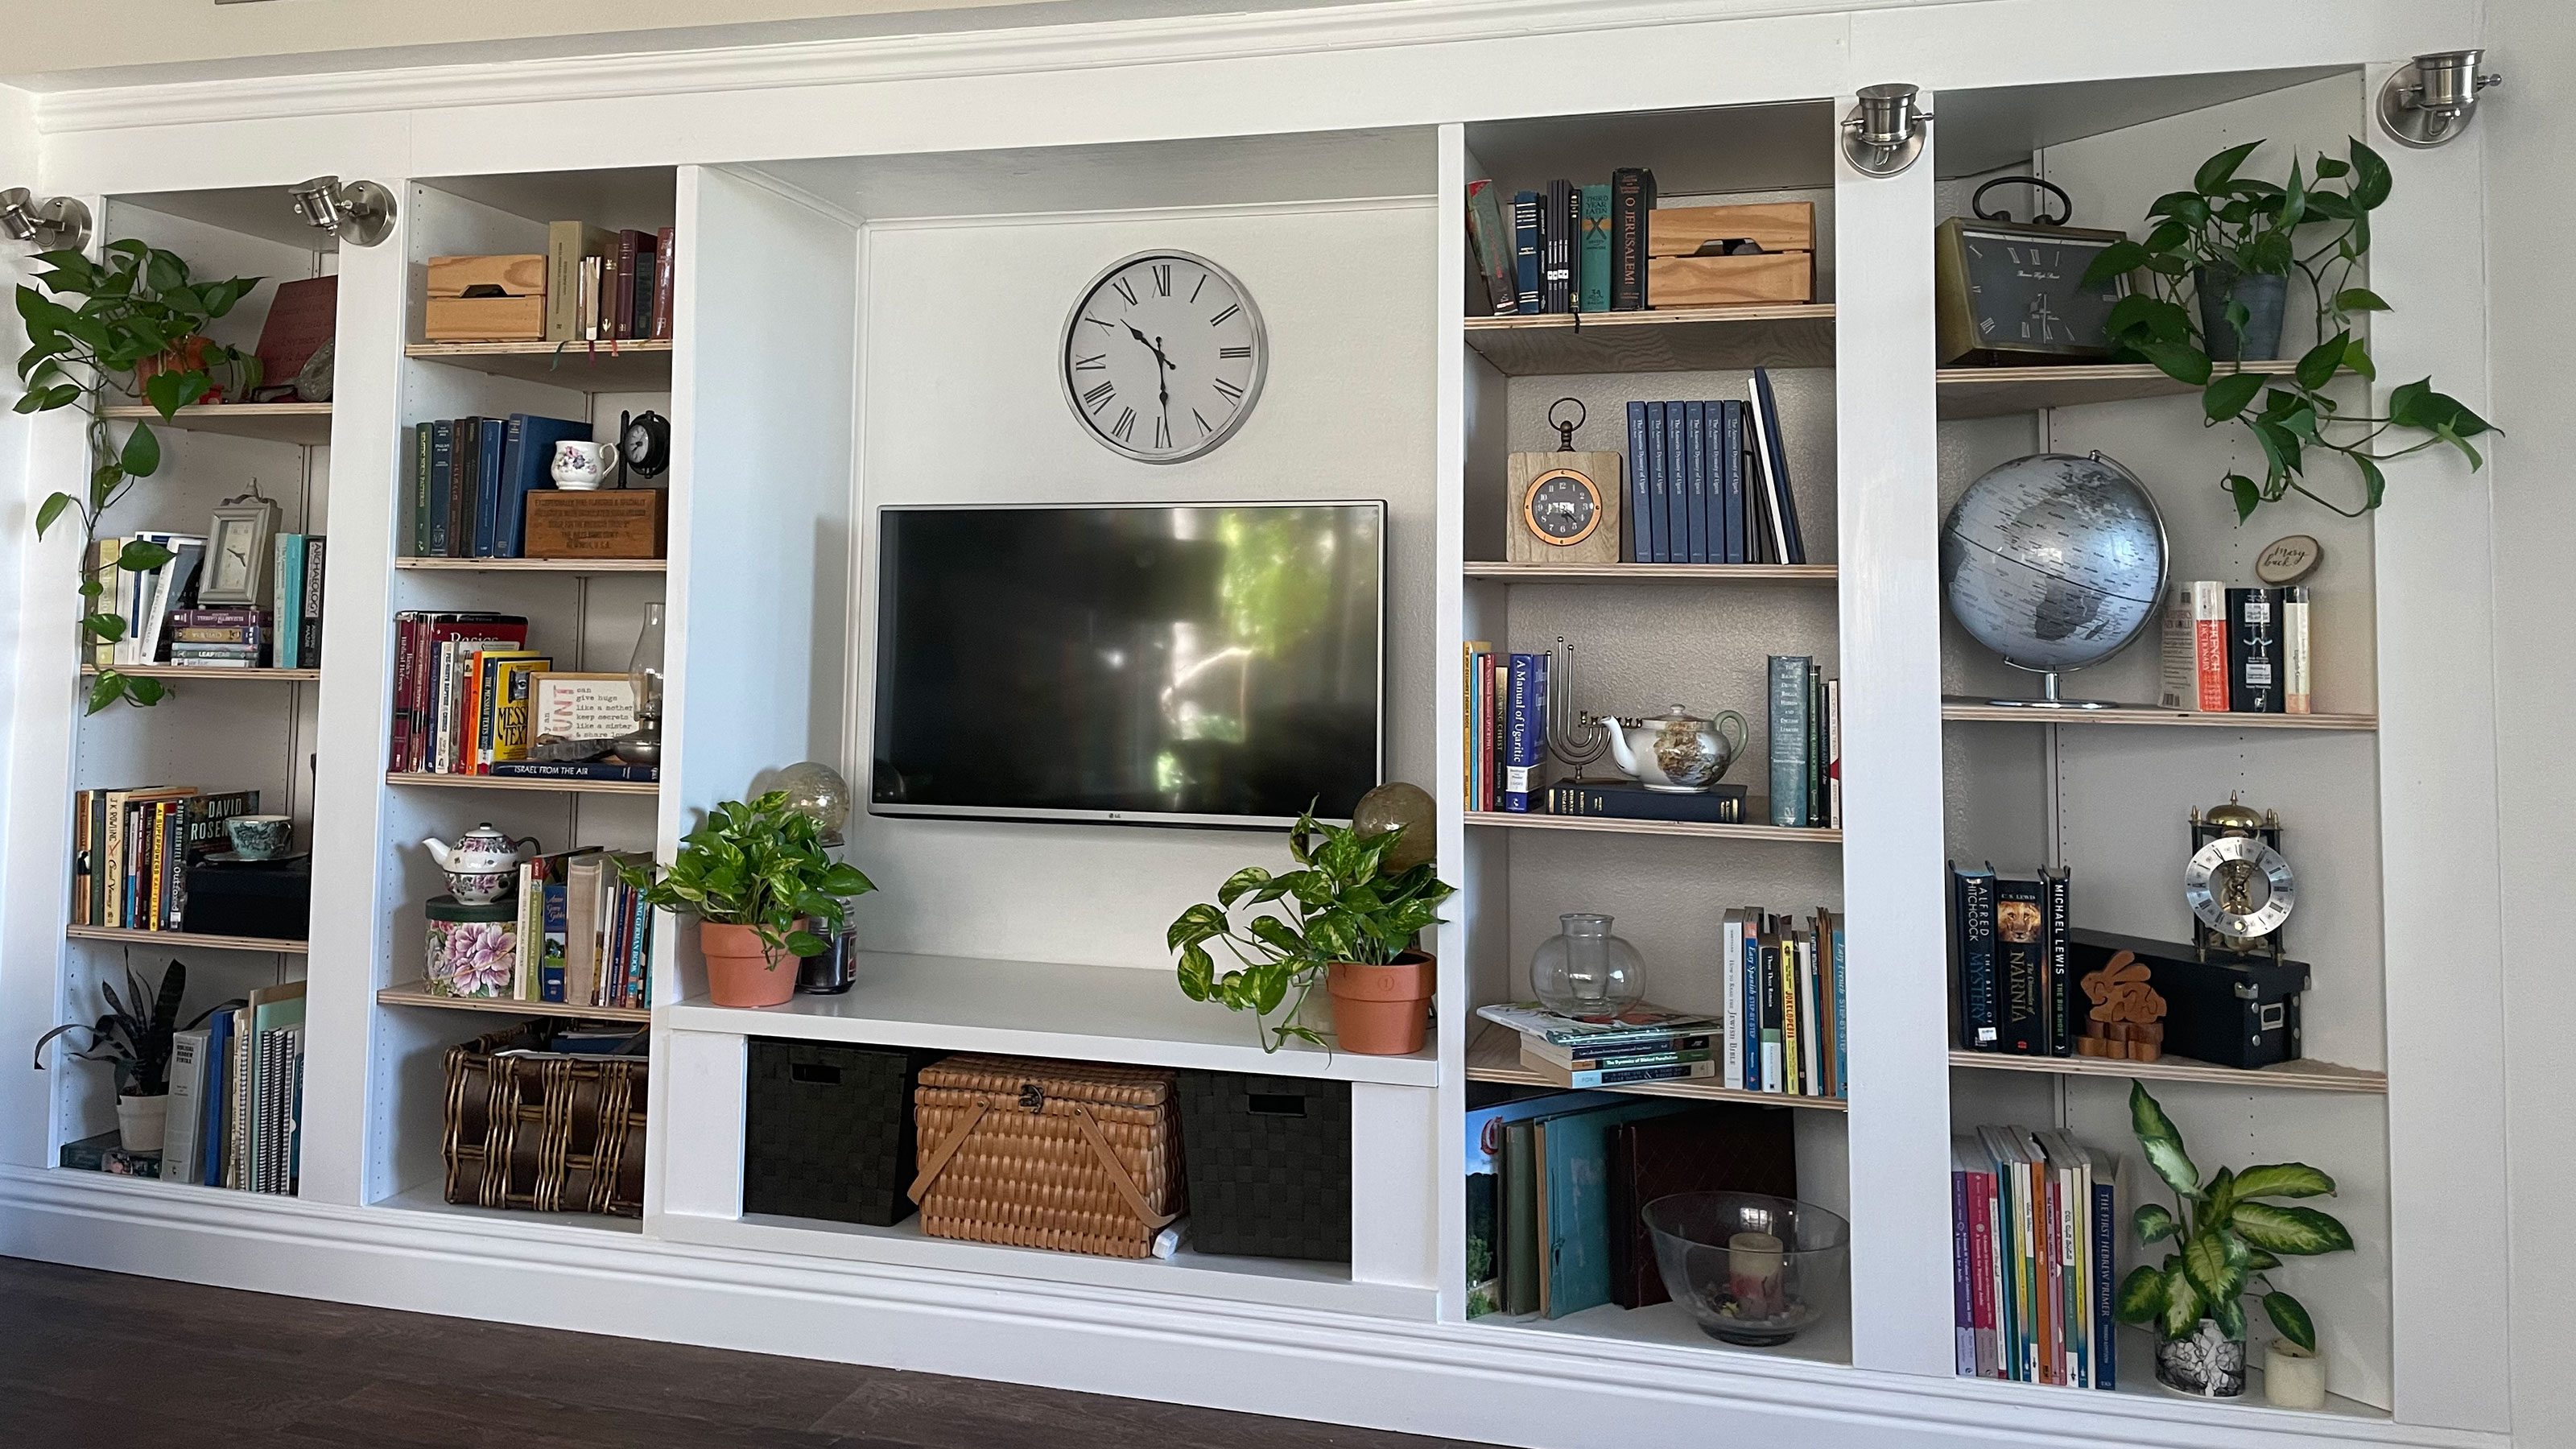 An IKEA Billy bookcase hack inspired this cute media wall DIY
This cute DIY was inspired by an IKEA Billy bookcase hack and brought a ton of symmetry to an otherwise basic media wall space.
-
 Share your small space glow up to win $150 in the Real Homes competition
Show off your creativity and DIY skills to win $150 and for the chance to be featured exclusively in Real Homes magazine
-
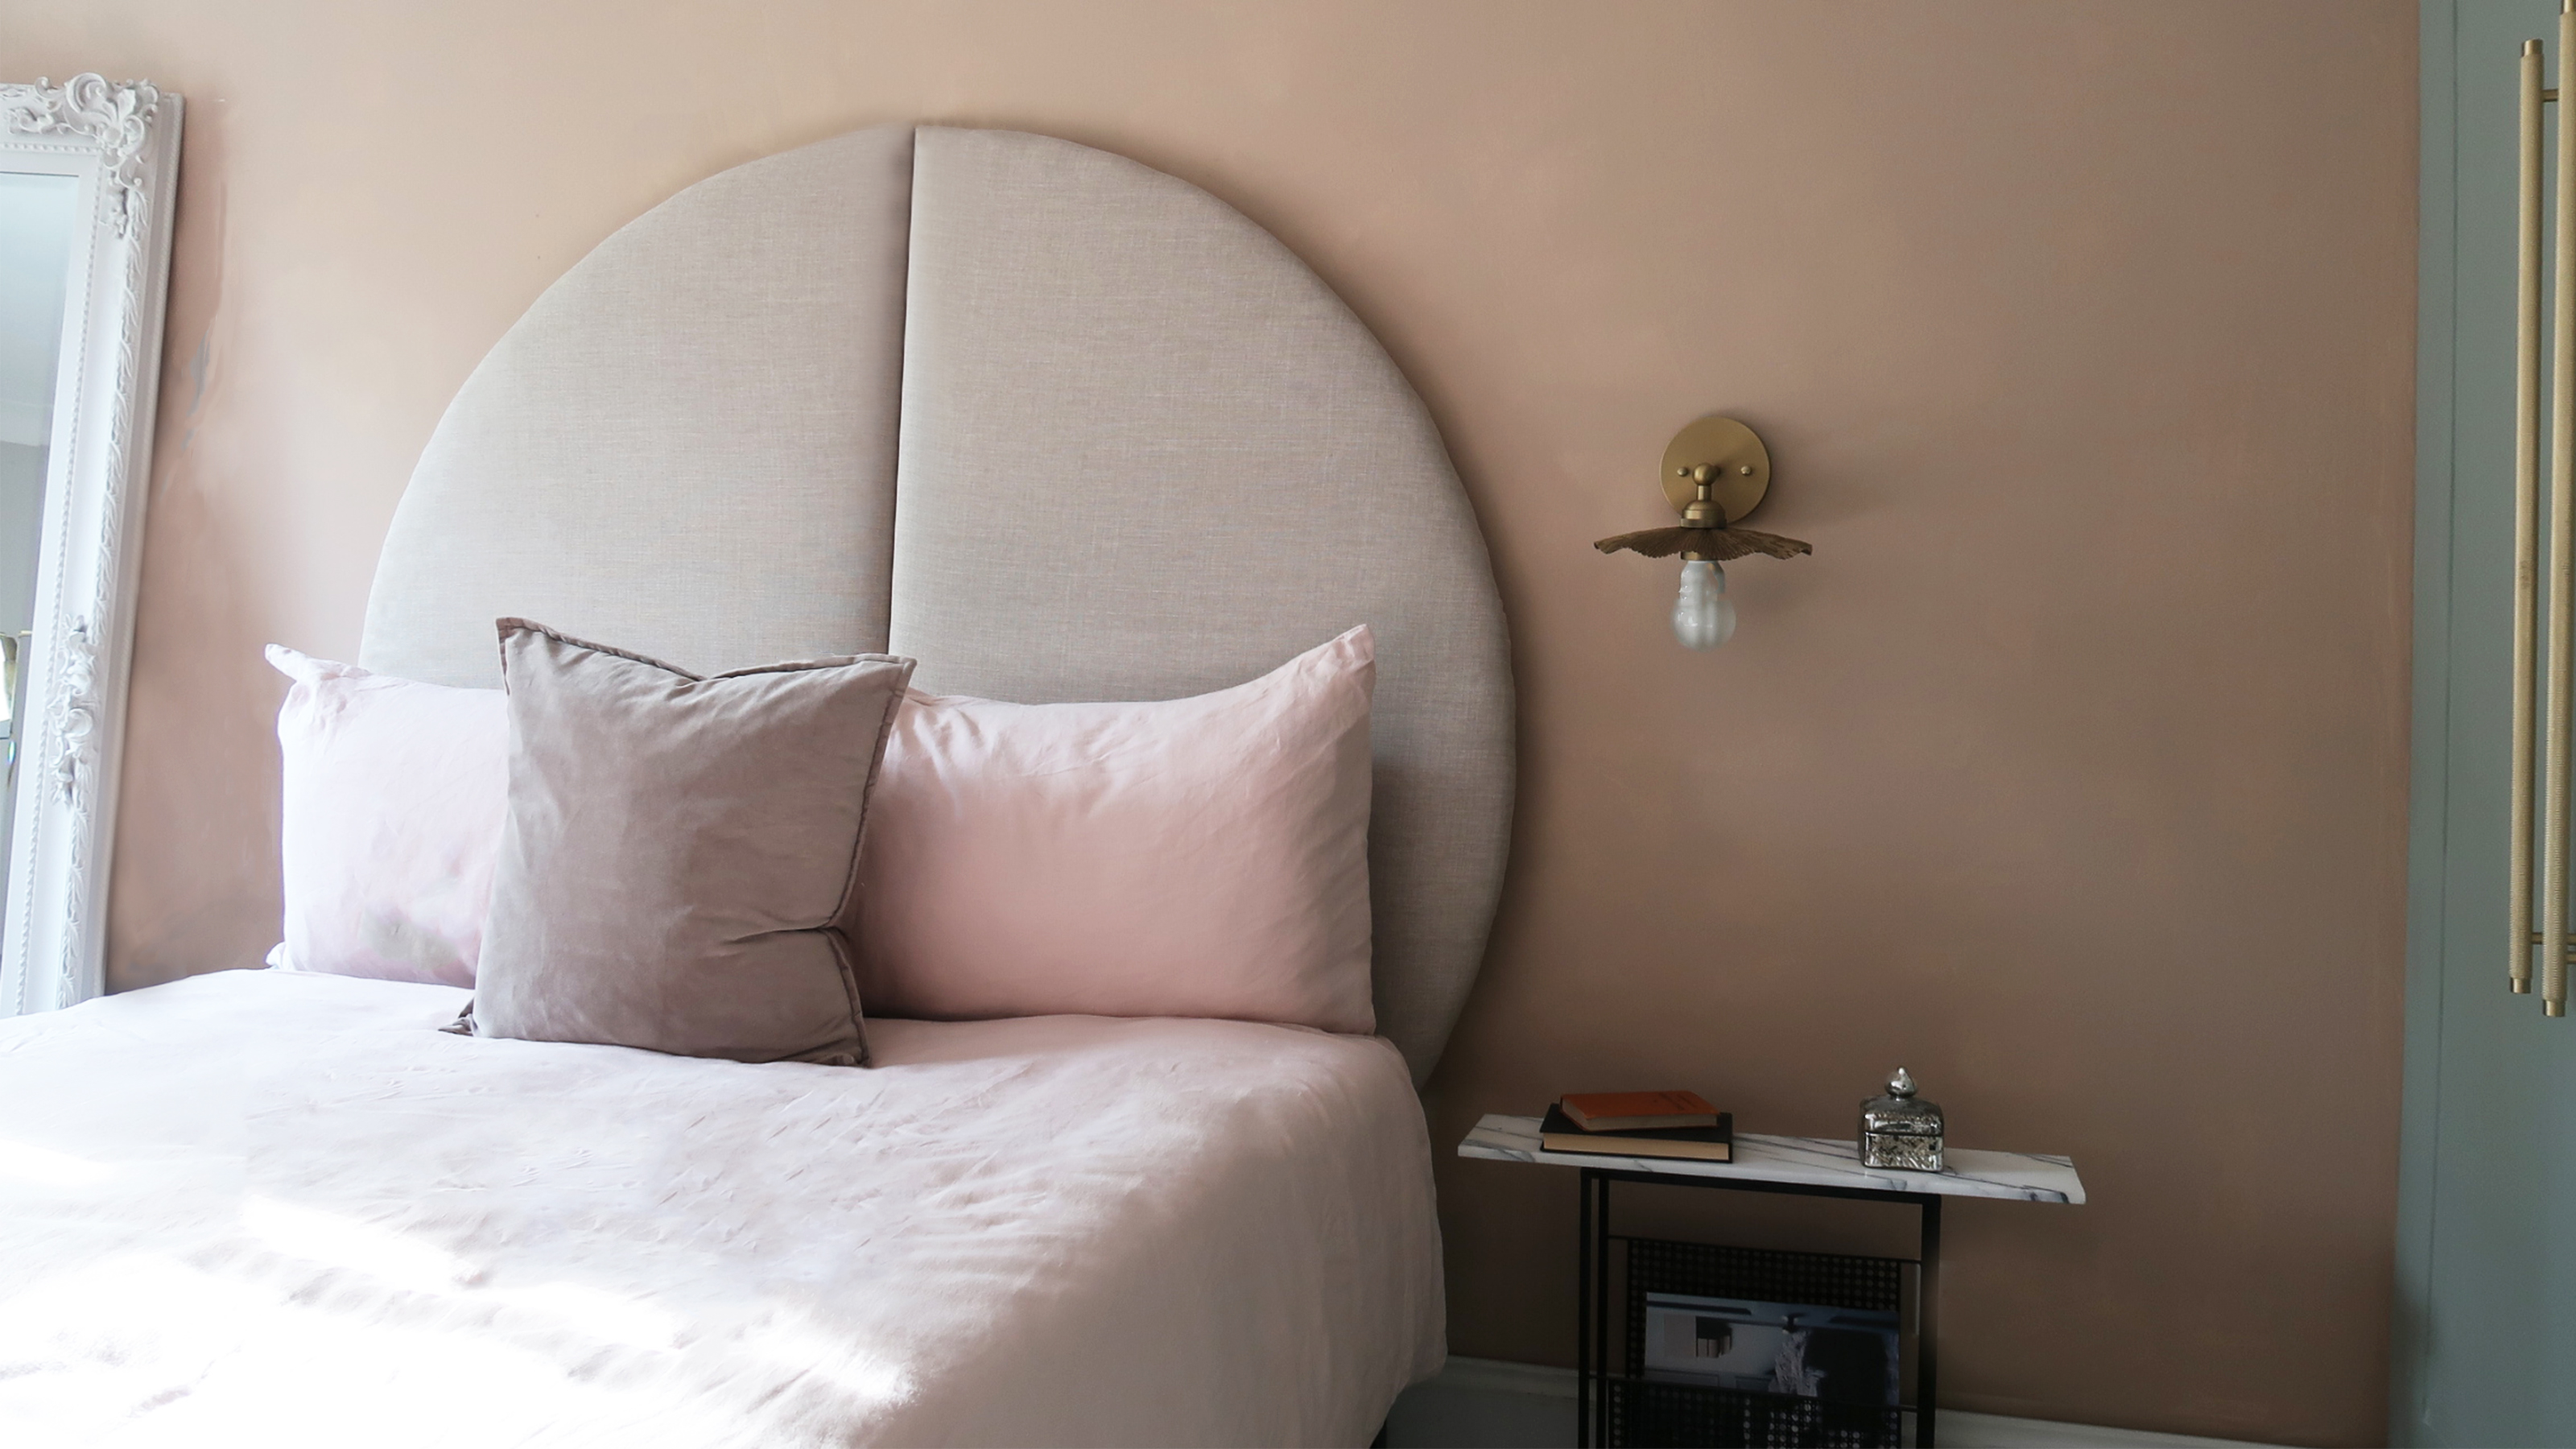 This oversized headboard looks designer, and takes 5 steps to DIY
Super simple to DIY, this oversized headboard will give your bedroom space all the designer vibes you could dream of.
-
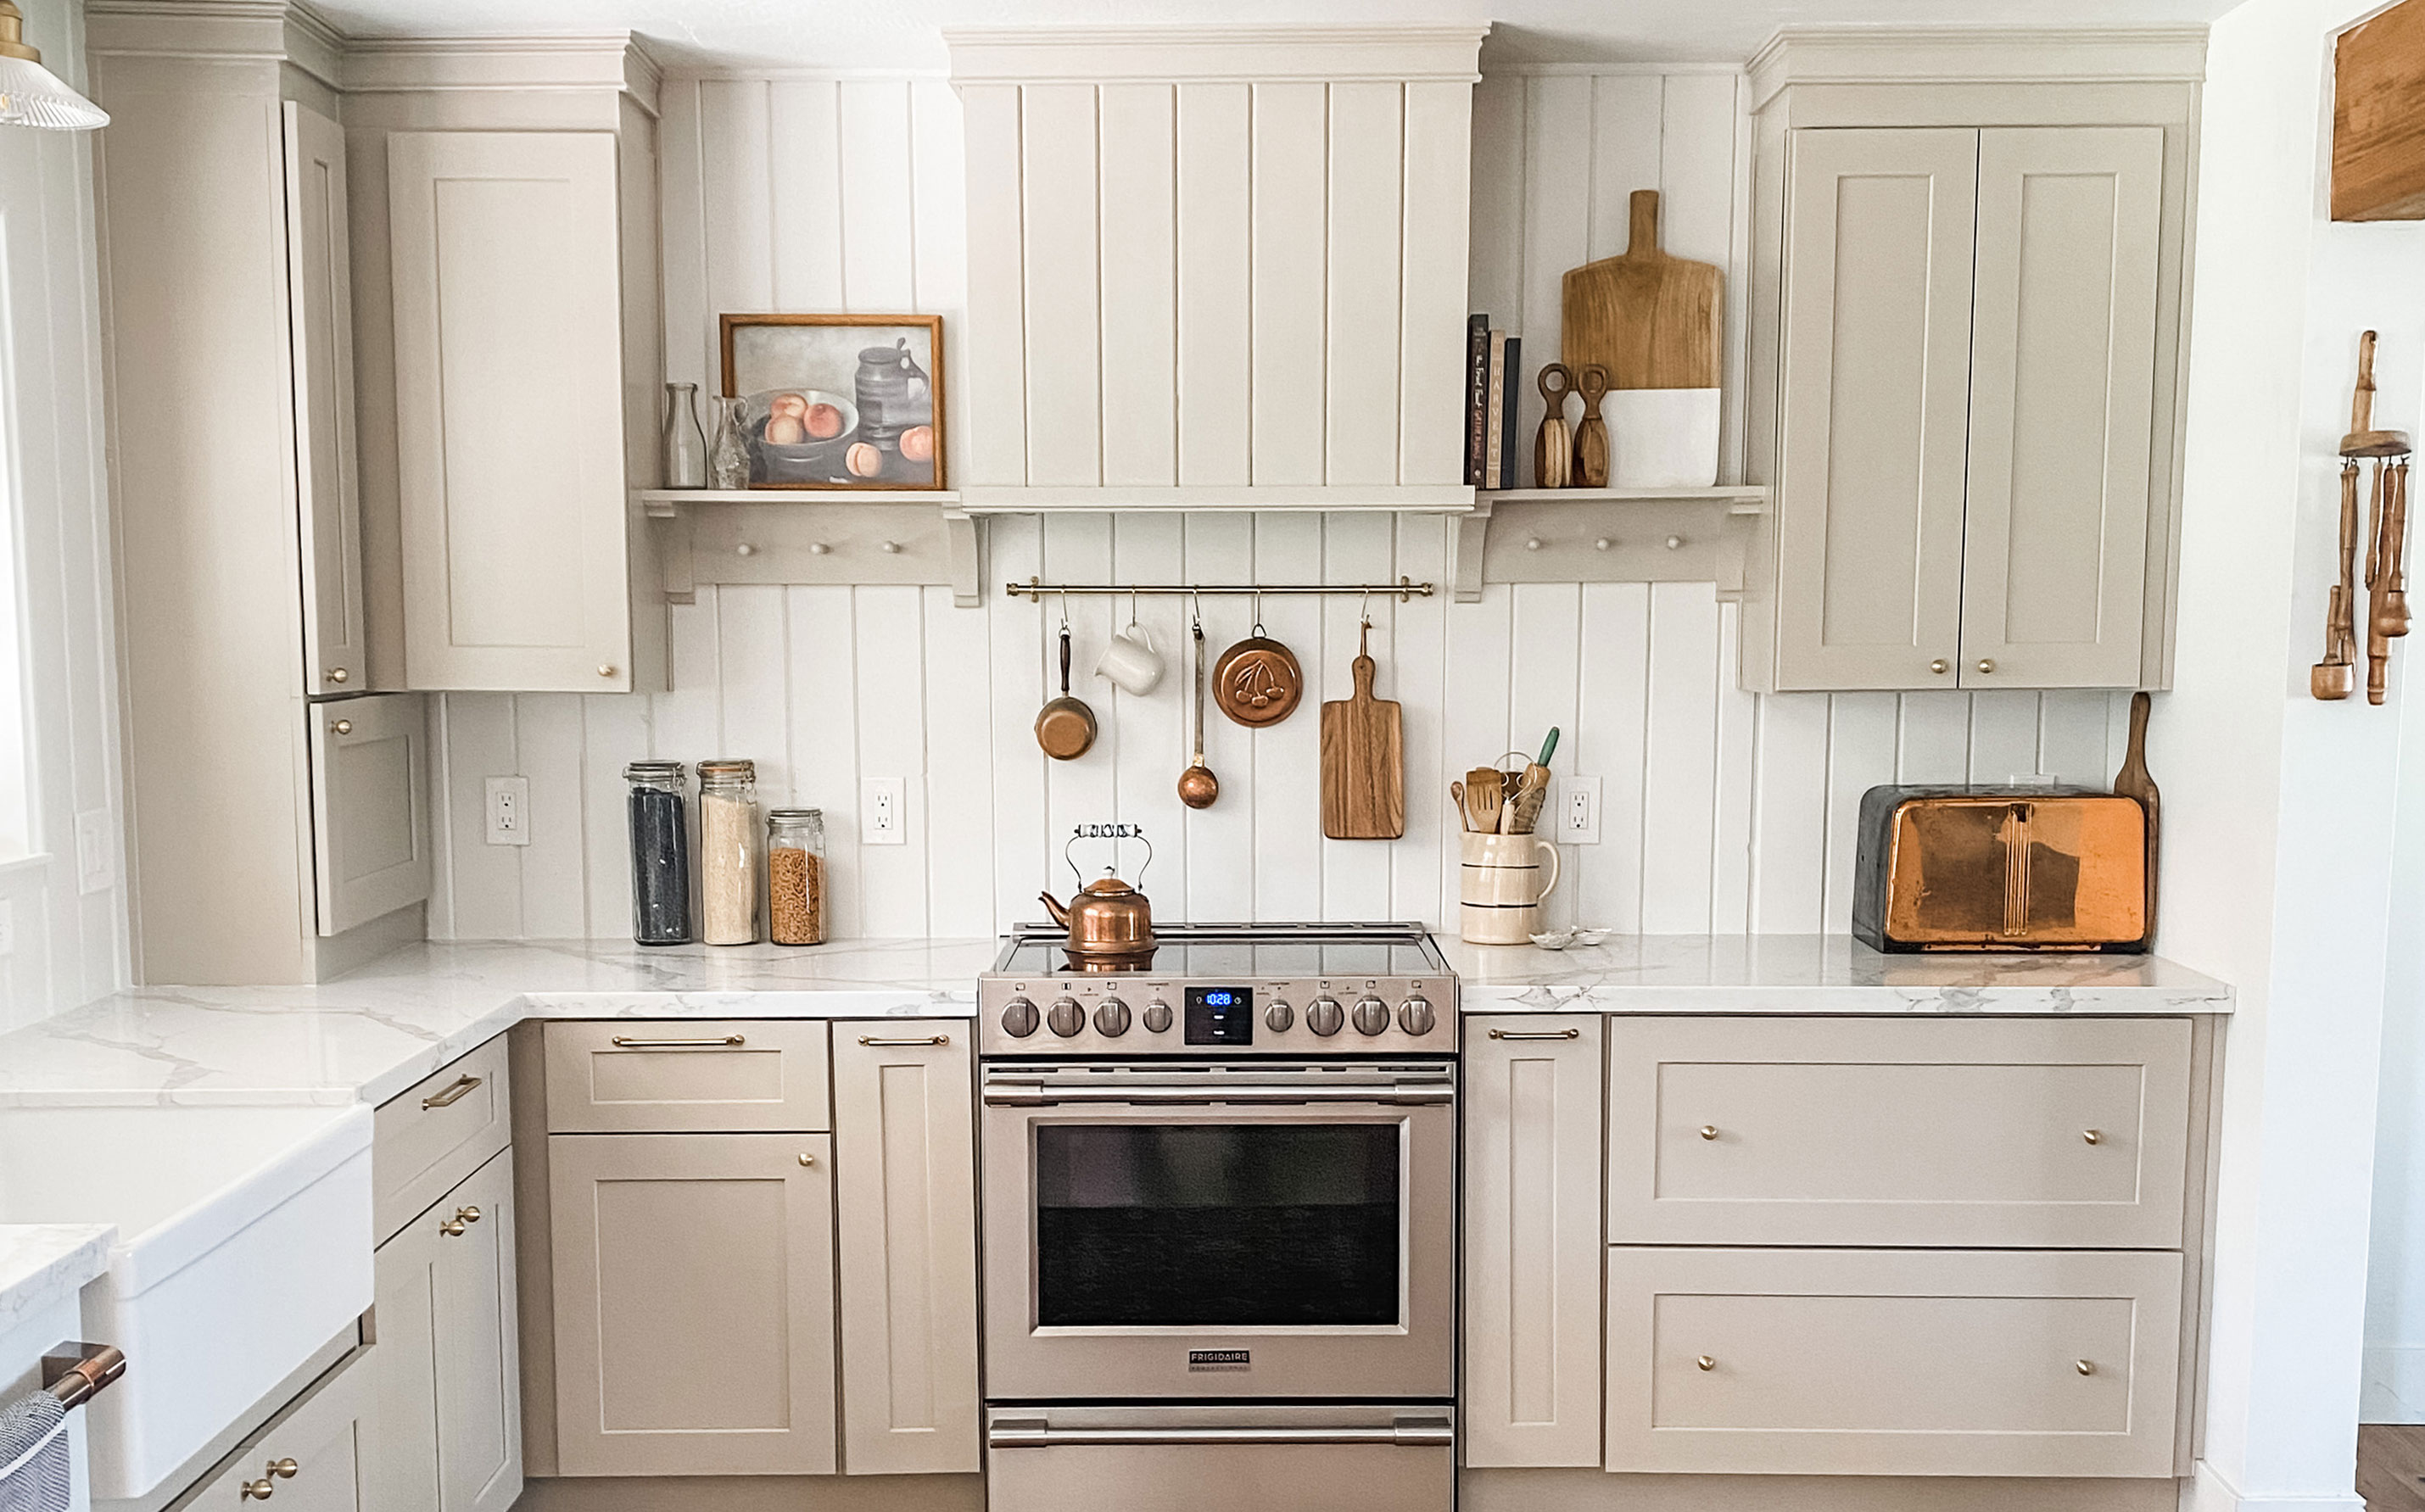 My DIY range hood and backsplash build gave my kitchen the perfect farmhouse finish
I craved charm in my kitchen space and adding a custom range hood and shelving was the best move.
-
 How to paint a radiator in 7 steps
Painting radiators properly is all about choosing the right paint and the best process. Get interior designer-worthy results with our how-to.
-
 How to install a door knob
Updating your interior and exterior doors can be as easy as changing out the hardware! The best part is that installing a door knob is very DIY friendly. Follow these simple steps and enjoy a fresh look on your doors!


