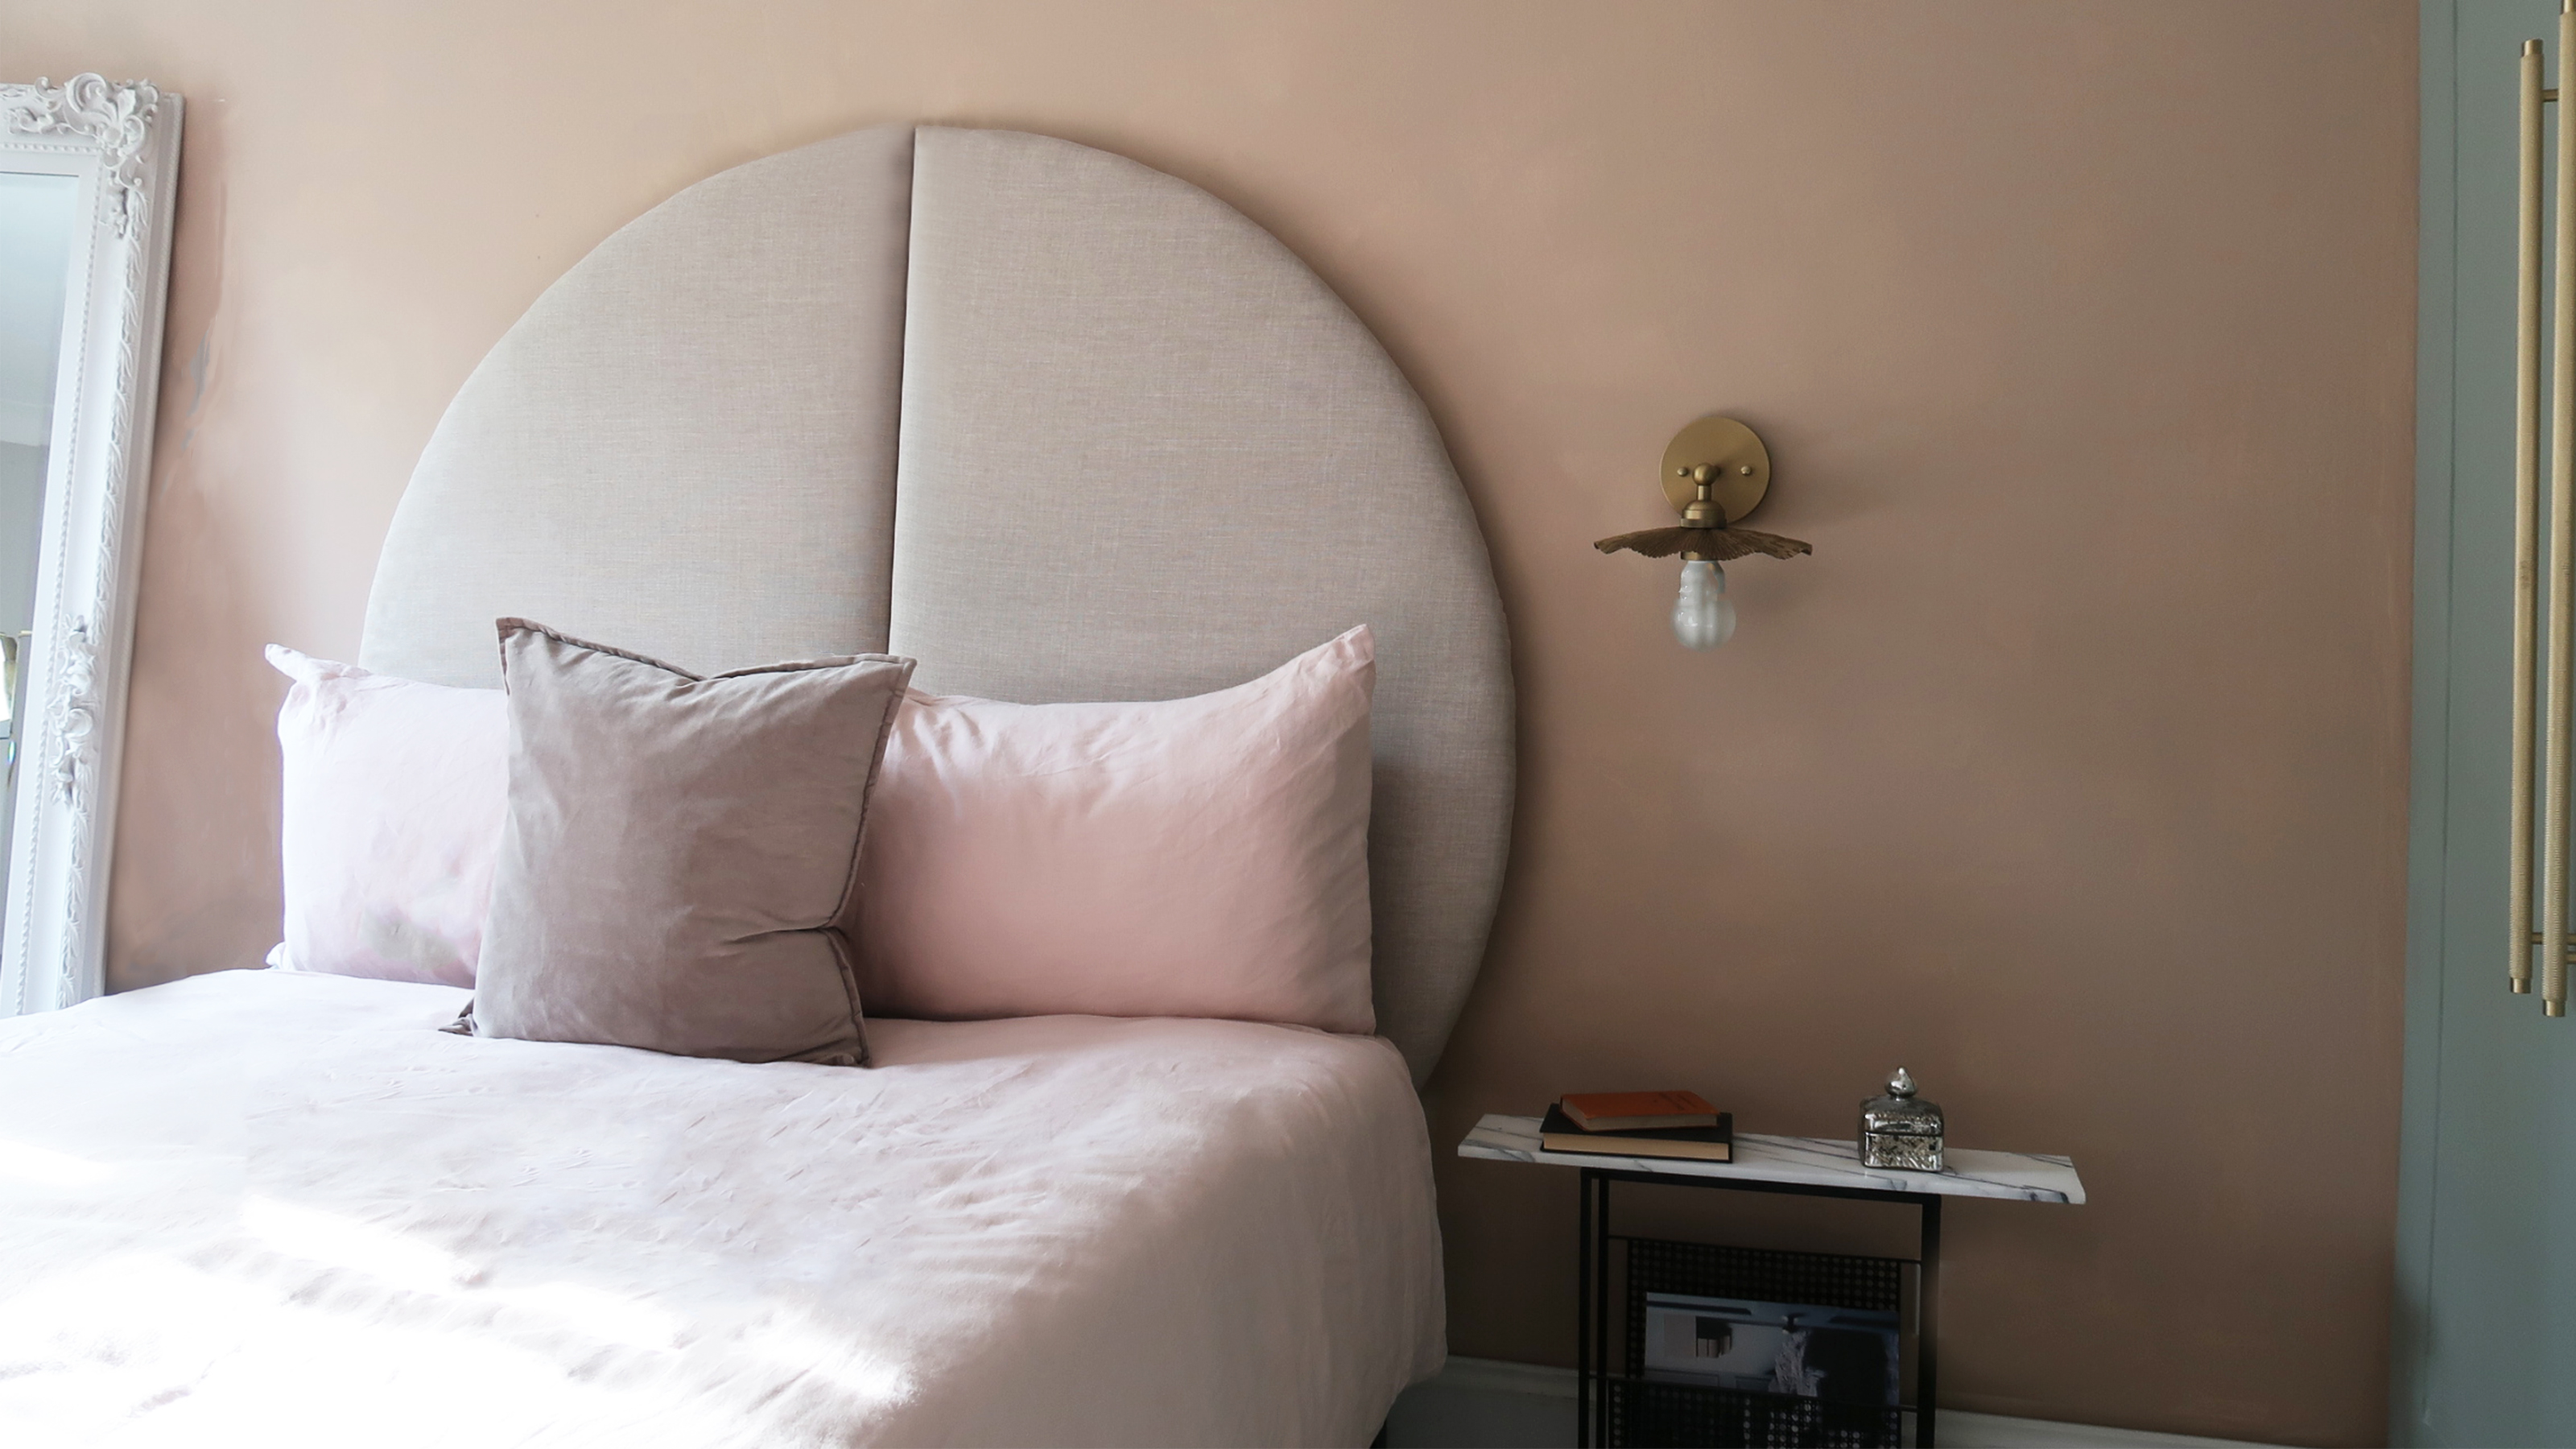
The functional benefits of a headboard are well known, whereas the design impact is often overlooked. Don’t sleep on (excuse the pun) the opportunity to elevate your bedroom’s interior scheme with a stunning oversized upholstered headboard that's beautifully simple to DIY if you want to add a touch of designer appeal to your bedroom space.
Choosing to DIY a headboard is a great idea for a number of reasons. Firstly, your bank balance will thank you for picking up your toolbox as you can save a ton by choosing the DIY route. Secondly, as chief designer you can be as creative as you like with the style and shape, why not recreate that expensive designer headboard you’ve been dreaming about?
You will need
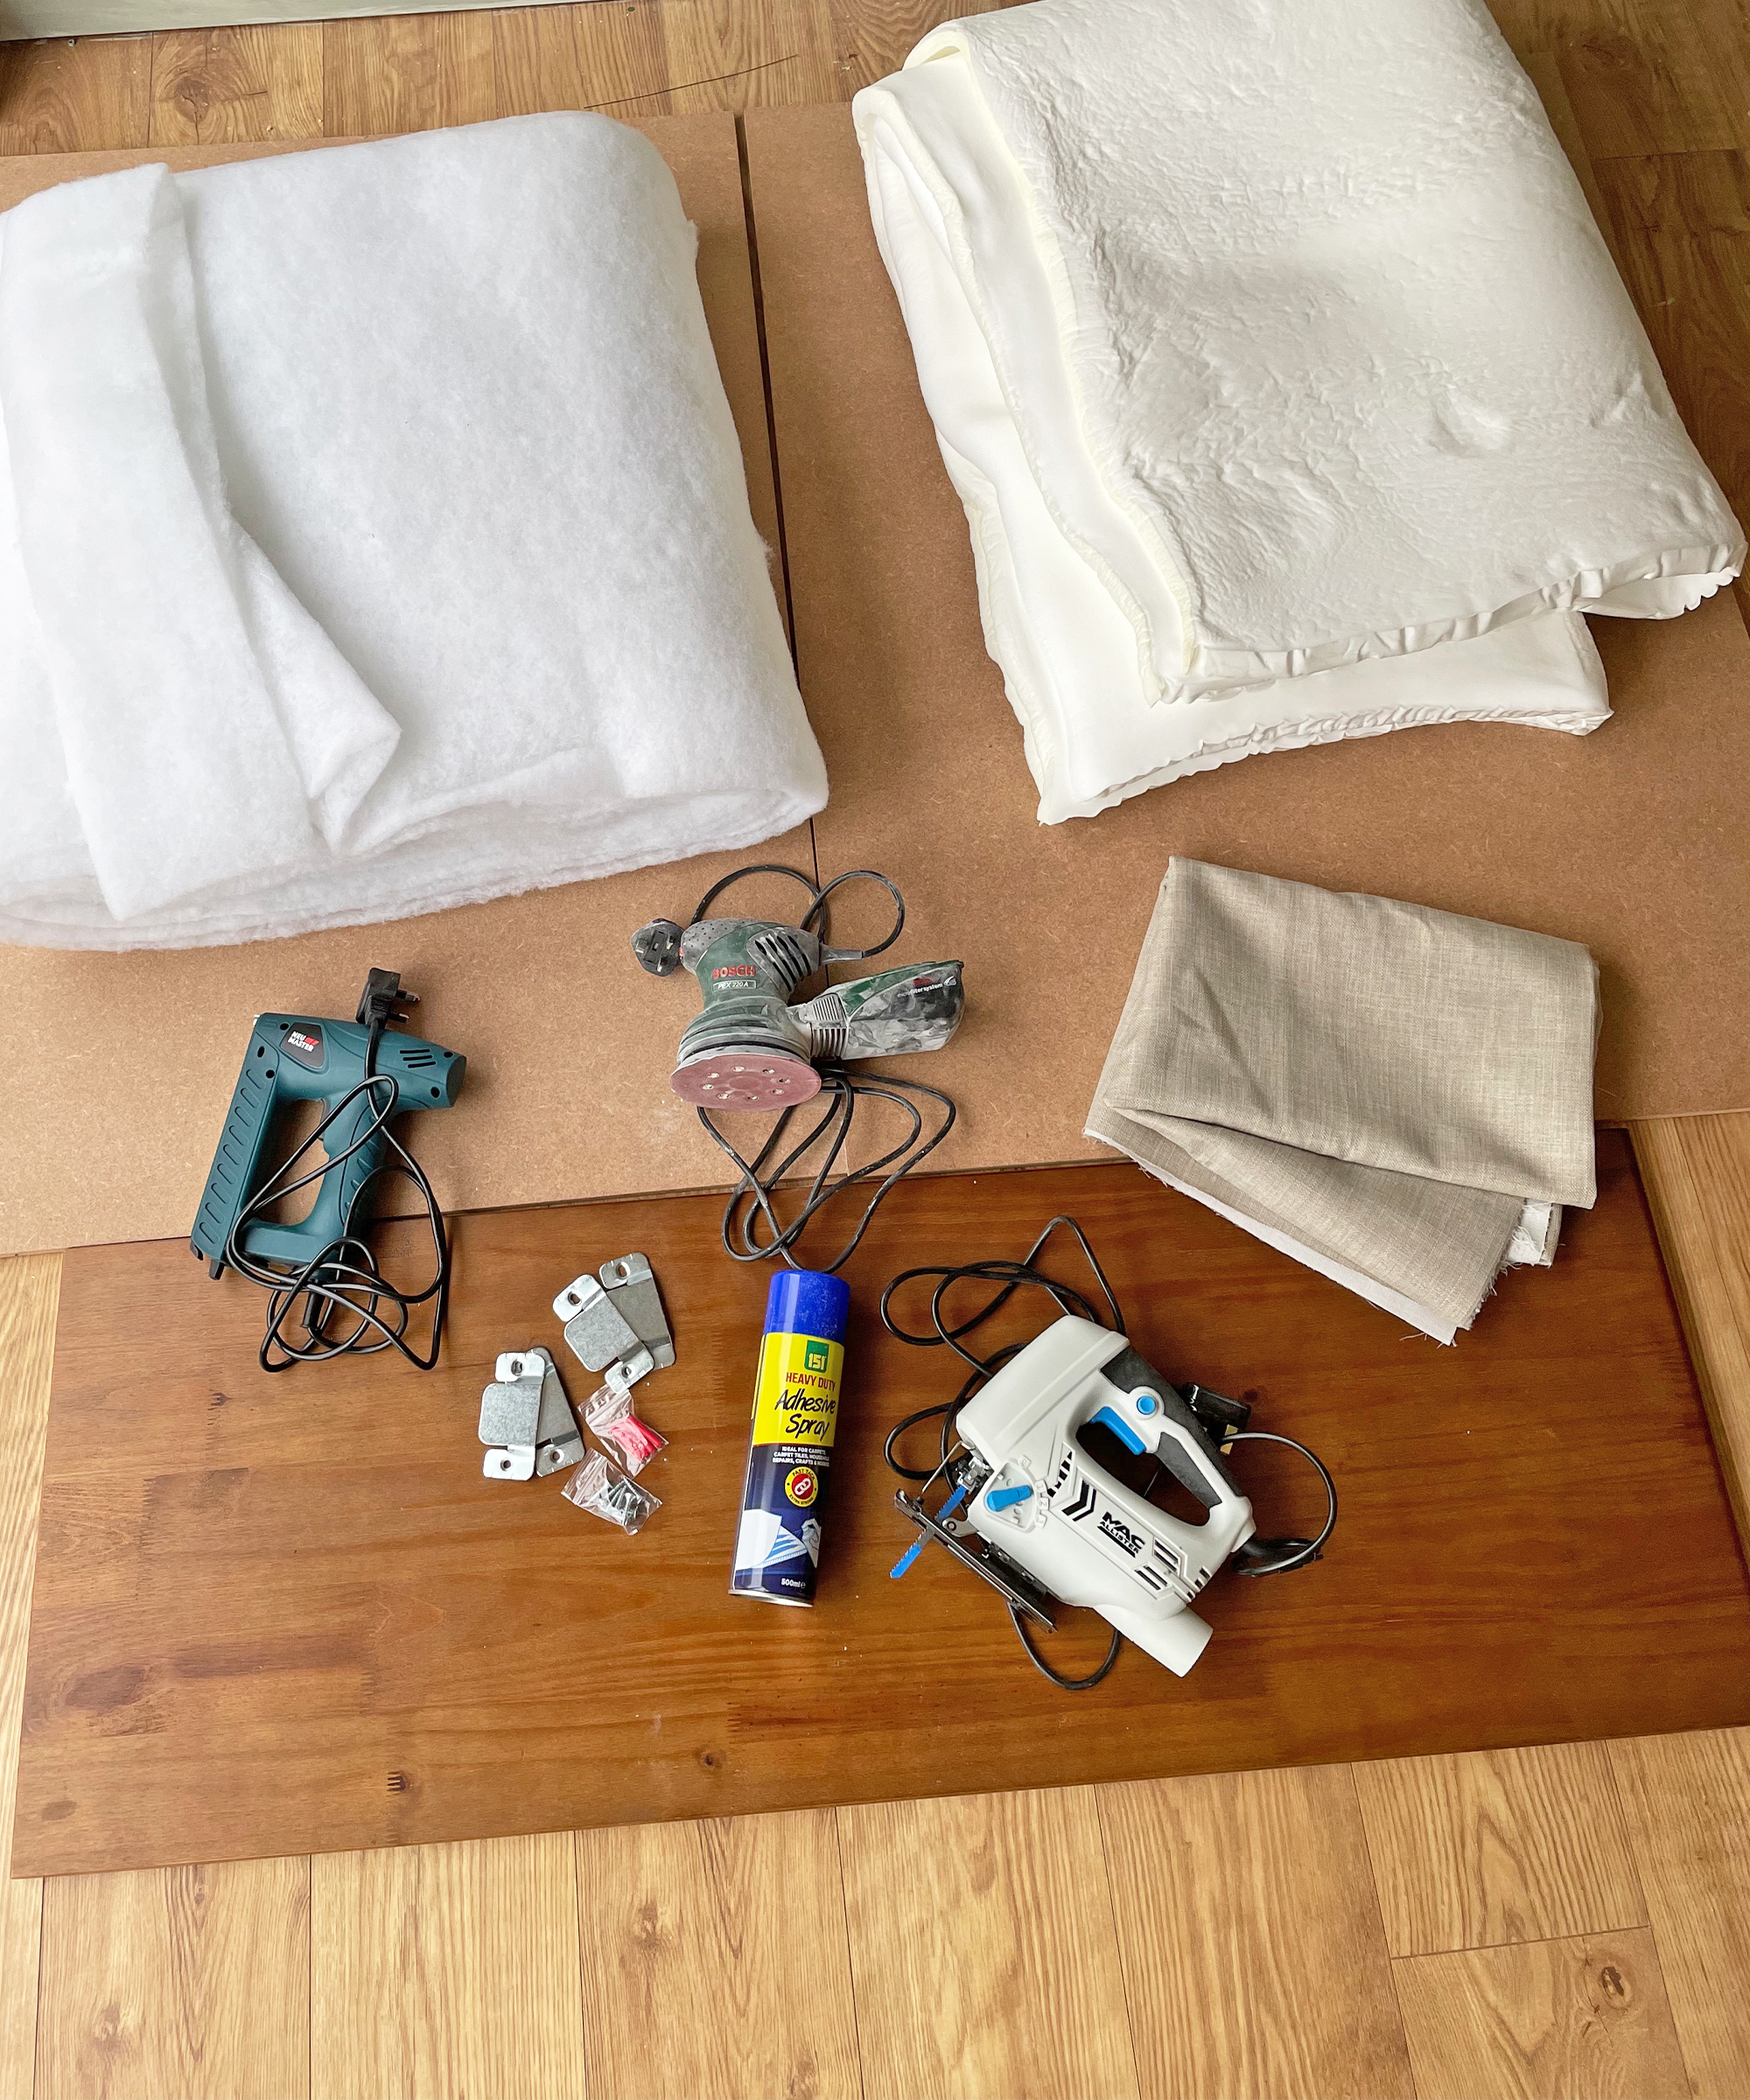
1. Wood for the frame: I opted for 18mm MDF from eBay
2. Staple gun
3. Jigsaw
4. Upholstery foam: these are the large Upholstery foam sheets I used
5. Wadding: I chose a Fire Retardant Polyester Wadding Roll
6. Sander
7. Tape measure
8. Spray adhesive: Adhesive Spray Contact Glue Heavy Duty Mount from eBay
9. Pen
10. Wall brackets
11. Screw (used to create the circular shape)
12. Material from eBay
13. Drill
14. Screwdriver
1. Design Time
As I mentioned above, you can get creative with a DIY headboard. I opted for a two-part, circular design that was inspired by a fabulous designer brand whose products cost thousands, but you could keep it very simple and straightforward if you prefer. Introducing curves does increase the complexity of cutting out and covering the frame, but with a good jigsaw and a bit of practice, it’s achievable for even a novice DIYer.
2. Make the base
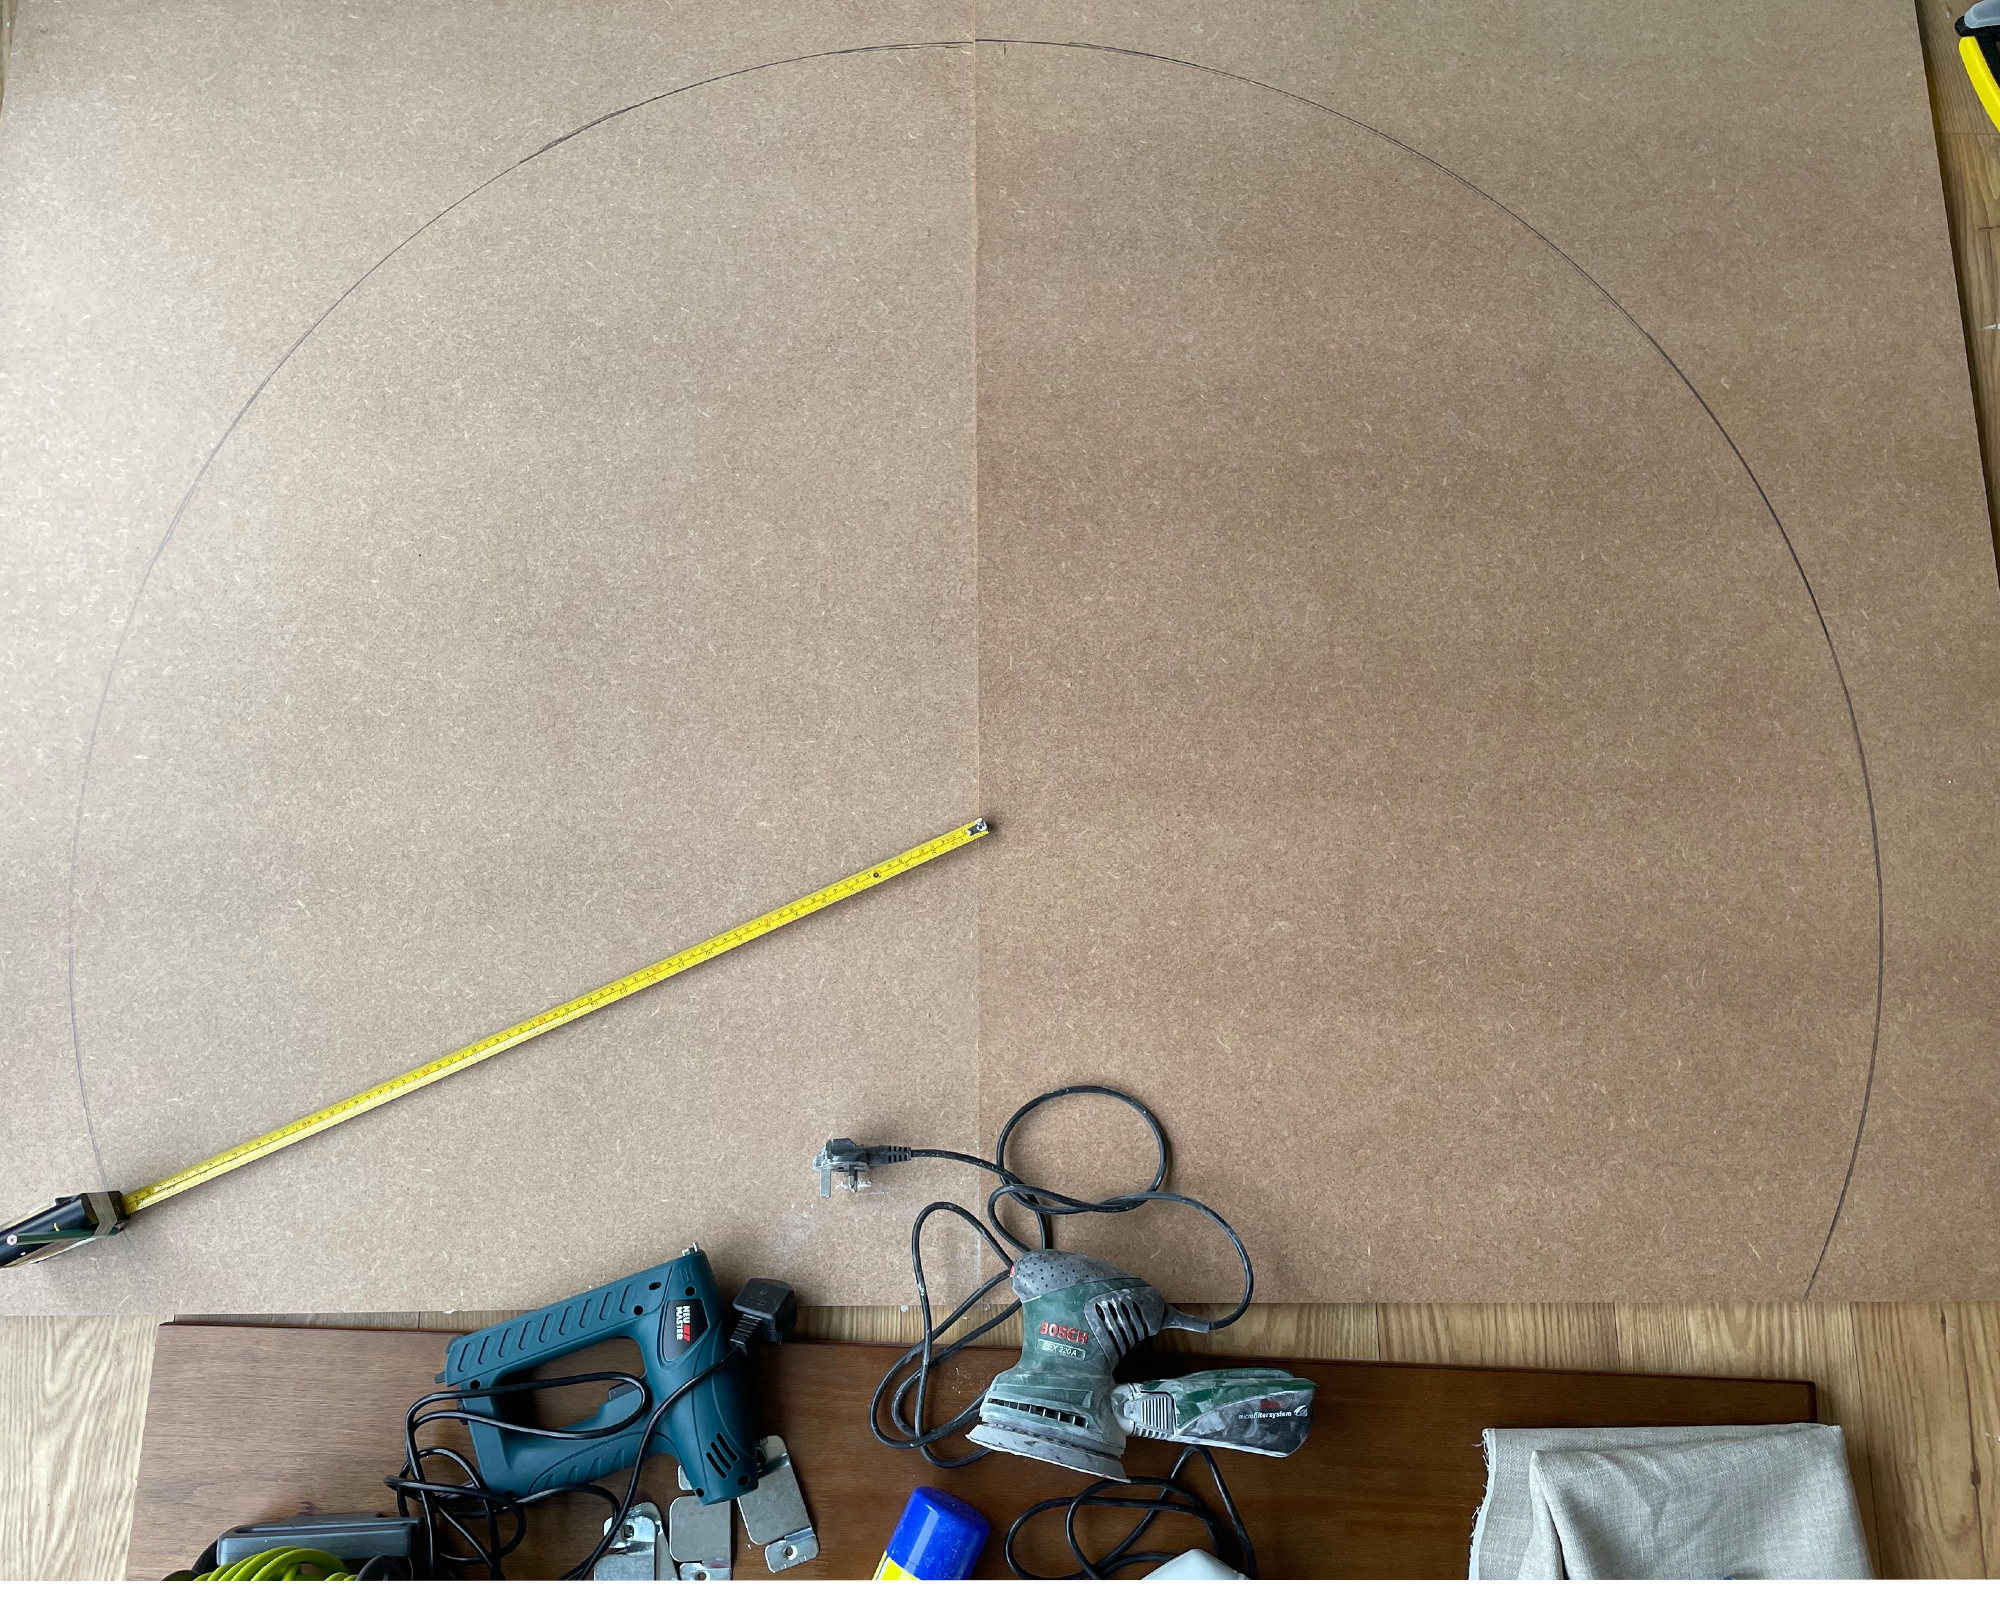
Measure and mark the outline of the headboard frame onto the wood of your choice. I chose 18mm MDF because it’s a super easy material to work with and provides a strong and stable base for a DIY headboard.
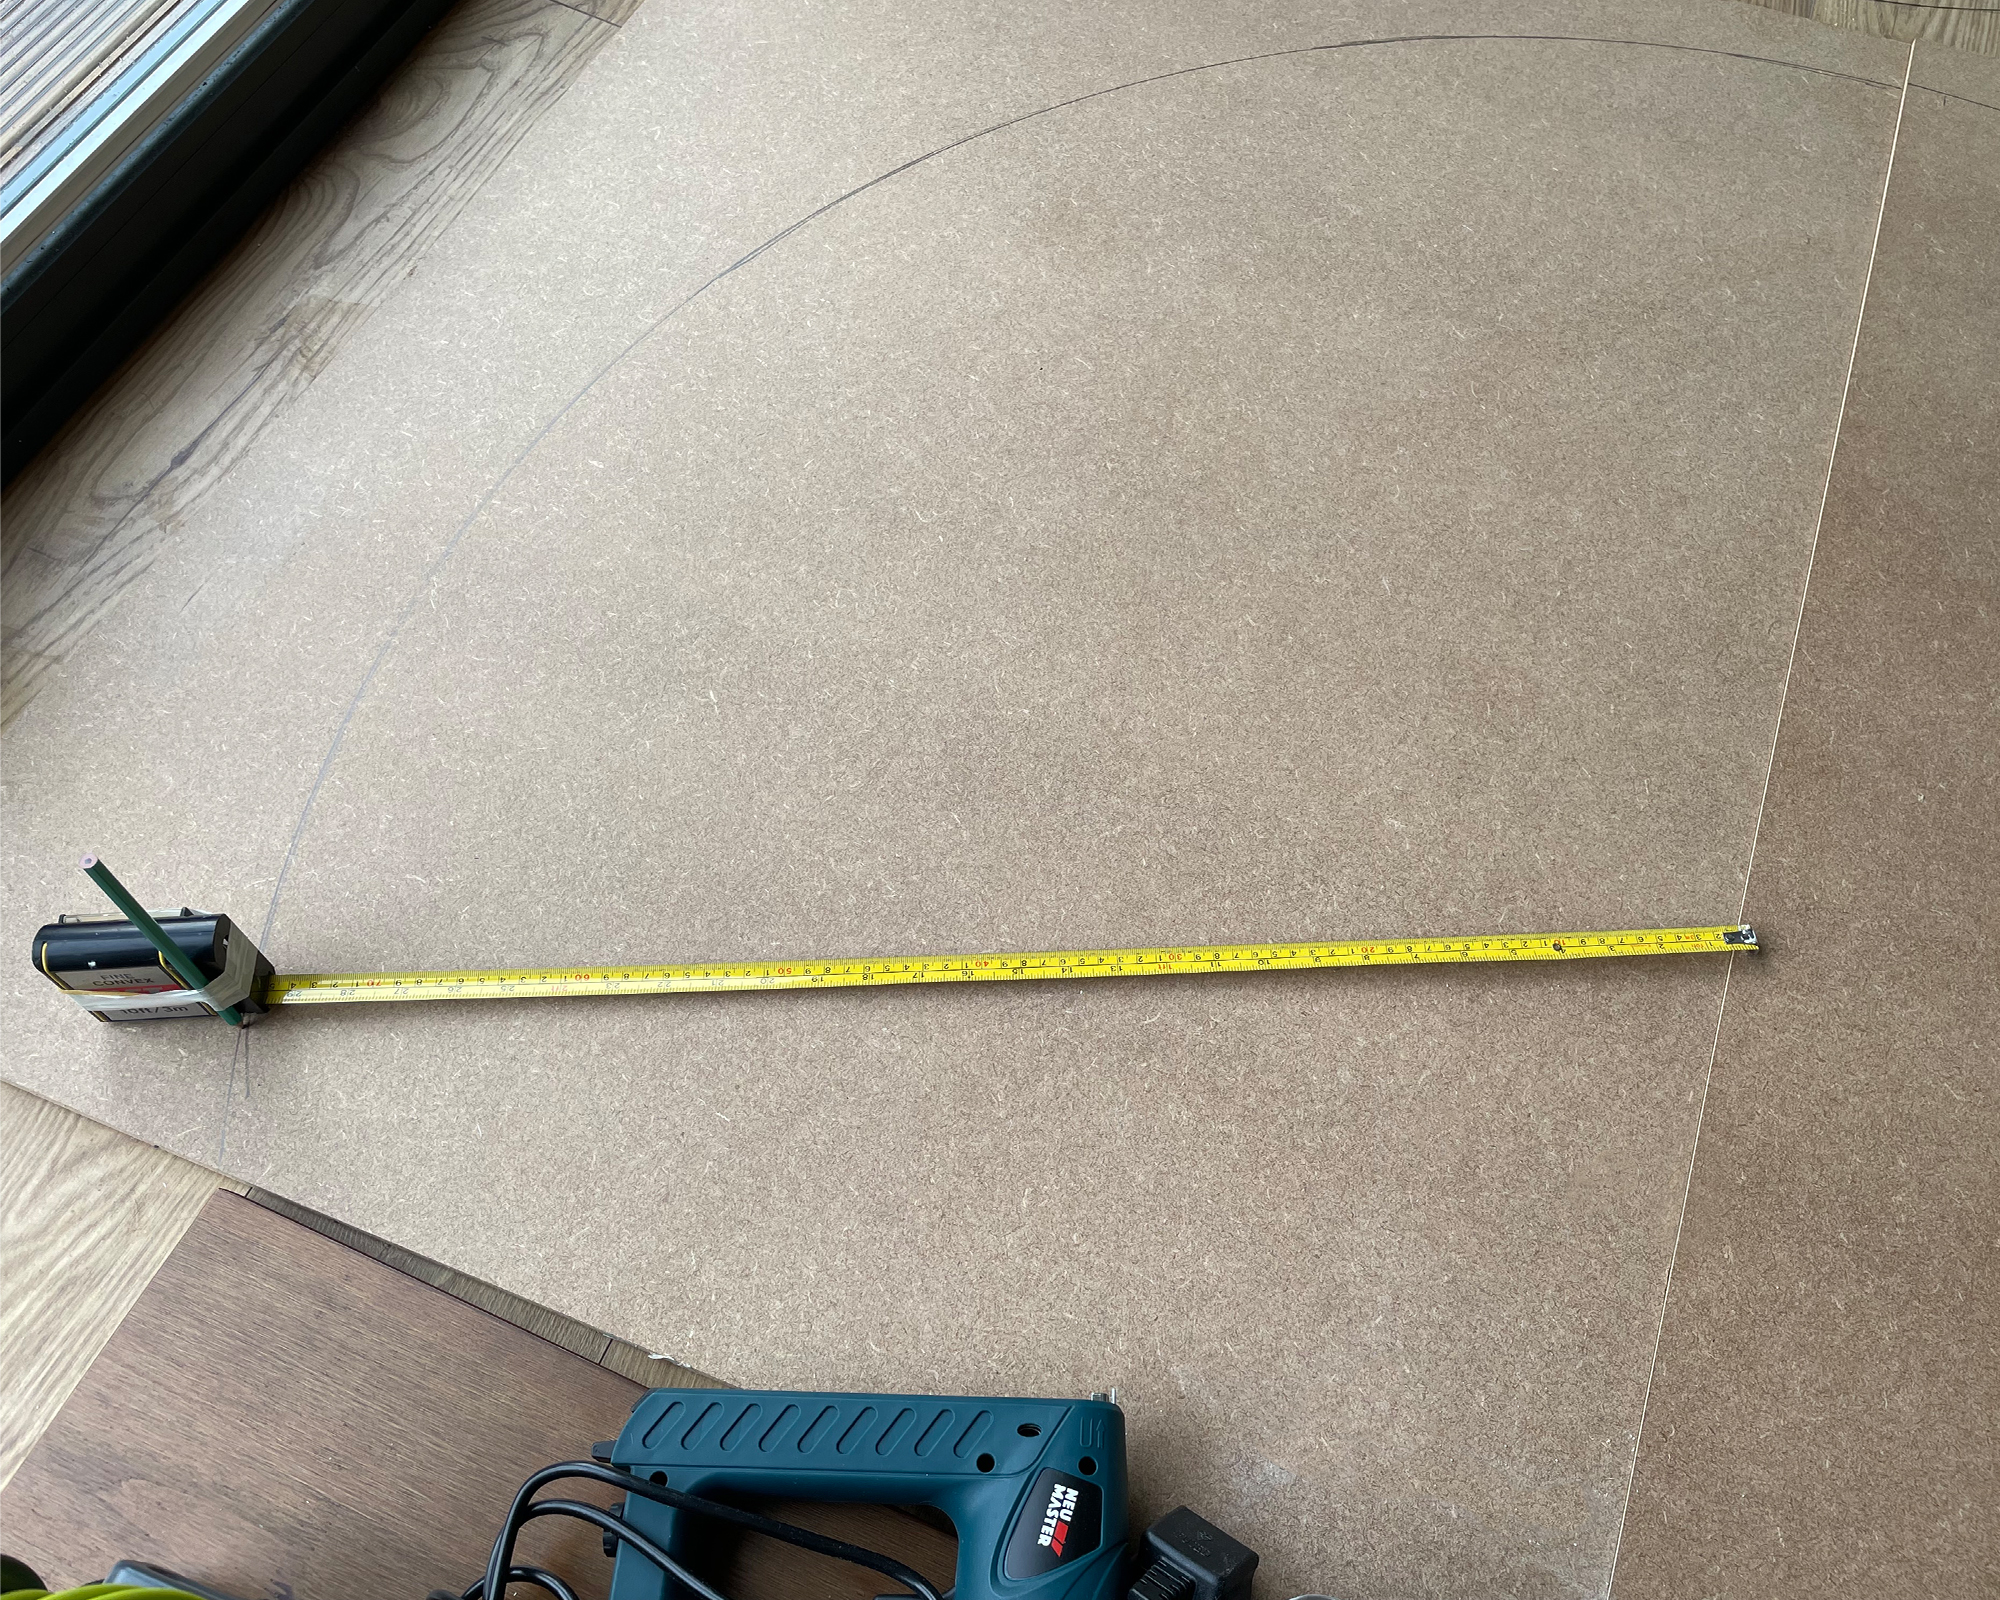
I drew the outline of the circle by attaching a screw to the center point, taping a pen to my tape measure, setting the length of the tape measure to the radius of the circle, clipping the end of the tape measure over the screw and then rotating the body of the tape measure around the circumference of the circle causing the pen to mark the cutting guide as it went.
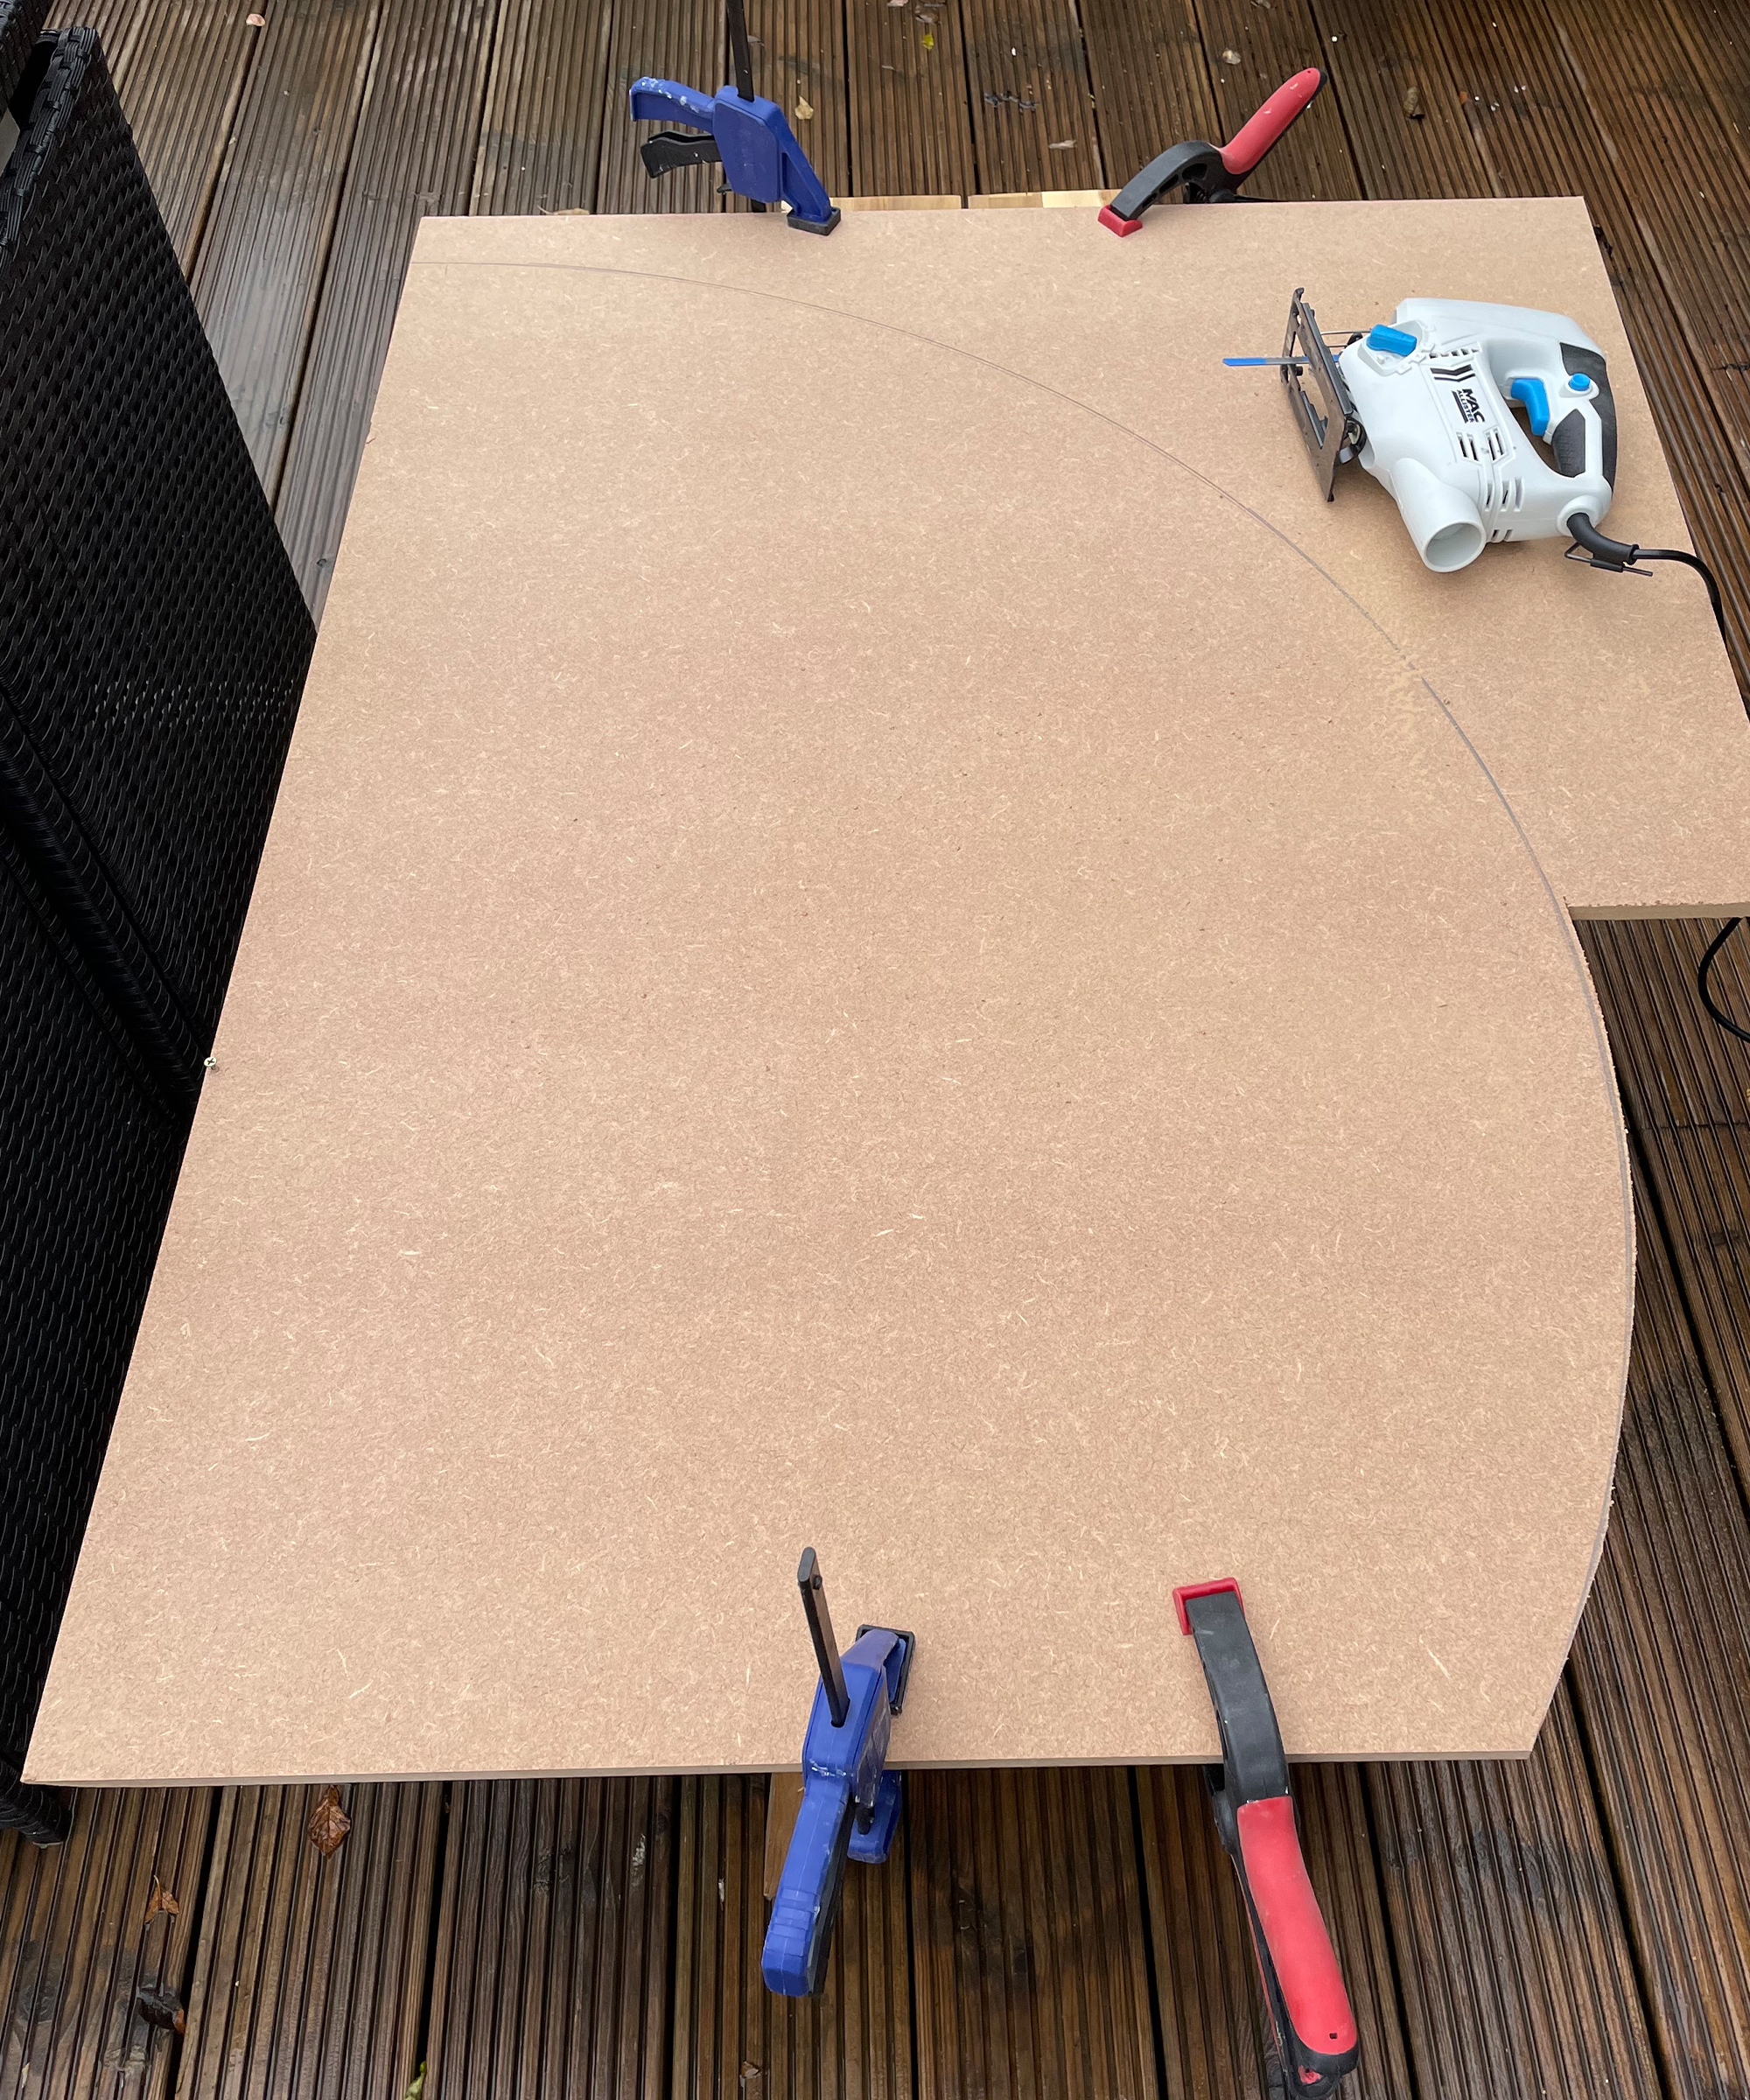
Once the circle was drawn, I clamped the MDF down securely and cut out the shape using my jigsaw.
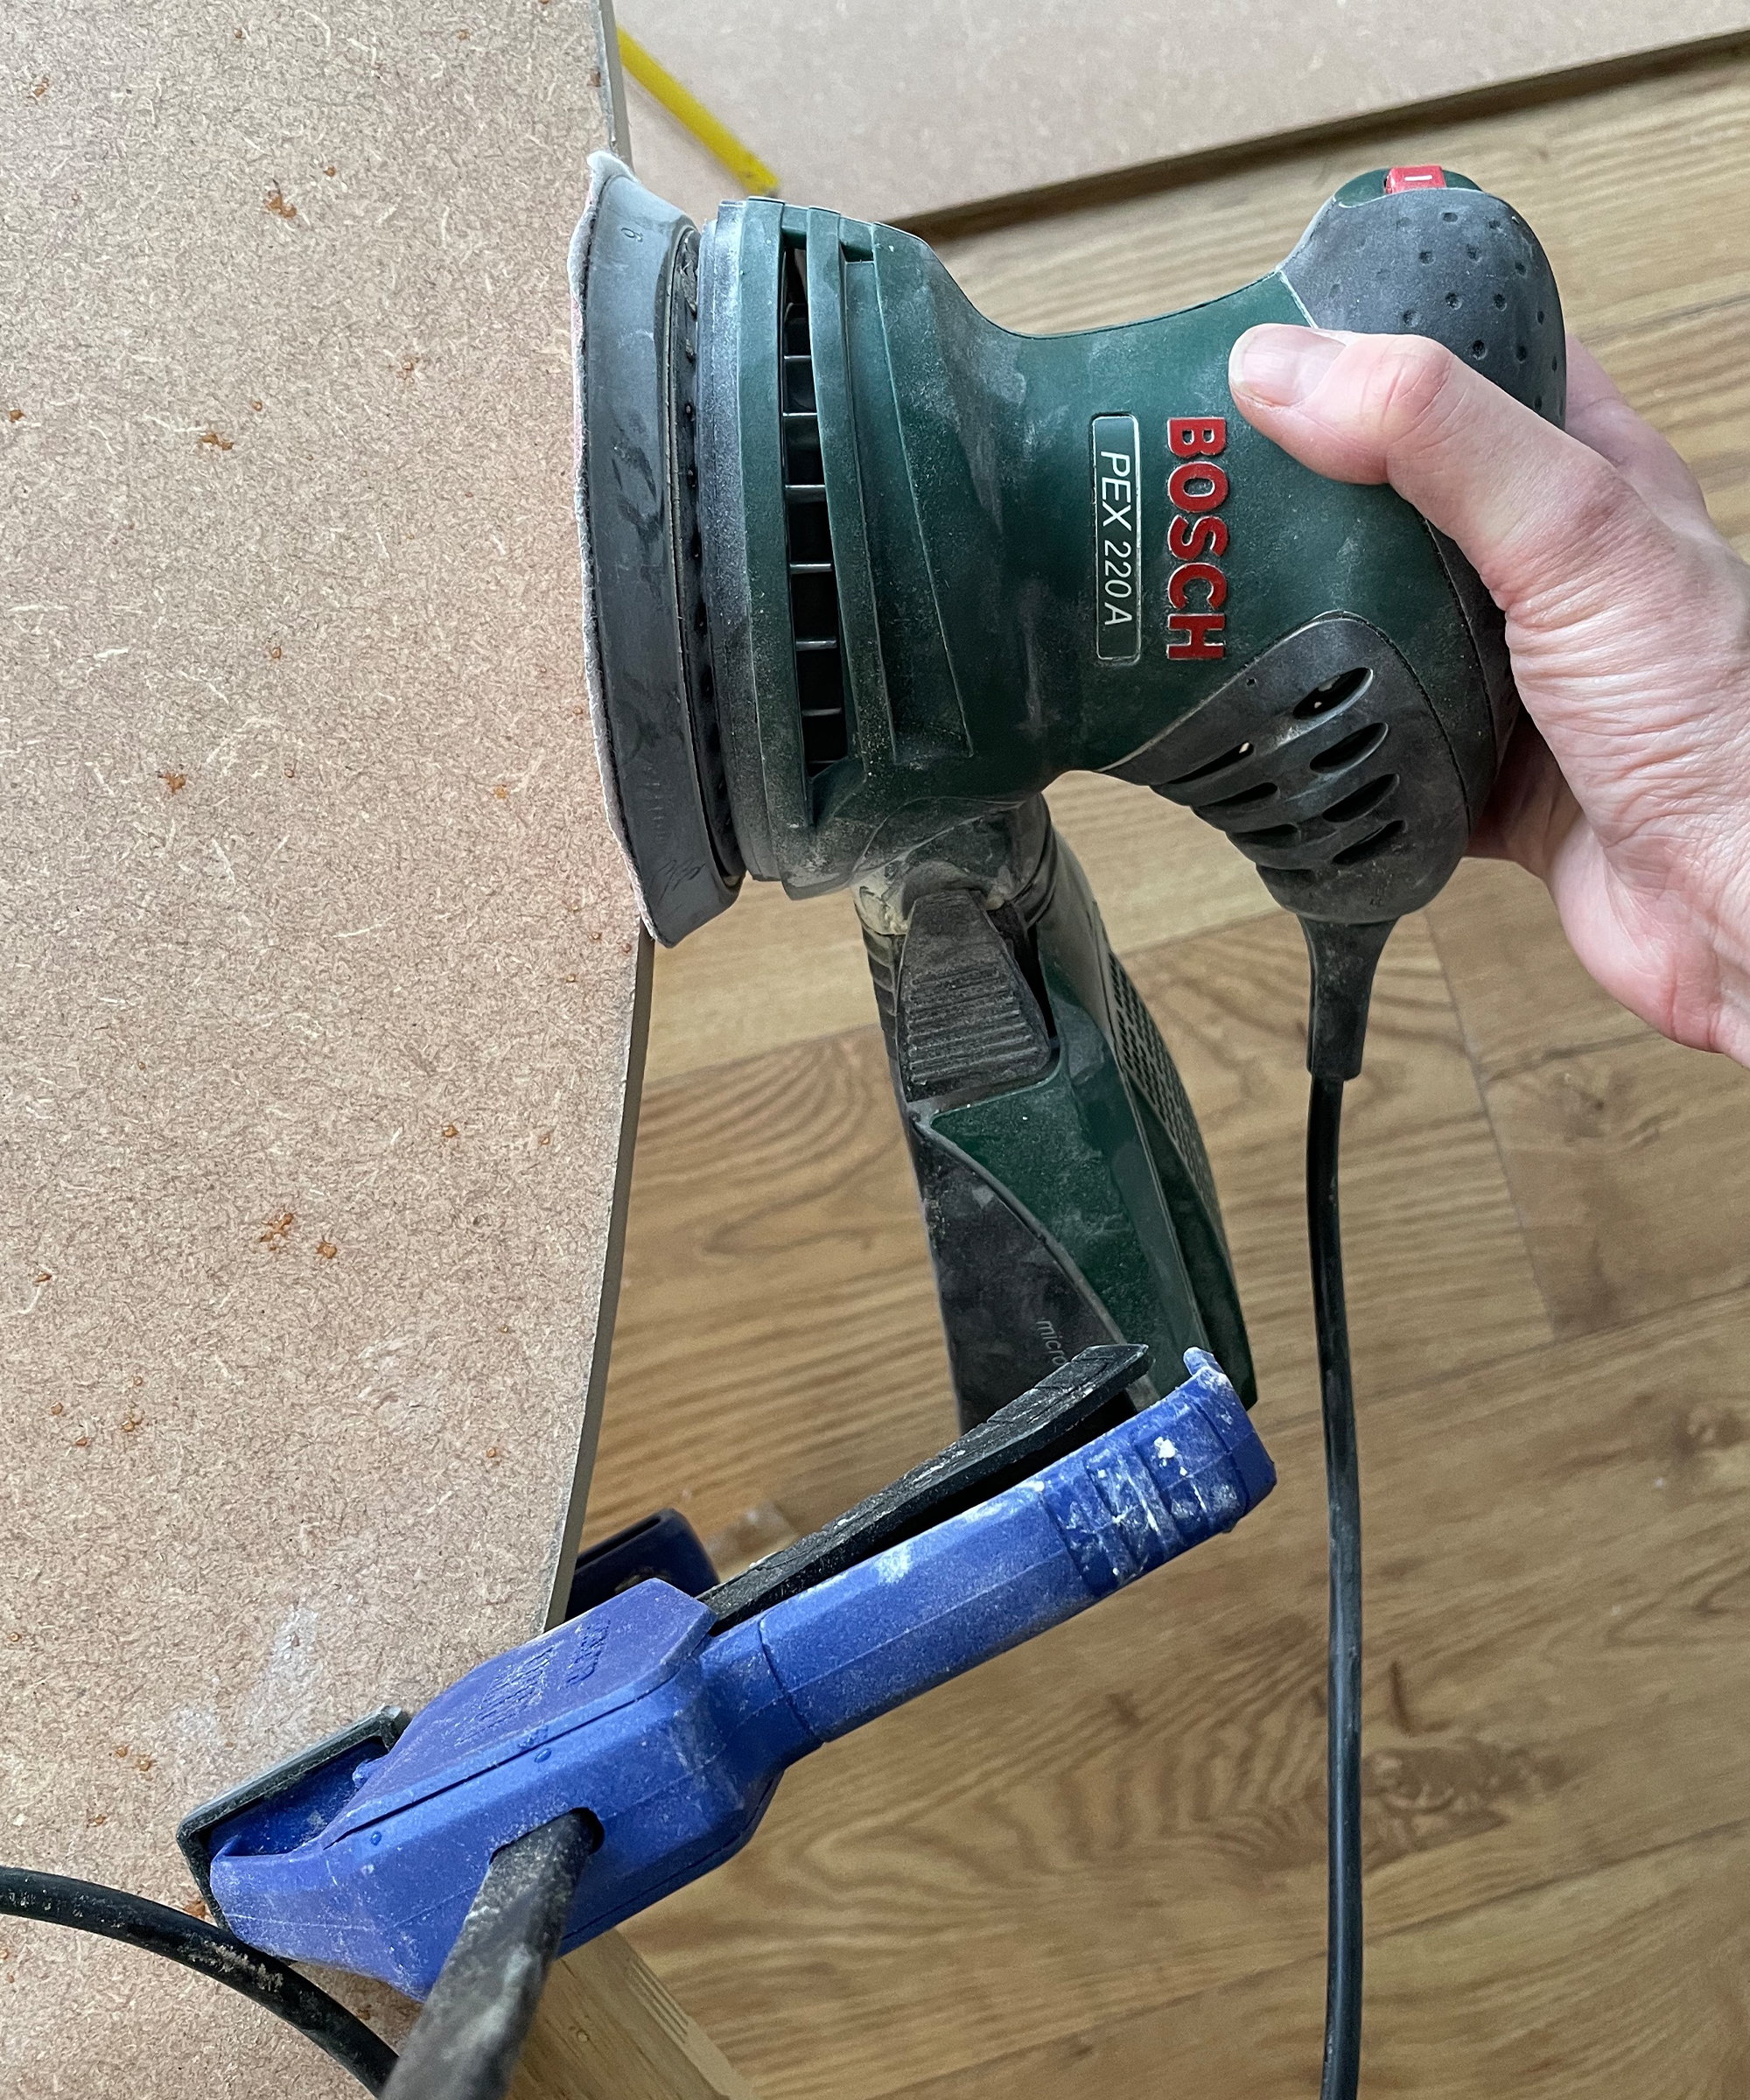
Once the shape had been neatly cut, it was time to sand the edges of the MDF to ensure a smooth finish. I repeated the process for both parts because my design was formed of two semicircles.
3. Get padding
When the frame is ready, place the wood onto the upholstery foam and draw around it to give a template. Do the same with the wadding/batting, this time leaving an extra few inches all around to allow you to pull it over the edge and attach it to the back later in the process.
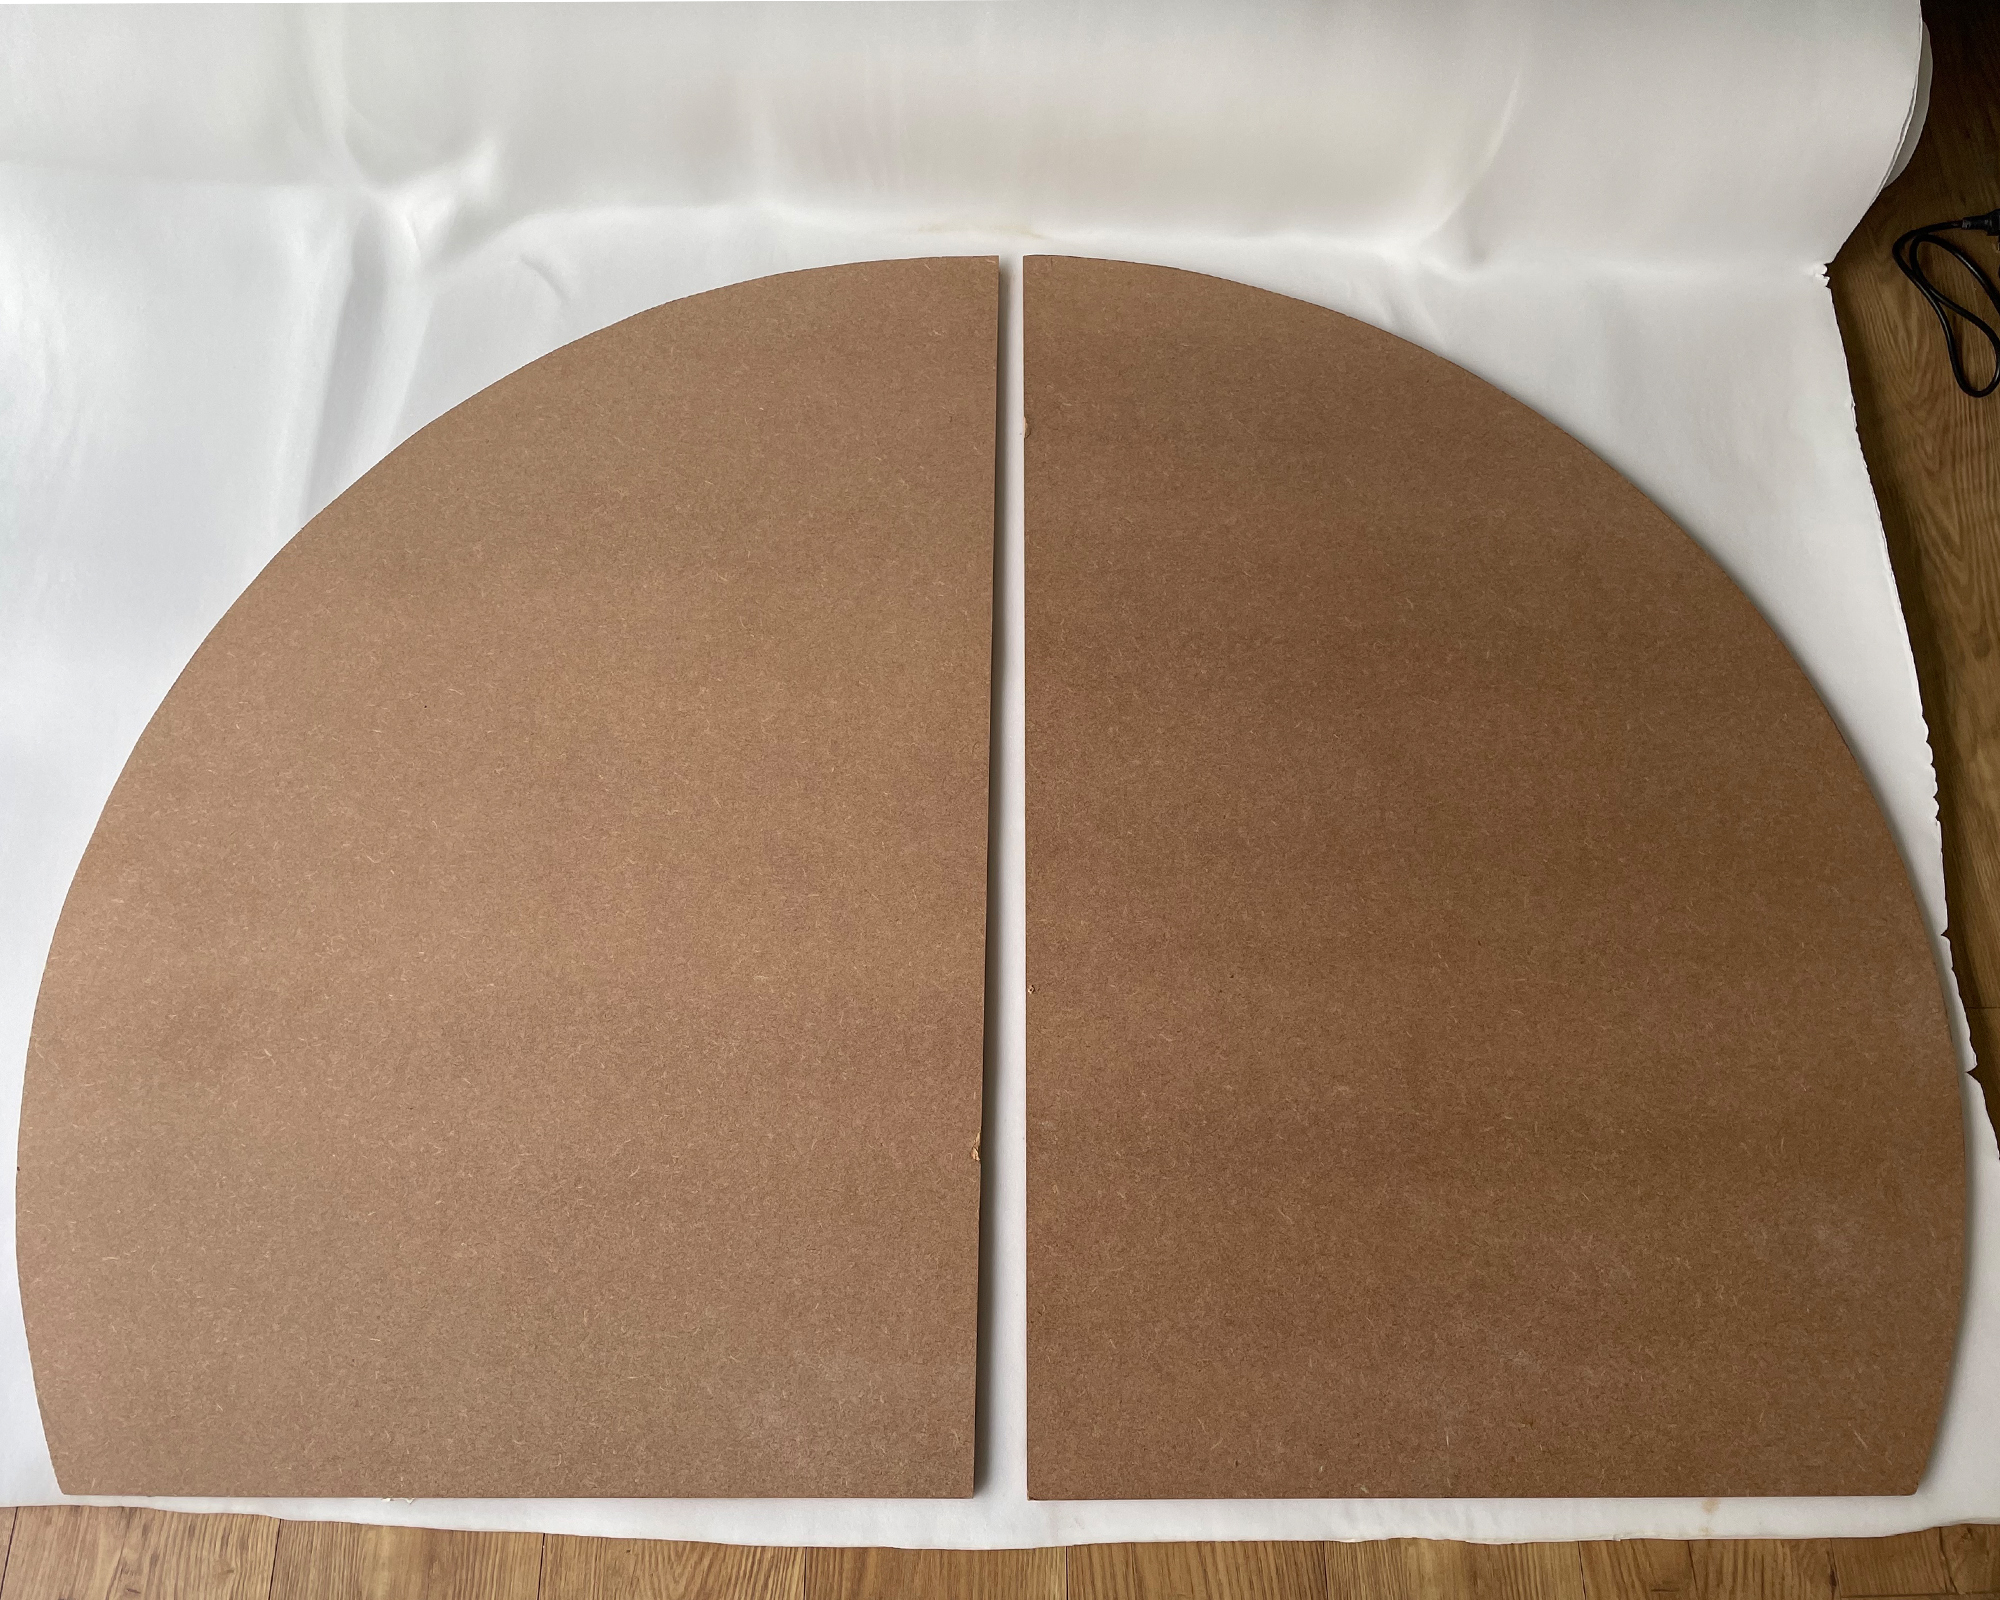
Once you have cut both the foam and the wadding, cut the foam along the outline and place on the frame to check it fits perfectly.
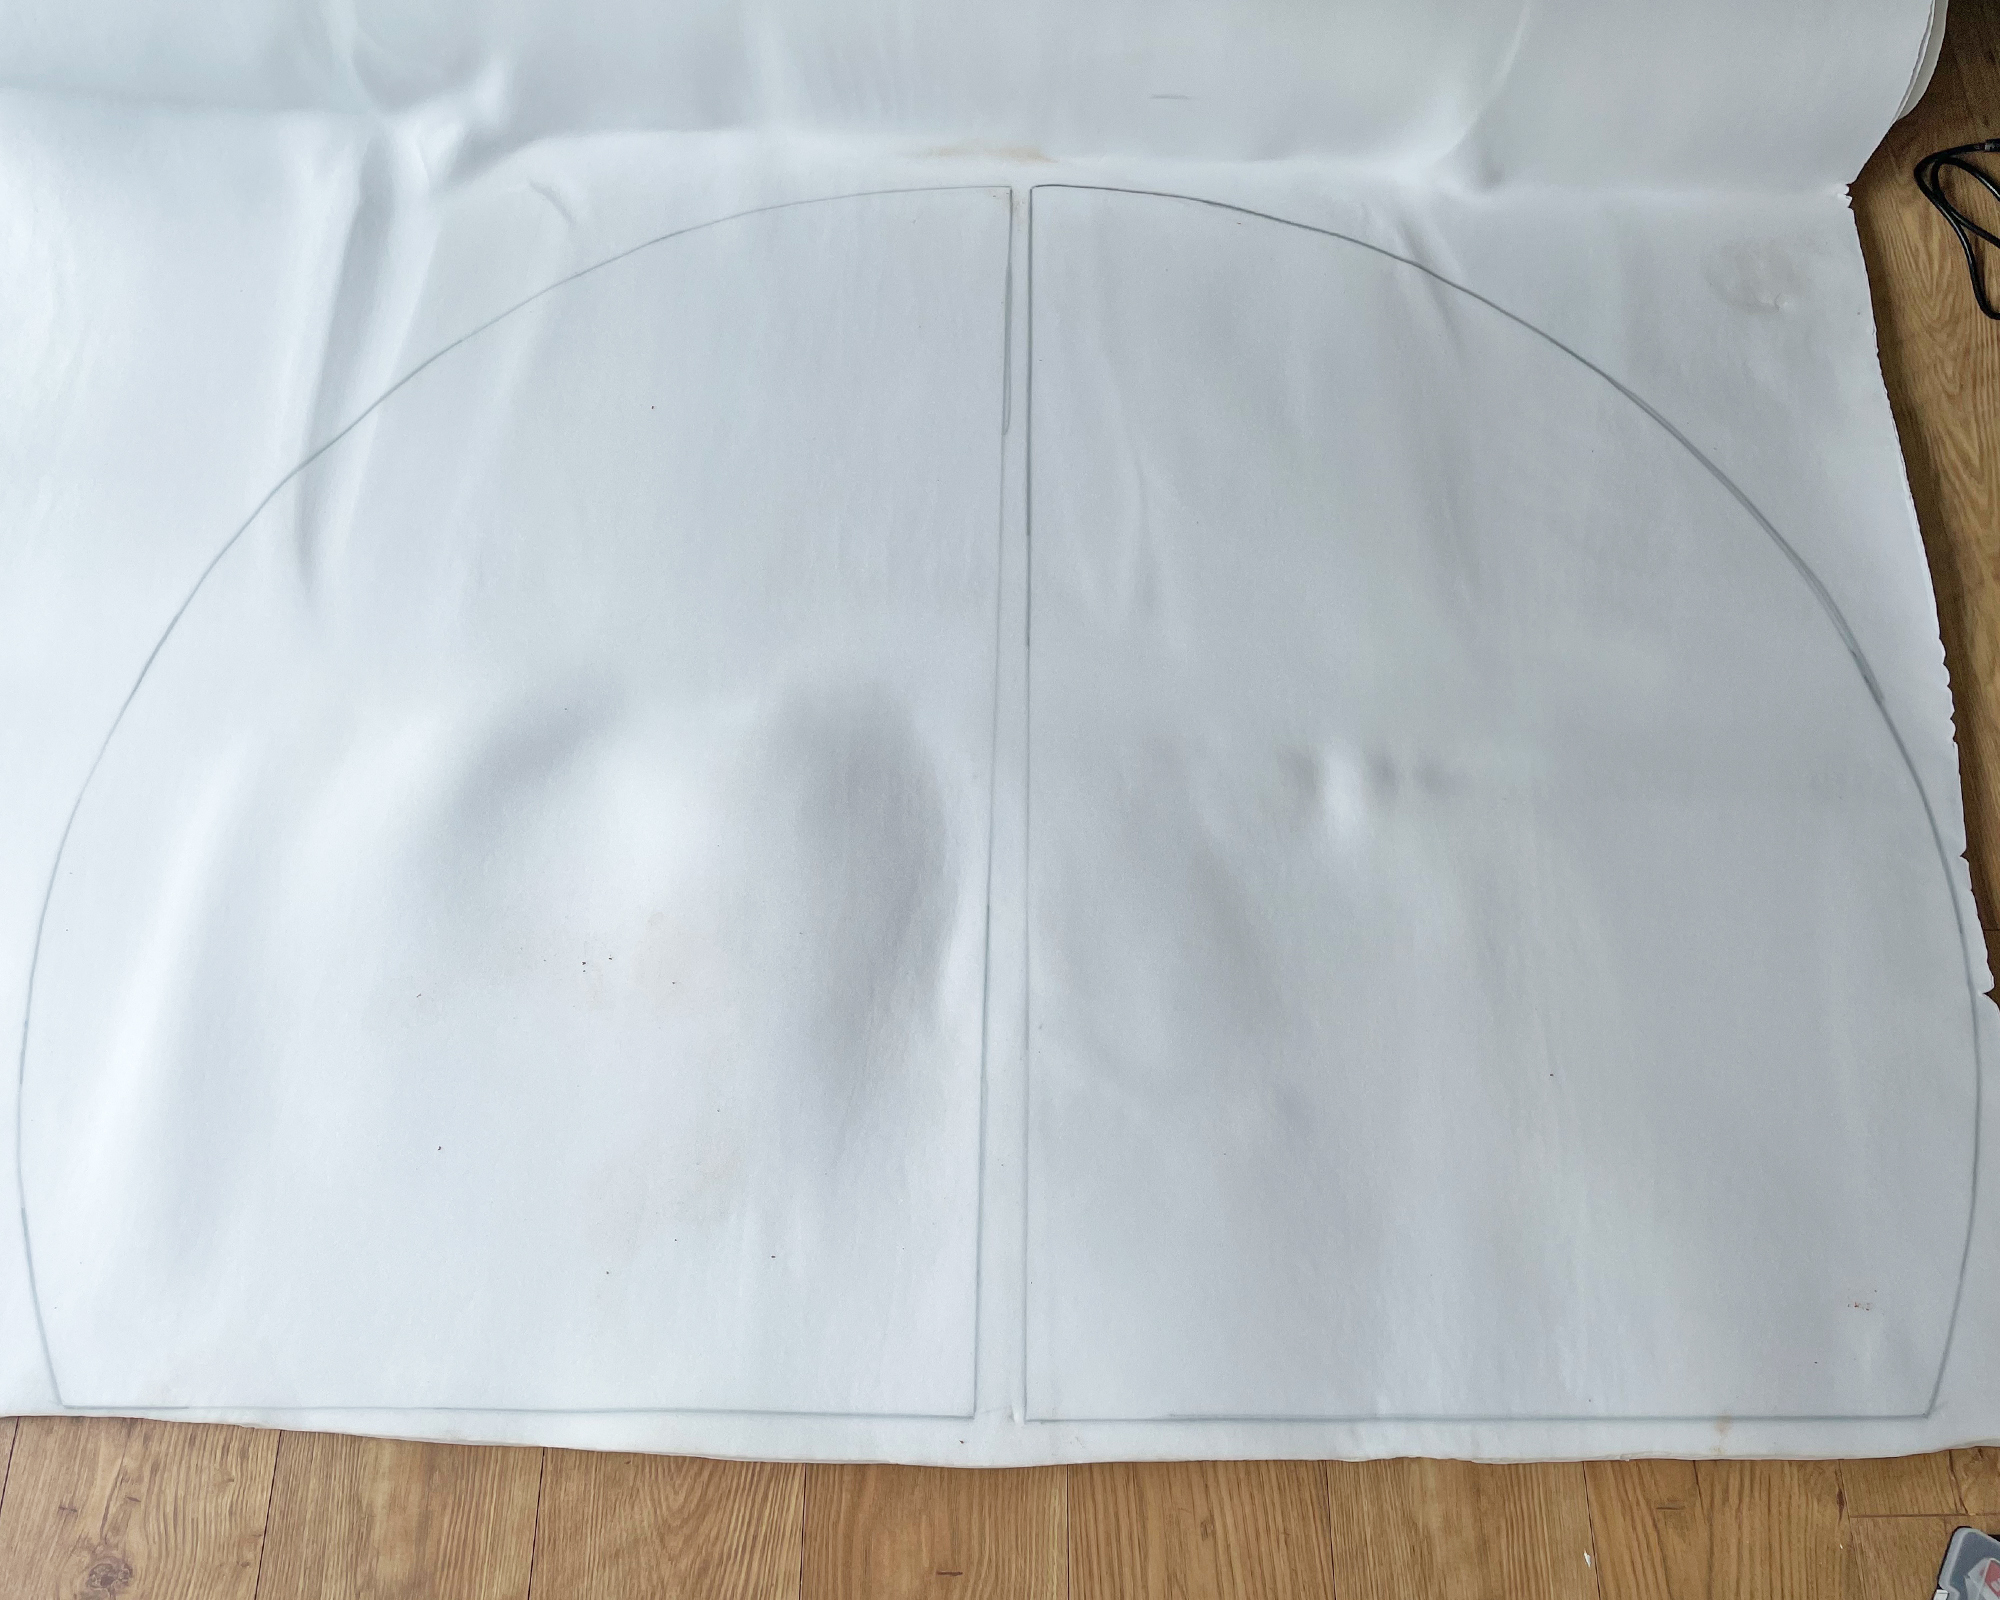
Spray the adhesive onto the MDF and the underside of the foam according to the manufacturer’s guidelines then press the foam down firmly to attach it to the MDF.
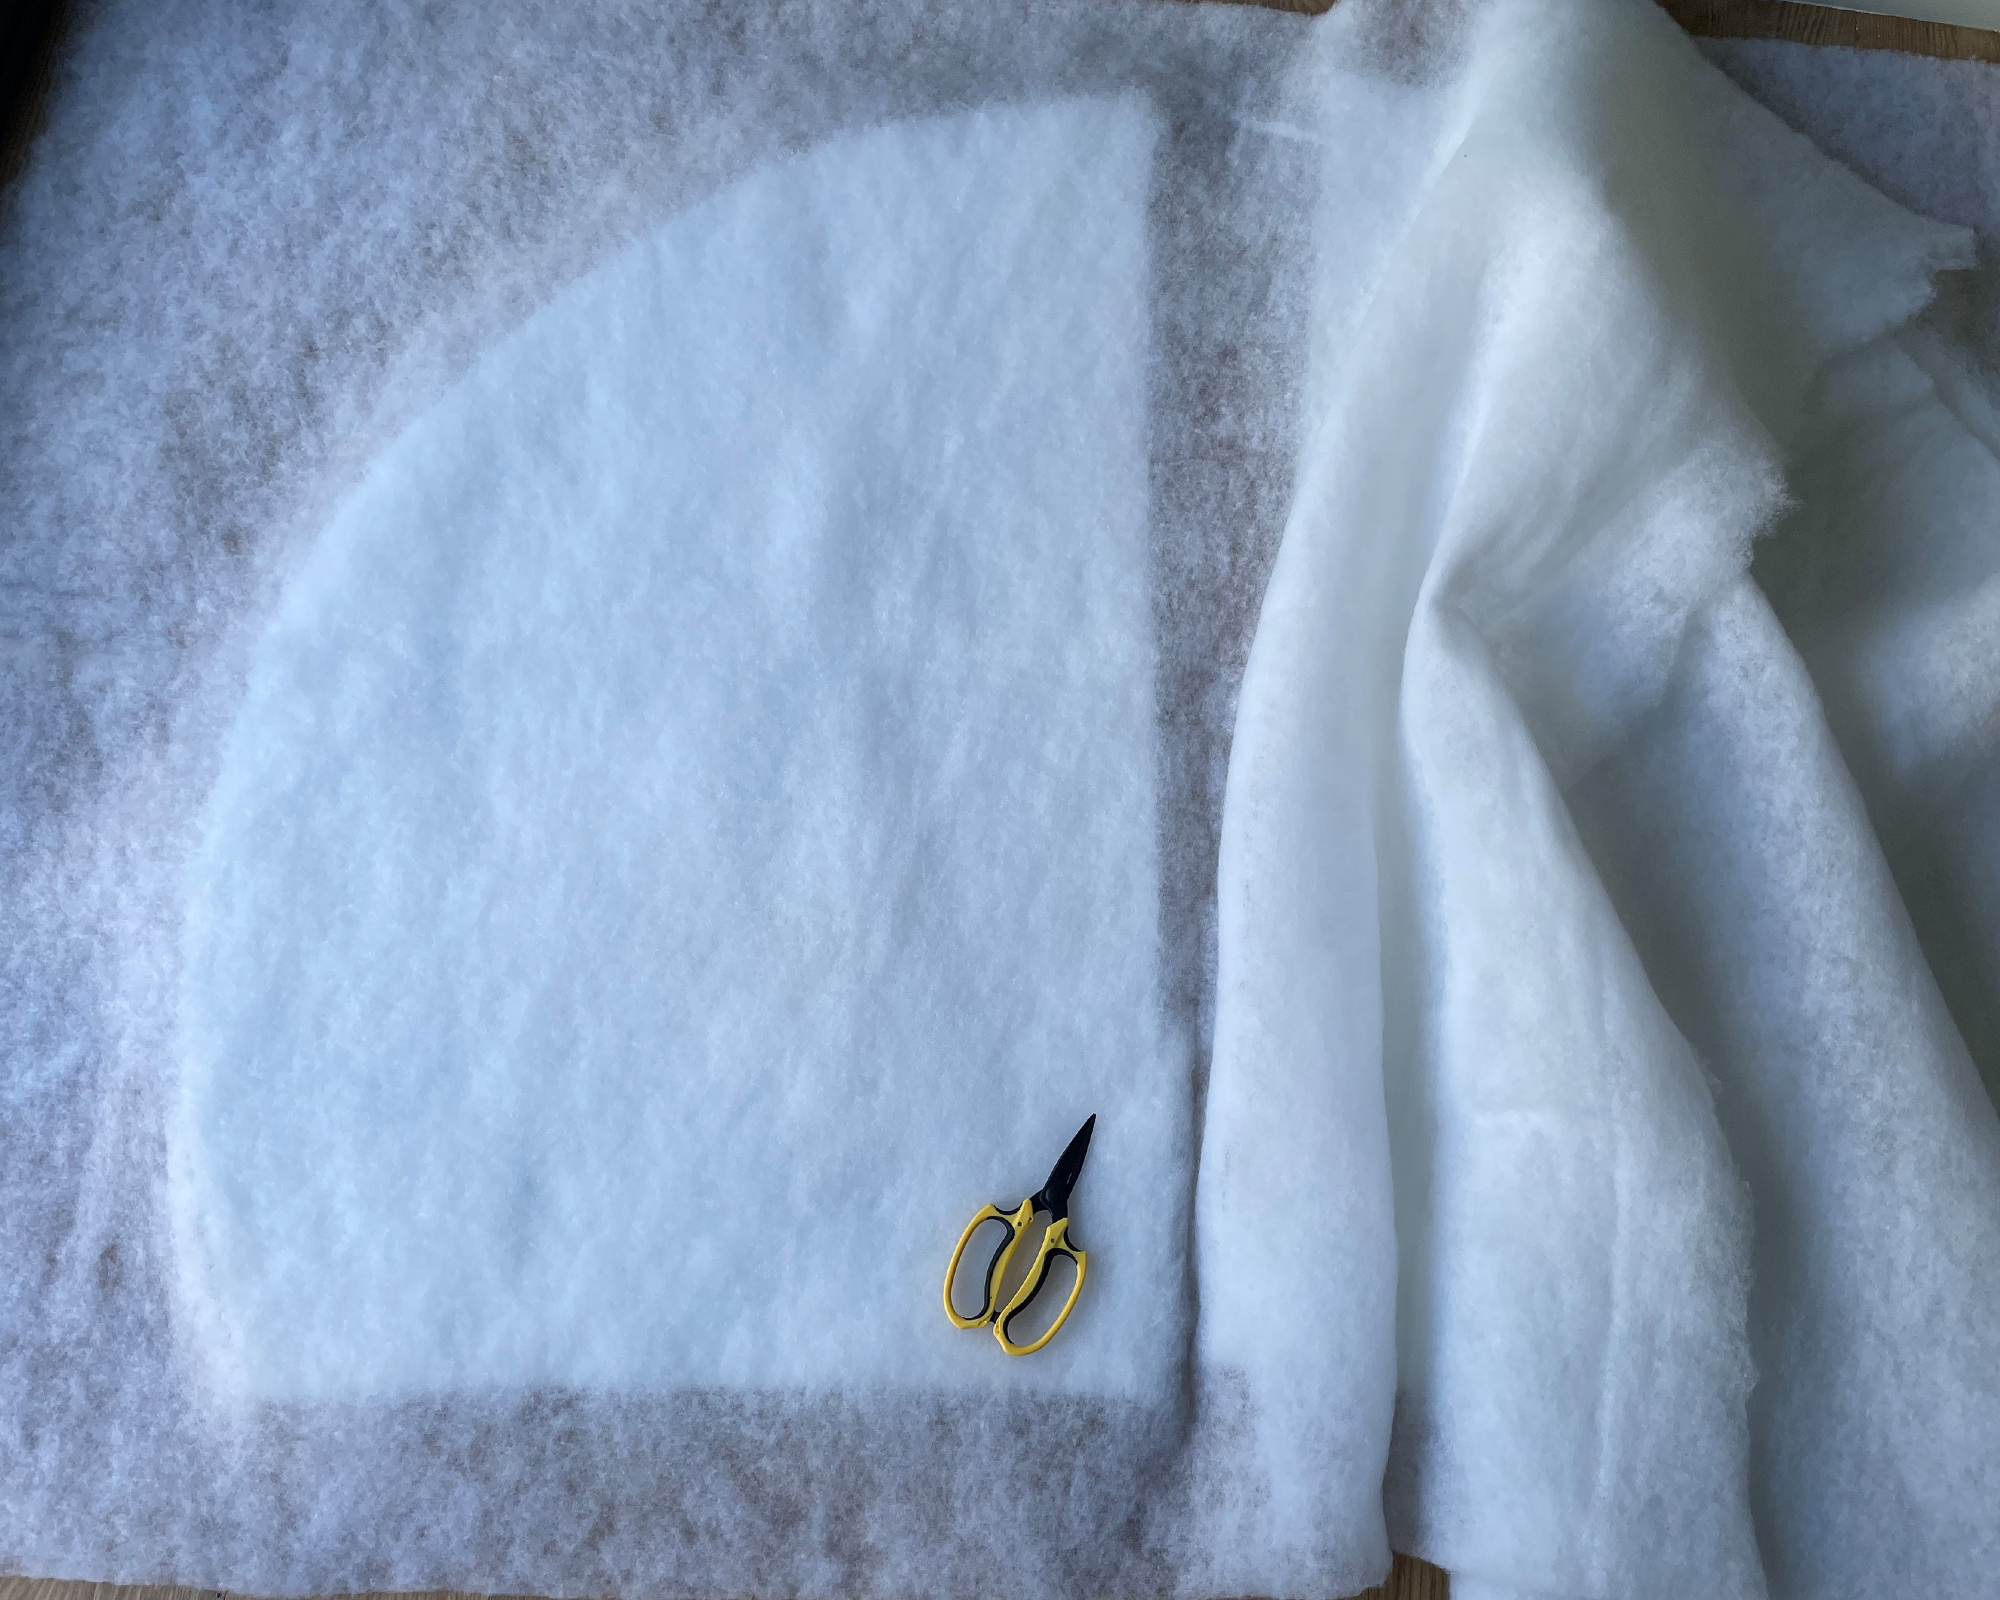
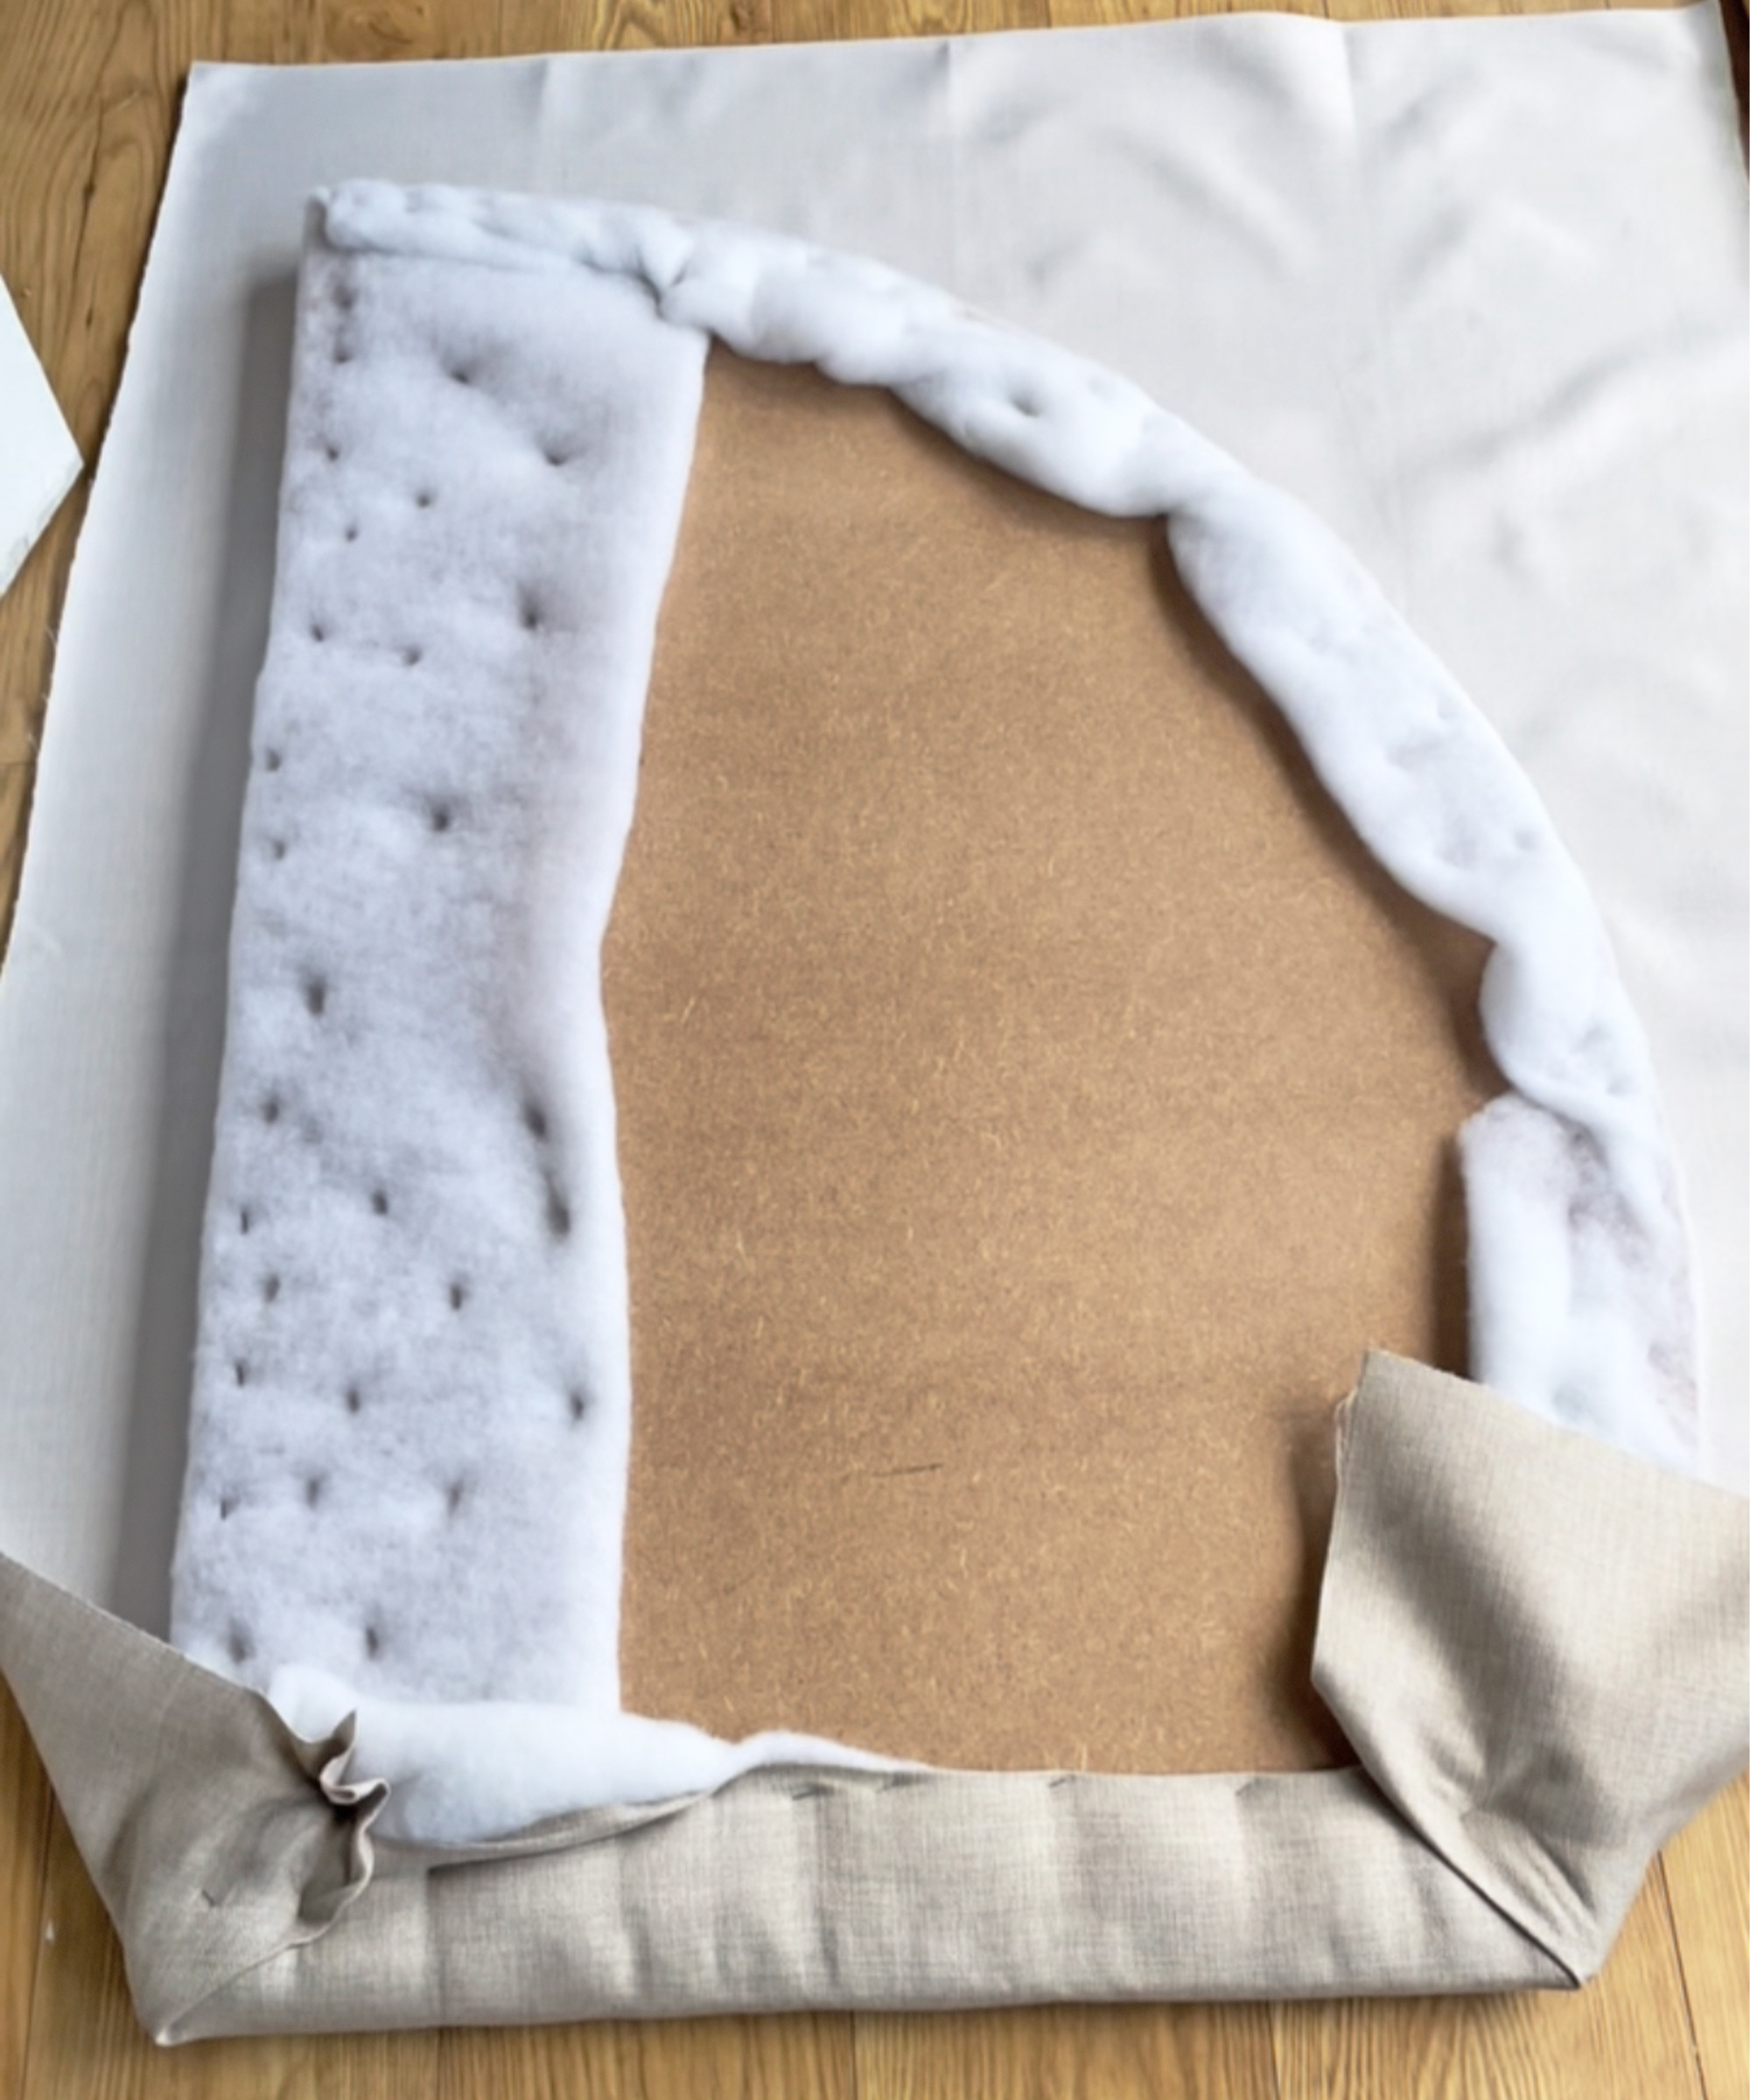
Once the adhesive has dried and the foam is firmly attached to the MDF, it is time to stretch the wadding out and wrap it around the base of the headboard. Pull it quite firmly to avoid wrinkles and creases, but not too tightly so that it causes the foam to dent. Fold the wadding over the edge of the MDF and carefully staple it to the back of the headboard. Continue this process all the way around the headboard until you have completed the shape.
4. Cover the headboard
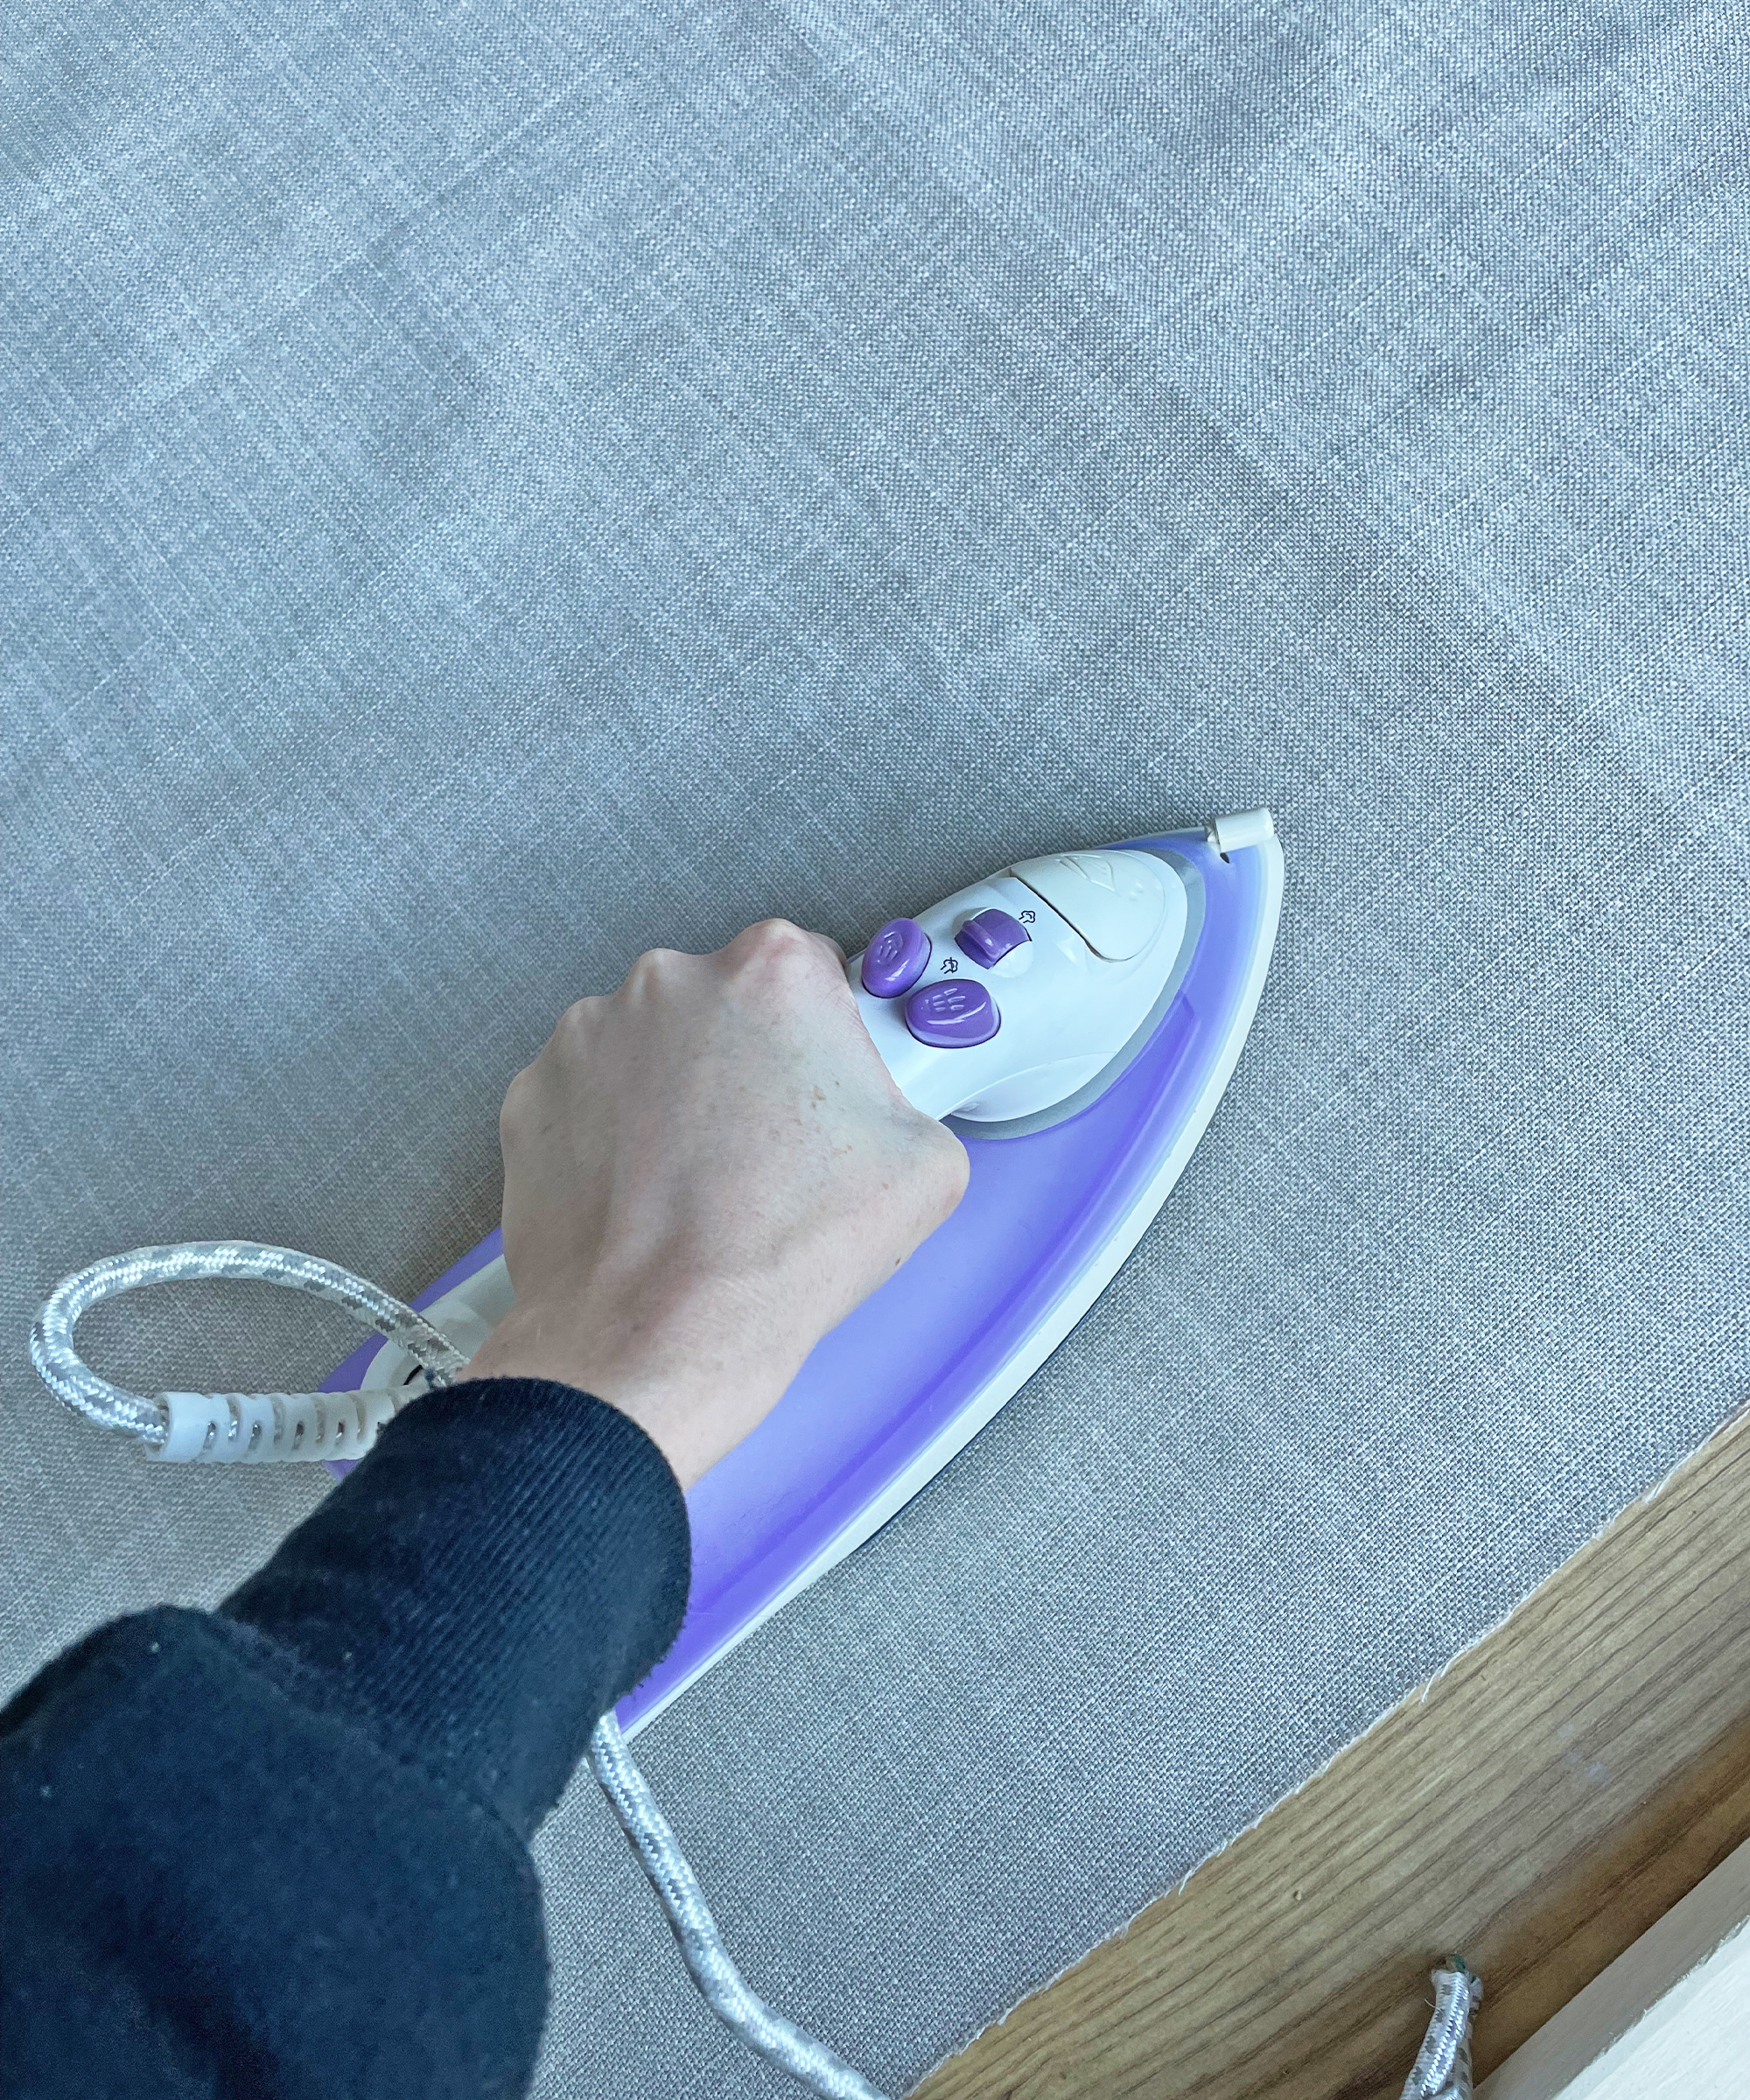
Iron your fabric to ensure it is crease-free then lay it out on the floor. Place the padded headboard base over the fabric and start the process to attach the fabric, you do this in the same way as for the wadding, firmly stretching it to ensure no creases remain then folding over the edge and stapling neatly to the back. Attach the fabric around the whole headboard shape until you are happy it is neat, smooth, and free of imperfections.
5. Attach to the wall
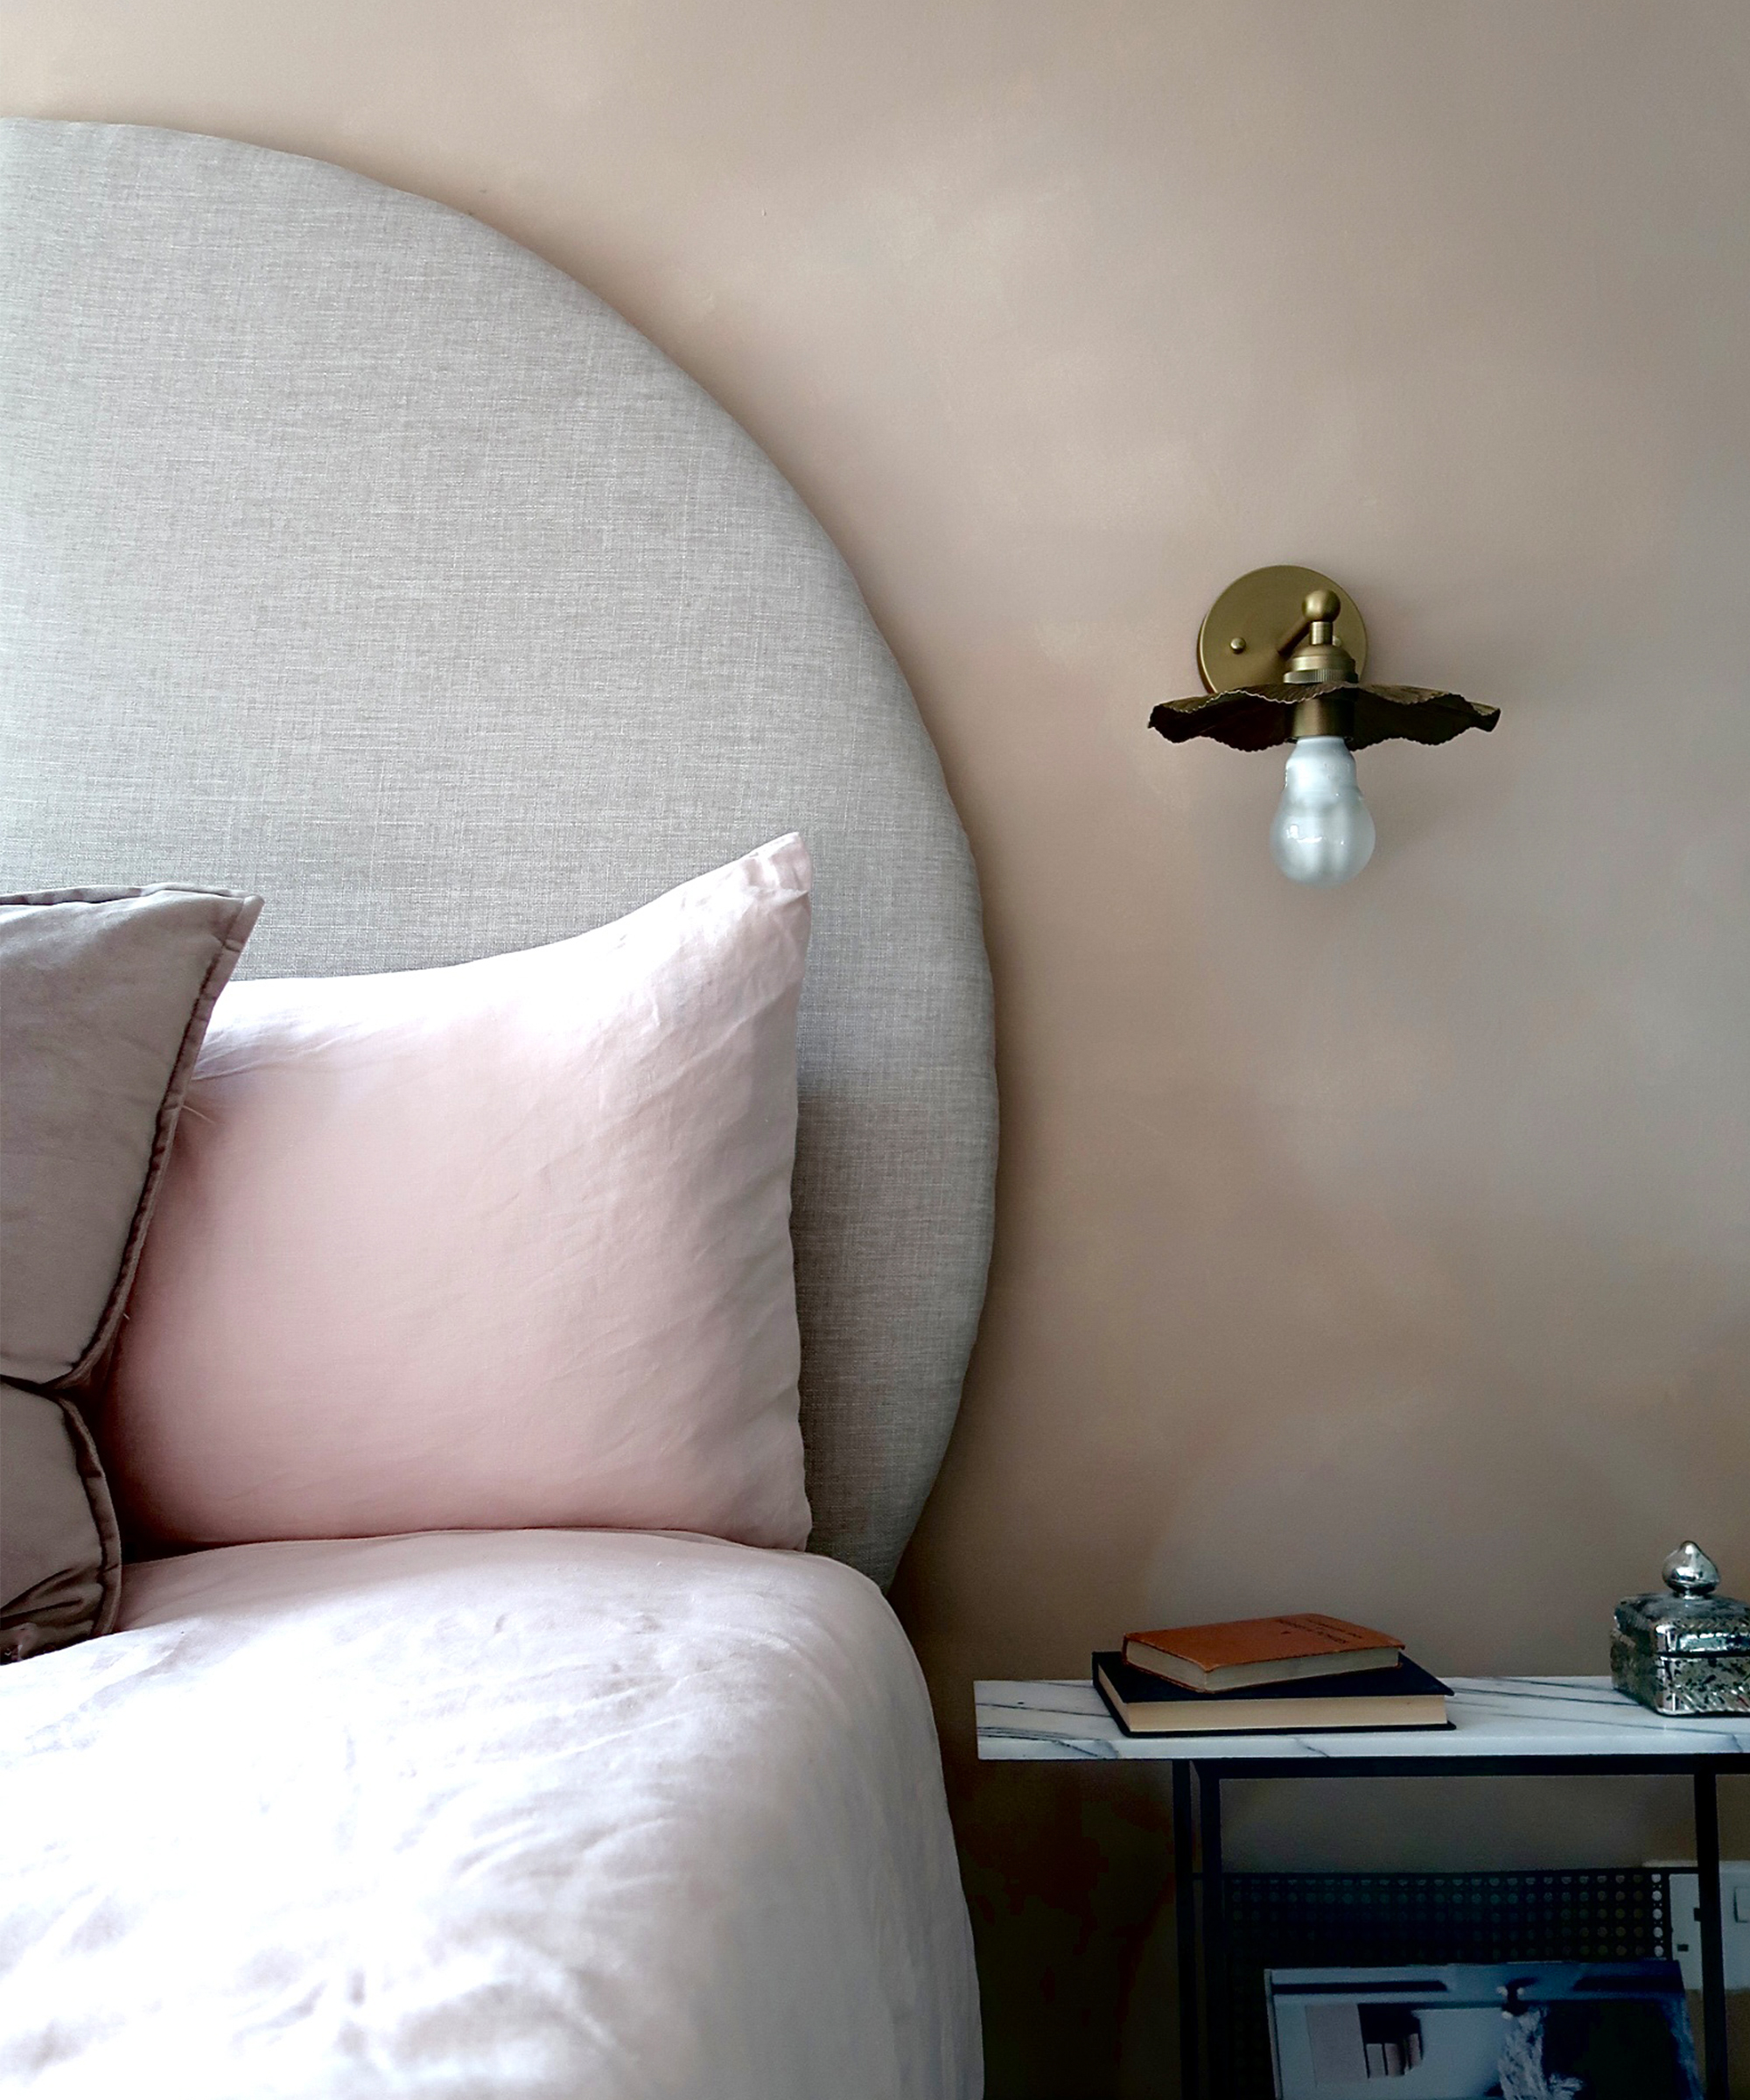
Once the DIY headboard is complete it’s time to attach it to the wall for safety. I opted for an oversized design for maximum impact, so there was even more reason to ensure it was securely attached. I used similar wall brackets to those you use for kitchen cabinets as they are easy to fit and great at holding heavy items securely in place.
And there you have it, a DIY headboard in five easy steps!
- With special thanks to eBay UK who supplied the materials, I was able to create this awesome tutorial.
Join our newsletter
Get small space home decor ideas, celeb inspiration, DIY tips and more, straight to your inbox!

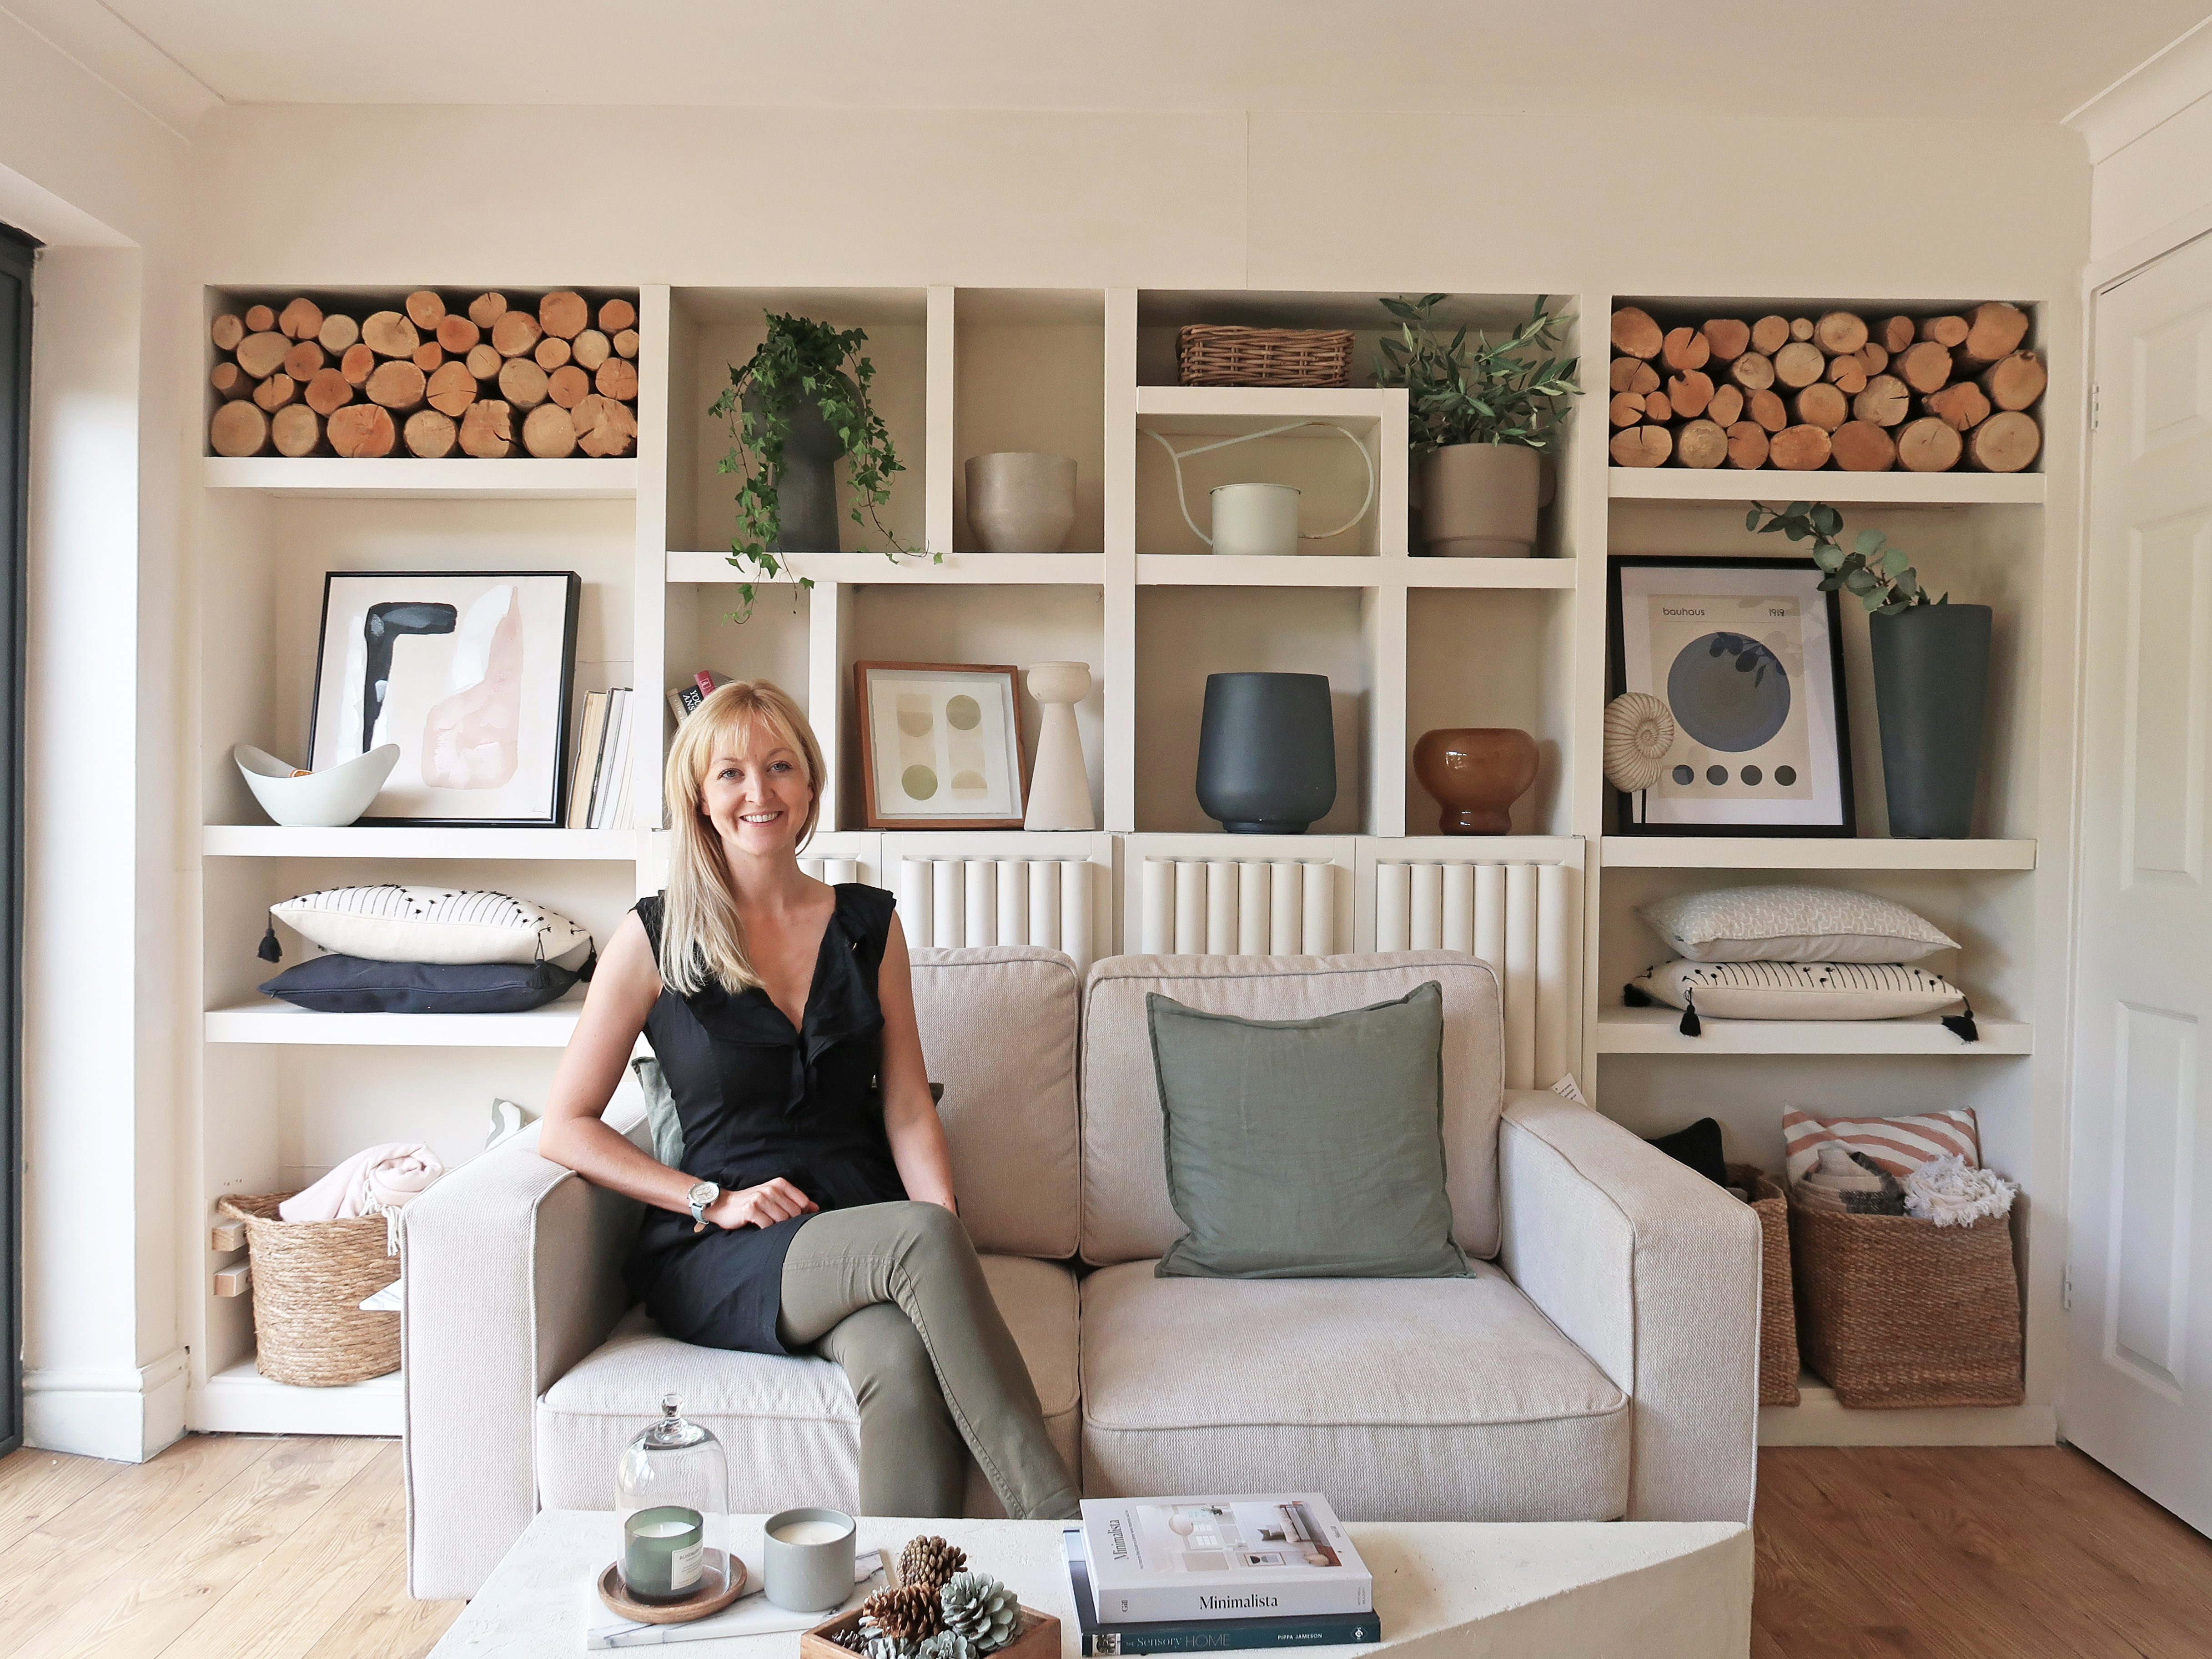
I'm happiest when I have either a drill or paintbrush in my hand! I specialise in room transformations on a budget and love experimenting with different styles and techniques which I share on my Instagram. I believe that your imagination, not your budget, should be the limiting factor when transforming a room and I love thinking of creative ways to build custom and bespoke-looking furniture using flatpacks or upcycle finds.
I also love writing and my home improvement blog (ClaireDouglasStyling.co.uk) is my passion project where I share creative ideas for interior styling and DIY tips and tutorials.
-
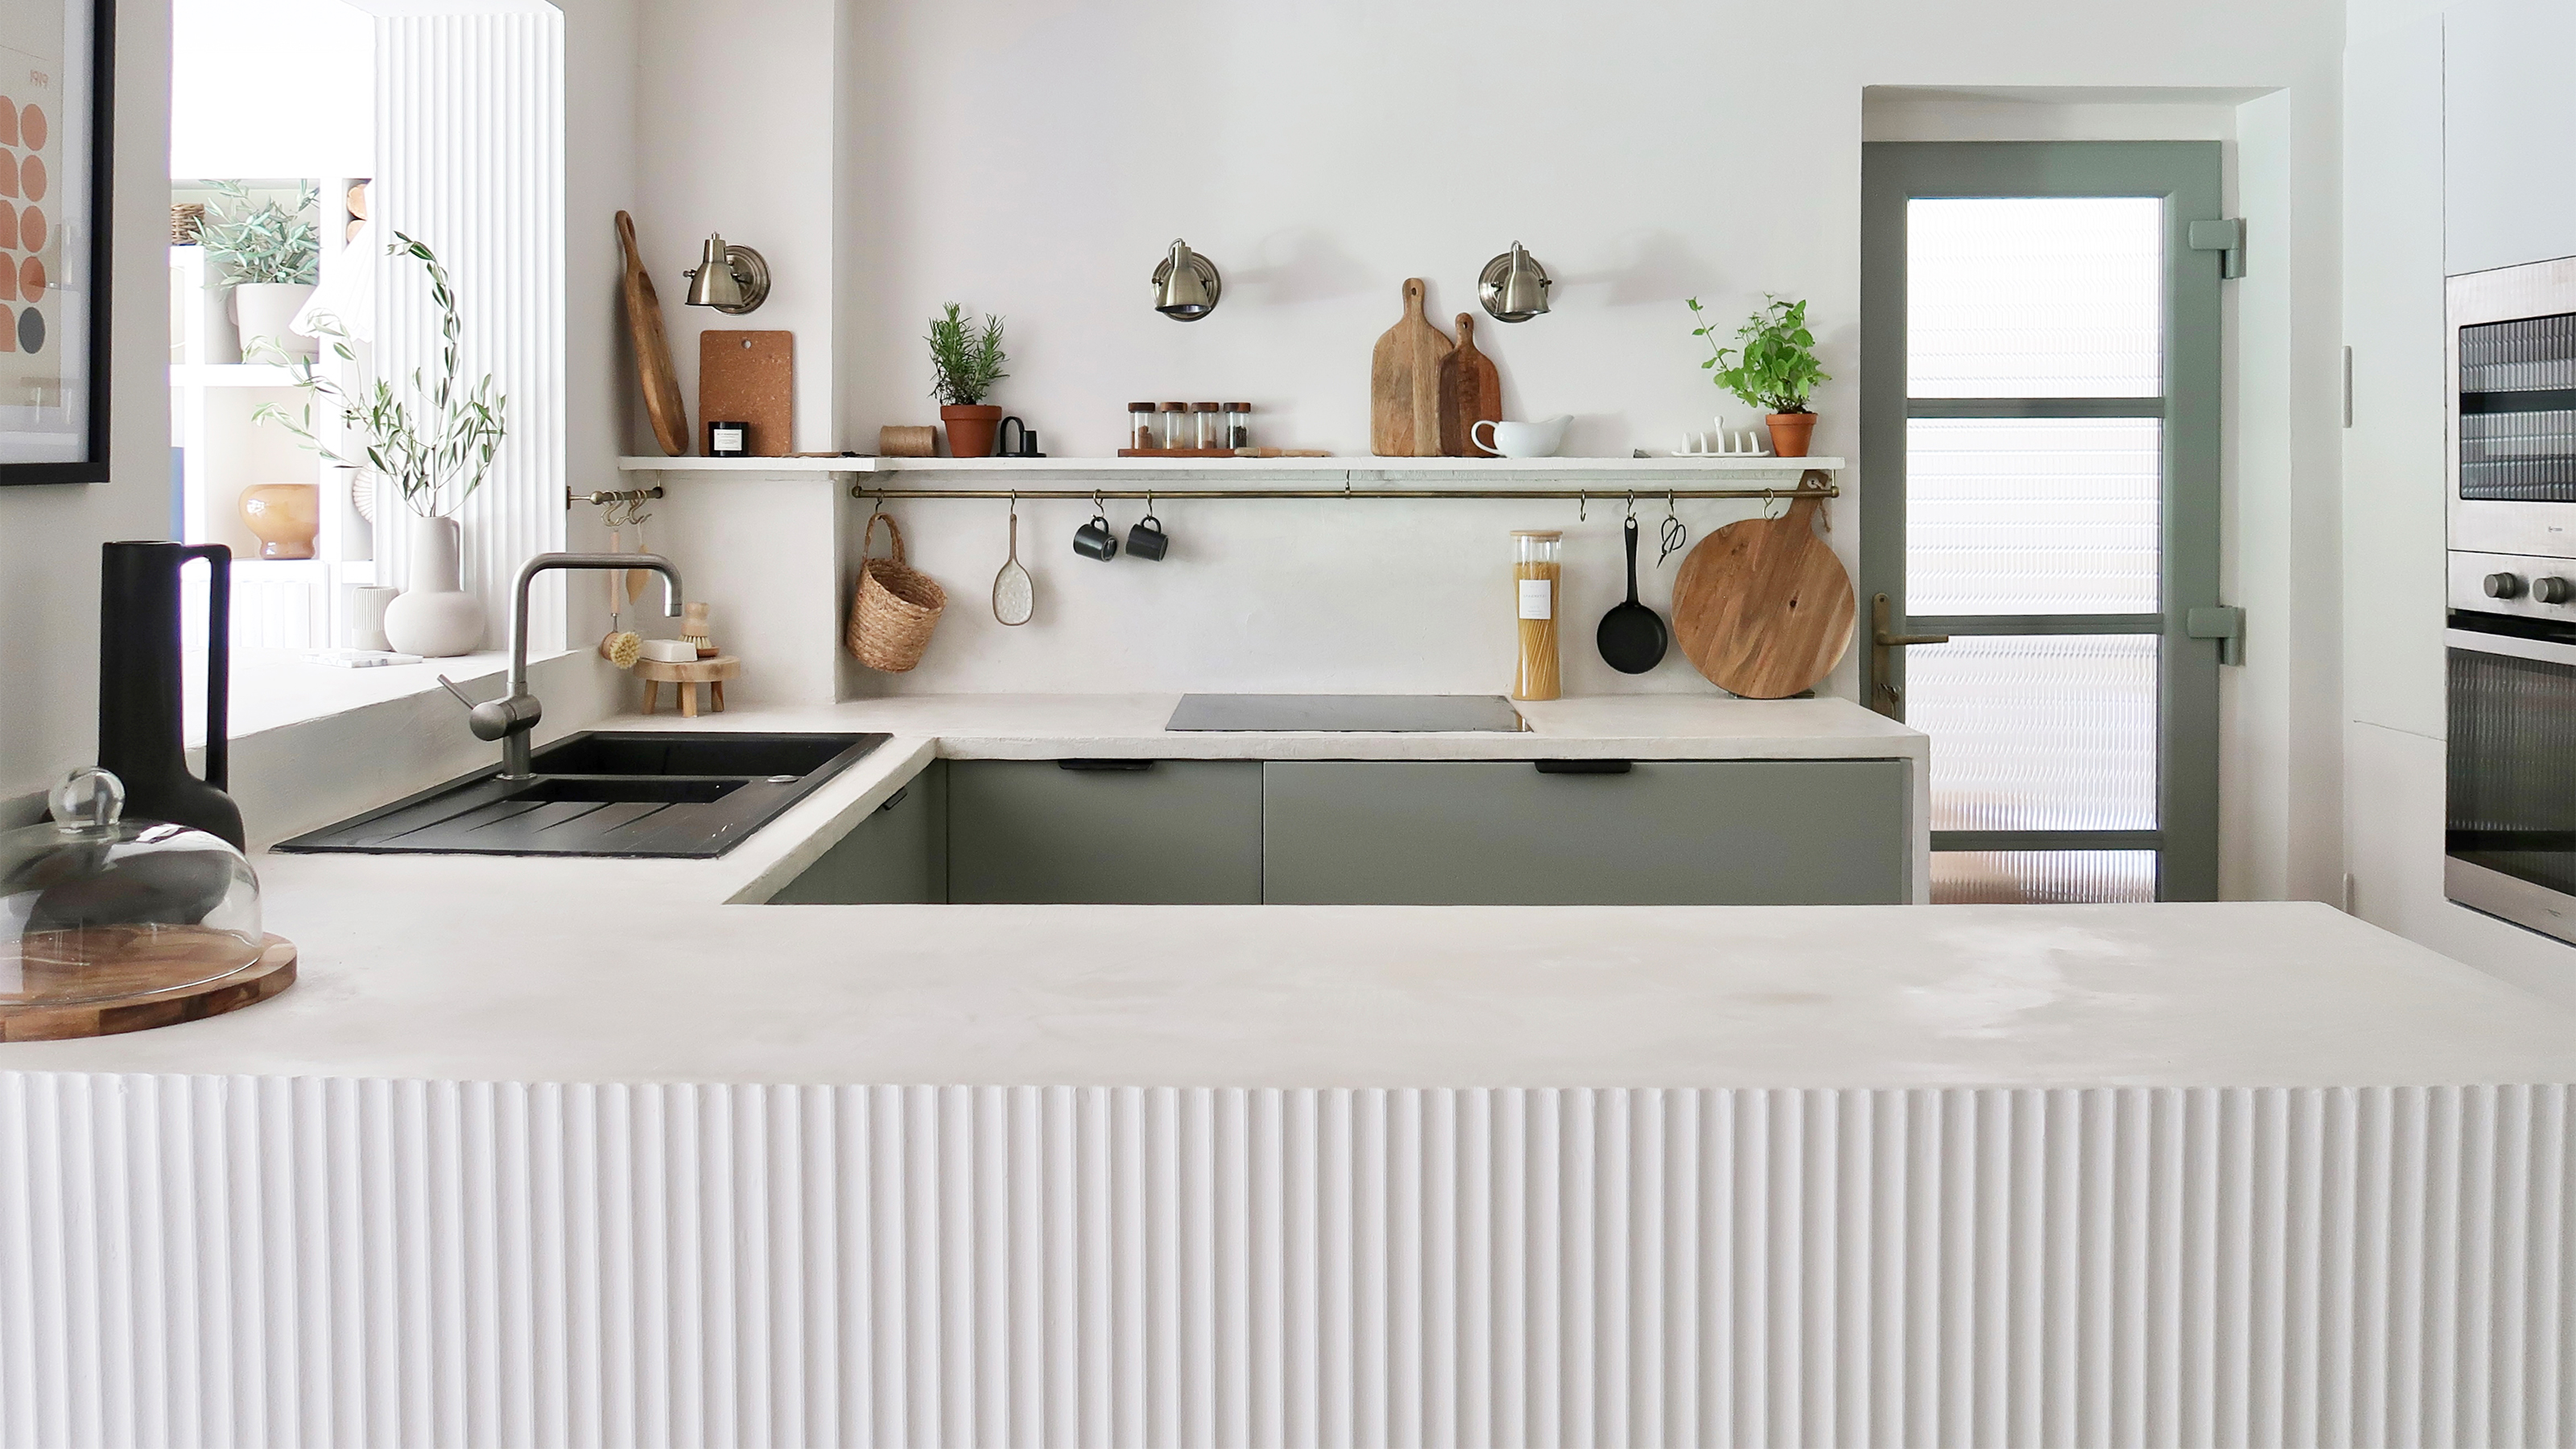 A $200 fluted panel transformed my drab kitchen in just one weekend
How to install a fluted kitchen panel: A speedy and achievable DIY tutorial even for DIY novices
By Claire Douglas Published
-
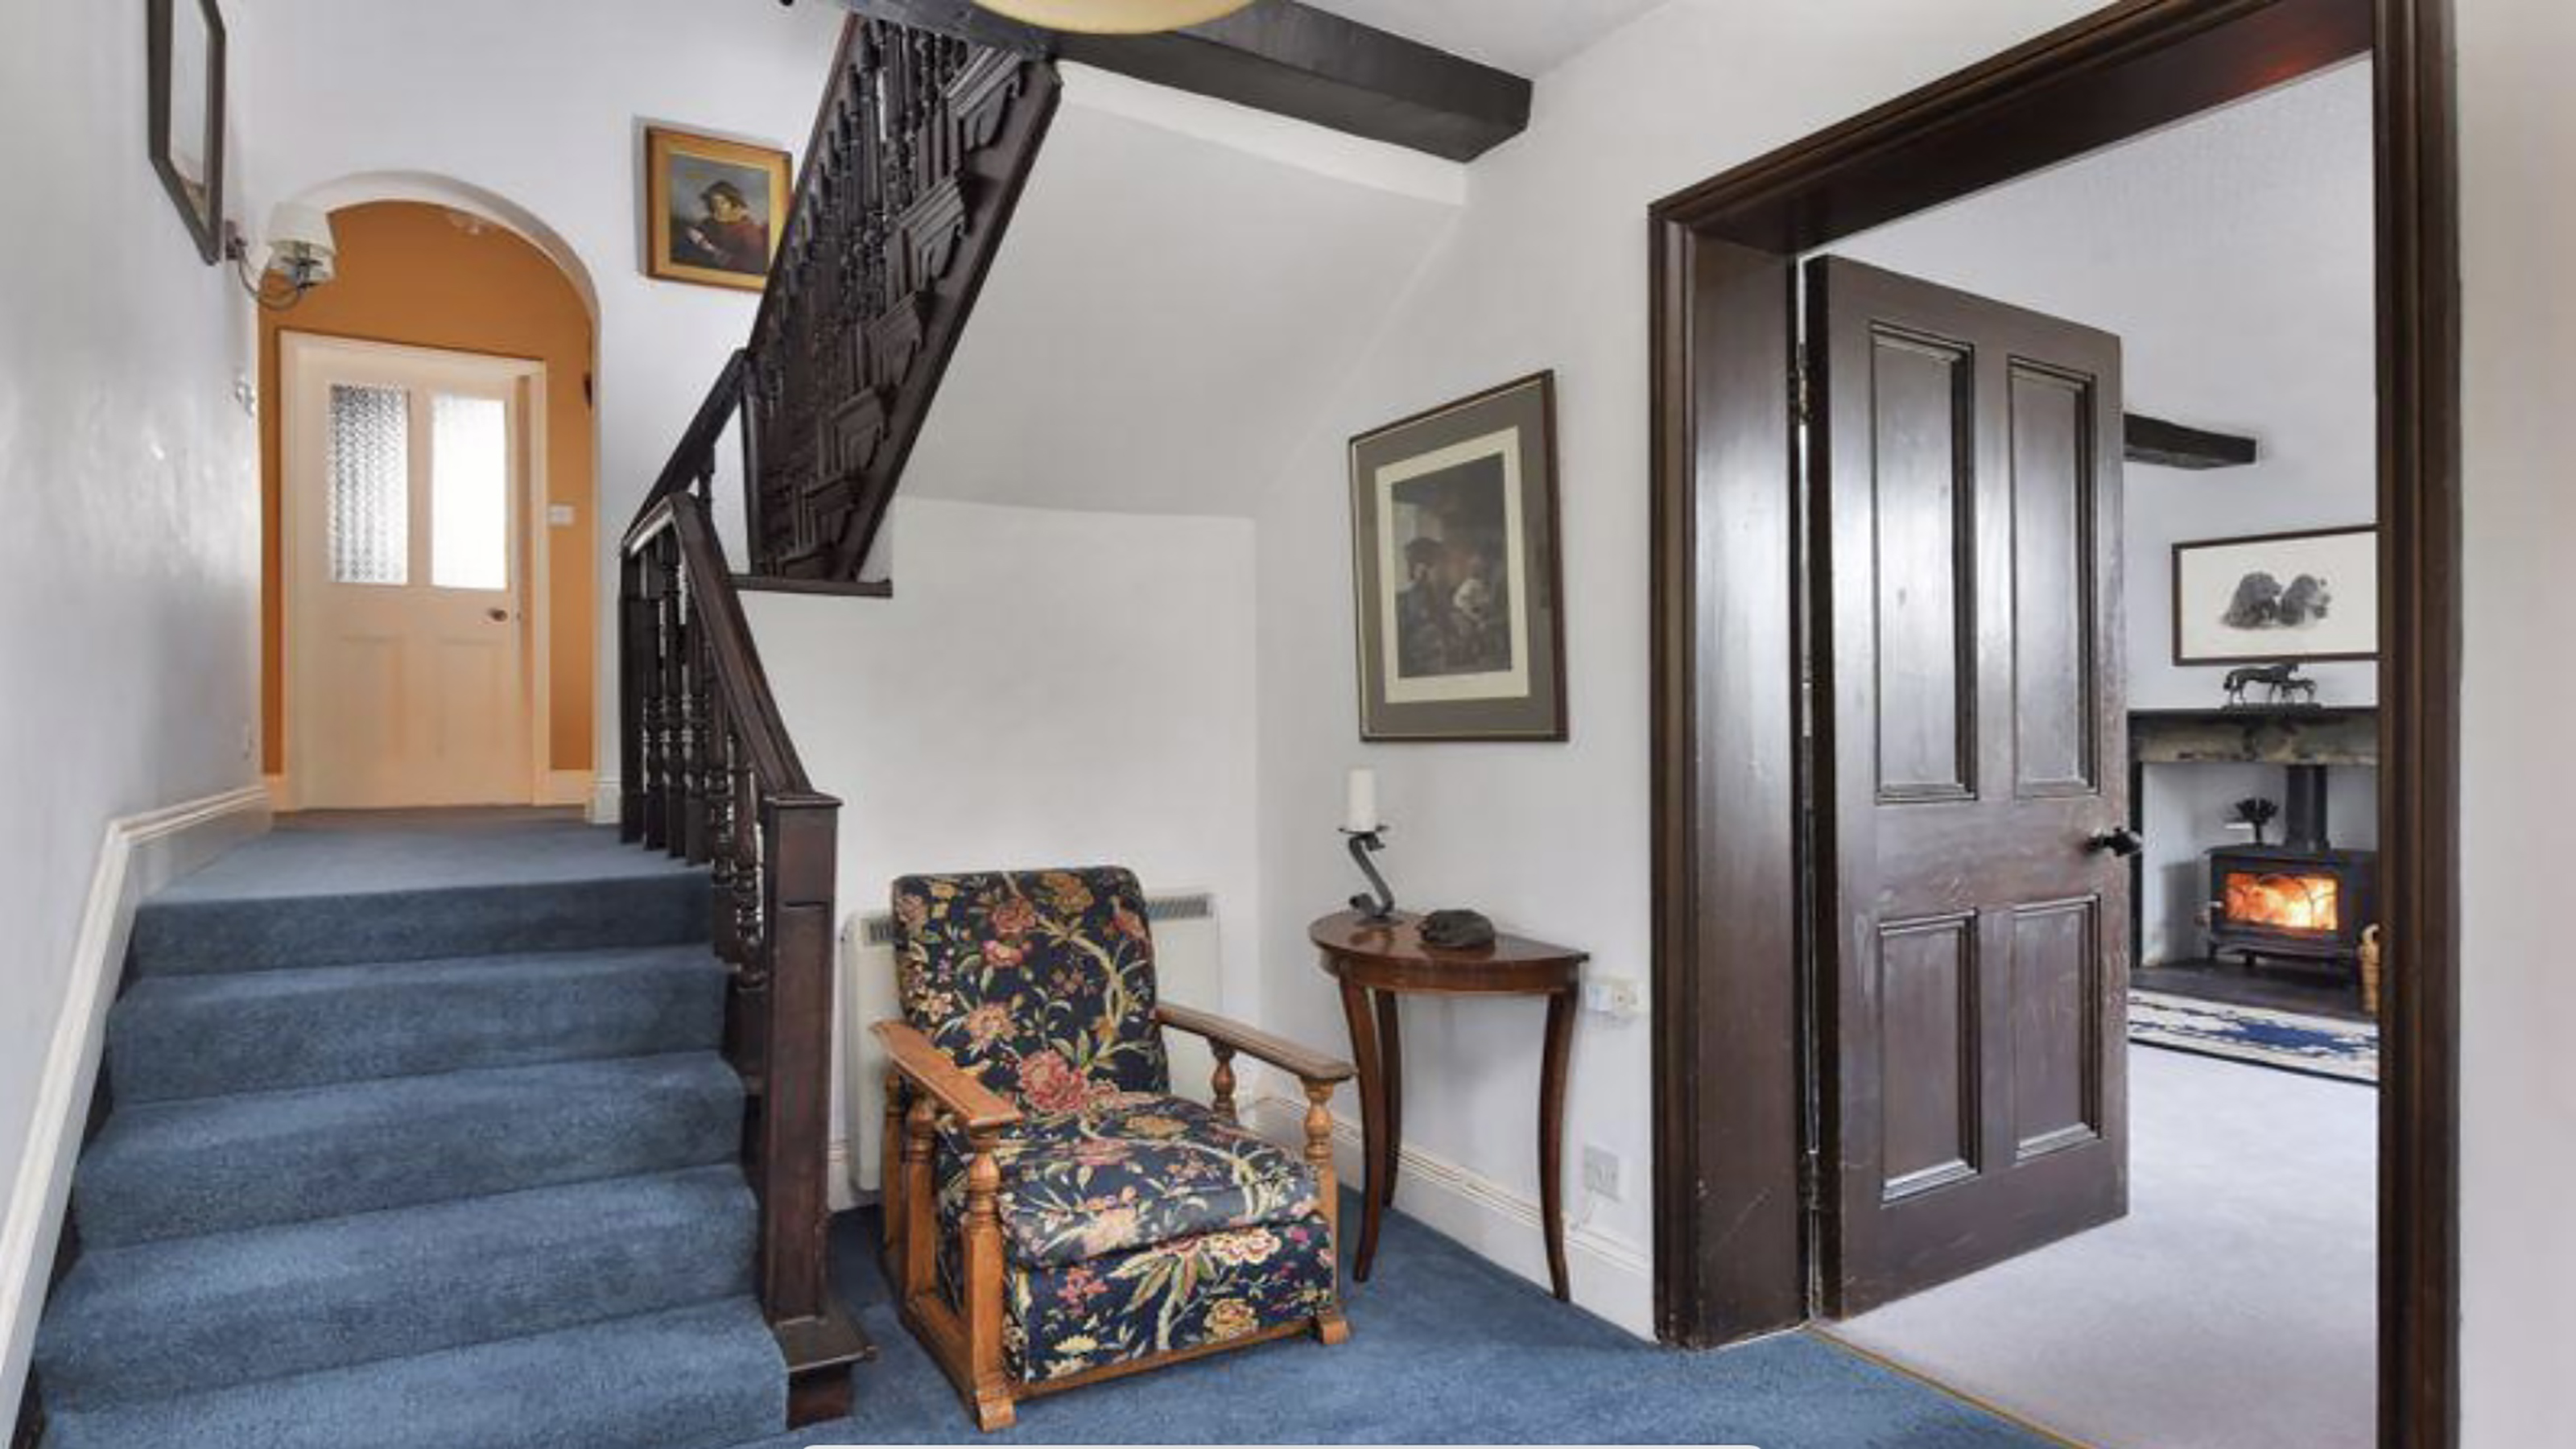 How to replace a broken staircase spindle in 30 minutes flat
A missing or broken spindle on a staircase is not only unsightly, but it can be a real hazard. This is how to fix it in a few quick steps.
By Kate Sandhu Published
-
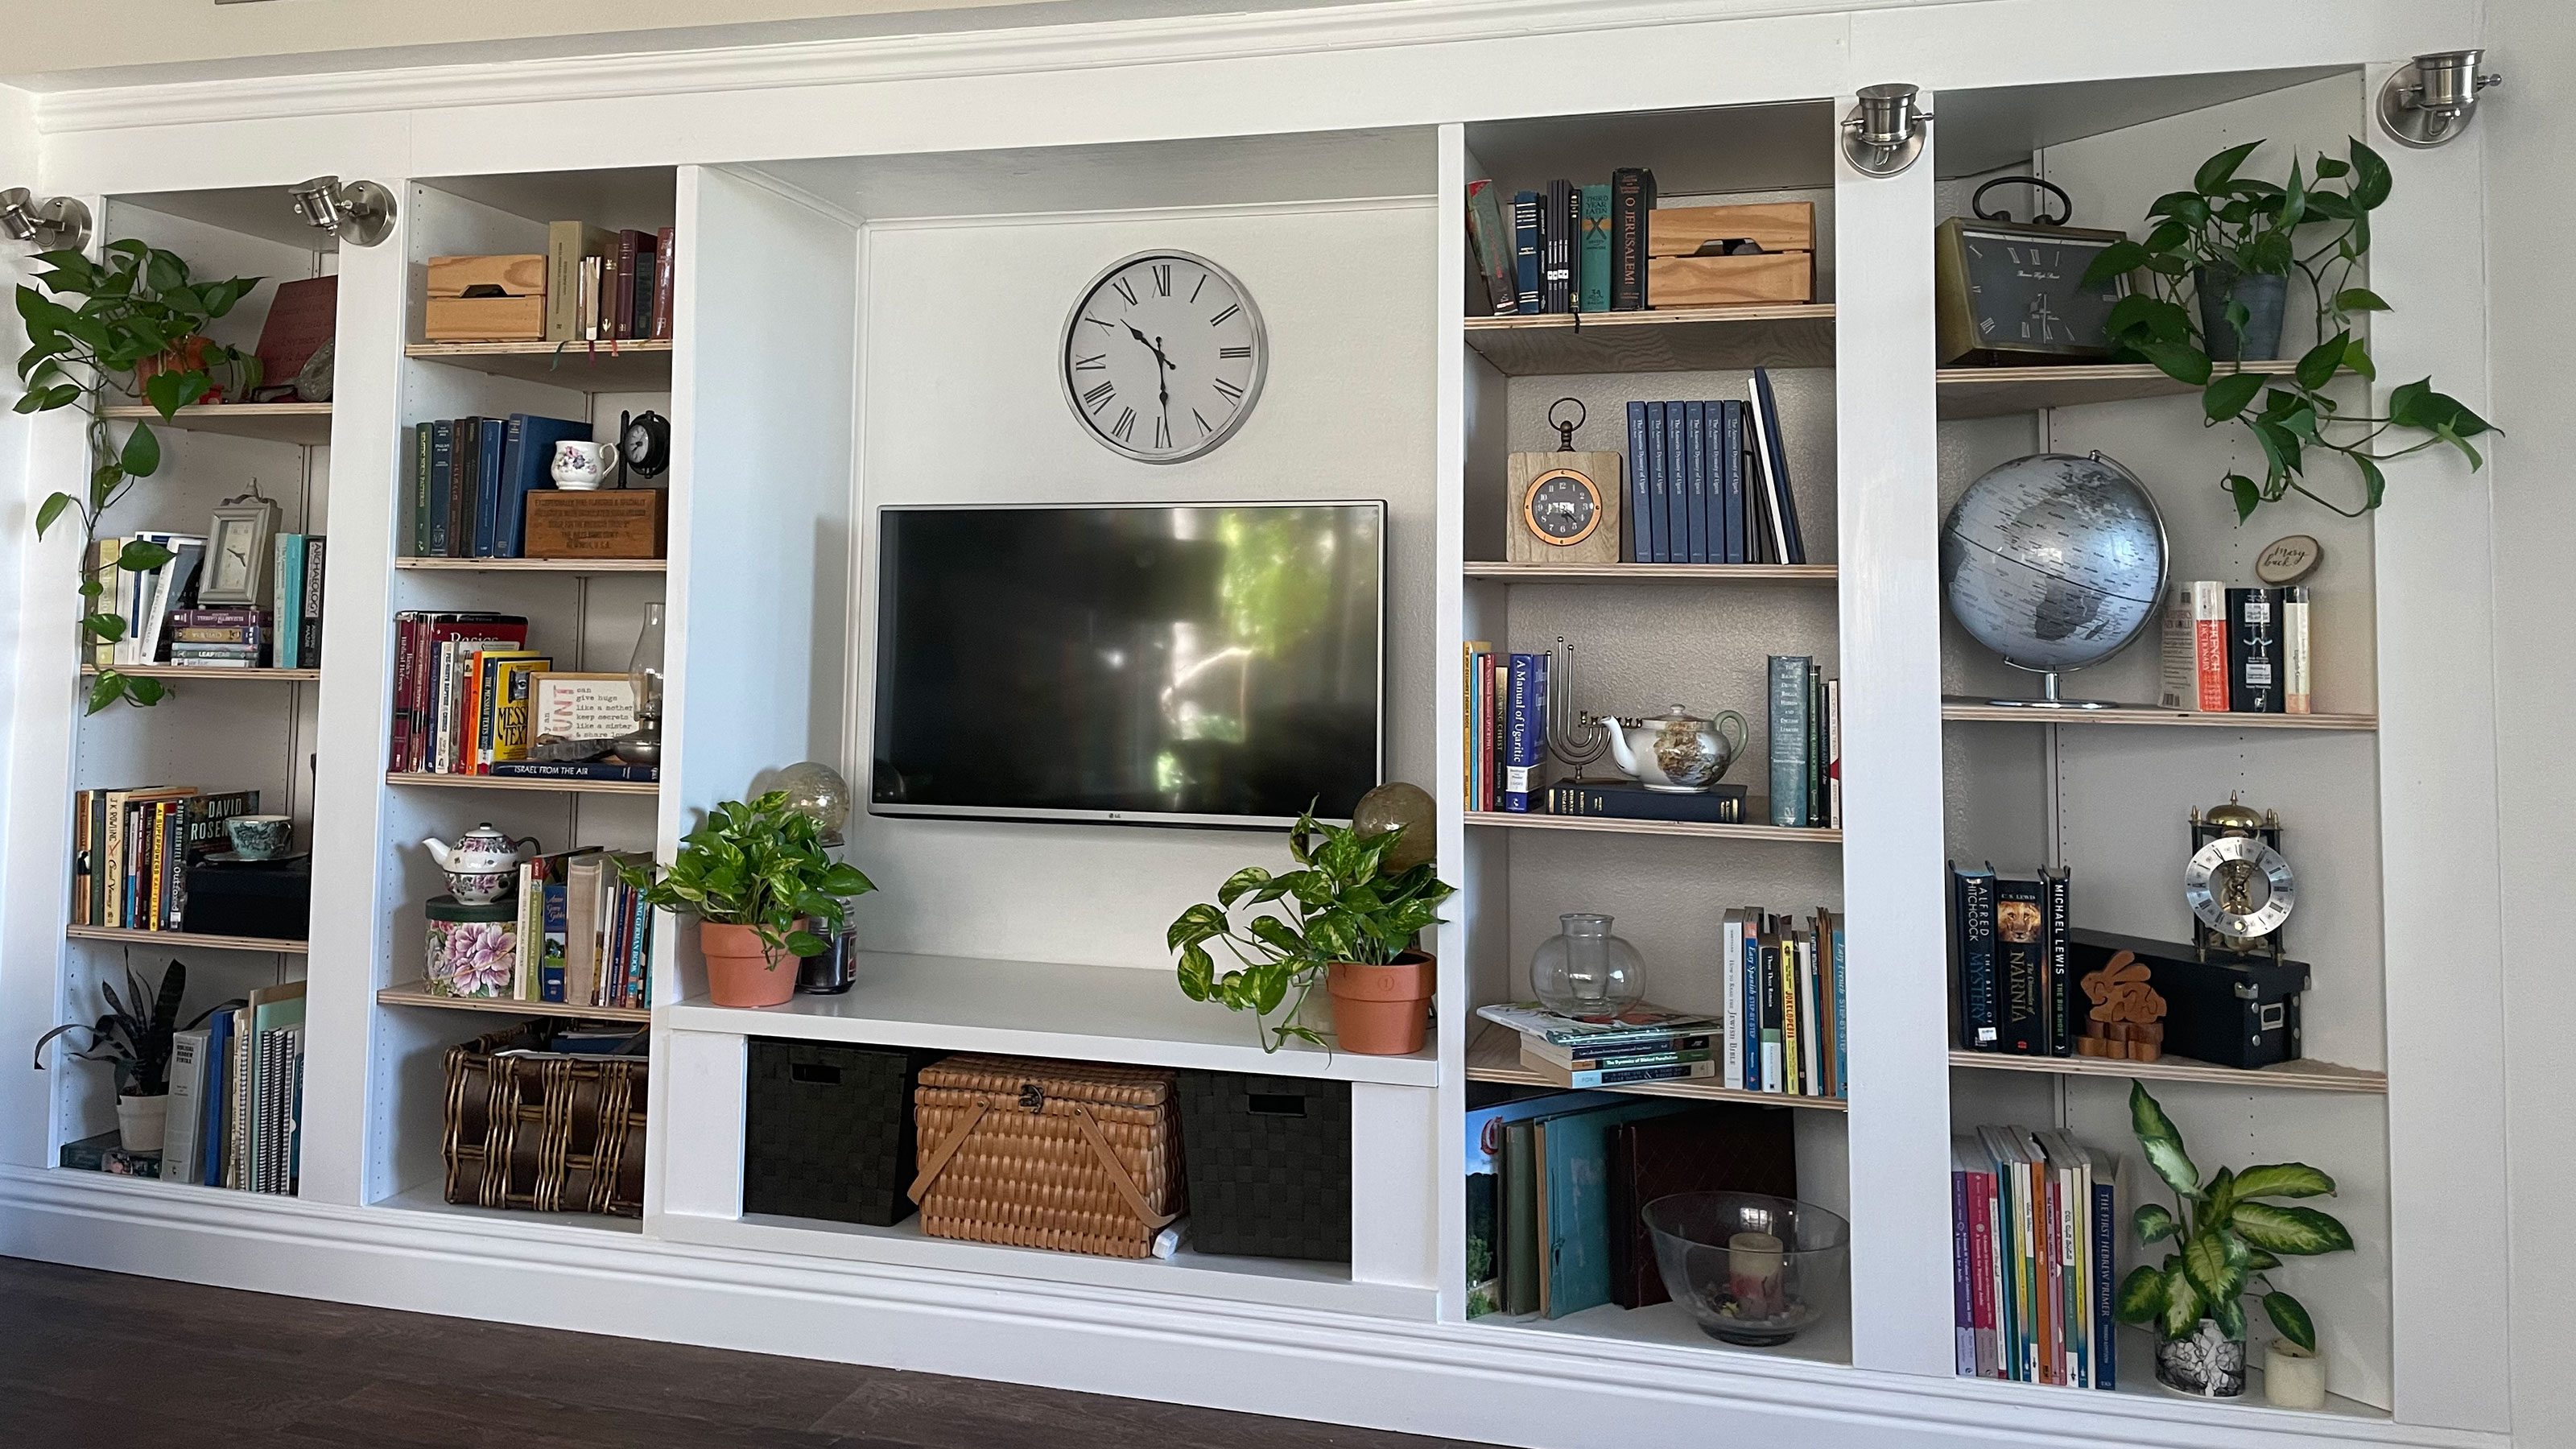 An IKEA Billy bookcase hack inspired this cute media wall DIY
This cute DIY was inspired by an IKEA Billy bookcase hack and brought a ton of symmetry to an otherwise basic media wall space.
By Camille Dubuis-Welch Published
-
 Share your small space glow up to win $150 in the Real Homes competition
Show off your creativity and DIY skills to win $150 and for the chance to be featured exclusively in Real Homes magazine
By Camille Dubuis-Welch Last updated
-
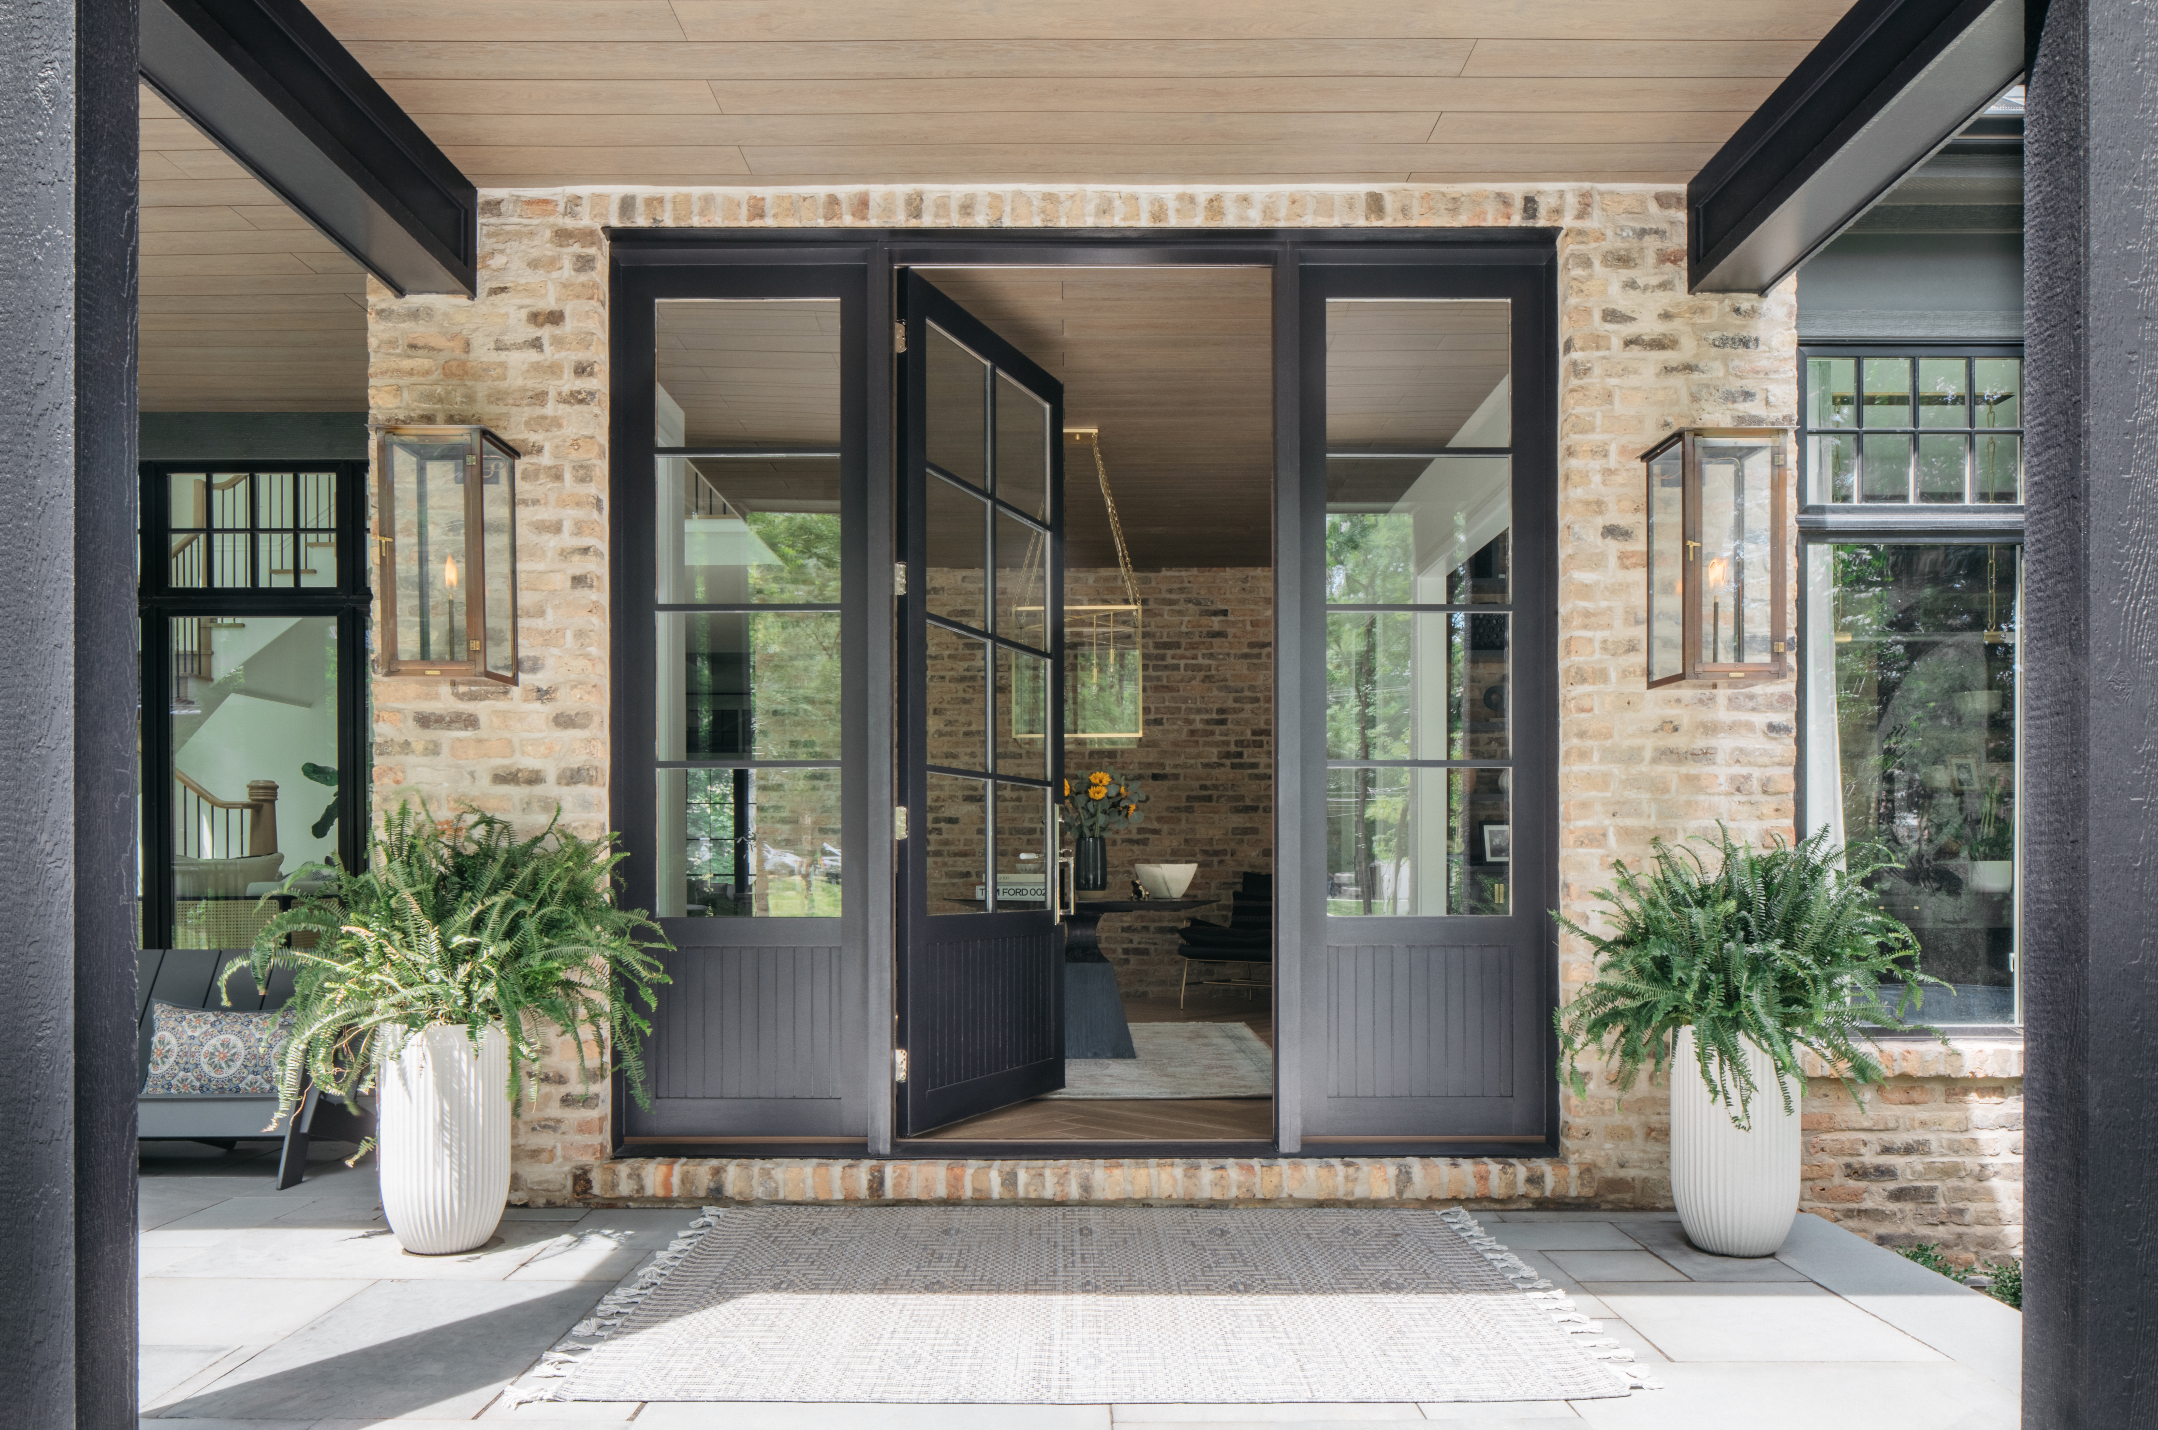 How to paint a door and refresh your home instantly
Painting doors is easy with our expert advice. This is how to get professional results on front and internal doors.
By Claire Douglas Published
-
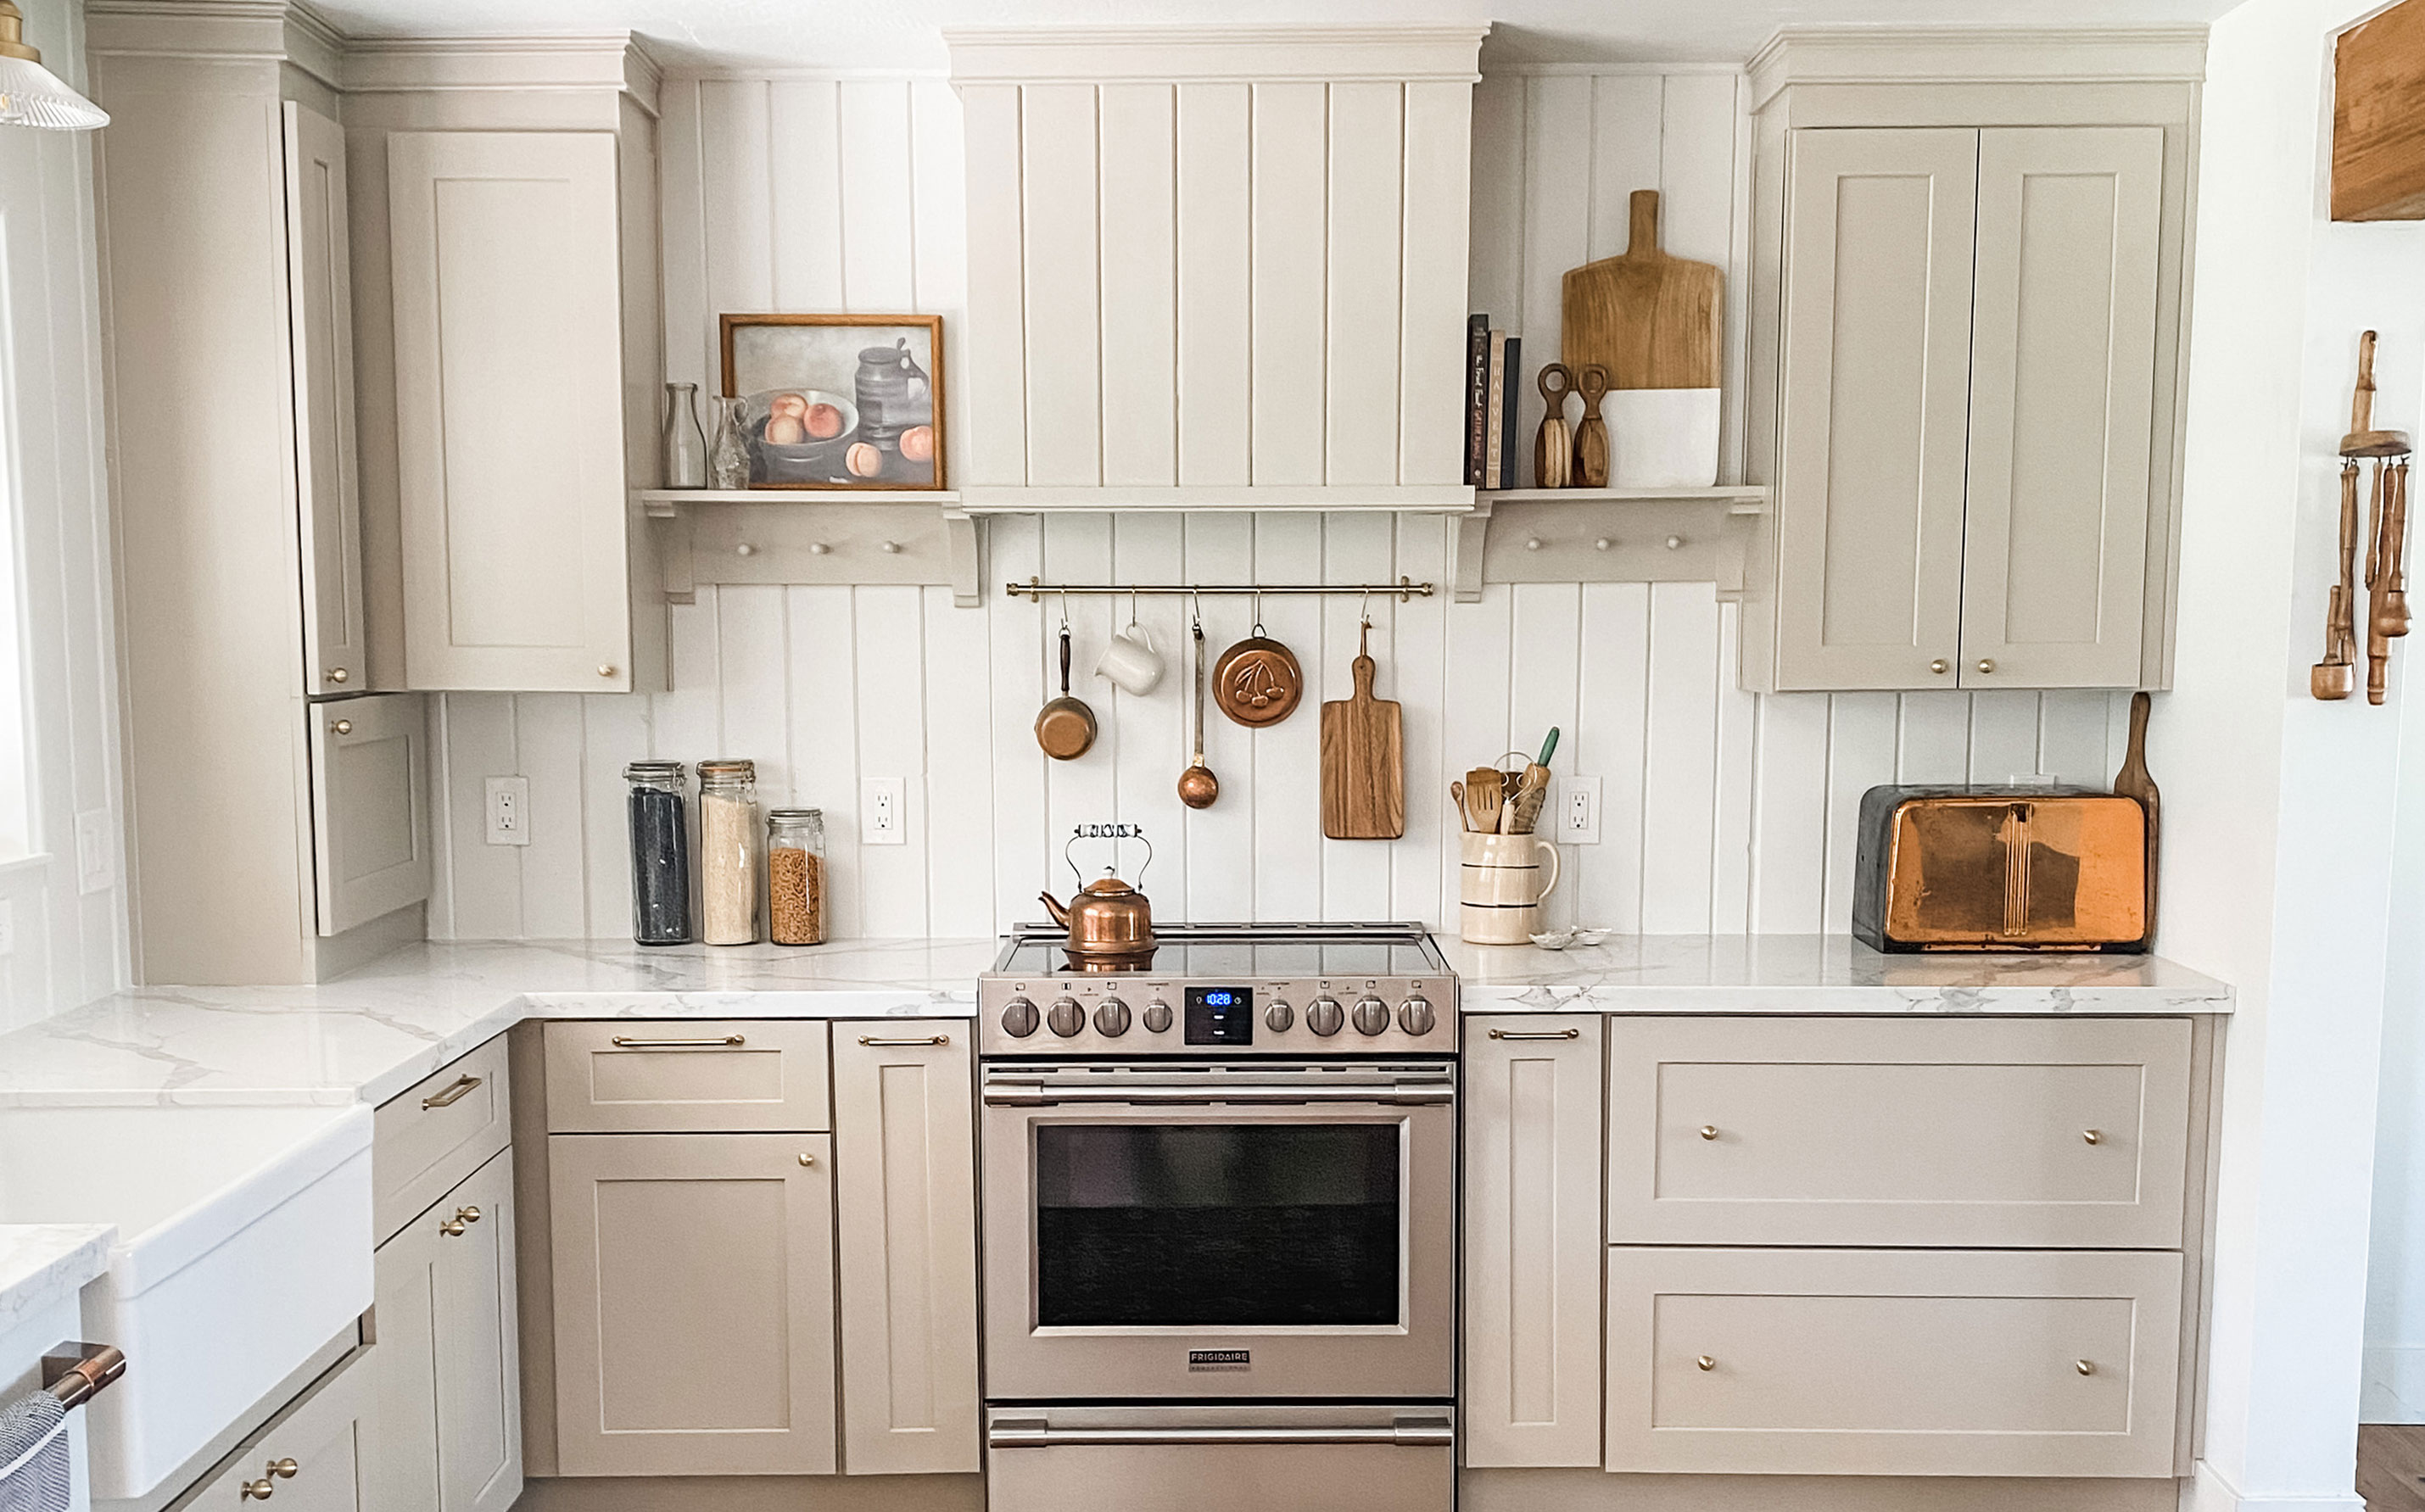 My DIY range hood and backsplash build gave my kitchen the perfect farmhouse finish
I craved charm in my kitchen space and adding a custom range hood and shelving was the best move.
By Brooke Waite Published
-
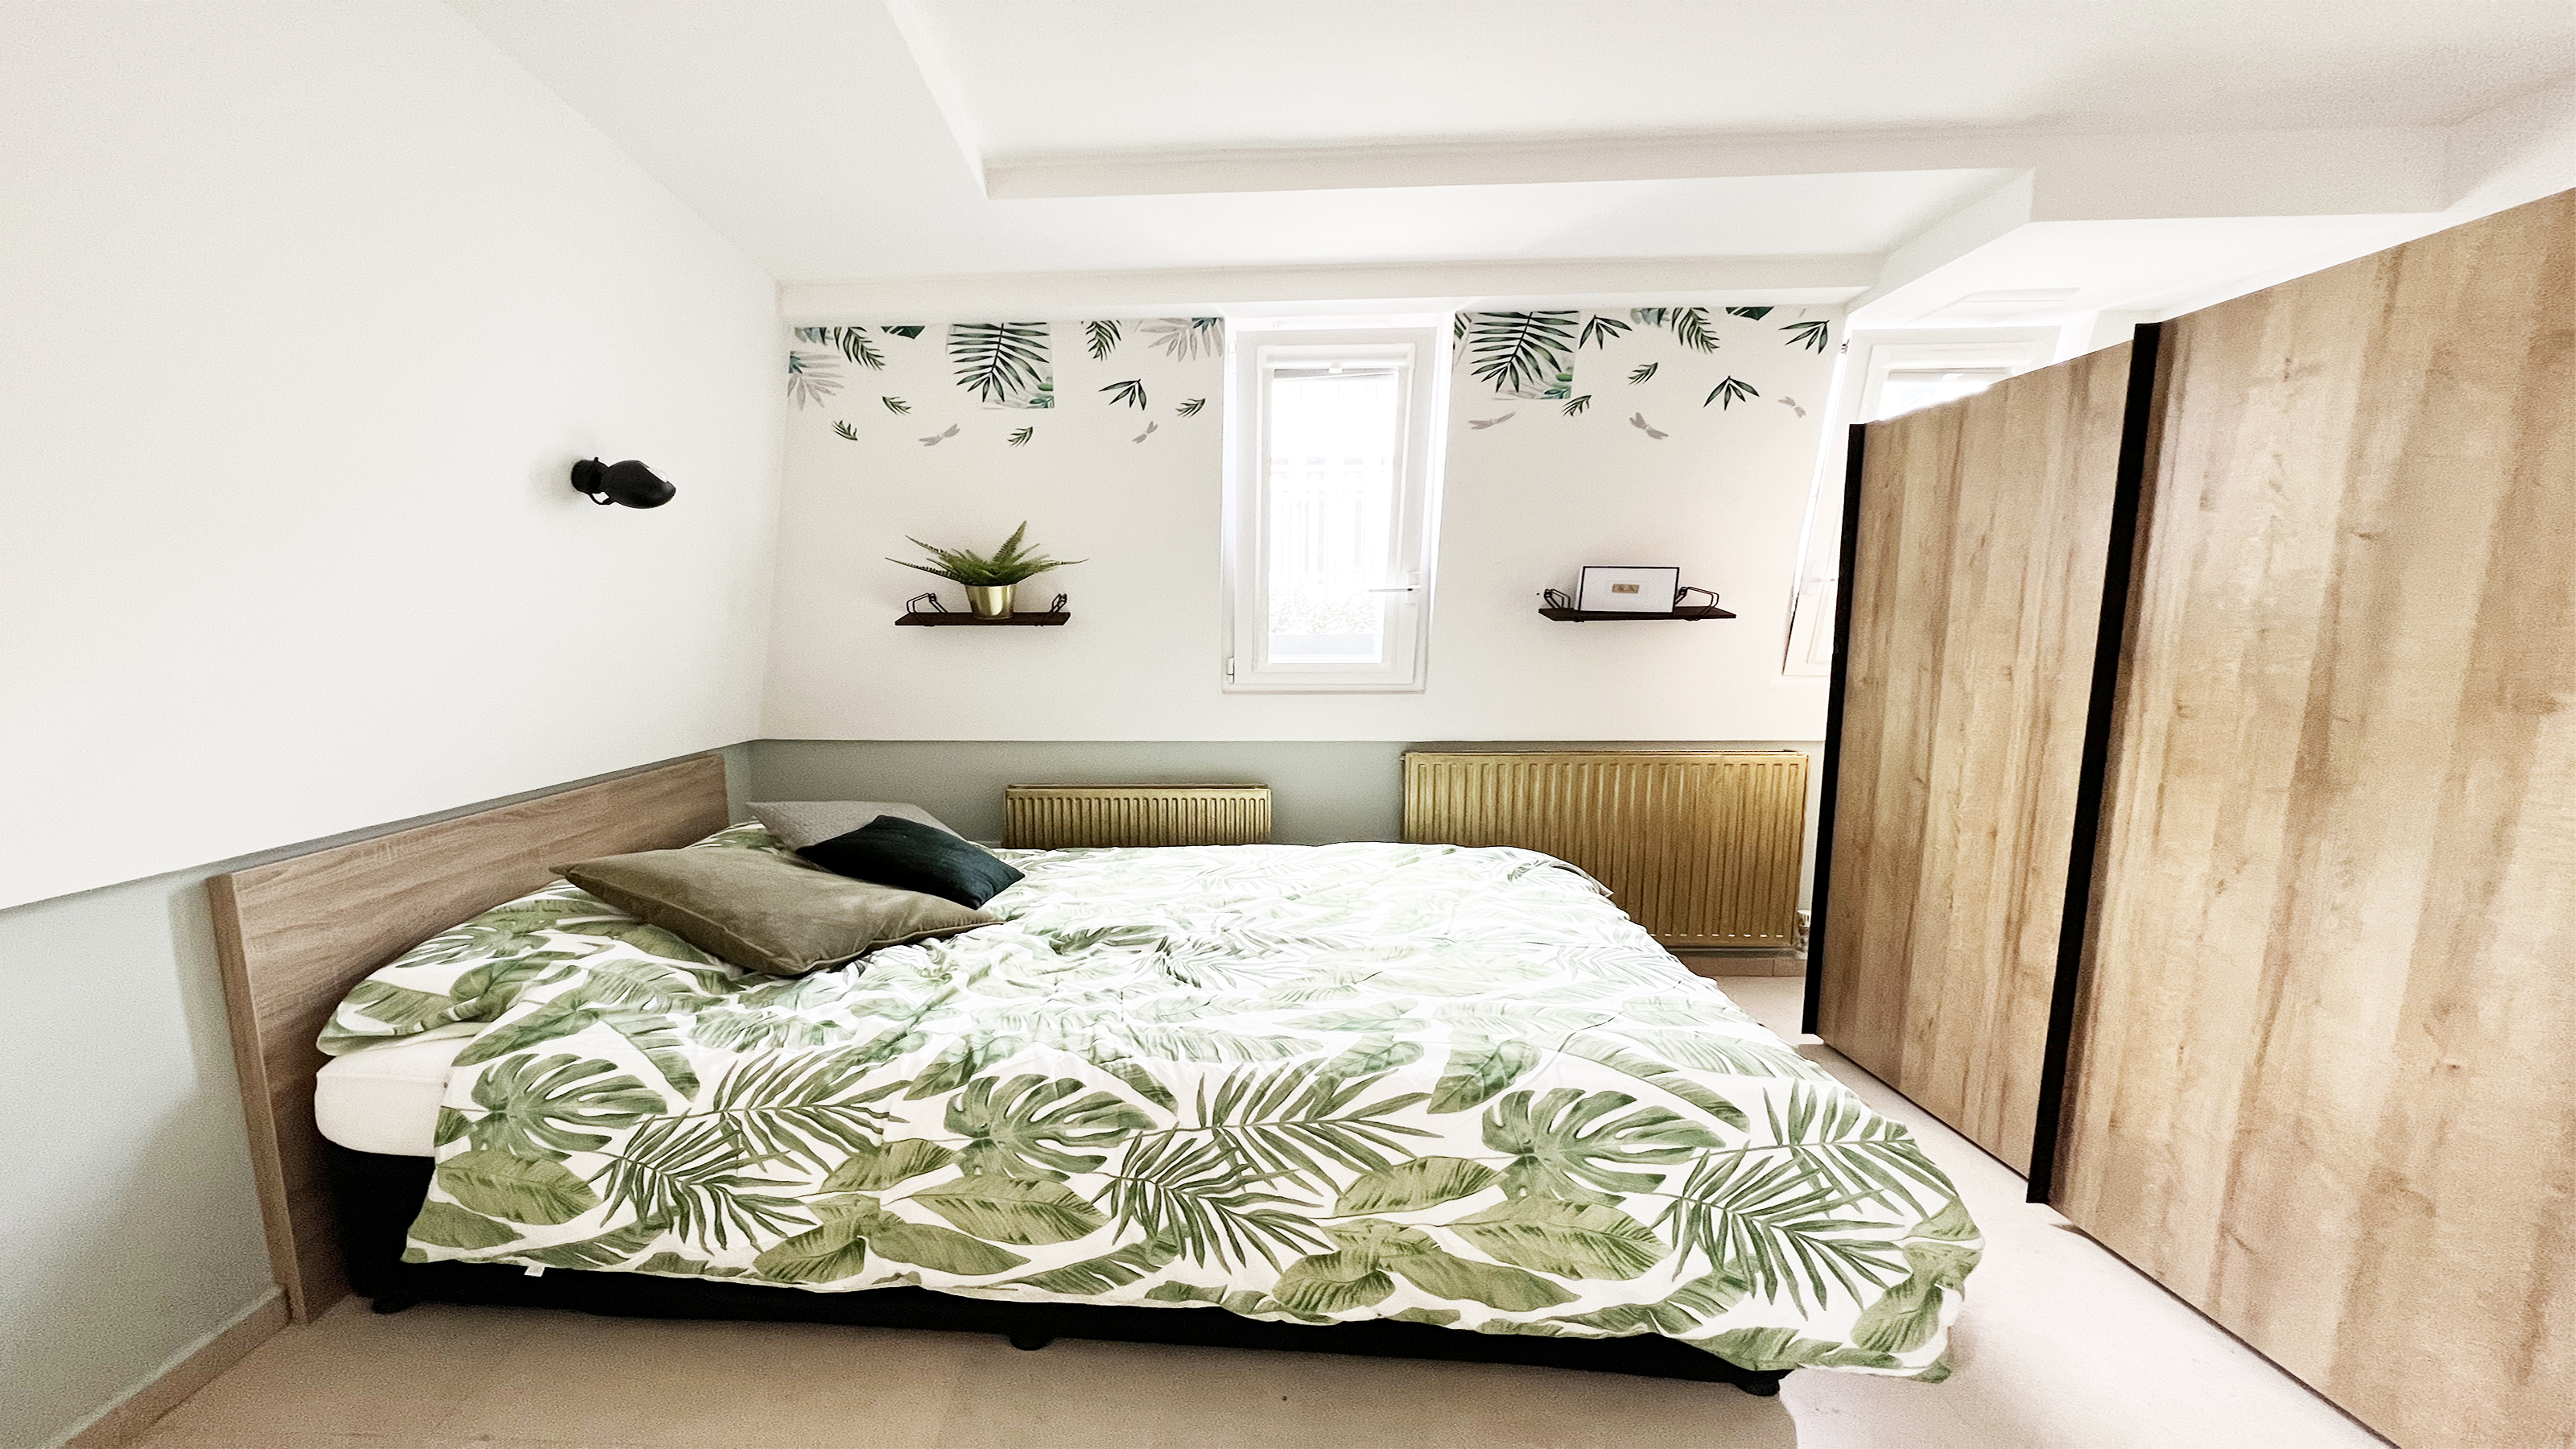 How to paint a radiator in 7 steps
Painting radiators properly is all about choosing the right paint and the best process. Get interior designer-worthy results with our how-to.
By Kate Sandhu Published
-
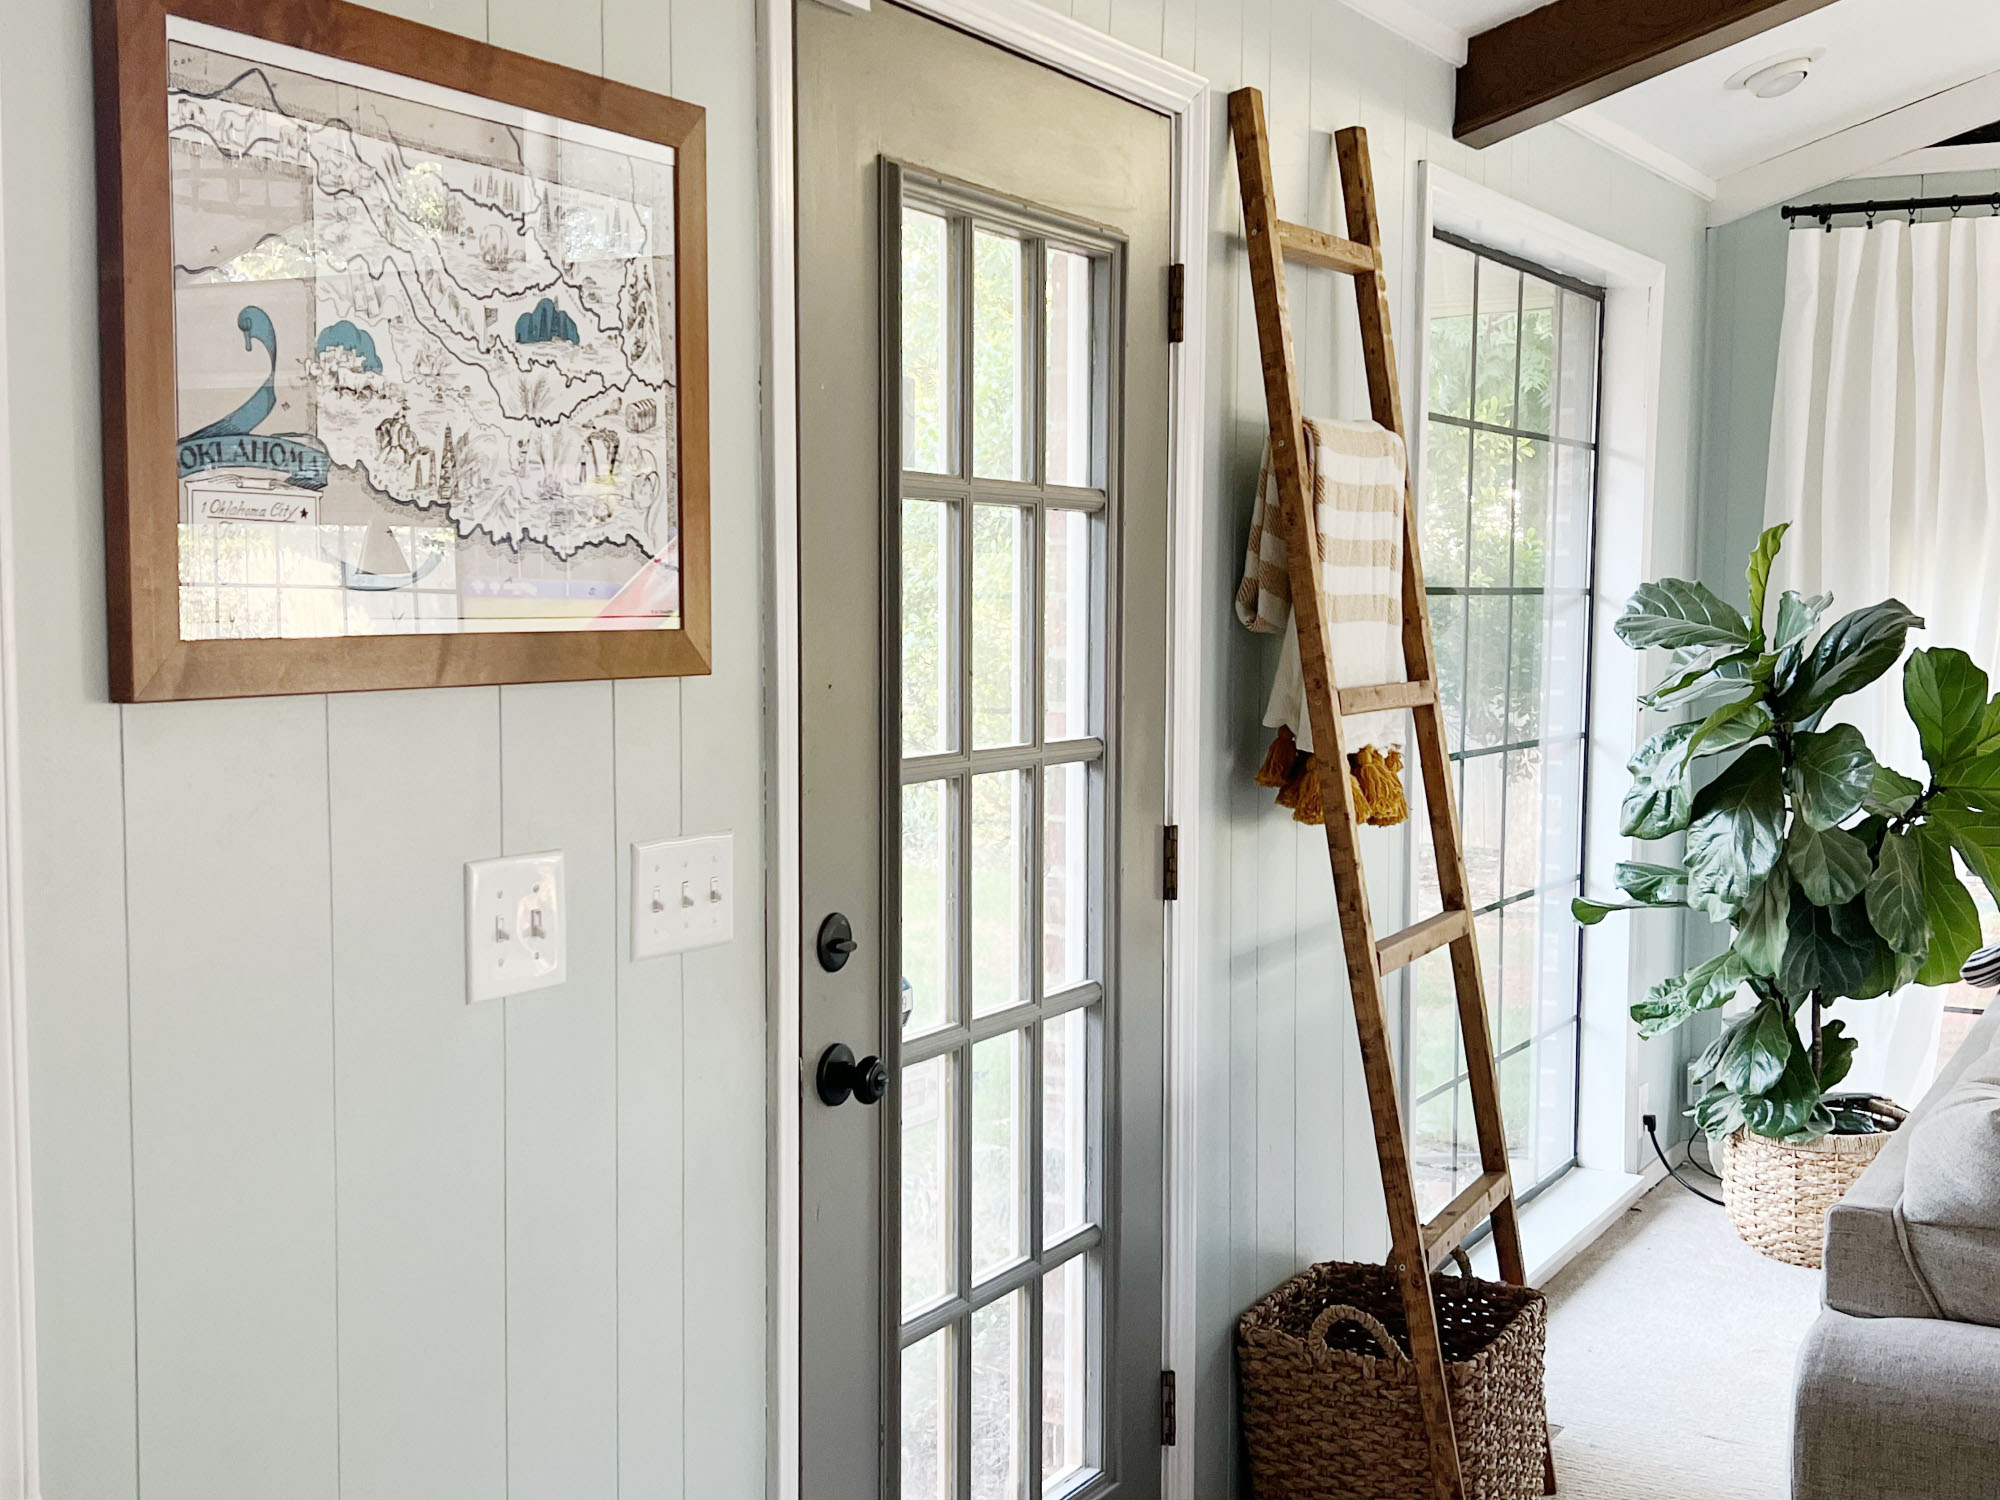 How to install a door knob
Updating your interior and exterior doors can be as easy as changing out the hardware! The best part is that installing a door knob is very DIY friendly. Follow these simple steps and enjoy a fresh look on your doors!
By Dori Turner Published