
Cornucopias have been around for thousands of years, with the earliest mention found in Greek and Roman mythology. The name comes from the Latin word cornu copiae, which means horn of abundance or horn of plenty.
In Western culture, the cornucopia has come to symbolize harvest and is a staple in Thanksgiving decor displays. Often seen with food overflowing from the mouth, cornucopias make great centerpieces and give us a visual reminder of everything we have to be thankful for.
Besides being used to display food, cornucopias are also used in home decor with faux florals like pumpkins, flowers, pinecones, and berries. A versatile piece in fall decor, they can be used anywhere in your home to achieve an autumnal feel.
How to make a Thanksgiving Cornucopia
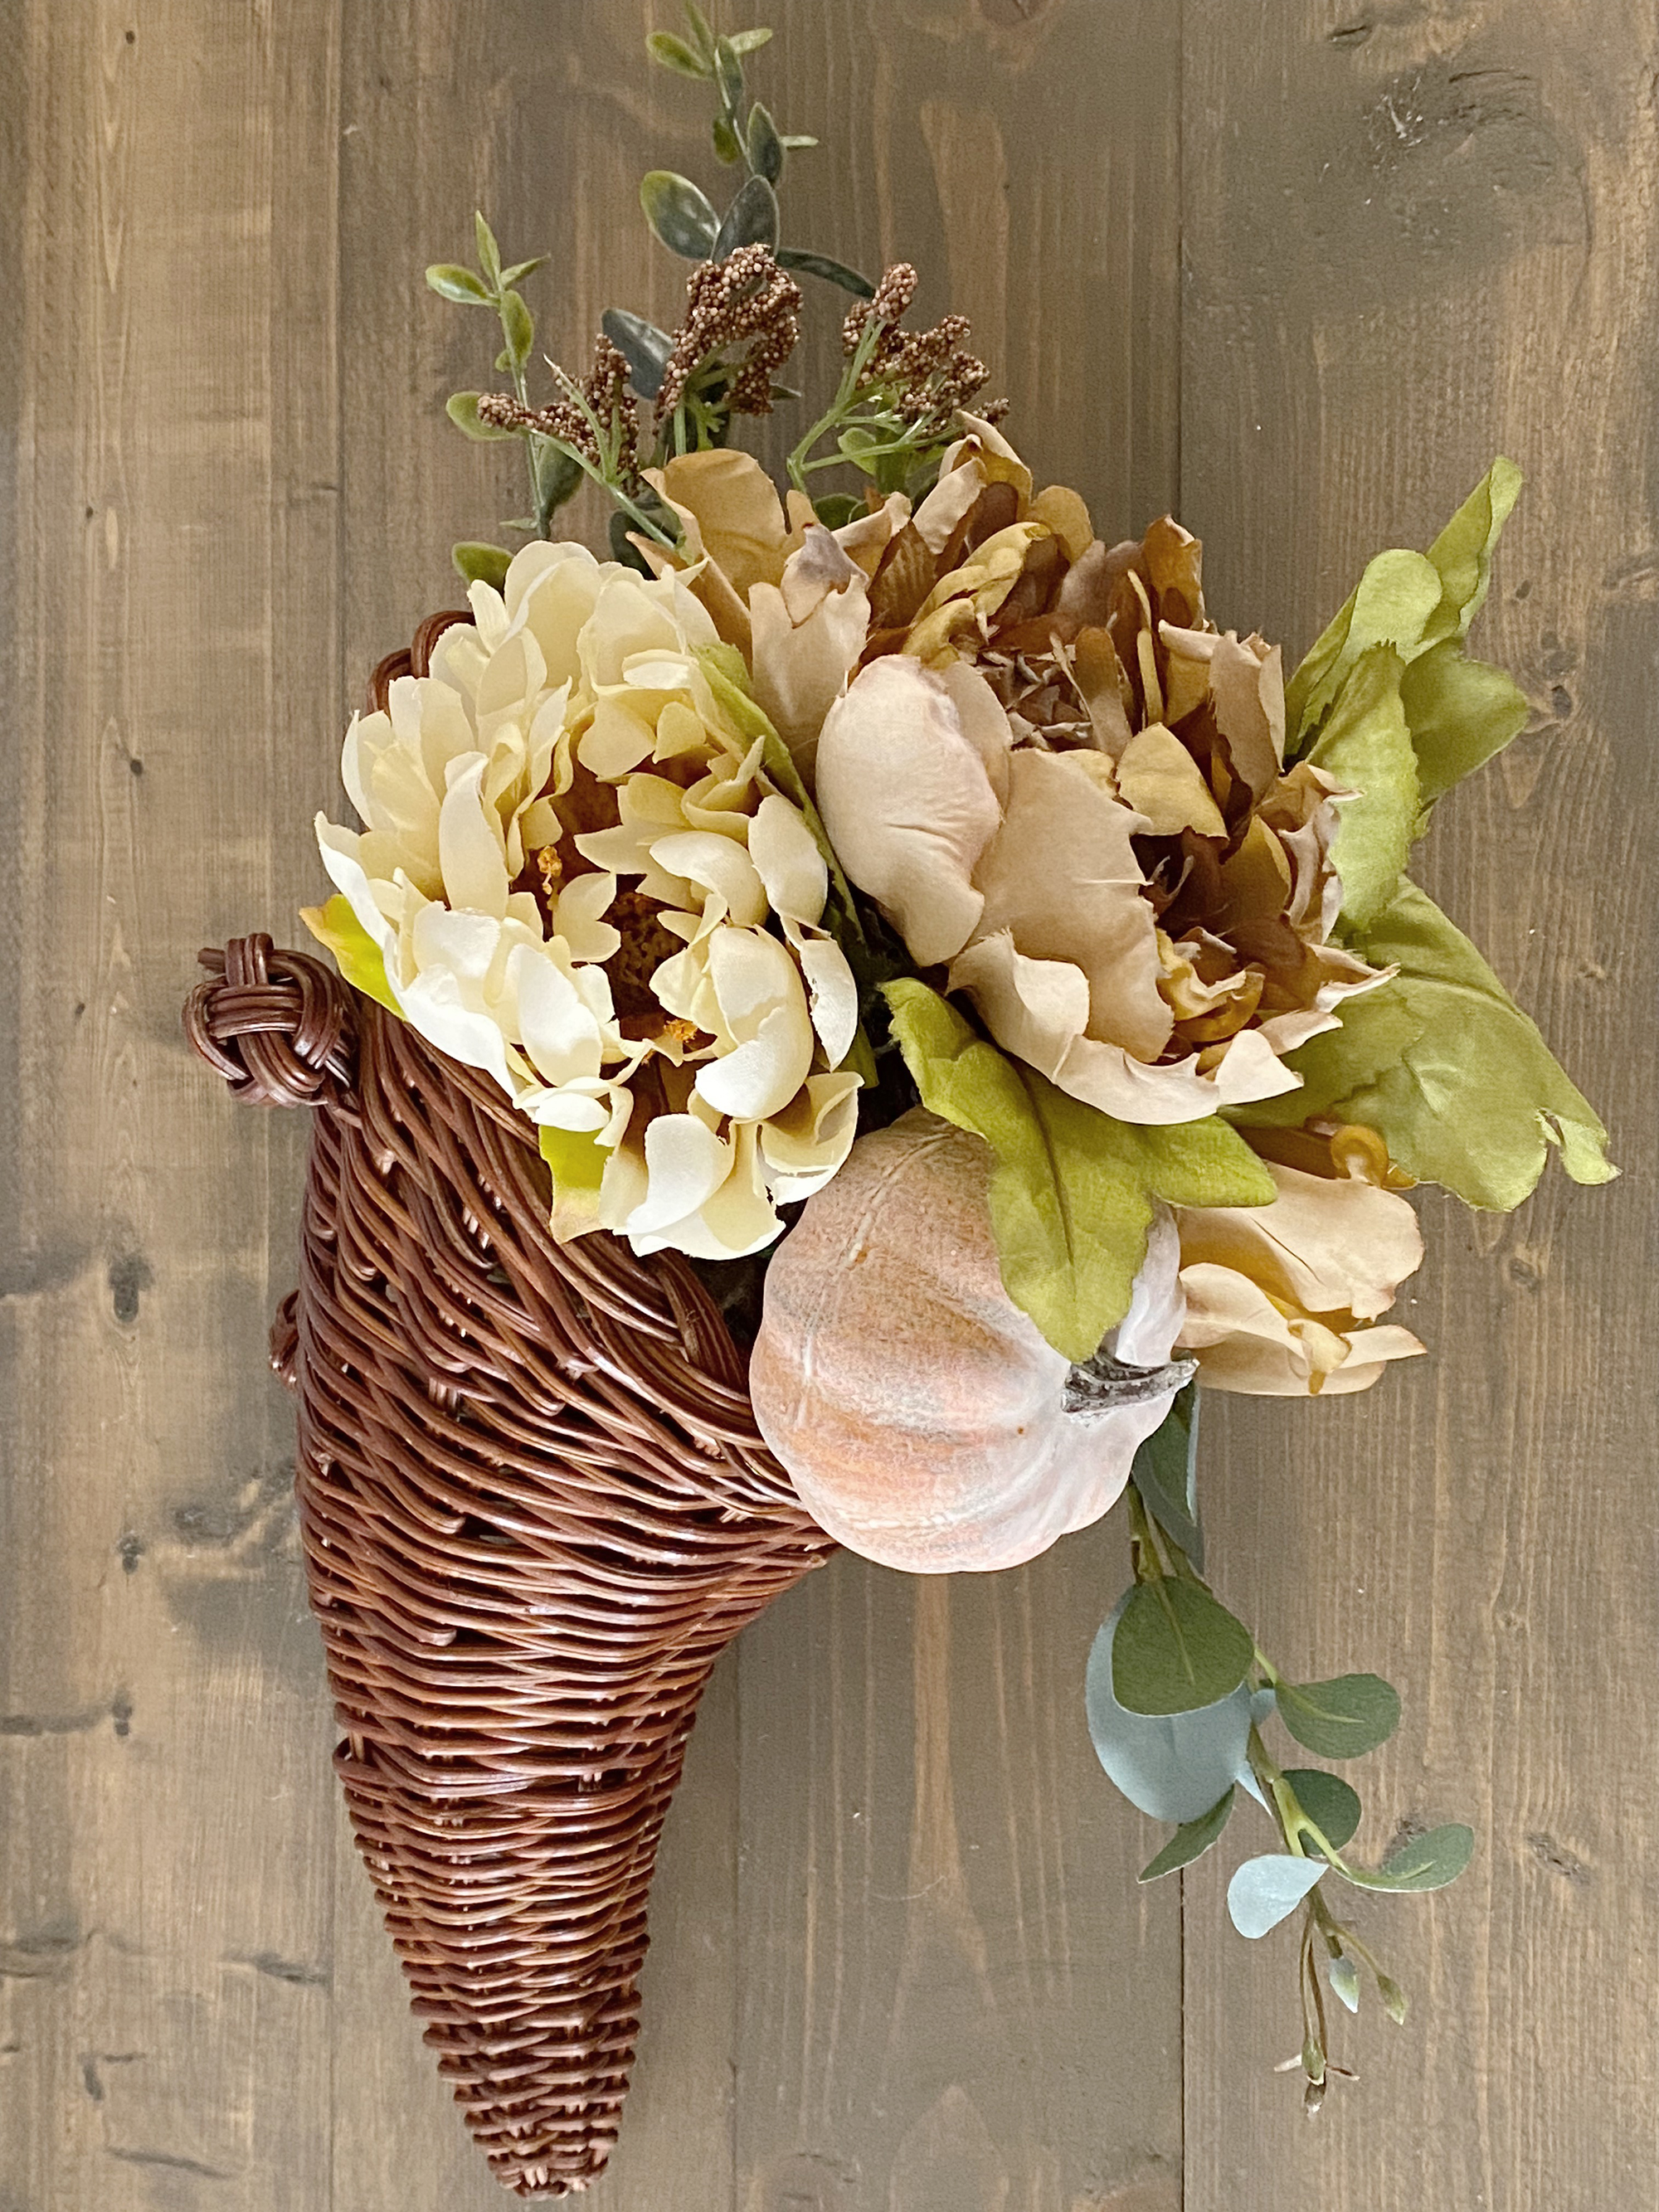
If you’re still in search of a centerpiece for your Thanksgiving table decor, a DIY cornucopia is the perfect addition! You only need a few supplies and about 30 minutes to complete the project.
First, you’ll need a cornucopia shell which can usually be purchased at your local home decor and craft store like Hobby Lobby or Michael’s. Next, you’ll need to decide on a color scheme and choose faux floral stems accordingly. You’ll want to have jute string or floral wire to secure the bouquet together. You’ll need wire cutters and you may want to have a hot glue gun on hand if you want to secure the arrangement more permanently to the cornucopia shell.
You'll see that there are lots of different ways to style your cornucopia shell so whether you'd like more traditional Thanksgiving centerpiece ideas or something modern, you'll be able to decorate yours in a way that suits your preferences.
You will need:
- A cornucopia shell available from craft stores like Hobby Lobby
- Fresh or faux floral stems plus any decorative gourds
- Jute string or floral wire – available on Amazon
- Wire cutters
- A hot glue gun
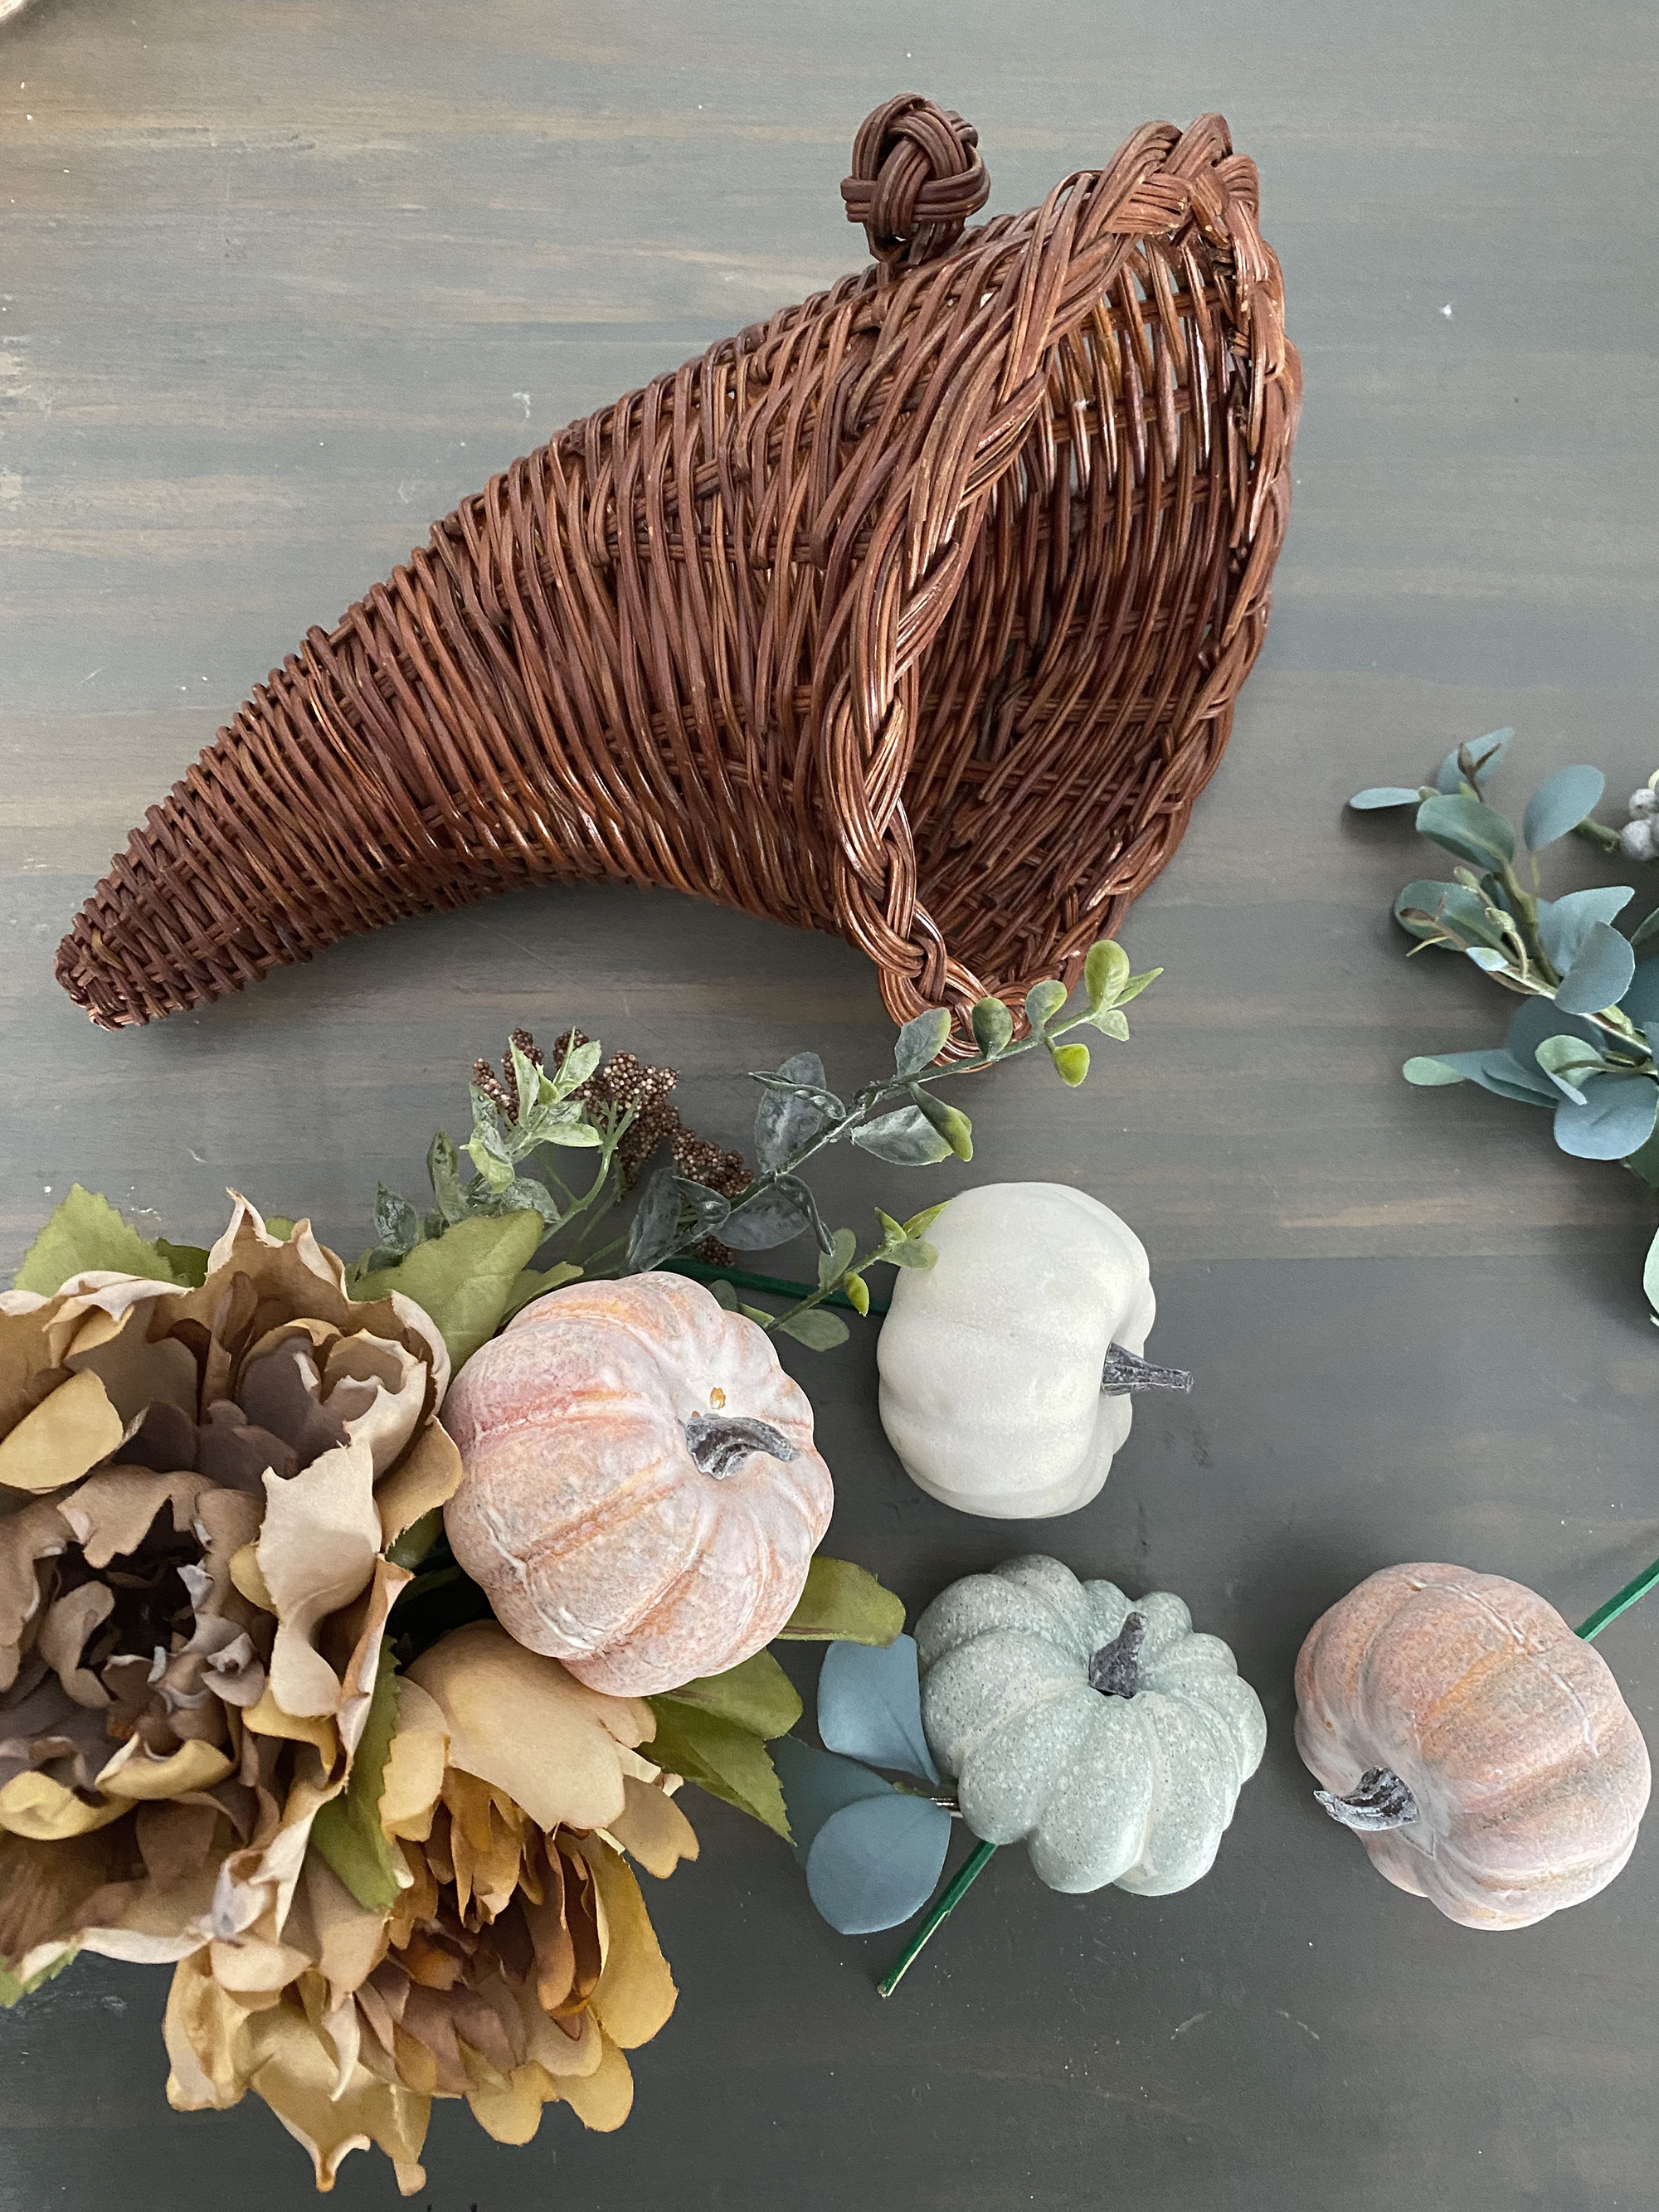
1. Trim your stems to size
Start by cutting your stems to the desired length; this will depend on the size of your cornucopia shell. Begin to gather the stems in your hand one at a time, arranging them until you have achieved the look you want.
2. Secure your bouquet
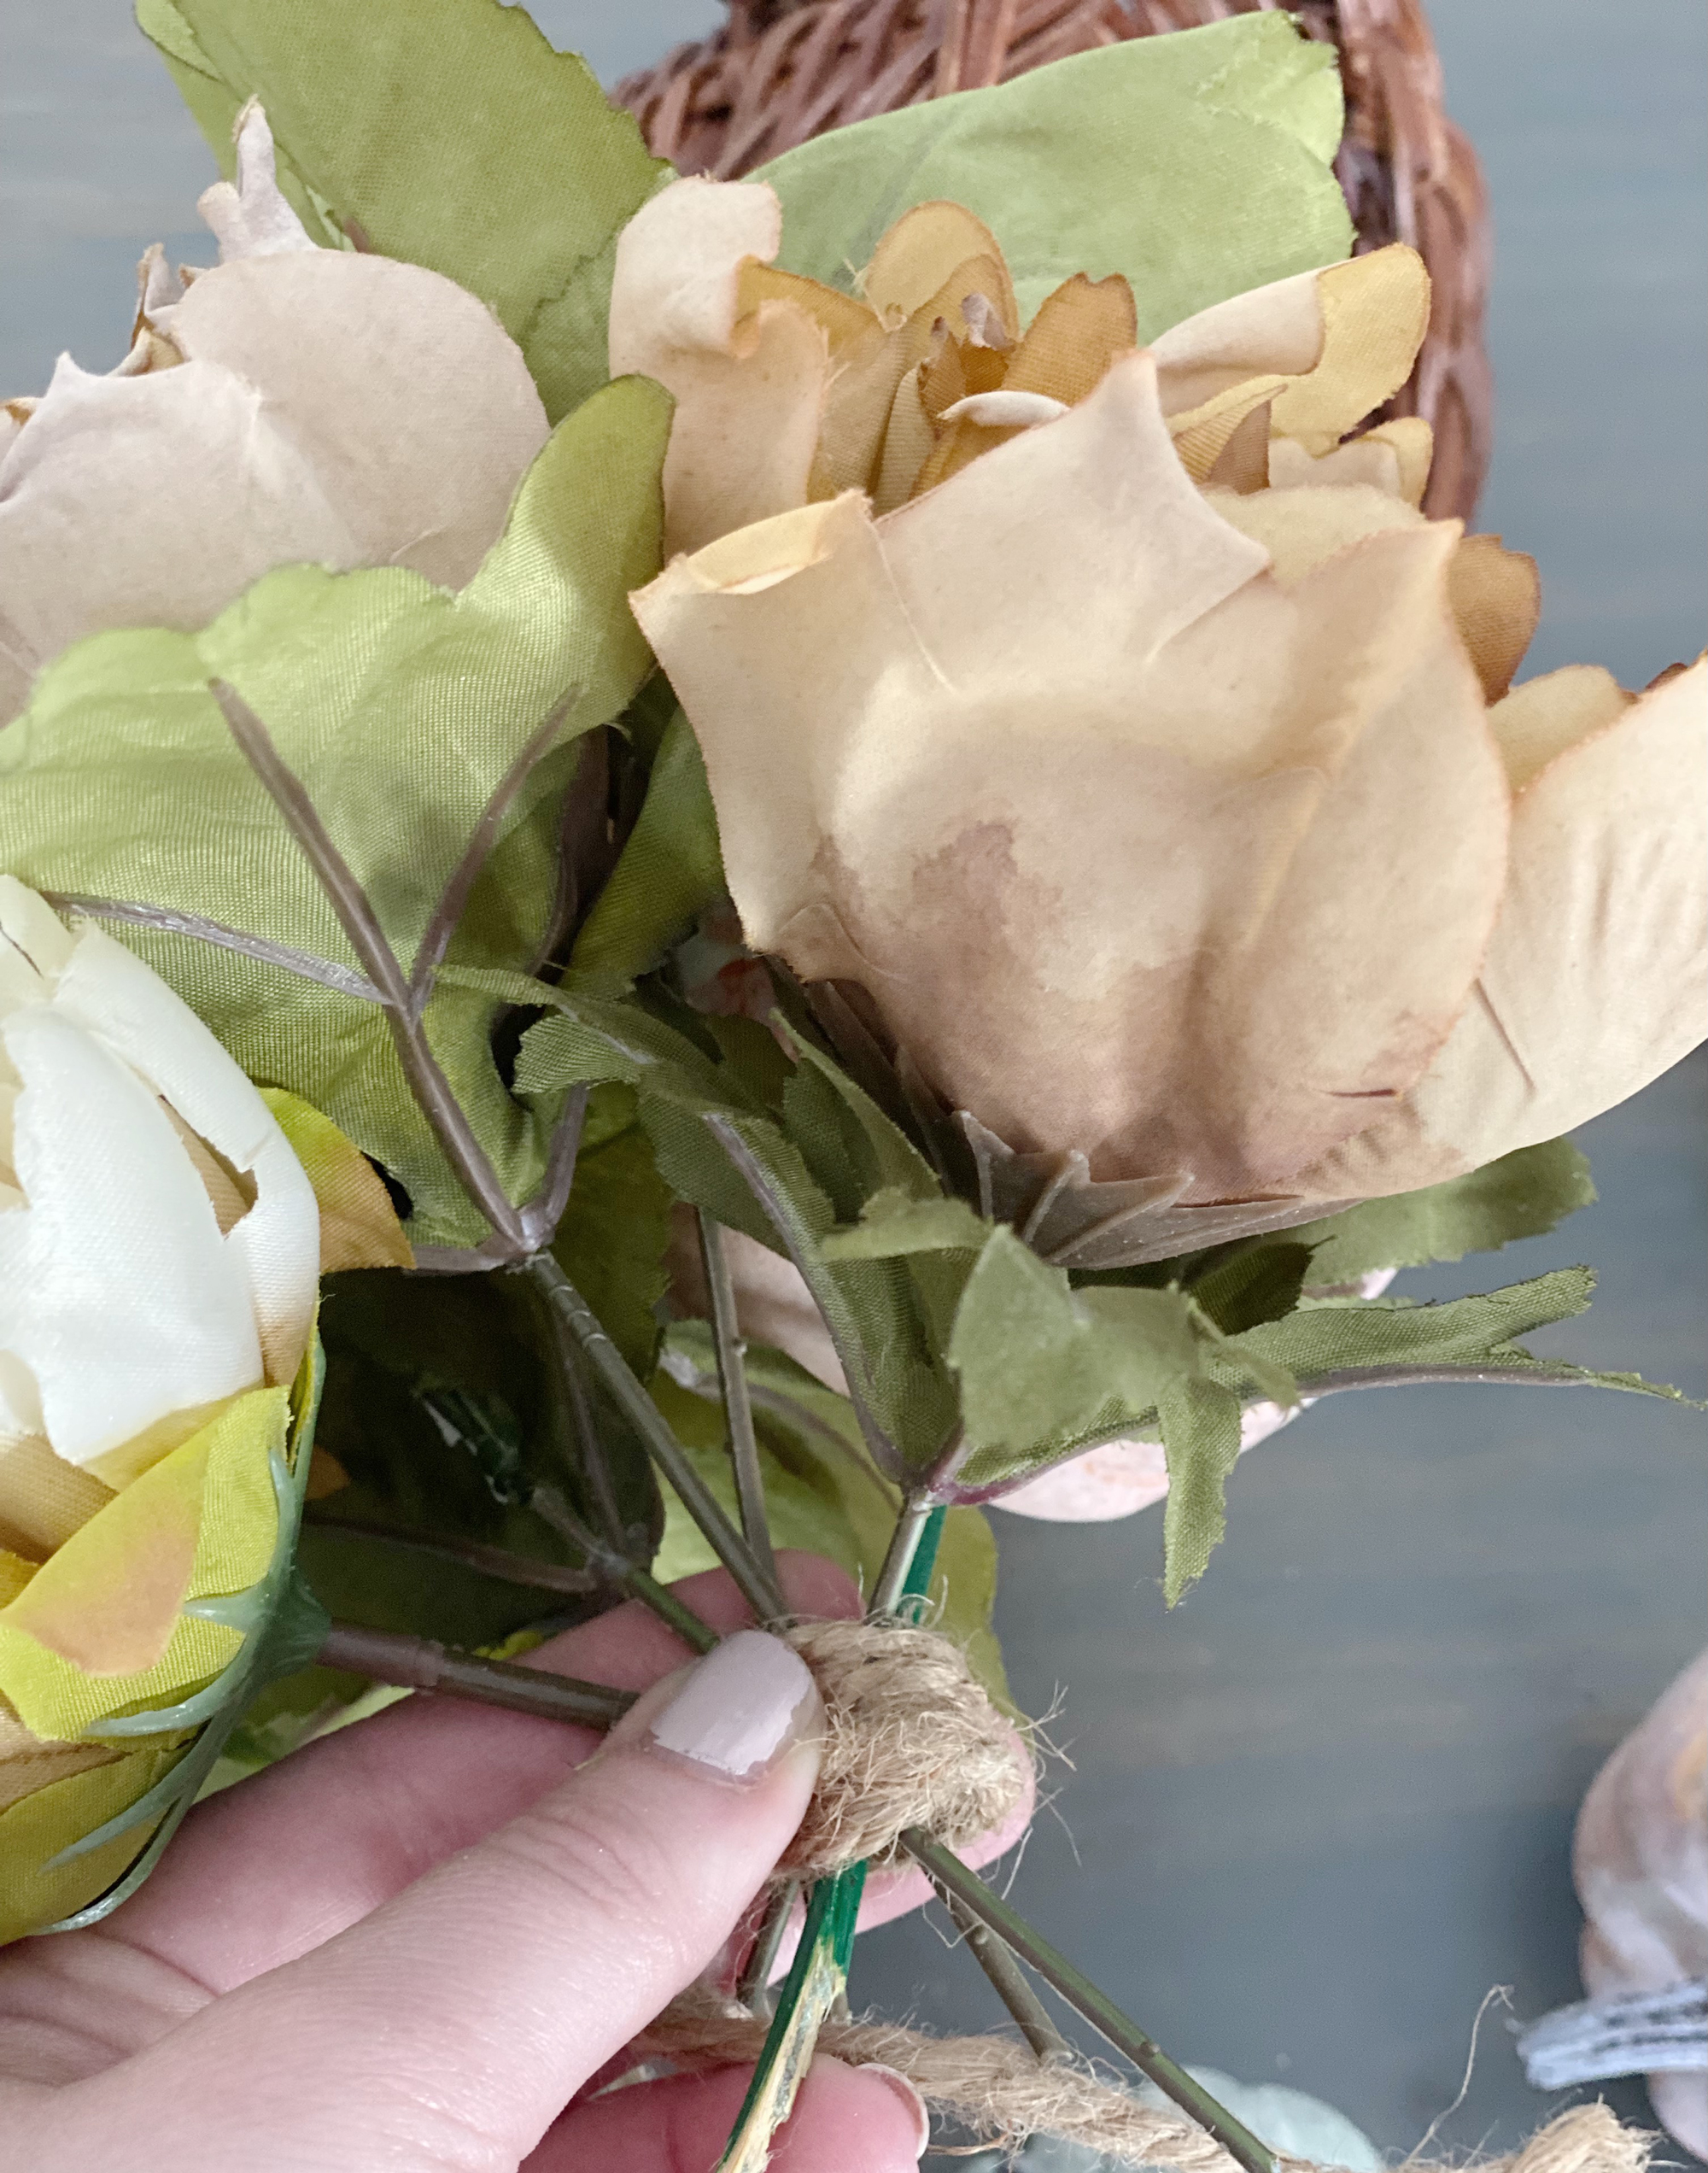
Using jute string or floral wire, wrap the stems to secure the bouquet. Insert the bouquet into the cornucopia shell and attach it with hot glue, if desired.
3. Create a full finish
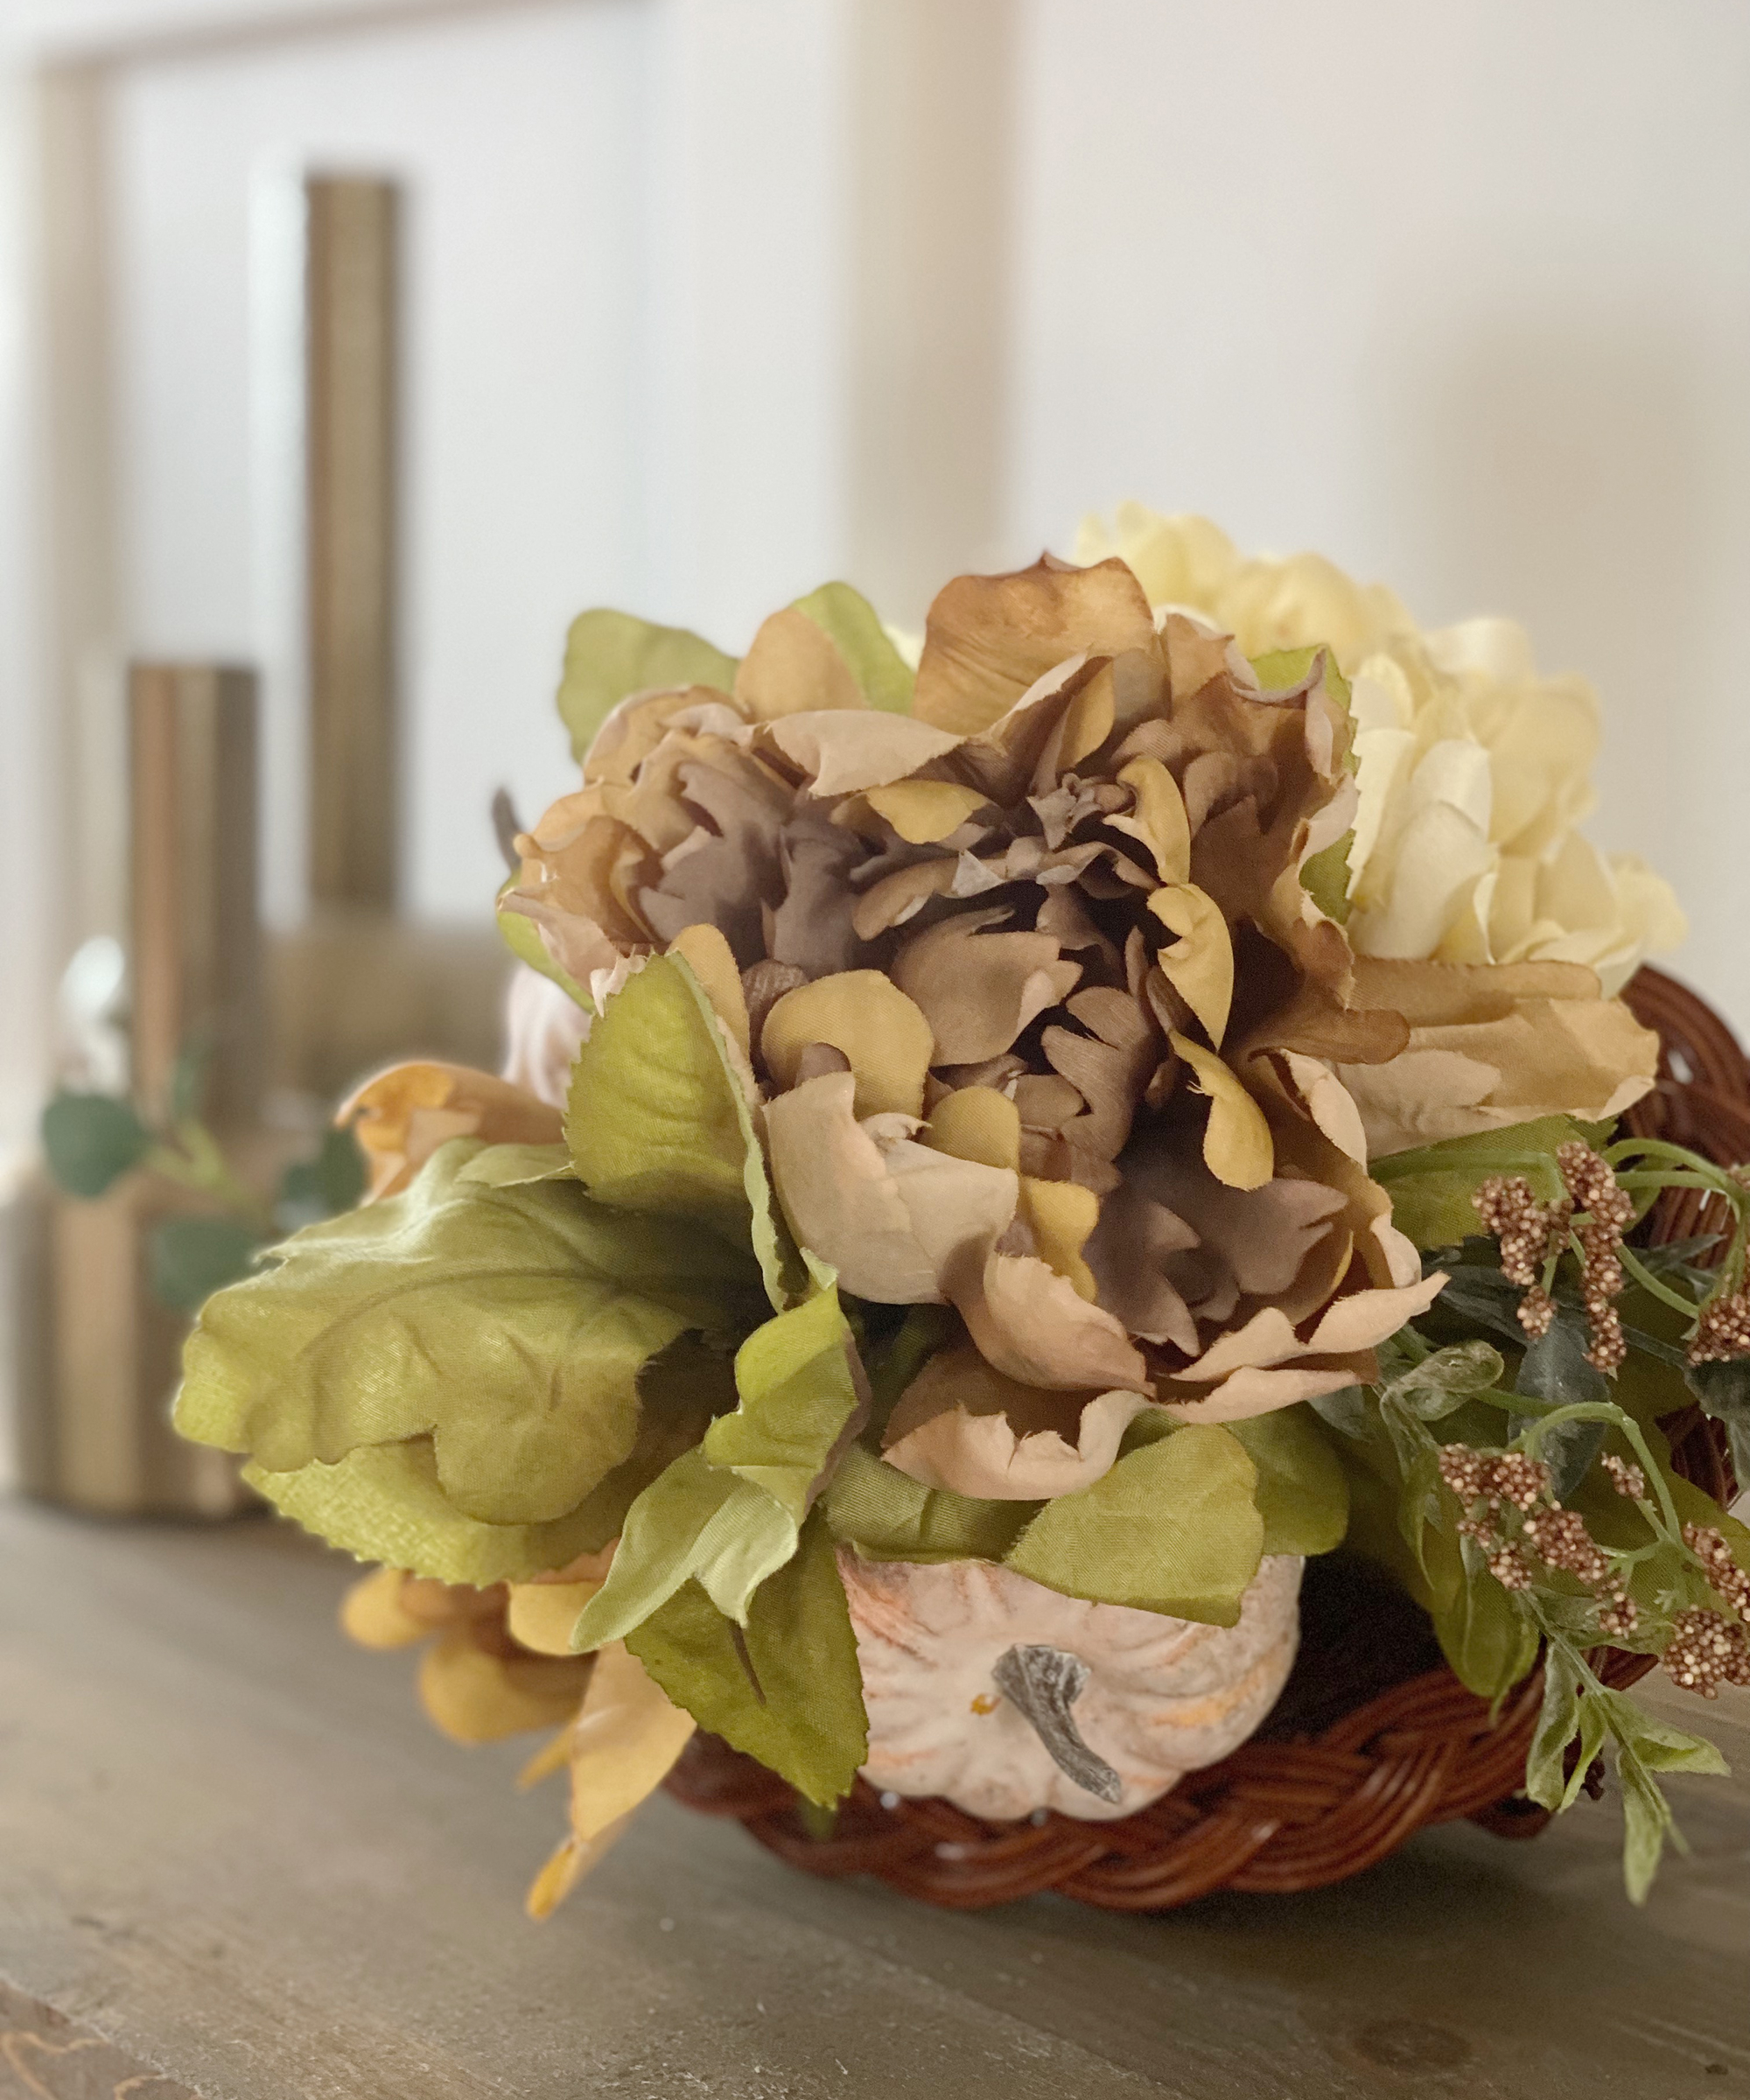
Use leftover stems and hot glue to fill in any gaps around the mouth of the cornucopia for a full look.
Use your beautiful DIY floral cornucopia on your kitchen island, on an entryway table or in your Thanksgiving table decor to ring in the autumn harvest and a season of gratefulness.
The results:
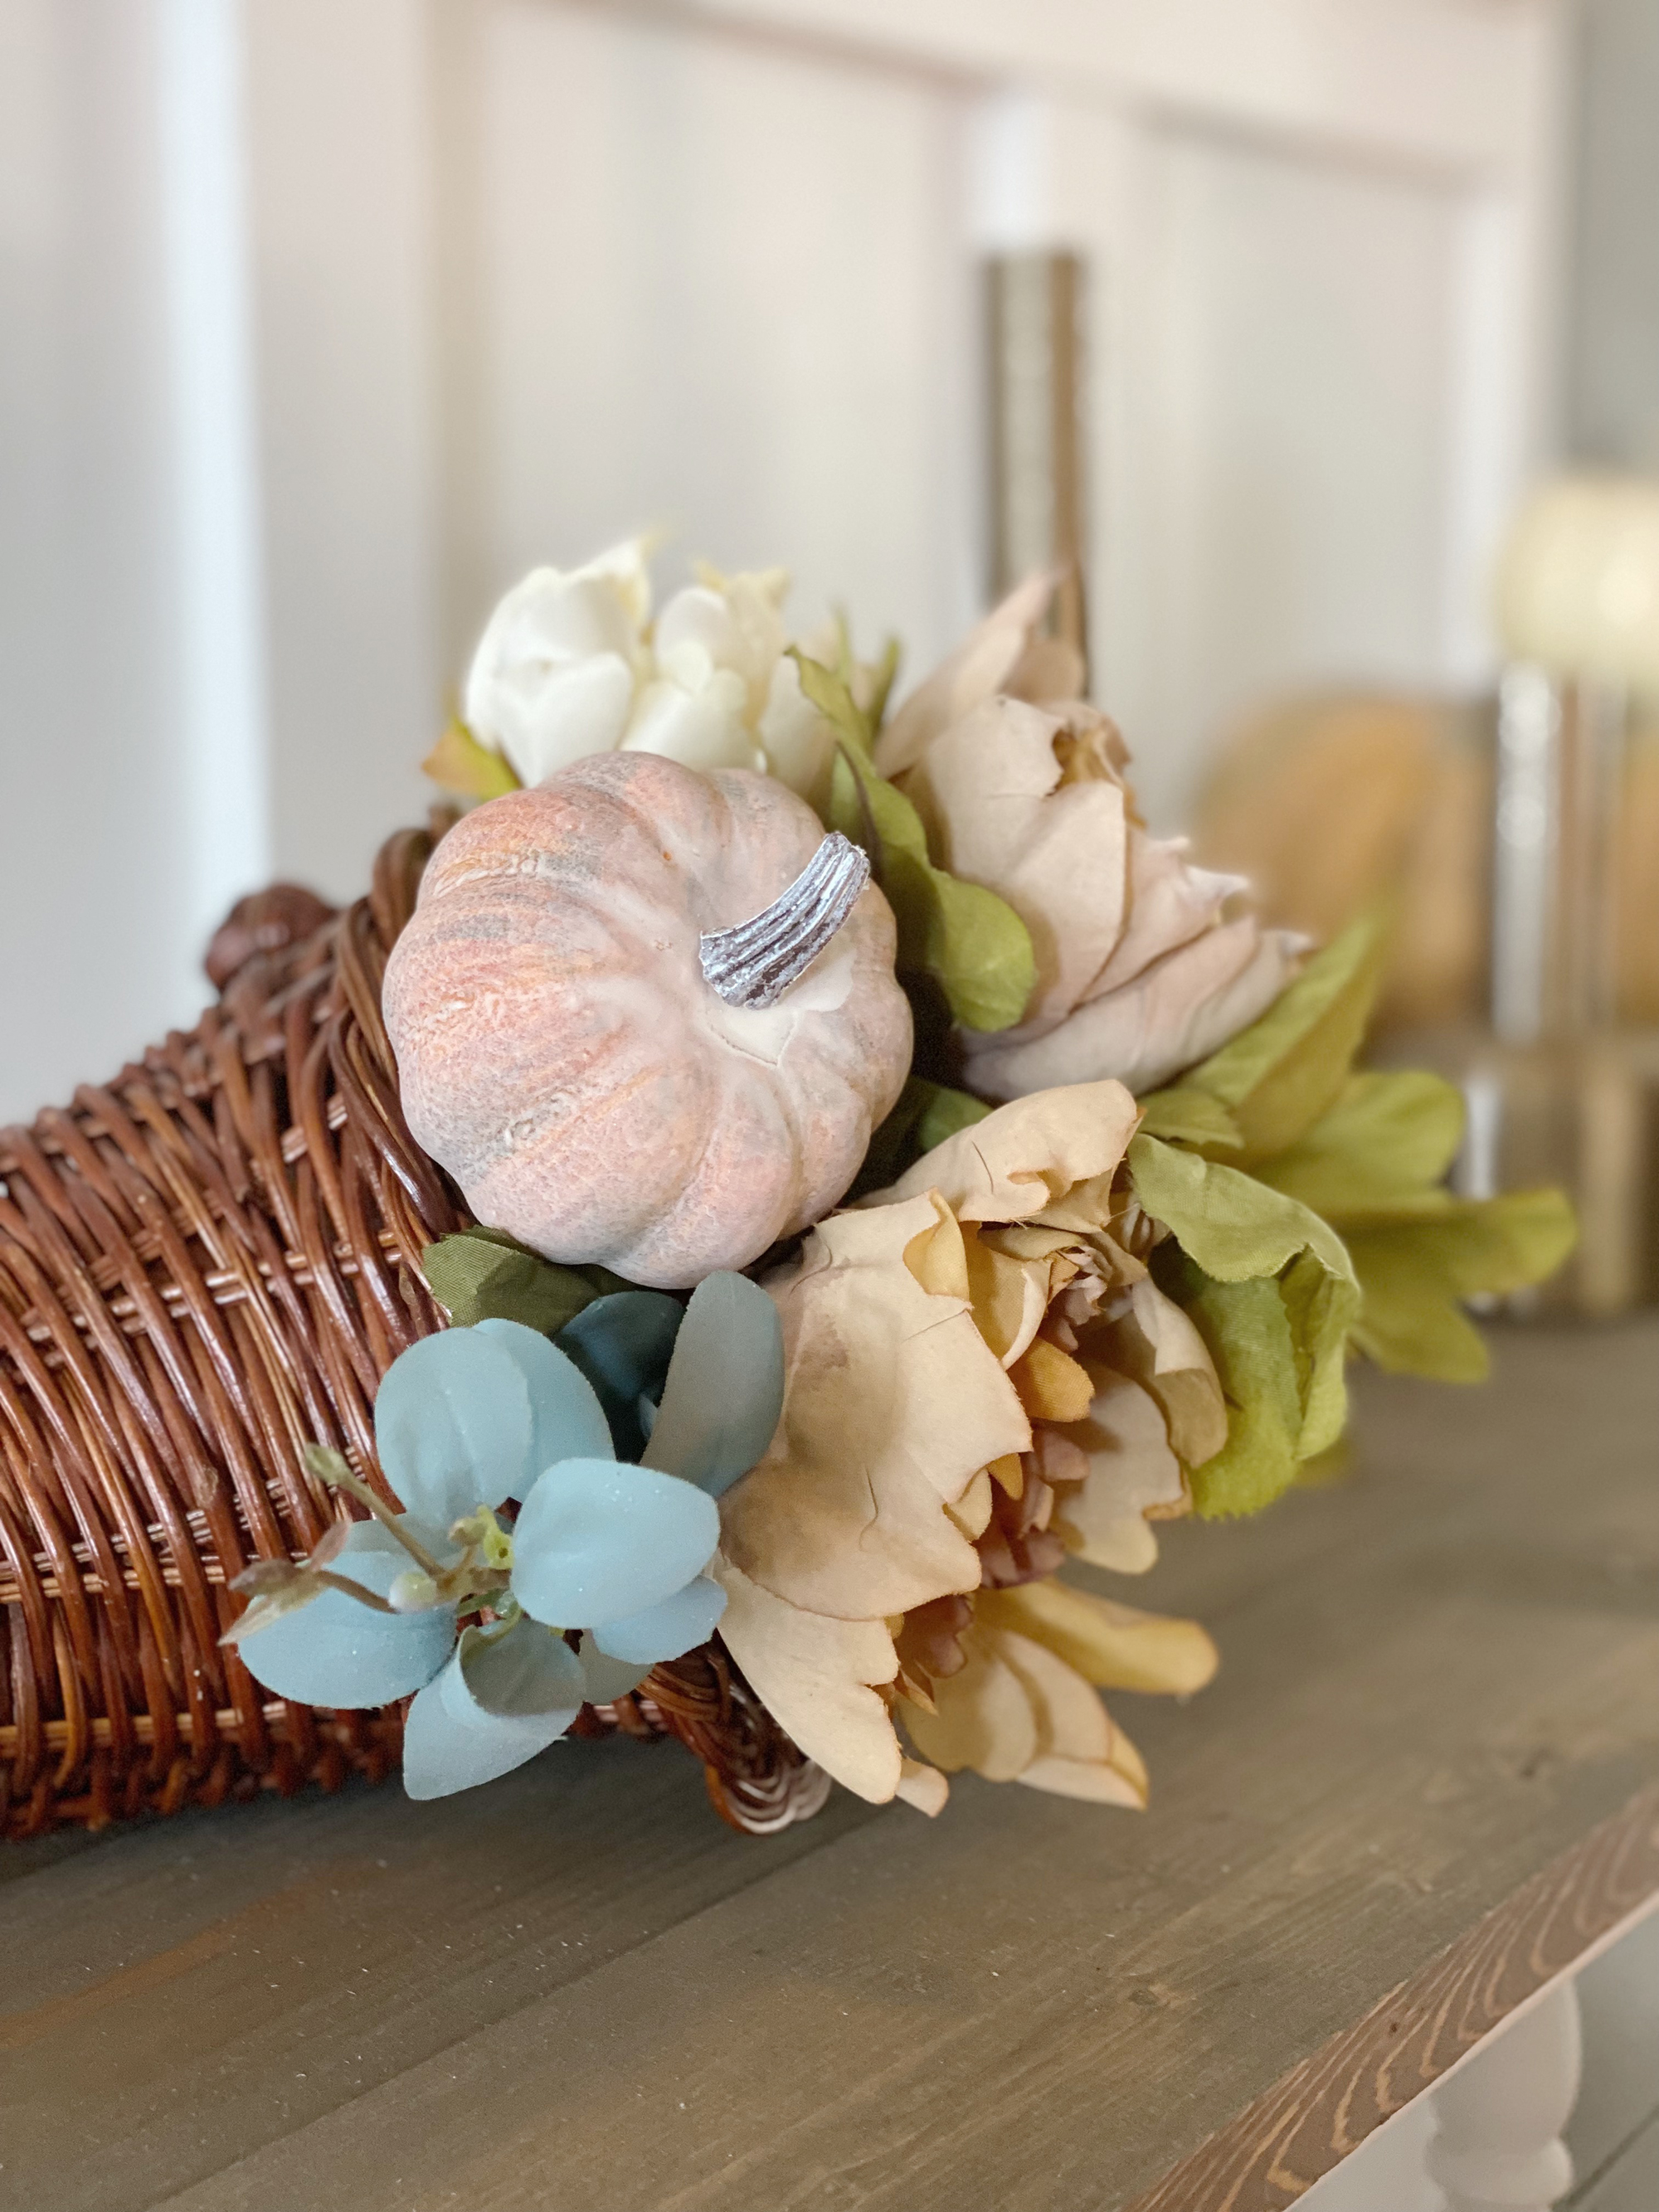
Simple but stunning Cornucopia ideas for Thanksgiving
A Thanksgiving Cornucopia makes a stunning addition to your dining table but is also a great way to decorate a mantel for the holidays and you can hang yours all around your home to elevate your existing interior decor.
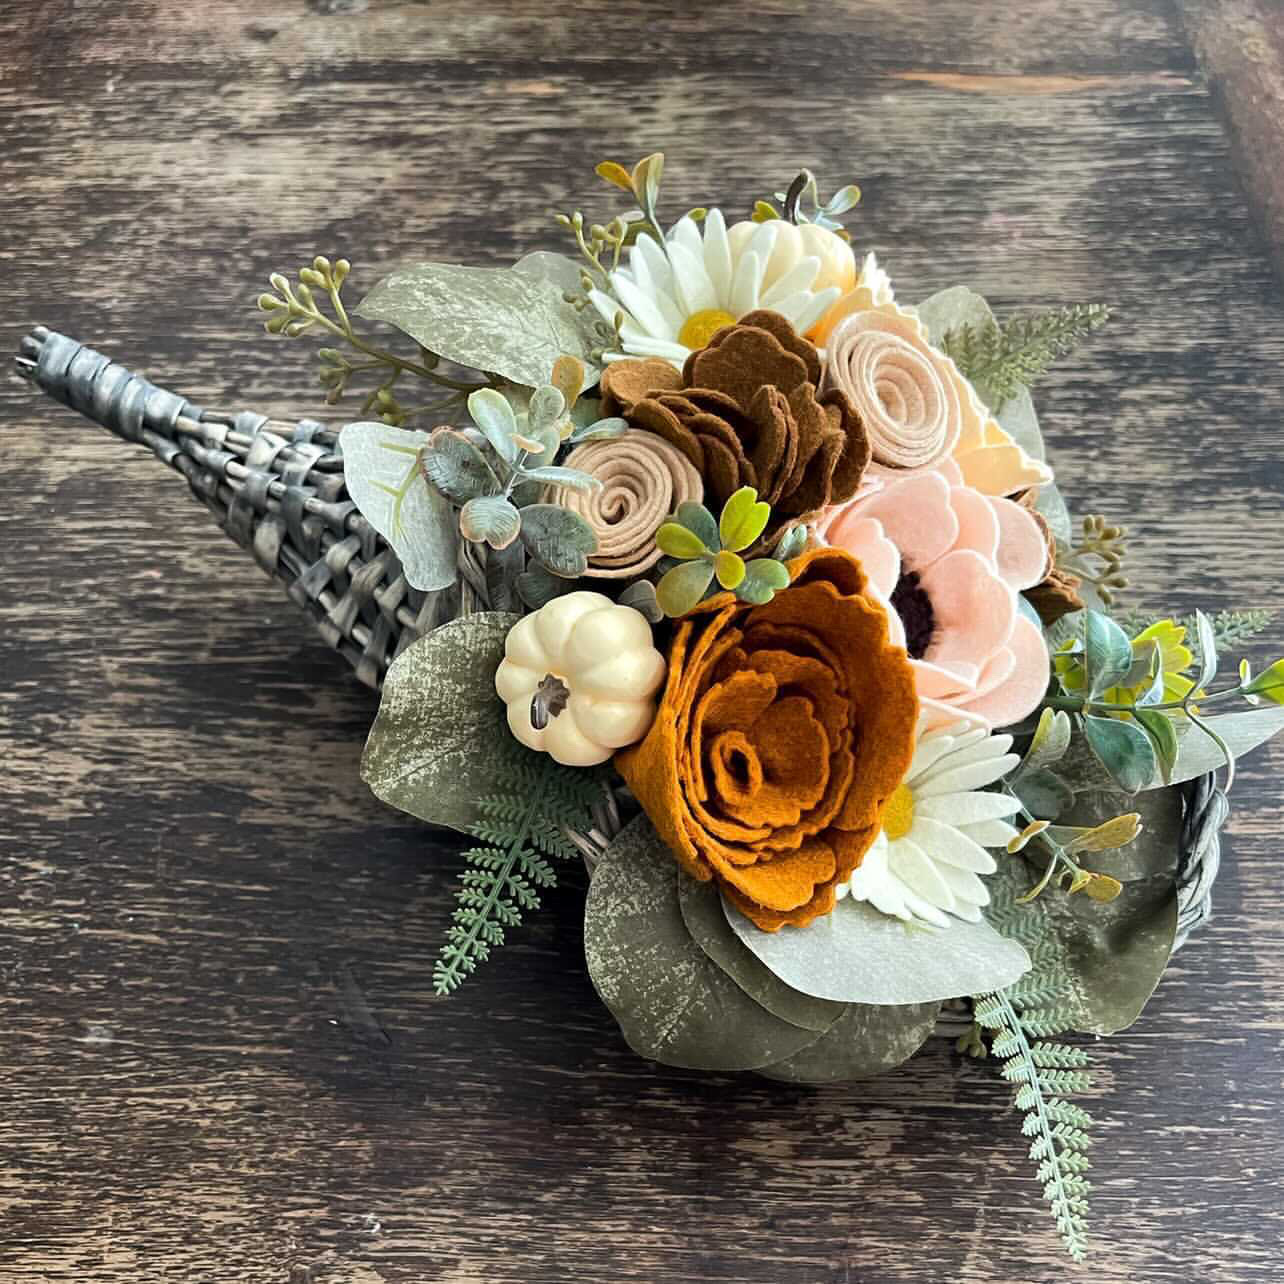
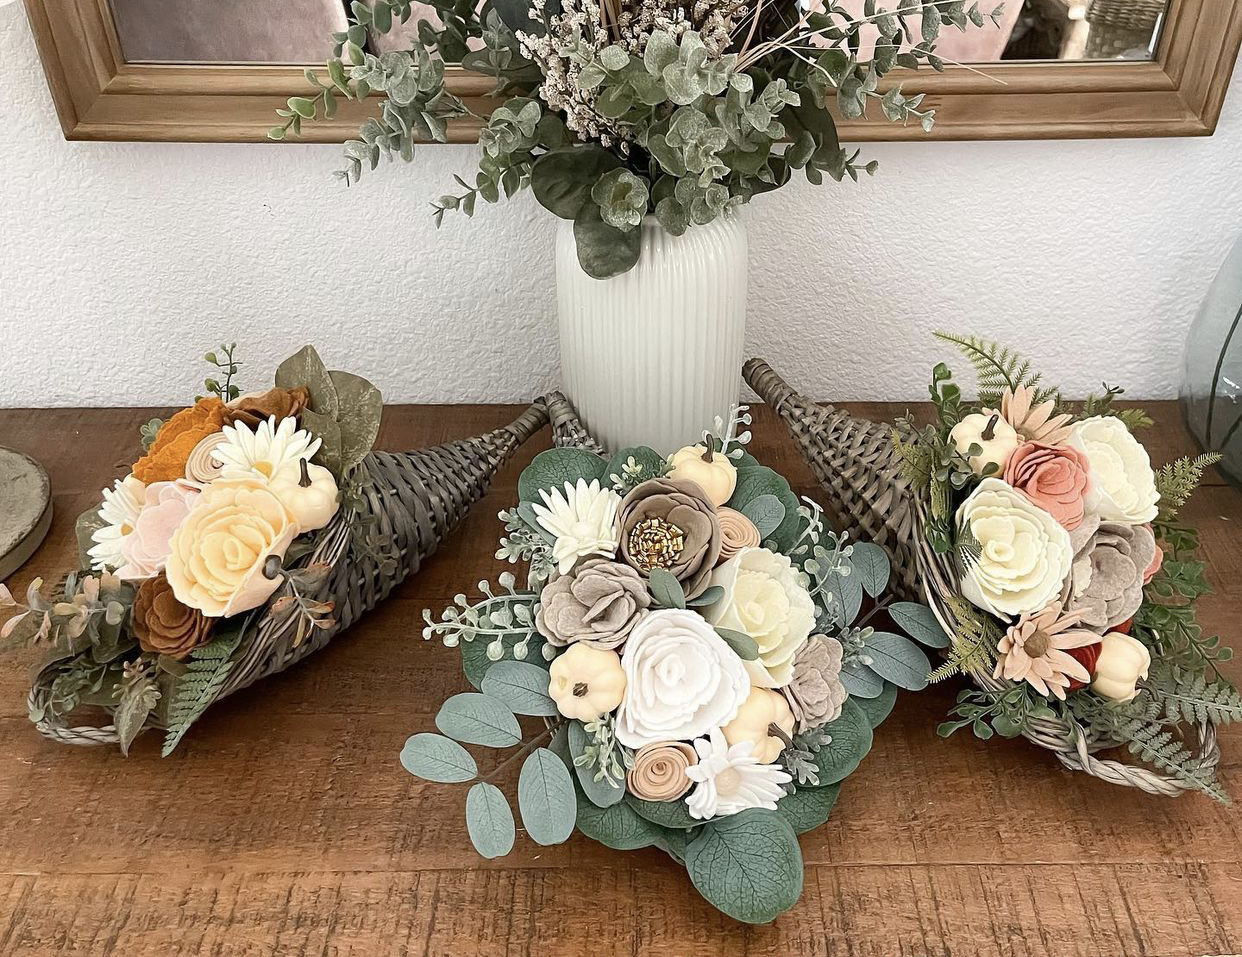
This beautiful cornucopia arrangement by Alison Michel was created using handmade felt flowers. See the look @_alison_michel.
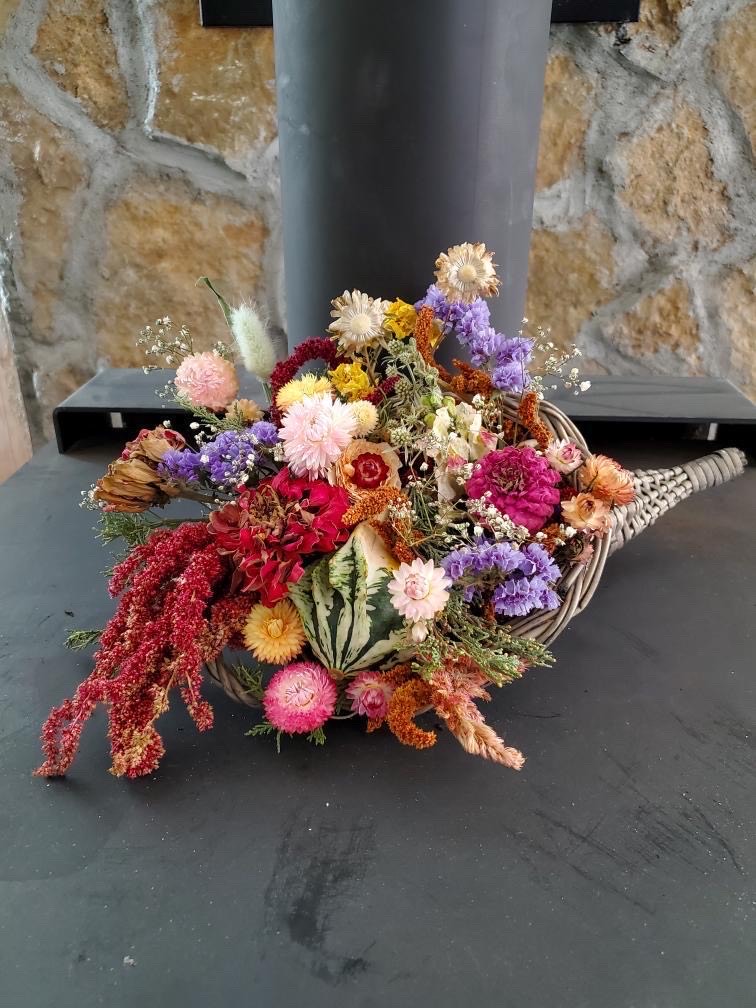
Bright hues of violets, magentas, and pinks make for a cheerful bouquet in this floral cornucopia. Created by Lexie Genho of @floralwoodsfarm.
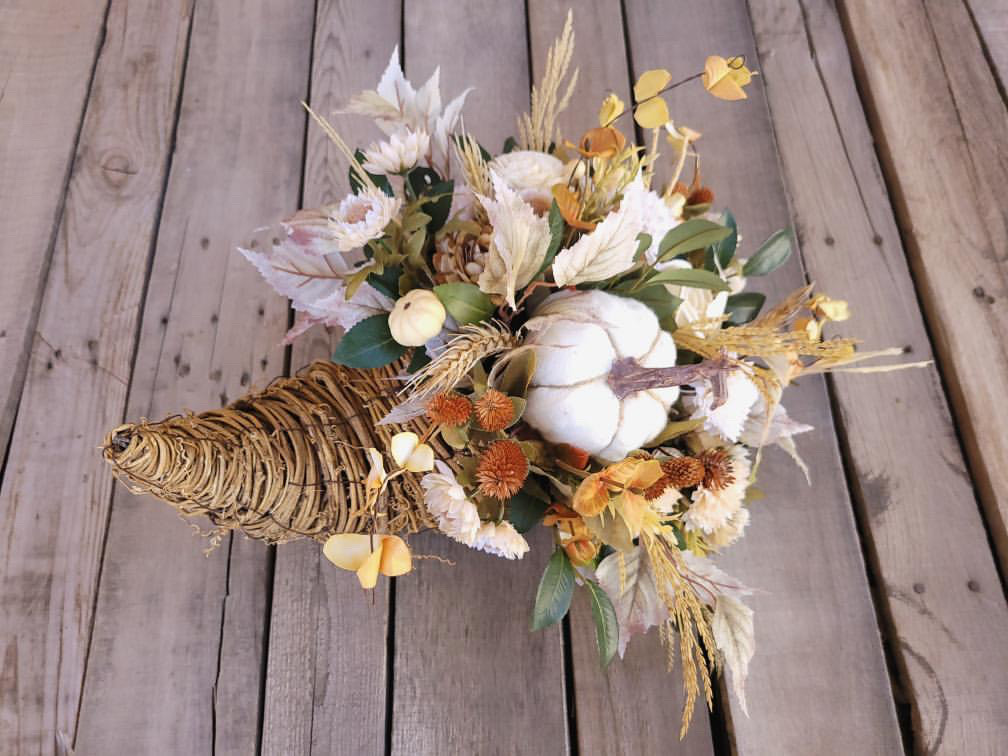
This cornucopia arrangement uses a neutral palette with touches of green and orange for a pretty harvest display. Created by Brittany and Molly of @roseandbeeorganics.
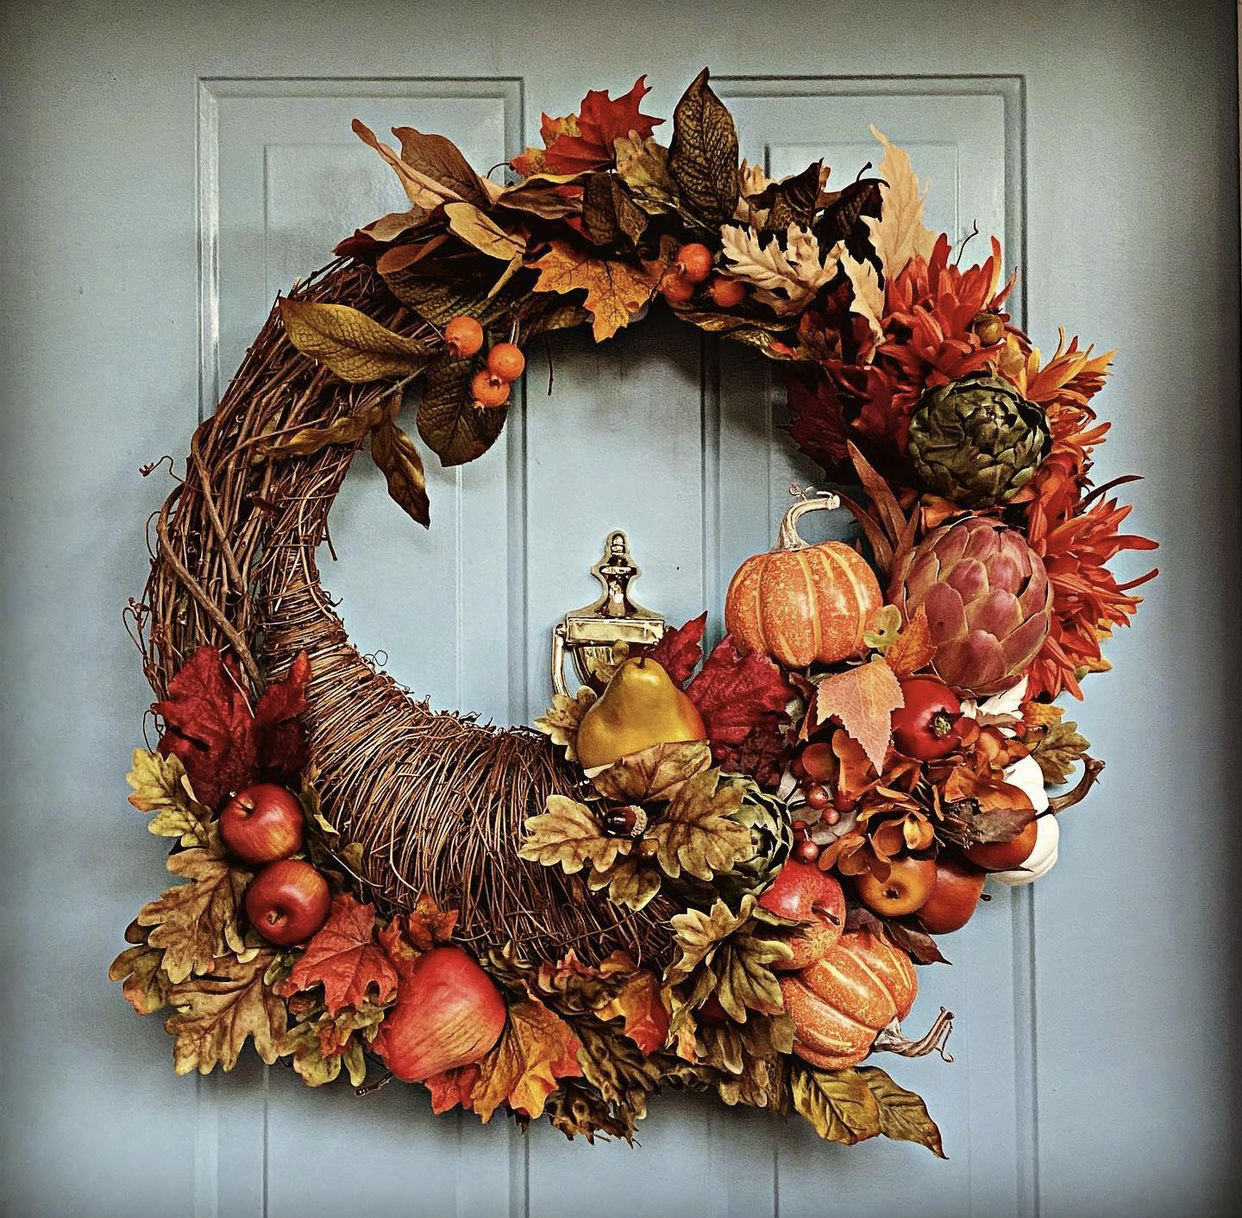
A fun twist on the traditional cornucopia, this pretty wreath is a beautiful addition to any door!
Created by Chloe Crabtree of Celebrate and Decorate.
*Source: AG America
Join our newsletter
Get small space home decor ideas, celeb inspiration, DIY tips and more, straight to your inbox!
Dori Turner writes blog posts and feature articles on affordable design and DIY from her home in the heart of Oklahoma. She has a passion for teaching others how they can transform their home on a budget.
-
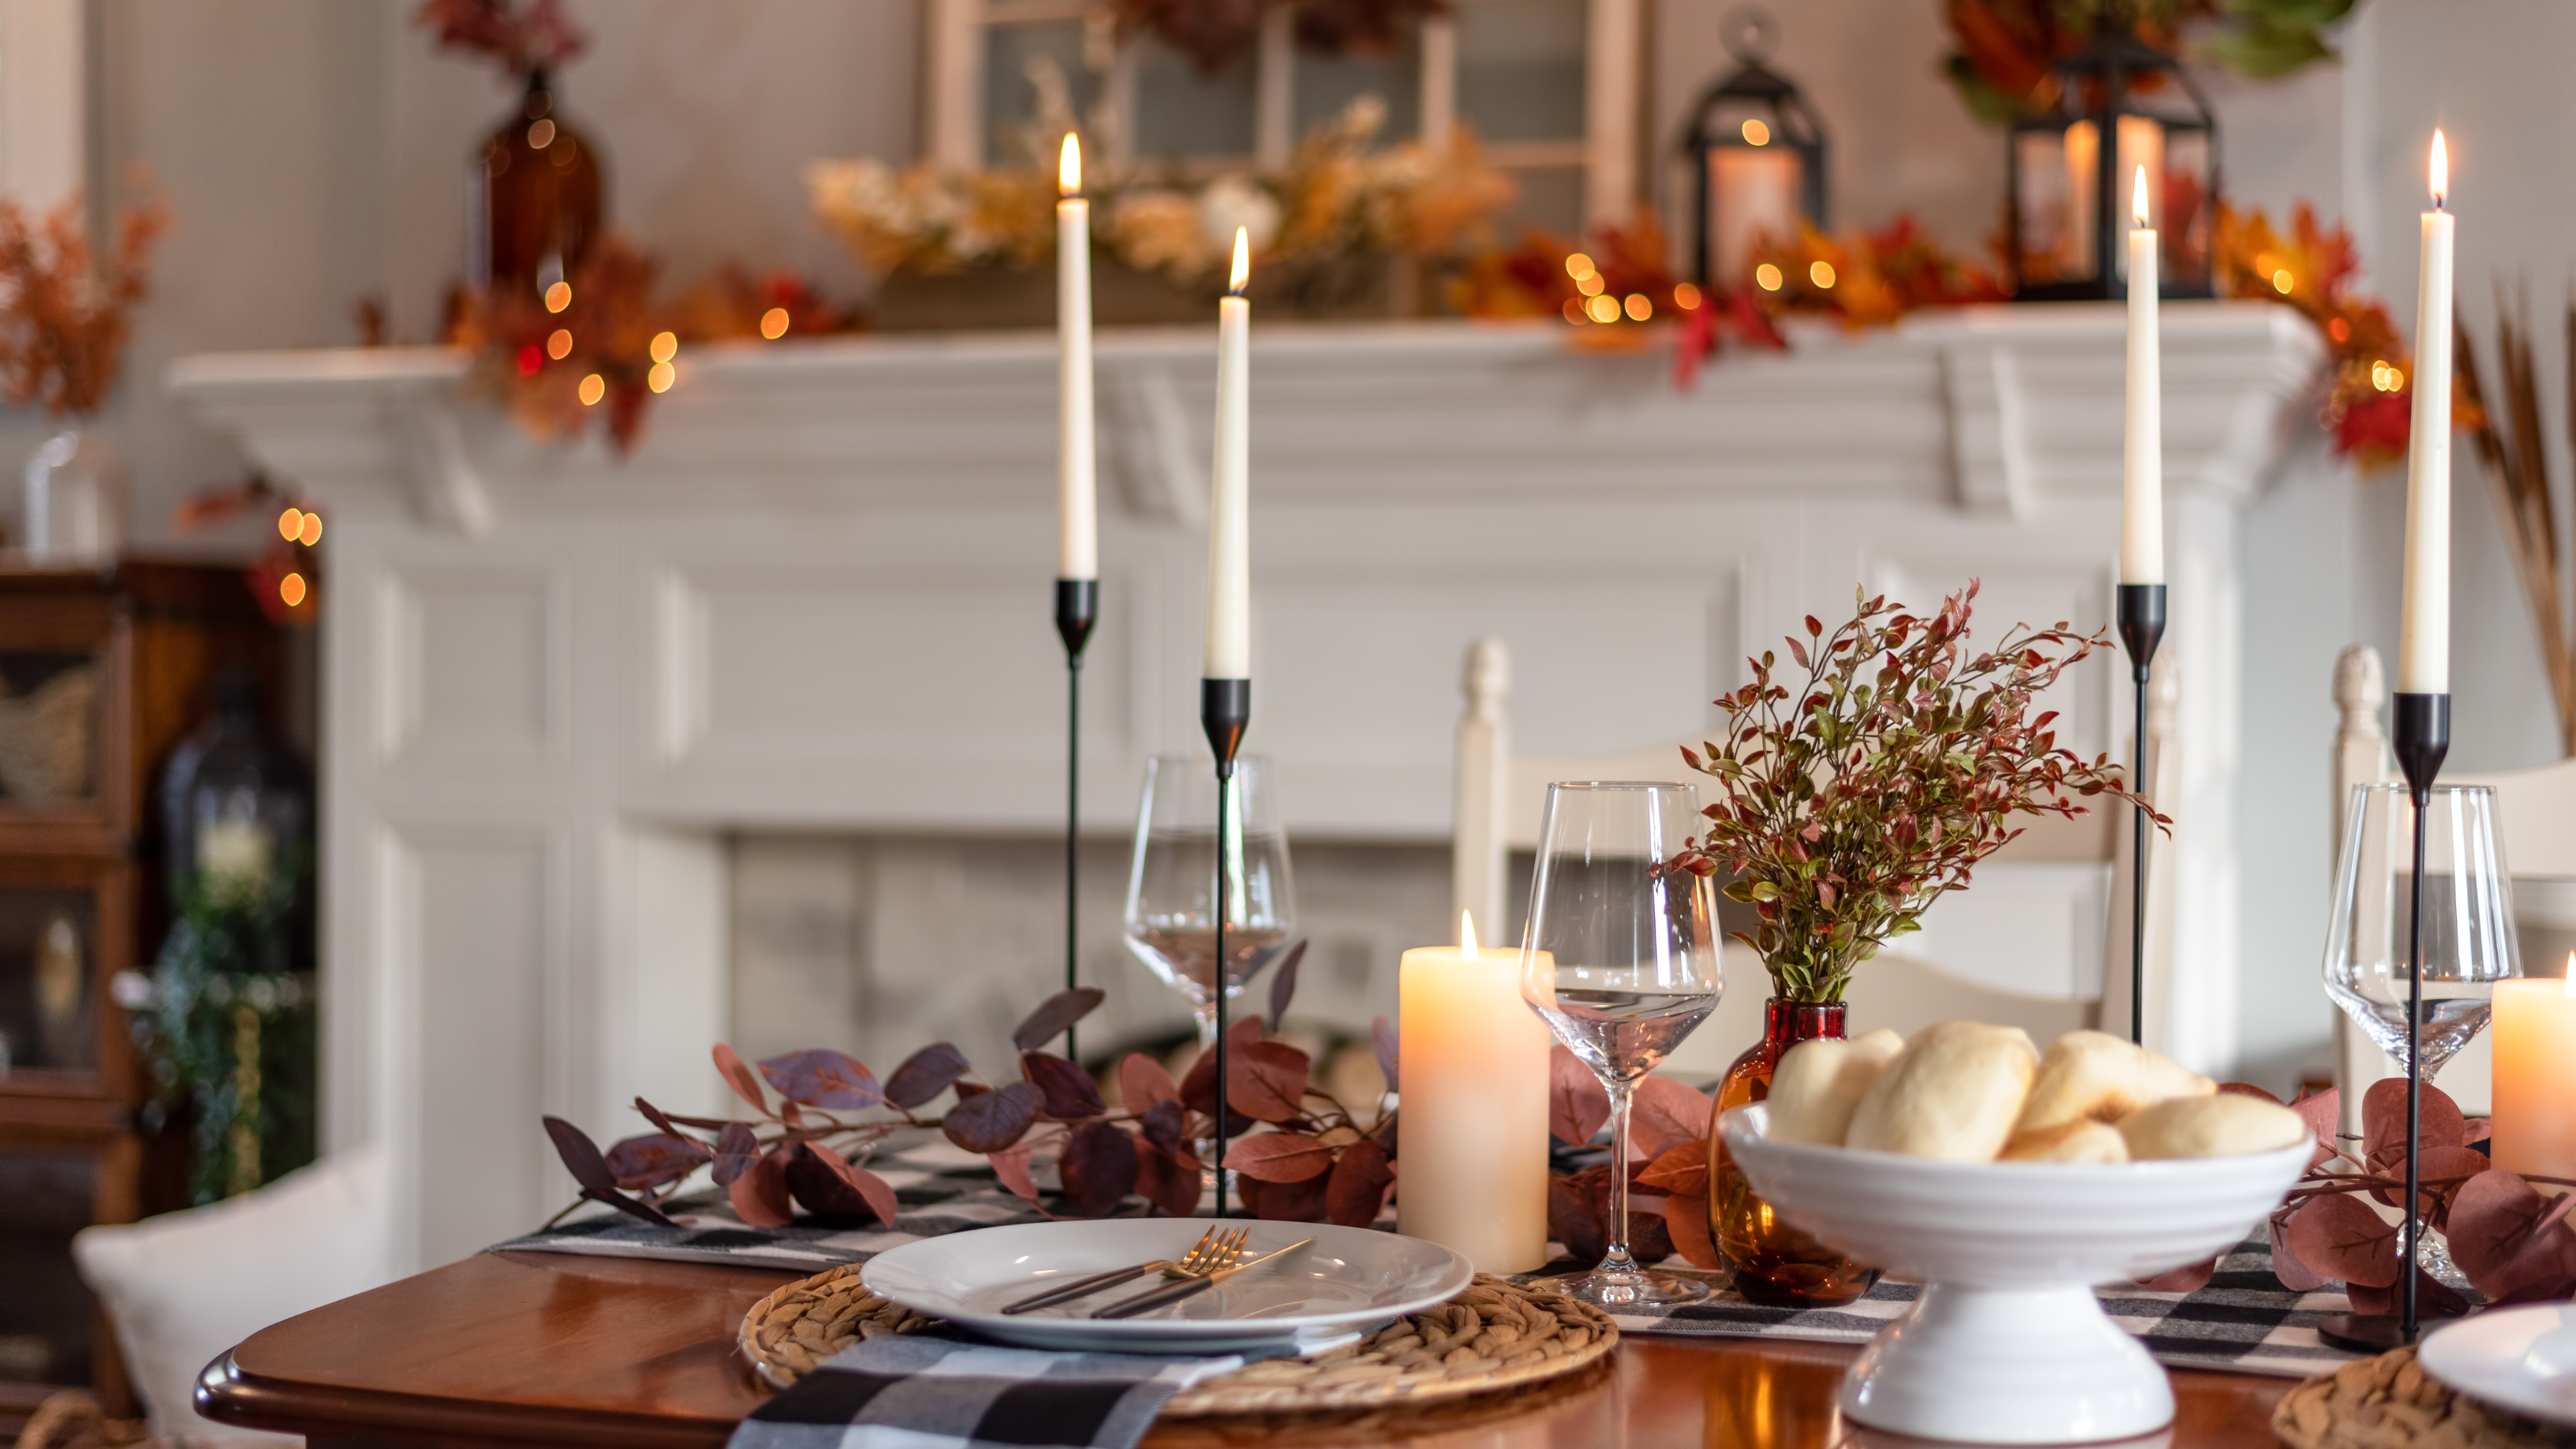 How to host Thanksgiving in a small space
Can you host Thanksgiving in a small space? You can totally pull it off if you follow these rules from interior designers including entertaining tips.
By Danielle Valente
-
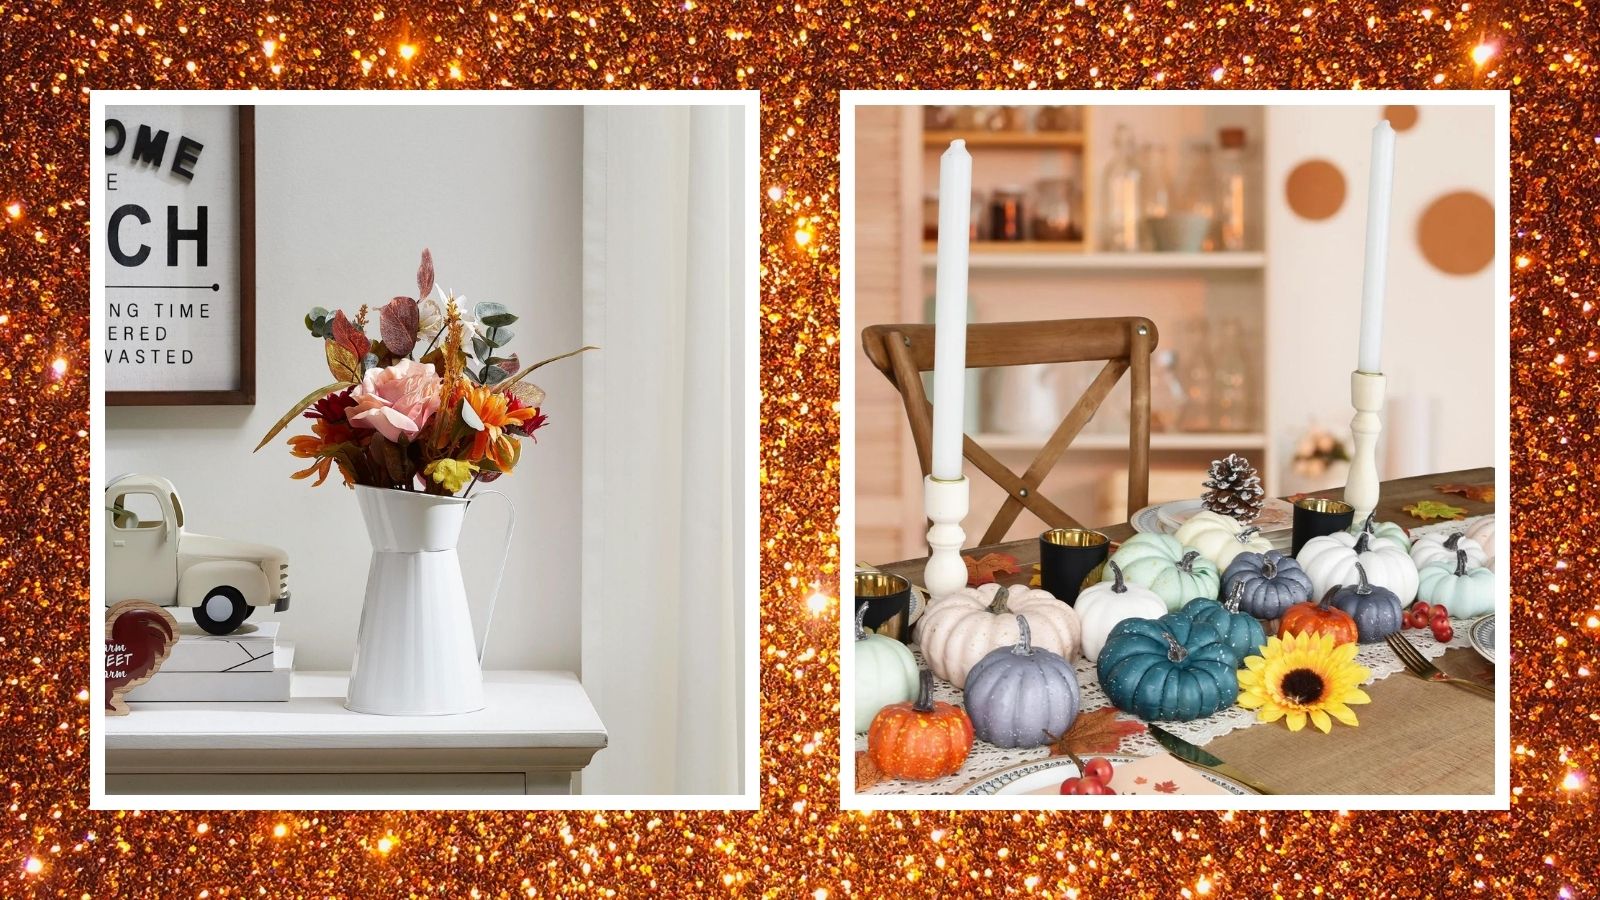 Cute Walmart Thanksgiving decor picks to give your home all the cozy vibes
Our edit of Walmart Thanksgiving decor will bring festivity into your home ahead of Turkey Day
By Danielle Valente
-
 Thanksgiving hosting essentials — 9 things I wish I had in my kitchen
Our edit of Thanksgiving hosting essentials, according to the pros, will help you get everything you need in the kitchen
By Danielle Valente
-
 All of the Target Thanksgiving decor picks we're thankful for this year
Our edit of Target Thanksgiving decor picks will put you in a festive state of mind
By Danielle Valente
-
 No carve pumpkin decorating ideas from TikToK for when you're feeling spooky but lazy
We round up some TikTok-favorite no carve pumpkin decorating ideas with expert-backed tips
By Danielle Valente
-
 13 Thanksgiving table decor ideas for a simple, stylish display
Decorating a Thanksgiving table like a pro is easily done. Choose the most elegant and fuss-free looks for your Turkey Day table top.
By Hebe Hatton
-
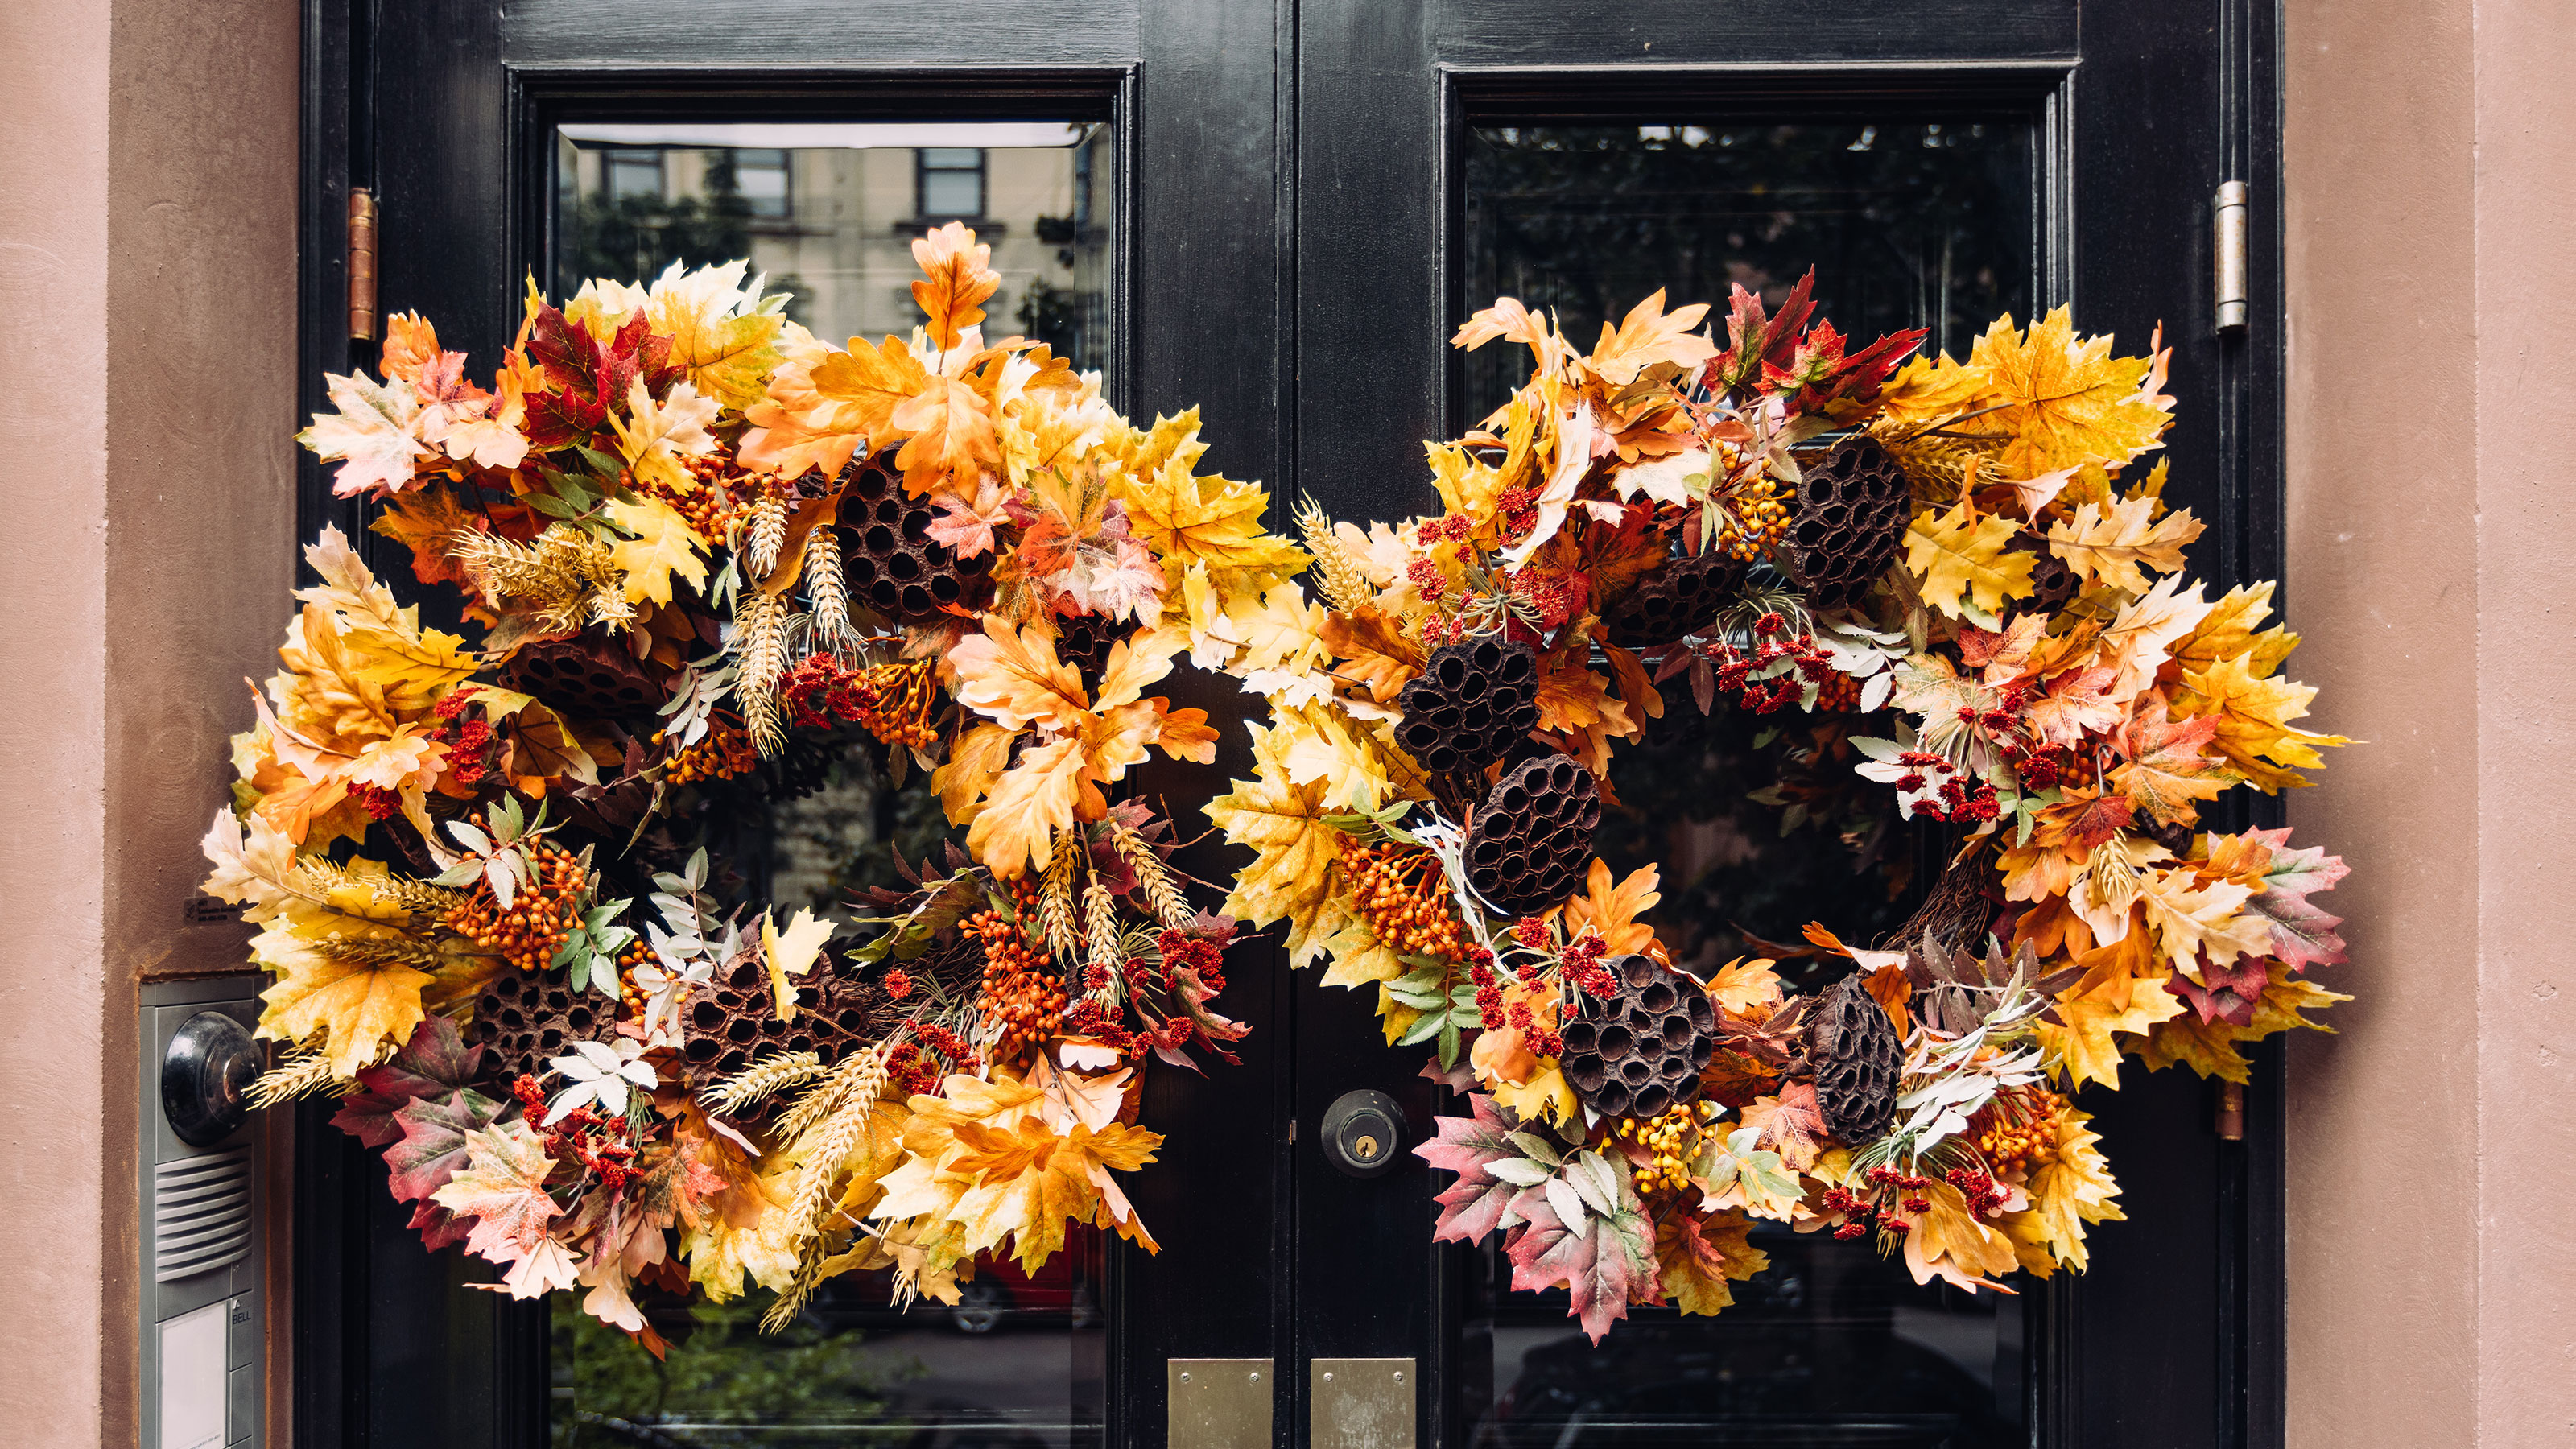 8 DIY fall wreaths: beautiful, budget-friendly crafts to embrace the season
Full of autumnal colors and textures, these DIY fall wreaths are easy to craft and perfect to hang inside or out.
By Hebe Hatton
-
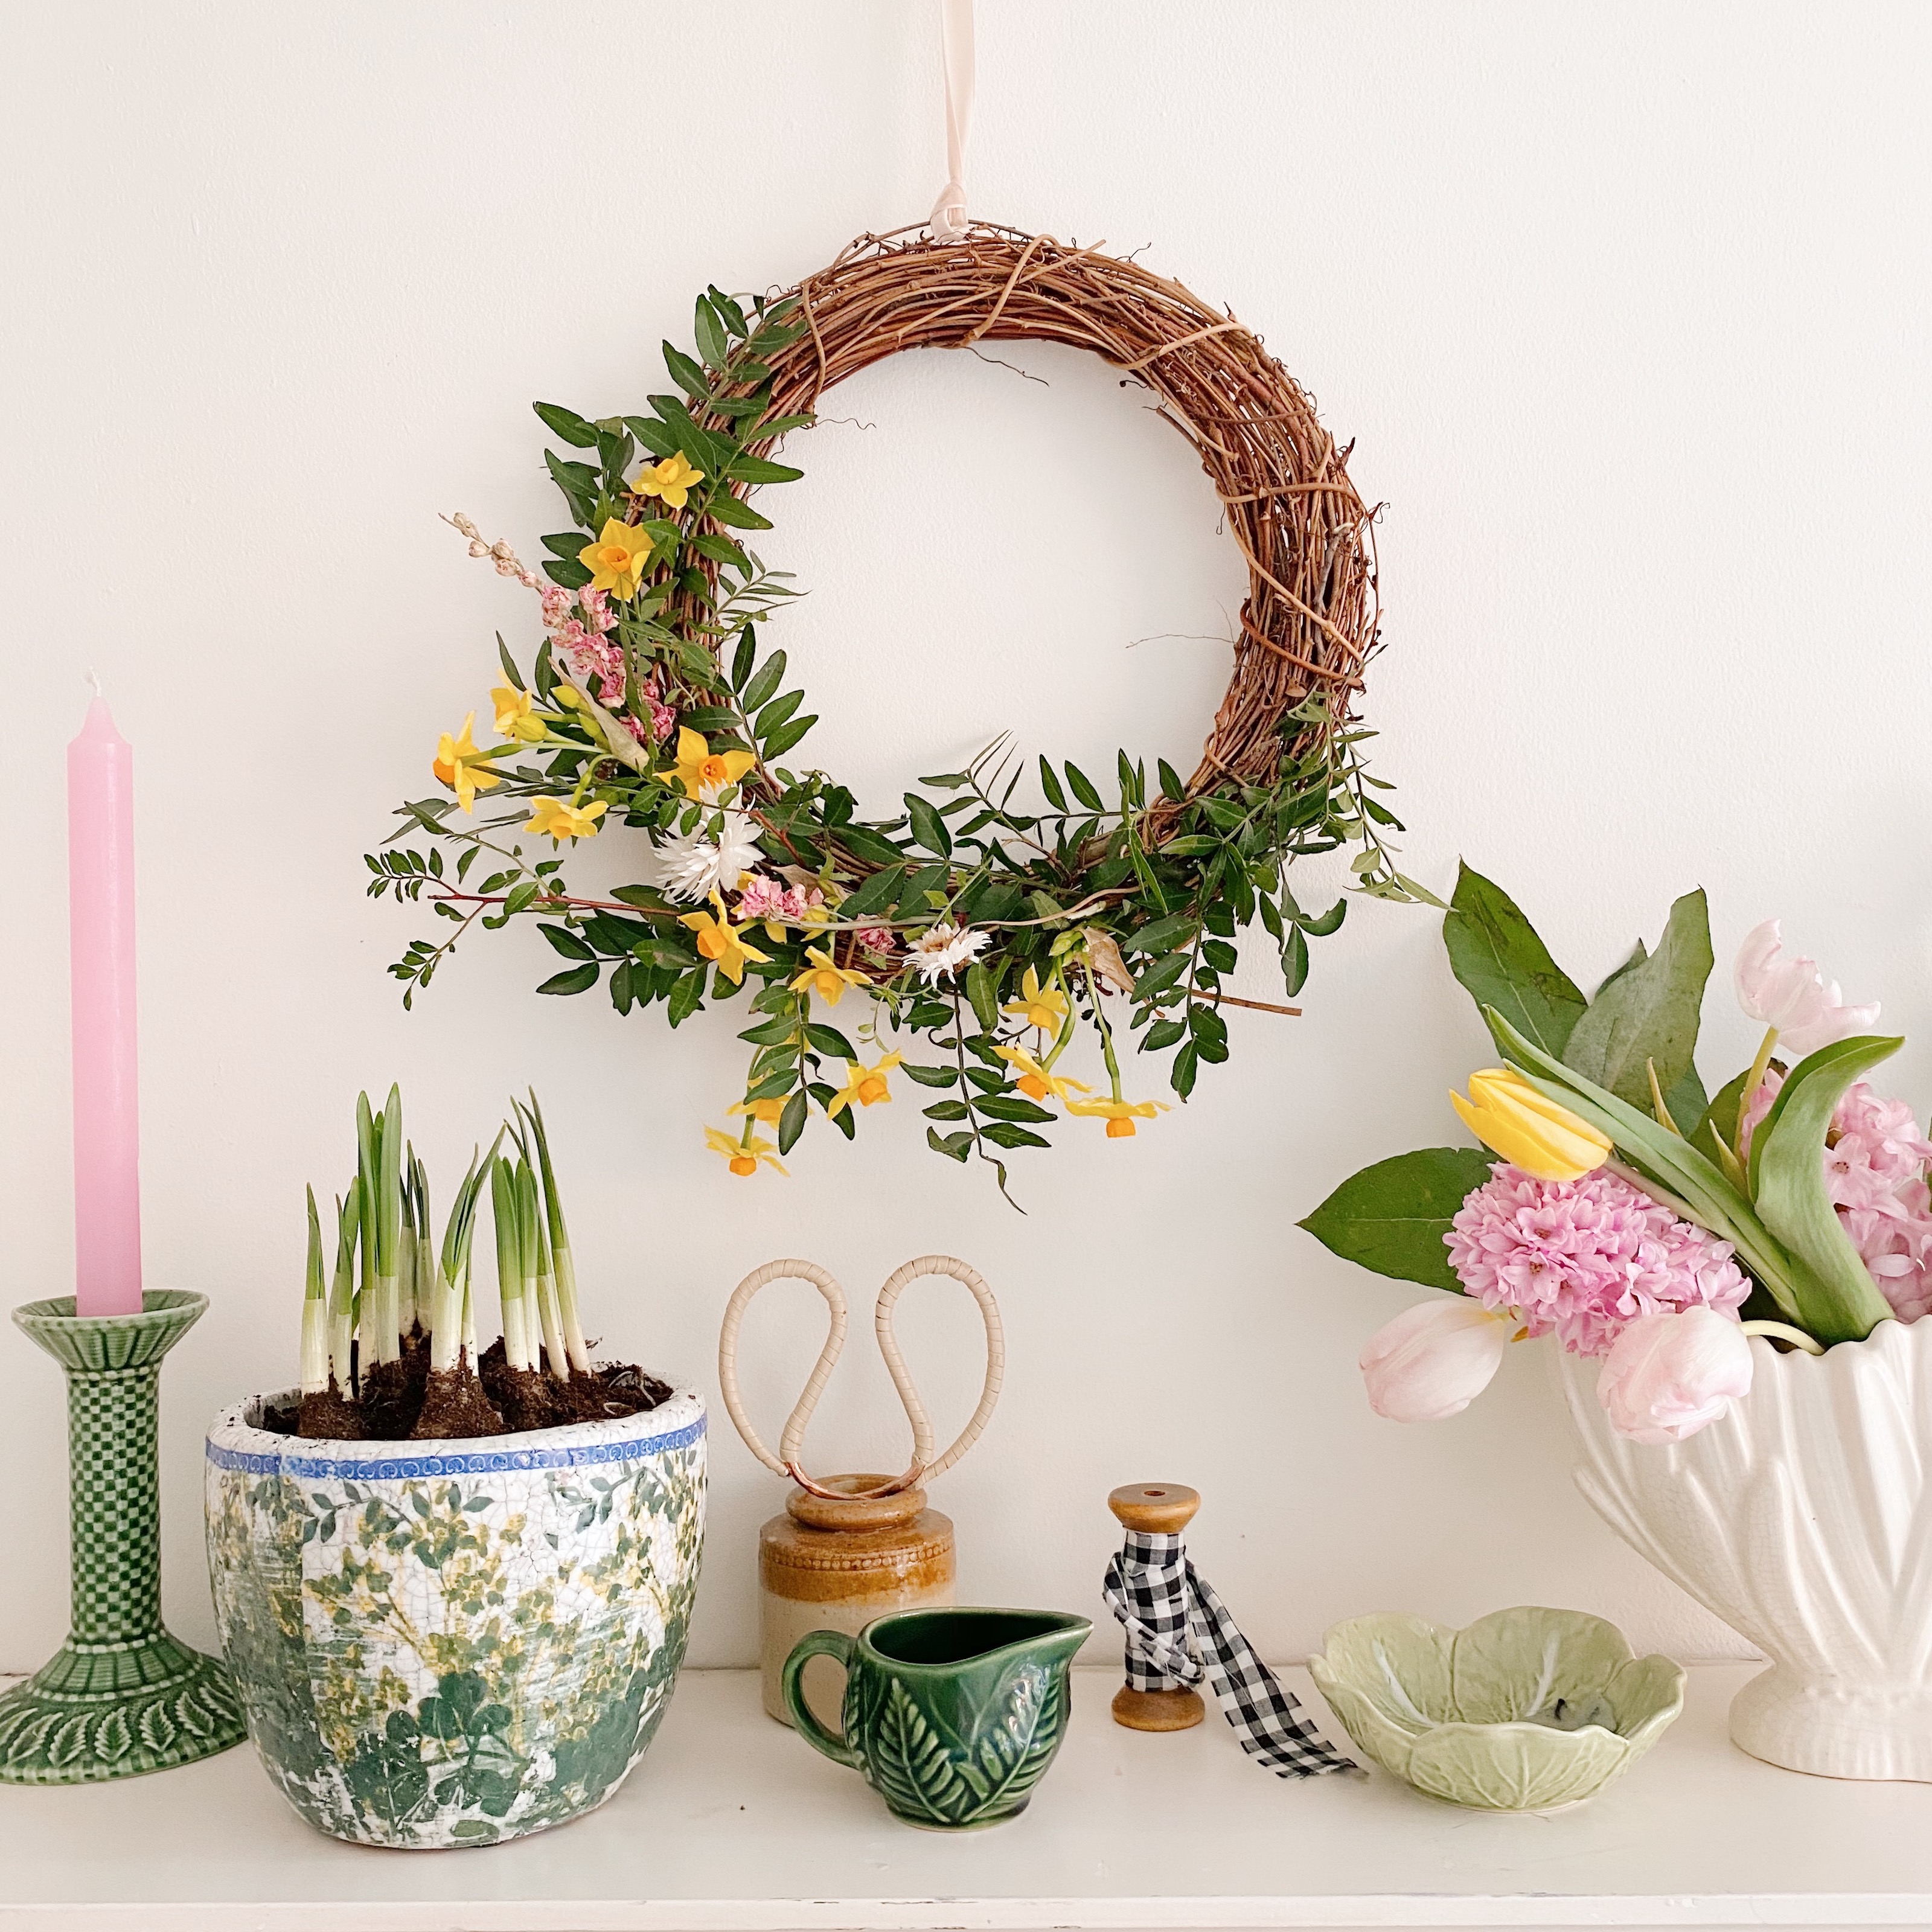 4 simple spring wreath ideas to DIY at home
Get crafty with these simple DIY spring wreath ideas that will add color and character to your front door – or inside your home.
By Sophie Warren-Smith