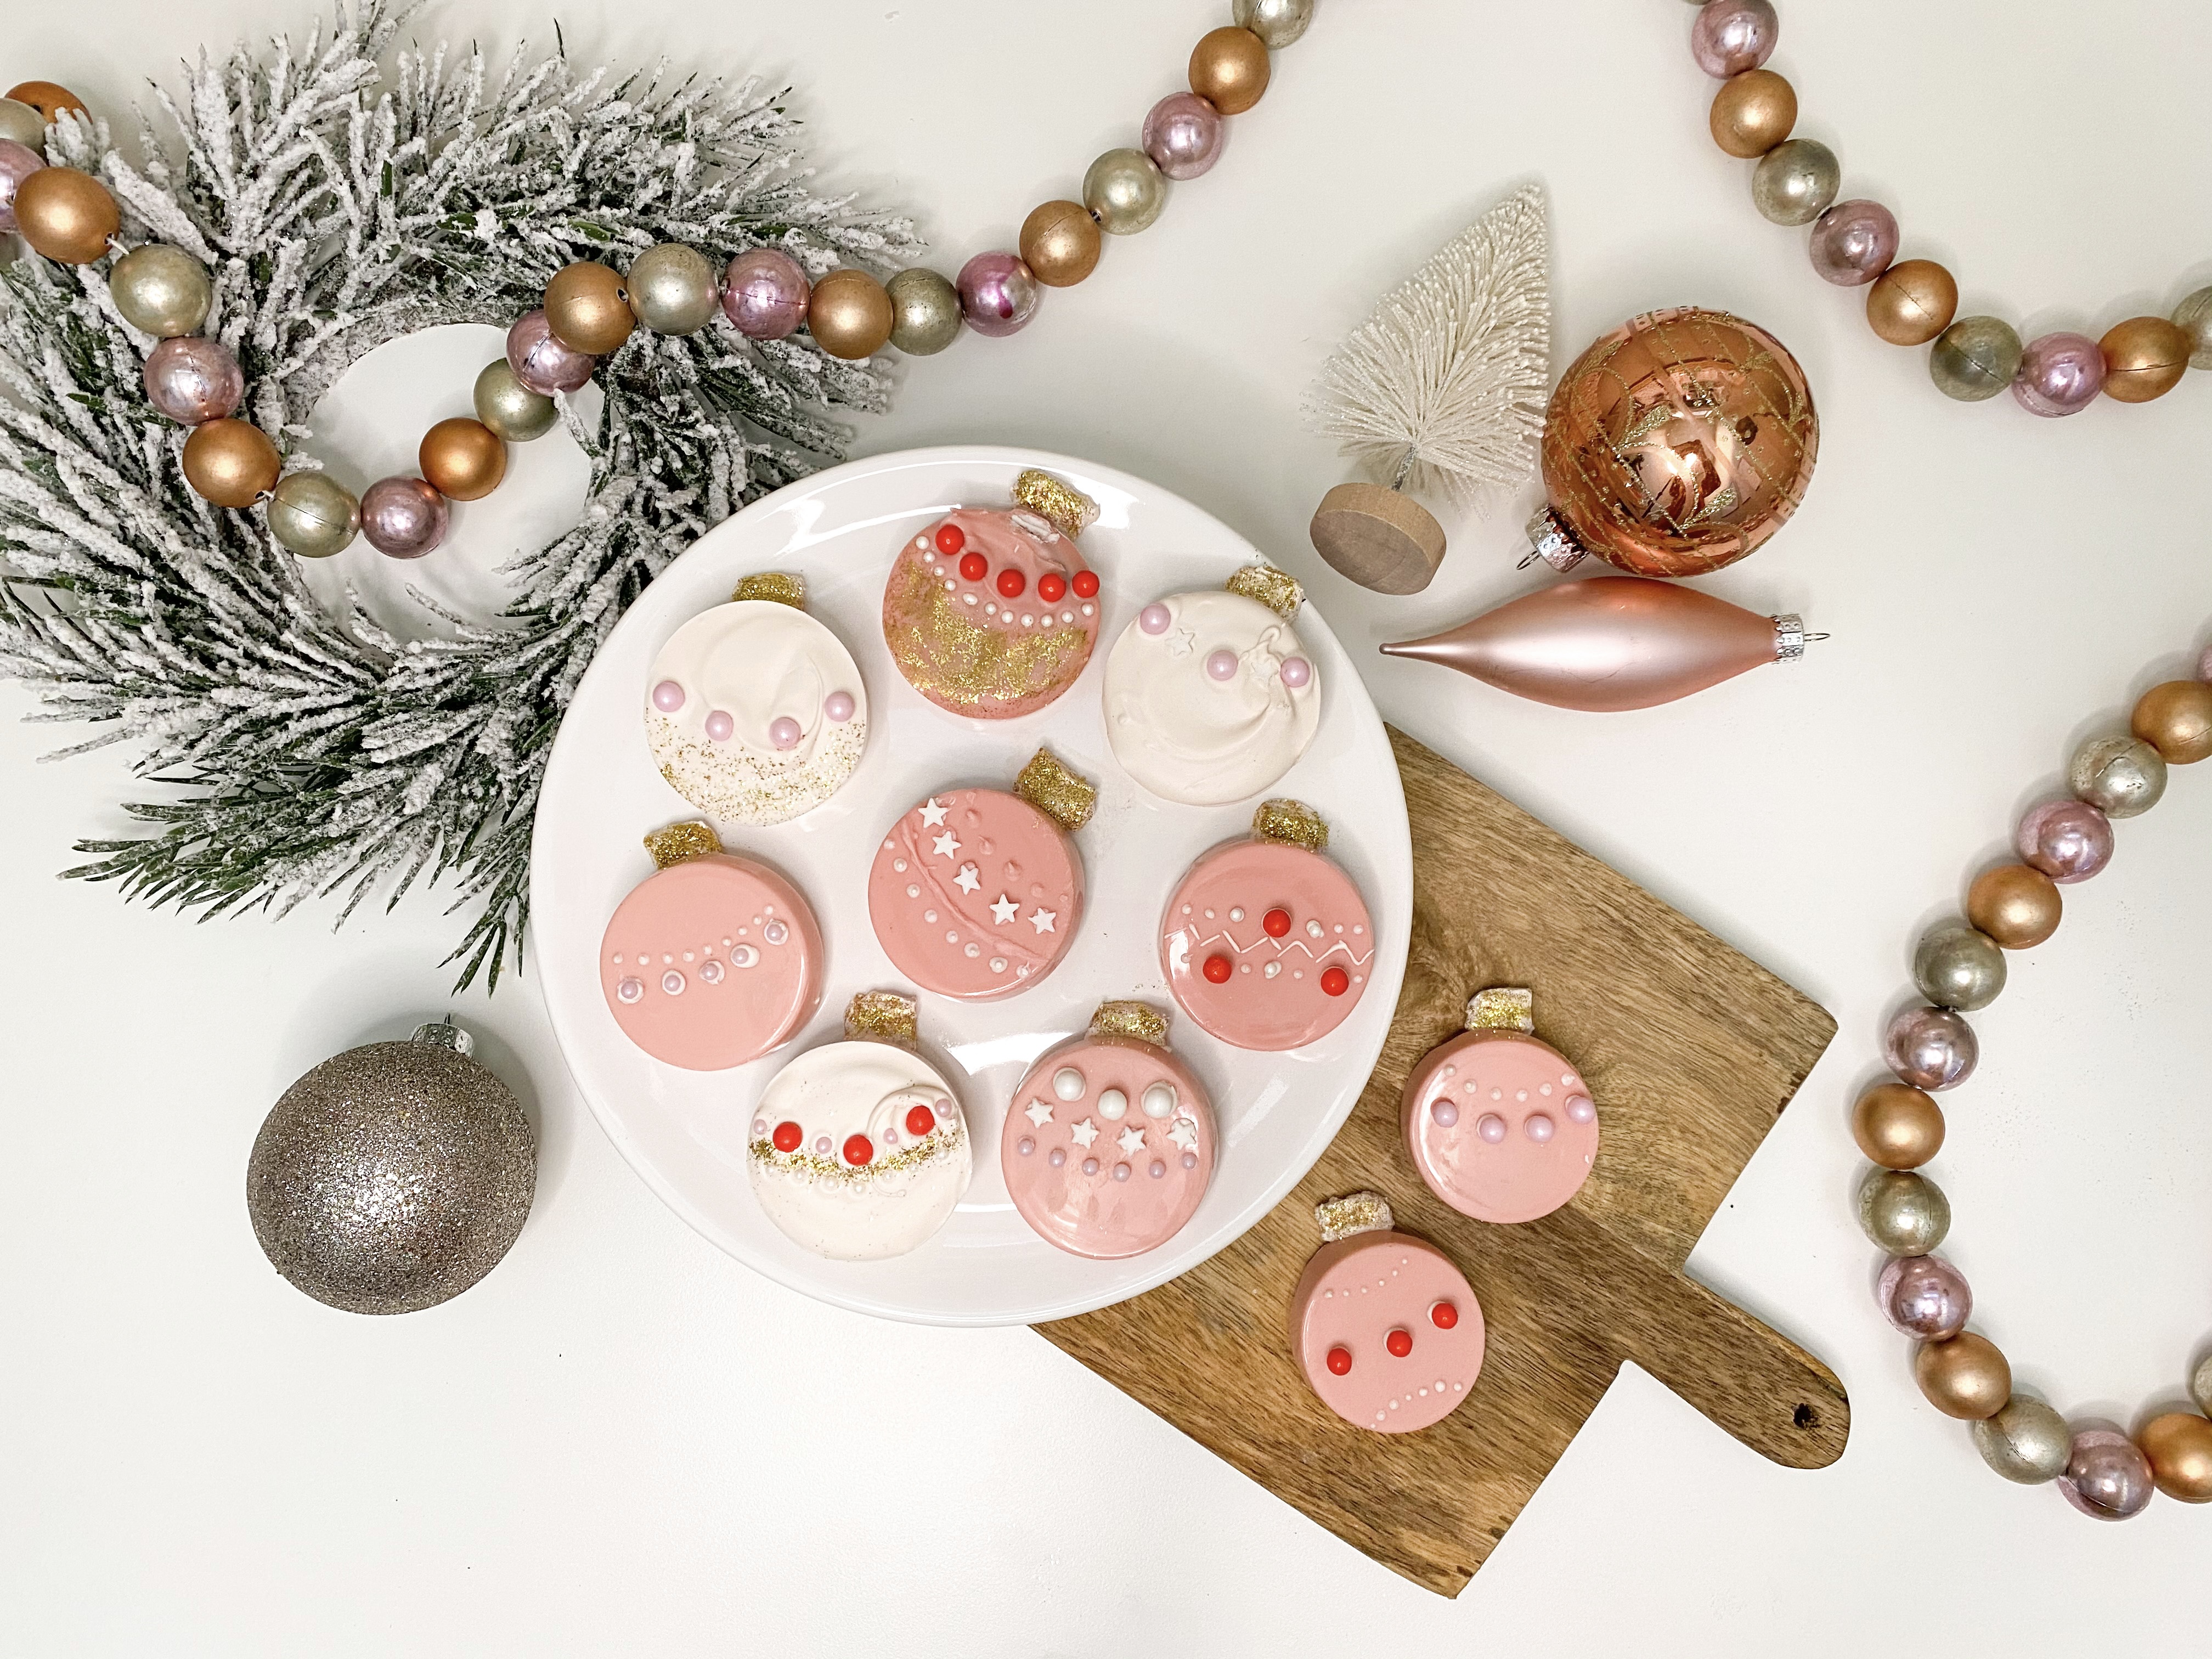

Baking gorgeous Christmas cookies, ones that look like they're straight out of the pages of a cookbook, is an art ... but that doesn't mean it has to be hard. Instead, with a few simple ingredients and a little creativity, it's easy to turn store-bought cookies into delicious and beautiful masterpieces that make a delightful Christmas gift idea. And during the busy holiday season, who doesn't love a hack that makes celebrating simpler without sacrificing an ounce of festivity?
To help us create a festive treat without spending hours in the kitchen, we turned to crafting & baking blogger Lauren Gardner, who shared this super-simple, but oh-so-lovely recipe for Dipped Ornament Oreo cookies. No baking required!
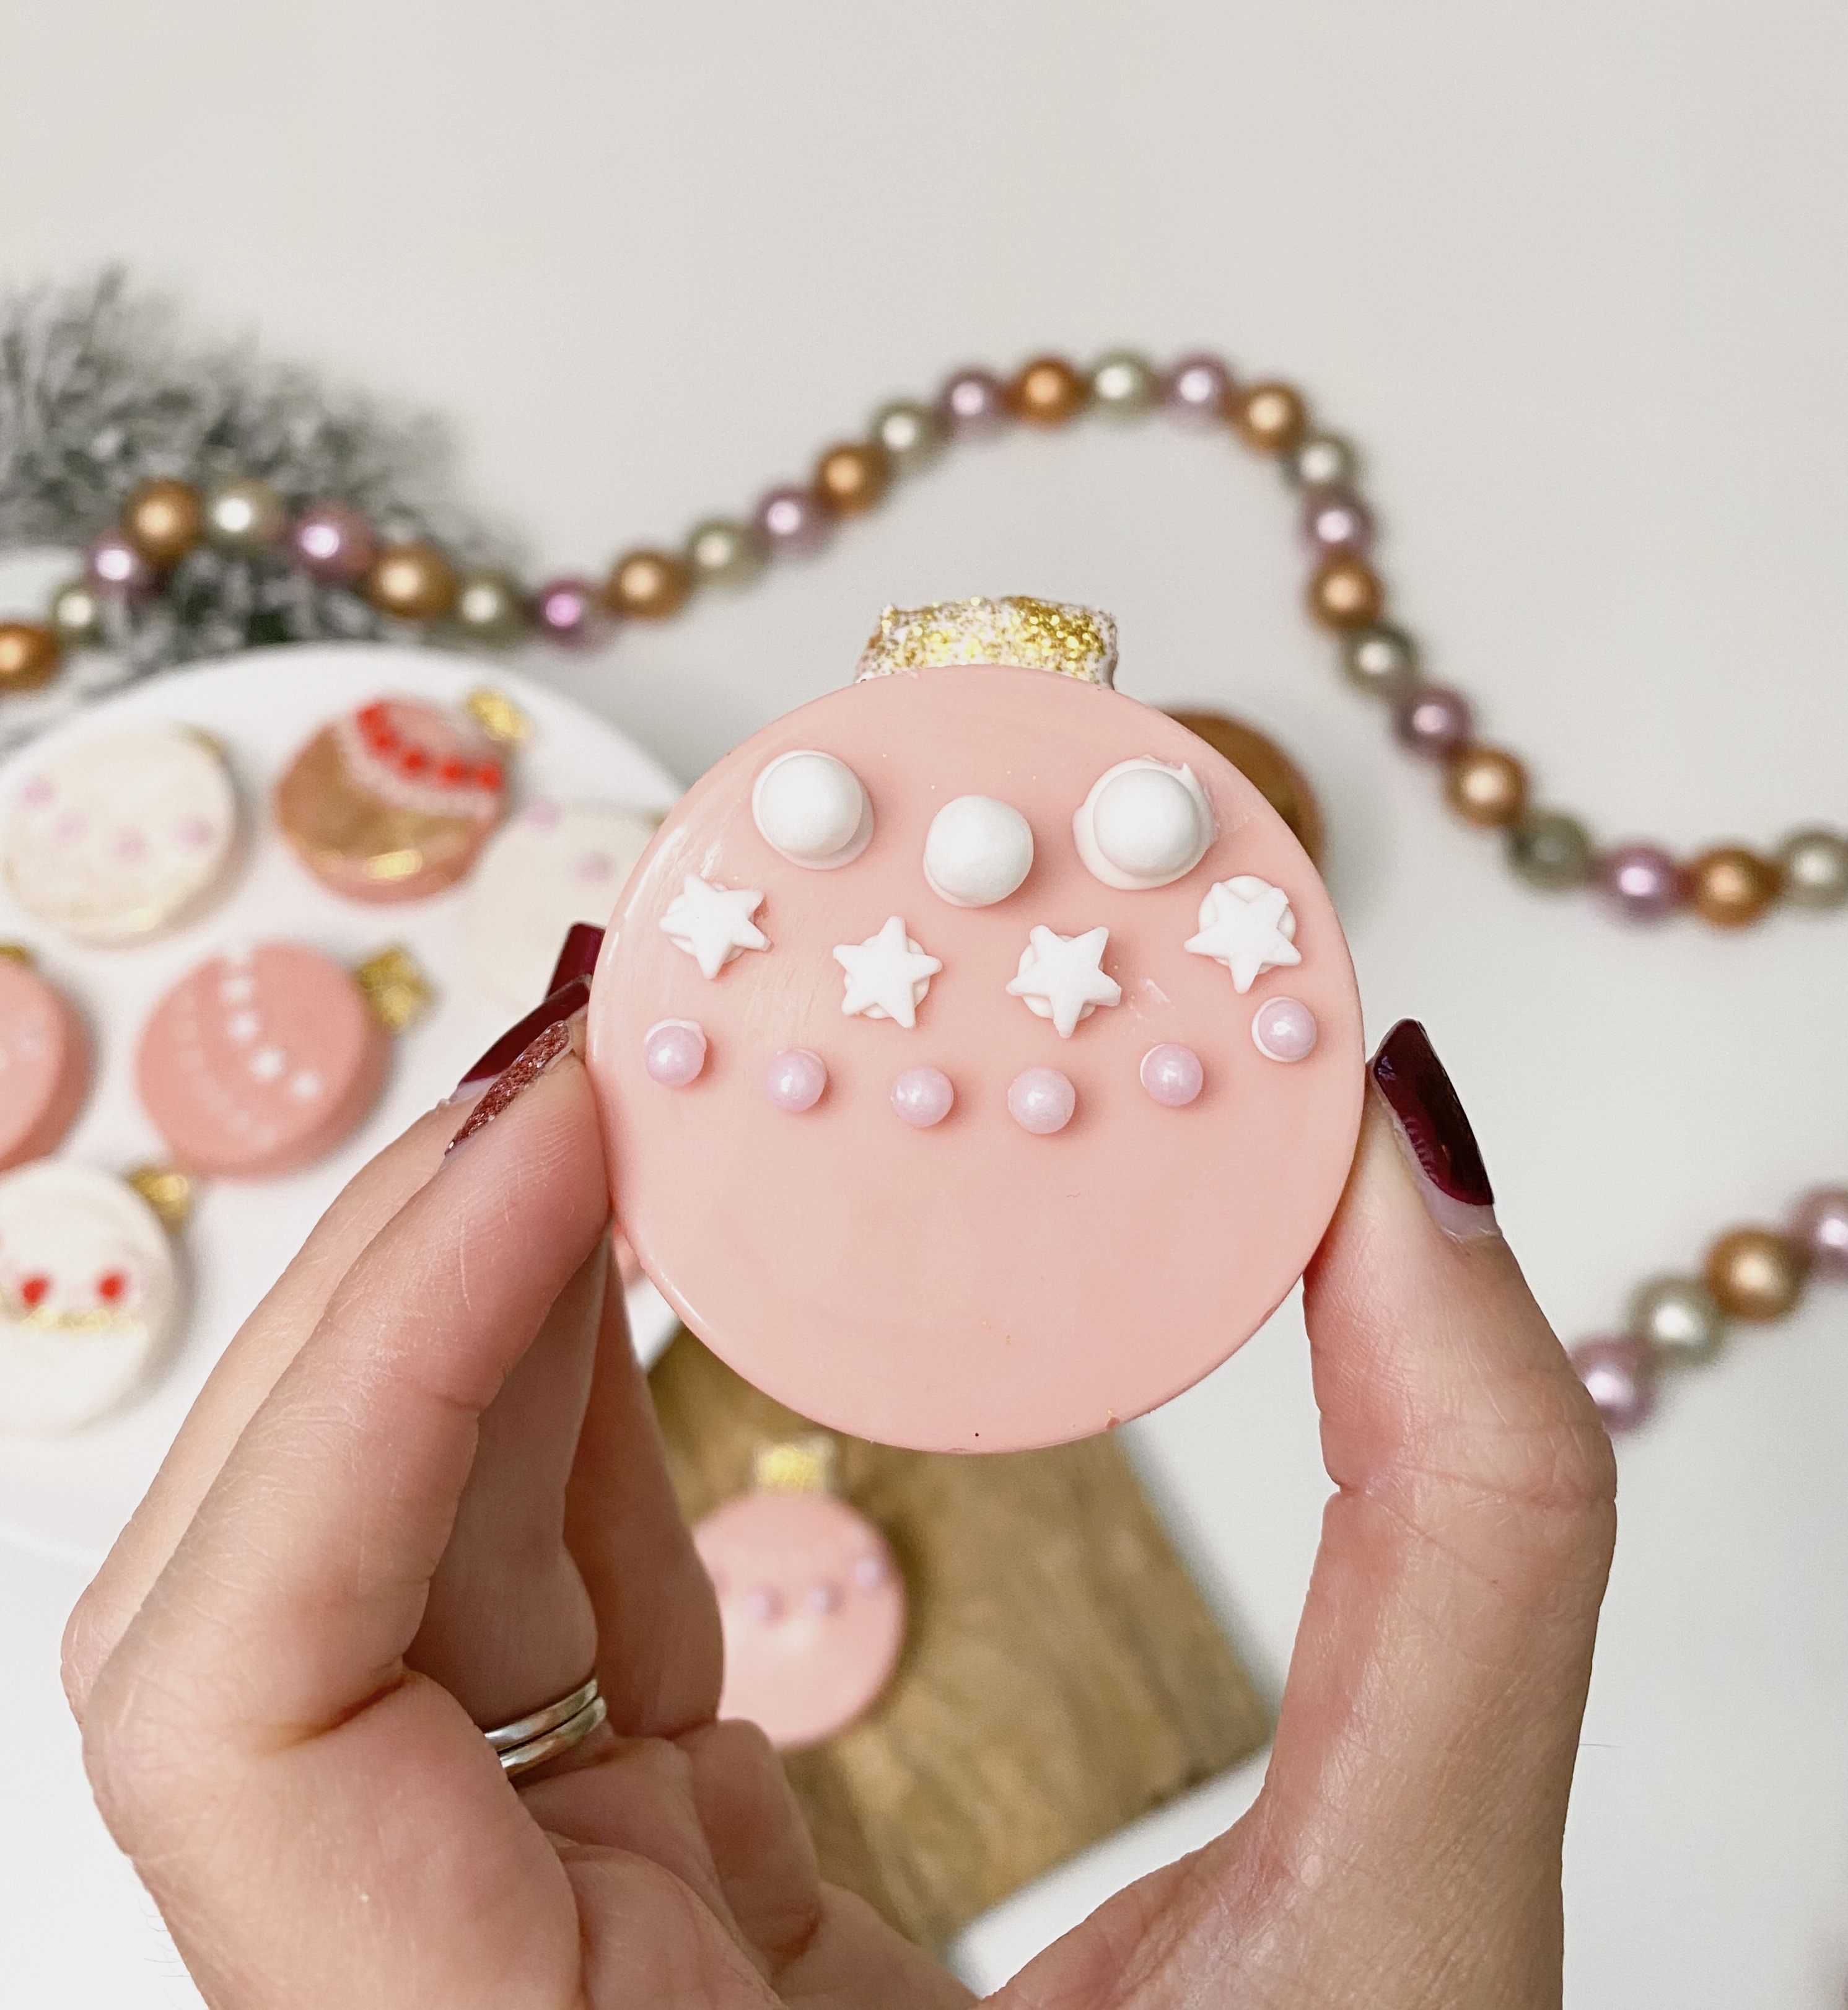
Candy-coated ornament Oreos
These candy-coated Oreos are so fun for the season and they couldn’t be easier! They are also great to tie up in little baggies and gift to friends, coworkers and neighbors.
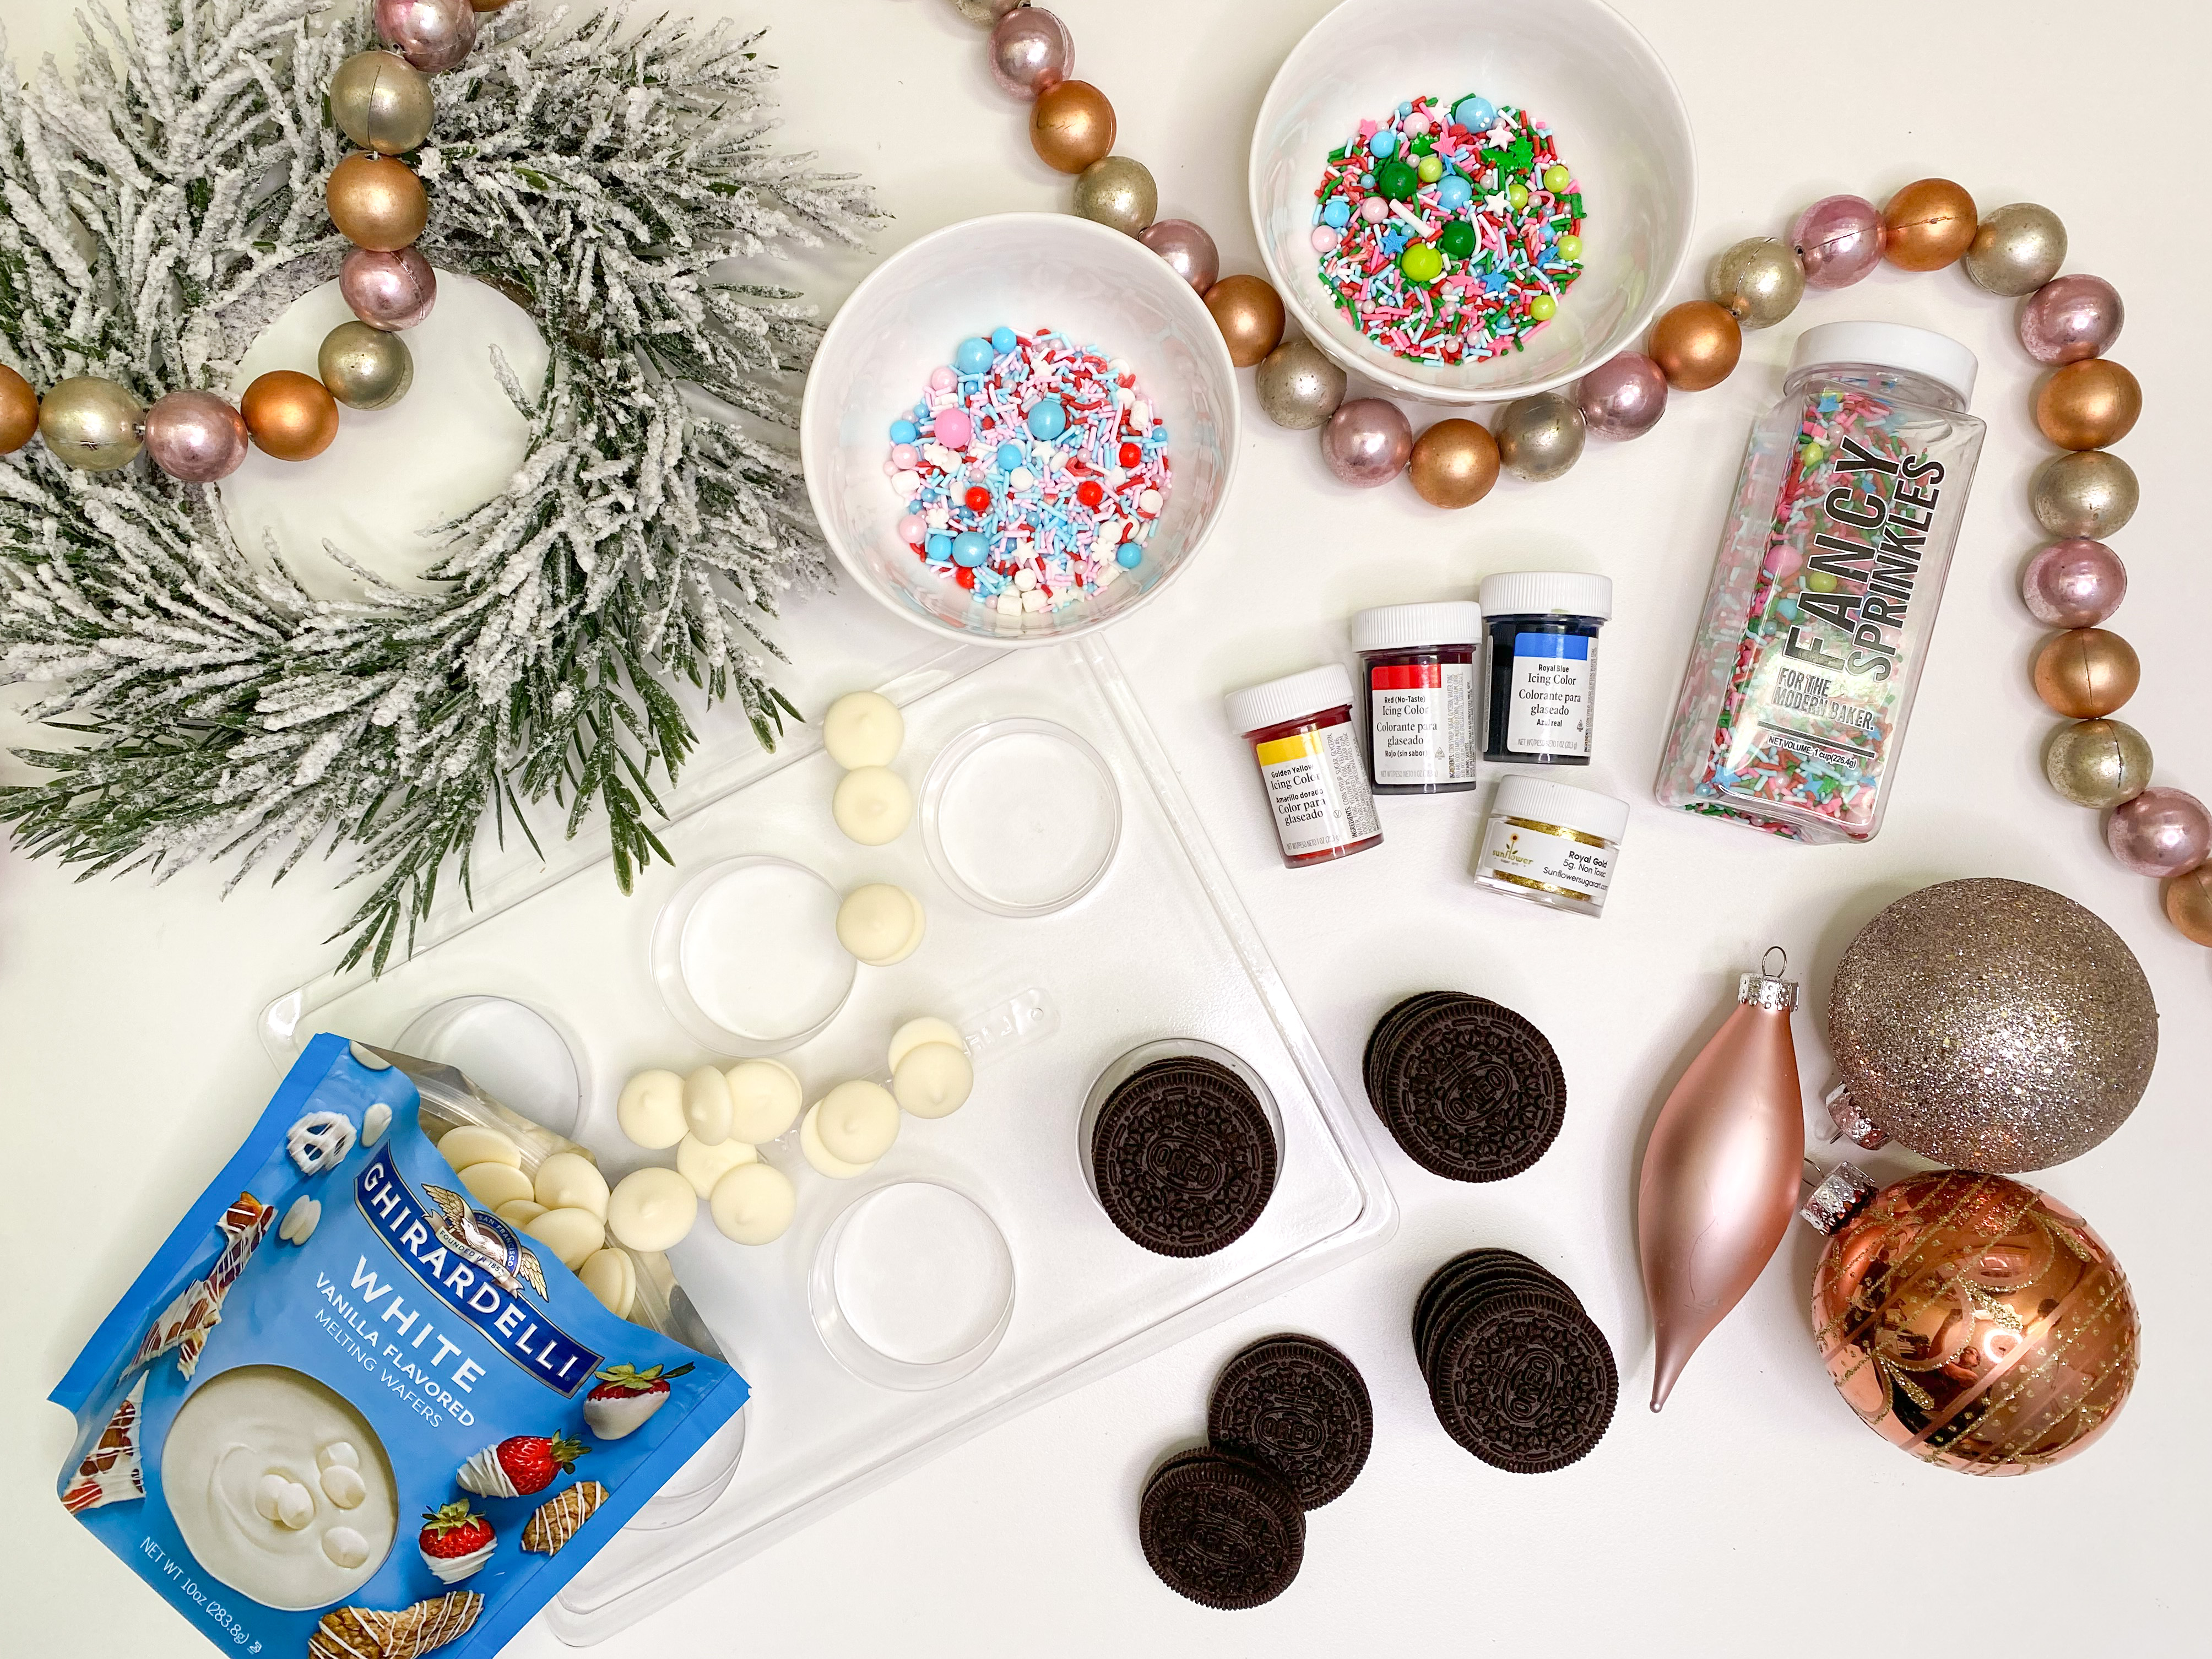
Here's what you'll need:
- Oreos
- Melting wafers / melting chocolate
- Food coloring (or colored melting wafers)
- Oreo cookie mold ($6 on Amazon)
- Sprinkles in various sizes, and/or edible glitter
- Chex cereal or pretzel snaps
- Optional: Cellophane or paper baggies for wrapping
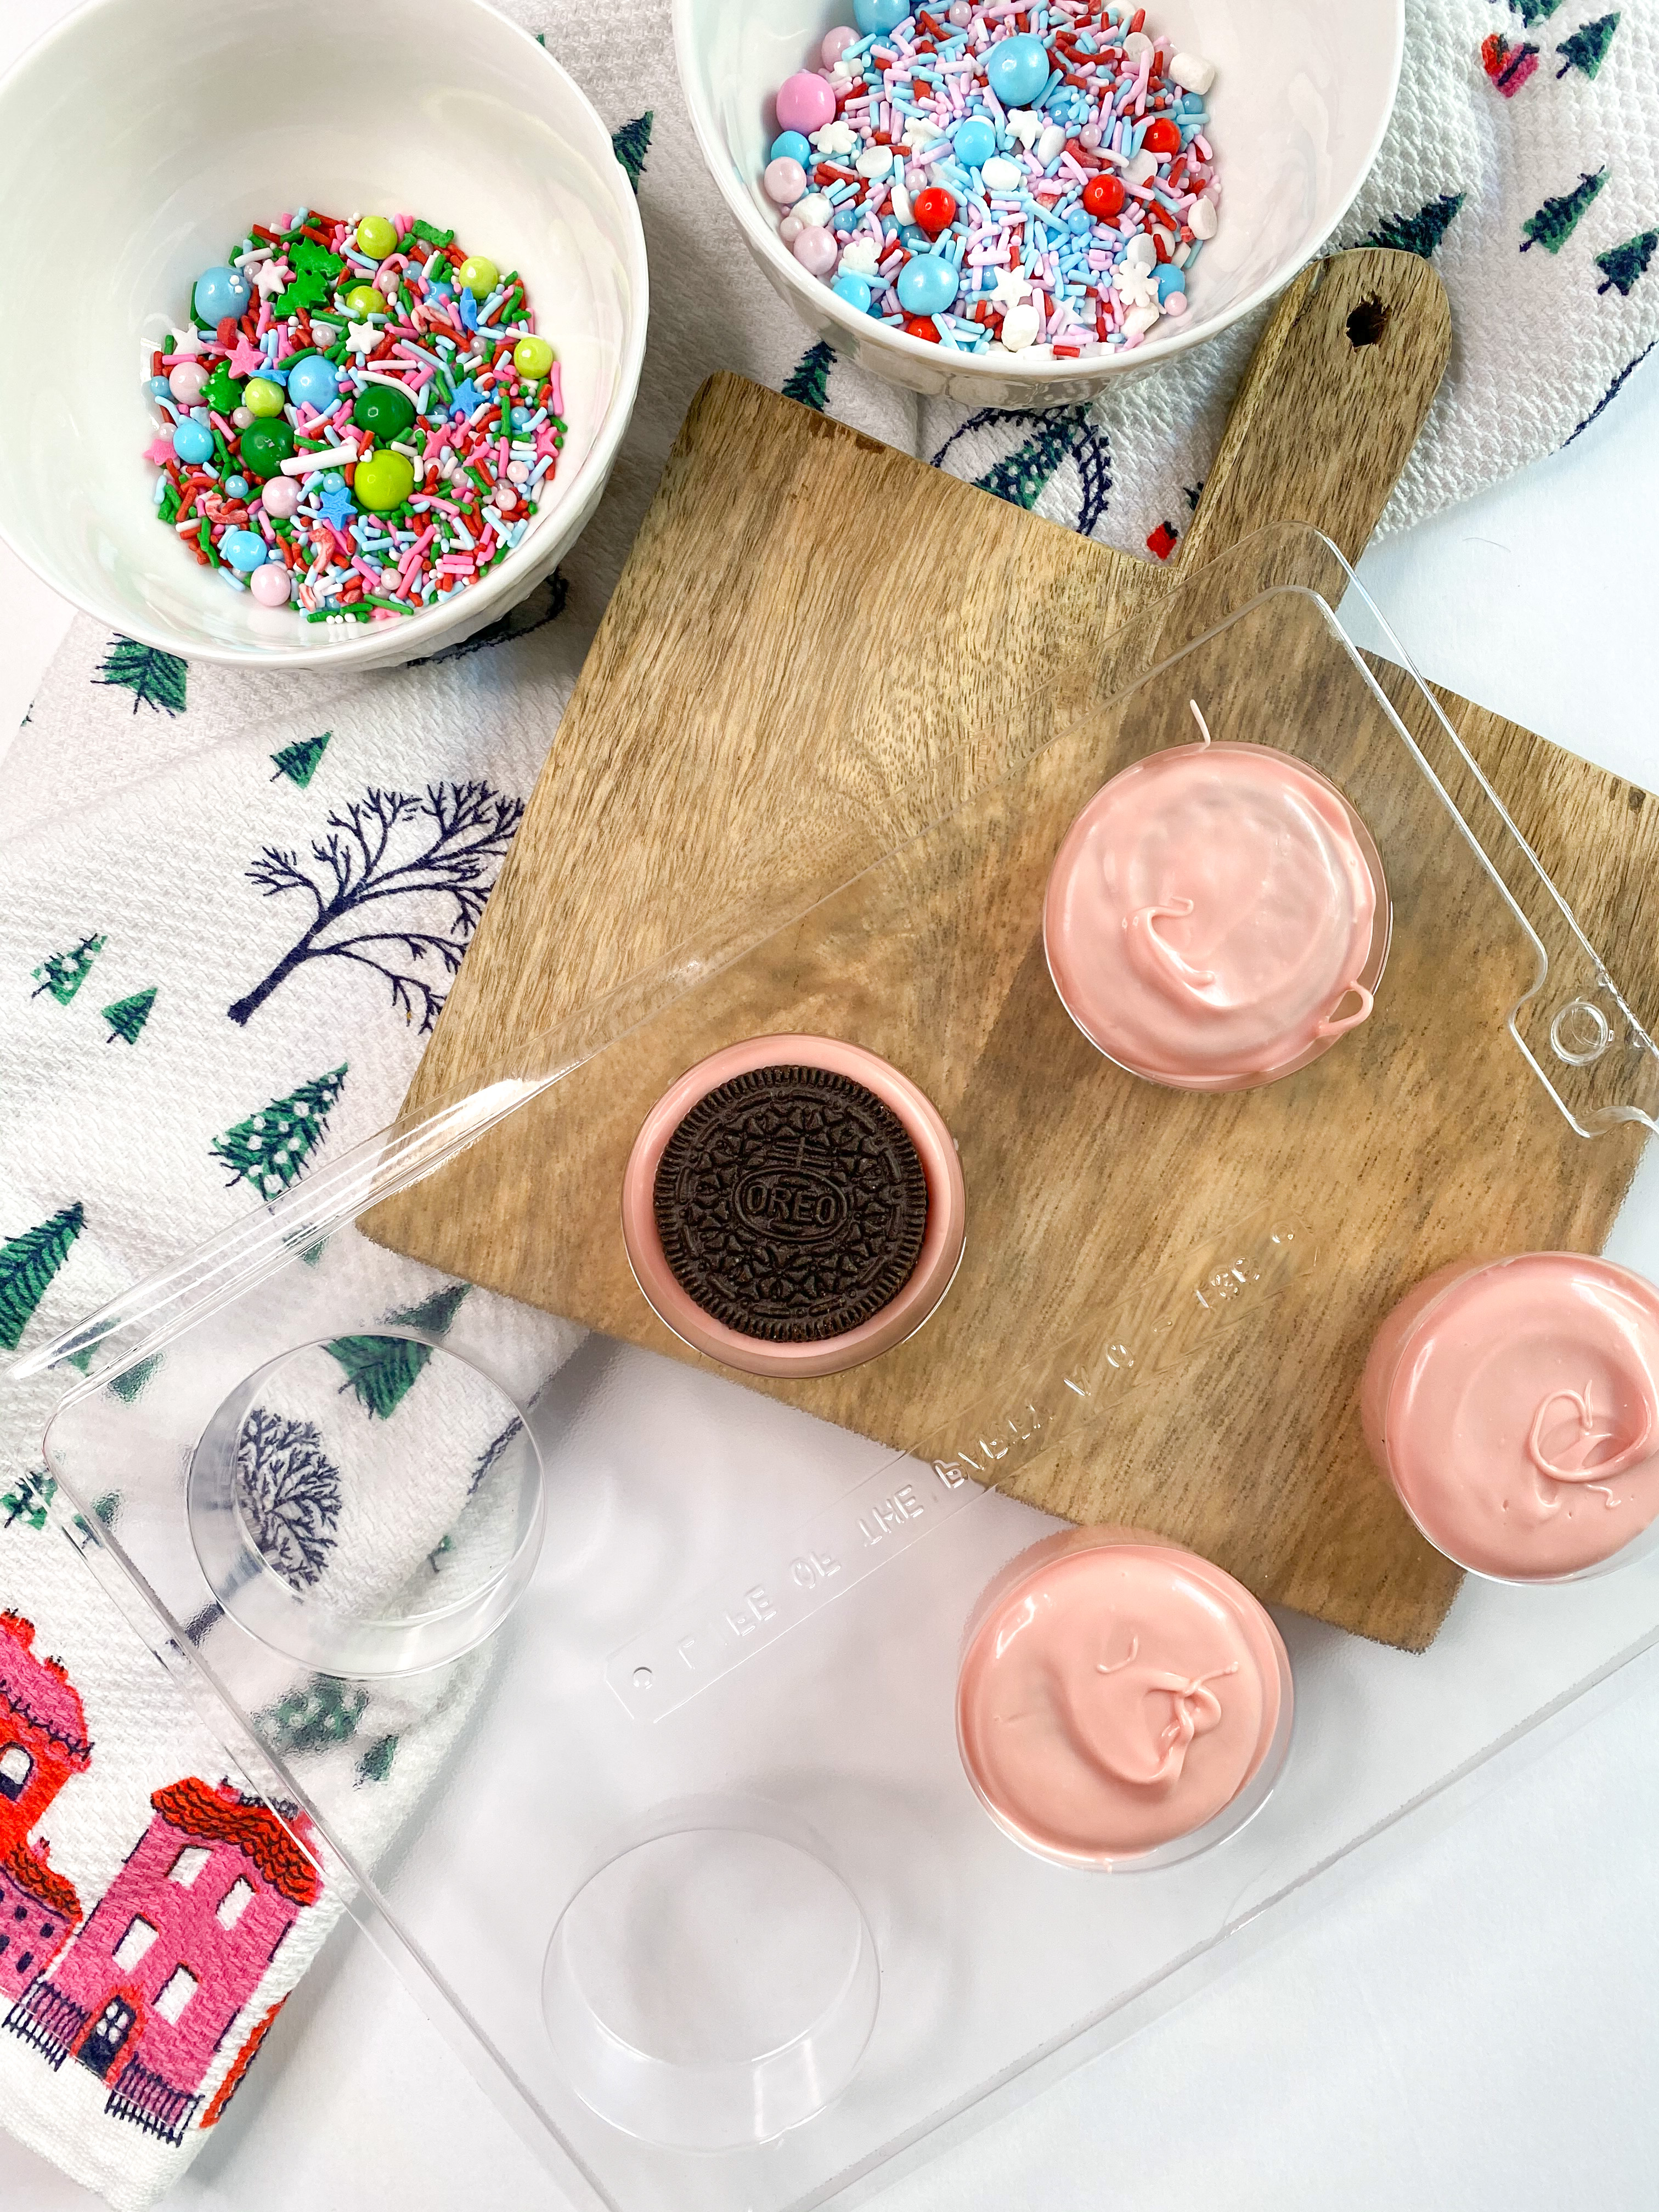
Directions:
1. Melt the chocolate wafers in the microwave, following the instructions on the bag. (I recommend melting half of the bag at a time, so the mixture doesn’t freeze up.)
2. Once melted, add food coloring to get your desired color
3. Working on one Oreo at a time, fill the plastic mold with a large spoonful of your melted wafers. Place your Oreo inside and lightly press down.
4. Spoon another dollop of melted wafers on top and swirl the back of the spoon on top until the melted mixture covers the top and sides. Repeat with the rest of the Oreos in the mold.
5. Let cure in the refrigerator for 10 minutes.
6. Remove from fridge and pop your cookies out of the mold by turning upside down and gently pressing on the bottom of the mold with your thumbs.
7. Use some of the leftover wafer mixture to coat a Chex and add it to the ornament for a top.
8. Once the top is cured, decorate the front of the cookies with sprinkles, using a frosting bag or toothpick to adhere sprinkles with melting chocolate.
Stock up on supplies:
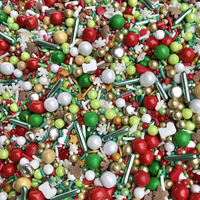
Holiday sprinkles, 4 oz | $11.99 on Amazon
This holiday sprinkle pack features all the shapes you'll need to create fun ornament cookies. You'll find Christmas trees, snowflakes, stockings, and more.
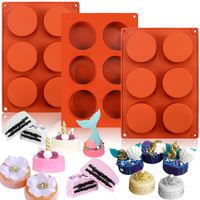
Oreo mold| $11.99 on Amazon
This silicone mold is exactly what you need to create these adorable cookies. It comes with three trays that hold six cookies each.
Join our newsletter
Get small space home decor ideas, celeb inspiration, DIY tips and more, straight to your inbox!
Kaitlin Madden Armon is a writer and editor covering all things home. In addition to Real Homes, she's written for Architectural Digest, Martha Stewart Living, Refinery29, Modern Luxury Interiors, Wayfair, The Design Network, and lots more. She graduated from Northeastern University with a degree in journalism and currently lives in Connecticut with her husband, two sons, and black lab.
-
 3 quick hosting hacks for your cutest Christmas dinner yet
Having friends or fam at yours this year? Here are some quick and easy Christmas hosting hacks for your best holiday dinner yet
By Nishaa Sharma
-
 12 eco-friendly Christmas tips for a planet-pleasing holiday season
Get on the good list this year and have yourself a merry little eco-friendly Christmas with considered gifting and clever decor choices
By Anna Cottrell
-
 10 ways to deck the halls that are better for the planet
If you love decorating your house for the holidays but want to nod to sustainability too, you can do both with these cute eco-friendly dec ideas.
By Camille Dubuis-Welch
-
 9 cute pink Christmas decorations that are far from tacky
These Christmas decorations are super fun, cute, and not totally tacky. Paris Hilton would approve
By Camille Dubuis-Welch
-
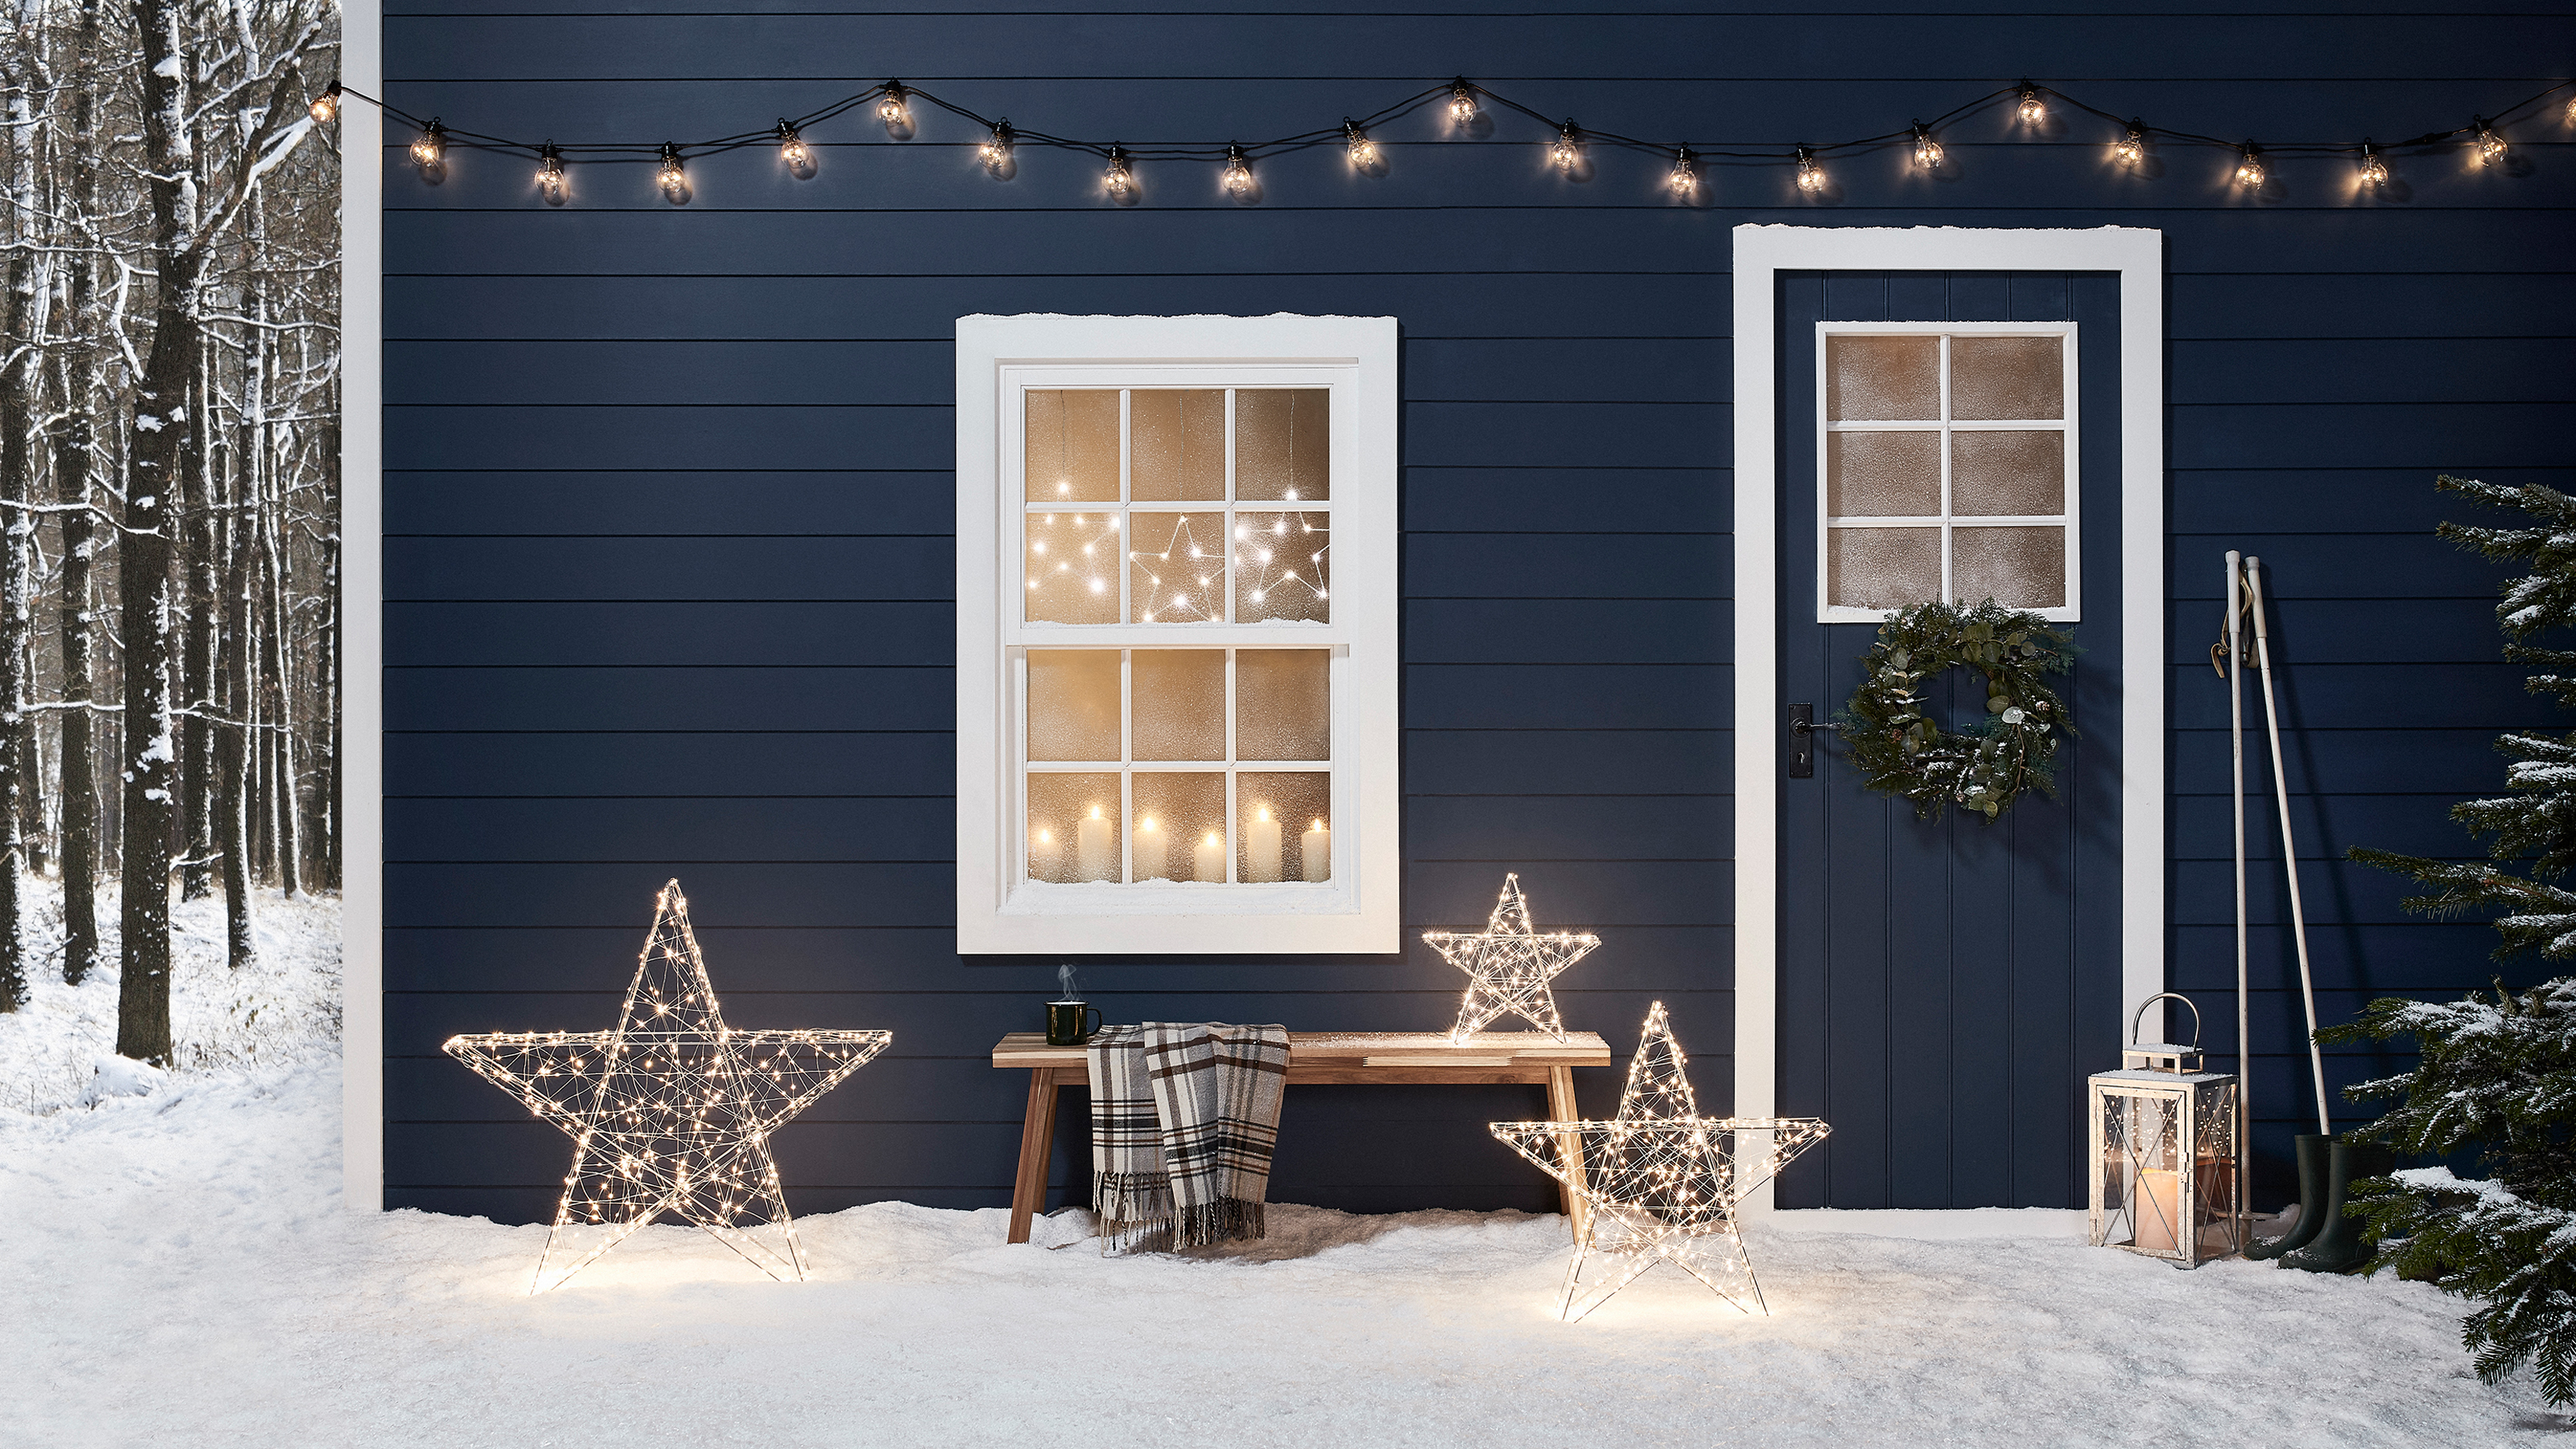 Outdoor Christmas decor ideas – 11 ways to add festive curb appeal
Try these easy and implementable outdoor Christmas decor ideas to give your front yard a festive look in time for the holiday
By Jenny McFarlane
-
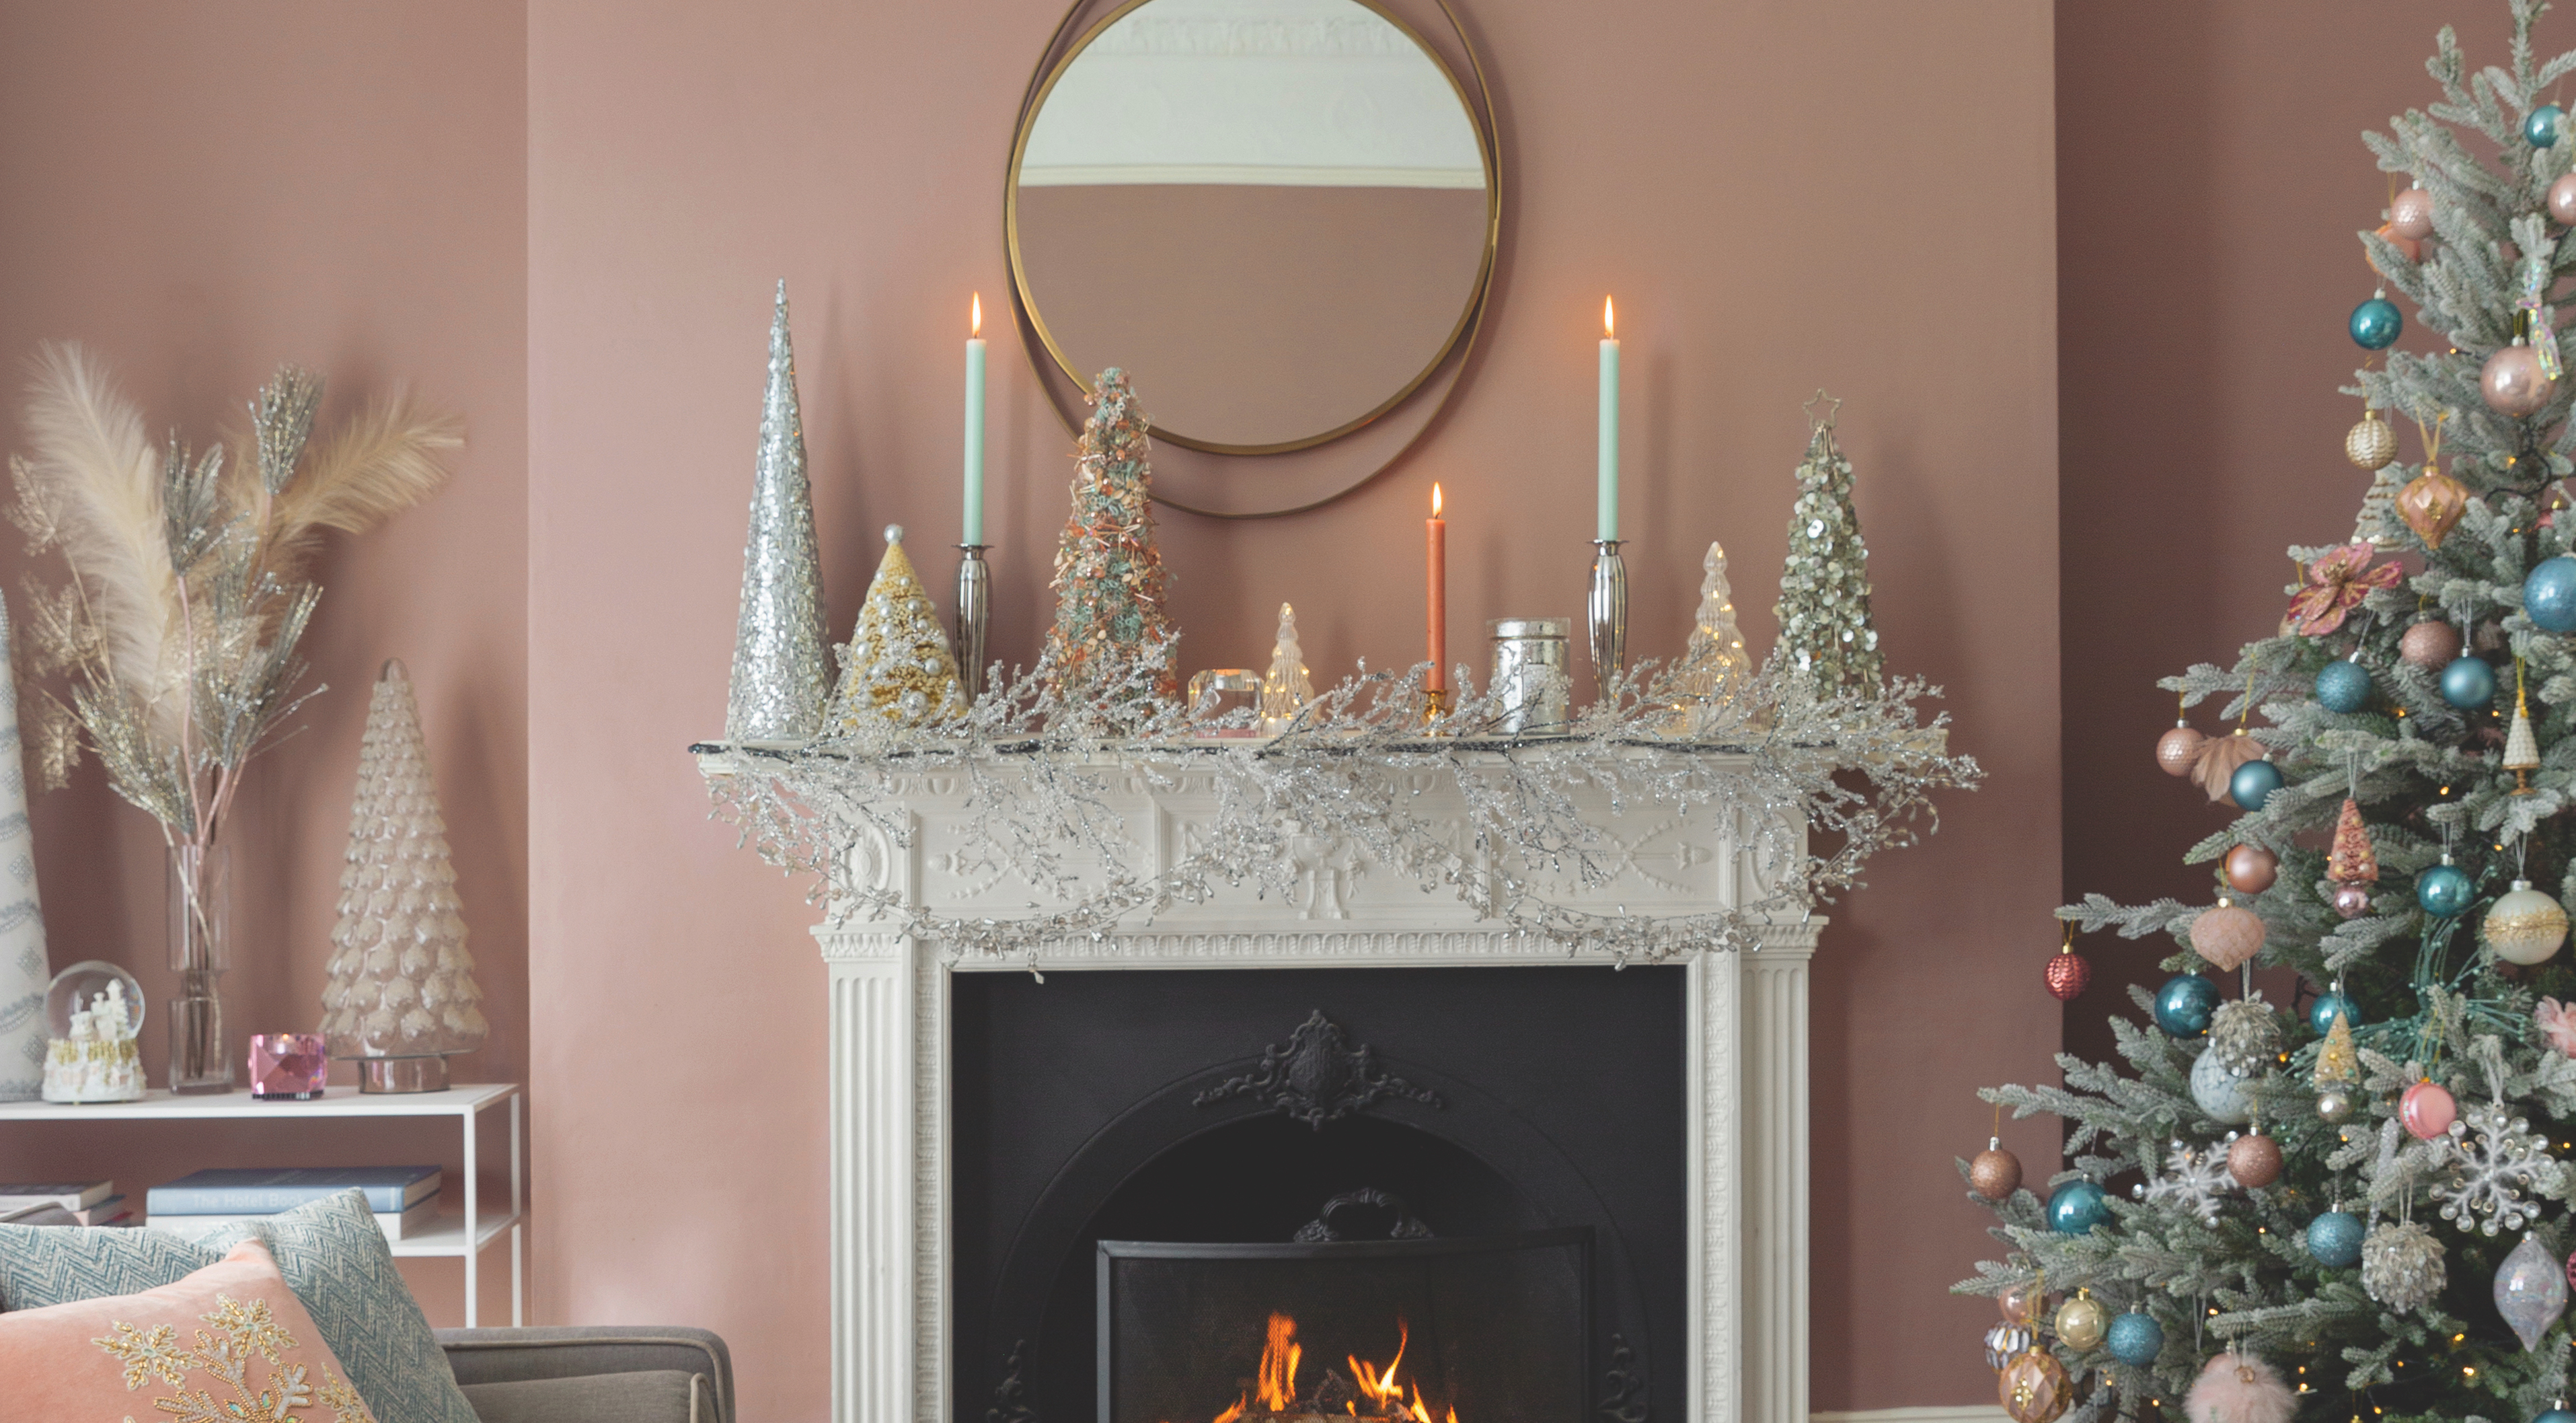 14 stylish Christmas color schemes to try in 2021
Looking for a new and exciting Christmas color scheme this year? Let our gallery of gorgeous ideas get you inspired...
By Hebe Hatton
-
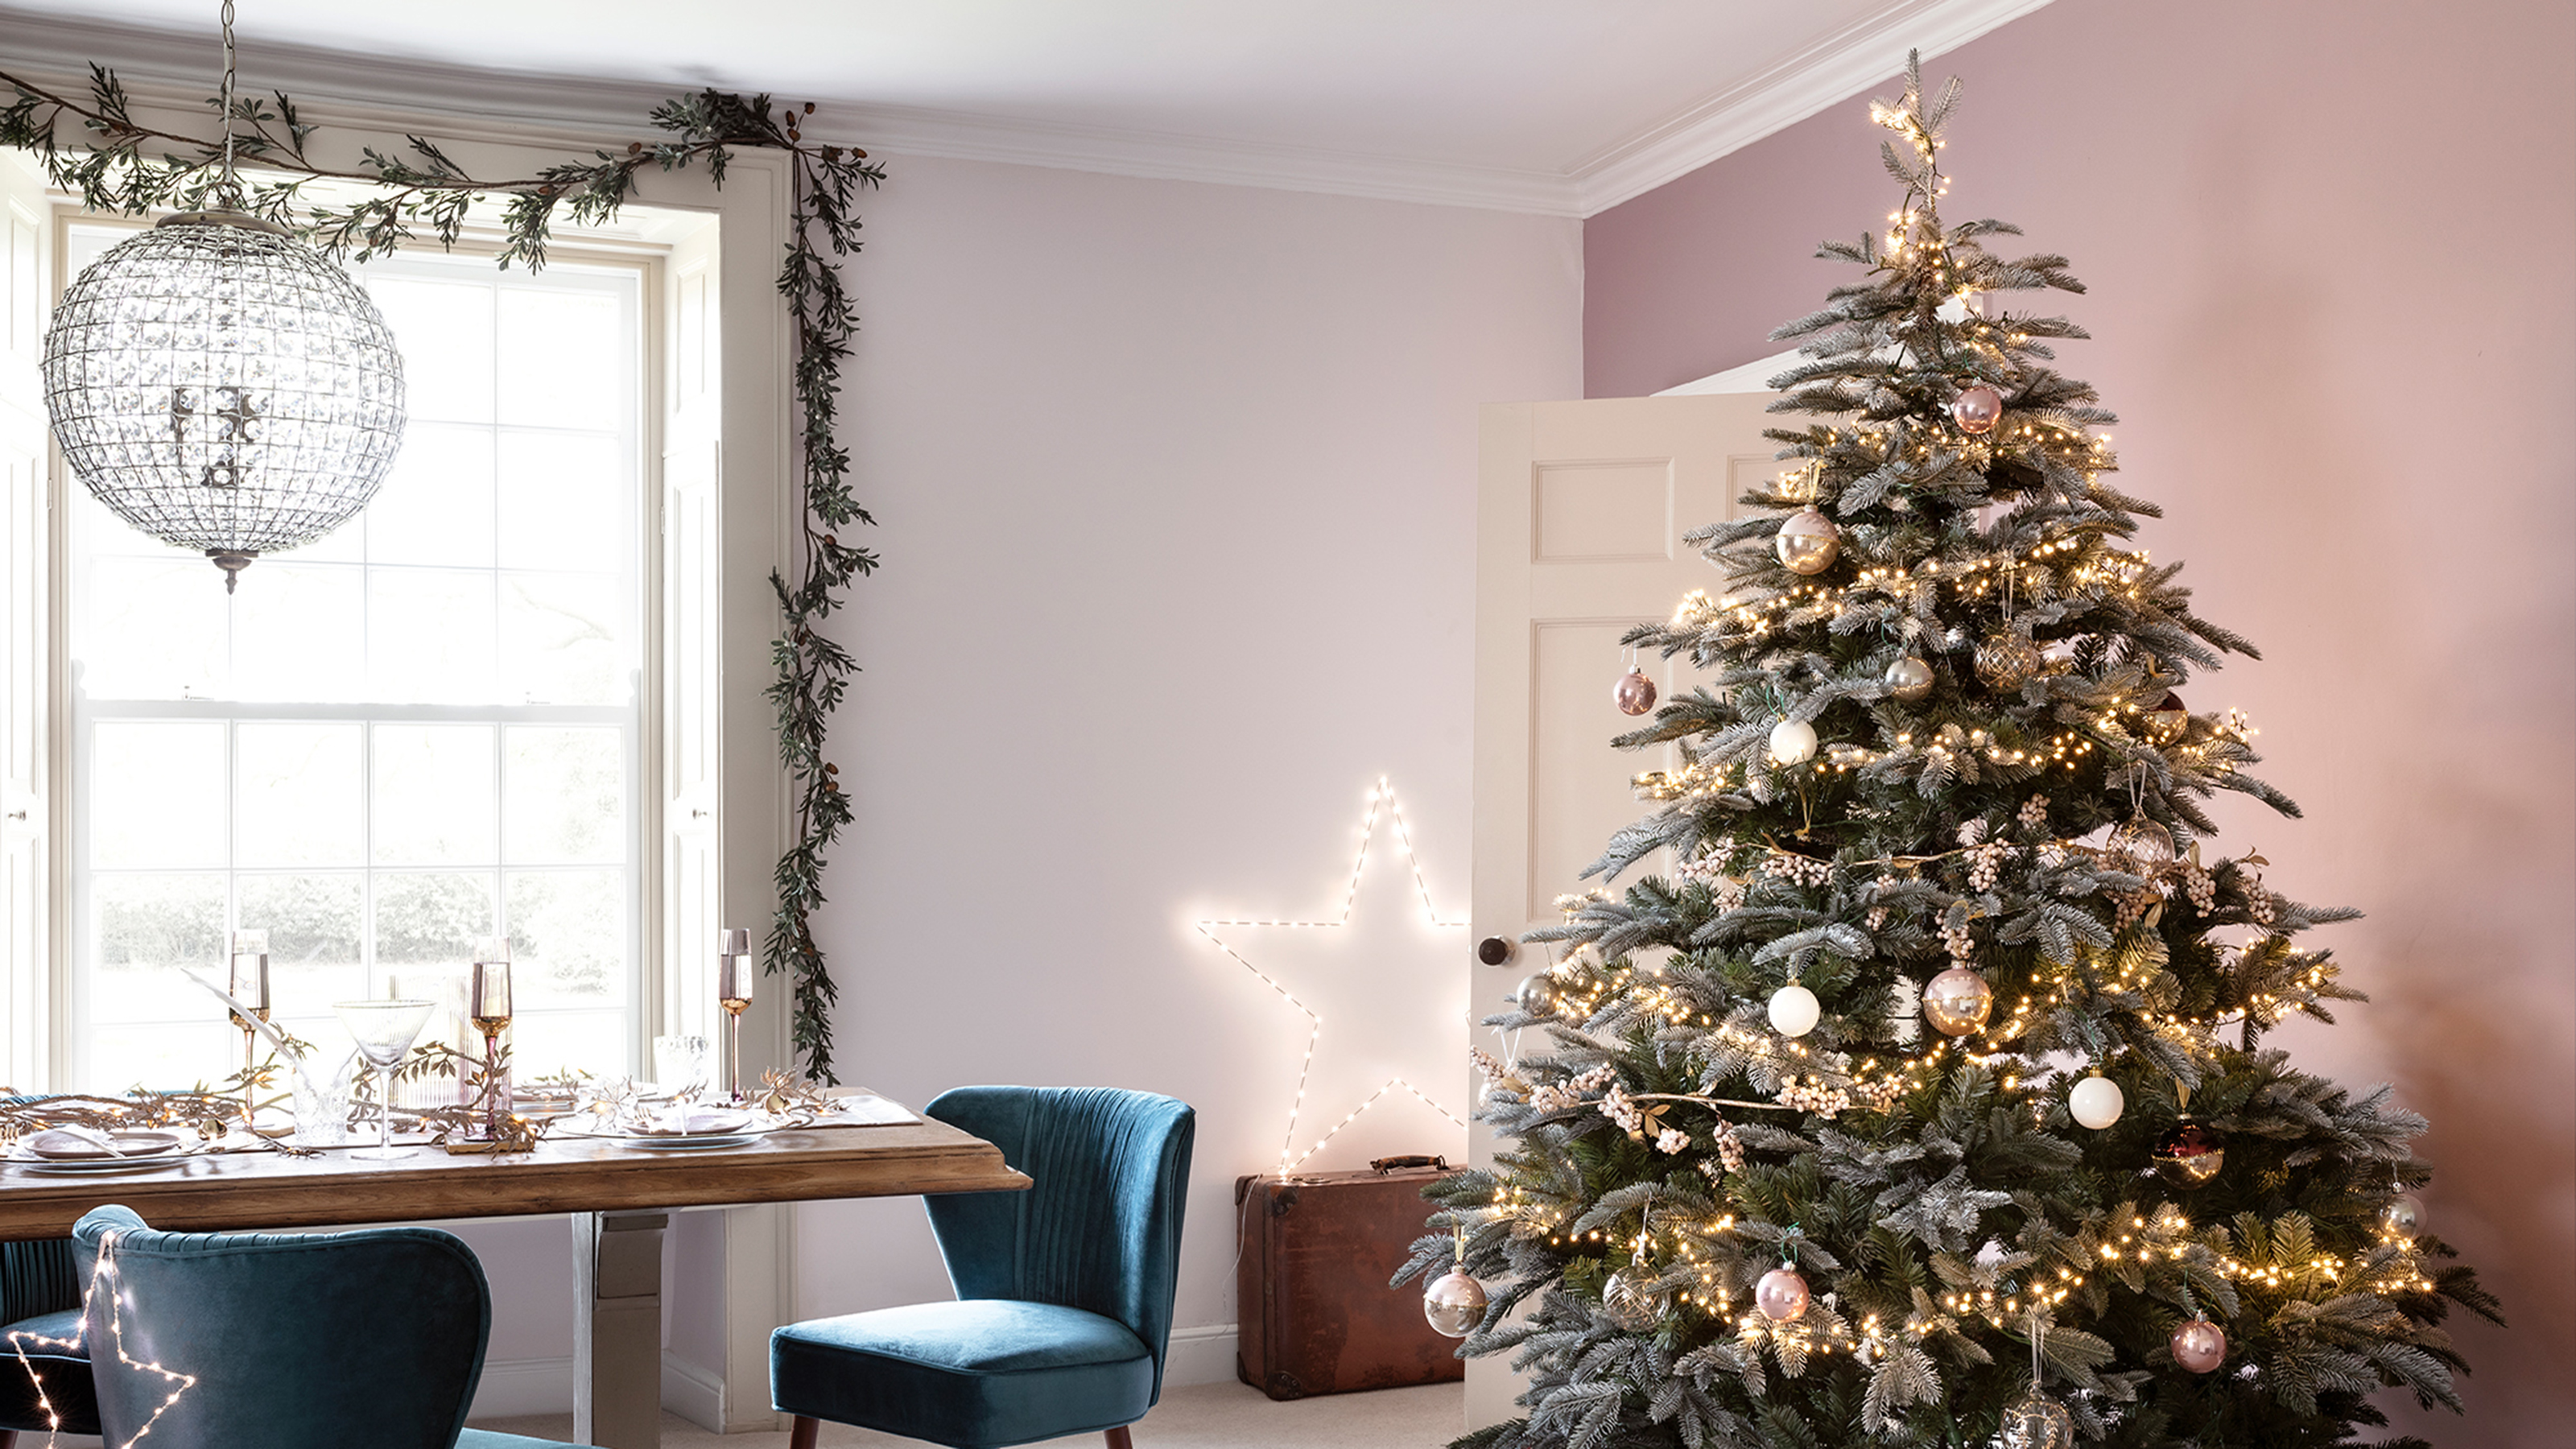 13 Christmas window displays to add a seasonal feel to your sills
Create immersive Christmas window displays with an array of window stickers, twinkling lights and festive wreaths for a wonderfully wintery scheme
By Ellen Finch
-
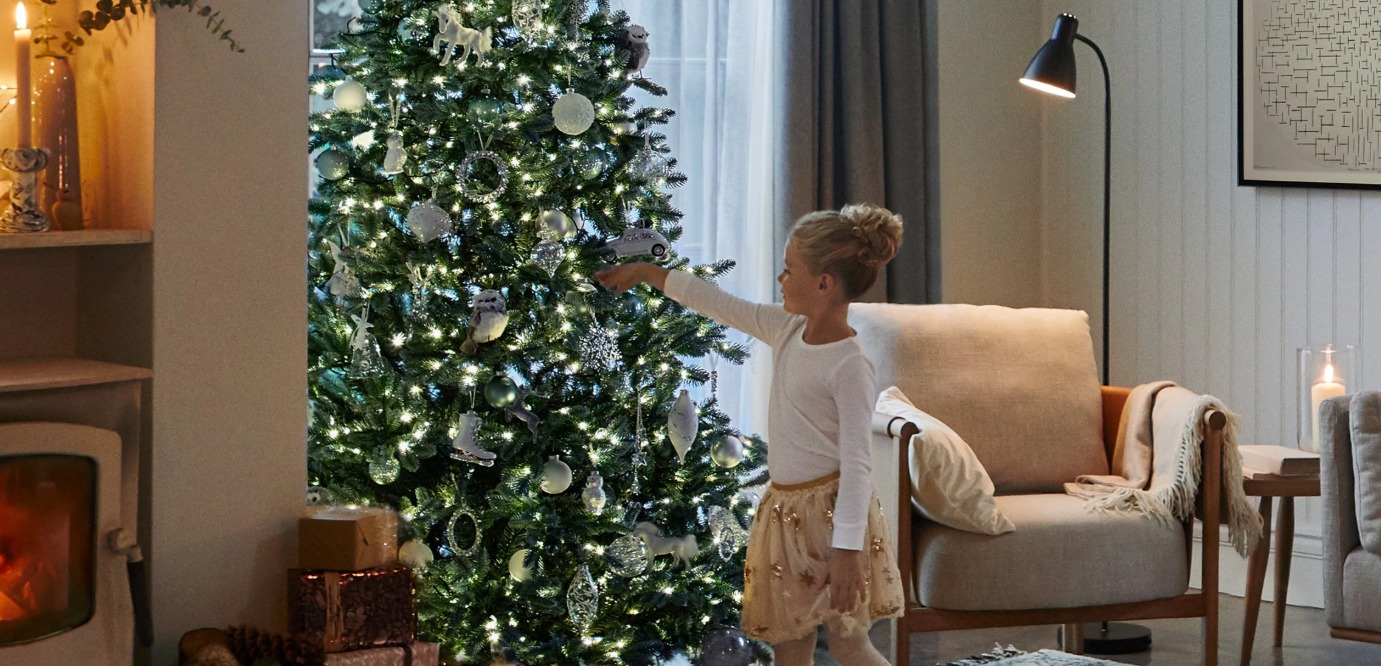 How to decorate a Christmas tree (like a pro) in 10-steps
Whether you have a real or artificial fir this year, learn how to decorate a Christmas tree like a professional in 10 simple steps.
By Lindsey Davis
