8 pro tips for wallpapering around awkward objects
Learning the best wallpapering tips and tricks of the trade will help you hang your favorite print around awkward objects like built-in cabinets, counters and more

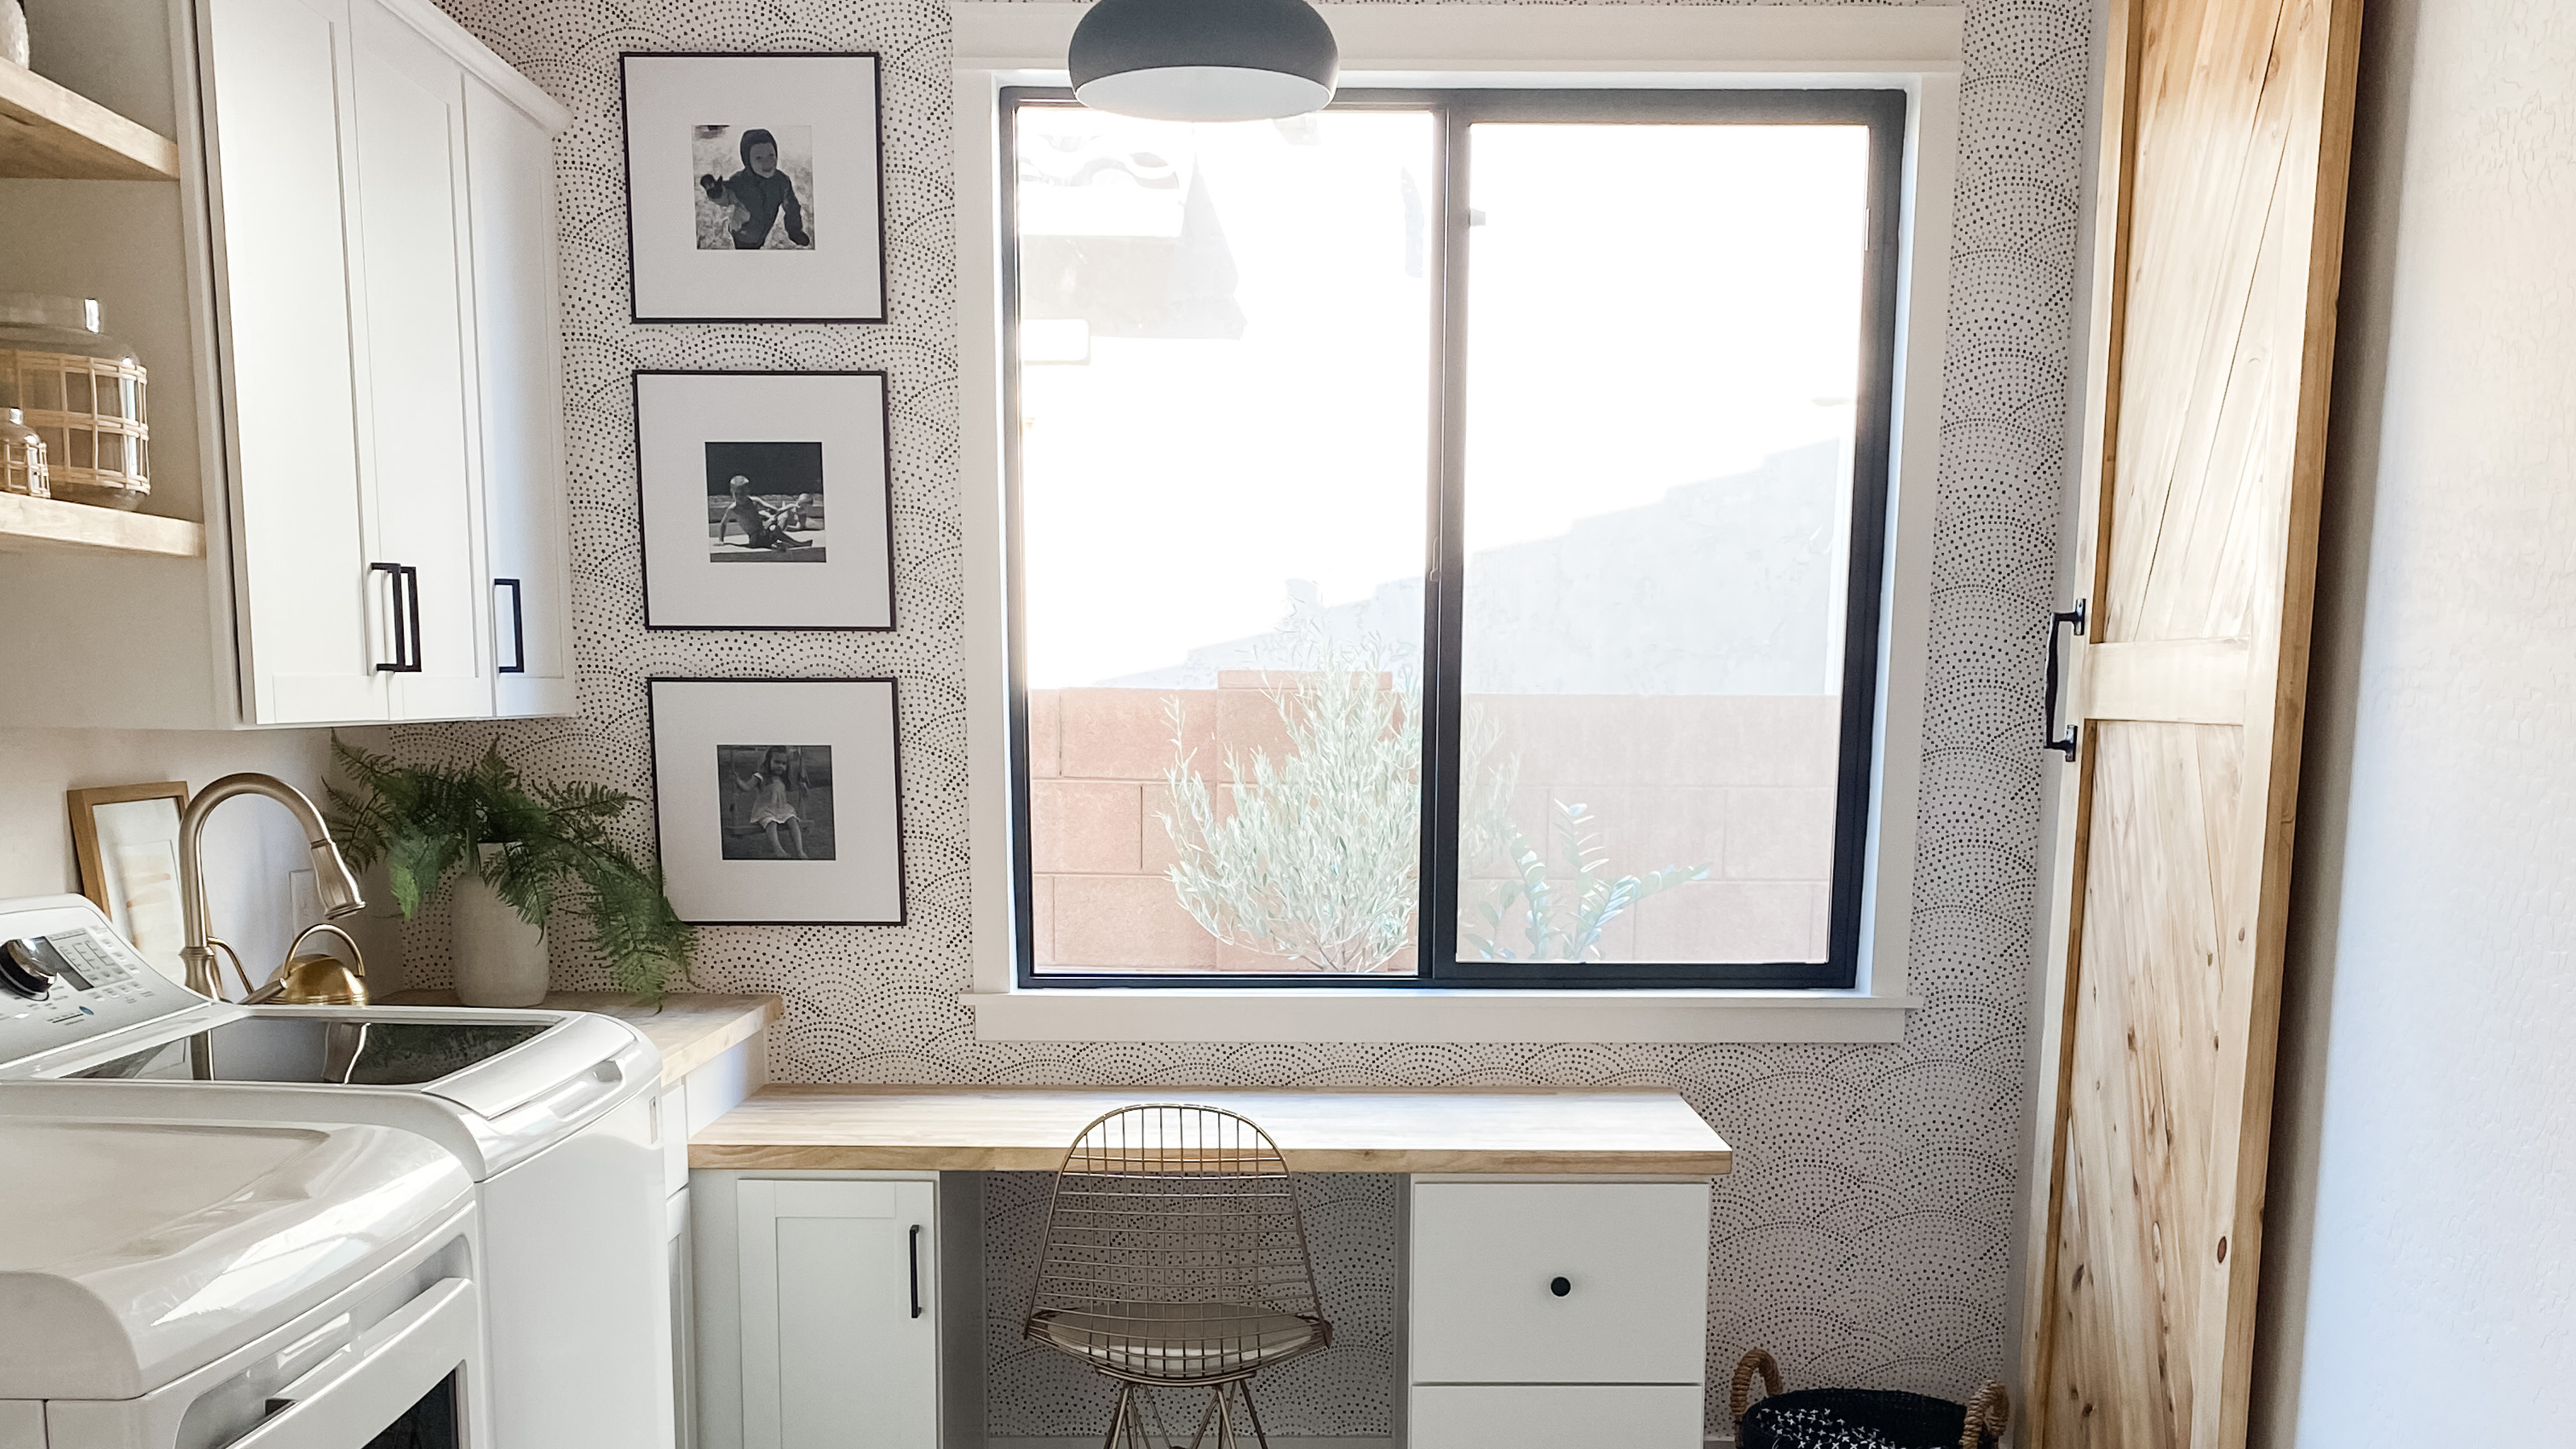
I do a lot of DIY projects and I can honestly say of all of them, wallpaper has to be in my top three! I’ve had many opportunities to put all the best wallpaper tips and tricks out there to the test, to perfect my own skills. Many updates with wallpaper are simply on one wall as a feature or accent wall or multiple straight walls without windows or built-in cabinetry.
But what about when you are working around windows or installing wallpaper on a wall with things that can’t move (ie. windows, cabinets, counter/desktops)? Then it gets interesting...
For clean lines and a DIY job well done, first off, you need to ensure you have all the right tools and equipment to hand.
My project costs:
- Wallpaper: $150 I used A-Street Prints Bennett Dotted Scallop Charcoal from Decorator Best
- Wallpaper paste: $20 Roman's from Lowe's
- Smoothing tool: $5 from Amazon
- Paint roller/nap: $10
- Straight edge: $8 from Lowe's
I only spent $193 total for my project in particular but you'd spend even less if you're using leftover wallpaper from a previous project, or working on a super small space – especially if you already have the majority of tools needed.
You will need
1. Wallpaper of choice
2. Wallpaper paste
3. Wallpaper smoothing tool
4. Paint roller/nap
5. Level (laser or large) – mine is a Bosch from Lowe's
6. Measuring tape
7. Pencil
8. Exacto knife
9. Paint straight edge
Wallpapering tips and tricks around awkward objects
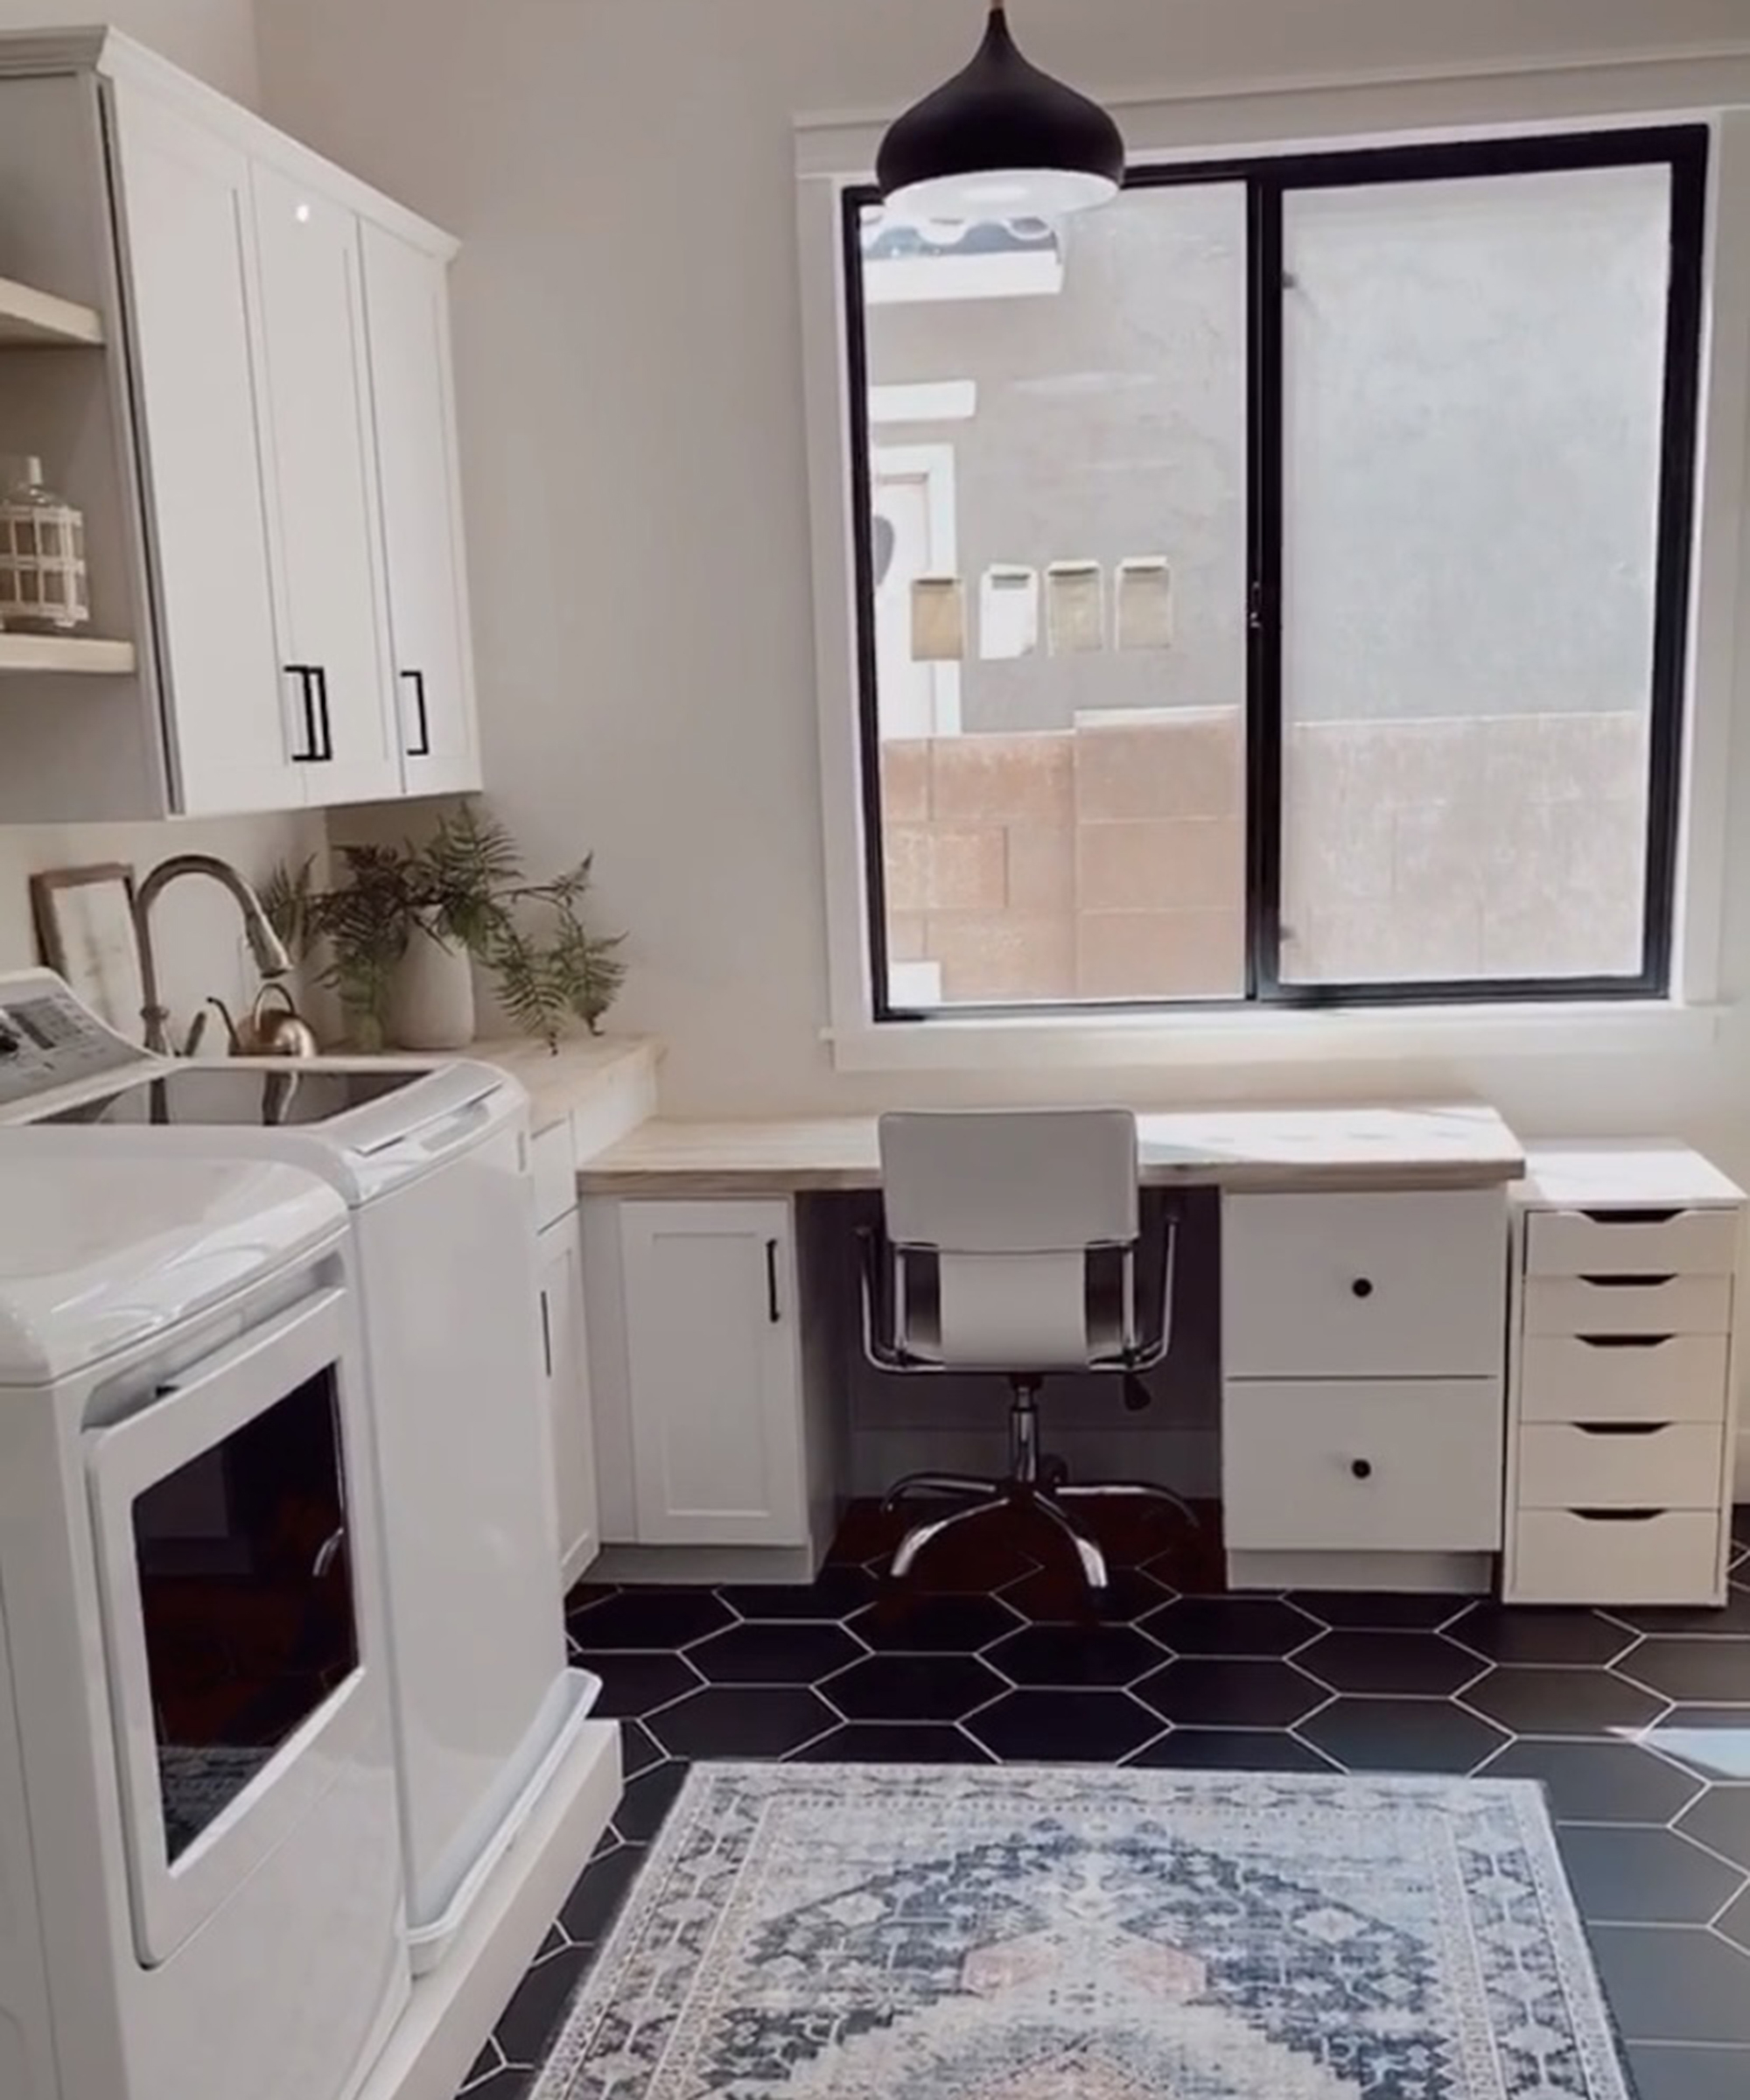
1. Start with a plumb line
With all wallpaper projects you want to start with a level vertical line. This is referred to as a plumb line. It ensures that your wallpaper starts out level and will remain level and even with subsequent panels.
There are a couple ways to do this. You can use a large level, or a laser level. I then measure the width of my wallpaper (it’s typically between 20-22”) and subtract 1” from that measurement. Then I mark that measurement on the wall where I want to begin. This is typically in the left corner of your wall.
Get small space home decor ideas, celeb inspiration, DIY tips and more, straight to your inbox!
2. Know the match type of your wallpaper
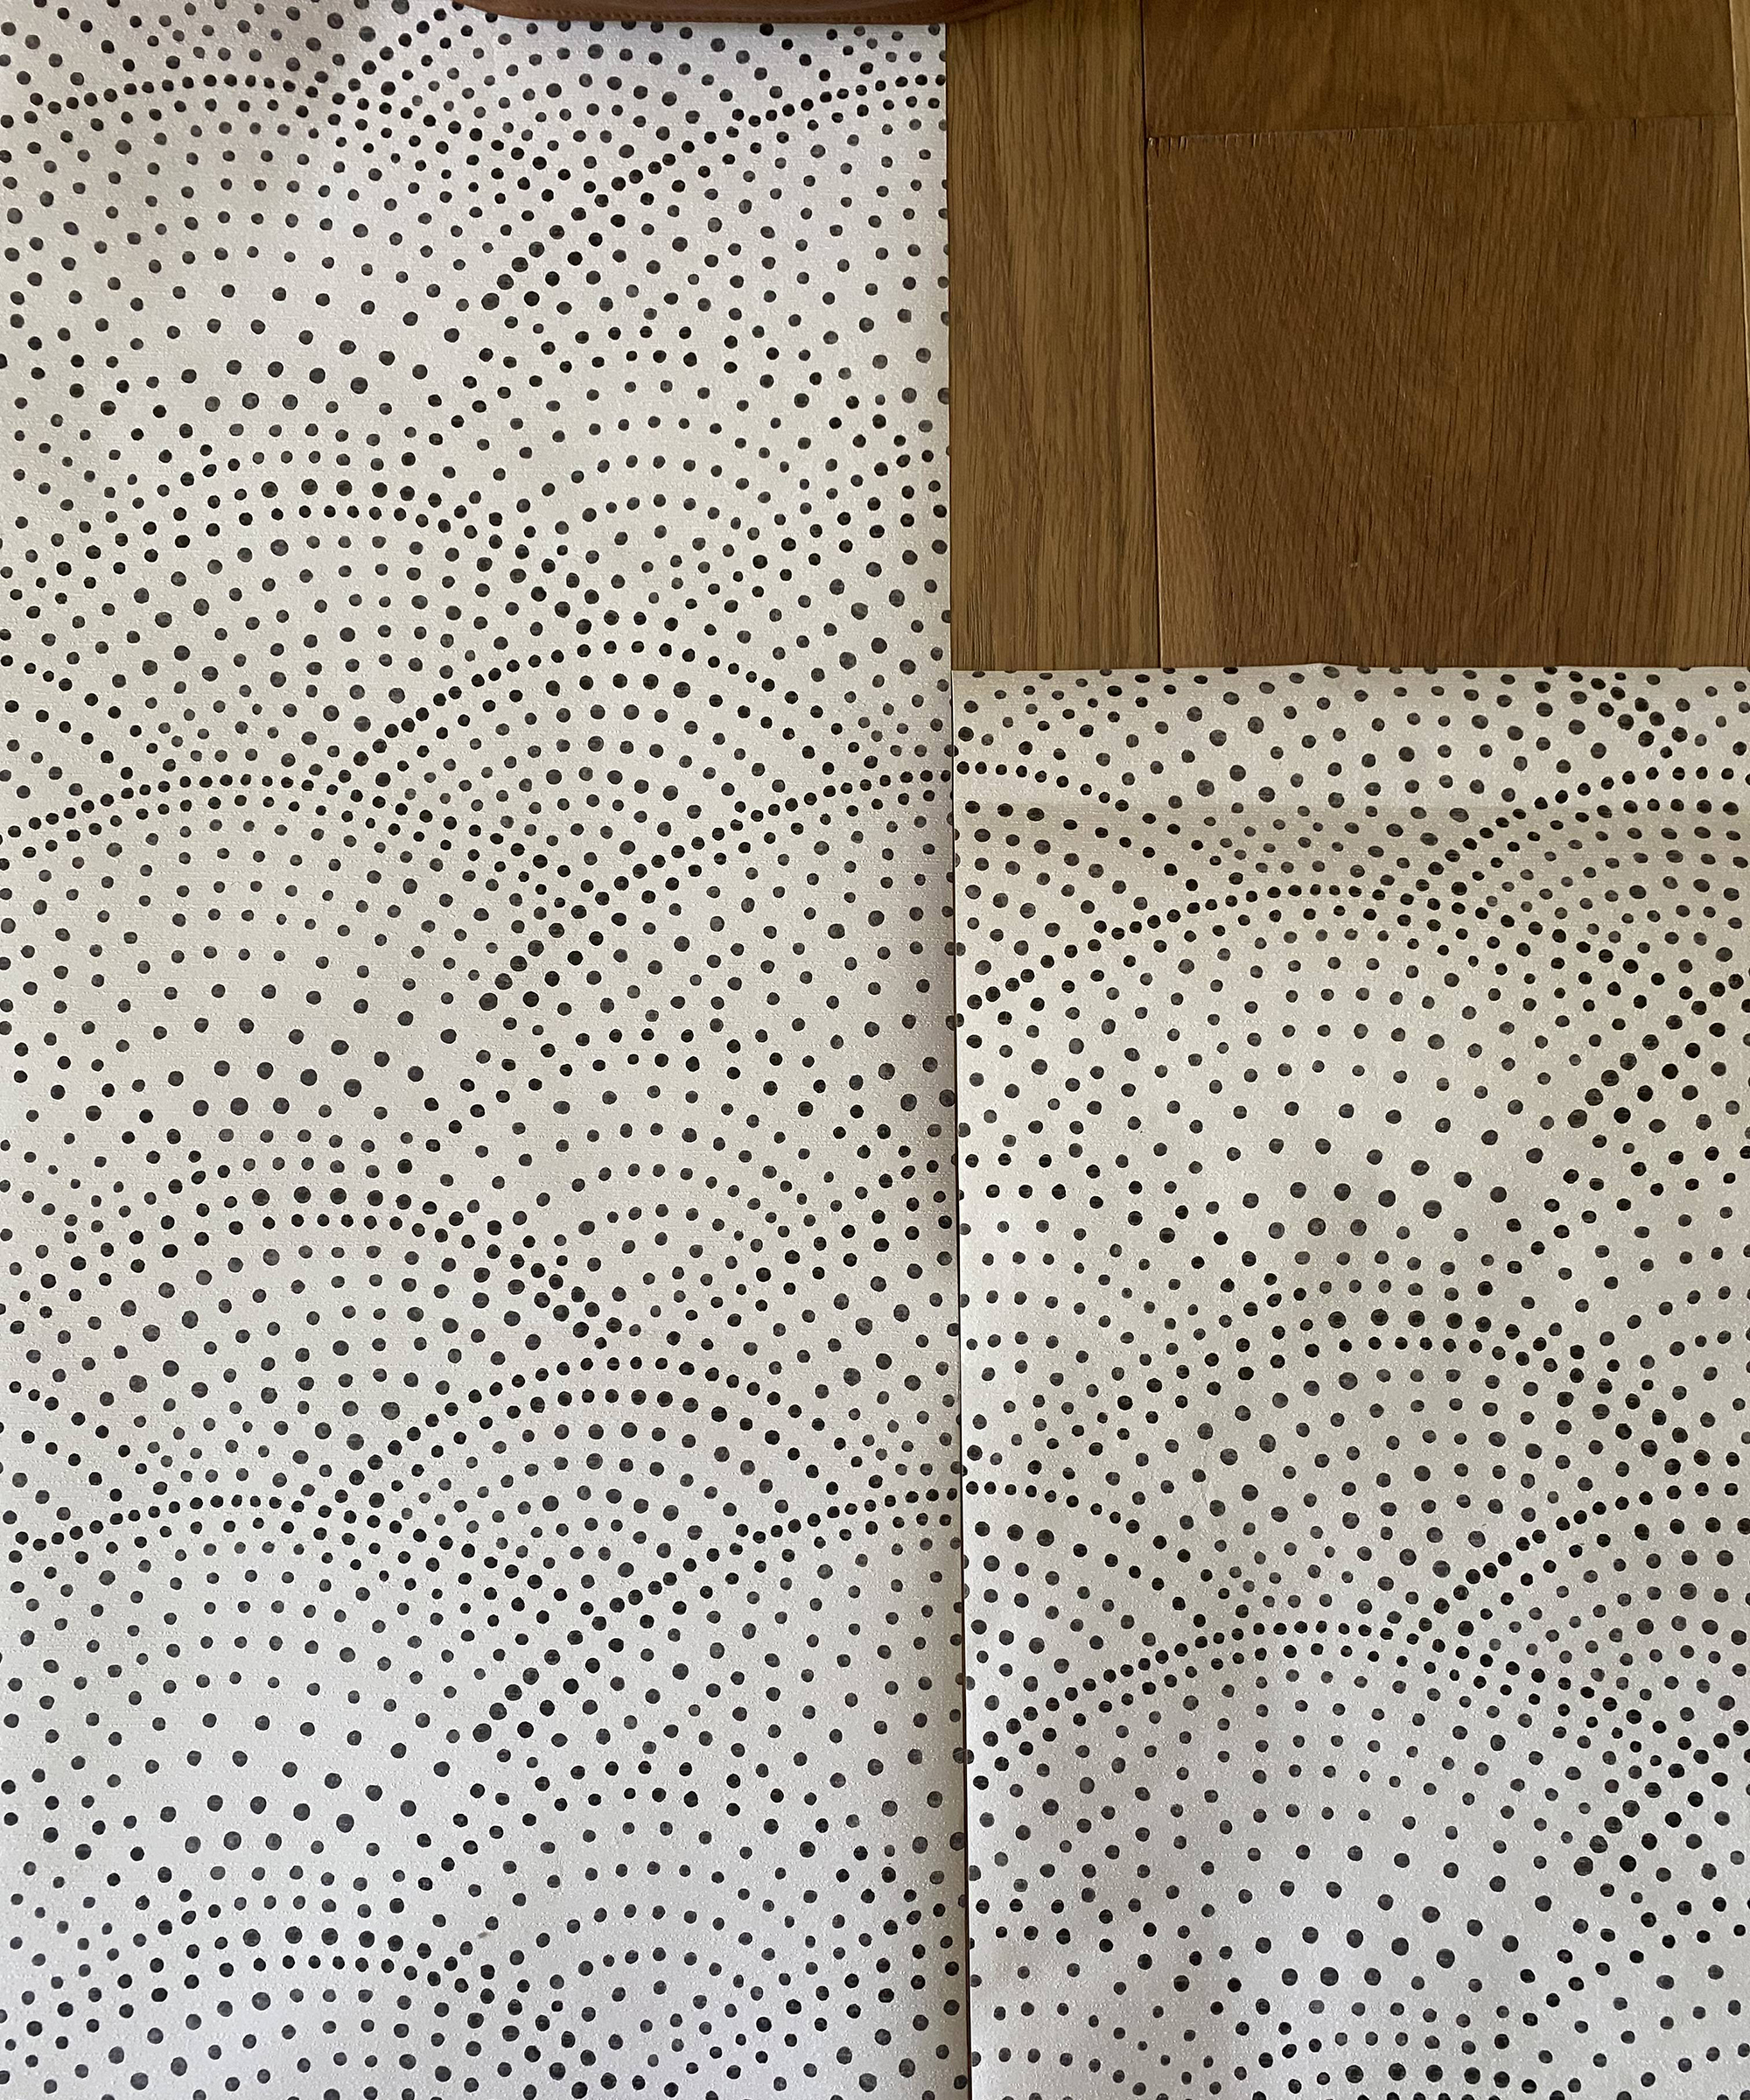
Pro tip: Always know the MATCH TYPE of your particular wallpaper. A straight match means that all the panels will line up the same at the ceiling. A drop match is when the print in the panel runs diagonally across the wall. It takes three panels to complete the design, meaning that you have to cut three panels from your wallpaper to complete the design. I wish I knew this when I first started installing wallpaper... It would have saved me a ton of waste from my wallpaper rolls.
3. Pre cut your panels, always
Pre-cutting your panels beforehand can be a lifesaver! When rolling out your panels, line up the second drop with the first and then roll the wallpaper out with the length you need to cover the wall, allowing 3-4” for waste. I cut each panel height of the wall using the drop method I described above.
4. Start in the right place
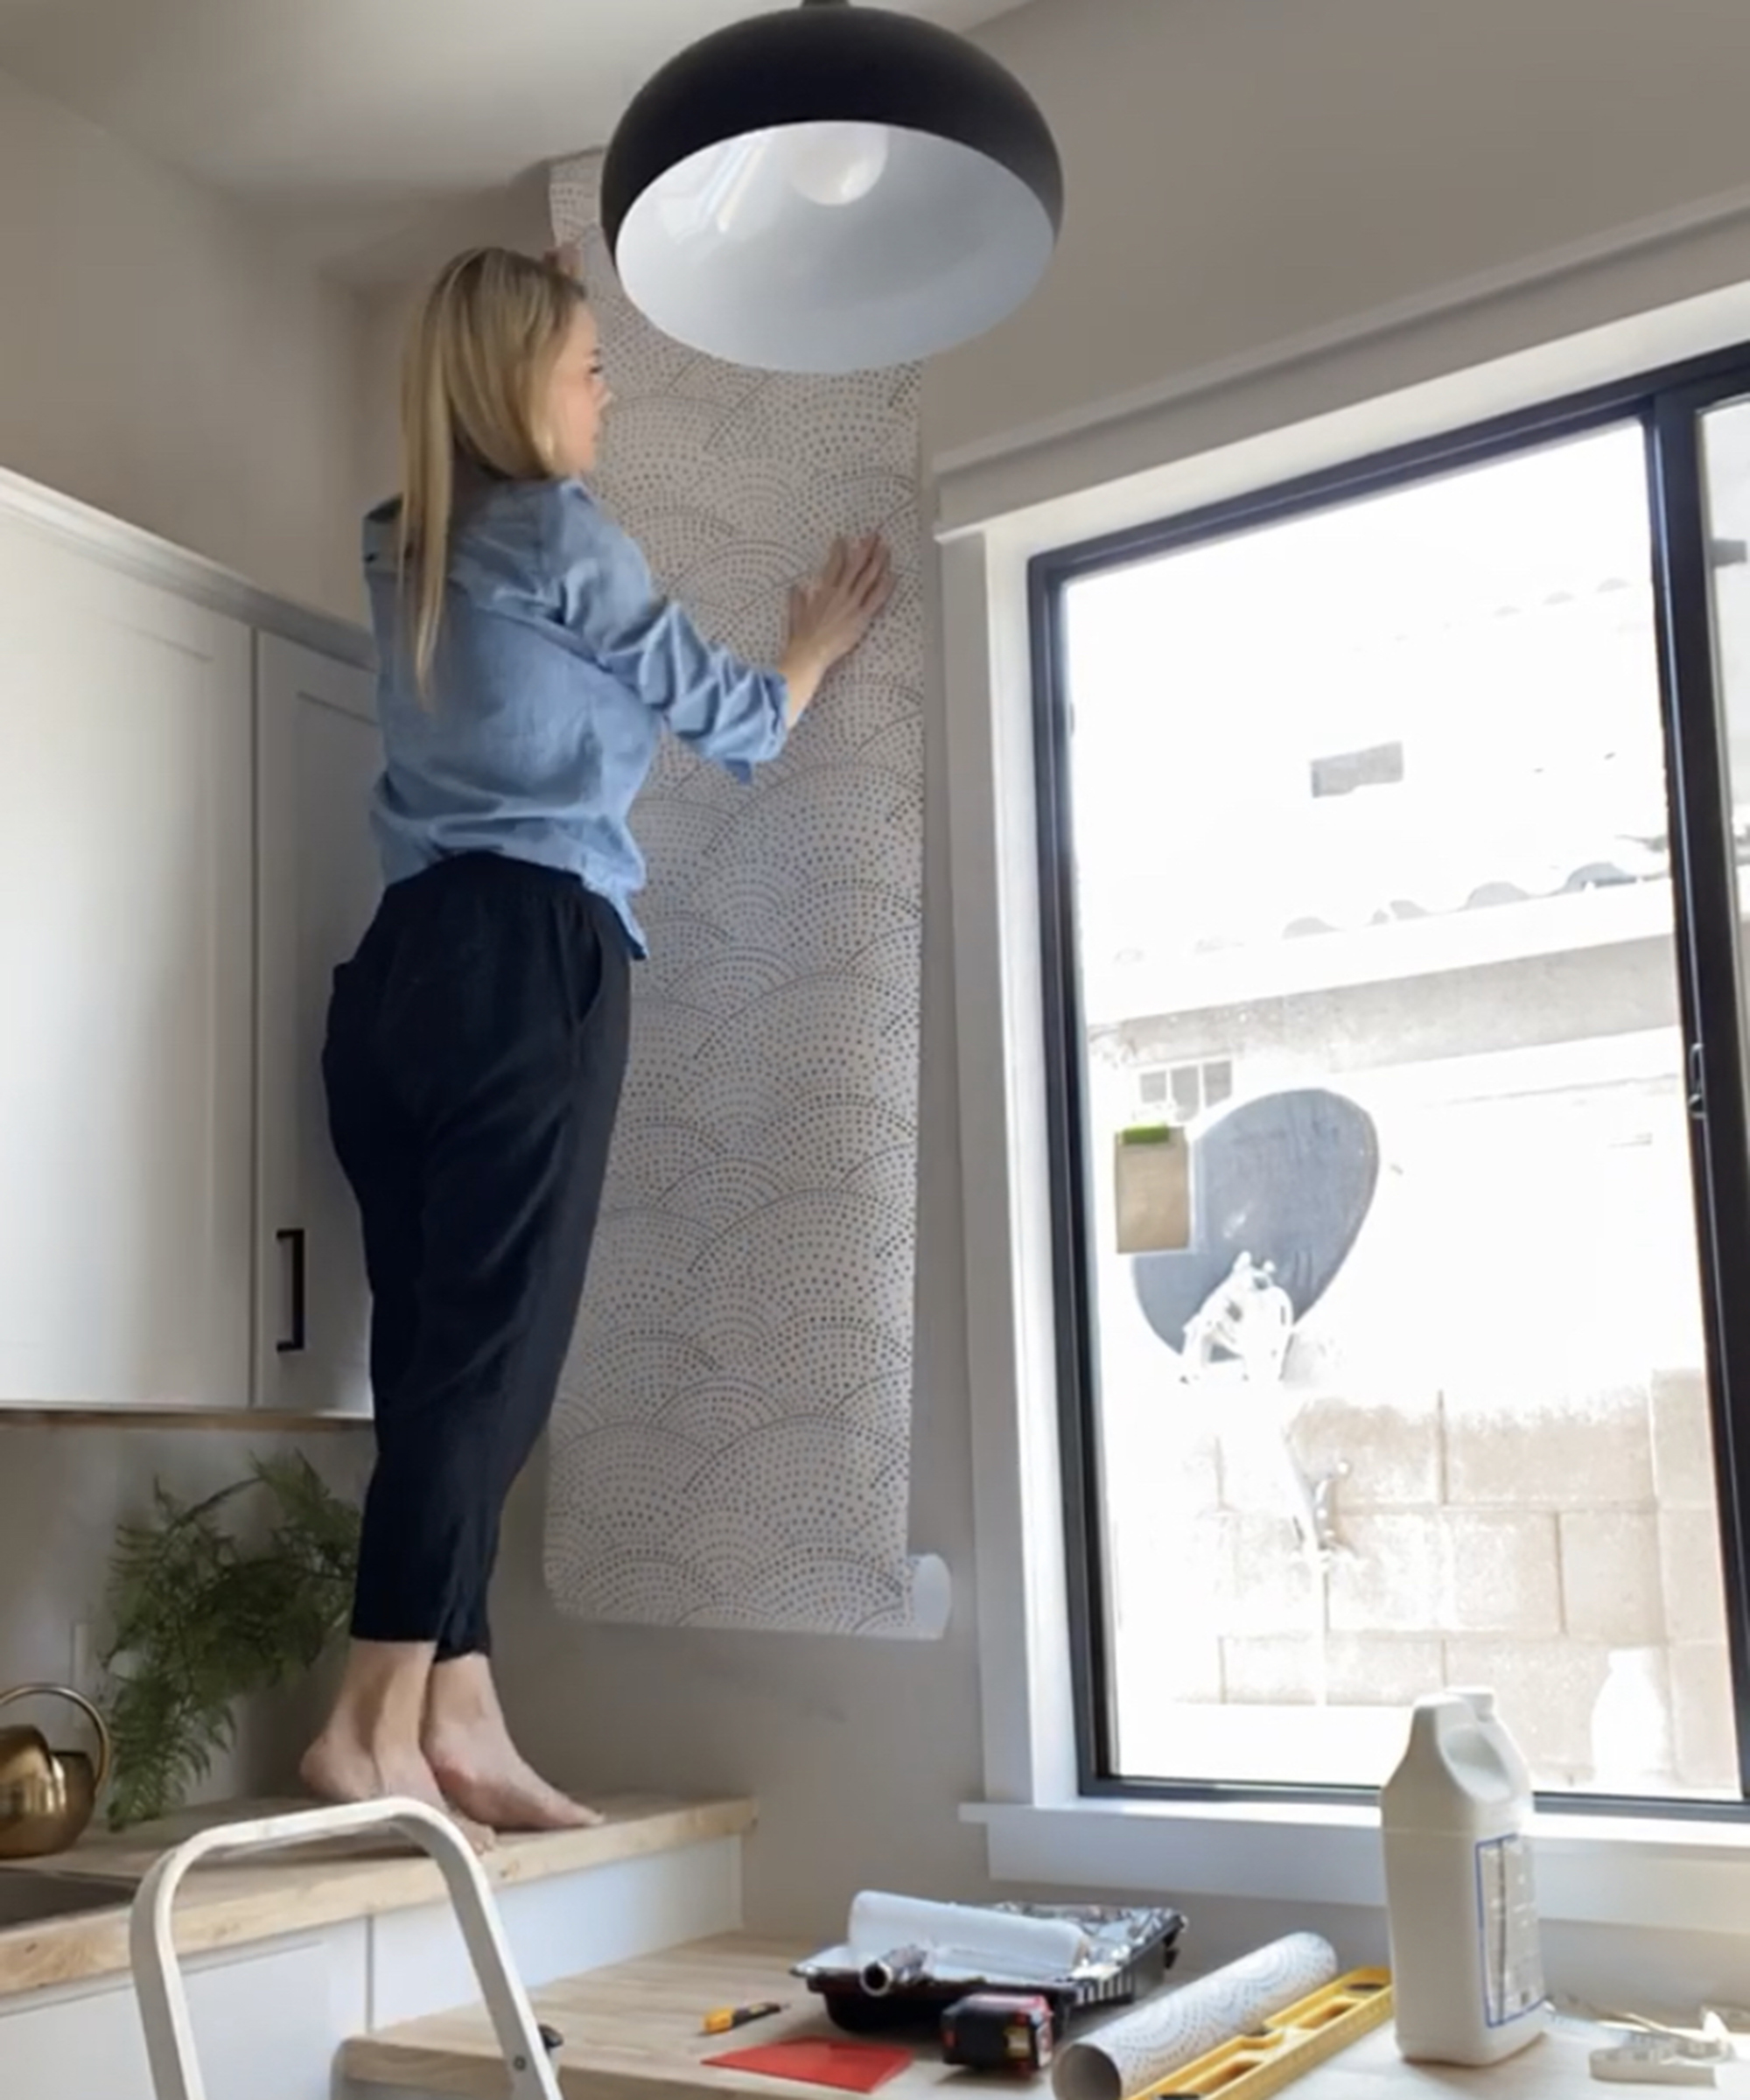
With this project I actually adhered my first panel to the left of the window, against the trim using a paint roller and wallpaper paste. Since I installed this trim myself, I knew that it was level. It gave the paper a good level starting point.
The reason I didn’t start in the left-hand corner of the wall was because of the built-in cabinetry. I knew that it would take a lot of patience to wallpaper around this and I wanted to make sure that my second panel, which I would have to maneuver around many corners, met up with the first panel accurately.
5. Work around the object
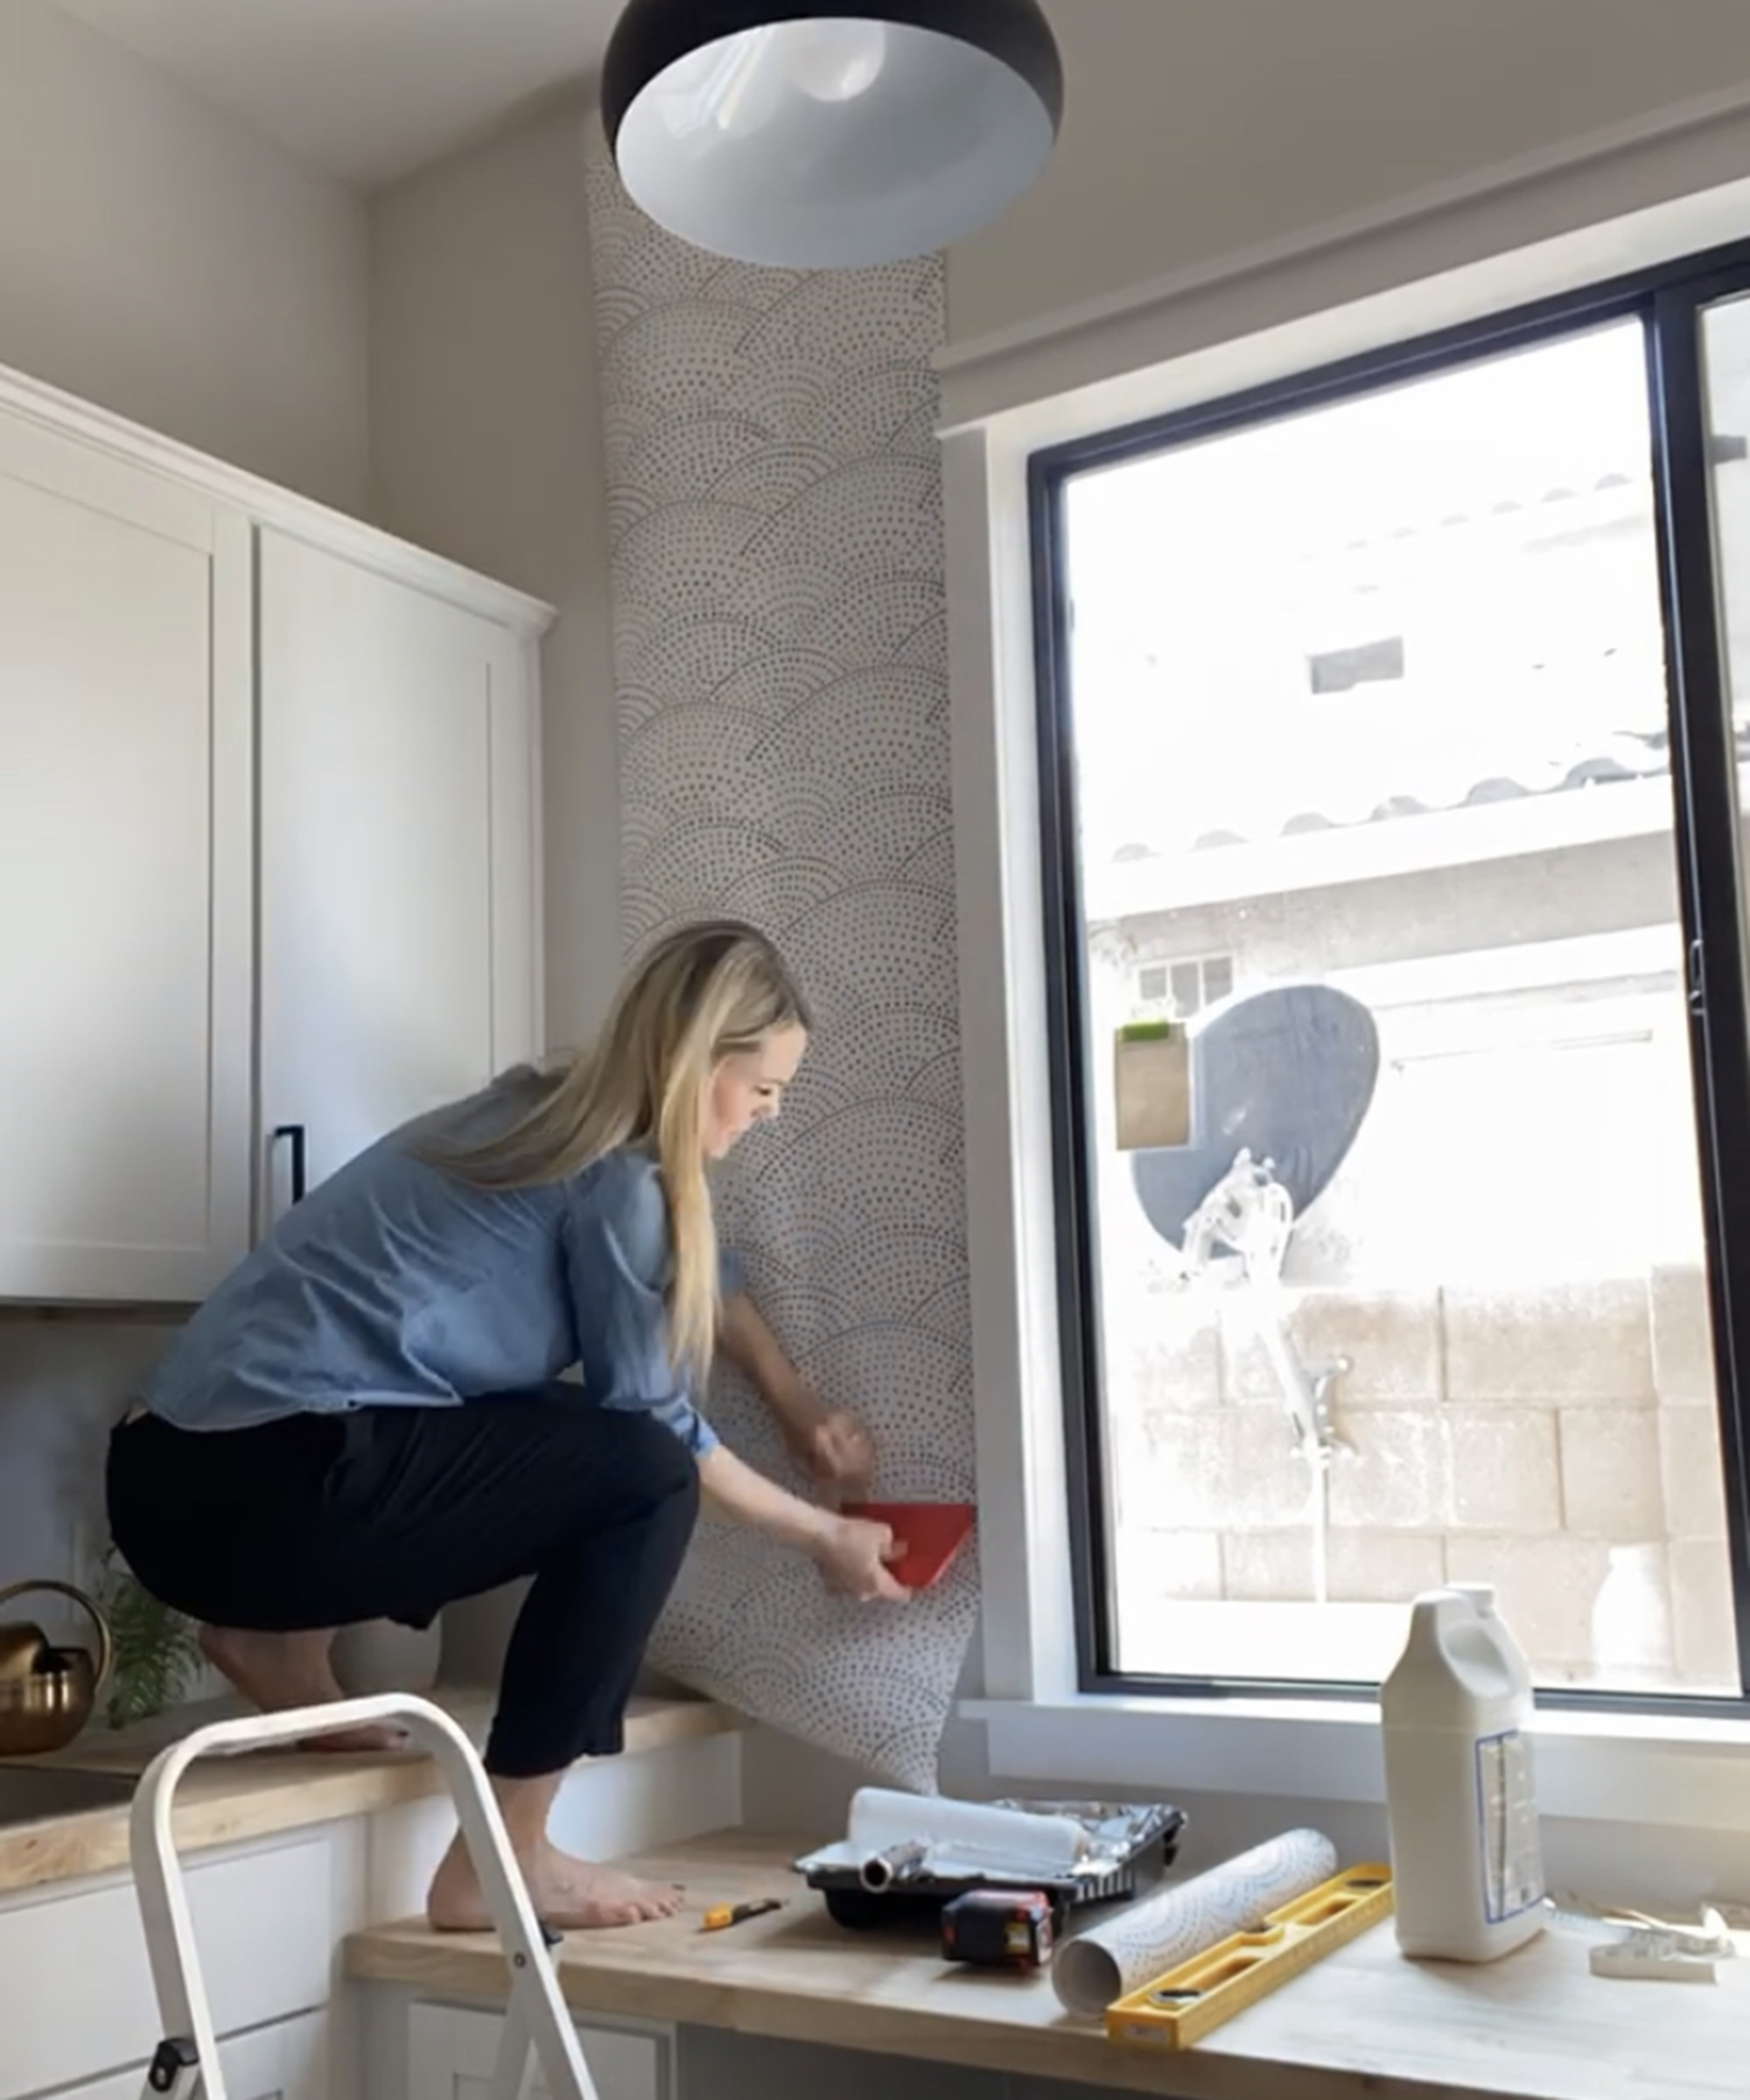
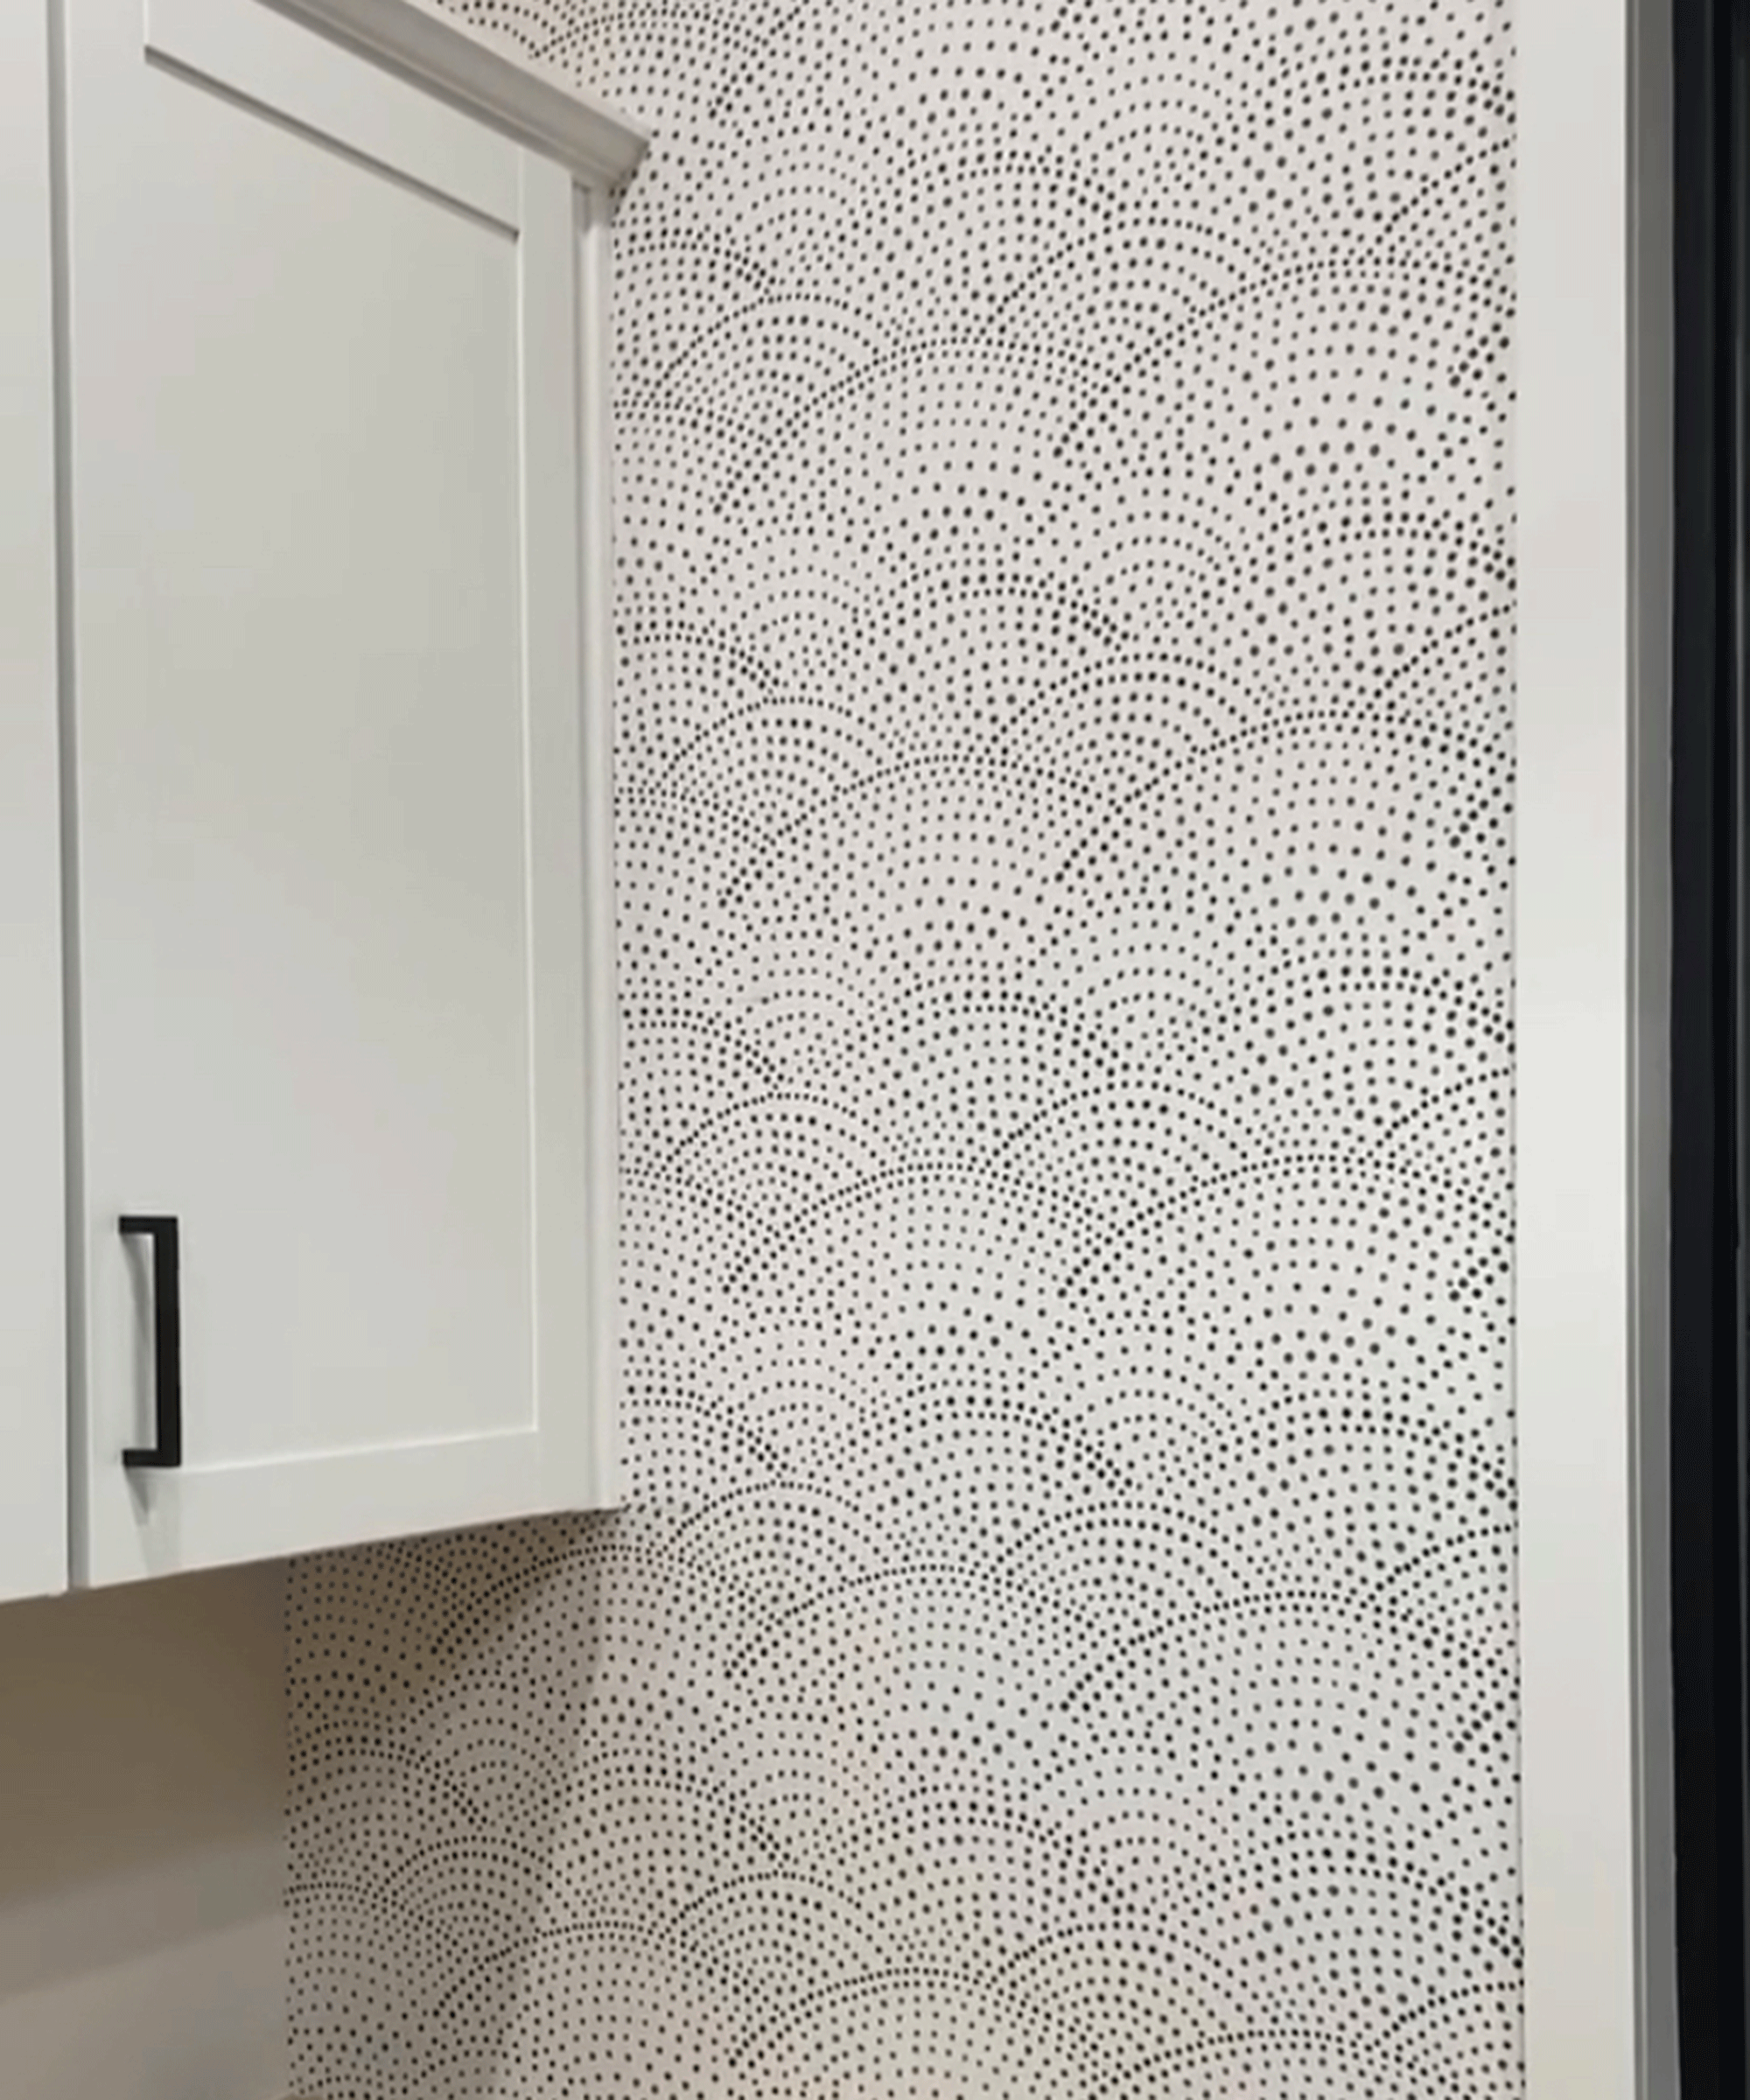
Once this panel was up, I started on the panel that would go around the cabinets. I measured the distance from the left corner of the wall to the plumb line both above and below the cabinet and ended up using the exact width of wallpaper (20.5”) for this section.
6. Be precise when cutting the wallpaper
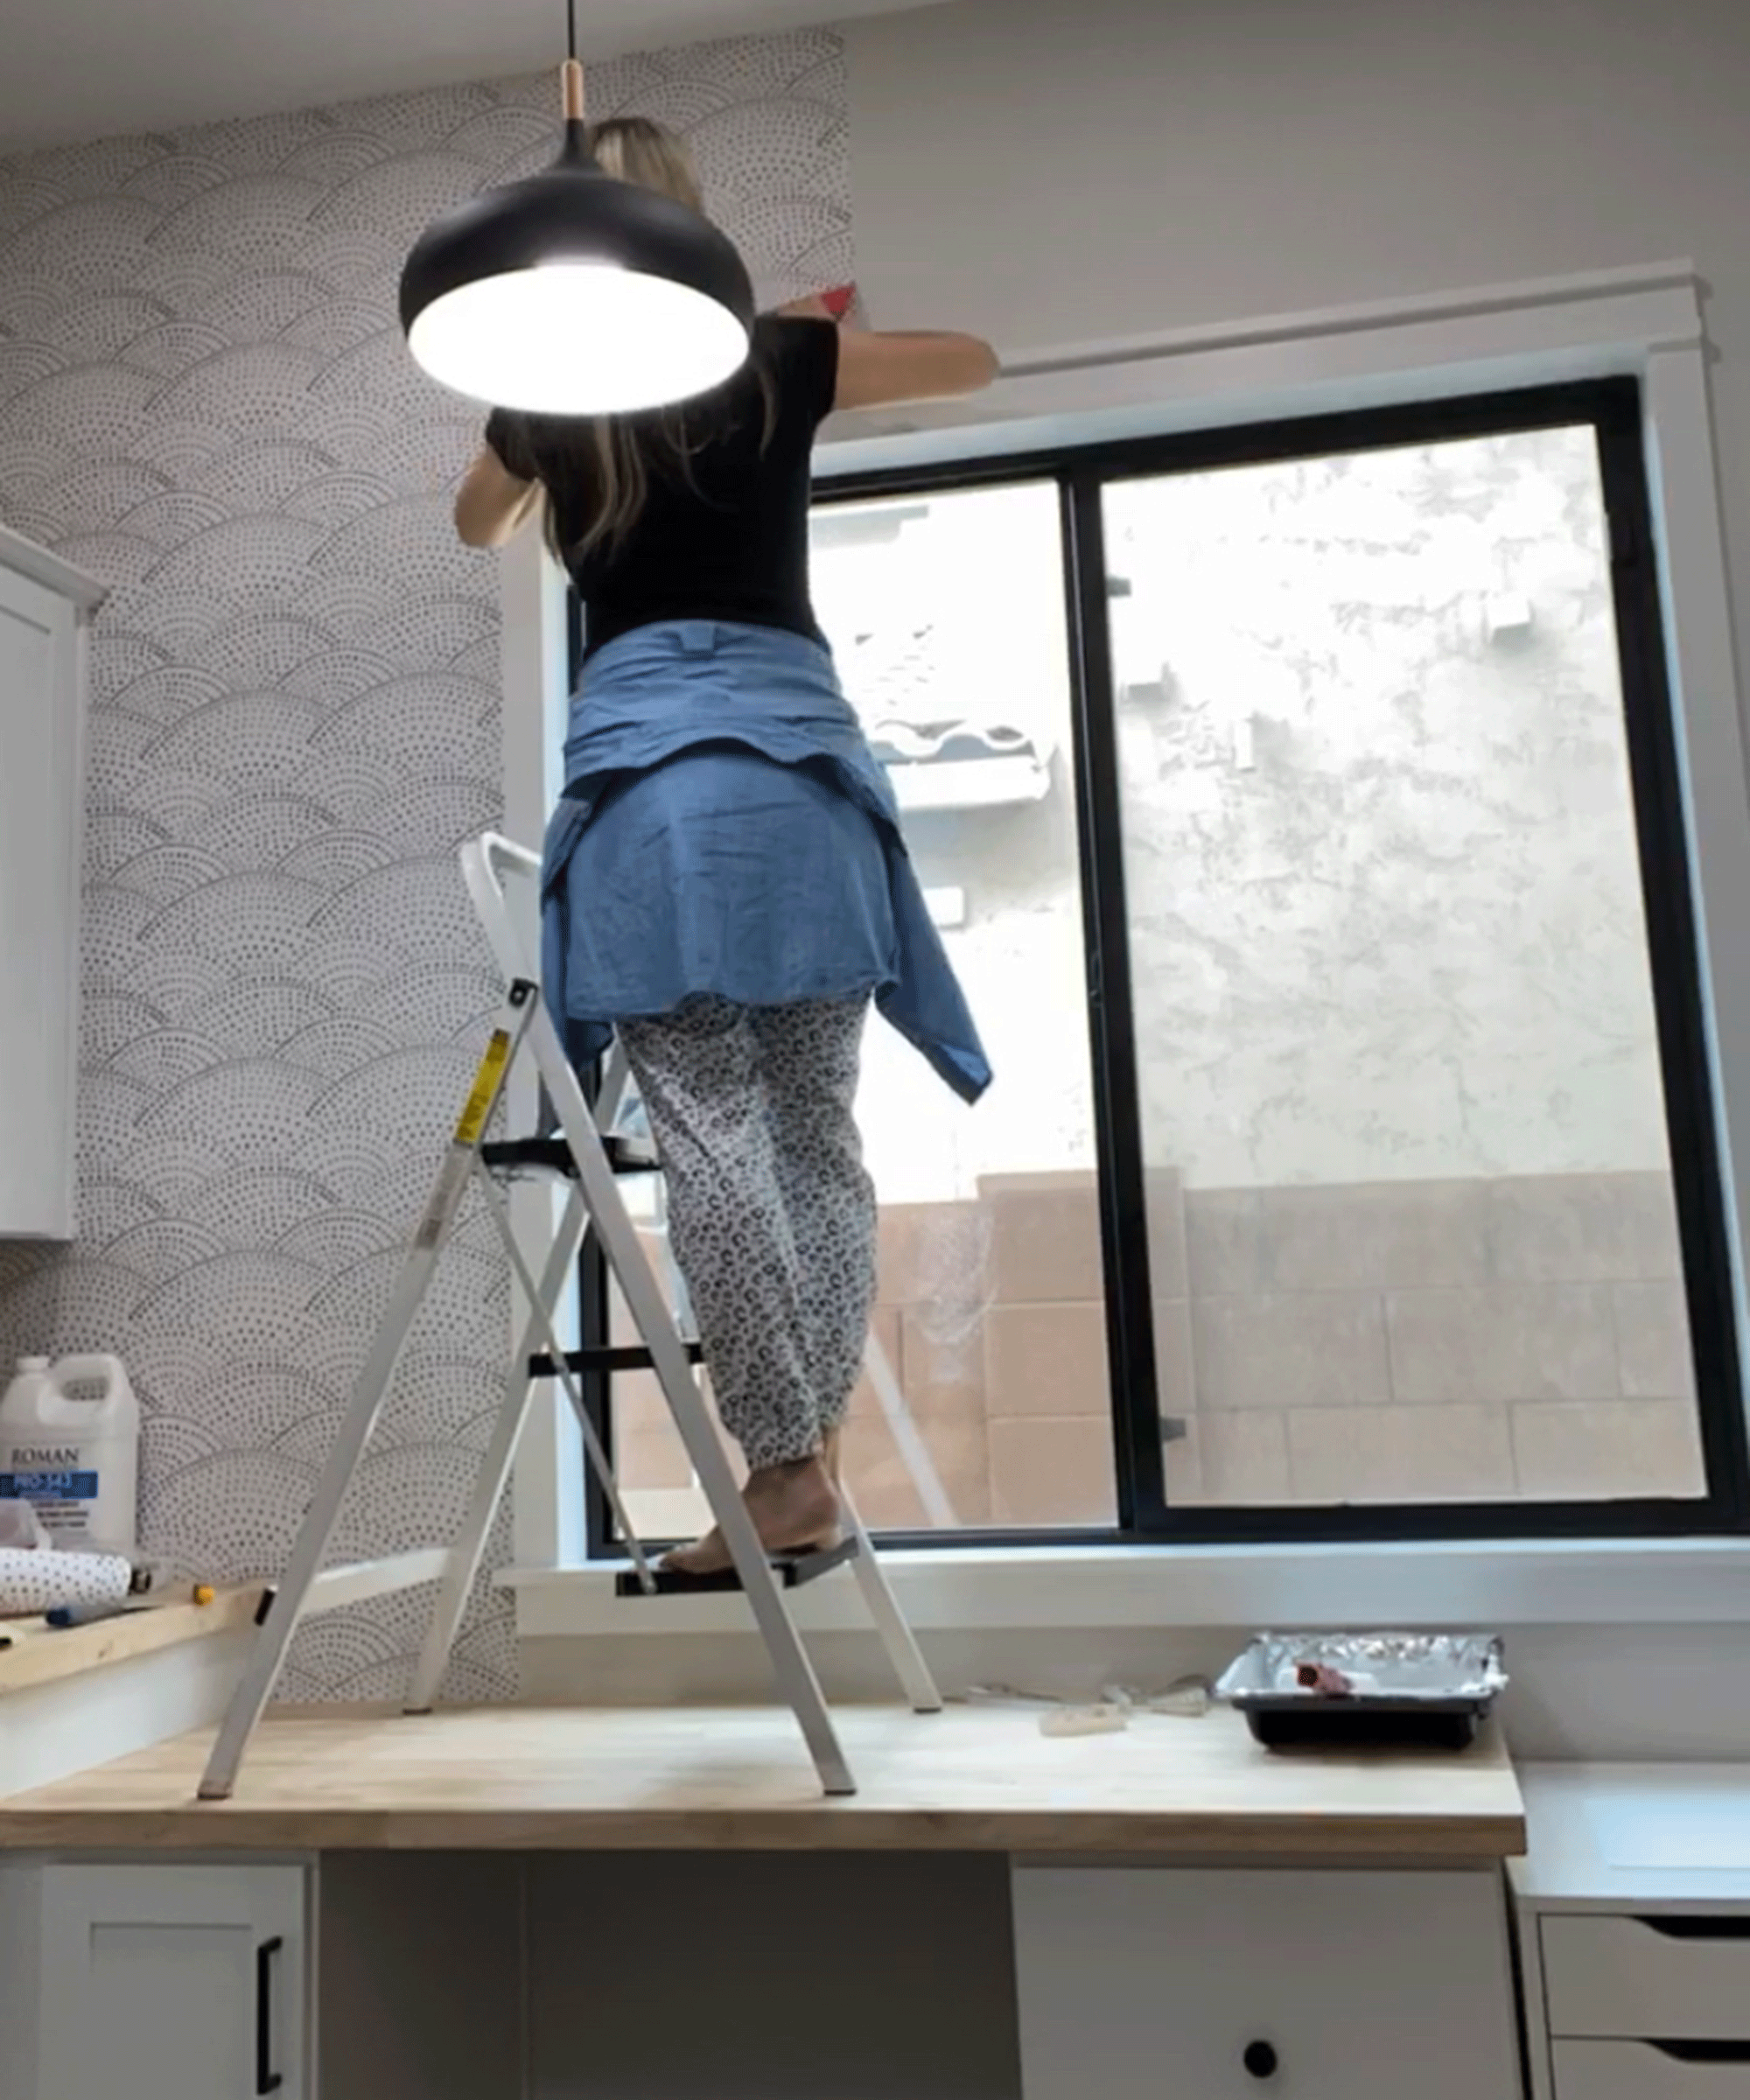
When my paper reached the top of the cabinet on the upper portion I cut a line in the paper the exact width of the cabinet (12”) and ran my Exacto knife along the paper against the edge of the cabinet and discarded the extra. I did the same thing at the bottom of the cabinet, cutting a 12” line in the paper so that it wrapped underneath the upper cabinet. Using a straight edge, I cut the excess paper at the bottom where the butcher block cabinet started.
7. Work with your design
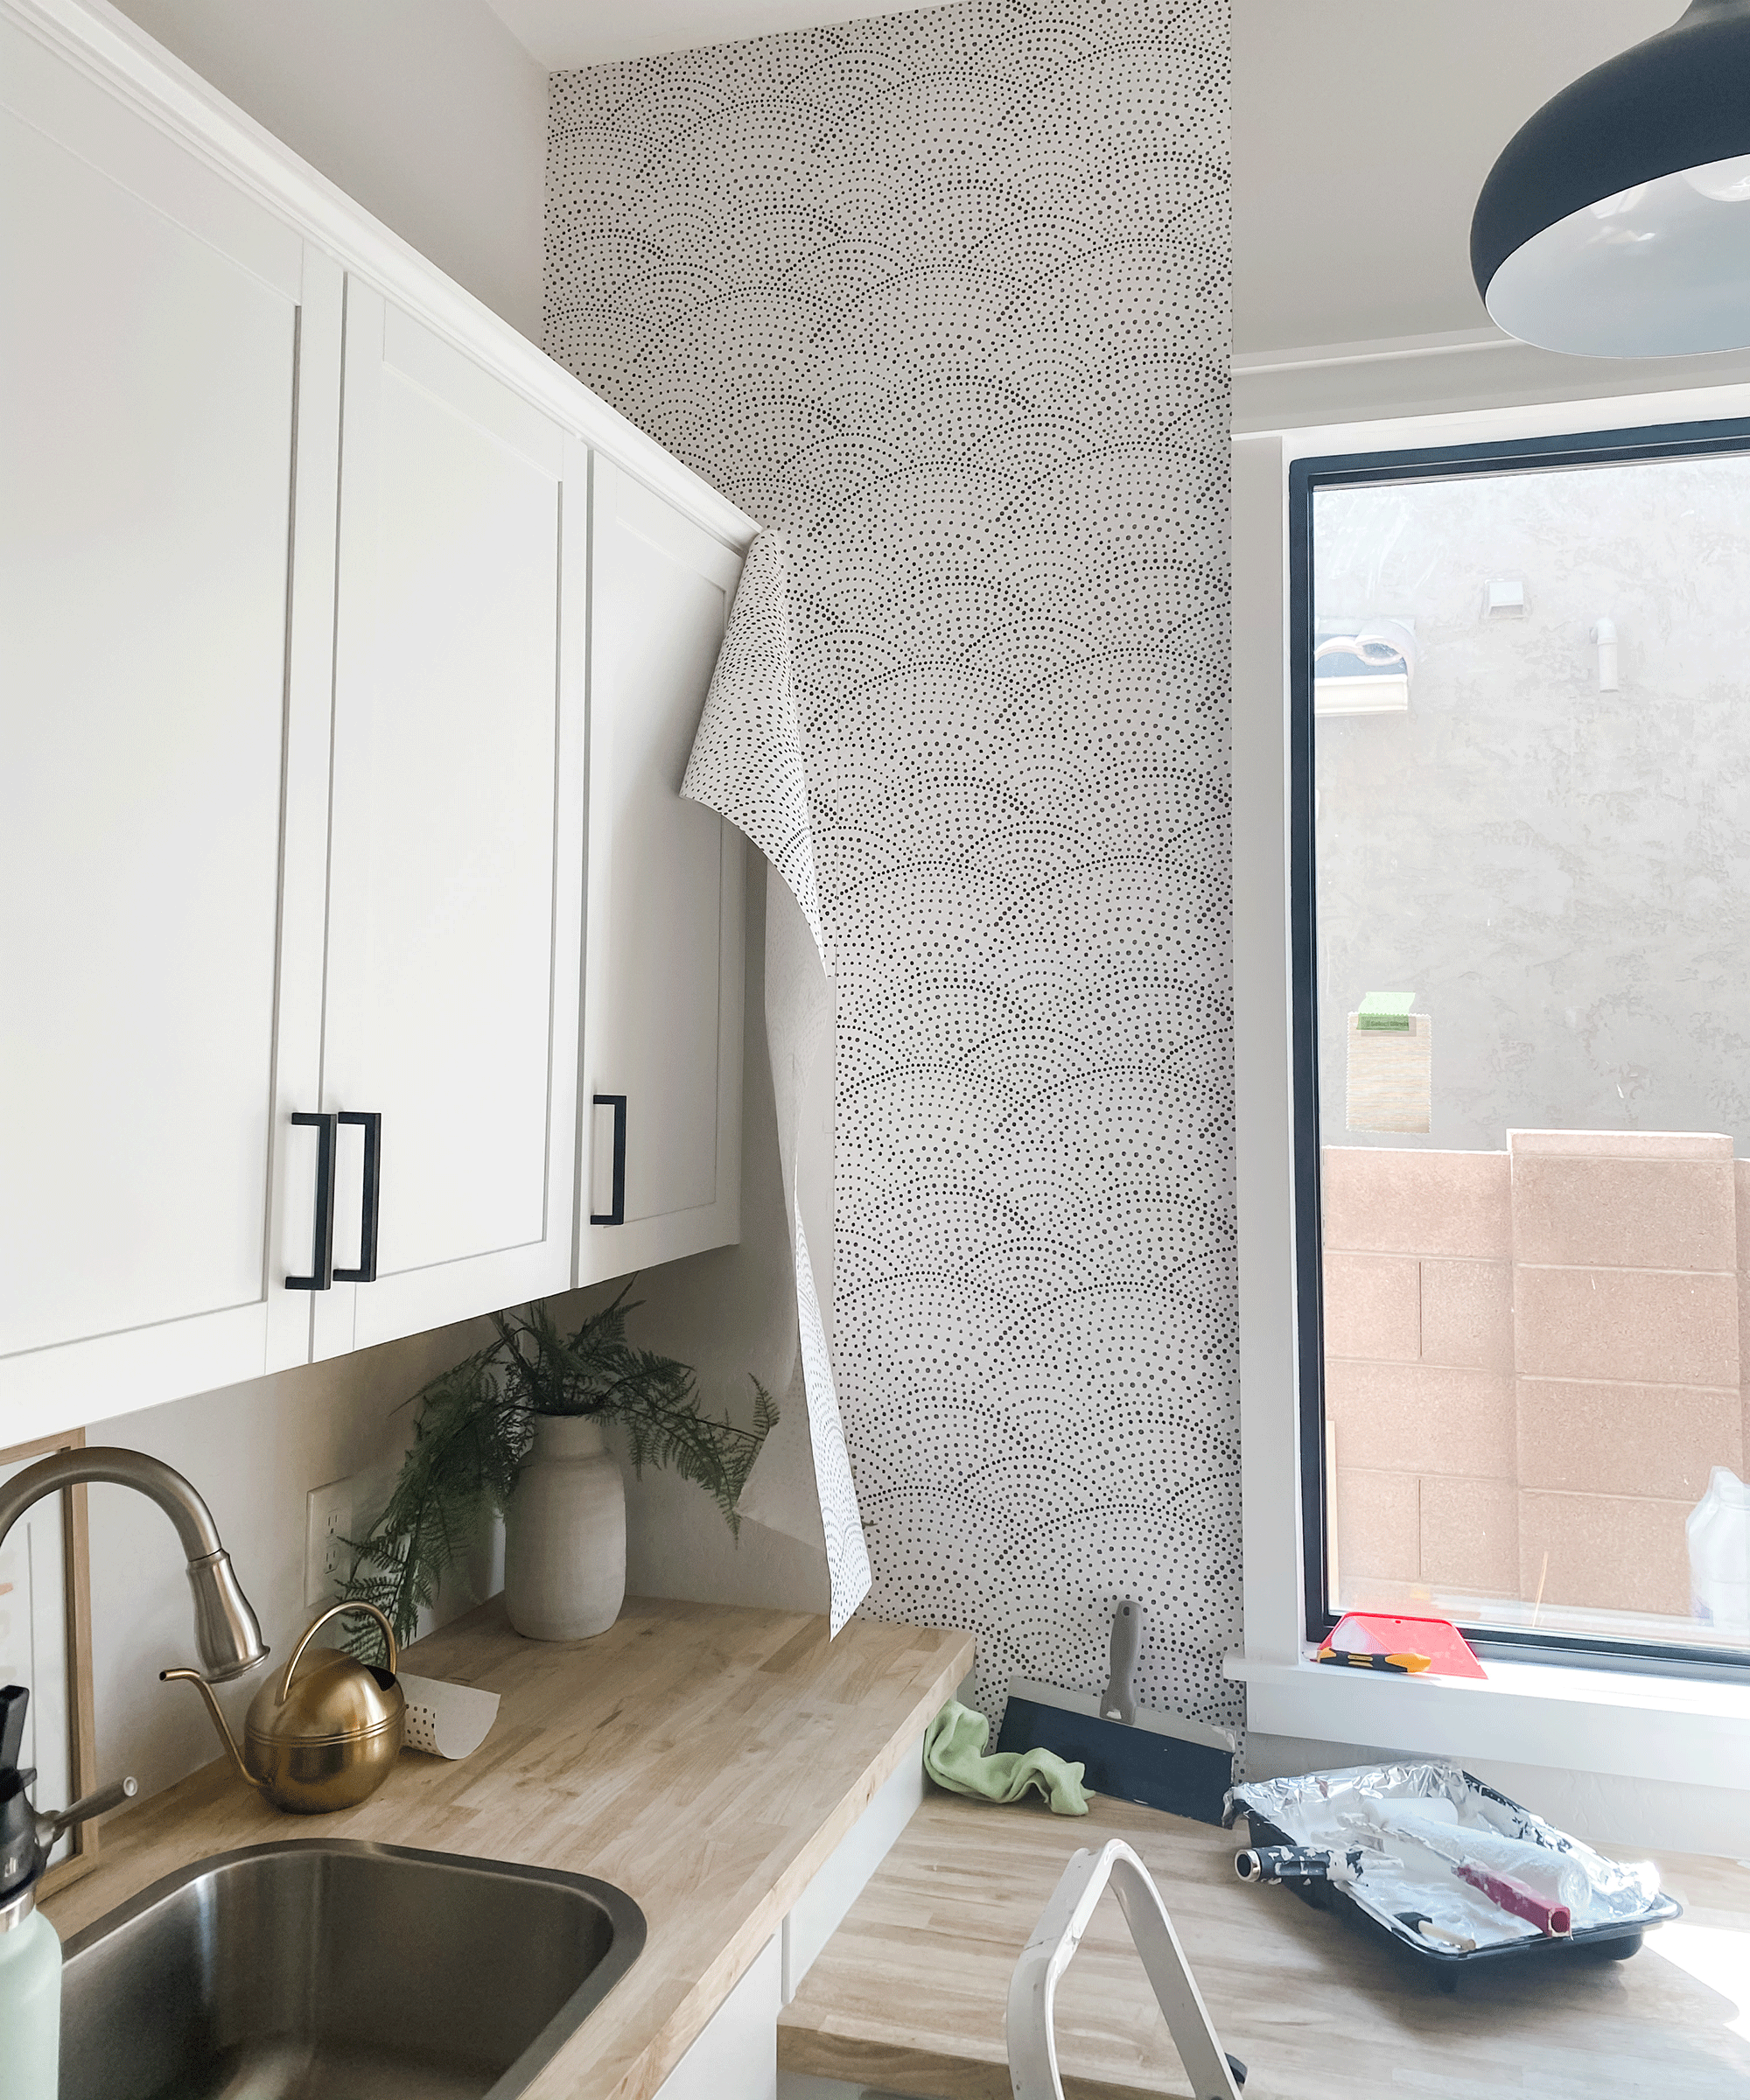
When it came to wallpapering the window, I lined up a panel of wallpaper with the first panel I installed against the trim. The design needs to meet at the top and bottom of the window with the previous panel installed.
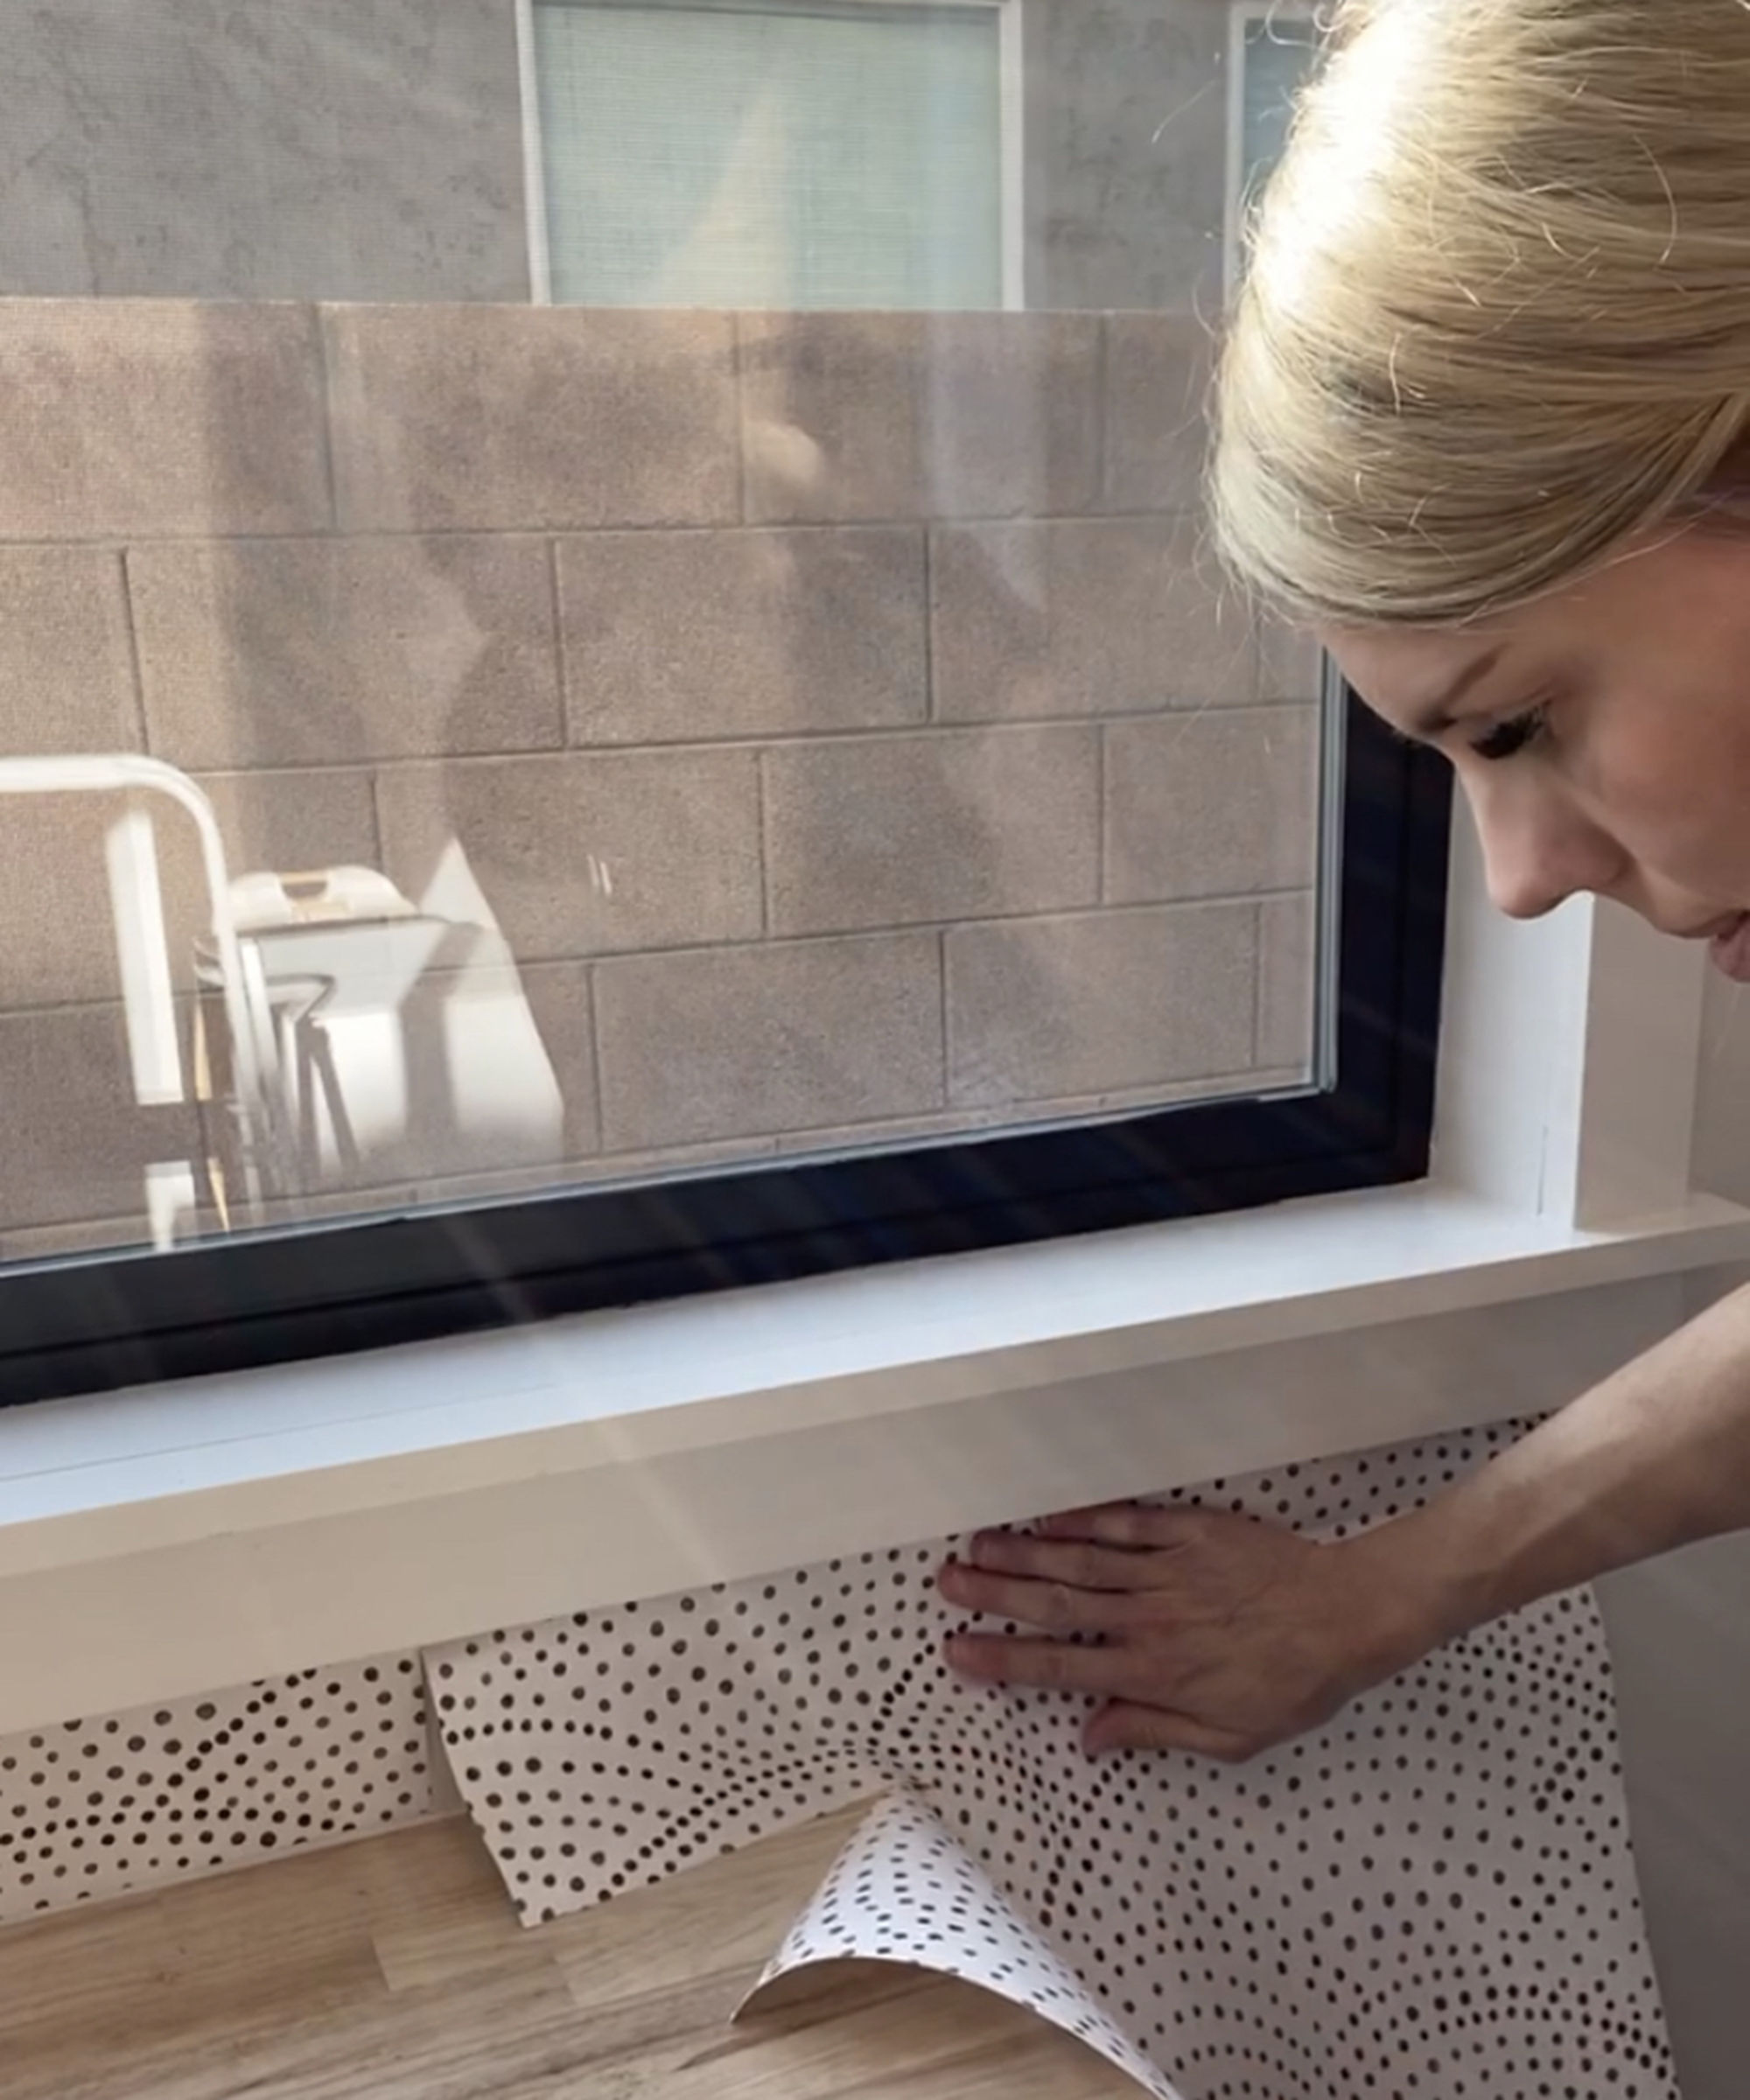
8. Measure twice cut once
Next, I need to wrap the wallpaper around the built-in desk. I sometimes compare this to wrapping a trapezoid! It involves a little bit of measuring and a LOT of patience.
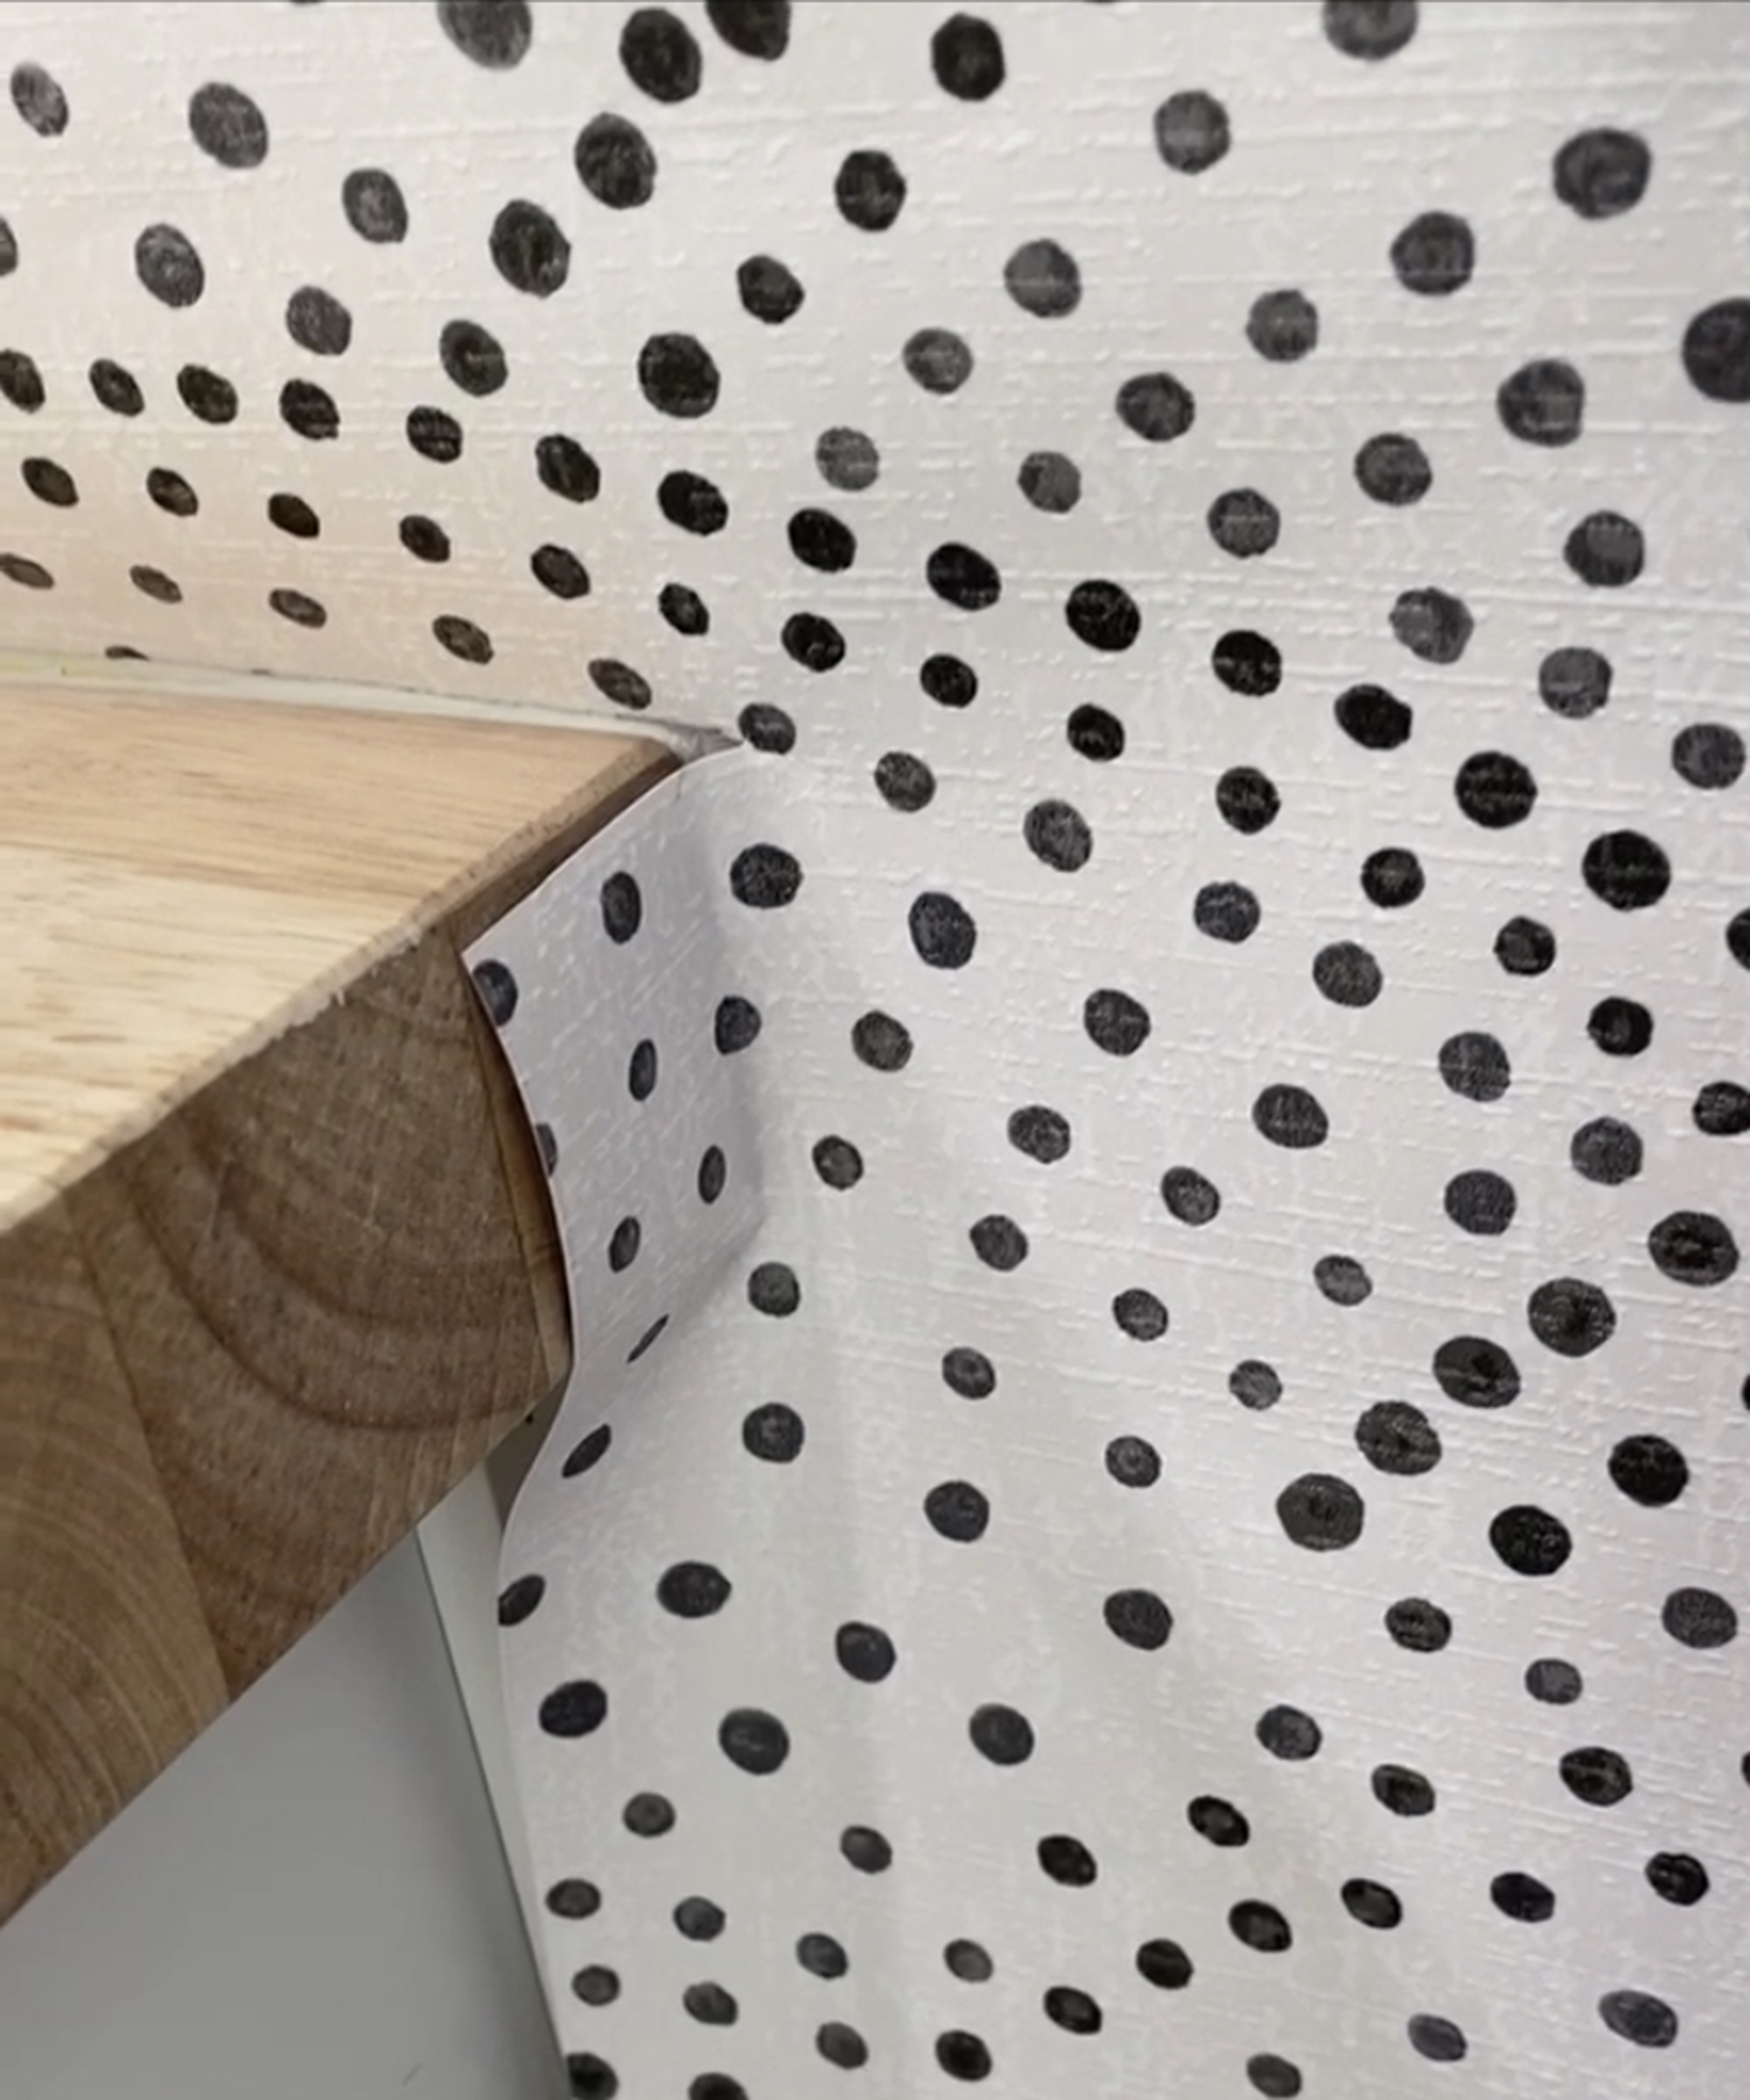
With the panel going around the desk, I measured how much space I had from the beginning of the panel to the end of the desk which was 6-⅞” and cut the panel to that distance.
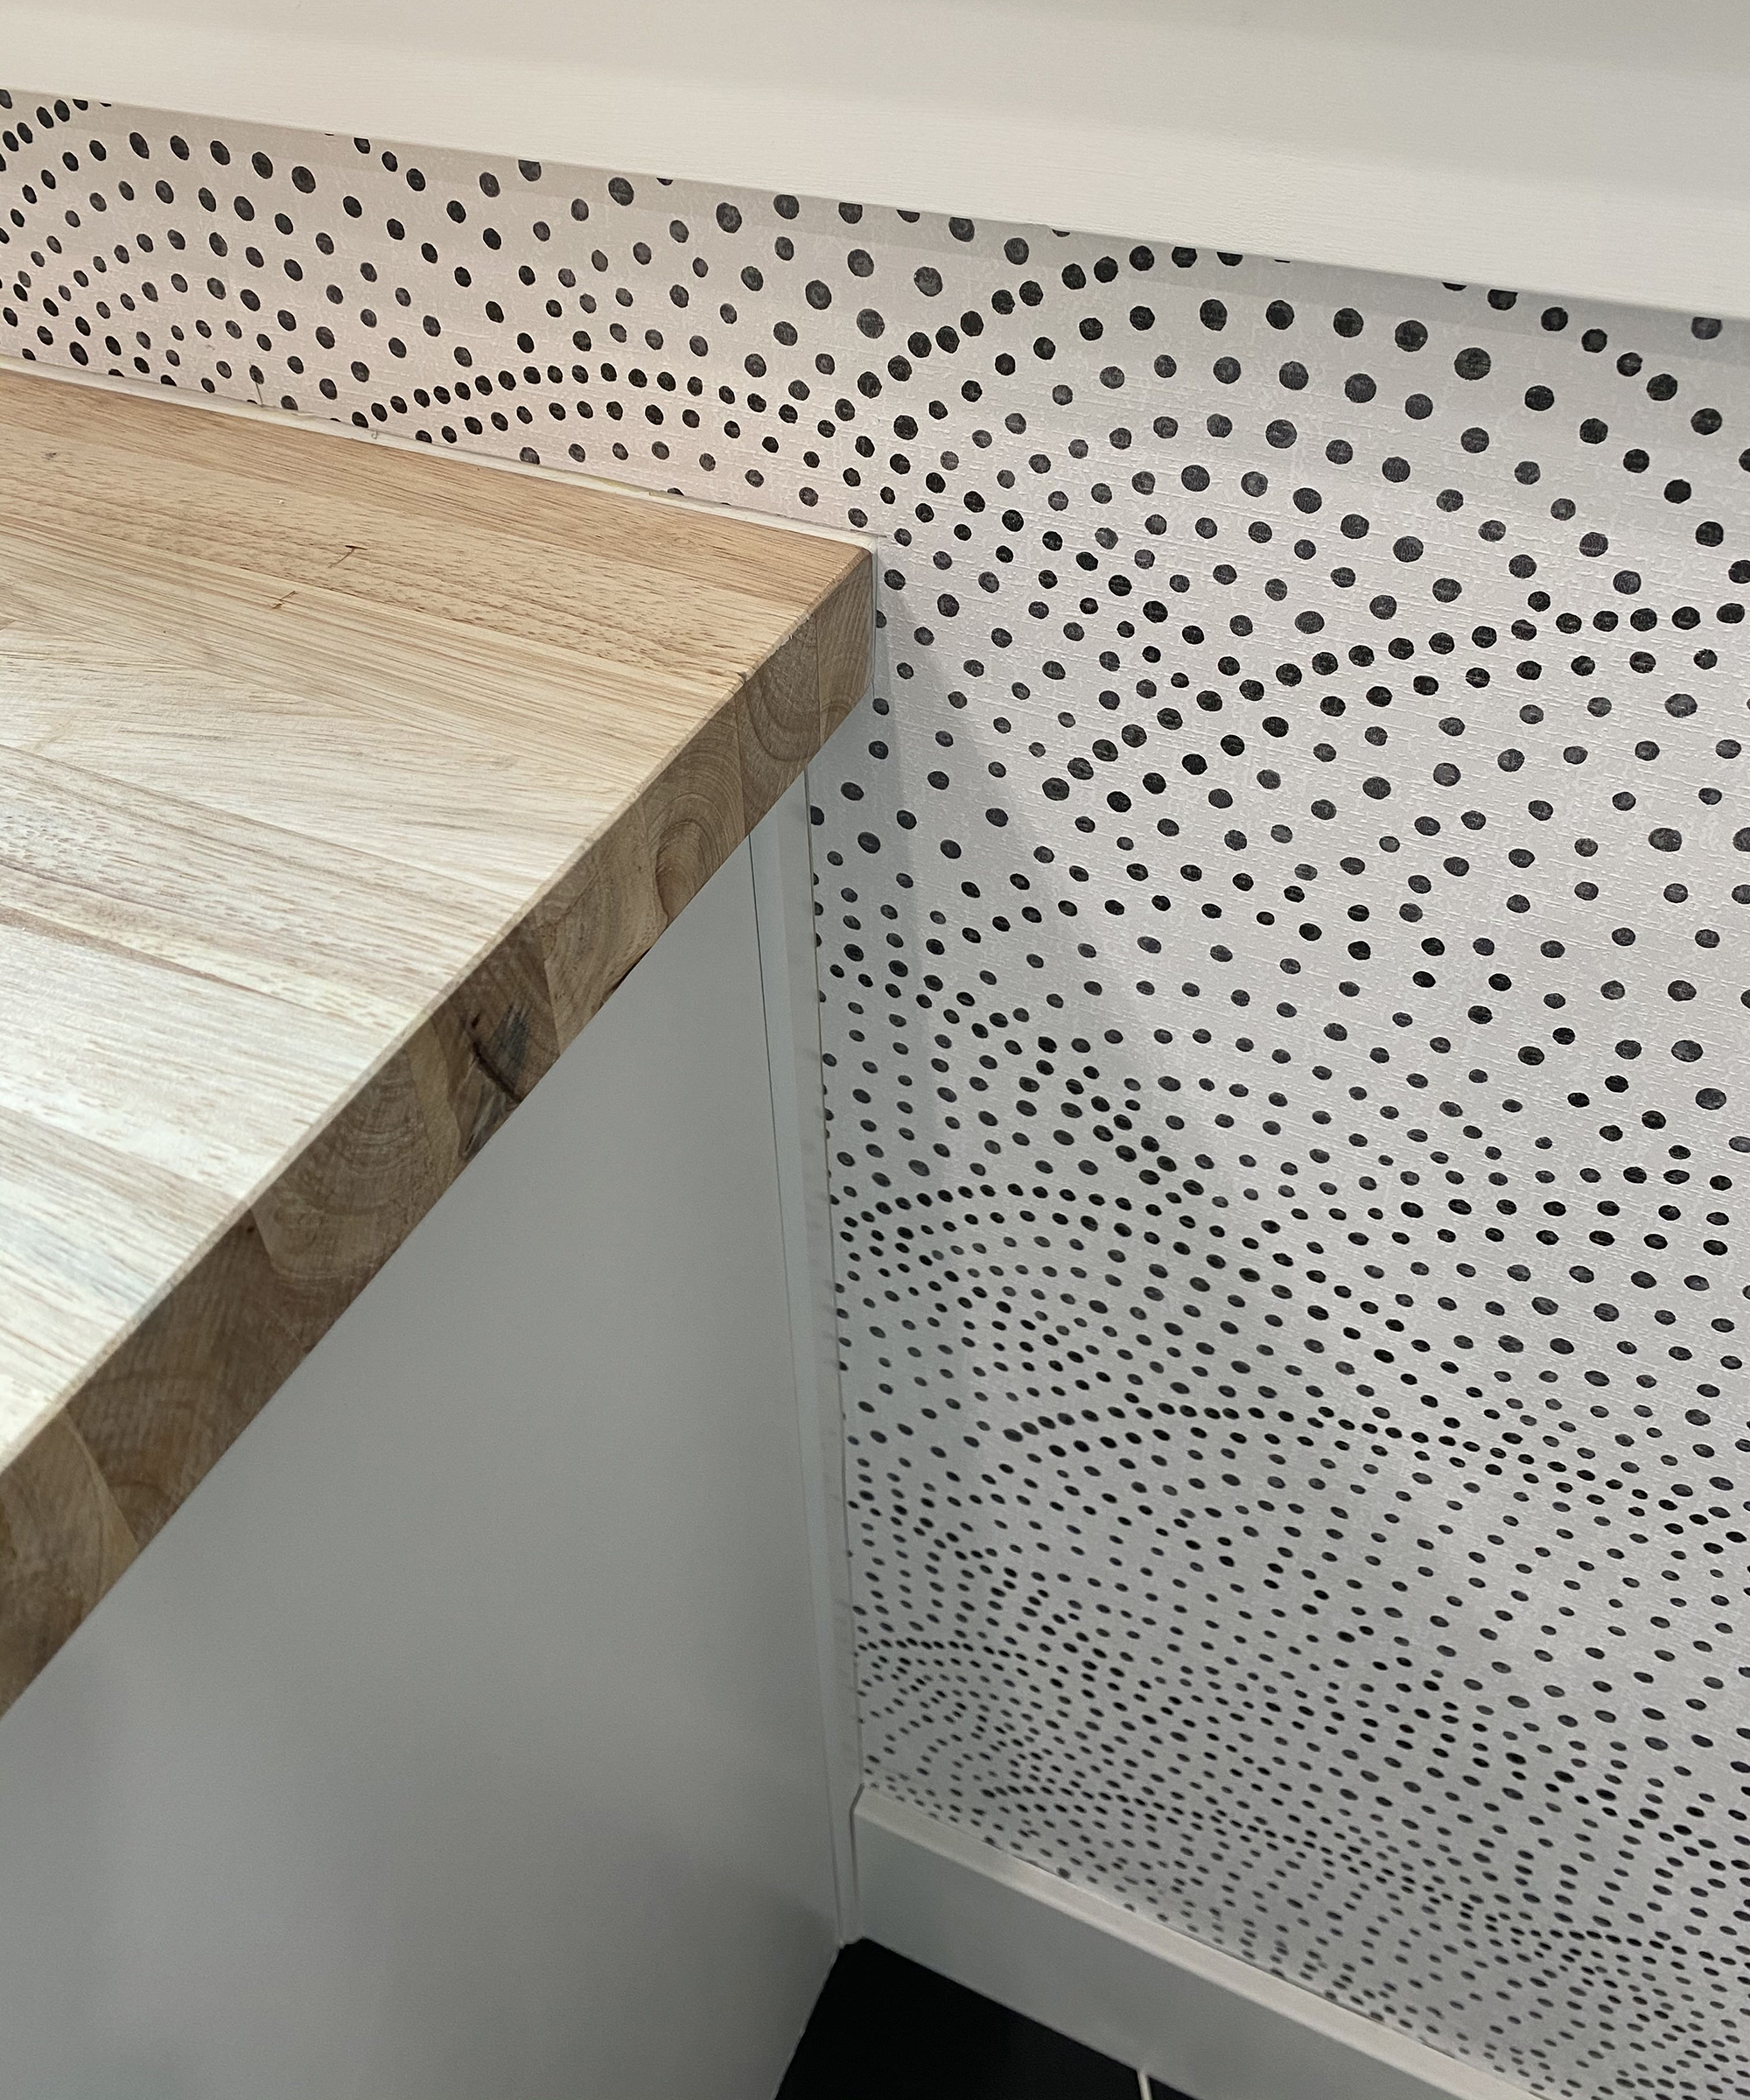
Once that is pasted, I cut down the panel against the edge of the desk and then again for the part of the wallpaper that will go underneath the desk so it lays flat. A little complicated but definitely not impossible! It simply takes a bit of practice.
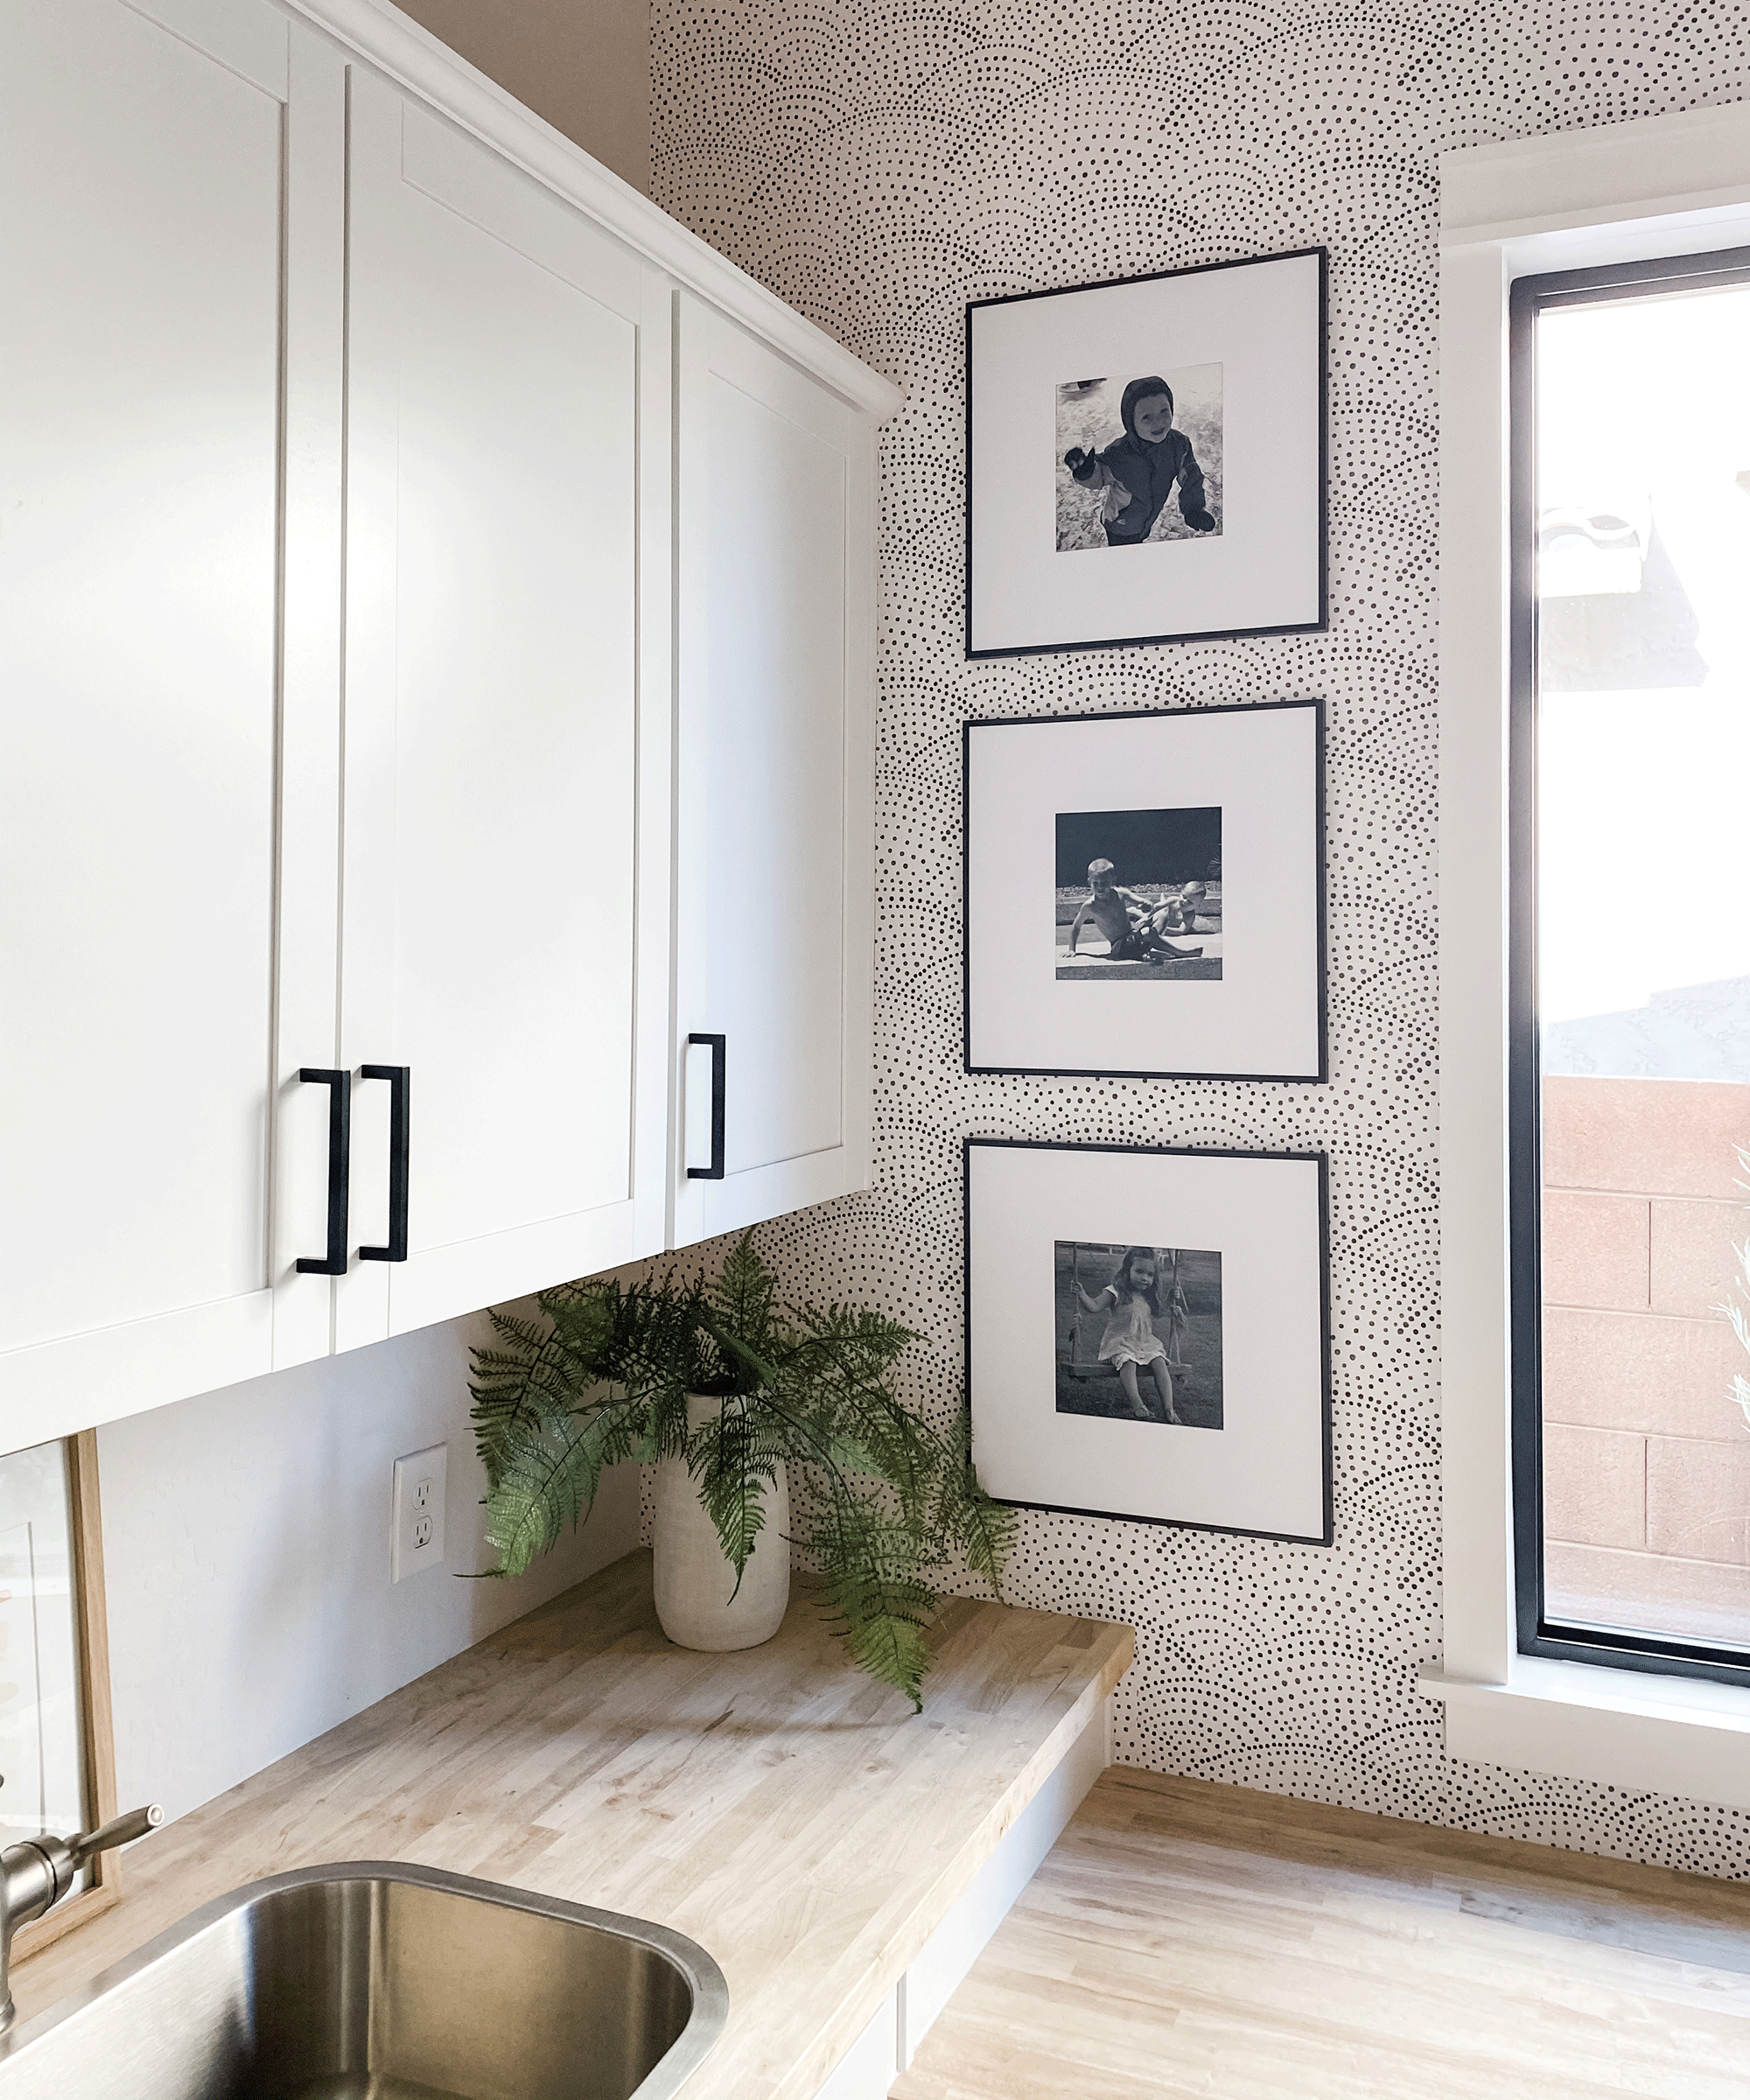
The results:
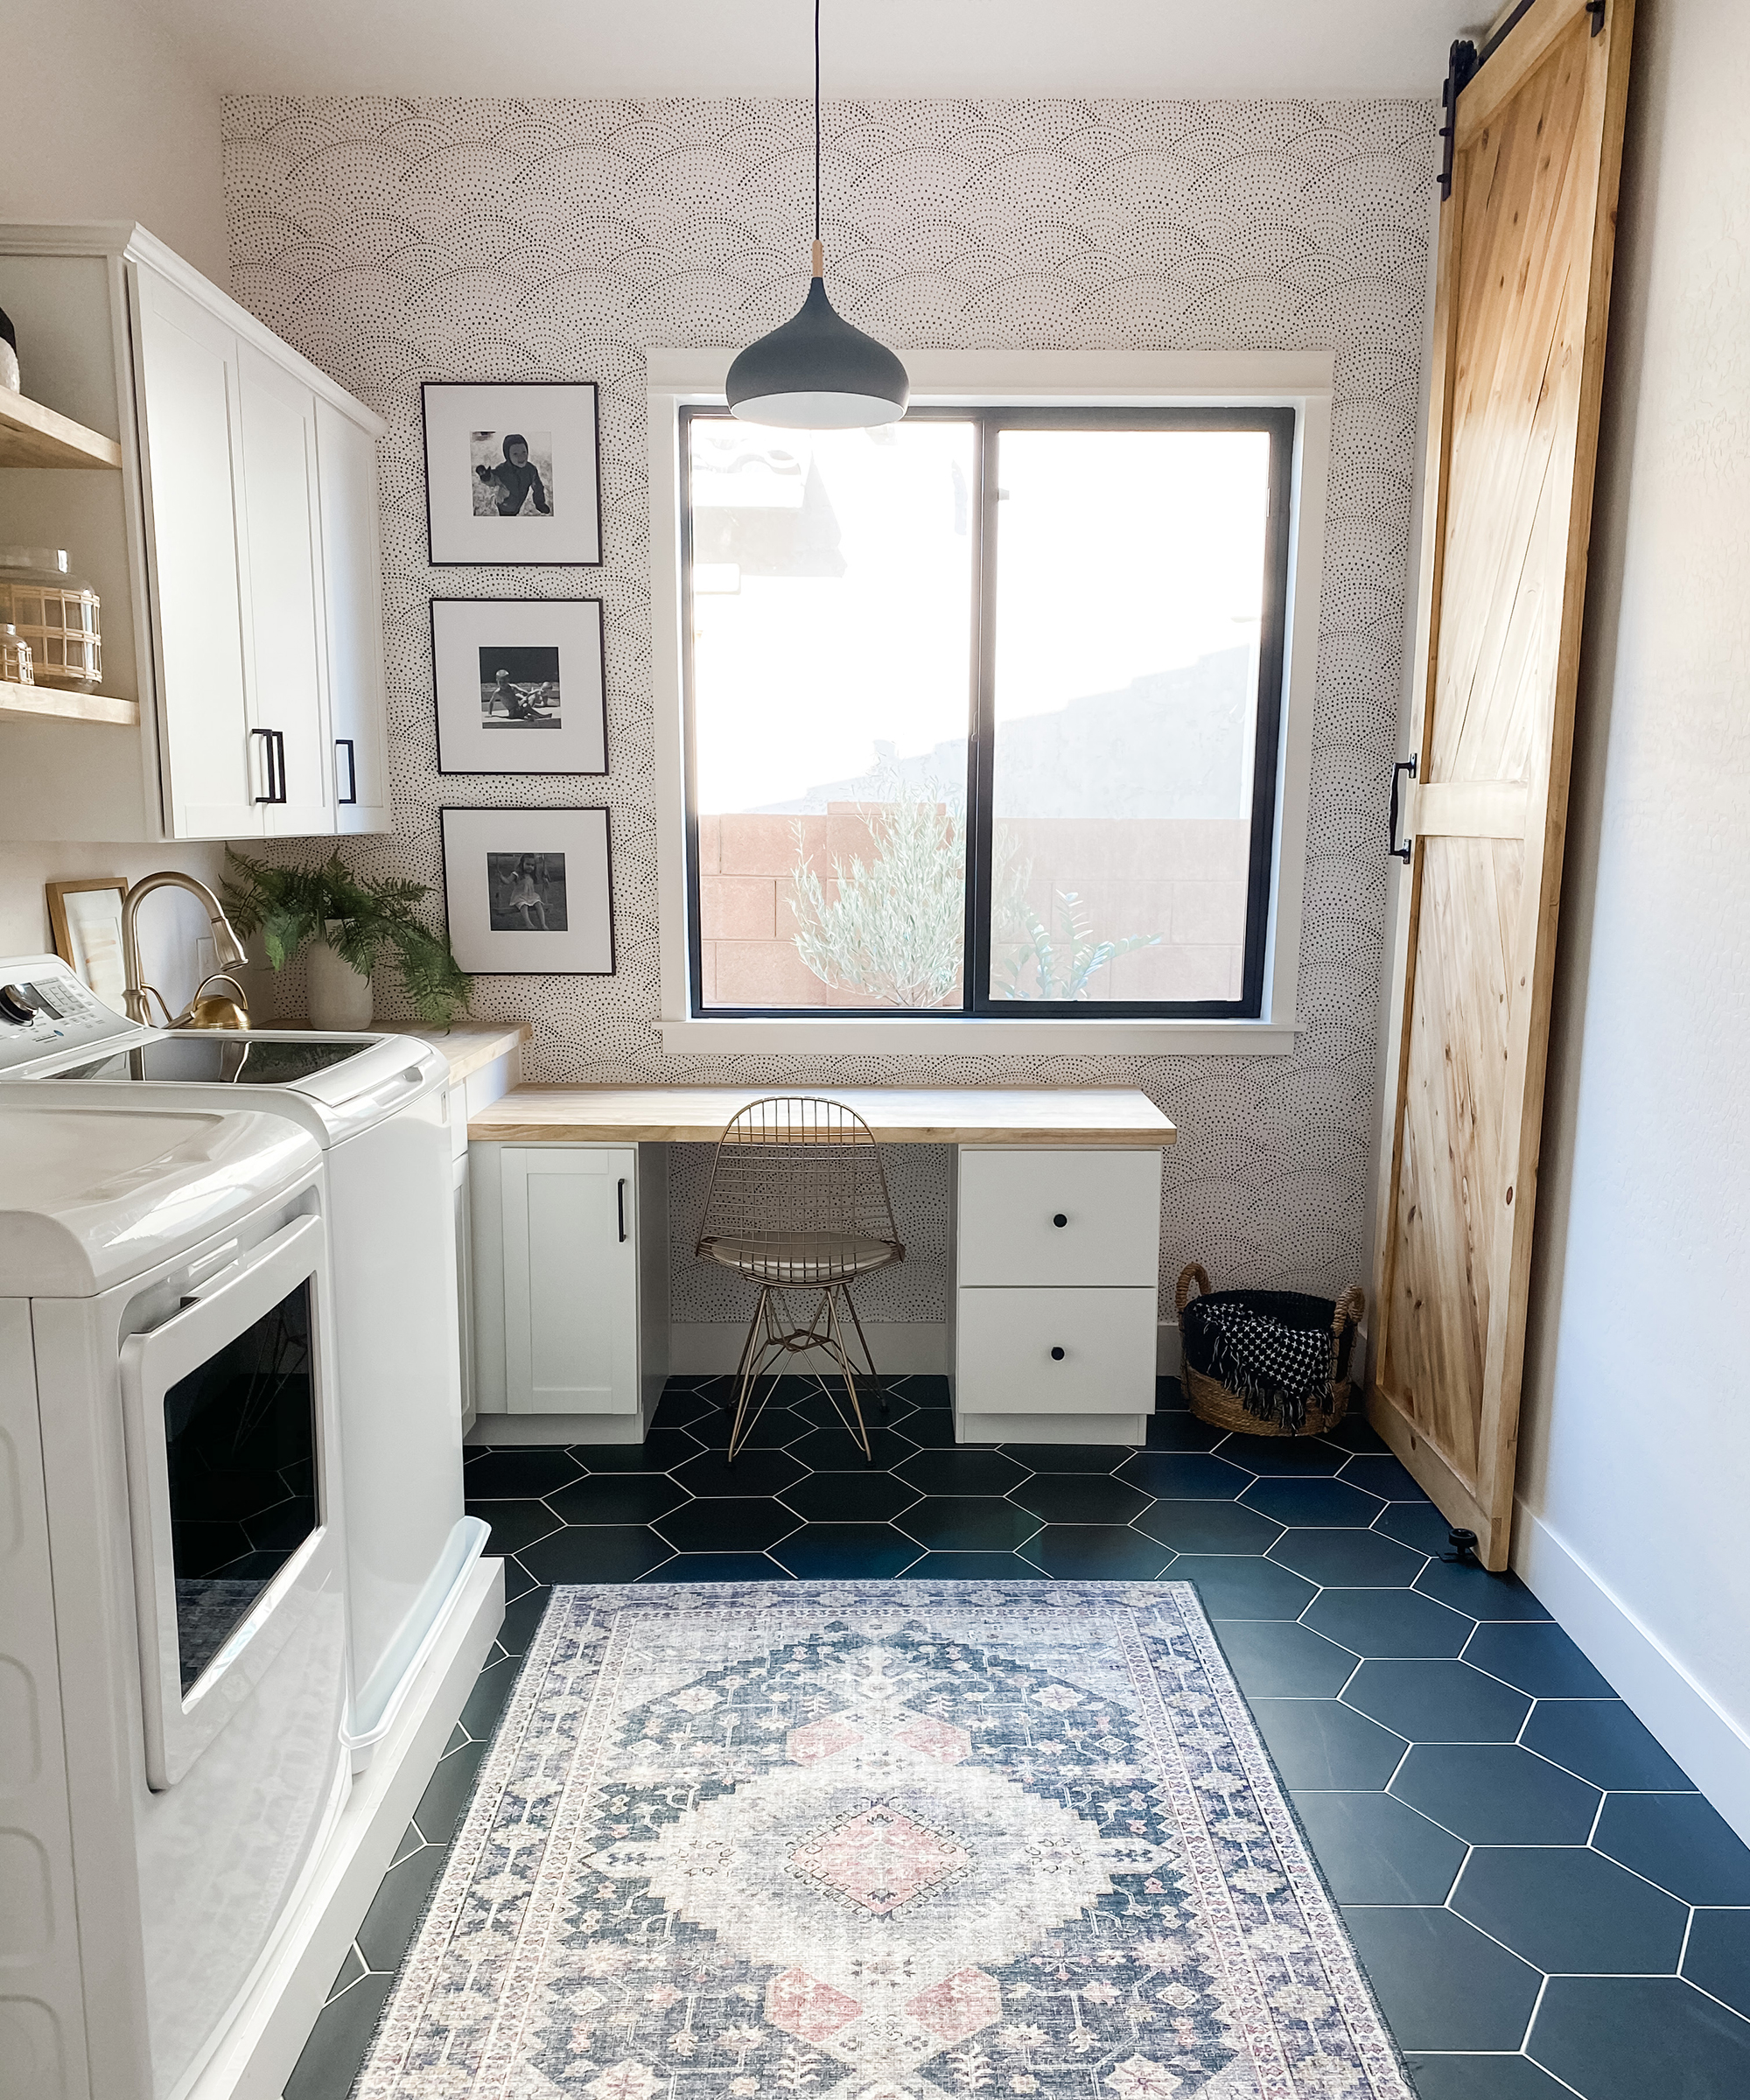
I hope this helps with your next wallpaper project that involves something built-in on your wall!
I'm a mom of three with a passion for interior design and DIY! I am currently renovating a farmhouse along with my husband and running an Airbnb in our hometown. I would define my style as loving clean lines with a good mixture of old and new. I love a modern cottage look and have been very interested in vintage pieces as of late. When I’m not spending time with my family or dreaming up another home project, I love to read, eat good food, and binge-watch crime shows on Netflix!
