

If you hate your kitchen counters and wondering which is the better budget fix, wrapping with adhesive contact paper or painting them, then I can help.
I’ve done both in the last two years and the one I chose to do first — painting my kitchen counters — didn’t have longevity so I gave wrapping my counters a go next. In this comparative guide, I explain why I tried these two kitchen counter makeover techniques, what I loved and loathed about each, my top tips, product recommendations and which method came out on top (spoiler: it was wrapping).
I tackled the countertops in my newly-built home, hoping this budget-friendly small kitchen upgrade would make the space feel more 'me', and the good news is that the process was transformative and I have zero regrets about giving both a go!
Wrapping kitchen counters vs painting
I suppose any DIY project in this space might be prone to kitchen DIY mistakes but luckily, both these techniques for giving your kitchen countertops a makeover are pretty straightforward and low-risk. You just have to do the correct prep first to ensure the surface is grime and dust free for wrapping, sanded for painting and you have all the kit you need to get the job done.
And, if you're renting, check permission to alter counters by sanding and painting before cracking on to avoid fines.
Where my DIY expert or I have recommended products in this article, I have curated highly-rated products from trusted retailers to help you shop the techniques.
The prices below were correct at the time of publishing this article.
Why I needed to makeover my kitchen counters

My newly-built home was beautifully bright, filled with natural light in every room, and flowed from one space to the next in a lovely, welcoming way. Wide doorways, modern kitchen flooring and so much light in each room made it an easy buy for us.
But we bought it 'as seen', and therefore had no hand in choosing the kitchen cabinets or colors for kitchen flooring. As a result, the construction team went for budget, neutral fixtures throughout.
It was all brilliant white walls, no ceiling molding (which is a beautiful ceiling idea, by the way), dark gray-blue hard-wearing low-pile carpet, gray vinyl flooring in the open plan kitchen-diner and bathrooms. In tandem with it being so newly-built, there were no nooks and crannies to give it structural character.
It had been built with very dark gray kitchen counters that not only looked cheap, but had a weird dimpled texture that made it hard to clean, and, as I initially thought, would be hard to wrap with adhesive contact paper.
Why I didn't get new kitchen counters

From the moment we got the keys, I wanted to rip out those counters. We got some way down the line design-wise and had a new kitchen designed and ordered with matte deep blue cabinets, a stacked tower double oven, a white butler’s sink, white marble veined counters and back-splashes to match.
One thing got in the way: being repeatedly let down by the installers. After three failed attempts to have it fitted we gave up on our kitchen supplier and put the project on ice. After eight months of back and forth and no new kitchen, I canned the project and decided to DIY as many kitchen makeover elements as I could, when I could, until one day, we buy our forever home and spend our new-kitchen money there.
I am disabled and have chronic pain so any DIY projects usually take me quite a while, as I chip away at the project piece by piece, a few minutes at a time, until it’s done. I started by replacing the kitchen cabinet pulls with brushed brass, straight hardware and they gave the space an instant face-lift while I decided on what to do about the kitchen counters.
I live in the UK and bought mine from Amazon. This 30-pack of Brushed Brass Kitchen Cabinet Pulls from Amazon are identical and highly-rated by happy shoppers. It instantly brightened up my space.
My options for a kitchen counter makeover

After ruling out a kitchen counter custom cover that slots over the existing one because of cost, I considered ways to cover kitchen counters including resin, painting, micro cementing, and learning how to DIY counter tops with adhesive contact paper.
I loved the idea of resin as it would even out the weird dimpled texture of our counters and let me go all out on the color and even adding shimmer or glitter (kits like the Giani Granite Paint Glitter Top Coat on Amazon is highly-rated by buyers), but after looking at videos I realized I did not have the energy or time to commit to a more complex makeover.
The same went for the micro cementing. As beautiful the result looked, with two cats prone to pinging up onto the counters, a young child, a busy household and a rather broken body, I couldn’t commit time, skill and physical effort needed.
I did like the variety of contact paper on offer, but worried it would not stick to the dimpled texture of our counters.
I settled therefore on painting our kitchen countertops. But, within a few months after painting them, it was flaking so badly in high traffic or humid areas (near the stove, where we did the majority of our chopping, prepping and meal making, plus around the sink) that I had to wrap them anyway.
What I loved about painting my kitchen counters

Before I totally poo-poo painting your kitchen counters, there was some stuff I liked for sure.
I went with a brilliant white counter paint and protective top coat to lock in the brightness and make it durable for this hardworking heart of the home. I figured I’d paint the walls any color I wanted at some point but didn’t know what color I wanted so keeping the counters neutral would be a wise choice, I reckoned.
It looked beautiful and was so satisfying to paint with a small paint roller. My husband and daughter both helped as I can’t stand up for long and between the three of us, it was cleaned with sugar soap (we made up a batch using a concentrate, such as the Ever Build Sugar Soap 500ml Concentrate available on Amazon, sanded counters by hand, painted and sealed all in one busy Saturday.
The counters were touch dry within two hours and could be used, cleaned or tolerate spills within 24 hours, just in time for our Sunday lunch guests.
It took quite a few days for me to finish sealing the edges where the up stand met the counter with waterproof white sealant (I used two small hand squeezed bottles of the Gorilla Waterproof Caulk and Sealant from Amazon for 22 feet of counters) but it was worth it as it looked so fresh.
Whilst our home was newly-built, it had stood empty for 18 months post-construction so the previous sealant had gone a bit yellow and wasn't one you could simply paint over. We learned that the hard way when my husband insisted on painting over it and within two hours it has separated or flaked off!

Price: $69.98 (per kit)
Having been through the hassle of sanding and prepping my kitchen counters for painting, I love that this kit from trusted paint brand Rust-Oleum doesn't require stripping, sanding or priming. It has a simple two-step process: paint the base color, then top with your chosen pattern of marble veining, which you'll do freehand. Don't worry, the high-tech formula does all the wear for you, though customers who reviewed it said they gave it a test run on a piece of wood for practice first. You can use this kit across a wide selection of common kitchen counter materials including vinyl and laminate, which are popular in rentals for their affordability and durability. You can pick it up in store at Lowe's within three hours of buying online, or have it delivered to your home as soon as today.

Price: $118.85/gallon, or $31.06/pint
This water-based paint also requires no stripping, sanding or priming and when dry, provides a washable surface, making it perfect for kitchens (and bathrooms for that matter). The fact it's water-based means low-odor and less headaches during your DIY project. You can have it shipped to store or delivered to your home for free, and it comes in three size options depending on the size of your project: choose from pint, gallon or quart pots. Customers who bought and used it rated it 4.4 stars out of five, and commented frequently in their reviews that the product is 'great', 'fantastic', and 'beautiful'. Of the few negative reviews, the main gripe was that it needed more layers to cover than instructed, though many conceded they had dark counters or doors. If your kitchen counter is dark, buy the smallest pot and test how many layers you'll truly need to cover your project to properly cost it.

Price: $94.03 (two pints)
Pricier but beautiful, this kit will make it hard for guests to believe your kitchen counters are just a bit of paint. This kit comes loaded with all-in-one charcoal paint, plus a pot of flecks to distribute as you wish over the top and then lock in with a multi-purpose sealer to stop it chipping and make your newly made-over surface waterproof. It's rated 4.5 stars out of five by happy customers and we particularly like the video tutorial on the listing page which gives us a great idea, though we've not had hands on this product, of the finished look. In honesty, I would be willing to personally give this kit a go despite my previous painting journey. The lack of need to prime and sand and faff around first holds much appeal for me, plus the flecks and quality sealer are rated by reviewers. There are white and taupe options, too if charcoal is not your bag.
What I hated about painting my kitchen counters

The chipping... oh the chipping! It was so bad, after a few months, the area around the sink had areas as wide as three-inches where the paint had completely peeled off. It was not durable in the slightest. I live in the UK so I used the Homebase Maison Deco Refresh white paint, base and top coat for the job based on its price point matching my budget. We followed all instructions to the letter but it simply wasn't durable.
While I can't speak to the quality of similar kits from The Home Depot, such as the Beyond Paint Multisurface Refinishing Paint, it does come highly-rated by over 2500 customers which is helpful.
I didn't pay close enough attention to the star-rating of my chosen product, which was low (2.5) and I should have. I'd been paying more attention to the cost in all honesty. Whilst our kitchen is relatively small, I had more than 22 feet of countertops at a depth of two feet to cover and that cost quickly added up.
My tip to you is buy the best quality paint or contact paper possible with your budget, and pay close attention to customer reviews.
What I loved about wrapping my kitchen counters

So when big patches of the counter paint peeled off near the sink, and despite using white counter protector mats such as the Winco Heavy Duty Plastic Cutting Boards from Amazon to keep direct contact with the countertops at a minimum, it was all speckled where little chunks of the paint had peeled off.
I decided to take the plunge, and bought some cheap white contact paper from Temu. I usually eschew fast fashion and home brands wherever possible but I wanted to see if it would stick first to the dimpled texture of my counters before splurging my cash. It did stuck, but the lack of pattern on the paper, and how desperately thin it was made it look crinkled, wrinkled and dimpled no matter how much I worked to push out the air bubbles.
I even had this nifty little wallpaper tool kit from Amazon for the job, which turned out to be amazing, but not even that could fix the cheapness of my first batch of adhesive kitchen counter paper.
In the end, decided to go for a light wood grain look instead of a plain one, and bought mine in store, instead of online so I could feel the thickness and see the quality for myself.
As I live in the UK, I bought the Homebase Fablon Sticky Back Plastic in Light Spruce and it was spectacular. If you like the look of mine, you can buy a similar, highly-rated item such as the Con-Tact Self Adhesive Oak Contact Paper from The Home Depot, or check out Wayfair's selection including the HomLPope Granite Look Waterproof Contact Paper.
The latter doesn't have any reviews yet, but the HomlPope brand on Wayfair is rated 4.3 stars across a range of homeware so we reckon it's quality should be worth a punt.
Mine ended up being thick, easy cut and both easy to stick, and easy to peel off without residue. I covered all counters in just one afternoon and folded down the corners neatly and they've stayed tucked away without any lifting.
There were no bubbles or dimples during application either, and it looked fantastic. No drying time was needed and with a few rolls, needed and some coming spare, it was economical.
So far, it's had many months of heavy use and apart from a tiny couple of tears from sharp objects clattering badly onto the most-used kitchen counter, it's holding up really well, especially around the humid and wetter areas.
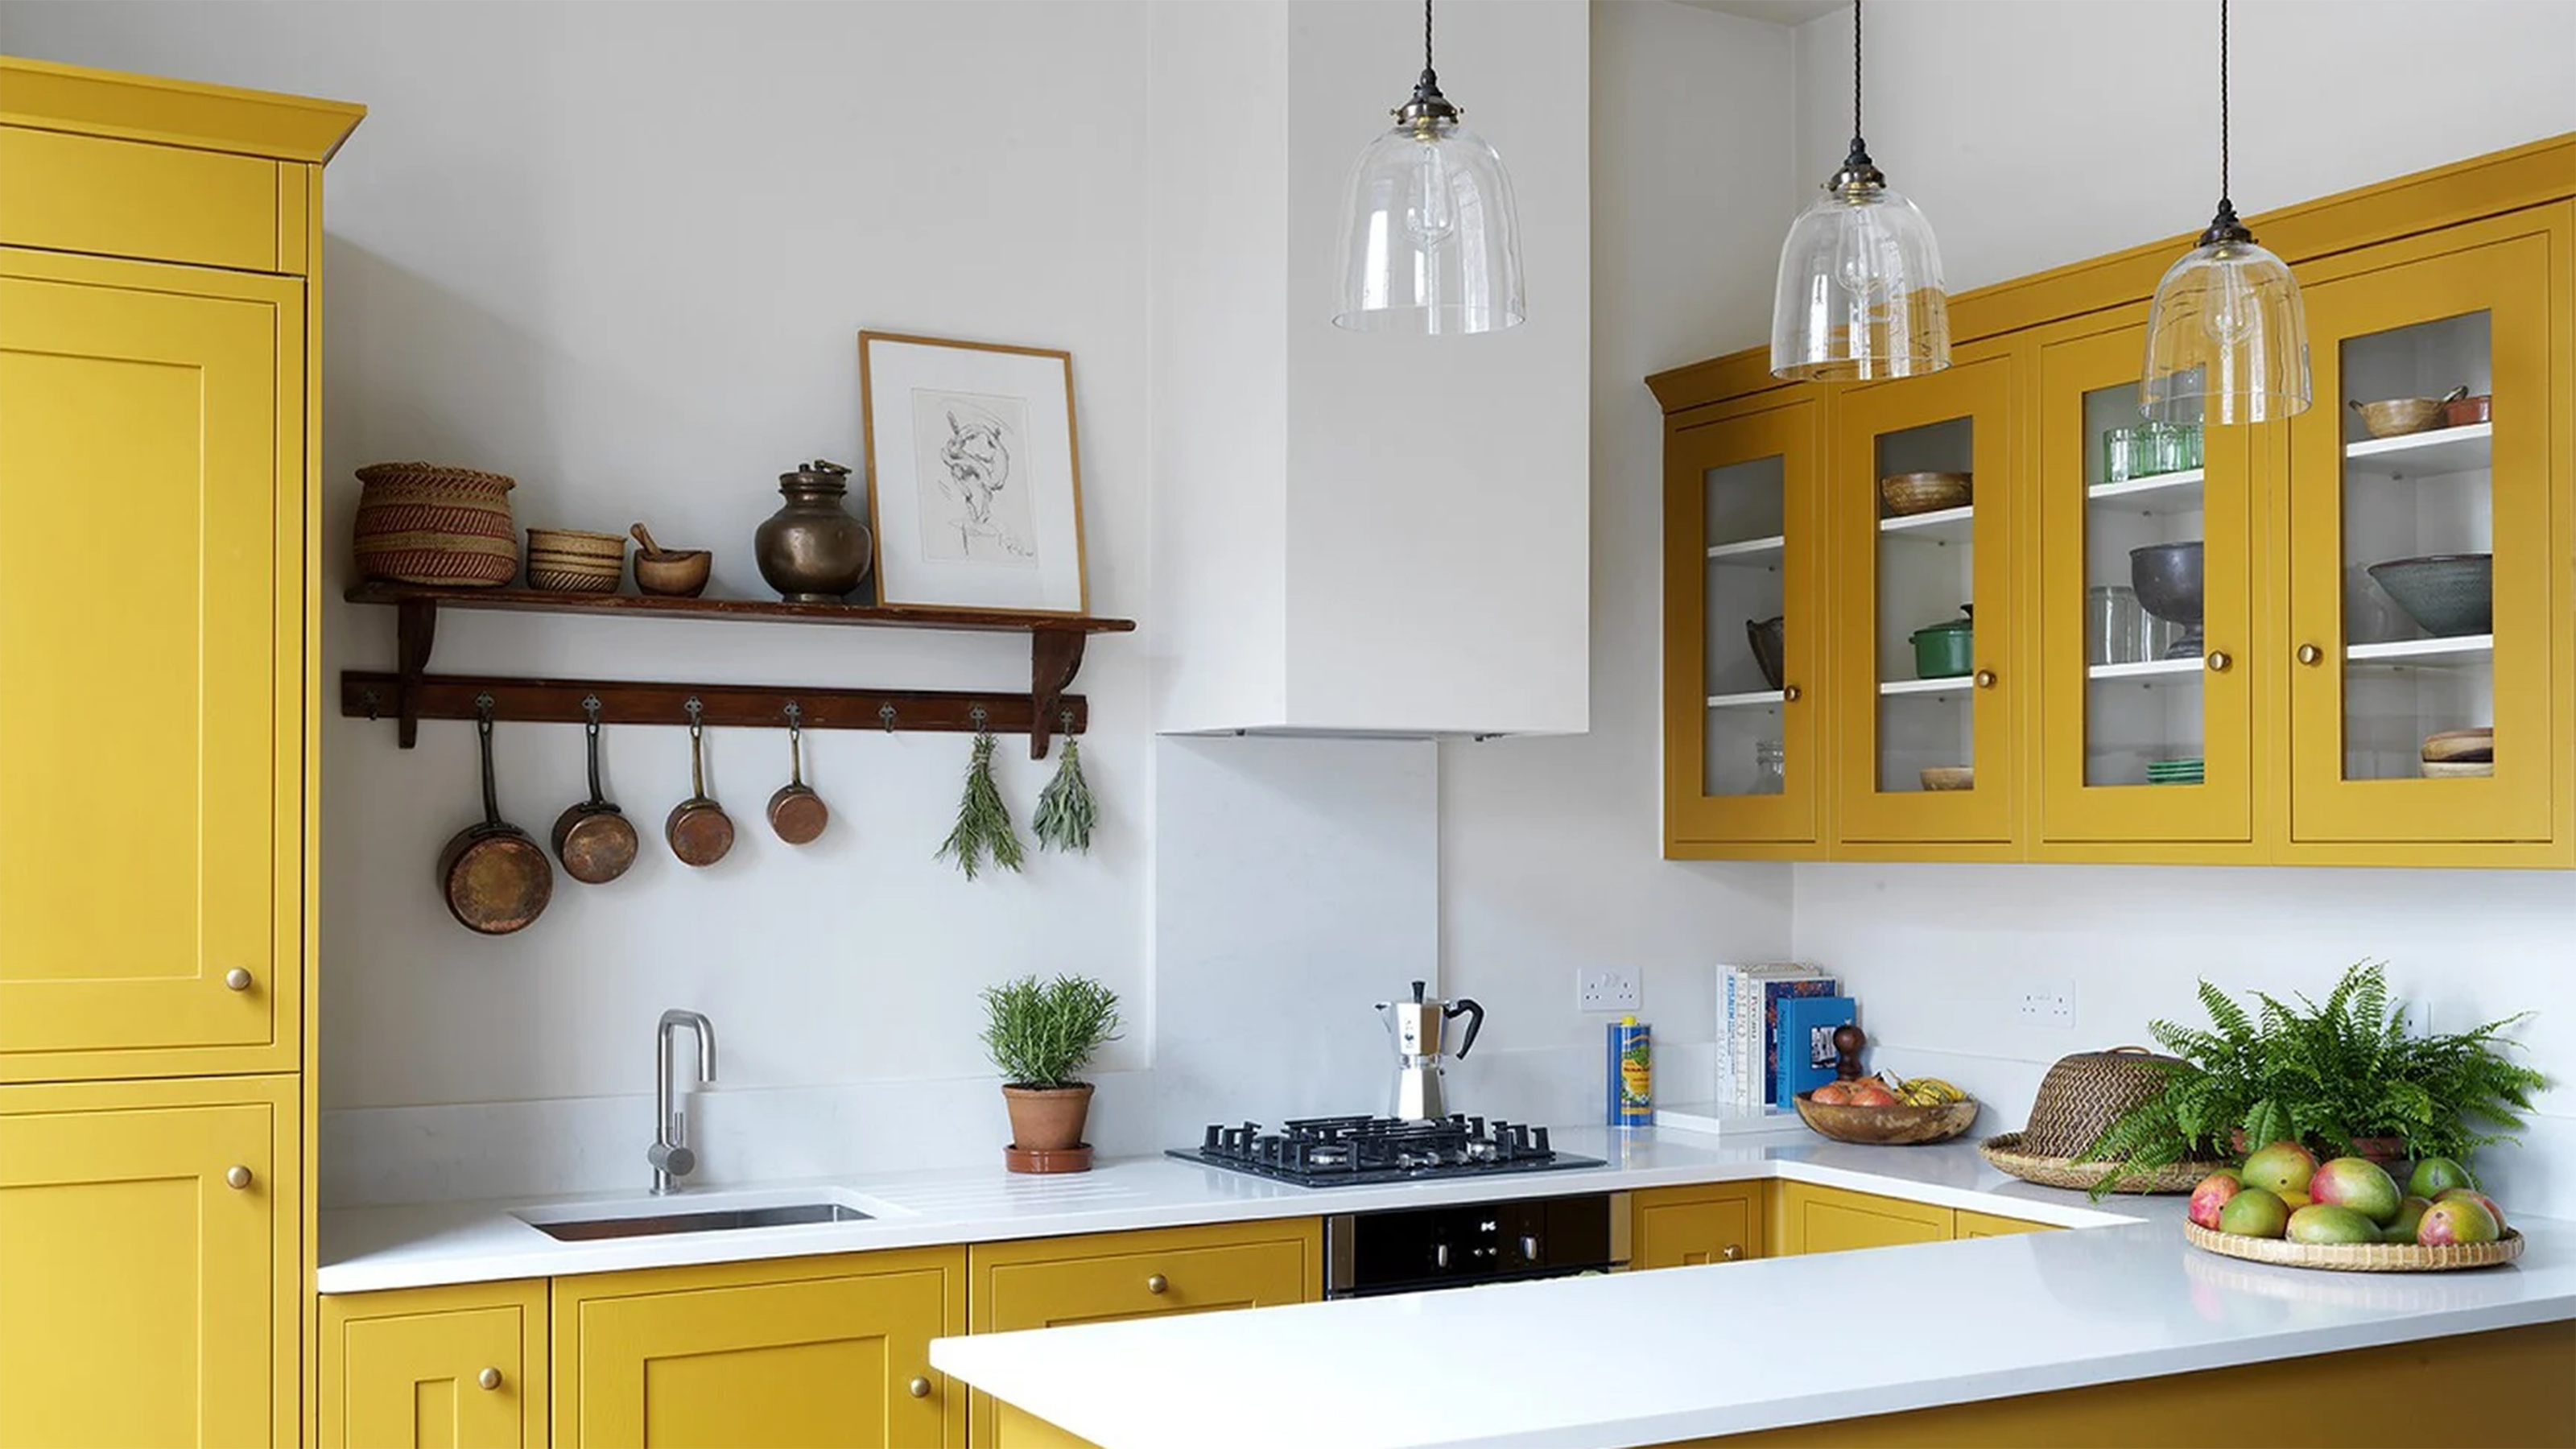
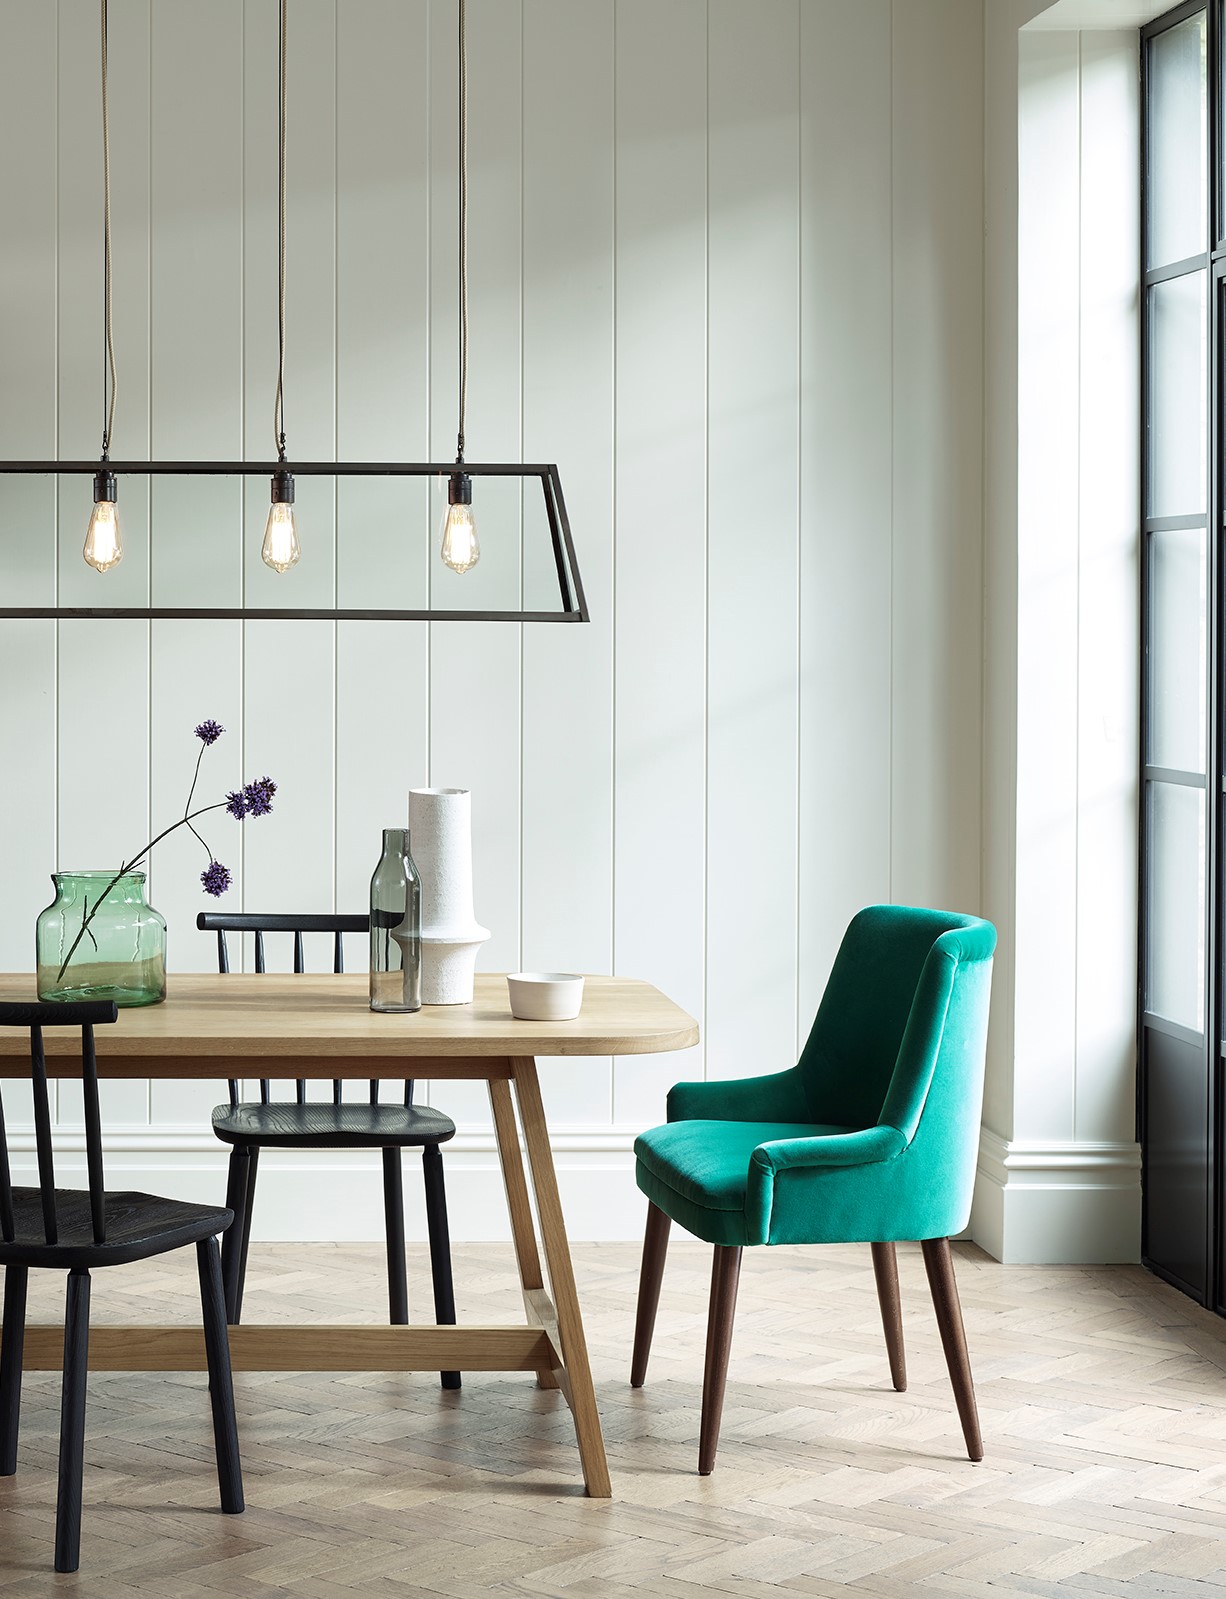
The wood look has also warmed up my white kitchen and influenced my other decor choices into the dining area, including a new wooden extending dining table and these complementary pink subway peel and stick tiling from Amazon for the walls. They're easy to cut around outlets and awkward corners and can be wiped clean without lifting.
What I hated about wrapping my kitchen counters

The area around the sink was tricky to do with one piece of adhesive wrap and took two people. The fix would have been to stop being so perfectionist about it and do it in multiple pieces but that's not in my nature and I also didn't want to allow more seams than absolutely essential that would let water in. I managed to clear the sink by about 10-15 inches each side with one piece of contact paper and the durability as a result has been great.
However, I didn't having to slightly overlap the contact paper to avoid gaps in some areas when applying the adhesive sheets, which much like wallpapering well around awkward bits. Plus, my counters are deep so I had to choose either to wrap in small widths, going from front to back, or going in longer stretches of counter, left to right.
My wooden design meant it wasn't possible to line up the wood grain look where one length ended, and another began. The good news is, while I might be able to spot these little niggles, honestly, you can't tell when you're not up close. And, the reality is: who are you going to invite over to your home who would be mean enough to say something about your kitchen counter DIY effort?
The only other other negative is I can't use bleach on the counters anymore and when I'm cleaning post raw-meat handling, I am super paranoid about germs. Still, I use a good antibacterial spray such as Lysol's Lemon All Purpose Disinfectant Spray from Target and do a second final clean with a hot, soapy sponge does the job.
The overall winner for making over my kitchen counters
A million times over, I would choose wrapping my kitchen counters over painting them. It looks beautiful, has a lovely finish, is proving durable, is easy to clean and will be easy to remove if I want to redo it with another look later down the line.
Since you're in the mood for kitchen DIY, delve into our guides on laying your own laminate flooring, painting your cabinets, and definitely consider adding a fluted panel to your kitchen cabinets as it looks gorgeous and can be DIY-ed in a weekend.

-
 Winning wall color combinations: the fail-safe duos you can rely on
These wall color combinations are a perfect match to amplify one another and create a harmonious space
-
 DIY bar carts – 10 homemade drinks trolleys because it's 5pm somewhere
These DIY bar carts serve up a healthy measure of style and functionality to fix up something strong for guests or yourself
-
 40 kitchen lighting ideas – switch on the style and illuminate your cooking space
From handy task lights to statement pendants, these stunning kitchen lighting ideas will ensure your space is illuminated in all the right places.
-
 Kitchen ceiling lighting ideas: 12 looks to illuminate your space from up above
The best kitchen ceiling lighting ideas go far beyond pendants to illuminate your space. Combine style and function with stunning designs for ceilings high and low.
-
 9 inexpensive kitchen flooring options – budget-friendly ideas you can DIY
Explore these kitchen floor ideas on a budget and be inspired by the beautiful finish that can be achieved without spending big bucks on a brand new floor. DIY, cost-effective options that wow.
-
 Small kitchen lighting ideas – 11 stylish fixtures for tiny spaces
From tiny task lights to pint-sized pendants, these small kitchen lighting ideas will ensure your compact kitchen is looking all kinds of cute
-
 20 dining room lighting ideas for a well lit space
Stunning dining room lighting ideas are a must to create a well-lit, cozy and convivial space. From swag ceiling lights and pendants to floor lamps and more.
-
 14 dining room wall ideas – decor designs to die for
If you've got a taste for art, color and texture, take inspiration from the most stylish dining room wall ideas around.


