Dori Turner
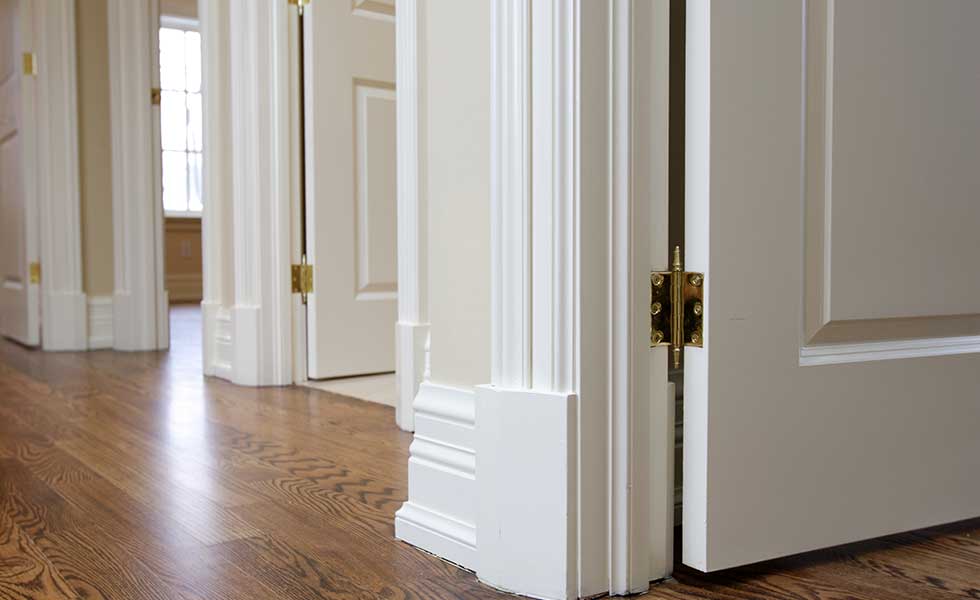
Knowing how to paint skirting boards in your home is one of the quickest and most affordable ways to update the space. For just the cost of a good primer and high-quality trim paint, you can breathe new life into your home. Whether you’re painting over outdated stains, painting newly installed skirting boards, changing to a new paint colour, or giving them a fresh coat of the same colour, painting your skirting boards is a project that will give that wow factor. And the good news is you can easily do it yourself!
Shopping list:
1. 2” (5cm) paint brush (make it synthetic if using a water-based paint)
2. Cleaning solution and sponge
3. Sandpaper
4. Primer like Valspar’s High-Hiding Primer
5. Low tack painter's tape like Frog or Scotch blue painter’s tape
6. Skirting board paint of choice like Valspar’s Door and Trim Oil-Enriched Enamel
7. An edger
8. Dust sheet/cardboard
How to paint skirting boards
The correct order of painting a room like a pro, is to paint skirting boards after you've tackled the ceiling and the walls. Whether you're freshening up a dated room or, helping new skirting boards blend in with a new decor scheme, this is how to get a professional finish.
1. Select your colour and gather tools
The colour you choose when painting skirting boards will be dependent on your taste of course, however, for a cohesive look throughout your home, try and choose a hue that's in-keeping with the colour you have on the walls. Many people will go for white for a clean finish or grey for a neutral look. Darker colours will give a room more character but if you want a space that feels brighter and larger, go for a lighter shade.
Remember to consider the different types of paint finishes available too. According to Deborah Drew of DIY SOS, when painting skirting boards, you want to 'Use high gloss on skirting boards, doors and woodwork, for more light reflection. Matt finishes are dull and light absorbing. High gloss finishes add depth and are easier to clean.'
A design trend that’s become popular in recent years is to paint walls a lighter shade like white or cream and paint moulding, skirting boards and cabinetry another shade like grey or beige. Still another trend is the monochromatic look where all the skirting boards, trim, and walls are the same colour. This look is especially popular with darker colours like green or charcoal.
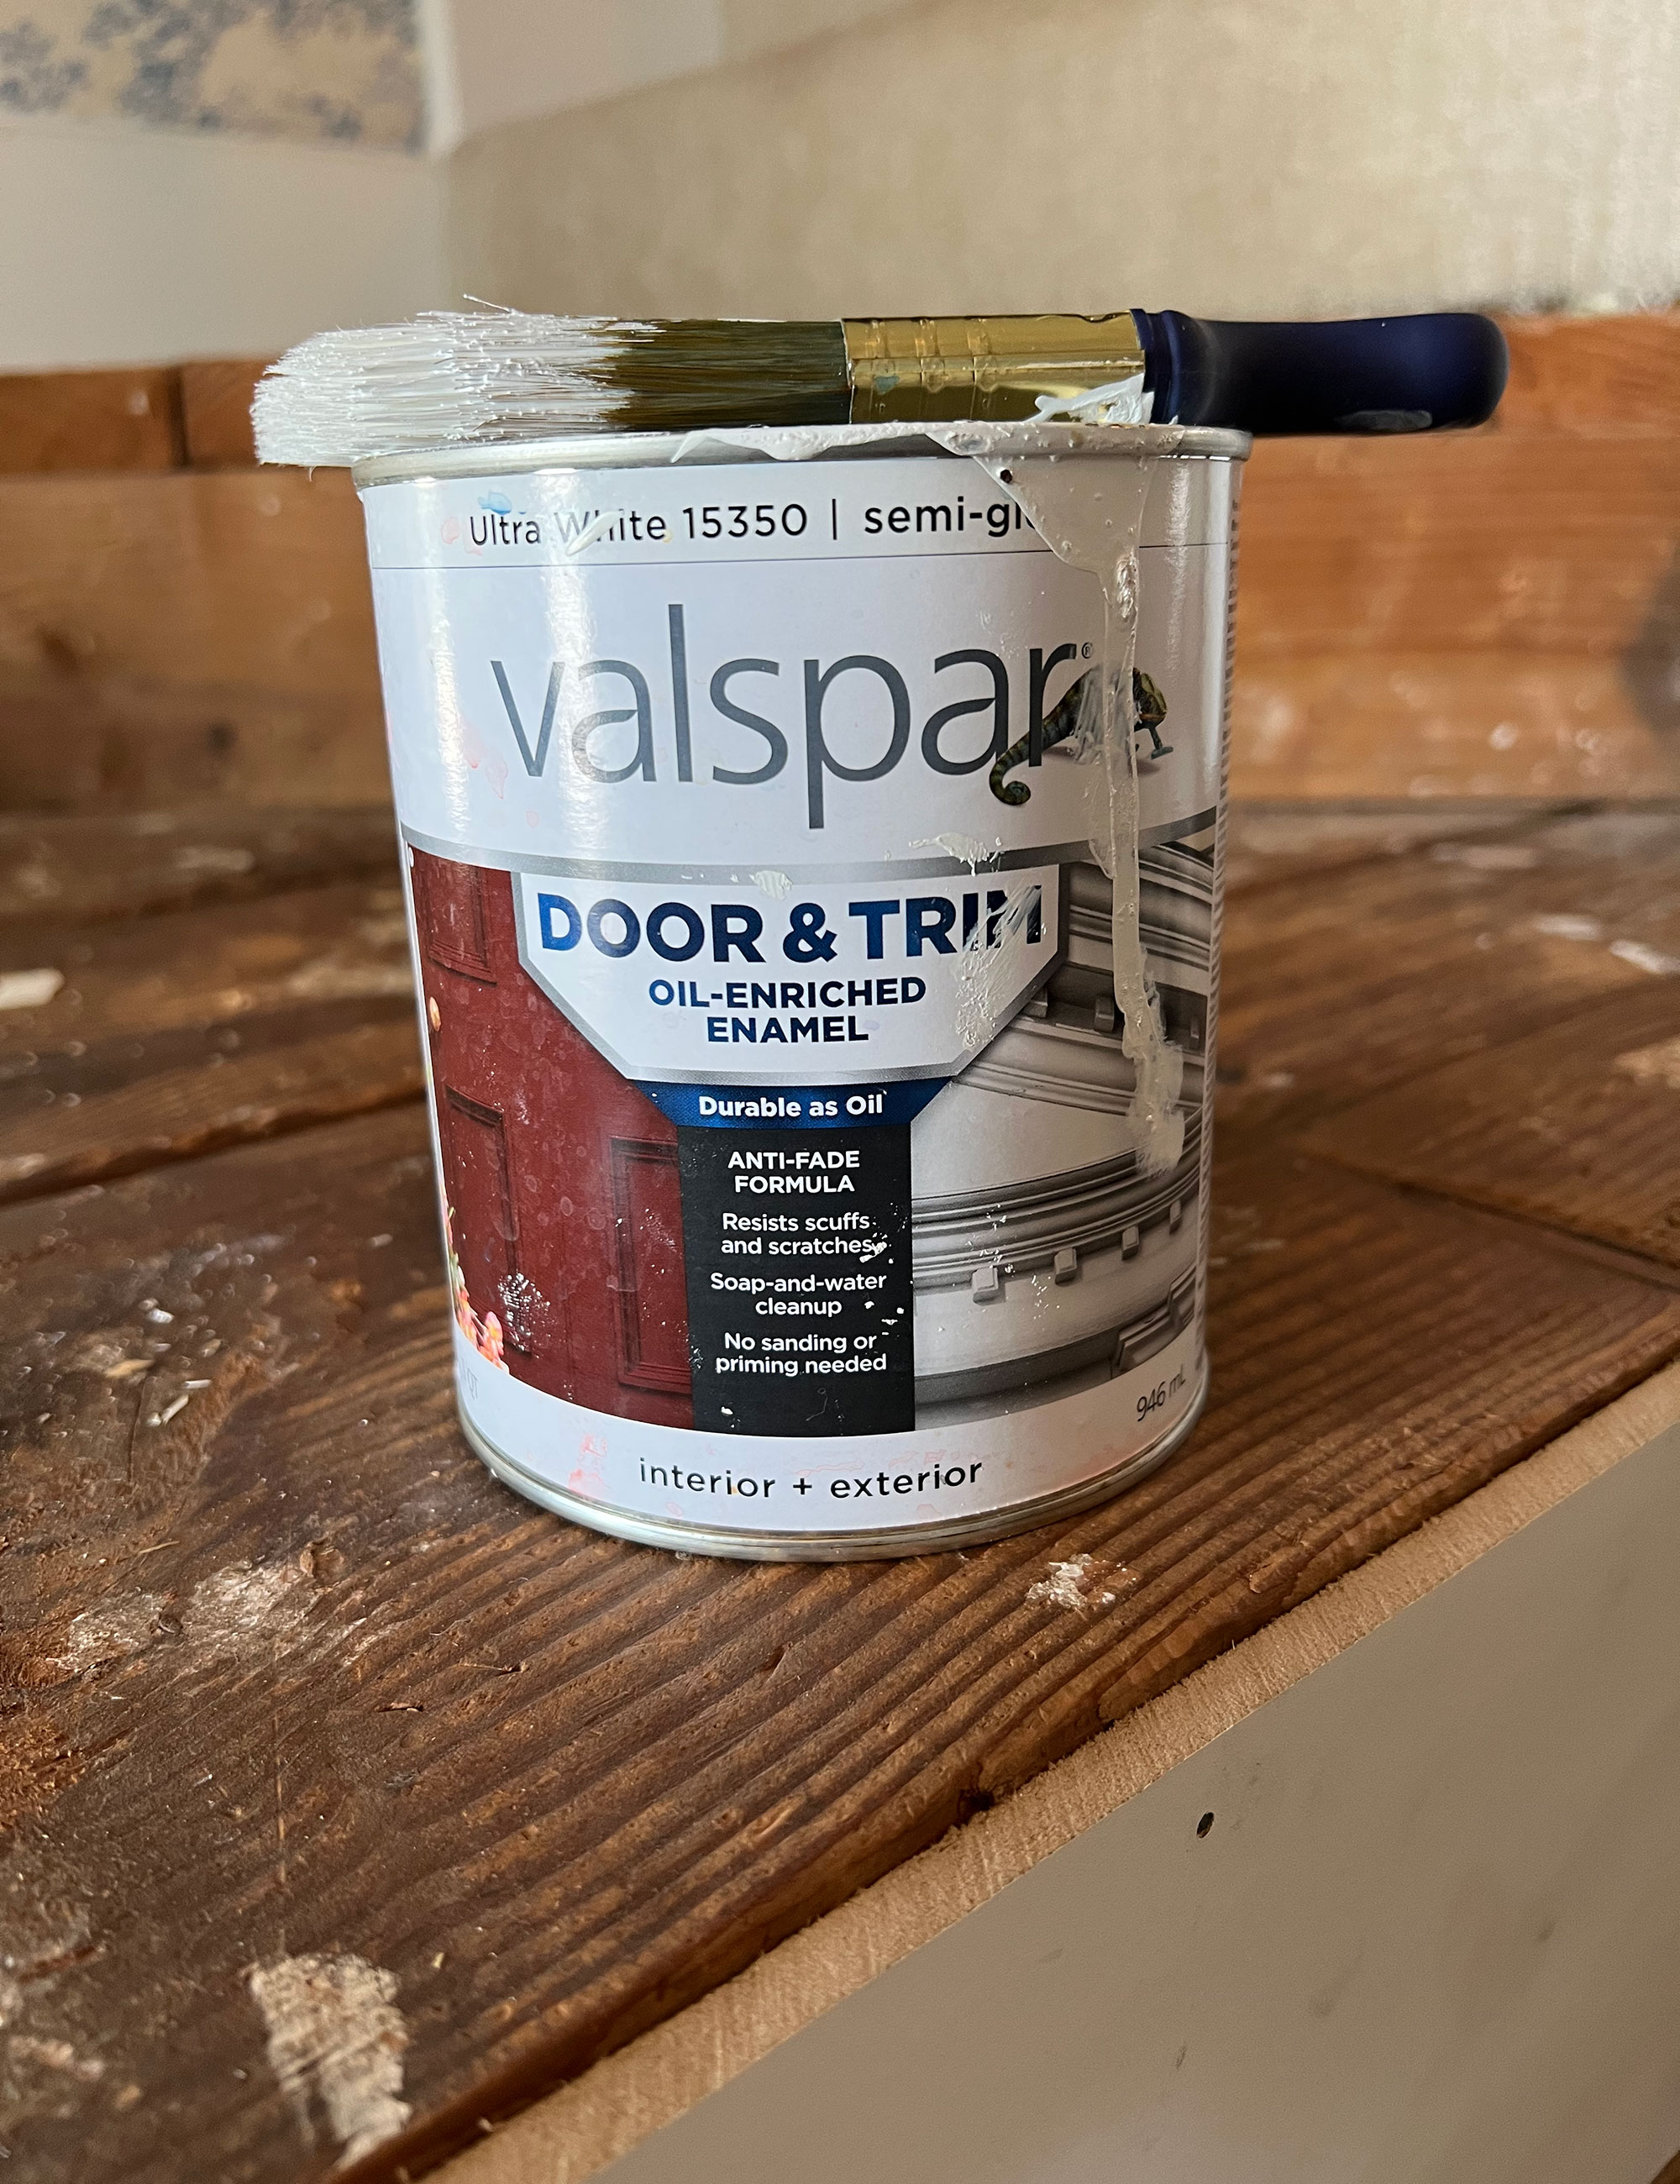
Remember to consider the different types of paints for wood and finishes available also. When painting skirting boards, you'll want to use high gloss for better light reflection as they add depth and are easier to clean, unlike if you choose matte paint.
Choose a high-quality paint for trim, preferably an enamel that hardens over time for a lasting finish. Valspar’s Door and Trim Oil-Enriched Enamel available at B&Q and lots of other shops also is a great choice for moulding and skirting boards.
Join our newsletter
Get small space home decor ideas, celeb inspiration, DIY tips and more, straight to your inbox!
2. Protect your floors
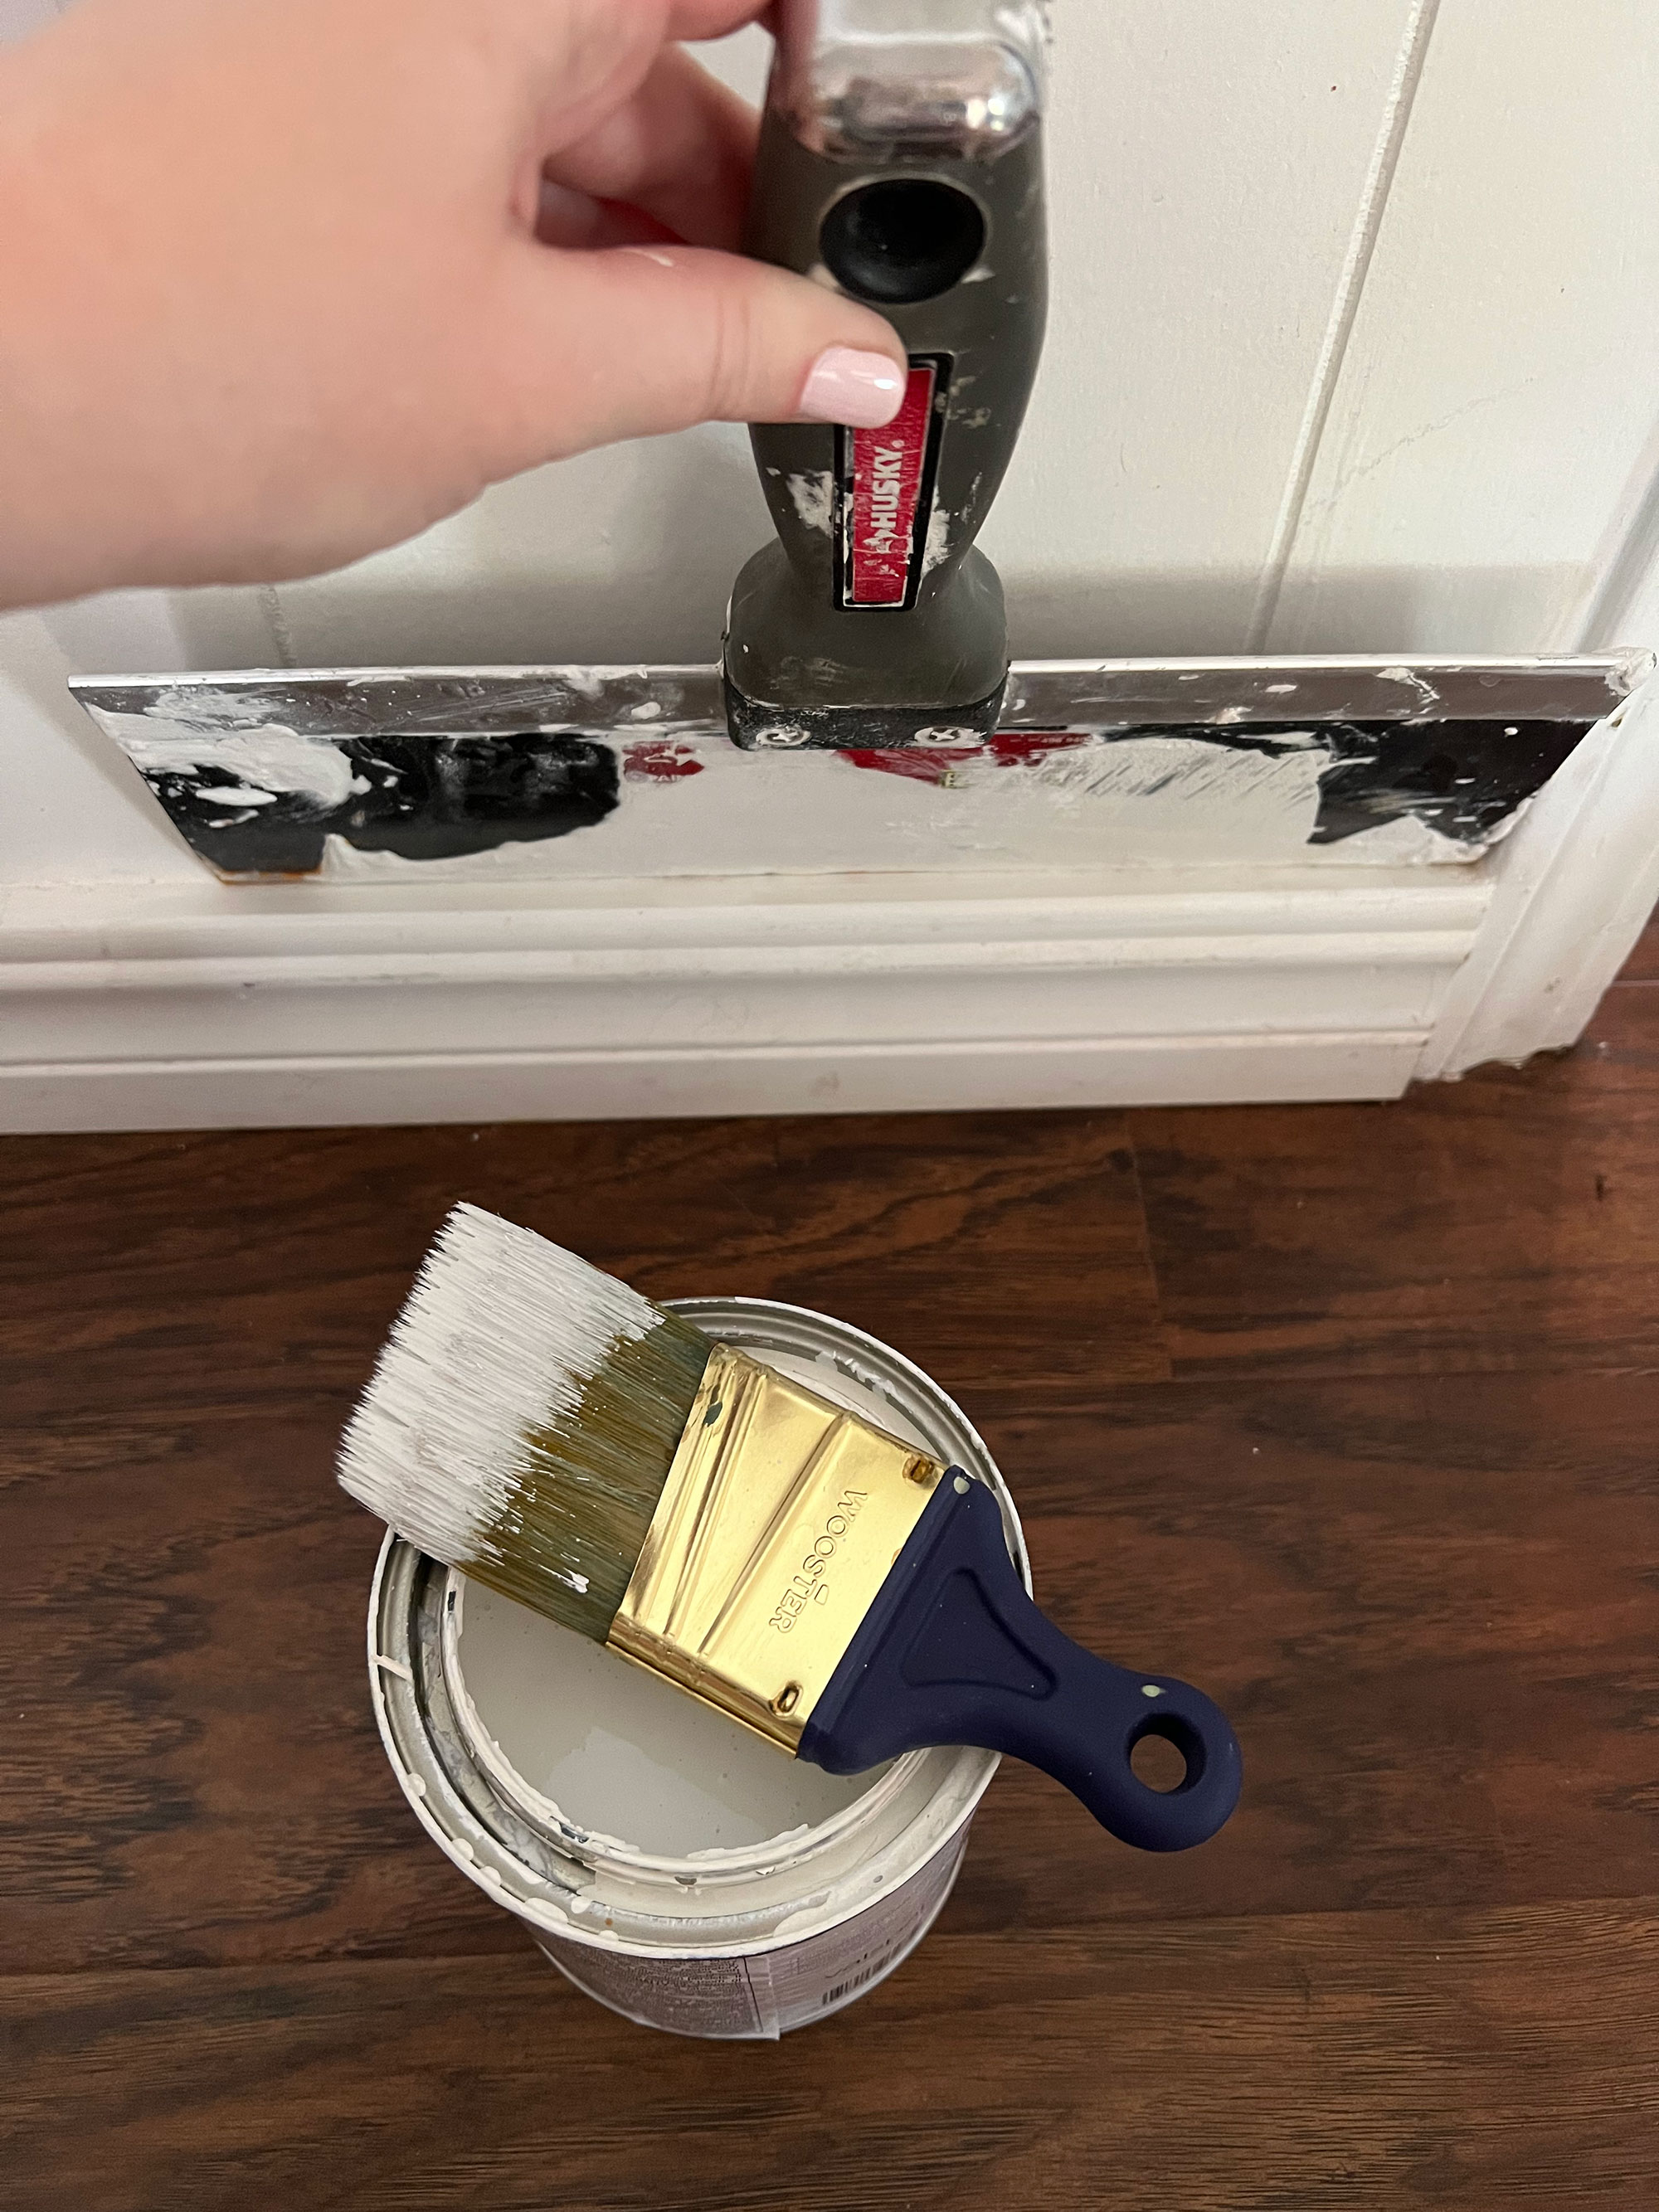
If you’re painting skirting boards that butt up against carpet you have a couple of different options for protecting the carpet from paint. A very effective option is to use an edger. Place the edger down between the carpet and the skirting board at an angle so you can reach in with the paintbrush. Slide the edger down the wall painting the boards as you go.
You can of course use painter's tape if this isn't an option. In which case you should vacuum the carpet so there’s no dust or debris on it, use wide-set masking tape and apply it along the carpet‘s edge.
You can do the same with a dust sheet, fitting it as close to the skirting boards as you can. Alternatively, slide a thin piece of cardboard under the skirting and secure it with tape.
3. Sand down your skirting boards
Some will skip this rule when painting skirting boards but sanding before painting makes for more professional-looking results. Rub down the existing paintwork, using sandpaper along the grain of the wood, most of the time this means sanding in a horizontal direction. You'll then want to fill any holes or cracks, then allow them to dry before sanding them back so that the filler is level with the skirting board.
You may still be able to skip the sanding if your skirting boards are in good shape and you use a high-quality primer like Valspar’s High-Hiding Primer before painting.
4. Clean your skirting boards thoroughly
Vacuum thoroughly then use a damp cloth to remove every spec of sanding dust or dirt you can, cleaning your skirting boards thoroughly. A sugar soap solution makes this easy.
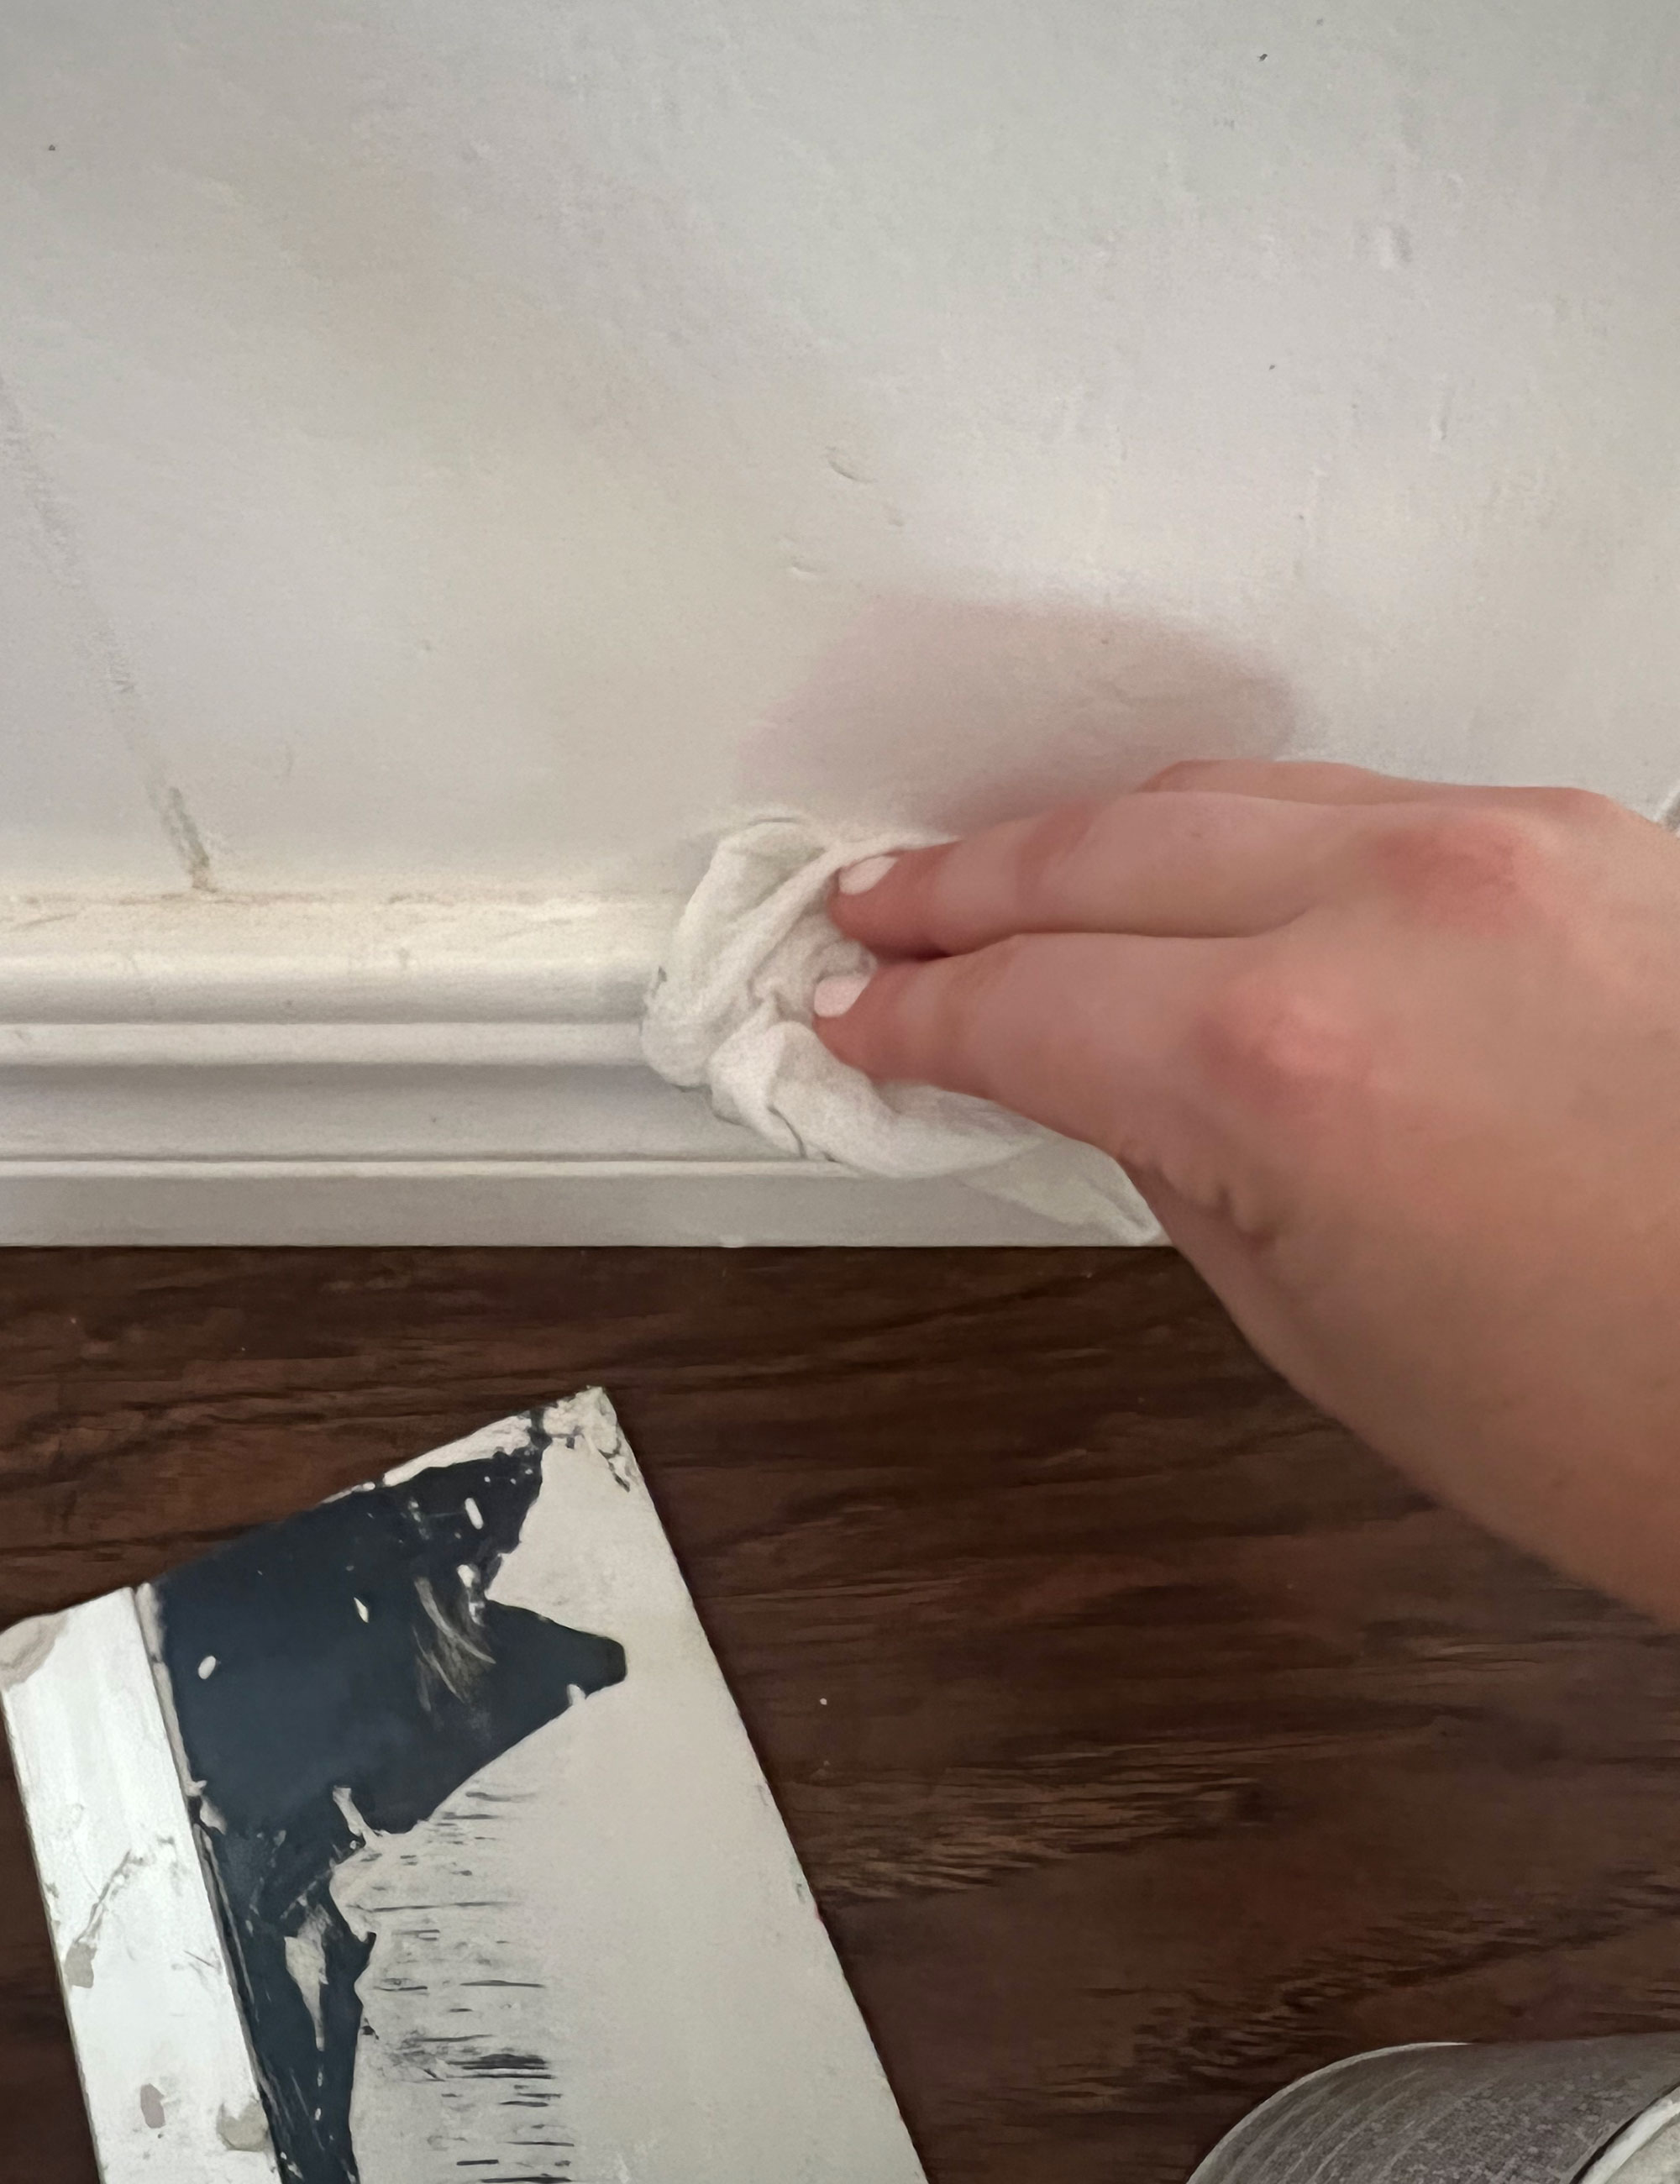
5. Tape off the perimeter
Use a painting tape like Frog or Scotch blue painter’s tape to tape the wall just above the skirting boards so you don’t get paint on the walls. If you have hard flooring you’ll want to tape them off, as well. You can also use the edging tool trick mentioned earlier for this instead, if preferred.
6. Paint on the primer
Again, some skip this step but we think it's crucial to a professional finish if you're painting skirting boards yourself. Without overloading your brush, paint the top half of the skirting board in the direction of the grain.
Start at the door and make your way around the room, then repeat this to paint the remaining bottom half of your skirting boards and the centre. Let this dry thoroughly before you move on to the next step.
7. Start painting the skirting
Paint the skirting board in the same direction you sanded it so that any paintbrush lines go in the direction of the wood grain. This will give you a neater, more professional looking finish. Allow to dry and add another coat if needed.
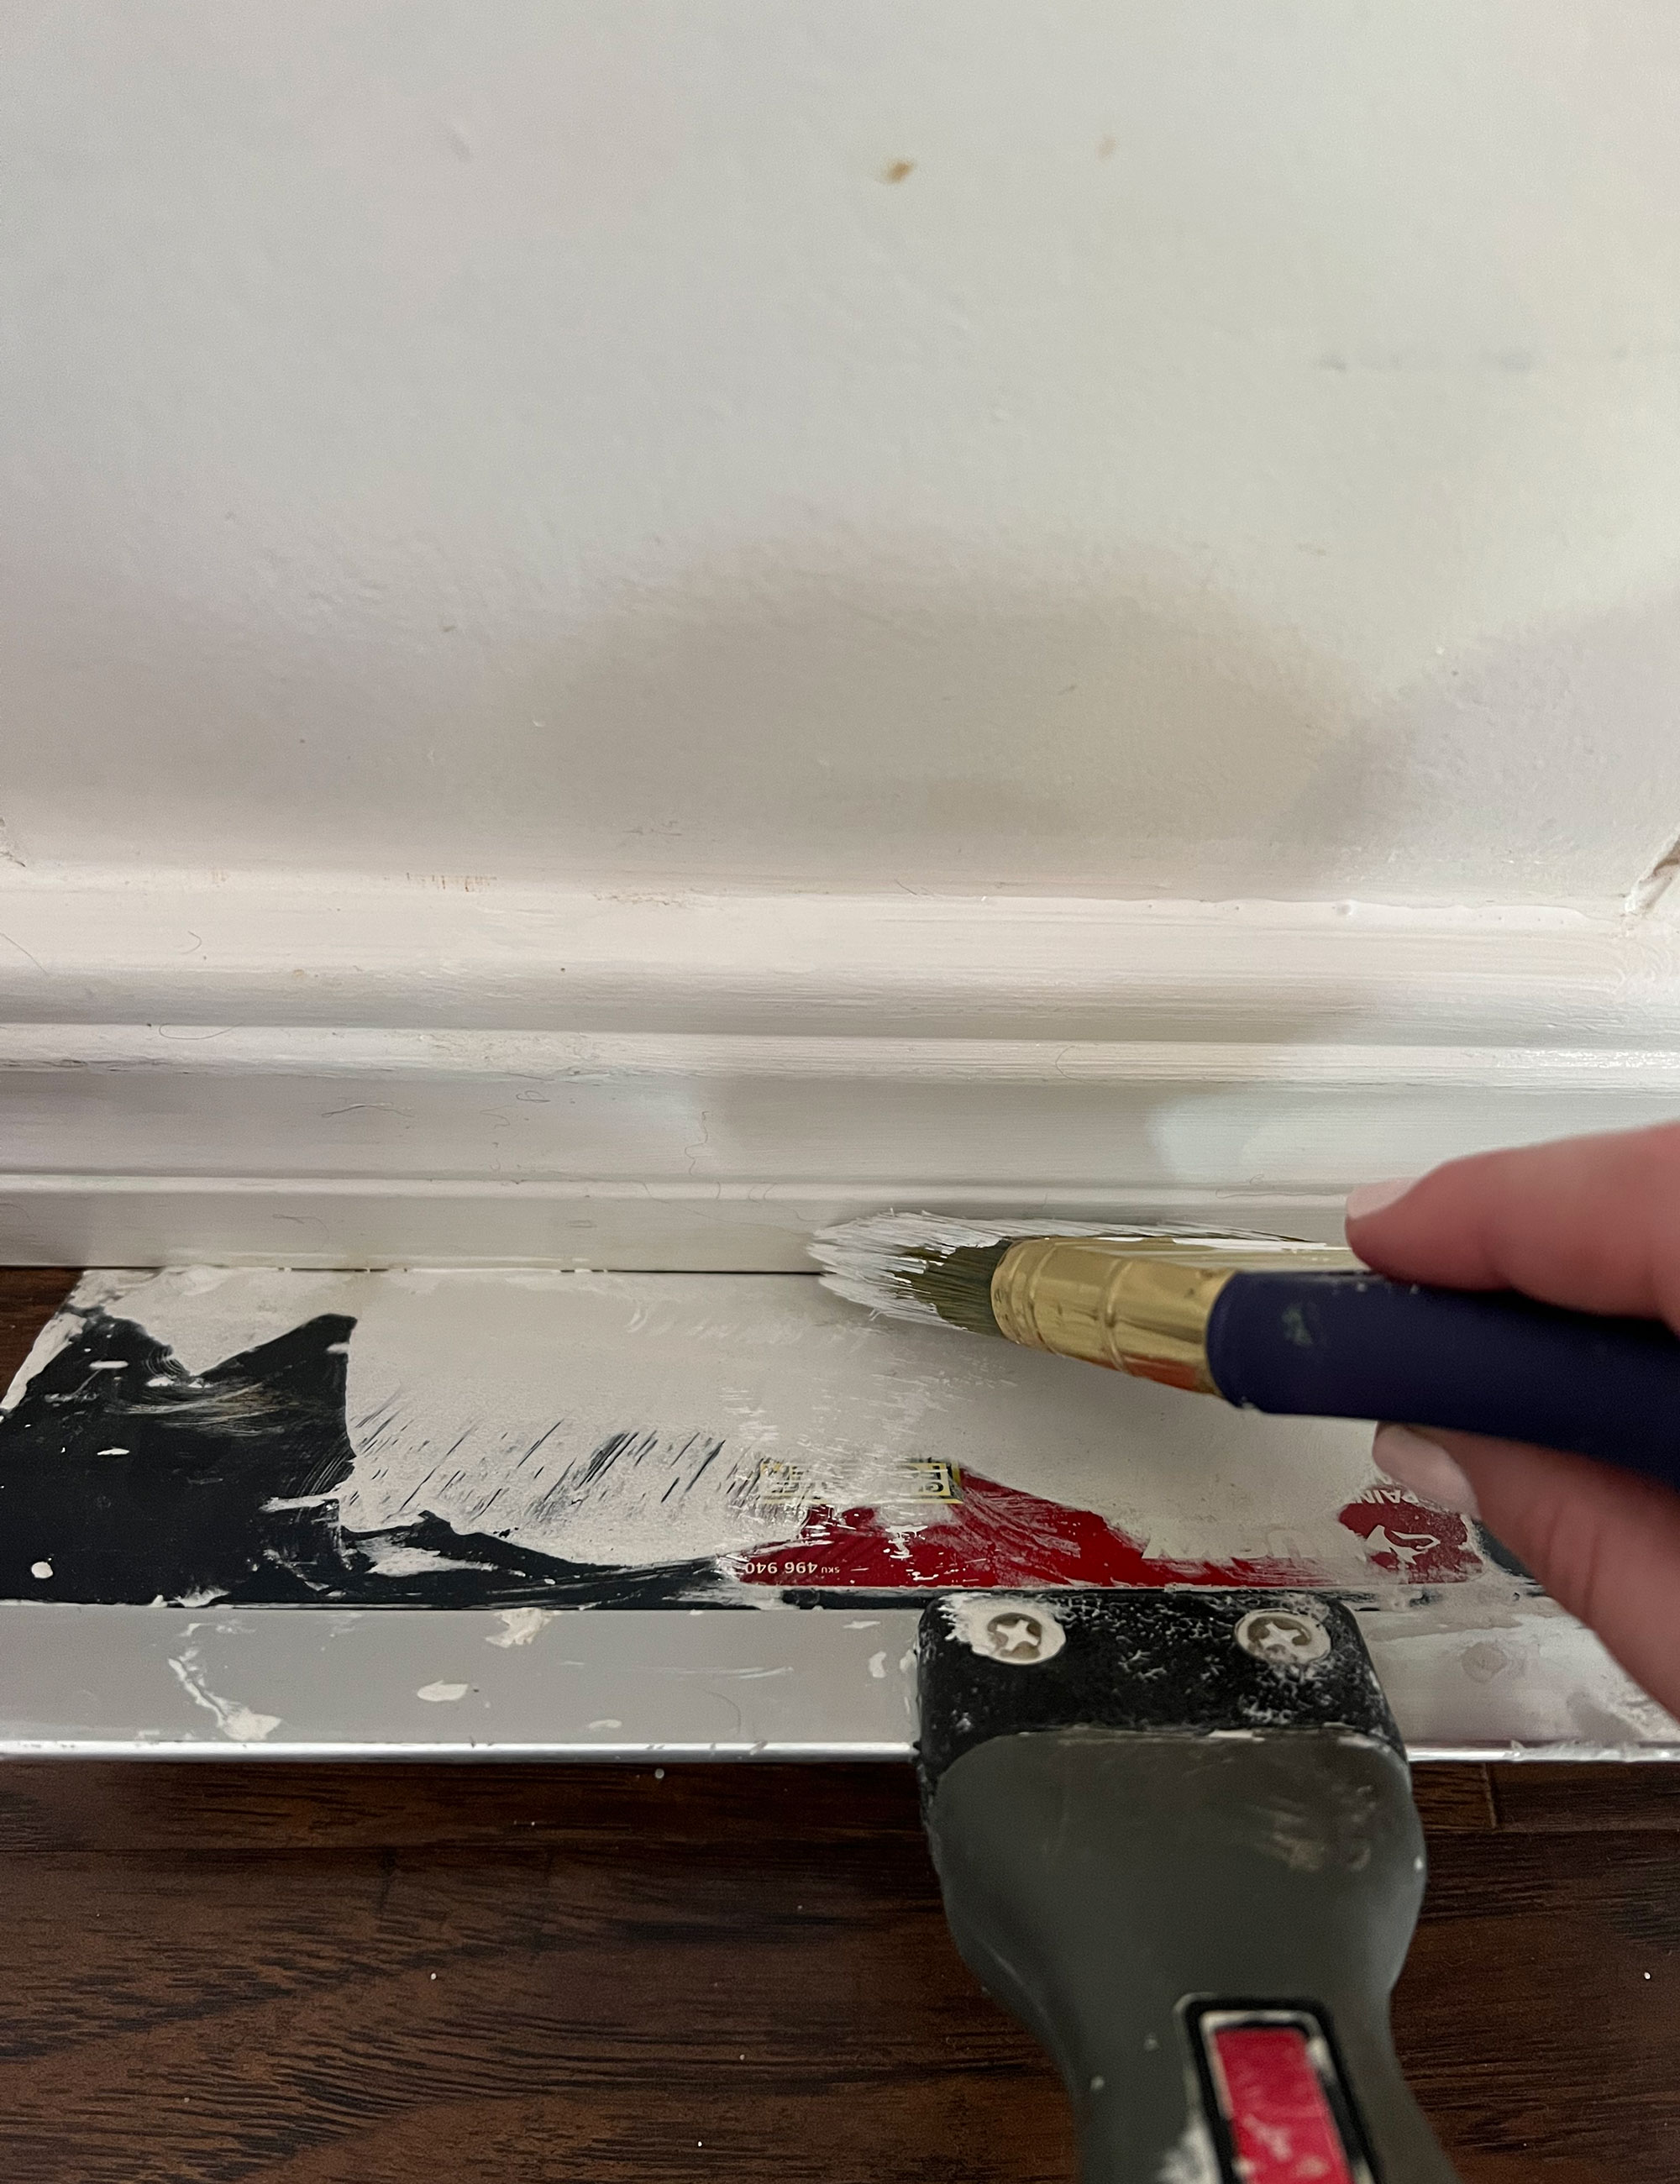
8. Let it dry
This might take a few hours but it's really important to keep your masking tape in place until the paint is entirely dry, to ensure clean lines when you come to remove it.
9. Remove the tape
When you have finished and the paint is completely dry, gently remove the tape from the carpet and walls. Or fold back the carpet, press down and tack it back into place.
10. Clean up
Pile dust sheets in the washer, close and store any half-empty paint tins and ensure you clean paintbrushes straight away to increase their longevity and help them last until the next time.
The results:
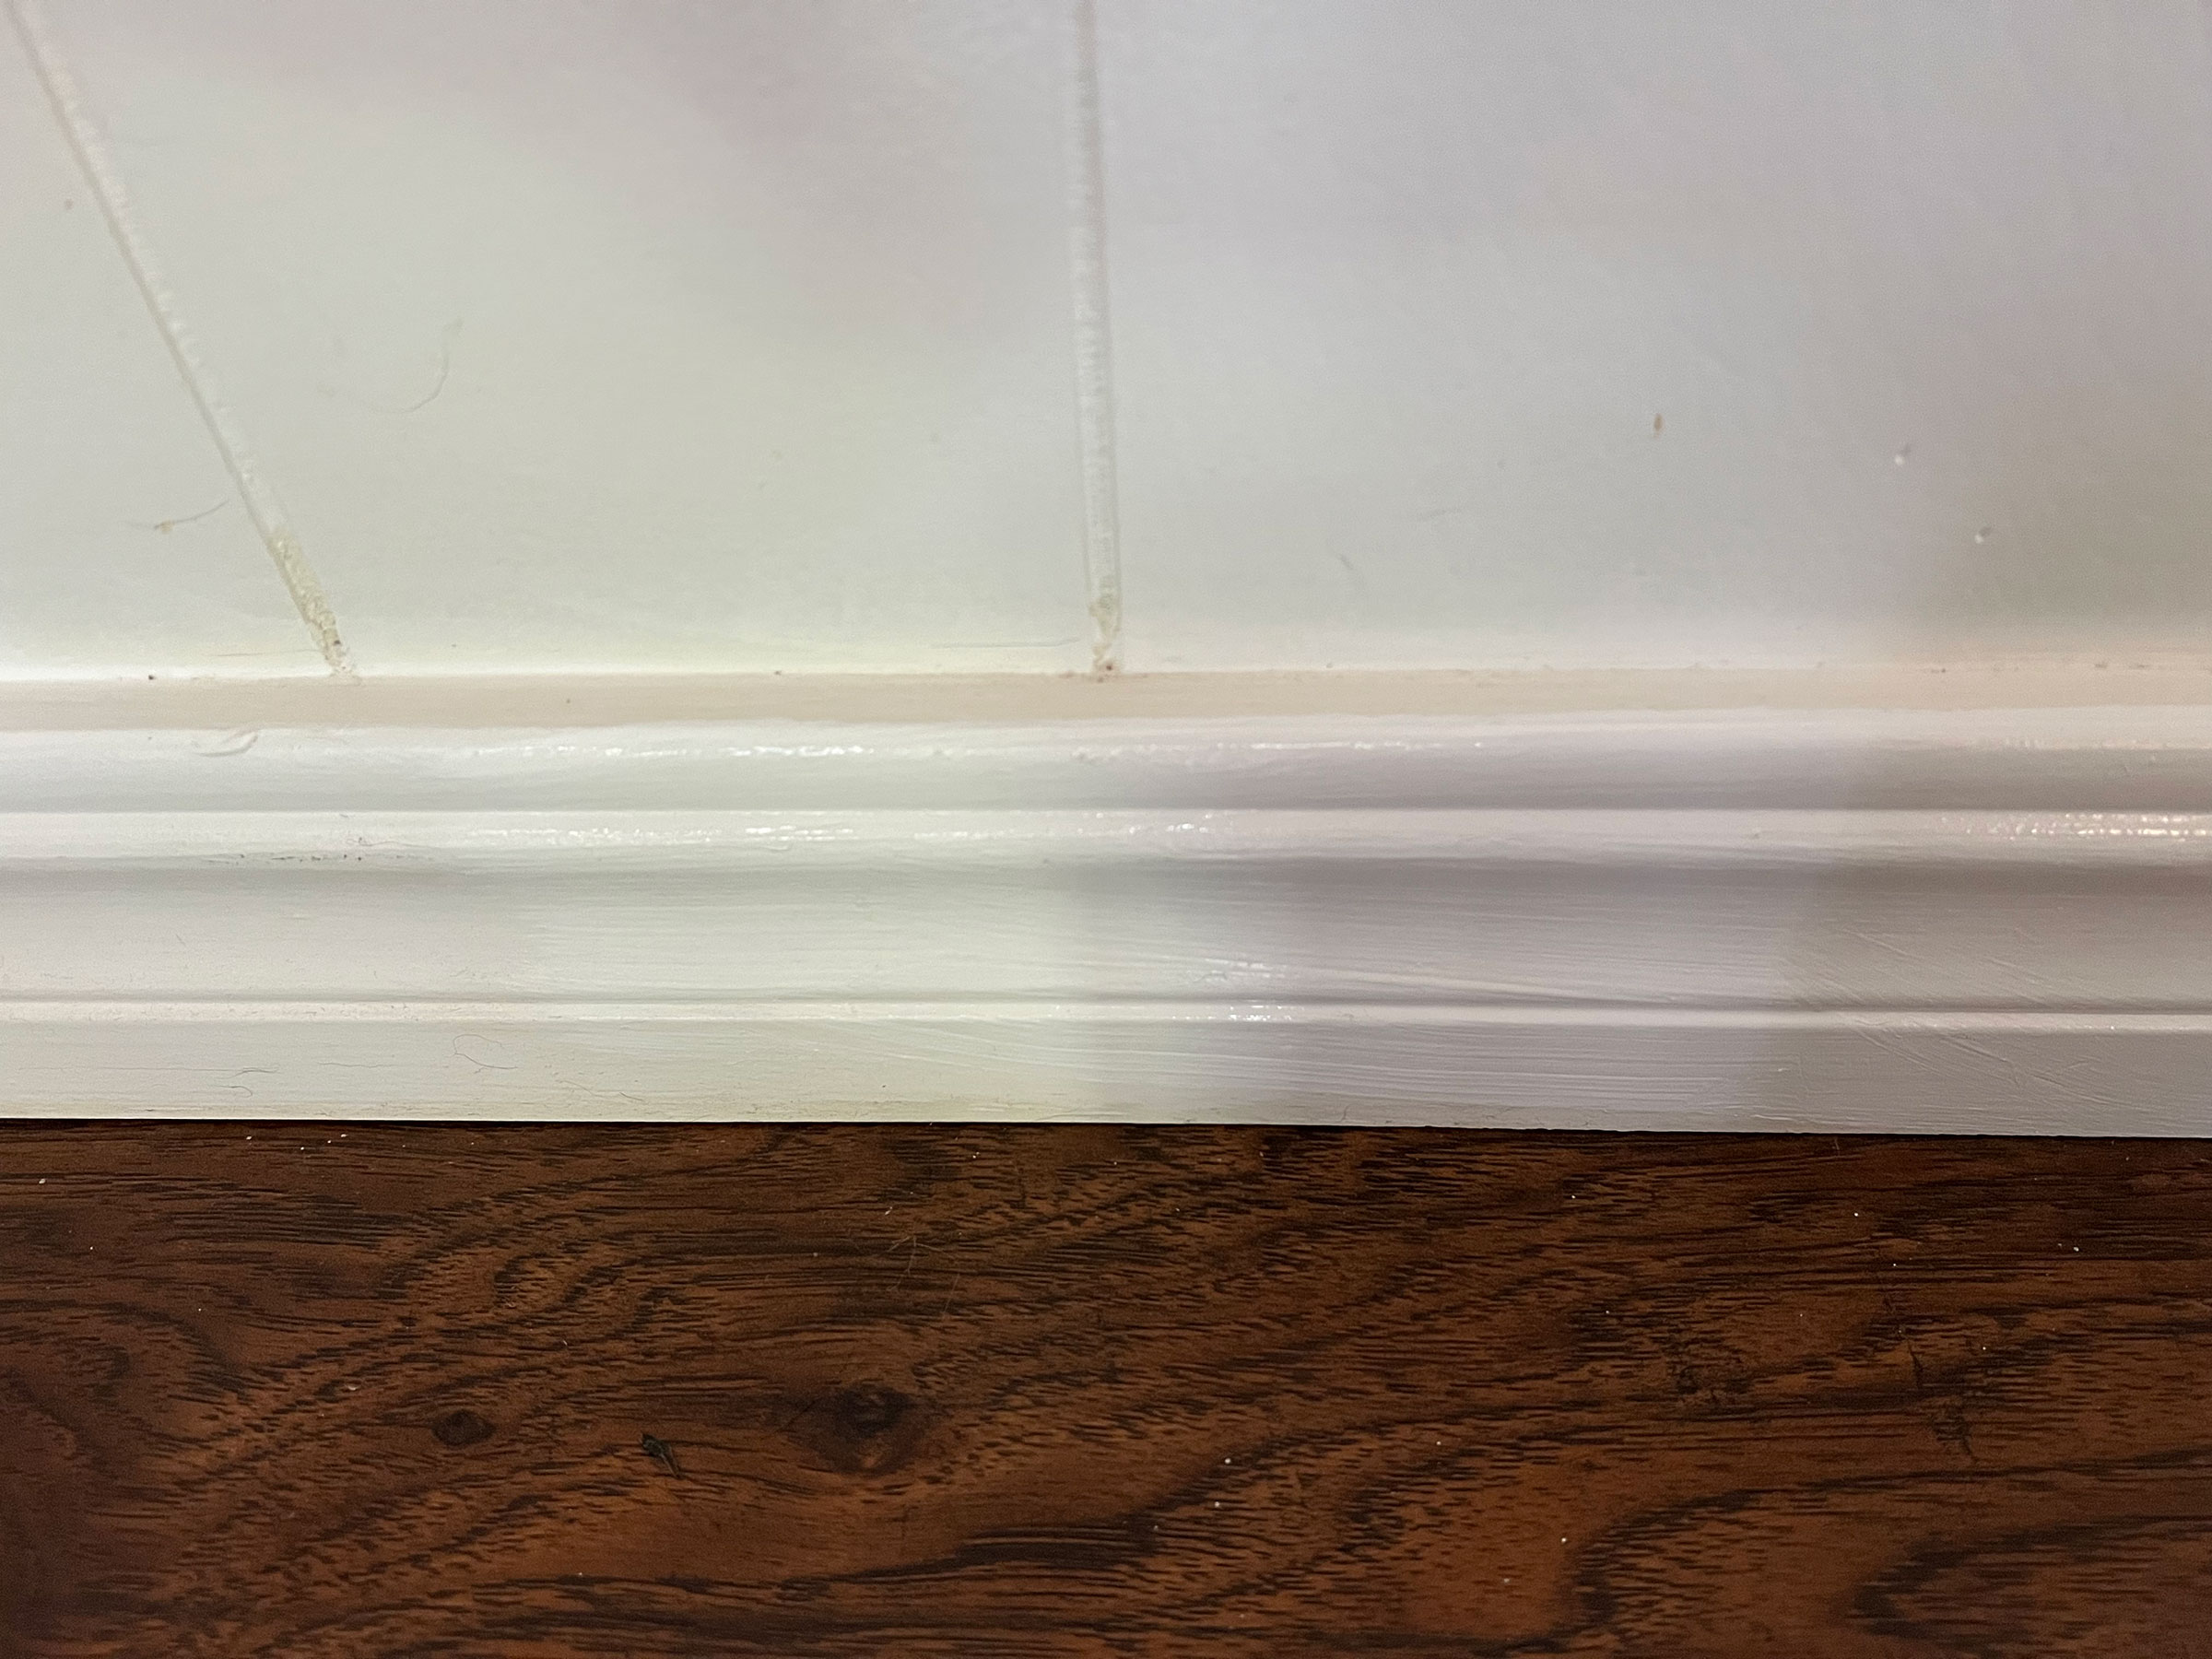
Perfectly painted.

Alison is Assistant Editor on Real Homes magazine. She previously worked on national newspapers, in later years as a film critic and has also written on property, fashion and lifestyle. Having recently purchased a Victorian property in severe need of some updating, much of her time is spent solving the usual issues renovators encounter.
-
 A $200 fluted panel transformed my drab kitchen in just one weekend
How to install a fluted kitchen panel: A speedy and achievable DIY tutorial even for DIY novices
By Claire Douglas Published
-
 How to replace a broken staircase spindle in 30 minutes flat
A missing or broken spindle on a staircase is not only unsightly, but it can be a real hazard. This is how to fix it in a few quick steps.
By Kate Sandhu Published
-
 An IKEA Billy bookcase hack inspired this cute media wall DIY
This cute DIY was inspired by an IKEA Billy bookcase hack and brought a ton of symmetry to an otherwise basic media wall space.
By Camille Dubuis-Welch Published
-
 Share your small space glow up to win $150 in the Real Homes competition
Show off your creativity and DIY skills to win $150 and for the chance to be featured exclusively in Real Homes magazine
By Camille Dubuis-Welch Last updated
-
 This oversized headboard looks designer, and takes 5 steps to DIY
Super simple to DIY, this oversized headboard will give your bedroom space all the designer vibes you could dream of.
By Claire Douglas Published
-
 How to paint a door and refresh your home instantly
Painting doors is easy with our expert advice. This is how to get professional results on front and internal doors.
By Claire Douglas Published
-
 My DIY range hood and backsplash build gave my kitchen the perfect farmhouse finish
I craved charm in my kitchen space and adding a custom range hood and shelving was the best move.
By Brooke Waite Published
-
 How to paint a radiator in 7 steps
Painting radiators properly is all about choosing the right paint and the best process. Get interior designer-worthy results with our how-to.
By Kate Sandhu Published