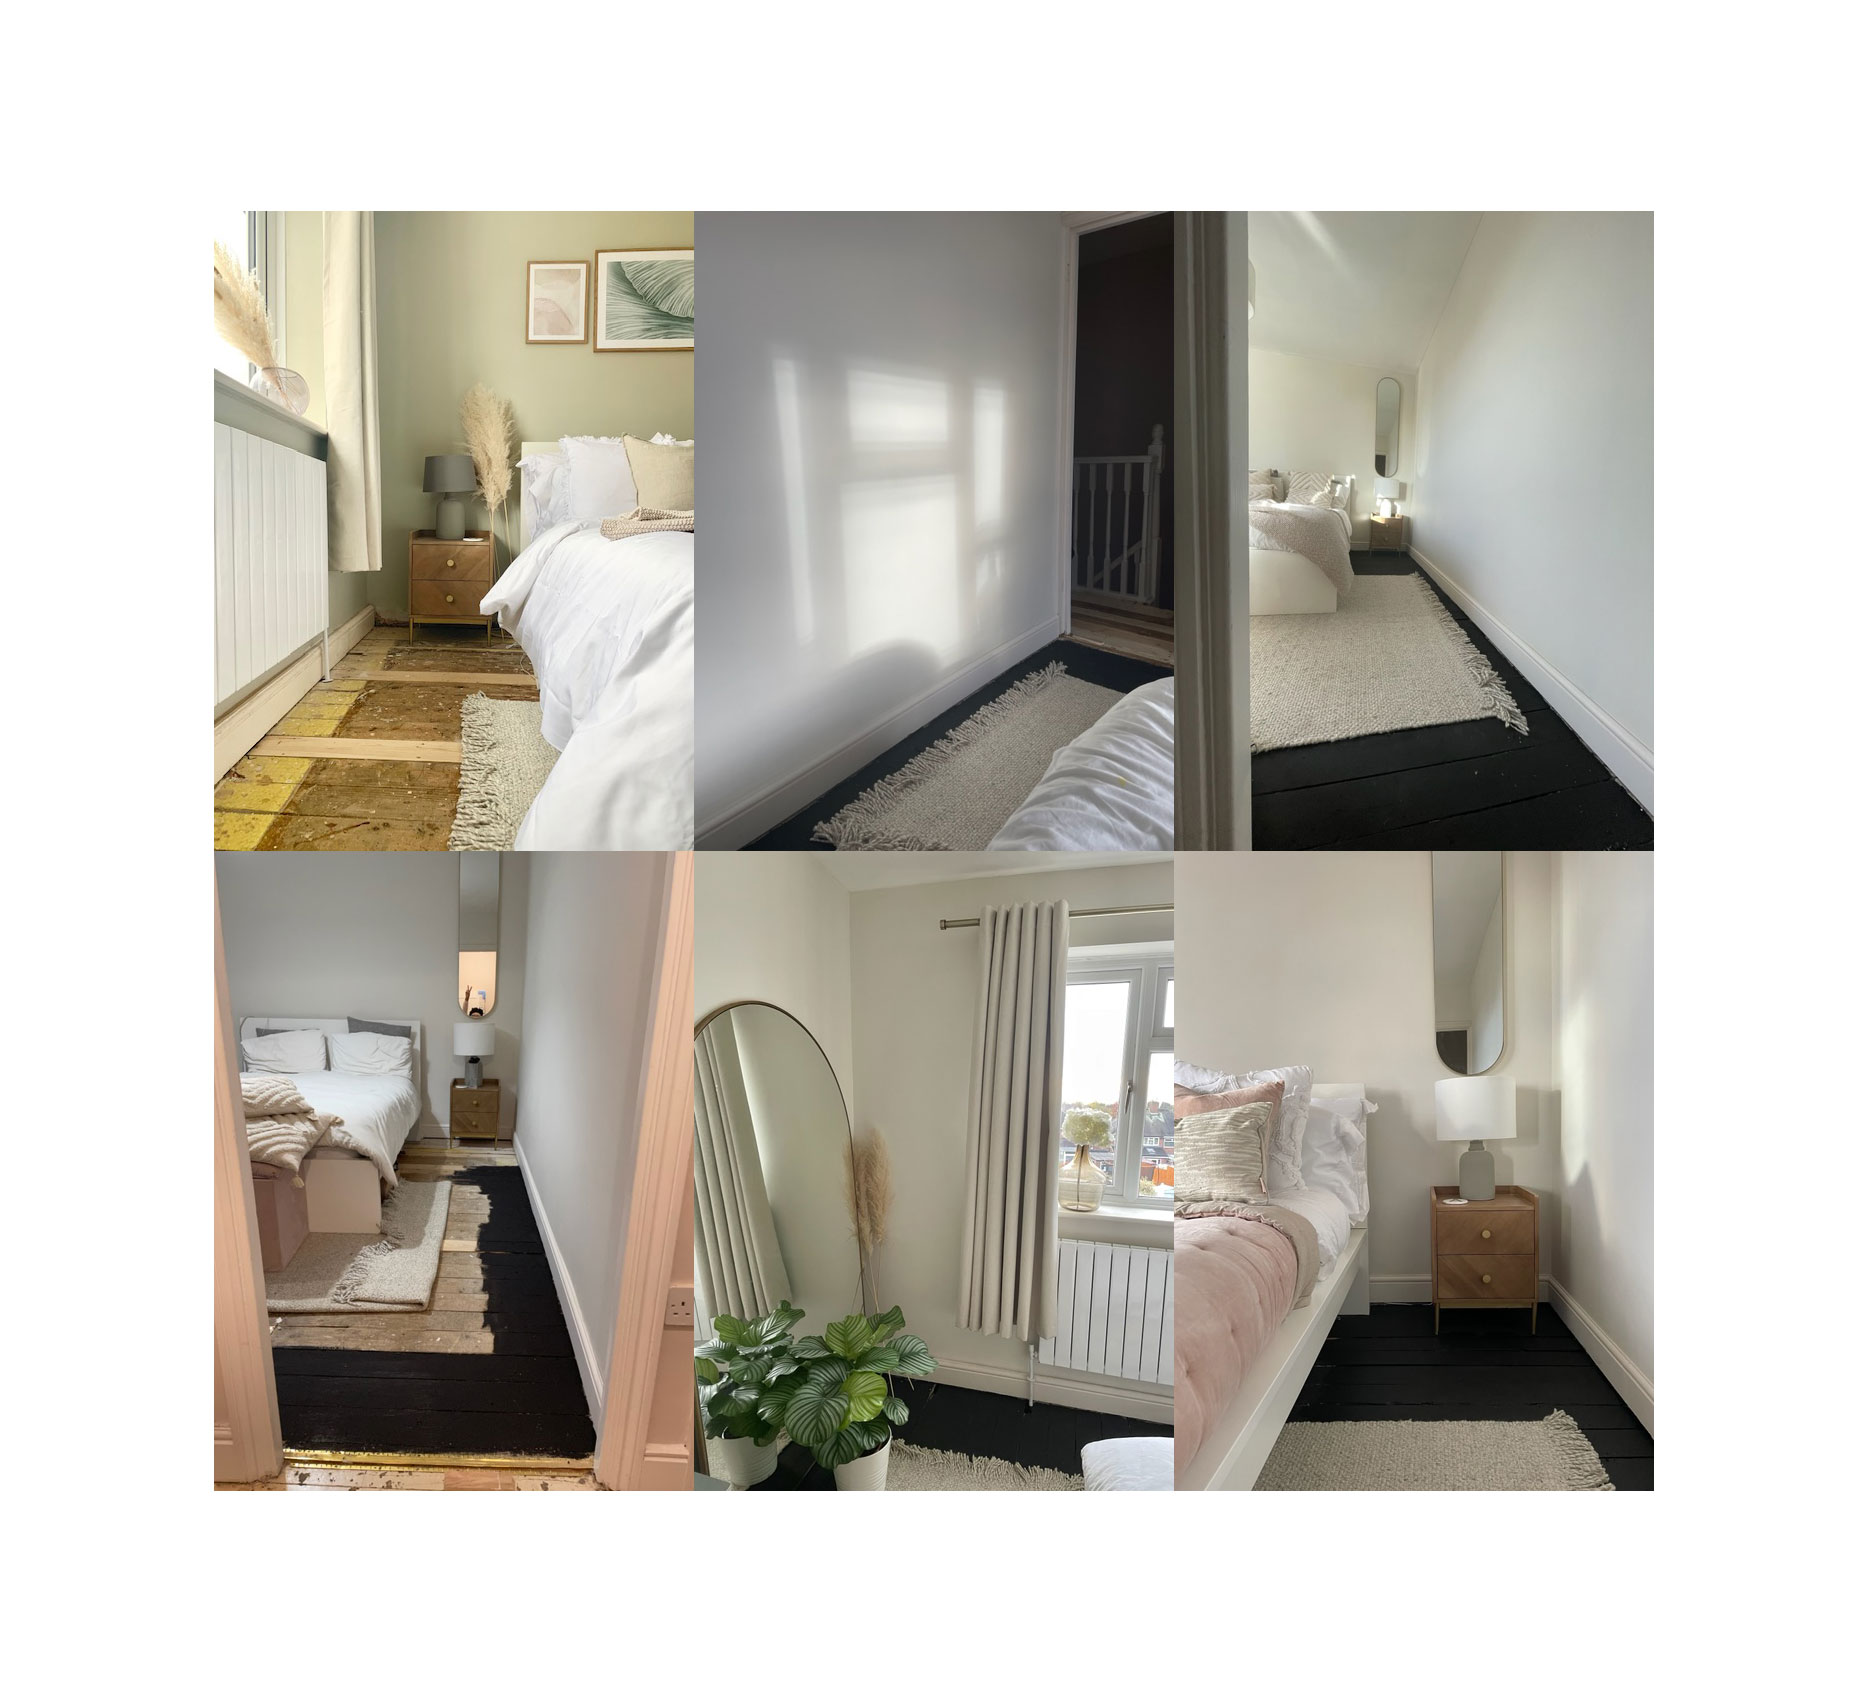
I honestly wish I had realised the amazing impact of painted floors years ago. Well, I wish I knew as soon as we had removed the carpet during a renovation clear out...
If you're also remodeling, you'll know all too well how it feels to be without nice floors, or perhaps a kitchen sink... So adjusting your space to help you feel more grounded amongst the heaps of 'stuff', tools and dust around you, really makes a difference.
We removed our carpets about a year into our home renovation, which honestly feels like the slowest reno known to man, and we had lived with them in their sorry state for a good while.
Project breakdown
Total project cost: Approx £55/$55 for paint, brush and roller.
Level of DIY skills needed: Beginner.
Time spent: 2 hours (depending on the size of the space).
Although this was a temporary measure for us, it could totally pass as a forever design feature, because painted floors can totally change the way a room feels – without costing you lots in time, money or effort.
My supplies:
- Measuring tape
- Flooring screws – Squeeeek No More floor screws from Amazon
- Crowbar & carpenters pincers to remove floor nails if needed
- Rustoleum’s chalky finish floor paint / another good paint for wood will do also.
- White spirit (if your floors are waxy)
- Orbital sander (if floorboards were previously painted) – I like Ryobi R18ROS-0 Orbital Sander Bare Tool - 18V
- Frog tape (to protect baseboards)
- A paintbrush, I used the Harris Seriously good 3" Soft tip Paintbrush from B&Q
- Short nap roller, lots are available from Amazon, I used: Rota pro velour 9" pick
Why temporarily cover floors?
The space we were looking at was the bedroom but this can easily be carried across into a hallway, living room or other space where you want to cover bare wooden floors quickly.
The plan was to always get carpet, because I think cosy carpet is perfect for bedrooms, but it wasn't a top priority and it never even crossed my mind to think of a temporary measure to make the rooms look and feel more appealing.
It was only after painting the walls, for the second time, that the idea of painting the floors seemed like a real possibility. I hadn’t used anything to cover our floors during painting, and the extra paint splashes did make it make a bit of a mess...
So I thought it was worth a shot while we decided on the style and found the time to install the carpet too
1. Check the quality of the floorboards you're painting
When considering painting floorboards, a key first step is to check the quality of the wood.
Way before I painted our bedroom floors, we checked and replaced quite a few of the floorboards in our bedrooms. Obviously, the original plan was to get carpet, but it’s always important to make sure your floorboards are intact and secure. Whether you’re adding flooring on top, or keeping the original floors, this is always an important step to take.
We measured all of the broken floorboards which needed to be removed, before buying new floorboards from a local sawmills – a very useful local UK lumber mill. You should double-check the width of the new floorboards, so you can ensure they will fit.
The new floorboards will need to be cut to size, and then screwed into place. We used flooring screws because they are easily removed as opposed to using nails. You may find you will need to use a crowbar to remove floorboards if you use nails, which could damage them.

2. Prepare the floorboards
We’ve all heard the phrase ‘preparation is key’, but actually, the type of paint you use can also help make your DIY easier and trust me when I say chalk paint is the way forward.
I went for Rustoleum Chalky finish floor paint 2.5L – you can find Rustoleum at The Home Depot too – for our bedroom project, and was elated when I read the instructions and it didn’t express the need for a primer. I will absolutely use a primer when needed, but if I don’t have to I will happily skip that part of the DIY process. Anyone else with me?
I checked for any loose screws or any old staples that could still be in the floorboards. Thankfully, ours were clear of those already. There are a range of tools you can use to remove staples or old nails, either the claw part of a hammer, end cutters, or a utility/crow bar.
If your floor has wax on the surface, use white spirit to give it a thorough clean.
If you have bare wood, previously painted, or varnished floorboards, it is recommended that you sand the surface before painting. This can be done with an orbital sander. If you have a large floor surface, you may want to consider hiring a larger floor sander which would be less time consuming, but also less demanding.
I didn’t do this because our skirting boards (baseboards) weren’t resting on our floors, but you may want to use frog tape or masking tape on your skirting boards to protect them from being painted accidentally in the process.
3. Painting the bedroom floor
This was my favourite part of the process because this is where you see those results!
Our floor needed two coats of paint for full coverage, and I applied it with my best paintbrush, as the room wasn’t that big.
You could also use a short nap roller to do the job too, which may again save you some time. A paintbrush is good for painting around the edges, or within any gaps which can’t be reached with the roller brush.
The floor will be touch dry after an hour, but you should wait 4 hours before painting the second coat.
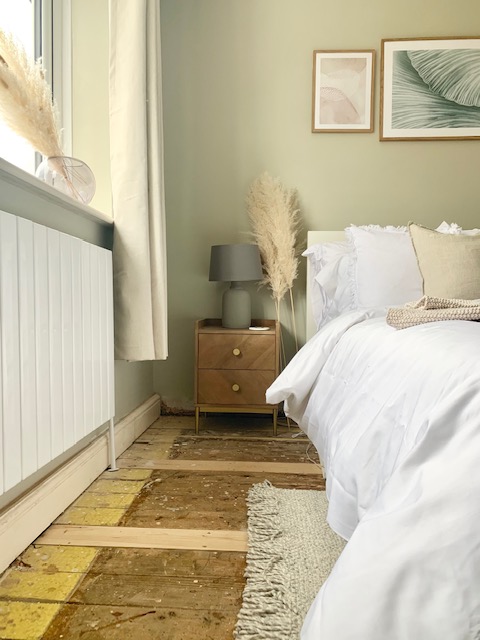
Once the black floor had been painted, it instantly made the room feel cosier, which was perfect for our bedroom. Because a cocooned bedroom space is a good one, right?
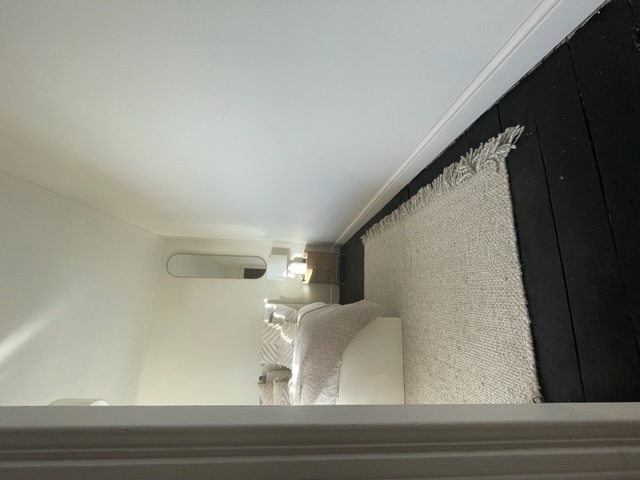
The paint colour choices for floor paint are endless now and you're sure to find something that will suit your bedroom paint colour scheme if this is the room you're working on, so you can simply do whatever you want. You could go light for an airy feel to the room, go dark for a deep dramatic cosy feel – like us – or go bold for a bright fun space. Whatever you choose, I would say for the cost and effort involved, it's totally worth it to keep your home feeling homely even you're actually in full upheaval mode – just have fun with it!
Join our newsletter
Get small space home decor ideas, celeb inspiration, DIY tips and more, straight to your inbox!
Jess Grizzle is a multi-award winning content creator and home interiors influencer. Her social media platforms include her Instagram @grizzle_abode which she started in May 2019. Here she shares the joys and trials of living in a home during a renovation and her many DIY projects.
Although she has always been creative, she really found her love for DIY once she and her husband became homeowners. She realised quite quickly out of the two of them, she was the one with the desire to buy power tools and learn new DIY skills.
She found her passion of championing women to do DIY and take on their own challenges. This led her to become a co-founder of the @femalediycollective, a growing female DIY community celebrating projects from women all around the world.
-
 A $200 fluted panel transformed my drab kitchen in just one weekend
How to install a fluted kitchen panel: A speedy and achievable DIY tutorial even for DIY novices
By Claire Douglas Published
-
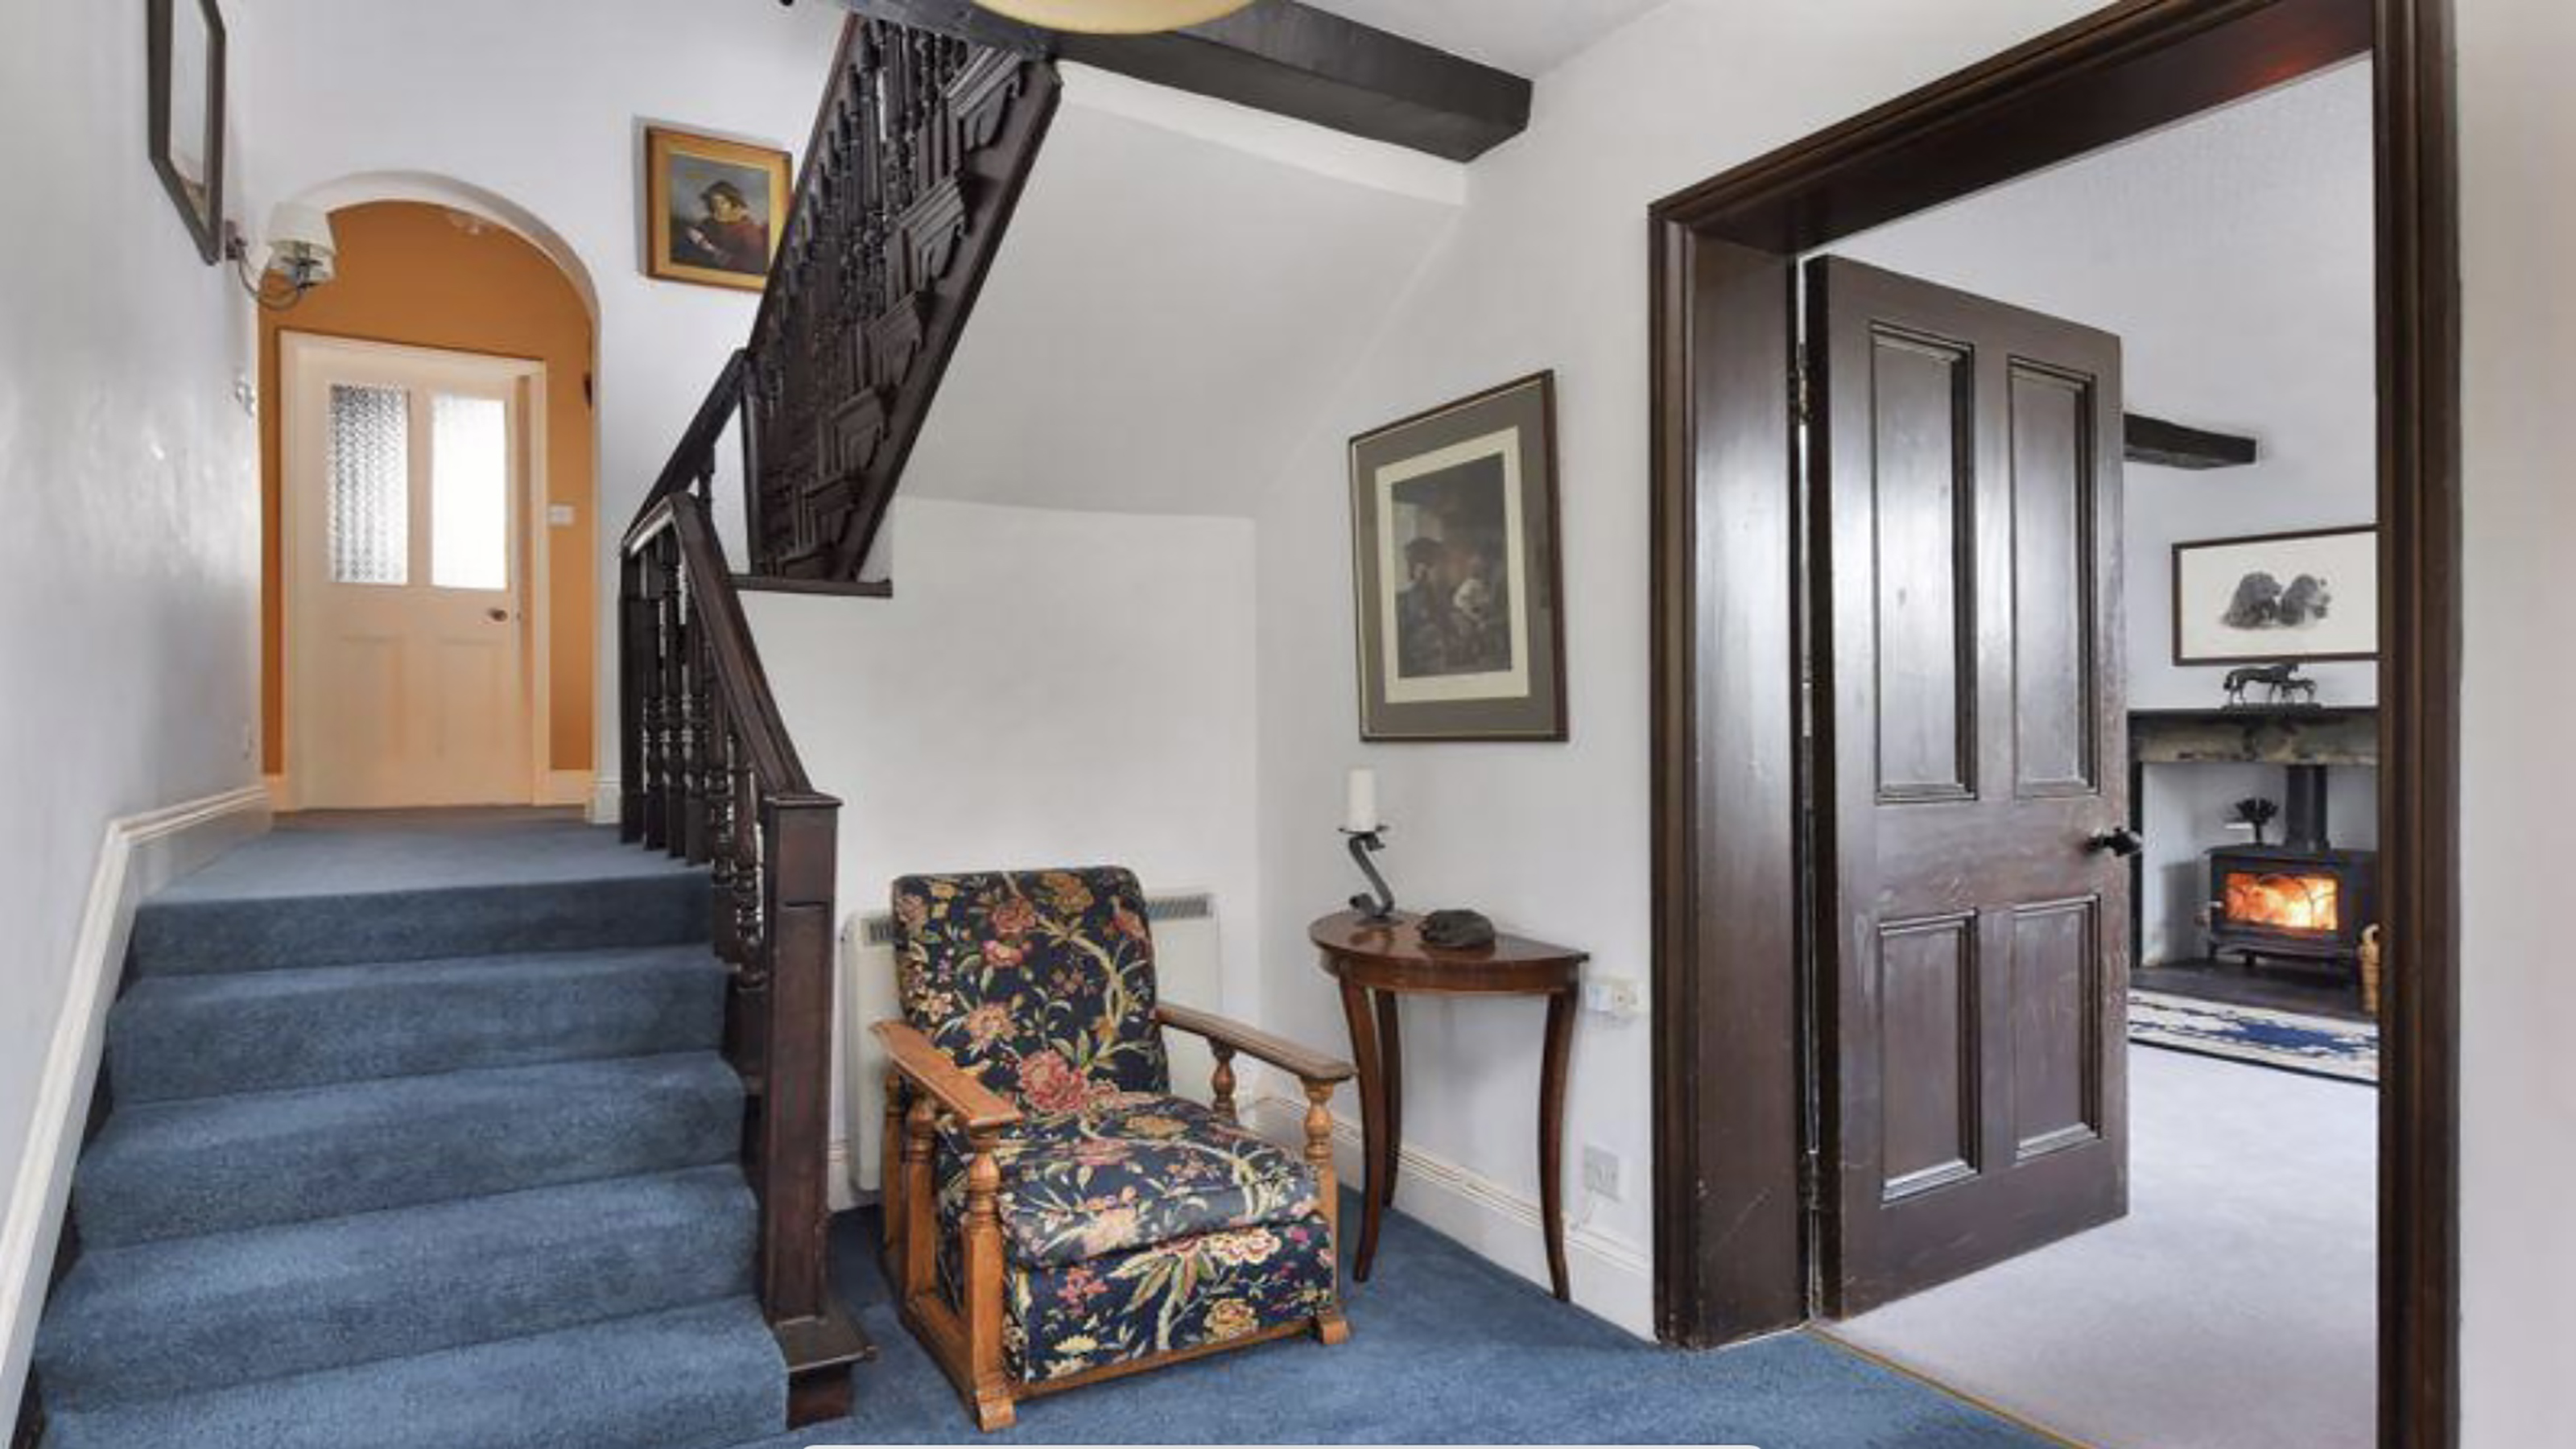 How to replace a broken staircase spindle in 30 minutes flat
A missing or broken spindle on a staircase is not only unsightly, but it can be a real hazard. This is how to fix it in a few quick steps.
By Kate Sandhu Published
-
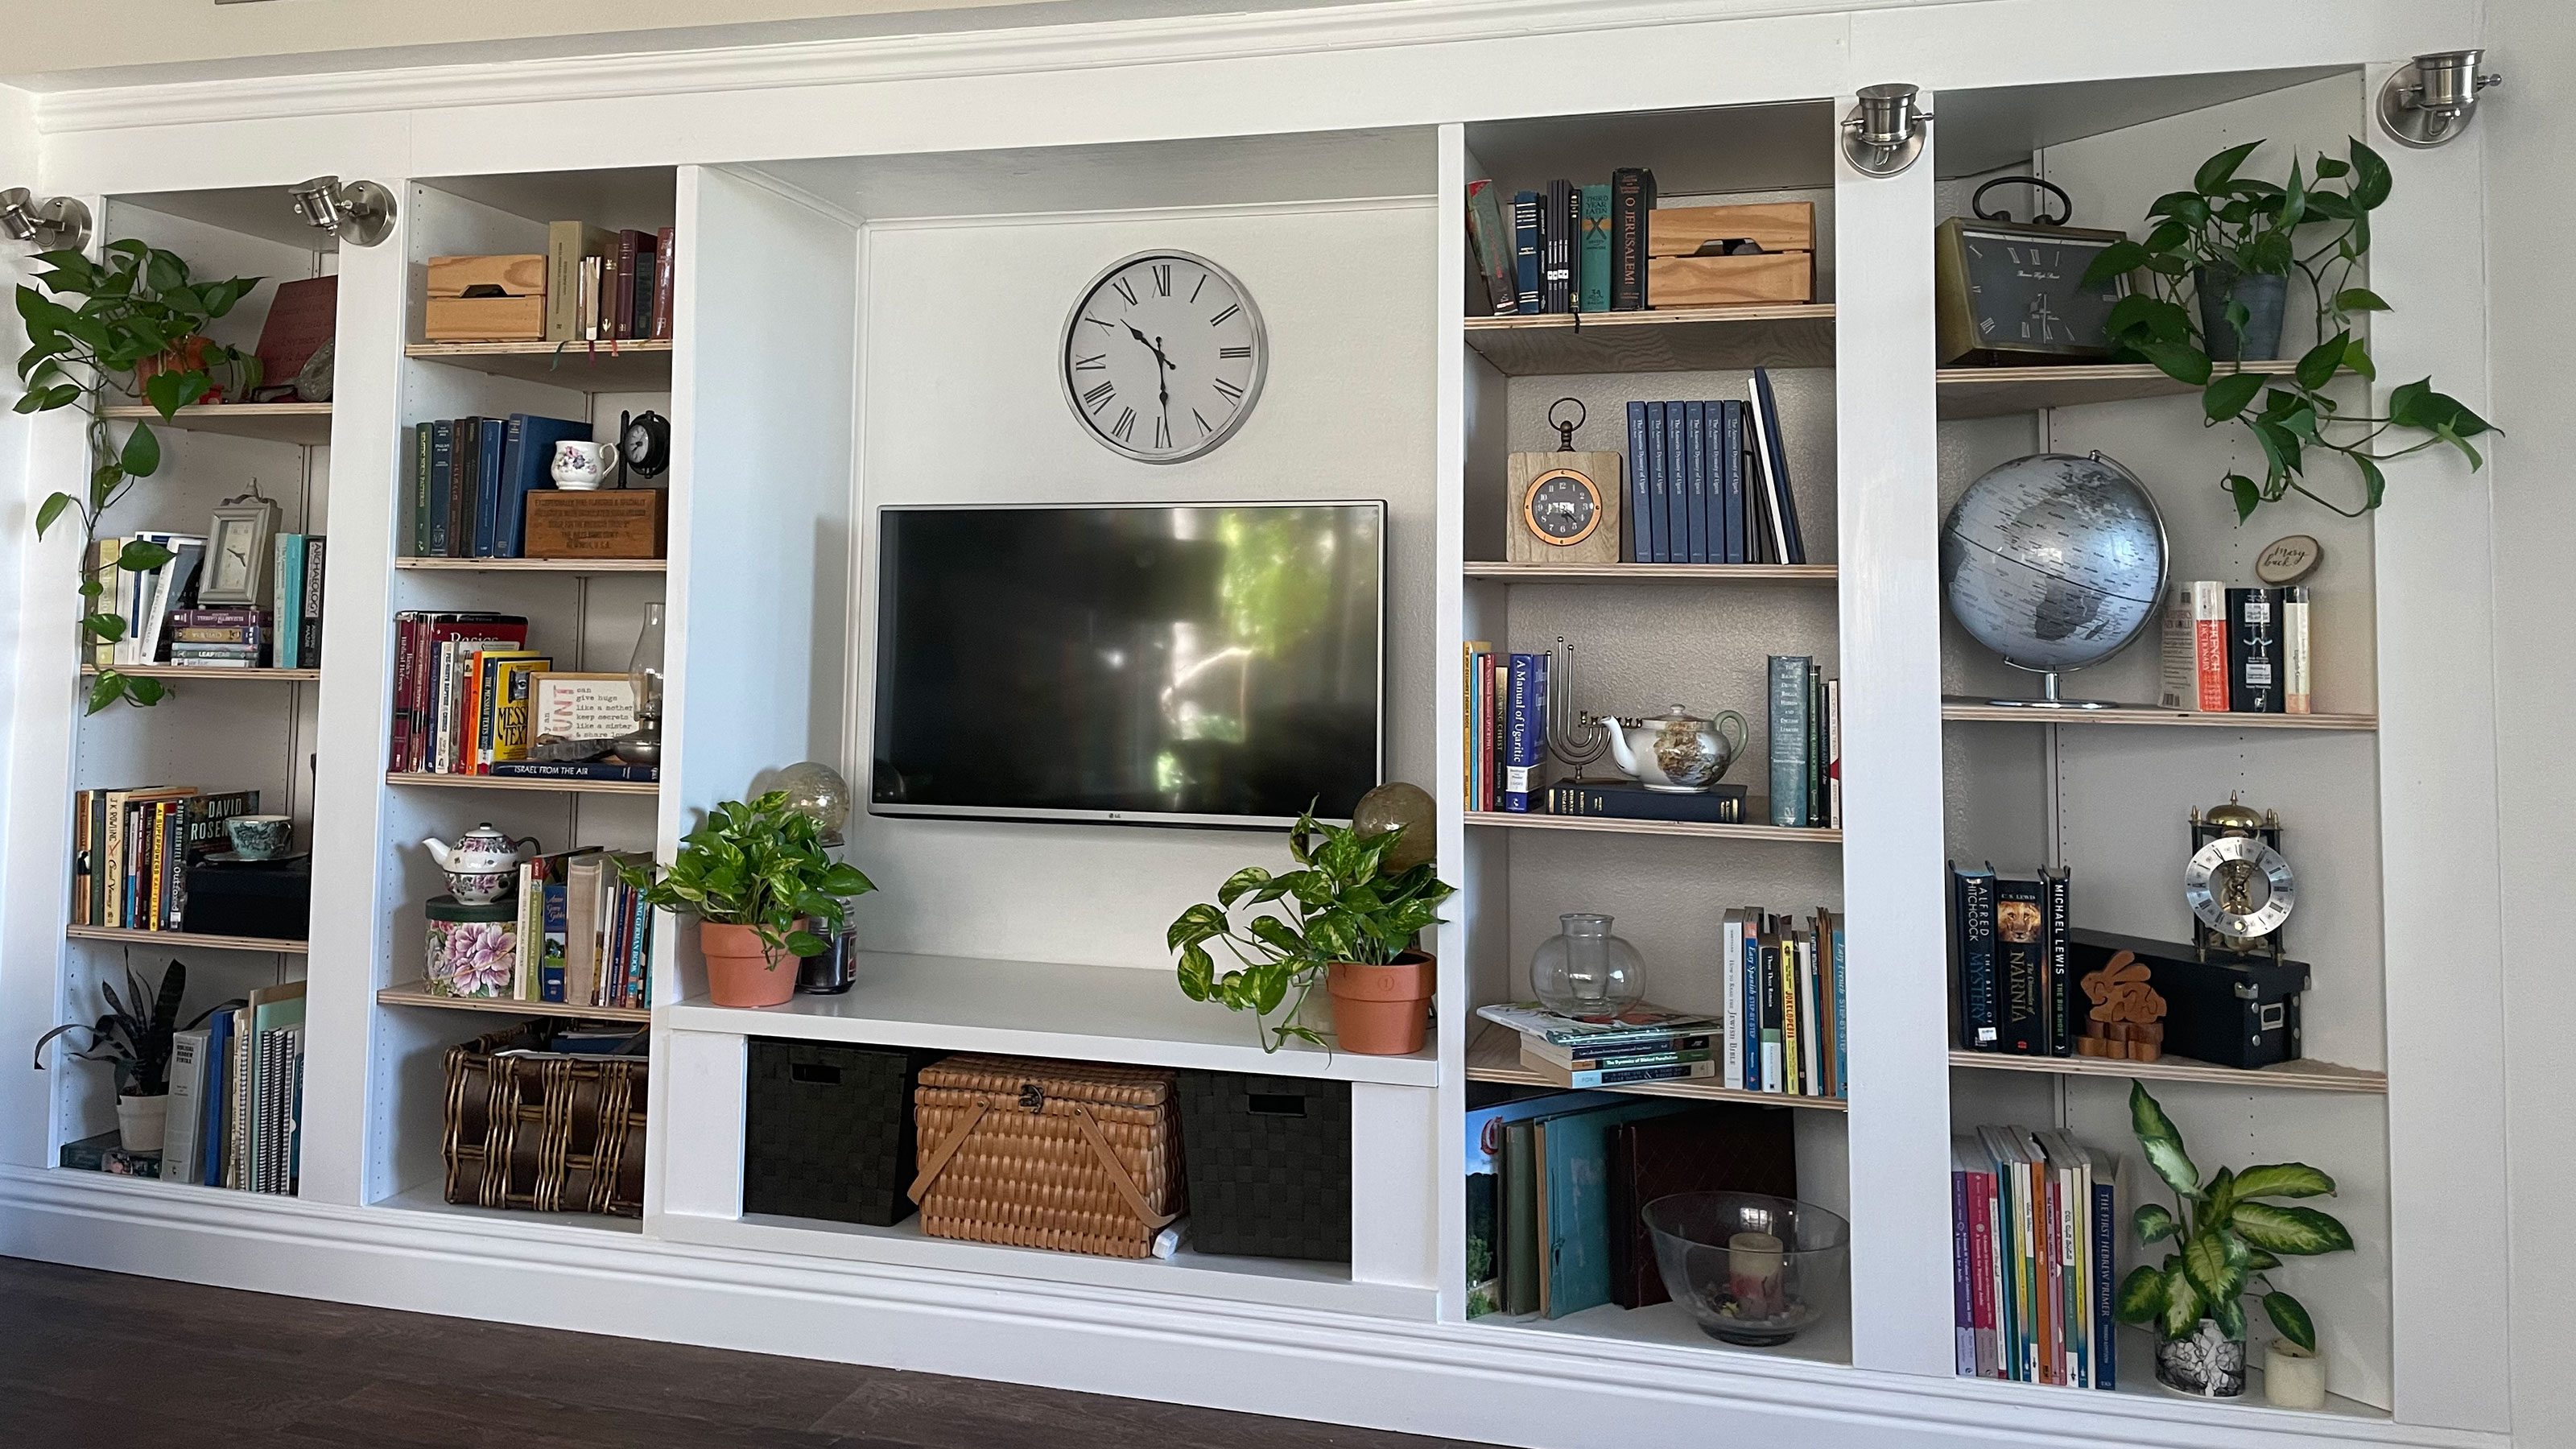 An IKEA Billy bookcase hack inspired this cute media wall DIY
This cute DIY was inspired by an IKEA Billy bookcase hack and brought a ton of symmetry to an otherwise basic media wall space.
By Camille Dubuis-Welch Published
-
 Share your small space glow up to win $150 in the Real Homes competition
Show off your creativity and DIY skills to win $150 and for the chance to be featured exclusively in Real Homes magazine
By Camille Dubuis-Welch Last updated
-
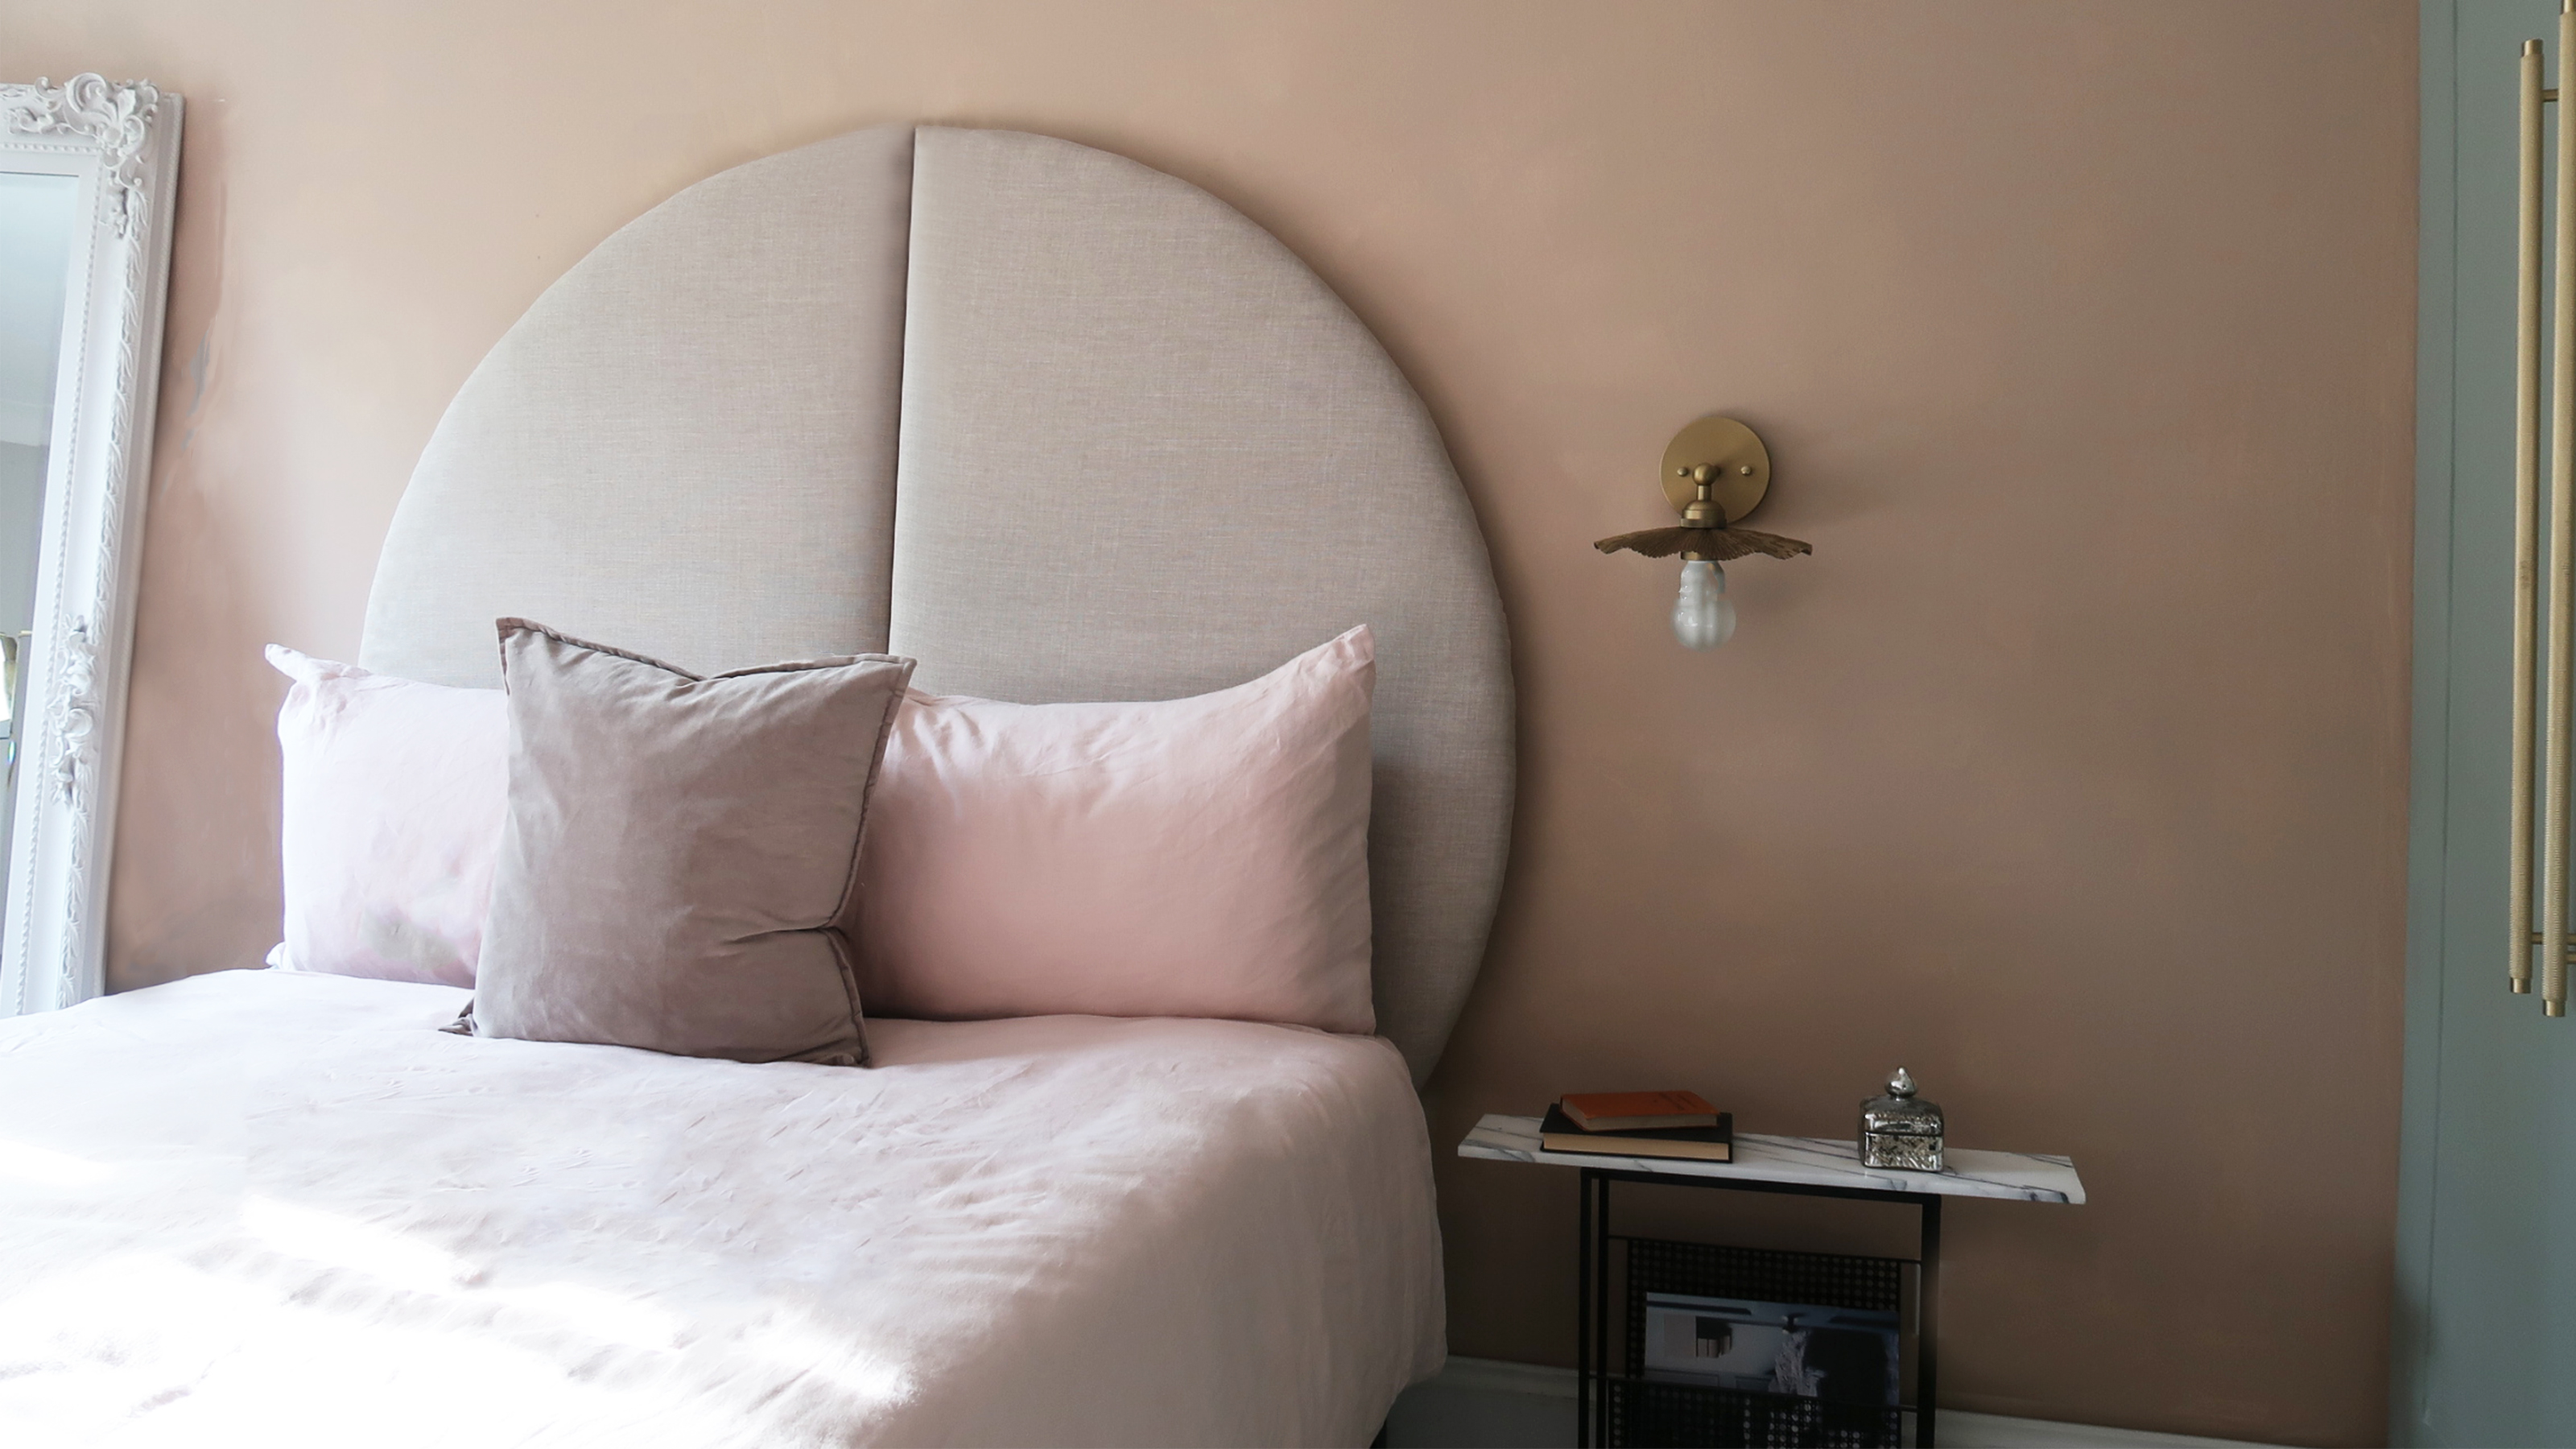 This oversized headboard looks designer, and takes 5 steps to DIY
Super simple to DIY, this oversized headboard will give your bedroom space all the designer vibes you could dream of.
By Claire Douglas Published
-
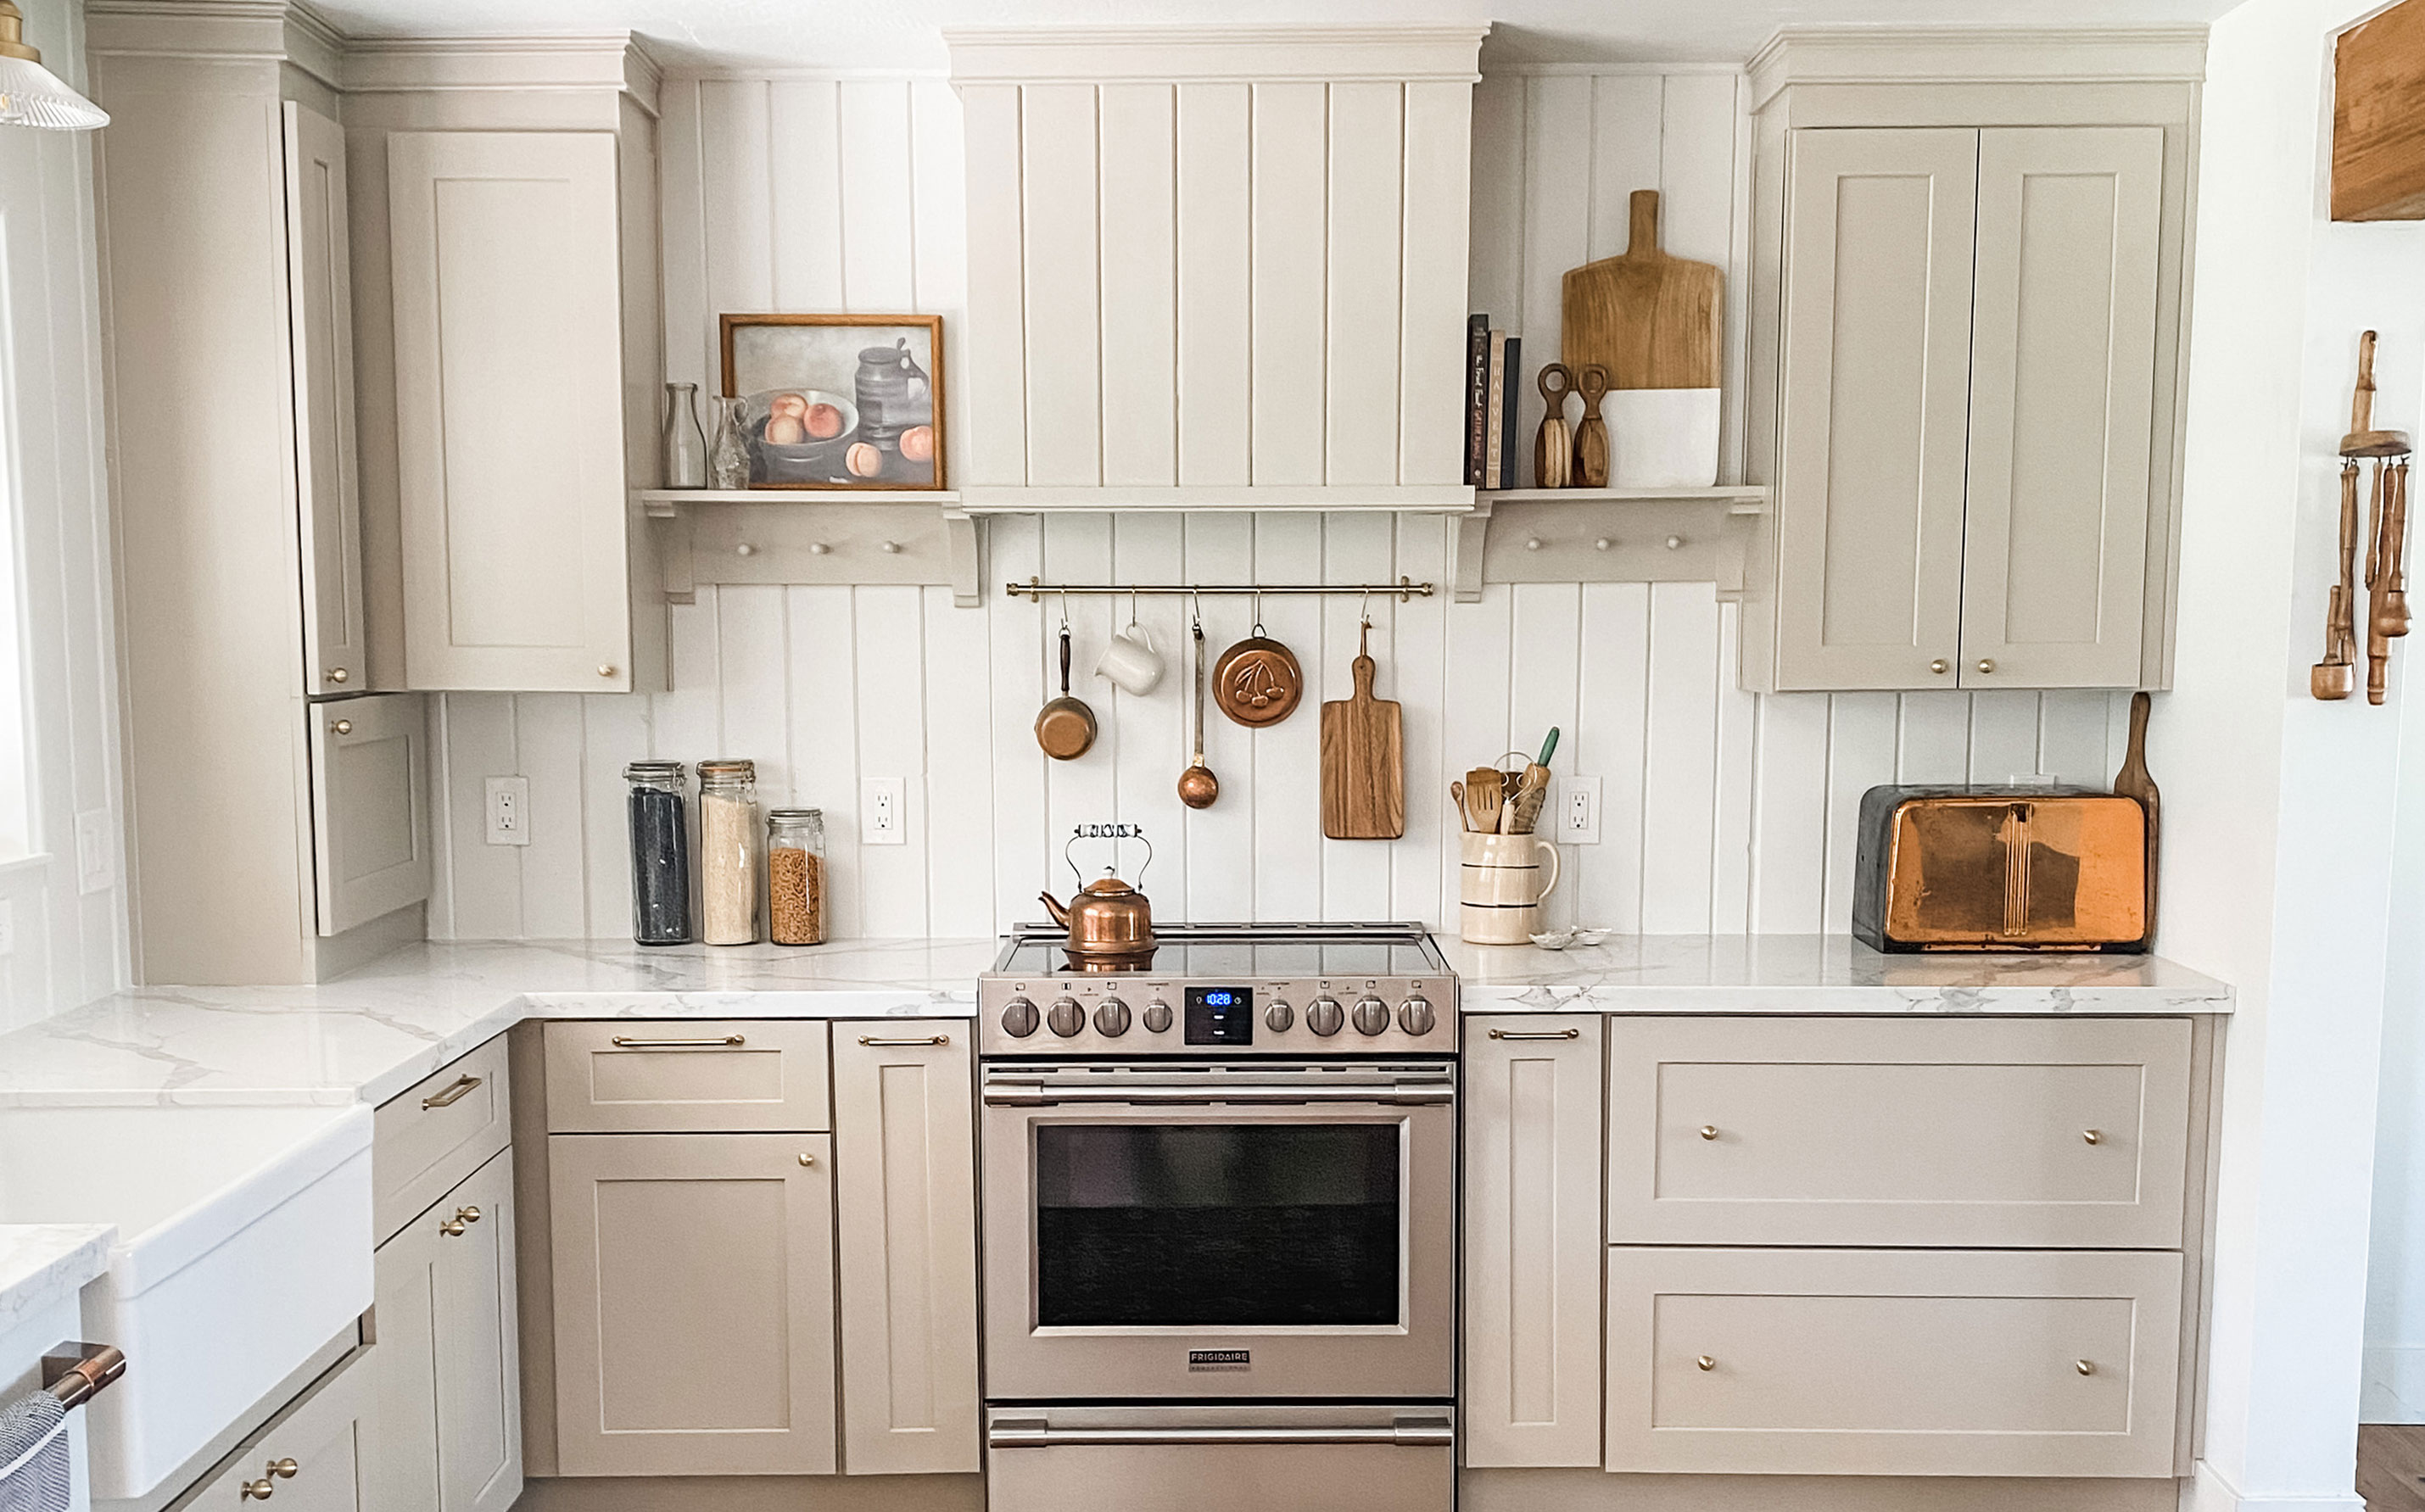 My DIY range hood and backsplash build gave my kitchen the perfect farmhouse finish
I craved charm in my kitchen space and adding a custom range hood and shelving was the best move.
By Brooke Waite Published
-
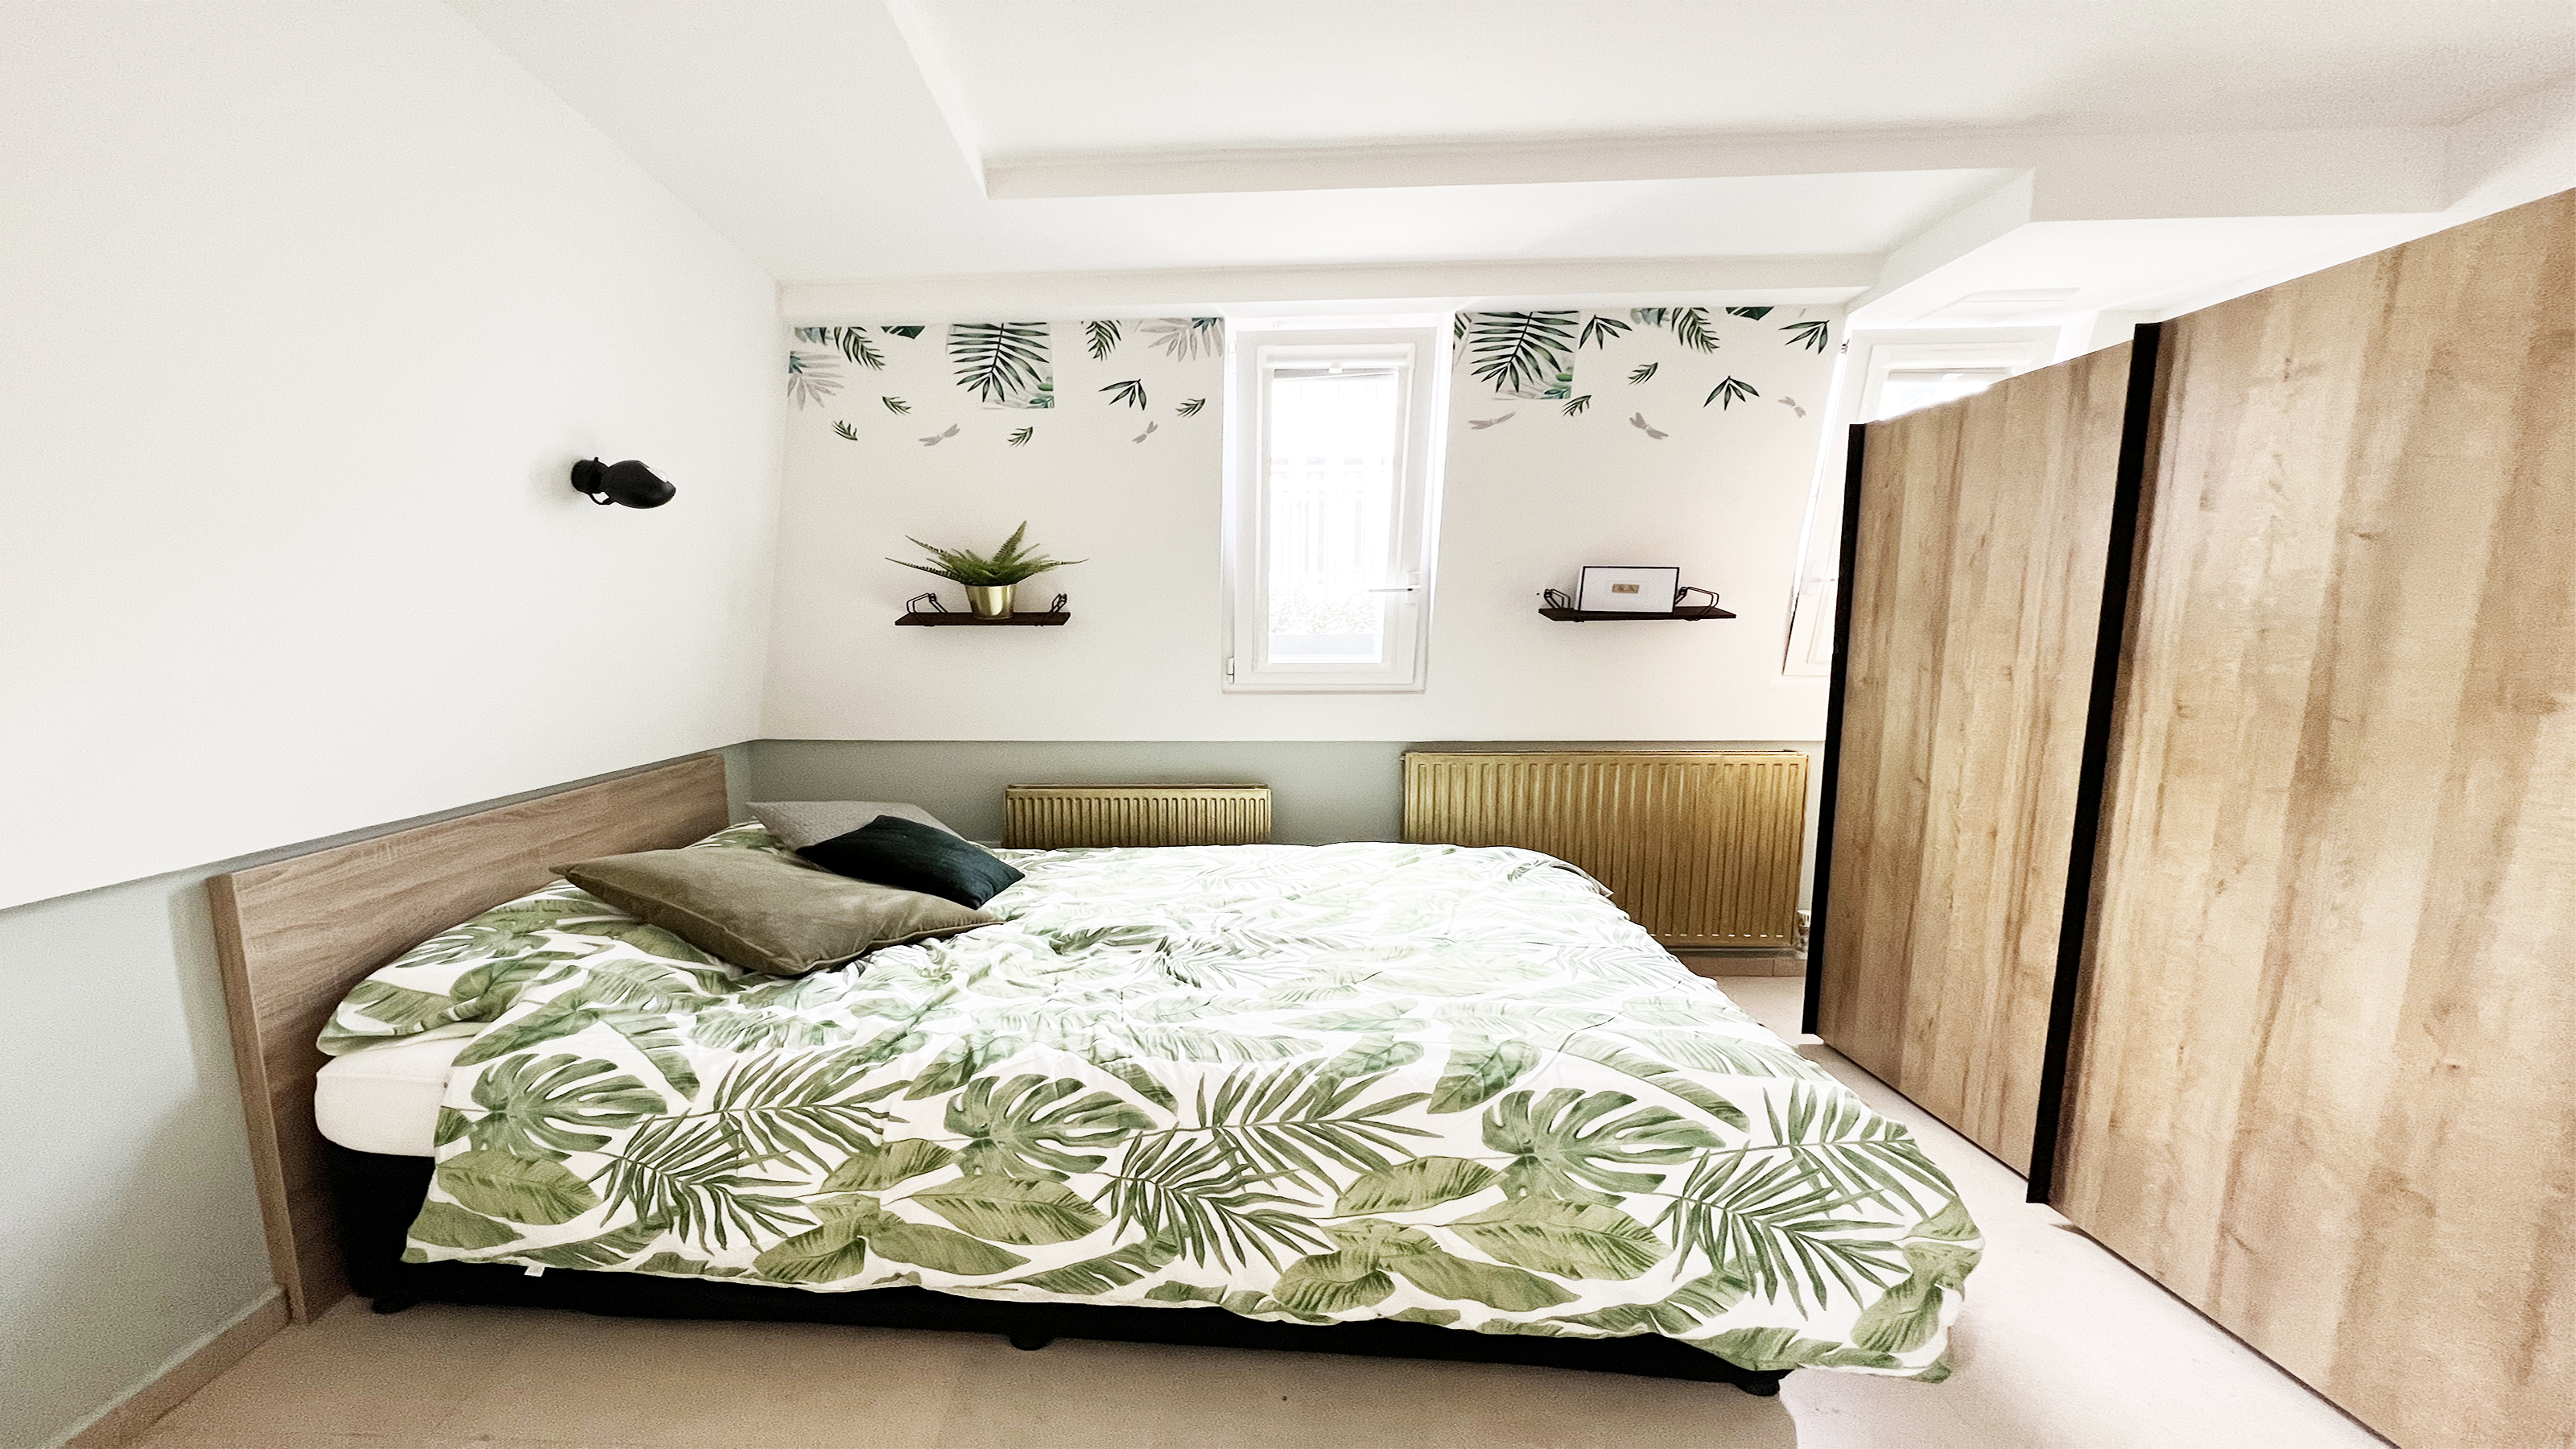 How to paint a radiator in 7 steps
Painting radiators properly is all about choosing the right paint and the best process. Get interior designer-worthy results with our how-to.
By Kate Sandhu Published
-
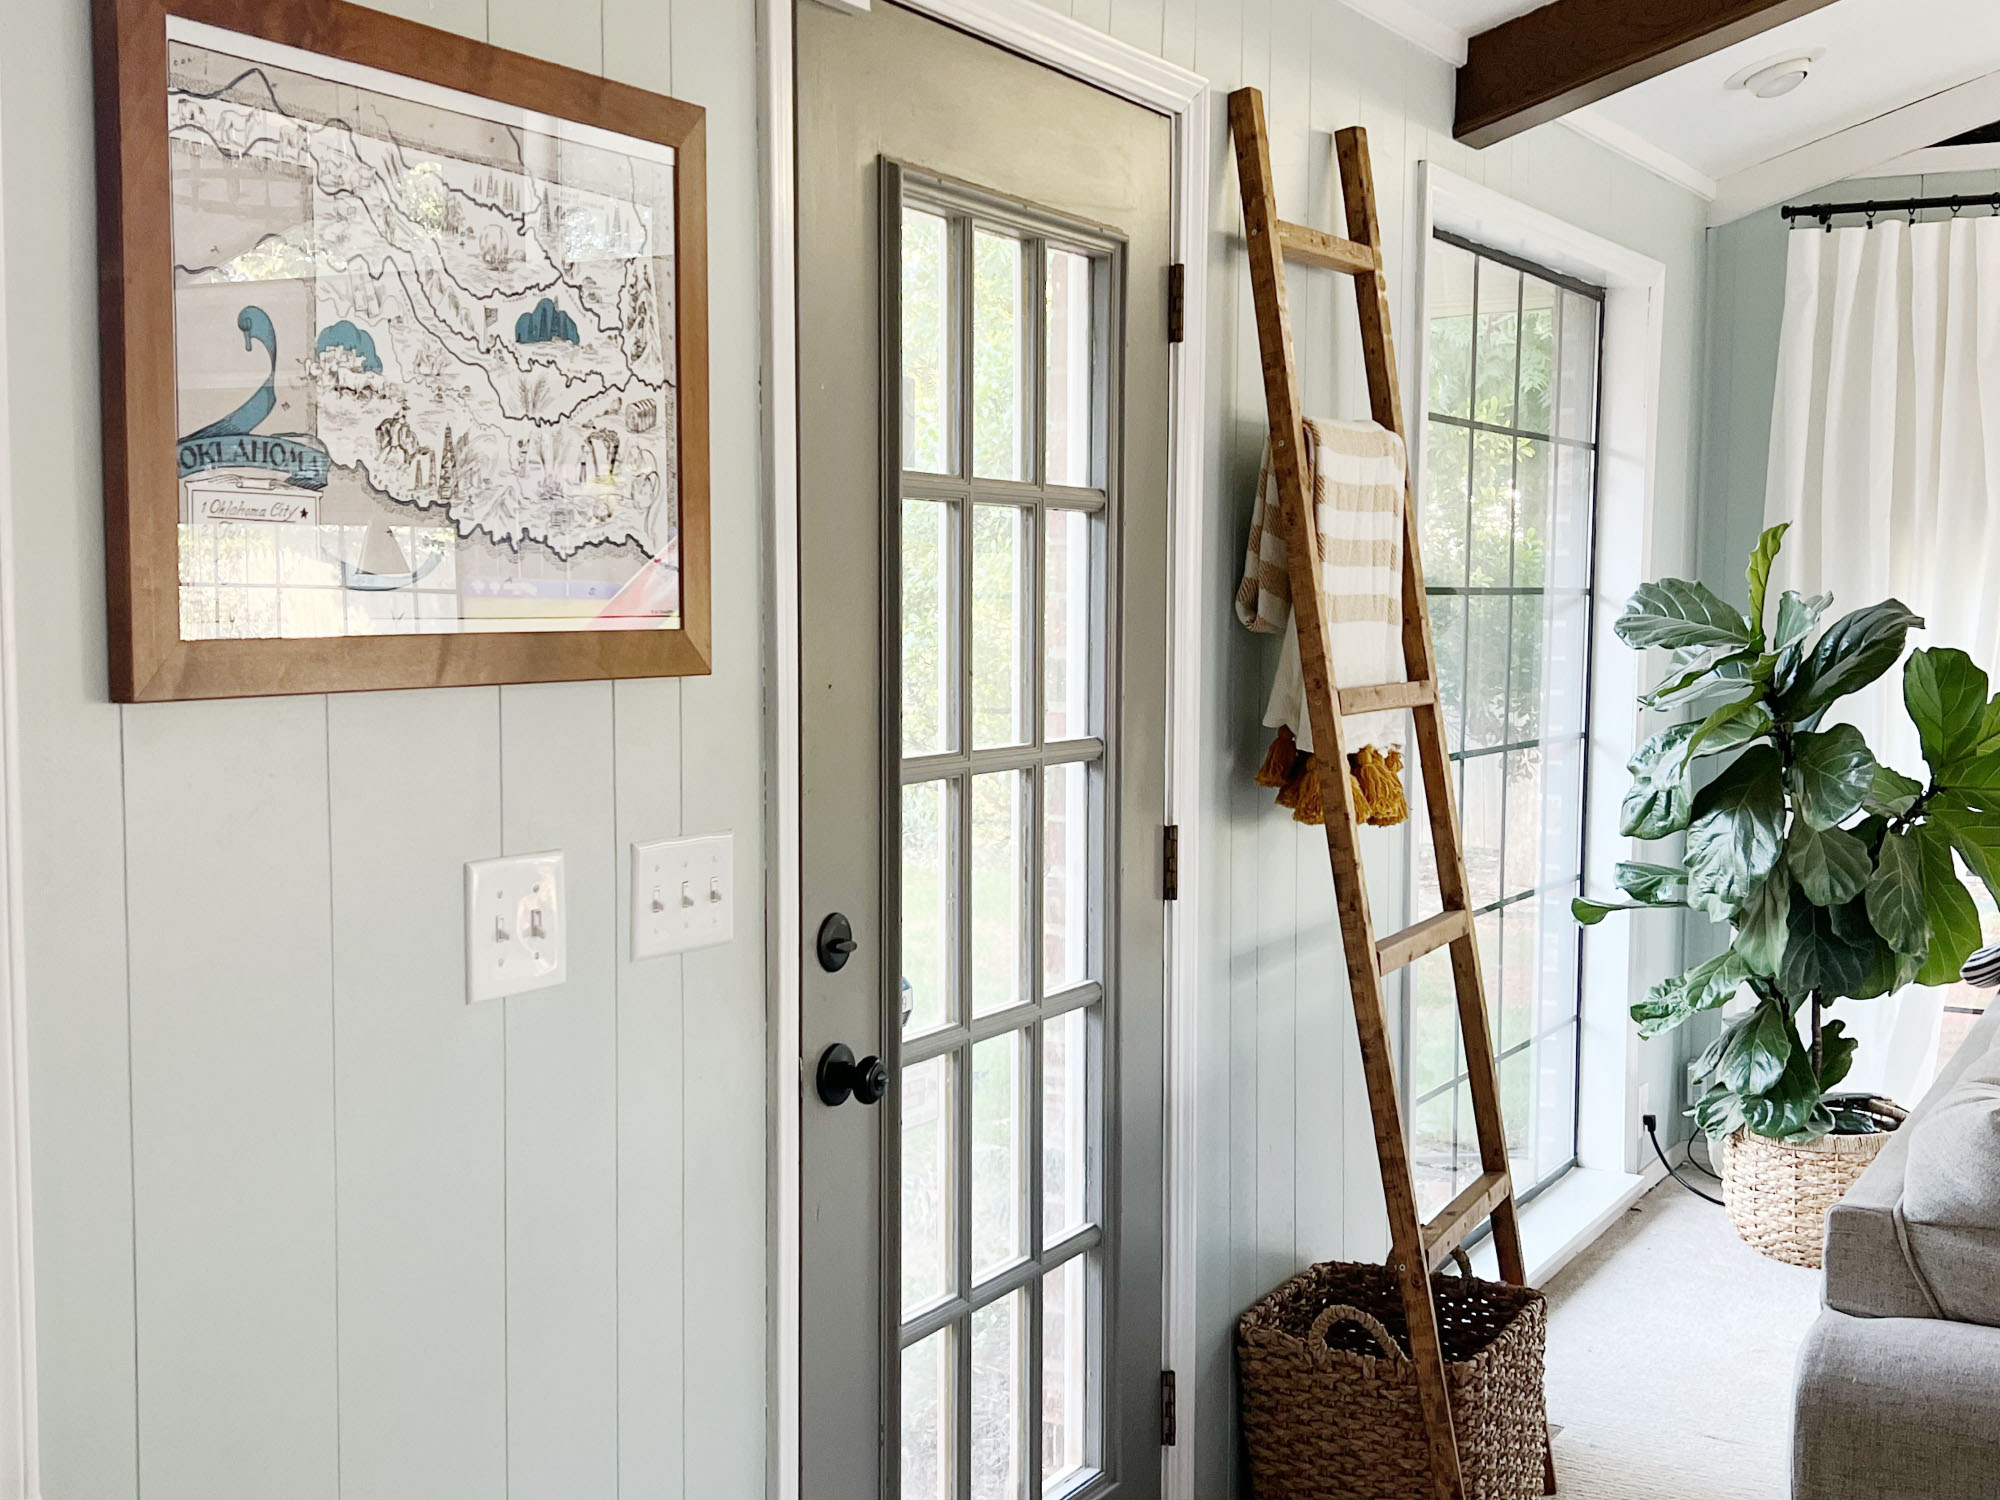 How to install a door knob
Updating your interior and exterior doors can be as easy as changing out the hardware! The best part is that installing a door knob is very DIY friendly. Follow these simple steps and enjoy a fresh look on your doors!
By Dori Turner Published