This DIY bamboo blackout blind takes less than 1 hour to make and costs less than £25
Resident blogger Jasmine Gurney managed to DIY a stylish bamboo blackout blind, perfect for a nursery and more than ideal if you're on a tight budget.
When kitting out a nursery, you need to think about a few essential requirements before you get decorating, buying furniture and soft furnishings. That includes having everything you and your baby need within an arm’s reach of the changing table.
Fellow parents will also know that you'll want to have nothing loose around, or anything close by that could fall on them. Yep, once they start crawling, there is even more to think about!
Another really important element to consider however, is to ensure that the room can go pitch black, even in the brightest of summer days for those crucial naps. So installing the right type of window treatment is a must. And that is how I came up with this DIY bamboo blackout blind as my next mini project.
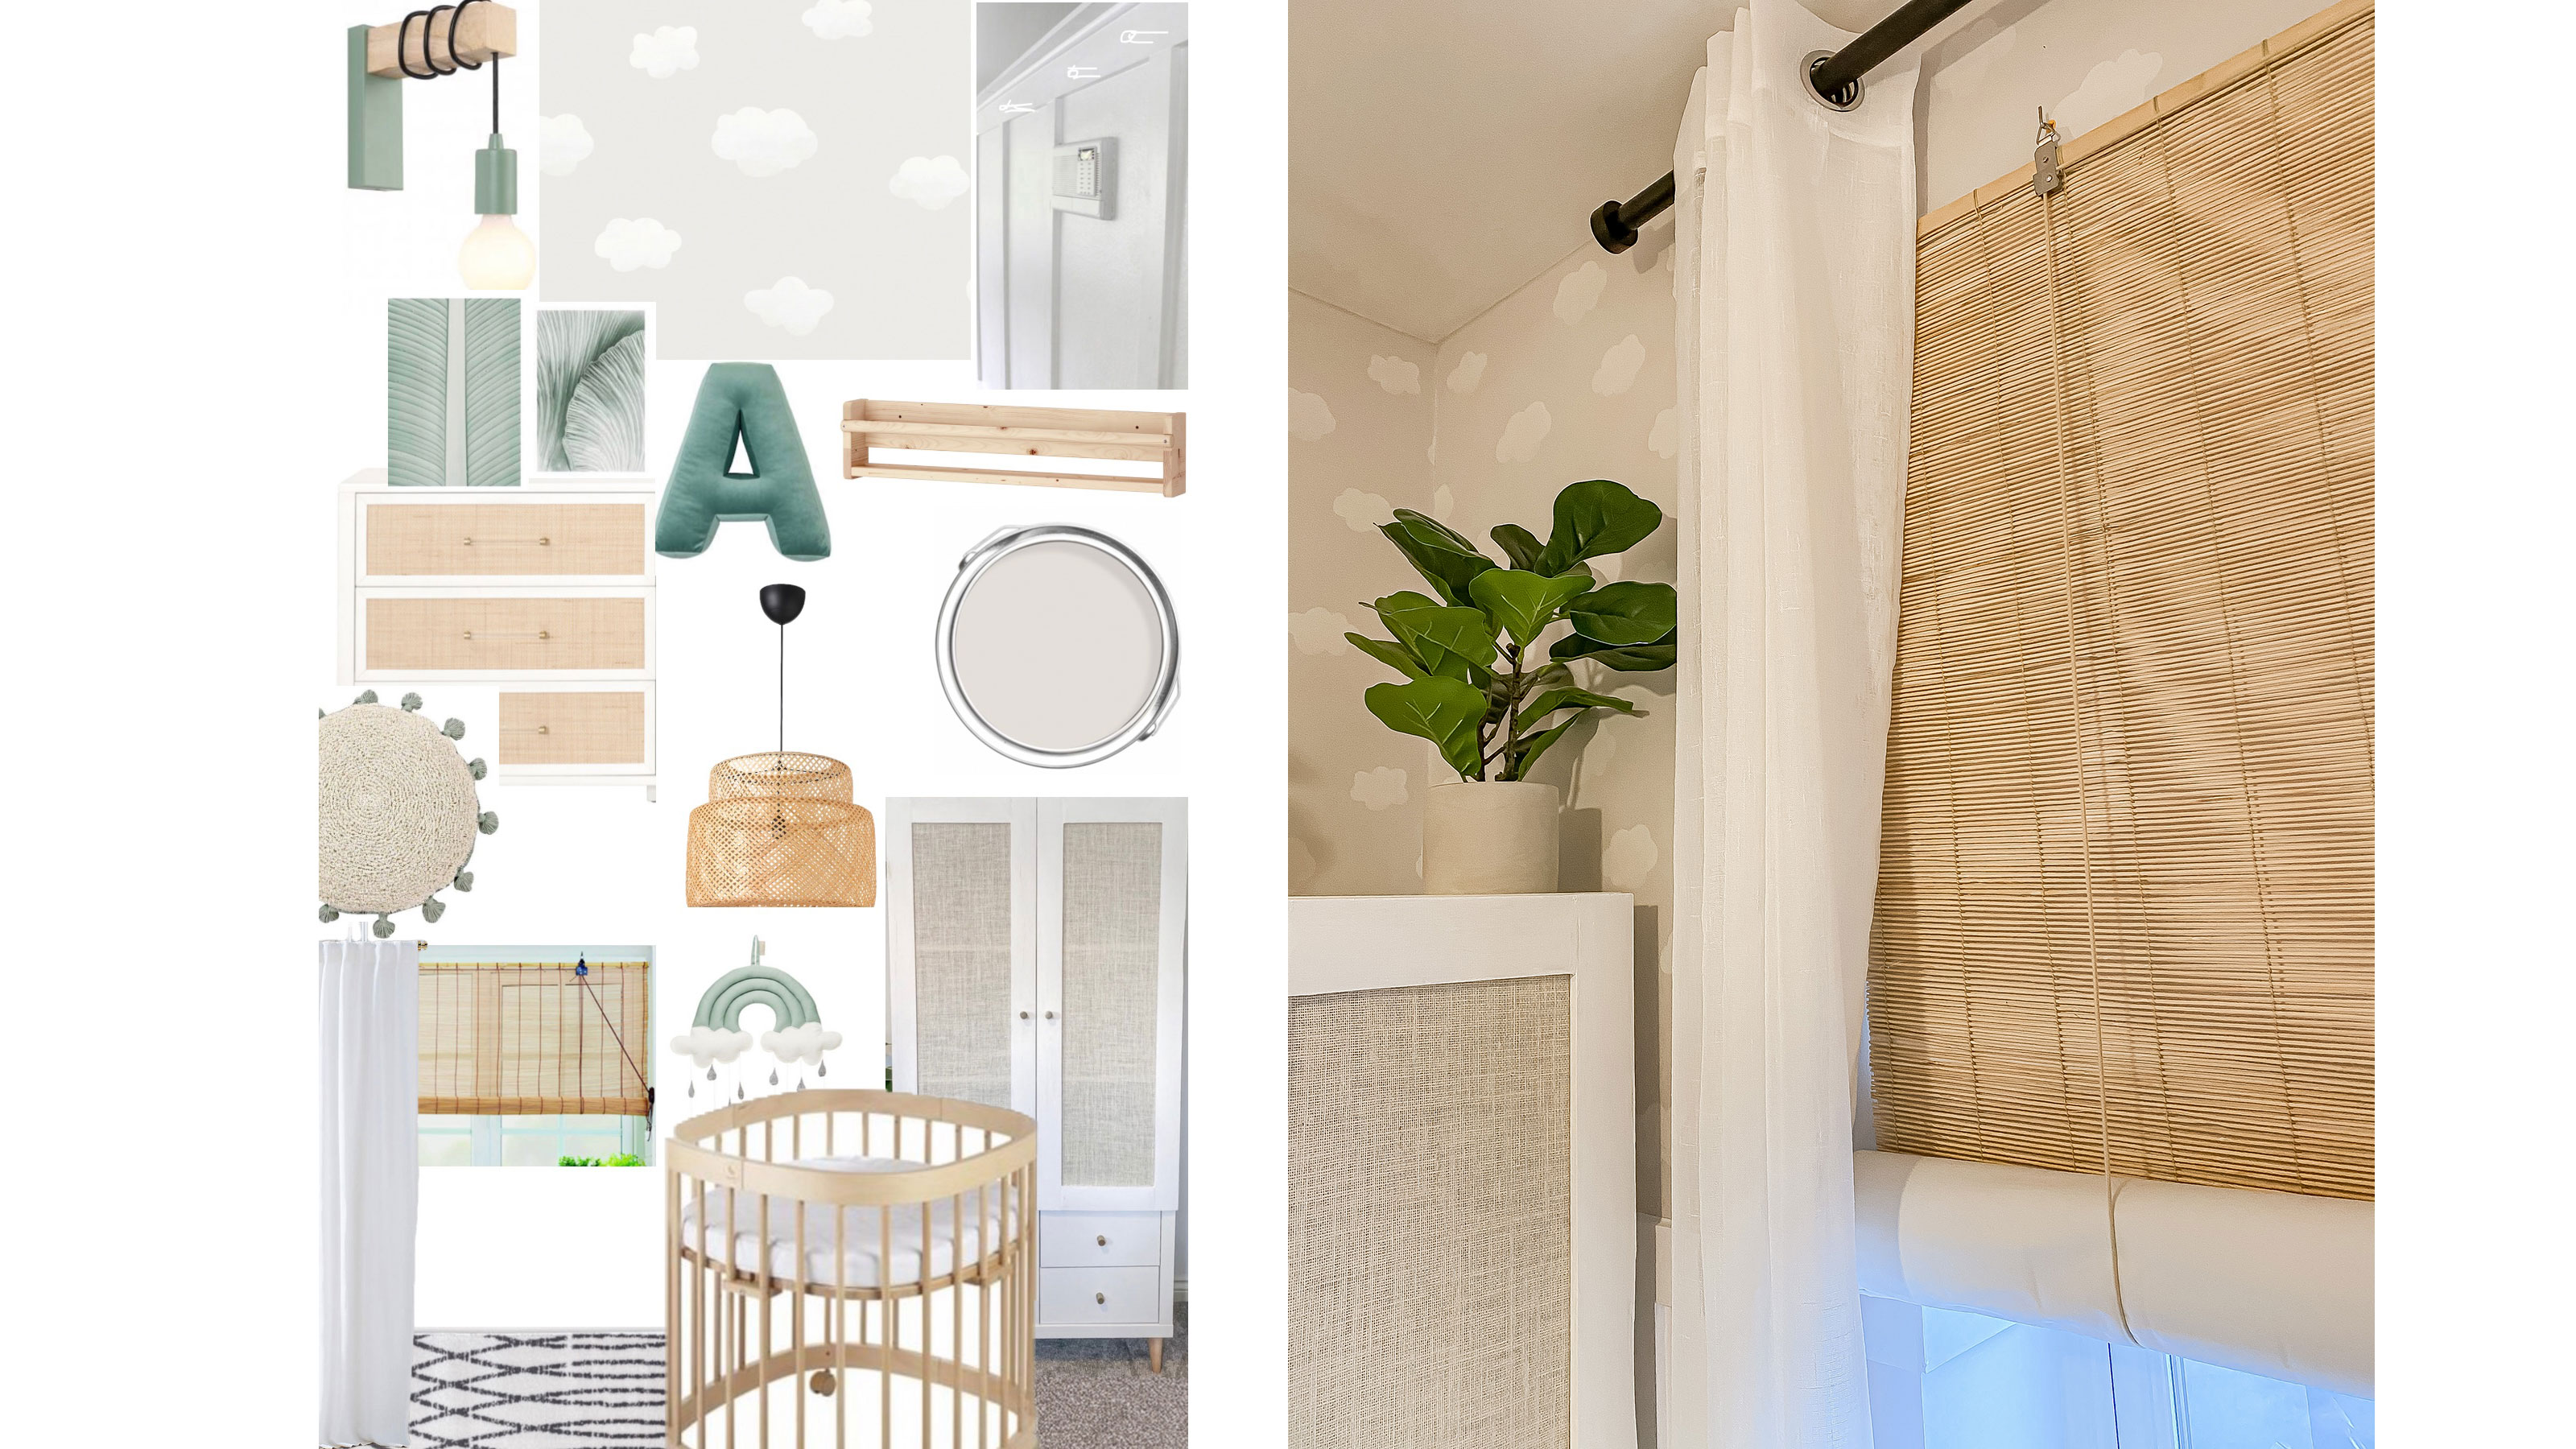
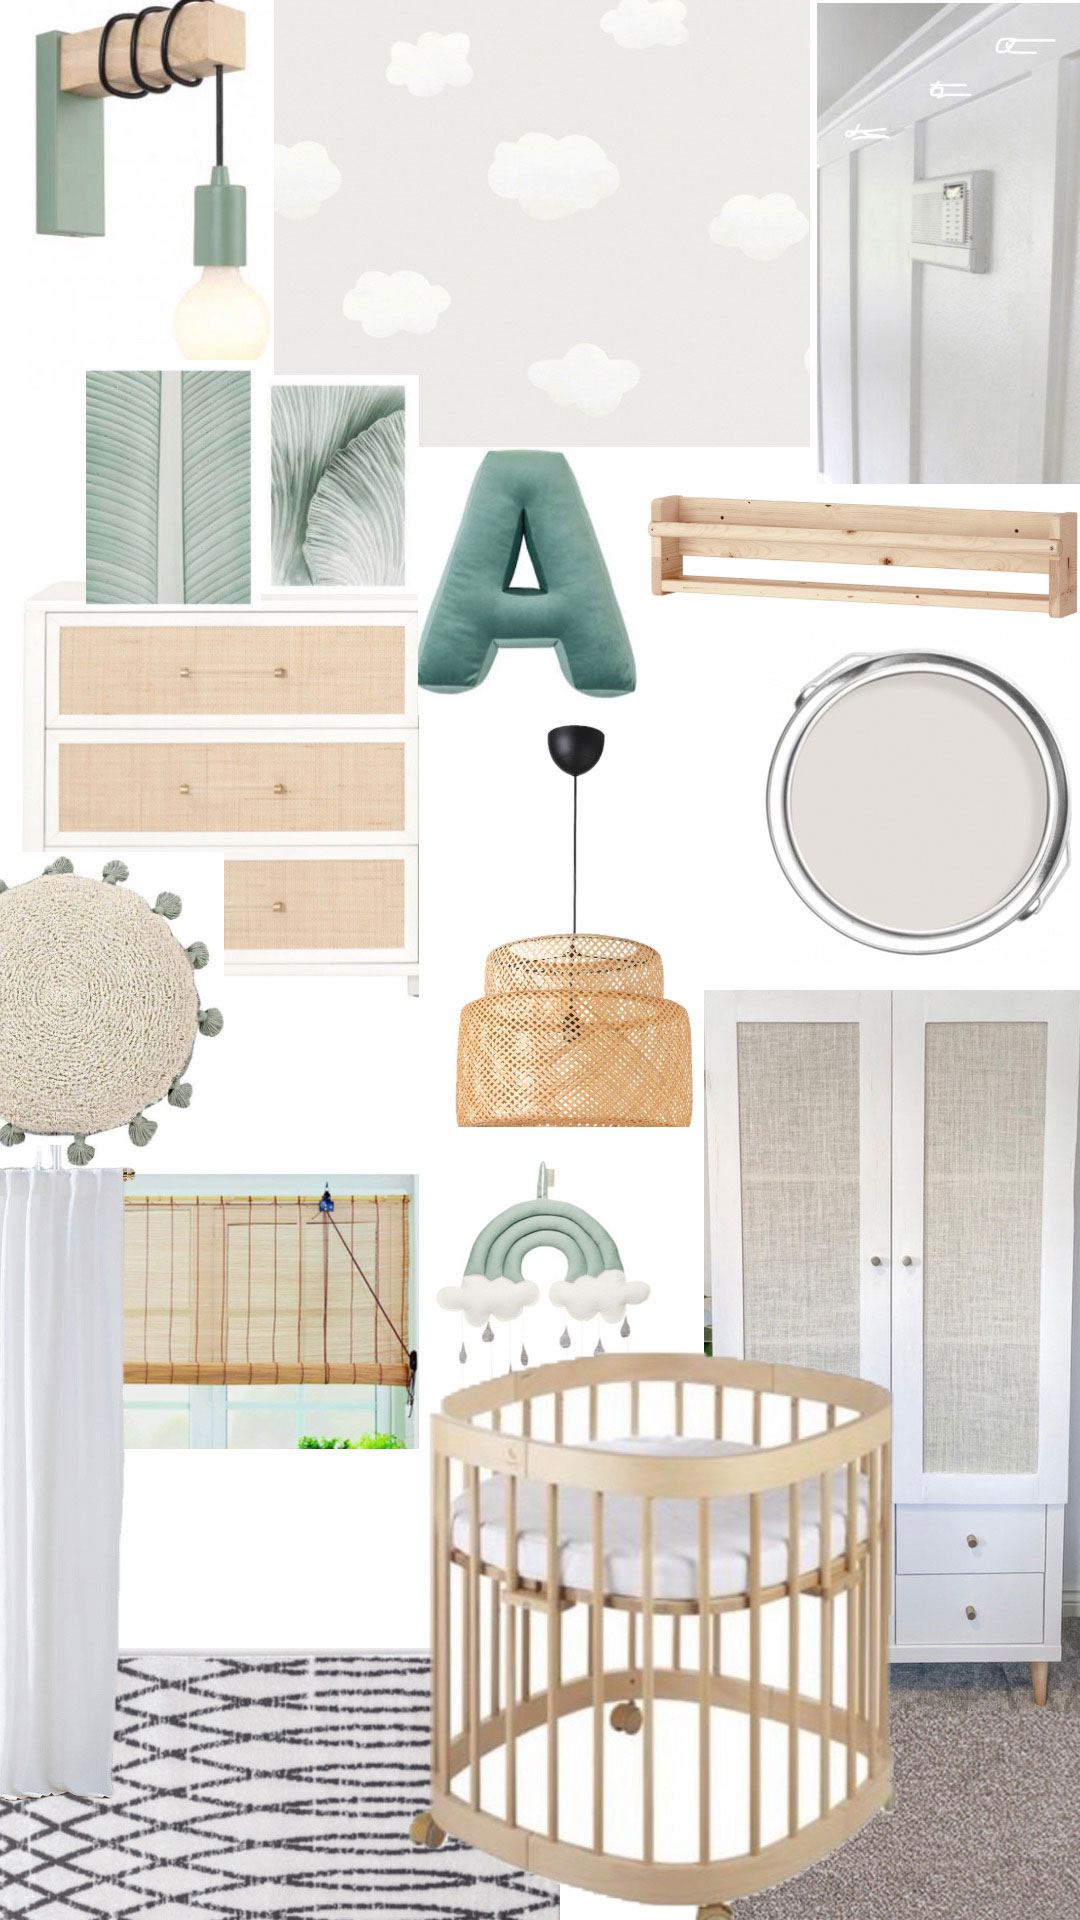
When planning a room, I always make a moodboard to make sure everything complements the core pieces of furniture and to help me plan what I can DIY and what I need to buy.
Here’s my moodboard for the nursery vs what it ended up looking like. Did I understand the assignment or what?
Nursery Tour
A post shared by Jasmine | DIY for Beginners (@_ohabode)
A photo posted by on
Usually, to fulfil all those nursery design ideas and requirements, you'd need to sacrifice style for functionality – but not in this case. I really struggled to find a blind I liked that would fit in with my neutral theme. I had always planned on having a bamboo blind with voile floaty curtains (again thinking mainly style, not function) but knew that bamboo blinds are probably the least effective at blocking out light. Certainly not ideal when I need the room in complete darkness.
How to DIY a bamboo blackout blind
After buying a cheap bamboo blind from Homebase for just £9 (they have them in 60cm, 120cm and 180cm), and a 2m length of blackout material from John Lewis at £8 per meter, I grabbed some thread and a needle and got to combining them to make my very own DIY Bamboo Blackout Blind.
Get small space home decor ideas, celeb inspiration, DIY tips and more, straight to your inbox!
A post shared by Jasmine | DIY for Beginners (@_ohabode)
A photo posted by on
Step 1:
Lay the unrolled blind out on the floor with the blackout fabric on top, removing the pulley string and moving it to the side out the way. Trim the excess fabric.
Step 2:
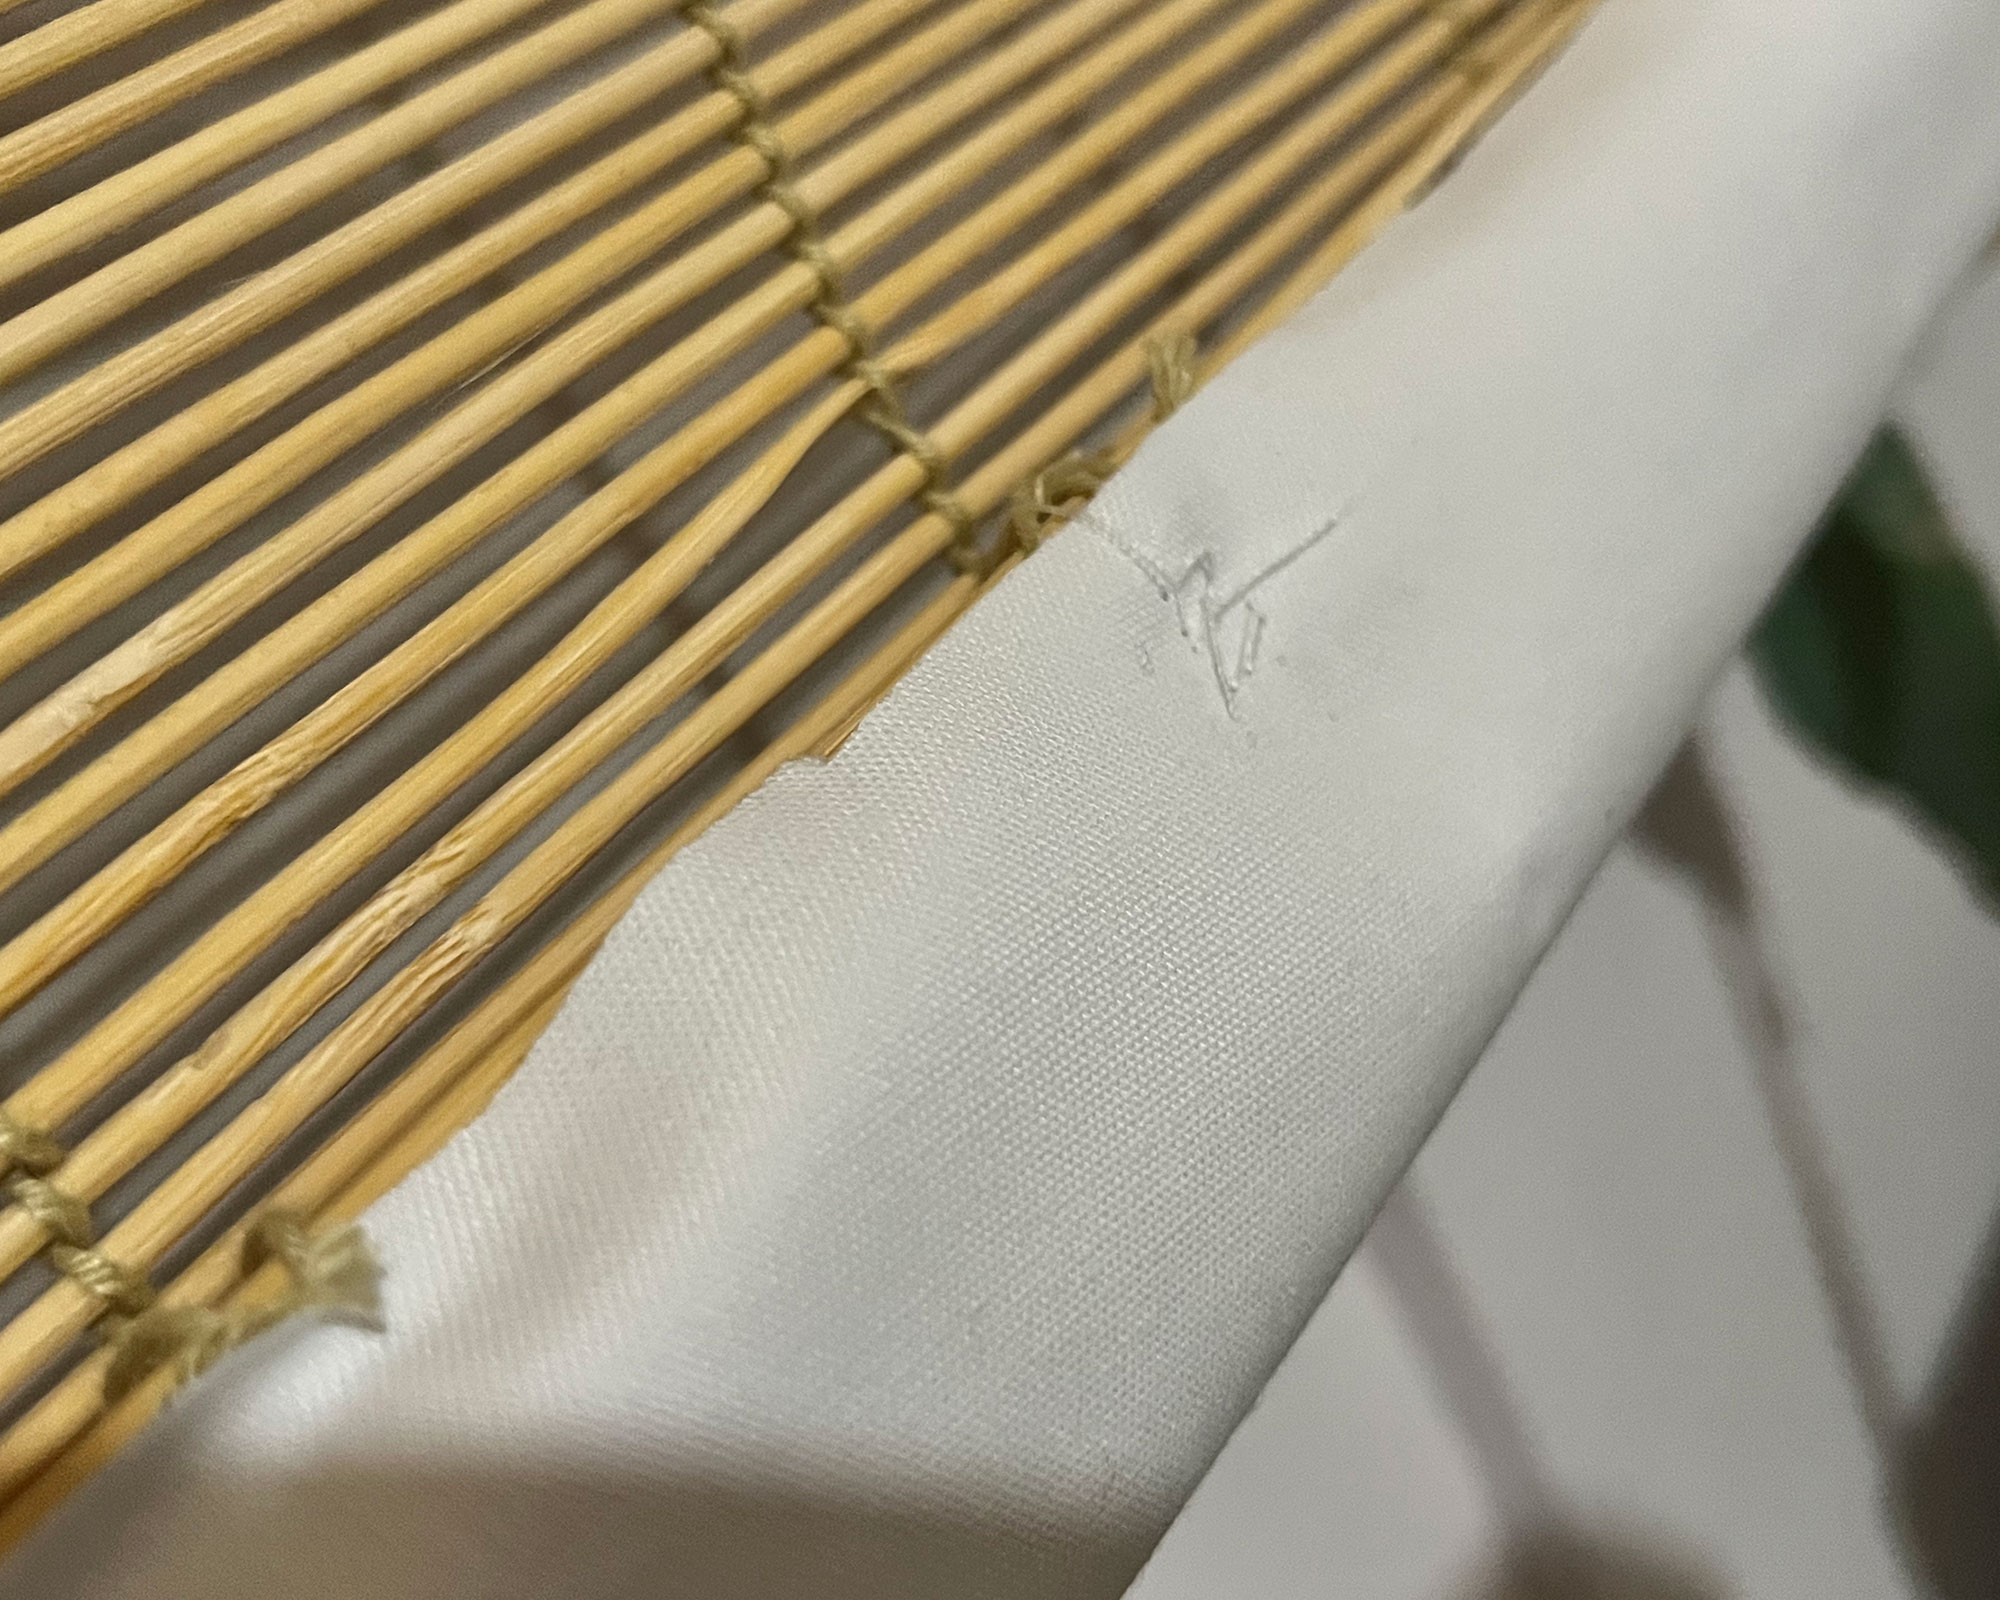
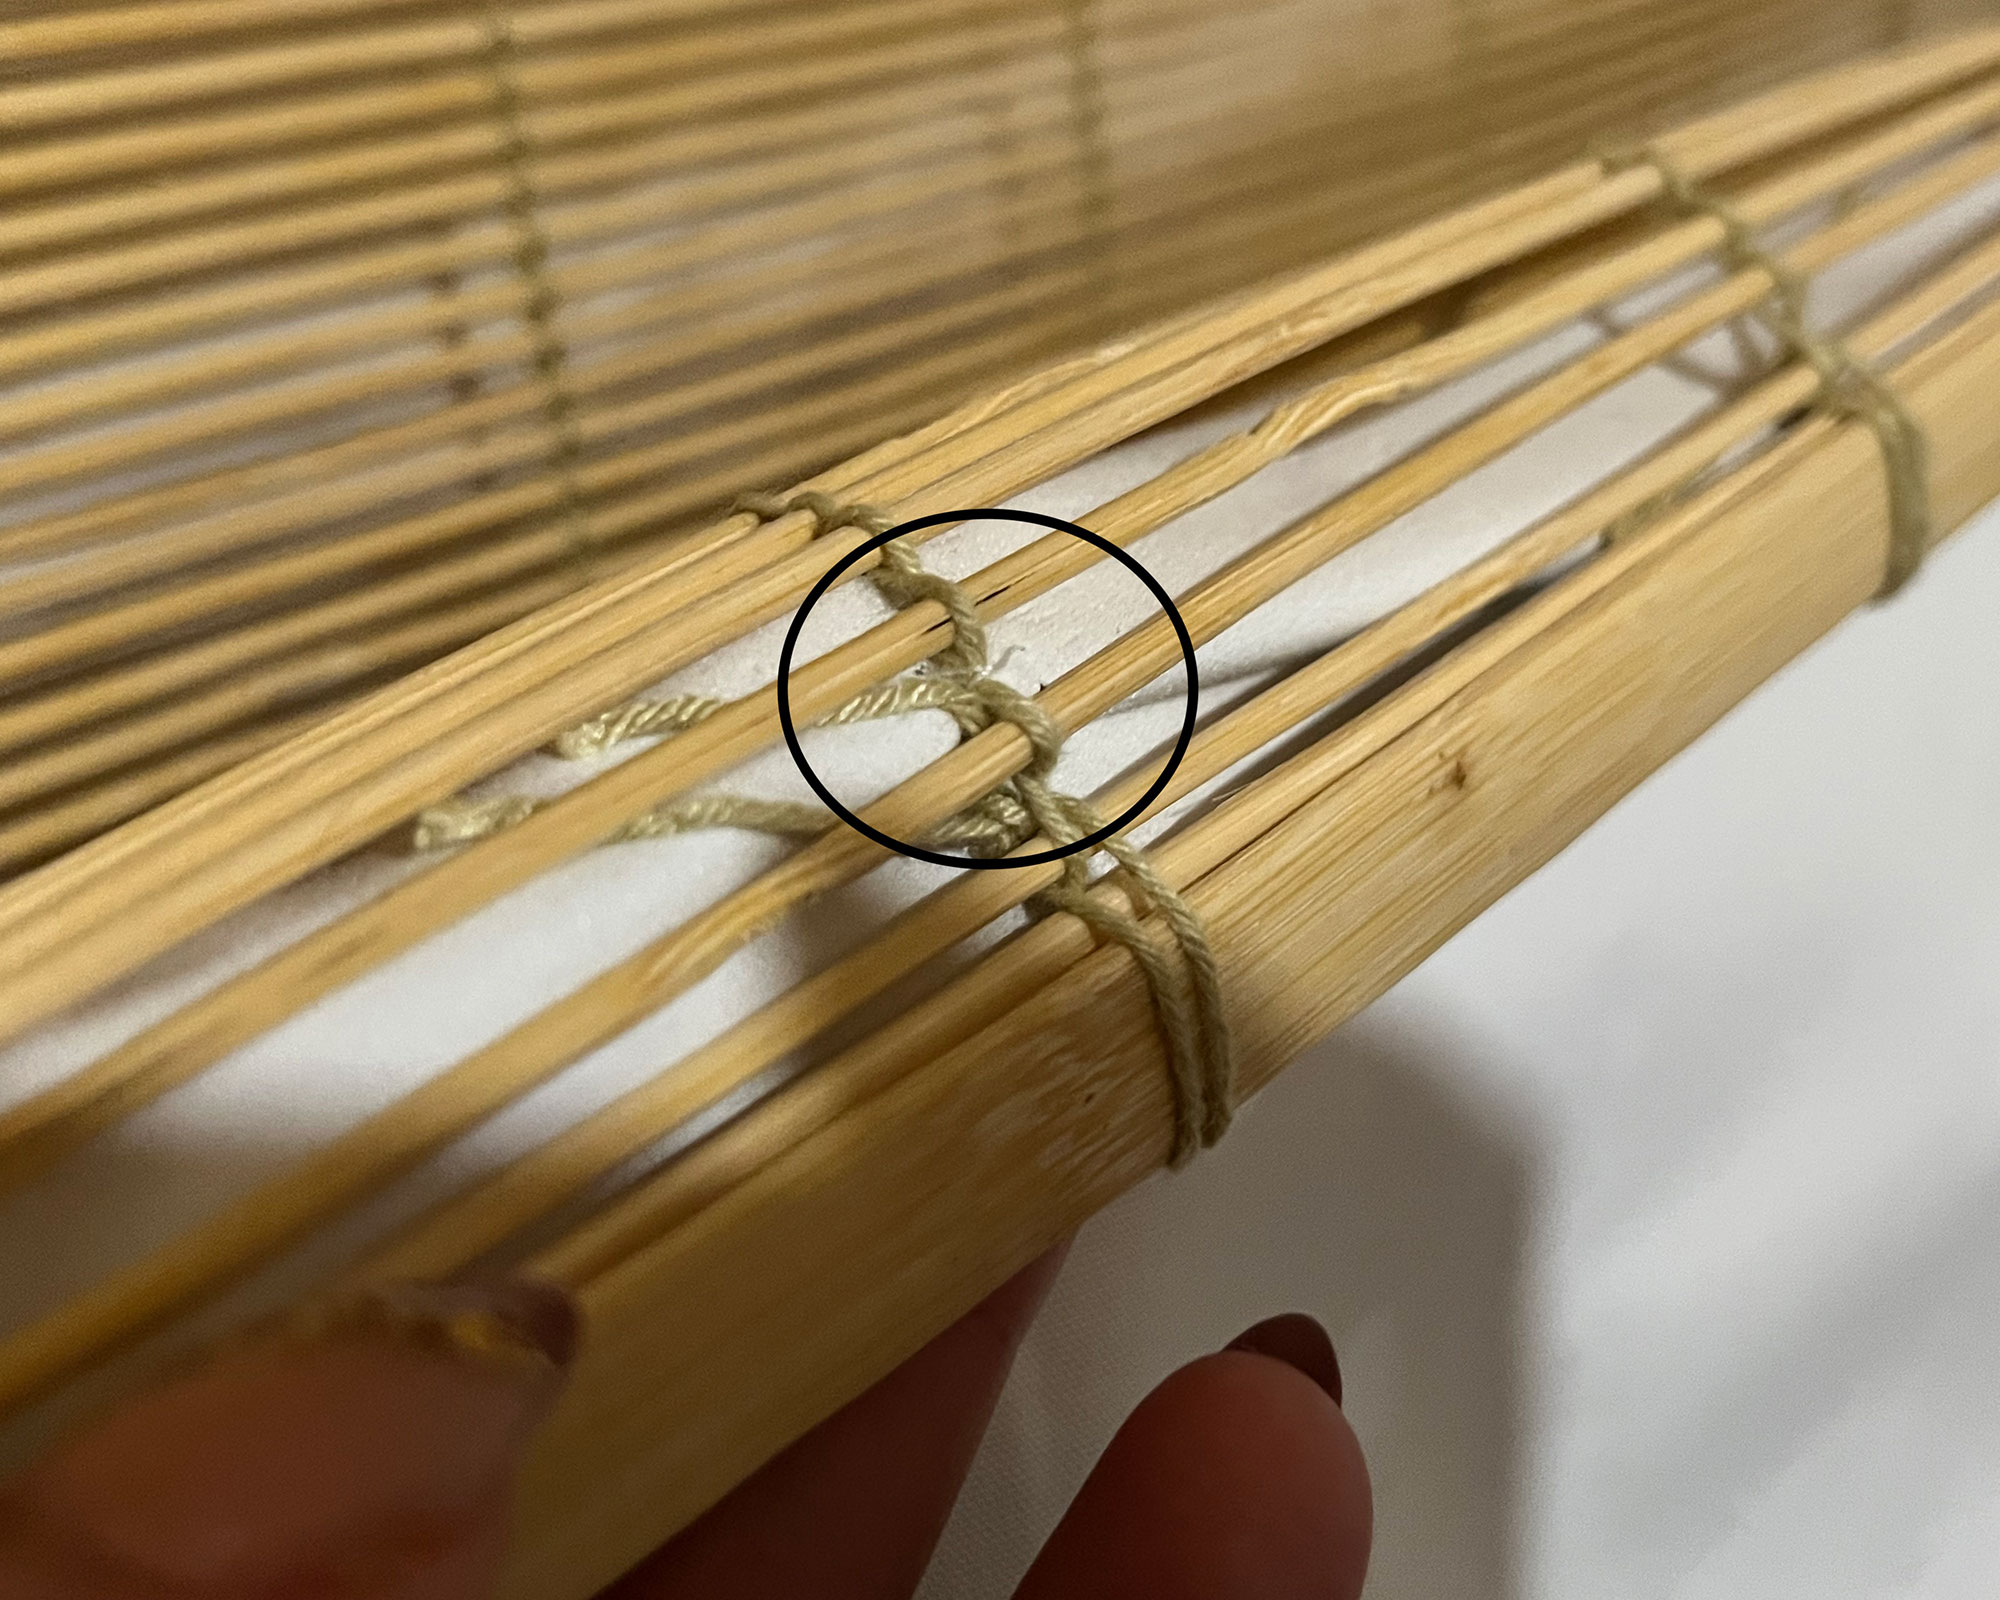
Using a needle and white thread, sew the fabric along the top and bottom of the blind, where the bamboo is secured together vertically, to hide the thread. I did this every 15cm or so, and then tied it off and trimmed the thread.
Step 3:
Once secured at both ends, flip the blind over, being careful to keep the blind straight and flat, trim down the sides if there’s any excess fabric.
Step 4:
To ensure the blind doesn’t gape at the sides and let light in, sew the fabric to the outer-most vertical string, all the way up the sides, again about every 15cm. Once done, roll the blind back up and loop the pulley string back over the rolled blind.
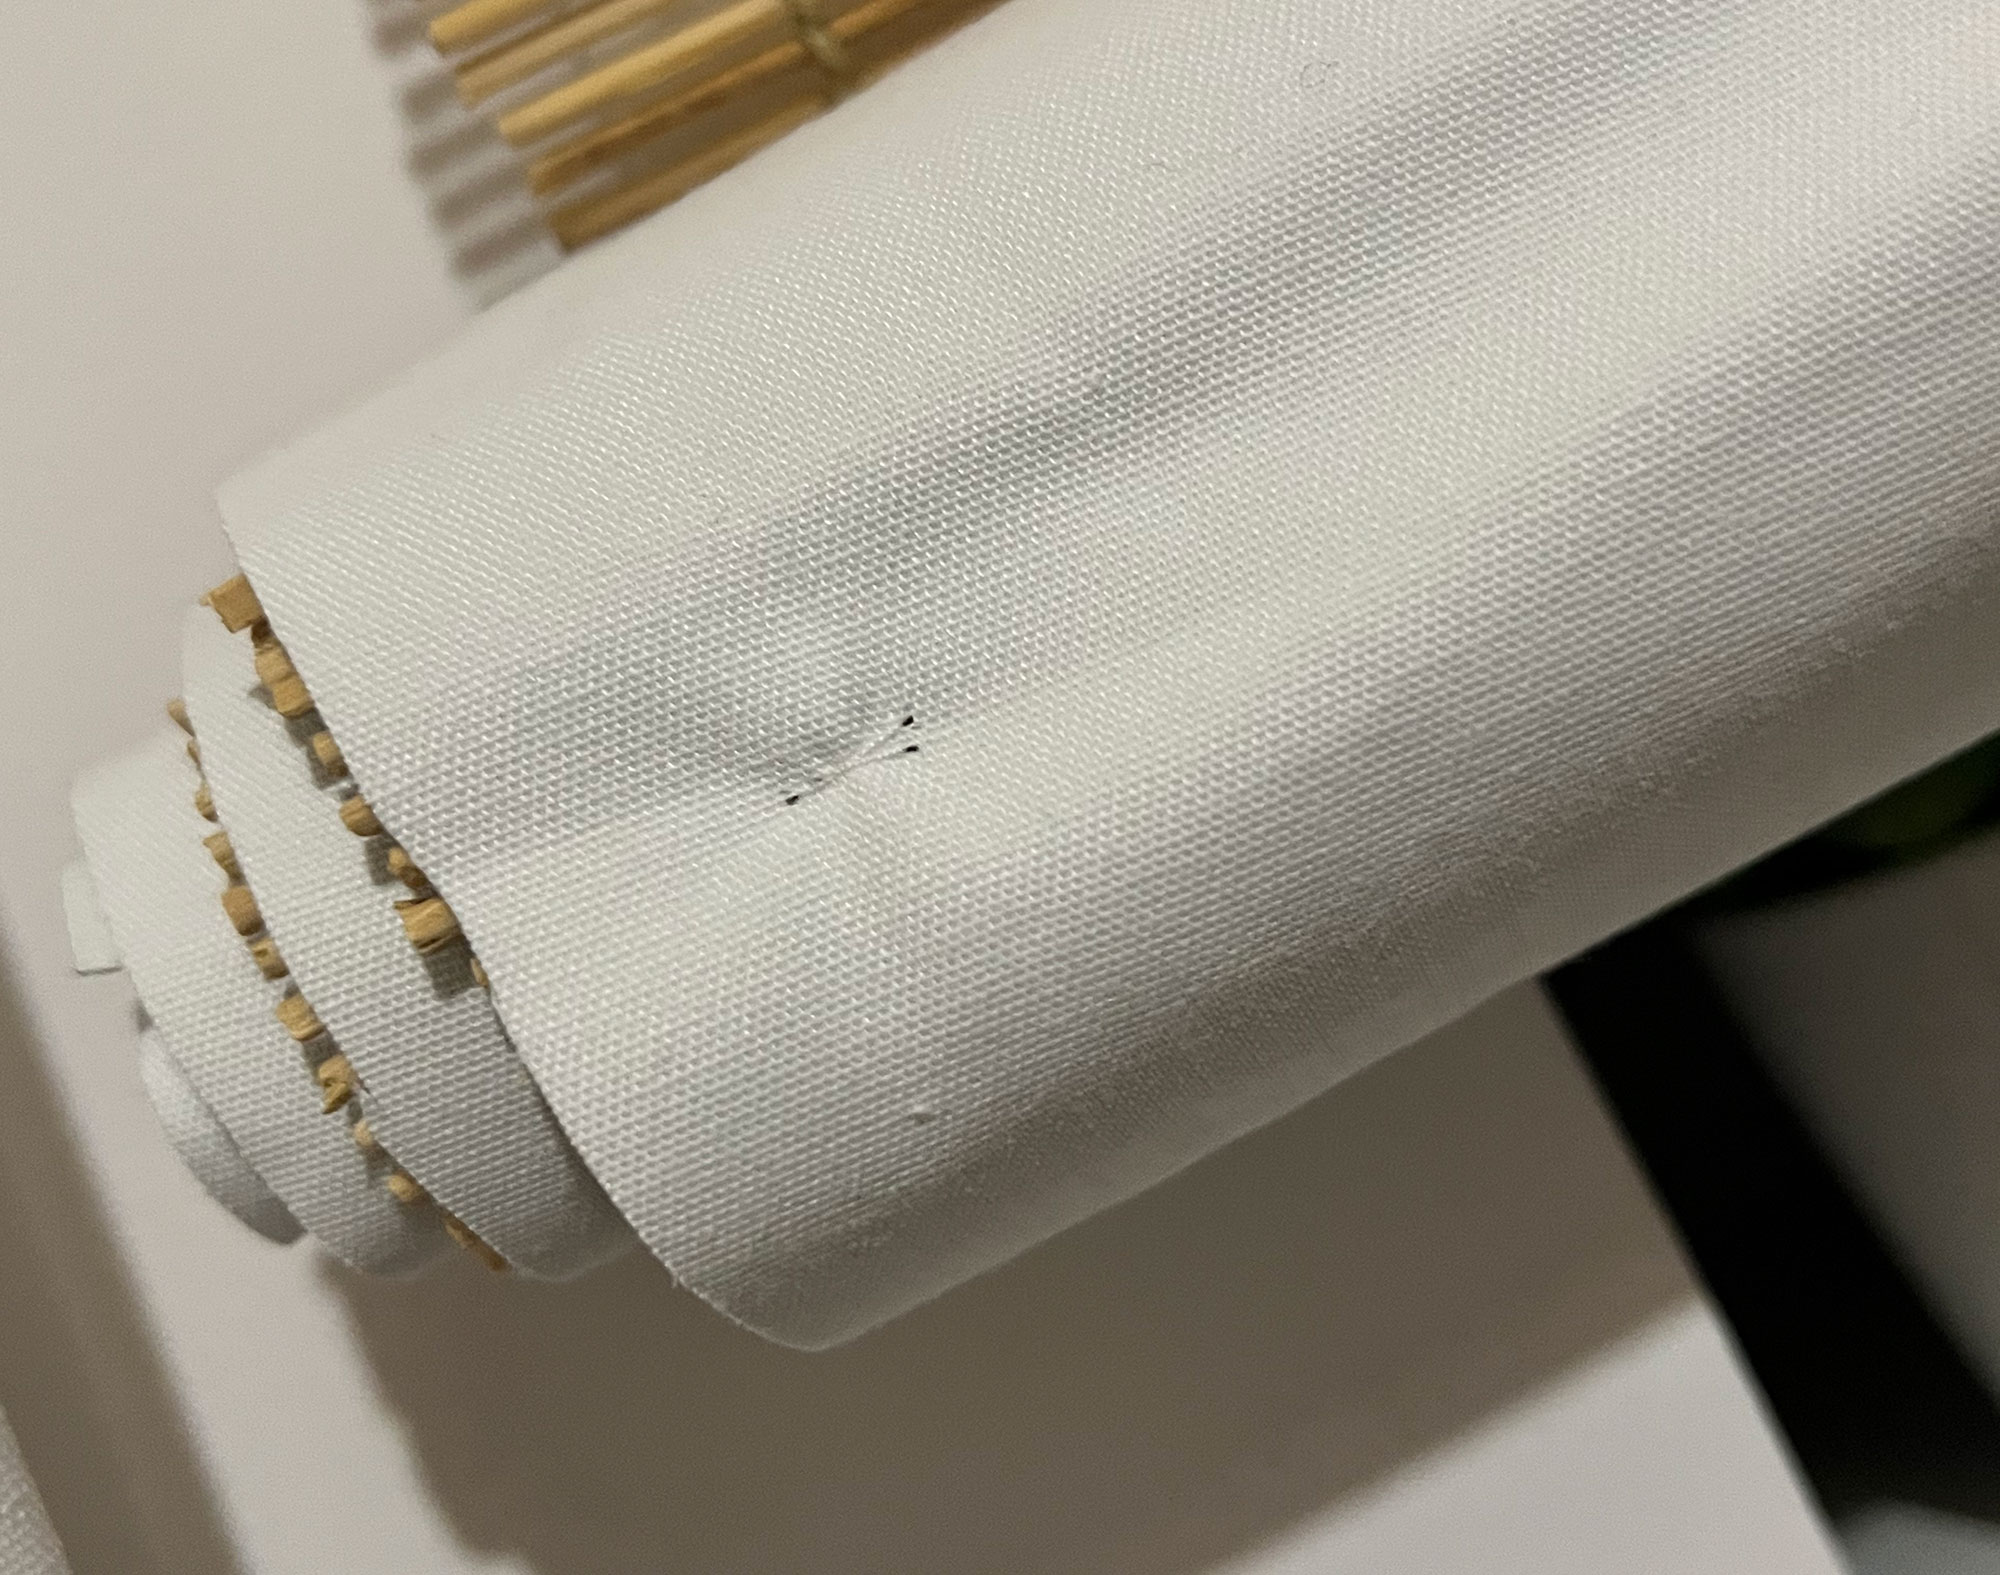
Step 5:
Follow the instructions that came with the blind to mount it onto the wall with the two hooks supplied – be sure to use the right wall plugs for this! It’s best mounted in the window recess to ensure light doesn’t get in if you’ve managed to get a blind that fits the gap exactly.
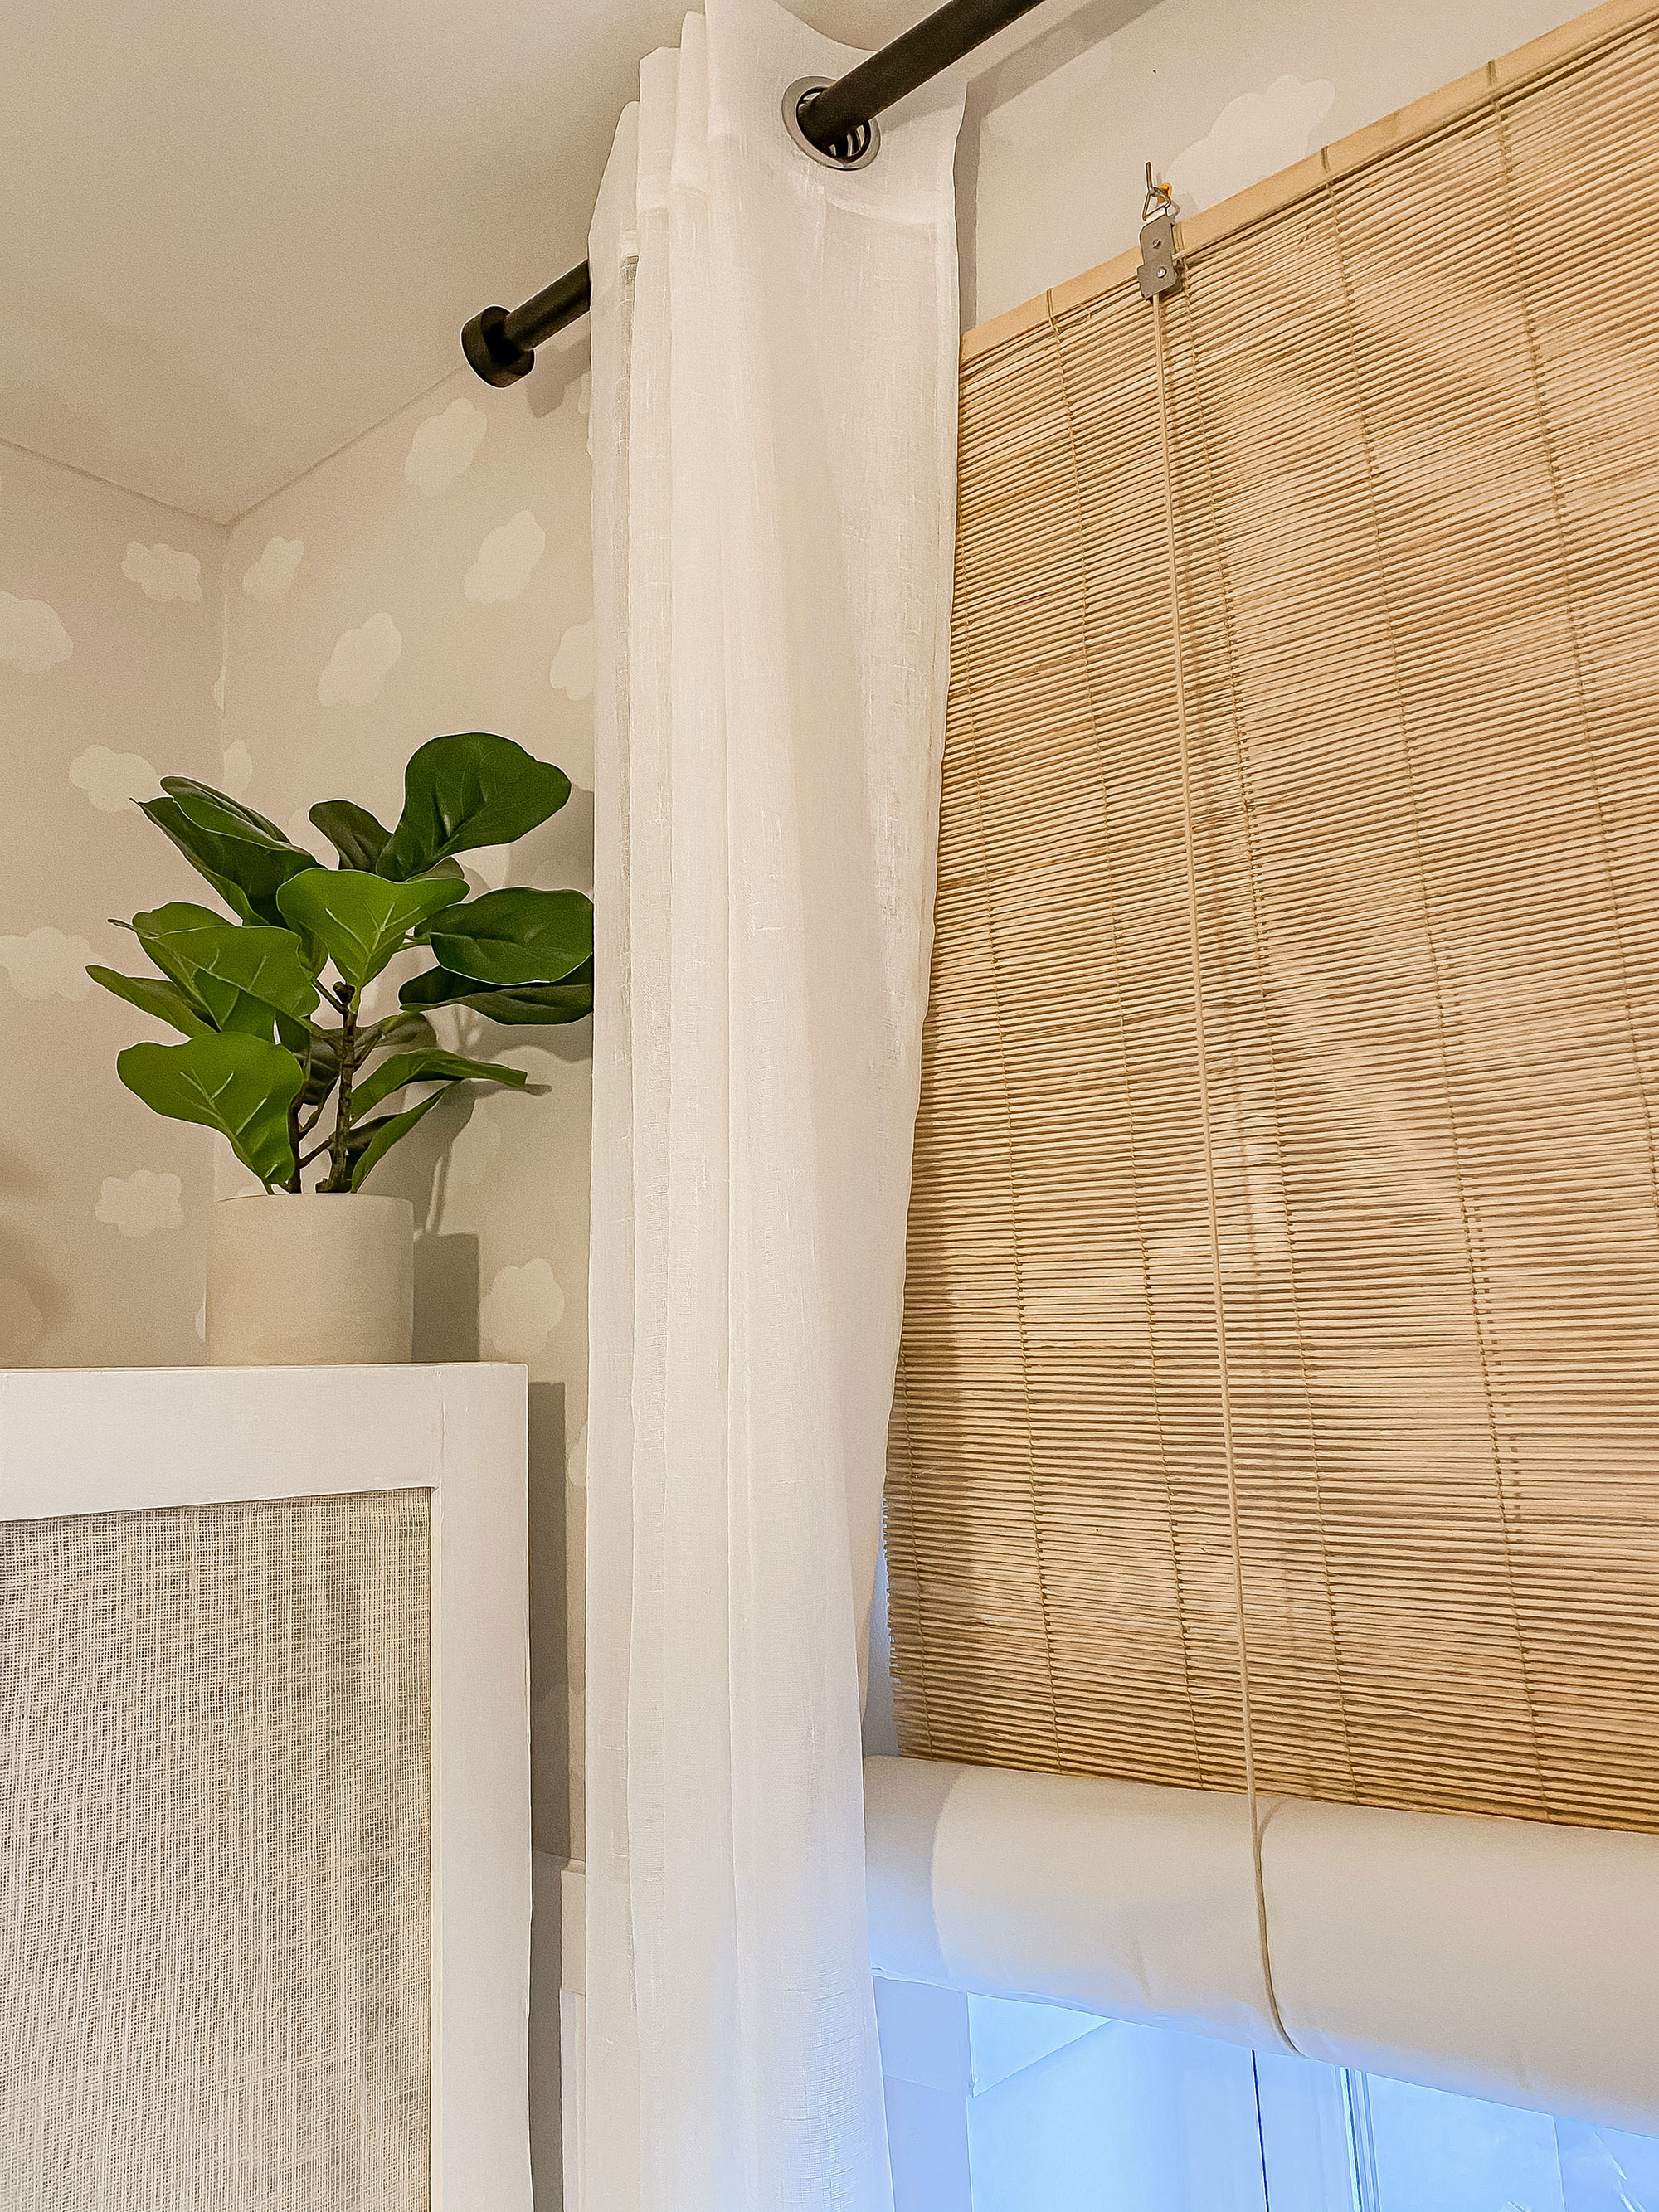
Otherwise, if you’ve gone for a wider blind than your window recess, it’s best hung on the lintel to cover the gap. If there’s any gaping at the sides still, you can also hang curtains like I have, to mask that last little sliver of light coming through.
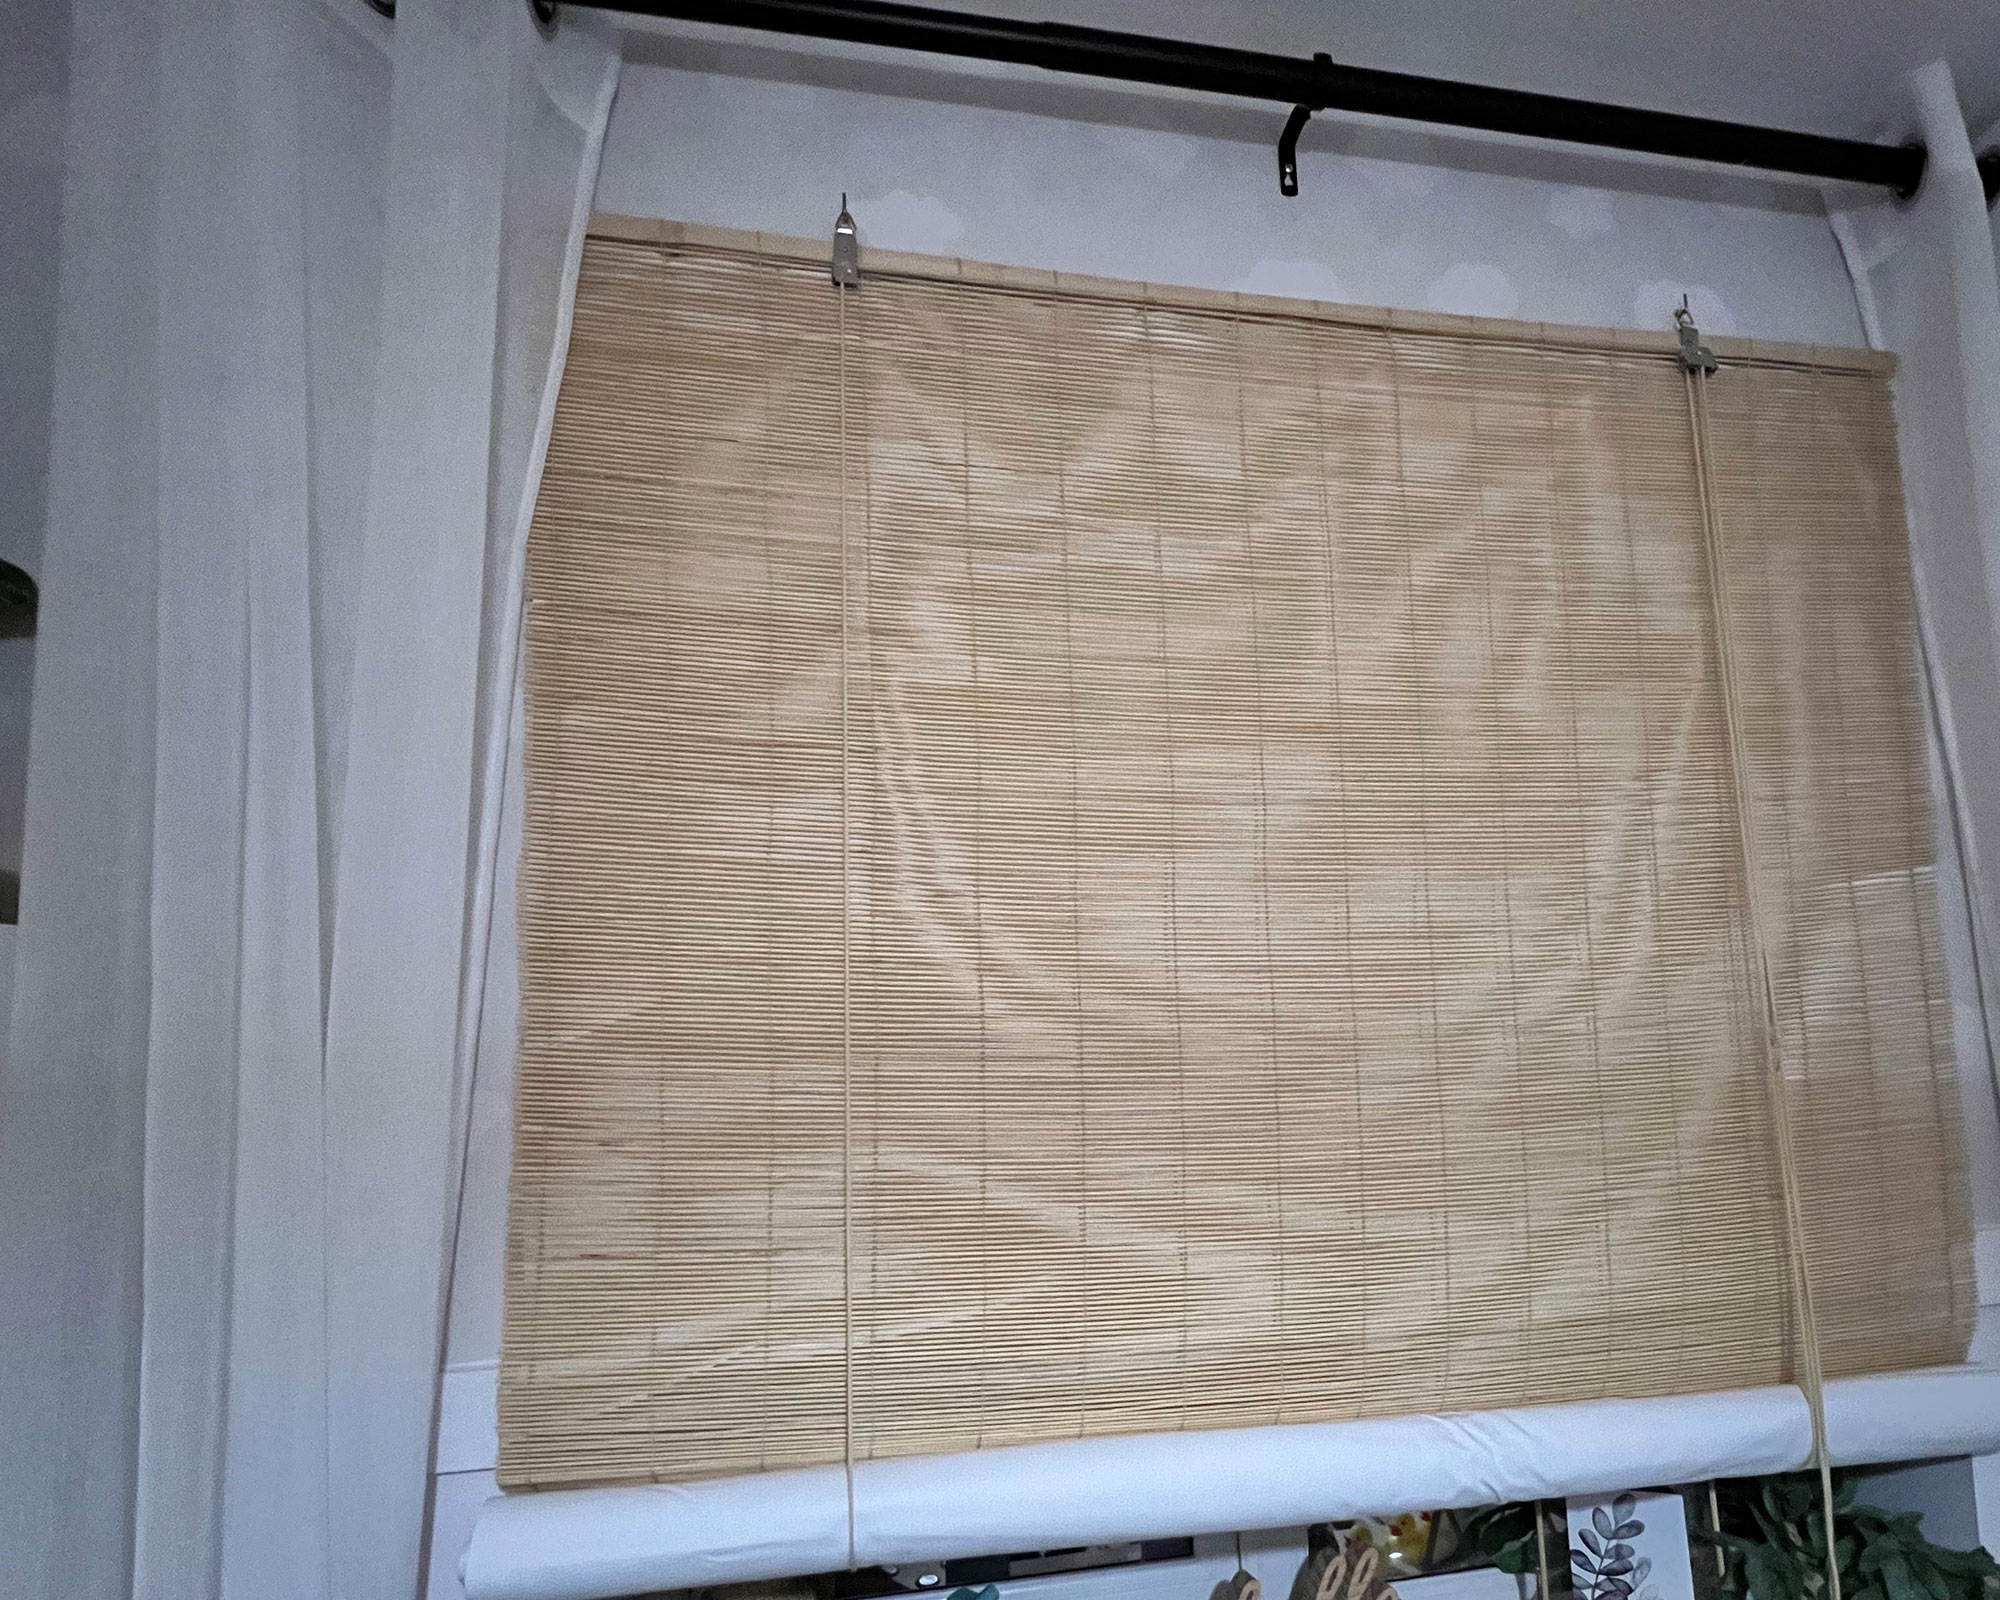
The result
Style and functionality combined, this easy DIY can take just one hour to do, looks great and gives your baby the complete darkness needed for nap time – without compromising on your interior styling.
Jasmine Gurney is a DIY pro, inspiring women with power tools via her home improvement blog Oh Abode and on Realhomes.com.