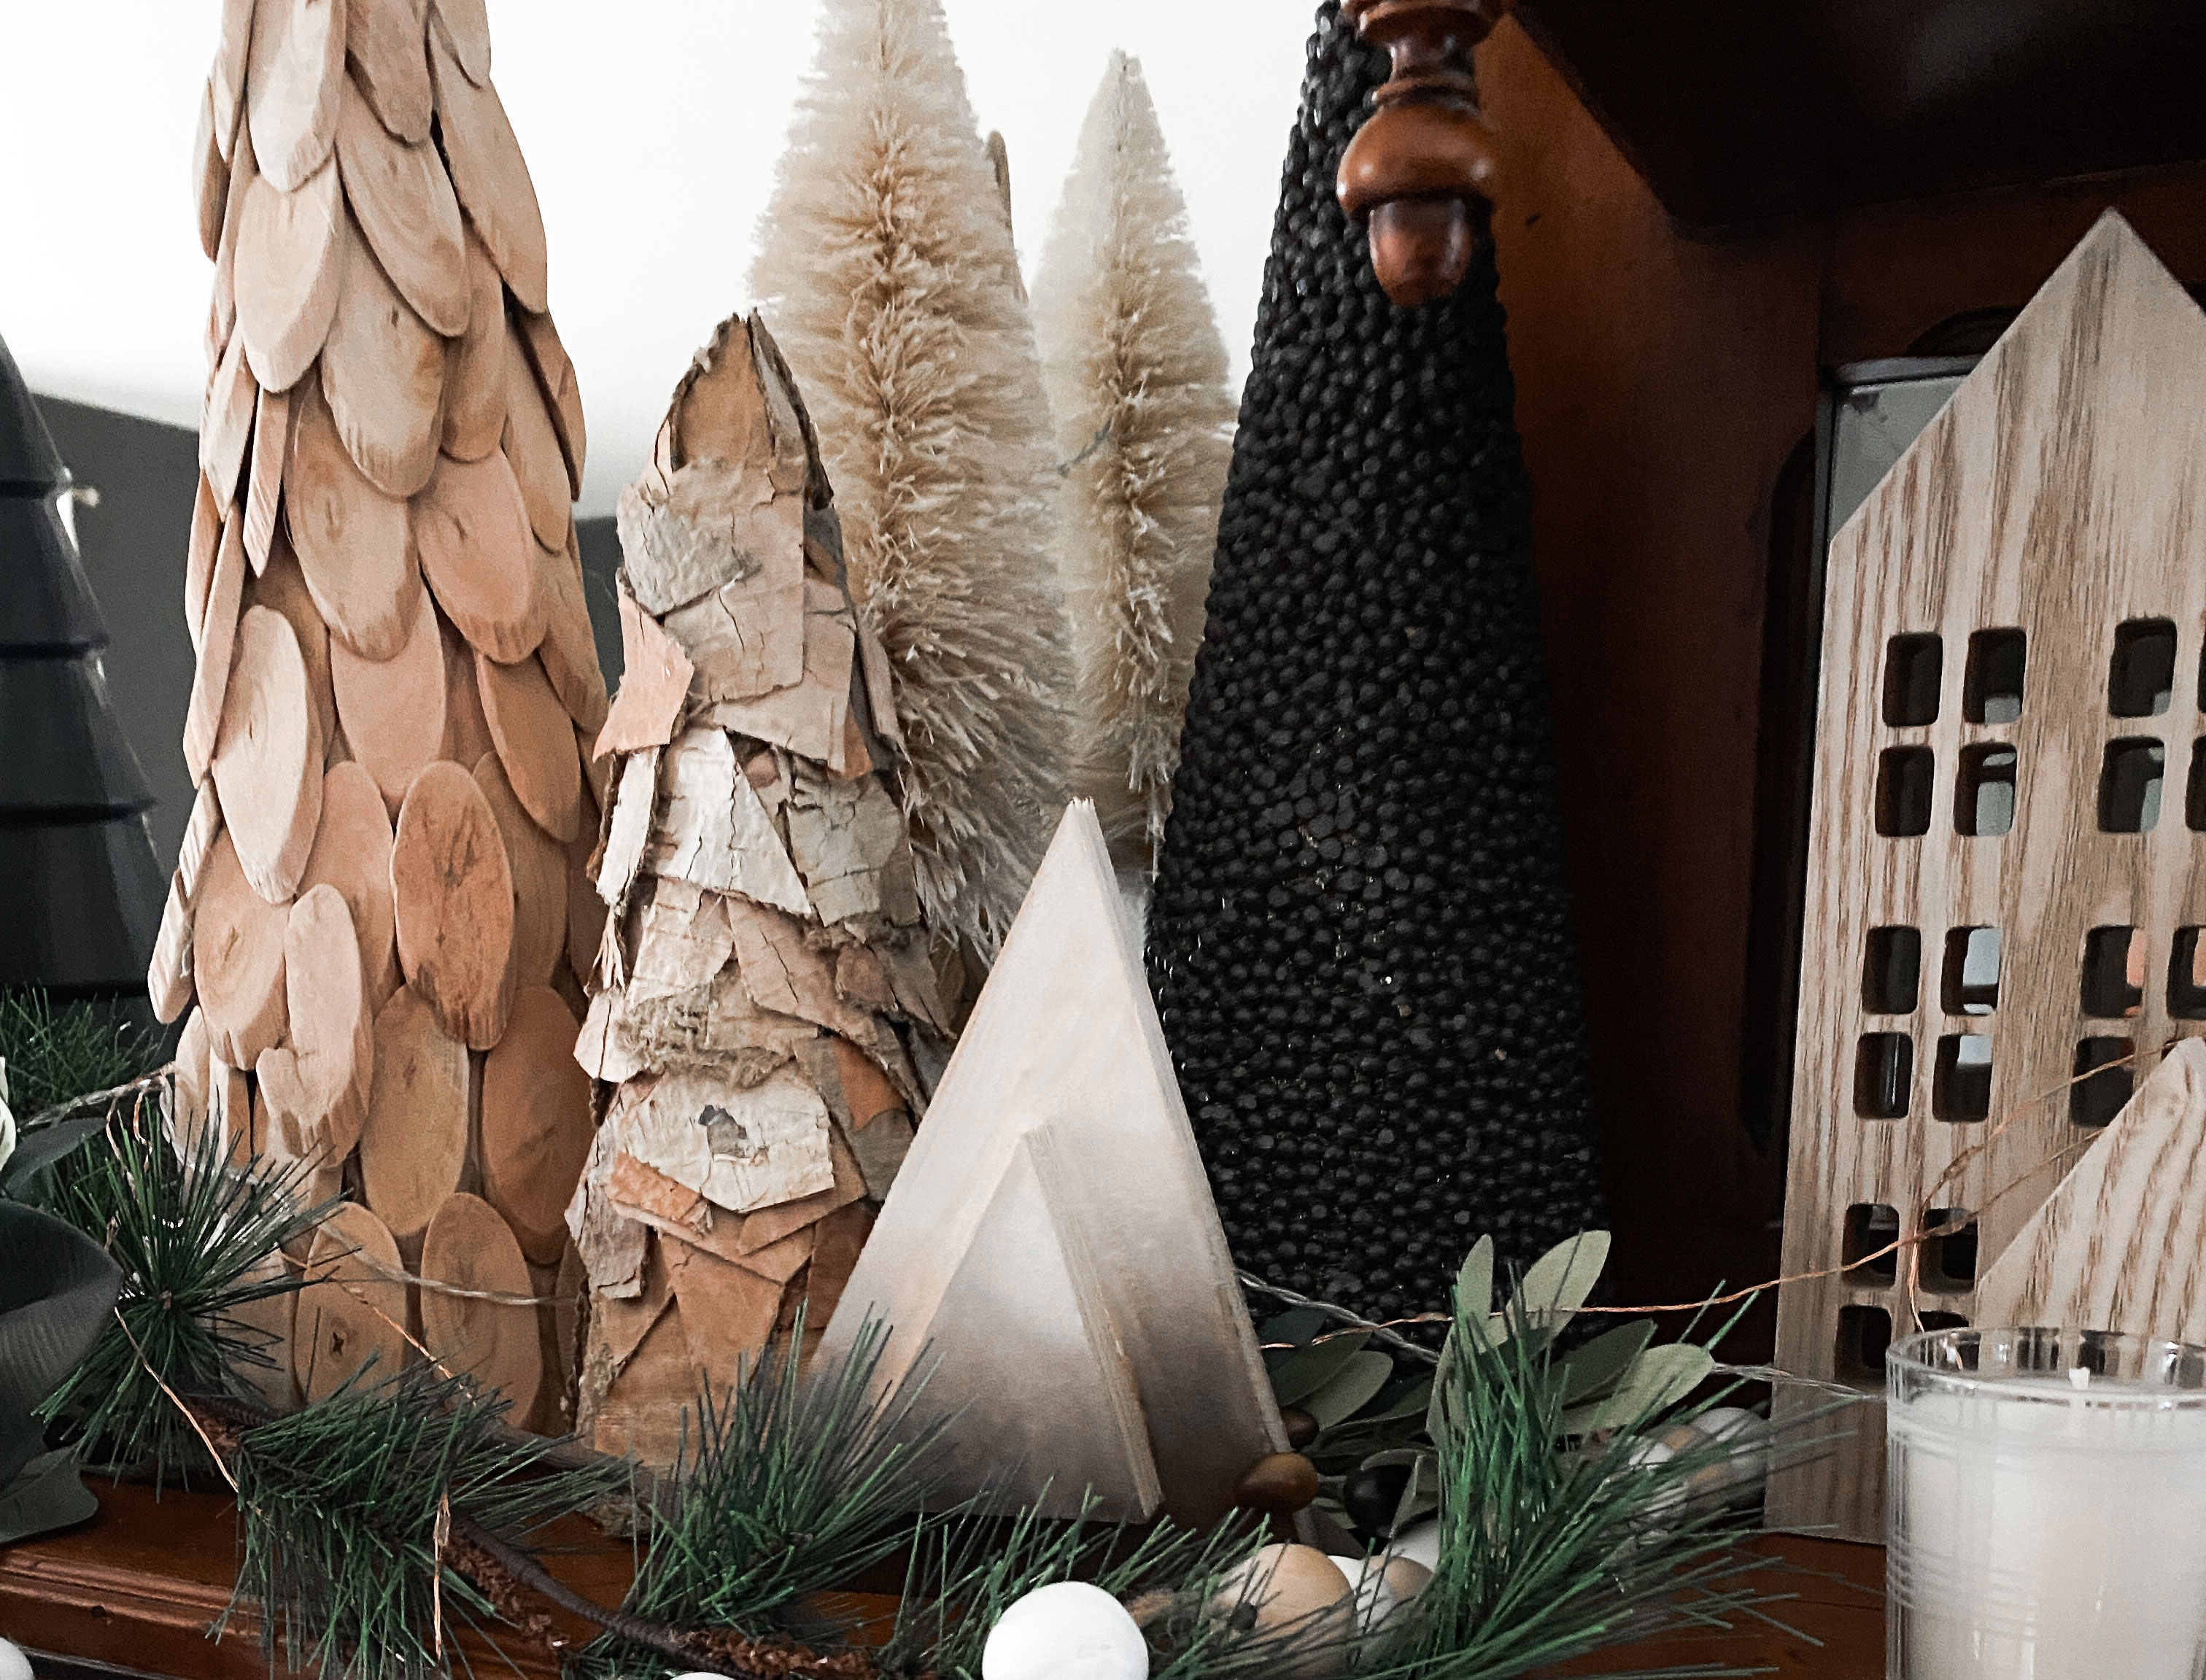
The holiday season is upon us, and if you are anything like me, filling my home with seasonal decorations is one of my favorite things to do. Decorating paired with DIY is a double bonus, and I have a fun and simple project that won’t break the bank.
When I think of the holidays, I also think of beautiful winter trees, and so I decided to create some holiday trees (with a twist) out of scrap wood. I wanted to keep this one simple, and so a few basic cuts are all that is required to make your own DIY Christmas tree out of scrap wood.
Being an avid DIYer comes with its perks, and one of those perks is the constant availability of scrap wood of all kinds. Our workshop is filled with scrap wood, and I love to come up with DIY projects to do so that it doesn’t go to waste.
This holiday scrap wood project fills that box perfectly, but don’t worry if you don’t have your own extra pieces of wood lying around. Most hardware stores have discounted sections of scrap piles that you can pick through, and all you need is a couple of pieces of whatever wood you’d like to complete this holiday DIY.
Tools and materials
Even the most novice of DIYers can accomplish this one. I used a miter saw, but any kind of saw will do the trick, as long as it can cut through your wood.
- Scrap wood
- Miter saw – Evolution's compound saw is a solid budget-friendly buy
- Wood glue (you can use nails or screws instead of adhesive also)
1. Cut your wood to different sized triangles
The objective is to cut a few different sized triangles from your pieces of wood, and I find that the easiest way to do this is to cut one line at the corners of your pieces, and there you have it- a triangle!
Different sizes are ideal, and there really isn’t any rhyme or reason to doing this the “correct” way. The beauty of this DIY is that there really is no correct way, so go ahead and cut a few triangles that vary in size and height.
2. Sand, smooth and glue
Once you have your triangles all cut (and the number you choose is also up to you), you might want to sand the edges a bit in order to avoid any small splinters. Sanded and smooth, the triangles are ready to be attached to each other, and you can do this a few different ways.
Grab a couple of pieces that are varying in size and place them on top of each other. This will give the illusion of a three-dimensional tree and will also provide some stability for the tree to stand on a tabletop when finished. The easiest to connect the triangles to each other is probably to use wood glue between the pieces, but nails or screws would do the trick as well. If gluing, apply the wood glue liberally and either clamp together, or place something with significant weight on top to help the glue cure.
3. Leave time to dry and decorate
A few hours of dry time for the glue and you are ready to add the “twist” that I spoke of earlier. Just as I decorate my own holiday tree in my home, I wanted to decorate these in a way that would go with the décor of my house, so I chose to spray paint with a few different colors. Again, I used what I had on hand, and decided to create an ombre look might give me just the unique twist that I was going for, so I started with the lightest color of spray paint at the top and moved my way up to the bottom, alternating colors as I went.
Ta-da
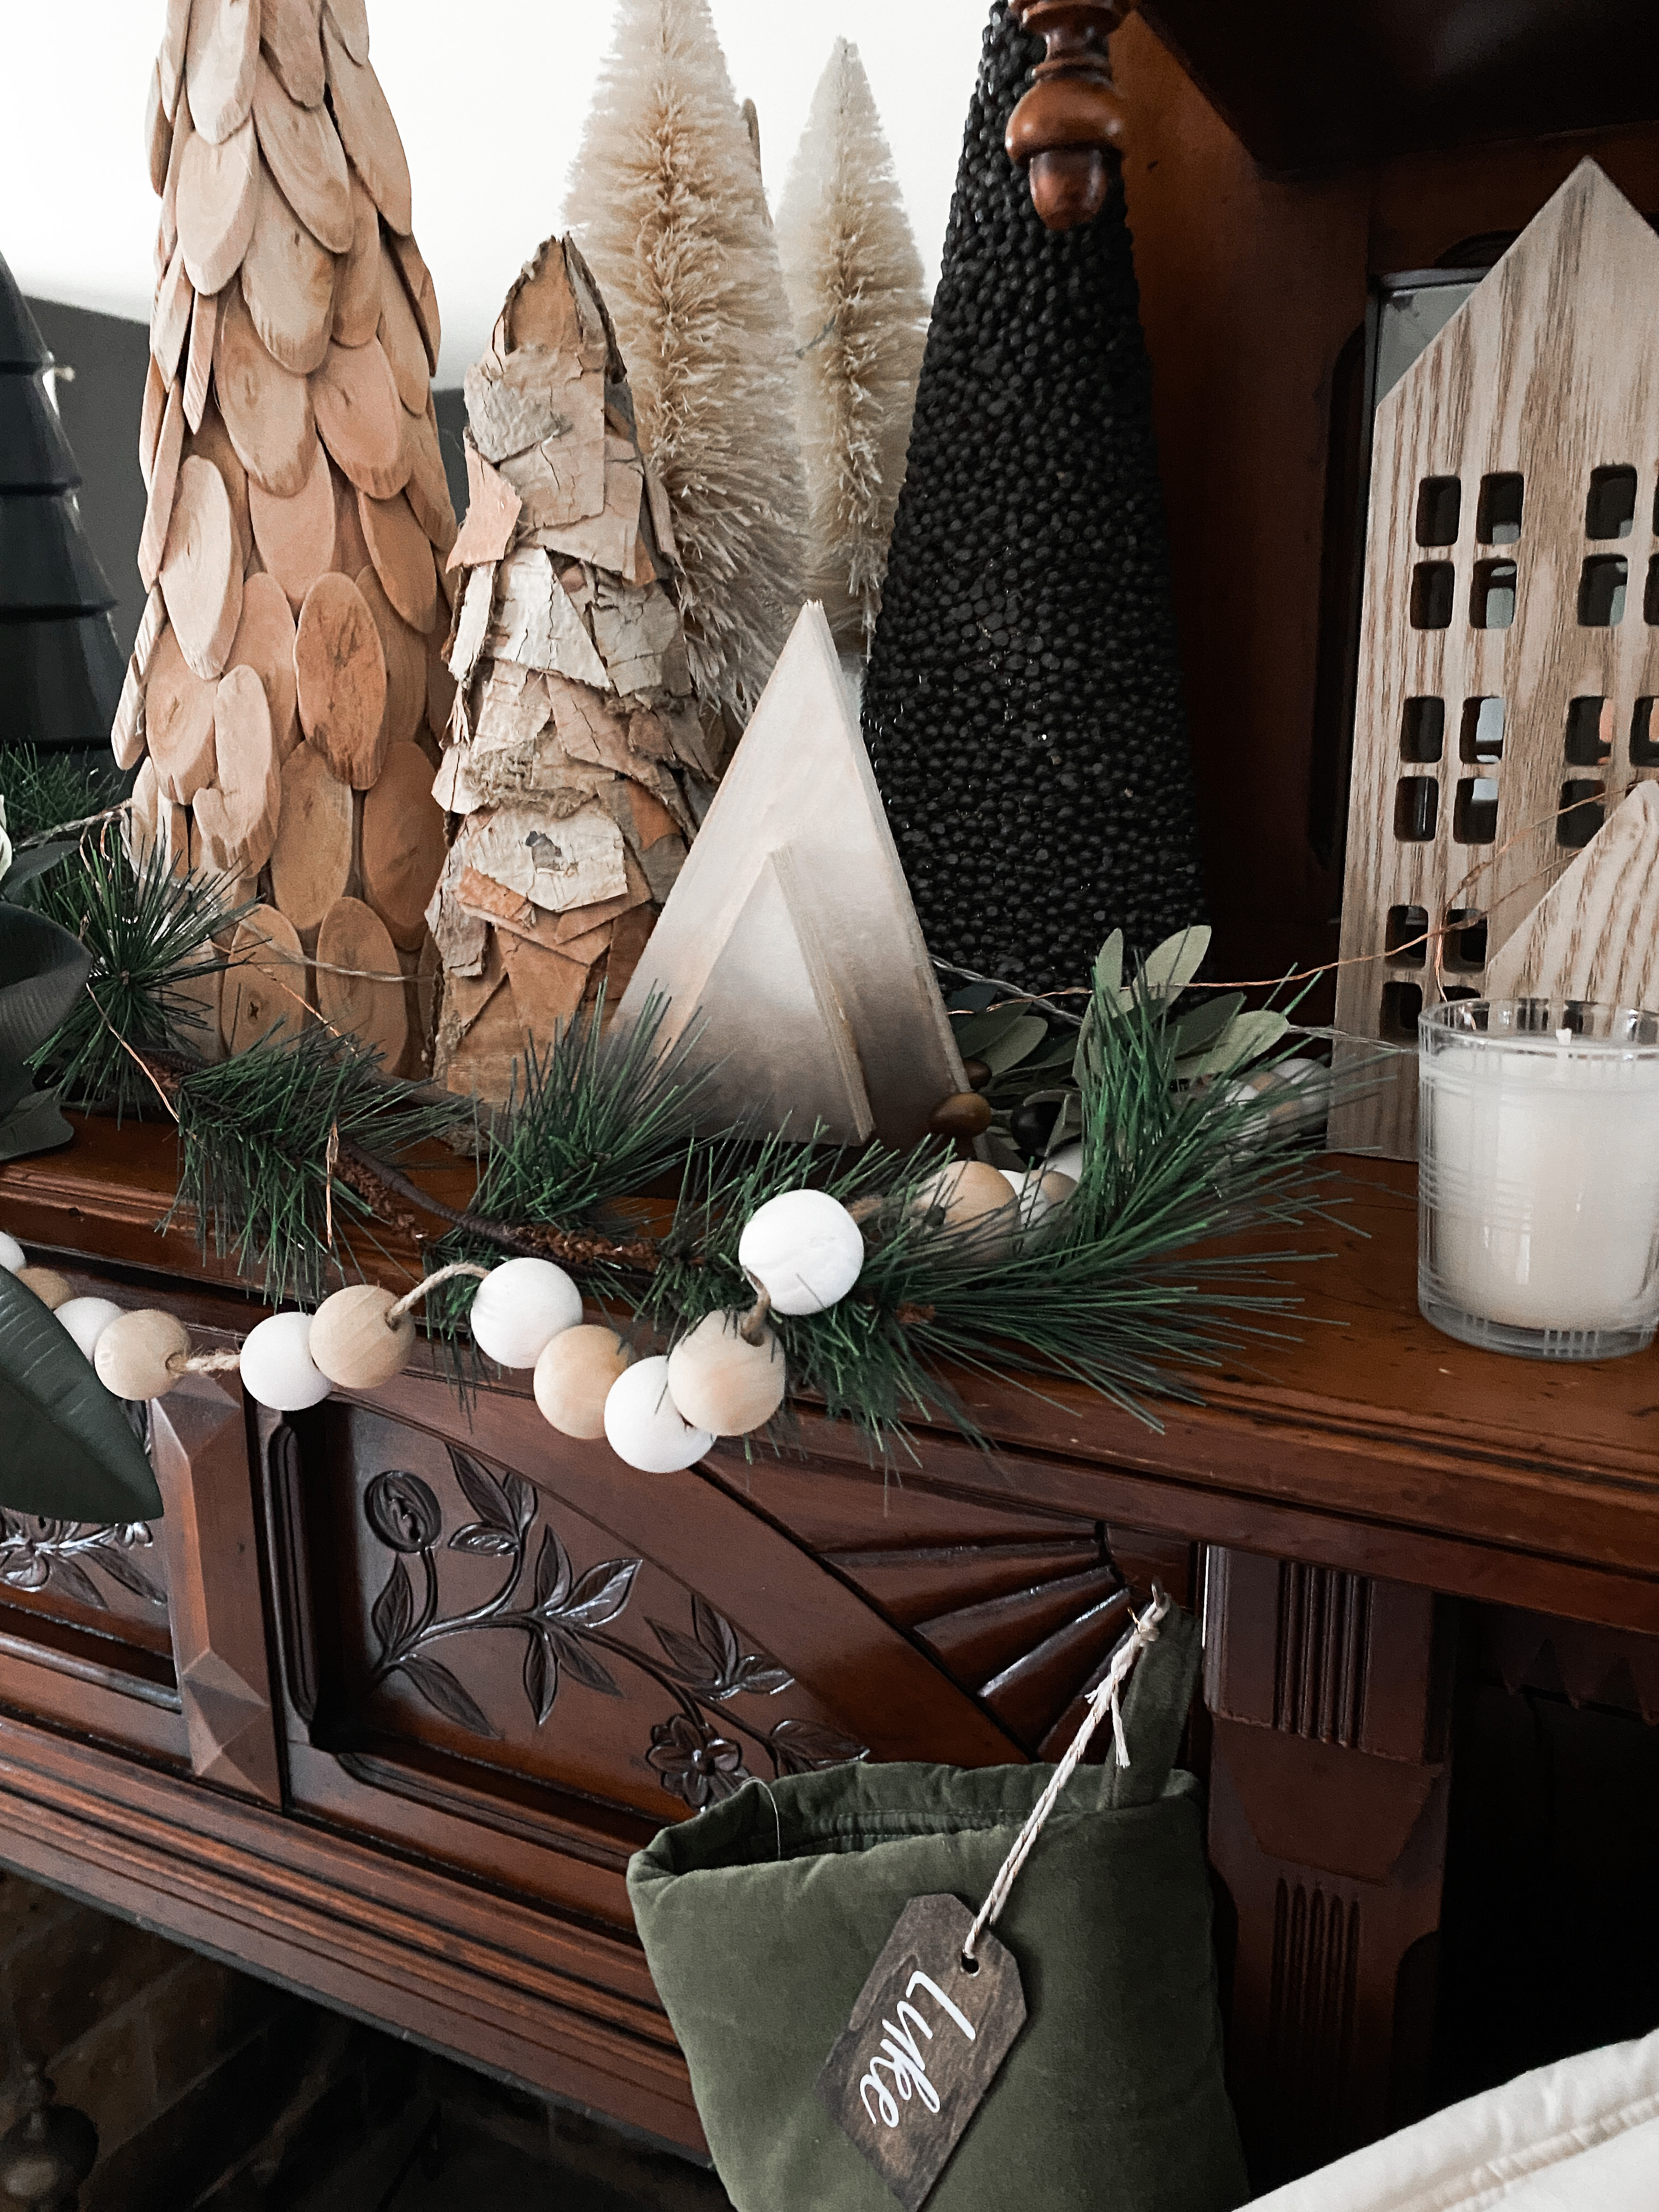
Just as there isn’t a correct way to decorate a house, or to DIY Christmas decorations, there isn’t a correct way to decorate these DIY scrap wood Christmas trees, so feel free to paint or add to them in whatever way you choose. Maybe you are a fan of a unique stencil pattern, of maybe you prefer to keep them plain. Whatever you choose, every time you look at your trees you will remember that you made them yourself, and to me, that makes them even more special. Happy Holidays!
Join our newsletter
Get small space home decor ideas, celeb inspiration, DIY tips and more, straight to your inbox!
-
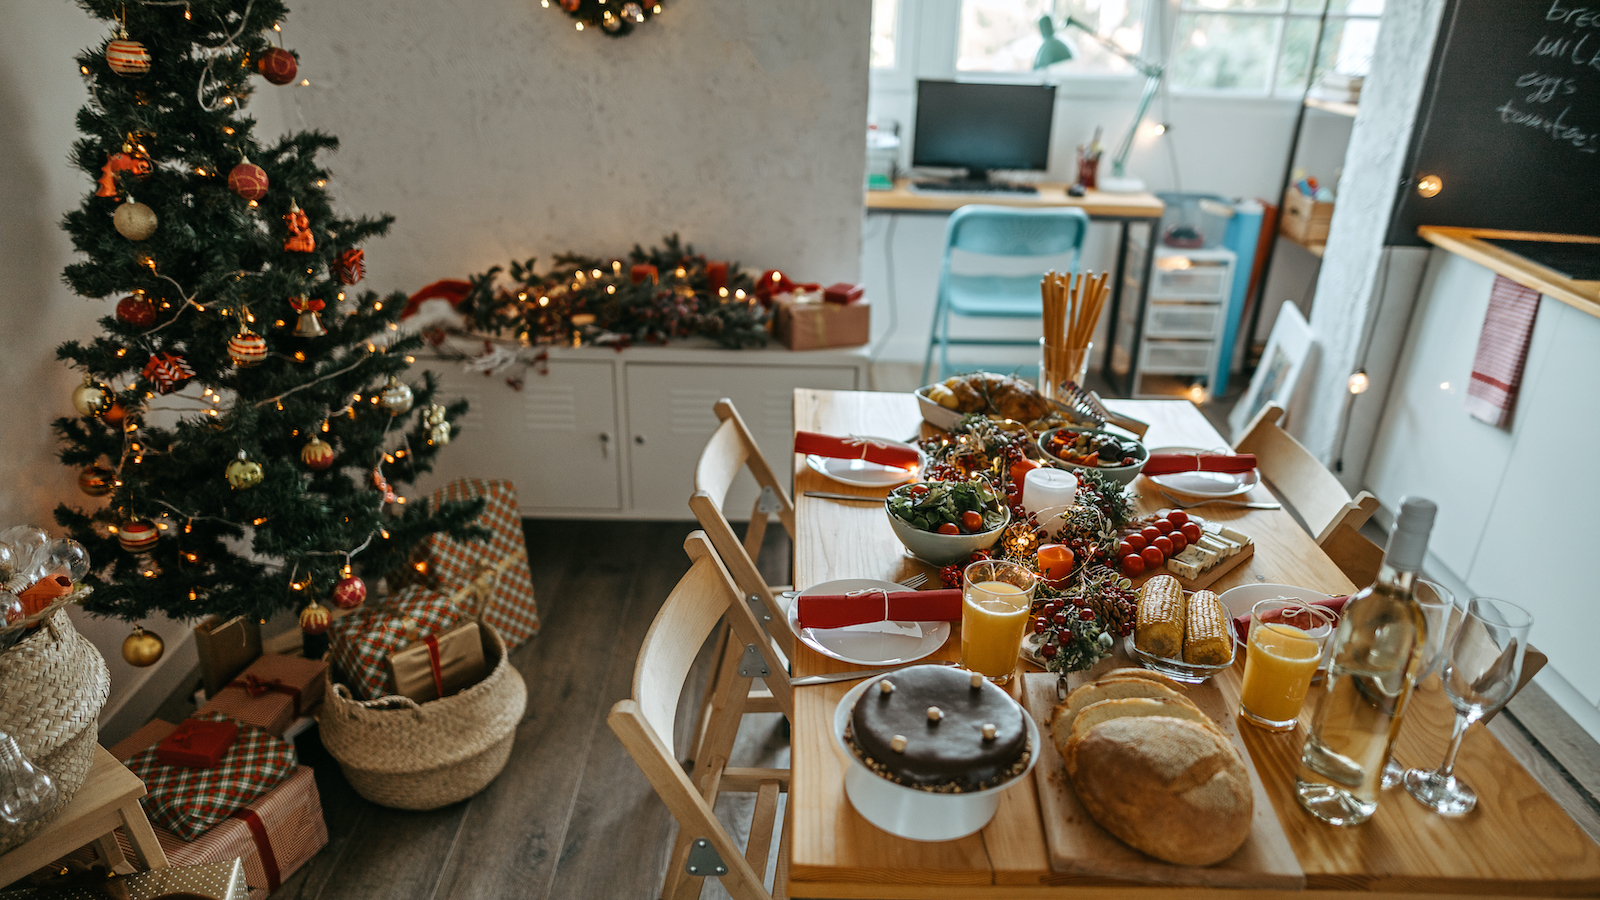 How to host Christmas in a small space —7 tips from design pros
We asked designers how to host Christmas in a small space, and they've mapped it all out with these 7 fabulous tips
By Danielle Valente
-
 This TikTok Christmas tree hack is perfect for small space dwellers
We spoke to crafter Emma Villaneda about her TikTok Christmas tree hack and how to do it
By Danielle Valente
-
 Yikes! A sleep psychologist reveals the Christmas lights to avoid if you want some shut-eye
A sleep psychologist reveals the best and worst Christmas lights for sleep and how to adjust accordingly
By Danielle Valente
-
 6 cottagecore Christmas decorating ideas that will give you the warm and fuzzies
Our edit of Cottagecore Christmas decorating ideas will show you how to cozy up your space for the holidays
By Danielle Valente
-
 4 white Christmas decor ideas and how to style them to perfection this holiday season
Our edit of white Christmas decor ideas — and tips from interior designers — will make you ditch the red and green
By Danielle Valente
-
 How to decorate for Christmas according to your star sign — let the cosmos help find your holiday style
We spoke to the experts about how to decorate for Christmas according to your star sign
By Danielle Valente
-
 5 renter-friendly Christmas decorating ideas that are perfect but not permanent — here's how to style them
Renter-friendly Christmas decorating ideas that you'll love and your landlord will appreciate
By Danielle Valente
-
 How to decorate a small bedroom for Christmas — five clever ways to add a festive feel to your sleep space
Our edit reveals how to decorate a small bedroom for Christmas so that your space is festive and cozy
By Danielle Valente