

This was the laundry room in our farmhouse before we started demolition. Before we officially moved in, we replaced the flooring and baseboards and that’s about it.
We have been using the existing cabinets and making them work for the past few months. But even after some TLC with the best paint for kitchen cabinets, they weren’t really looking that great, and I knew that I could make them more functional and beautiful.
The laundry room space to start:

Skill Level: Intermediate
Cost: $111
Time Spent: A weekend
Supplies used:
- ½”mdf
- Beadboard
- ⅝” trim
- Crown molding
- Square clamps
- Jigsaw
- Nail gun/brad nails
- Caulk
- Spackle
- Hammer
- Screwdriver/screws
- Paint sprayer/paint
- Tape
- Plastic tarp
We removed the existing cabinets from the wall as well as the 1x4 cleat below them. We then rehung the cabinets about 6 inches lower. This will make them more accessible when reaching over the washer and dryer.

Adding the 'faux' upper cabinets
I originally thought that painting the now lower cabinets would be enough but after DIY painting kitchen cabinets I discovered something that I should have done from the beginning. The gap between the cabinet and ceiling was too jarring and just didn't look right. I wanted to extend the cabinets to the ceiling. To do this, I needed to add a “faux cabinet” above the existing cabinet.

I bought a piece of 2x4 ½” mdf from Home Depot and ripped it in half with my table saw. I cut the pieces to size in order to create a box to place above the cabinet. Actually, it was just a front and side piece secured together using wood glue and a few brad nails.

I also put a couple of pocket holes in the box where the studs in the ceiling joists would be.

I placed the box on top of the existing cabinets and secured using screws into the pocket holes and a piece of wood I attached to the box beforehand in order to secure it to the cabinet frame.

When the box was secure I got busy cutting beadboard to cover the box frame. I used brad nails to attach the beadboard. I used a ⅝” piece of trim on the cabinet to hide to gap between the new box and the existing cabinet.

Installing the crown molding
This is the part where I got intimidated! I knew I wanted to attach crown molding to the top of the upper portion of the cabinet… The problem was, that I’ve never cut or installed crown molding. I actually watched quite a few YouTube videos and even bought a crown pro jig made by Kreg from Amazon to help me cut the molding. This was a lifesaver. It ensures that the molding is cut at the precise degree for the best possible fit.
The most important part of all of this is filling nail holes and caulking all the edges and seams to make everything look clean and finished.

Spray painting the upper cabinets
With all the trim attached and caulked and nail holes filled, I taped off the existing cabinets (that I’d already painted) as well as the ceiling in order to spray the upper portion of cabinets. I used the Emerald urethane trim enamel from Sherwin Williams for the cabinets and this paint sprayer. I would definitely recommend not skimping on this step. Good paint will make all the difference and will be sure to last for a long time!

Adding finer decorative and functional detail
Another thing I’ll note is that I added small brass cabinet knobs and soft-close cabinet hinges to the cabinet doors.

I absolutely love these updated cabinets!! Adding the upper cabinet was definitely the right call and I’m glad I spent the extra time to do it. Not only are these more beautiful but I now have fully functional cabinets in this laundry room.
The finished laundry room:

Project Cost Breakdown:
- MDF $20
- Trim/Molding $24
- Beadboard $22
- Paint $33
- Tape/plastic $12 (other misc.)
Total: $111

-
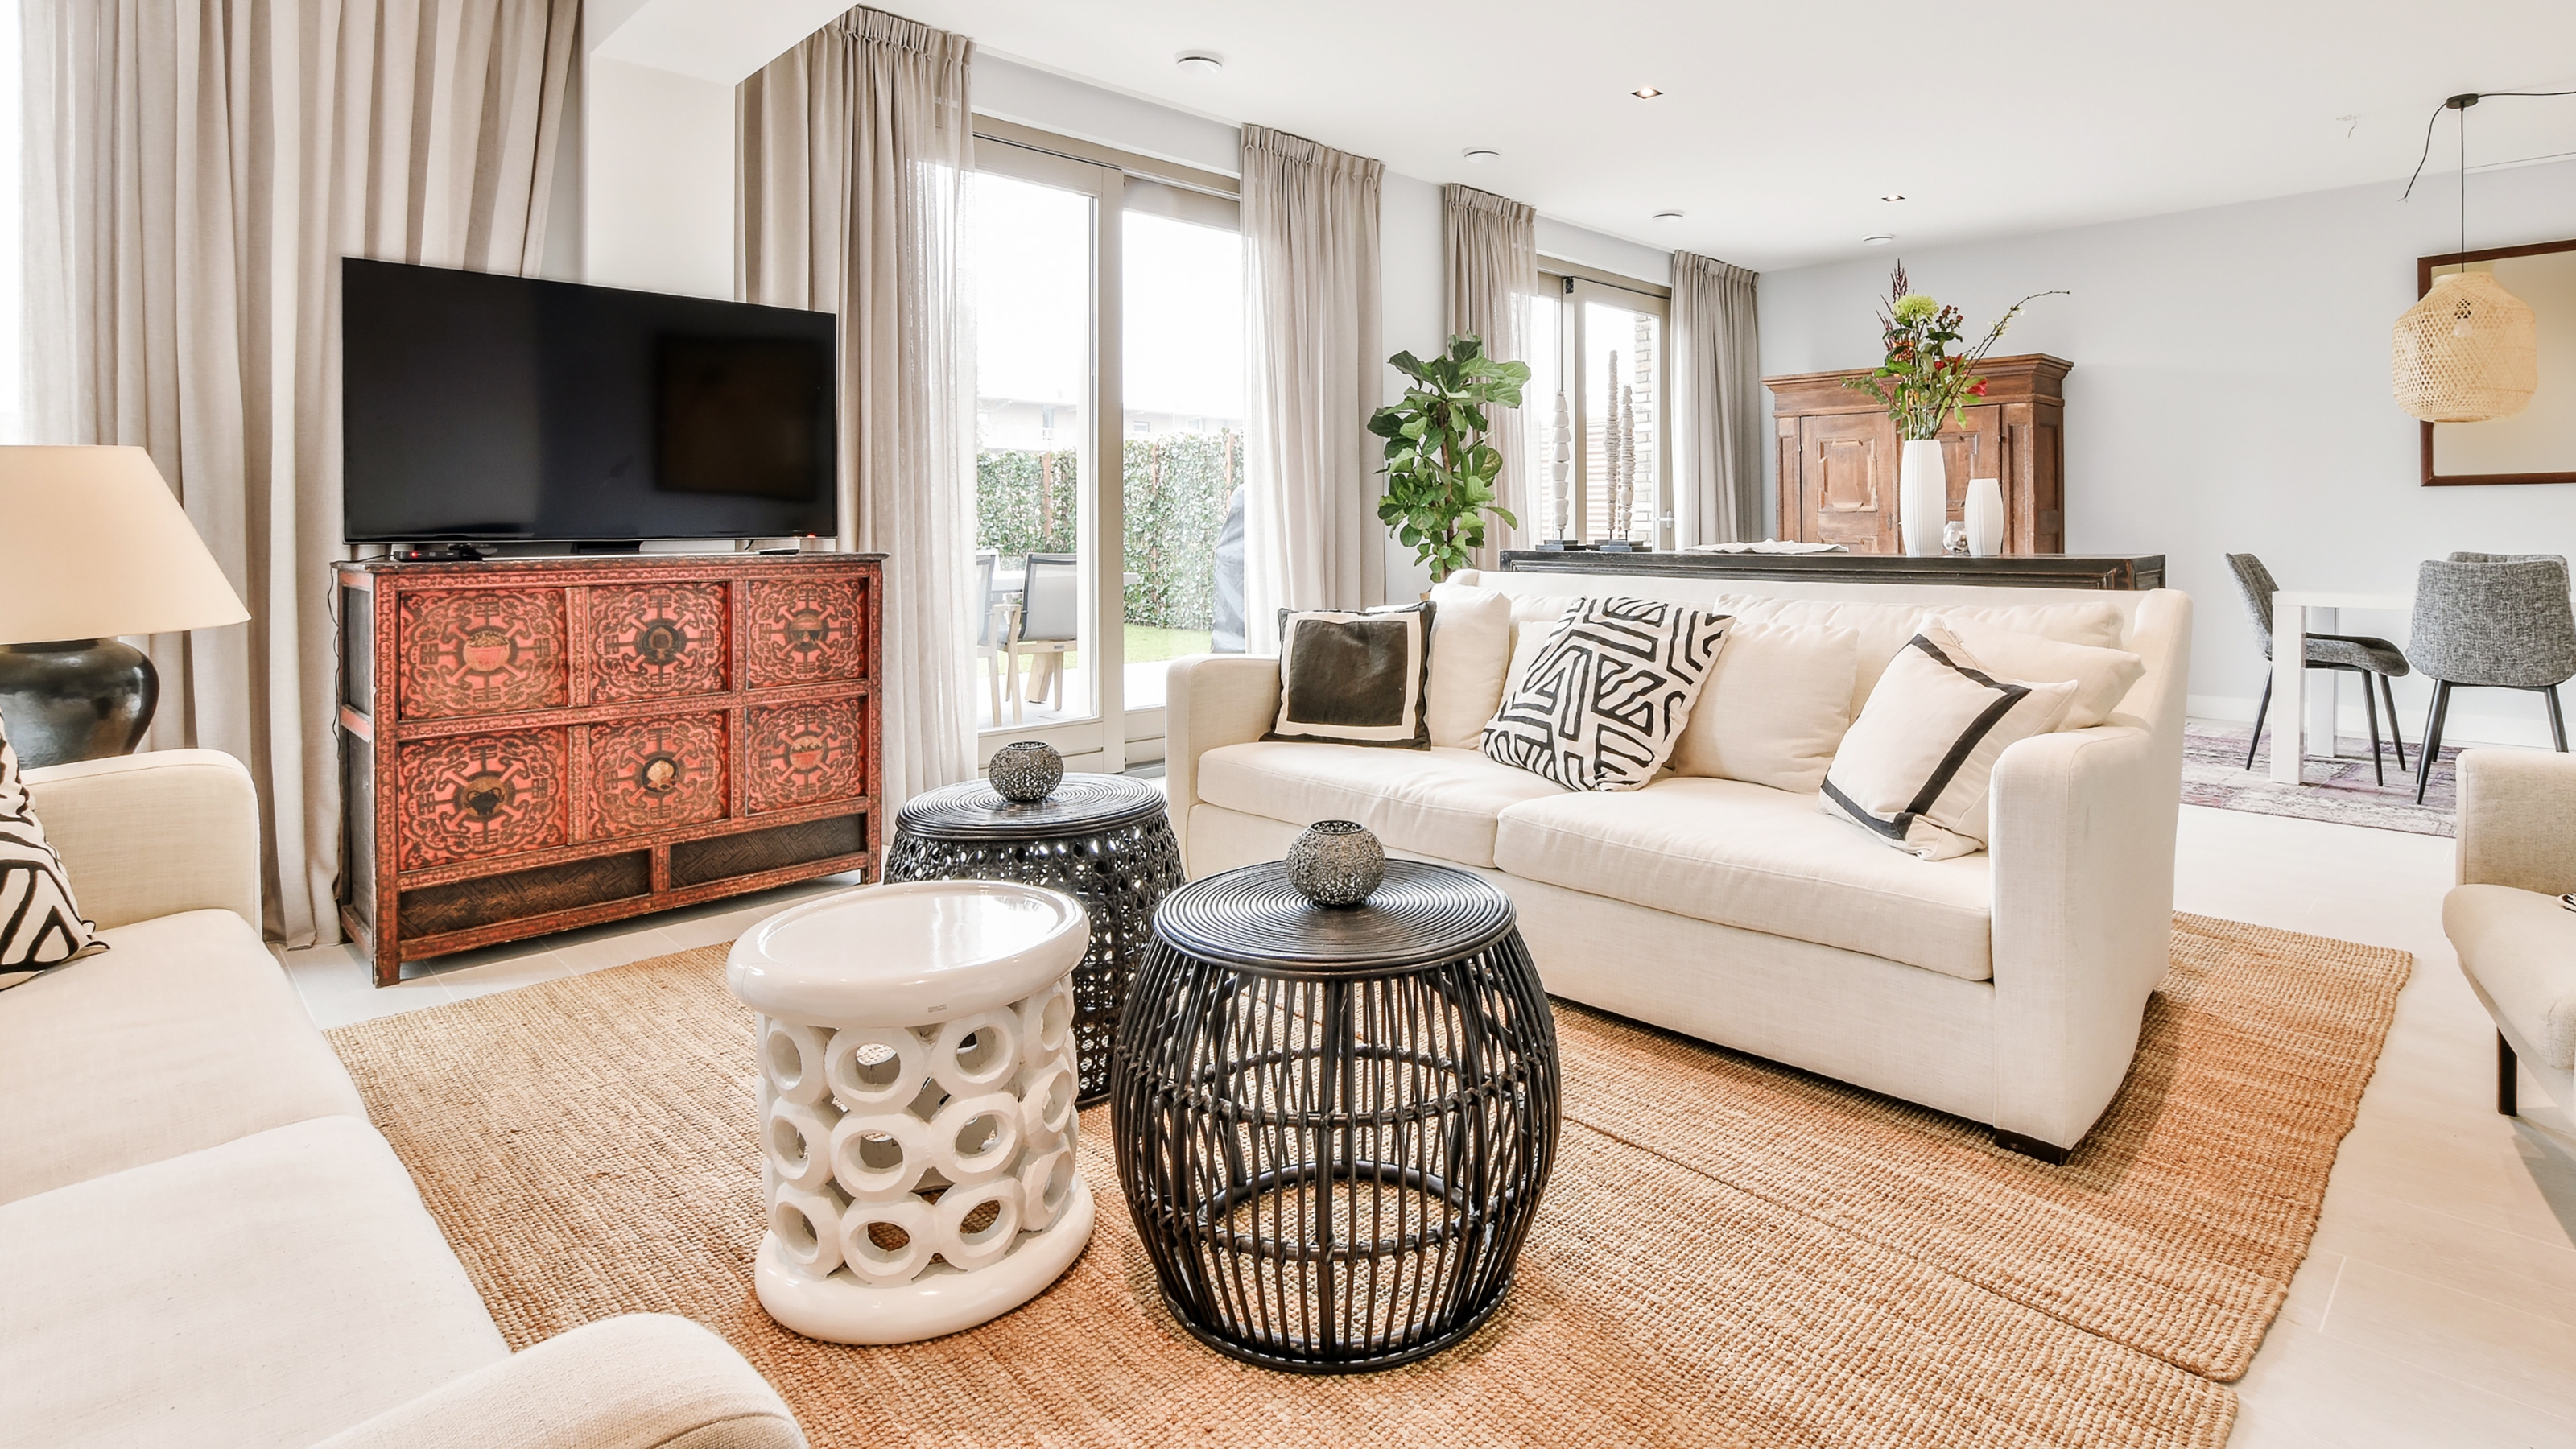 6 small living room DIY projects — inspired ideas from an interior designer
Does your small living room need a refresh? These 6 small living room DIY projects will have your living room serving looks
-
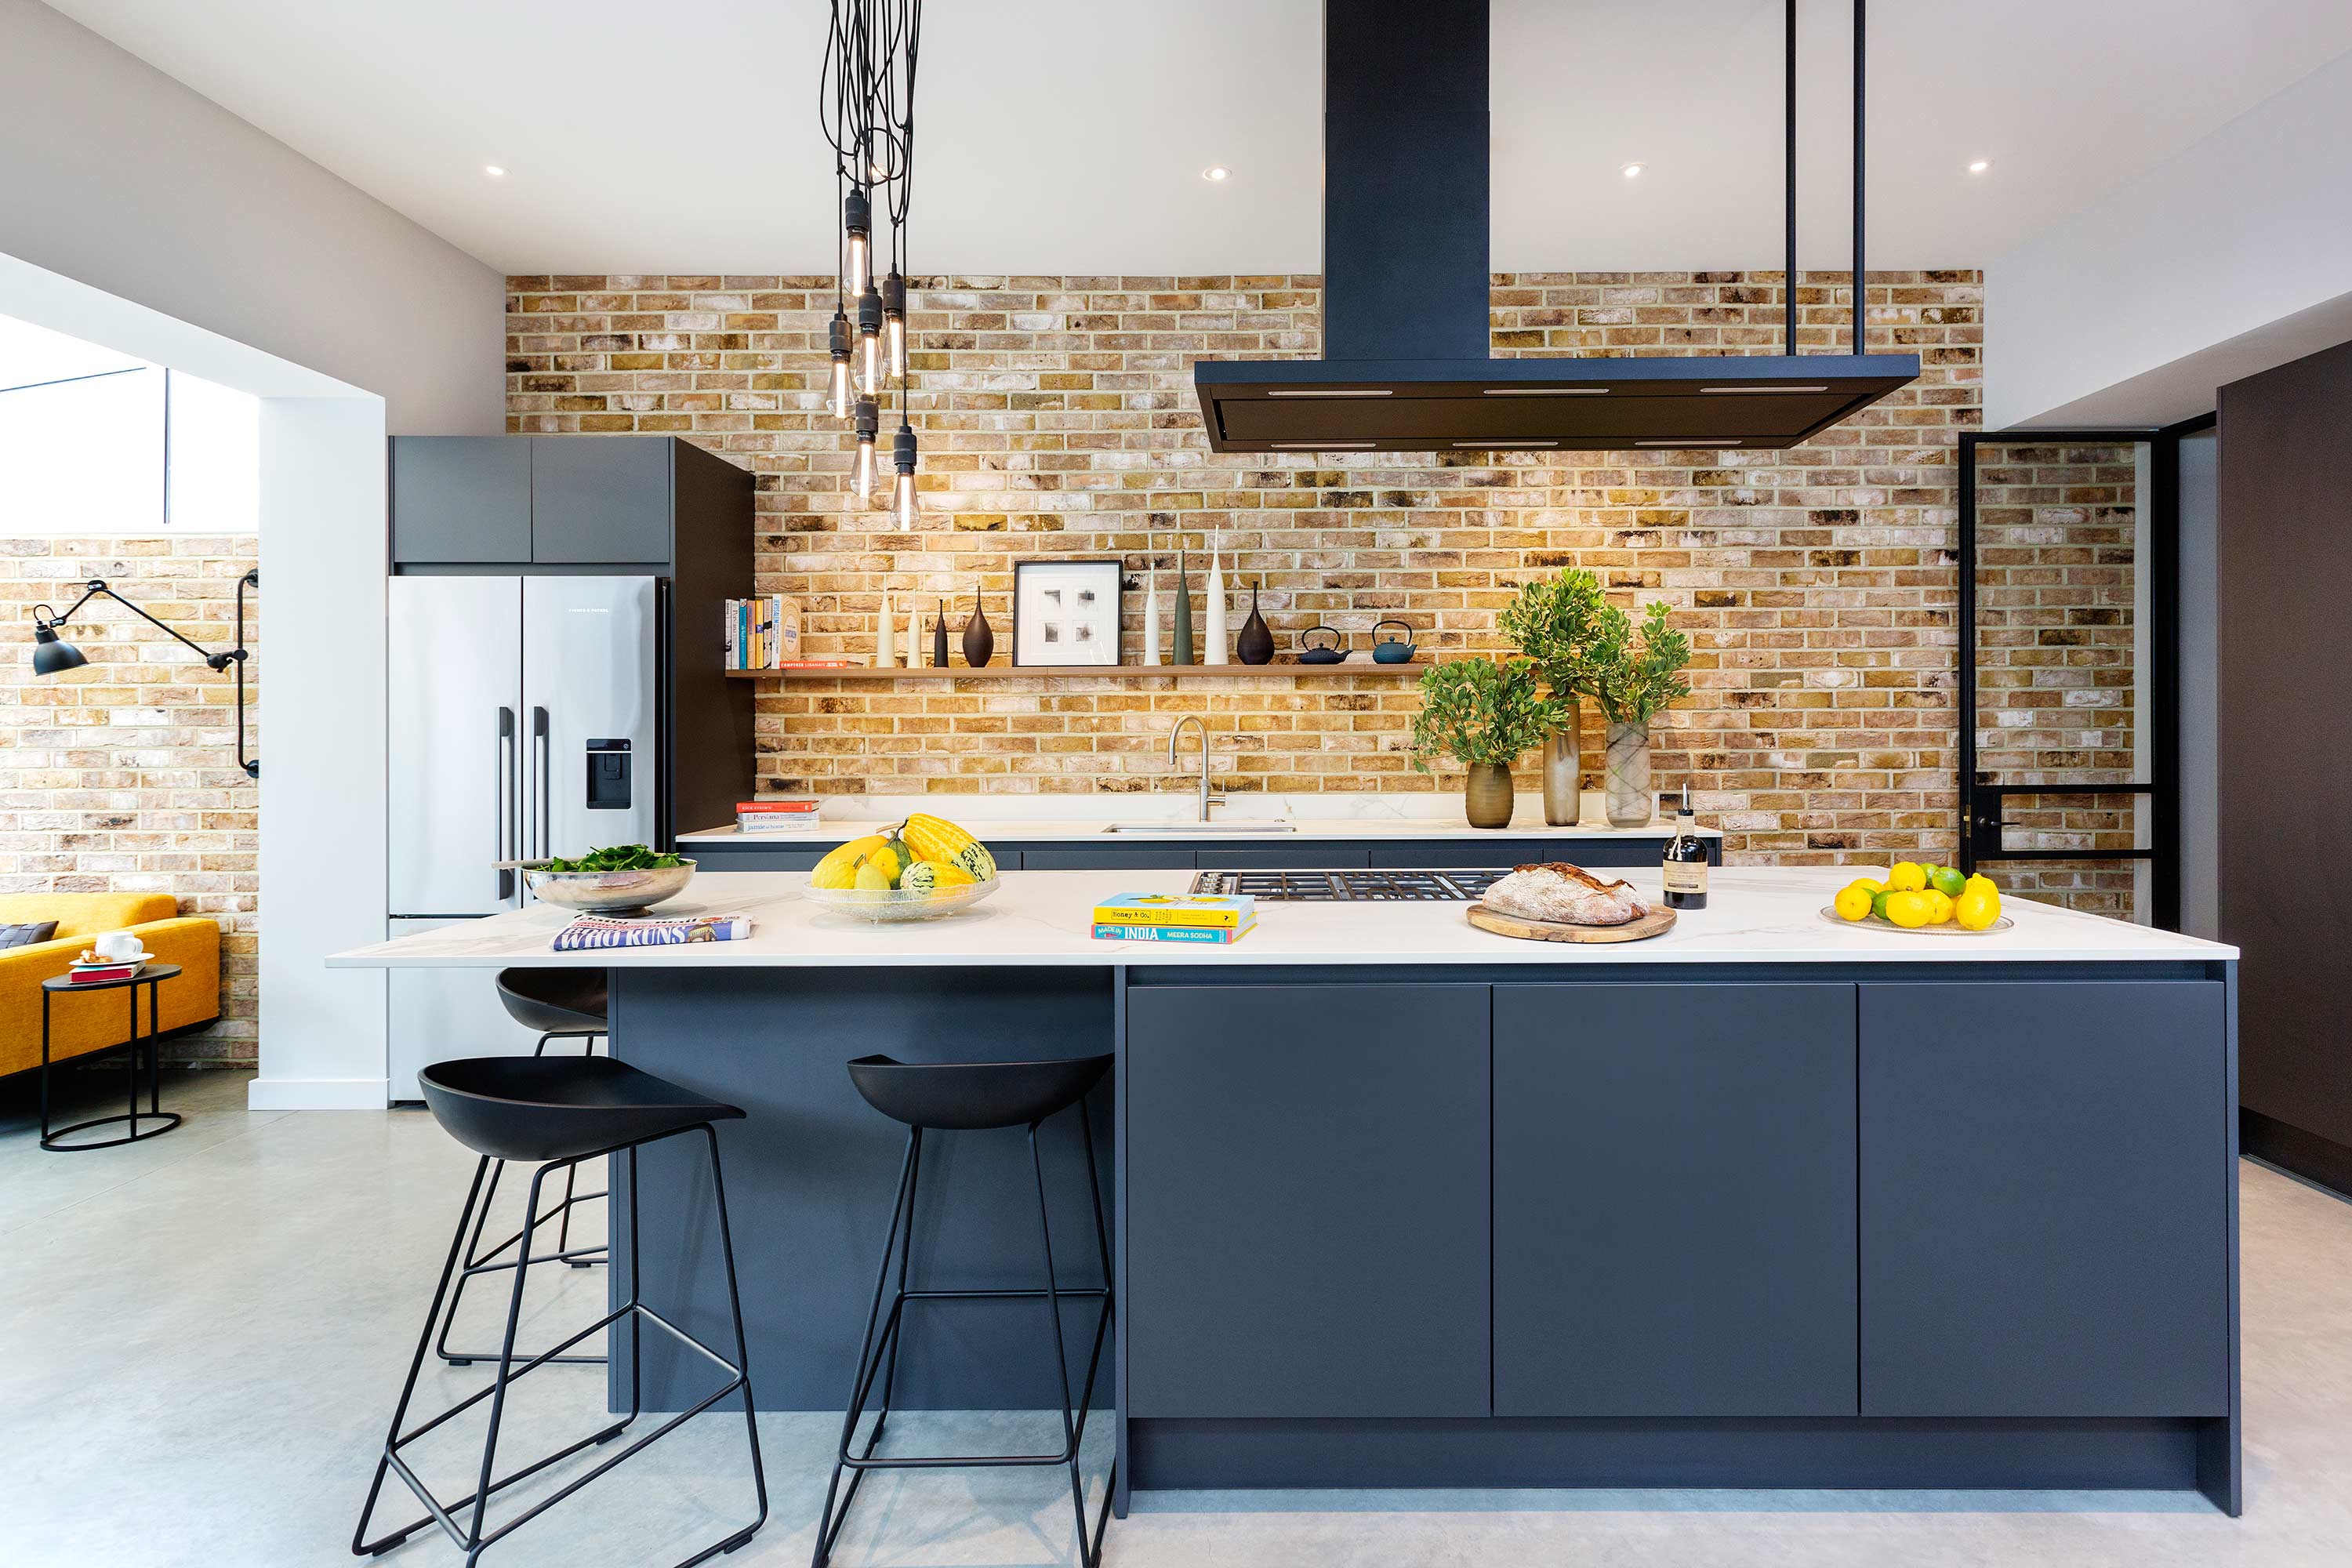 A 9-step guide to installing kitchen cabinets yourself, for a pro finish
You can install kitchen cabinets yourself no problem. Measure carefully and take it one step at a time when replacing base and wall cabinets to upgrade your cooking space.
-
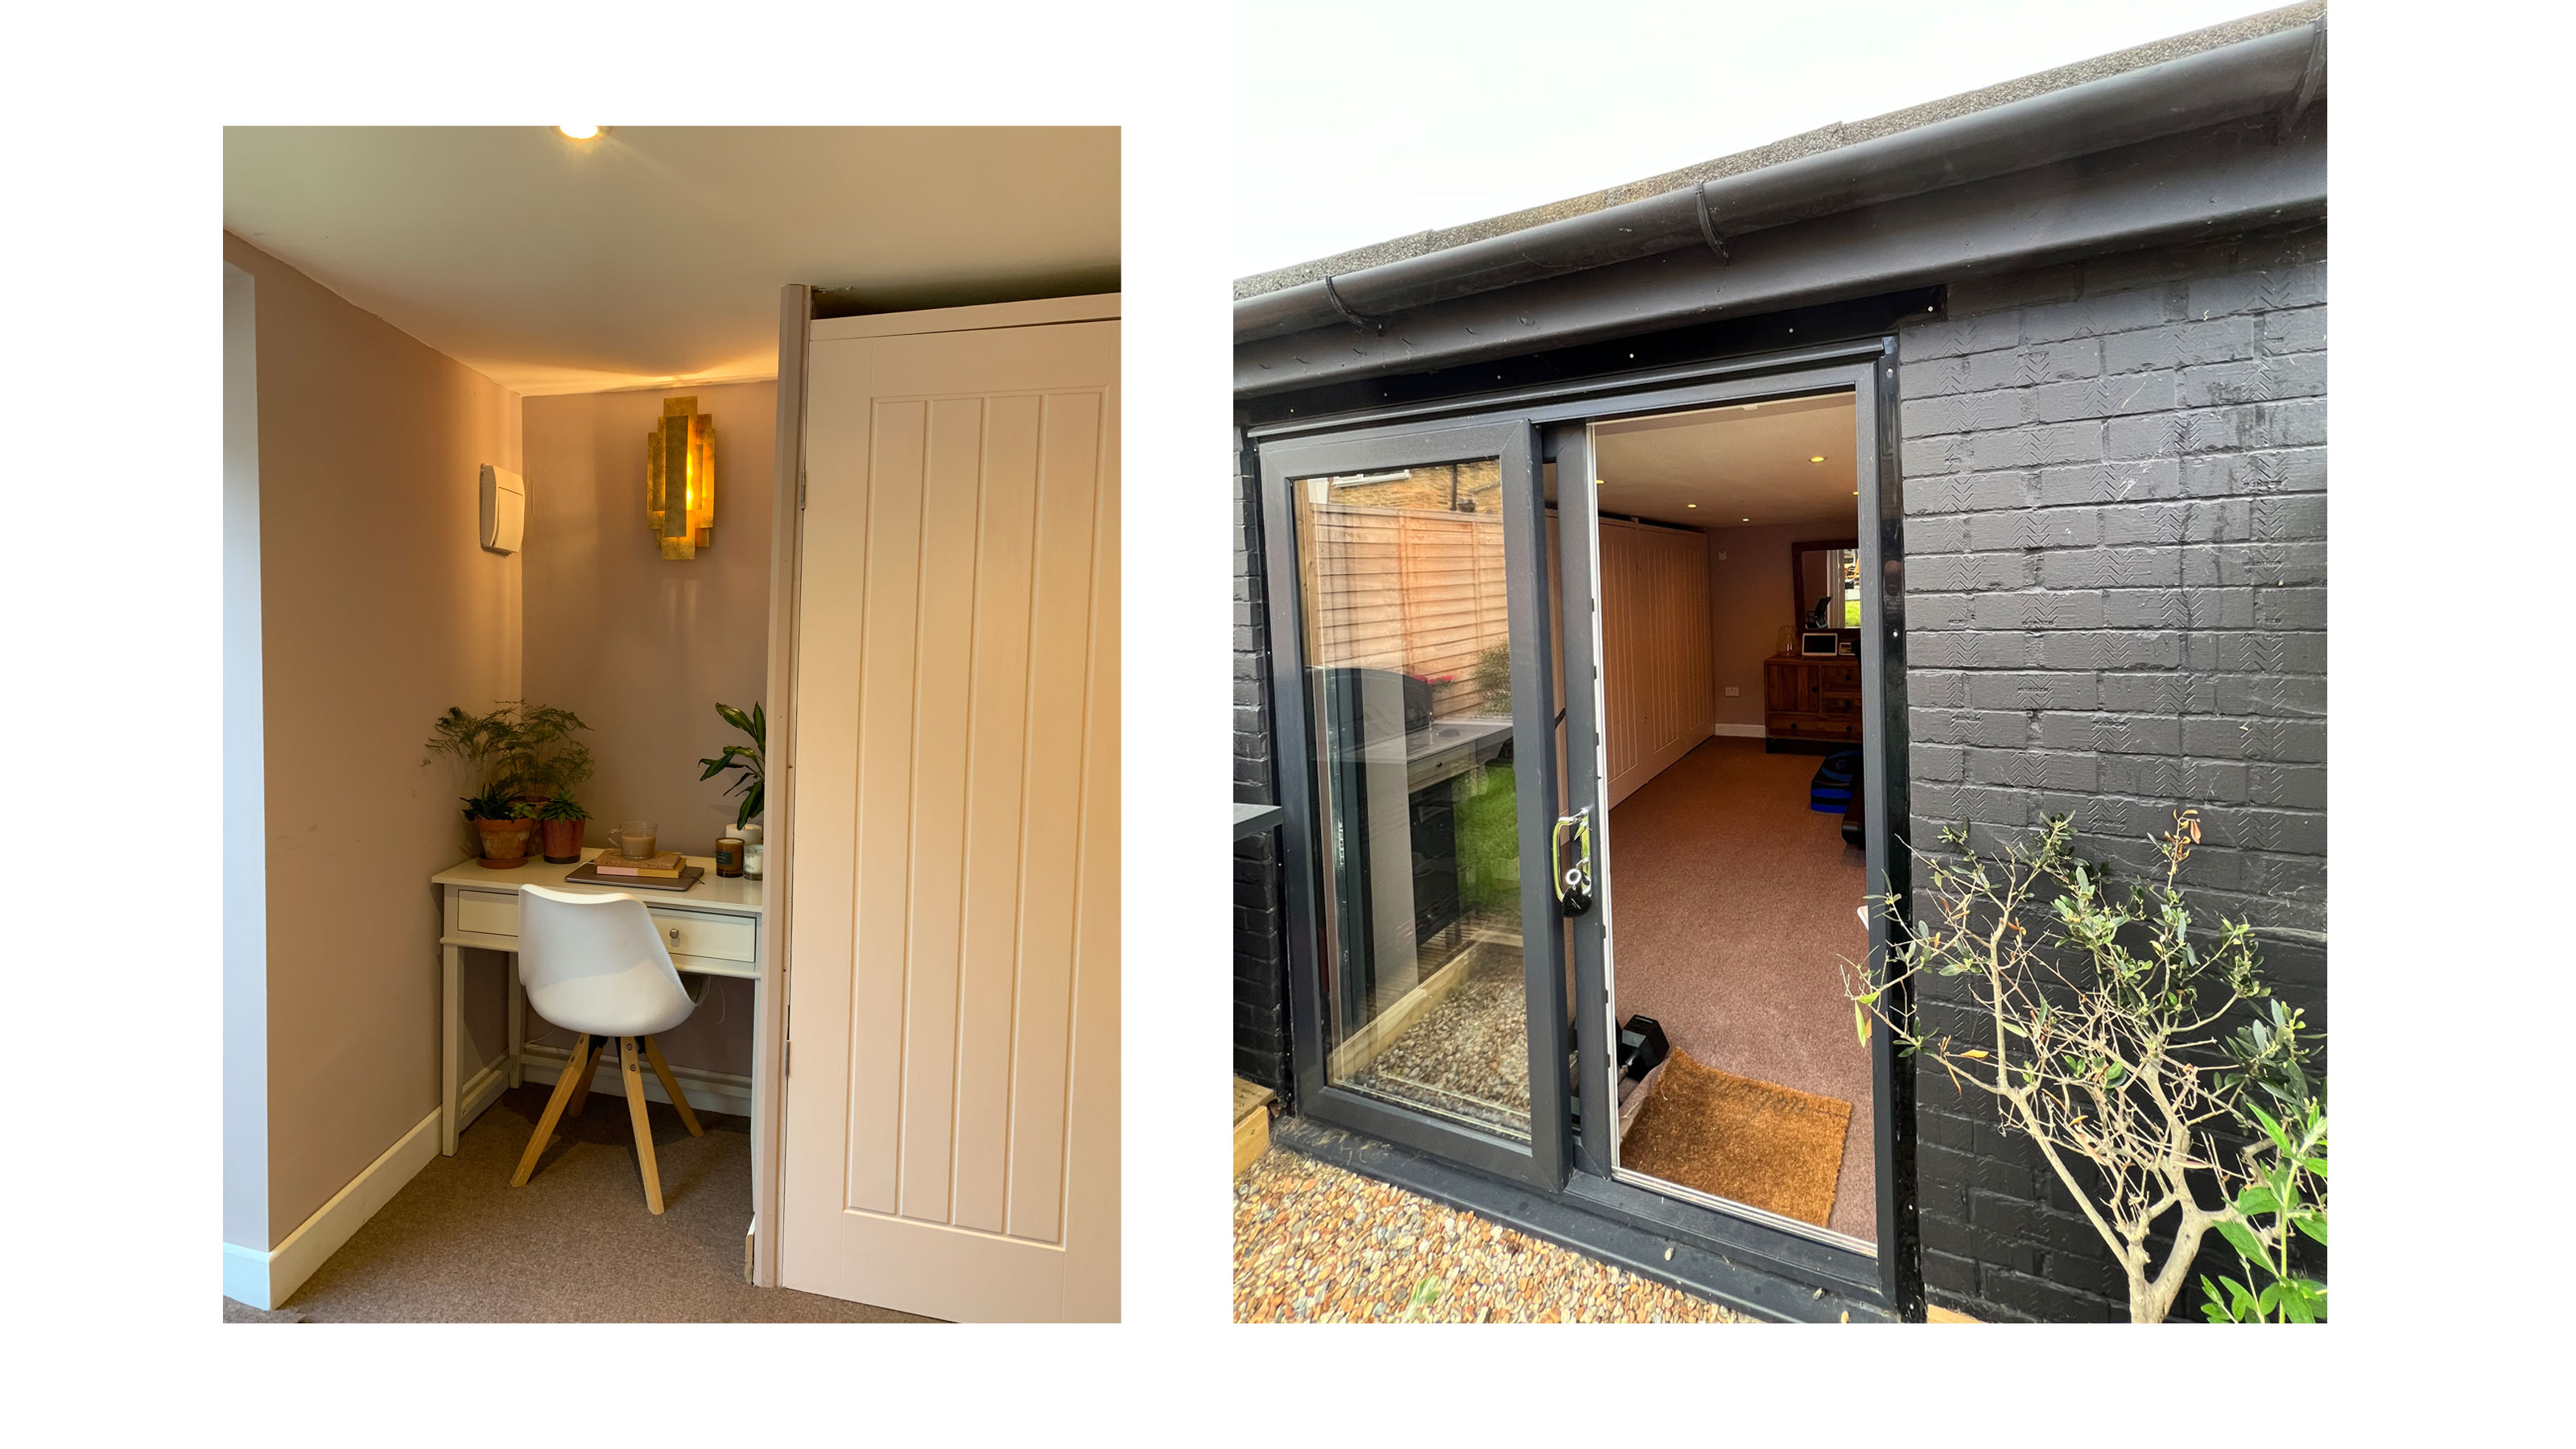 How to turn a garden room into a modern home office
Transforming a garden room into a home office is an awesome way to add function and personality to an unused outbuilding
-
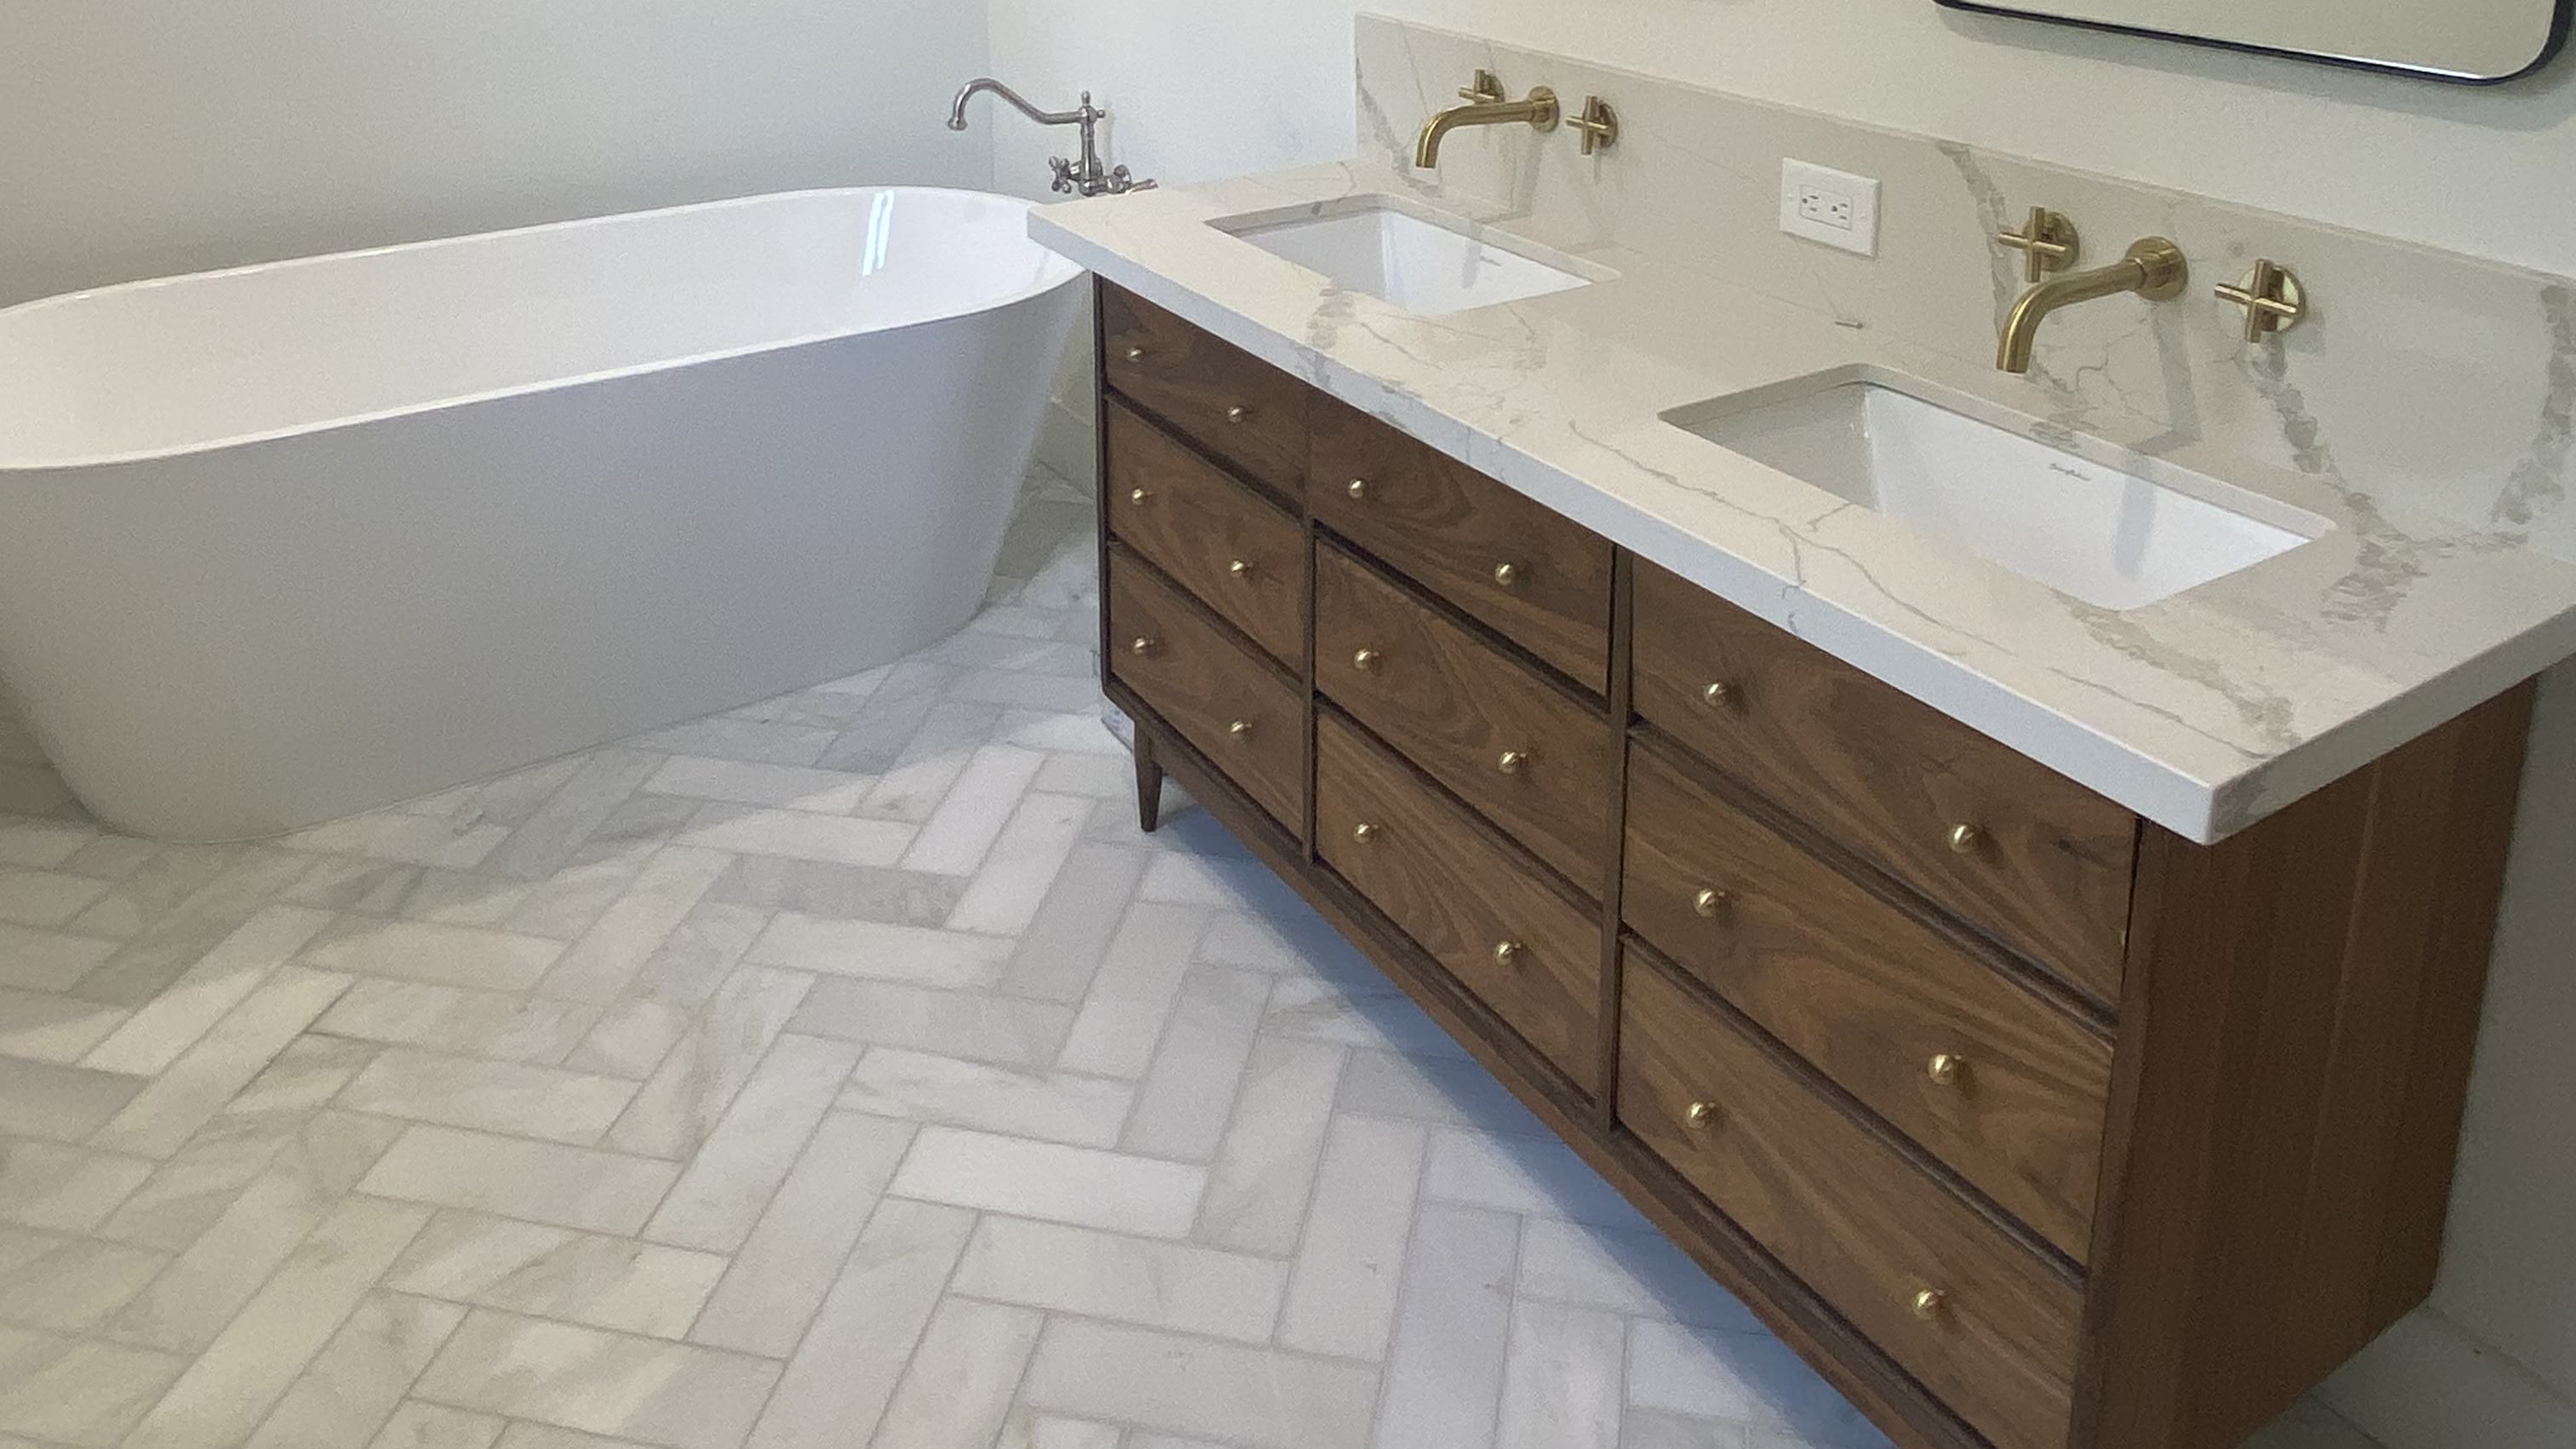 How to turn a vintage dresser into a bathroom vanity
DIY-er found a vintage piece on Facebook Marketplace to turn a dresser into a bathroom vanity and save thousands of dollars in the process
-
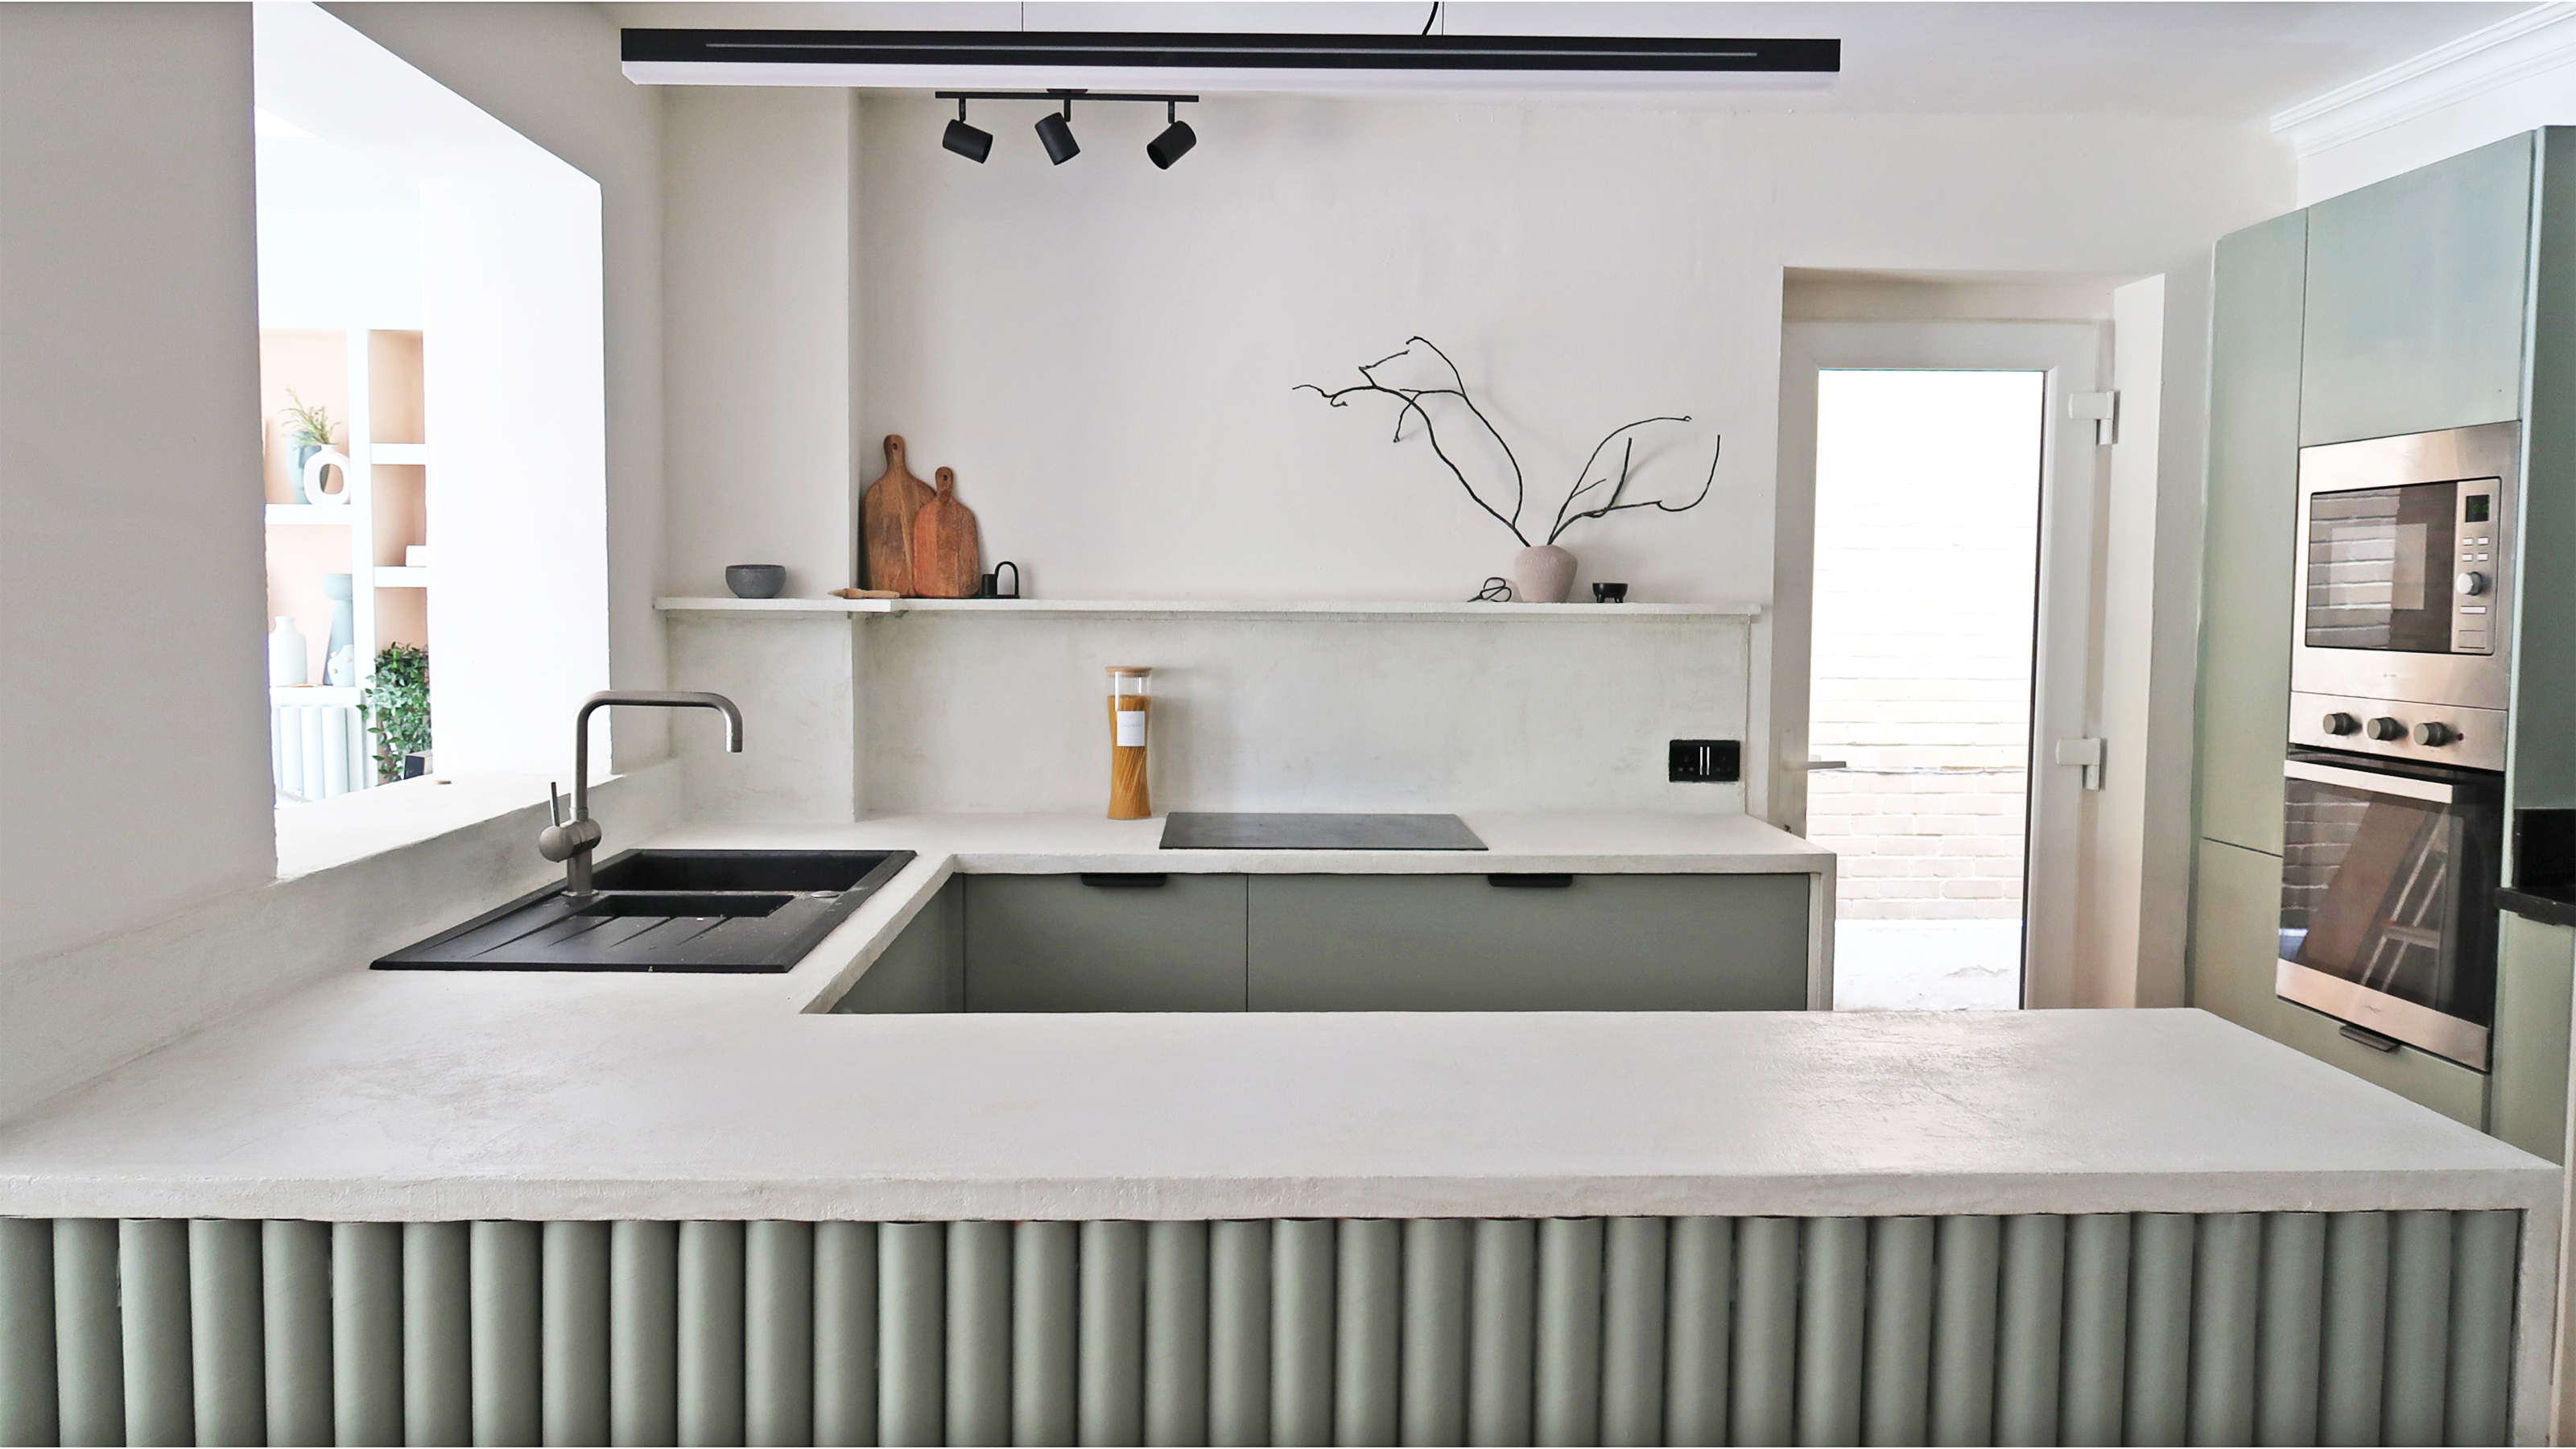 How to use microcement on kitchen countertops for a seriously cool upgrade
Learn how to create budget-friendly, luxury-look countertops with this step-by-step guide on how to microcement kitchen worktops
-
 Before and after: Green painted tiles transform this tiny en suite on a budget
DIYer Geri transformed her tiny en suite bathroom on a budget by painting the wall tiles a stunning shade of green
-
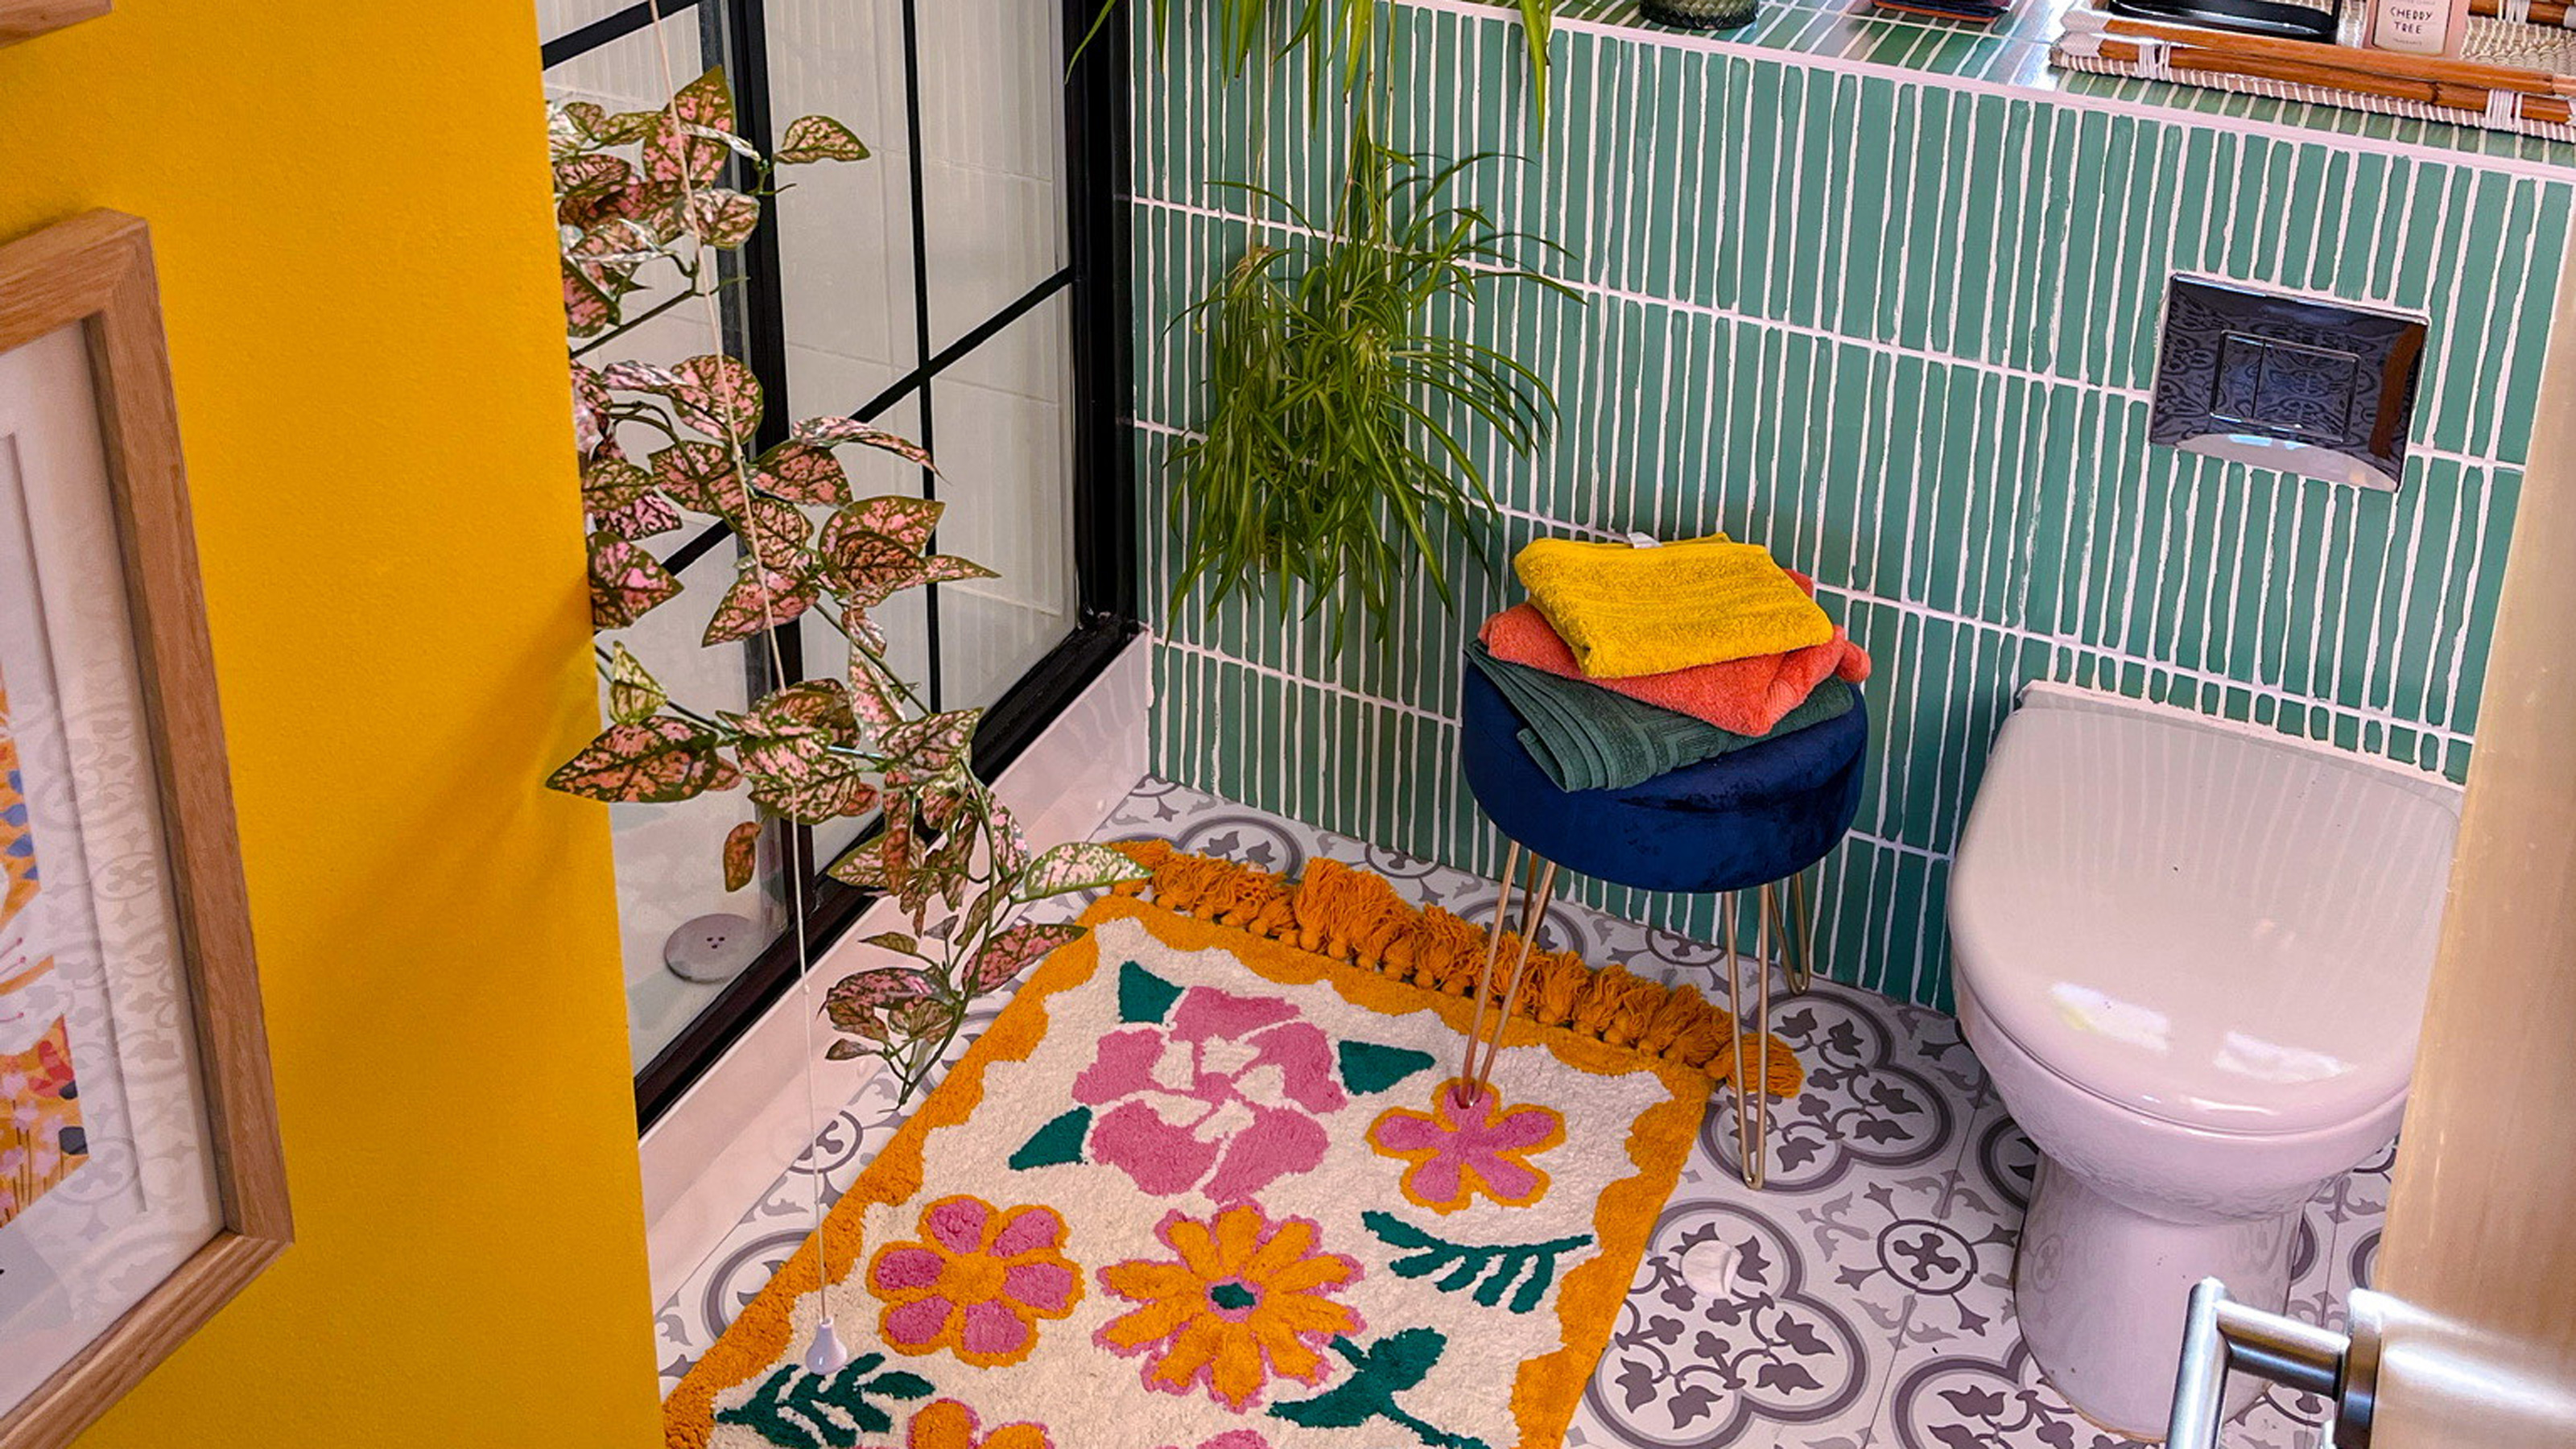
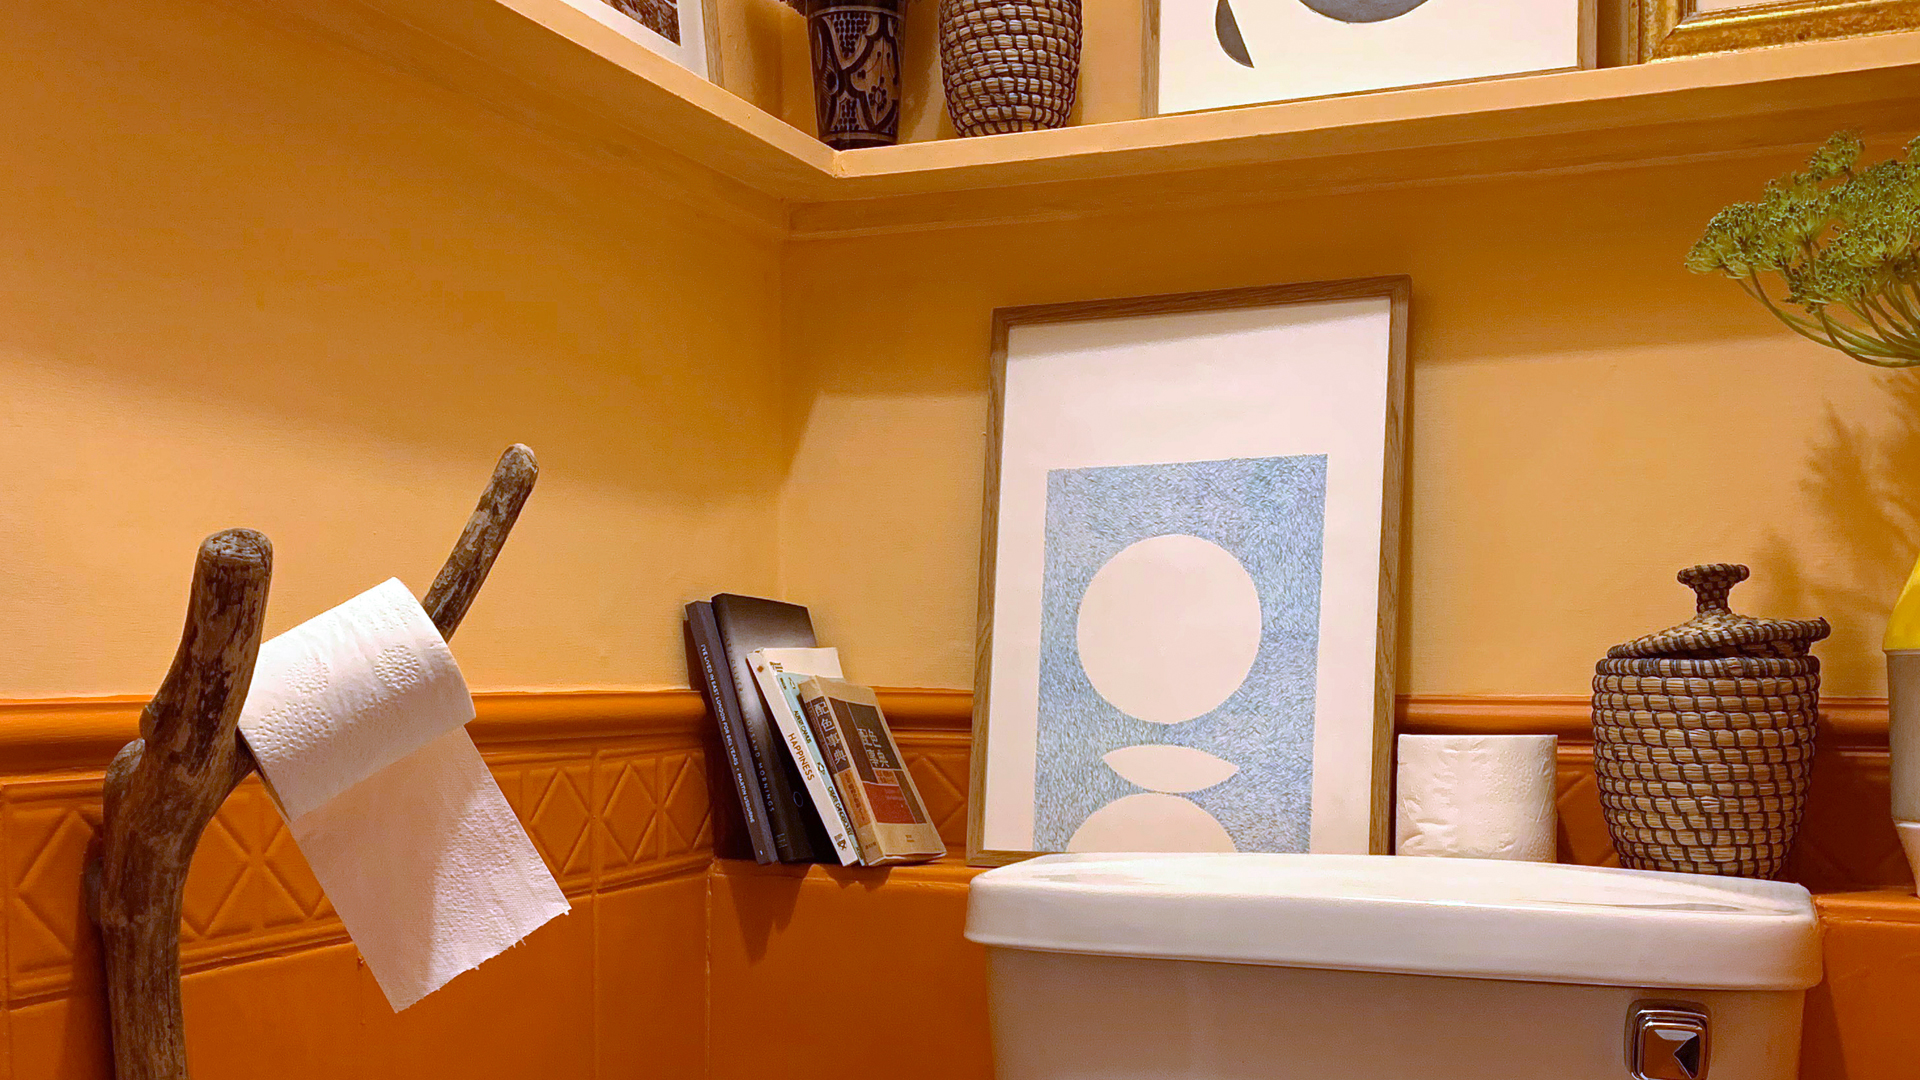 Color crazy DIY-er shares a renter-friendly hack that transformed her downstairs bathroom
An unusual toilet roll holder and a clever DIY tool took this bathroom from dull to totally unique
-
 DIY bedroom decor – 13 ways to personalize your sleep space
Jazz up your room with these DIY bedroom decor ideas using paint, stencils, vinyl and organic textures.


