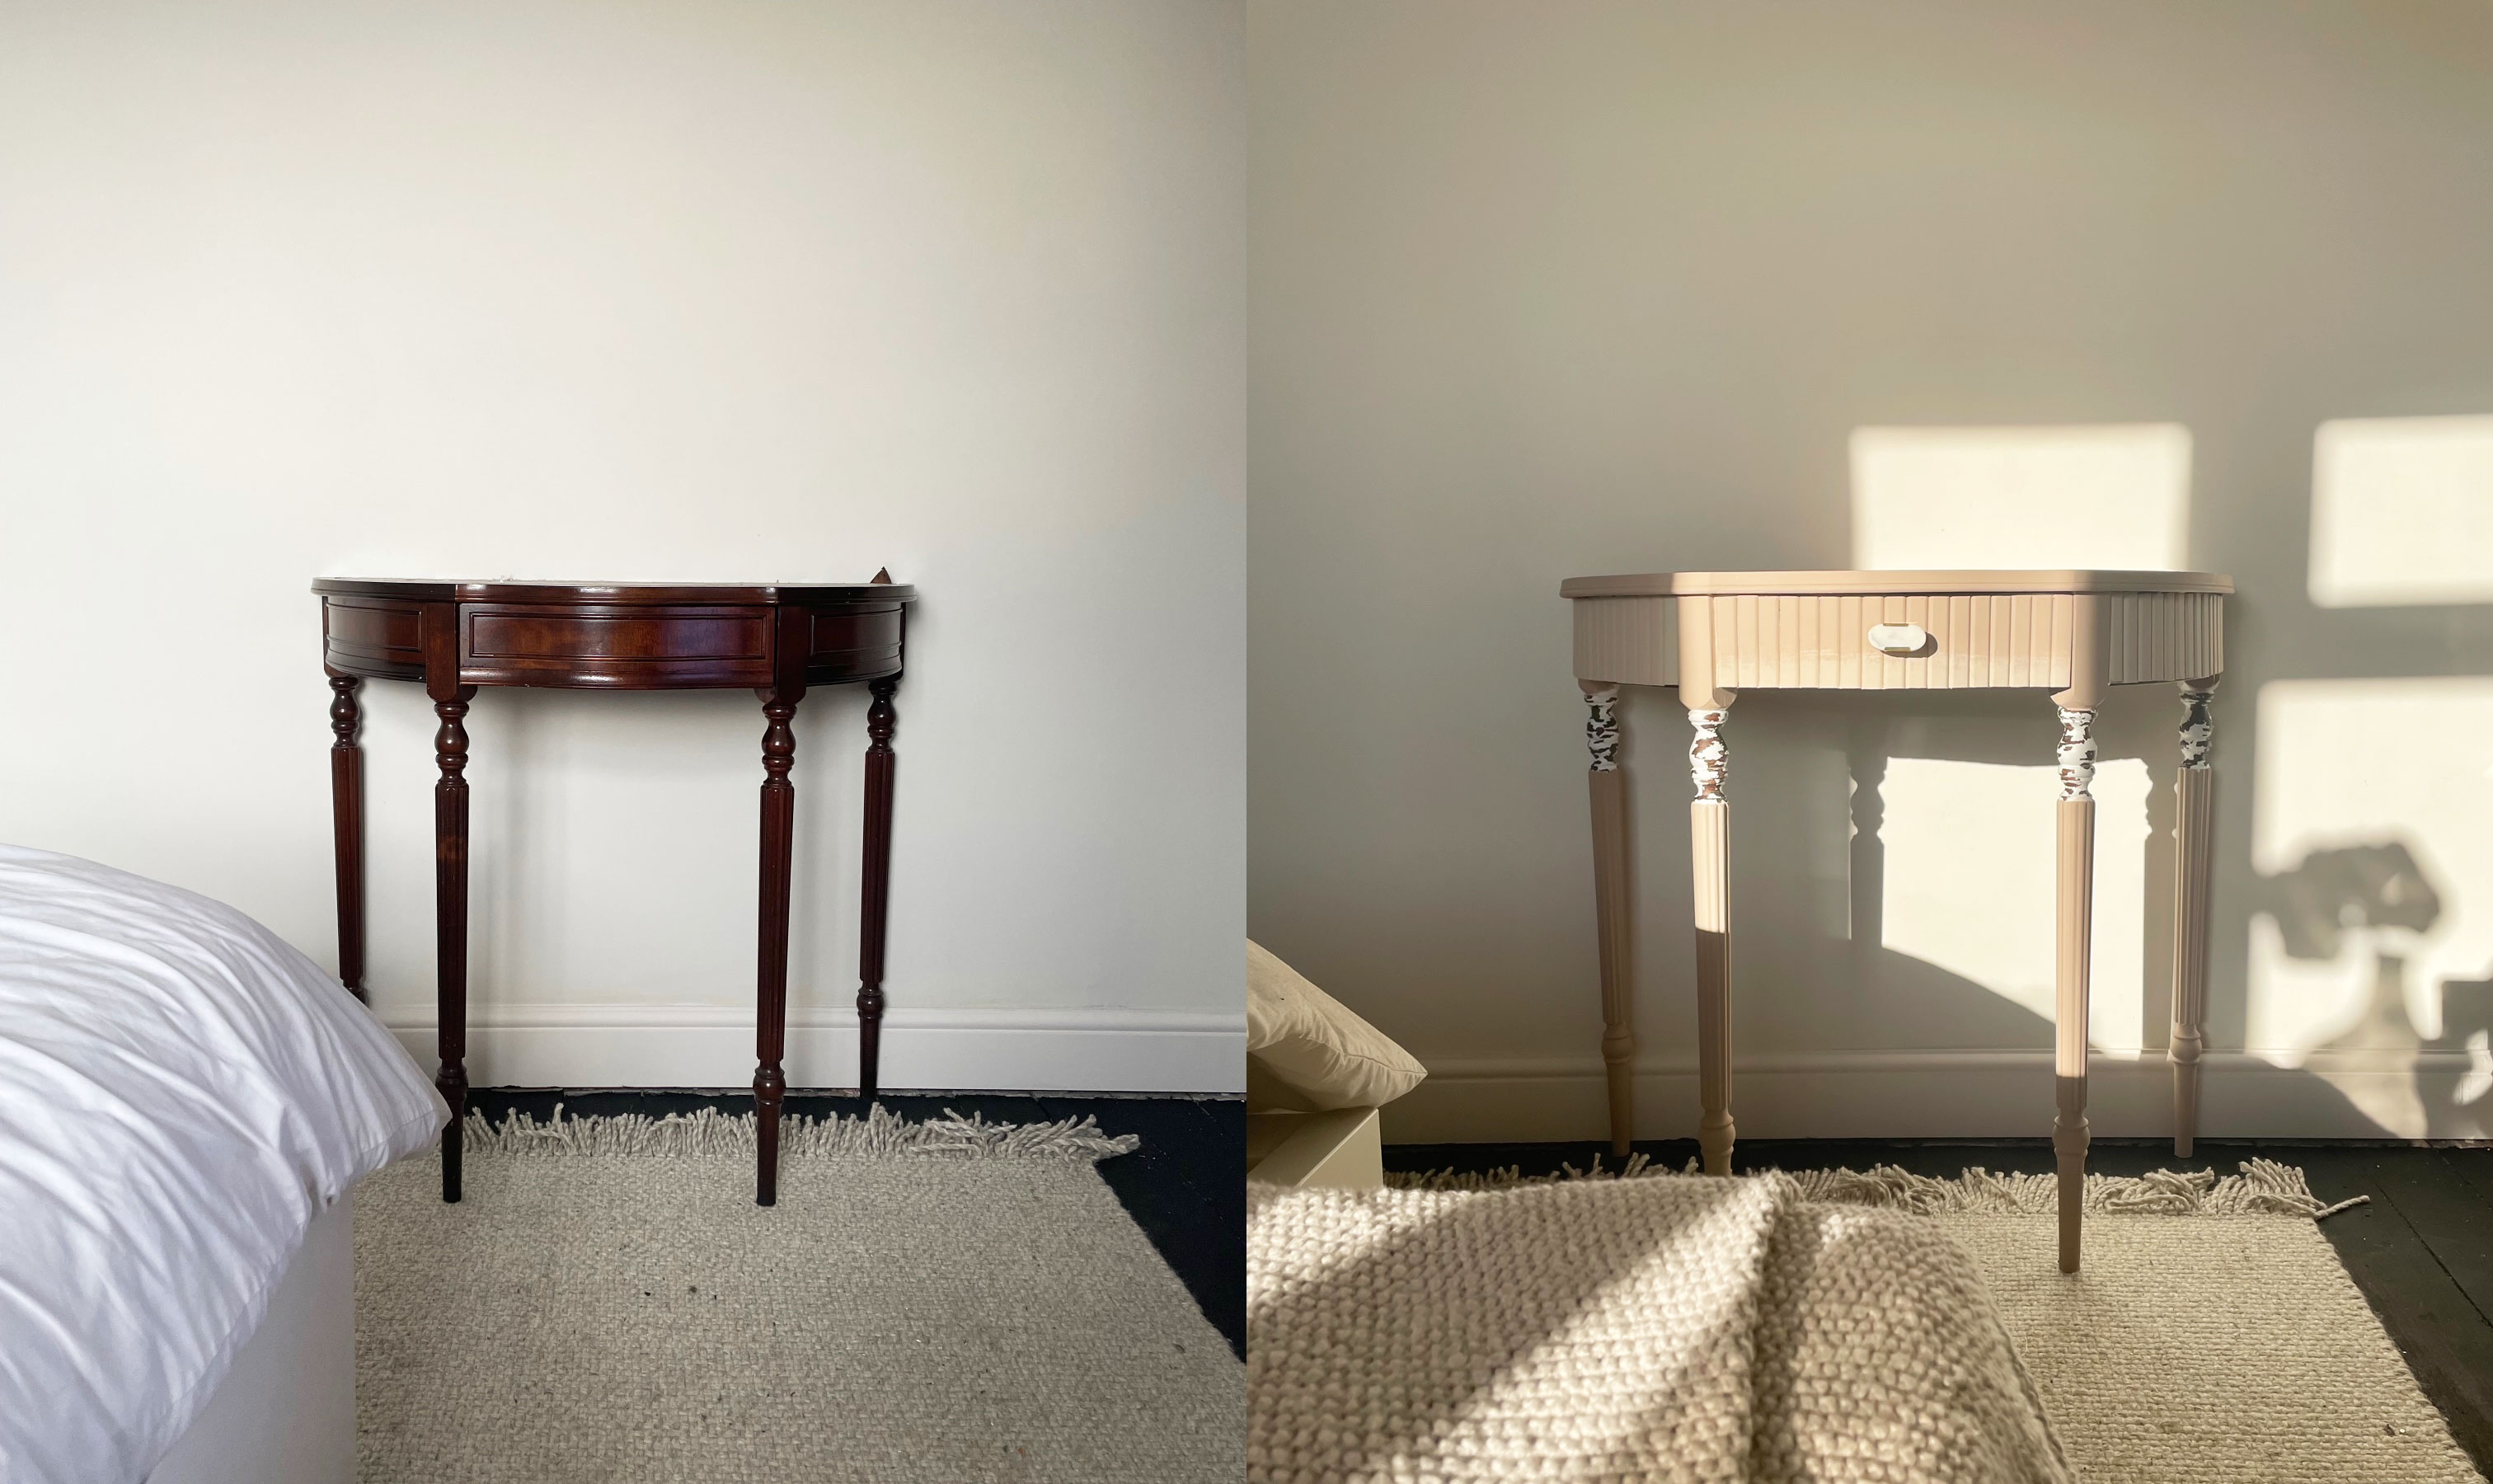
This half moon console table upcycle took me on a very unexpected journey, and also taught me a lot about my patience and ability to improvise. I have to admit, I did nearly have a tantrum when it wasn’t going to plan, but in the end I was so elated with the results.
I think that’s the fun thing about upcycling furniture, it's literally taking something a little flat and forgotten, only to give it a new lease of life – while you save a little cash along the way. All DIY projects can reflect you and your home, so it's a good opportunity to try something you wouldn’t normally go for. The main thing is to have fun with it.
How to upcyle a half moon console table
I took an antique half moon console table, which I found at a local sawmills. This kind of furniture is pretty easy to find for cheap in thrift stores, you could even use an eBay discount code to save on the cost of one, or go even more local on Facebook Marketplace, and in just a few steps you can turn it into a unique piece which will complement your home, just like it does in ours. Here’s how I did it.
A list of what I used for this project:
- Hammer
- Pry Bar
- Mouse sander with 120 grit sandpaper
- Sanding block
- Rustoleum Chalky Furniture paint ‘Butterscotch’ – which you can find on eBay also
- Dulux Heritage paint ‘Mid Umber’ lots of colours can be found at UK-based Homebase
- Cupboard knob from Pushka Home UK
- Frogtape
- D-shaped moulding
- Woodglue
1. Strip and sand it
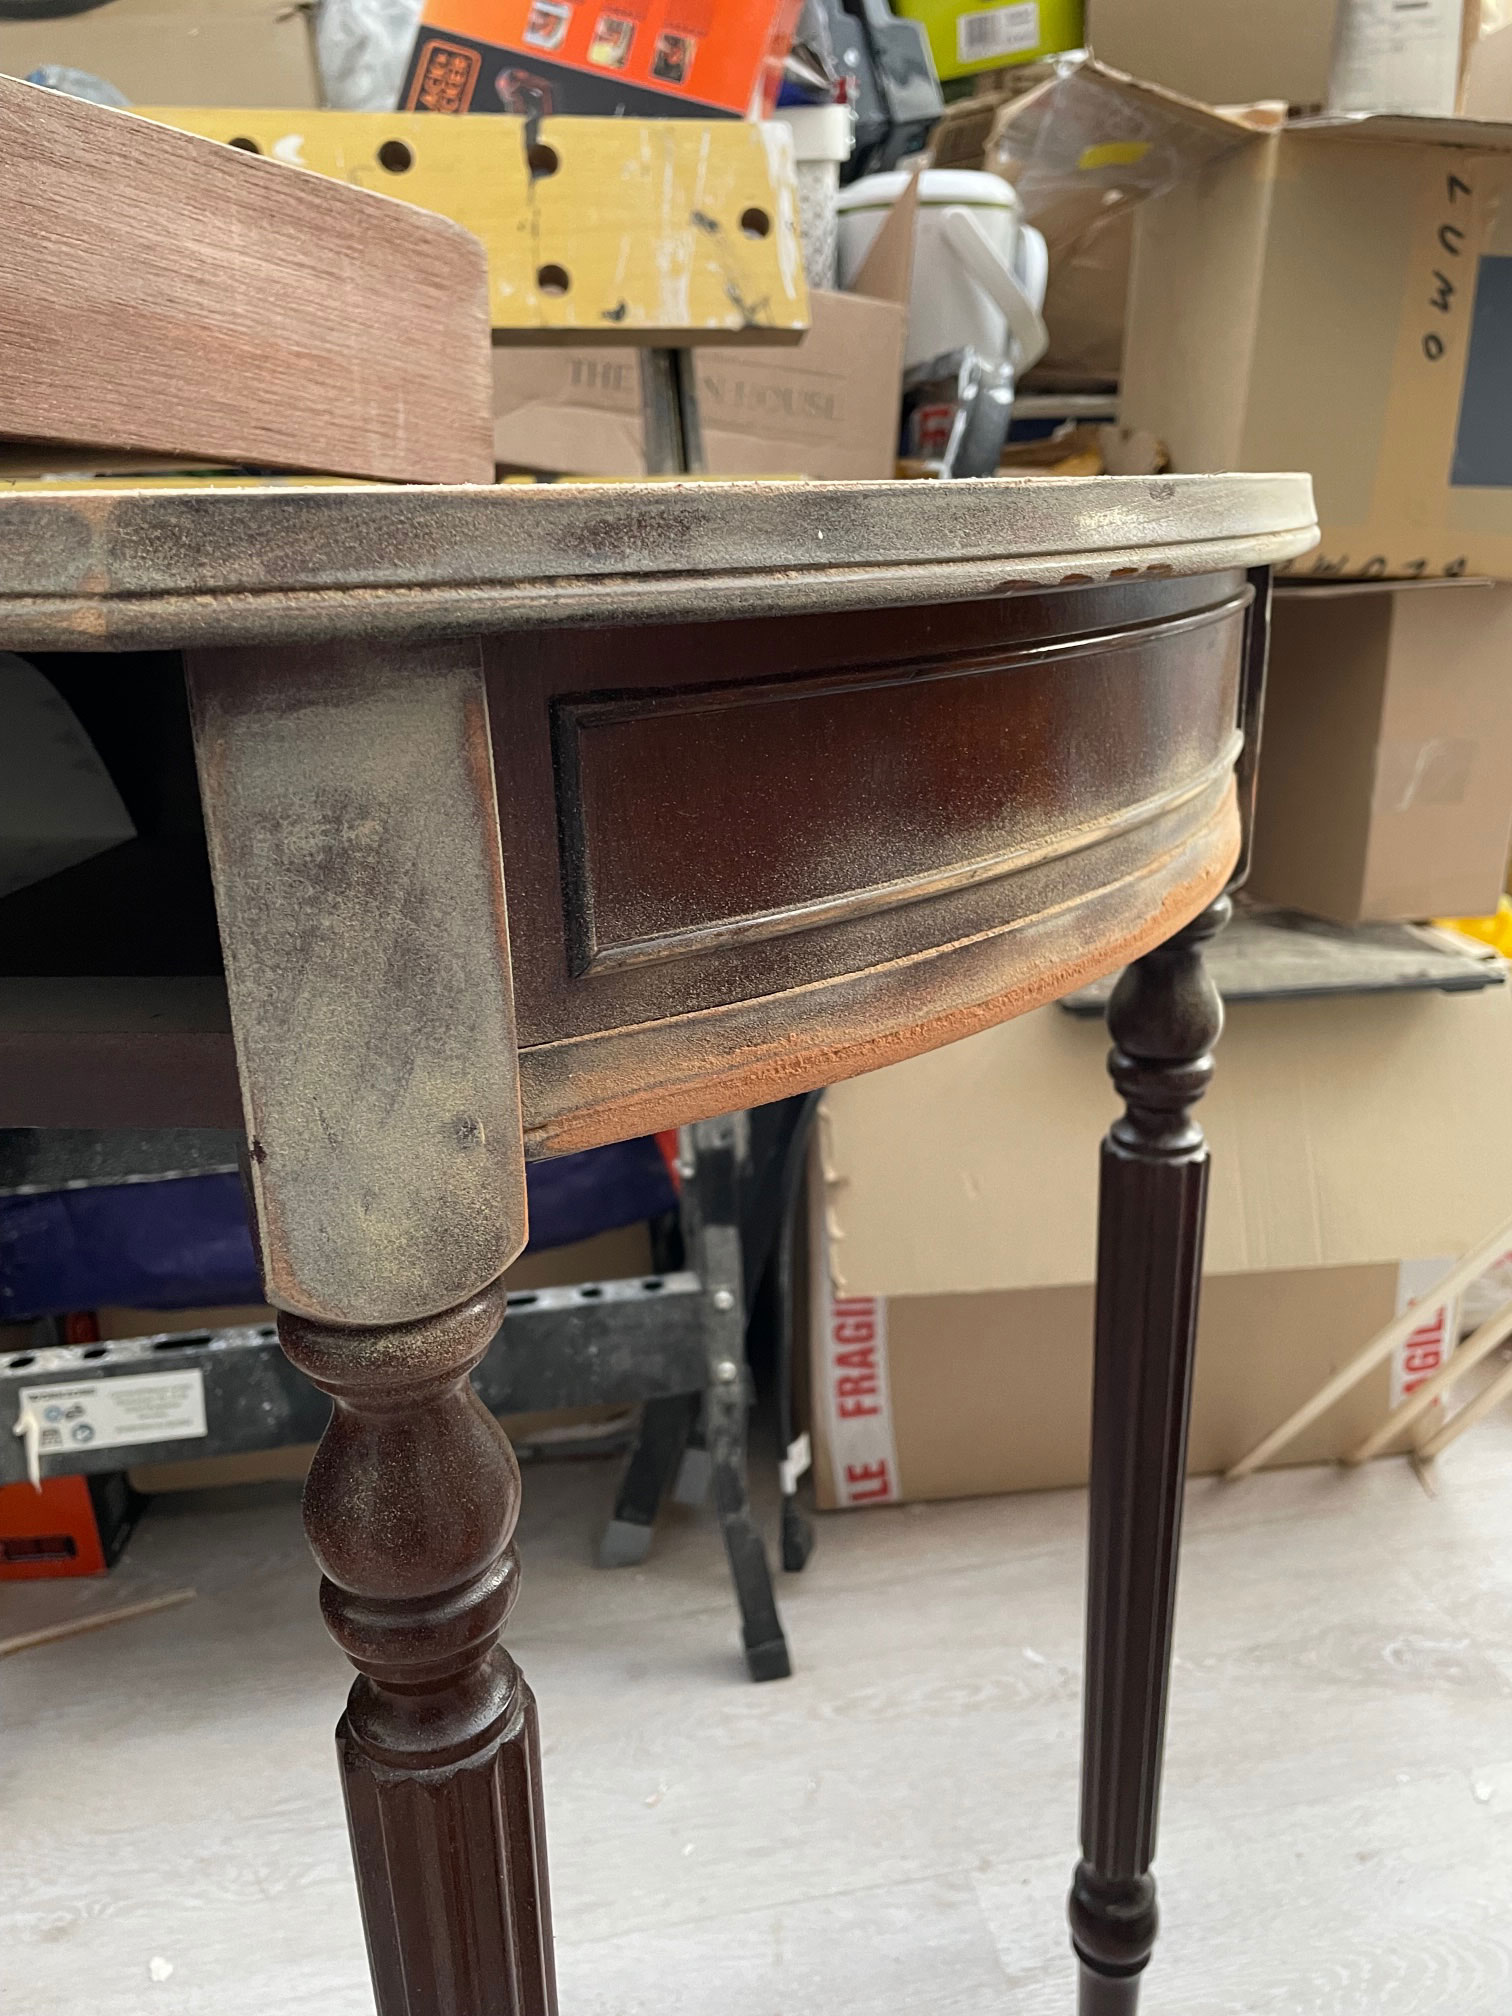
This table had a beautiful shape to it, it was a half moon table with a curved single drawer in the front. The legs had a detailed design, and I knew I wanted to maintain them as much as possible. The main change in my plan was to the curved edge around the table, so I began by removing the added trim using a hammer and pry bar.
This was simple enough, as they were attached with small metal pins which were very easy to remove with pliers. The metal pins left small holes in the front, but as I knew I was going to add moulding, I didn’t have to fill them with woodfiller like I normally would do.
The next job was to lightly sand down the surface of the table, which was necessary to key the surface ready for painting later on. I always do this when painting wood furniture, especially if the surface has a sheen to it, as some paints may struggle to adhere and it could affect the finish.
One amazing thing about some chalk paints is that they don’t always need priming. Not having to prime really saves a lot of time, especially if you would normally have to wait an hour between primer and paint coats. With my mouse sander, I used a 120 grit sandpaper with a fine grit that slightly roughed the surface and removed the sheen.
To sand the legs, I used a sanding block which made getting into all of the crevices and detailed parts much easier.
2. Add moulding
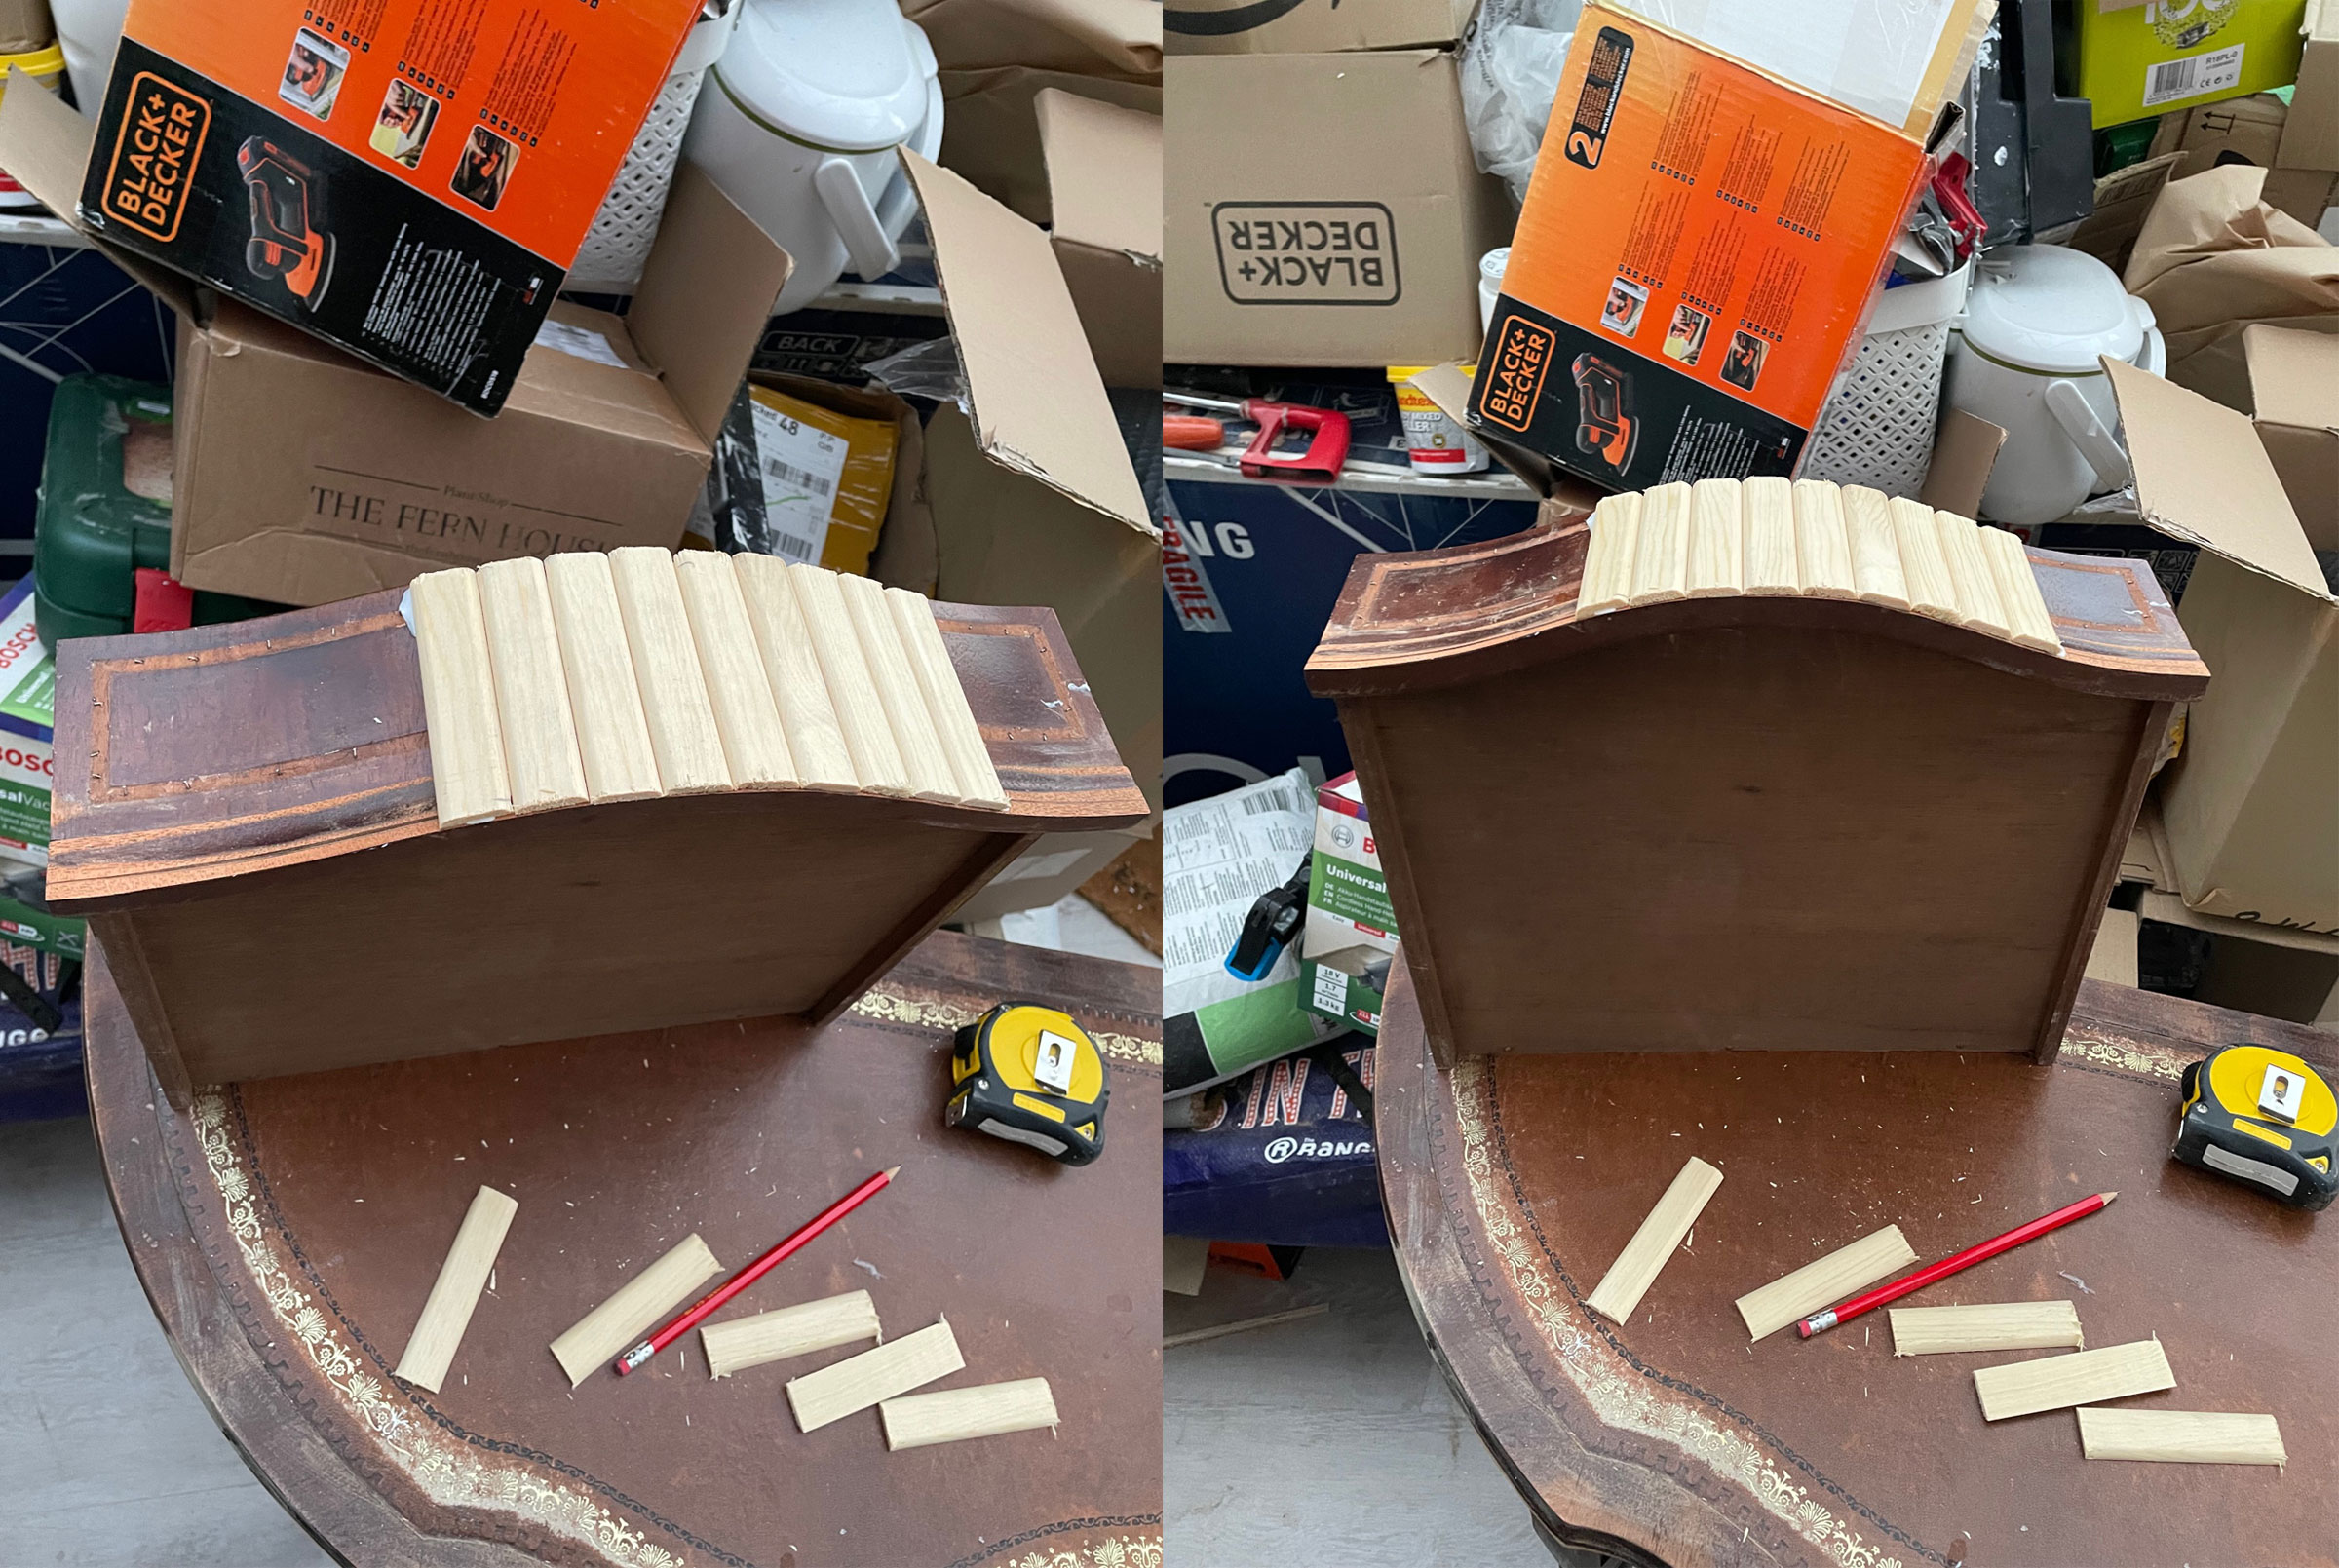
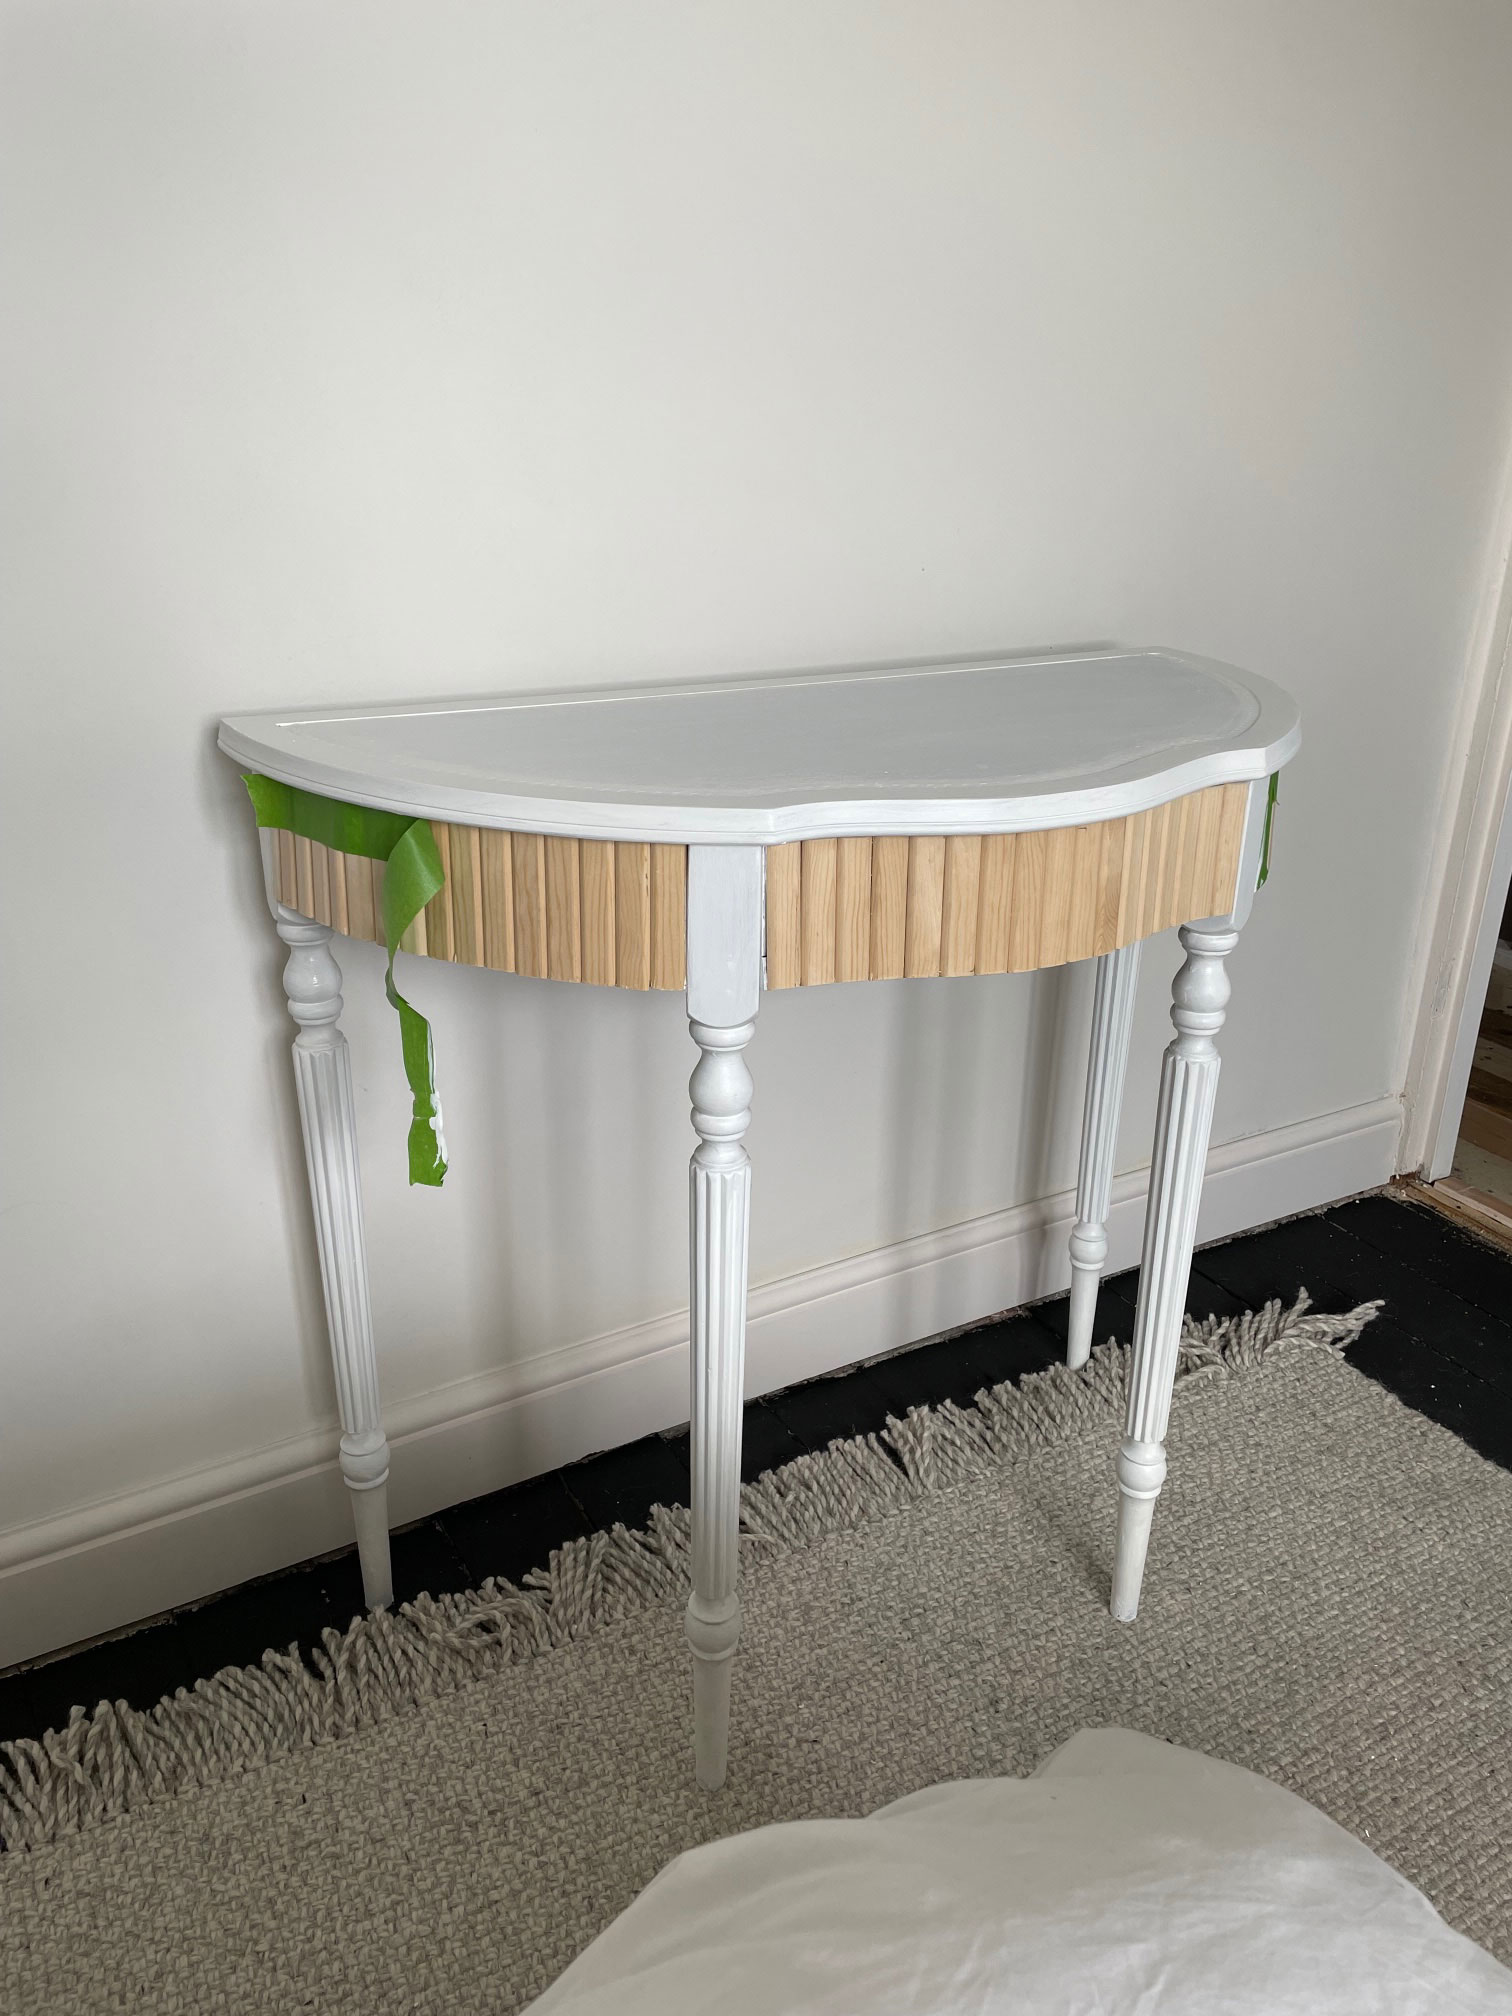
Next, it was time to transform the edge of the table and the front drawer.
I bought 3 lengths of D-shaped moulding (2.4m in length), and cut them into 9cm lengths with my mitre saw.
If you're looking for a Miter saw the Real Homes team quite like the Ryobi ONE+ Cordless 7-1/4in Compound Miter Saw which is great for trim and moulding.
I placed the first one right in the centre of the front drawer, so it would be symmetrical, and worked my way outwards. I used woodglue to attach the moulding to the table sides, and left it overnight to make sure it was securely glued before moving forward.
3. Paint it
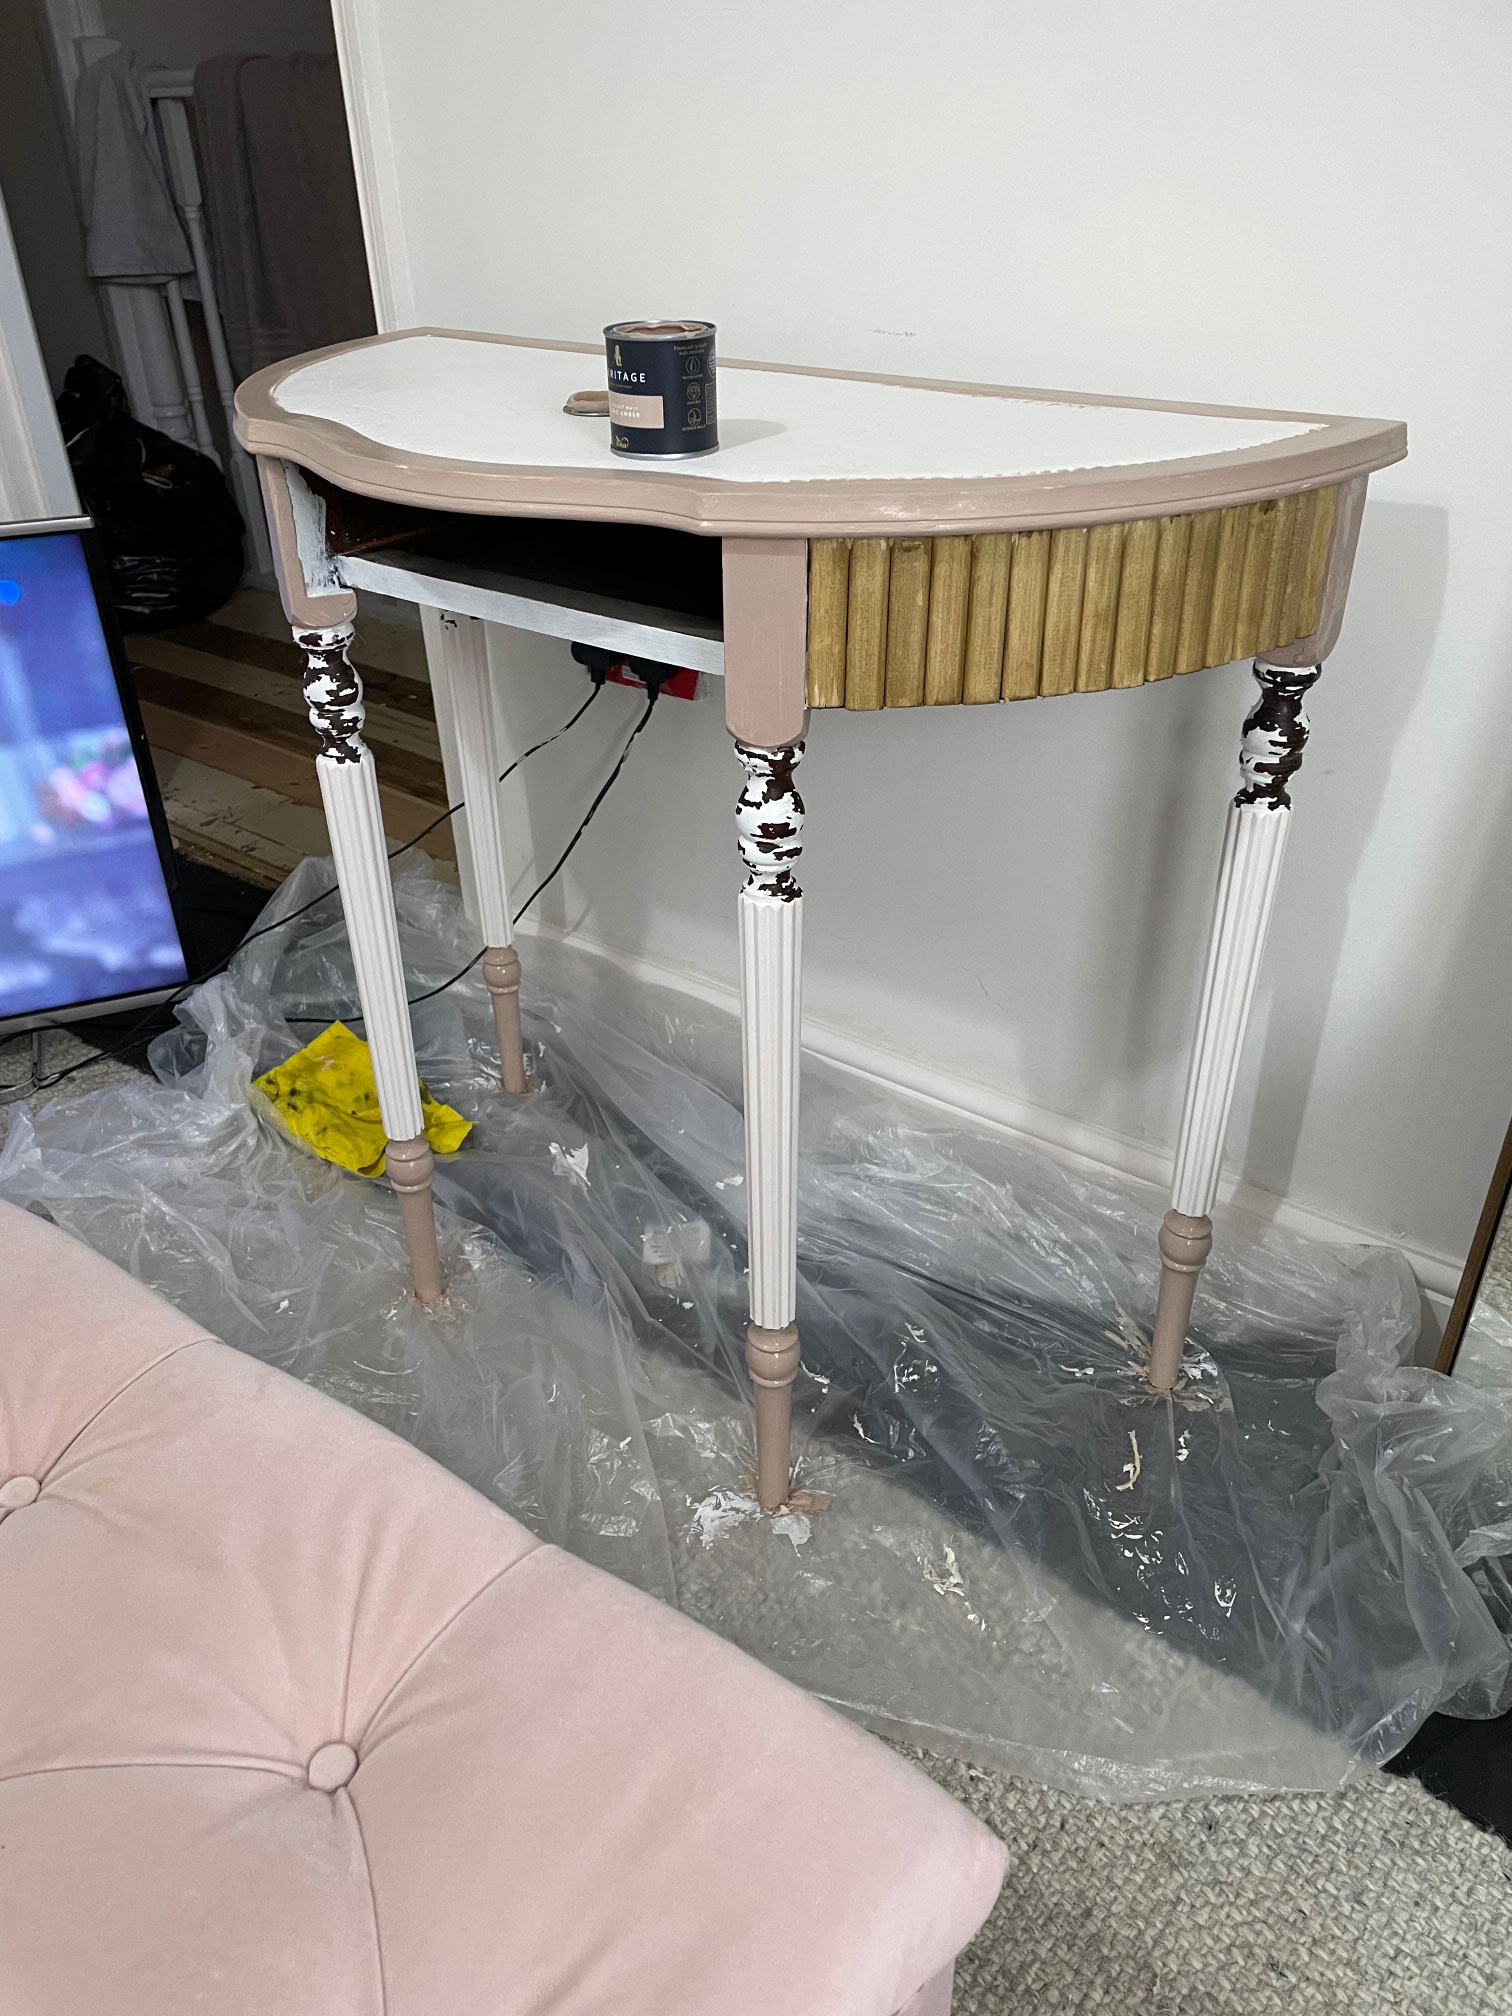
I used two paint colours for this project, both shades of blush pink. I used Rustoleum’s ‘Butterscotch’ for the side moulding, and Dulux Heritage’s ‘Mid Umber’ for the rest of the table.
These two colours were similar enough to complement each other, but different enough to add depth. My original plan was to paint it white, but it looked too bright and stood out, but not in the way I wanted it to so I decided to pivot.
4. The marble door knob
The last thing to add was the marble door knob with gold detailing. The perfect finish.
5. Adding the cowhide detail
I mentioned at the beginning that this project nearly caused me to have a tantrum. Part of that was because of leg detailing, which really was not working for me when I started.
I had an idea to wrap twine around part of the legs as I wanted to add a natural element, which would complement other parts of our room. However, after taking a while to attach it with a hot glue gun, I didn’t like the result as much as I had expected.
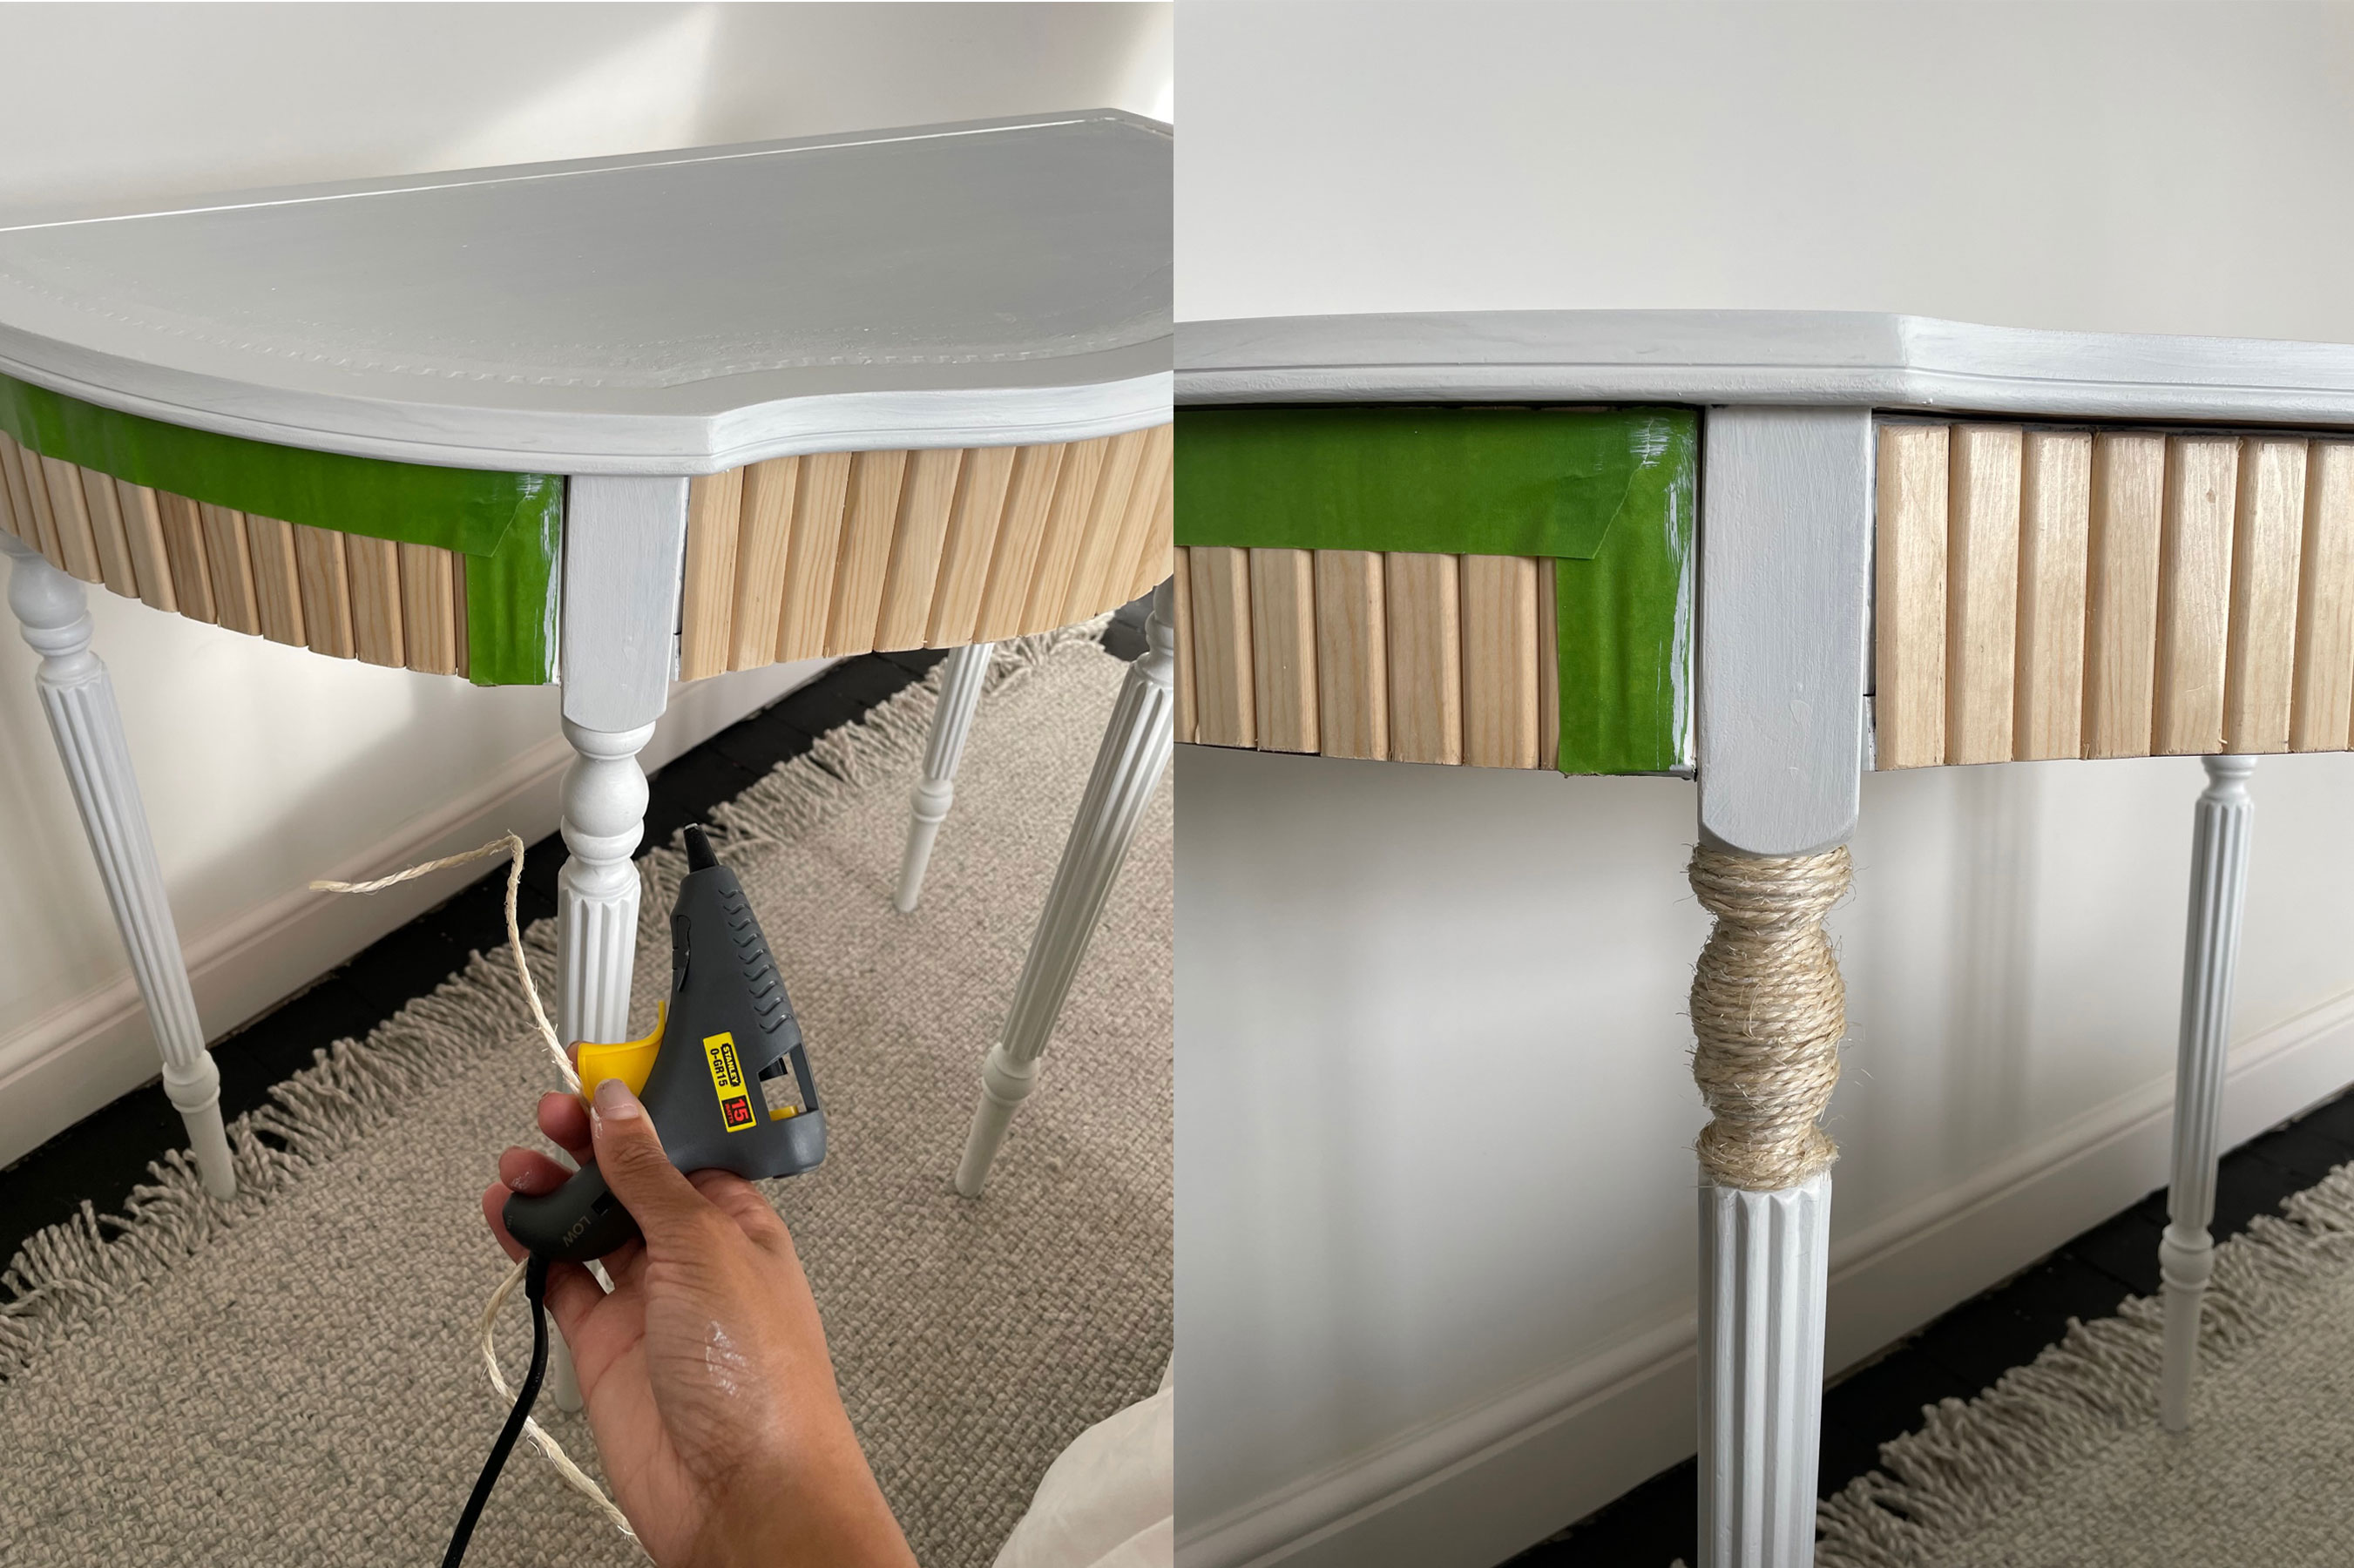
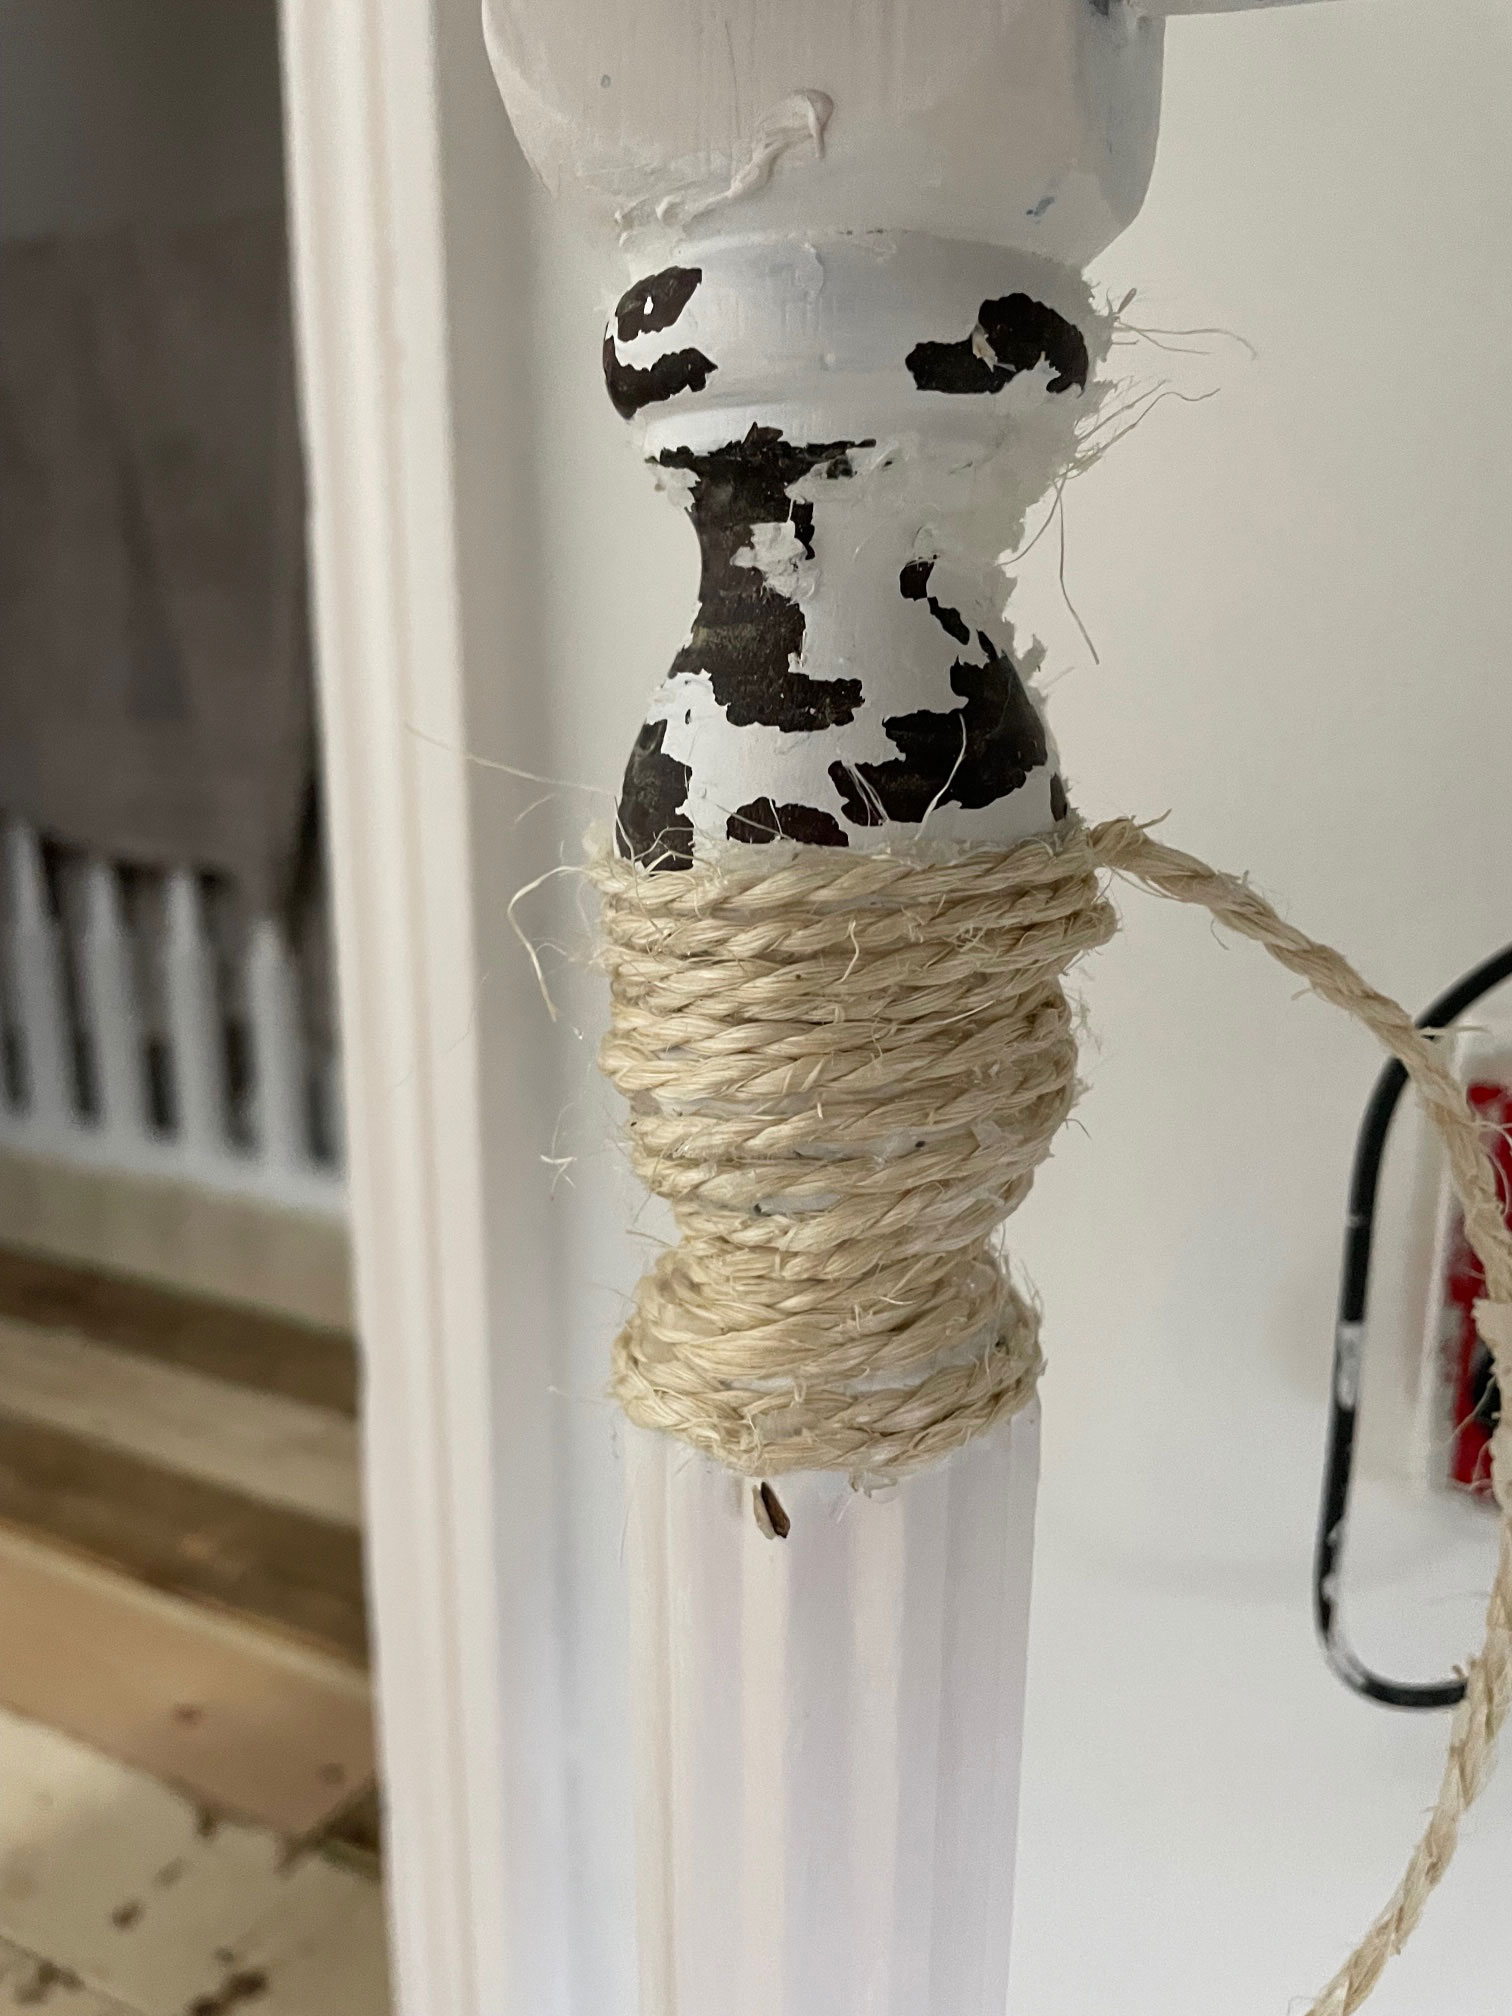
So instead of keeping it, I removed all the twine, and the glue removed some of the white paint I had previously painted on the legs.
It resulted in a very cool looking cowhide design which I just had to keep. It was an unexpected, but very much welcomed design feature. This proved to me that mistakes can sometimes give great results, so with your next project, embrace the journey.
The results
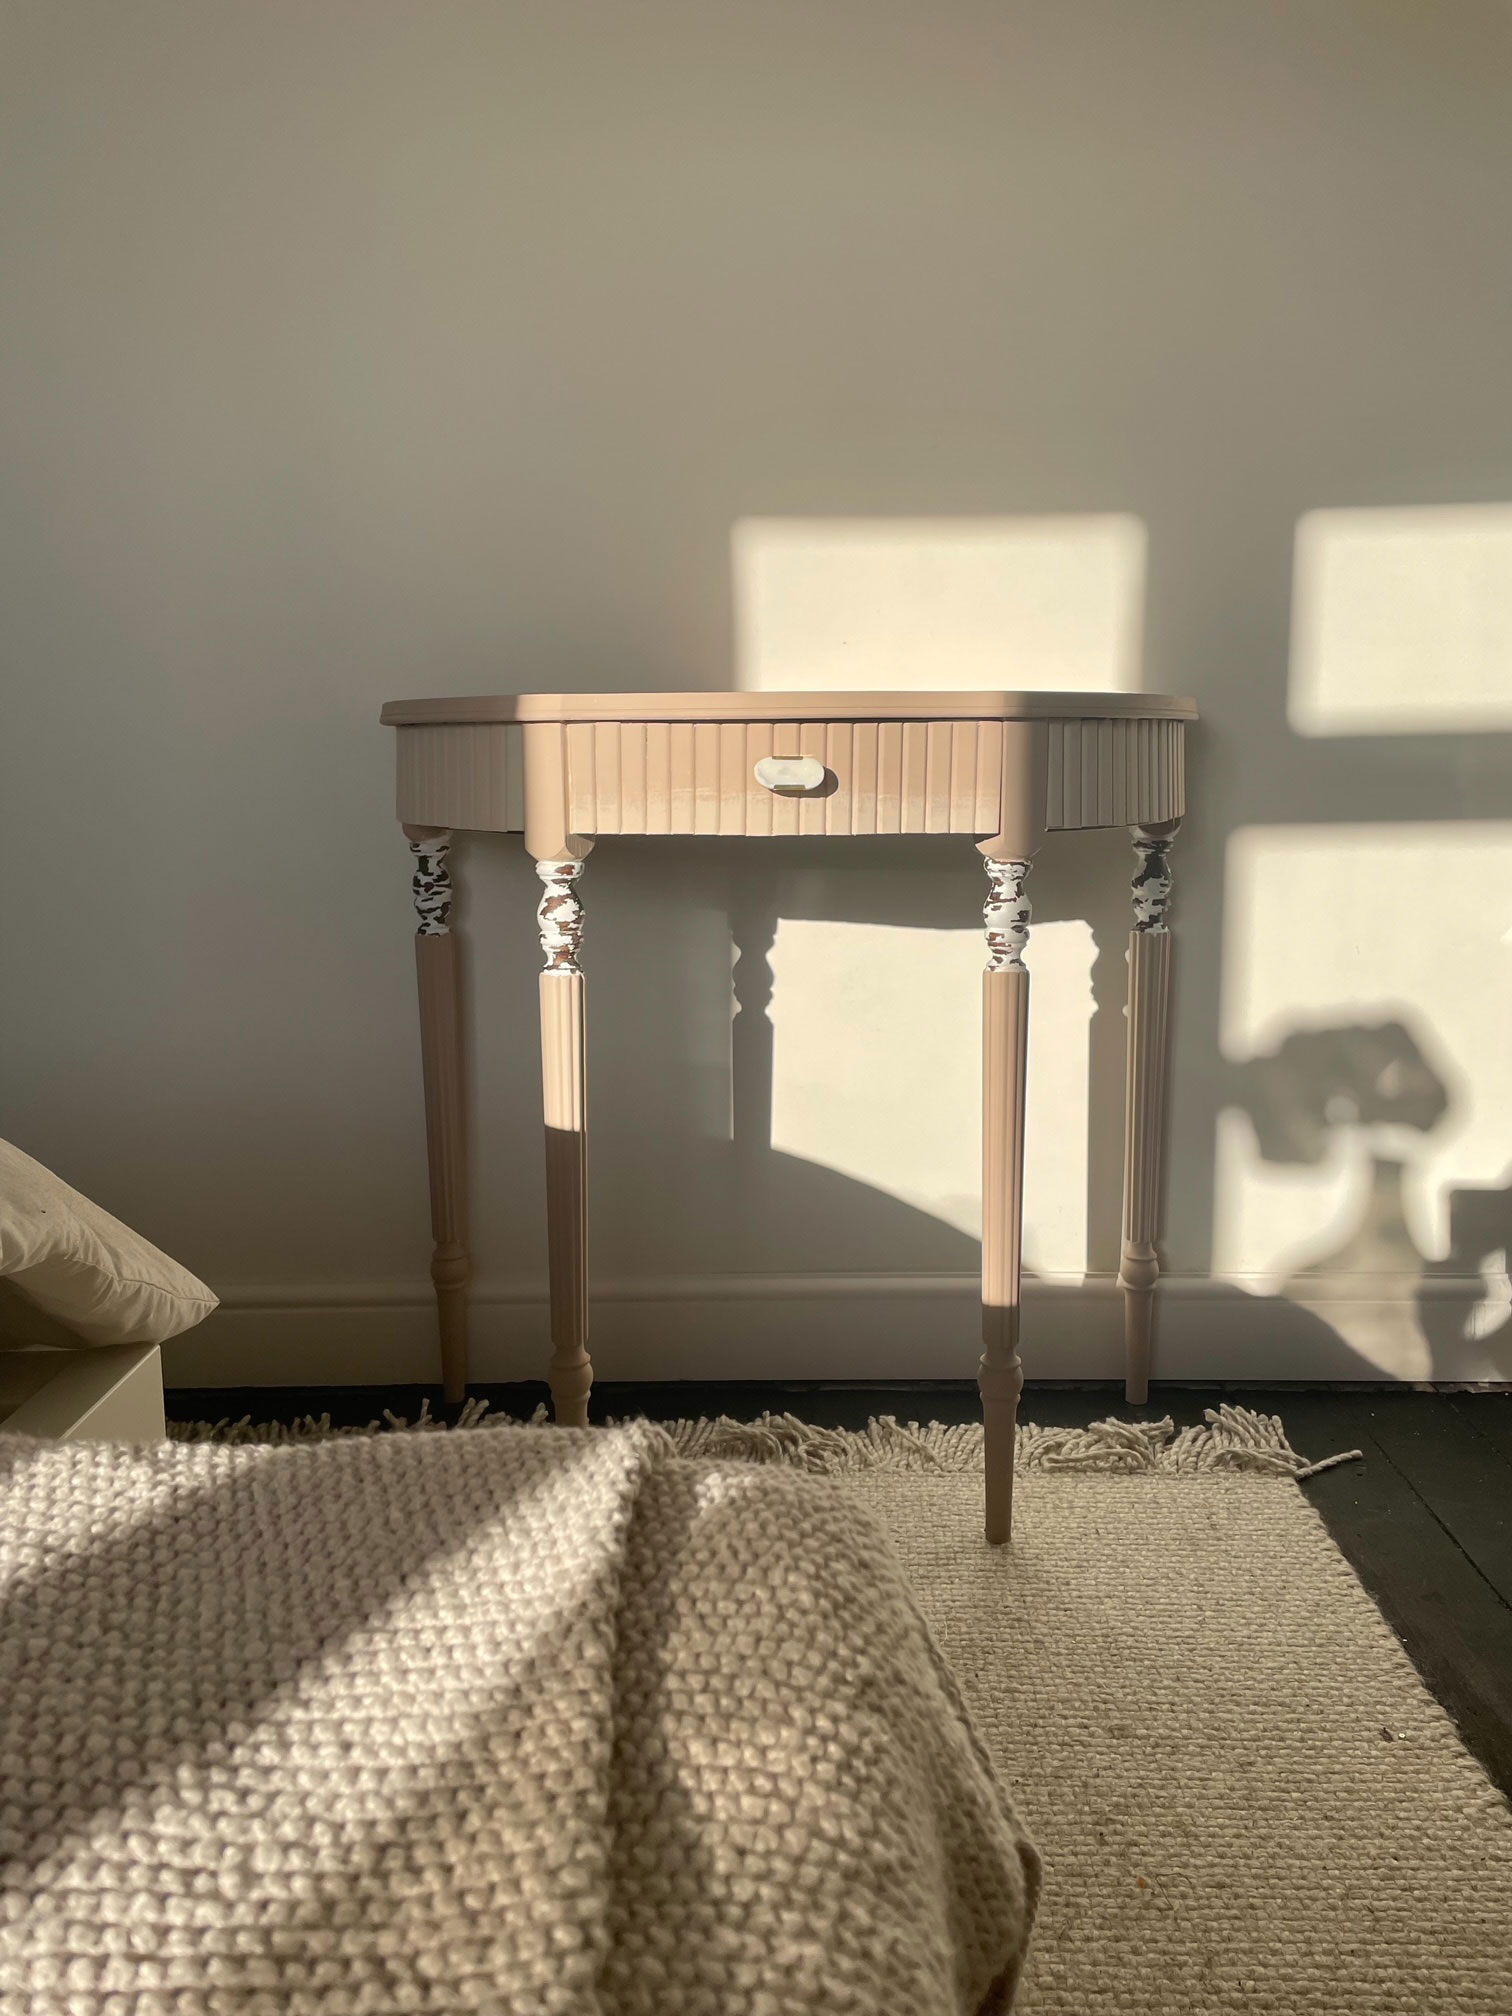
This is a great project if you want one of the coolest console tables around but are also keen on being creative (and getting your tool kit out) to add more of your own personal touch to your home!
And if you want to know some expert ways to decorate a console table, see our guide!
Join our newsletter
Get small space home decor ideas, celeb inspiration, DIY tips and more, straight to your inbox!
Jess Grizzle is a multi-award winning content creator and home interiors influencer. Her social media platforms include her Instagram @grizzle_abode which she started in May 2019. Here she shares the joys and trials of living in a home during a renovation and her many DIY projects.
Although she has always been creative, she really found her love for DIY once she and her husband became homeowners. She realised quite quickly out of the two of them, she was the one with the desire to buy power tools and learn new DIY skills.
She found her passion of championing women to do DIY and take on their own challenges. This led her to become a co-founder of the @femalediycollective, a growing female DIY community celebrating projects from women all around the world.
-
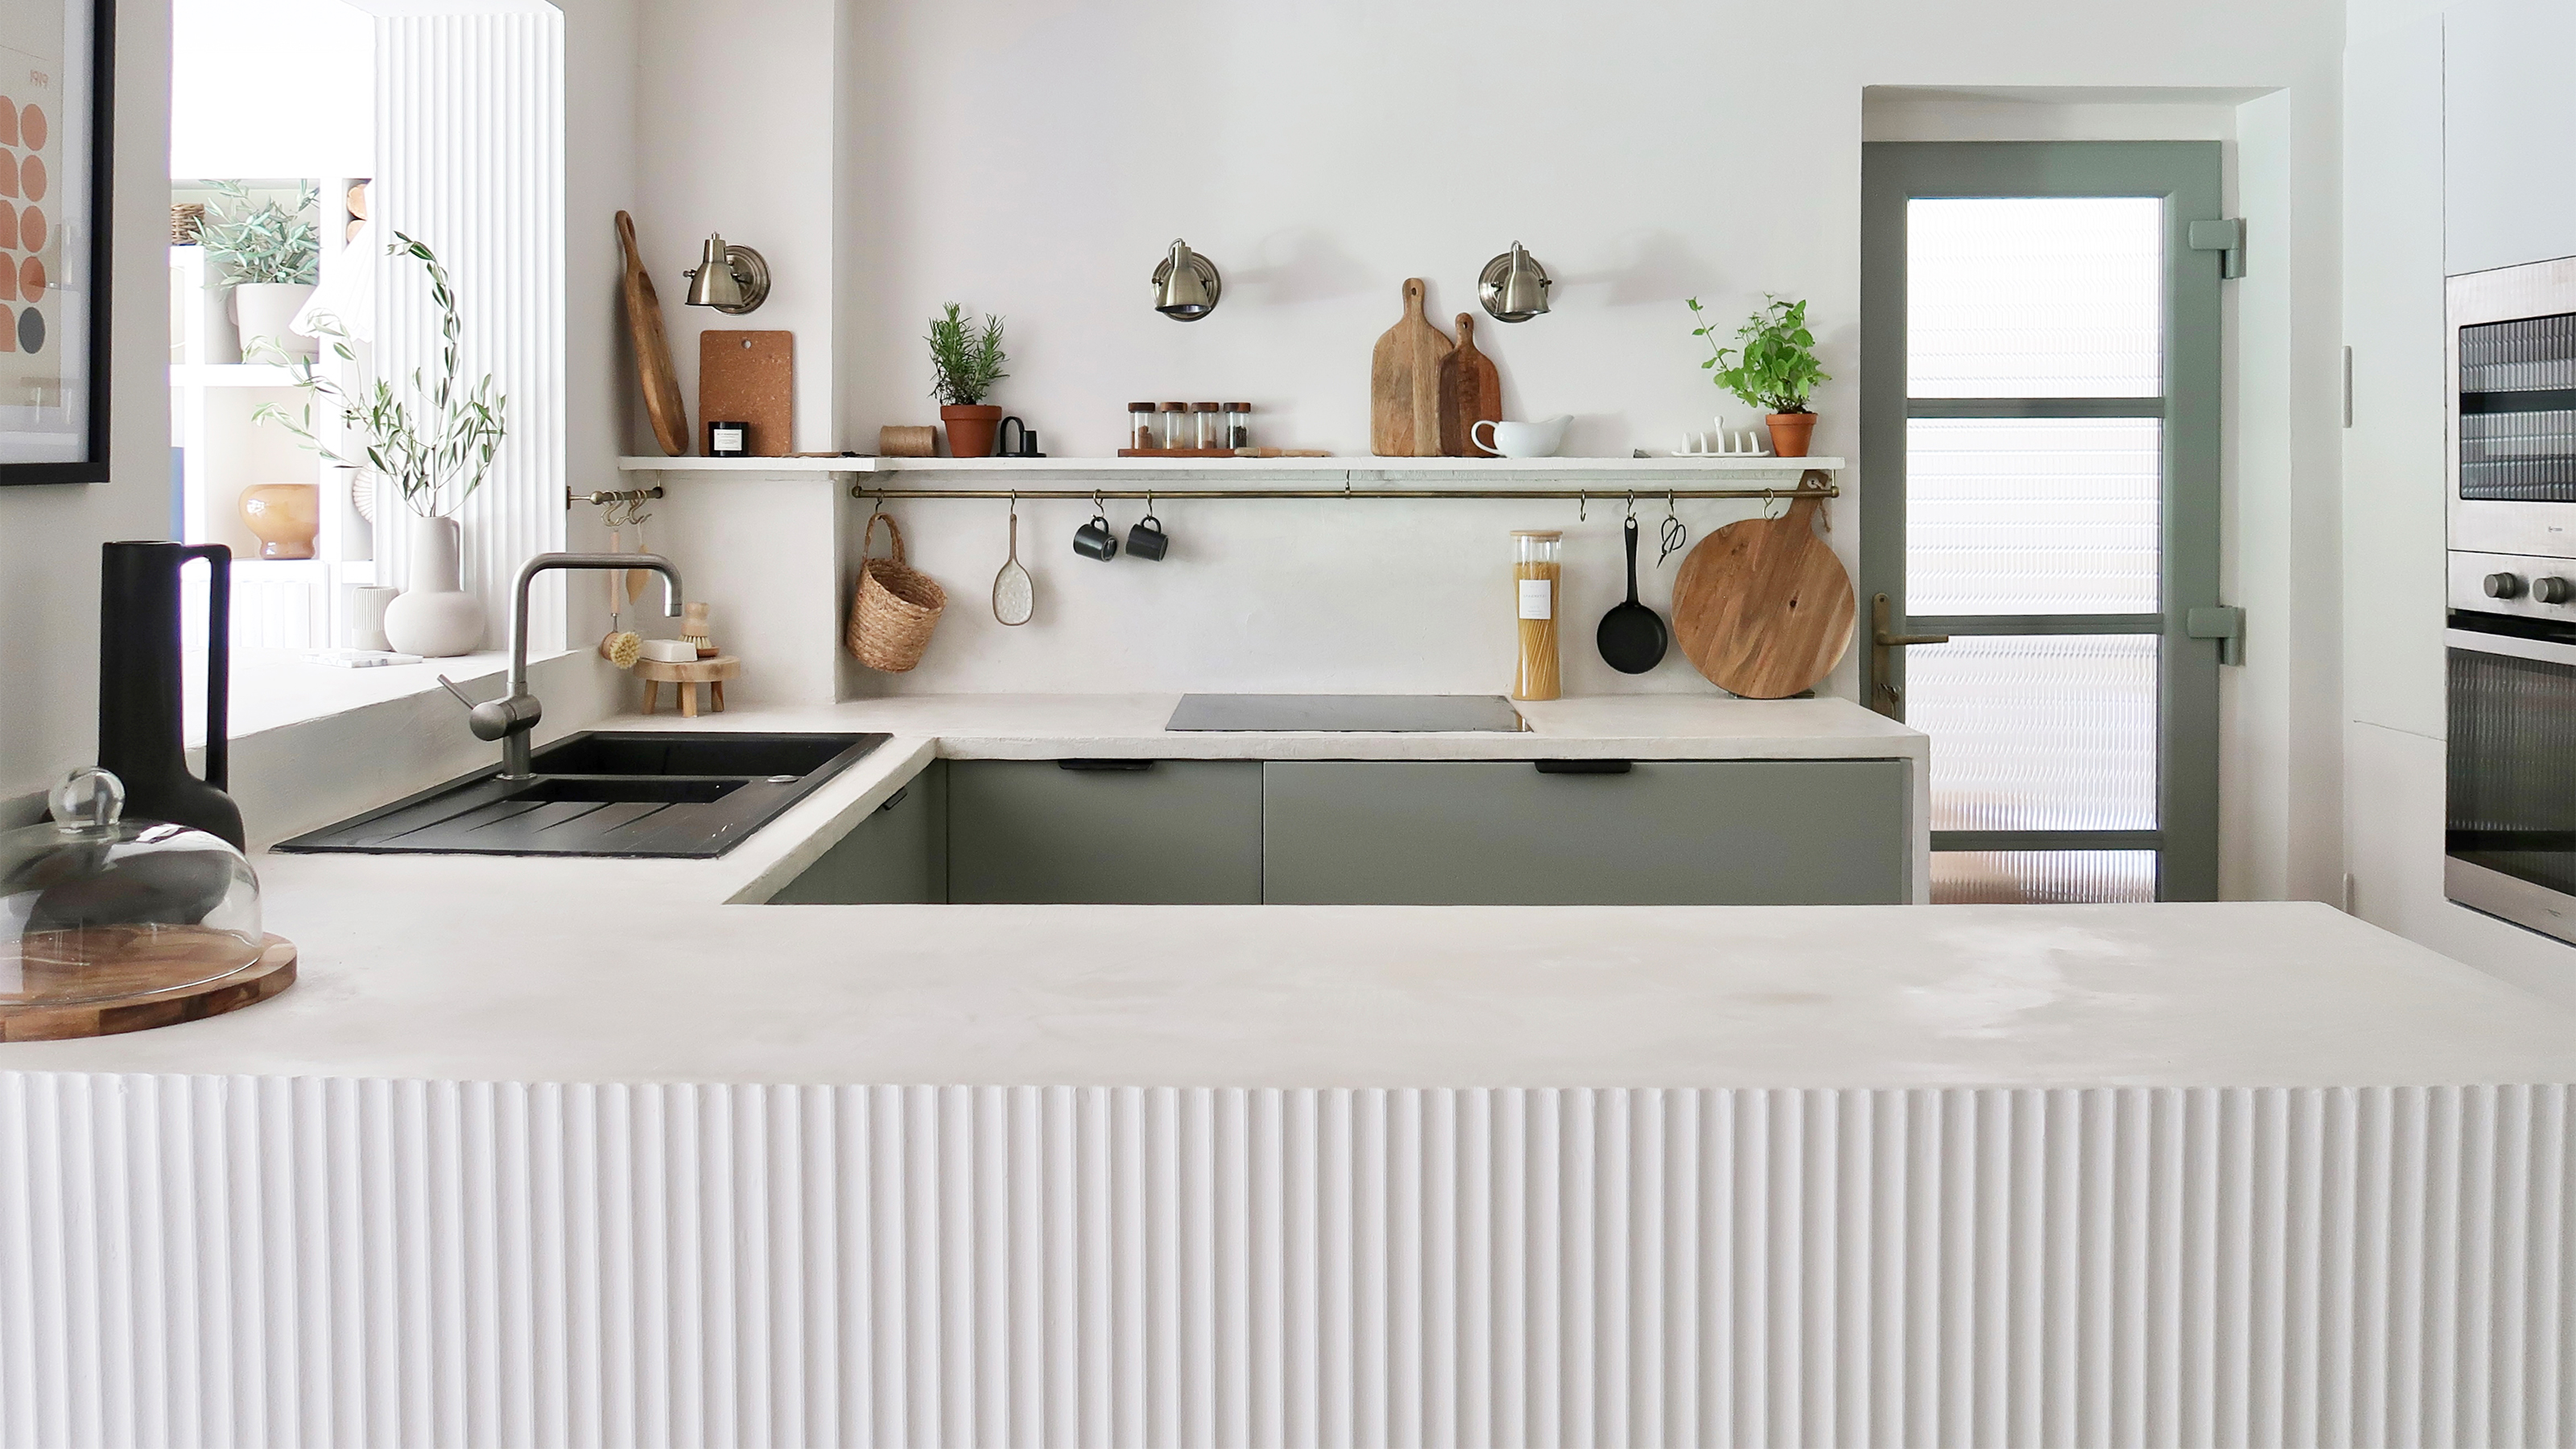 A $200 fluted panel transformed my drab kitchen in just one weekend
How to install a fluted kitchen panel: A speedy and achievable DIY tutorial even for DIY novices
By Claire Douglas
-
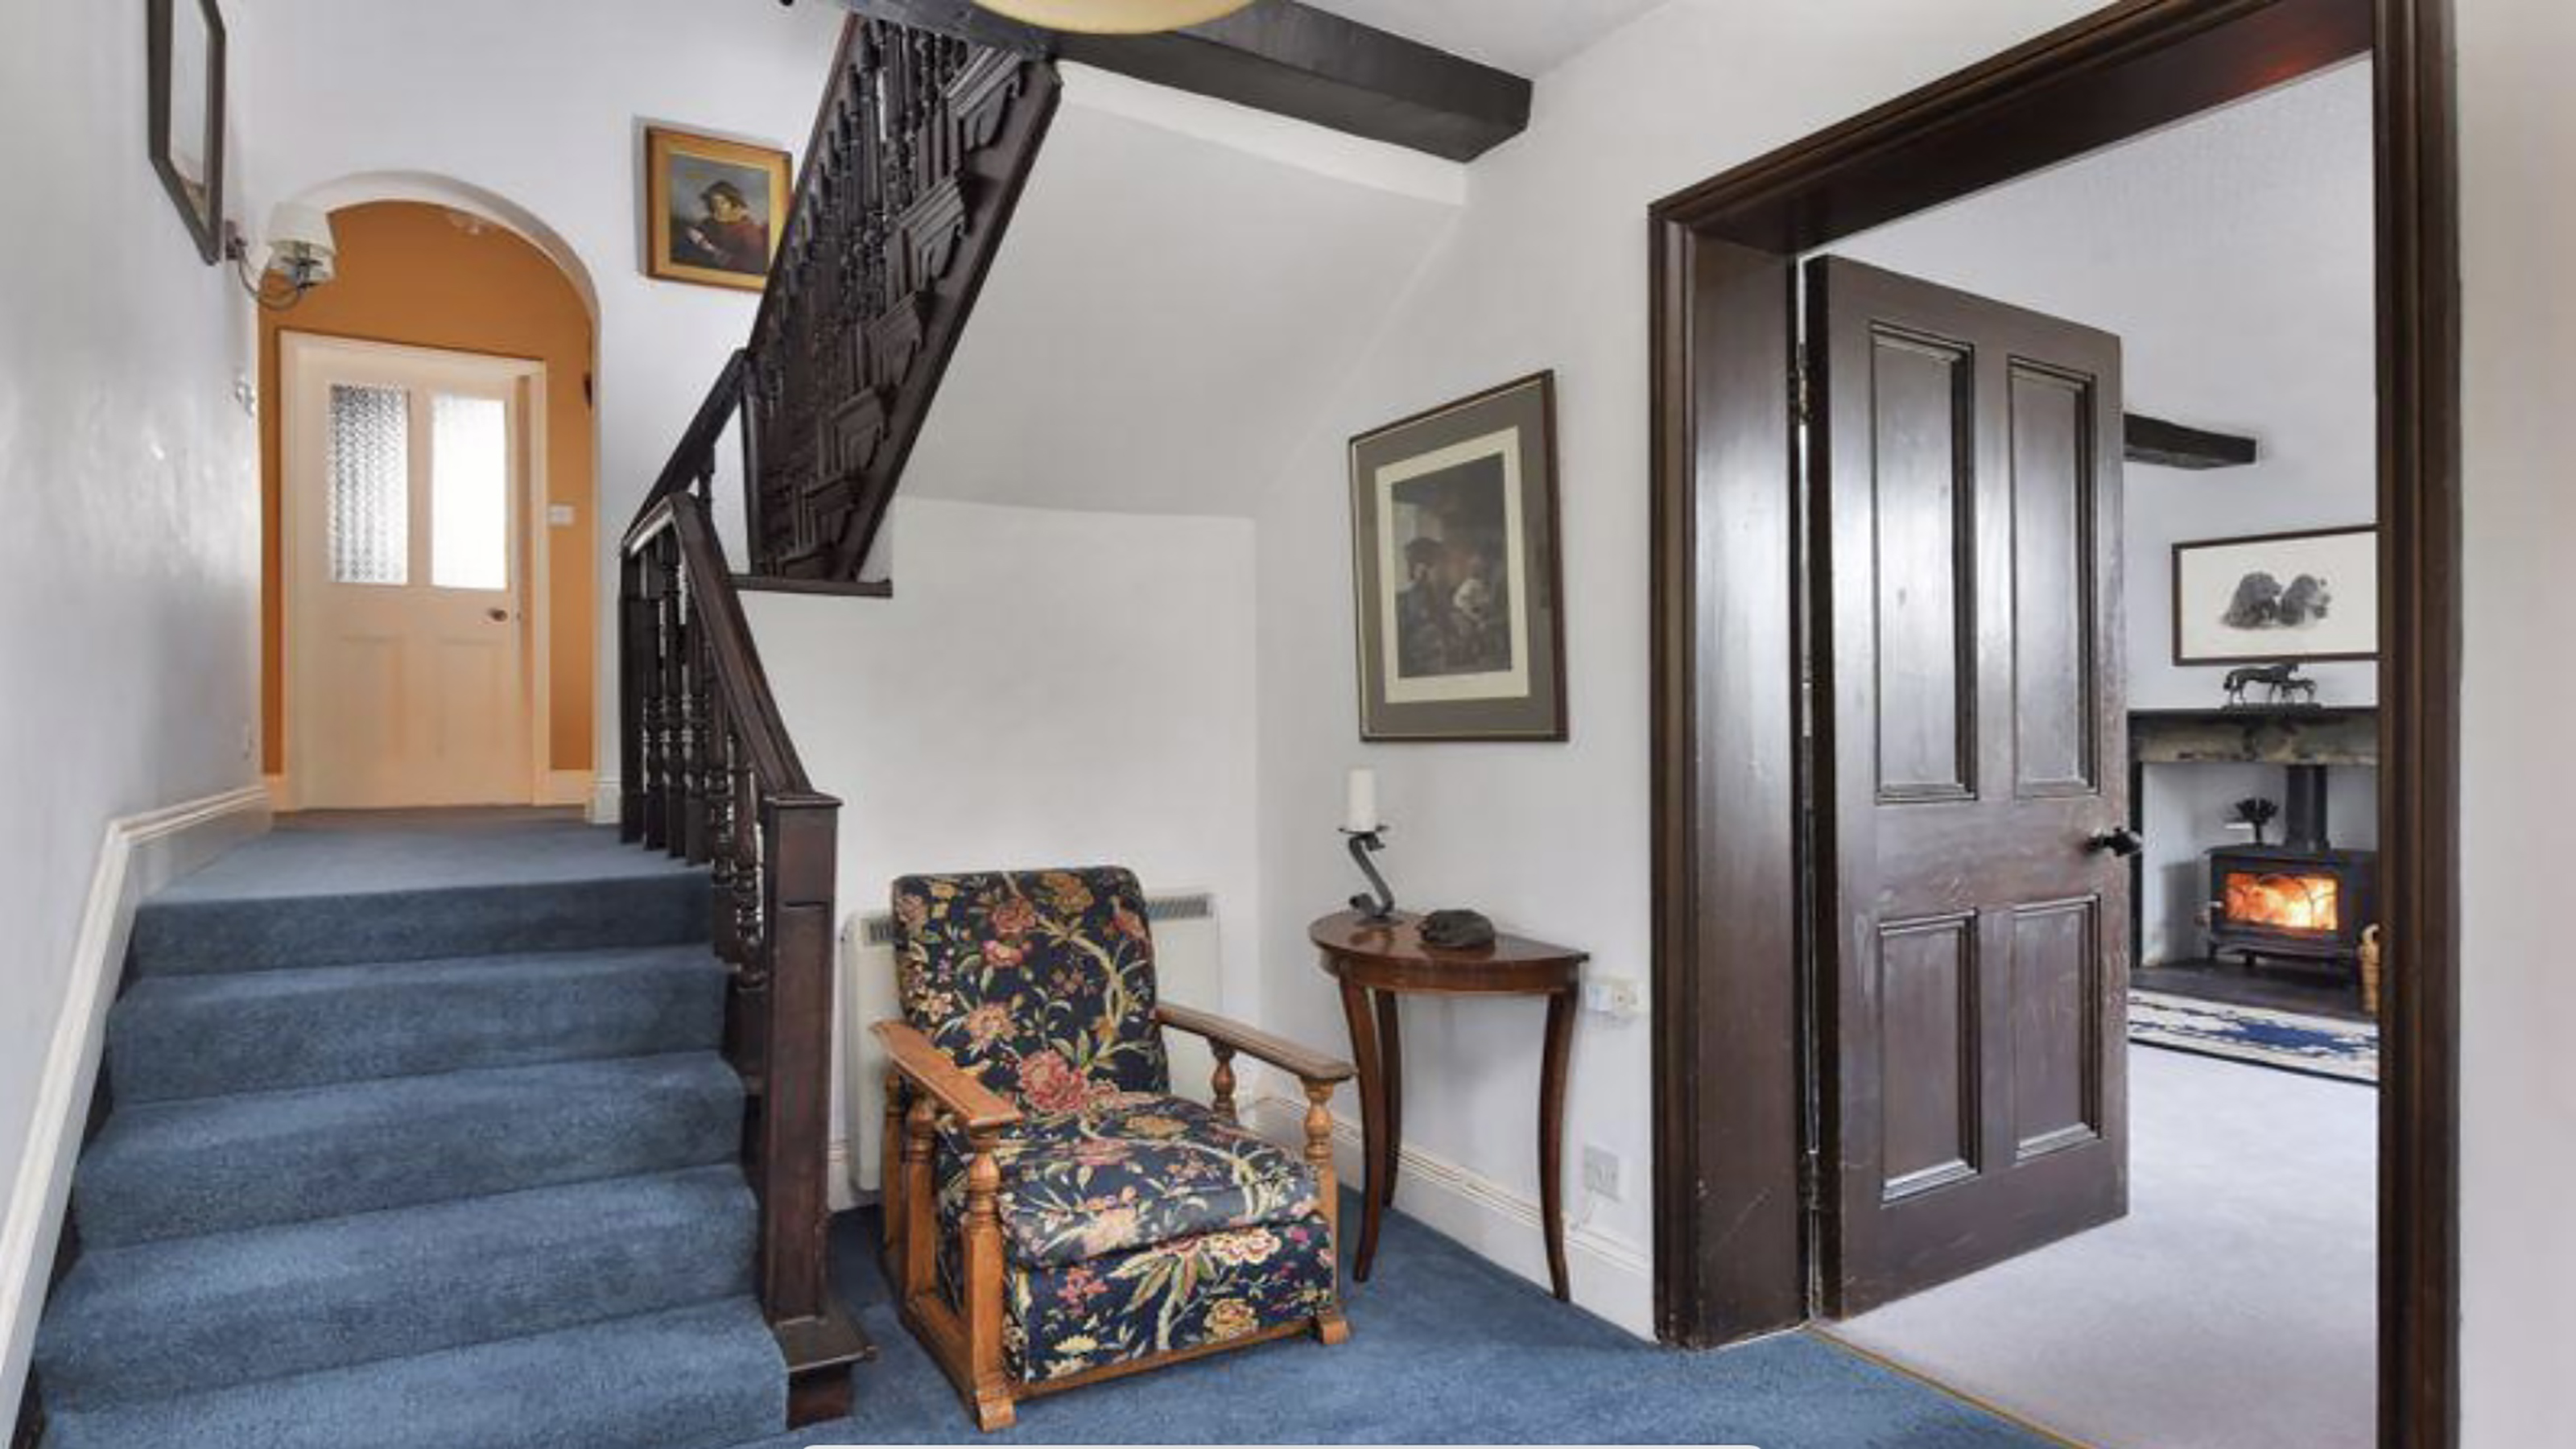 How to replace a broken staircase spindle in 30 minutes flat
A missing or broken spindle on a staircase is not only unsightly, but it can be a real hazard. This is how to fix it in a few quick steps.
By Kate Sandhu
-
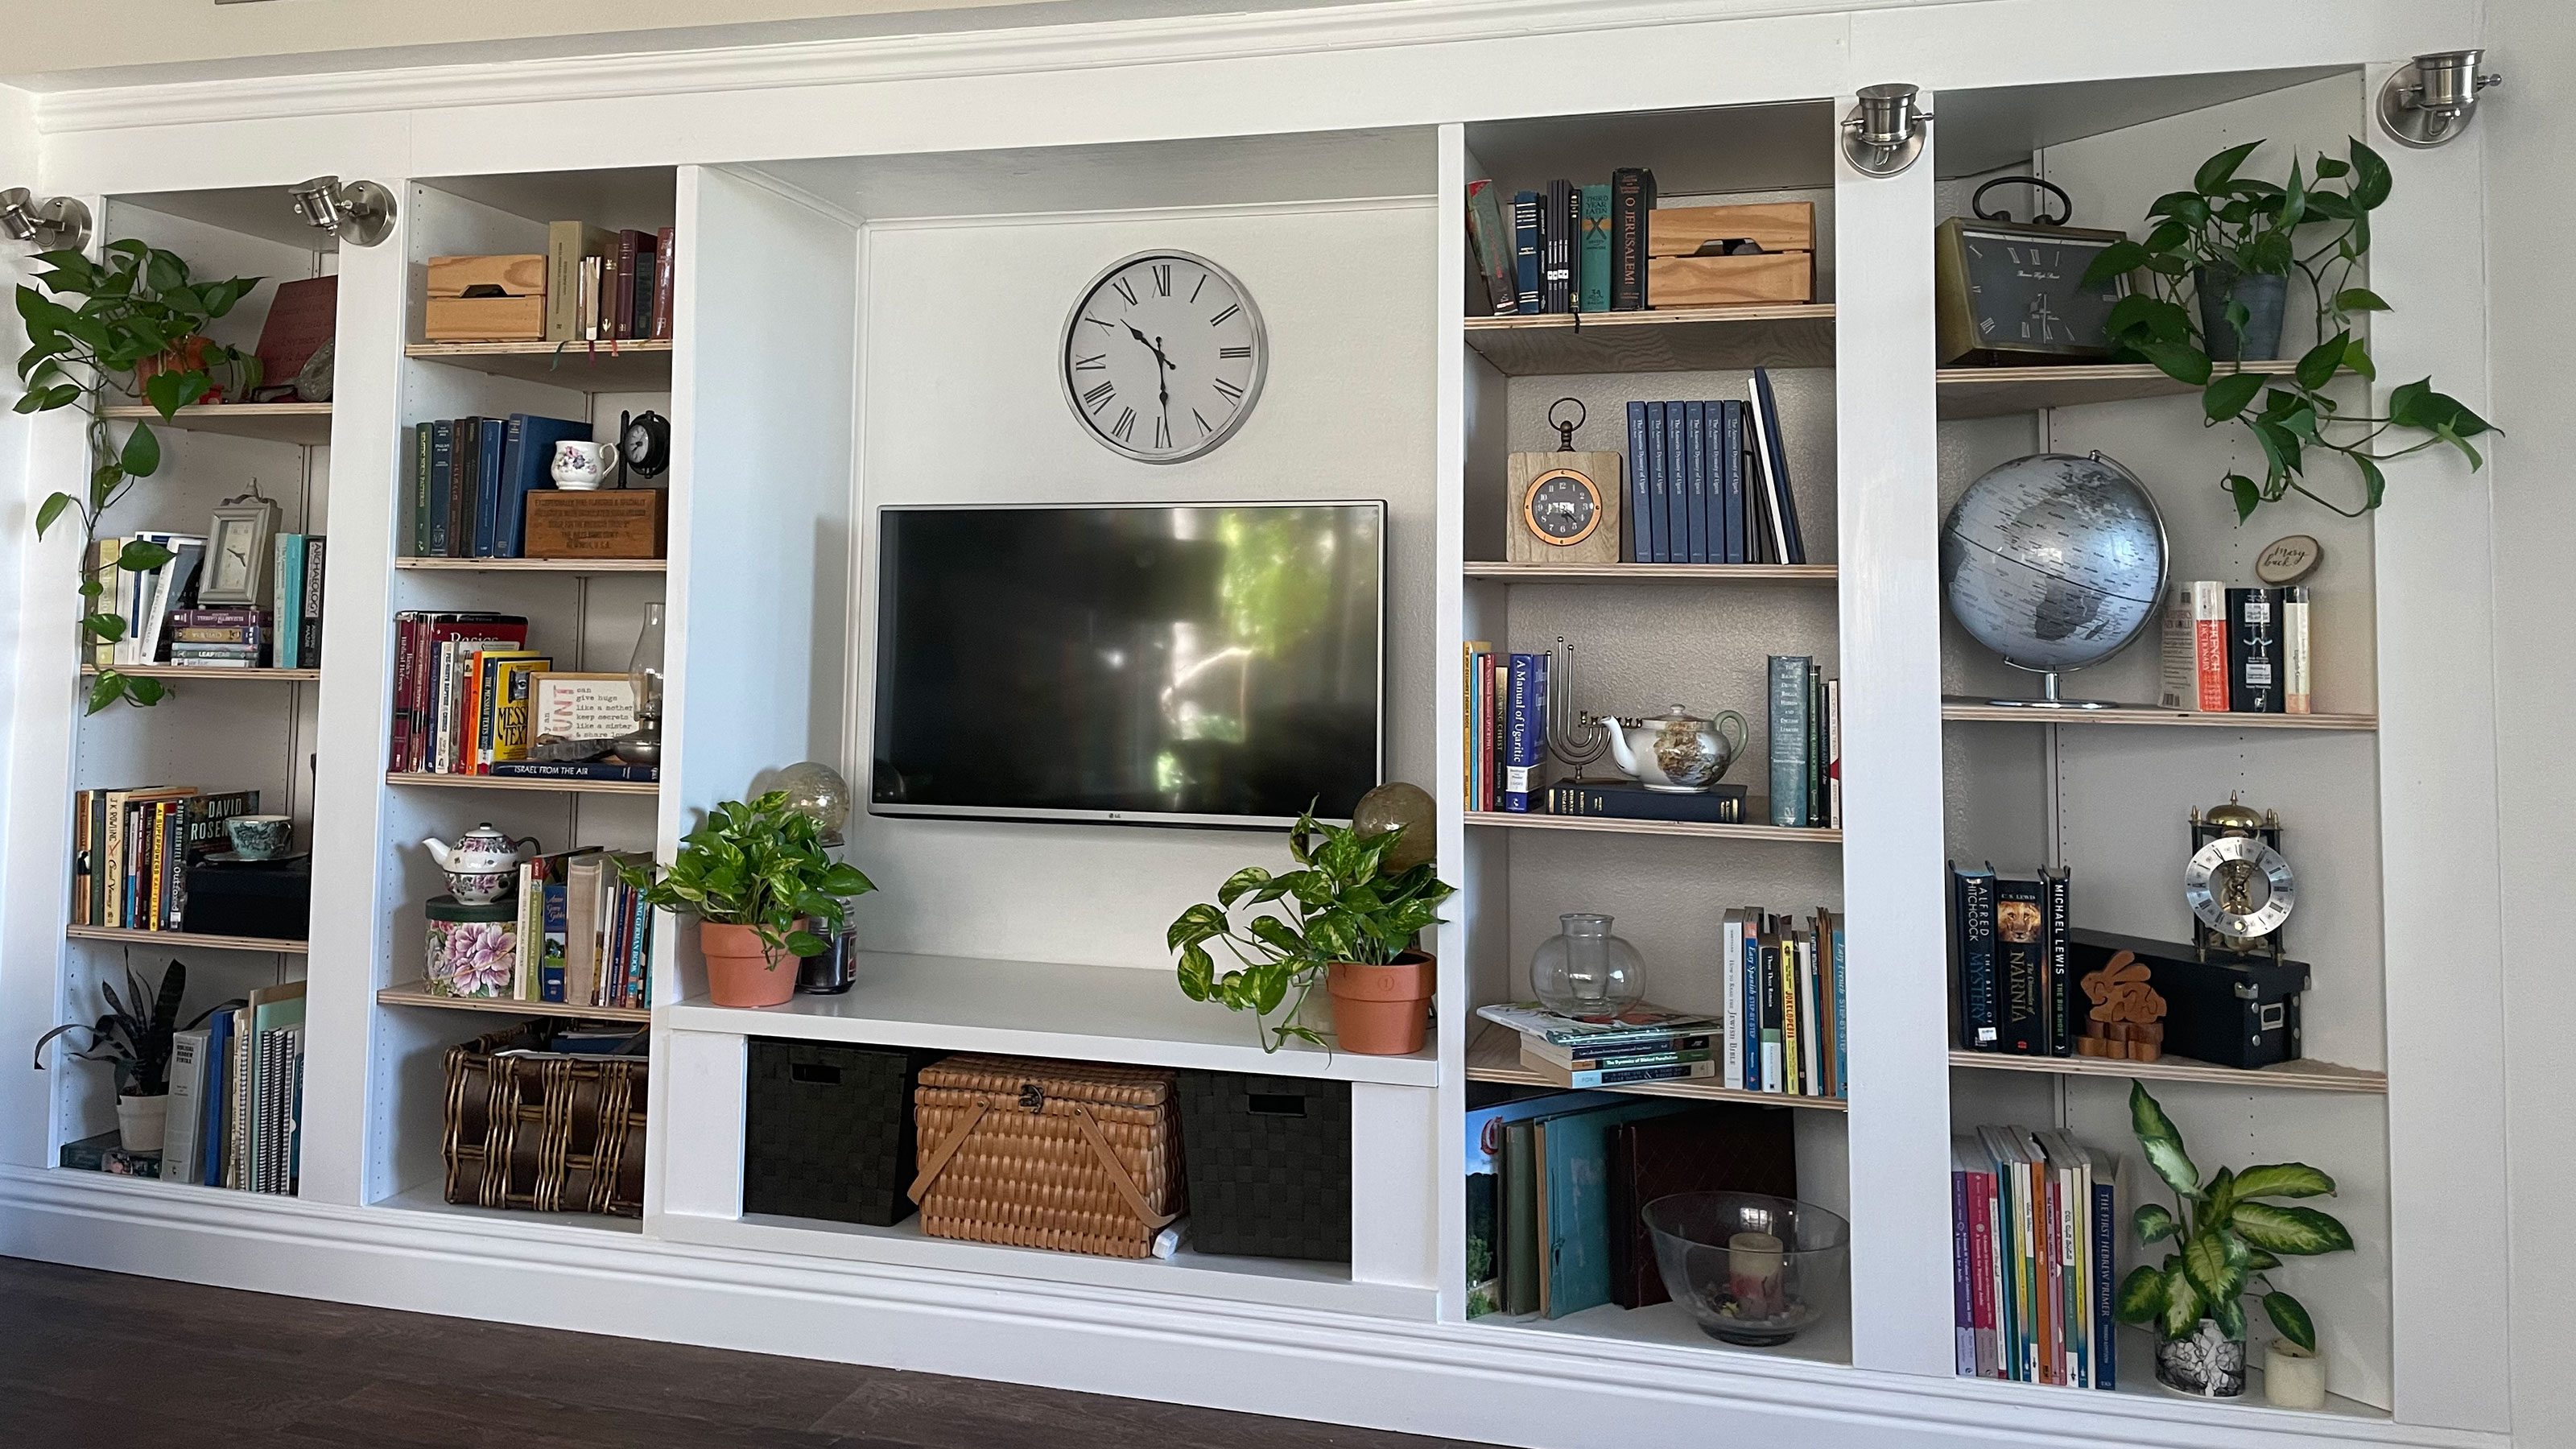 An IKEA Billy bookcase hack inspired this cute media wall DIY
This cute DIY was inspired by an IKEA Billy bookcase hack and brought a ton of symmetry to an otherwise basic media wall space.
By Camille Dubuis-Welch
-
 Share your small space glow up to win $150 in the Real Homes competition
Show off your creativity and DIY skills to win $150 and for the chance to be featured exclusively in Real Homes magazine
By Camille Dubuis-Welch
-
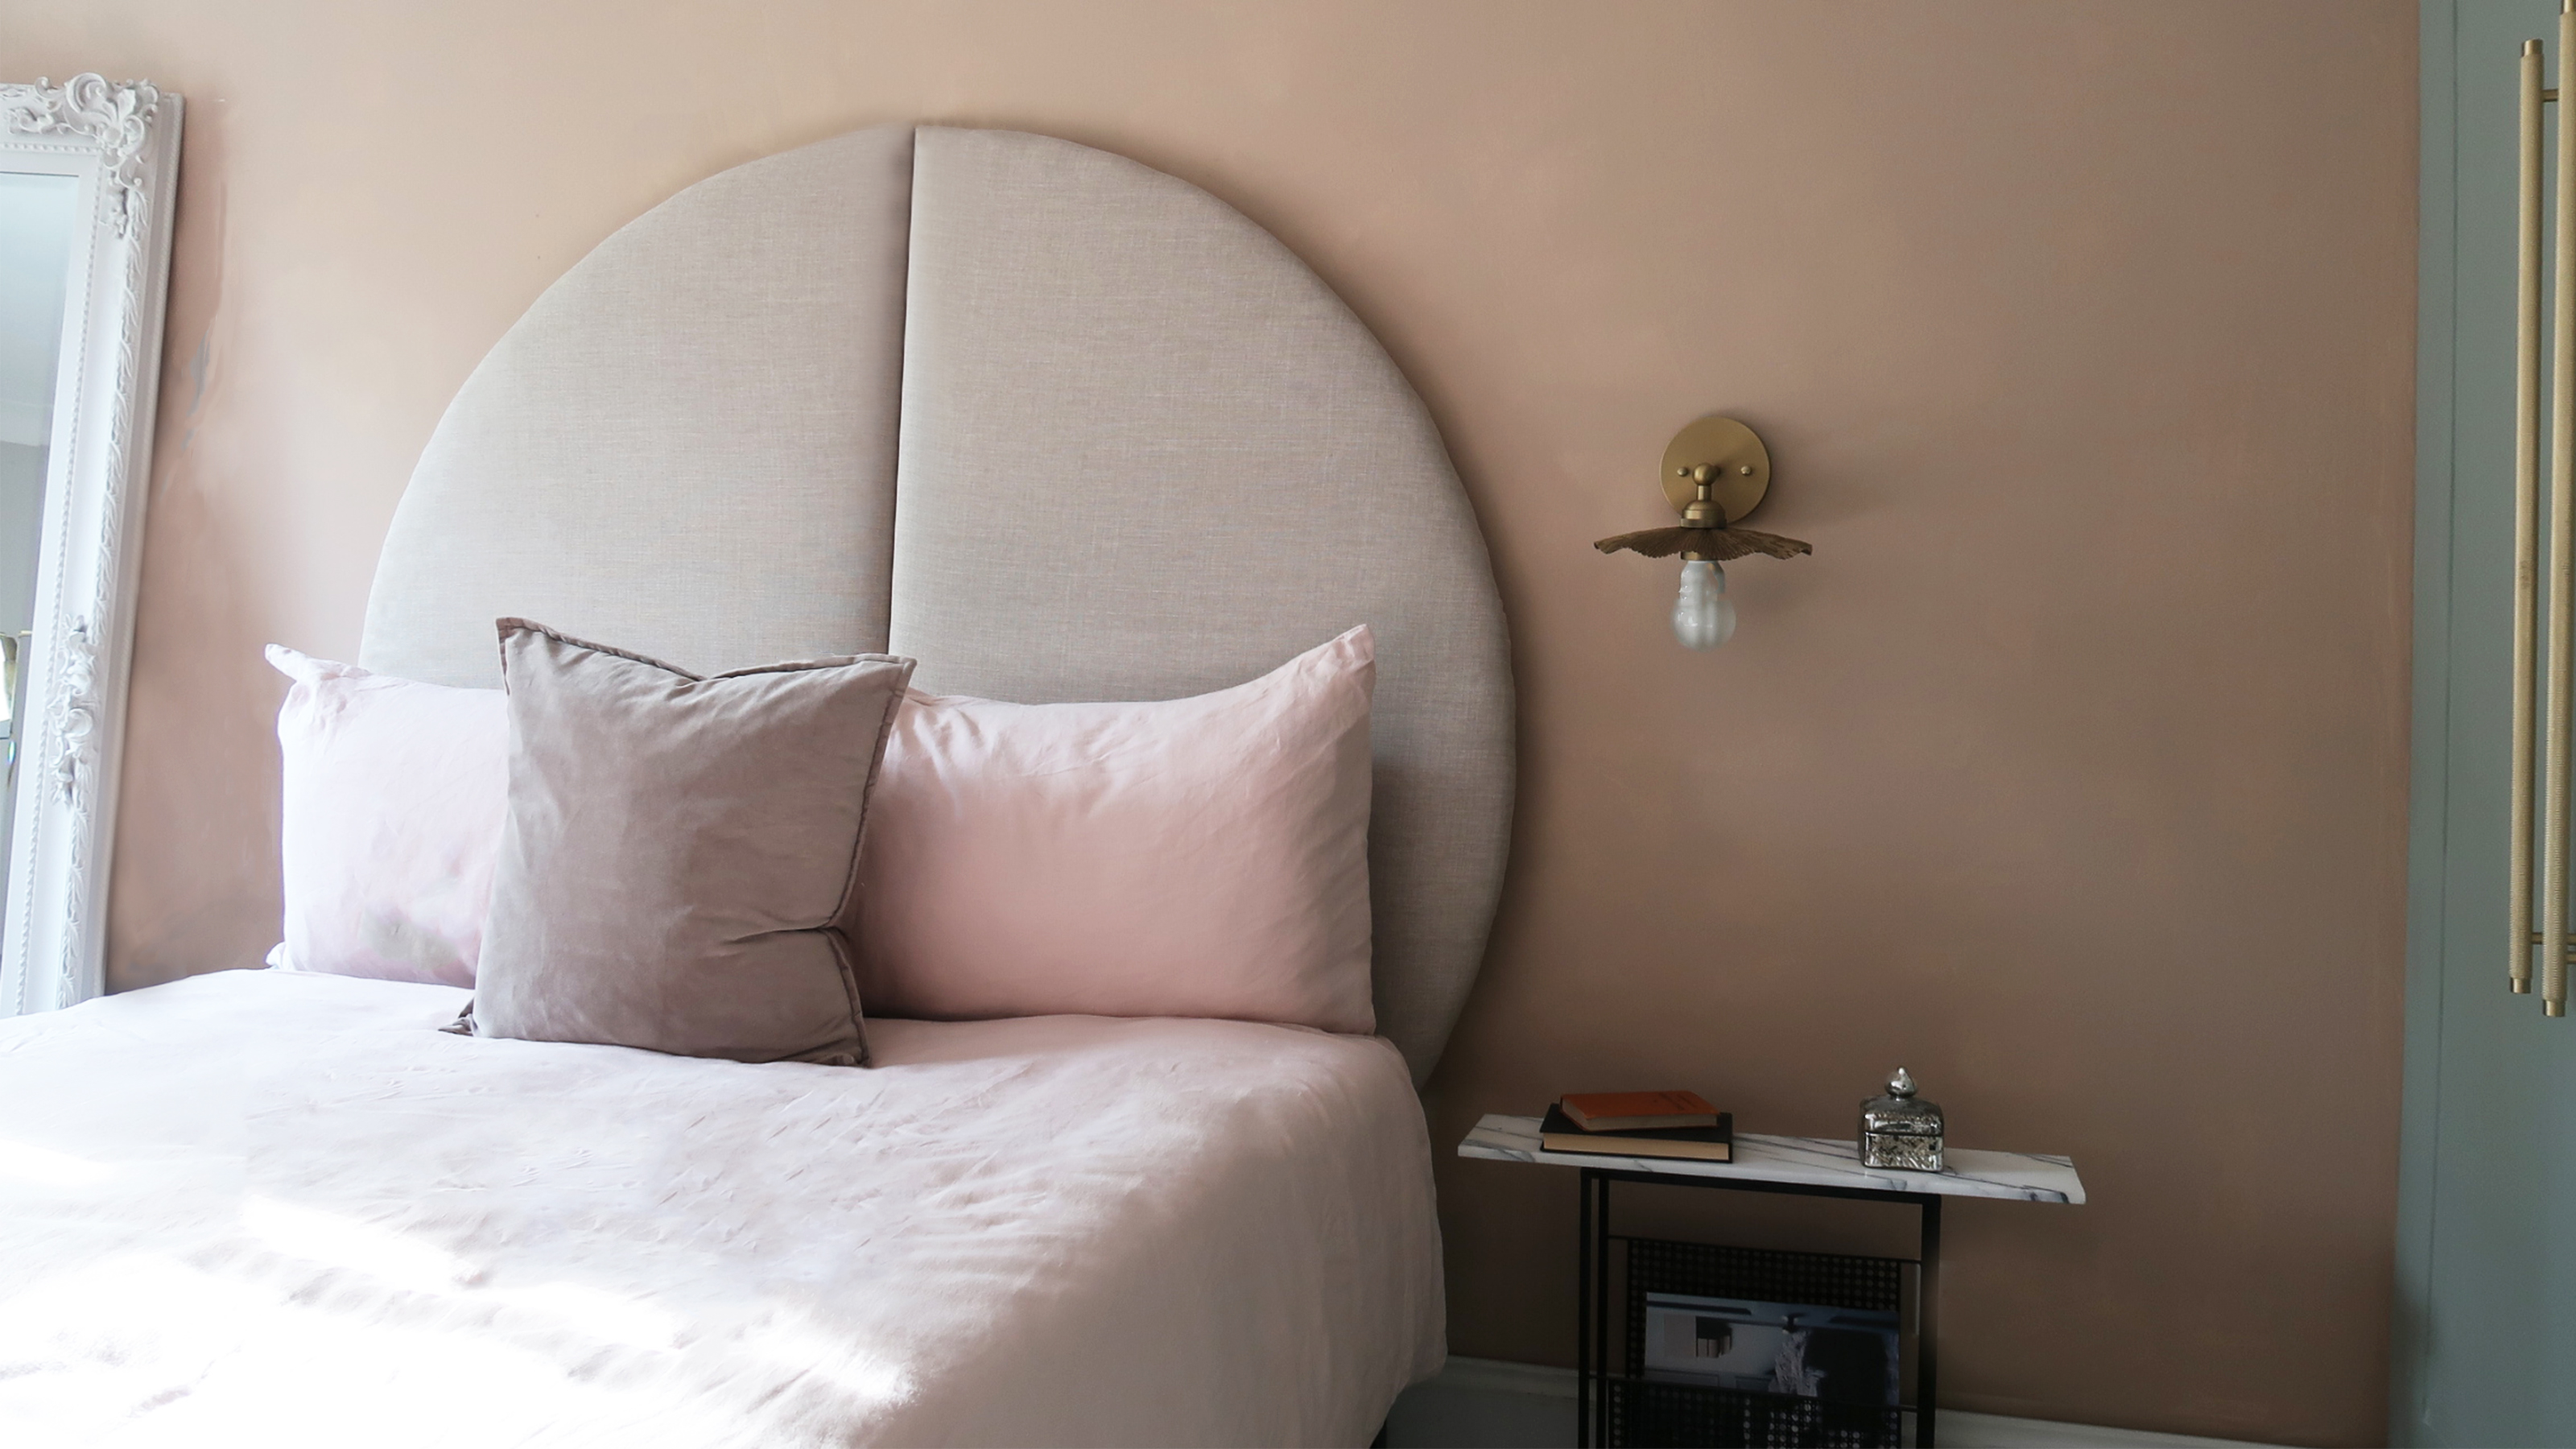 This oversized headboard looks designer, and takes 5 steps to DIY
Super simple to DIY, this oversized headboard will give your bedroom space all the designer vibes you could dream of.
By Claire Douglas
-
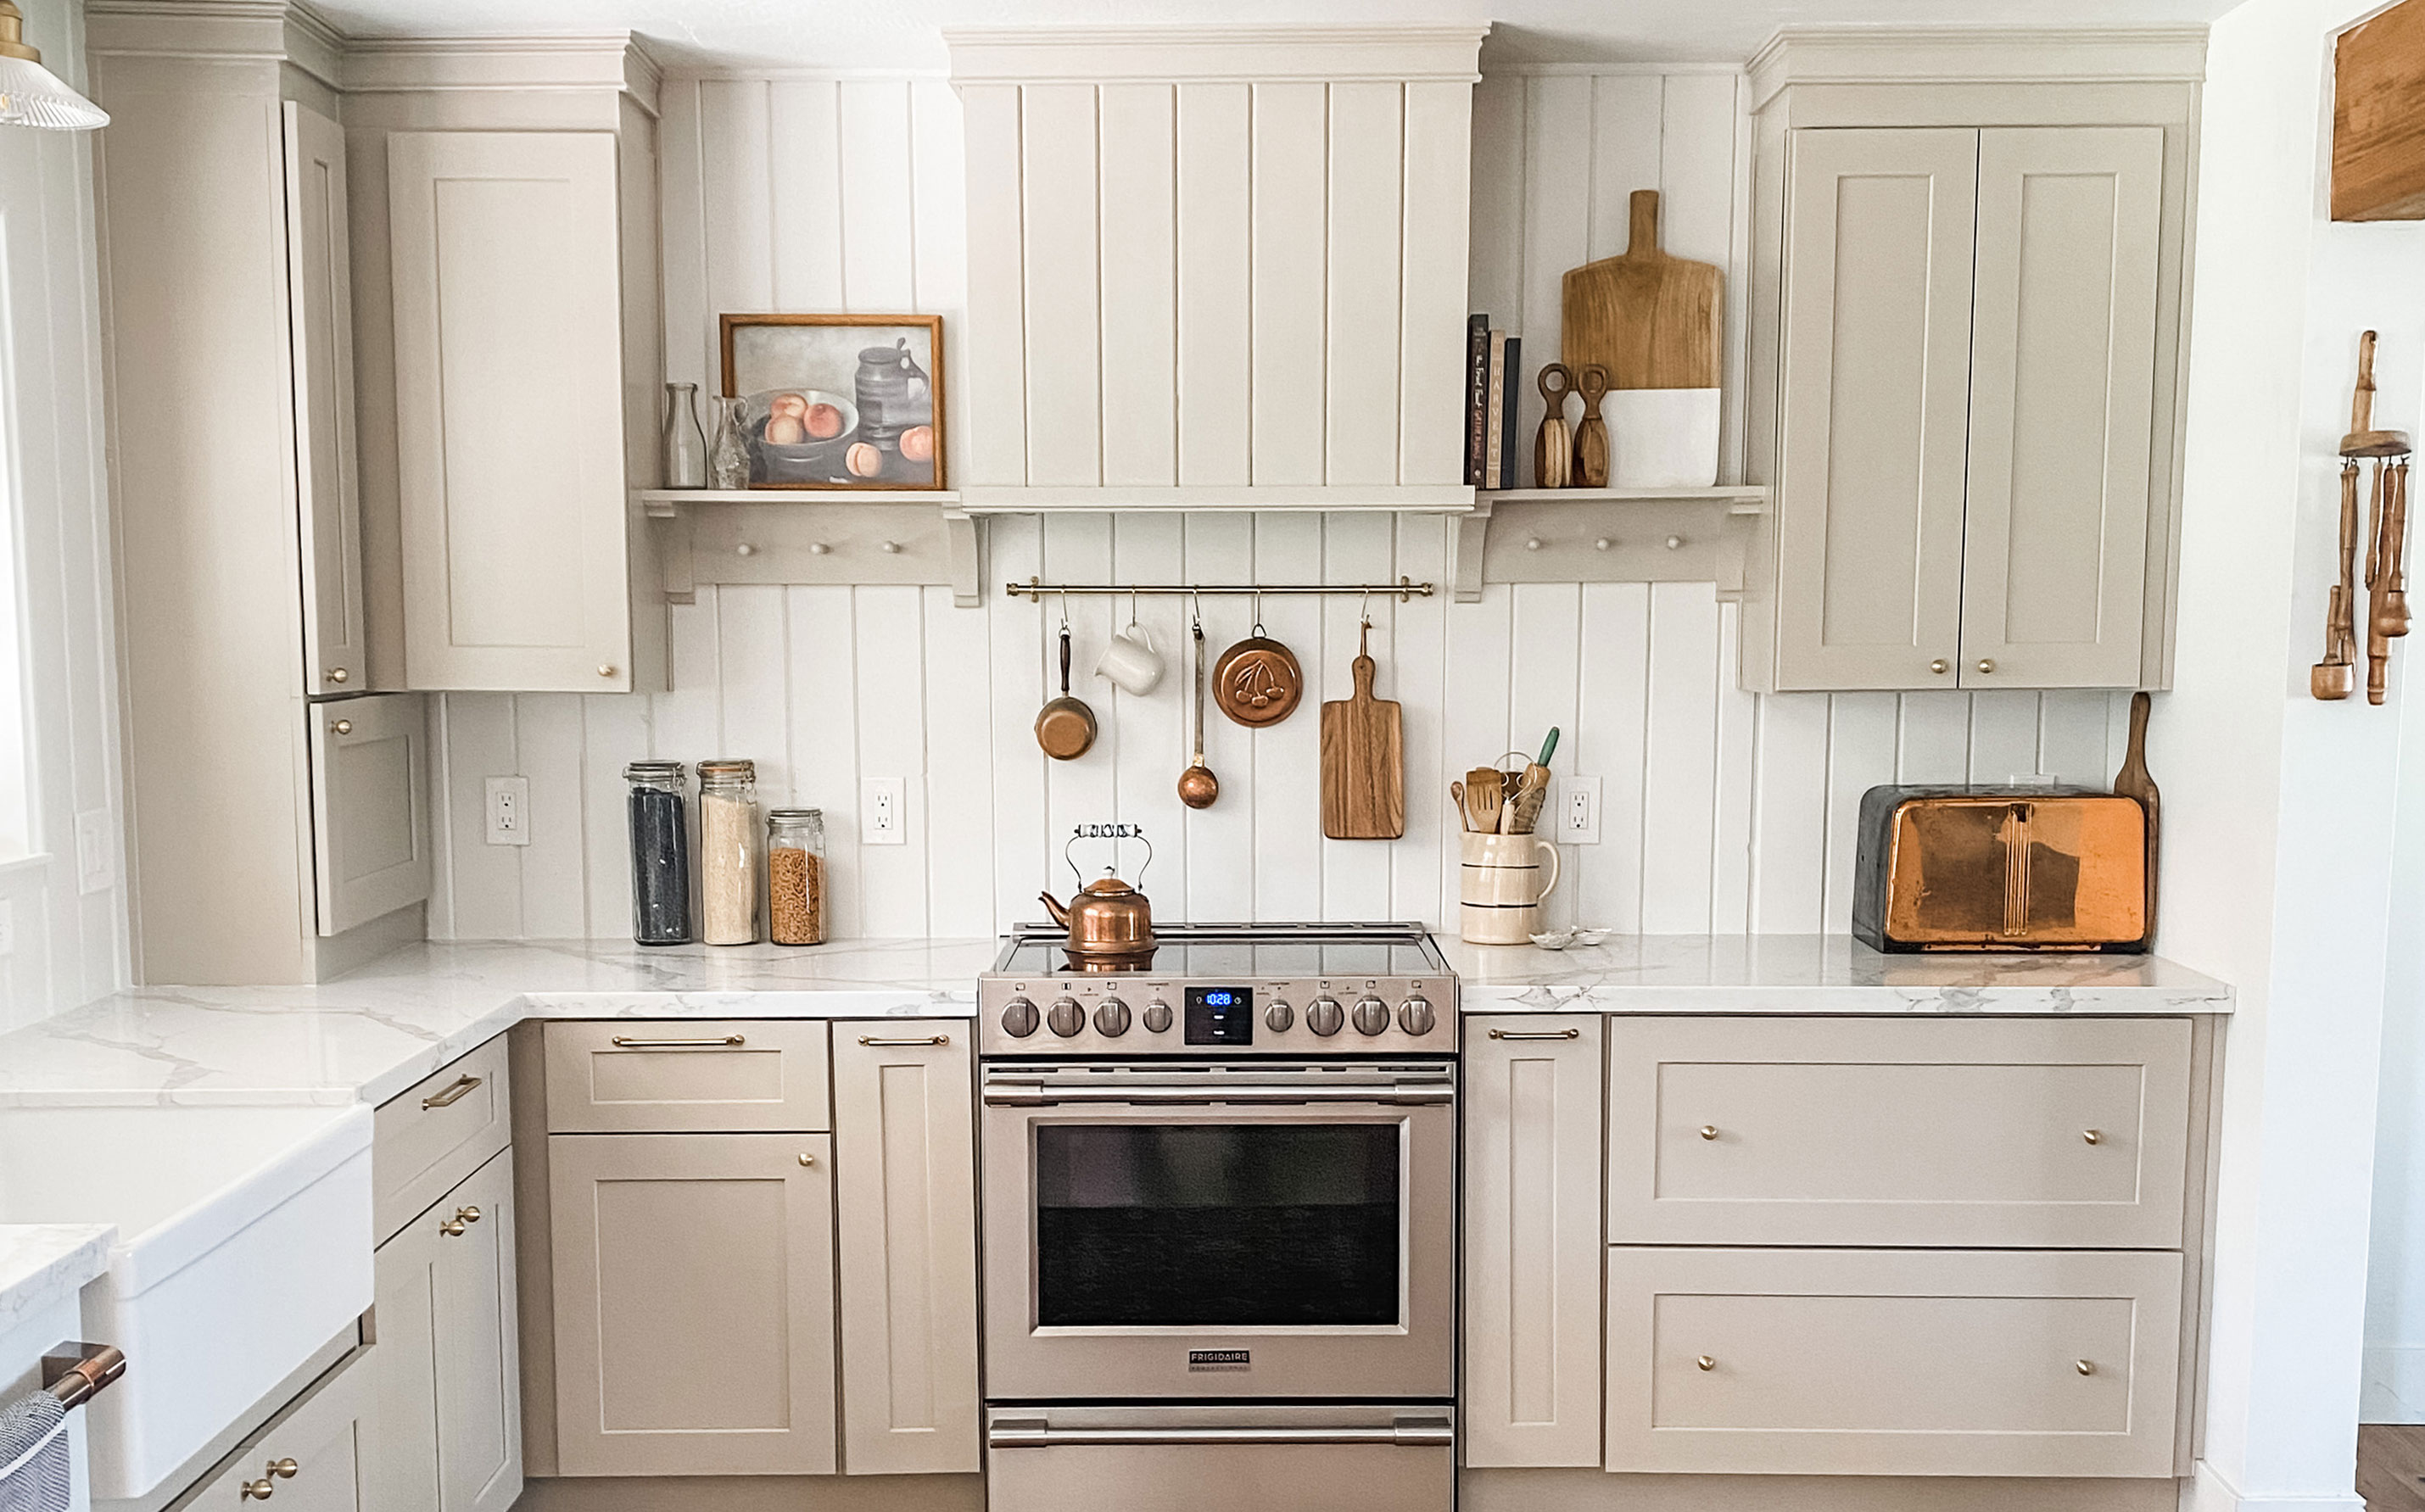 My DIY range hood and backsplash build gave my kitchen the perfect farmhouse finish
I craved charm in my kitchen space and adding a custom range hood and shelving was the best move.
By Brooke Waite
-
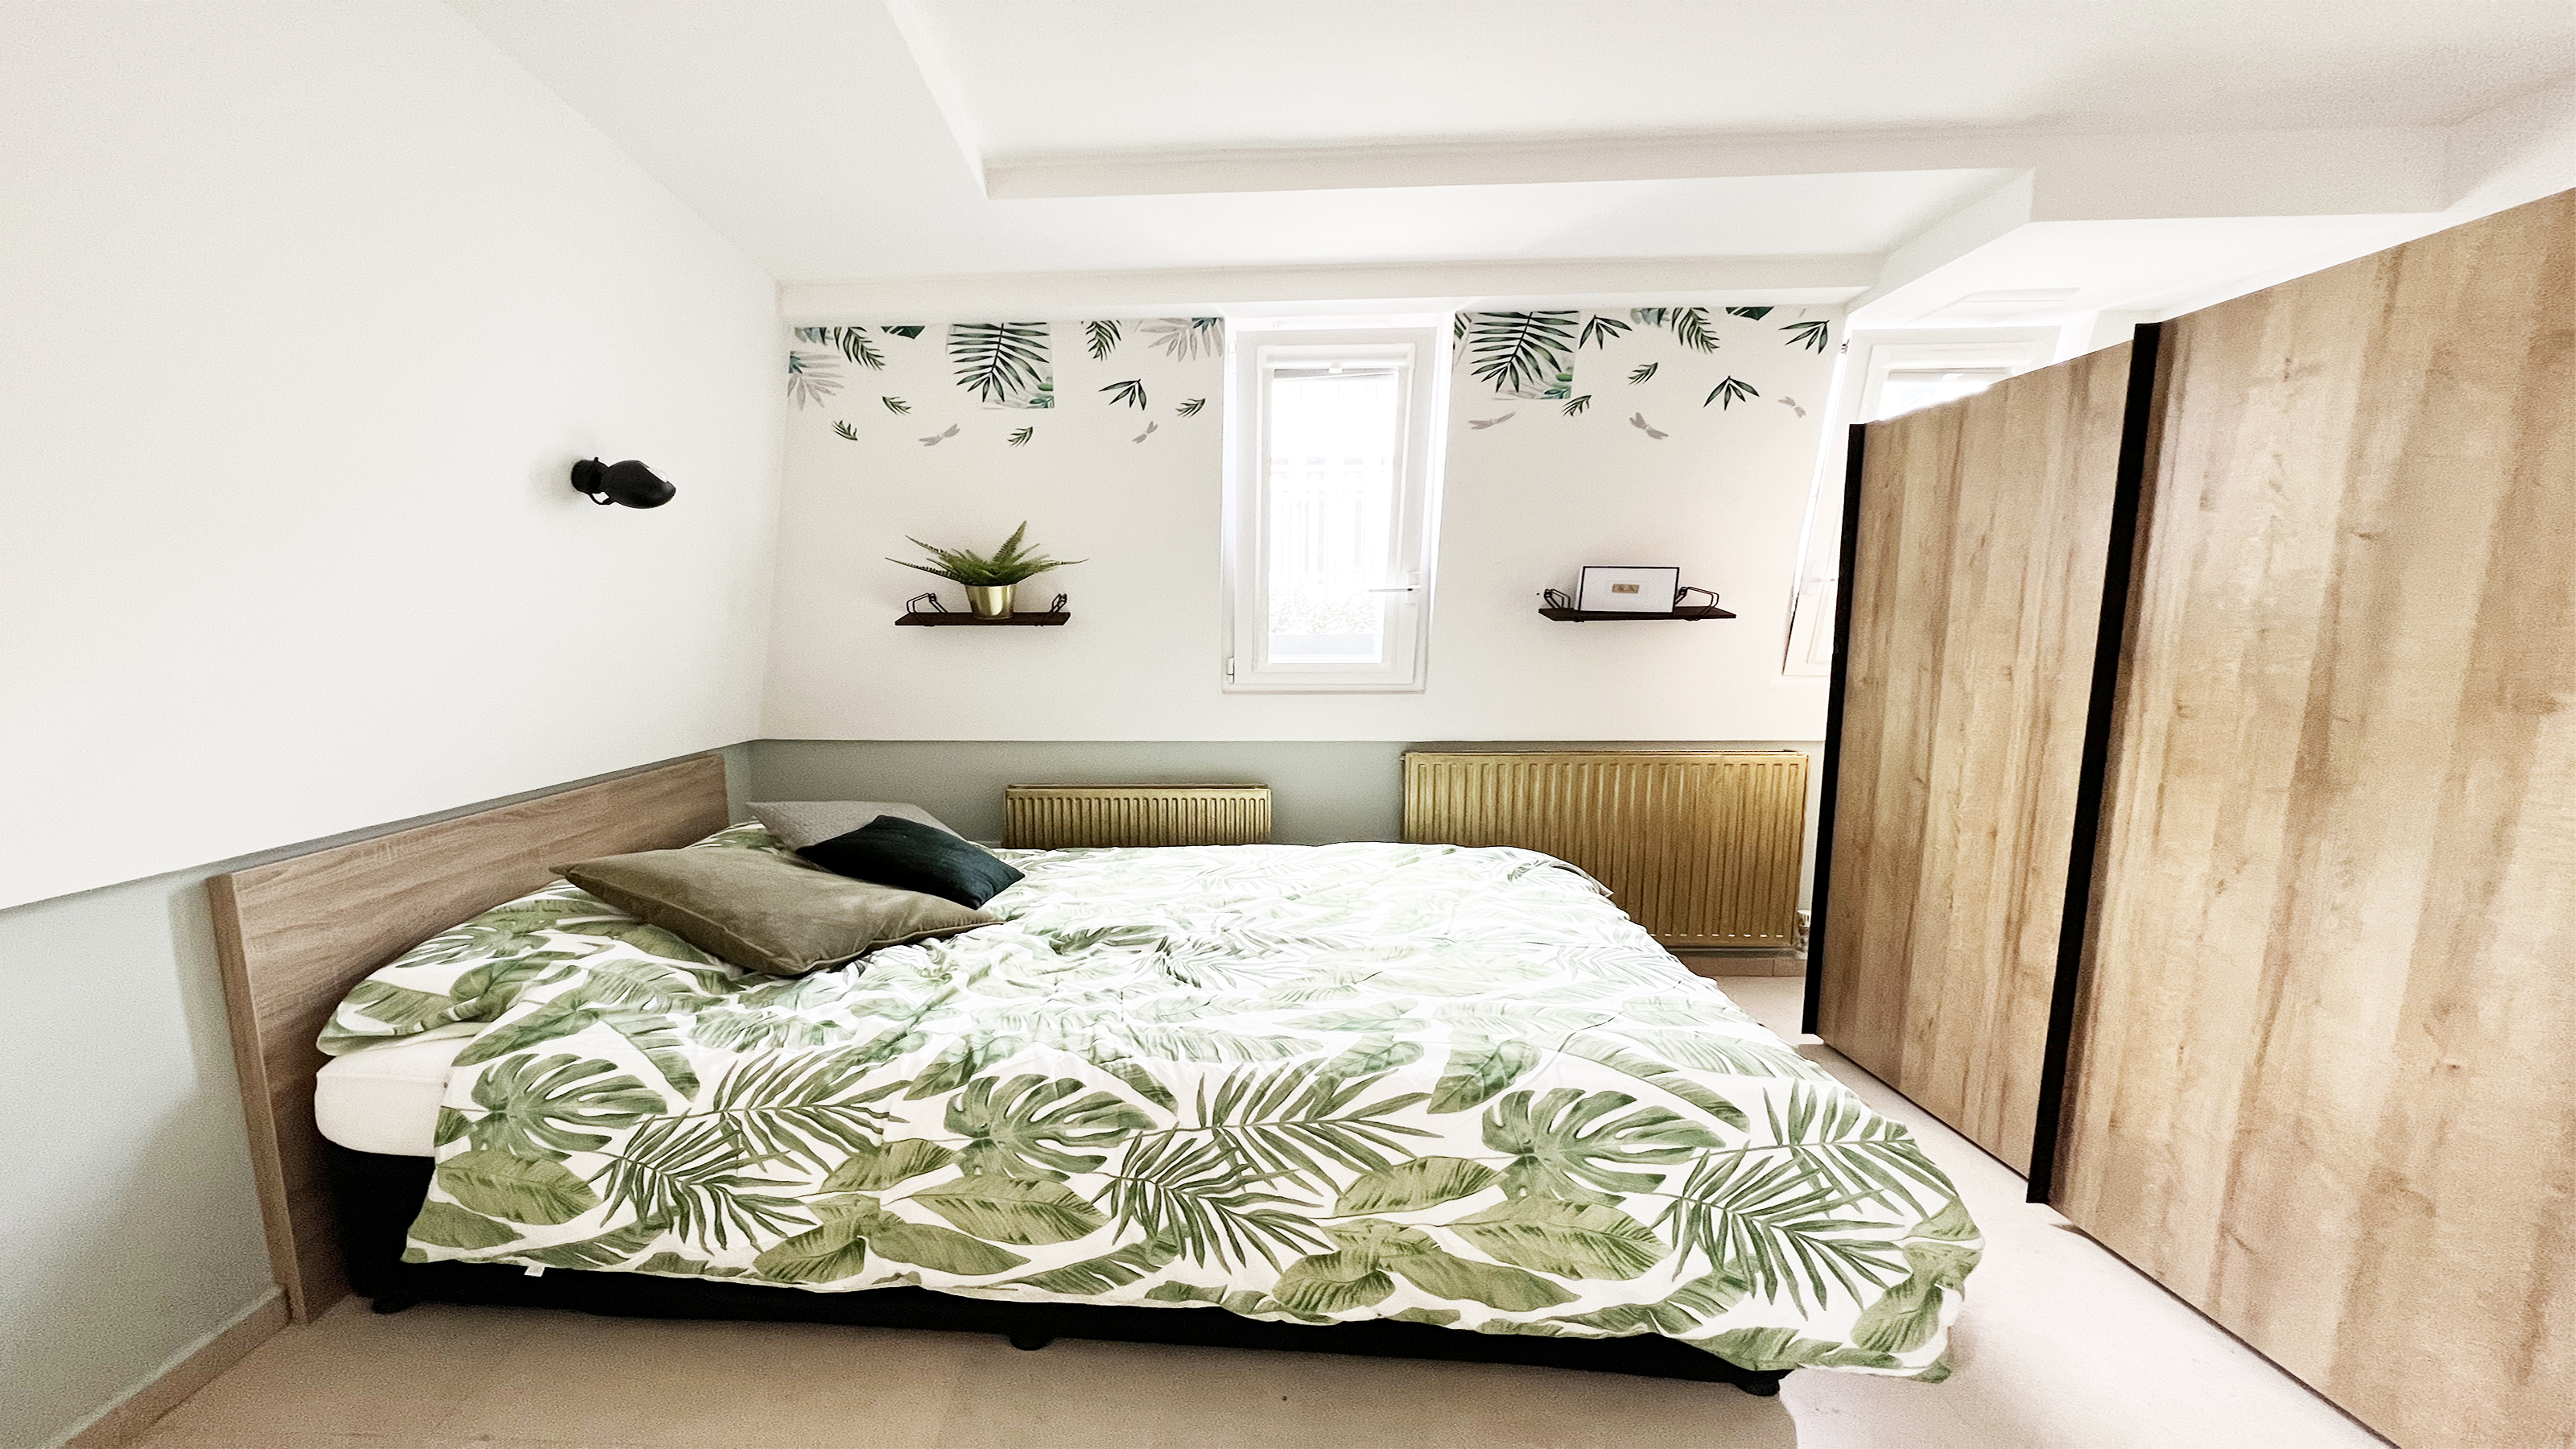 How to paint a radiator in 7 steps
Painting radiators properly is all about choosing the right paint and the best process. Get interior designer-worthy results with our how-to.
By Kate Sandhu
-
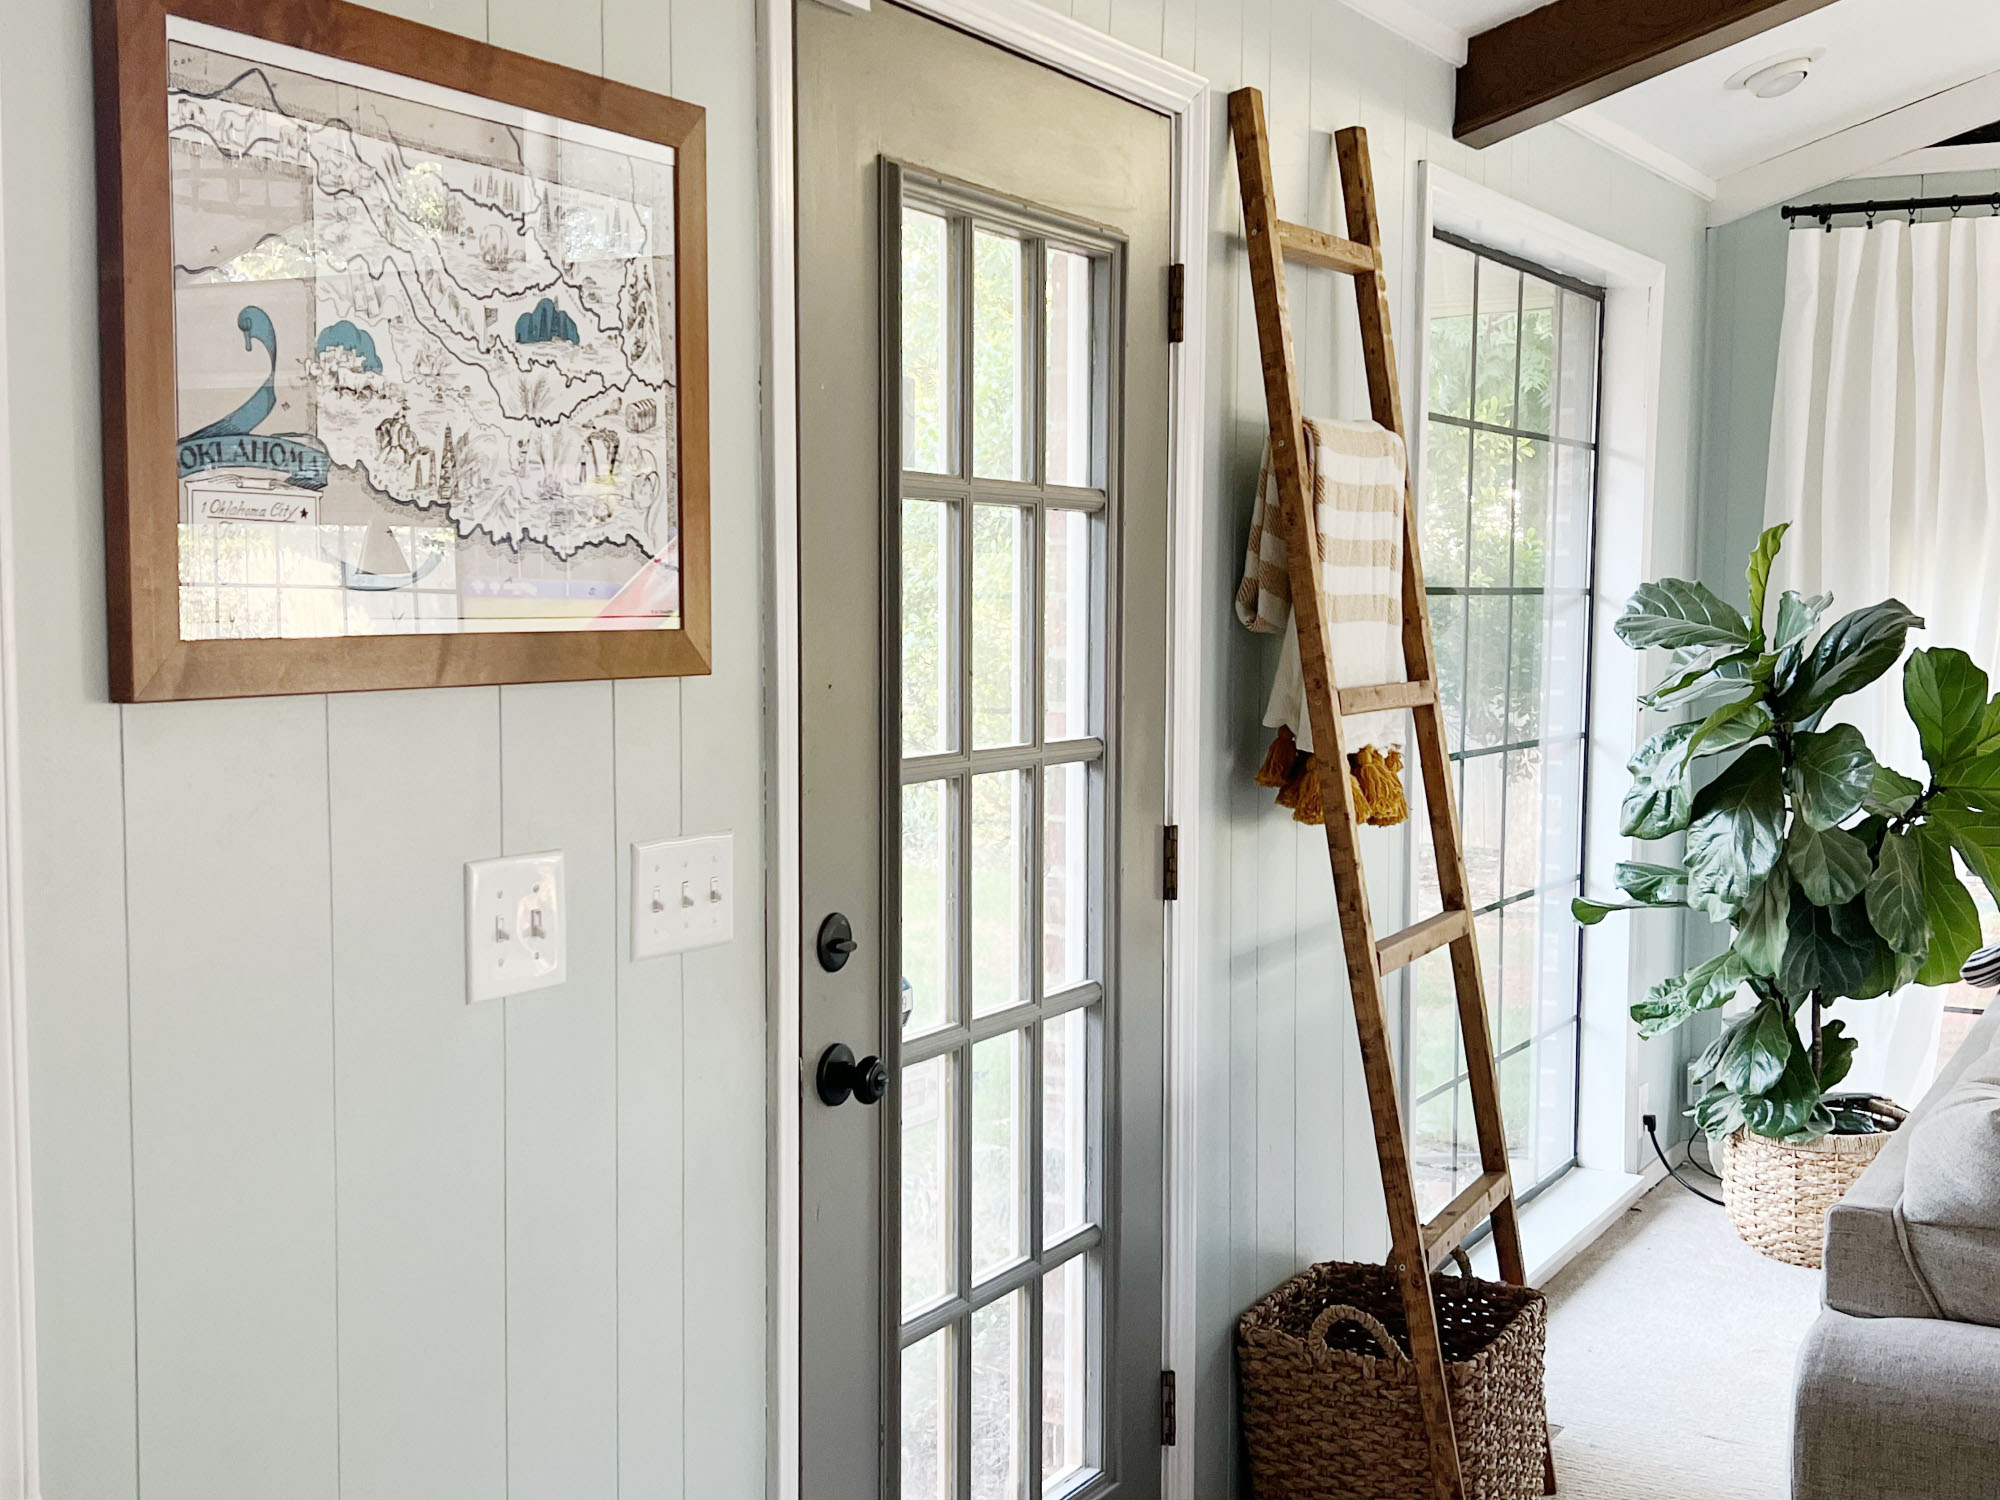 How to install a door knob
Updating your interior and exterior doors can be as easy as changing out the hardware! The best part is that installing a door knob is very DIY friendly. Follow these simple steps and enjoy a fresh look on your doors!
By Dori Turner