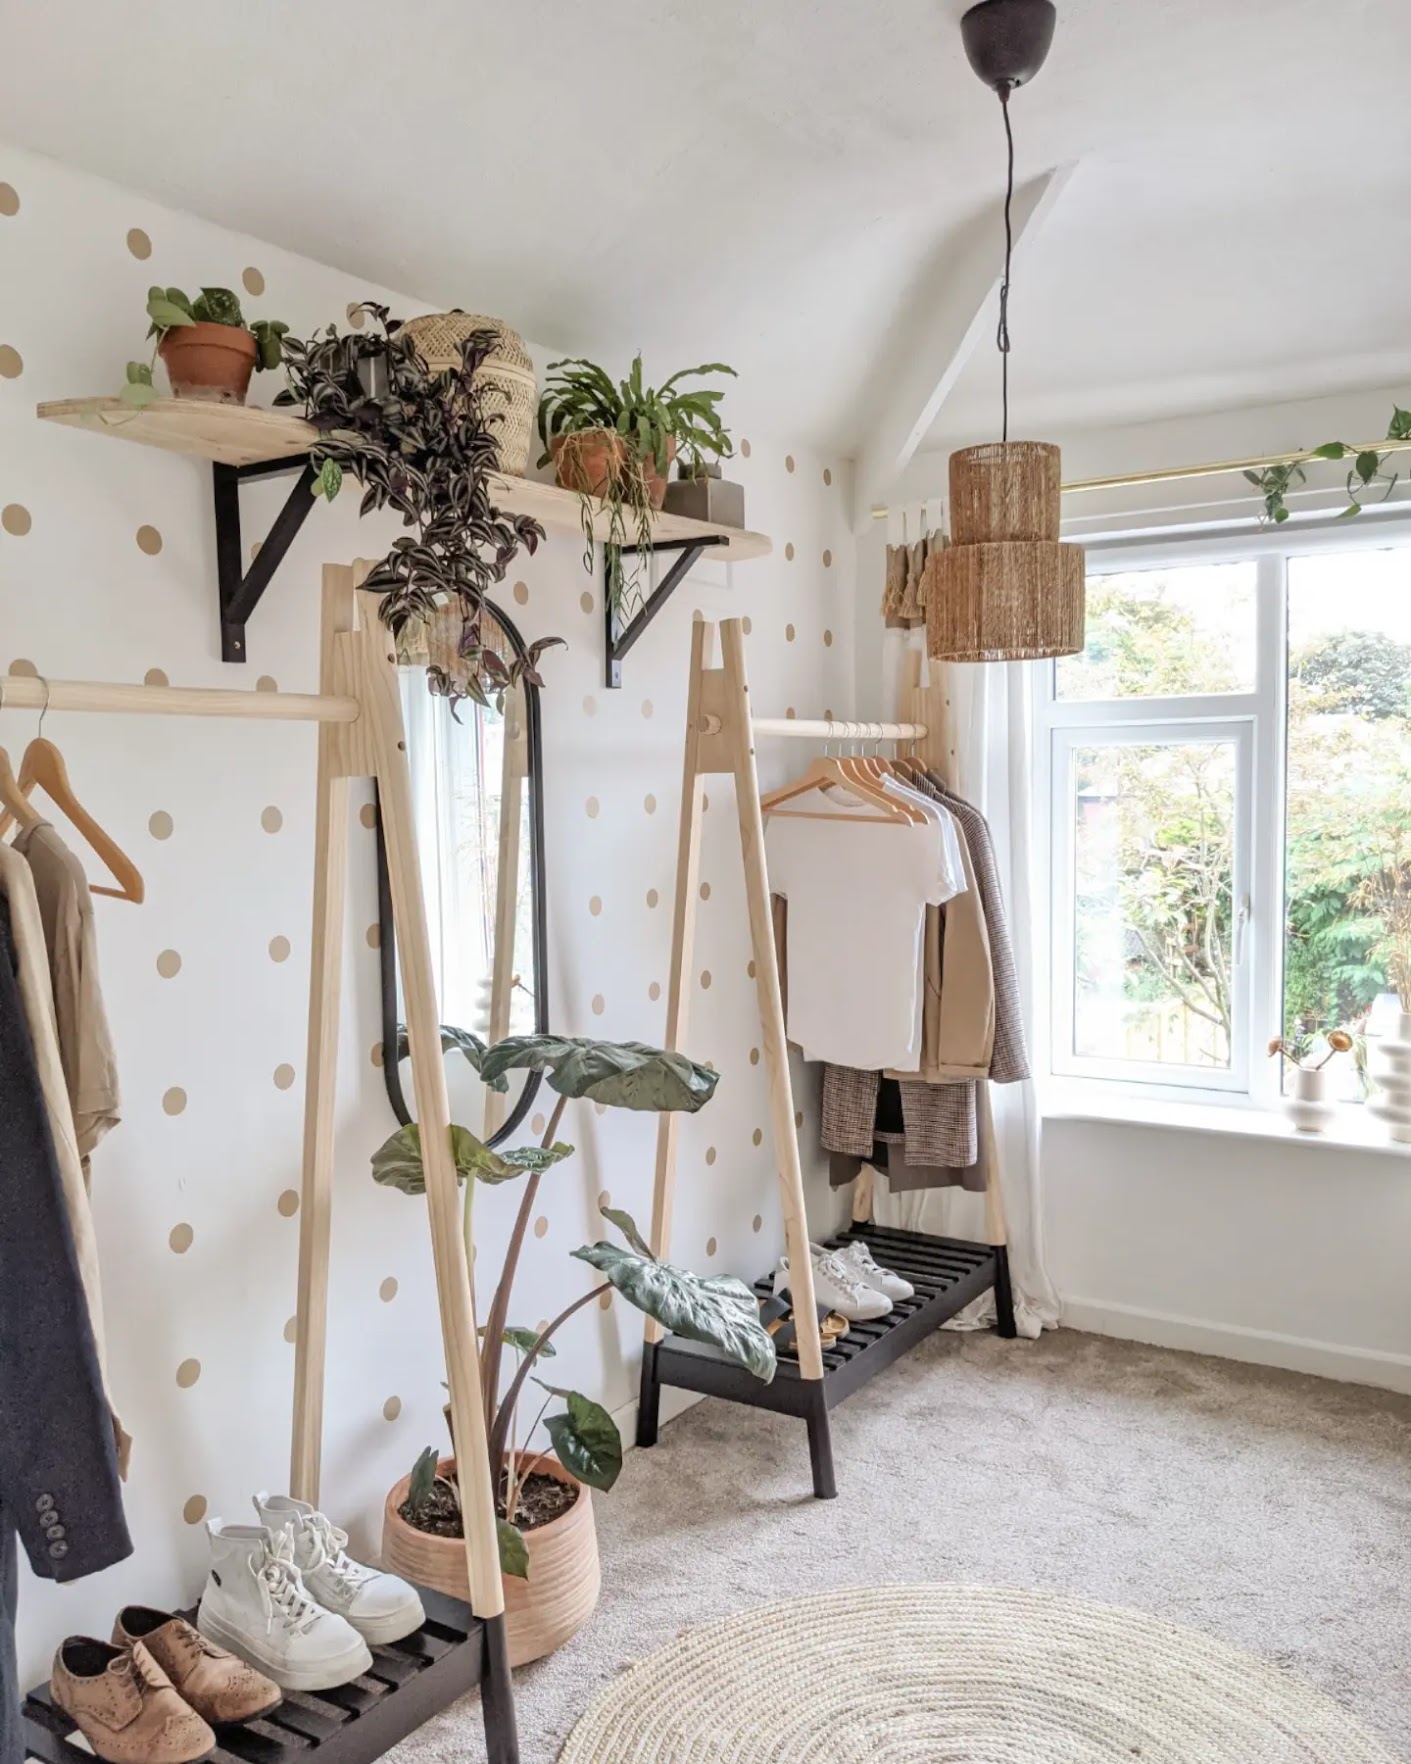

Painting a polka dot accent wall is a perfect way to brighten up a child’s bedroom, utility, playroom or, even WC... Polka dot decorating has been gaining popularity over the last few years and there are several ways to achieve it.
If you know how to paint a room, then you'll be able to paint polka dots! Our wall was all white and so for the dots I used some leftover paint I had from our hallway in a taupe colour. Using paint gives you the flexibility to create your own designs, it's more wearable than stickers and super inexpensive also.
Project breakdown:
So realistically the only cost for us was the round sponge at £3. The paint that we used was leftover paint we already had.
If someone was to do it from scratch, they would need a normal ton of brilliant white Matt paint – circa £20 – and I would use sample pots size paints £3-6 for making the dots (you really don't use a lot!).
How to paint a polka dot wall
Sure, there is a large variety of wallpapers you can buy with different patterns and colours to choose from but painting your design will be cheaper. Wallpaper is just more expensive way but there are lots of good quality designs to choose from that you can apply to an entire wall. Polka dot stickers are another alternative which allow you to get creative and make your own patterns to create a striking accent wall. These are cheaper than wallpaper but not be as hard wearing and can be tricky to remove. Hence why we think painting your polka dot accent wall is the answer!
1. Creating your design
This is the fun part. You can go wild here and if using for a child’s bedroom they can get involved too. You can use the traditional diamond like structure or go more freestyle with an open and random structure. A quick look on google or Pinterest can give you inspiration for your design. Don’t be afraid to use multiple colours or even different sized dots to create some interest.
2. Choosing your pattern
For my design I decided to go with a grid like pattern using the polka dots. I am a big lover of grid patterns and it is also a nod to the grid tiling I used in my kitchen and utility room. Making a grid pattern is slightly more challenging as the dots need to be perfectly parallel or you’ll easily notice.
3. Picking the right tool and materials
For my polka dot design in my dressing room I decided to go with the cheapest DIY solution and use paint. This is probably the most time intensive way to do a polka dot accent wall but it is the most cost effective and can be done using leftover paint from other DIY projects or paint samples. The rest of the materials needed you'll likely have to hand already also.
- Spirit level – The longer the better
- Round Sponge.
- Measuring tape
- Marker
- Step ladder
- Painters brush

4. Painting the base coat
So I started with painting the base colour of the wall, in my case this was a brilliant matt white wall.
5. Mapping out the wall design
When the wall is dry you need to start mapping out your design. Figure out the spacing you want between your dots and how they will be positioned in reference to each other.
To do this I measured the wall side to side and top to bottom. You want to ensure you have equal gaps on each side so the pattern is balanced. To ensure you have equal sides first you need to figure out how many dots you’ll have using the following calculation:
Wall distance (cm)/Polka dot gap (cm) = Number of dots you need
So for me the main wall was 3.1 metres wide and the distance between the dots is 20cm. Using the calculation this means I would have 15.5 dots but obviously we can’t put half a dot on the wall. To figure out the gap on either side we use the following calculation:
Excess dot x Polka dot gap (cm)/2 = Side Gap
The “Excess dot” is anything above an integer, for me that was 0.5 of a dot. Using the formula this would mean (0.5 * 20cm) and divided by 2 for each side meant the gap I needed to leave at each end is 5cm. I wanted more of a gap at either end so I decided to put one less dot on the wall meaning my gap at either end became 15cm.
6. Painting the polka dots
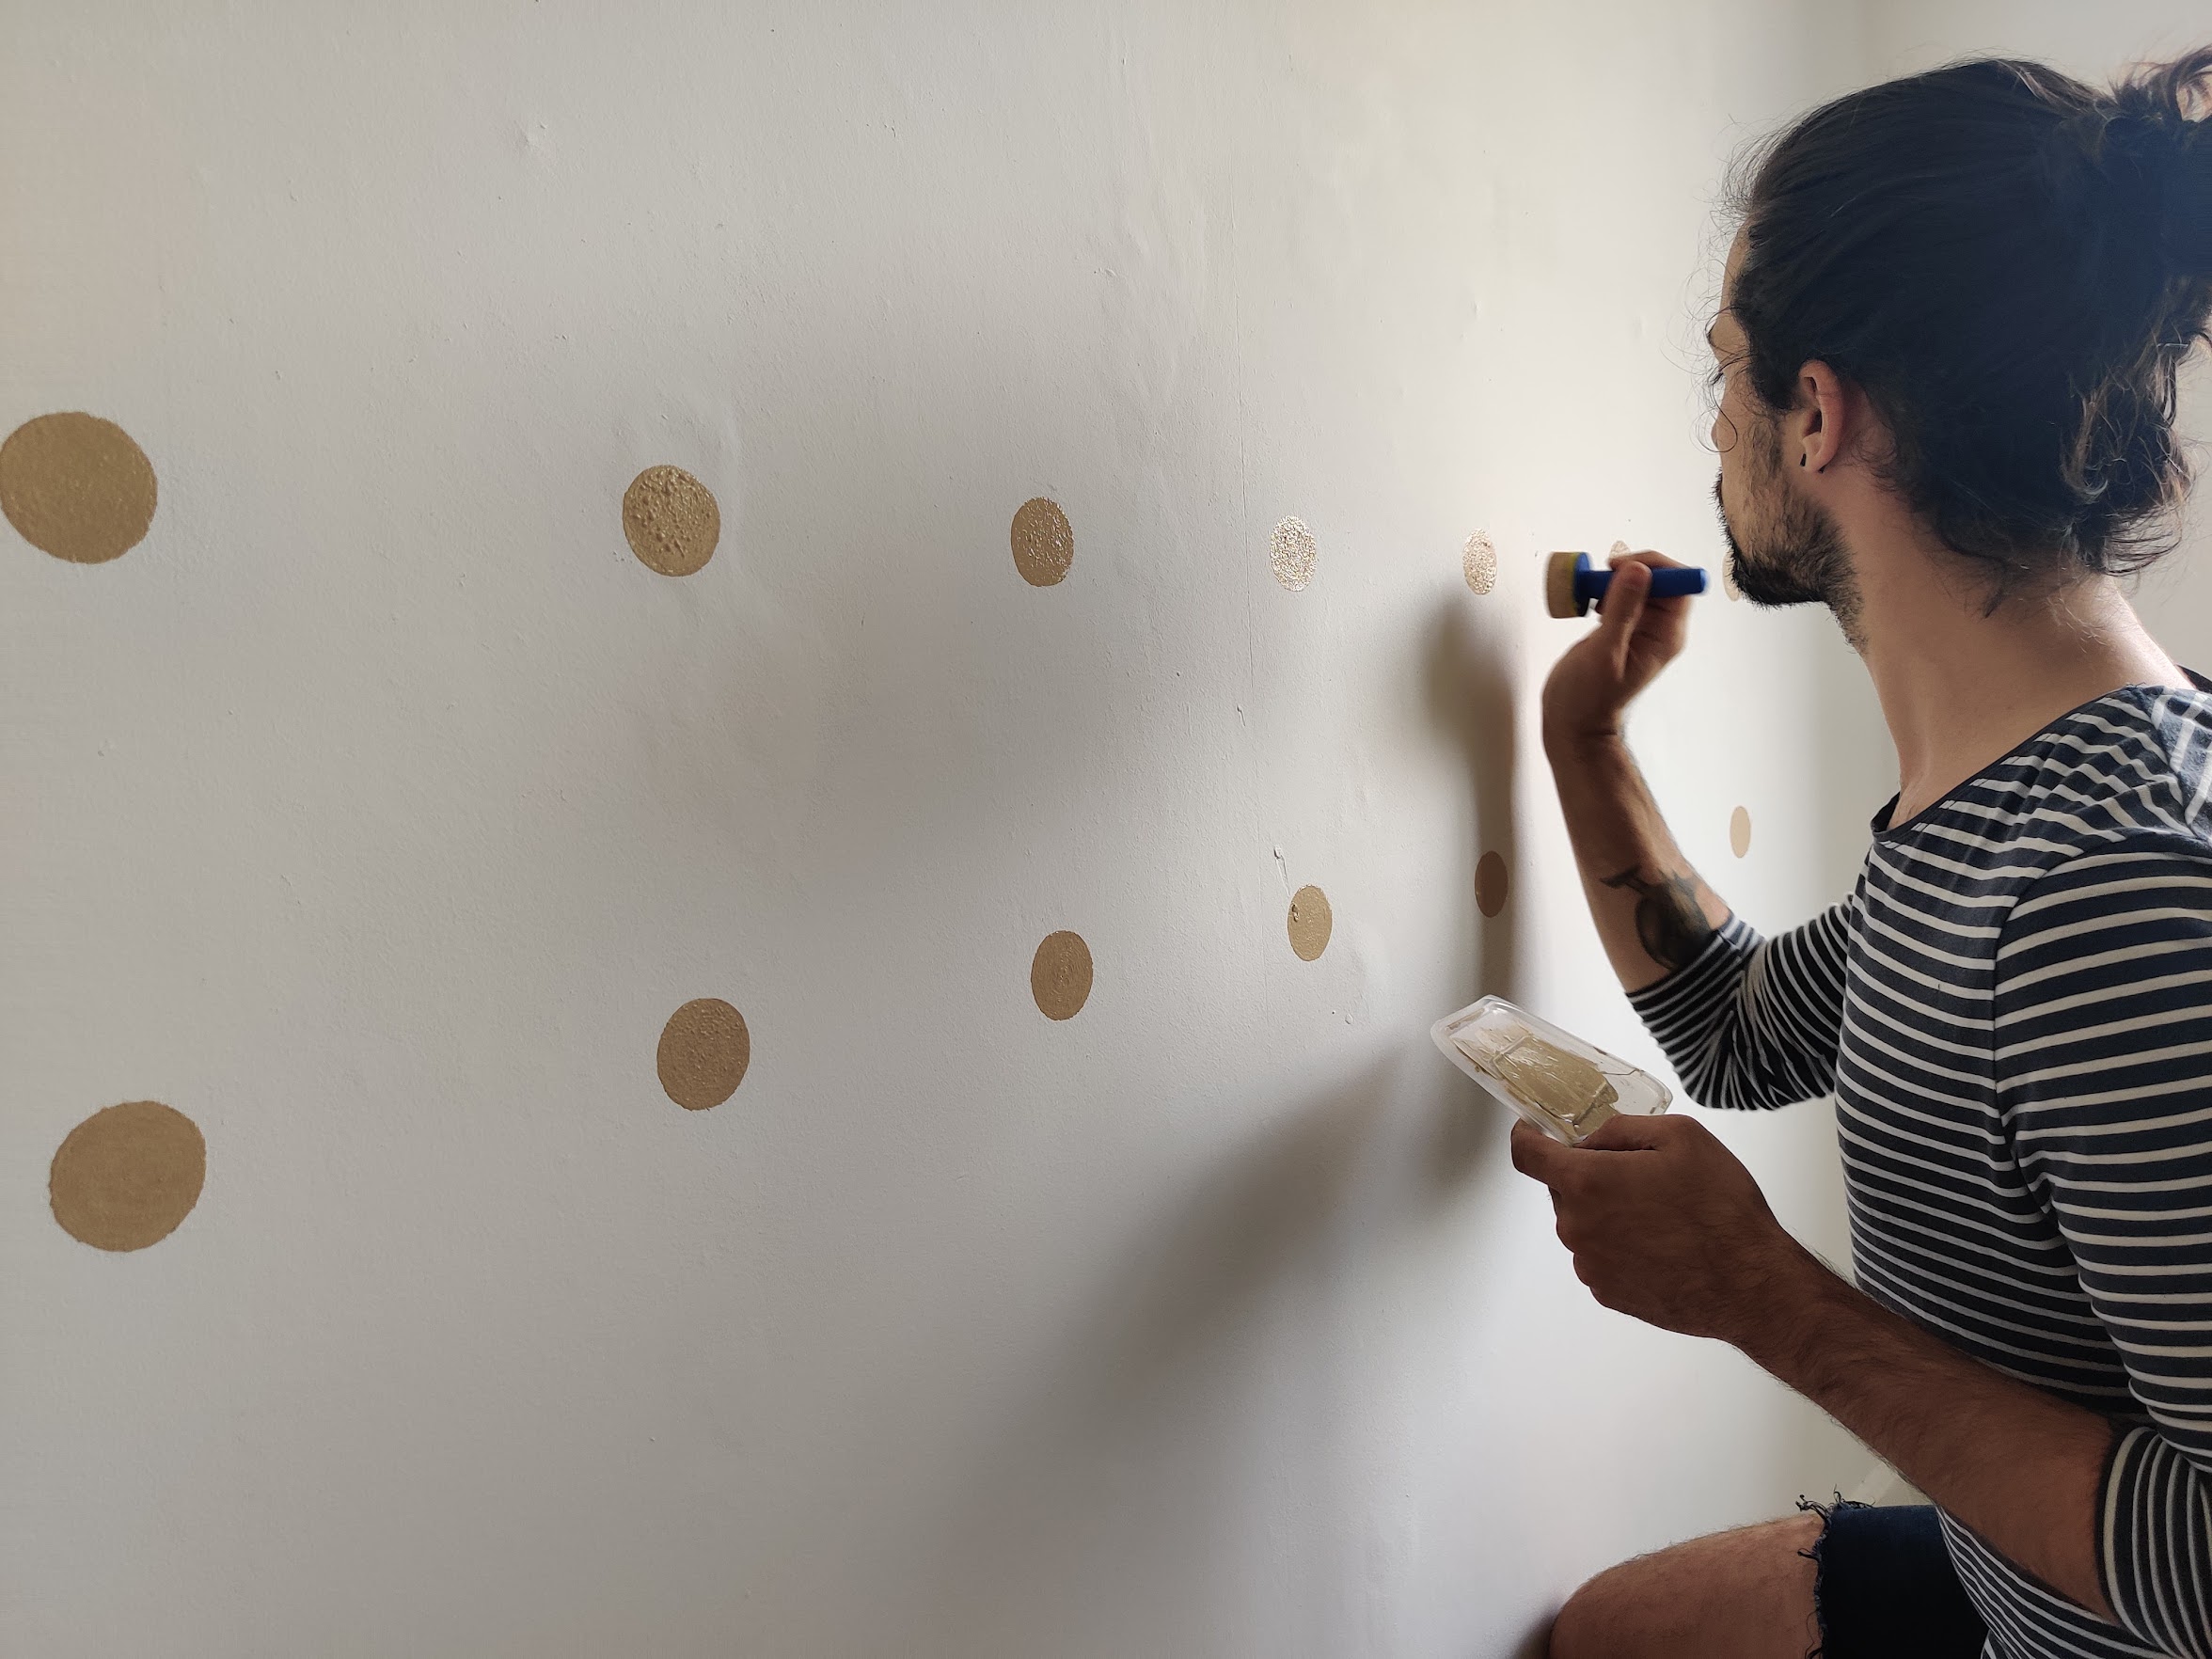
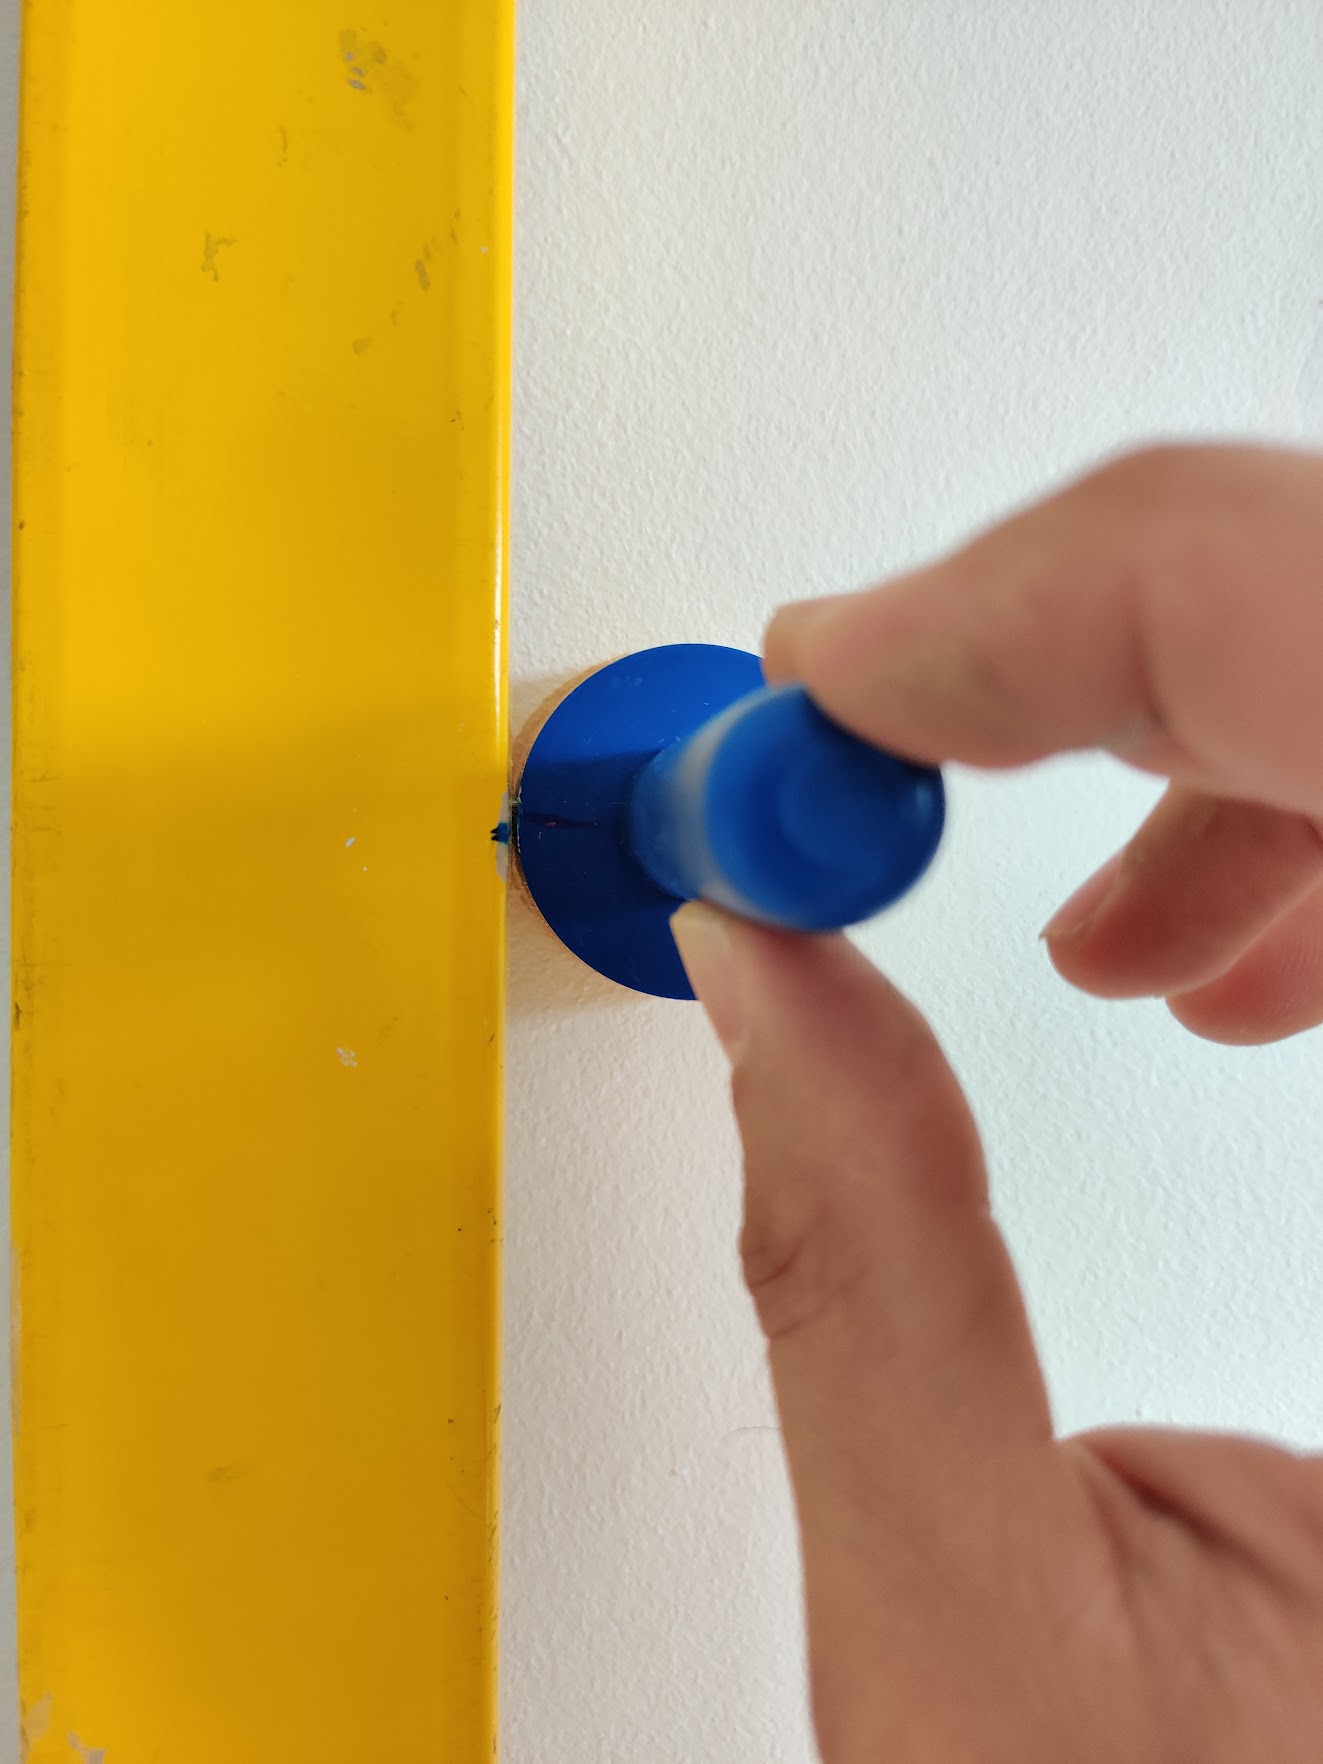
To actually paint the dot I used a round sponge with a handle I picked up from Hobbycraft but you can also find this online pretty easily. Using my measuring tape I marked the spirit level using the marker in 20cm intervals.
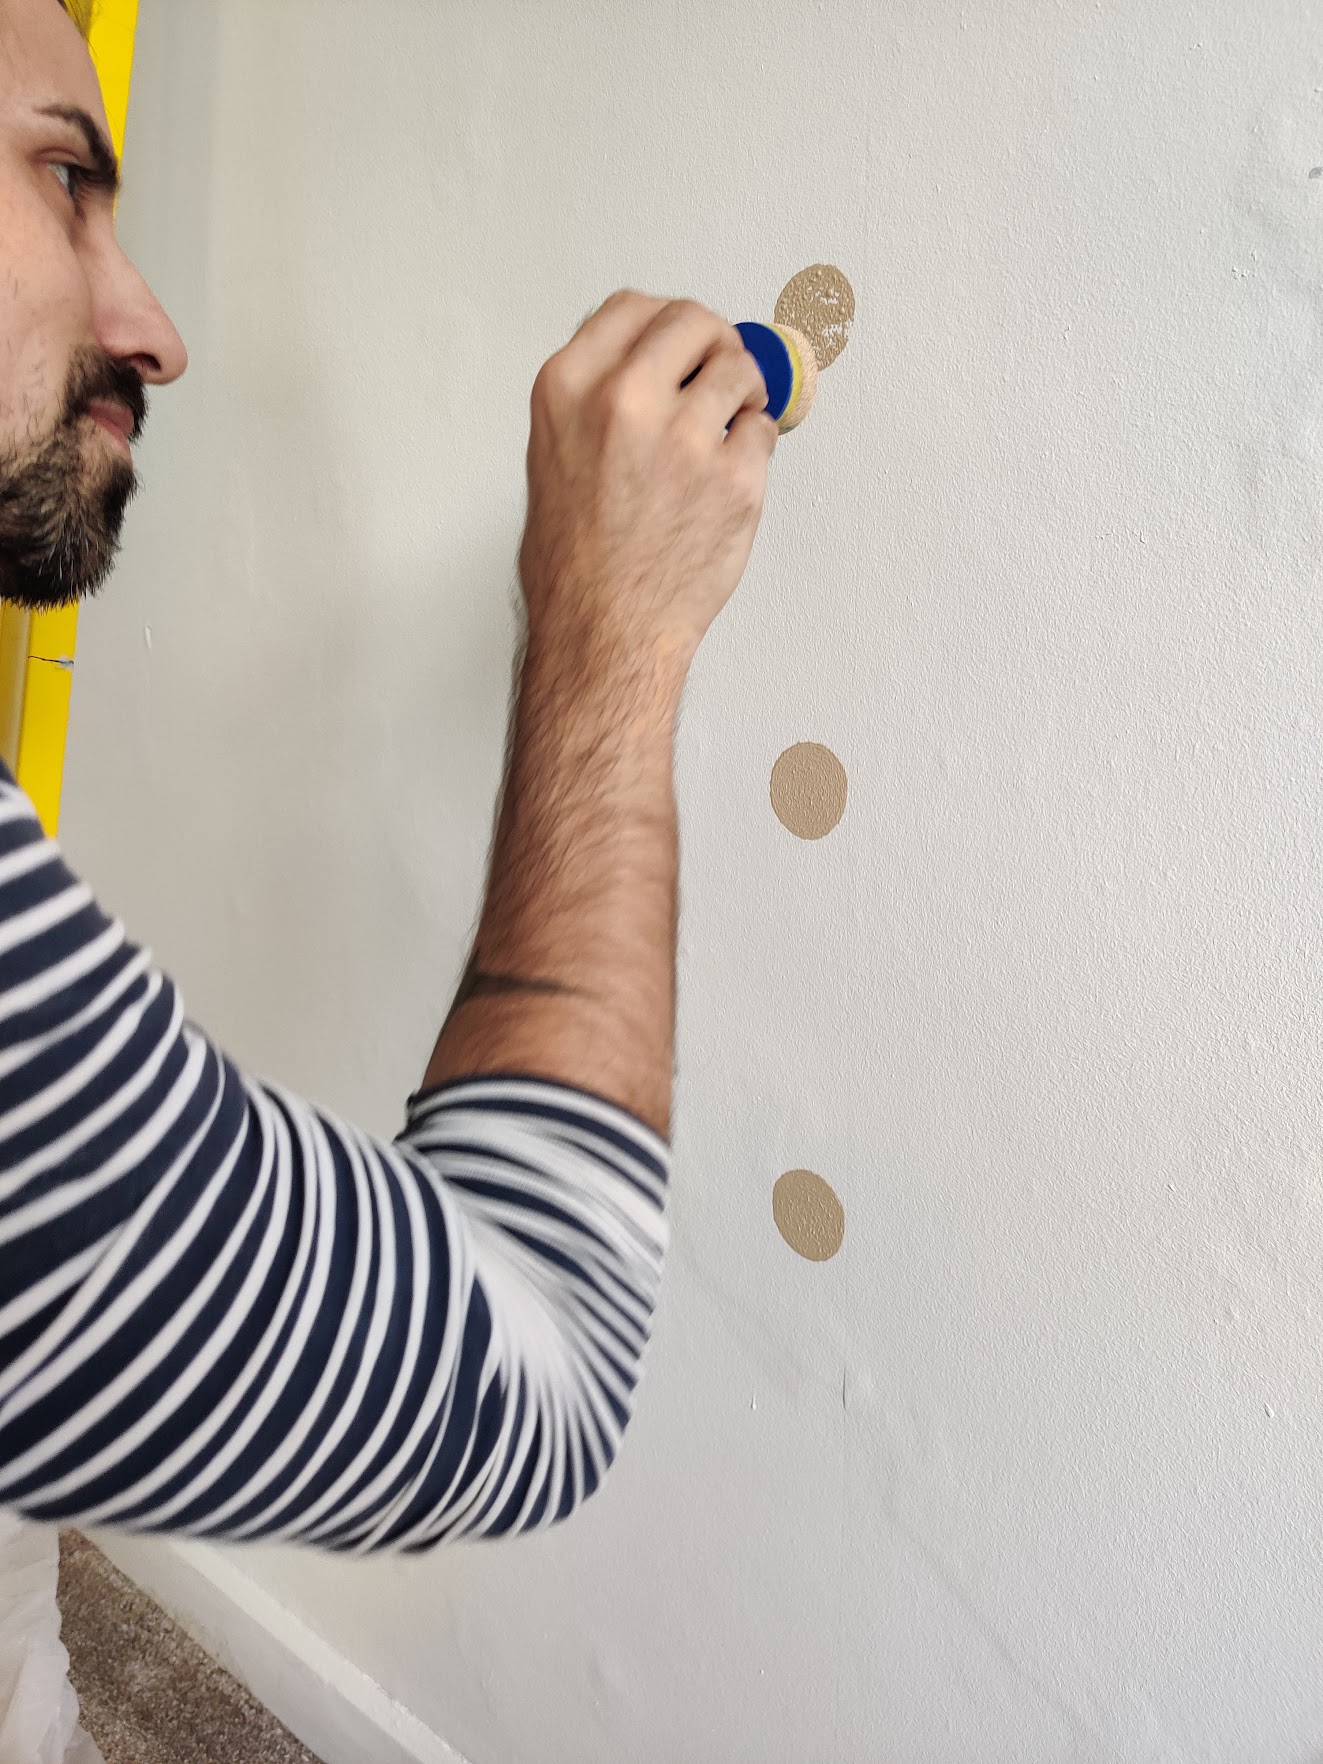
I also added a marker on the rear of the sponge so I lined up with the spirit level perfectly each time. Add a small amount of paint to a Tupperware lid and dip the sponge into it. You do not want excess paint on the sponge as this will cause drips or bleeding when you apply it to the wall.
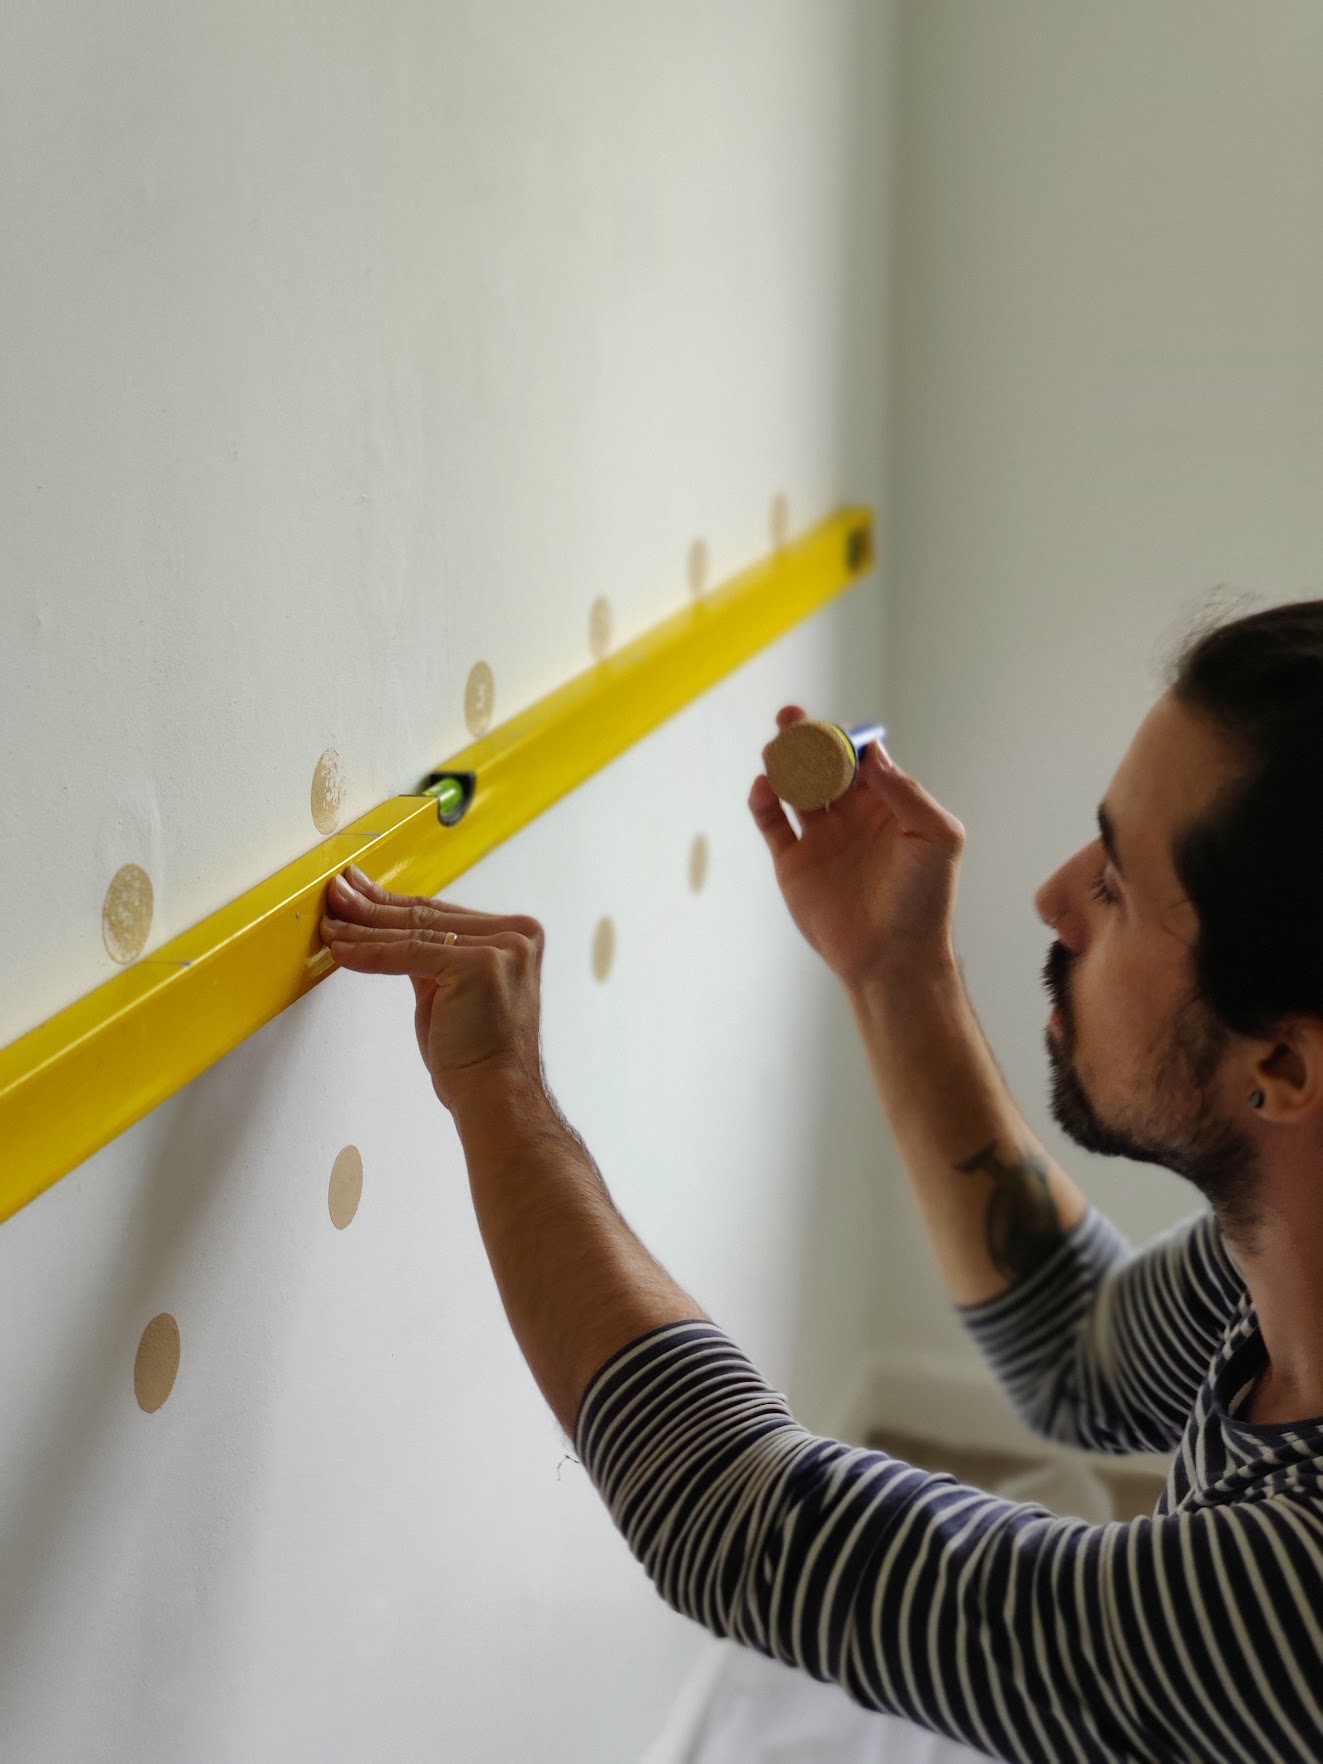
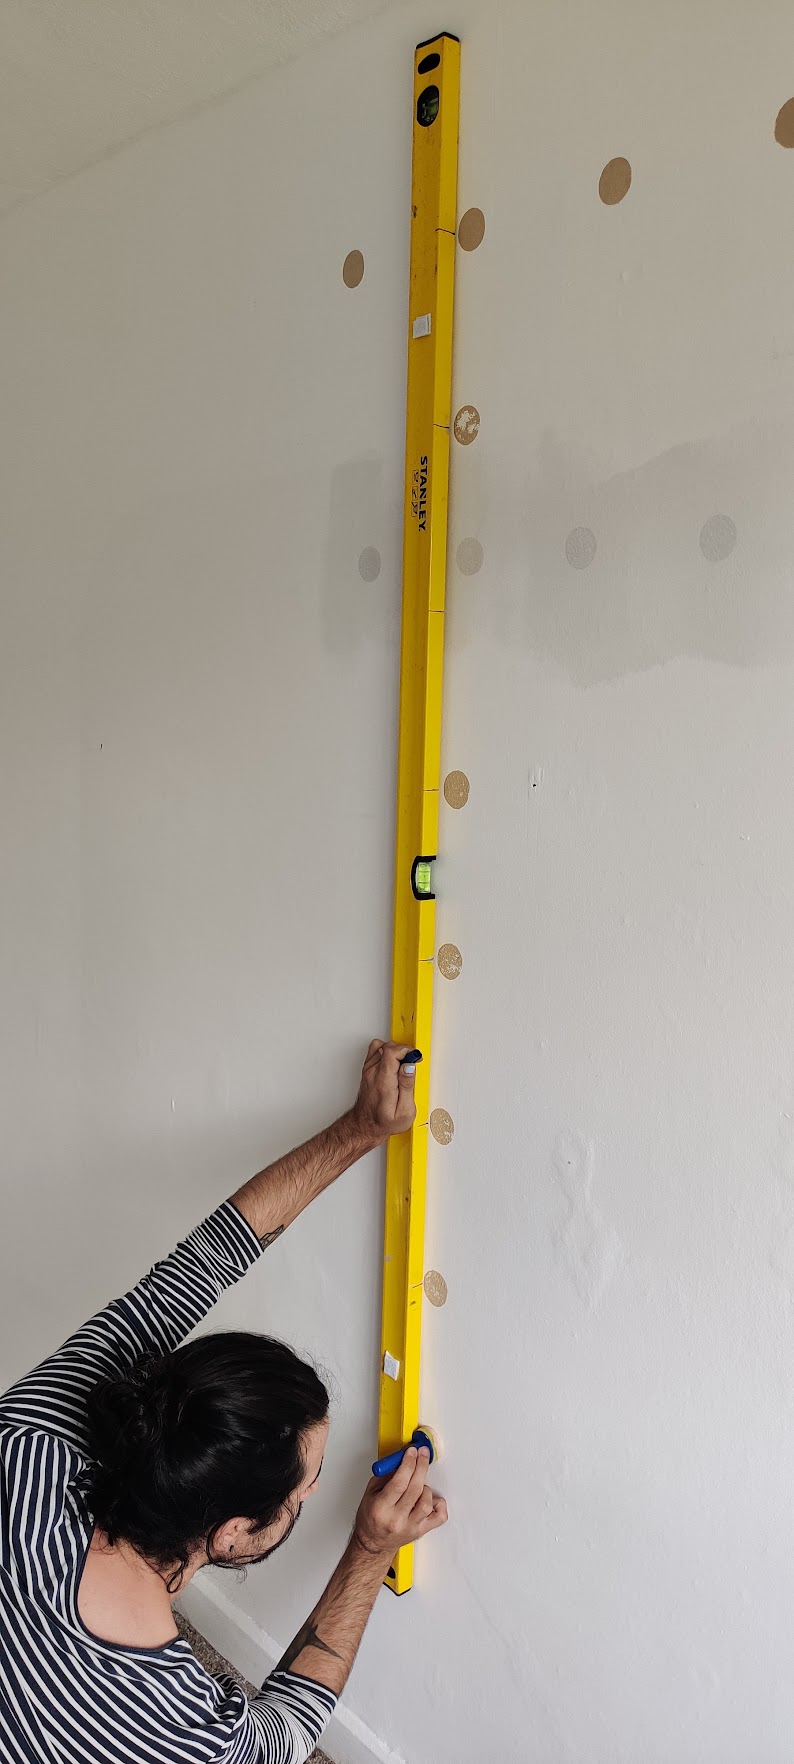
Lightly mark your first corner onto the wall so you know where to start. Place the spirit level horizontally against this mark and make sure the bubble is within the two lines. Start marking the wall with your sponge using the level as a guide. It may be easier for someone to hold the level for you but I managed to do both. Don’t worry too much about getting the perfect dot when you first apply as you are mainly marking out the correct placement and you can touch up the dots later. Once you have done your first horizontal row follow this up and do your first vertical row also using your spirit level. Once your first vertical row is done use it as a starting point for all your horizontal dots.
7. Perfecting the finish
For any dots that aren’t perfect you can use the sponge to tidy them up, the best way to apply is to give a small twist of the sponge which will give a smoother finish. You can also use the painters brush to tidy any imperfections. Don’t worry if you have had any total disasters as you can always paint over it with the base wall colour and start again!
The results:
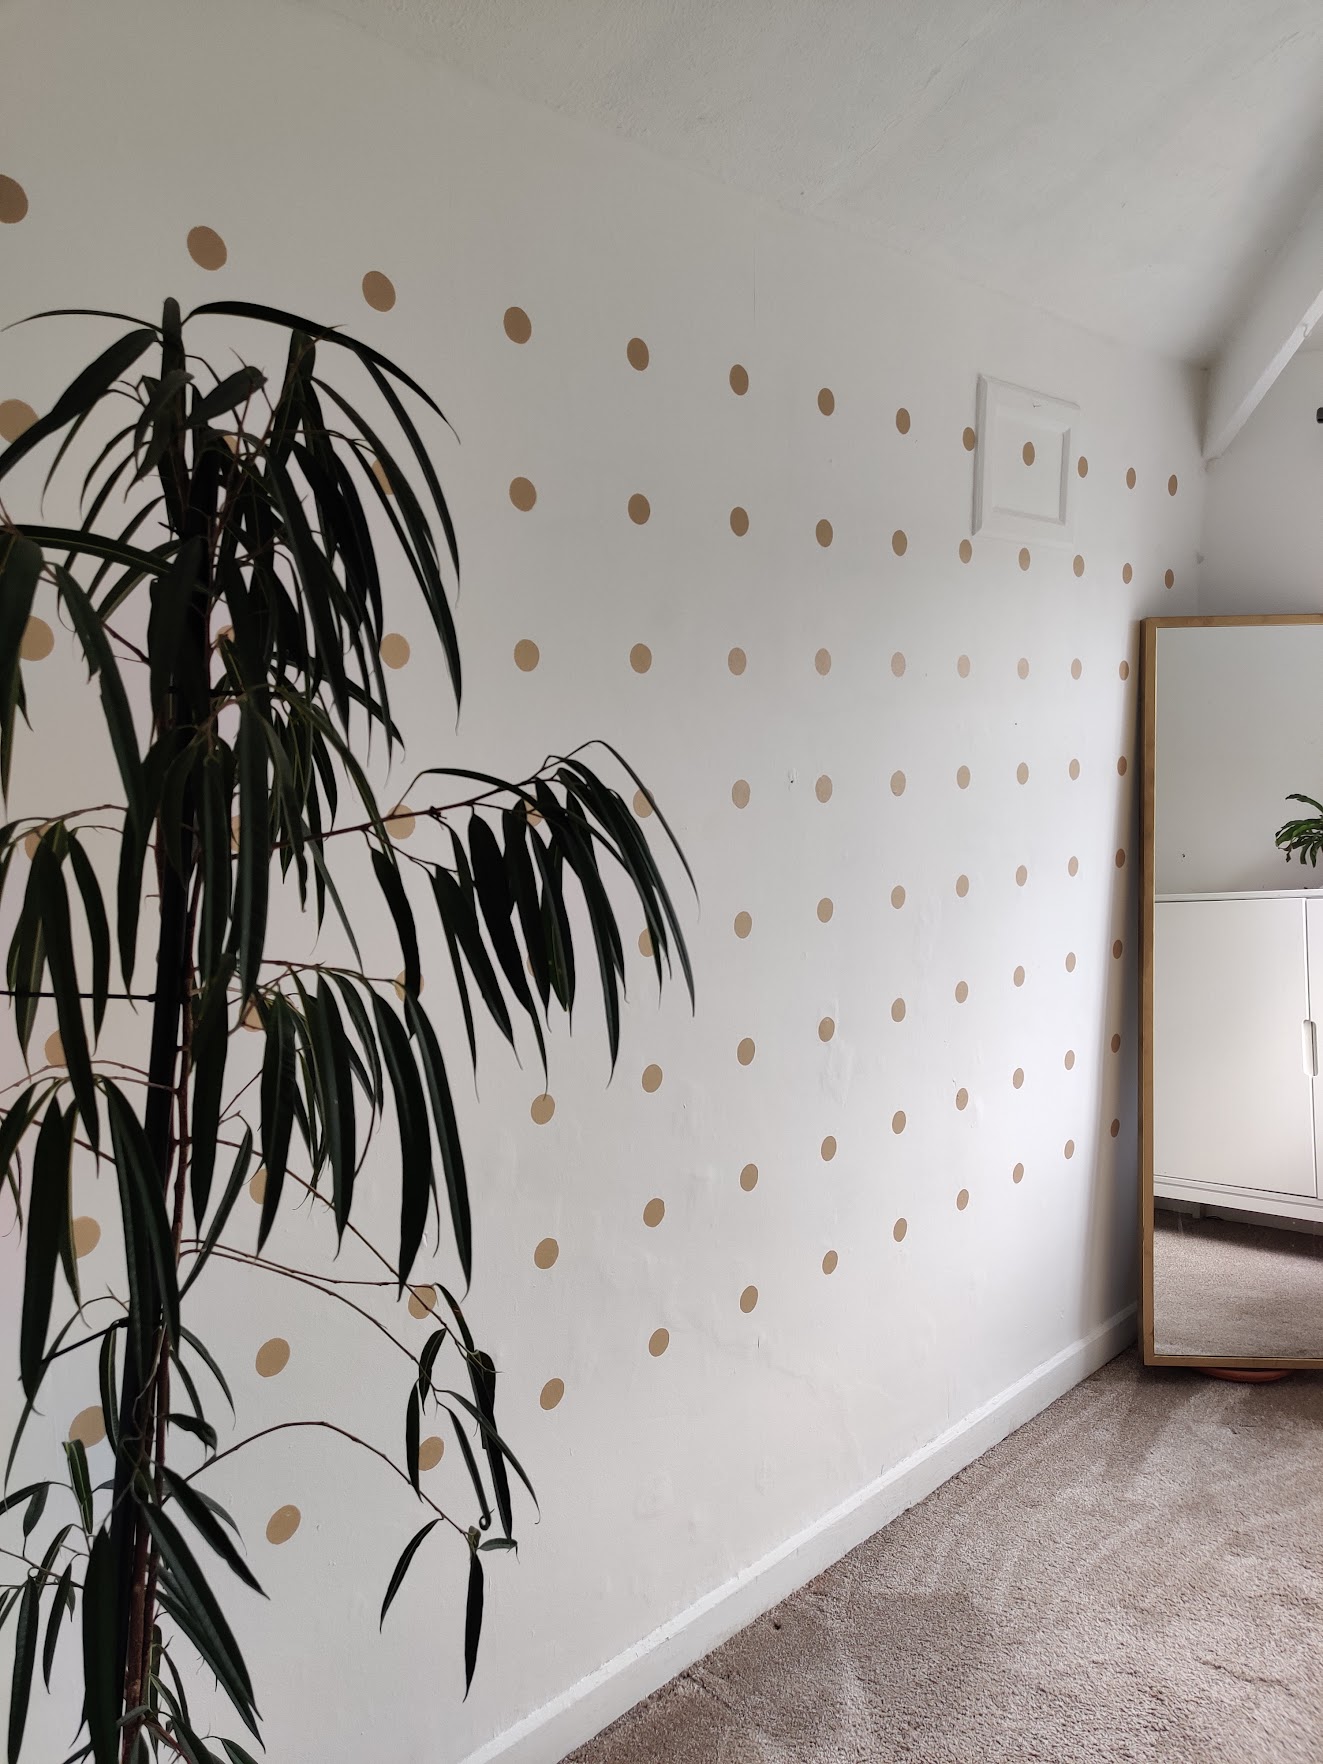
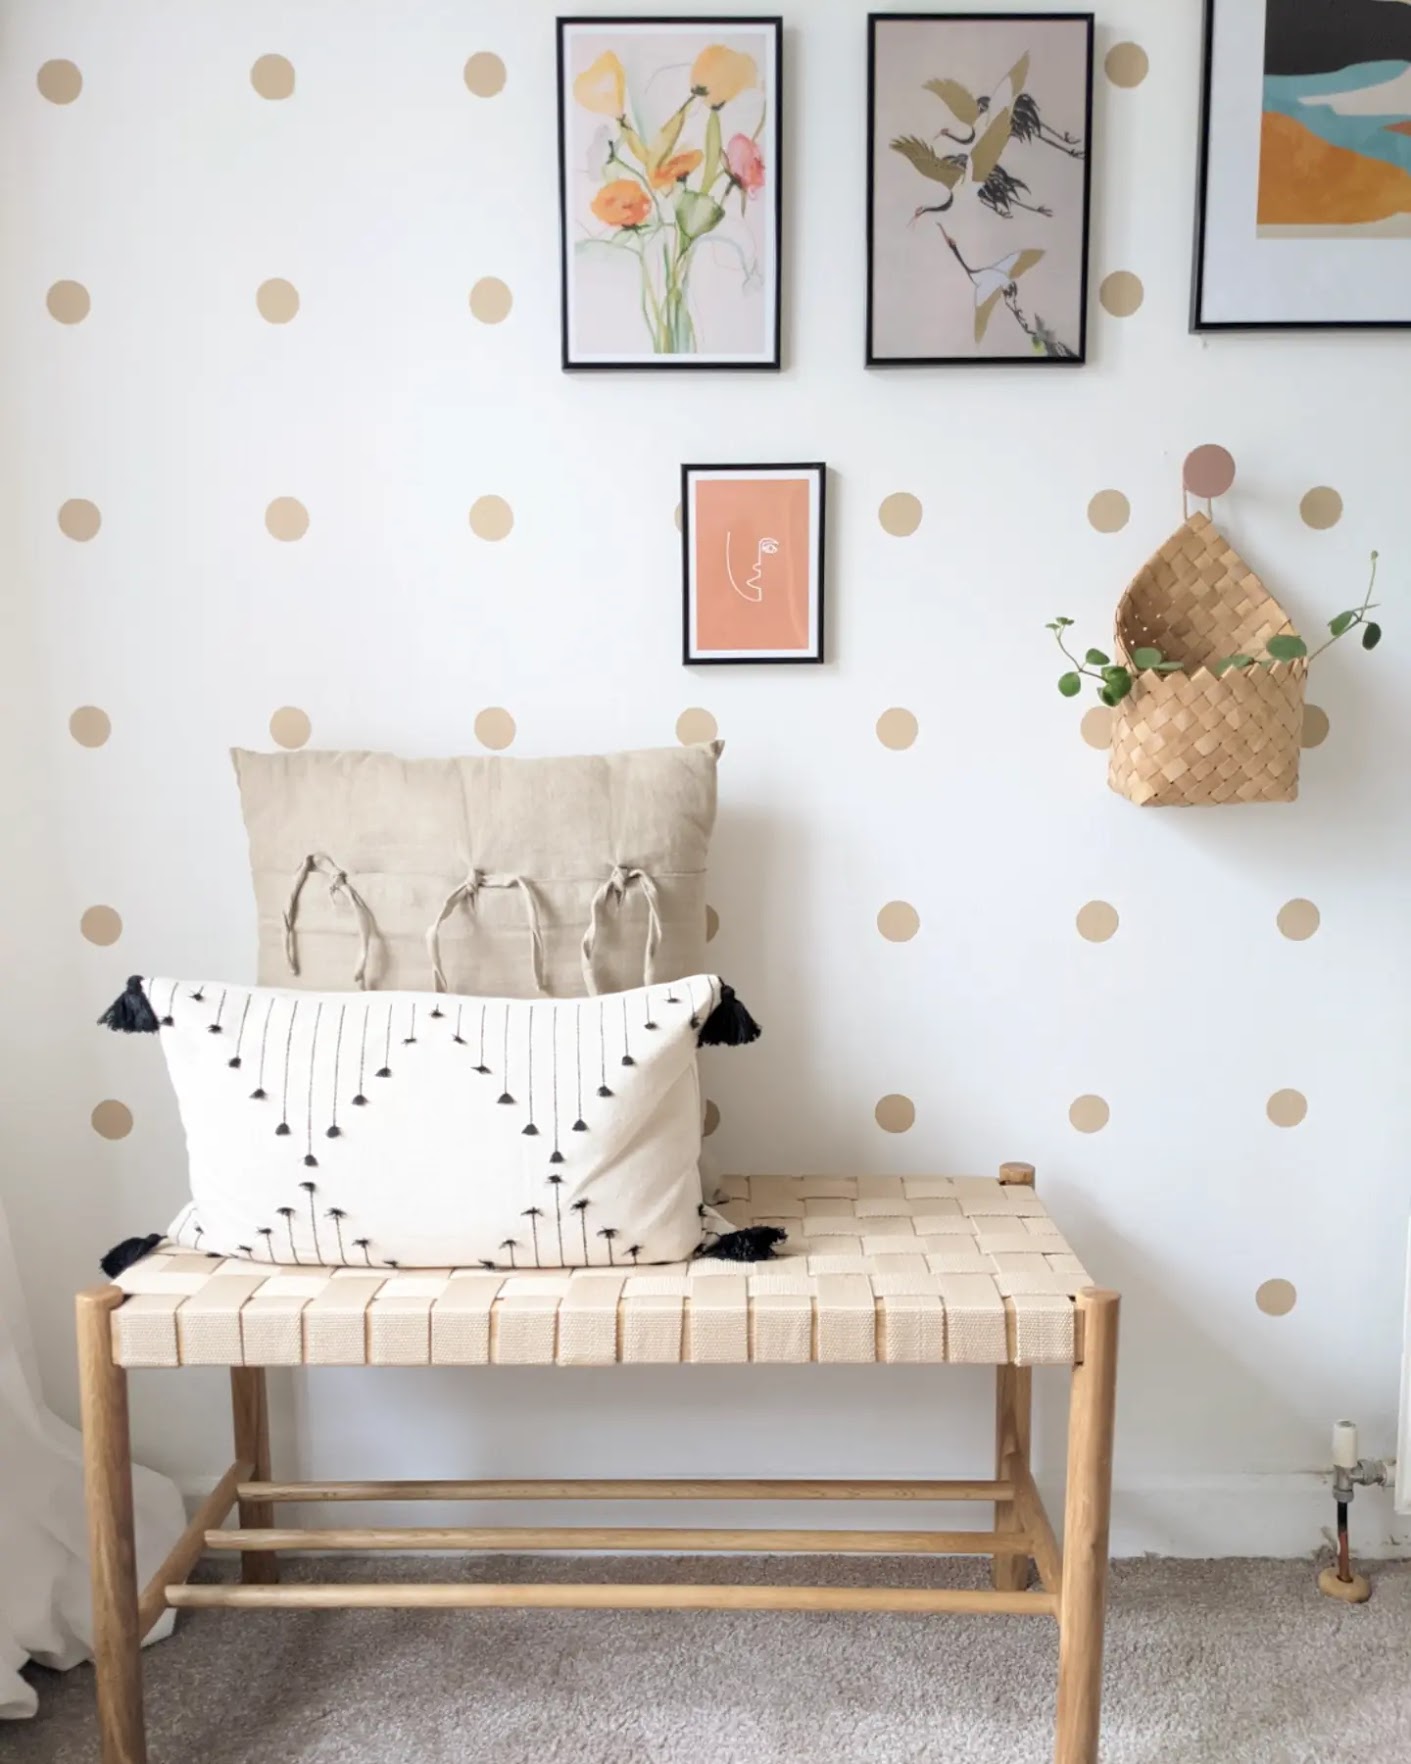
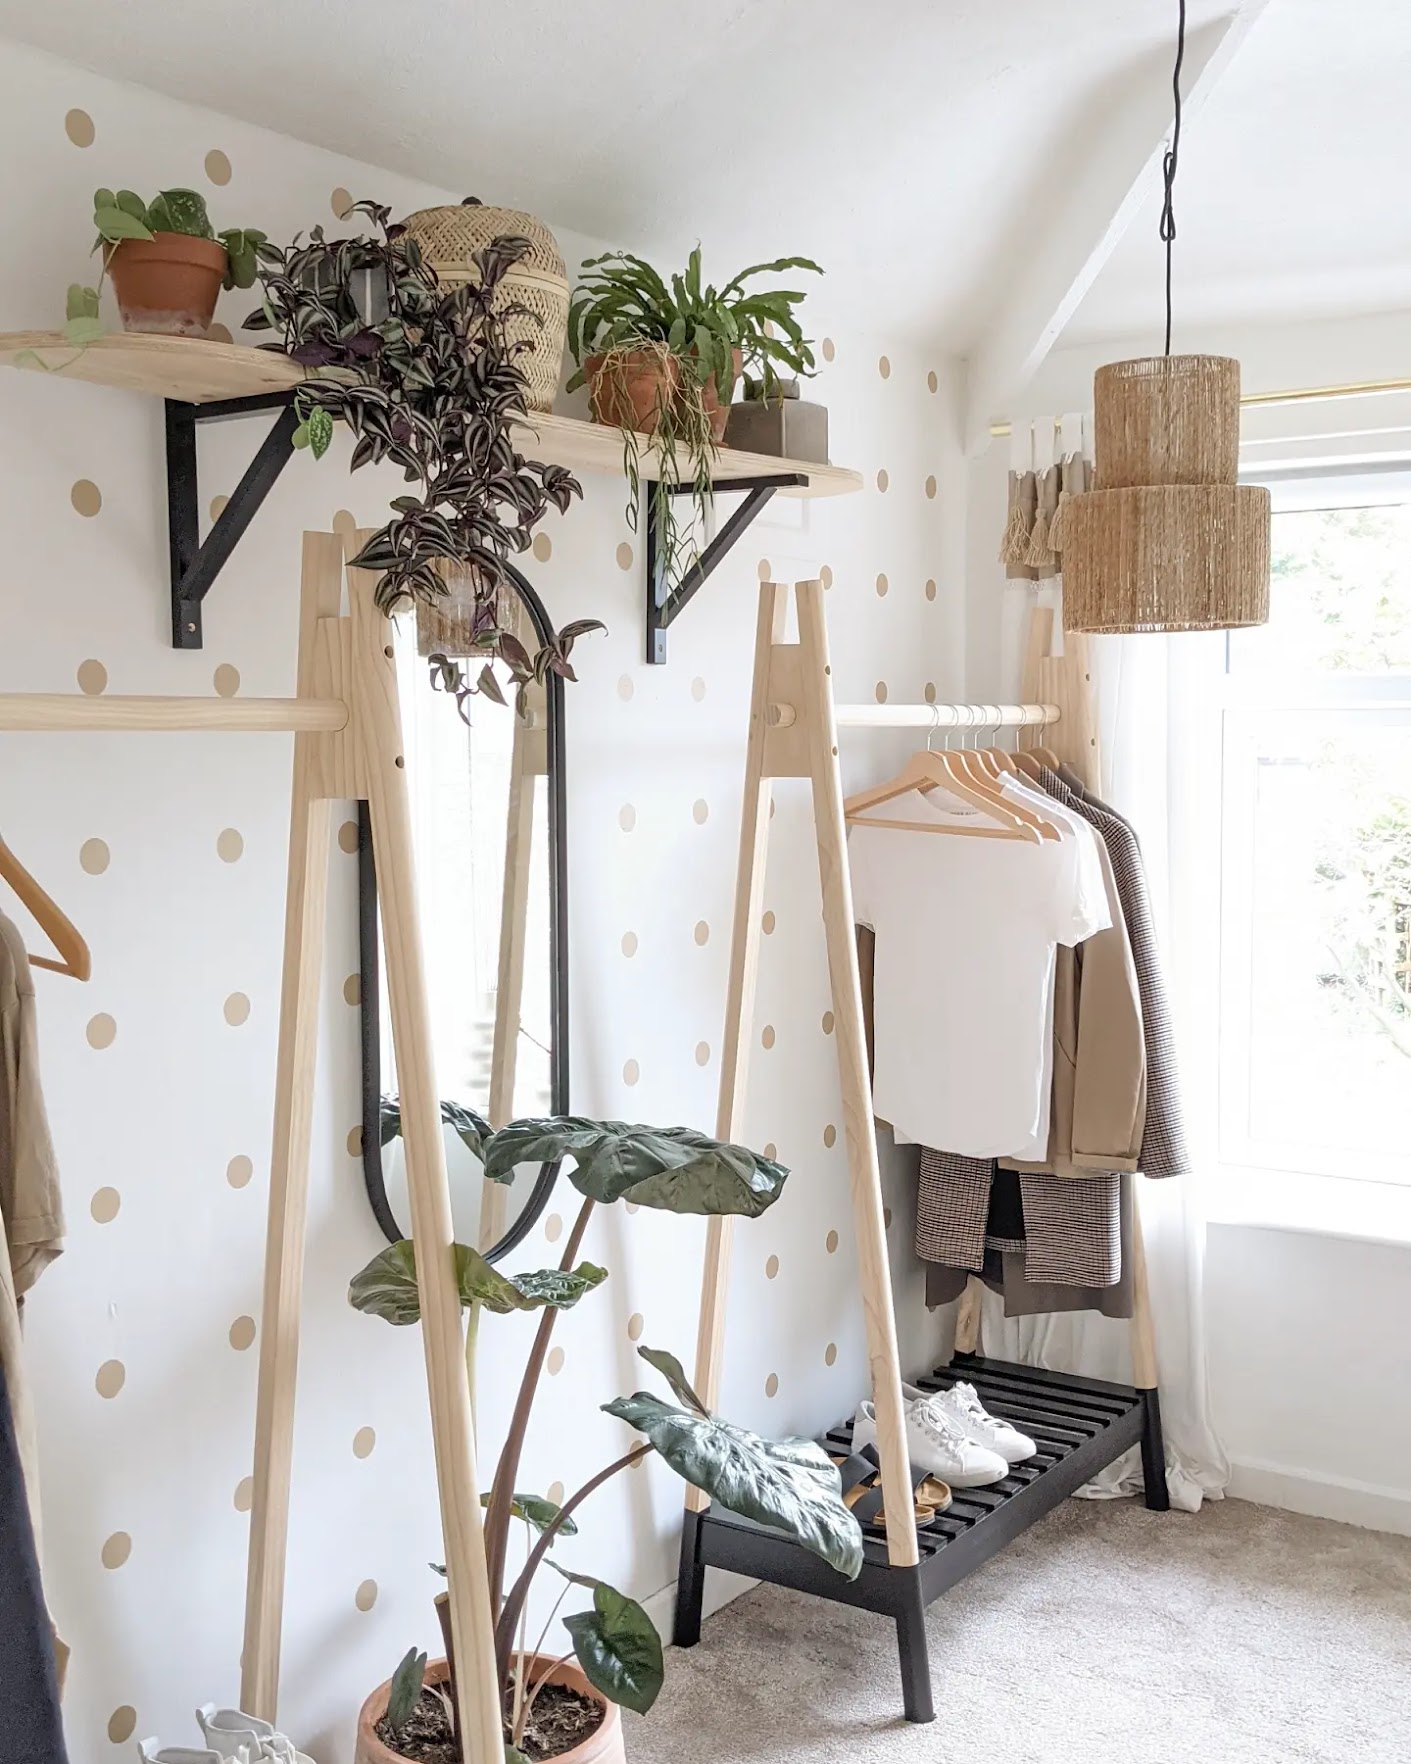
We love keeping a lofty, Scandi-esque feel around the home and this polka dot wall helped achieve a light and airy finish, making our dressing room appear a little larger too.

As it's an unfussy design, it works well as a backdrop for simple furniture, shelving and plants to give it a subtle burst of colour.
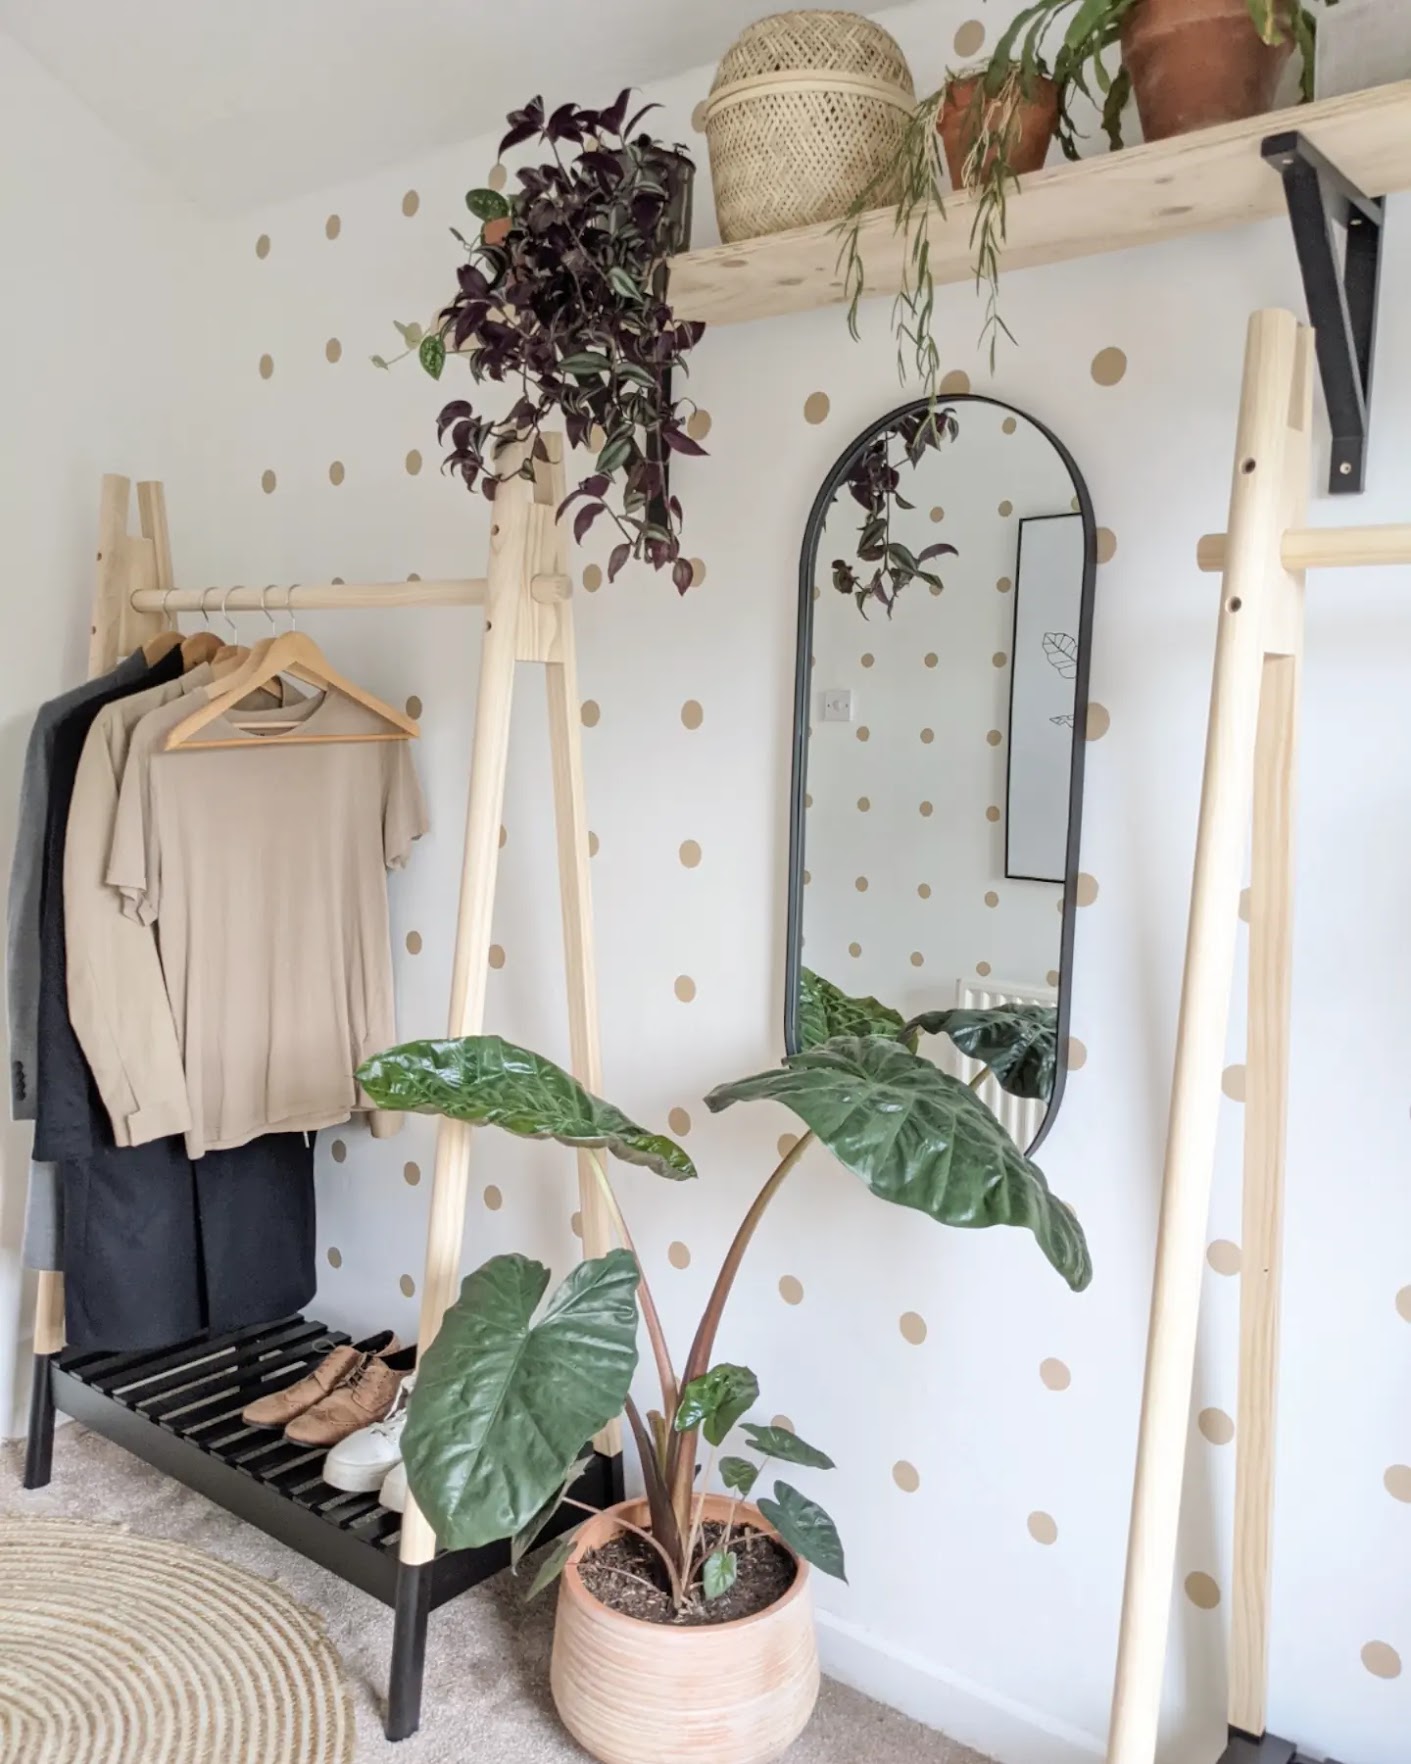
As any interior design aficionado would know, adding a mirror will enhance a small space too and this works particularly well with the polka dot accent wall.
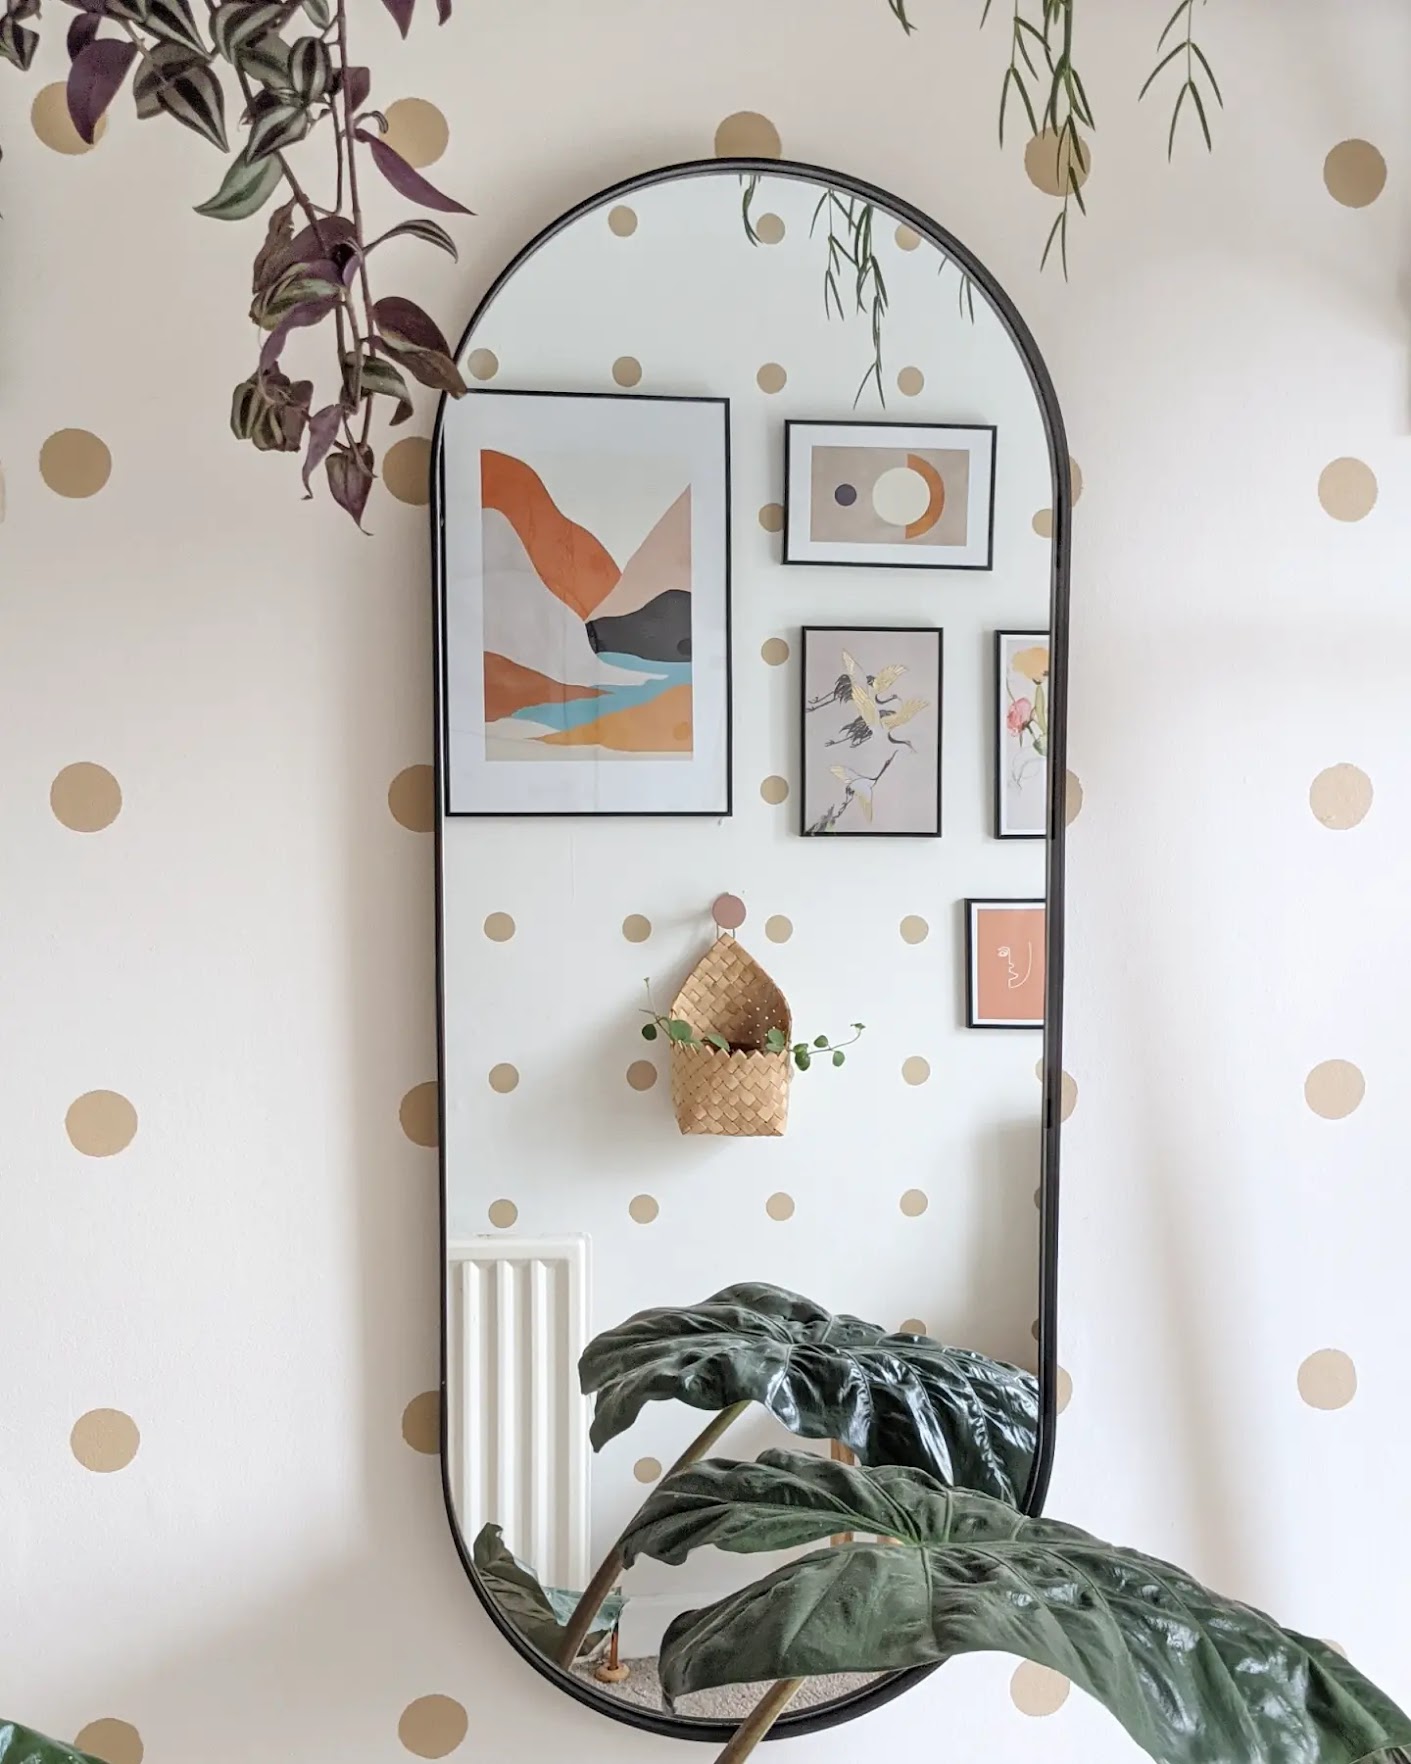
We are so happy with the results and literally anyone could achieve this over a weekend!
Join our newsletter
Get small space home decor ideas, celeb inspiration, DIY tips and more, straight to your inbox!
Jo Lemos is a DIYer and decorator who chronicles his projects on the popular Instagram account @two.men.and.a.semi. His DIY obsession began in childhood, when he used to help his parents redecorate the family house. Since then, he’s been developing his DIY skills for two decades, culminating in a full renovation of his current house alongside his partner, Chris. Currently the duo is restoring a 1930s semi-detached house in Manchester that had been badly renovated throughout the years. For Jo, sustainable and budget friendly design is the best way to renovate your house, and he considers his renovation motto to be: “Why pay someone when I can do it myself?!”
-
 What is color drenching? Interior designers love this bold trend
If you're curious about color drenching, our interior designers explain what it is, how to do it, and what to shop to bring it into your home
By Sophie Warren-Smith Published
-
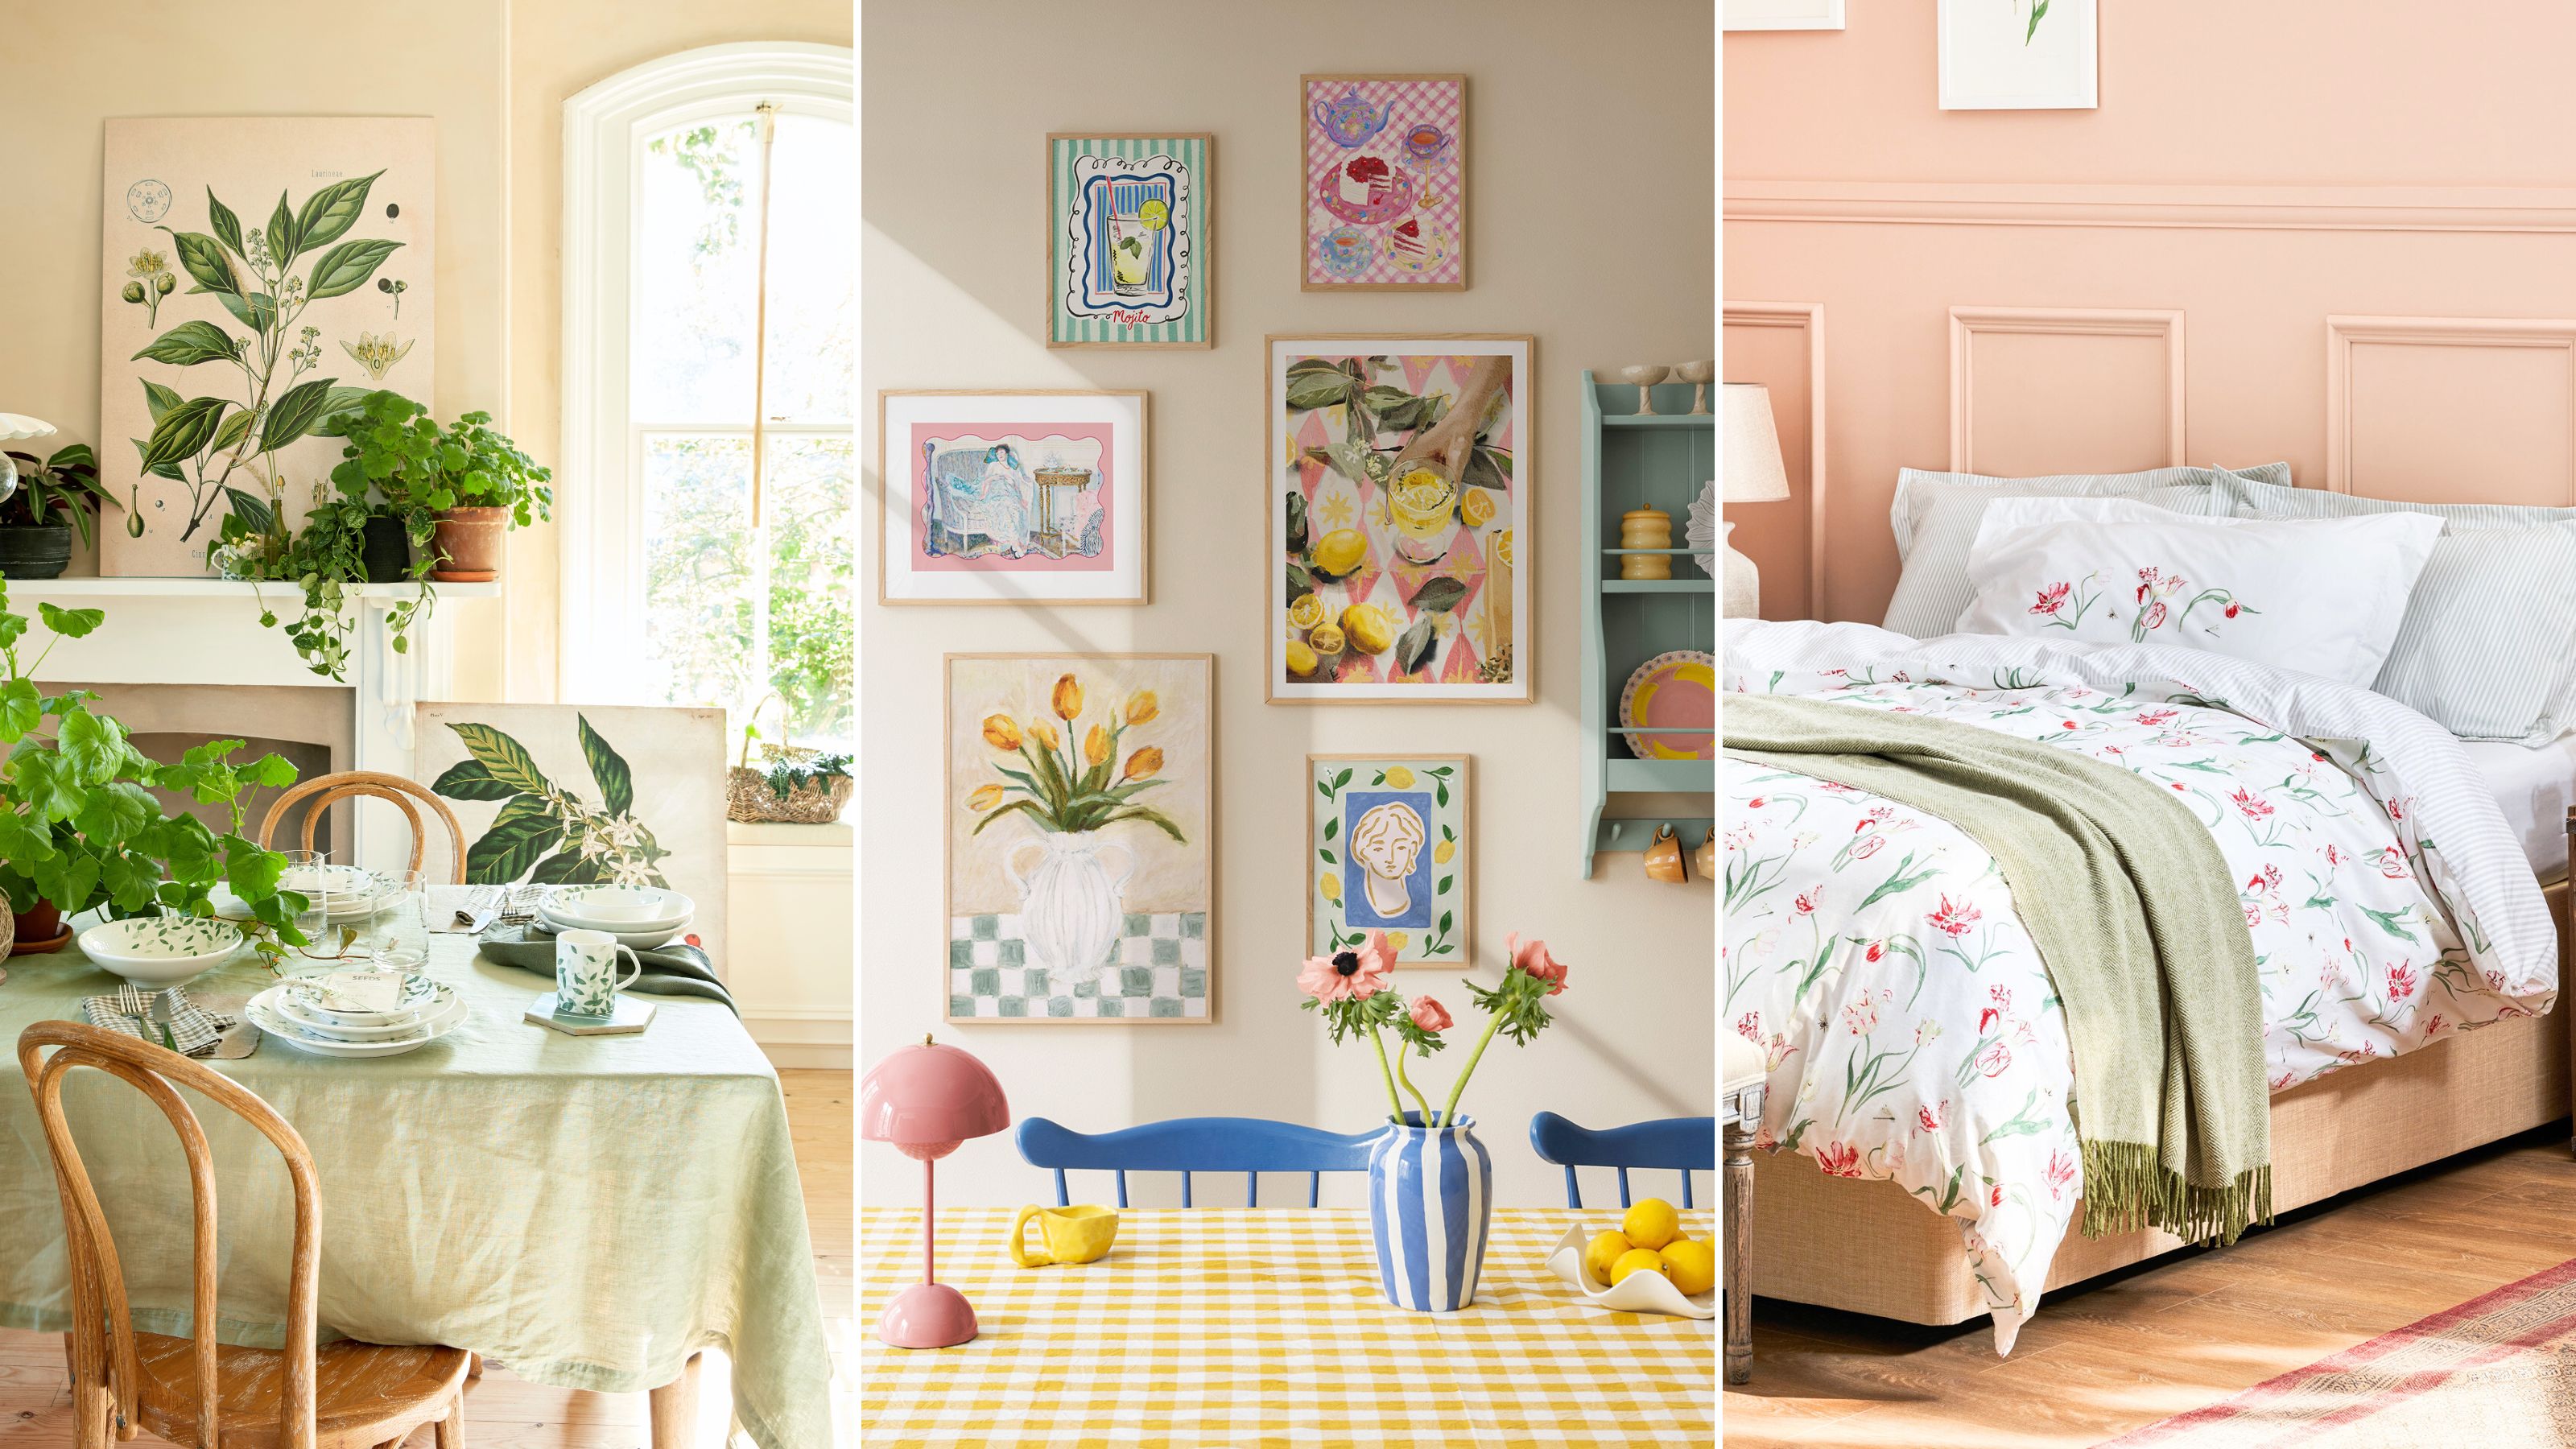 7 spring home decor ideas to refresh your home for the season
These spring home decor ideas from interior designers are perfect for brightening up any dull apartment or living space for the new season ahead
By Eve Smallman Published
-
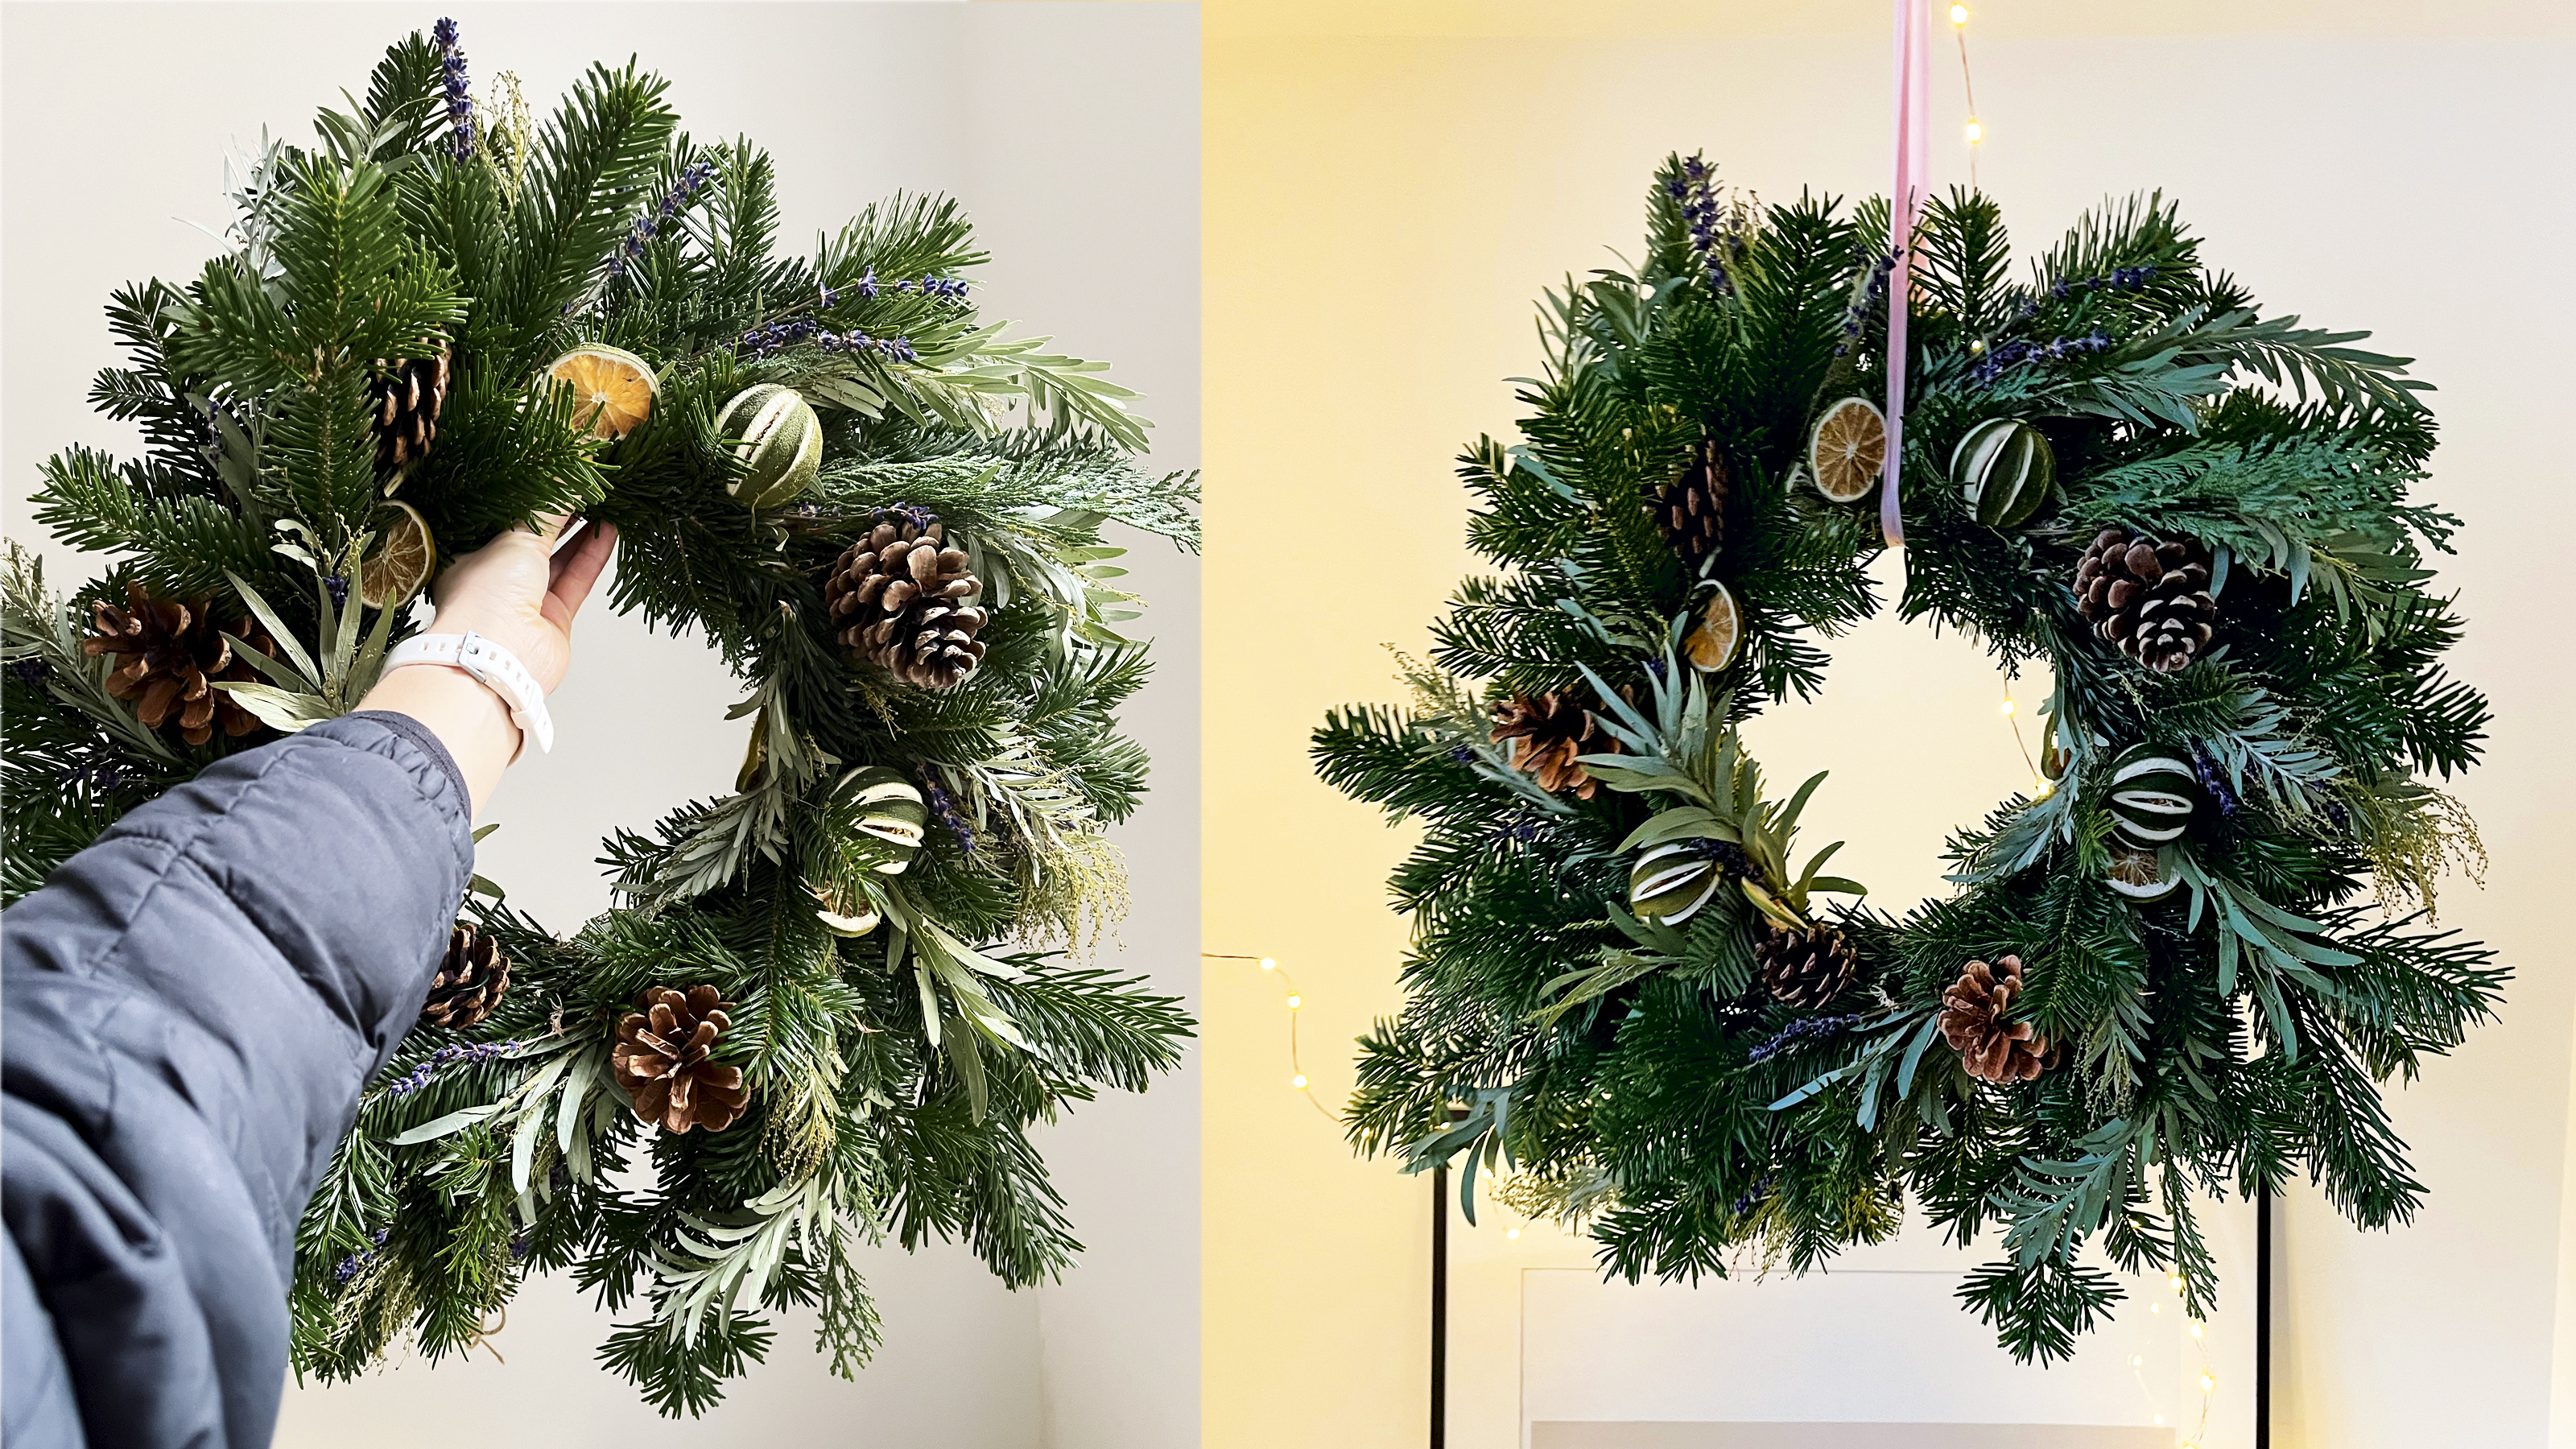 How to hang a wreath on a door (without damaging it)
Hang a wreath on a door or mantel without damaging it with our simple tips and tricks. Use some ribbon or adhesive hooks to to pretty up your pad
By Niamh Quinn Last updated
-
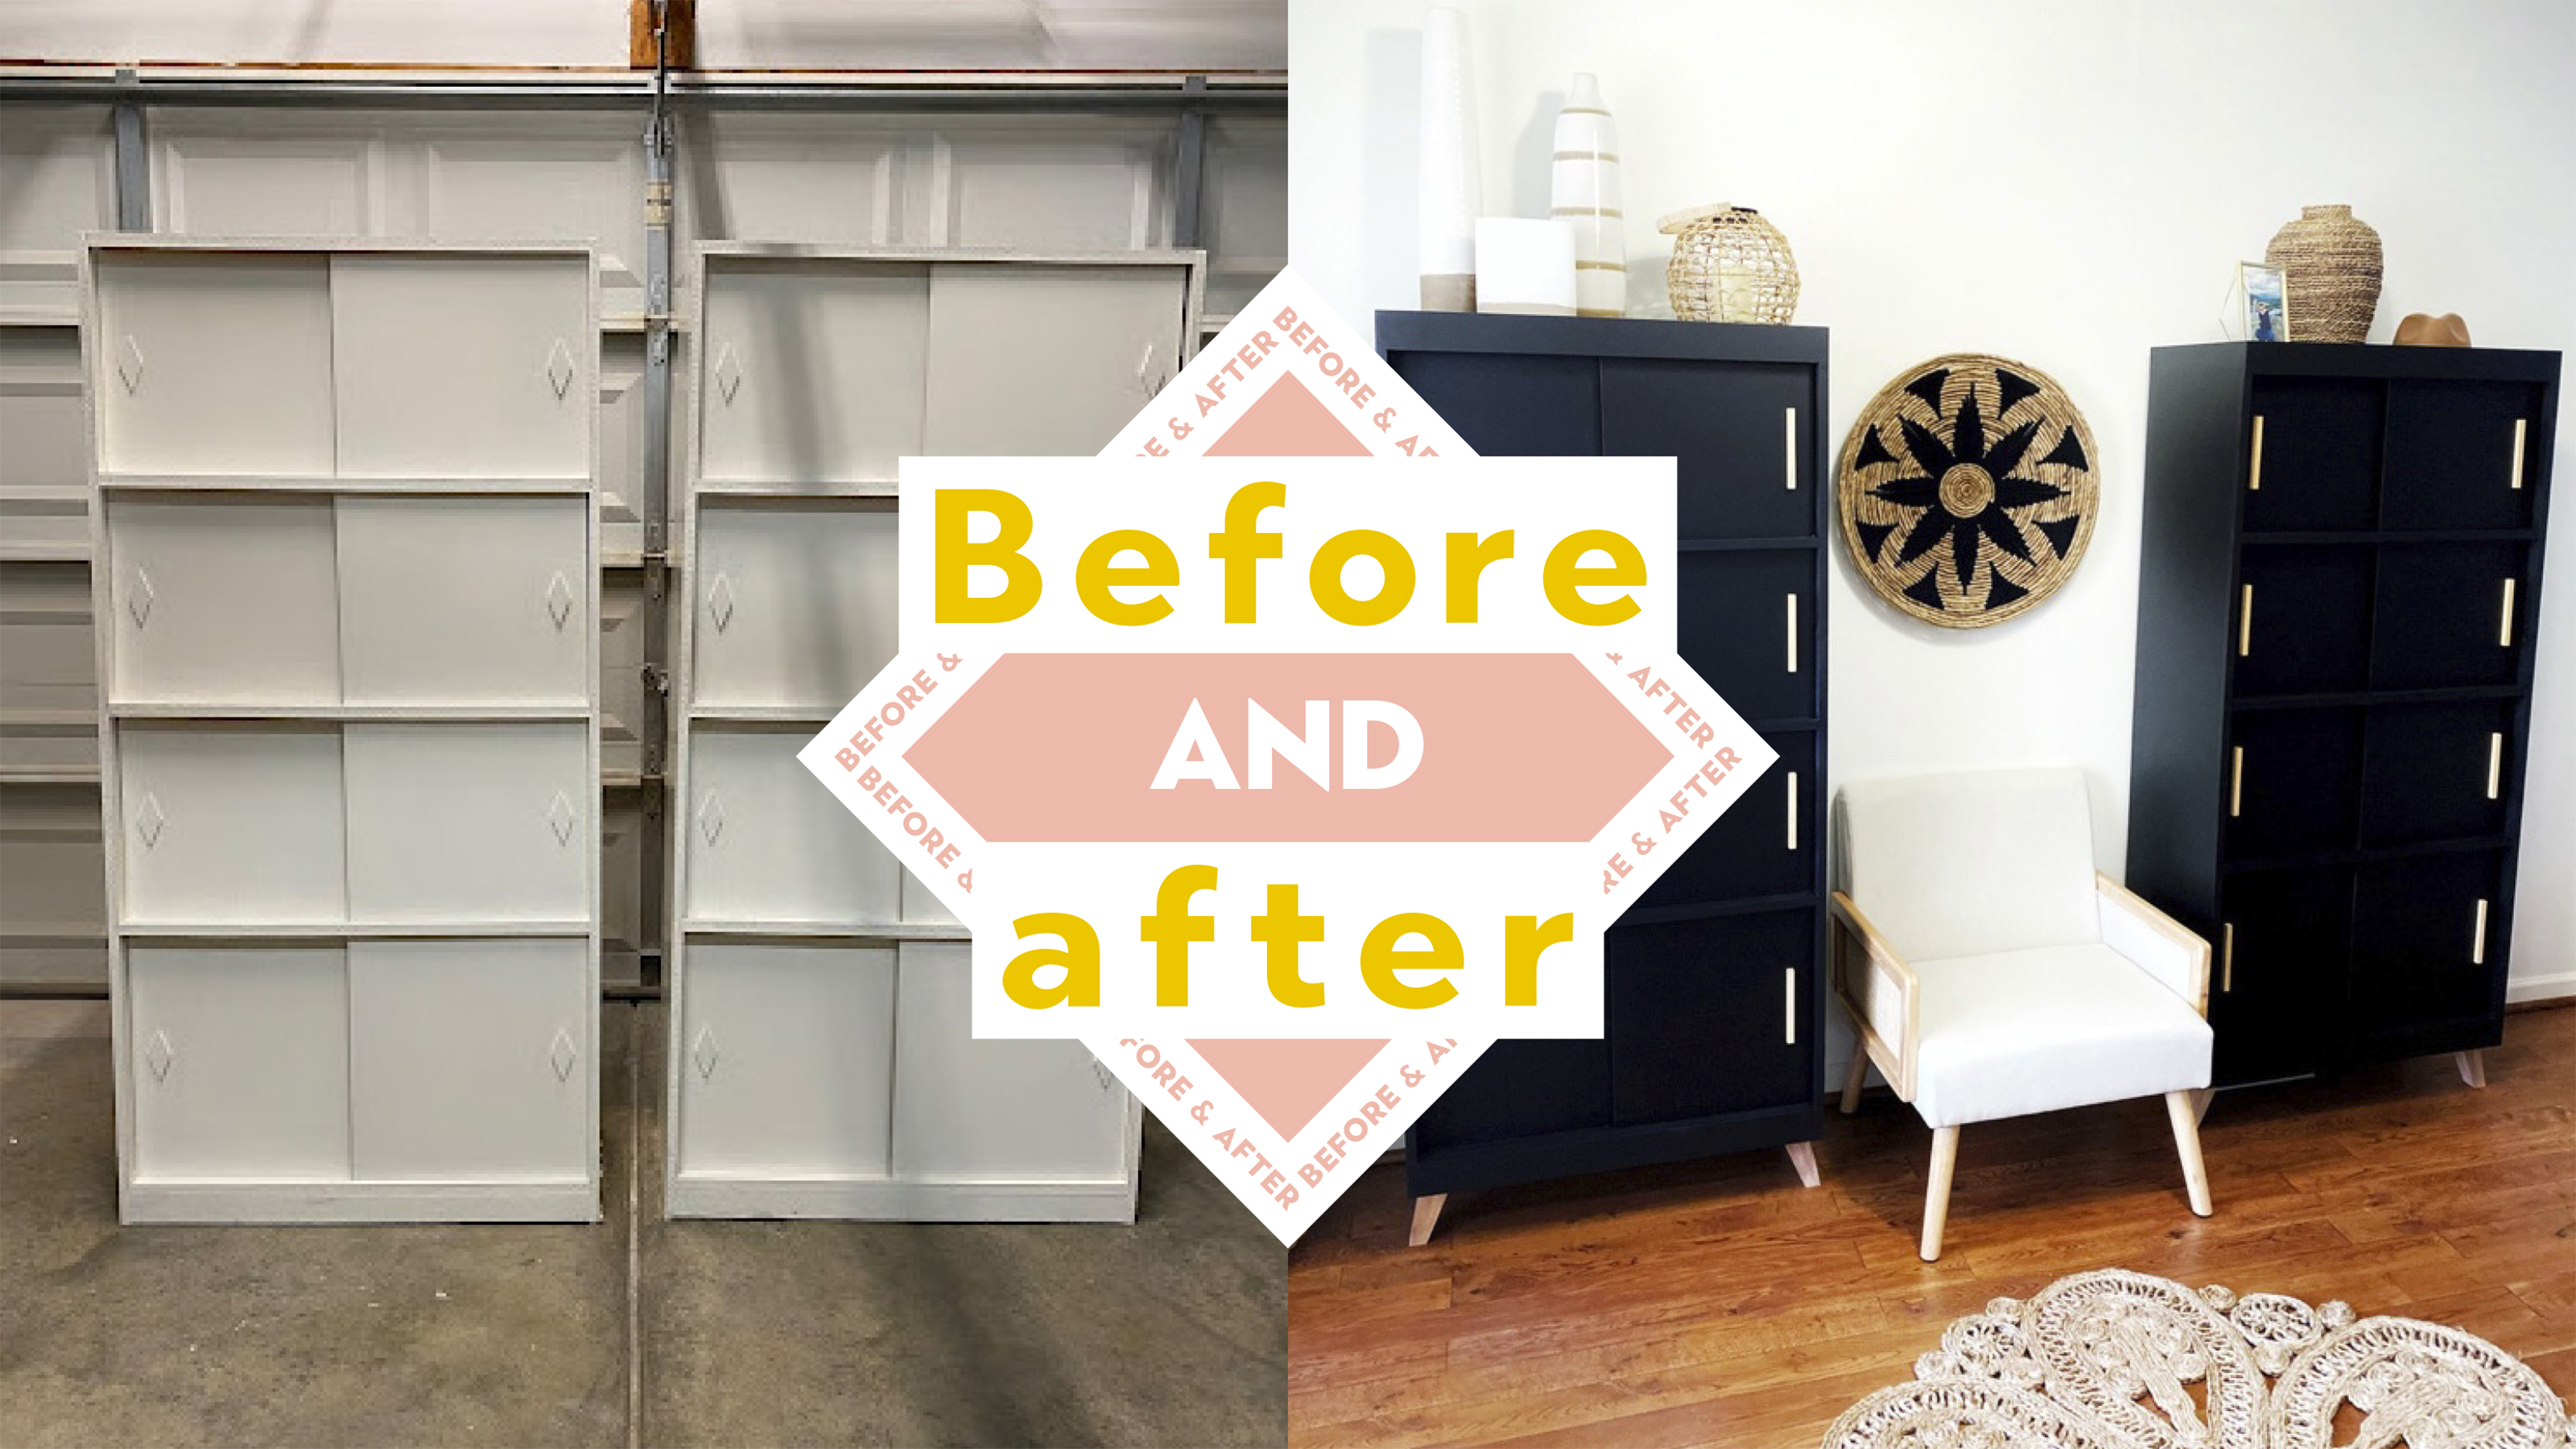 Before & After: 2 basic bookcases get a modern makeover
Talented furniture flipper shares how to refinish a cheap basic bookcase and turn it into a modern piece, sure to turn heads.
By Camille Dubuis-Welch Published
-
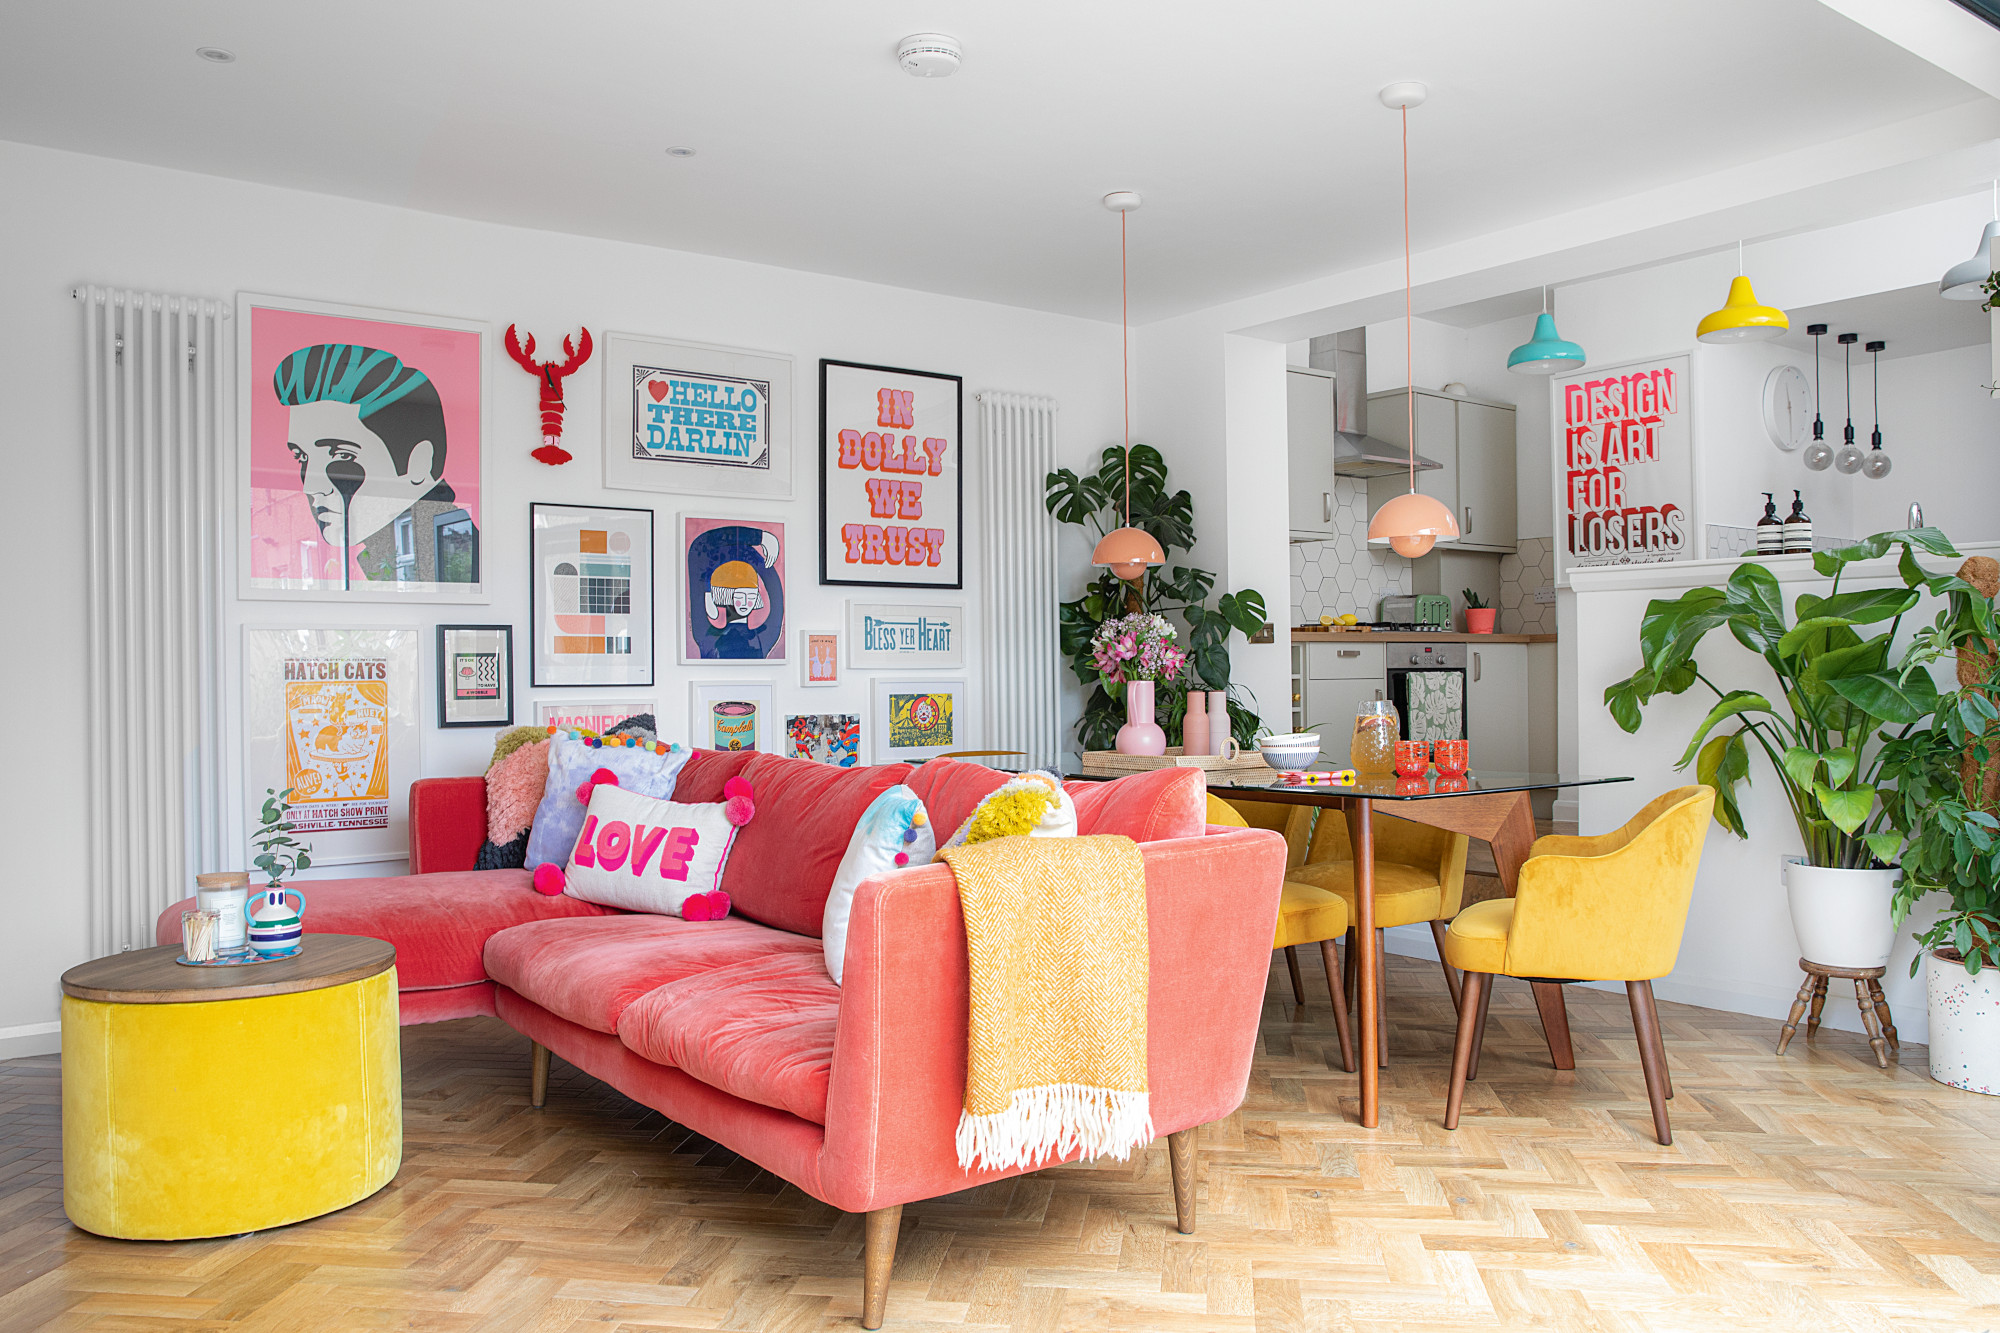 How to hang pictures and fill wall space with art
Knowing how to hang pictures on the wall, with or without nails, will let you decorate your space with art and stunning prints in no time.
By Camille Dubuis-Welch Published
-
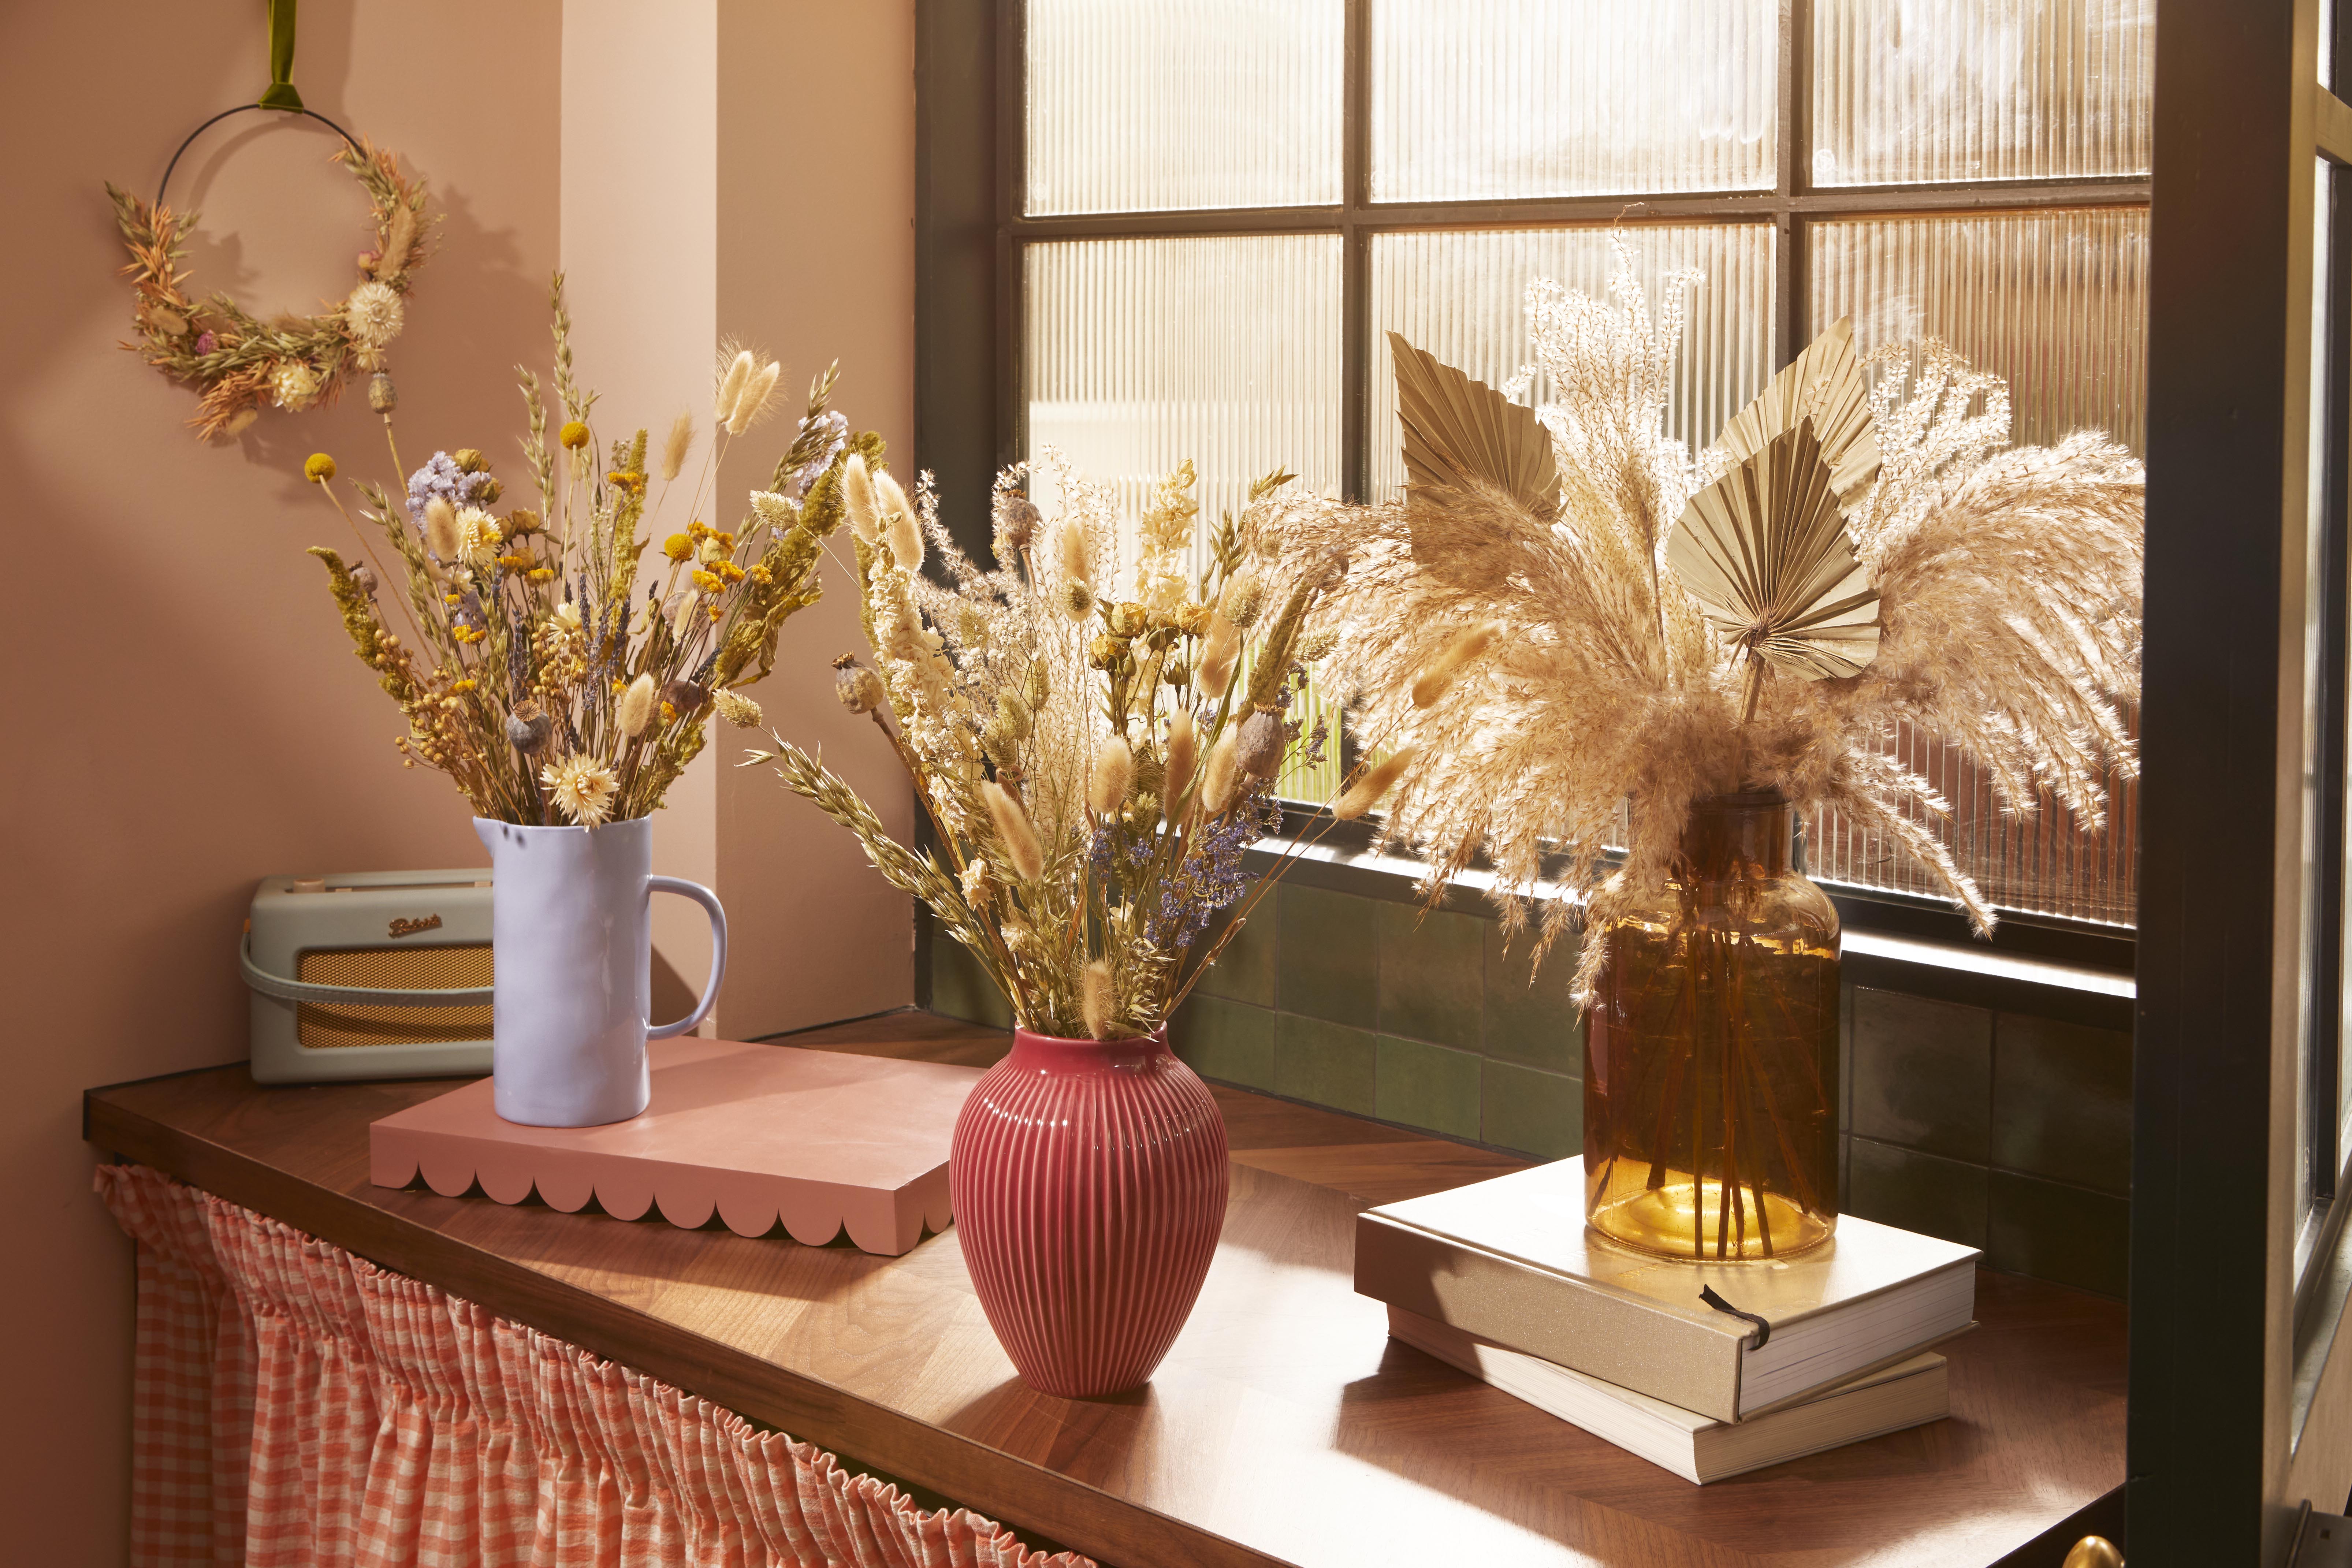 How to dry flowers: 4 simple ways to preserve blooms
Tired of throwing away a bunch of beautiful blooms? Learn how to dry flowers so they last forever
By Sophie Warren-Smith Last updated
-
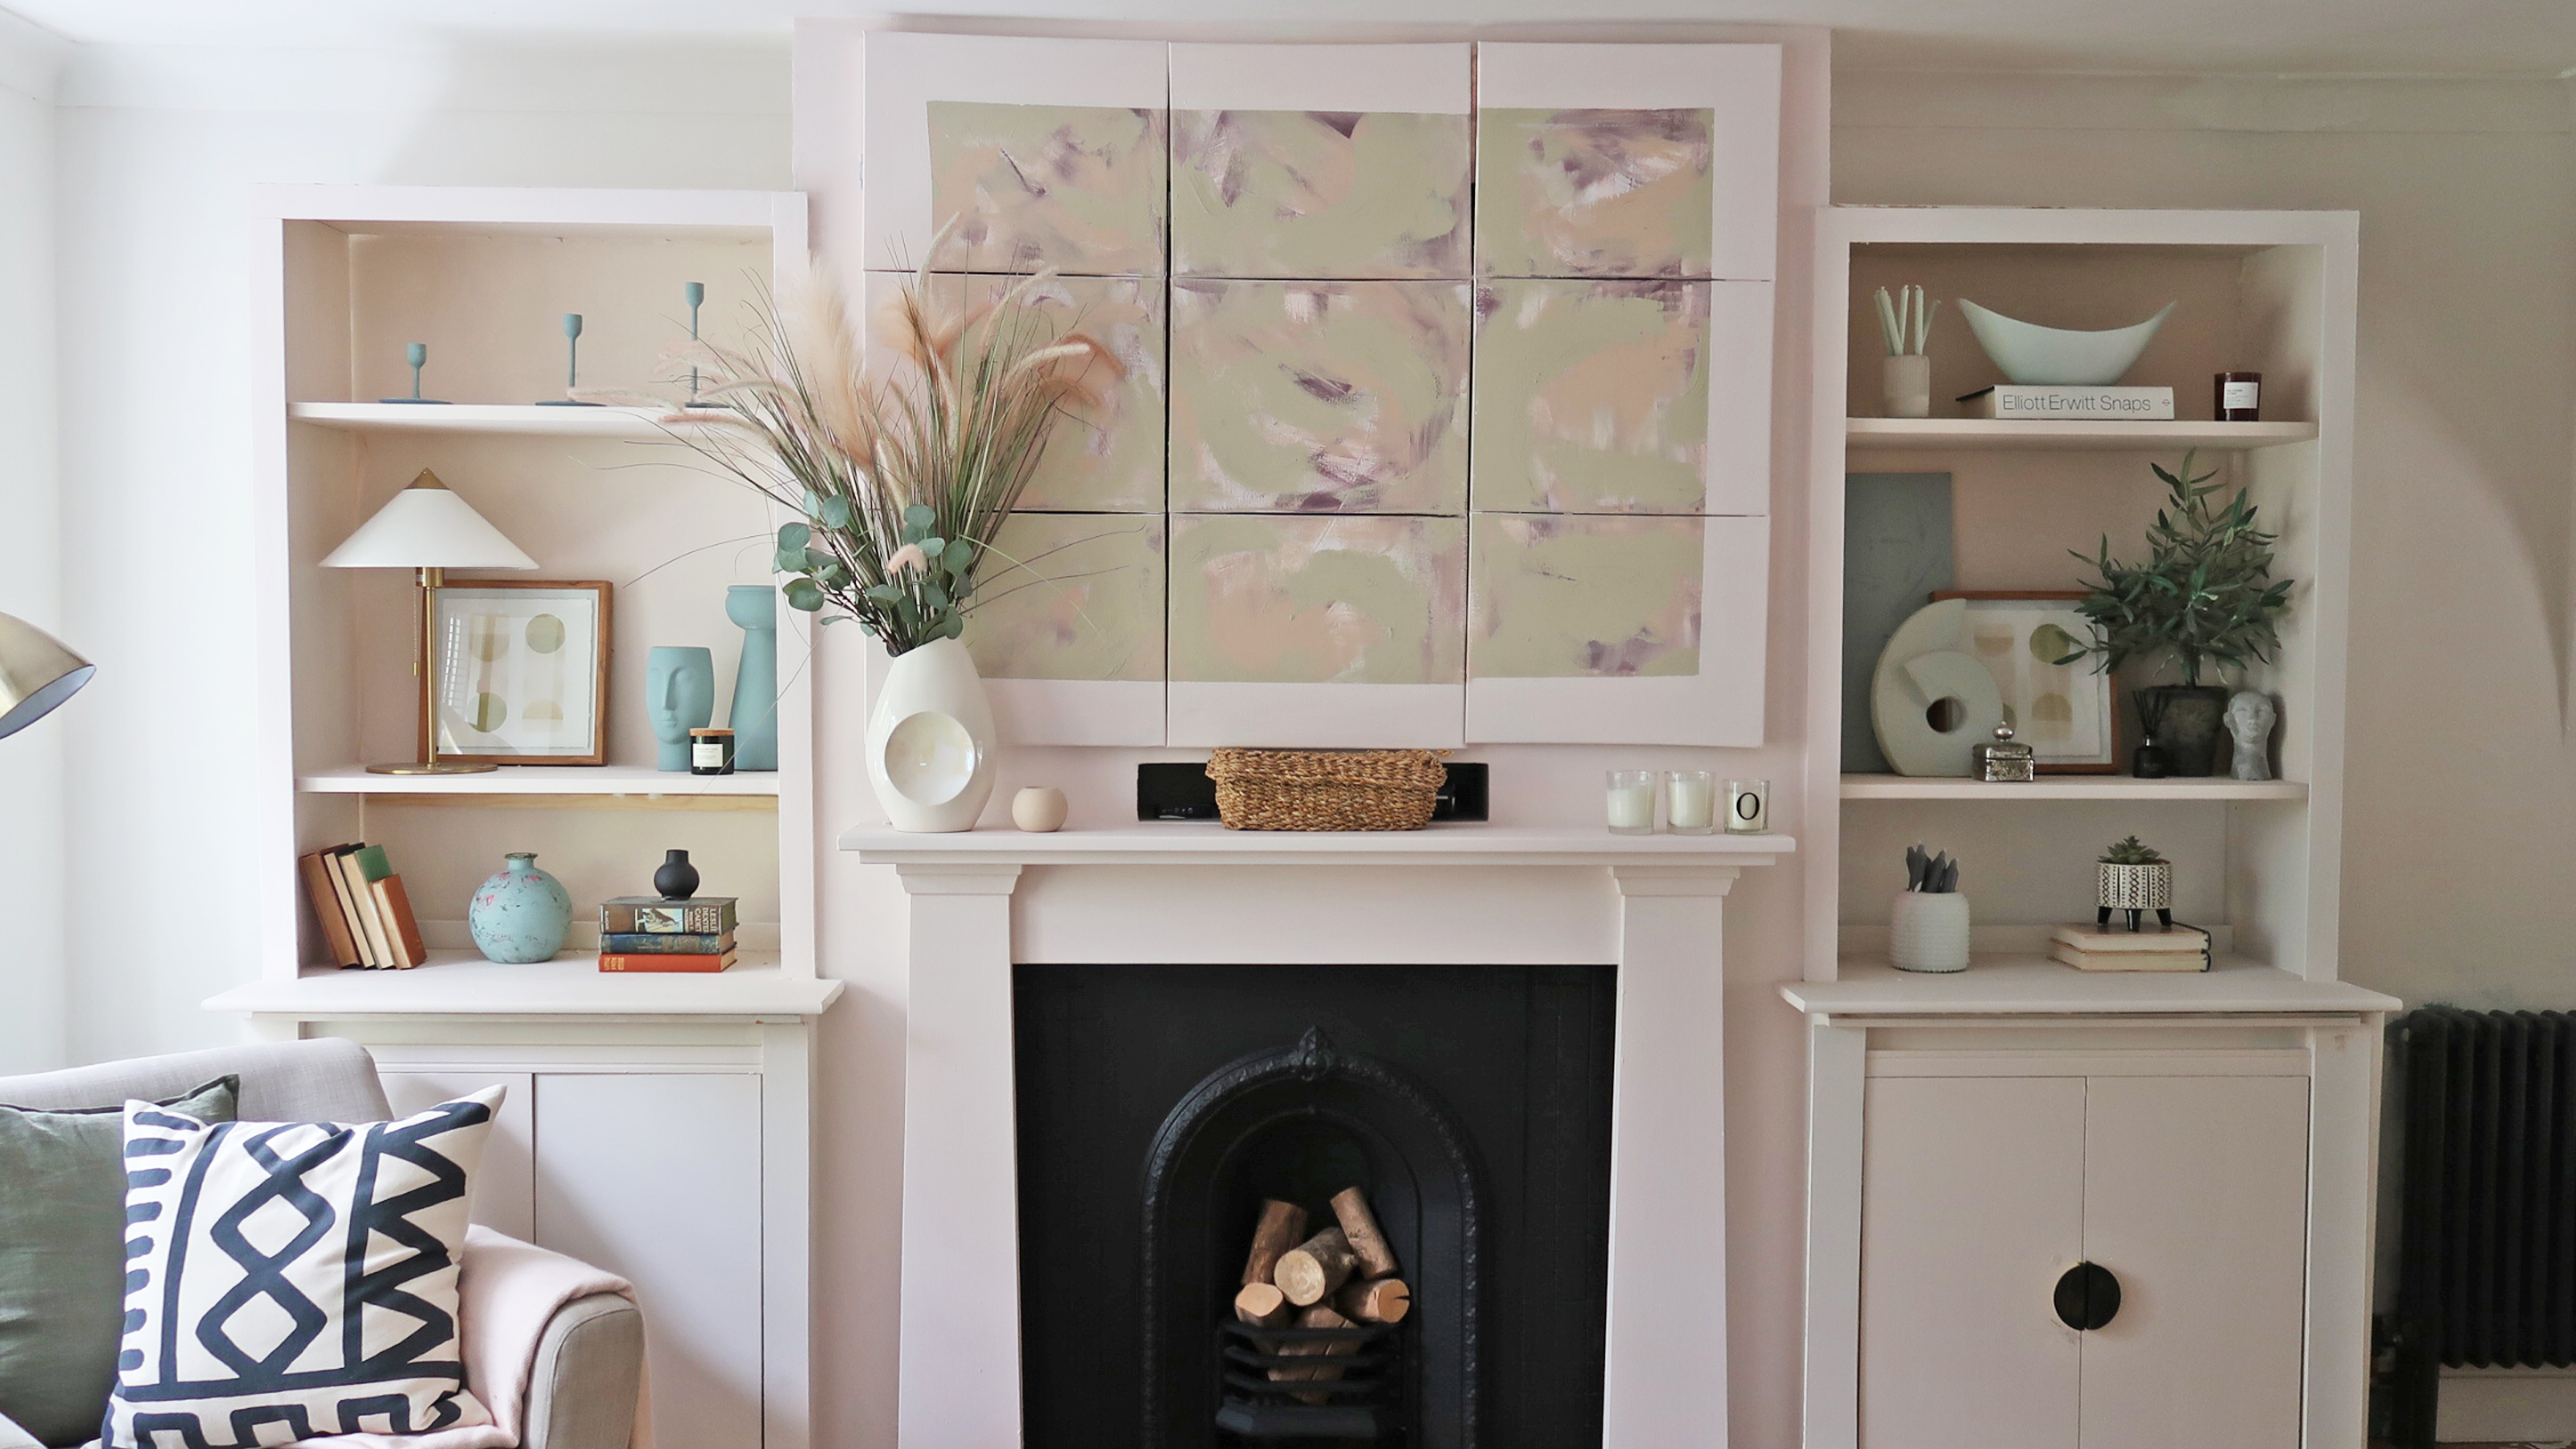 How to hide a TV on the wall: a DIY disguise with art
DIY a disguise for your TV on the wall with art and turn heads in your front room, for all the right reasons
By Claire Douglas Published
-
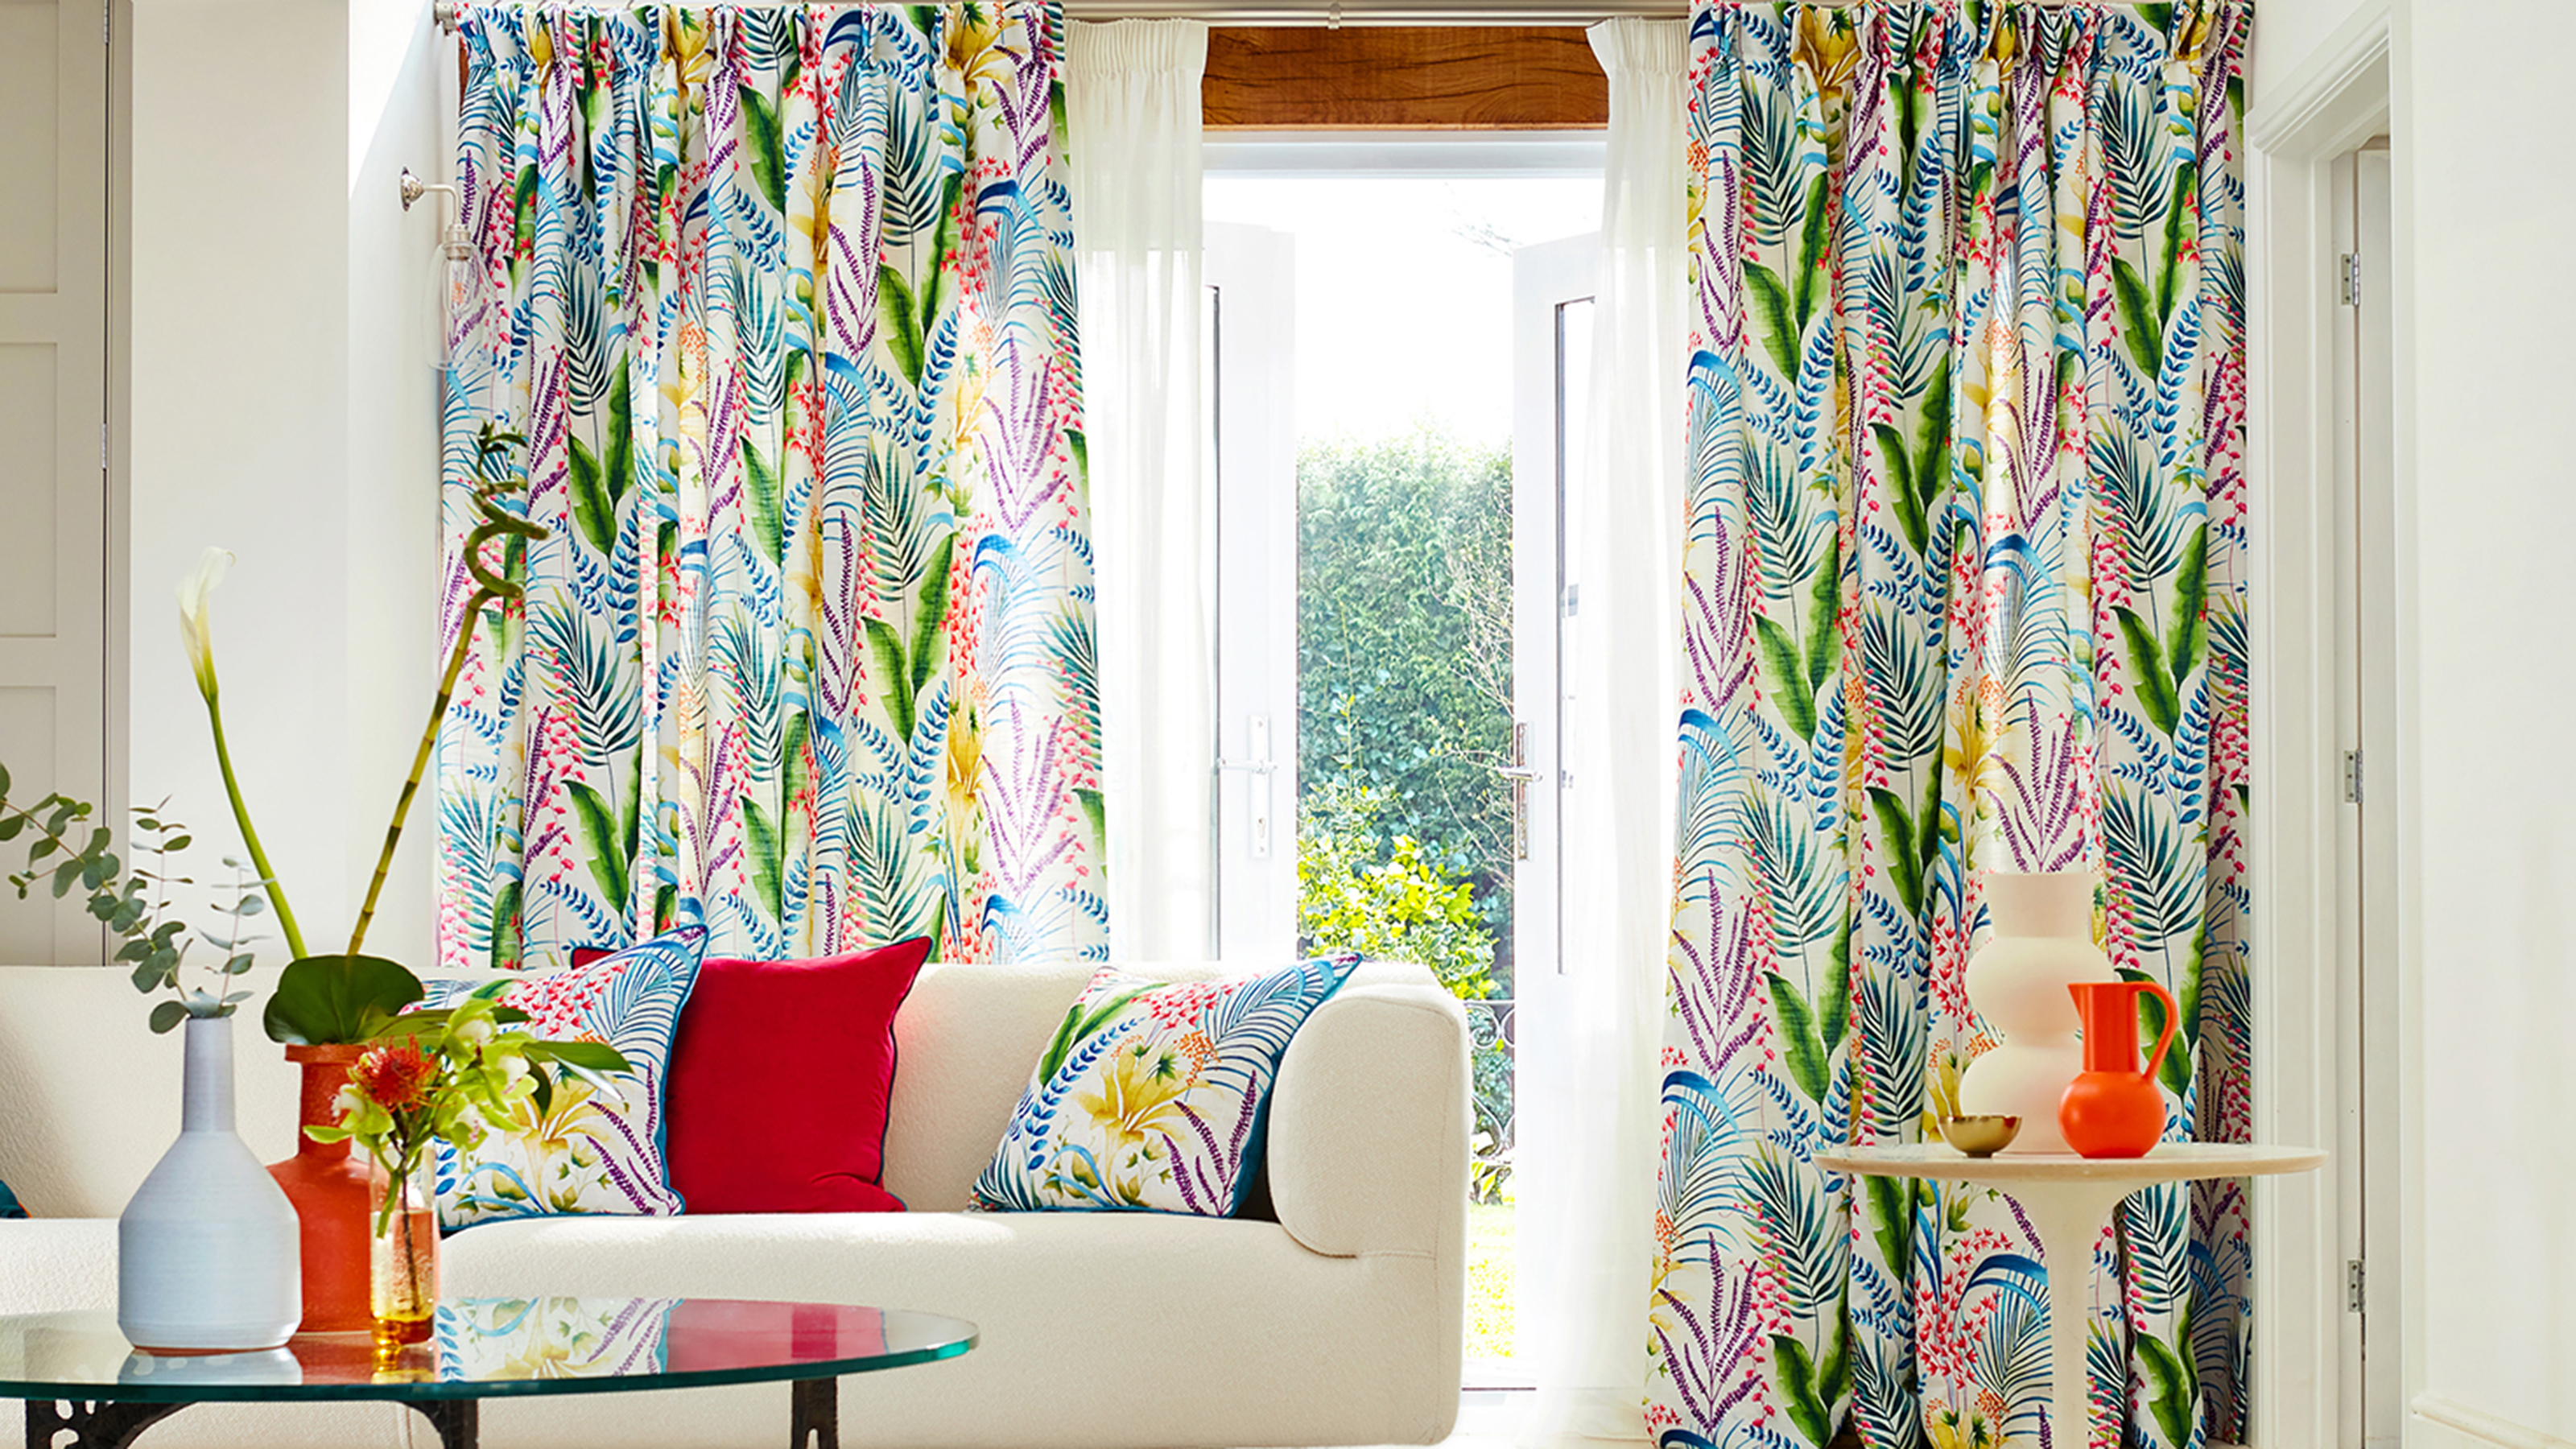 How to measure for curtains: a DIY guide for beautifully-dressed windows
Learning how to measure curtains correctly involves working out the ideal dimensions. Here, we drop it like it's hot
By Emily Shaw Published