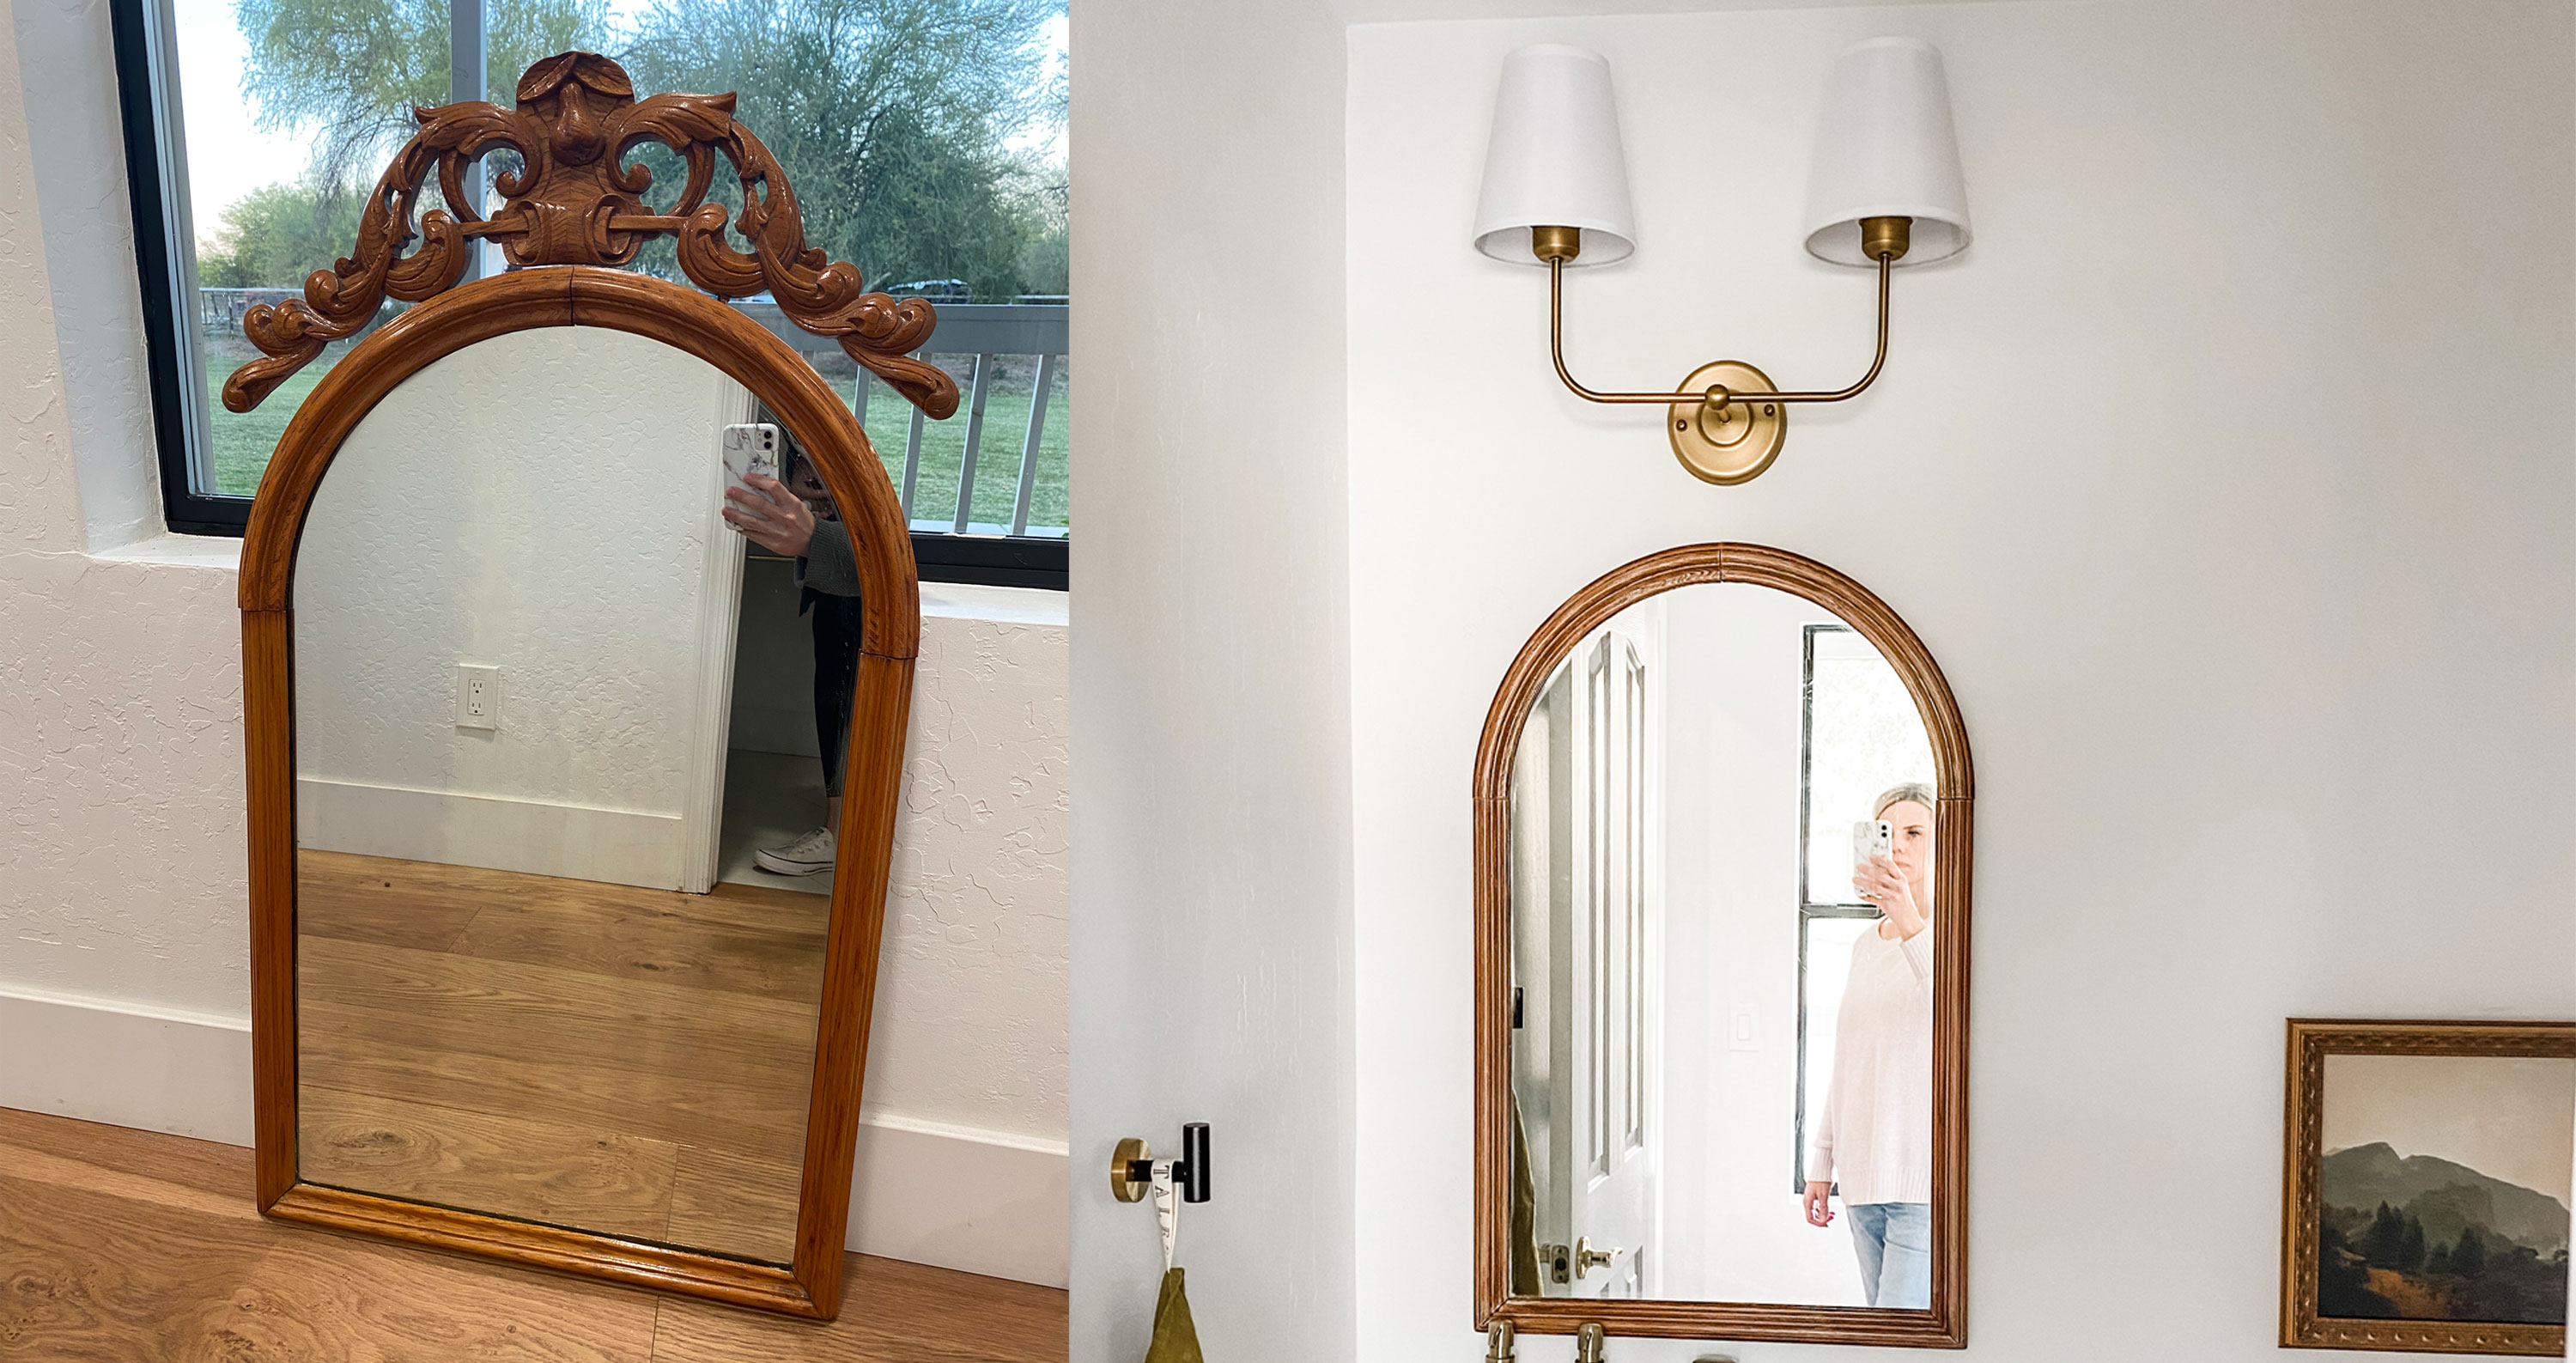

I’ve been working on the powder bathroom in our farmhouse and in keeping with the rustic vibe I was in search of the perfect vintage mirror to match. I really wanted a contrast between the white and brass modern console sink and an antique wood mirror, there's something about mixing old and new which I find so charming and this is naturally, an intrinsic part of many modern farmhouse bathrooms.
I love bringing thrifted items back to life, and as with all of my secondhand searches, I began my quest on Facebook Marketplace. I looked for several weeks but had no luck – it happens sometimes!
I needed it to not be too wide and not too tall so I’d still have room for the light I picked out and with those specifications, I was striking out, until I popped into an antique shop that I love to visit but don’t get the opportunity to very often because it’s not super local to me.
I almost forgot that I was looking for an antique mirror, that is until I spotted a mirror in the perfect shape and size for our powder bath!
Project breakdown:
- DIY level: Total novice
- Budget: About $100 (depending on the mirror for updating)
- Time: 5 hours (over a couple of days)
How I upgraded this vintage bathroom mirror
I knew that of all the bathroom mirror ideas around, I wanted an arch mirror all along and for $50, this fit the bill.
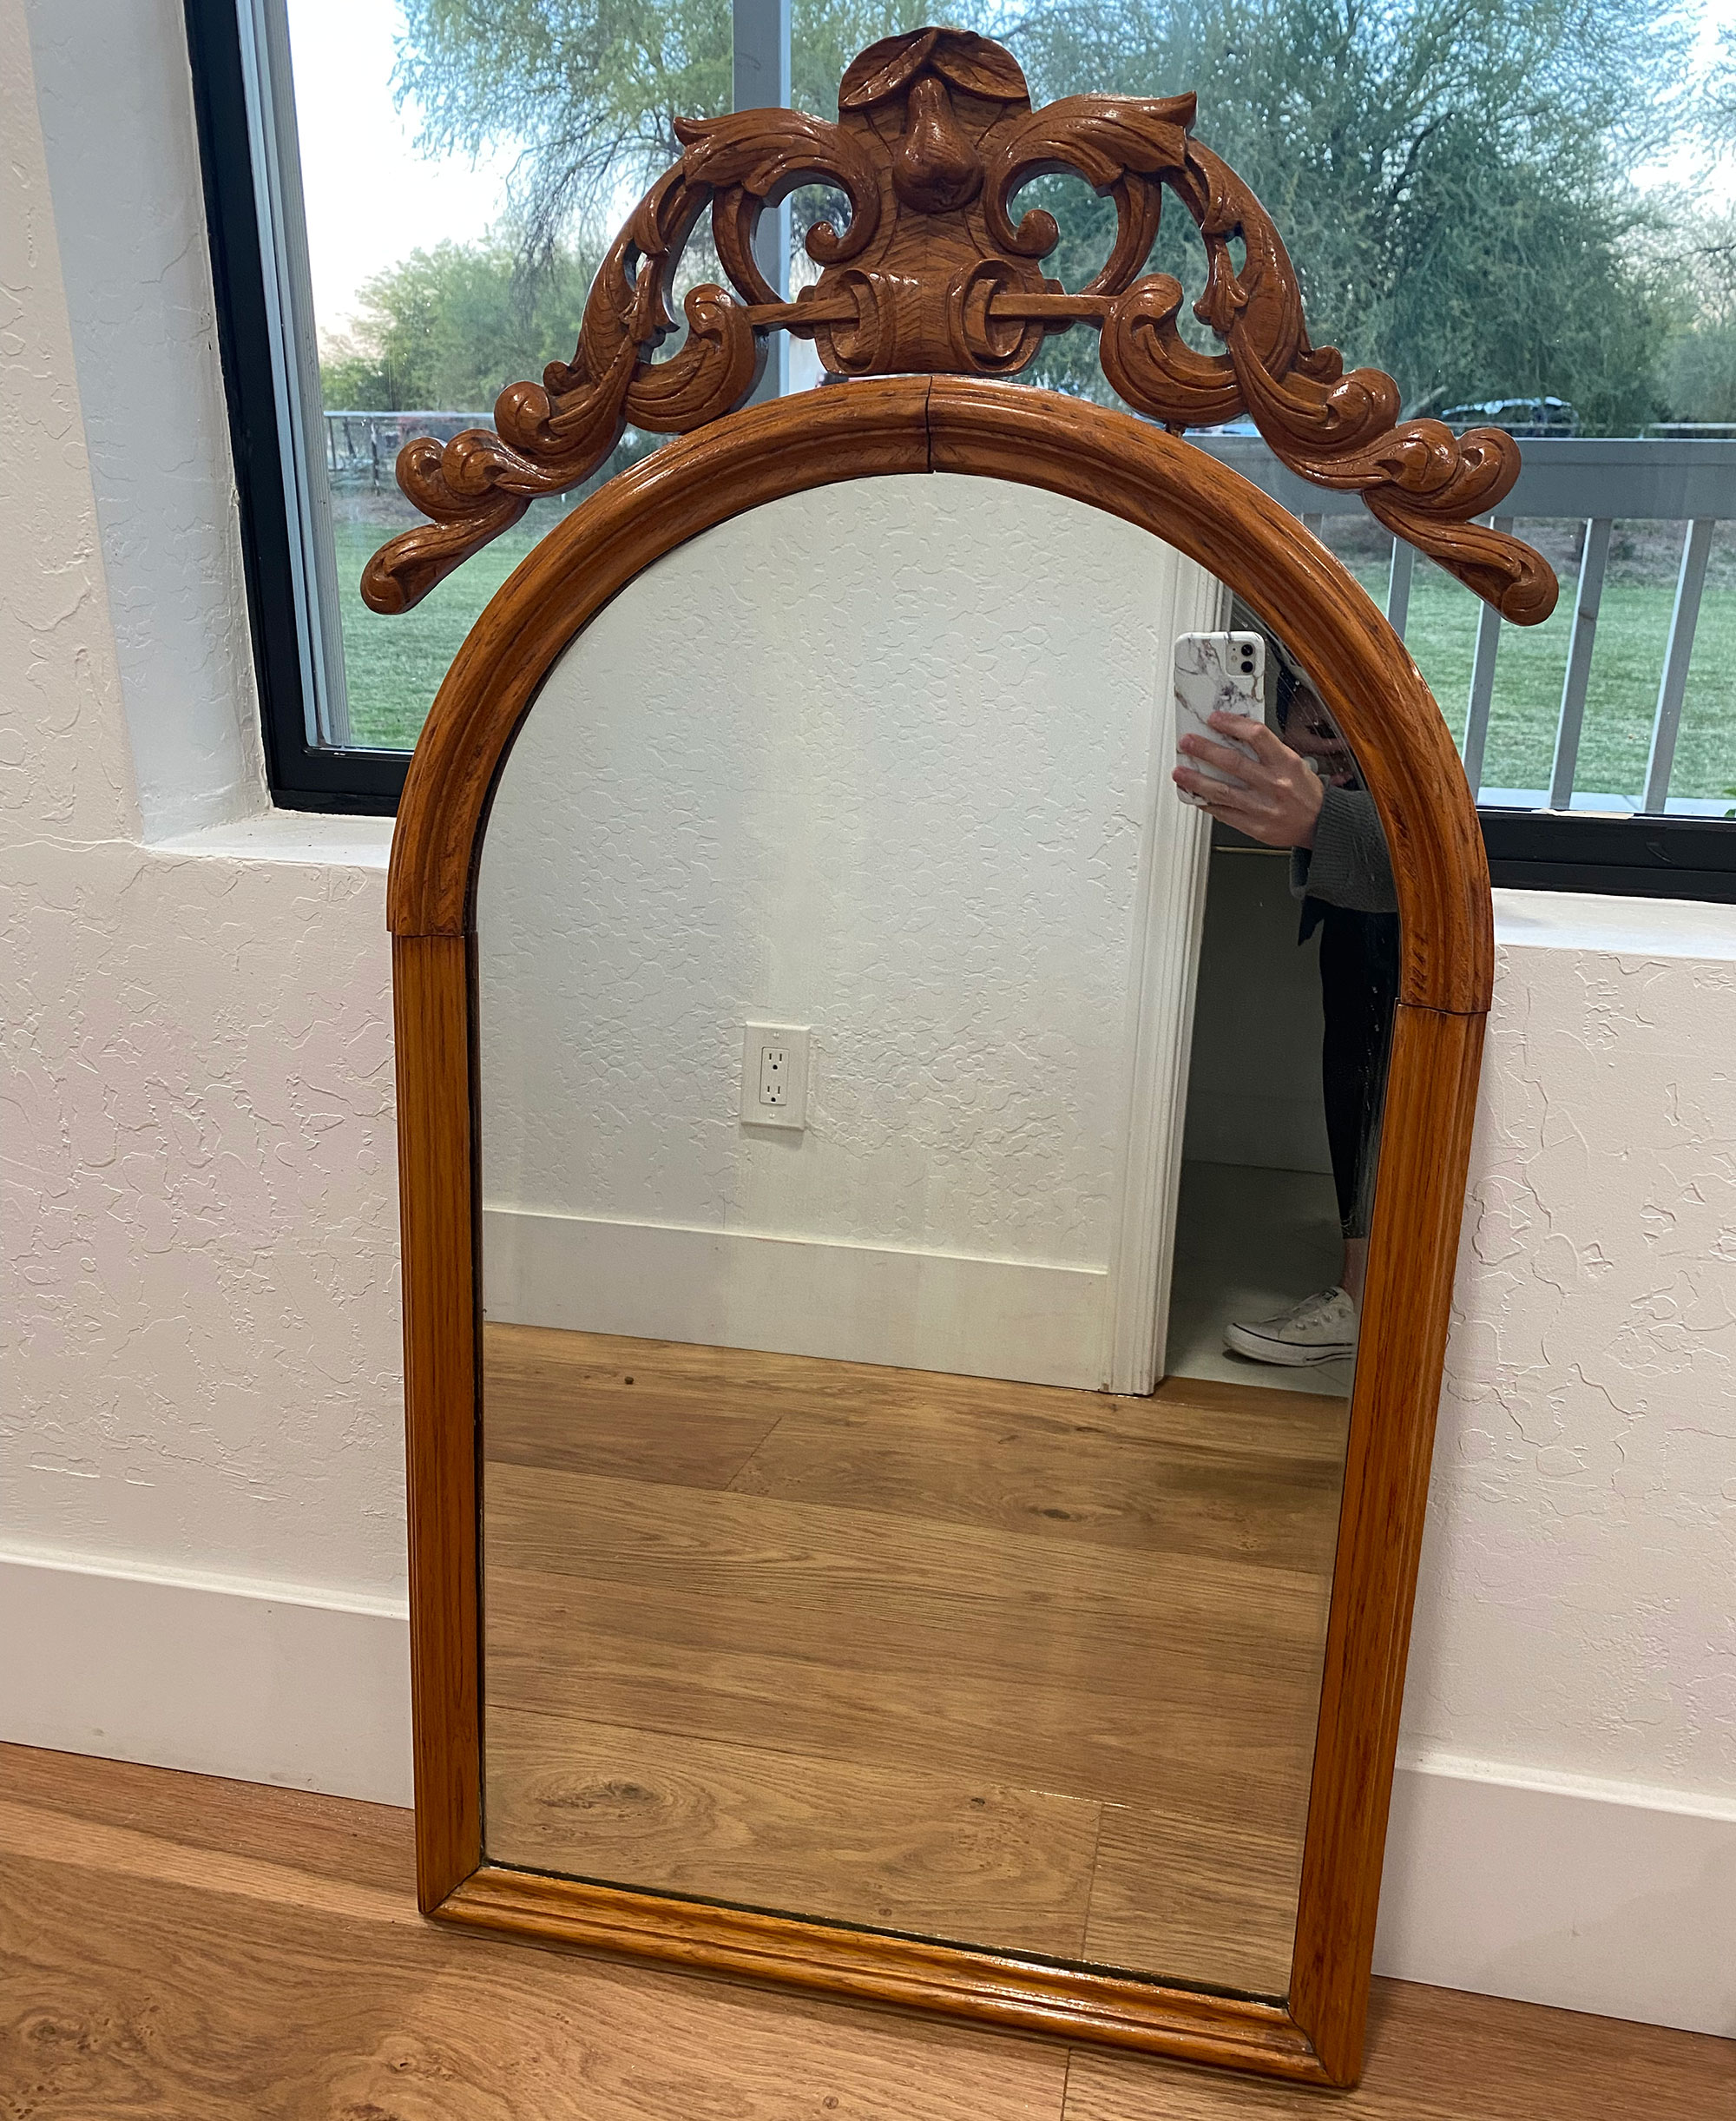
I was going for a look similar to the rattan mirror I peeped at Target so I started thinking outside the box and came to realize that I could totally edit and upgrade this golden find to suit my space, how I wanted it to.
Get small space home decor ideas, celeb inspiration, DIY tips and more, straight to your inbox!
You can, of course, adjust the step-by-step to suit whatever mirror you managed to find, and the result you want!
Materials I used:
- Vintage mirror
- Wood filler
- Sand paper
- Flexible putty knife
- Paint and varnish stripper
- Color wash/whitewash stain
- Wood stain
- Rags
- Plastic gloves
- Respirator
Step 1: I filled out imperfections
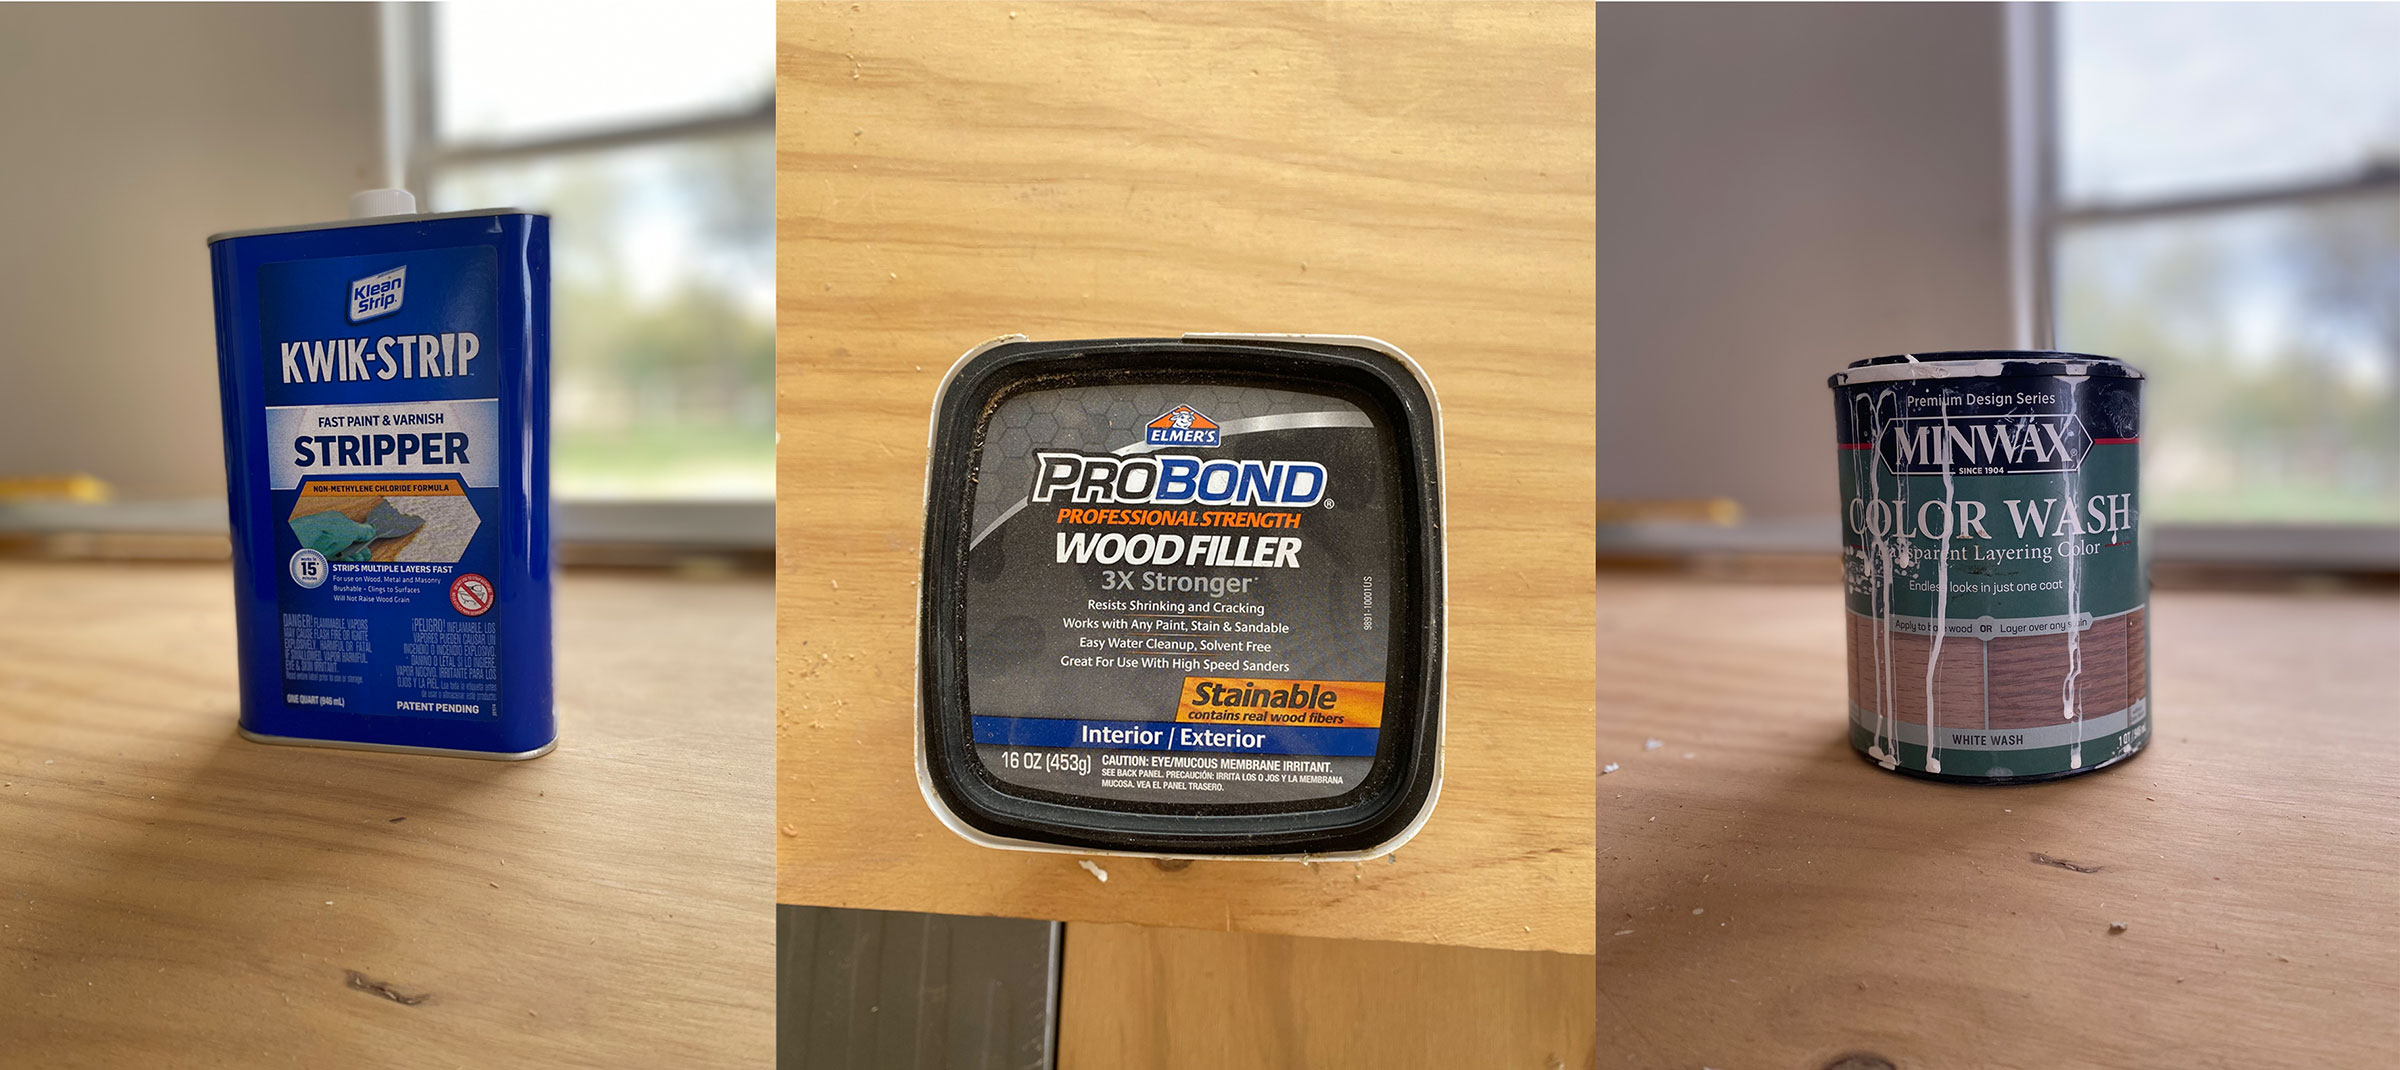
I discovered I could simply remove the scroll attached to the top of the mirror. I filled the holes that the scroll created with a flexible putty knife, along with some other dings and imperfections with Probond wood filler. After letting that dry overnight I sanded the filler smooth.
Step 2: I toned down the wood coloring
I also wanted to tone down the orange varnish of the wood so I taped the mirror and began using a 60 grit sandpaper to rough up the surface a bit. I thought I’d try to strip the varnish off using Kwik-Strip by Klean Strip which is a paint and varnish stripper but quickly discovered that it would take many, many applications and many hours to remove this thick varnish. My next idea to tone down the orange was to use a whitewash color wash that I’ve used in the past to tone down the yellow in pine lumber.
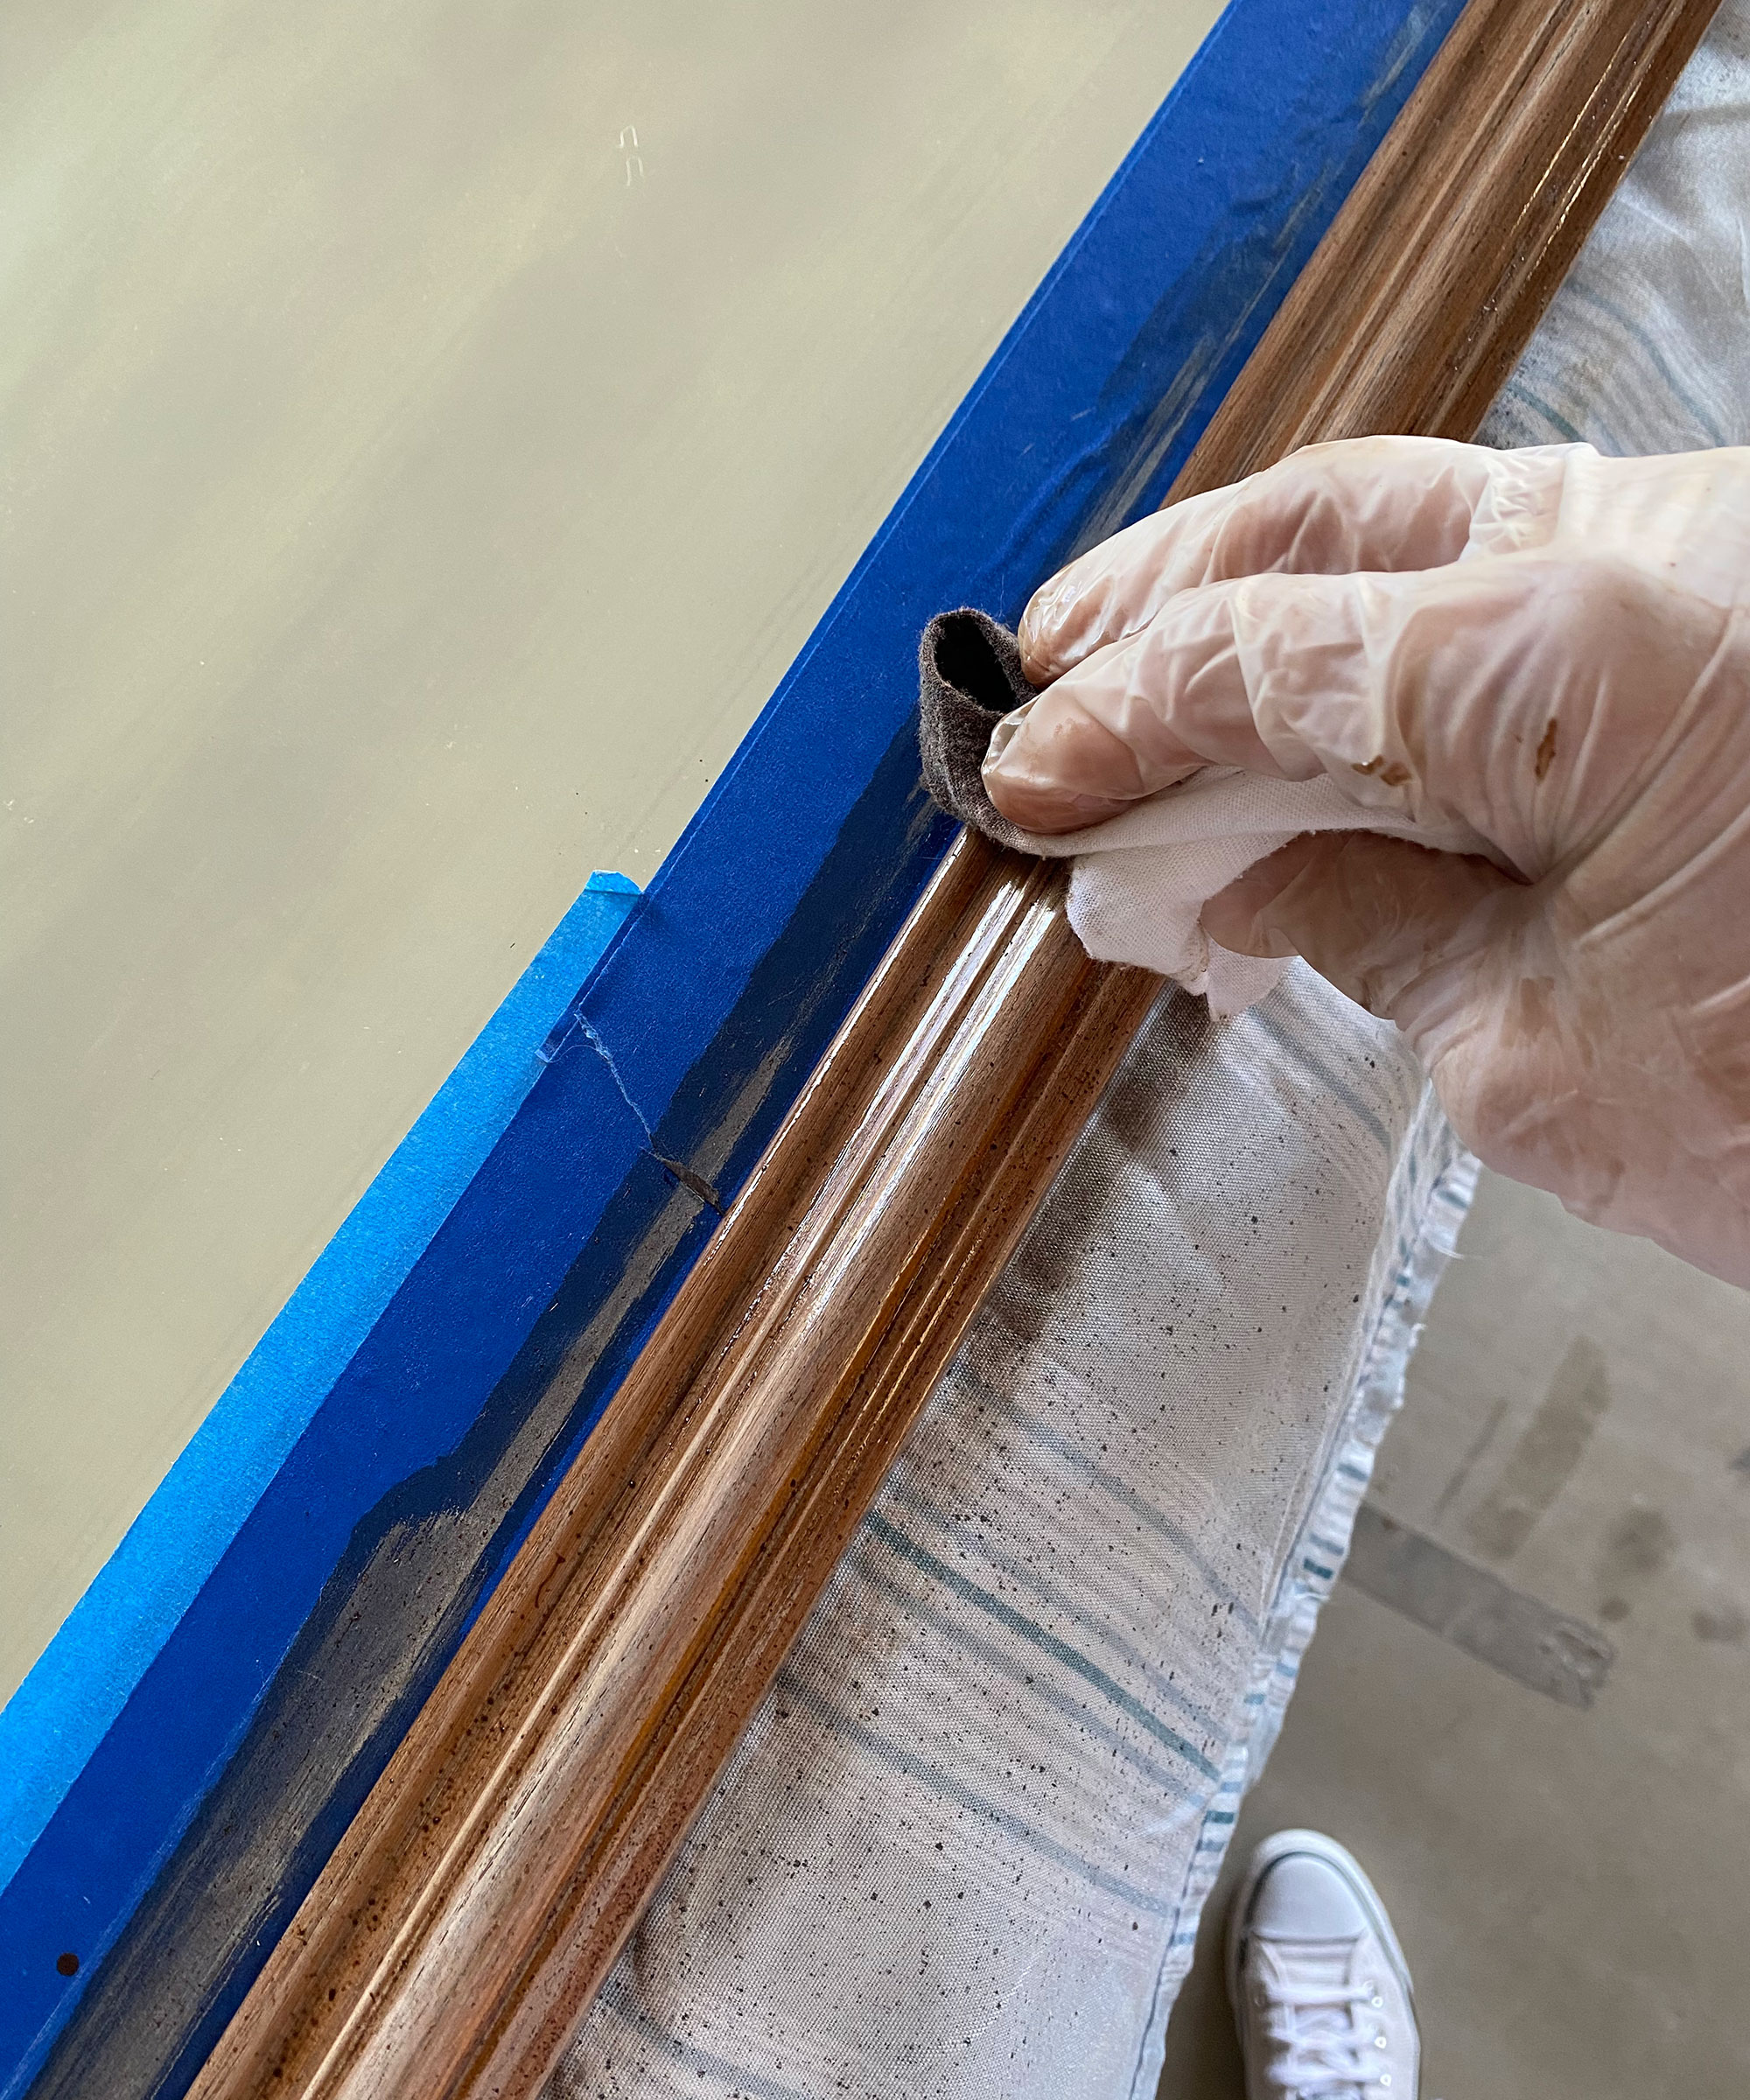
My trick is to add a little bit of whitewash to a container and thin it with water. Then I use a rag to apply the watered-down stain to the wood I’m working with. This worked exactly how I wanted it to! Applying it in a thin layer helped tone down the yellow without covering up the pretty grain of the wood. You can notice the difference that the white color wash makes…. No more yellow wood!
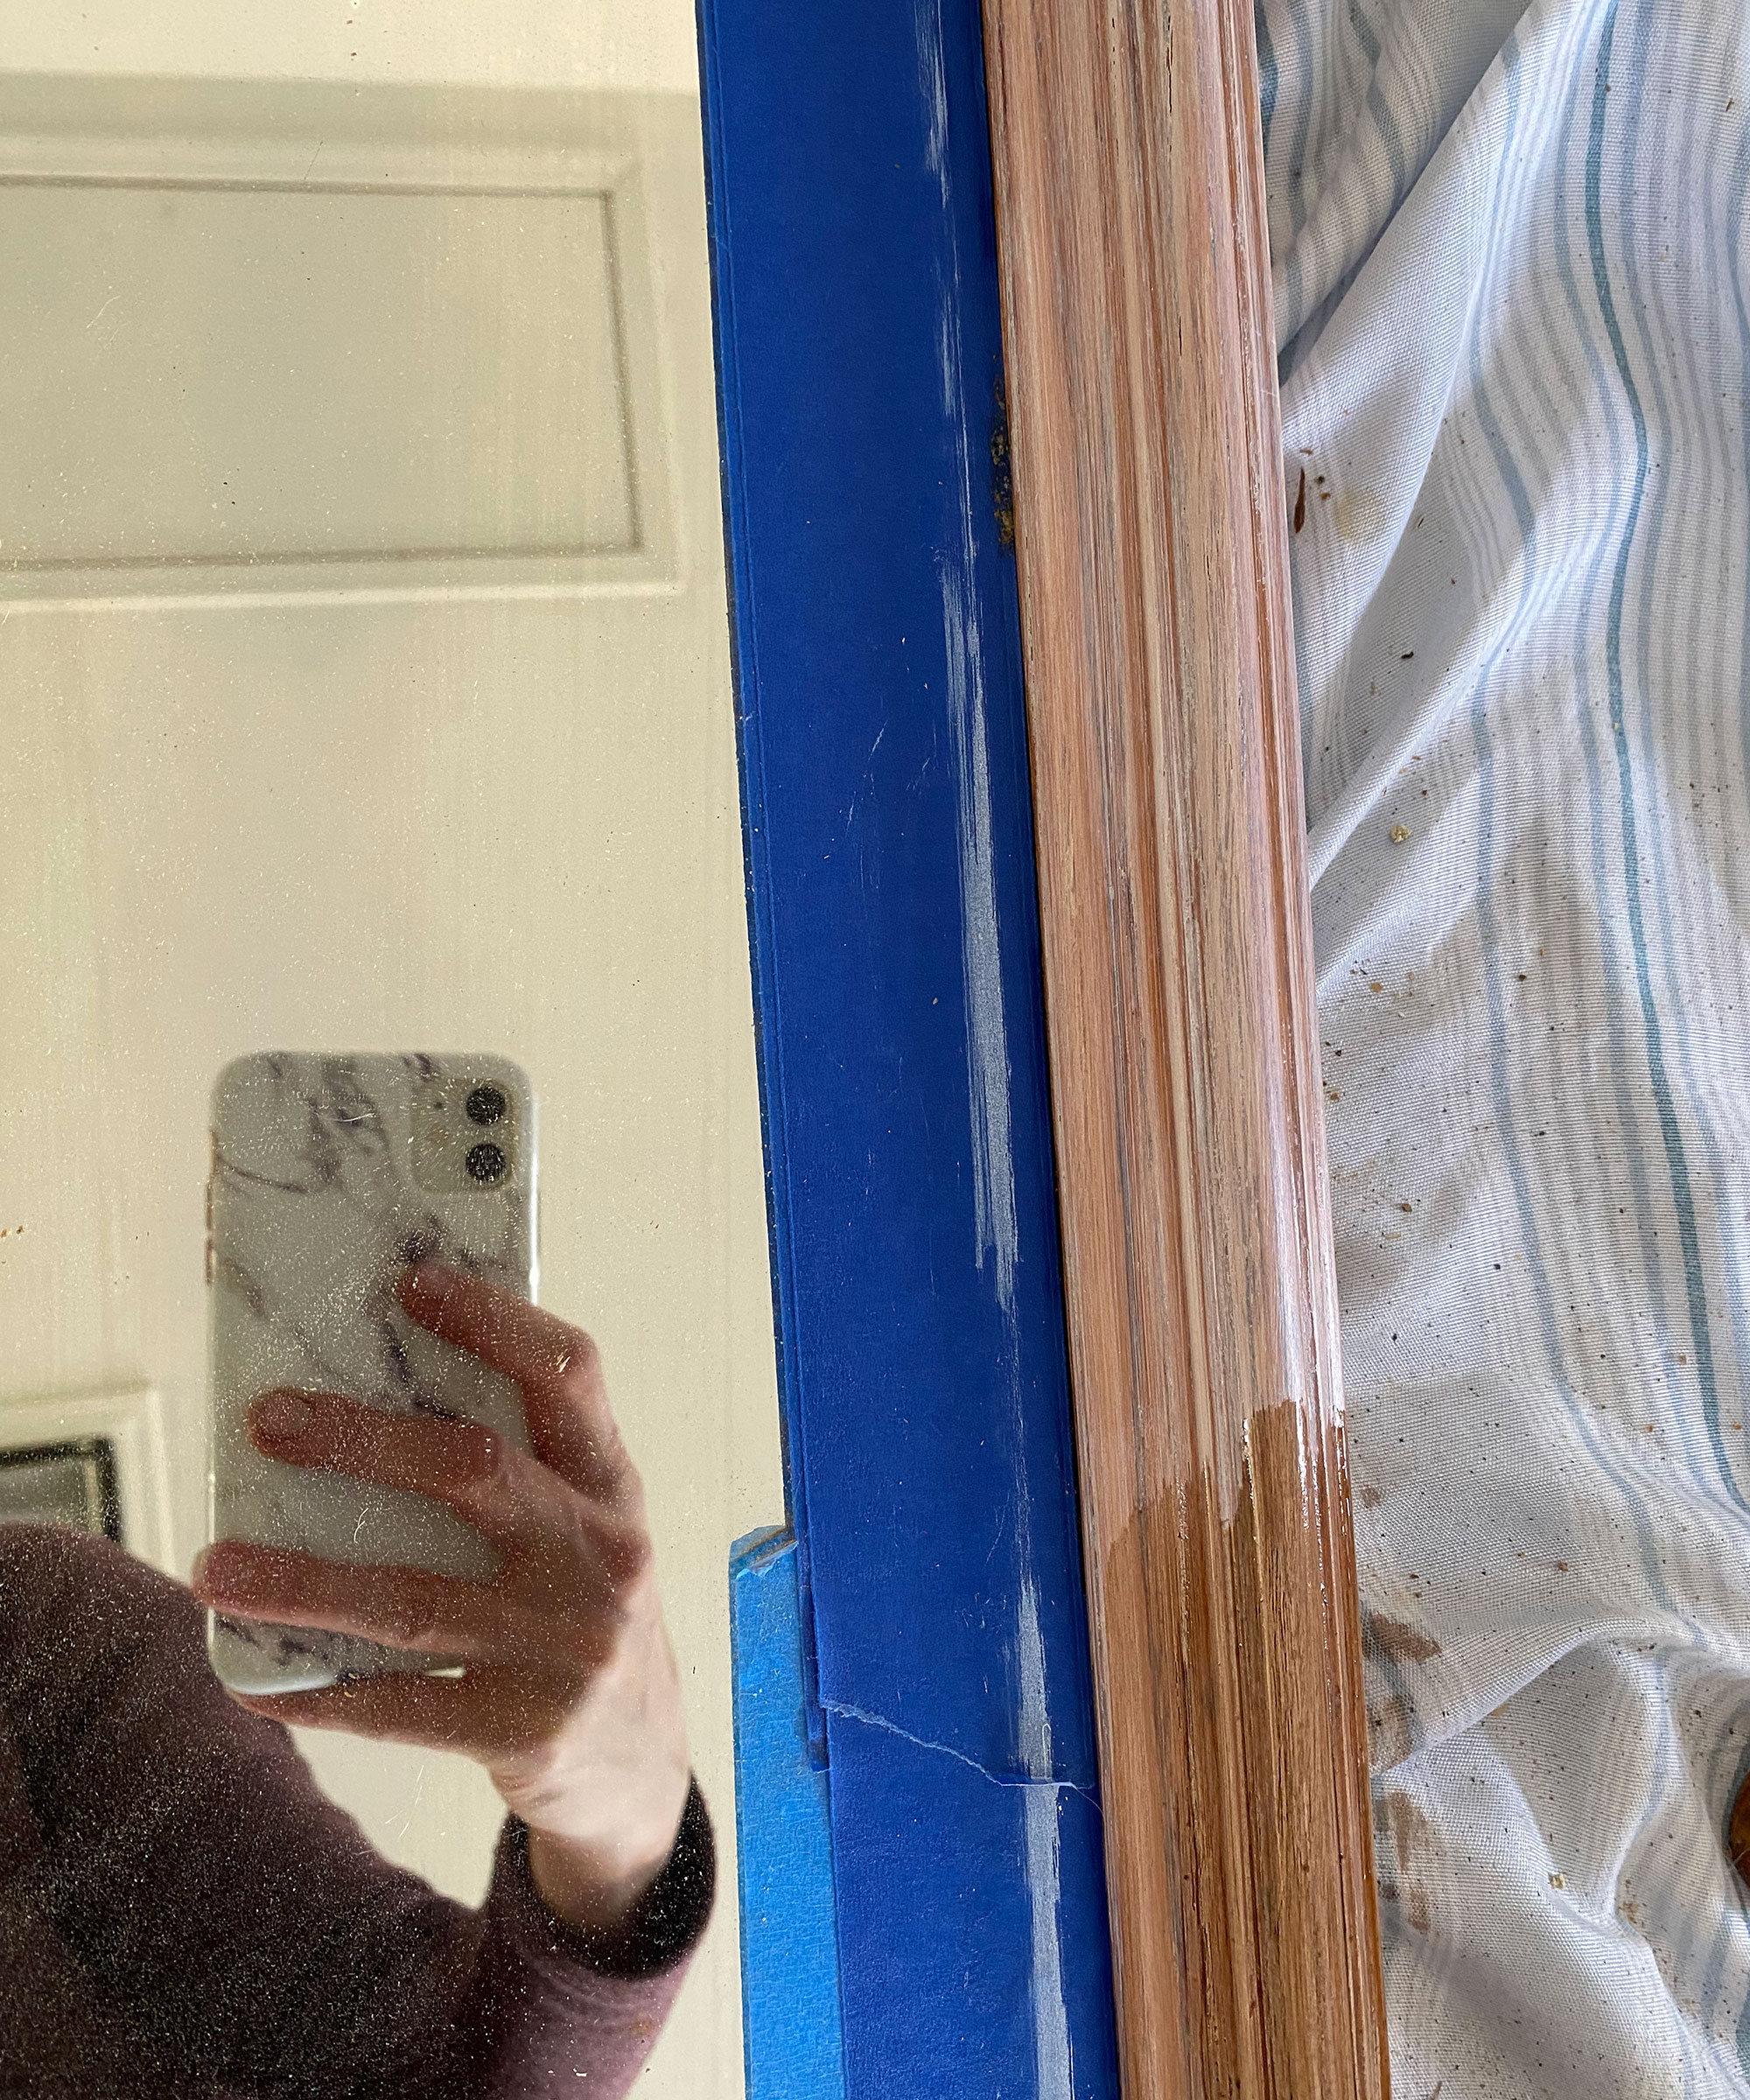
3. Stain it.
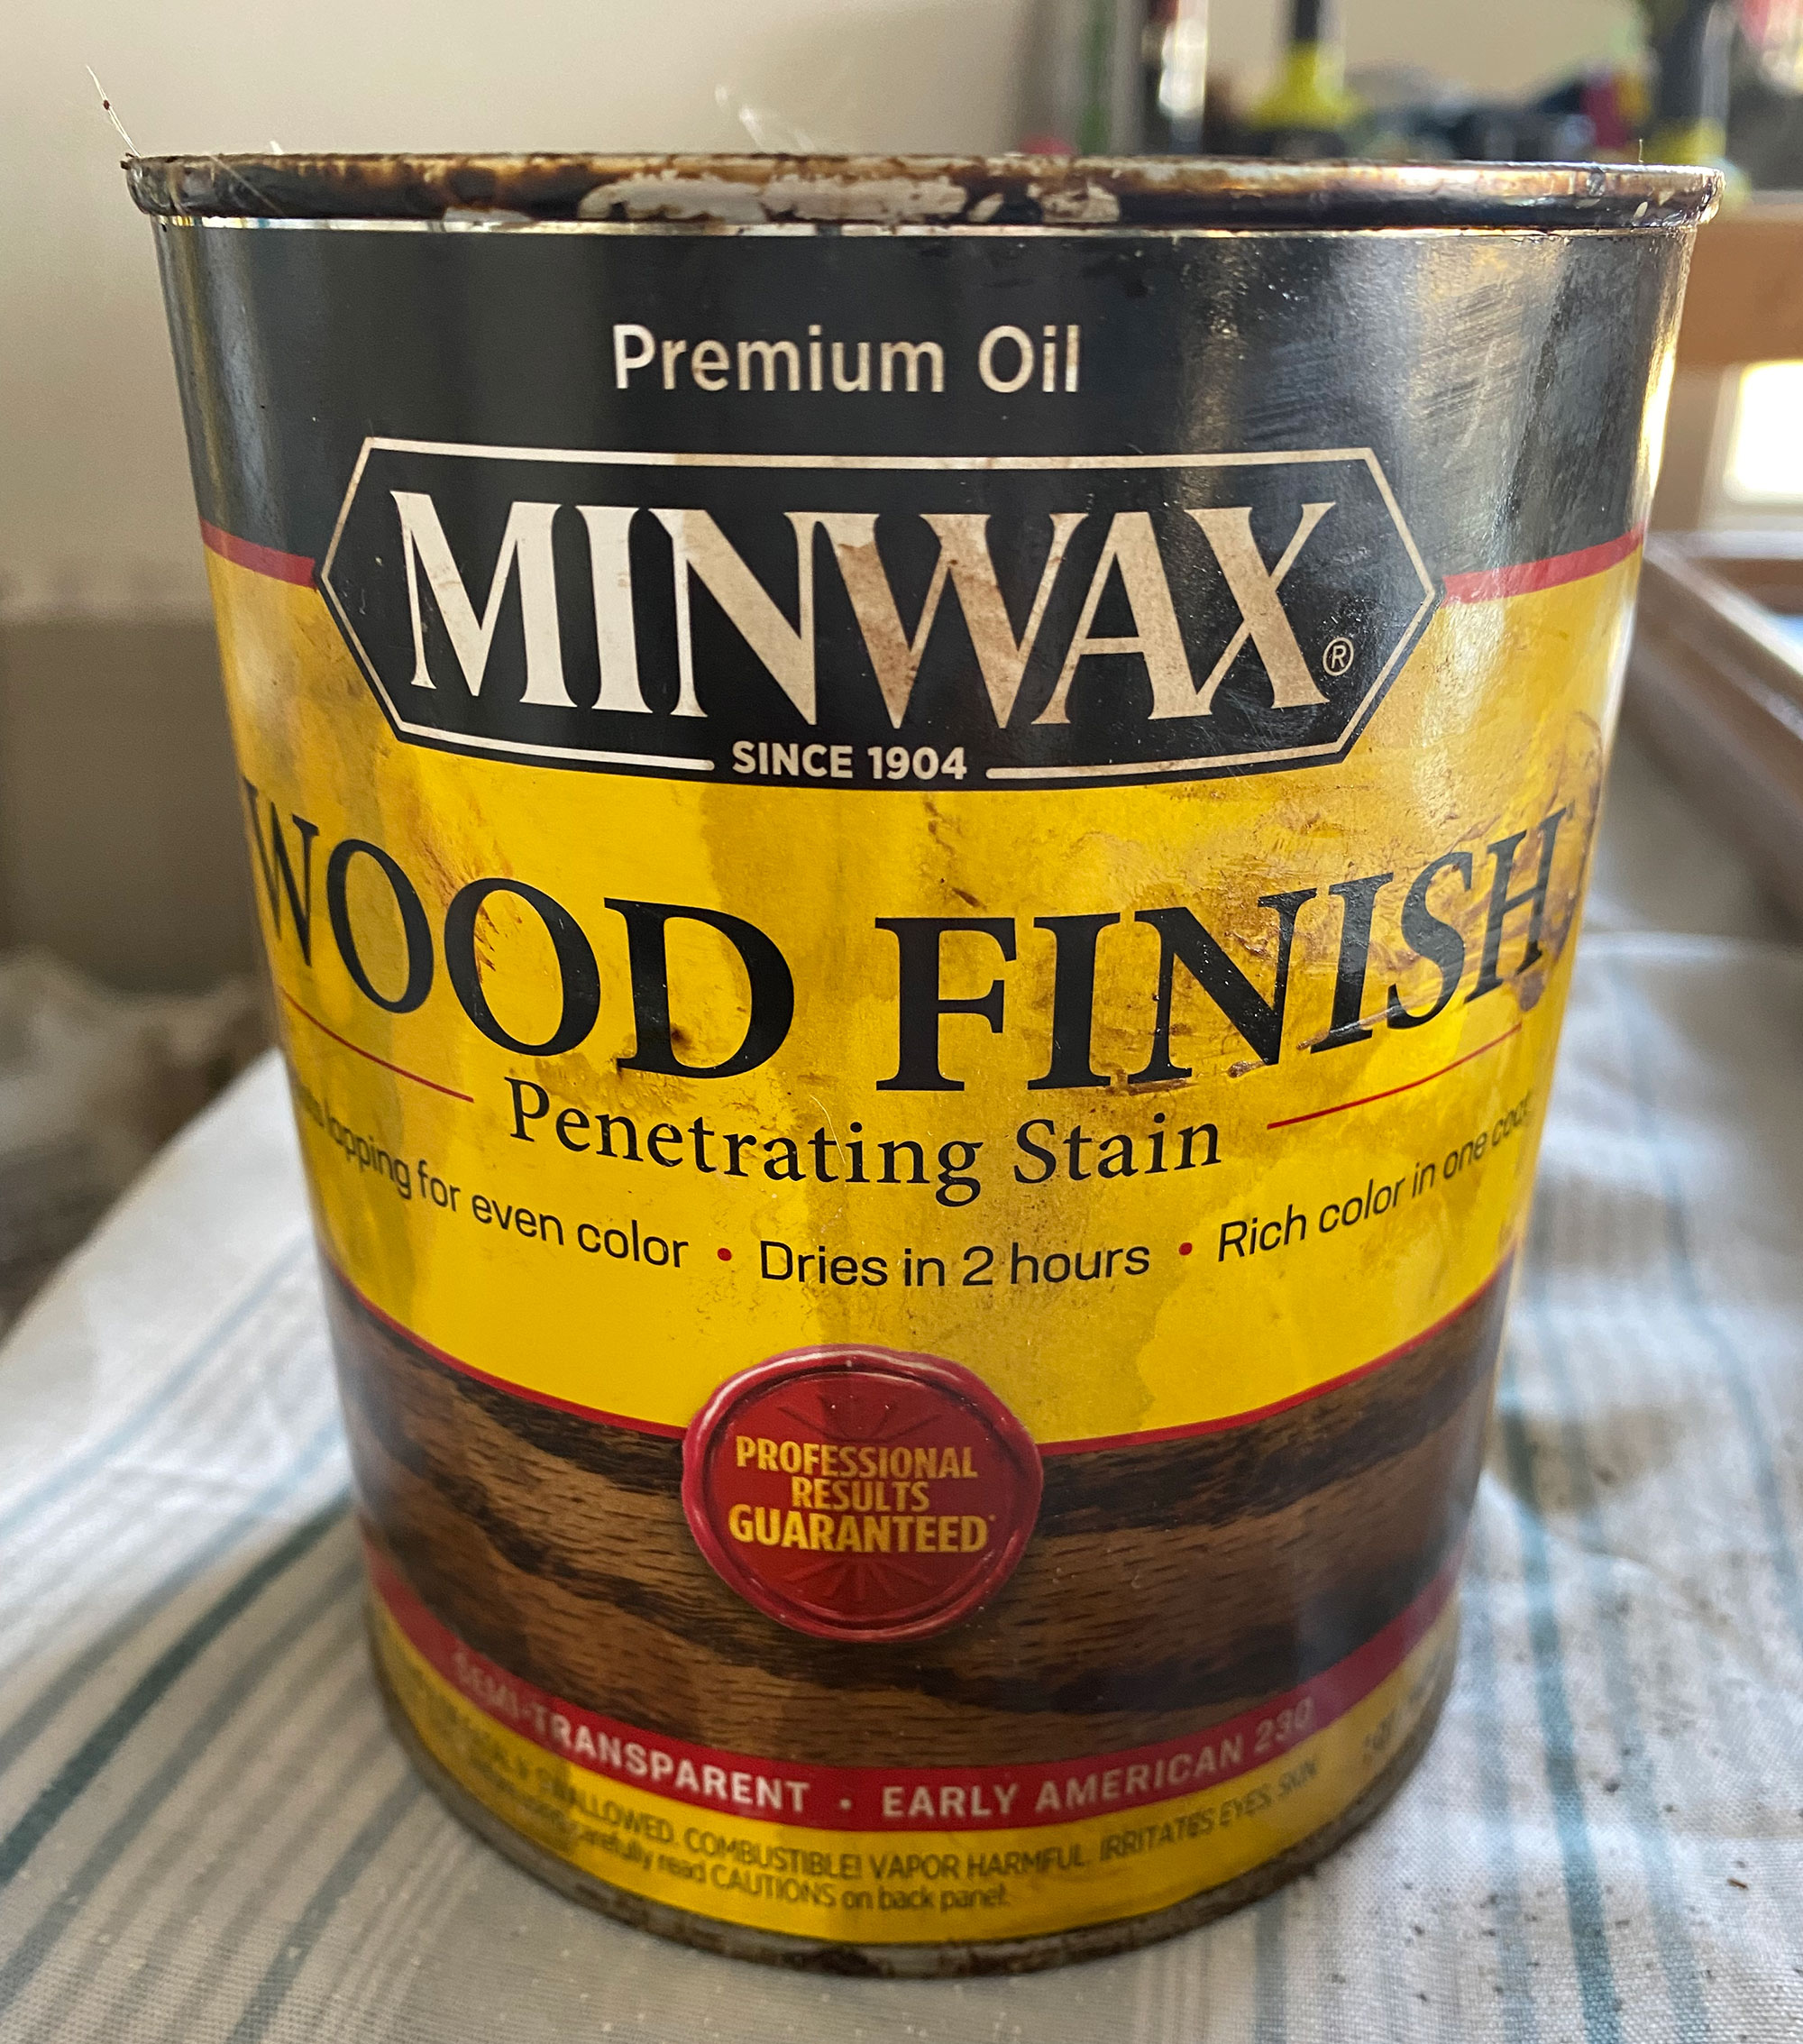
After letting the color wash dry completely, I applied my favorite stain, Early American by Minwax mixed with Polycrylic to the mirror with a clean rag. I like to use a 1:1 ratio of the stain/polycrylic because it makes the stain thicker and easier to apply. It’s also getting the best bang for your buck…. Stain application and sealing your work at the same time!
Safety notice: When applying stain I always wear a respirator…. This stuff is stinky!
The results:
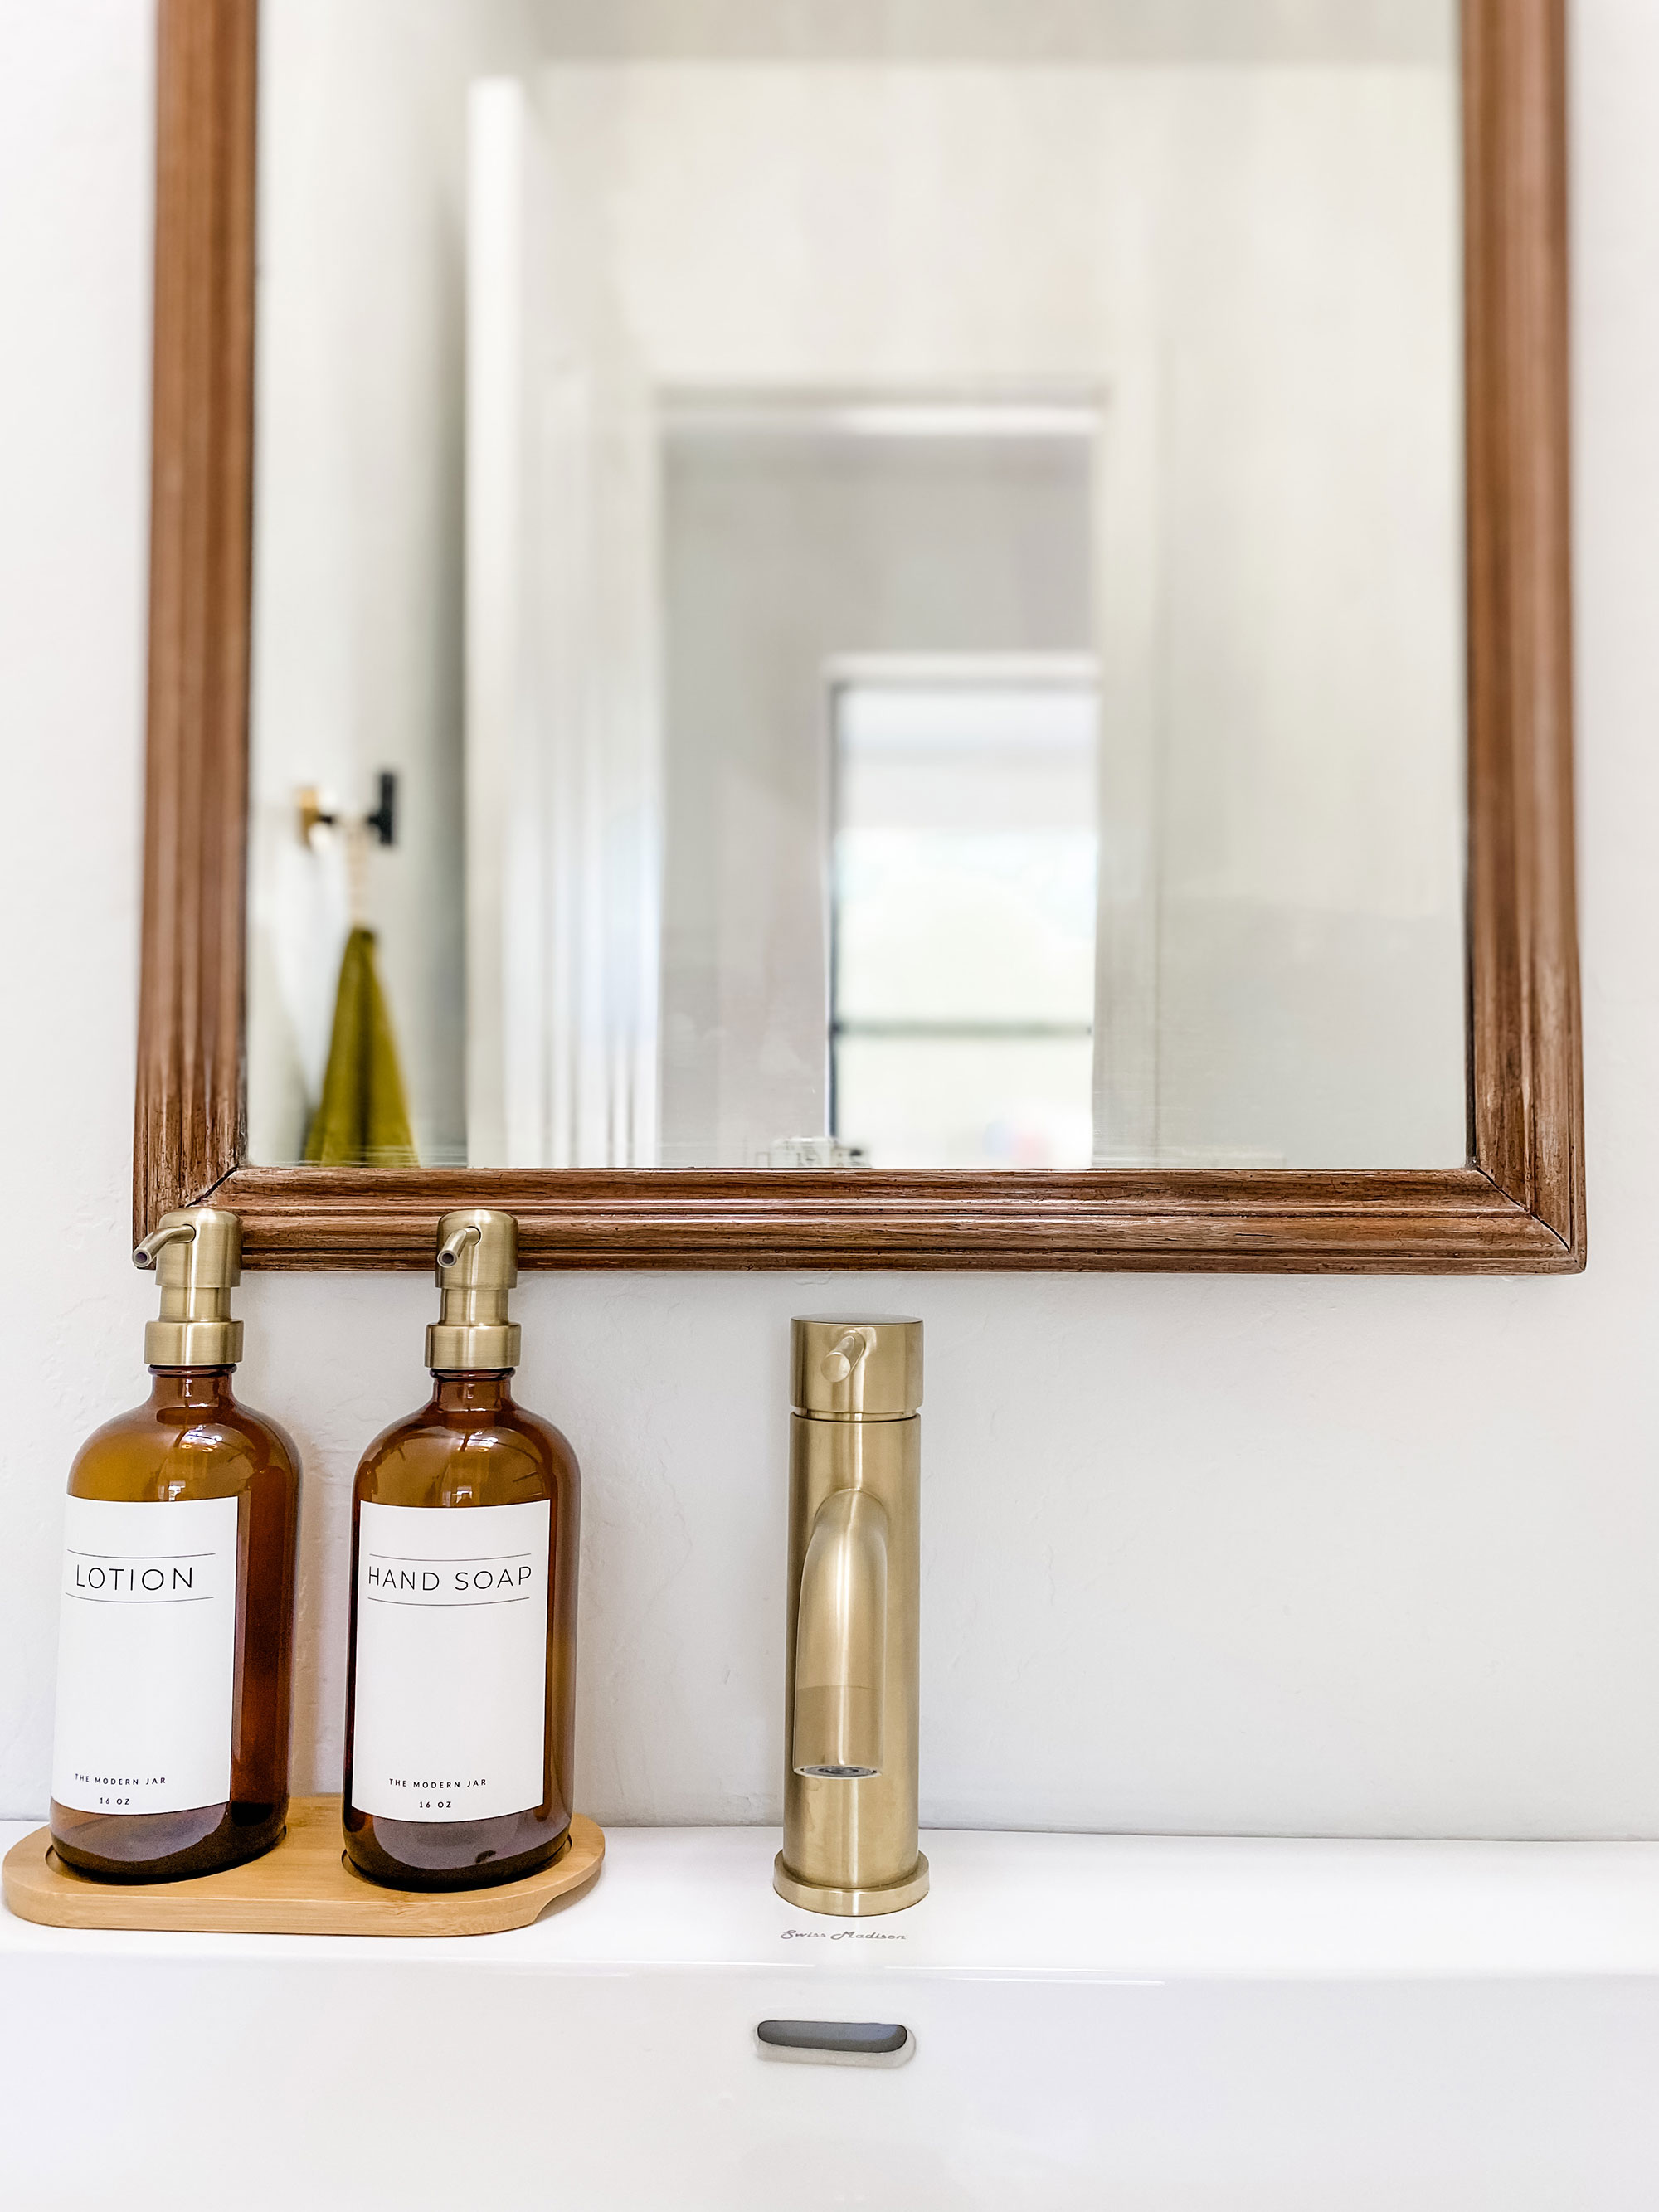
And here’s the final product, hung proudly in our powder bathroom. Sure you can buy one of the best bathroom mirrors you can get for your budget but if you feel like getting creative, I would totally give this little DIY project a go. It added so much charm to this small room! So I’m glad I didn’t give up on finding the perfect mirror for this space.
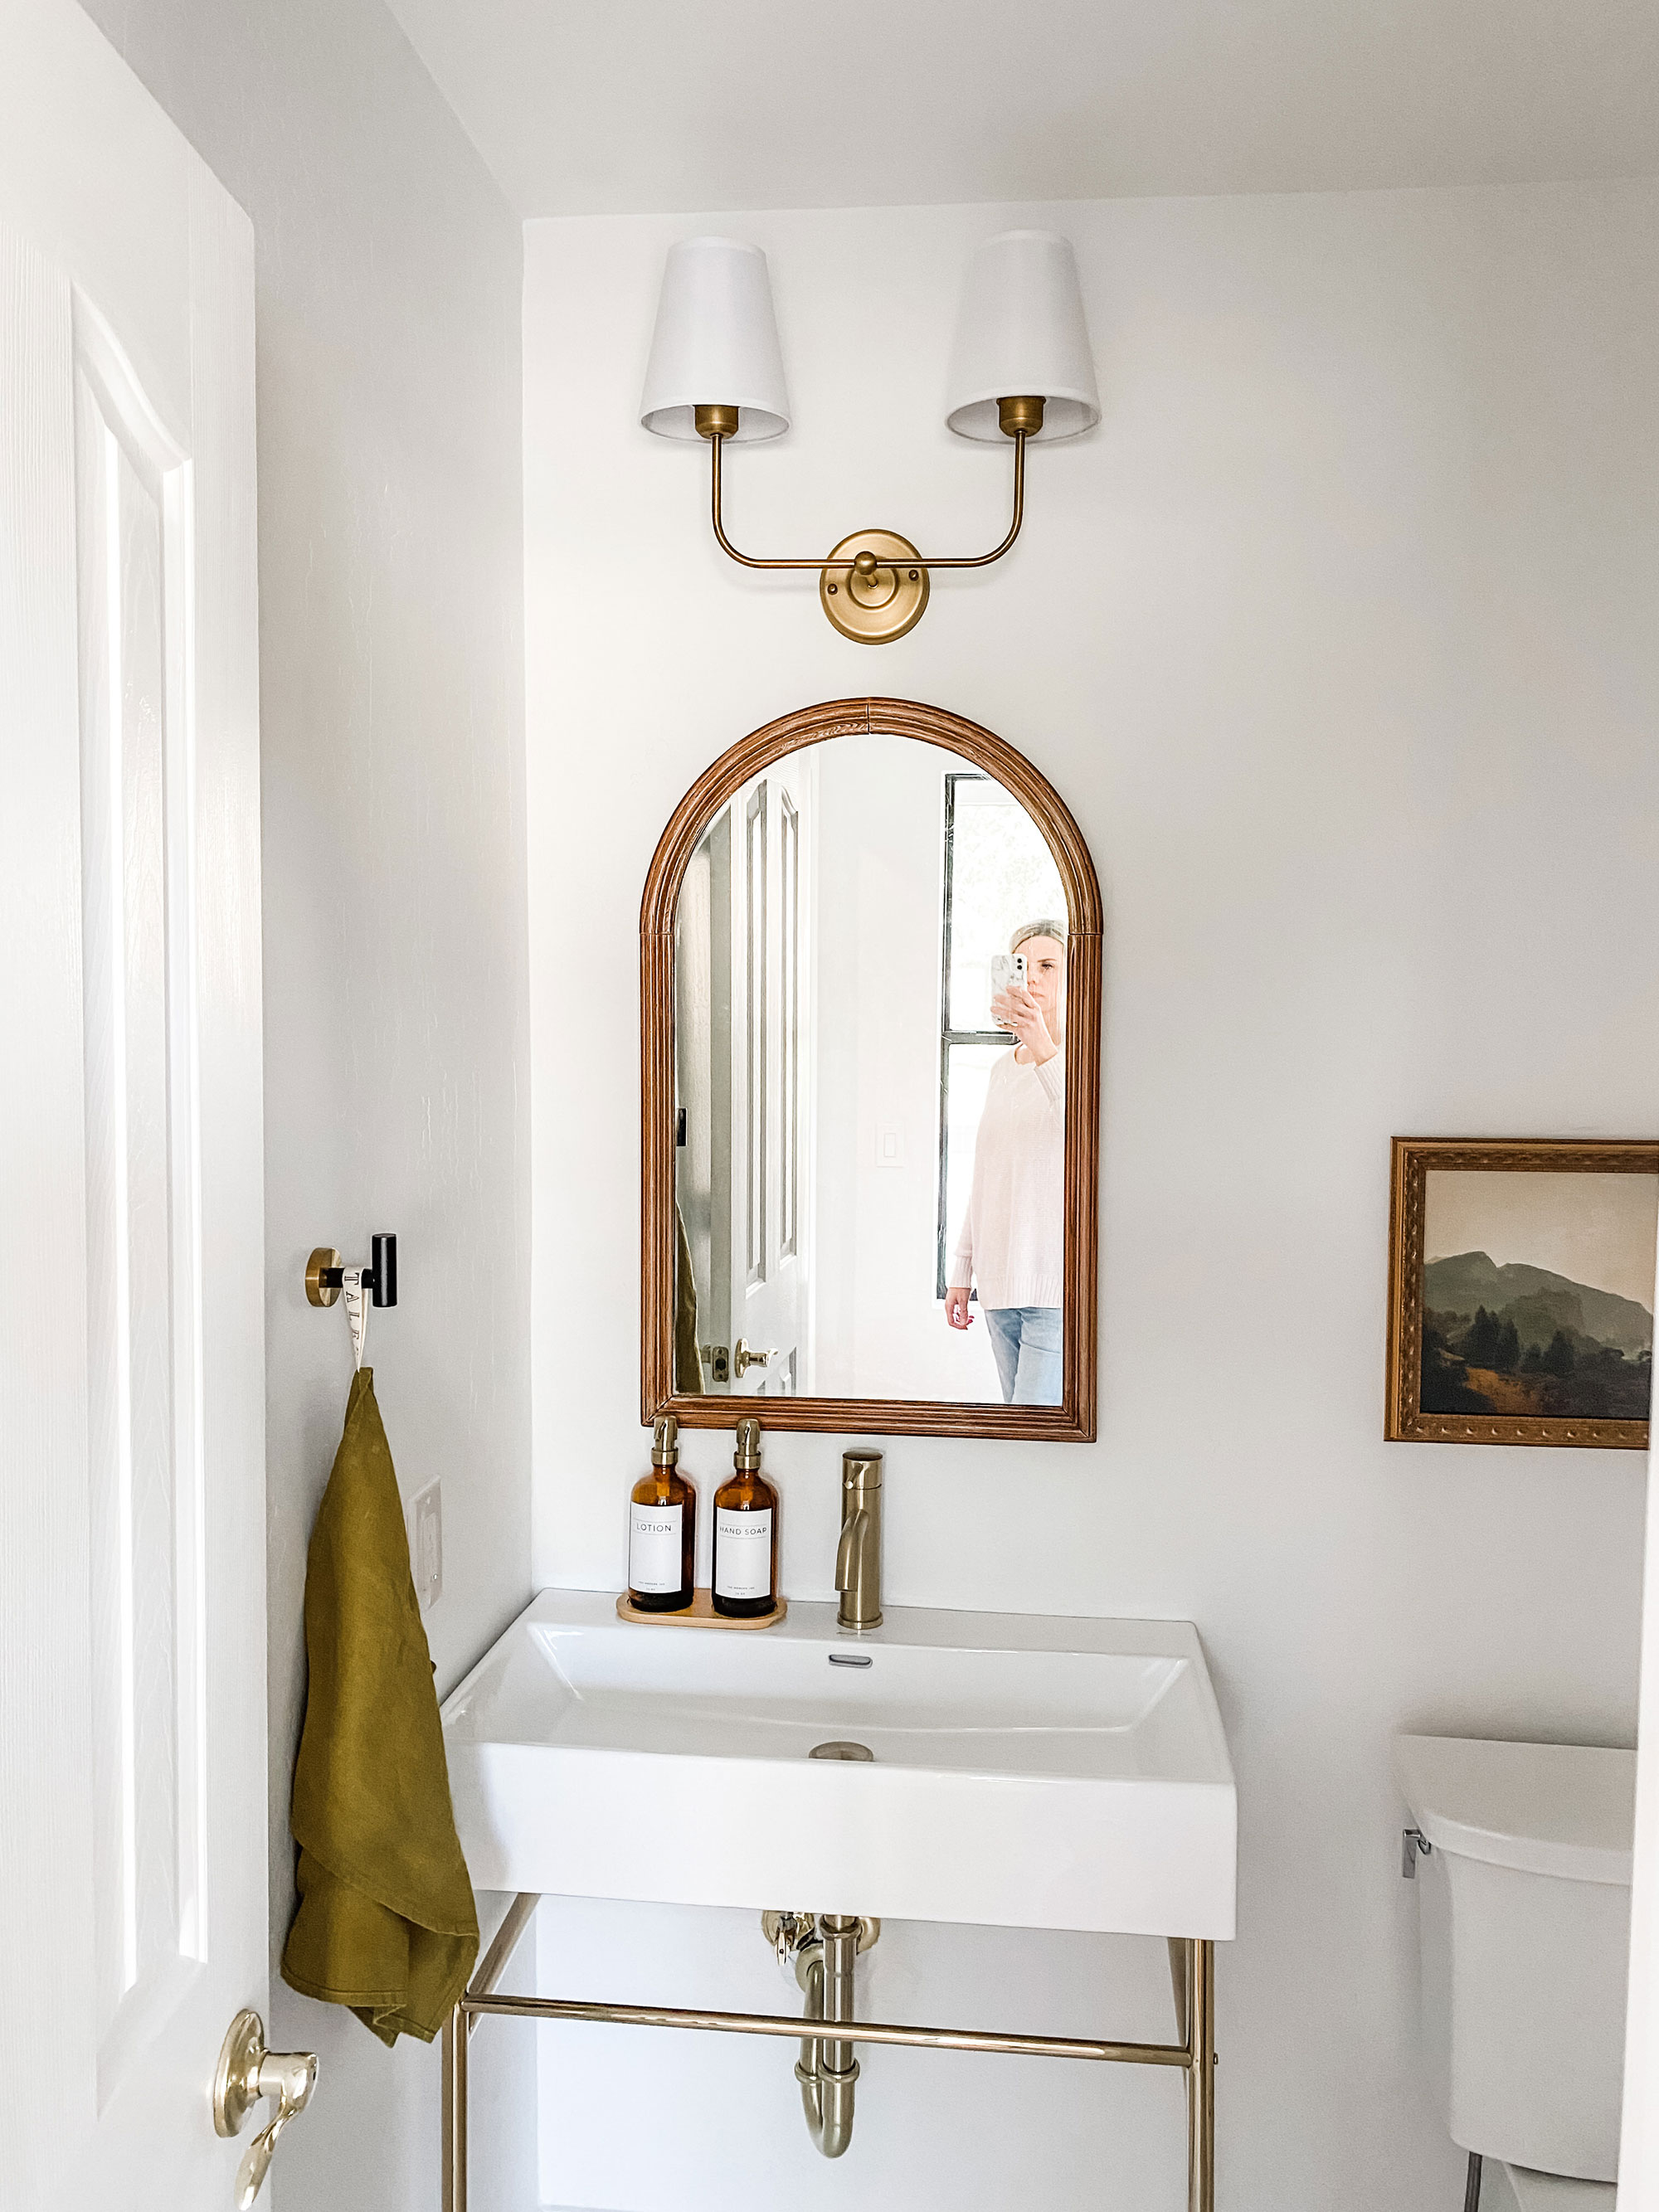
But this bathroom isn’t quite complete…I plan on adding shiplap to the wall for a more rustic feel… Stay tuned!
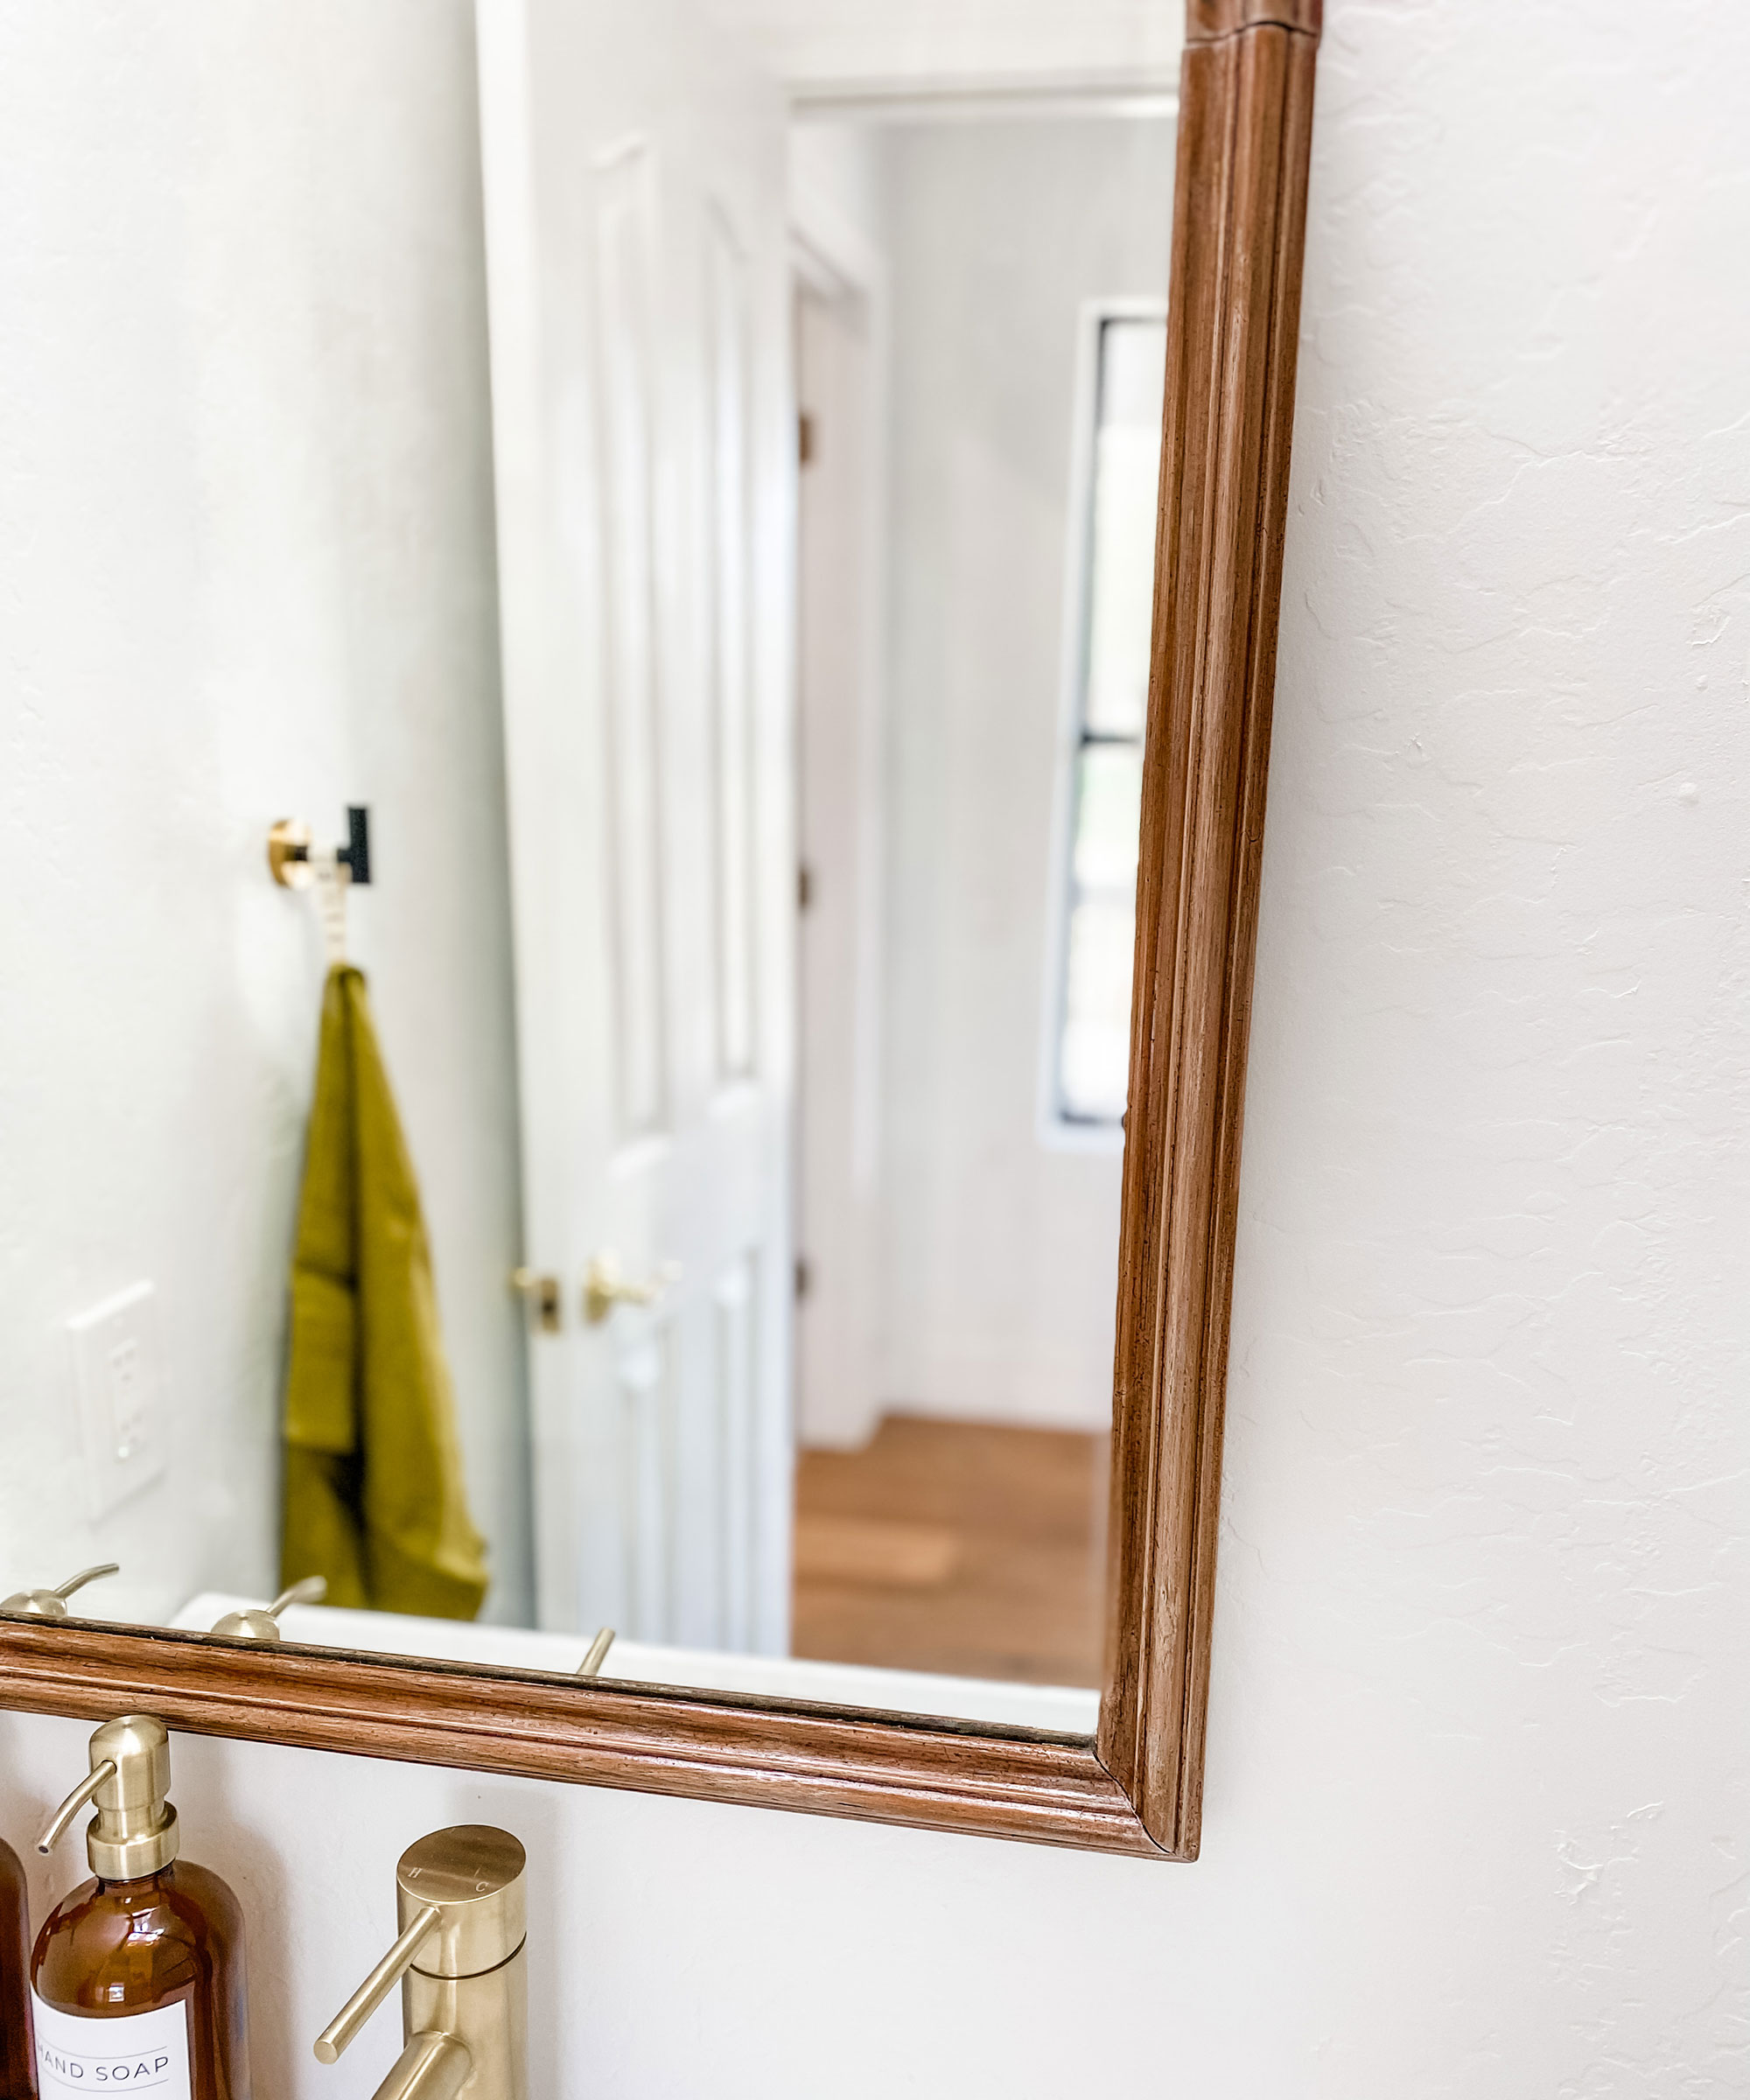
This is definitely a beginner level DIY project! You do have to work with wood stain, but the best way to feel comfortable using these products is to just get in there and do it! With practice it will become second nature. This project took a total of 5 hours over a few days just because of drying times.
Project cost breakdown:
- Vintage mirror: $50
- Wood filler: $9.61
- Color wash stain: $11.98
- Wood stain: $11
- Polycrylic: $12
- Sandpaper, putty knife, rags, gloves: $10
- Respirator: $13
Total: $117.59
If you found this tutorial helpful be sure to follow me @brookewaitehome on IG for more creative projects.
I'm a mom of three with a passion for interior design and DIY! I am currently renovating a farmhouse along with my husband and running an Airbnb in our hometown. I would define my style as loving clean lines with a good mixture of old and new. I love a modern cottage look and have been very interested in vintage pieces as of late. When I’m not spending time with my family or dreaming up another home project, I love to read, eat good food, and binge-watch crime shows on Netflix!
