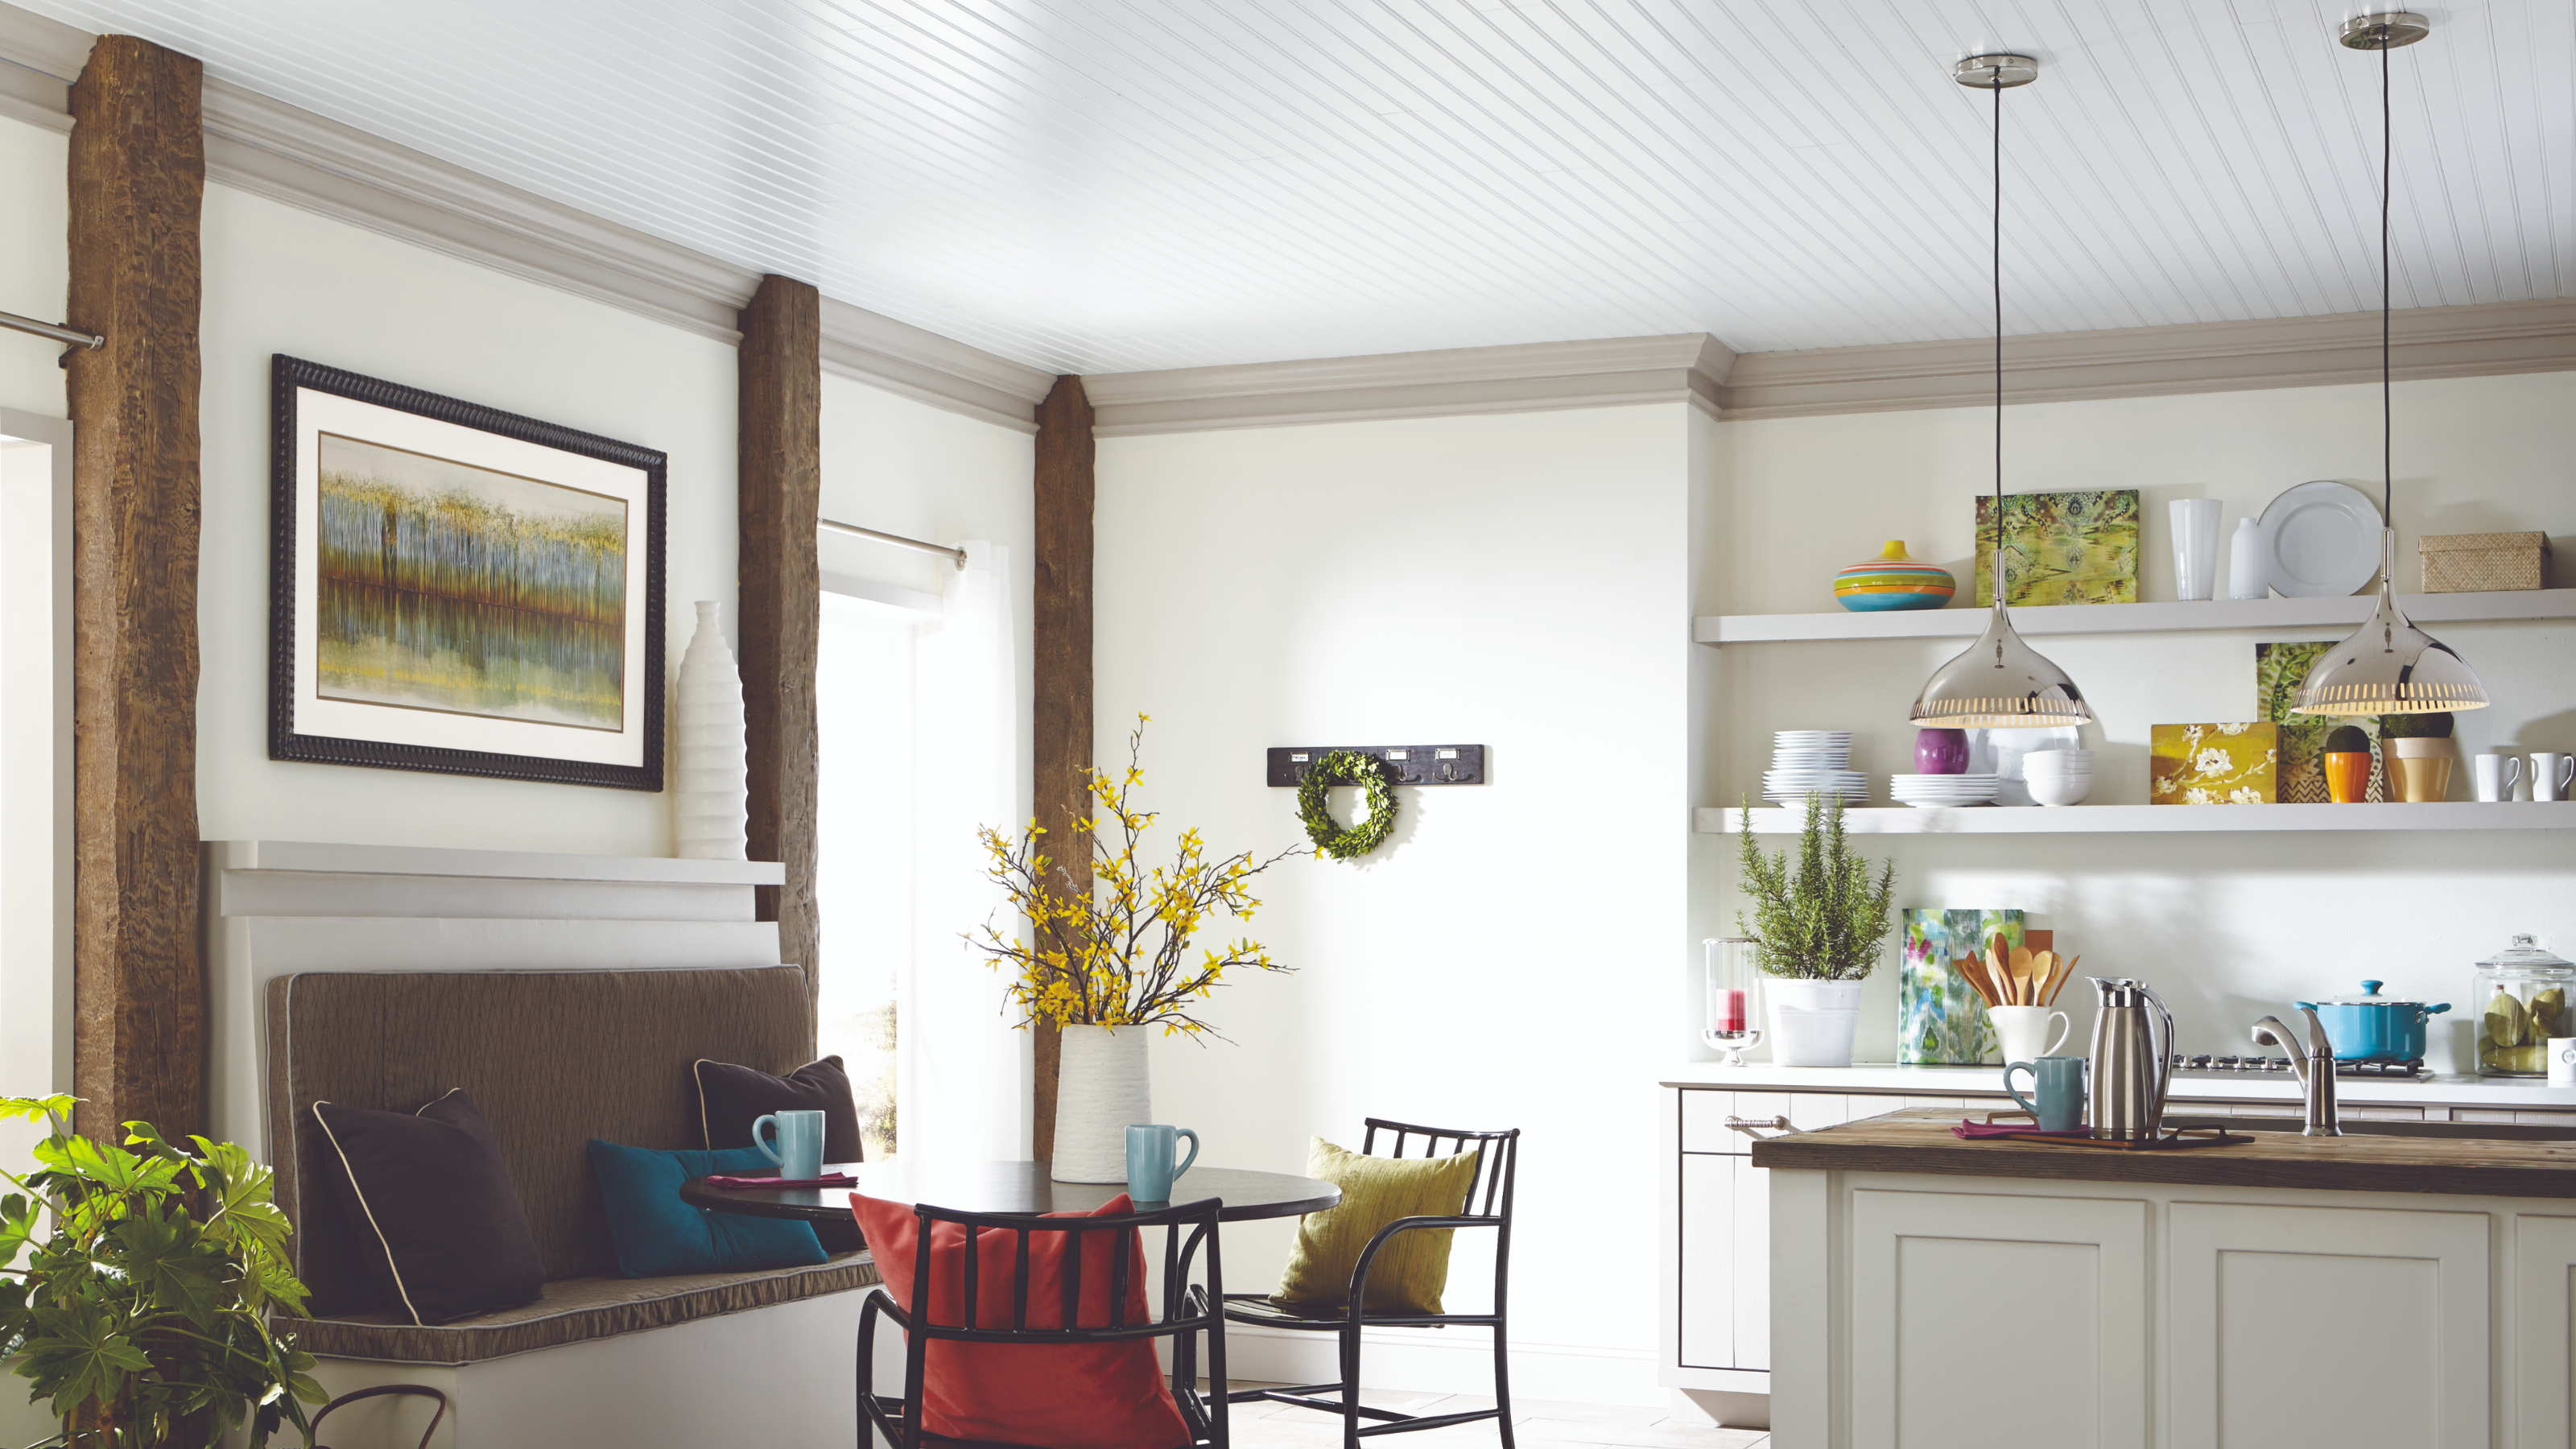
If you’re looking for beadboard ceiling ideas, then good news… we have plenty! We’re always looking for fresh ways to revamp our interiors and beadboard ceilings are the latest trend we can’t get enough of. What’s more, after speaking to the experts, we’ve discovered that it’s actually easier than it looks and can be pretty affordable, too.
Beadboard is wood paneling with long, continuous vertical grooves and raised beads that create the illusion of multiple panels of wood. What makes beadboard ceilings so popular is the fact that they are easier and cheaper to install than they appear. So, if you want some top tips from the experts, plus some cute ceiling ideas using beadboard, keep reading.
Can beadboard be used for ceilings?
Not only can beadboard be used for ceilings, but it's actually a really popular and beautiful use of this material. Taking up most of the surface area of any room, your ceilings should never be overlooked and fortunately, due to beadboard being lightweight, it's not a challenge to install it overhead.
Beadboard ceilings look refined and professional, offering an air of nautical chic to any style of home. For this reason, it’s no surprise that this trend has taken the internet by storm. From Instagram and Pinterest to TikTok, homeowners are obsessed with the #accentceiling aesthetic and beadboard ceilings are among the most popular.
1. Add some nautical charm to the kids' bedroom
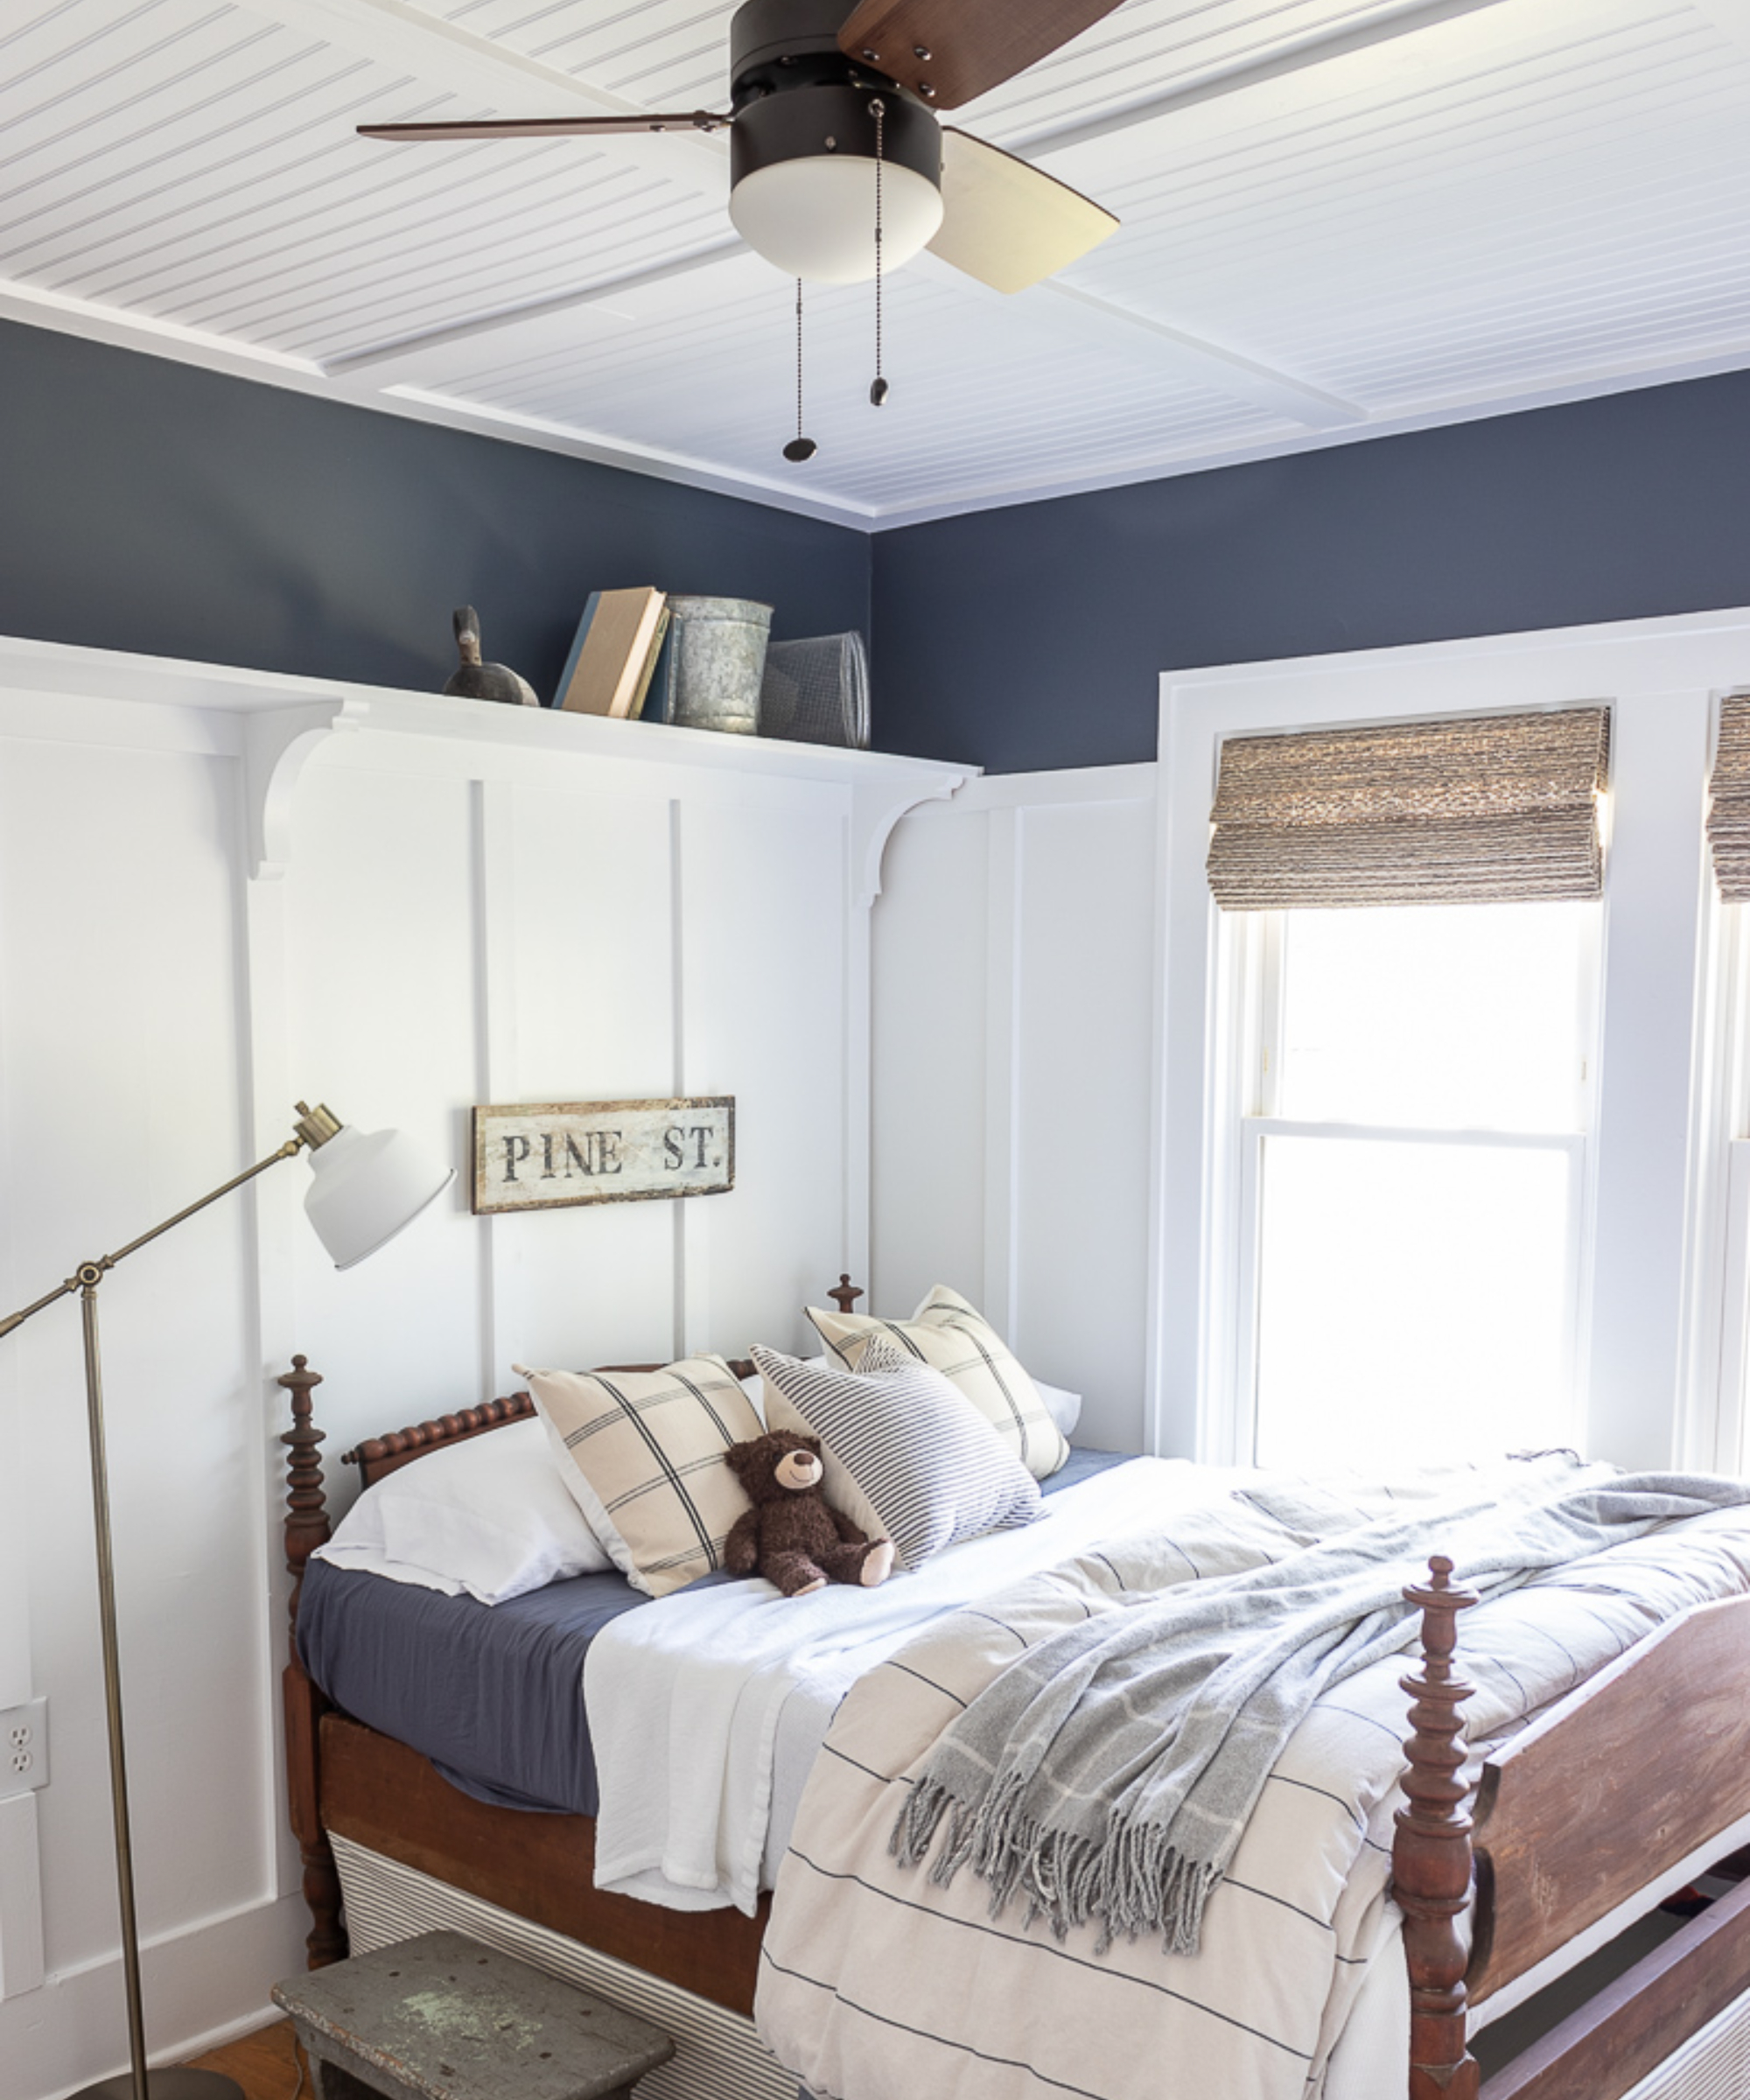
Any kind of wooden paneling is a good idea when it comes to achieving the much sought-after nautical chic aesthetic. However, beadboard has that clean, simple look that offers a no-fuss solution to boring bedroom ceilings. Juxtaposing a rich, navy blue with some bright white beadboard is a great way to give a room some maritime charm. We love how Pine and Prospect Home have embraced this theme throughout the room with dark wooden furniture, white and navy bedding and freshly painted white woodwork. This combination ensures brightness without compromising on coziness – perfect for those seeking with a beach house interior to decorate.
2. Pair stone walls with rustic wooden beadboard ceilings
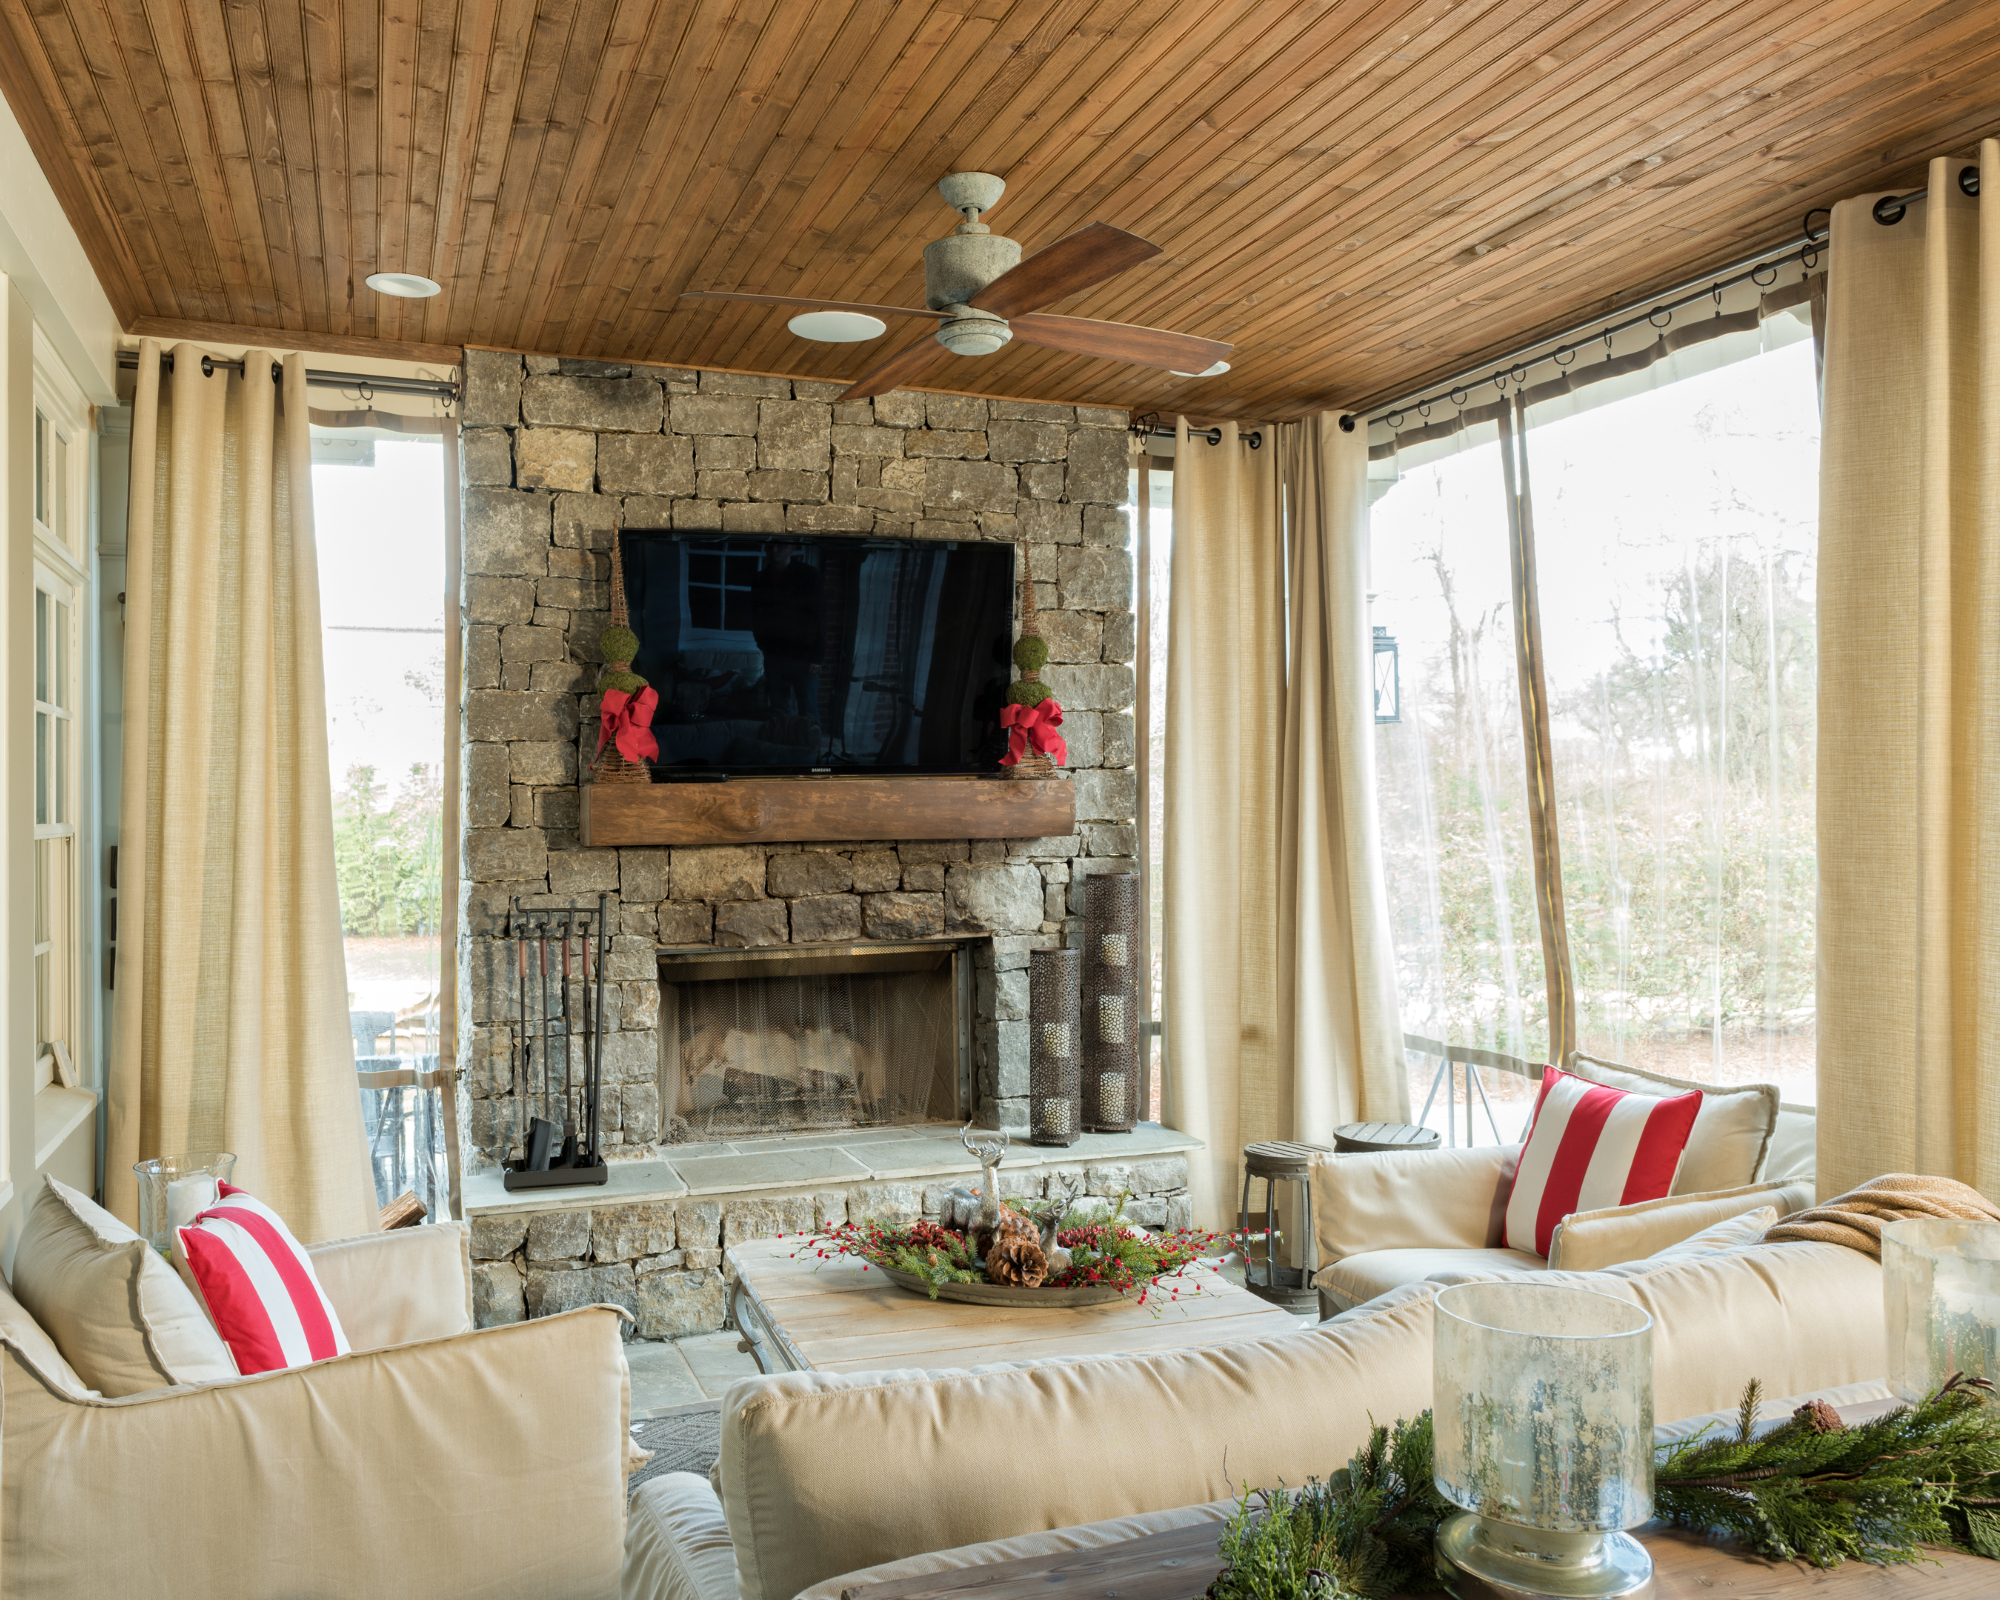
We love the cozy, cabin-esque retreat feel that can be created using natural wooden beadboard ceilings. Using simple, pine beadboard overhead and oversized grey stone on the walls, The Porch Company has cultivated a warm, chalet-style charm in this home. If your style is traditional and rustic, timber beadboard ceilings are a fantastic way to offer natural character and warmth. We love the idea of installing wooden beadboard in a family room or games room in need of some soul.
3. Add accent beadboard to your loft hatch
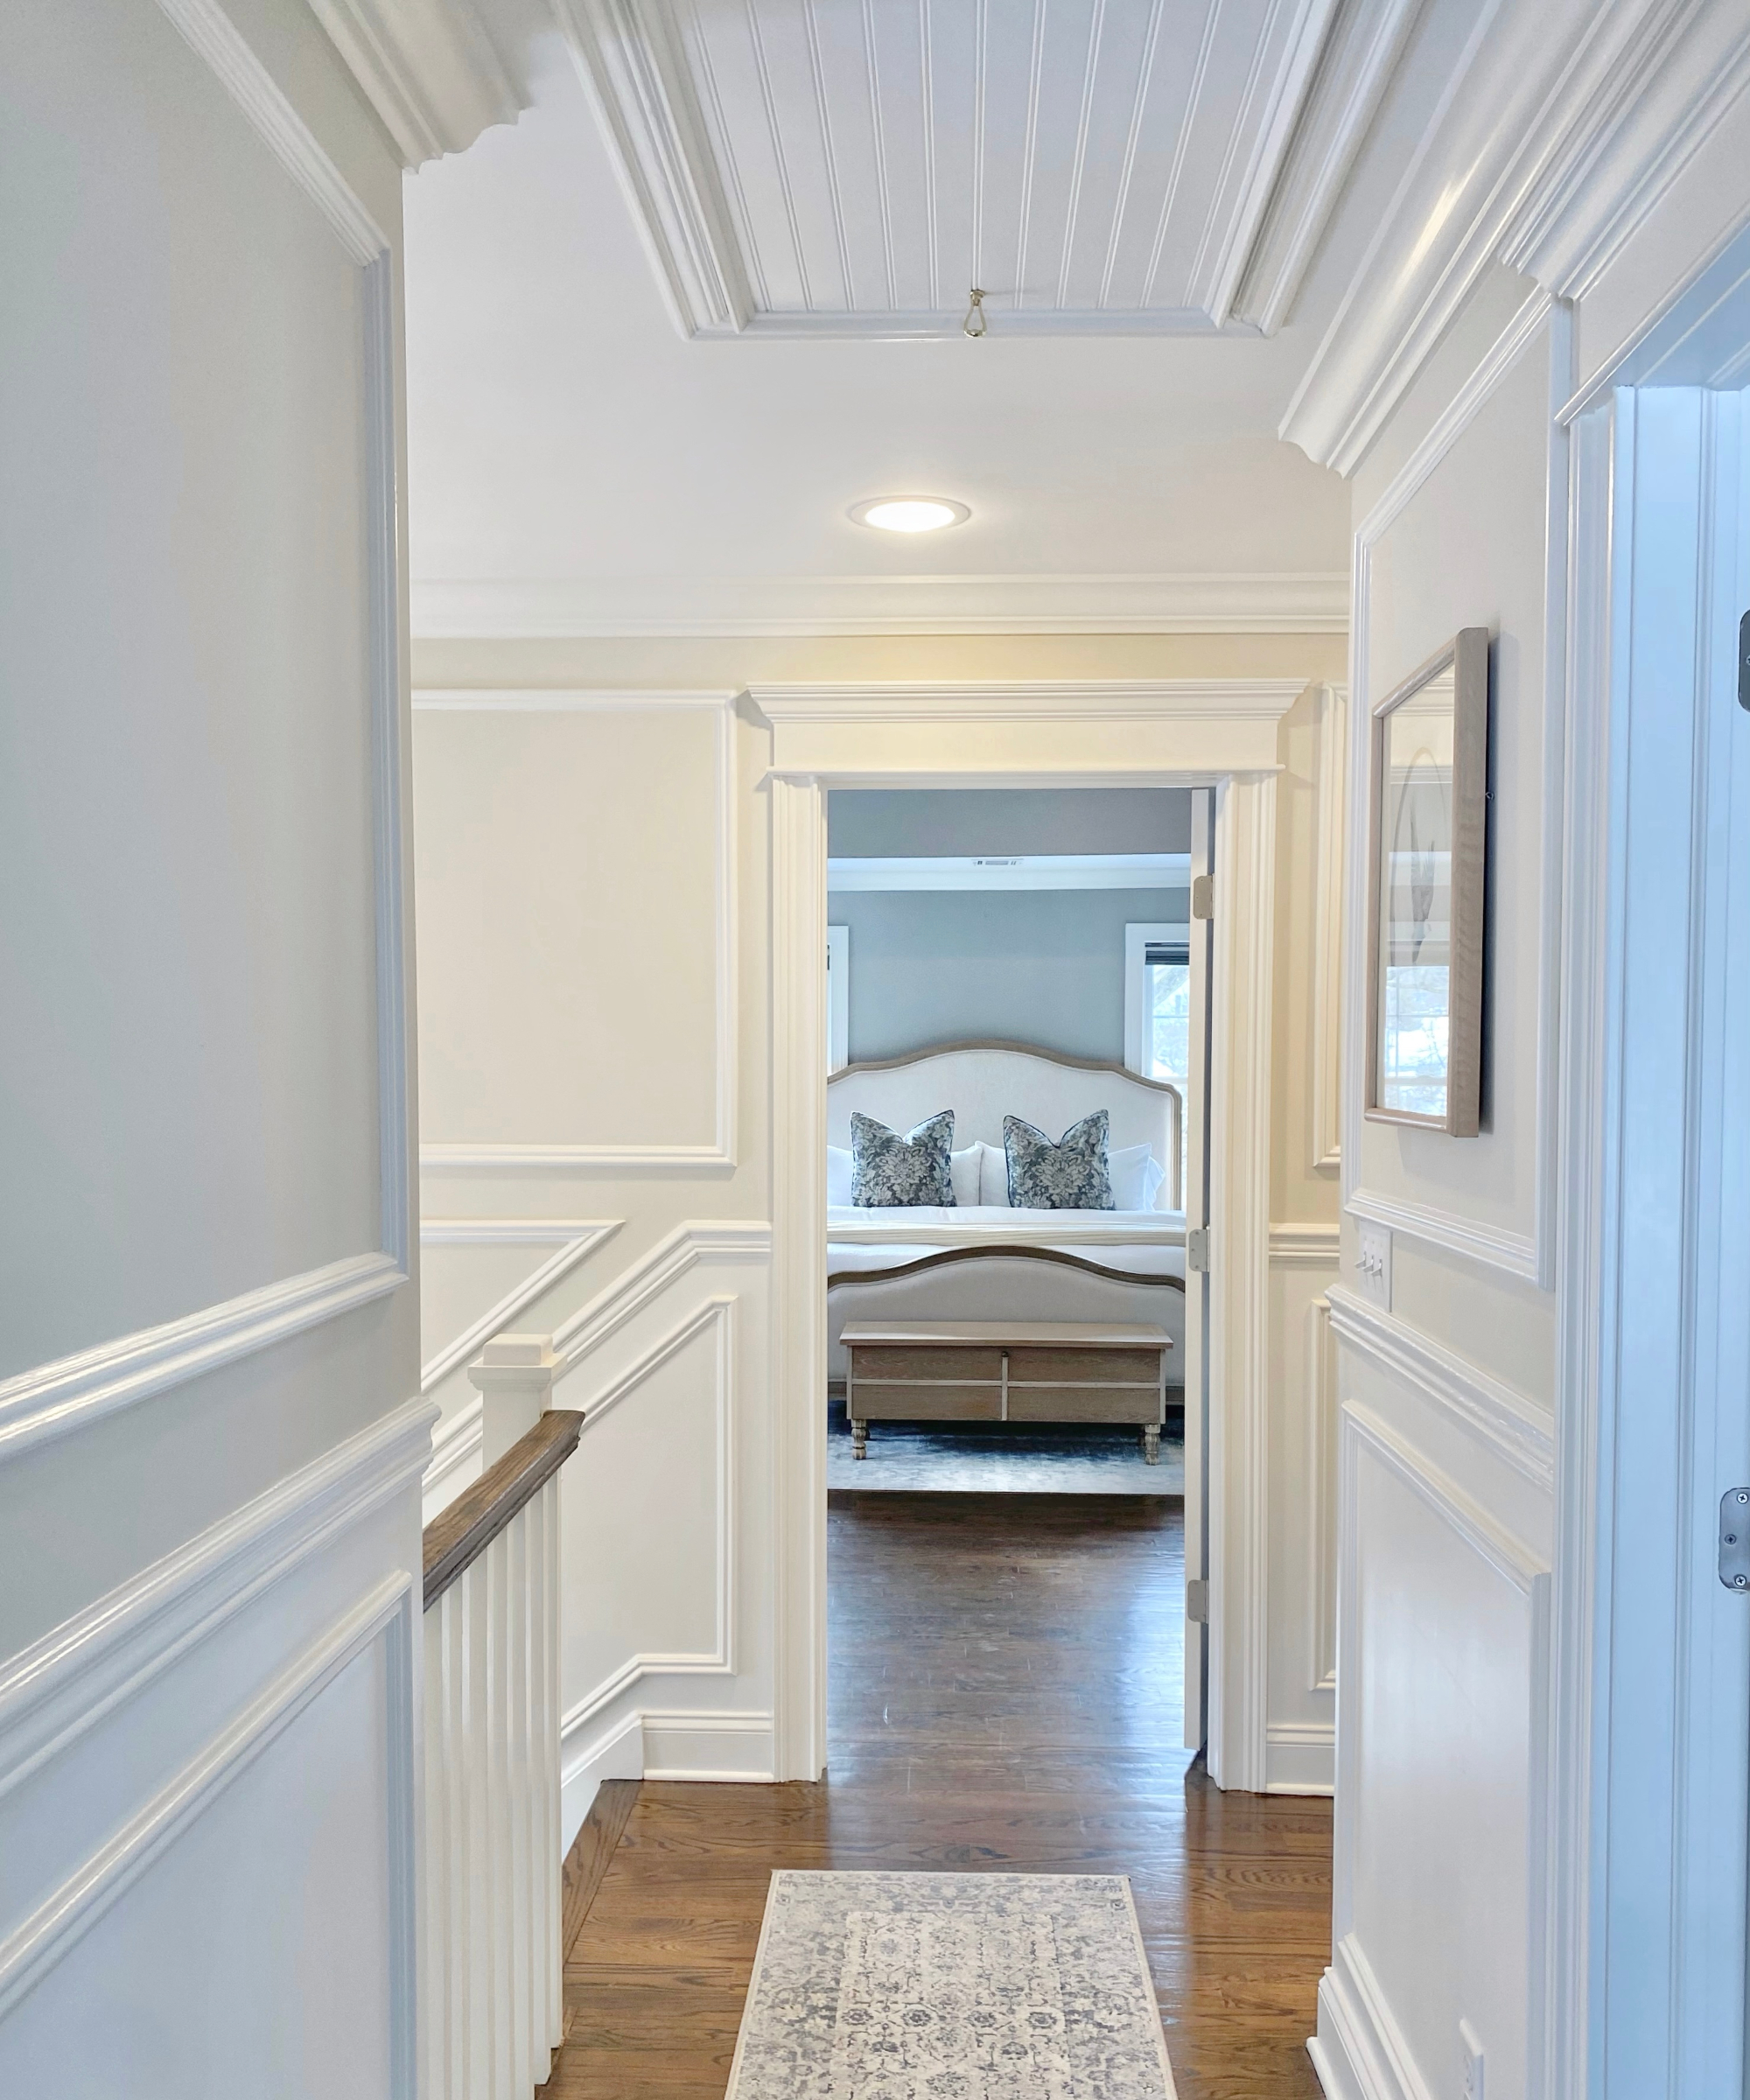
Want some beadboard overhead but don't want to commit to covering the entire ceiling? Simply cut your beadboard down to size and stick it to your loft hatch. Not only does this trick add depth by drawing the eye towards the detail, it also offers some elegant intrigue to an otherwise neutral space. Beadboard and other wall panelling techniques are a great way to introduce texture to interiors that champion minimalist colour palettes. We recommend mirroring the effect with a runner rug on the wooden floors beneath the loft hatch like @herrhome has done here.
4. Replicate the blue sky with teal beadboard ceilings
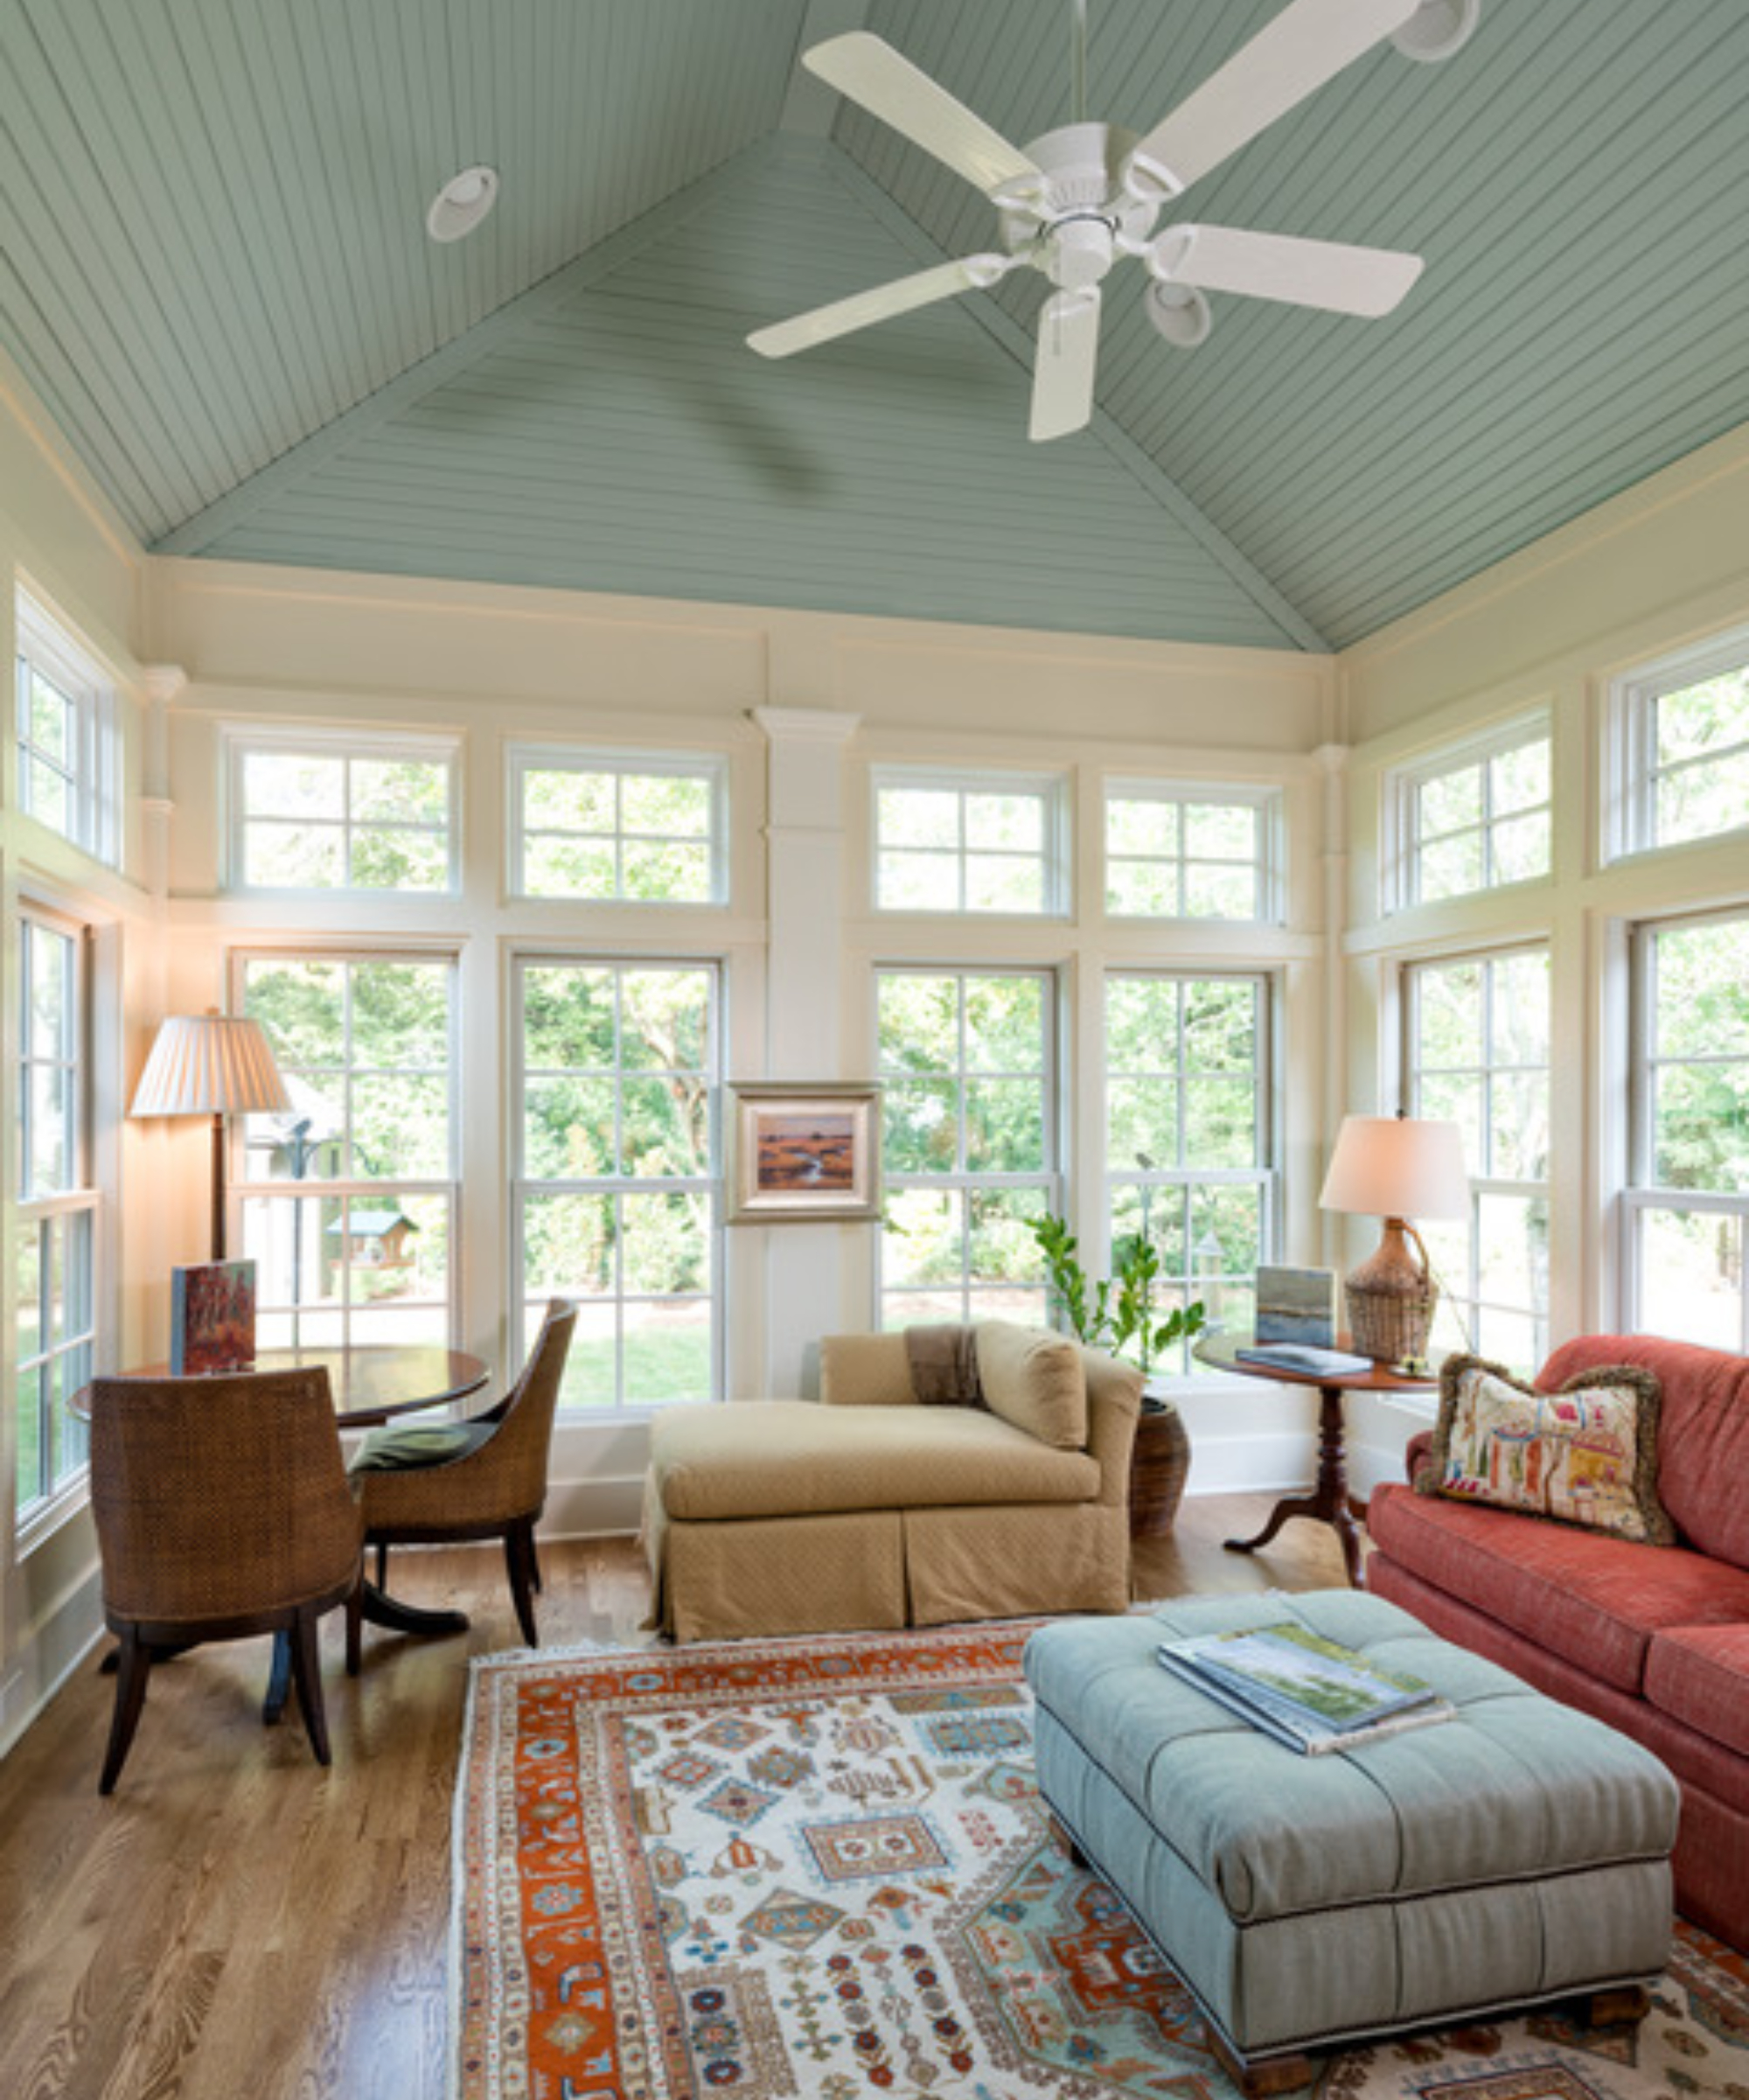
Colourful beadboard ceilings are the ultimate design statement, promising to draw the eye upwards and give a room vitality and character. Blue beadboard is an especially clever interior design trick, creating the illusion of blue skies and cultivating a sense of space. The best thing about blue? It's one of those colours that can lend itself to a bright and quirky colour palette or an earthy, neutral look. We love this idea from The Porch Company that finds balance by pairing muted blue beadboard ceilings with a terracotta, Moroccan rug (shop Moroccan rugs on Wayfair for something similar).
5. Whitewashed beadboard ceilings for a beach-house yet refined living room
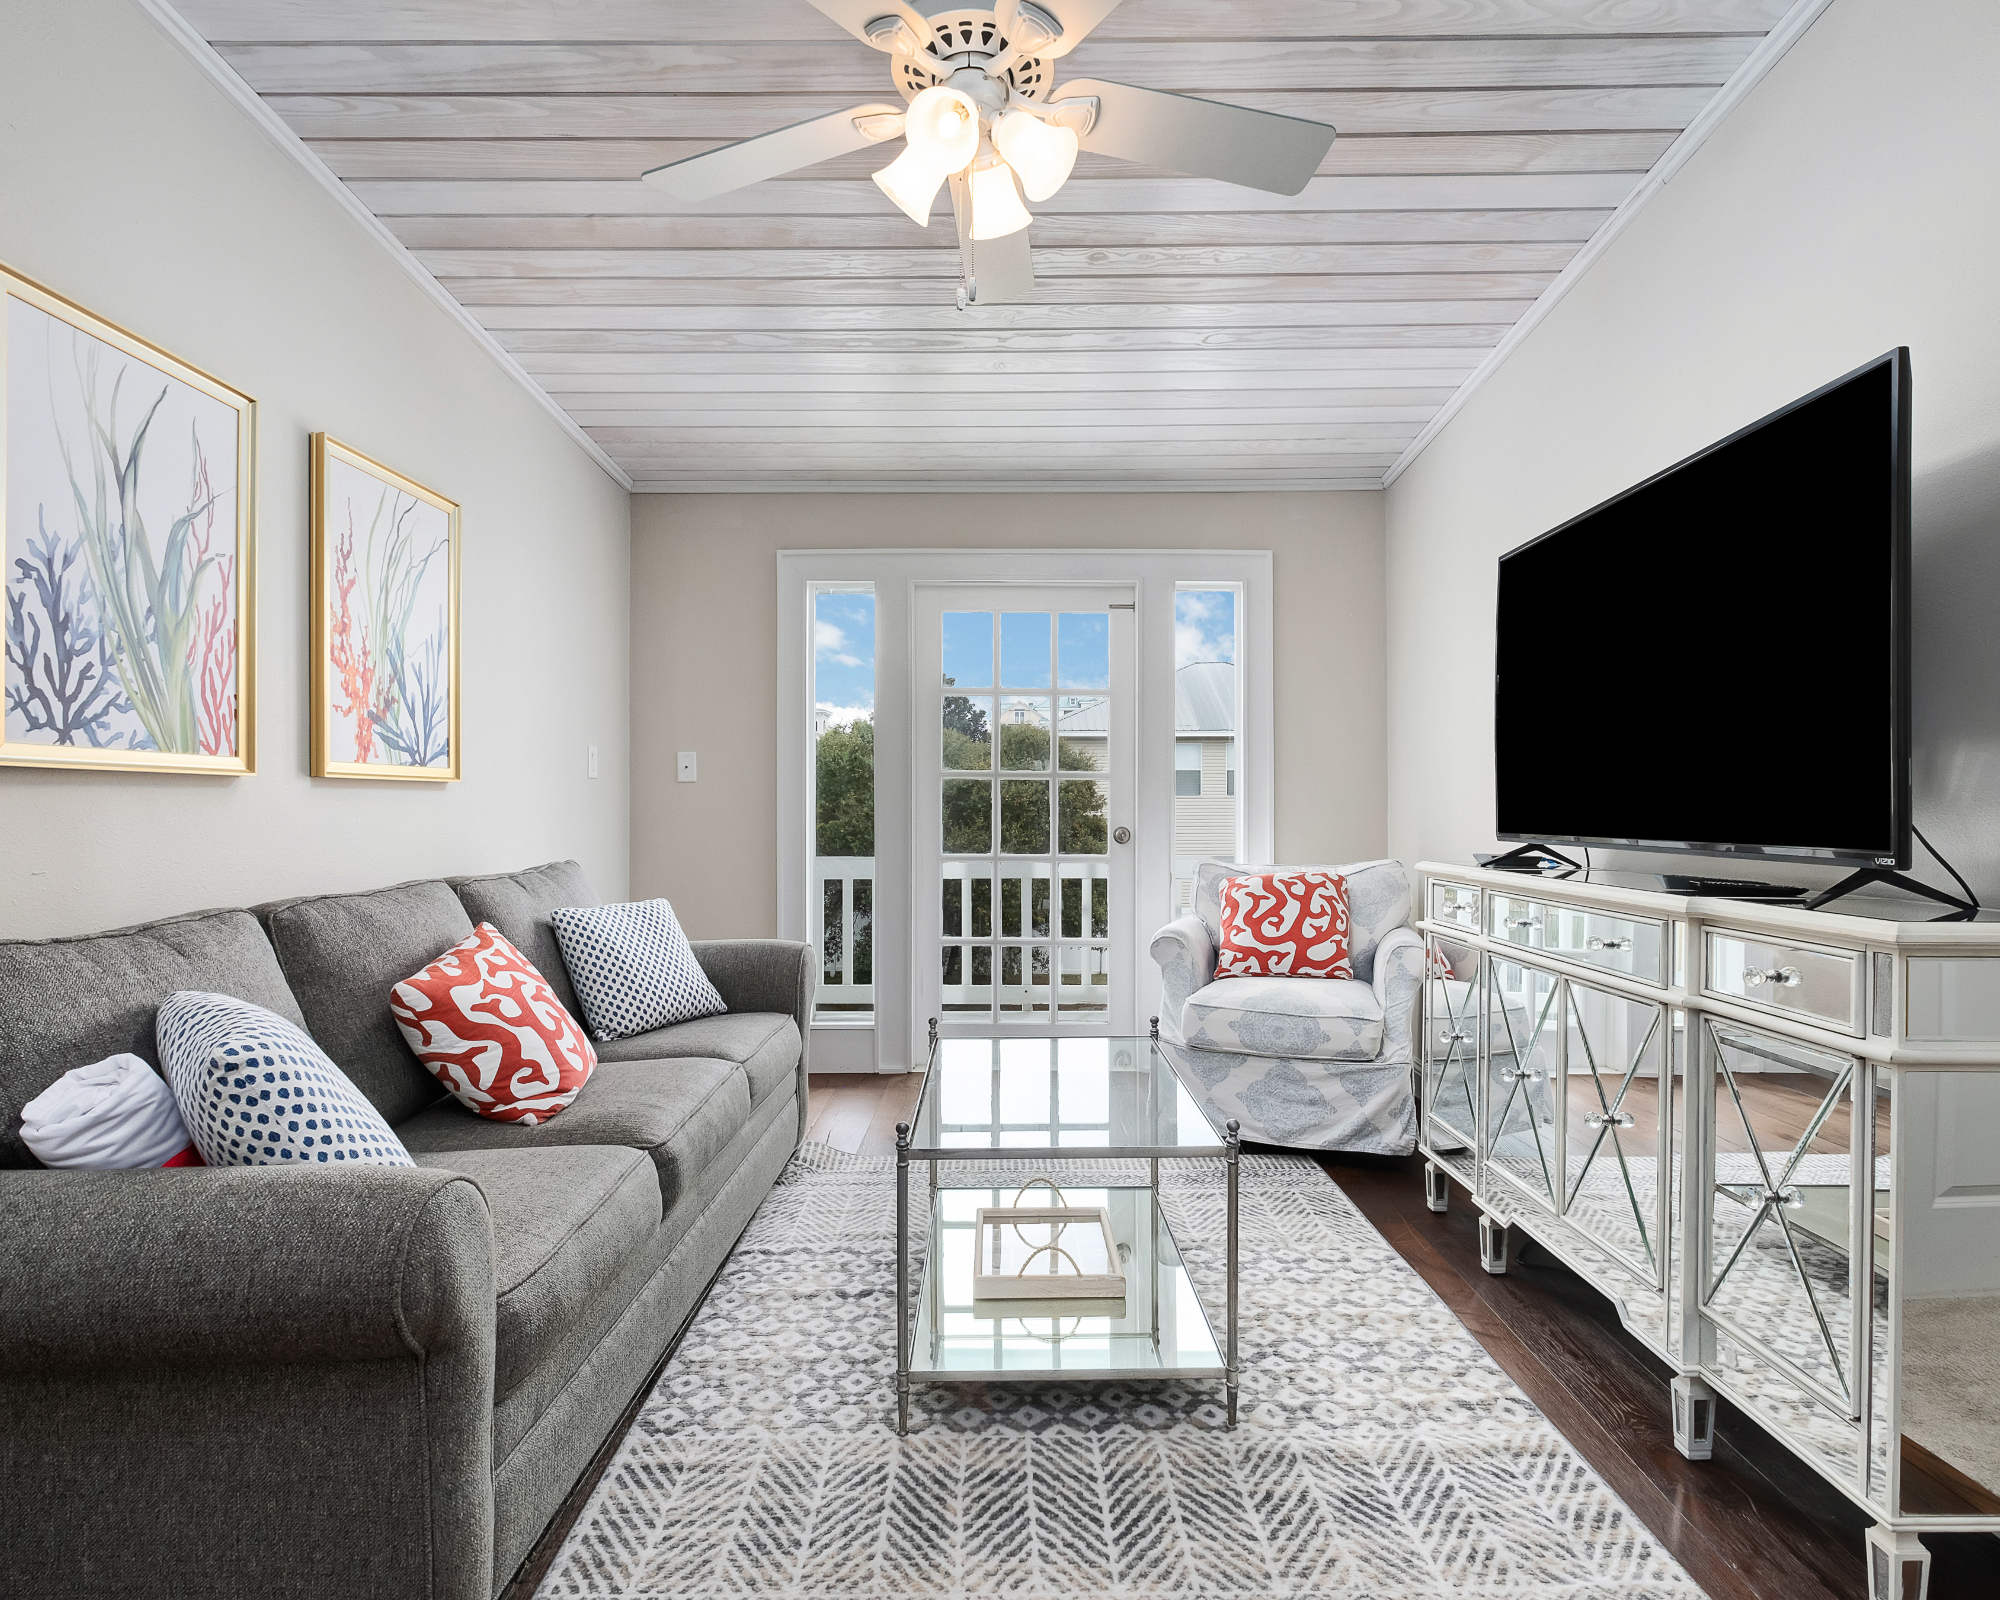
If you're dealing with a small room on a budget, beadboard ceilings with a gentle whitewash paint will immediately give your space an easy-living, chilled out look of coastal calm. From here, we suggest sticking to a cool colour scheme for a refreshing, Scandi twist. The architectural detail of the whitewashed beadboard ceilings, paired with the light colours elsewhere will create a feeling of spaciousness and intentional simplicity.
6. Exposed brick and white beadboard for a city dweller meets country aesthetic
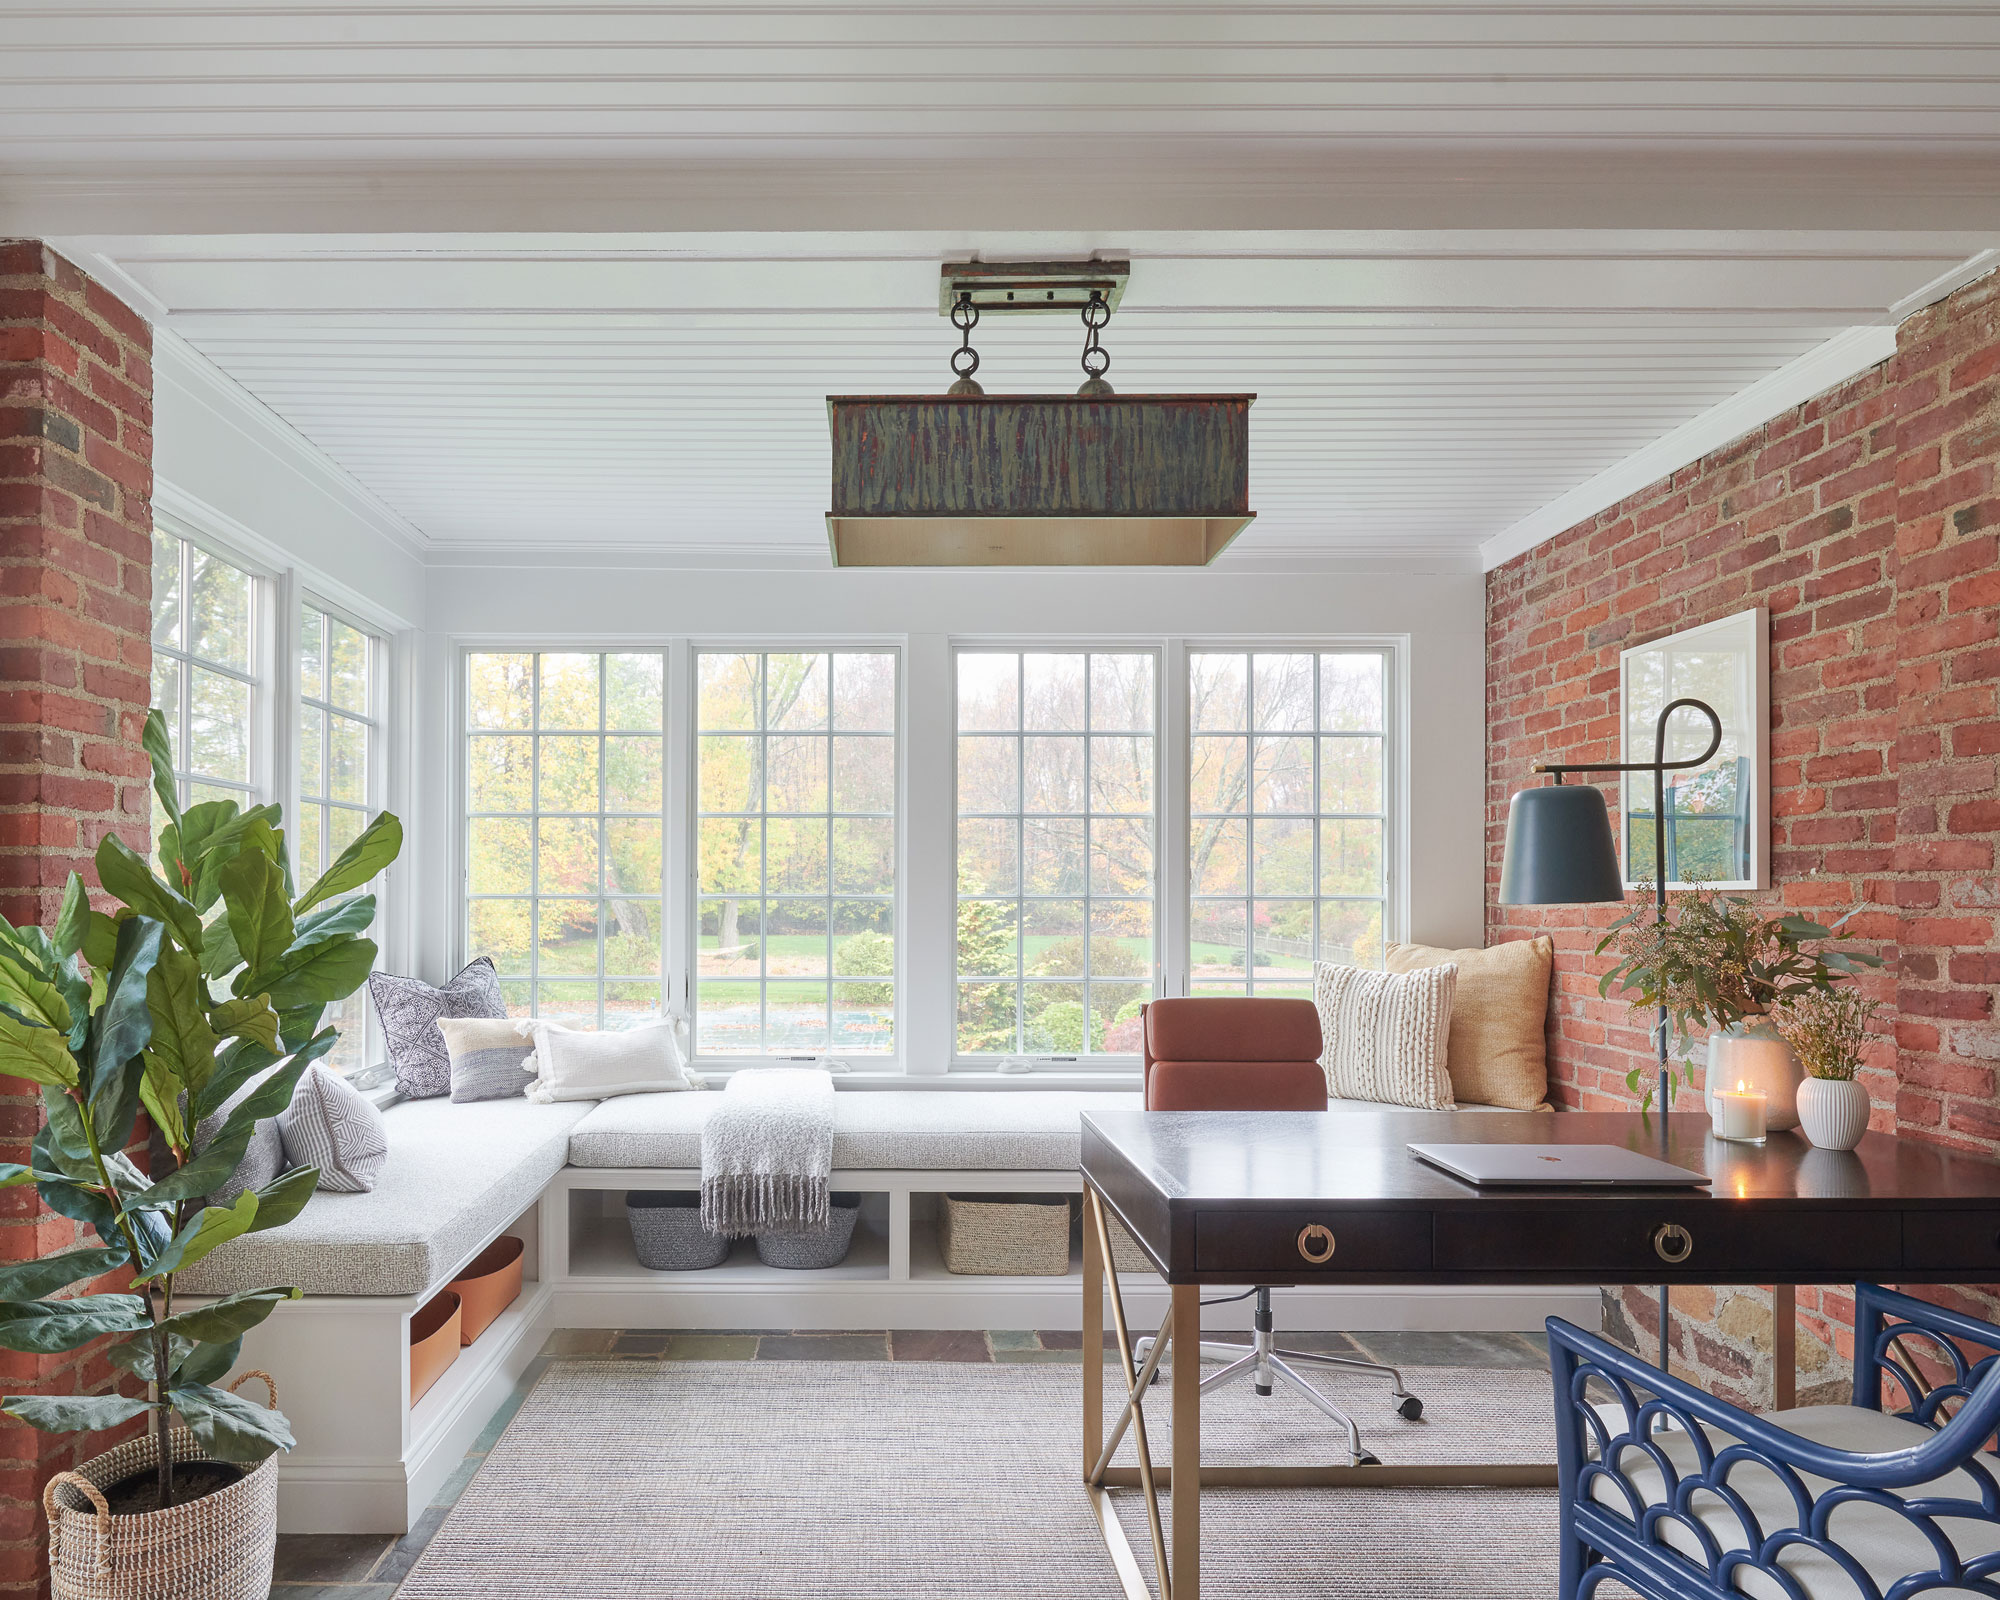
There's no denying exposed brick is a trend that is here to stay. So, why not give it a stylish twist with some white beadboard ceilings? The way that red brick contrasts with white beadboard gives a fresh yet natural look in this project by Georgia Zikas Design. This pared back design trick respects the bones of a room and allows you to play around with furniture and accessories to dress it up to your tastes. Add an industrial pendant lighting fixture, plus some indoor foliage for a city dweller, lofty look. Finally, add terracotta and off-white upholstered furniture to soften the look while continuing the earthy, neutral colour scheme.
7. A contemporary kitchen with gold accents
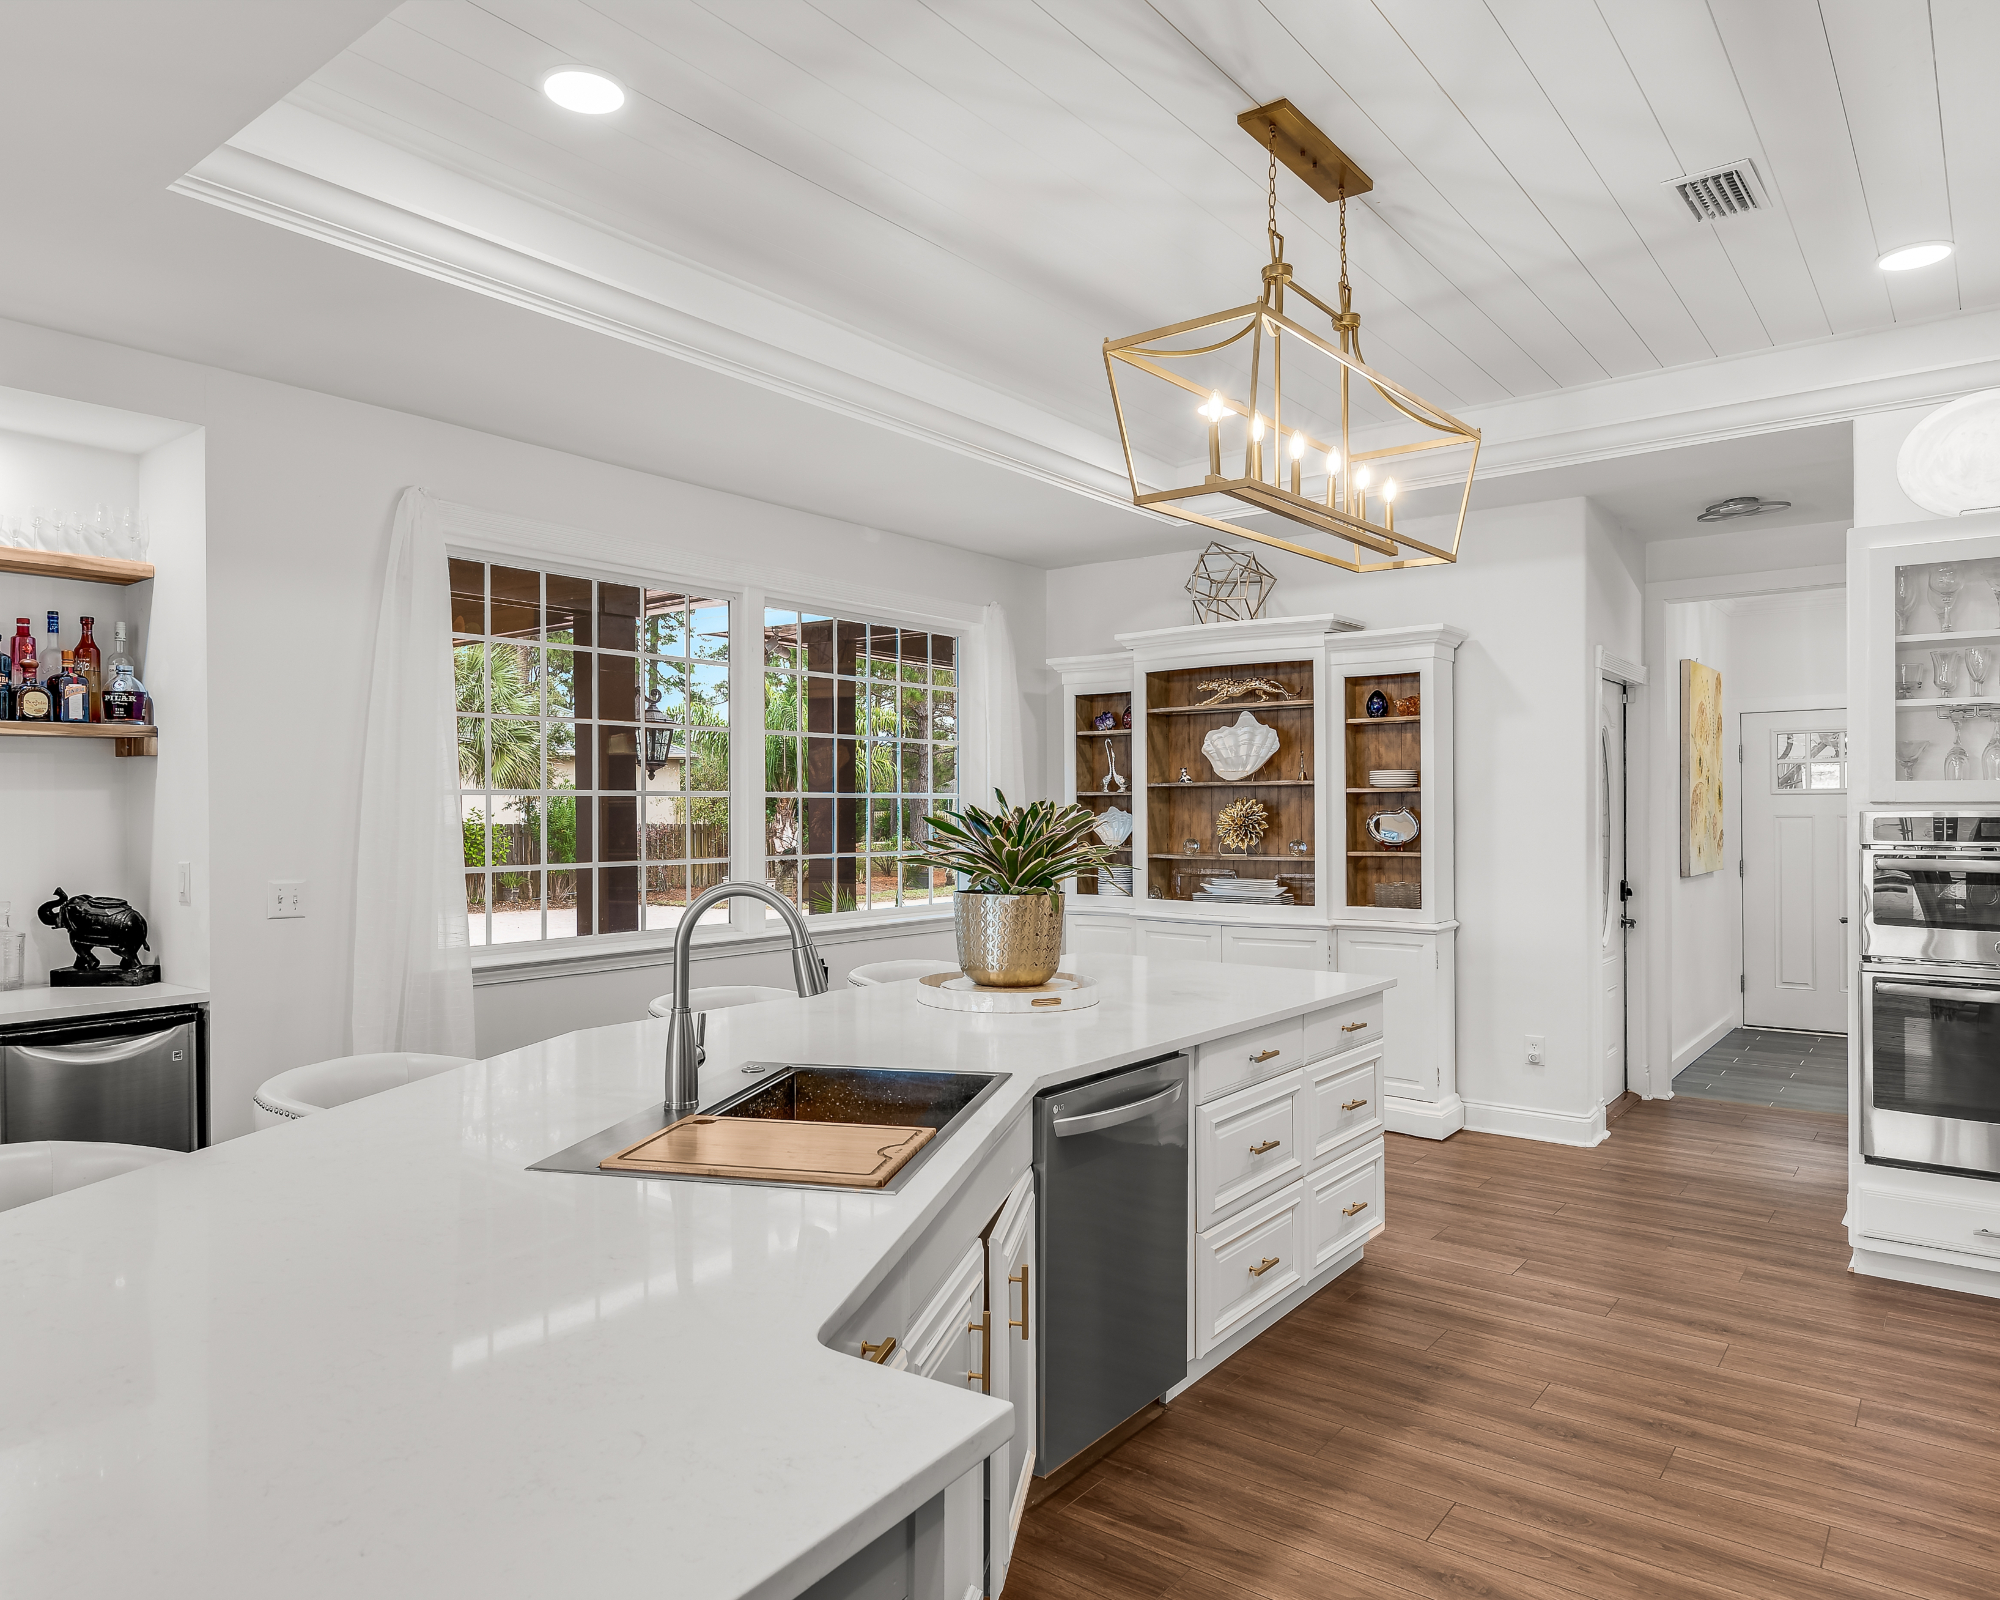
While we love beadboard for the coastal, country, rustic charm it can bring to our interiors – we also love adding beadboard ceilings as an accent in more contemporary spaces. This kitchen shows how you can combine materials to give space, texture and depth. White marble kitchen tops, a metallic caged pendant light, wooden floors and a beadboard ceiling accent? Who knew you could give a functional space so much character without indulging in prints and colourful paint? (Us beadboard advocates did!)
Are beadboard ceilings expensive?
Marina Vaamonde, a real estate investor in Texas and Founder of WarehouseCashin, shed some light on the cost of beadboard ceilings and her summary was that "Beadboard ceilings don’t have to be expensive."
"The typical cost of materials and labor are between $4.00 and $7.00 per square foot. The cost can go up considerably if you use more expensive wood panels. Some cost as much as $40.00 per square foot. Labor costs can also go up if you have an odd shaped asymmetrical ceiling or a lot of ceiling fixtures to work around."
How do you attach beadboard to a ceiling?
According to Marina Vaamonde, there are a few ways of installing beadboard ceilings.
"Prefabricated systems are available using non-wood materials that can be installed by handy DIY-ers, greatly reducing your costs.
Thick, heavier wood panels will need to be nailed into the ceiling joists. Thinner panels can be stuck to the ceiling with adhesive (such as Gorilla Glue Heavy Duty Construction Adhesive from Amazon). You’ll still need to use some finishing nails to hold these panels in place while the adhesive sets.
The beadboard systems mentioned earlier come with clips that attach to the ceiling. The paneling is slid into the clips creating a 'floating' ceiling."
- Measure out the space and come up with a design plan:
Divide the room into sections, taking into account any parts of the room that need attention. For example, if you have a lighting fixture, try to work around this.
- Choose your beadboard:
Depending on what kind of effect you’re aiming for, you can choose the size and material beadboard that works for you. You can go for pine, MDF or whatever wood fits your desired aesthetic. Pine yellows over time even when covered by white paint, so this is something to keep in mind if you’re happy to spend a little more for it to be low maintenance down the line.
- Cut your beadboard:
Mark a line on your beadboard and then cut each panel into shape. You can do this as you go along as each piece will be different if your ceiling is an irregular shape.
- Installation:
Start by creating the perimeters with larger panels of wood. From here you can add the inside grid pieces. This is where the pre-primed beadboard comes in. You can get it anywhere – The Home Depot is easiest!
- Nail:
Using a nail gun, hold your panels in place and nail your beadboard panels to the joists.
- Finishing touches:
You can simply add caulk to any gaps to elevate the look and make it look professional and refined. Then, prime, paint and enjoy.
What way should beadboard ceilings run?
Taking into consideration the advice we've been offered by a number of experts, we've come to the conclusion that which way beadboard ceilings should run is really down to your tastes! On a practical level, it's ideal to nail your beadboard to the joists. However, beyond this, it's up to you.
Krista Walton, Communications Manager at Armstrong Ceilings recommends "You can install beadboard ceiling panels in the same direction as your floor boards for visual continuity. If you have ceiling beams, run the panels perpendicular to beams for an interesting twist."
Join our newsletter
Get small space home decor ideas, celeb inspiration, DIY tips and more, straight to your inbox!
Niamh is a freelance journalist and the Head of Content at Raft Furniture. She is obsessed with all things interior design, with a particular focus on sustainability and city-dweller style. The wooden floorboards and built-in bookcase in Niamh’s rented North London home occupy her daydreams between writing, and after work, she has a knack for finding cheap plane tickets.
-
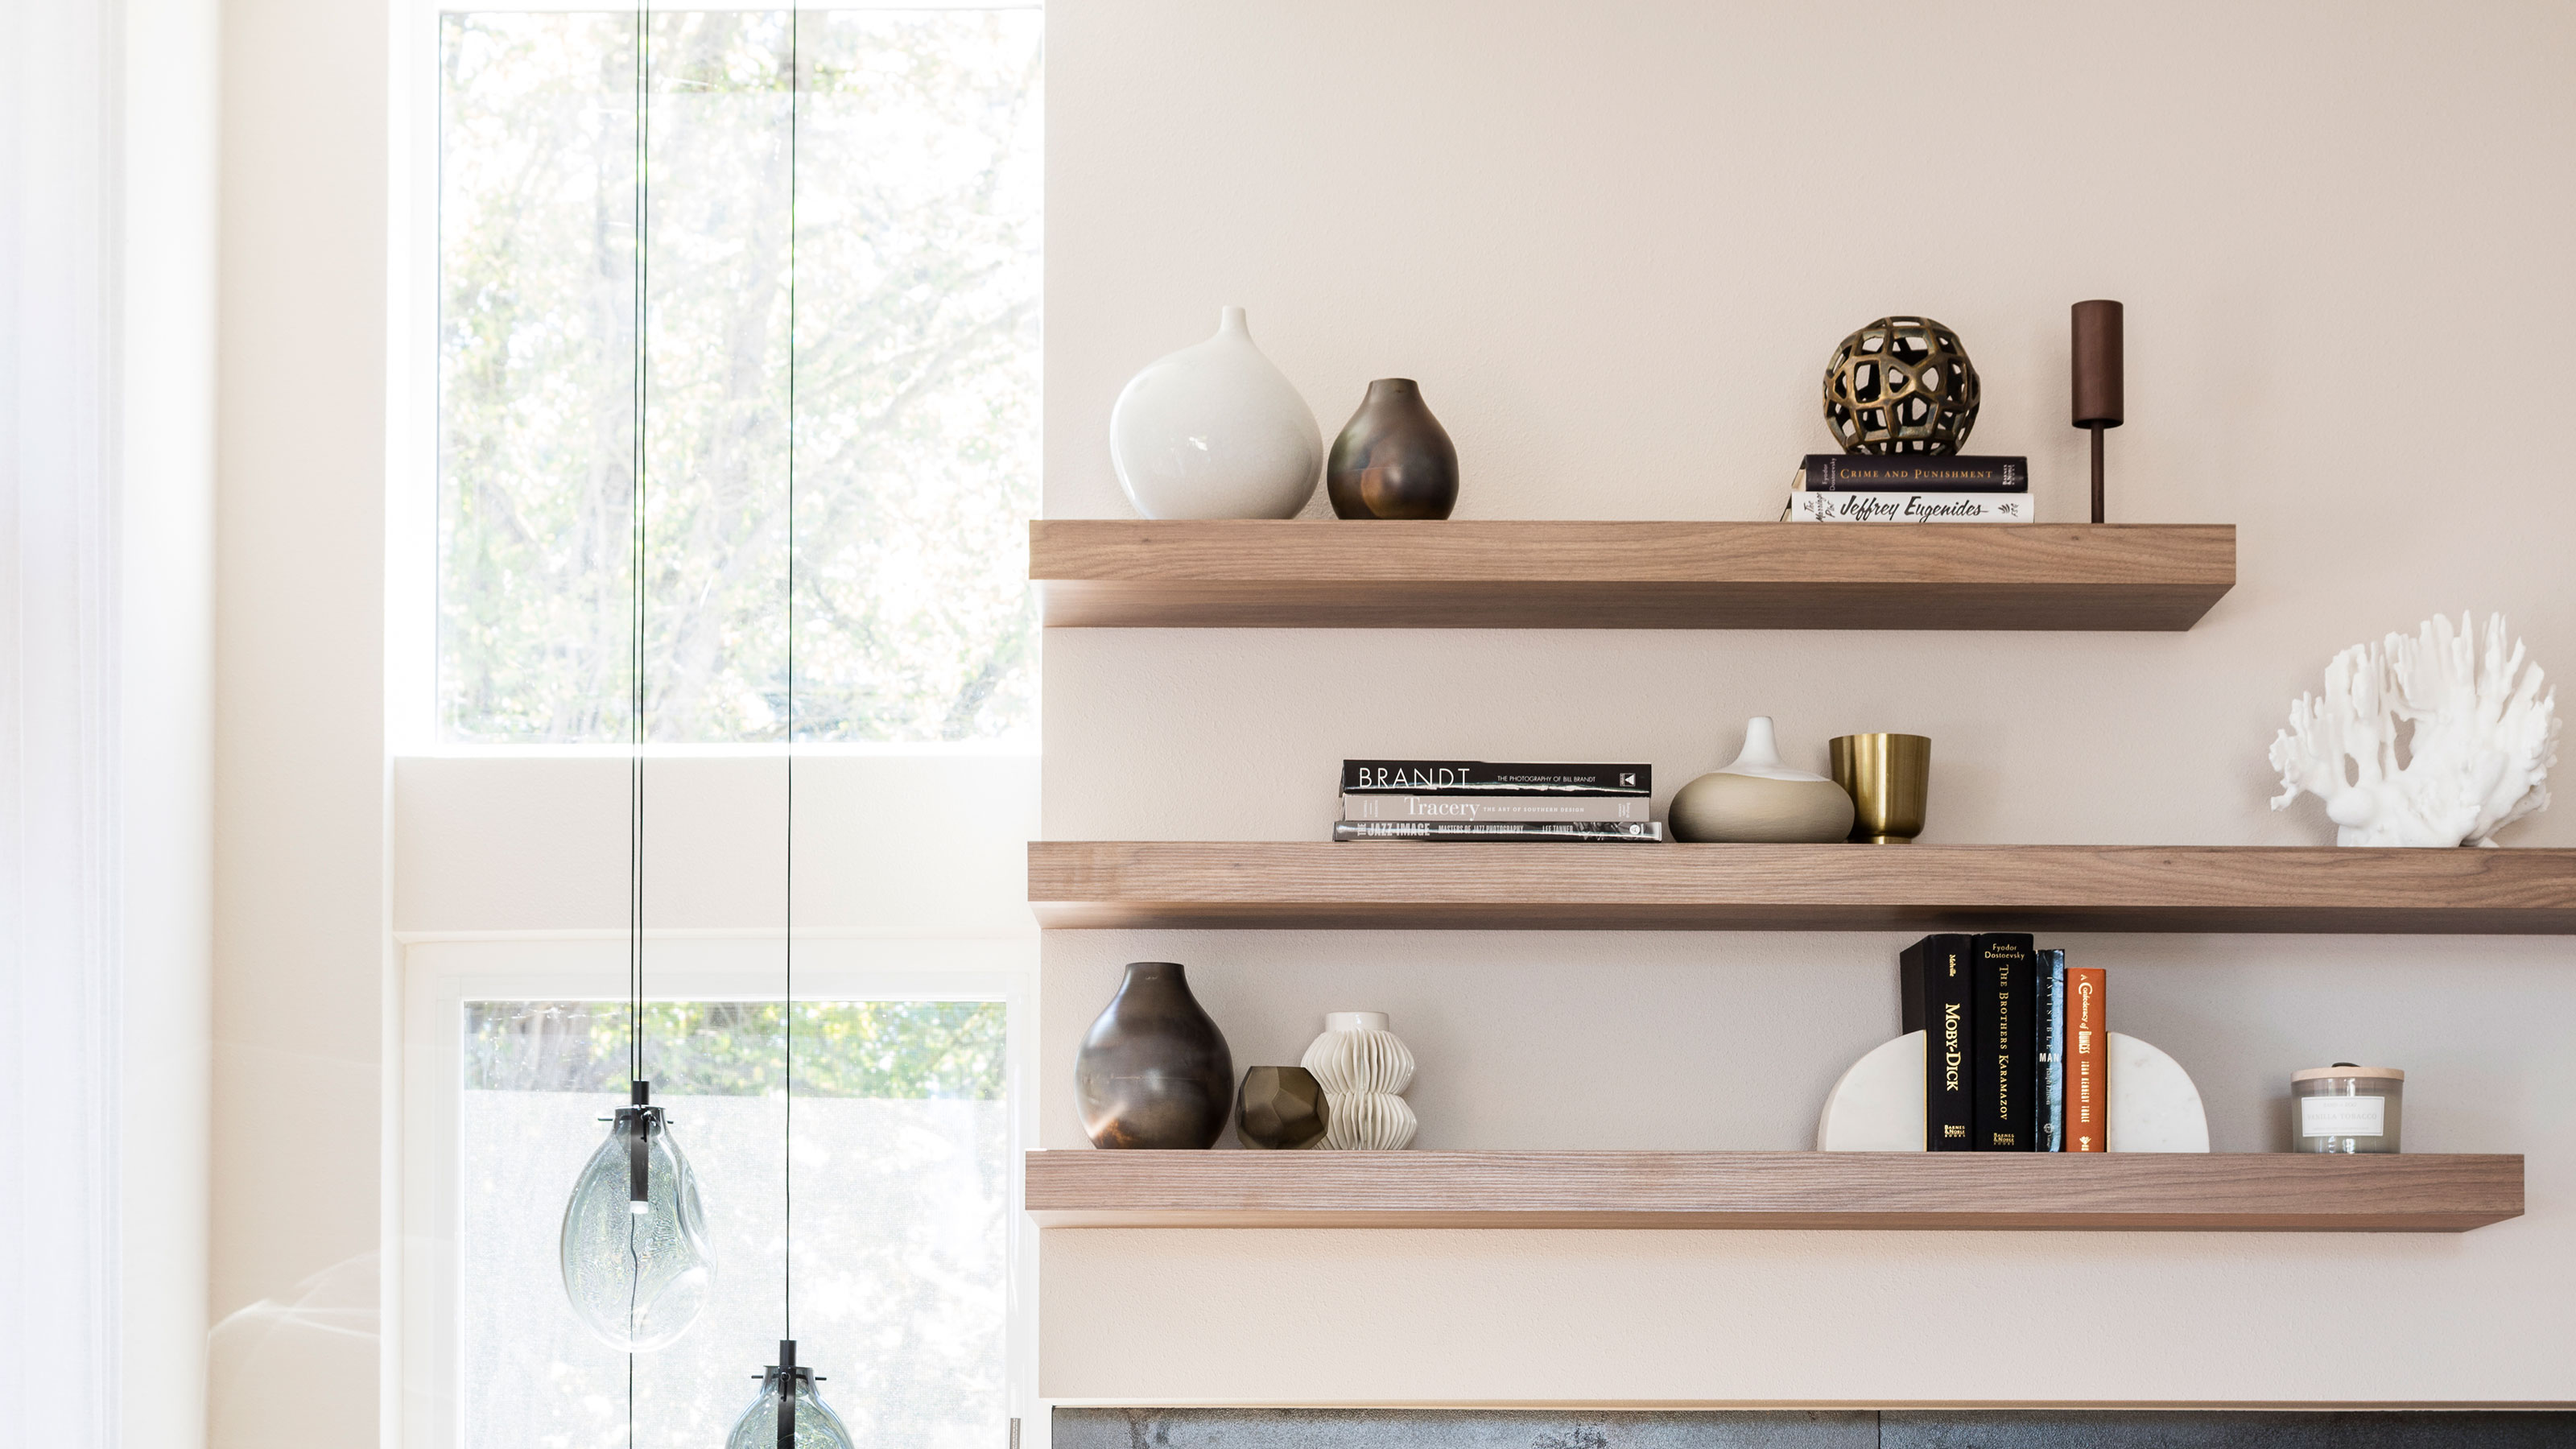 I asked an interior designer how to style shelves, and I learned 4 awesome tips
A Manhattan-based interior designer and the Real Homes' style editor gave me their top tips on how to style shelves
By Camille Dubuis-Welch
-
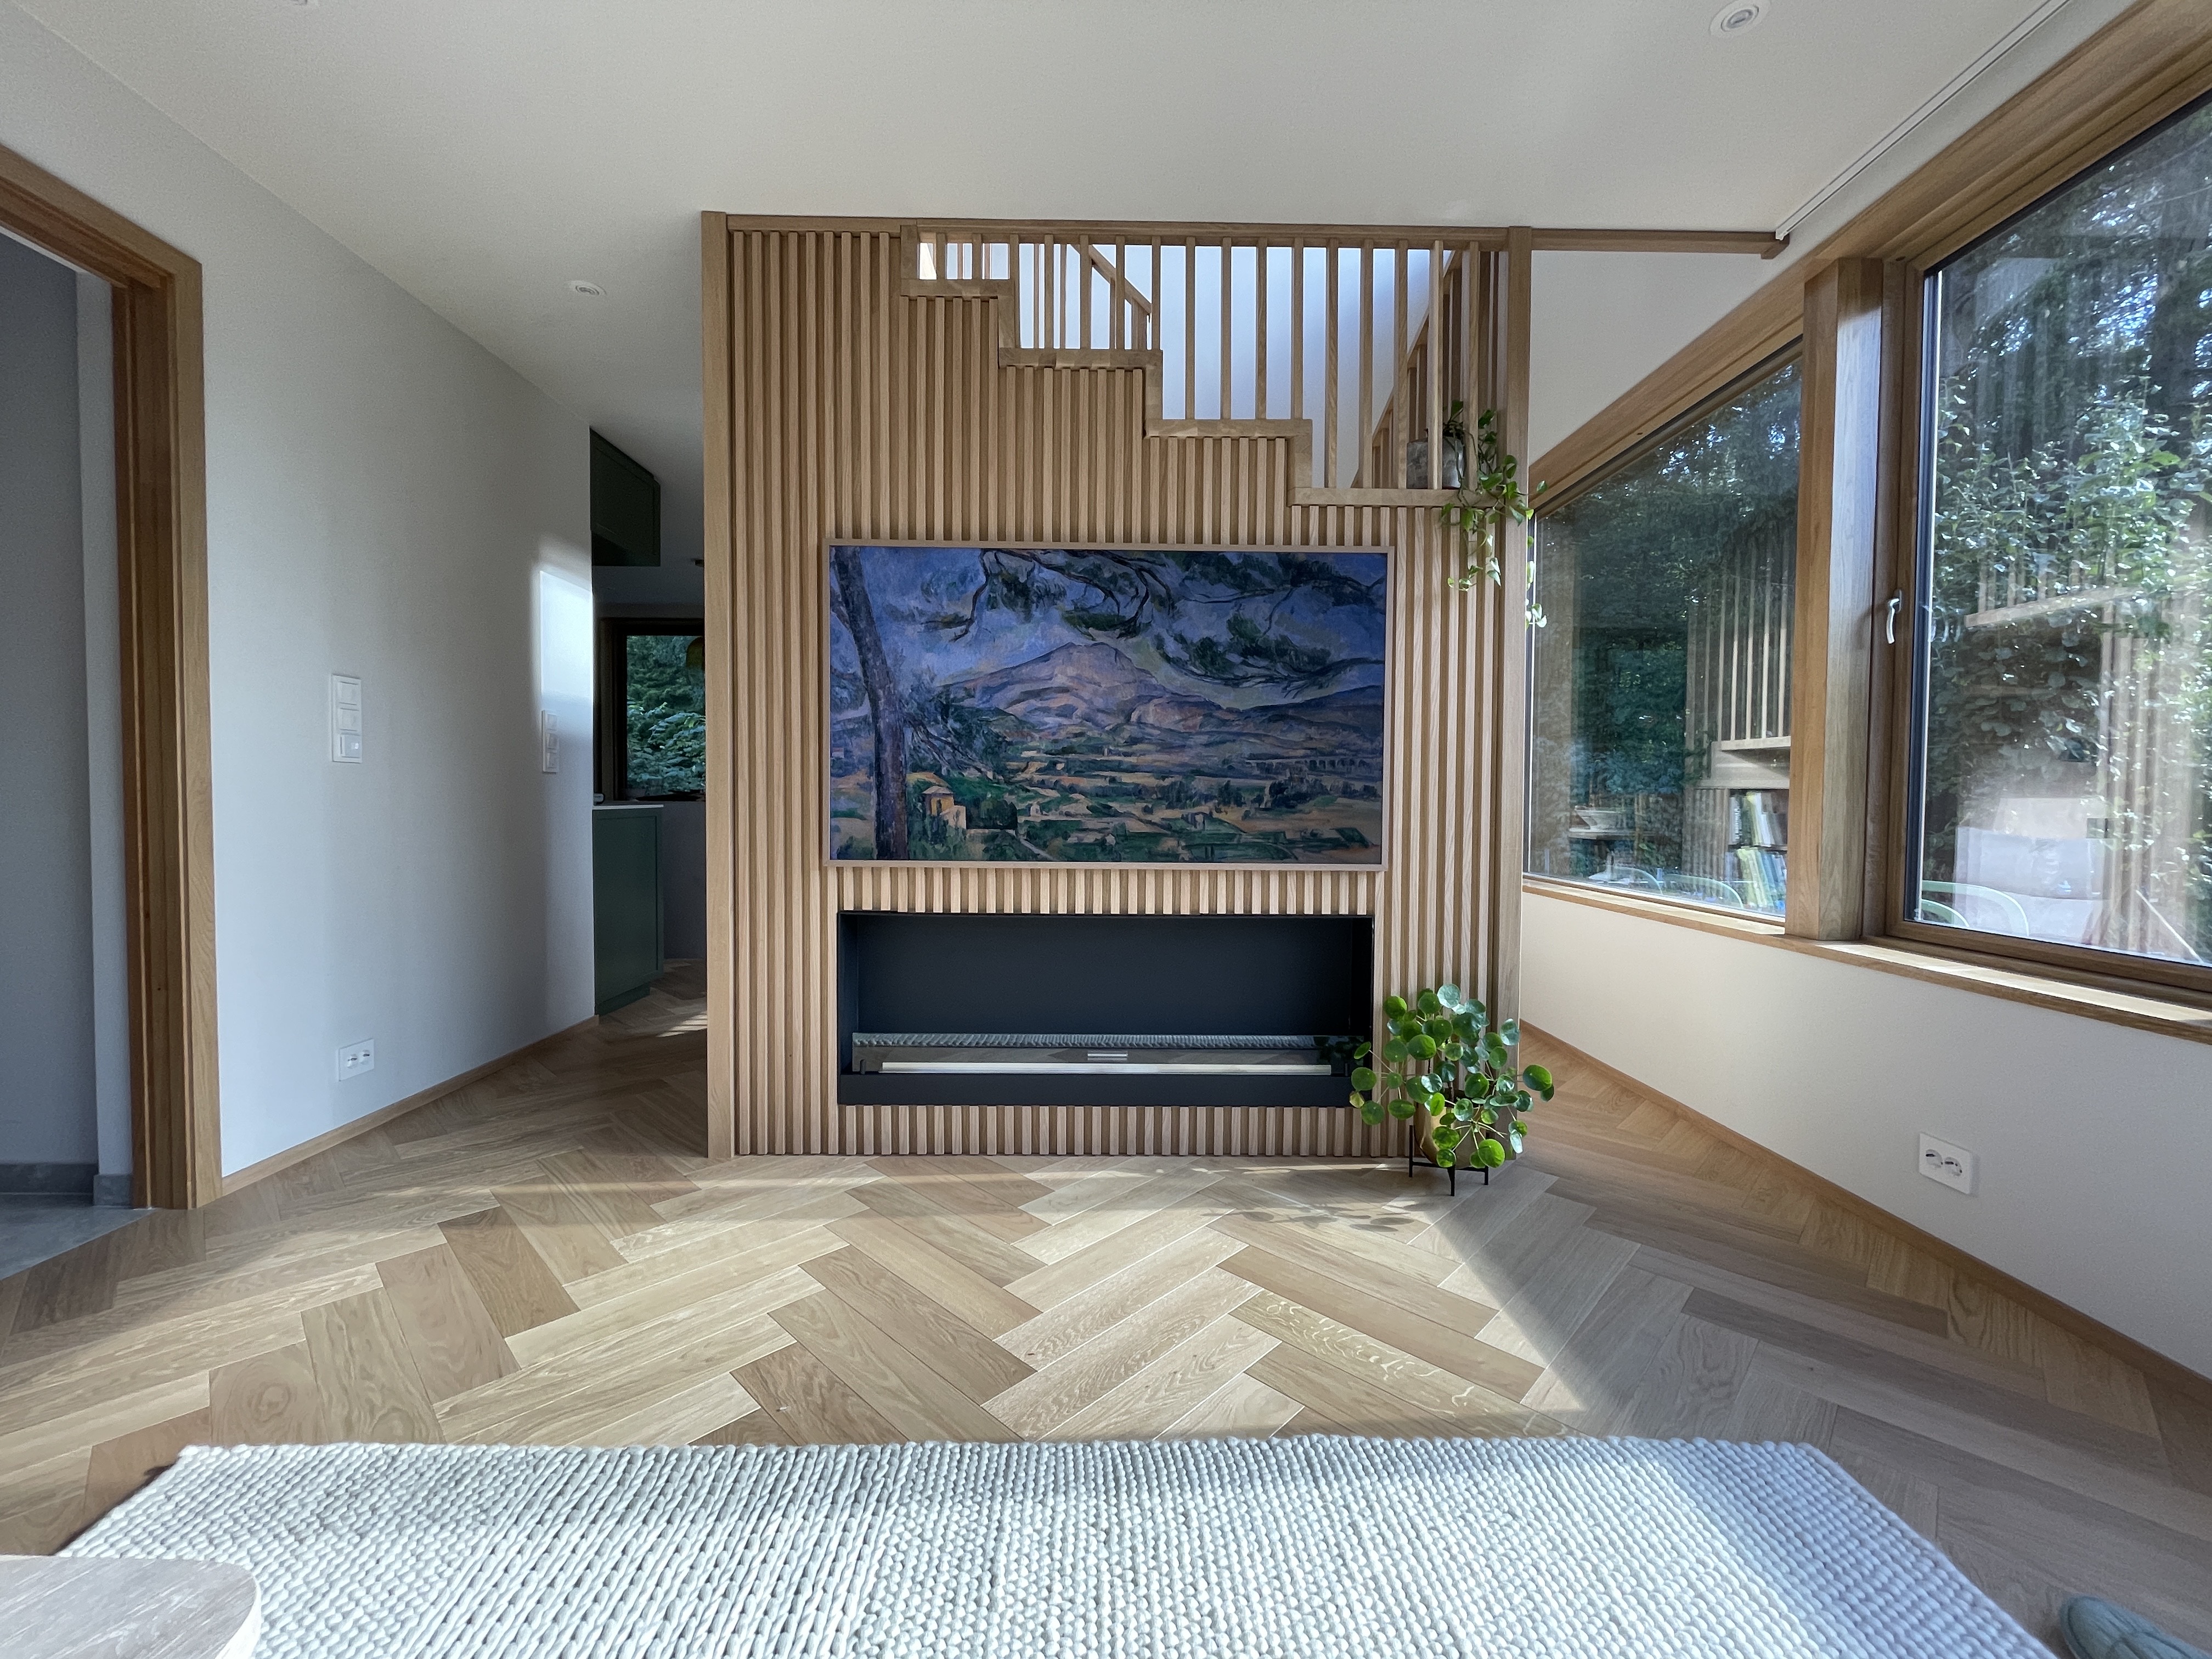 10 wood wall decorating ideas that add warmth, texture and detail
No home is completed without these accent wood wall decorating ideas.
By Becks Shepherd
-
 These 3 scents could sell your home faster, according to new research
Plus which smells will turn off home buyers...
By Camille Dubuis-Welch
-
 How to dry hydrangeas and preserve their colorful blooms
Knowing the best techniques to dry hydrangeas will let you preserve these colorful blooms for months if not years
By Camille Dubuis-Welch
-
 Fearne Cotton on creating an interesting home that sparks conversation with guests
Because an interesting home, is a happy home
By Camille Dubuis-Welch
-
 Dopamine decorating is on the up. Boost your mood with these expert tips
Dopamine decorating could be the key to a happier home...
By Amelia Smith
-
 The new neutrals pushing out gray and how to actually decorate with them
The toasty shades you need for a cozy home
By Anna Morley
-
 Interior designers reveal 2 basic feature wall errors everyone is making
You can go wrong with feature walls, here's what not to do when designing yours for impact
By Camille Dubuis-Welch