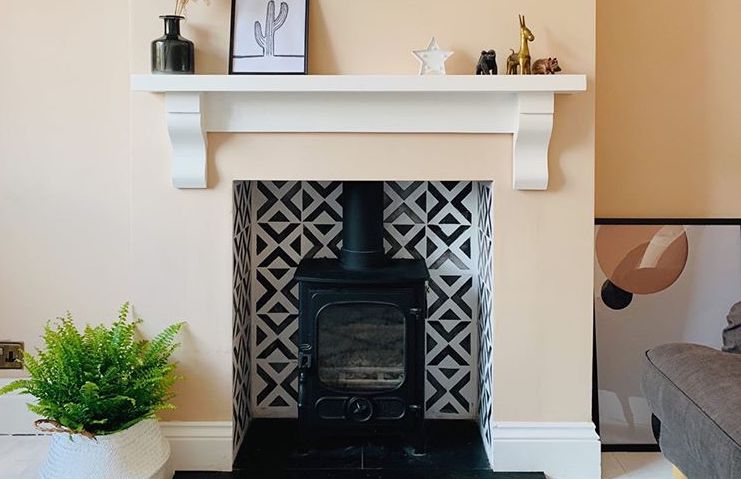

If you are looking for a DIY fireplace idea that will update your hearth quickly and cheaply, you are in the right place! We love having a good scroll through Instagram to find all the fab upcycling, revamping and transformative DIYs you guys have going on, and it's generally a great place to get inspired for your own projects. So, we thought we would start sharing some of the fab projects that we've stumbled across...
- For tons more fireplace ideas, don't miss our inspiring design guide
Today we are showing you how Negi of @negi.at.home has transformed her fireplace for under £50 using just leftover paint (and apparently a fair bit of patience, but the result is SO worth it). Keep scrolling to find out how to get the look yourself...
You will need:
- Paint
- A foam paint roller and a paint tray
- Stencils - Negi used stencils from Dizzy Duck Design
- A small paintbrush – if you can get one designed for stencils you will have the best result
- Masking tape
- Scissors
- Scrap paper for a practice run
Step one: practice your stenciling first
Use a bit of scrap paper to test out your technique and to check how the pattern looks. For this just tape down the stencil and try out the stencil brush and the roller to see which works best with your pattern. Sometimes with more detailed patterns you might need to use just a brush.
Step two: plan your pattern
Measure the size of the space you are stenciling and see how many of your stencils will fit neatly inside the area. You might even want to use a pencil to lightly mark where each stencil will go so you know where to position each one as you move along your walls.
Step three: start stenciling
If you want to be absolutely exact you can use a tape measure and a spirit level to get your first stencil totally straight. Use masking tape to secure it in place and then get painting, moving the stencil gently along as you go. Let the whole thing dry and you are done! New 'tiles' using just a can of paint.
Top tip: use a very small amount of paint to begin with and this will ensure it the pattern doesn't bleed and you get a really clear design. If using a roller, roll over your stencil very lightly – thin coats will get the best results.
Read more:
- Best furniture paints: 8 picks to spruce up old furniture
- Bathroom paint colours: 18 transformative bathroom paint ideas
- Grey living room ideas: 26 gorgeous ways to use this super stylish colour
Join our newsletter
Get small space home decor ideas, celeb inspiration, DIY tips and more, straight to your inbox!
Hebe joined the Real Homes team in early 2018 as Staff Writer before moving to the Livingetc team in 2021 where she took on a role as Digital Editor. She loves boho and 70's style and is a big fan of Instagram as a source of interiors inspiration. When she isn't writing about interiors, she is renovating her own spaces – be it wallpapering a hallway, painting kitchen cupboards or converting a van.
-
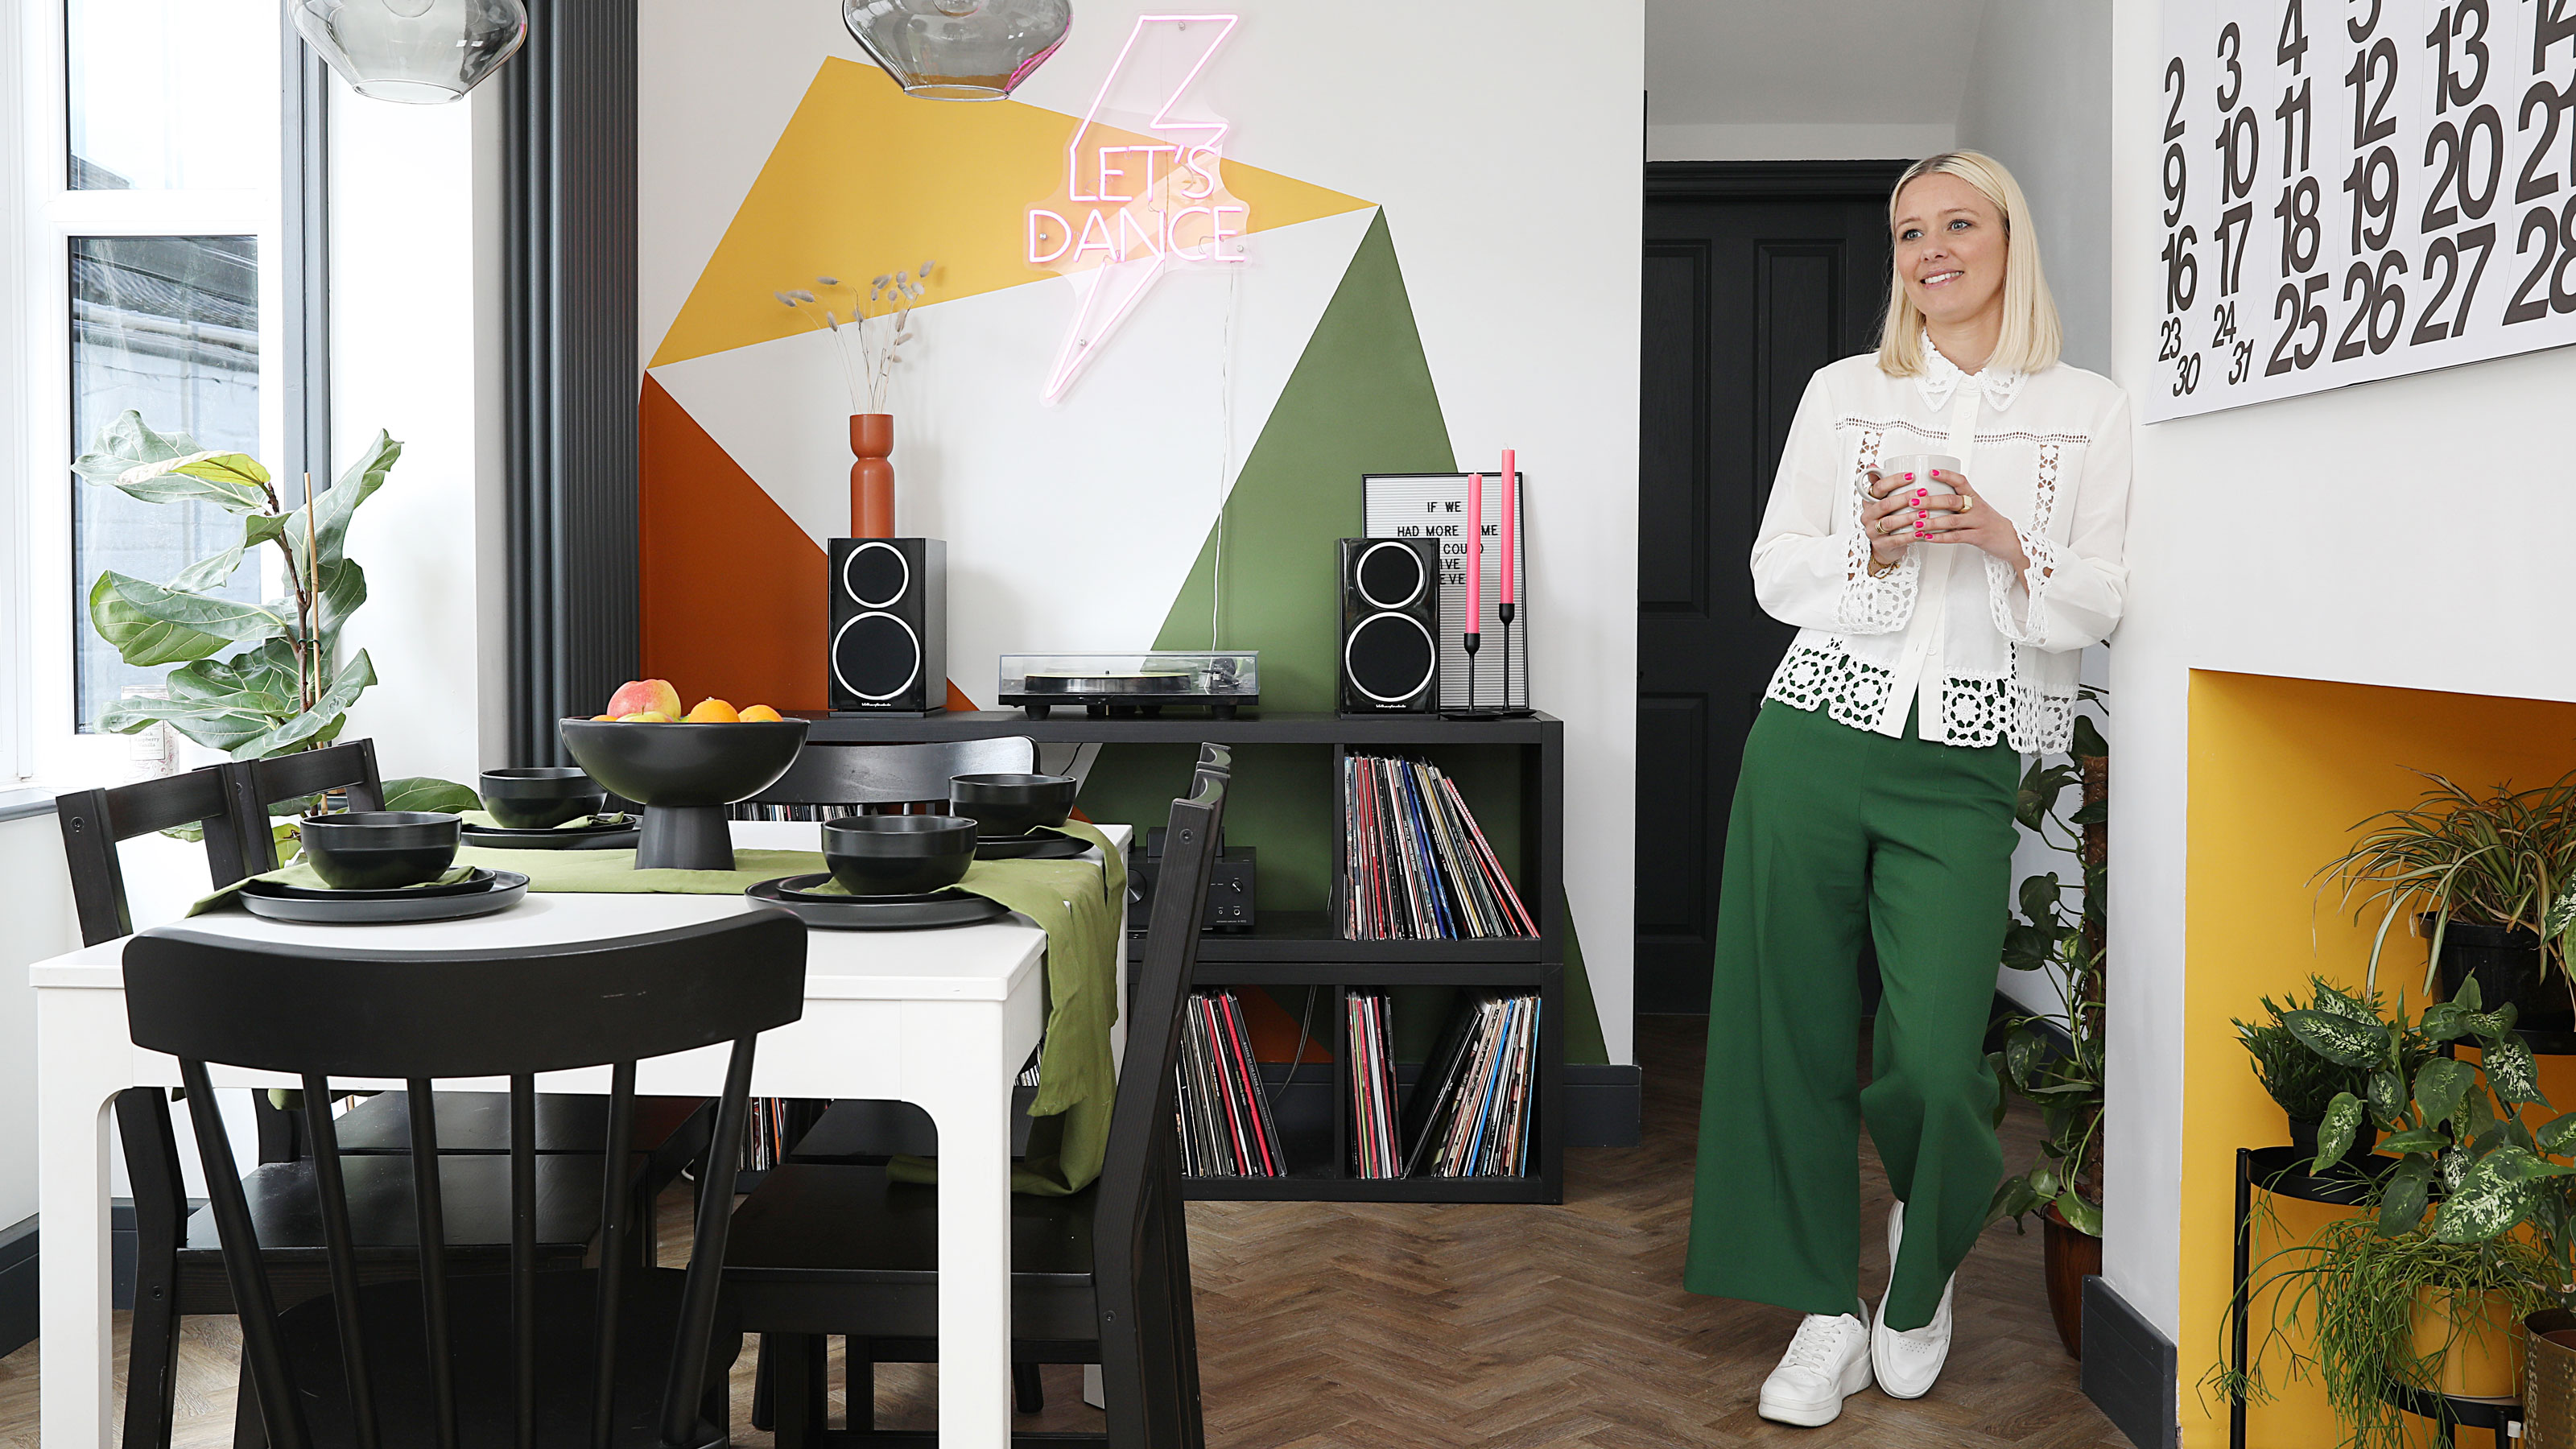 This colourful home makeover has space for kitchen discos
While the front of Leila and Joe's home features dark and moody chill-out spaces, the rest is light and bright and made for socialising
By Karen Wilson
-
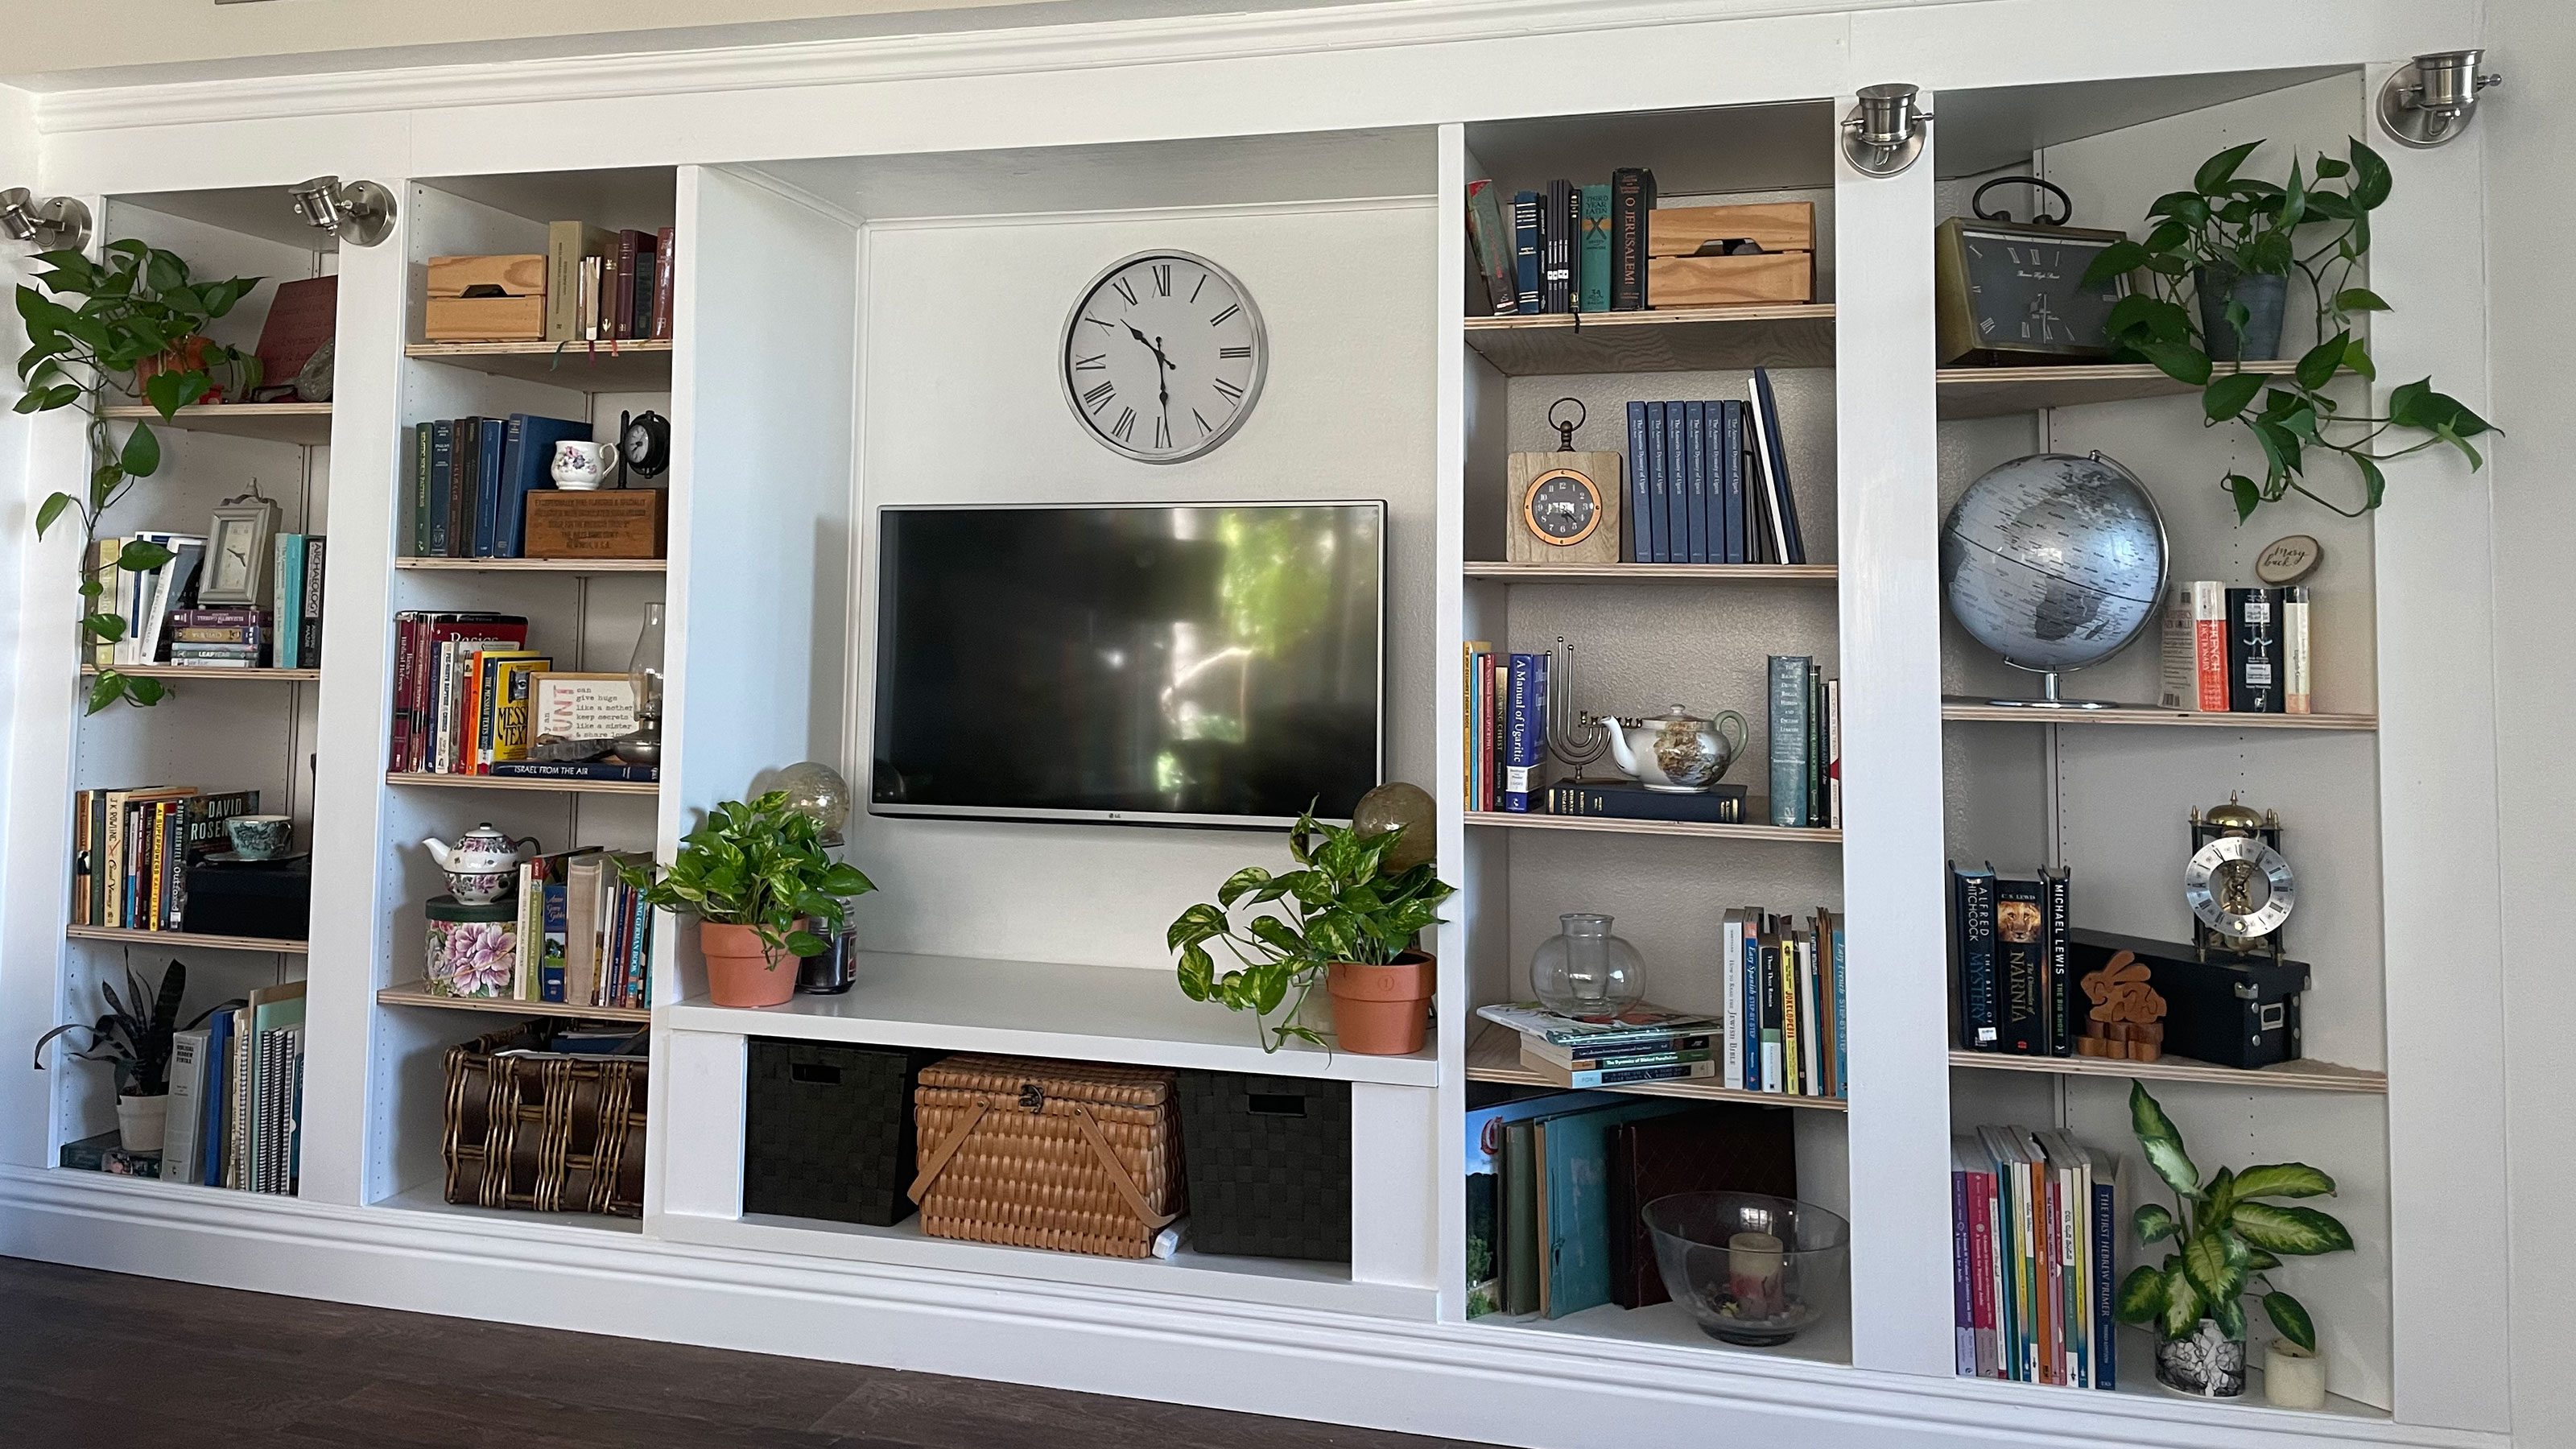 An IKEA Billy bookcase hack inspired this cute media wall DIY
This cute DIY was inspired by an IKEA Billy bookcase hack and brought a ton of symmetry to an otherwise basic media wall space.
By Camille Dubuis-Welch
-
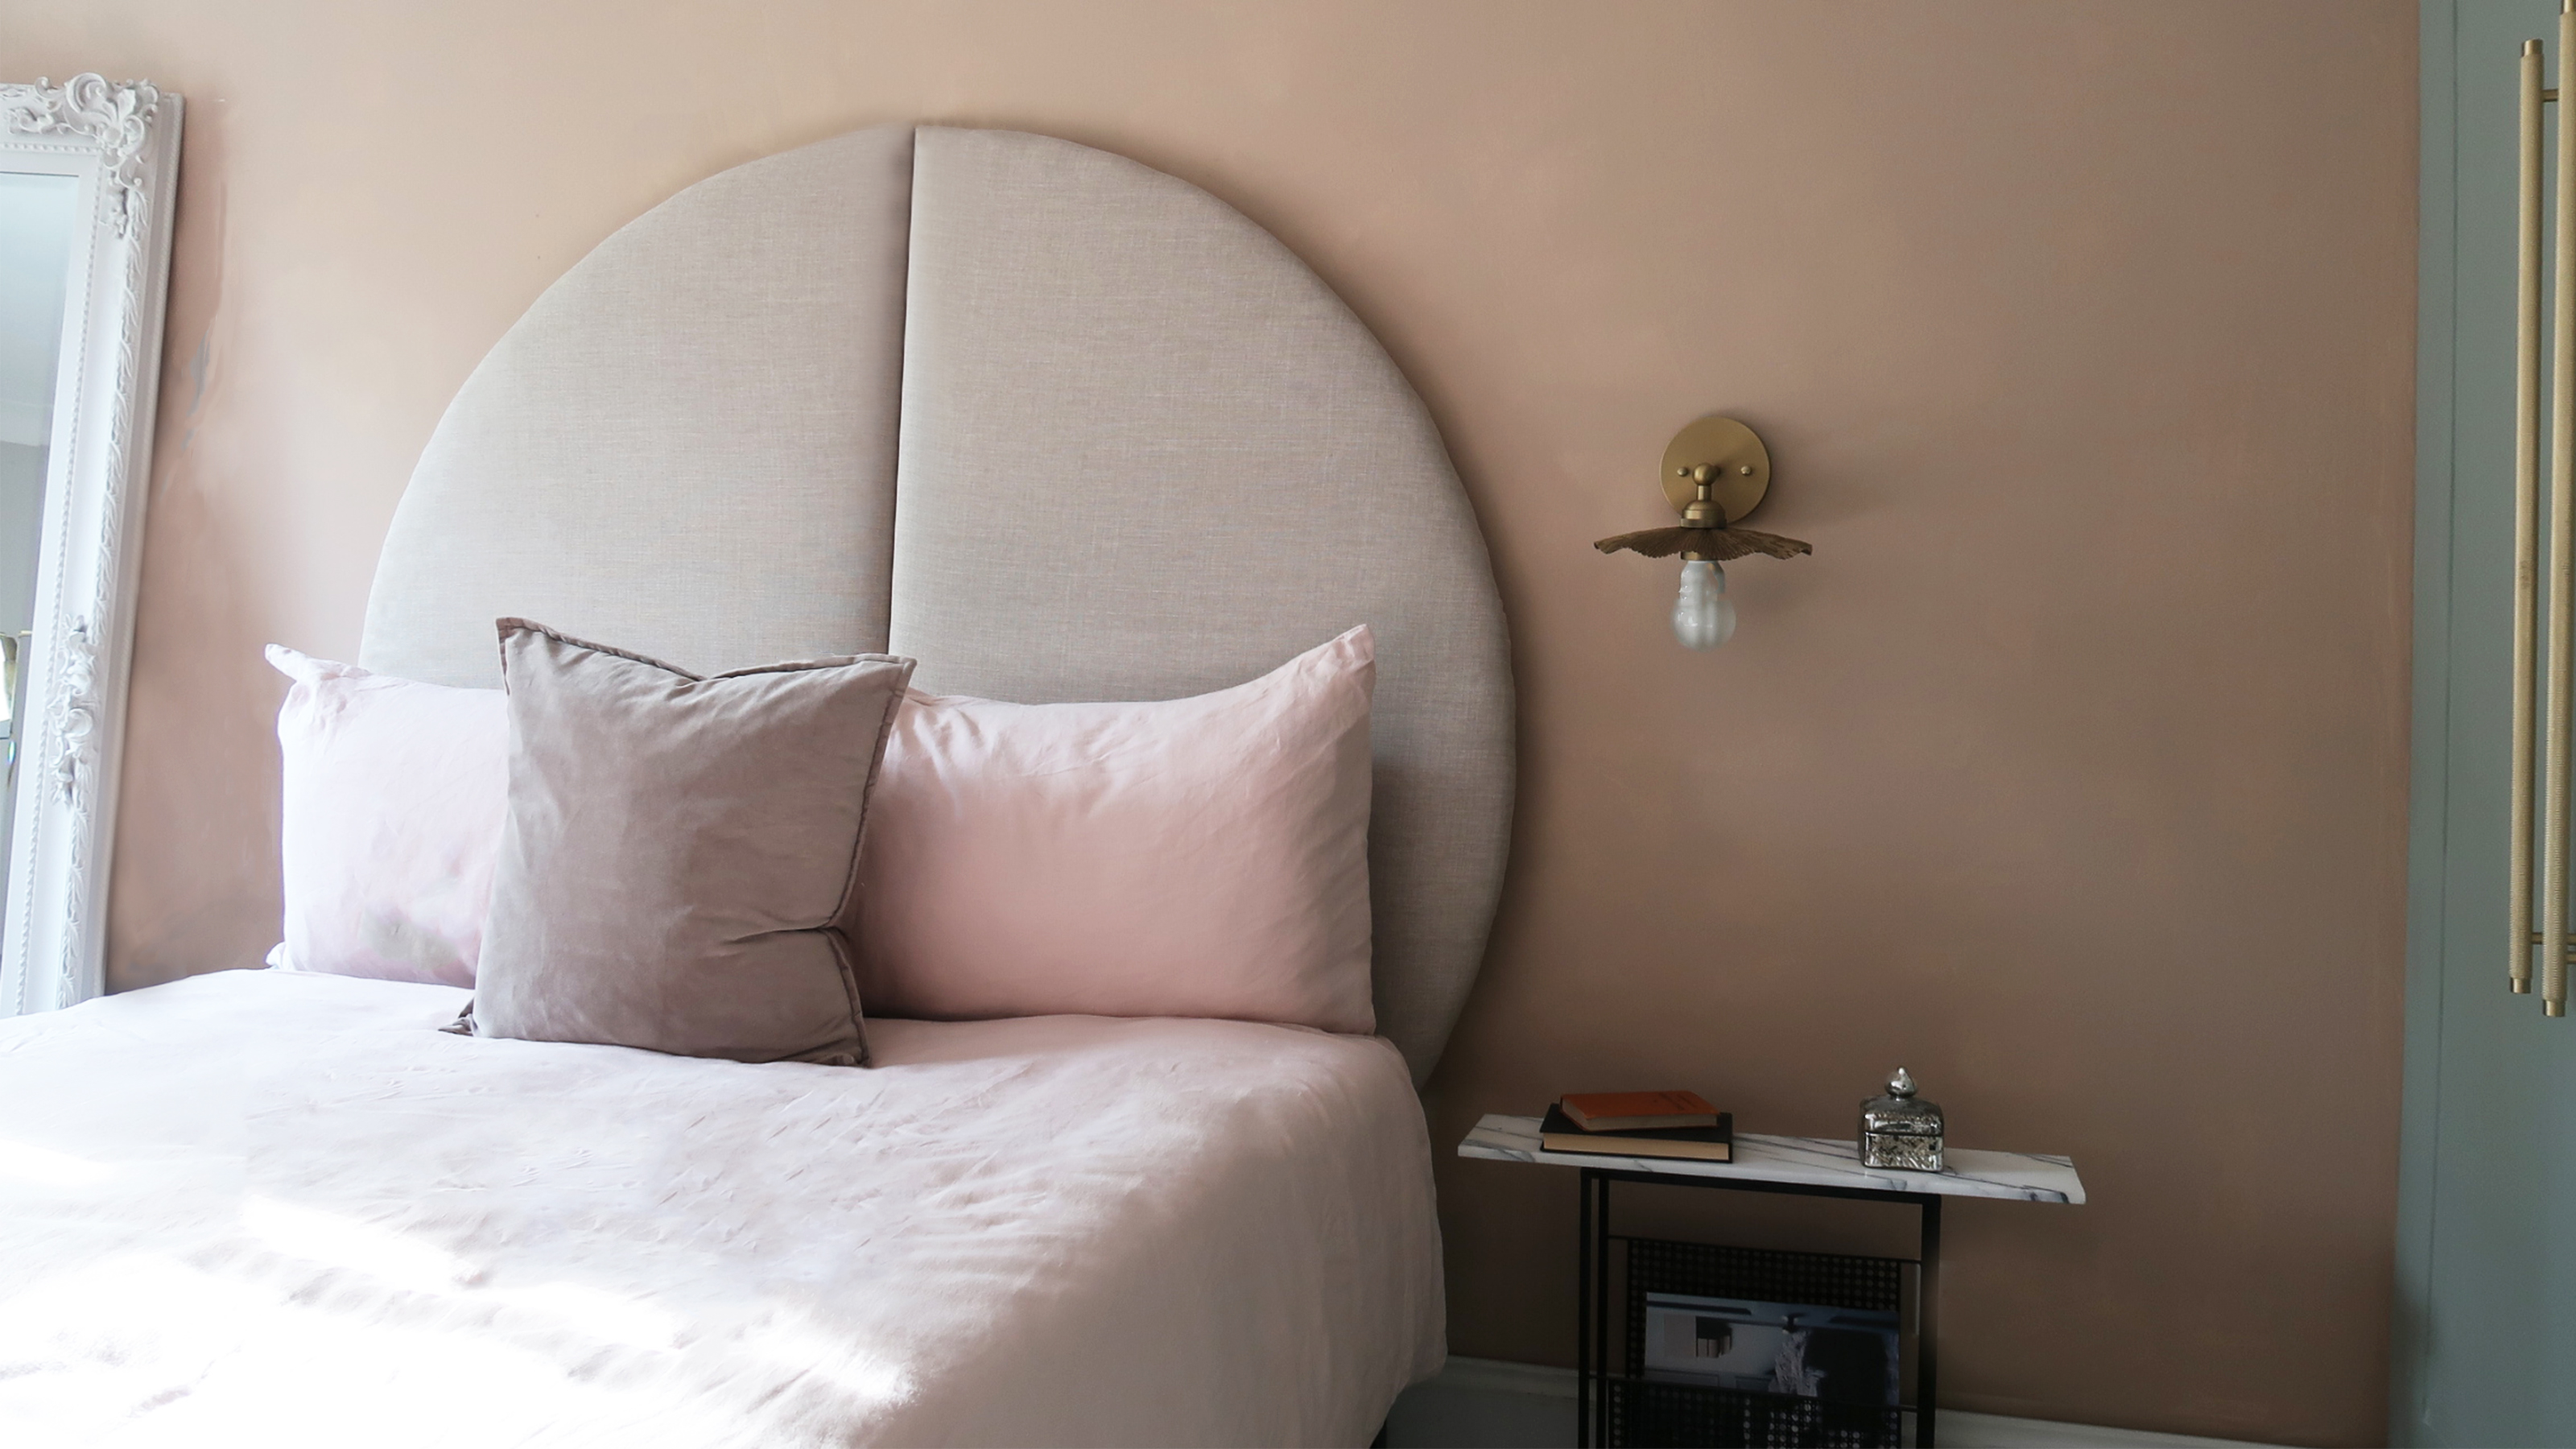 This oversized headboard looks designer, and takes 5 steps to DIY
Super simple to DIY, this oversized headboard will give your bedroom space all the designer vibes you could dream of.
By Claire Douglas
-
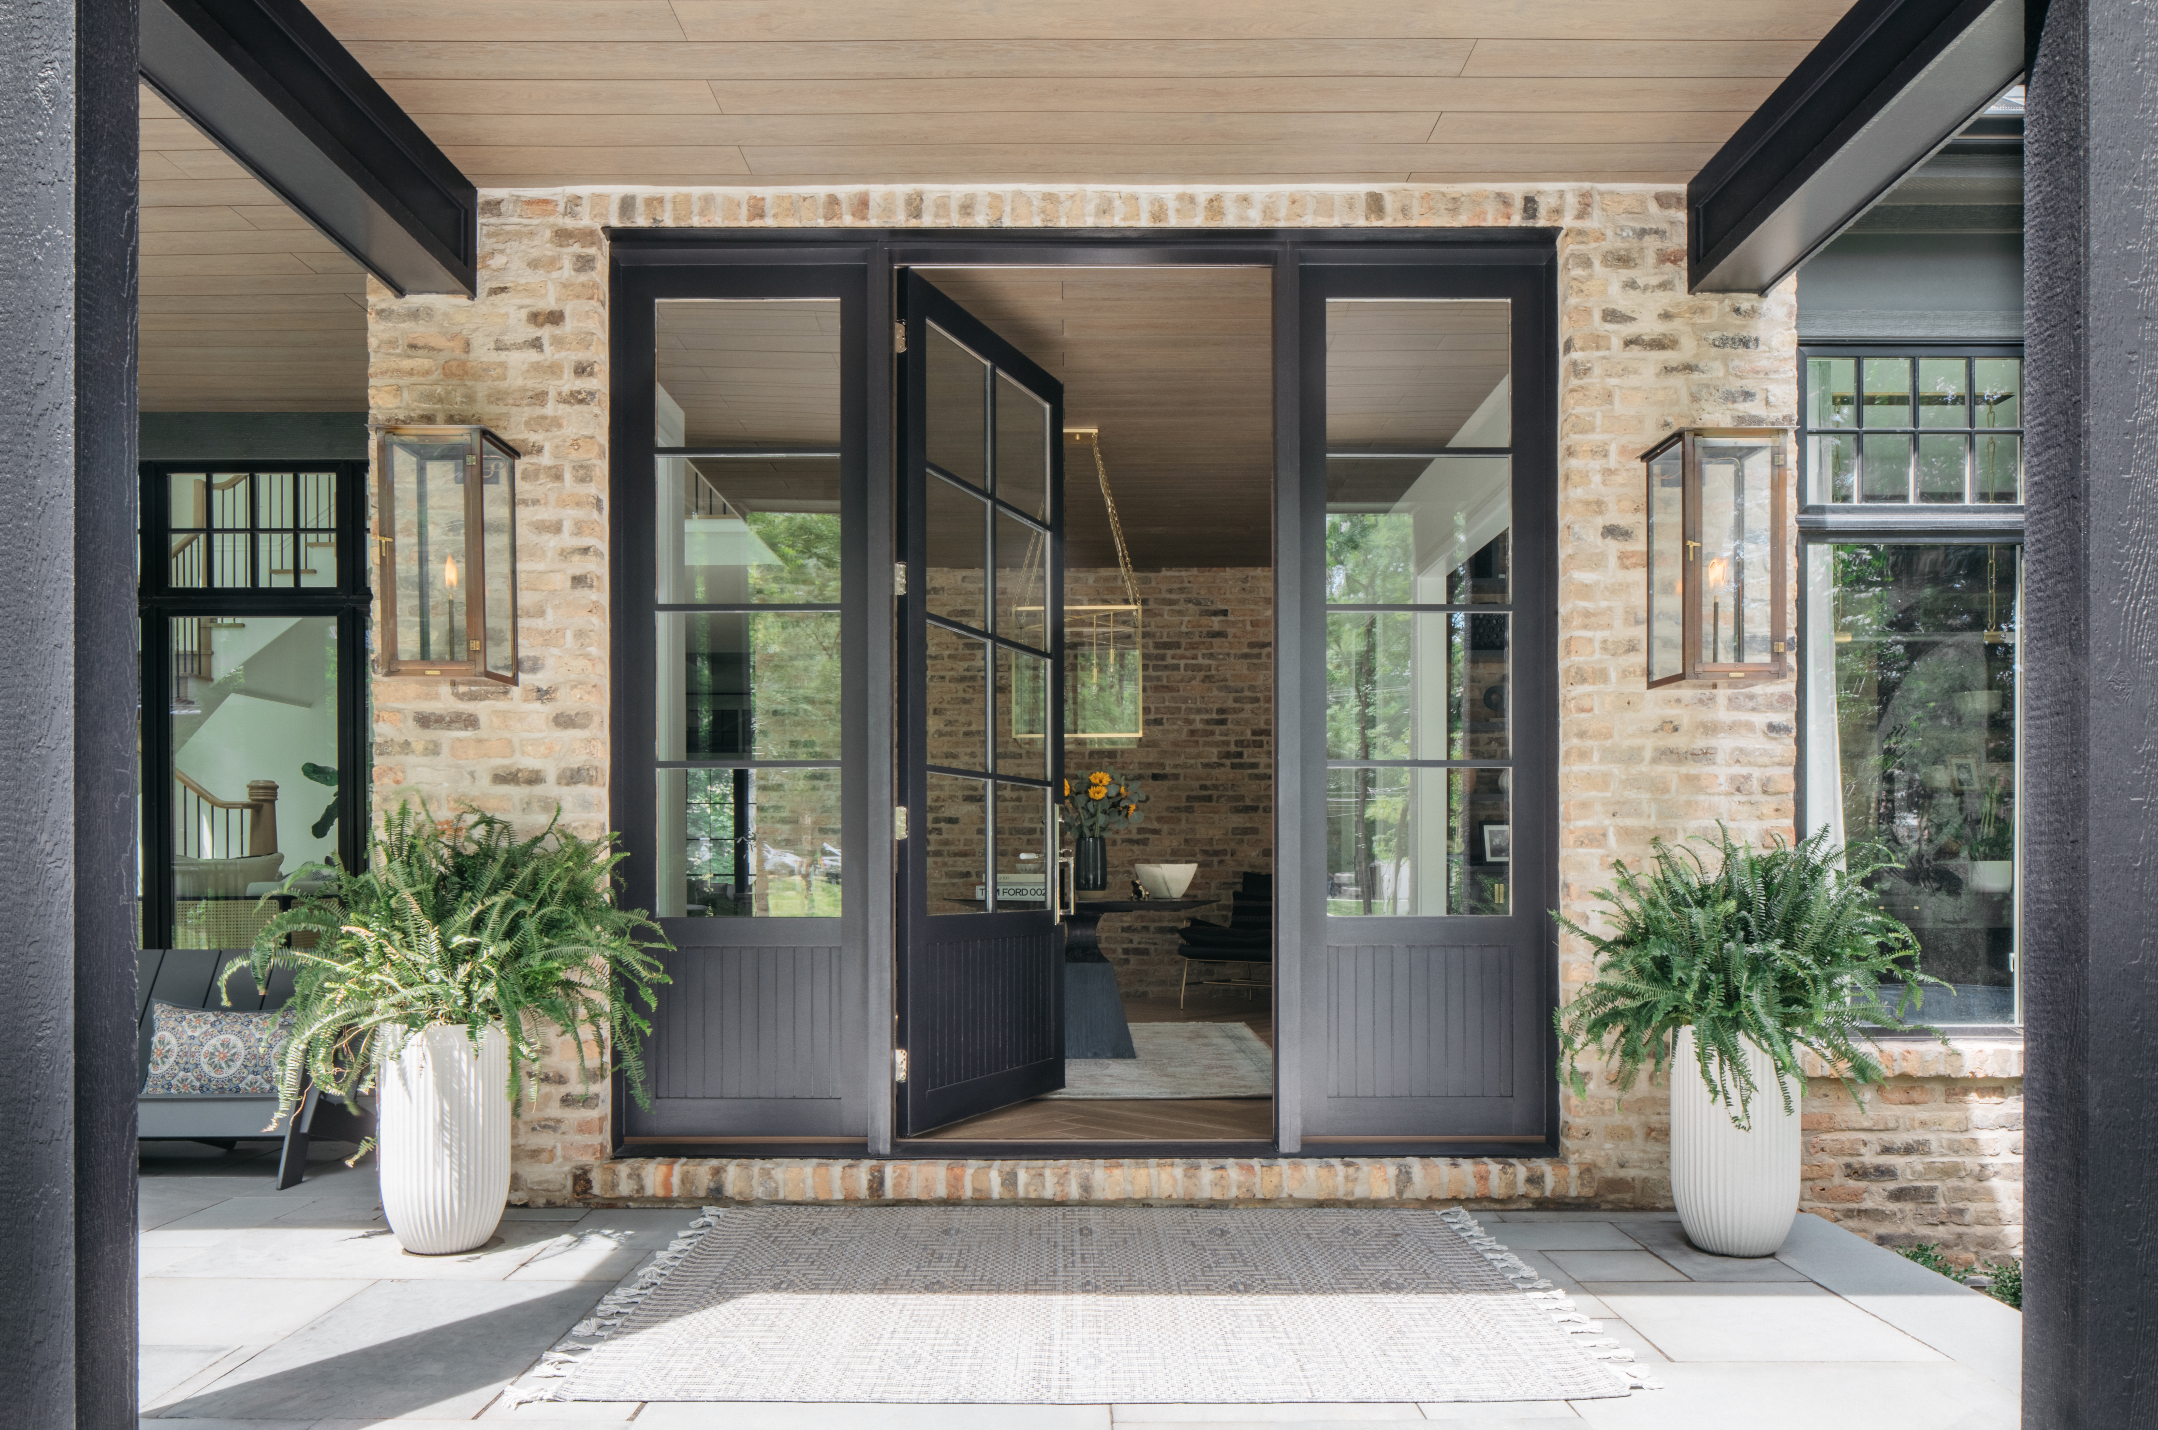 How to paint a door and refresh your home instantly
Painting doors is easy with our expert advice. This is how to get professional results on front and internal doors.
By Claire Douglas
-
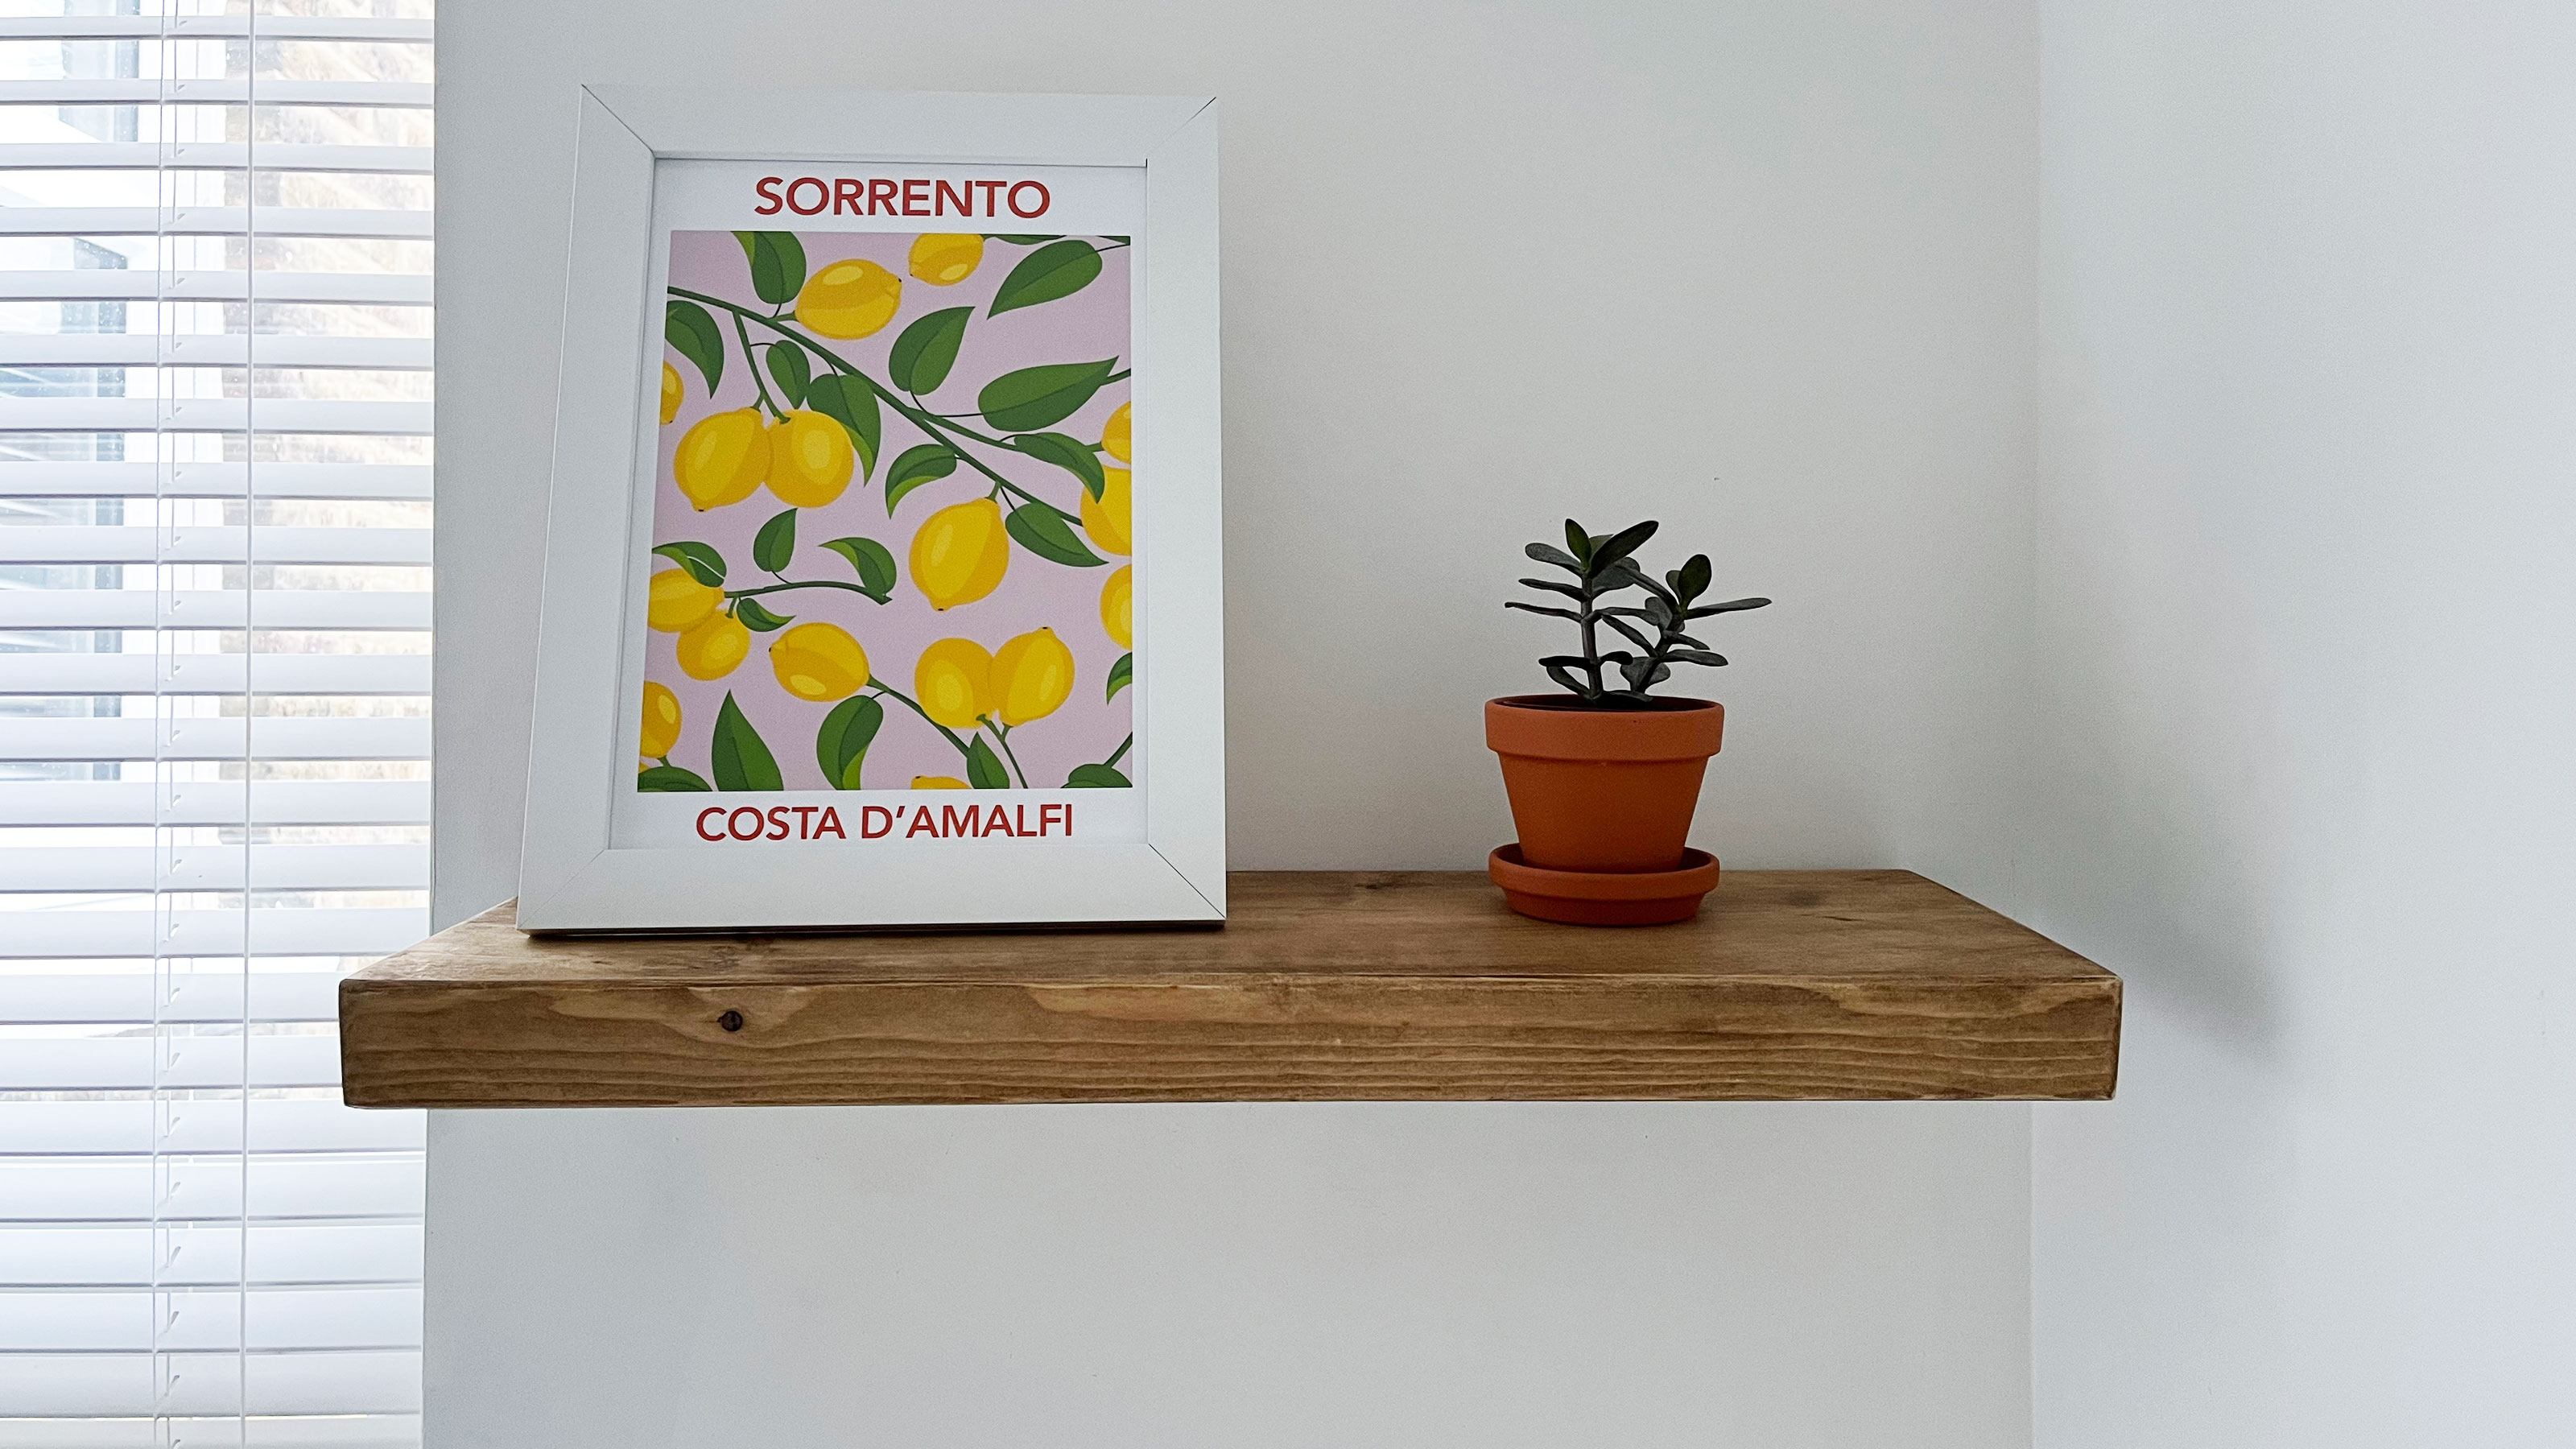 How to install and style a floating shelf
Installing a floating shelf can add instant design interest to your home. Dress yours with artwork, houseplants, and books for the perfect finish.
By Camille Dubuis-Welch
-
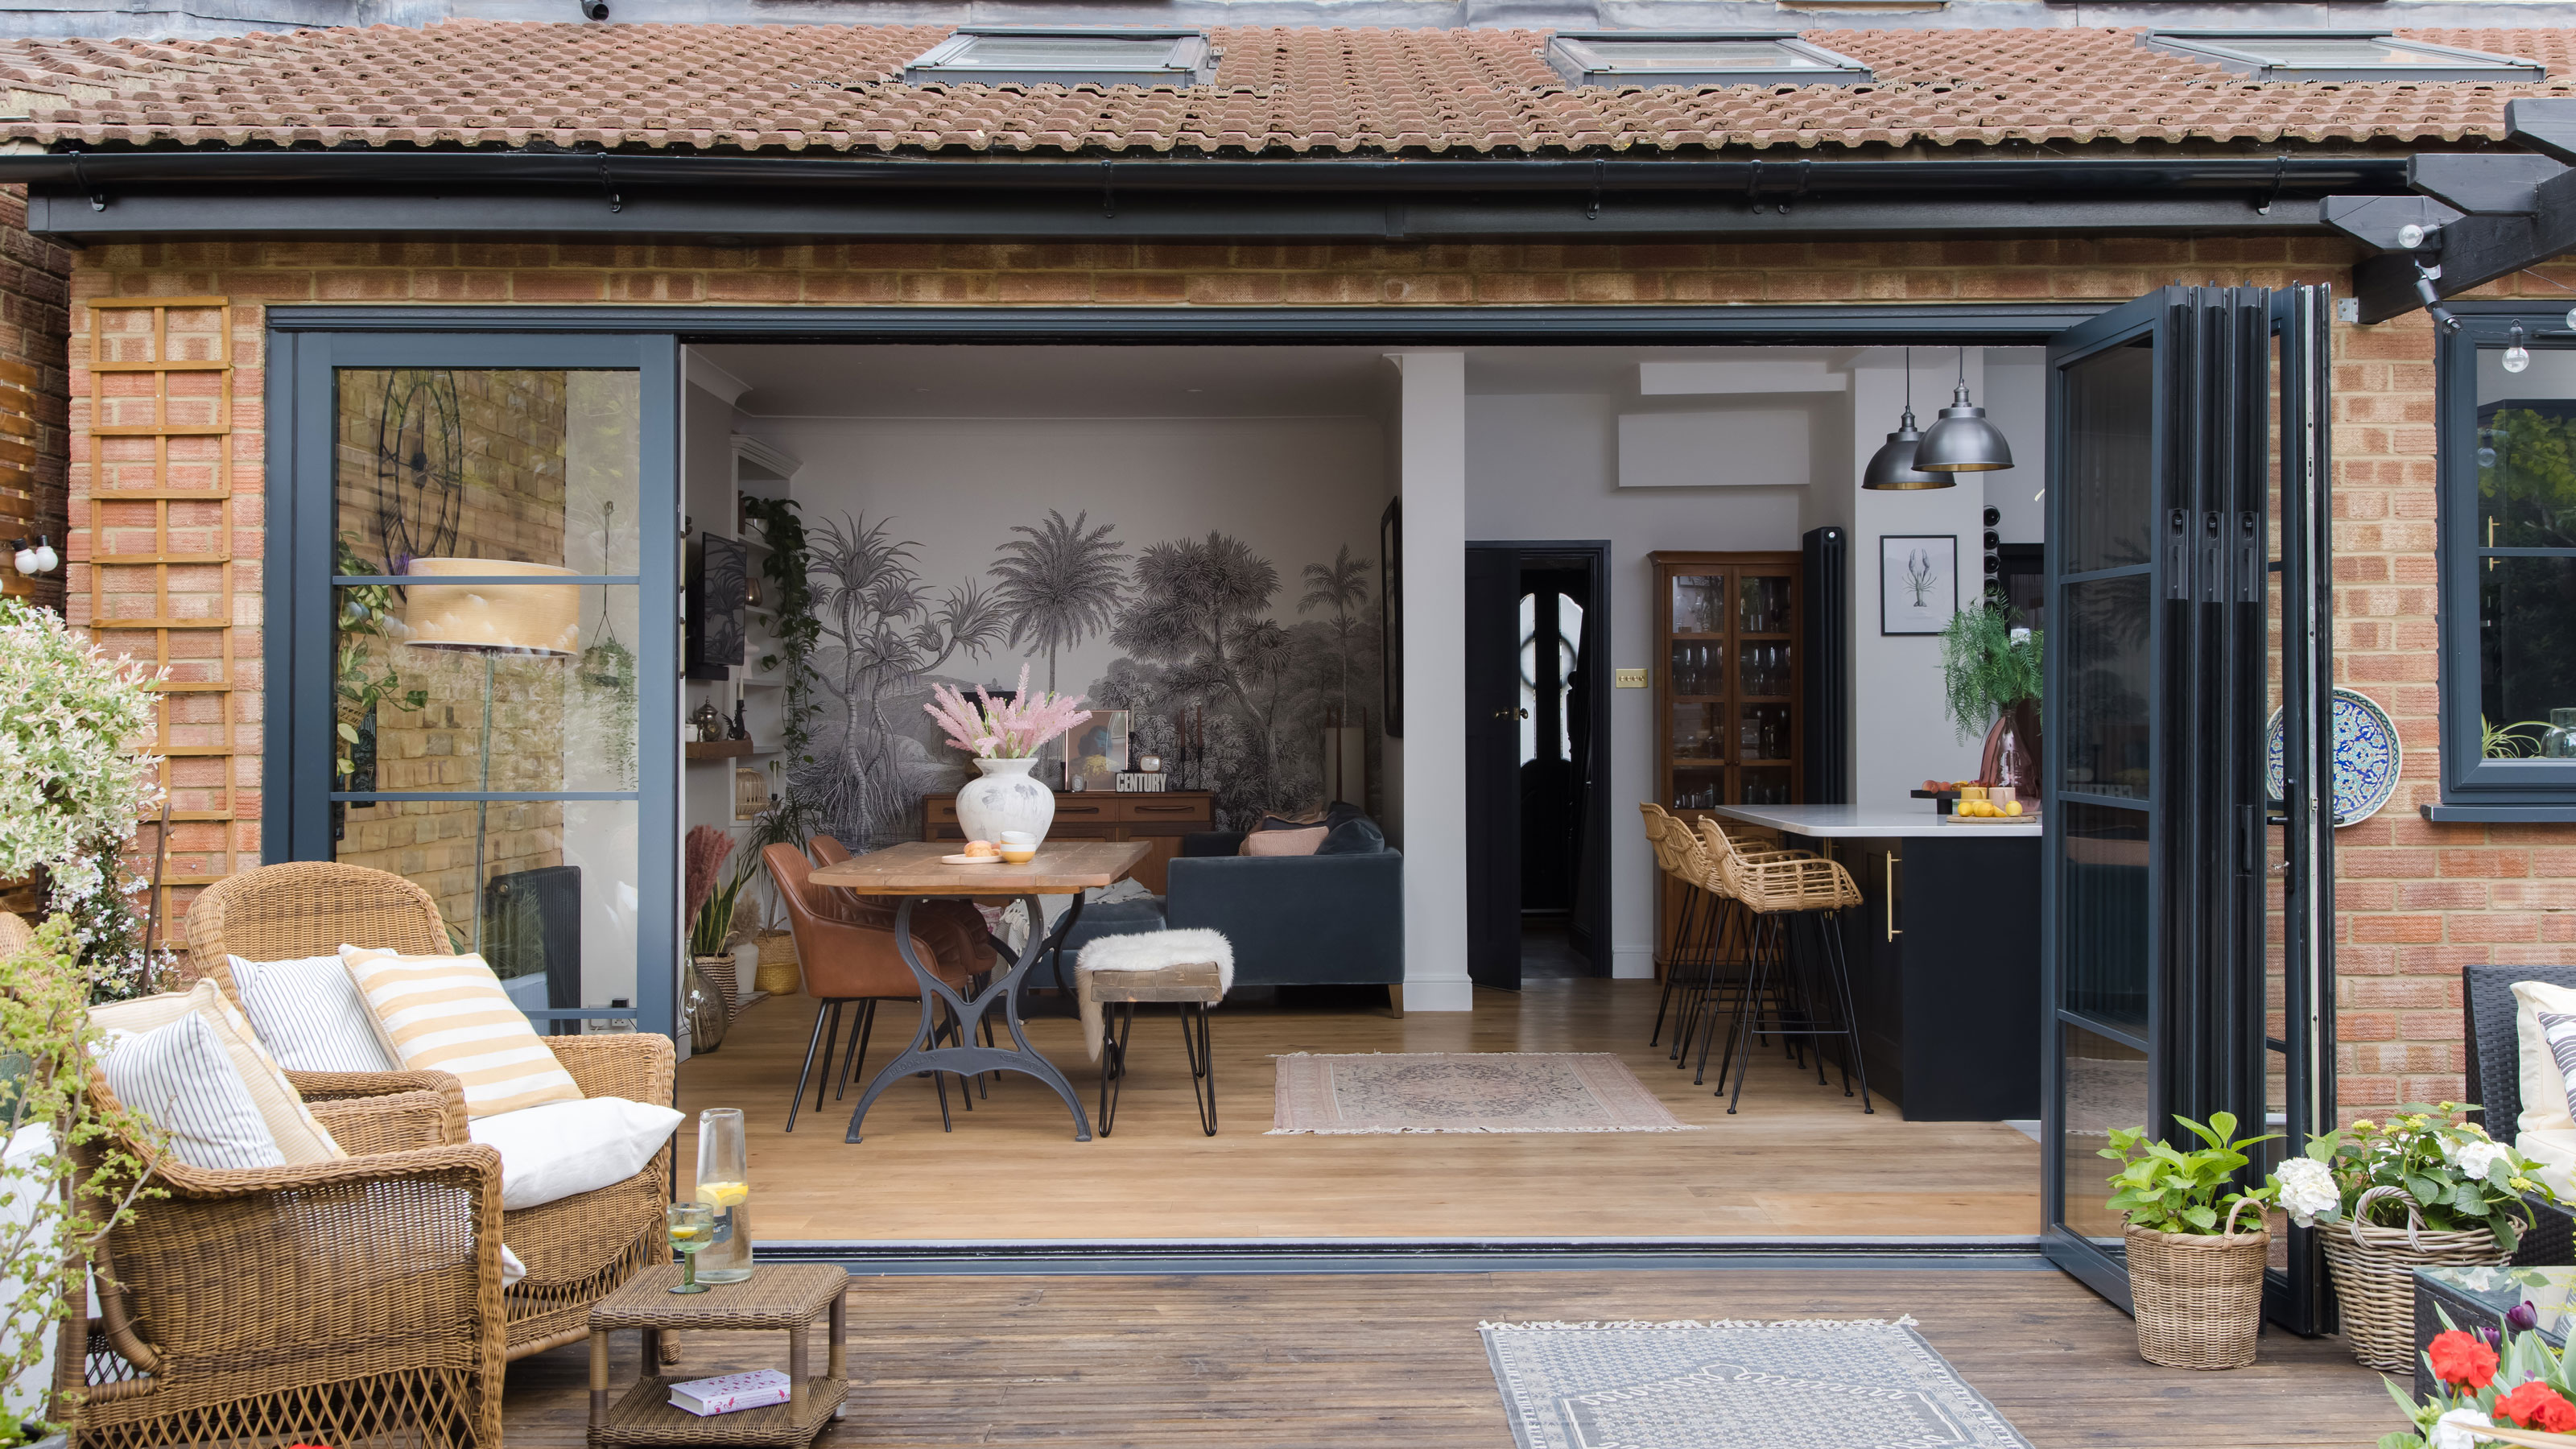 DIY transforms 1930s house into dream home
With several renovations behind them, Mary and Paul had creative expertise to draw on when it came to transforming their 1930s house
By Alison Jones
-
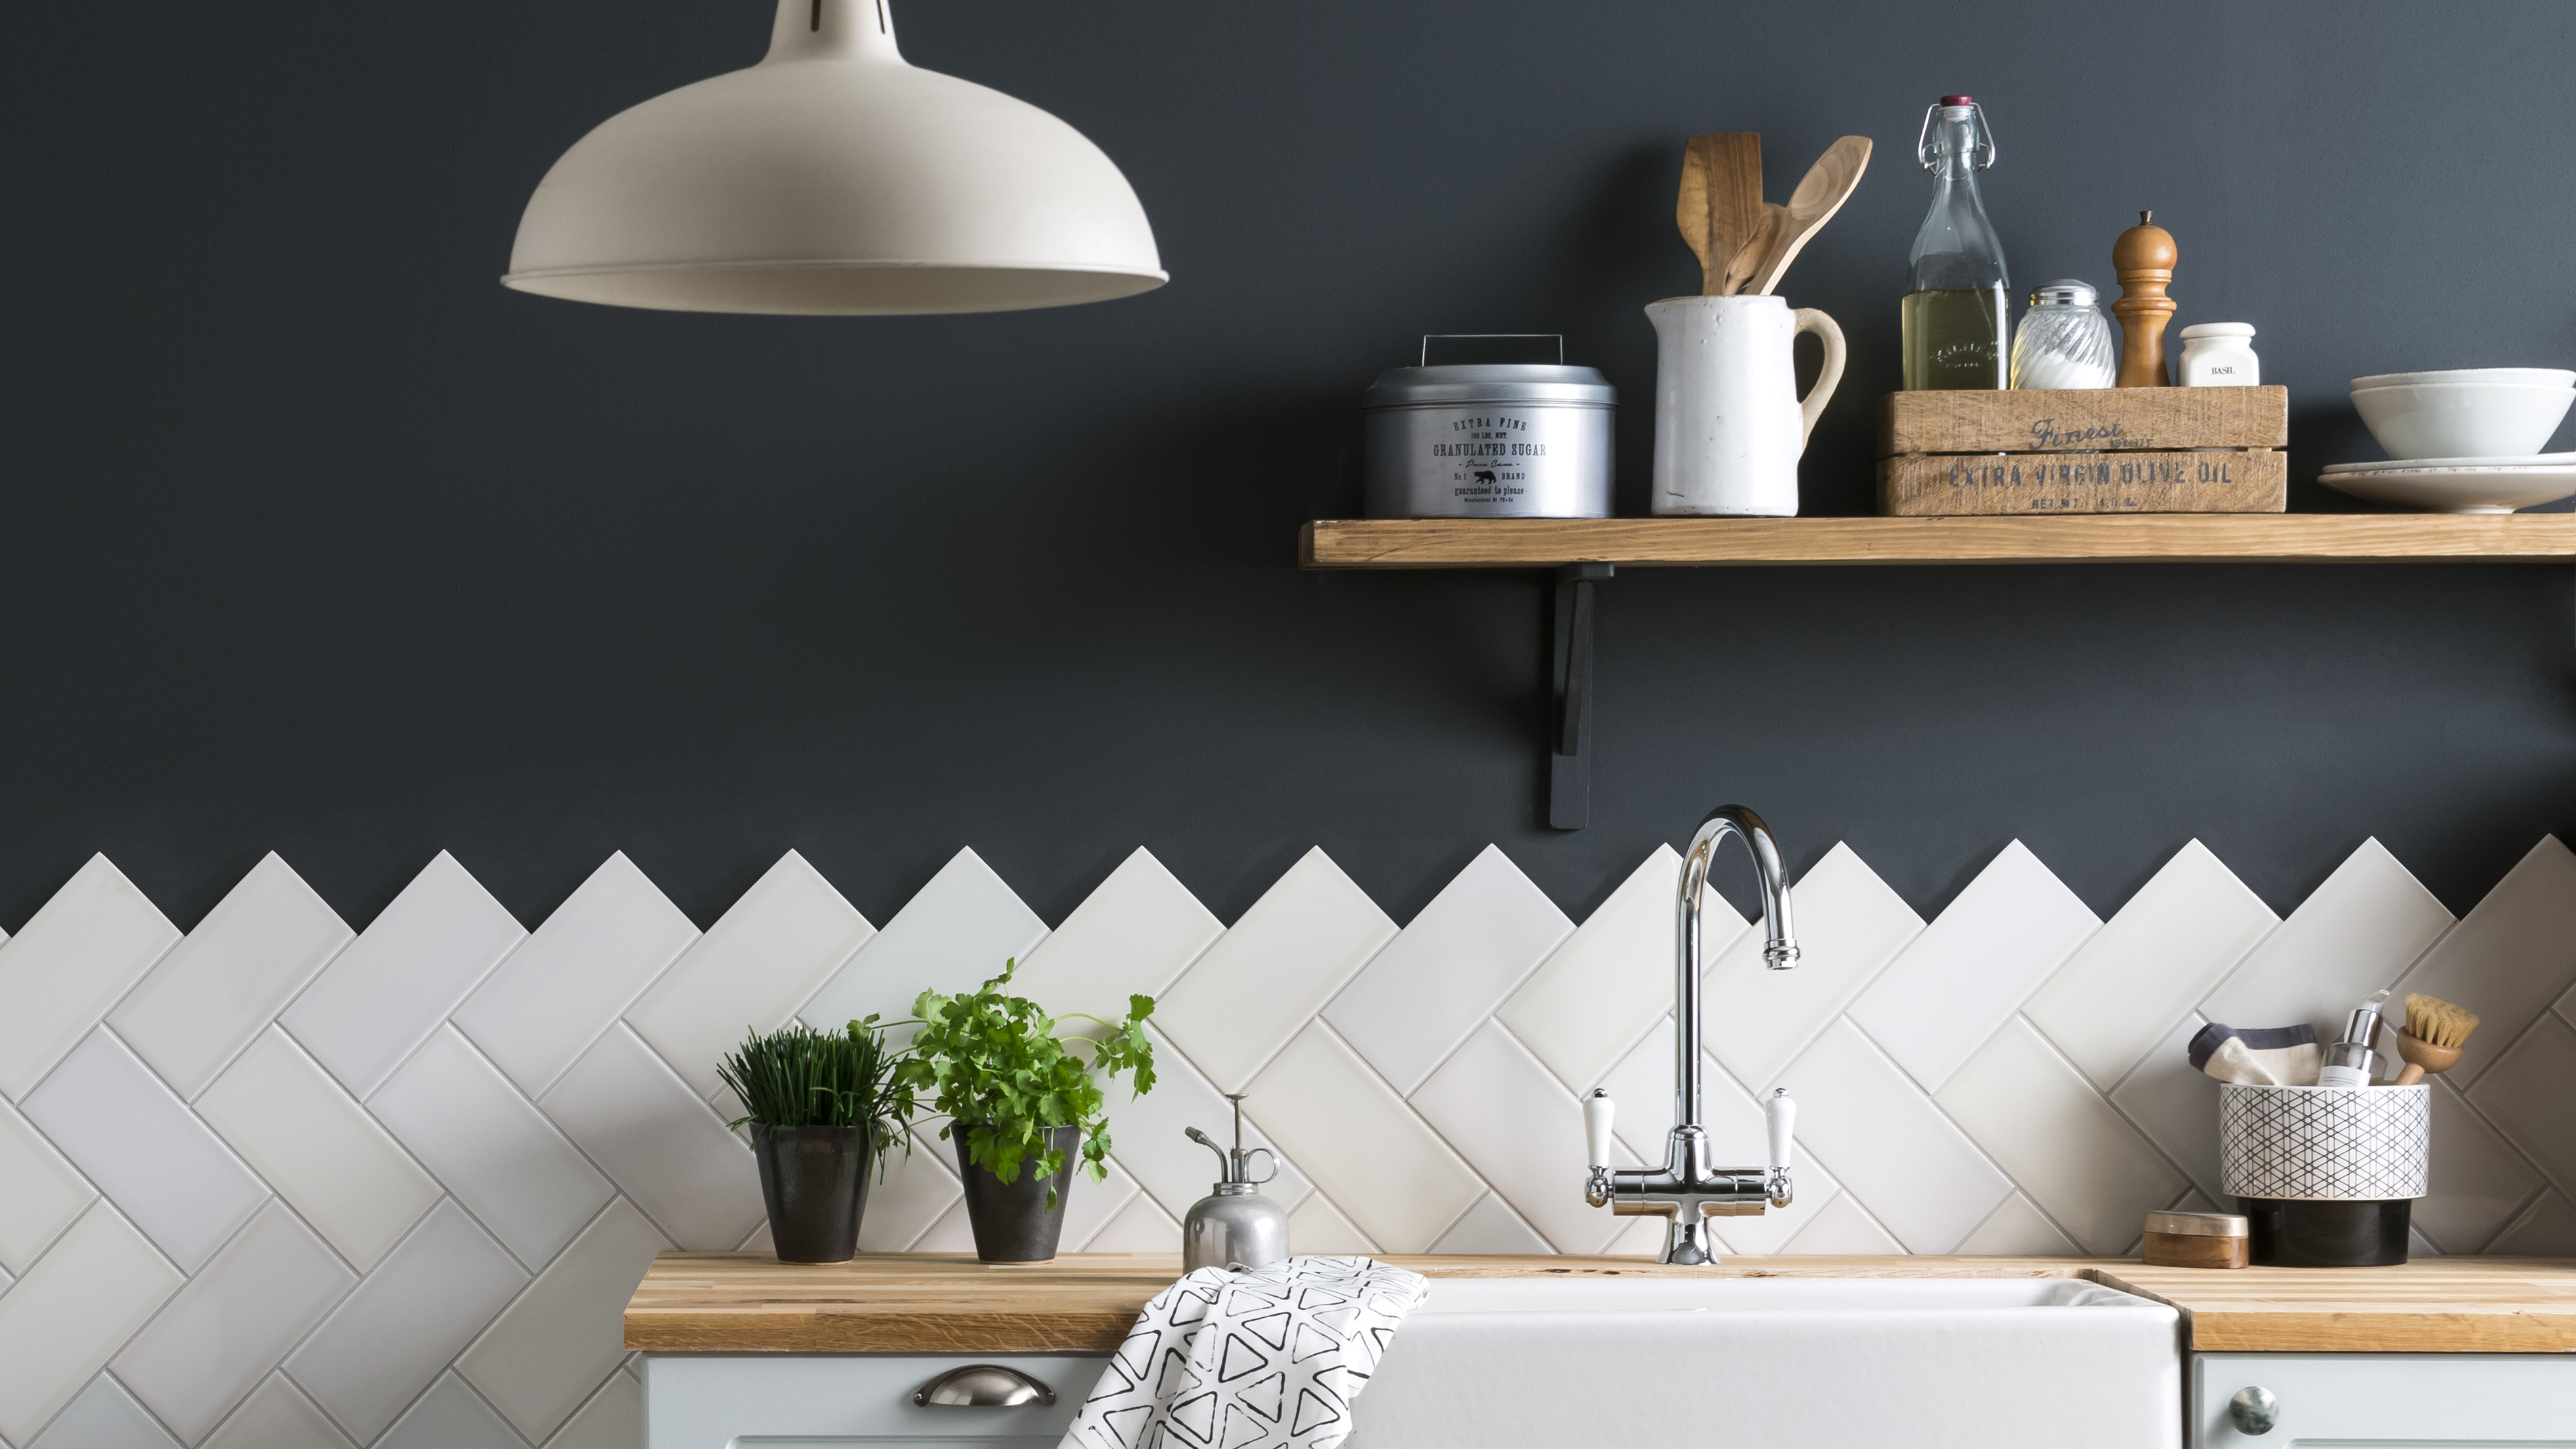 How to tile a backsplash: a DIY guide for beginners
Knowing how to tile a backsplash will make a big difference to the look and function of your kitchen. DIY to save on the cost of calling in a professional.
By Emily Shaw
-
 How to install baseboards: a simple 10-step DIY
Installing baseboards is an achievable DIY with the right know-how to ensure you get a professional finish, whether you're updating a living room or refining a home addition.
By Hebe Hatton