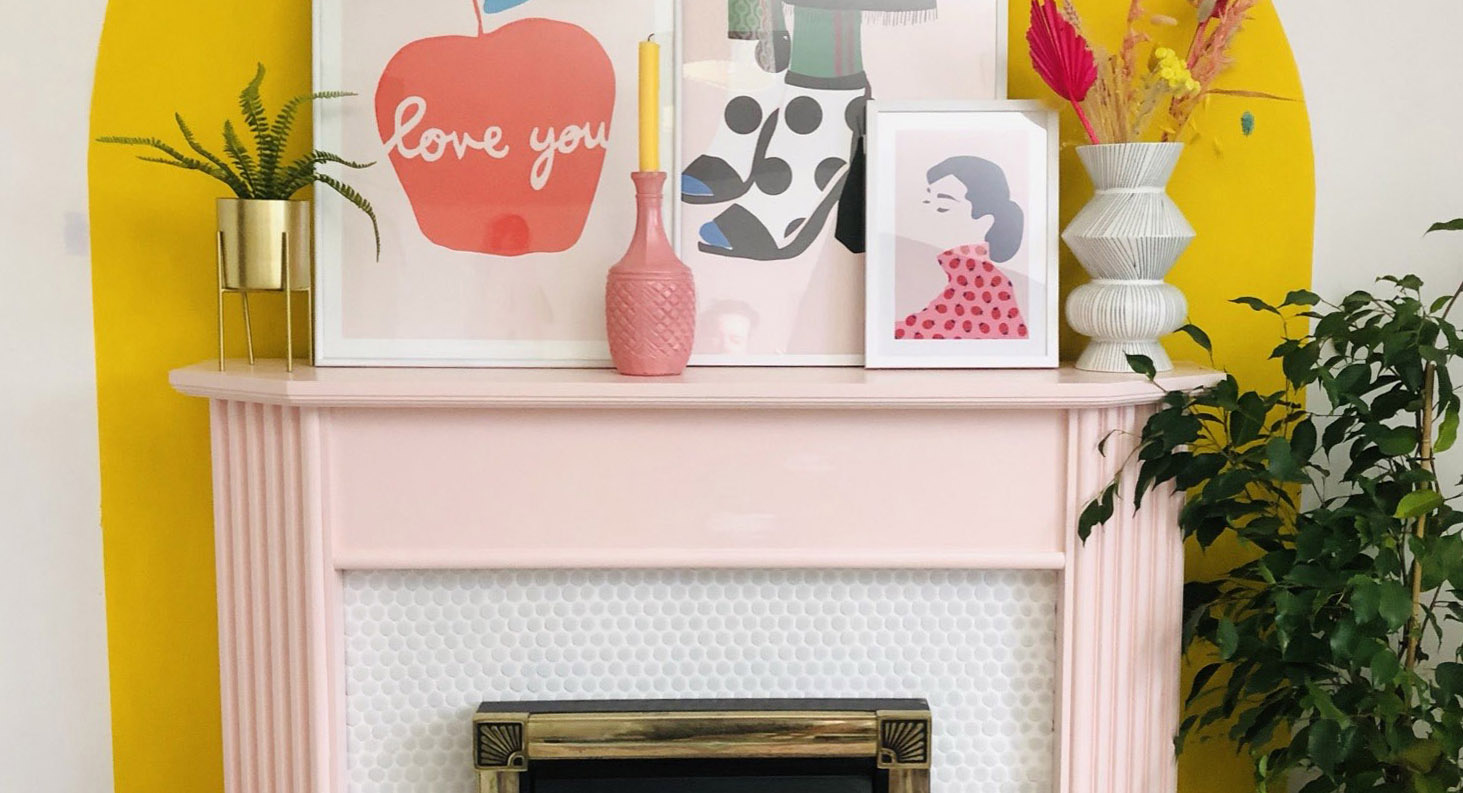

No matter how large or small your living room, a DIY fireplace is a sure way to add some character, depth and focus to your room. A fireplace always becomes the natural focal point – it's the area we instinctively gather around for warmth, and it's often the key element of the room that we see when sitting on the sofa.
When you're thinking about living room ideas for your space, you should really consider the style and color of your fireplace right from the start of the planning process. Whether you want to make your fireplace blend in with the rest of the scheme or you want it to stand out as a striking feature, think creatively to add a modern and inexpensive twist to your centerpiece.
More and more of us are getting braver with our DIY-ing, and so we've found these fun DIY fireplace surround upgrades that you can easily do at home.
1. Paint your wooden fireplace a statement shade

When it comes to living room fireplace ideas, painting your fireplace a statement shade is a popular and on-trend design choice that can completely change the look and feel of your room.
This yellow-painted fireplace gives a happy sunshiney glow to this dark cocooning space. You don't want to end up with a messy paint job though, so be sure to follow these steps carefully...
You will need:
- Primer
- Caulk
- Yellow paint such as this Rustoleum paint from Amazon
- Paintbrush
How to:
1. If your fireplace is varnished, ensure to sand it down, wipe it clean and prime the surface. If you're painting over an already-painted fireplace, simply ensure it's clean and dry before beginning.
2. If there are any gaps between your fireplace and your wall, or any imperfections in your wood, apply caulk to cover this up for a more seamless overall look.
4. Use a paintbrush to paint on your chosen color. Allow to dry and apply another coat.
5. For extra protection, paint on a sealant to keep your paint job looking perfect for longer.
2. Add a pop of pattern with wallpaper
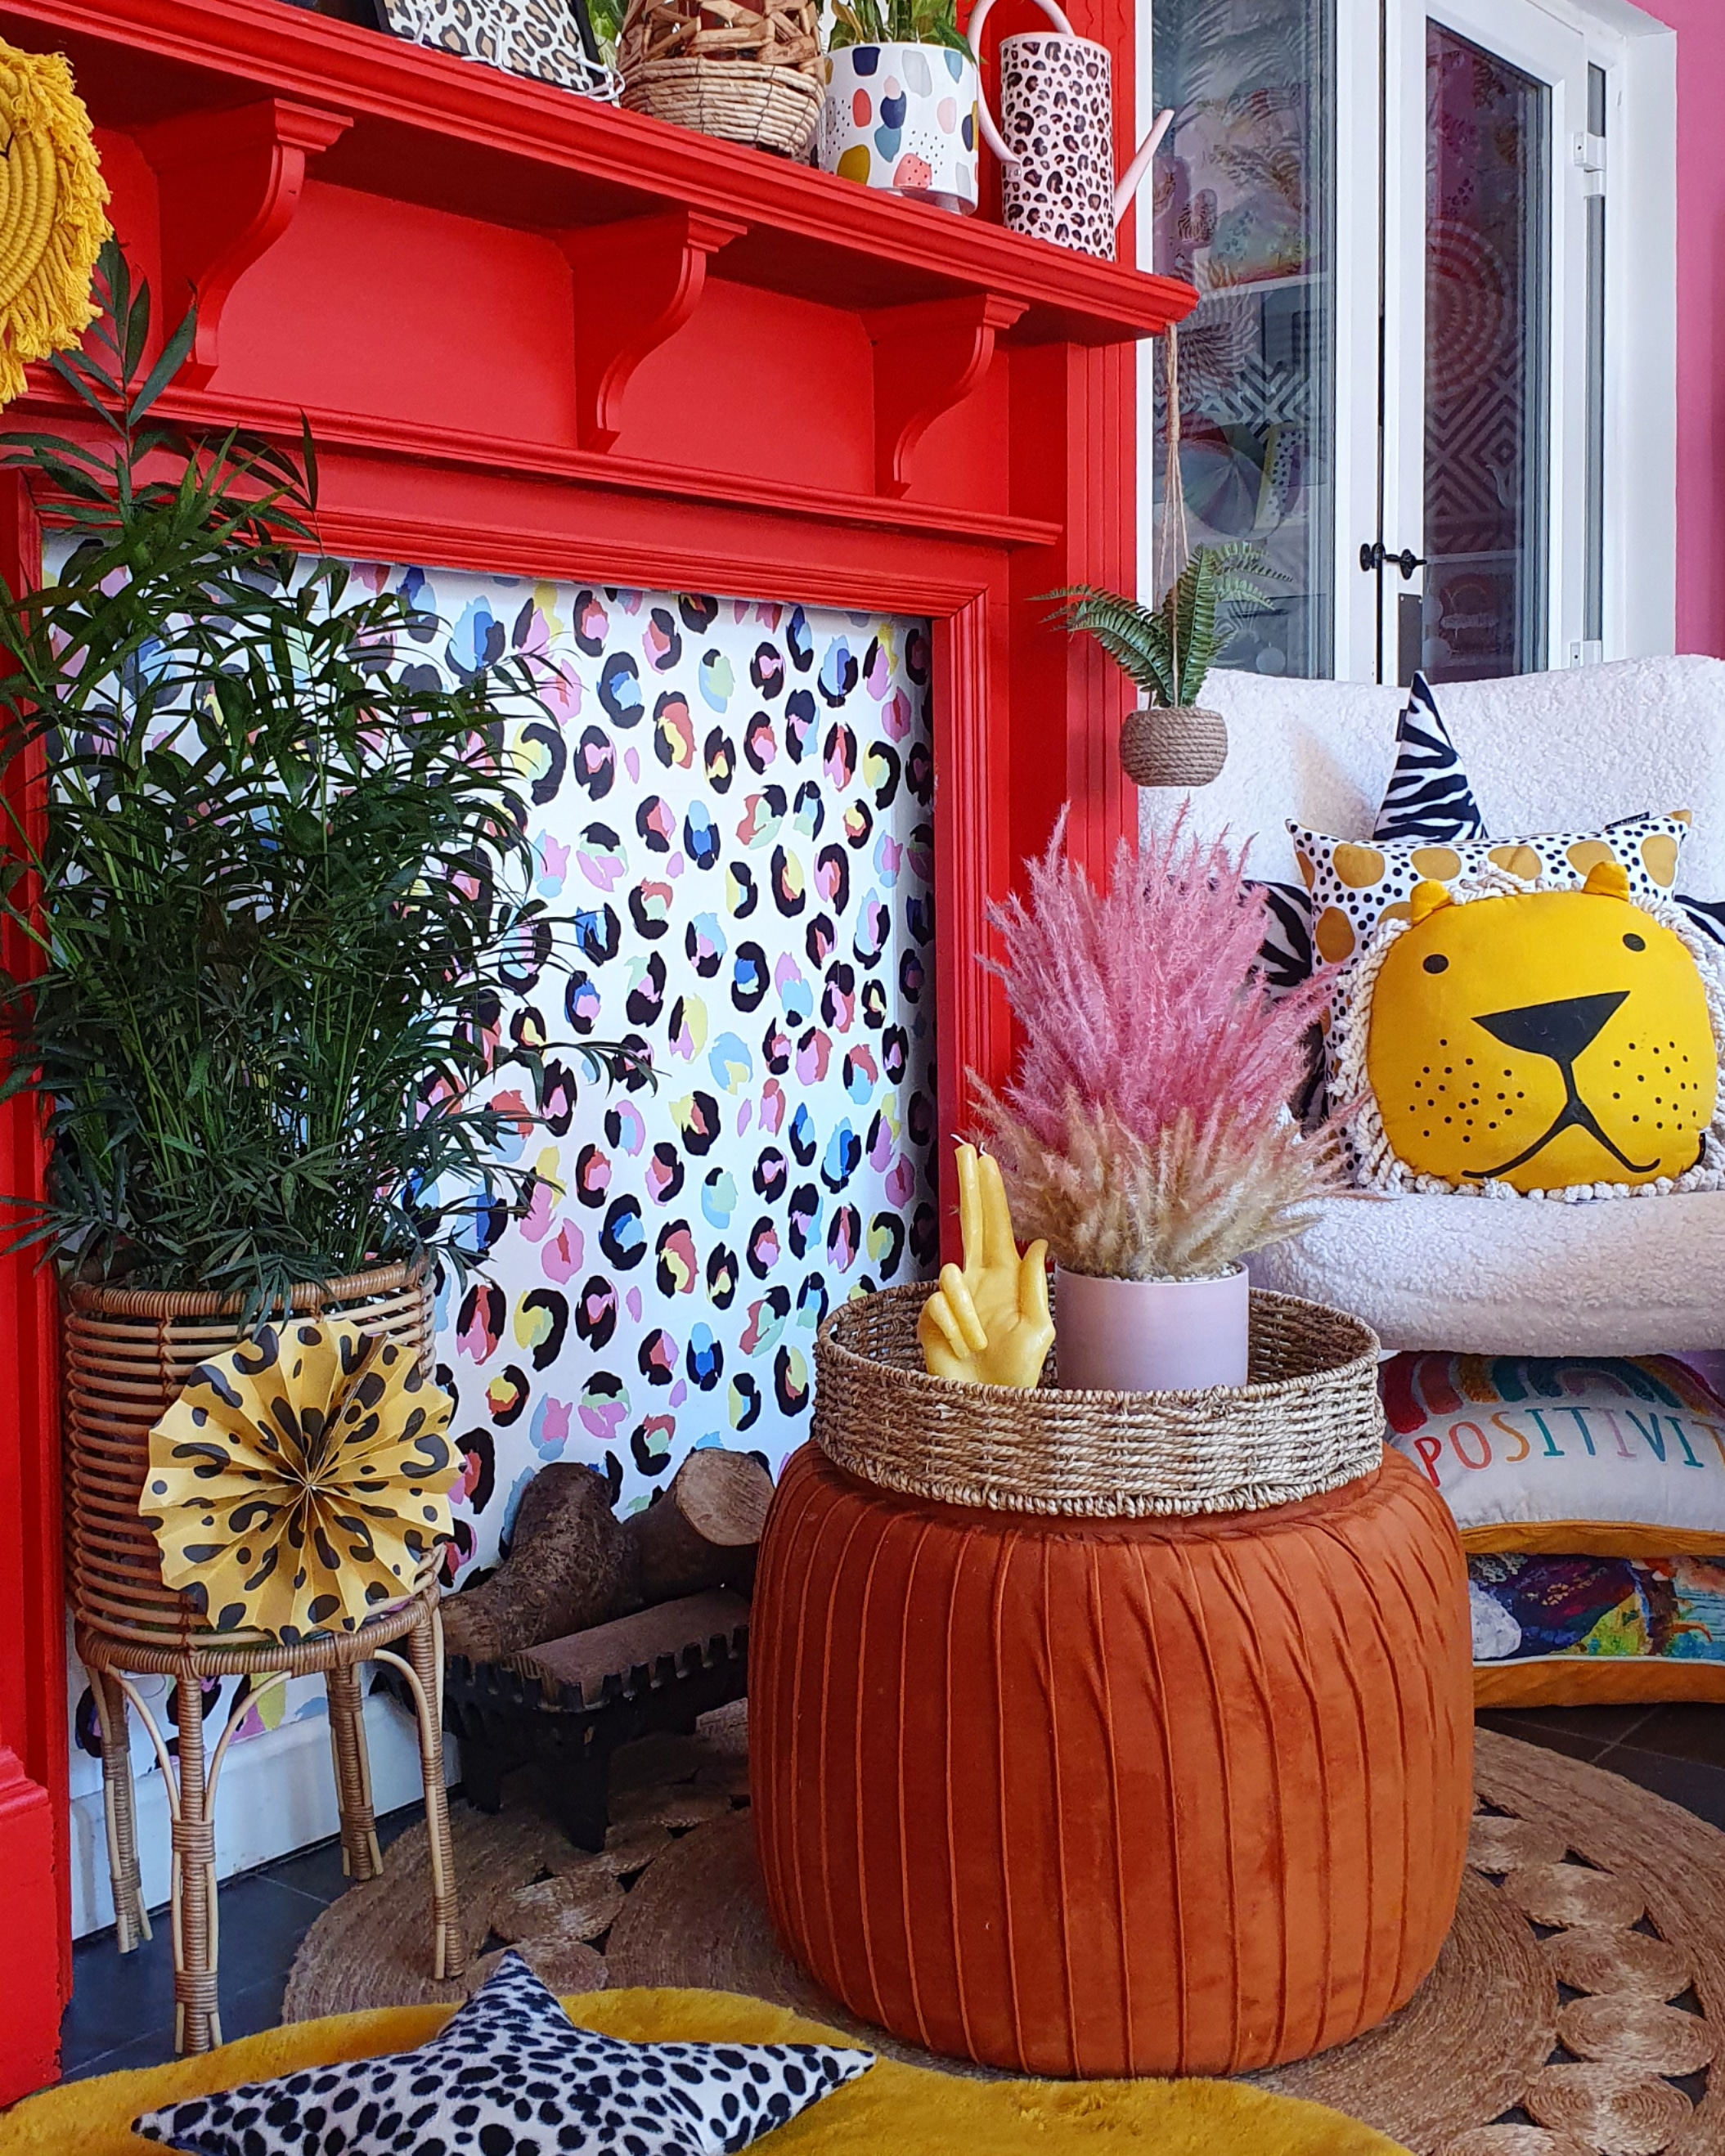
This wow-factor fireplace has got us talking. The fireplace surround was a Facebook Marketplace bargain, and @fionasfamilylovesandriots loves wallpapering the center of her fireplace using wallpaper samples as it means she can chop and change the look at a minimal cost.
You will need:
- Wallpaper (or wallpaper samples!)
- Wallpaper paste
- Tape measure
- Plumb line or spirit level
- Pencil
- Sharpwallpaper scissors from Amazon
- Sponge
How to:
1. Clean the wall with sugar soap and smooth out any lumps or bumps with an appropriate filler
2. Measure the size of your space and cut your wallpaper to size. Here, Fiona has used several Lust Home wallpaper samples. Cut the paper to size, and if using samples, ensure they match up perfectly. If using a bold pattern, number the back of your papers to ensure you lay them in the right order.
3. Use a pasting brush to apply the paste to each piece, press onto the wall and smooth out the paper, getting rid of any creases or bubbles.
4. Trim the edges to shape where necessary and continue until the whole space is covered.
3. Create a feature with easy-to-lay vinyl tiles

Fireplace tile ideas are a great thing to consider when revamping your fireplace, but whilst they look lovely, they can be a faff to lay.
If you want the look of tiles, but don't want to have to spend time cutting or grouting them, choose vinyl tiles instead. This alcove fireplace by @threehoursfromhome has been given a pretty and easy facelift with star-patterned vinyl tiles.
You will need:
- Measuring tape
- Cloth
- Vinyl tiles
- Stanley knife
How to:
1. Measure your area accurately to ensure you purchase the correct amount of vinyl.
2. Clean and dry your surface thoroughly.
3. Many vinyl tiles, including these from The Loft and Us come with a peel and stick back so you can easily peel off the back and stick the vinyl straight onto your chosen area. 'It was great because if I made a mistake, I could just peel it off and stick it somewhere else,' says Gayle.
4. Peel off the top edge and stick the vinyl down slowly, using a squeegee to remove any air bubbles.
5. Use a Stanley knife to cut away any unnecessary edges.
This took Gayle just 30 minutes to complete in total,
if I made a mistake I could just peel it and put it somewhere else. Took around 30 mins and it was done
4. Add penny tiles for a hit of texture

Penny tiles are so underrated in our opinion. They're fun and playful, elegant and timeless all in one, and they're an easy peasy way to add some texture and depth to your living room. In this design by @joannecondon, the white penny tiles act as a simple, pared-back backdrop to the statement colors and shapes that surround it.
Knowing how to tile a wall is such a great skill that'll save you $$$ on labor throughout your project.
You will need:
1. Penny mosaic tile sheets such as these from Amazon
2. Tile adhesive
3. Utility knife
4. Grout
6. Small grout float like this one from Amazon.
How to:
1. Ensure your tile surround is clean and flat. Here, Joanne simply unscrewed the existing piece of MDF and replaced it with a fresh piece in the same shape.
2. Penny tiles often come as 30cm sheets, rather than small individual mosaic tiles, so they're much easier to lay than it may seem. Use tile adhesive to stick down your mosaic tile sheet, ensuring they all line up perfectly. If the edge is hidden behind the fireplace as shown here, don't worry too much about cutting them perfectly straight.
3. Leave to dry for 24 hours.
4. Use a smaller-sized grout float to apply your grout in a smooth swiping motion. Here, Joanne used the same color grout as tiles, but for a more noticeable, striking effect, use a clashing color.
5. Remove any excess with a damp cloth to ensure none of your tiles are covered.
6. Allow to dry.
5. Frame your fireplace to make it a focal point

A fireplace can seem a little out of place in a kids' bedroom, but get creative with how you decorate it and it can become a fun and unique feature. This fireplace by @baliol_house has extended its vibrant yellow paint upwards to make the small fireplace appear bigger than it is and allow it to stand loud and proud as a design feature in its own right.
You will need:
- Primer
- Metal paint
- Wall paint
- Paint brush
How to:
1. Use a damp soapy cloth to wash down the fireplace
2. Paint on two coats of primer, allowing enough time to dry in between. Here, Helen used Zinsser BIN primer like these options from Home Depot
3. Paint on three coats of paint. Here, this gorgeous yellow shade was color matched by Valspar to create a vibrant metal paint.
4. To make a small fireplace like this into more of a feature, extend the colored paint upwards and onto the wall. This boxy design created a real focal point in the space.
6. Add a panelled wall for a cozy cabin feel

Even if you've got a contemporary built-in fireplace like this, you can give your room a more traditional, characterful feel by lining your walls with cladding and adding a DIY fireplace mantel.
There are so many wall paneling ideas to choose from, but we love the cozy log cabin vibes this brings to the living area and it's easier to achieve than you may think.
You will need:
- Enough wooden boards or MDF paneling to fill your fireplace wall
- Liquid Nails available at Amazon
- Finishing nails
- Paint (optional)
- A spirit level
- Tape measure
How to:
1. Measure your wall so you know exactly how many panels to purchase.
2. Many DIY stores will cut panels to size for you, but if not, use a saw to cut your panels to size, remembering to cut smaller sections to frame your fireplace.
3. Ensure your walls are perfectly sanded and clean.
4. Use a spirit level to map out perfectly straight lines. Apply a strong adhesive to the back of your panel and stick to the wall, starting at the bottom. Press down firmly and leave to dry.
5. Repeat this all the way up your space.
6. If desired, paint your panels. Or simply leave them as they are and enjoy.
7. Forget expensive real stone and apply marble-effect vinyl instead
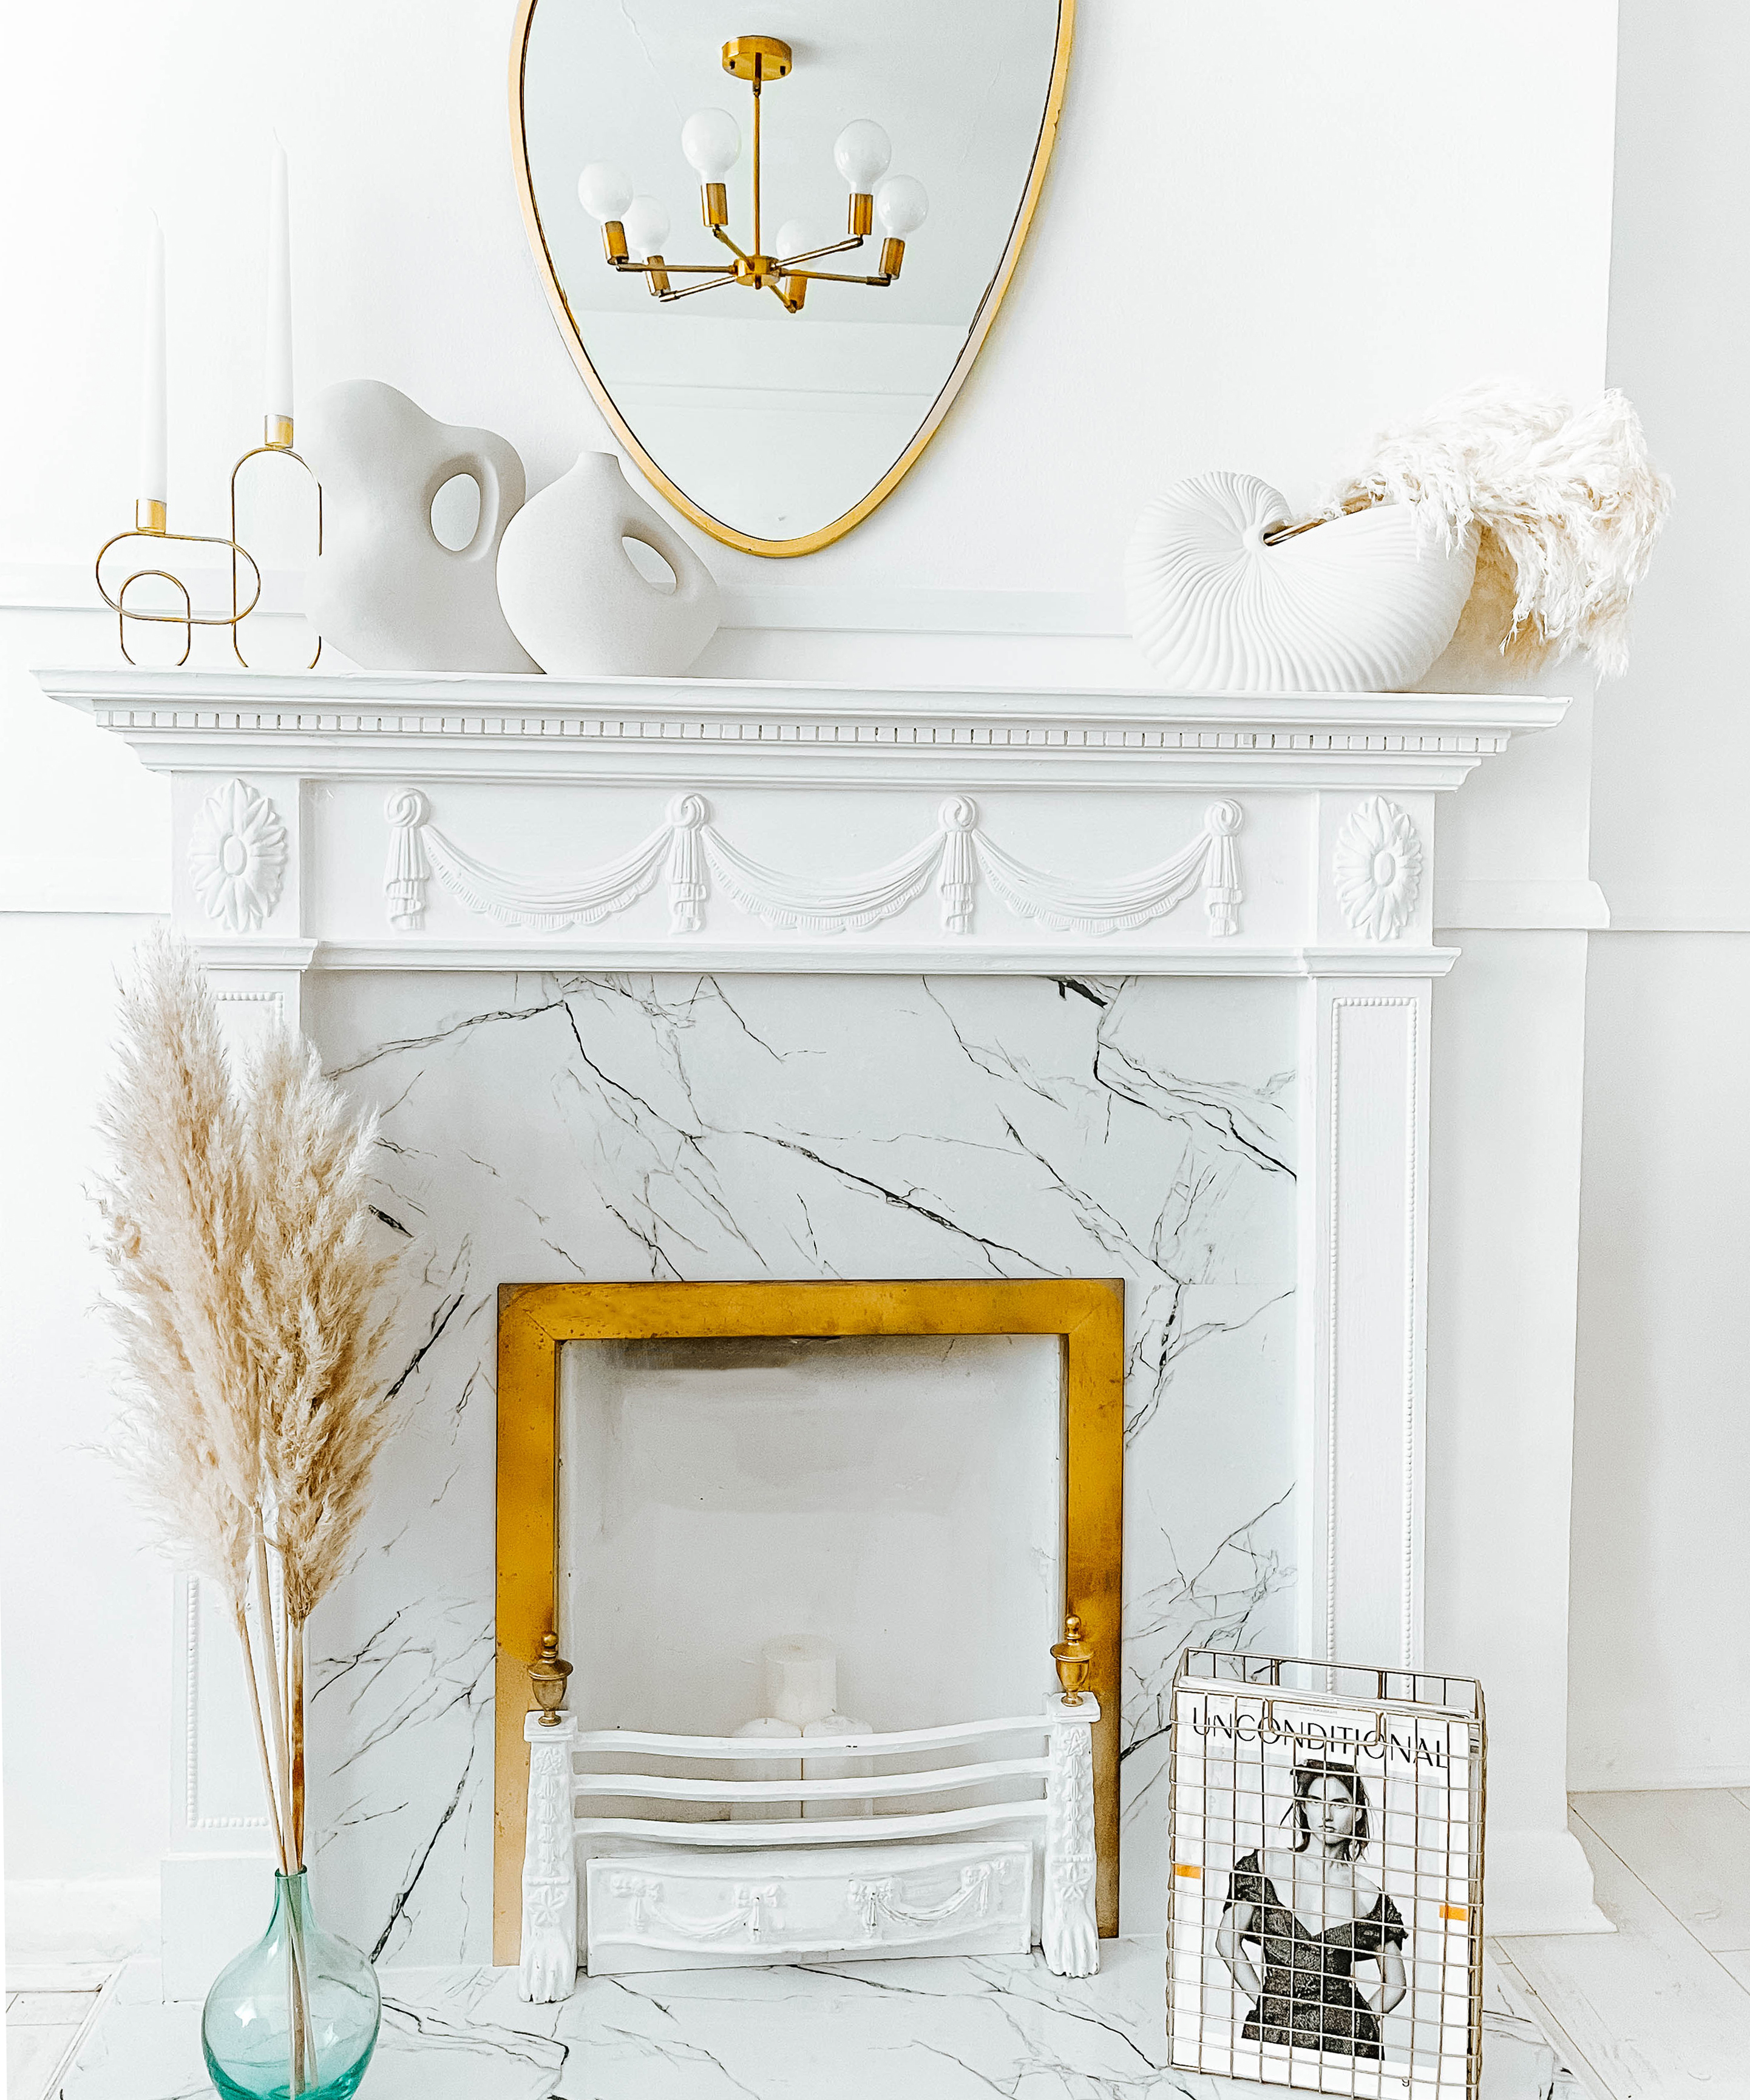
You can't go wrong with a classic marble fireplace, but the real deal is pricey to buy and can be quite high maintenance to look after. Cut the cost and the faff by applying marble-effect vinyl sheets over your existing surface like this gorgeous design by @homebyvaida.
You'll need
- Marble effect vinyl, such as this from Amazon
- Scissors
- Caulk
- Gold spray paint, such as this by Rustoleum
How to:
1. Measure the size of the space you want to cover and ensure you order enough self-adhesive vinyl sheets to cover the space. You can often choose specific sizes – remember it's better to order too much than not enough as you can always cut some away.
2. Ensure your wall is clean and flat.
3. Map out exactly where your sheets will go, where possible ensuring that the pattern of your marble appears consistent.
4. Where necessary, cut your vinyl to the correct size and shape to fit your space perfectly.
5. Peel off the back and stick your vinyl down. Smooth out each piece to get rid of air bubbles.
6. Fill any gaps or imperfections with decorators caulk.
7. Add extra glamour by covering your surround with protective sheets and spray painting your metal fireplace in metallic gold.
8. Get creative and crafty with monochrome stencils
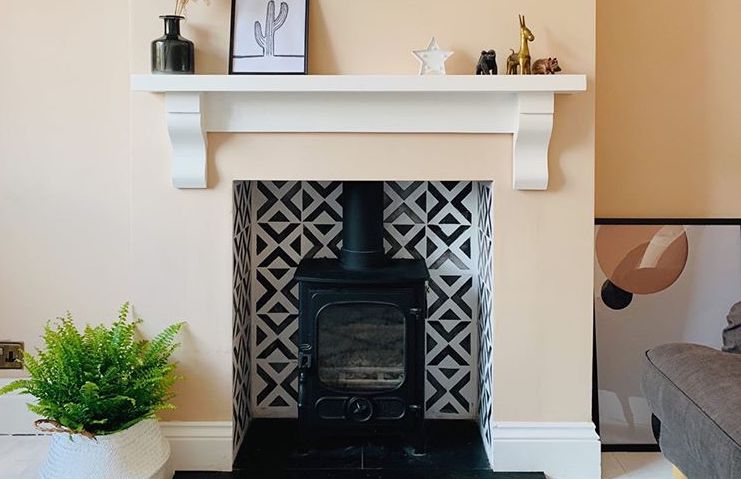
Stencils are so much fun and easy to use, and, as shown by this lovely design by @negi.at.home they can look amazing. This transformation cost less than $50 and completely transforms the look of the space.
You'll need:
- Paint
- A foam paint roller and a paint tray, like this from Amazon
- Stencils – Negi used stencils from Dizzy Duck Design
- A small paintbrush – if you can get one designed for stencils you will have the best result
- Masking tape
- Scissors
- Scrap paper for a practice run
How to:
1. Use a bit of scrap paper to test out your technique and to check how the pattern looks. For this just tape down the stencil and try out the stencil brush and the roller to see which works best with your pattern. Sometimes with more detailed patterns, you might need to use just a brush.
2. Measure the size of the space you are stenciling and see how many of your stencils will fit neatly inside the area. You might even want to use a pencil to lightly mark where each stencil will go so you know where to position each one as you move along your walls.
3. If you want to be absolutely exact you can use a tape measure and a spirit level to get your first stencil totally straight. Use masking tape to secure it in place and then get painting, moving the stencil gently along as you go. Let the whole thing dry and you are done. New 'tiles' using just a can of paint.
How do you make an old fireplace look modern?
To make an old fireplace look modern, there are many easy updates you can do. If you’re working with an old ornate wooden design, the most obvious (and most popular and on-trend) way to make this kind of fireplace look more up-to-date is to paint it in a striking shade.
This needn’t necessarily be bright yellow or vibrant red – a deep navy, a dark grey, a soft pink or even a greige color will instantly bring an old-fashioned design up to date. Equally, ripping out old tiles and replacing them with a contemporary, funky pattern, such as a geometric or a Moroccan-inspired tile design will give your old fireplace a new modern spin.
Join our newsletter
Get small space home decor ideas, celeb inspiration, DIY tips and more, straight to your inbox!

After joining Real Homes as content producer in 2016, Amelia has taken on several different roles and is now content editor. She specializes in style and decorating features and loves nothing more than finding the most beautiful new furniture, fabrics and accessories and sharing them with our readers. As a newbie London renter, Amelia’s loving exploring the big city and mooching around vintage markets to kit out her new home.
-
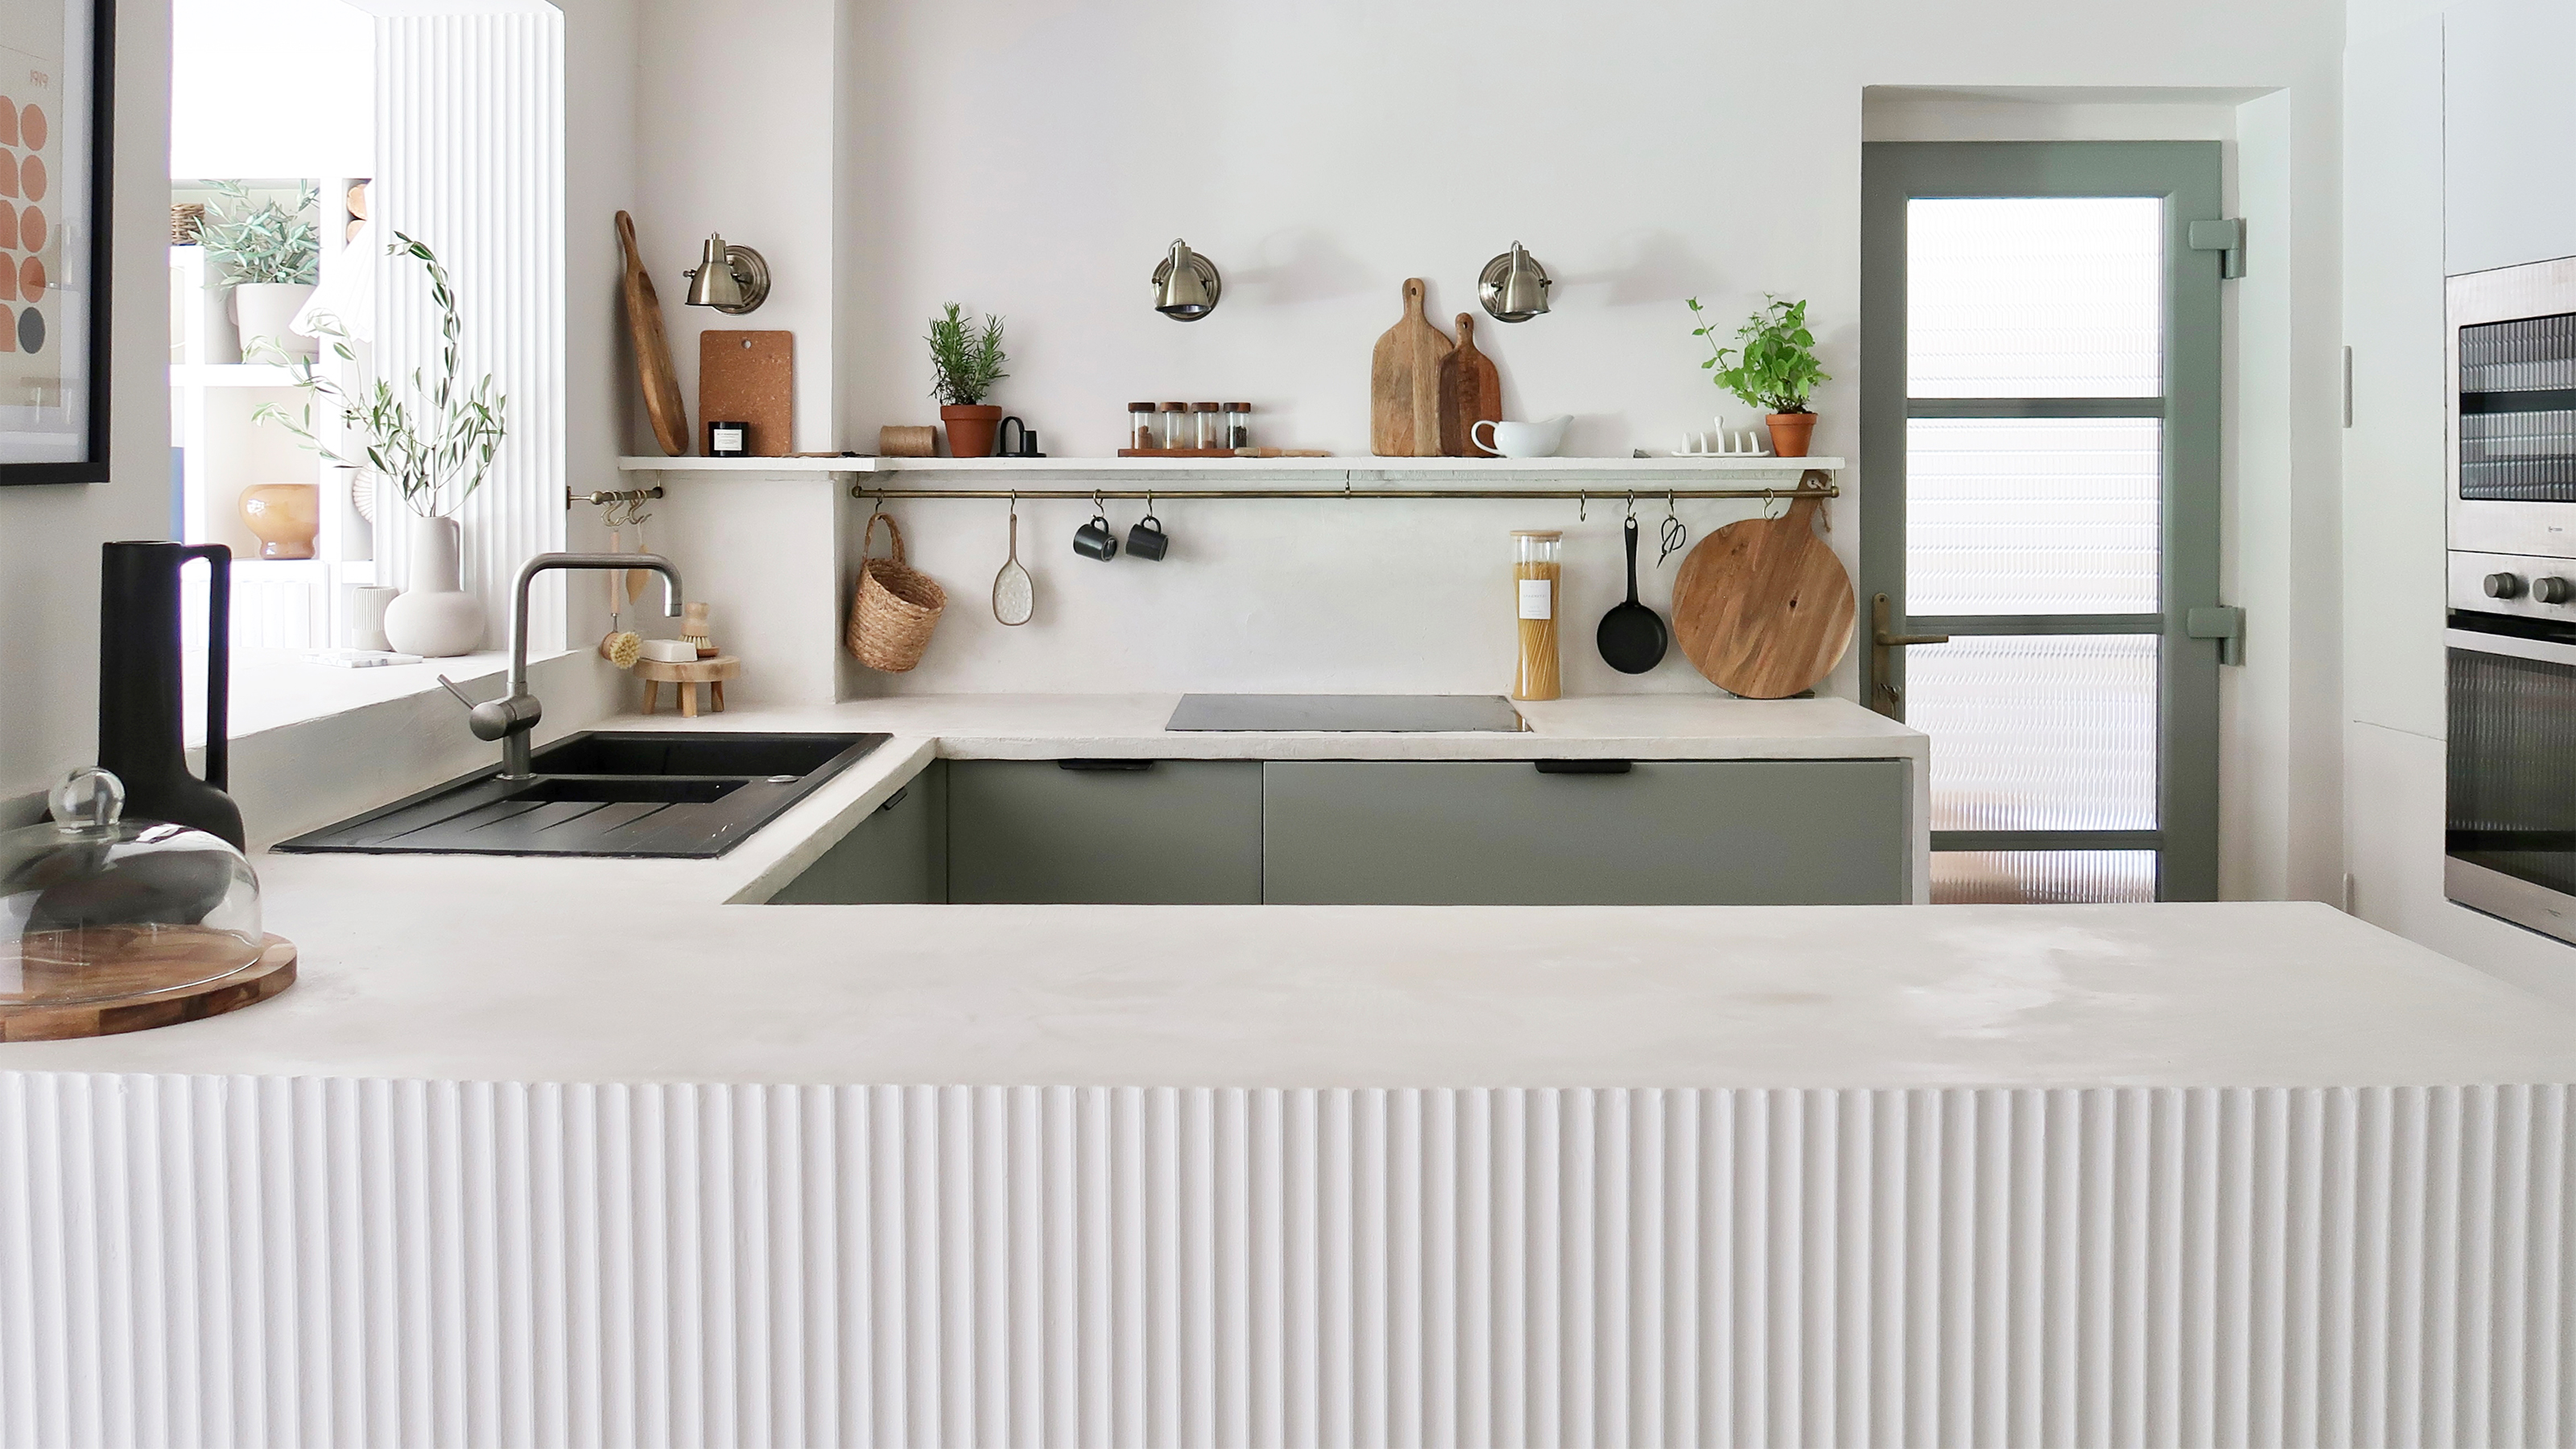 A $200 fluted panel transformed my drab kitchen in just one weekend
How to install a fluted kitchen panel: A speedy and achievable DIY tutorial even for DIY novices
By Claire Douglas
-
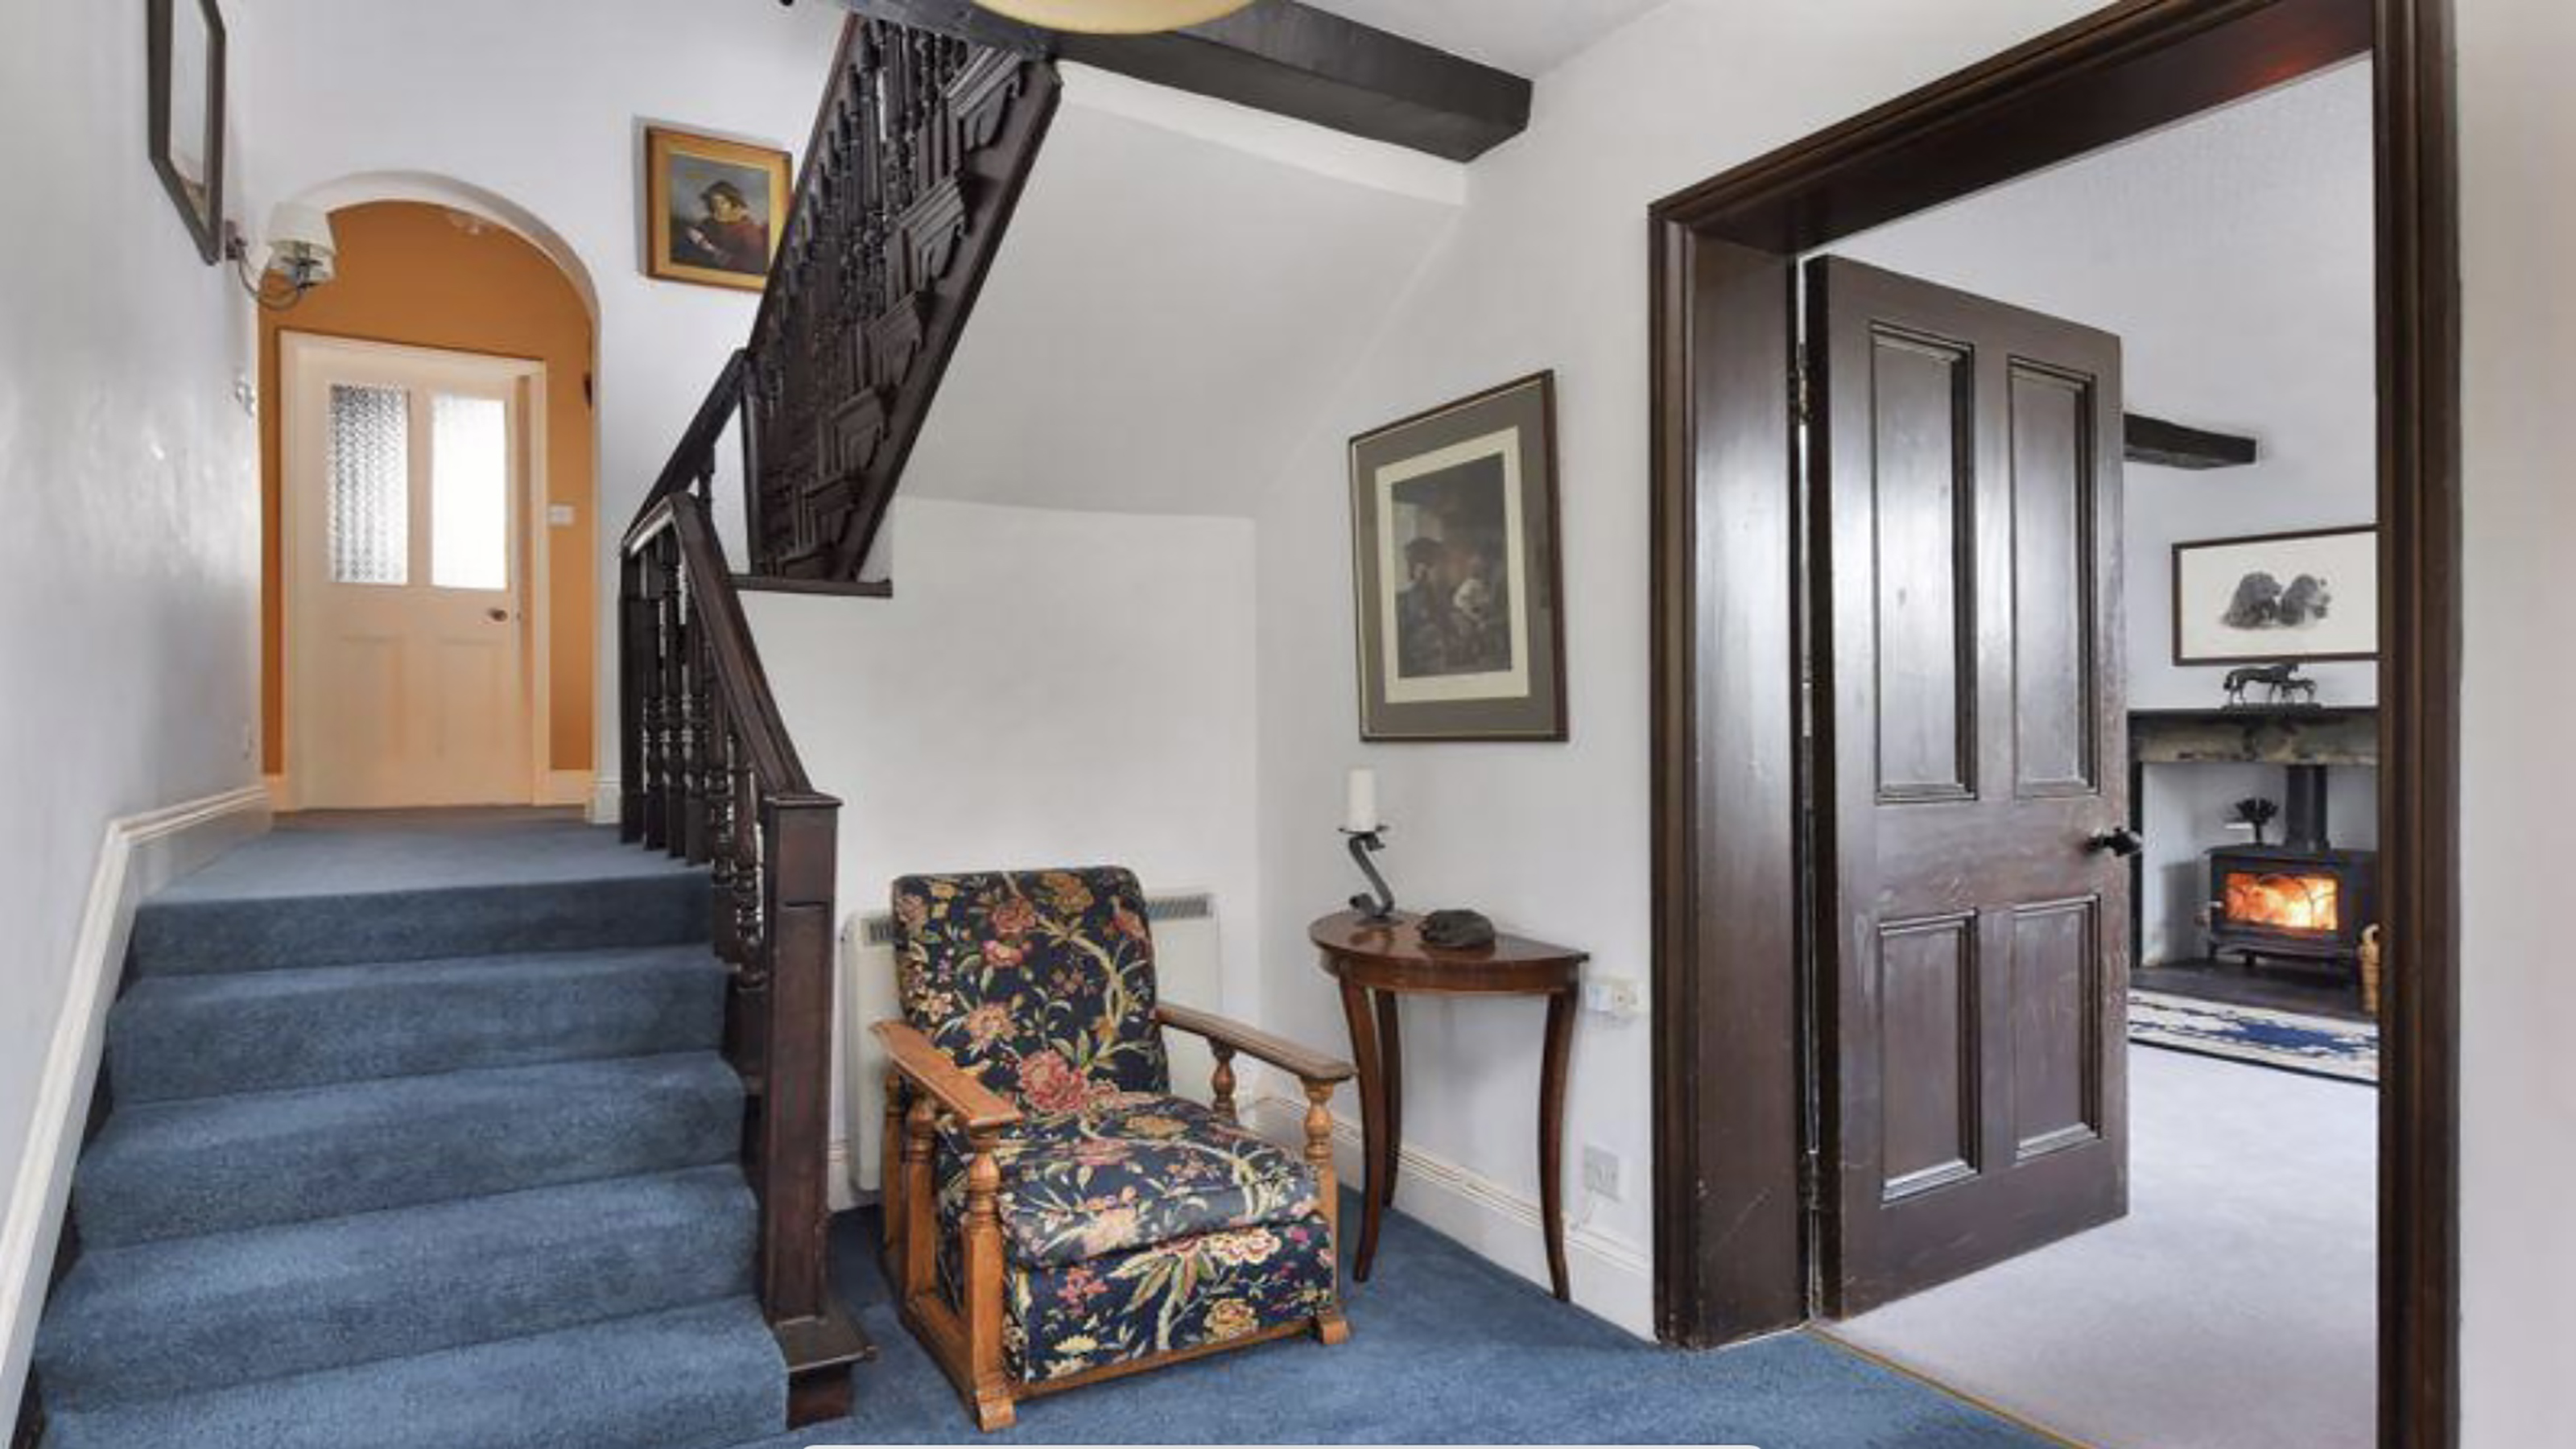 How to replace a broken staircase spindle in 30 minutes flat
A missing or broken spindle on a staircase is not only unsightly, but it can be a real hazard. This is how to fix it in a few quick steps.
By Kate Sandhu
-
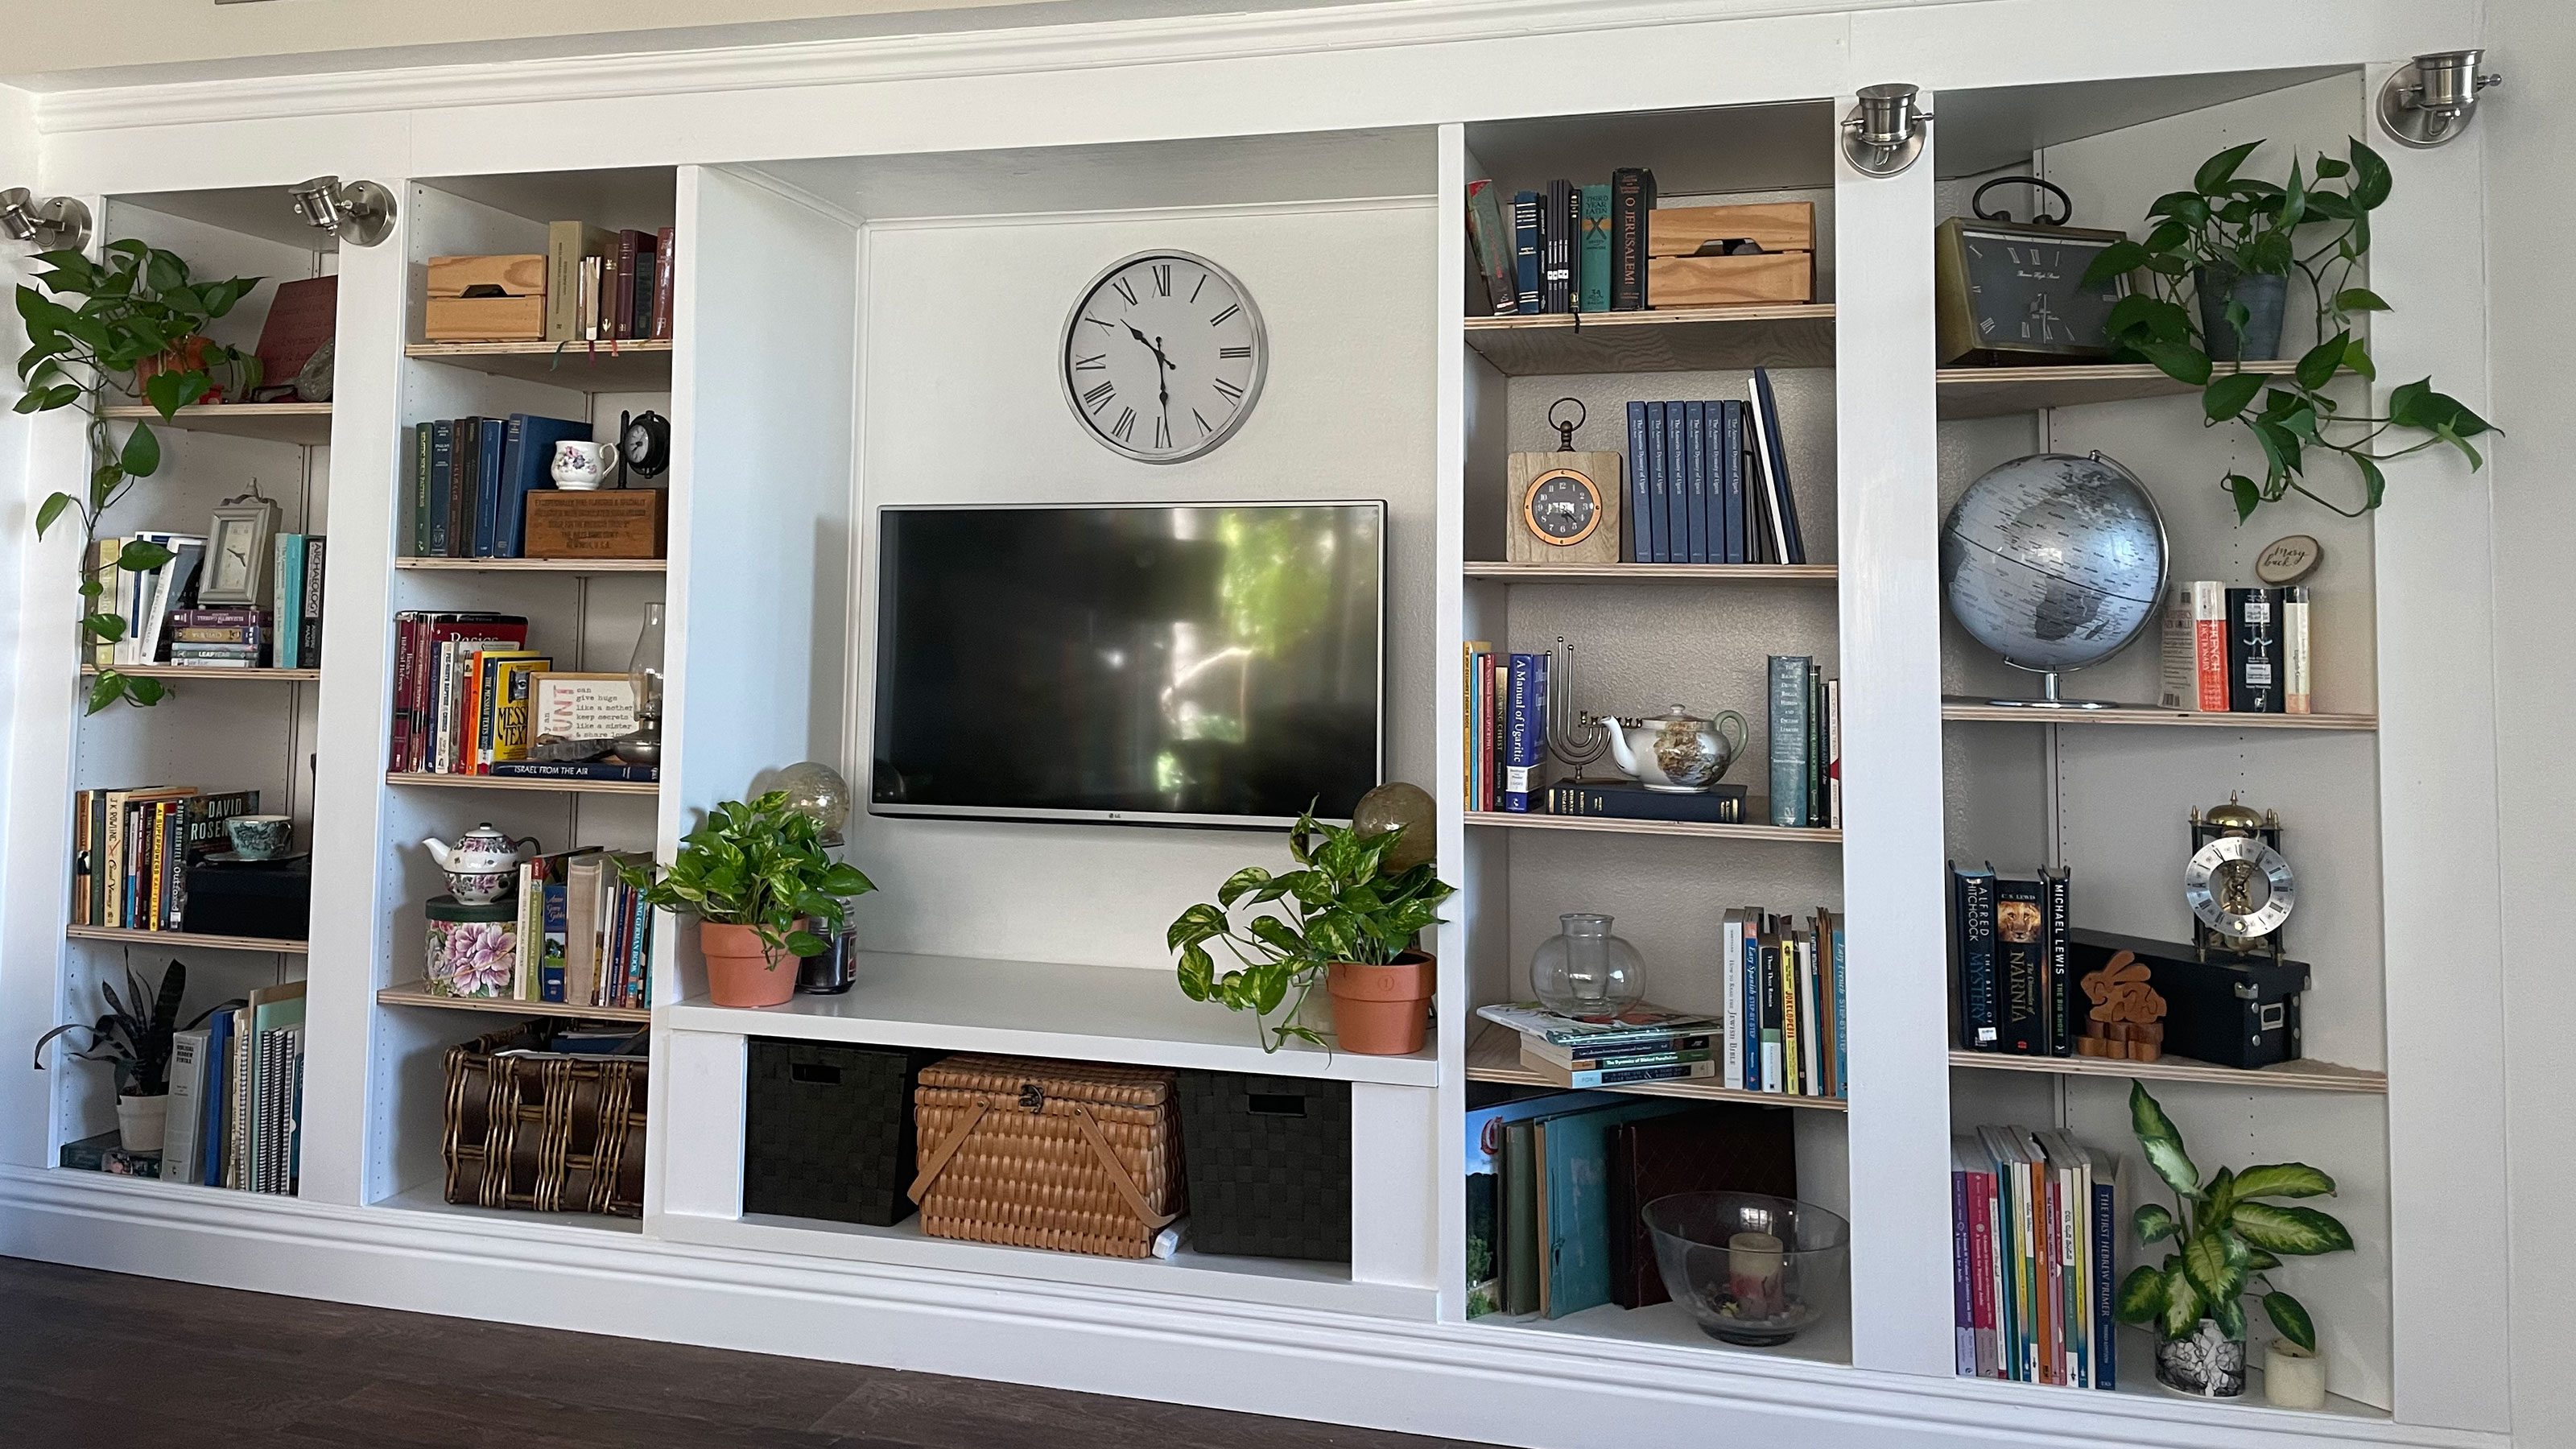 An IKEA Billy bookcase hack inspired this cute media wall DIY
This cute DIY was inspired by an IKEA Billy bookcase hack and brought a ton of symmetry to an otherwise basic media wall space.
By Camille Dubuis-Welch
-
 Share your small space glow up to win $150 in the Real Homes competition
Show off your creativity and DIY skills to win $150 and for the chance to be featured exclusively in Real Homes magazine
By Camille Dubuis-Welch
-
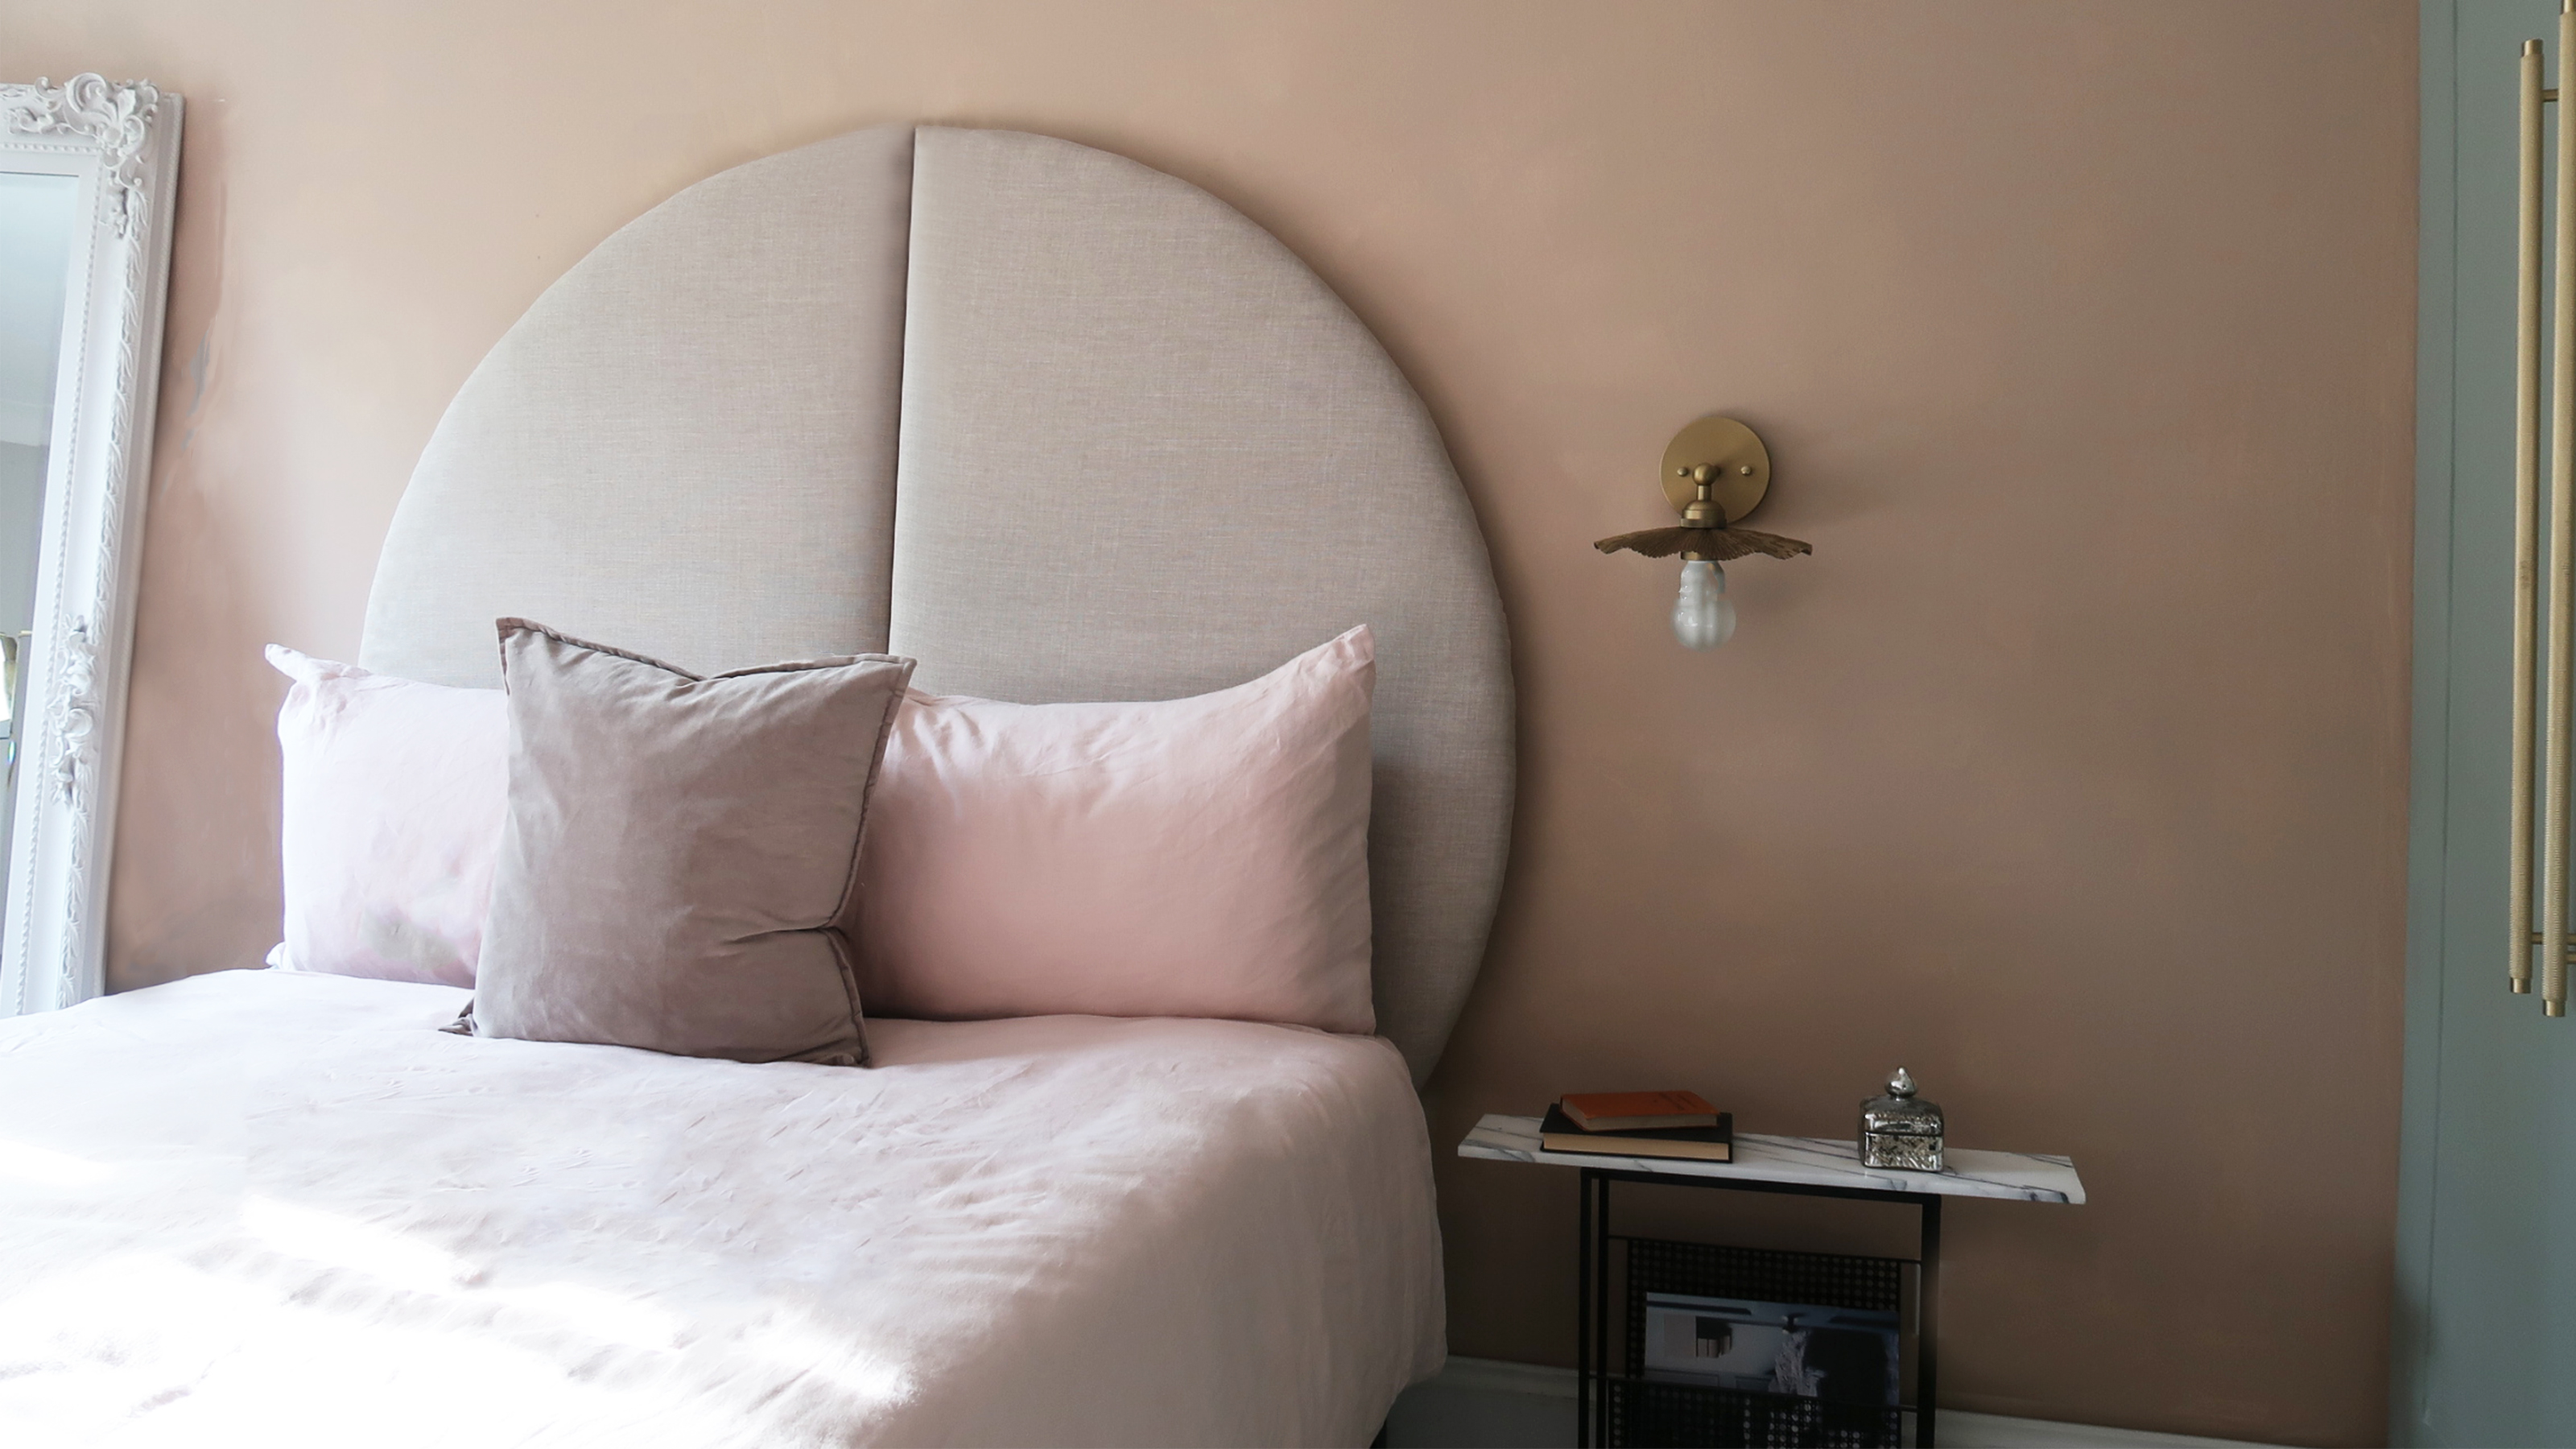 This oversized headboard looks designer, and takes 5 steps to DIY
Super simple to DIY, this oversized headboard will give your bedroom space all the designer vibes you could dream of.
By Claire Douglas
-
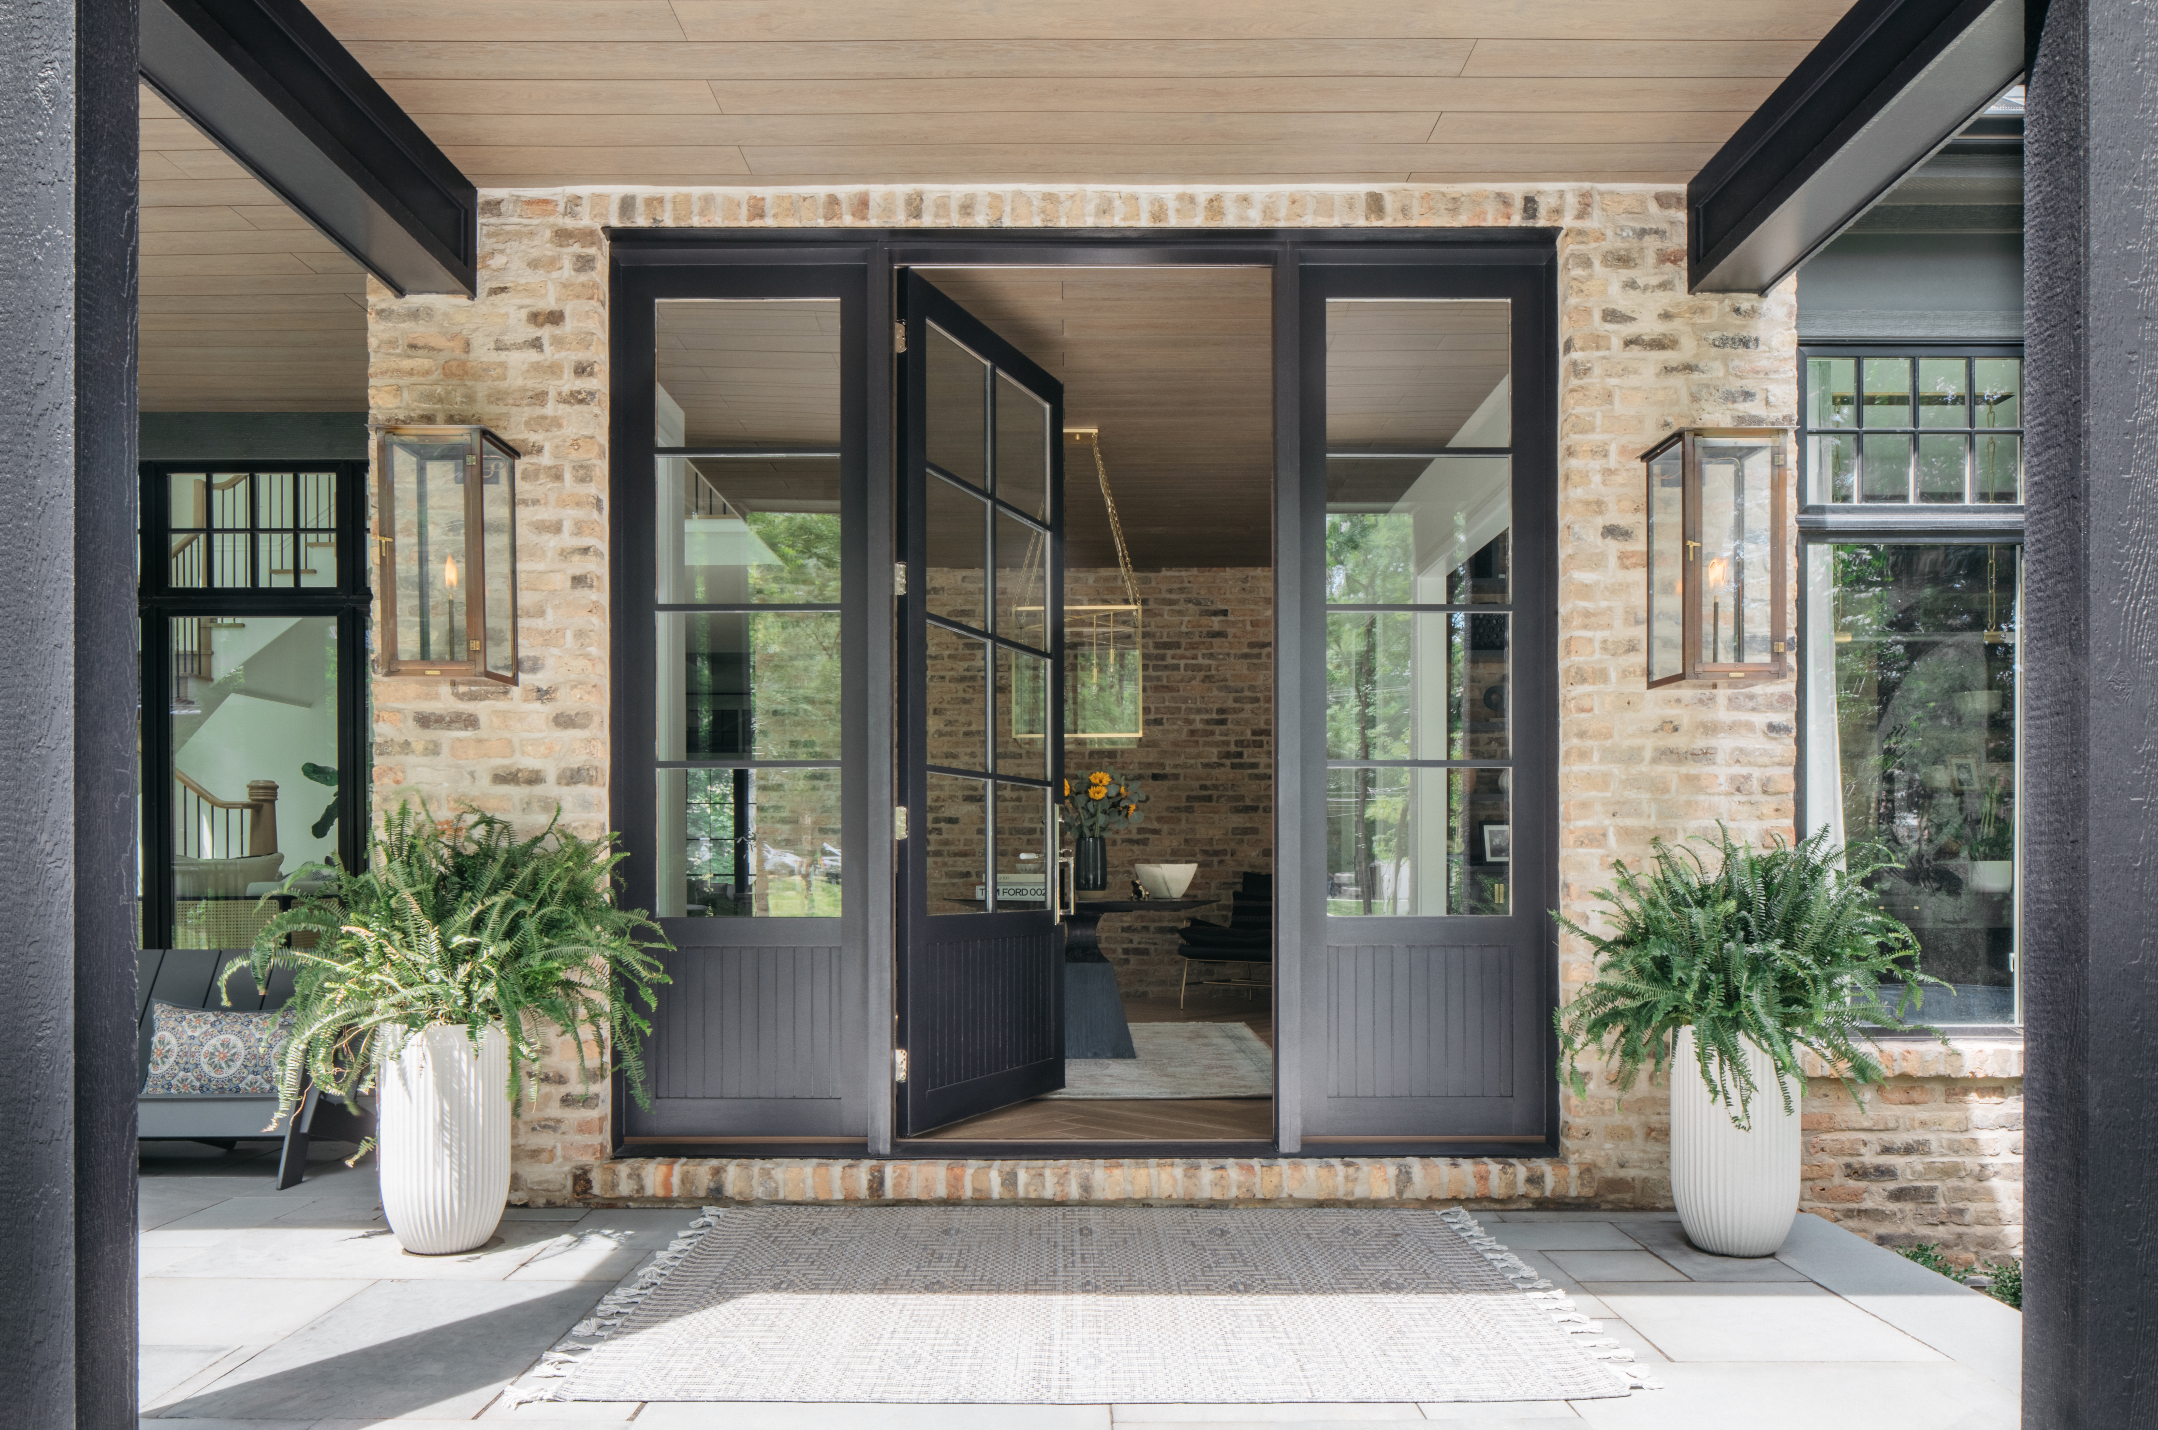 How to paint a door and refresh your home instantly
Painting doors is easy with our expert advice. This is how to get professional results on front and internal doors.
By Claire Douglas
-
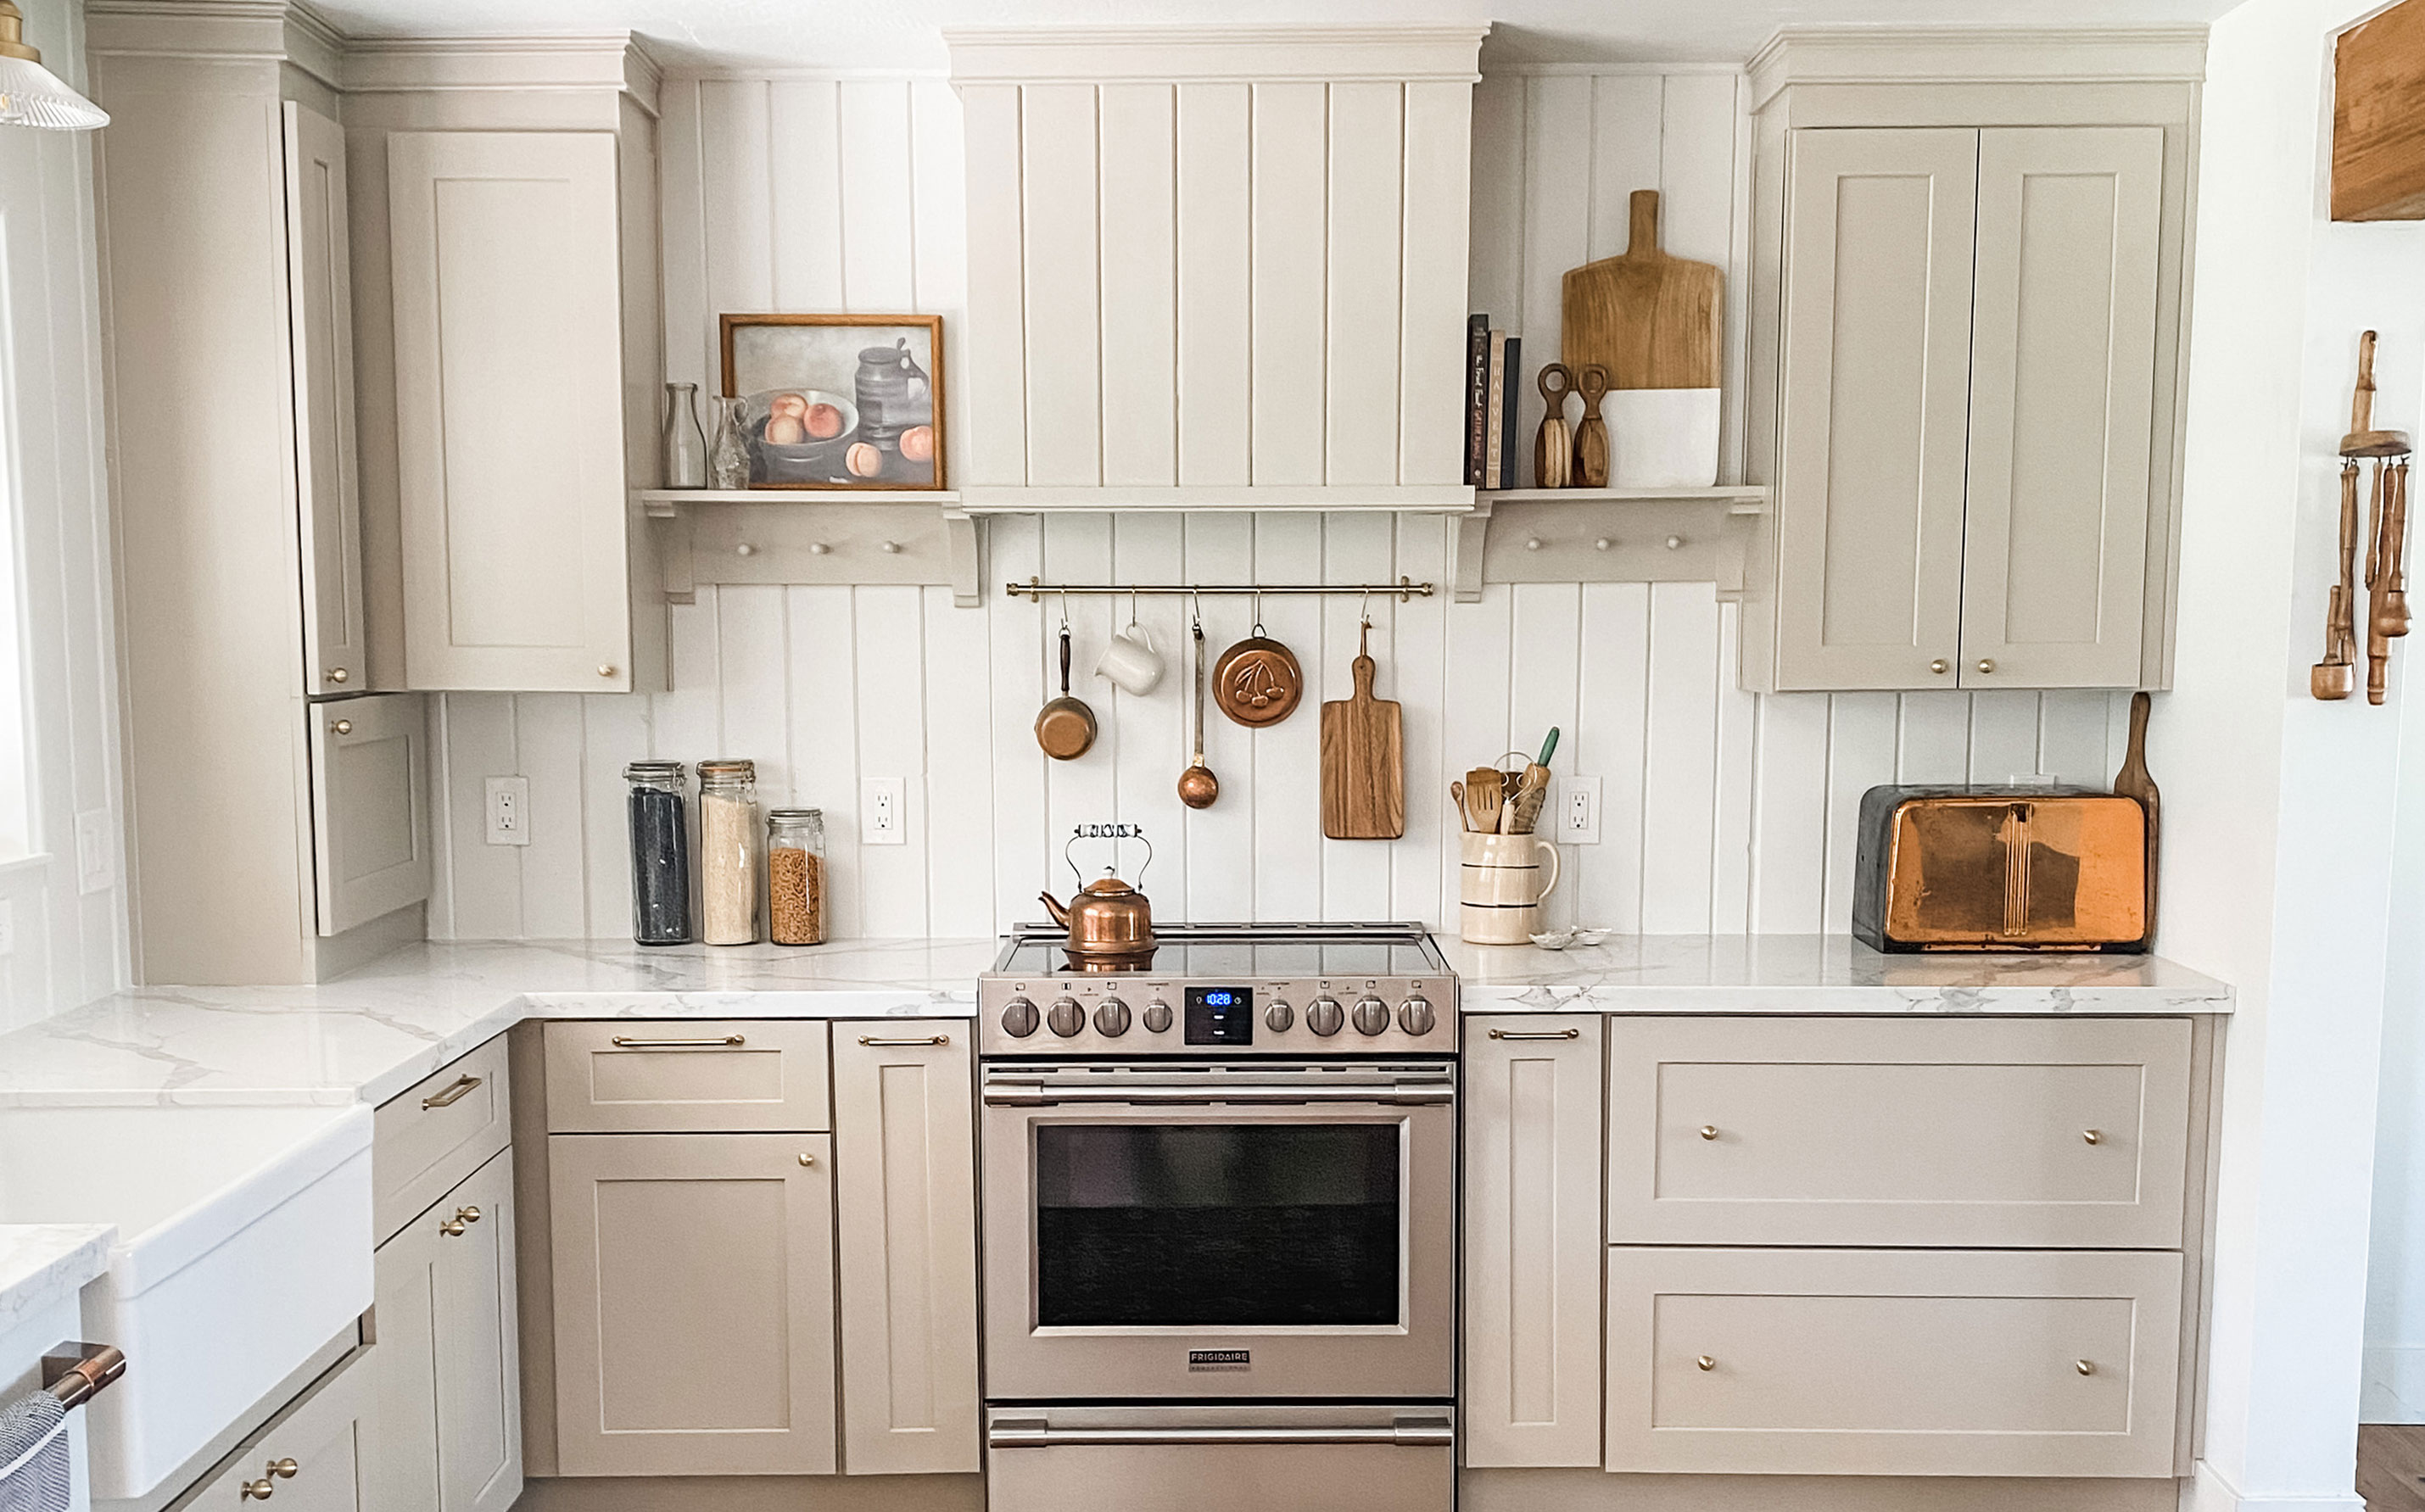 My DIY range hood and backsplash build gave my kitchen the perfect farmhouse finish
I craved charm in my kitchen space and adding a custom range hood and shelving was the best move.
By Brooke Waite
-
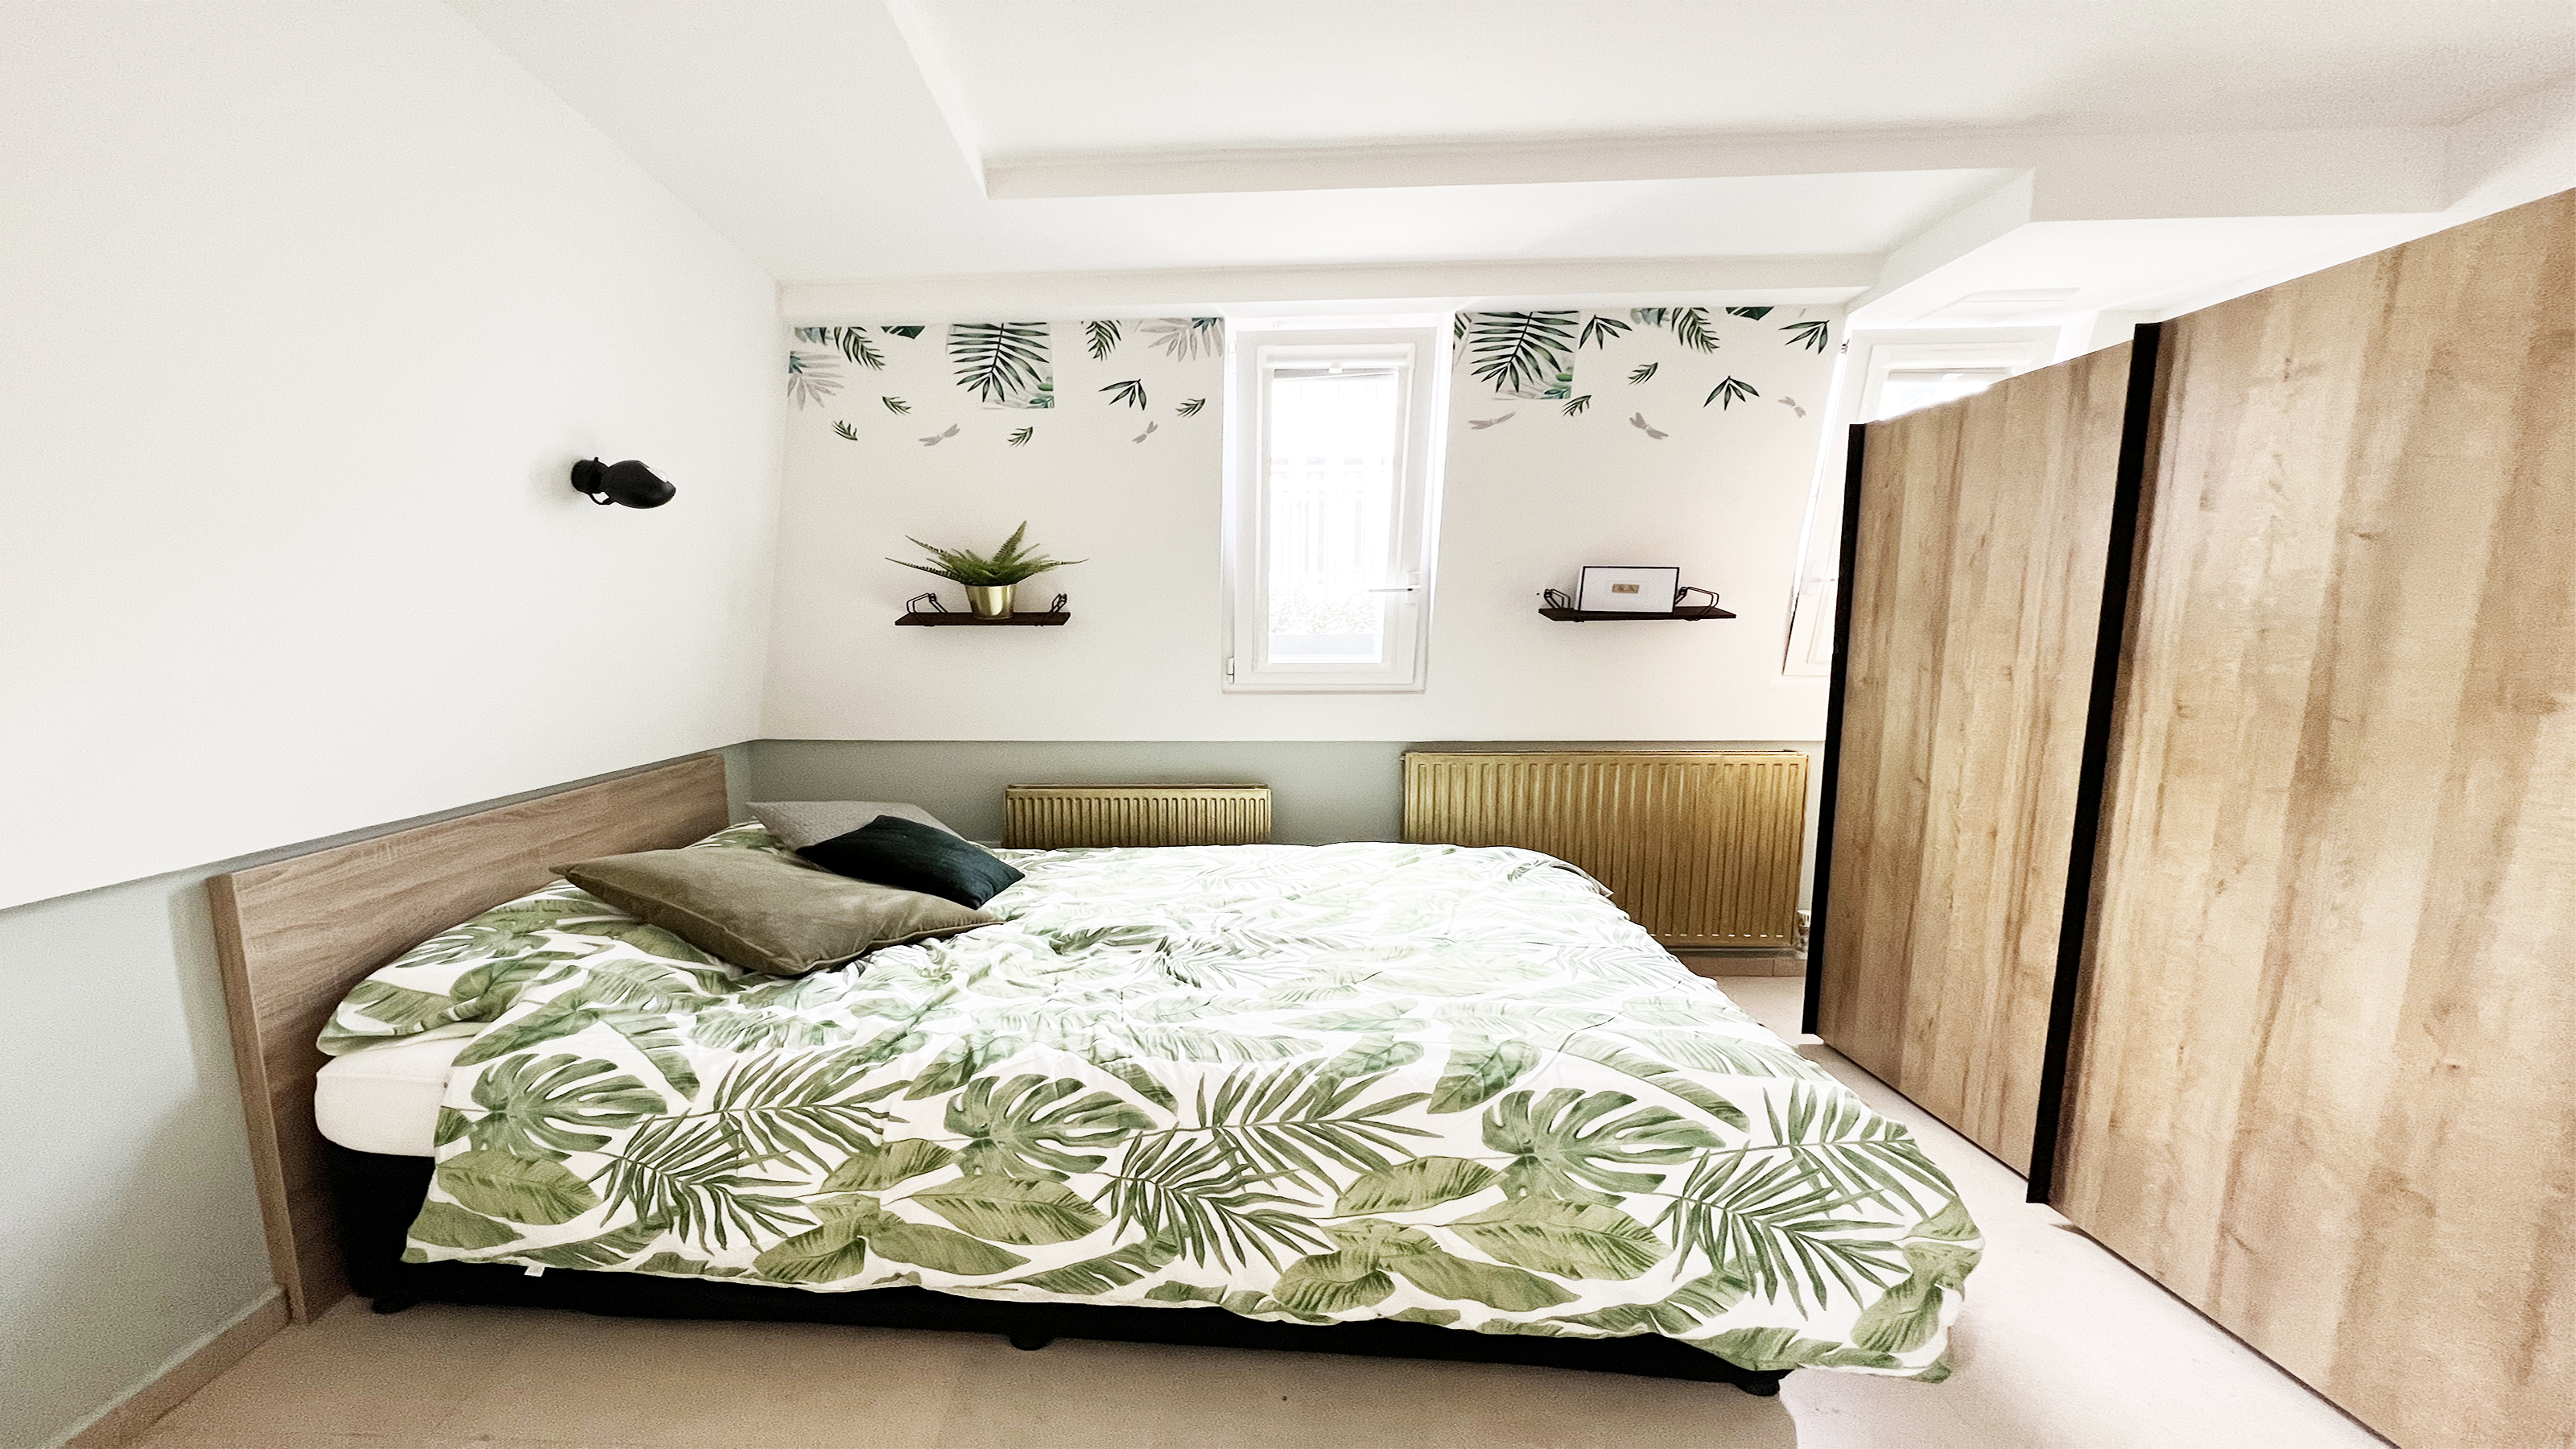 How to paint a radiator in 7 steps
Painting radiators properly is all about choosing the right paint and the best process. Get interior designer-worthy results with our how-to.
By Kate Sandhu